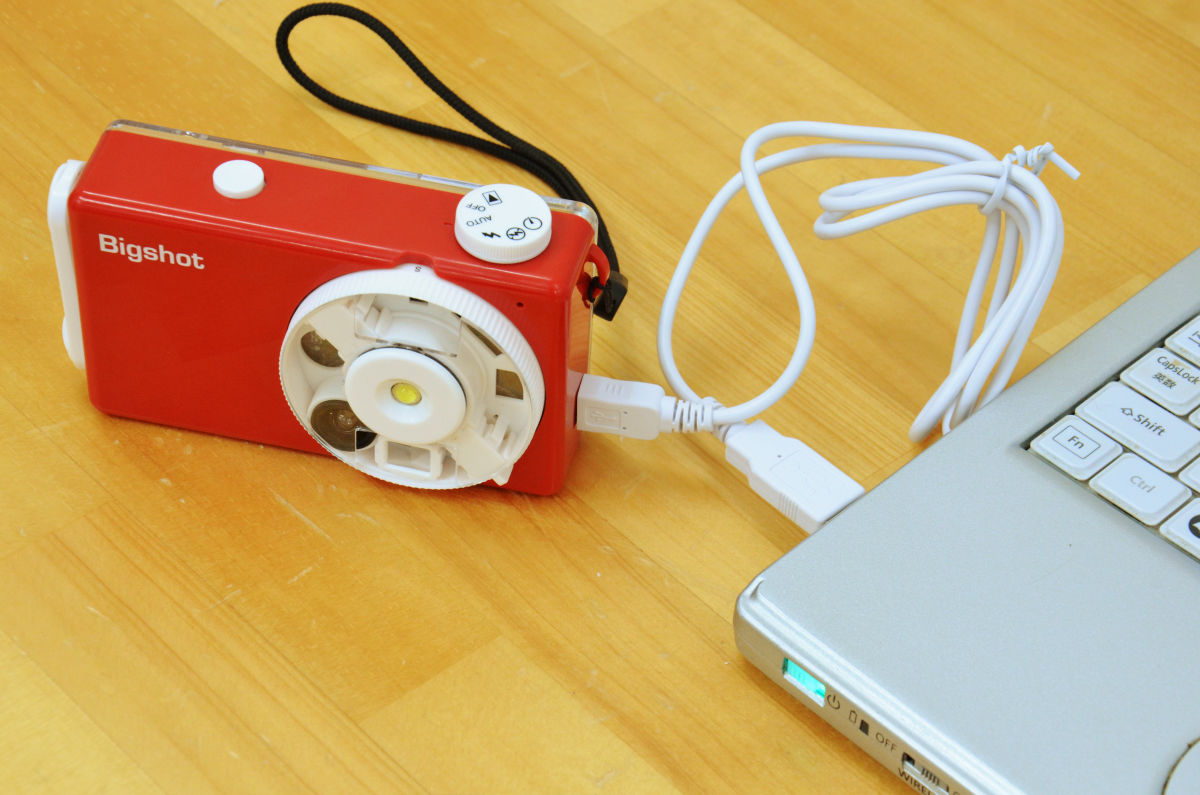
"Bigshot camera" assembly and shooting review which can assemble a digital camera by himself and can panorama and 3D shooting
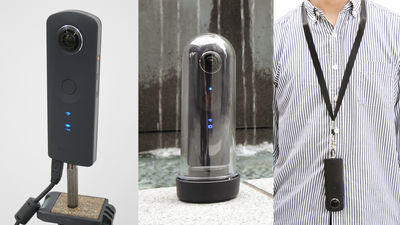
"Can shoot beautifully" In addition to digital cameras, recently"Lytro" which allows you to focus after taking a pictureYa"SUN & amp; CLOUD" which can be charged by three methods of solar panel, manual and USB,All-sky camera "RICOH THETA" capturing 360 degree surroundingsAlthough something of a slightly unusual concept such as sale is also sold, about 20 parts are assembled by oneself, and the three photography methods of real panorama · 3D are realized DIY digital camera is "Bigshot camera"is.
Bigshot: The Camera for Education
http://www.bigshotcamera.com/
This is the package of the Bigshot camera.
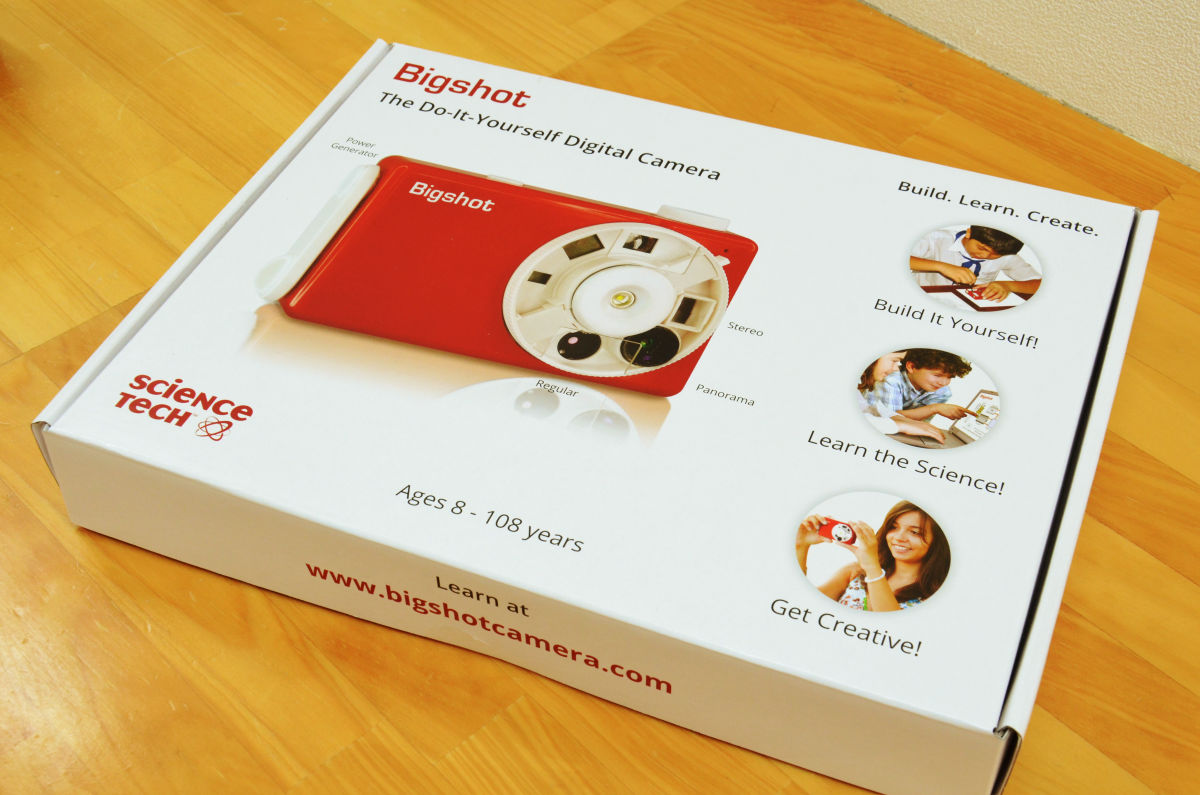
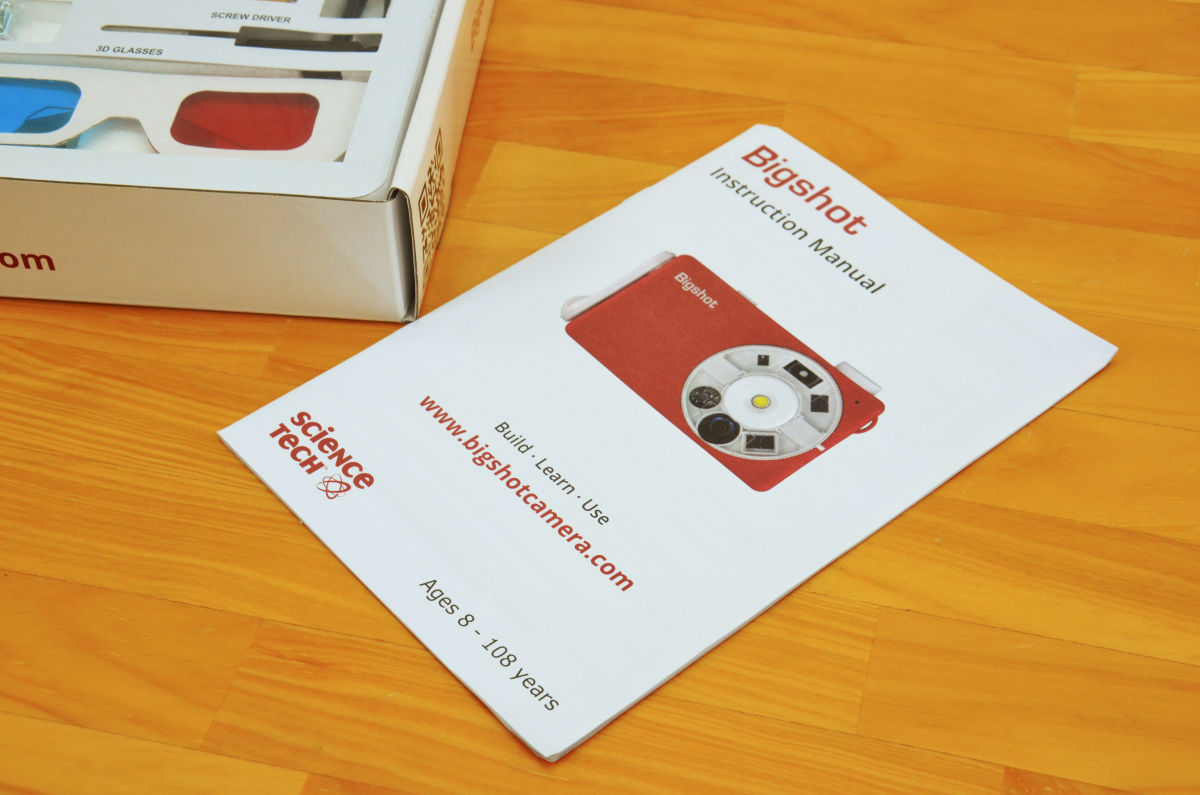
The target age ranges from 8 years old to 108 years old.

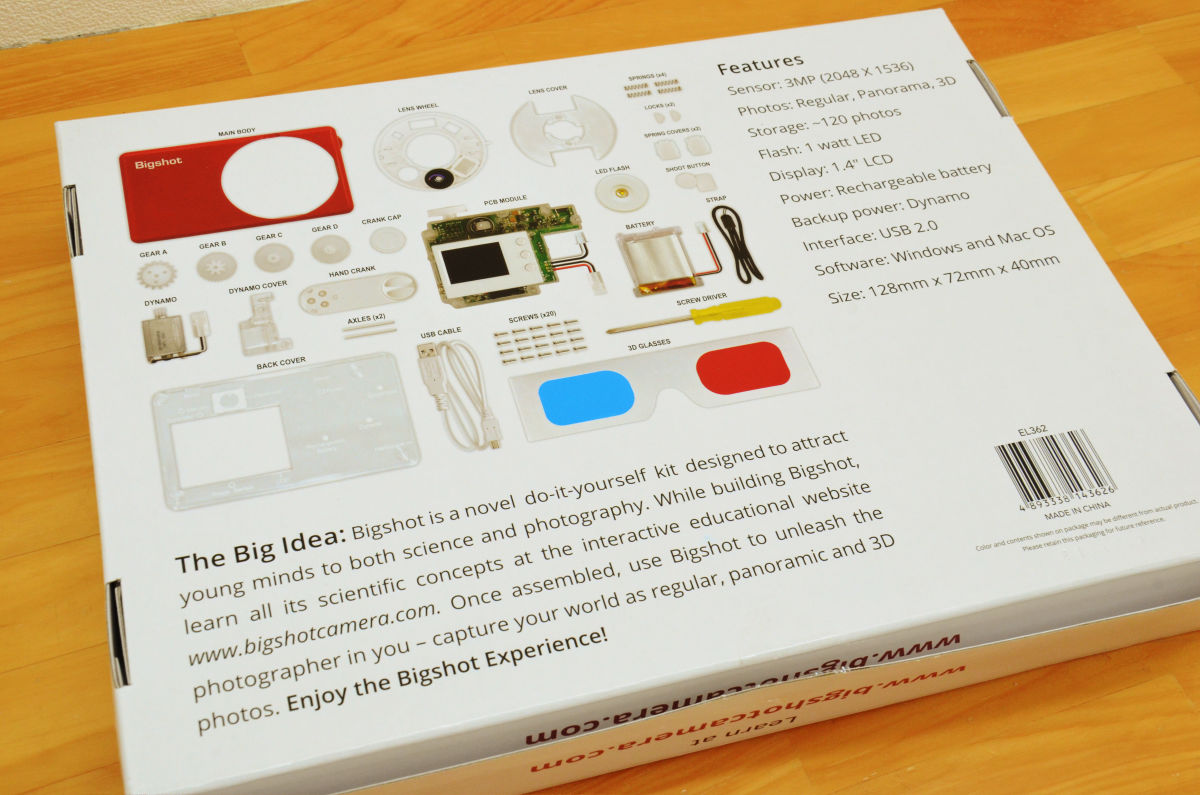
The contents of the kit are written on the back of the box.
Looking from the side like this. The camera can generate electricity by turning the handle, and can also experience 3D.

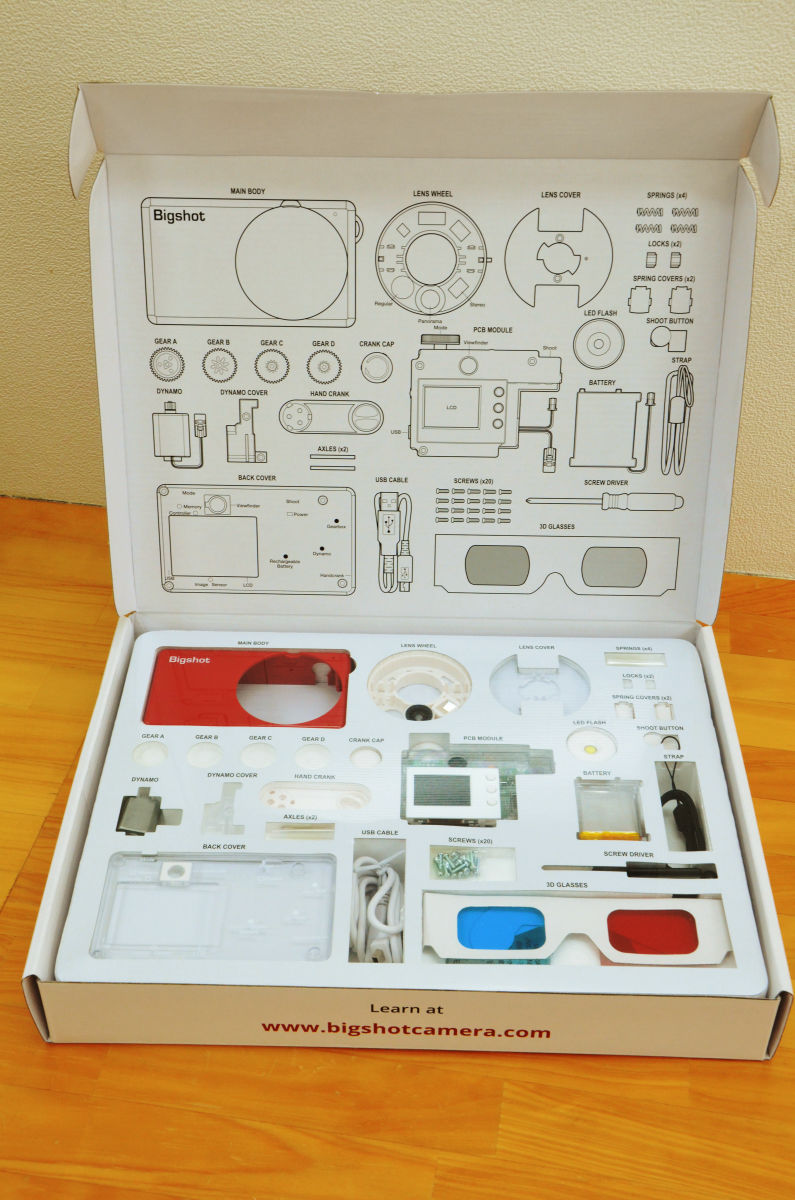
I opened the box.
Since the enclosed instruction manual is English version, when Japanese version is requiredwebsiteOrPDF filePlease use. The contents of the site and the file are the same.
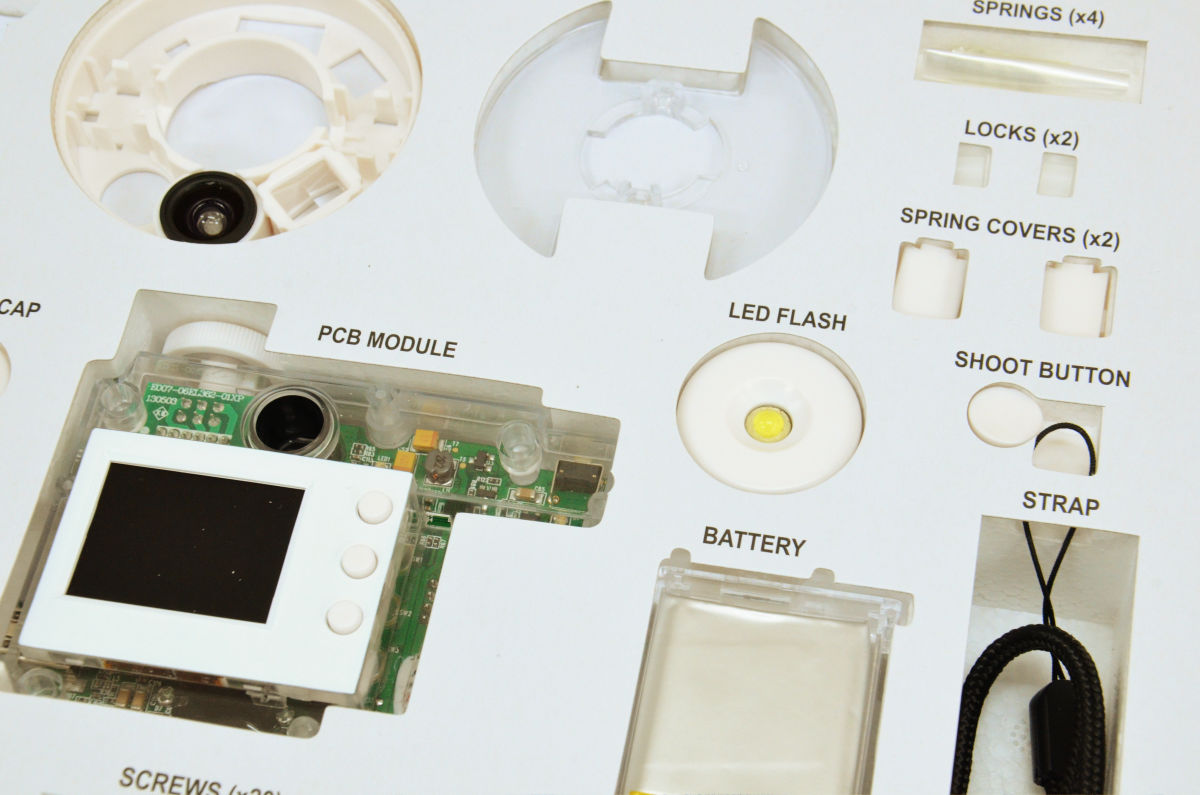
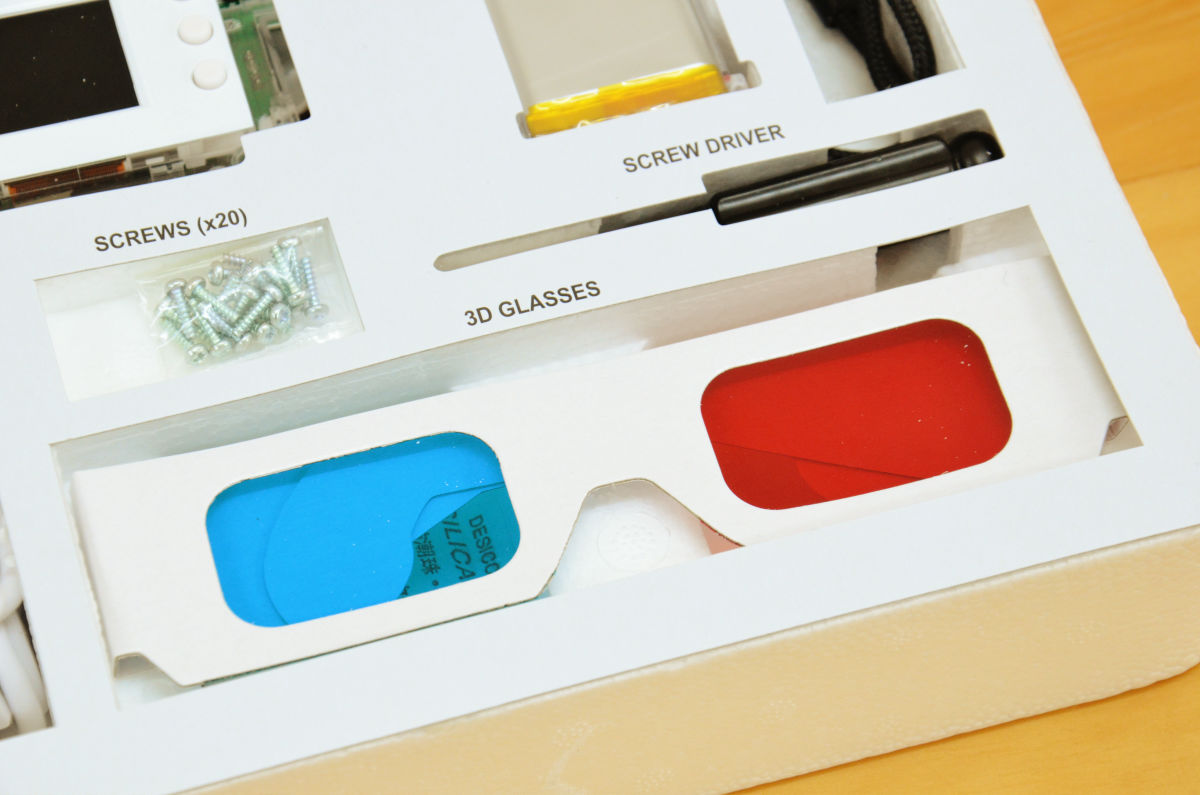
The set includes the camera body, lens wheel, lens cover, spring, wheel lock, spring cover, shutter button, LED flash, rechargeable battery, PCB module, screwdriver, hand strap, screw, 3D glasses, USB cable, rod, hand Crank · Gear A to D · Crank cap · Generator cover · Generator motor · It is a back cover.
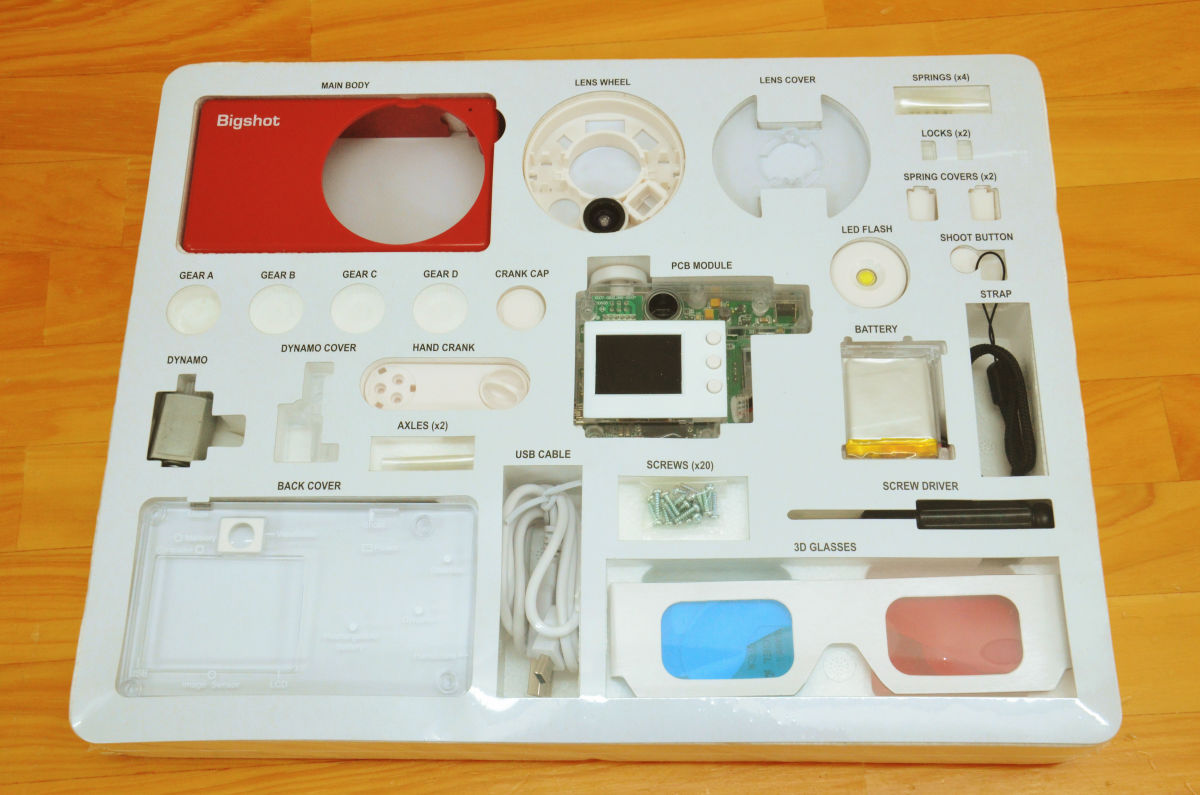
Since each part arranged in the box has its name written, it should not get lost at the time of assembly.
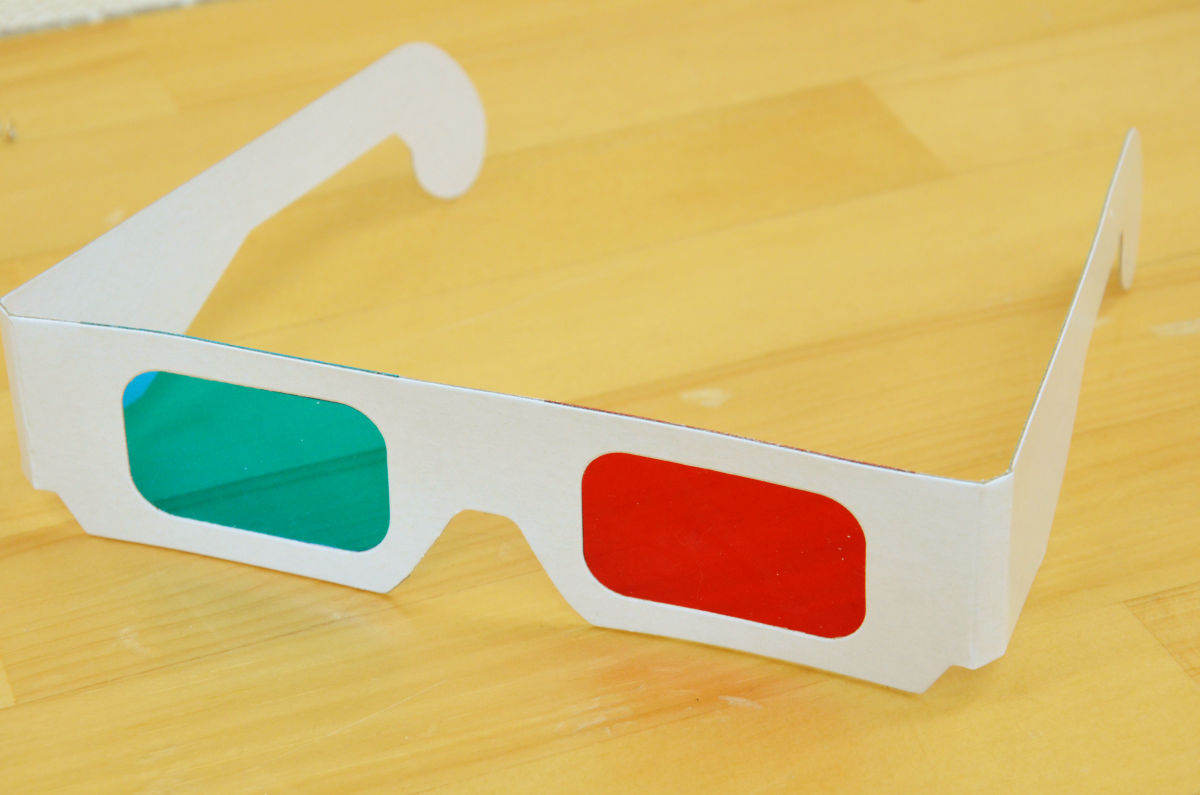
As the screwdriver is also attached, there is nothing to prepare separately. I will use 3D glasses to see the pictures actually taken.
So, we started assembly immediately. First, insert gear A into the part of the picture inside the camera body.
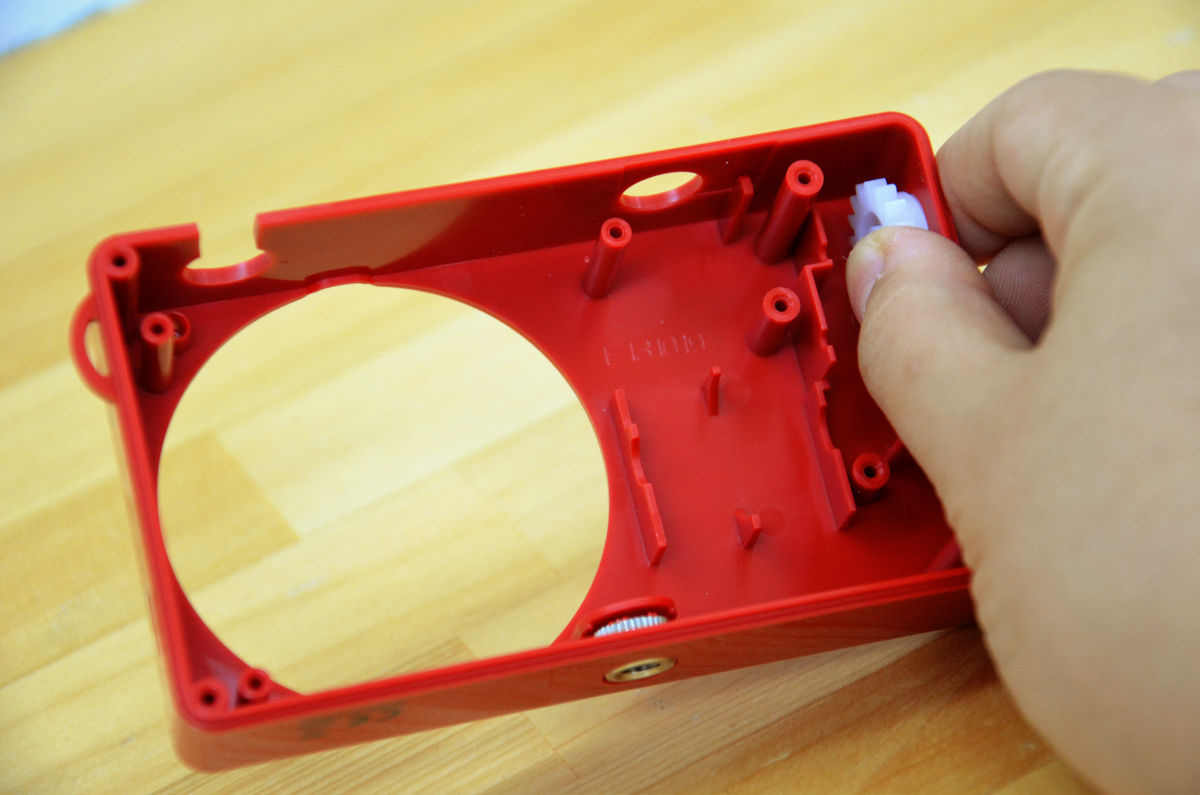
Insert the rod from the outside of the body ......

Install gear C next to gear A and push the rod.
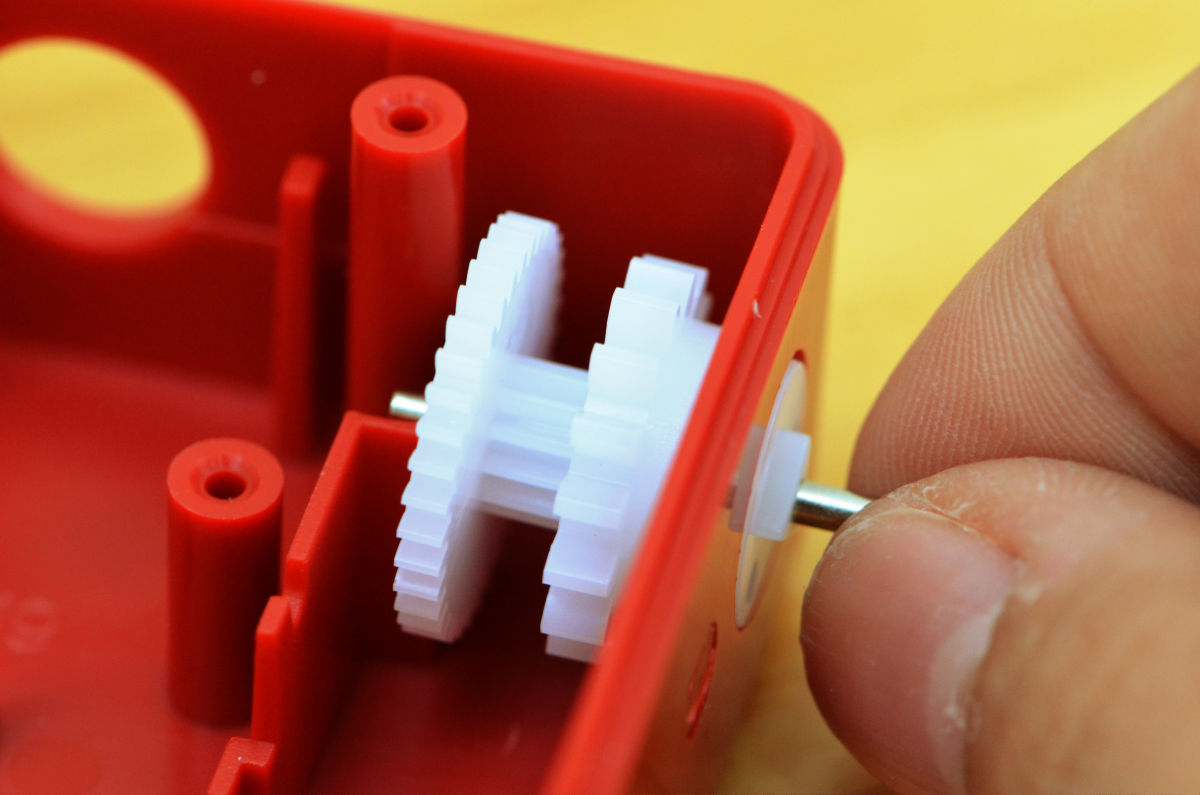
Next insert the rod into the center hole of gear B and gear D. At this time the rod got a little tip from the gear.
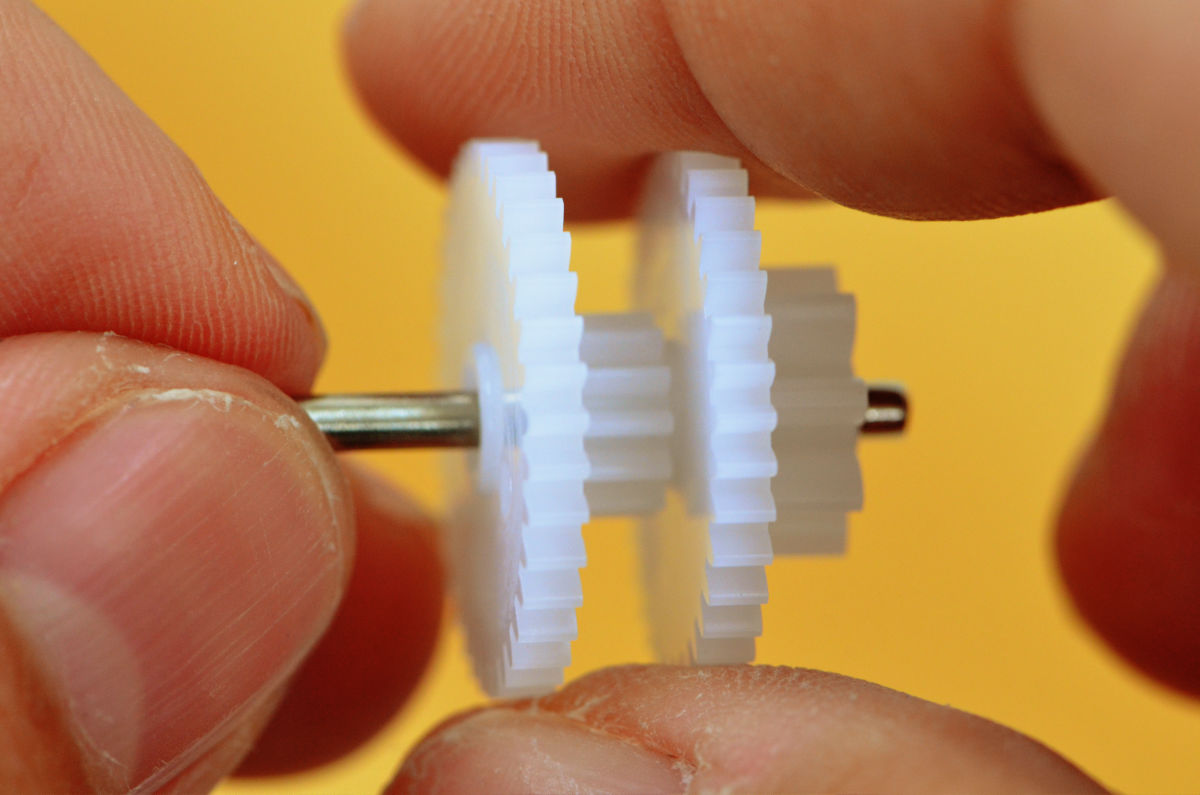
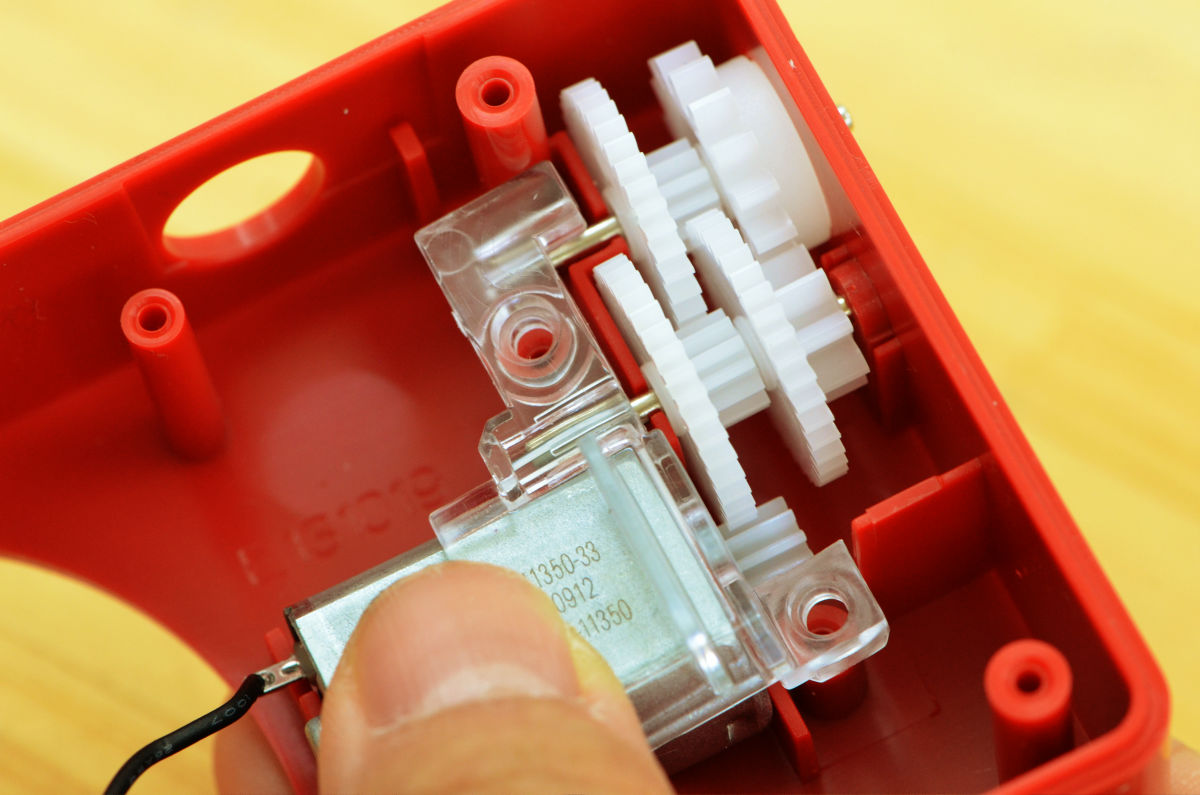
Set it next to the gear A gear C you installed first and push the rod until it hits the body.

Then install the power generation motor. The generator motor is installed so that it meshes well with gear B.
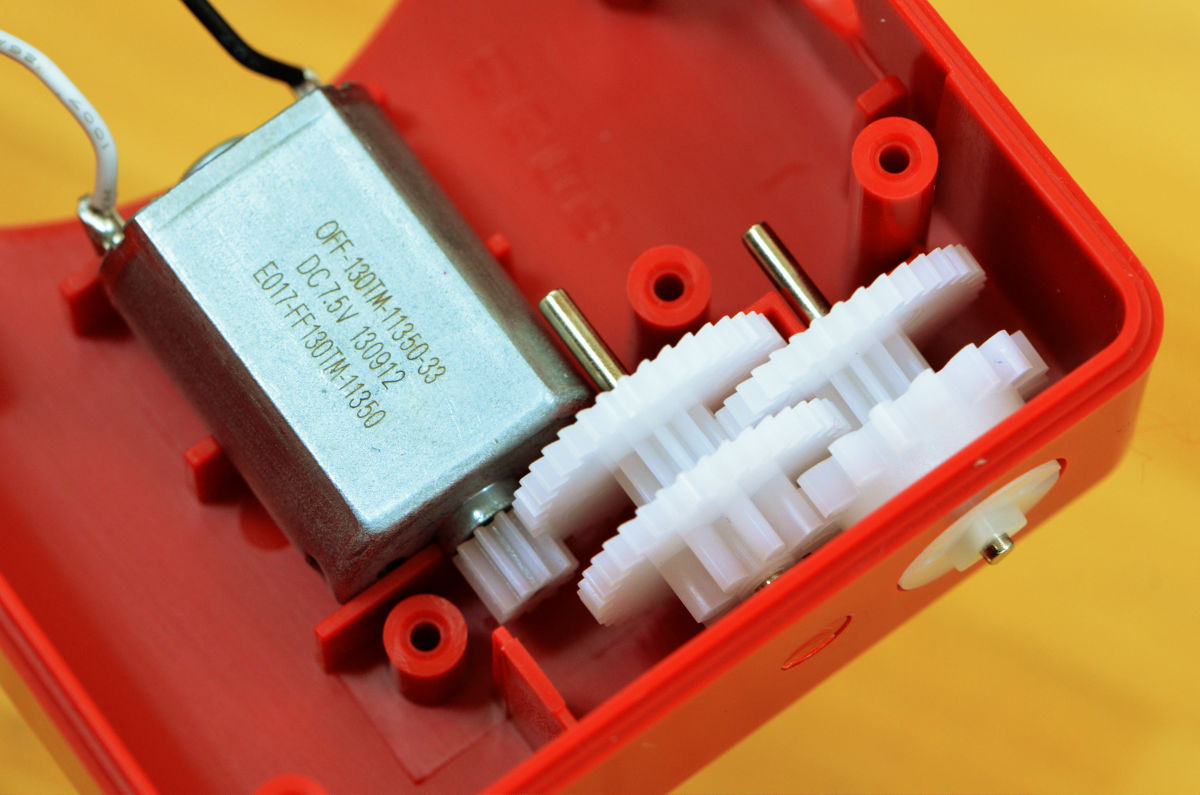
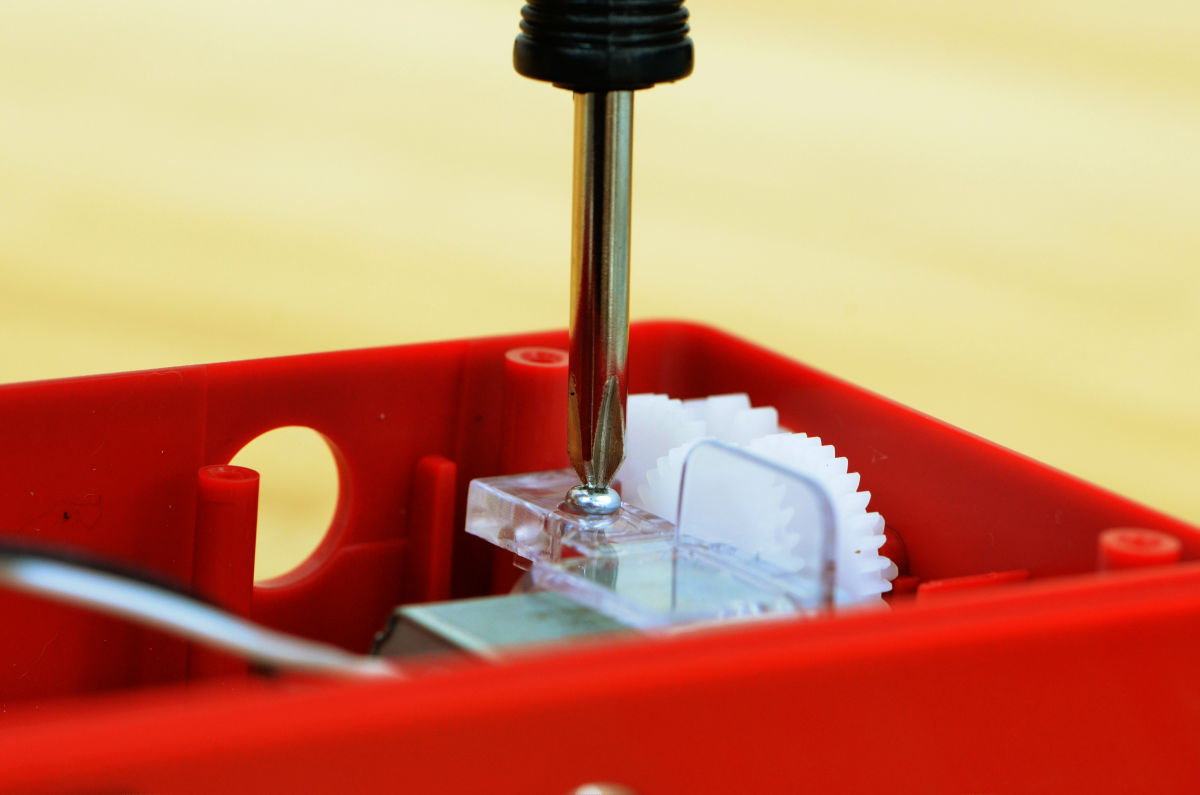
Cover the generator cover.
When the cover is covered, fix the cover with screws using the attached screwdriver.
Next attach the hand crank from the outside.
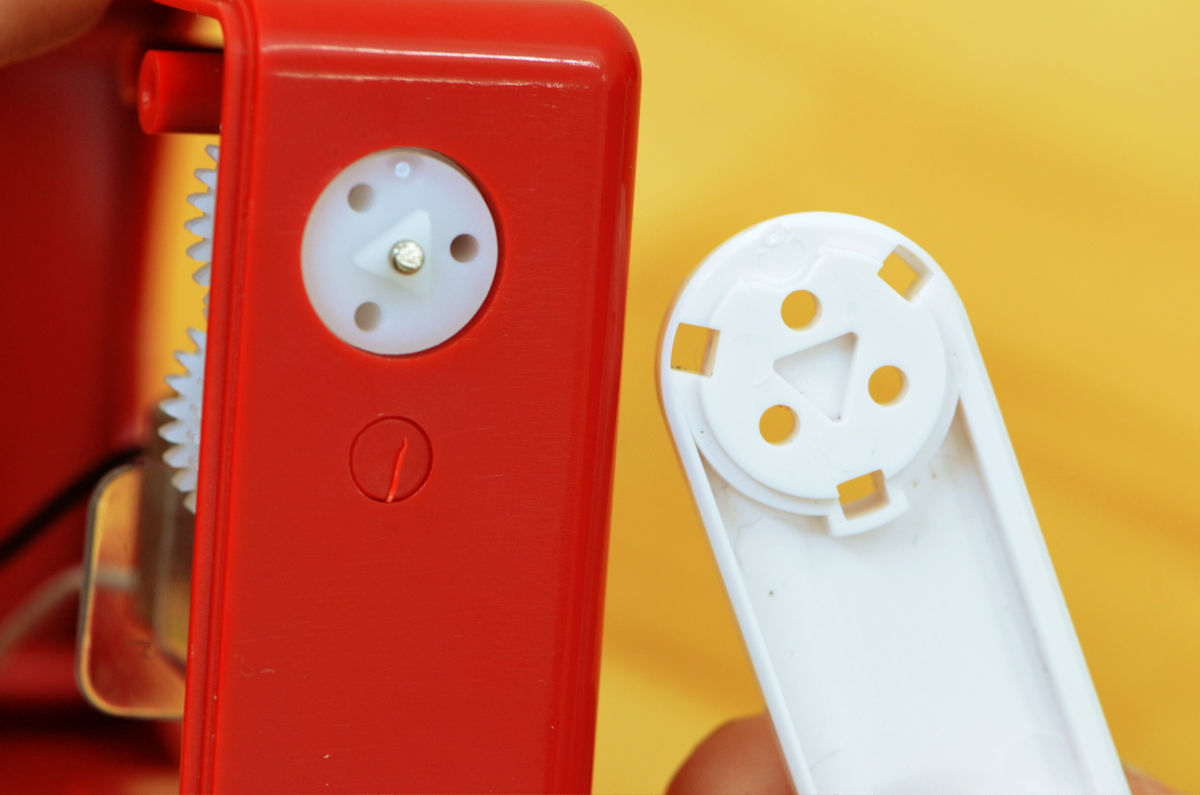
Also fix it with screws.

Once properly installed, the hand crank should turn smoothly in the clockwise direction.

Fit the crank cap in the screwed part and complete the hand crank processing.

Attach the shutter button from the inside to the part where the hole at the top right of the camera body is open.
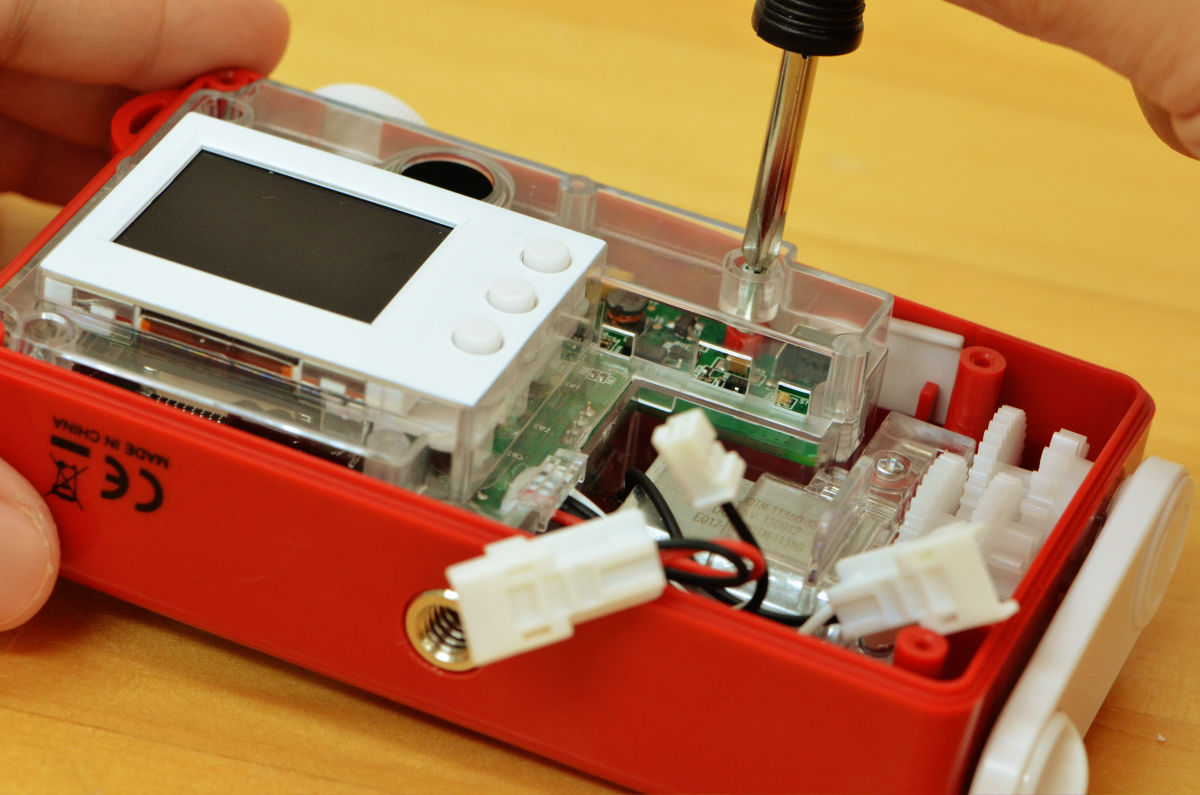
Next is the installation of the PCB module.
It is an easy task to set it in the camera body and fix it with screws.
Here, set the mode dial to OFF. It is a handmade digital camera if the OFF position is slightly off. Let's not turn the mode dial until all the assembly is completed.
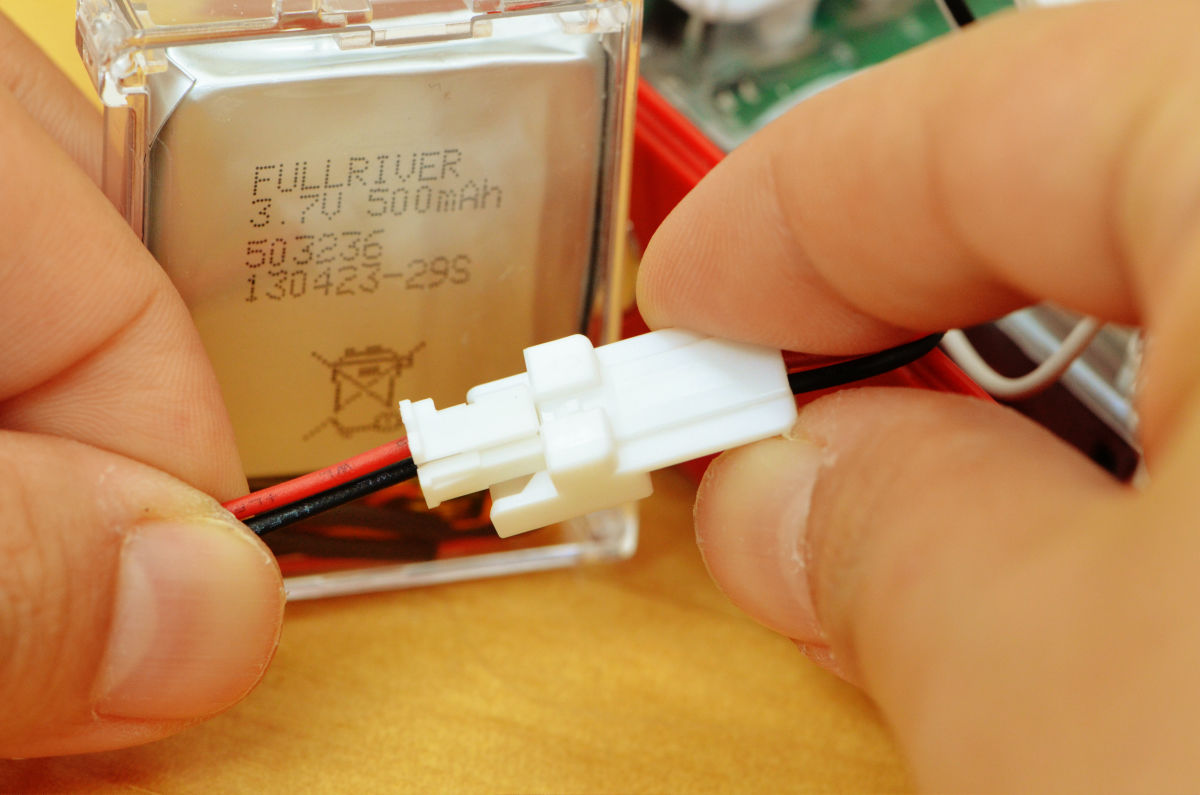
Connect the PCB unit and generator with a connector.
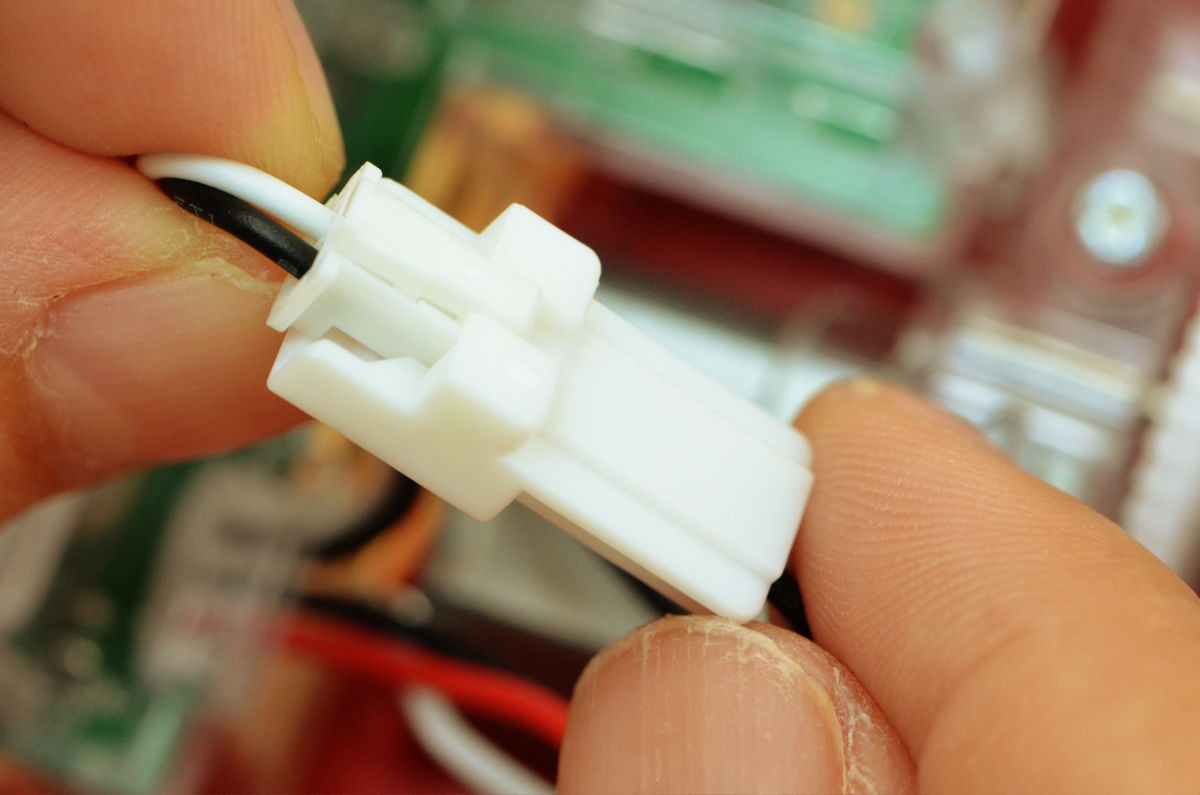
Also connect the PCB module and the rechargeable battery. When connecting the connector, it is a point to insert it slowly until it clicks.
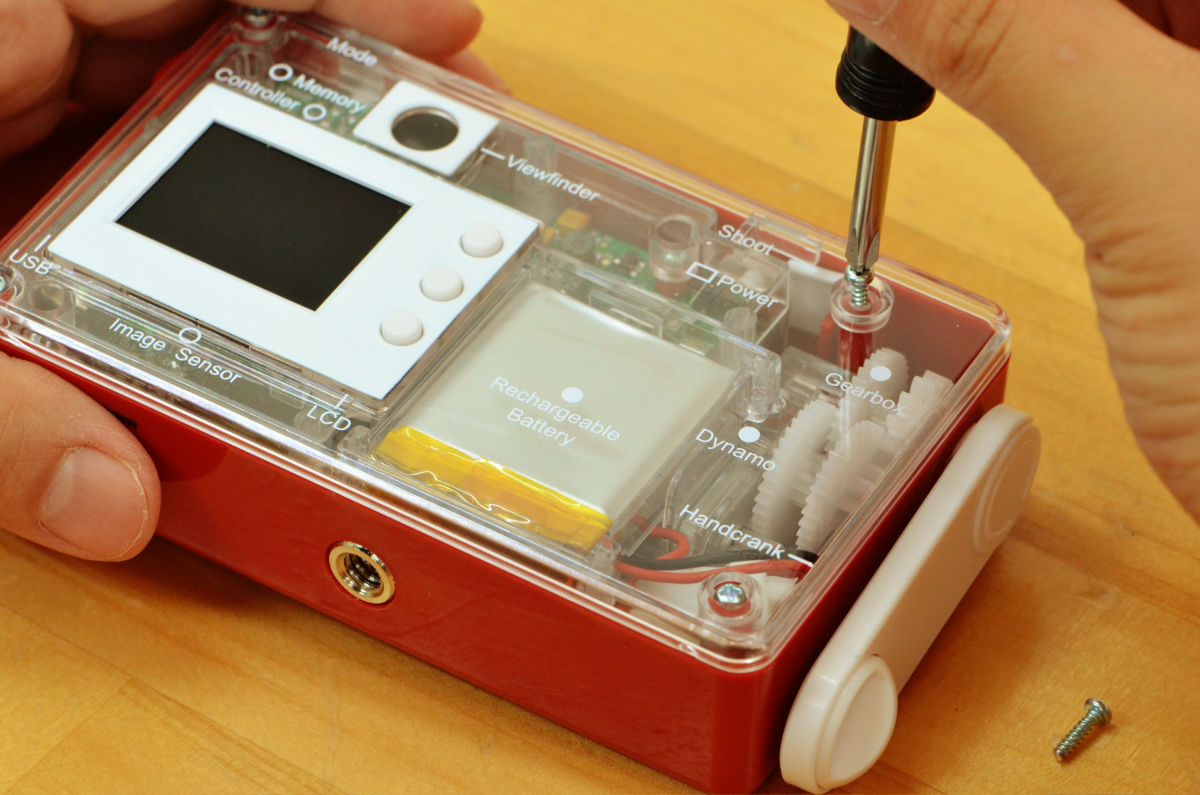
Store the cord and rechargeable battery in the camera body.
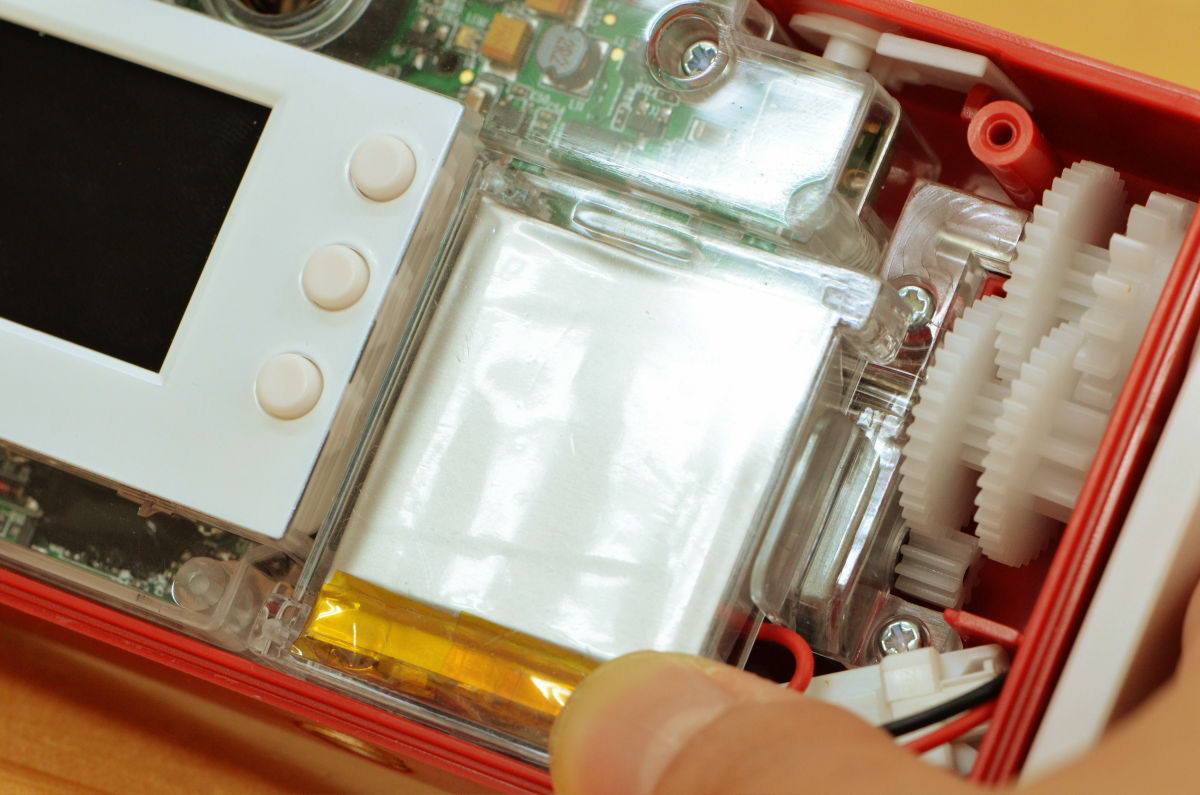
Cover the transparent back cover and fix it tightly with screws. Please be careful not to overtighten too strongly at this time.
It was not completed ... ... but the assembly of the lens wheel remained. First insert the included spring into the round hole of the wheel lock.
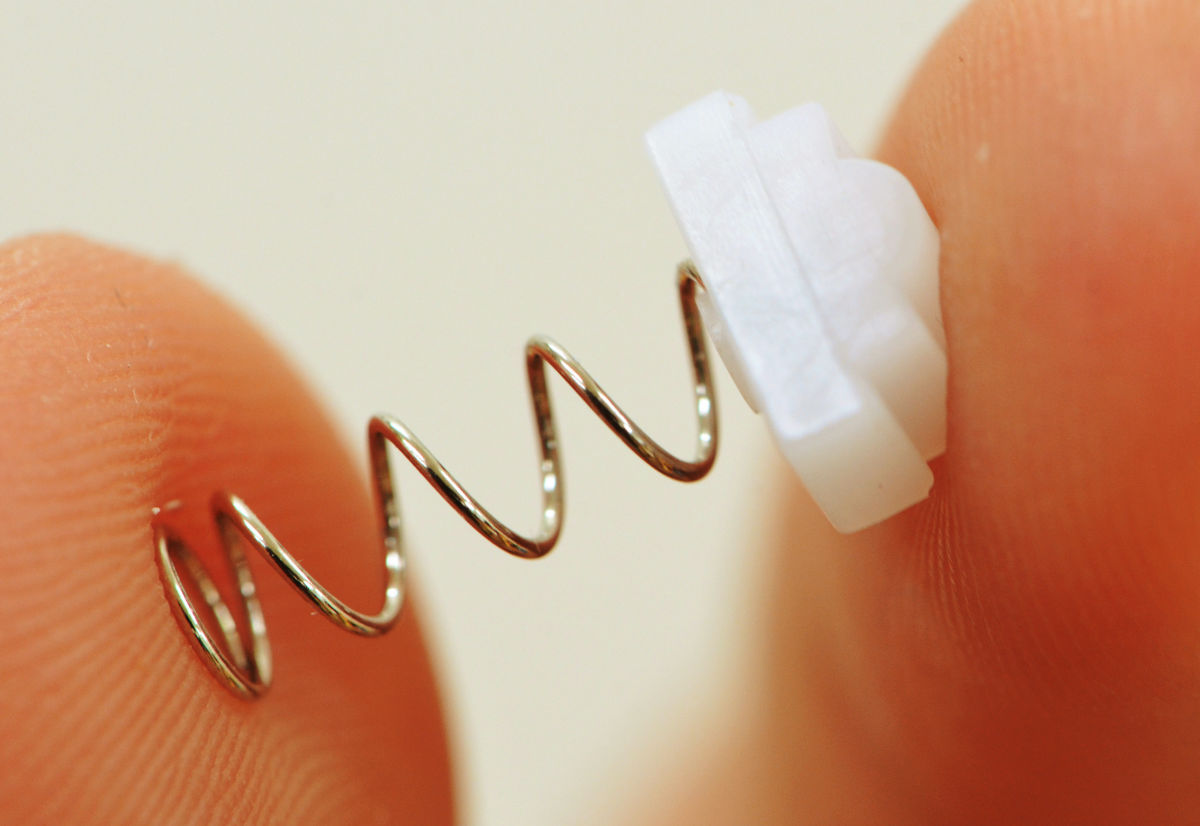
Insert the other end of the spring into the small protrusion on the inside of the lens wheel and push in the wheel locking part and push in on the spring and snap it into the groove part inside the lens wheel.
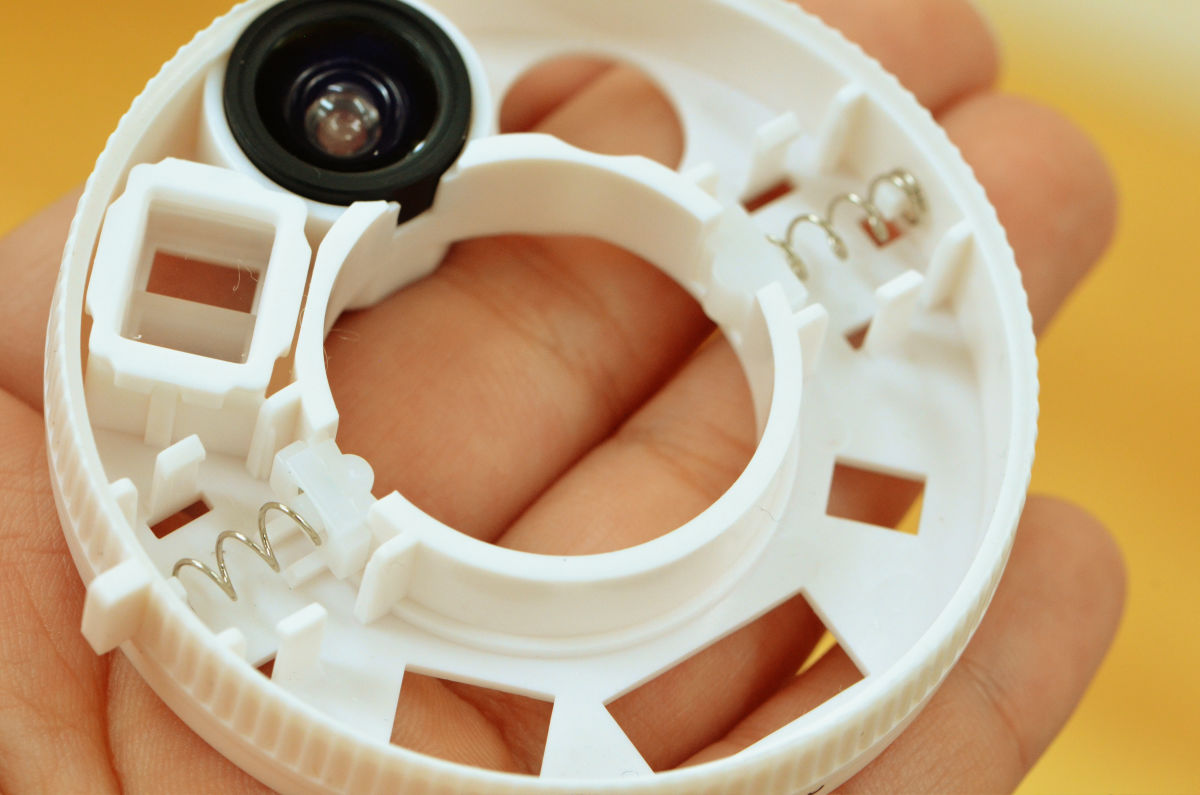
After installing the spring at the two left and right, cover the spring cover and push it in.
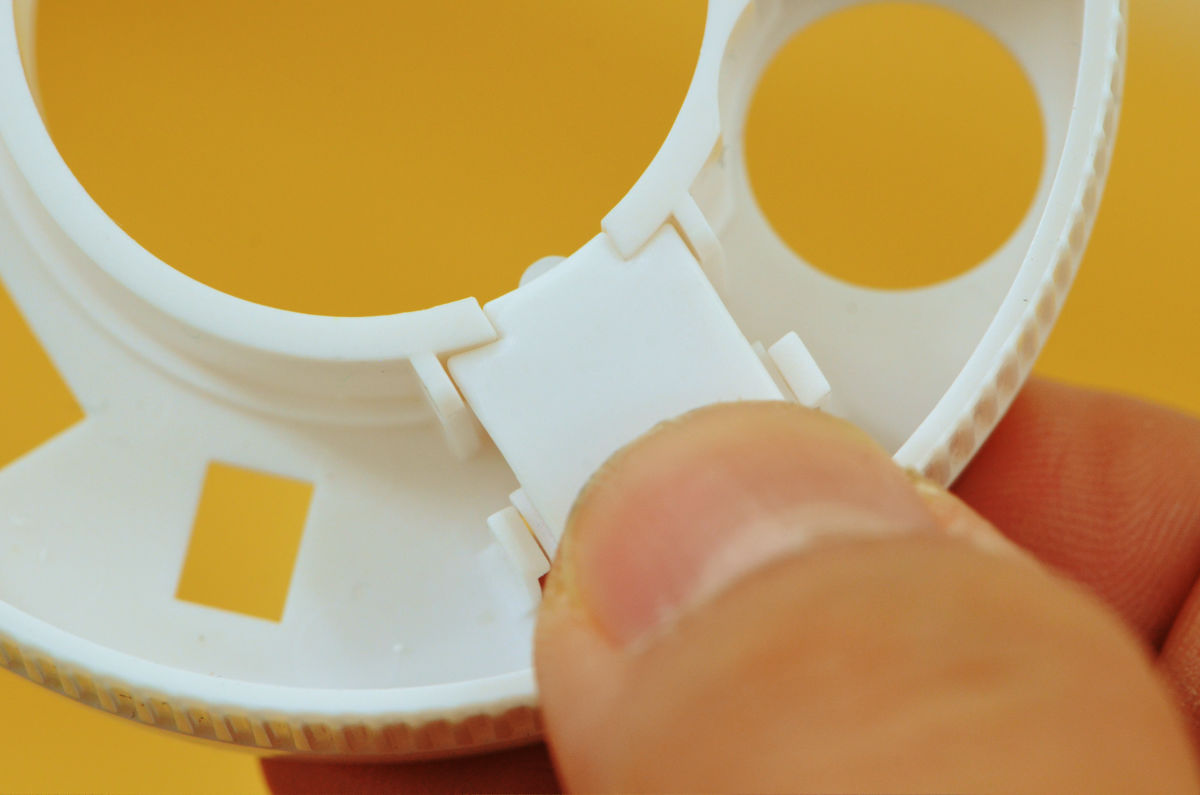
This completes the lens wheel. It fits into the PCB module of the camera body.
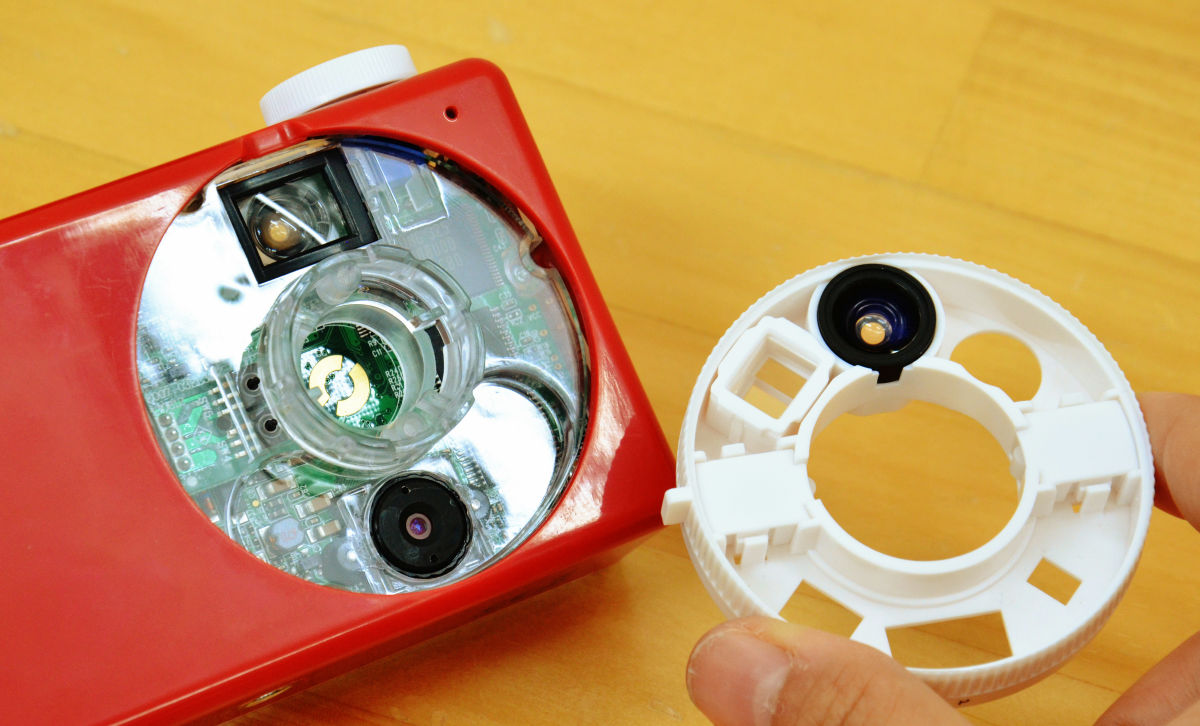
After installing the lens wheel in the correct orientation, cover the transparent lens cover and fix the two parts firmly with screws.

Plug the LED flash module into the PCB module. This direction is also decided, please insert correctly because there are two large and small grooves.

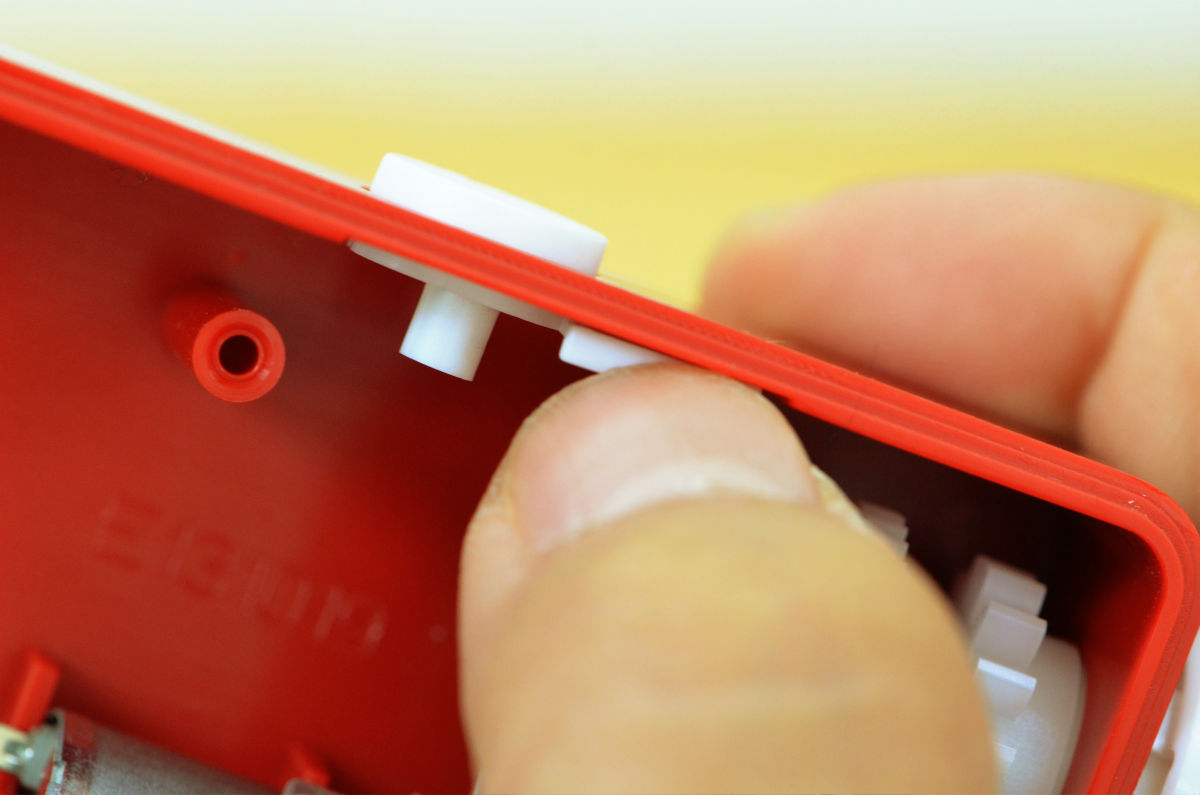
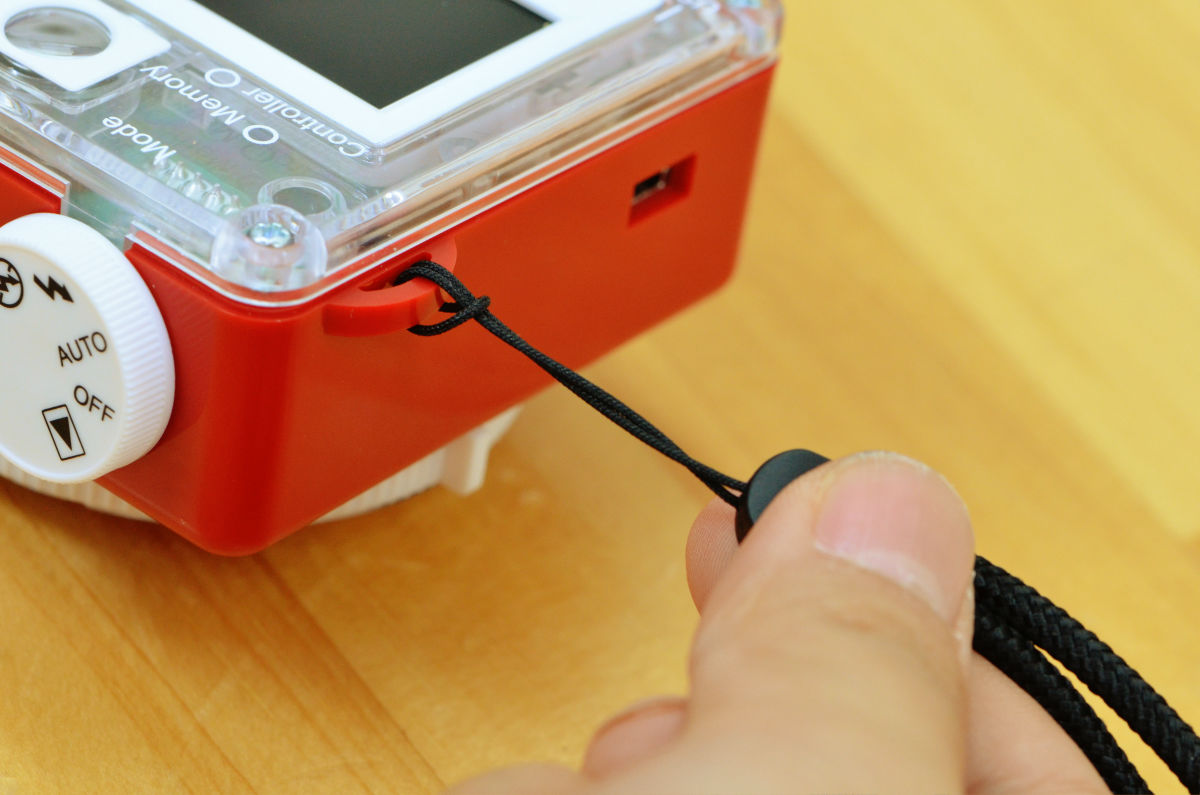
When I last turned on the strap ......
Completion
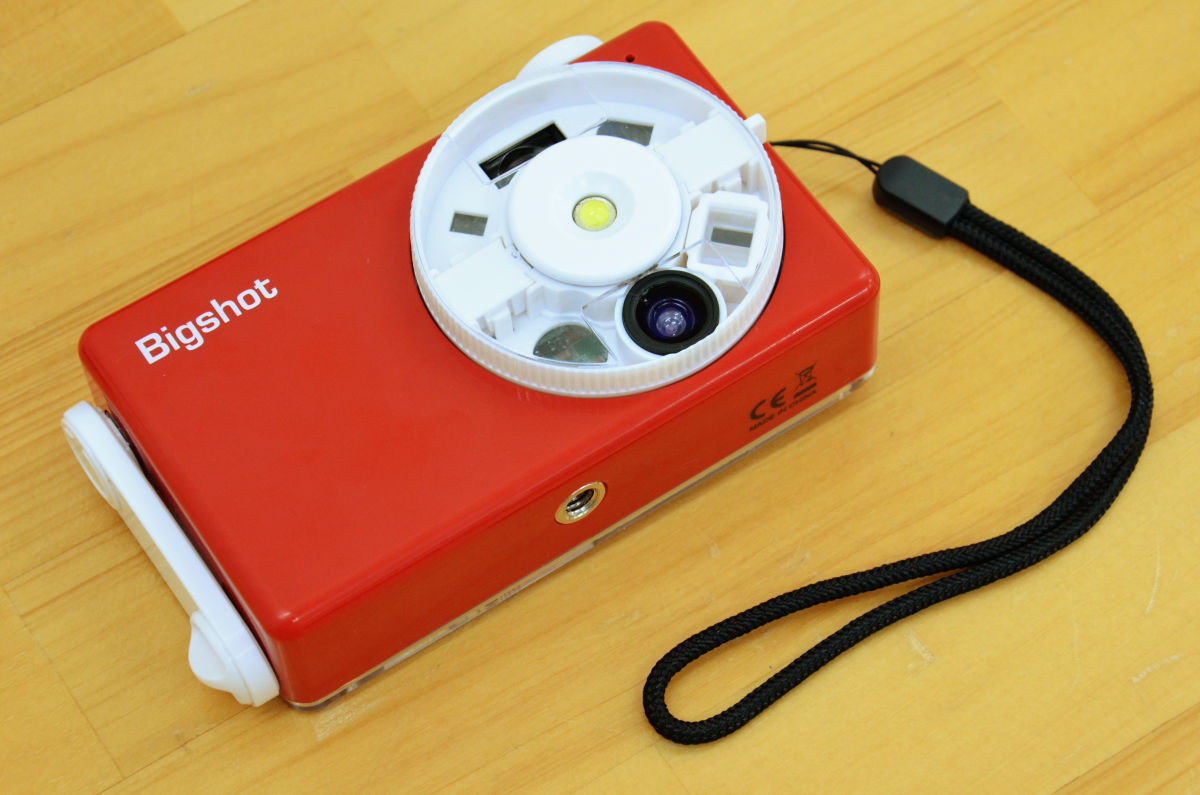
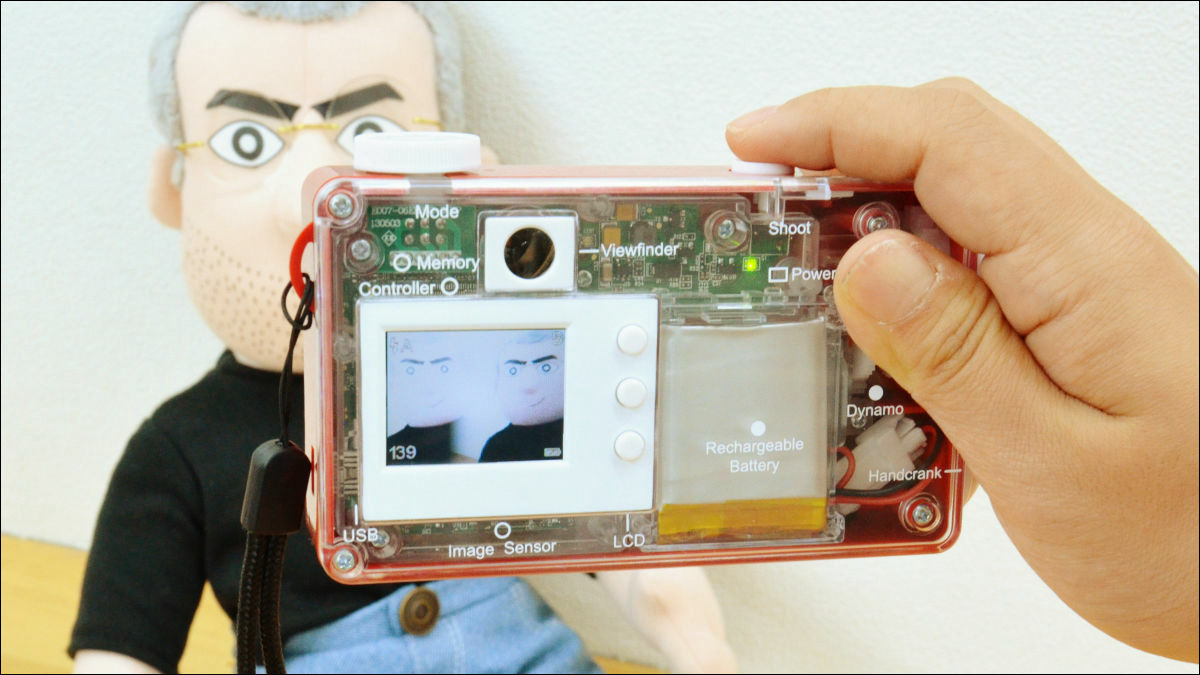
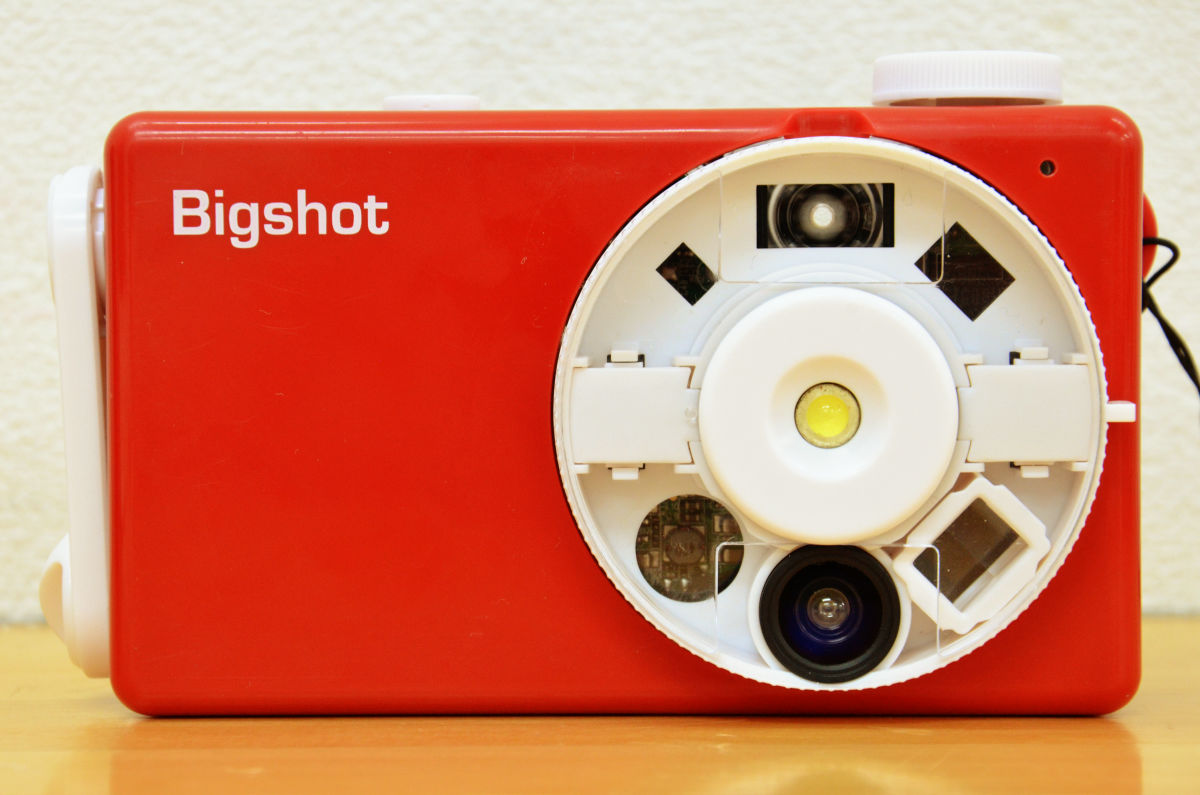
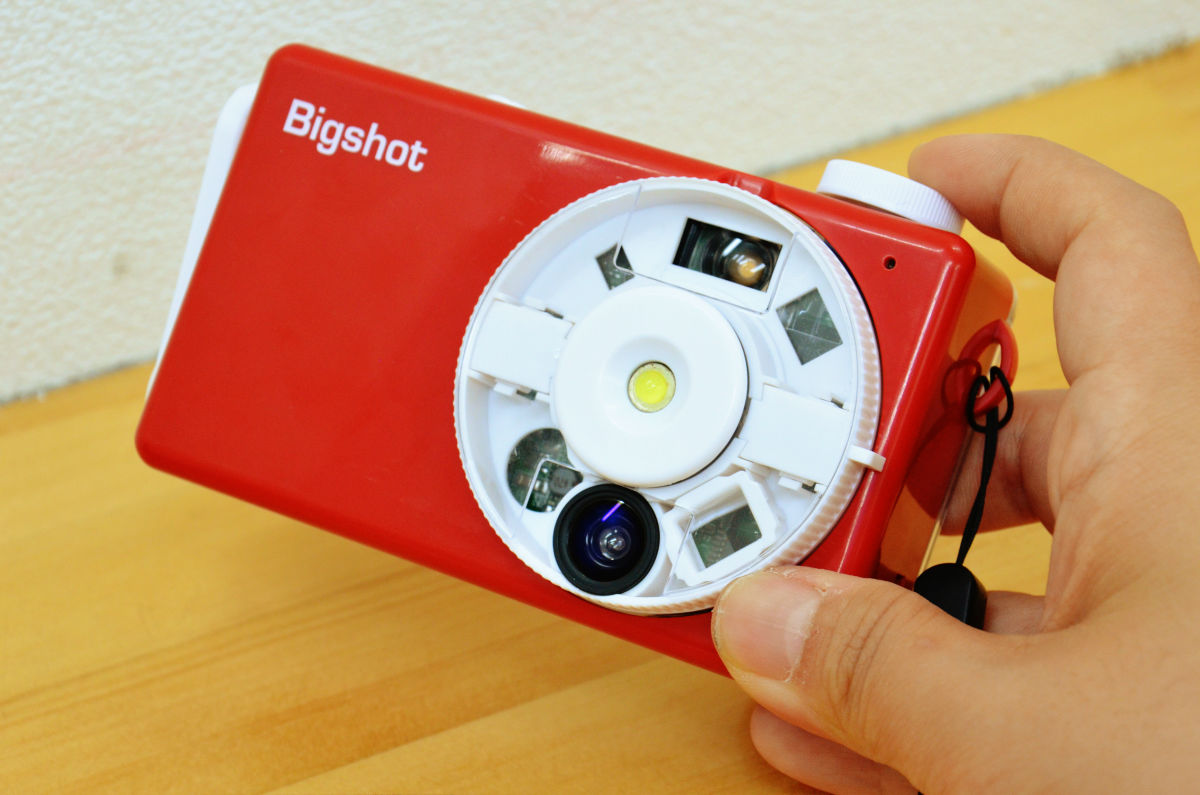
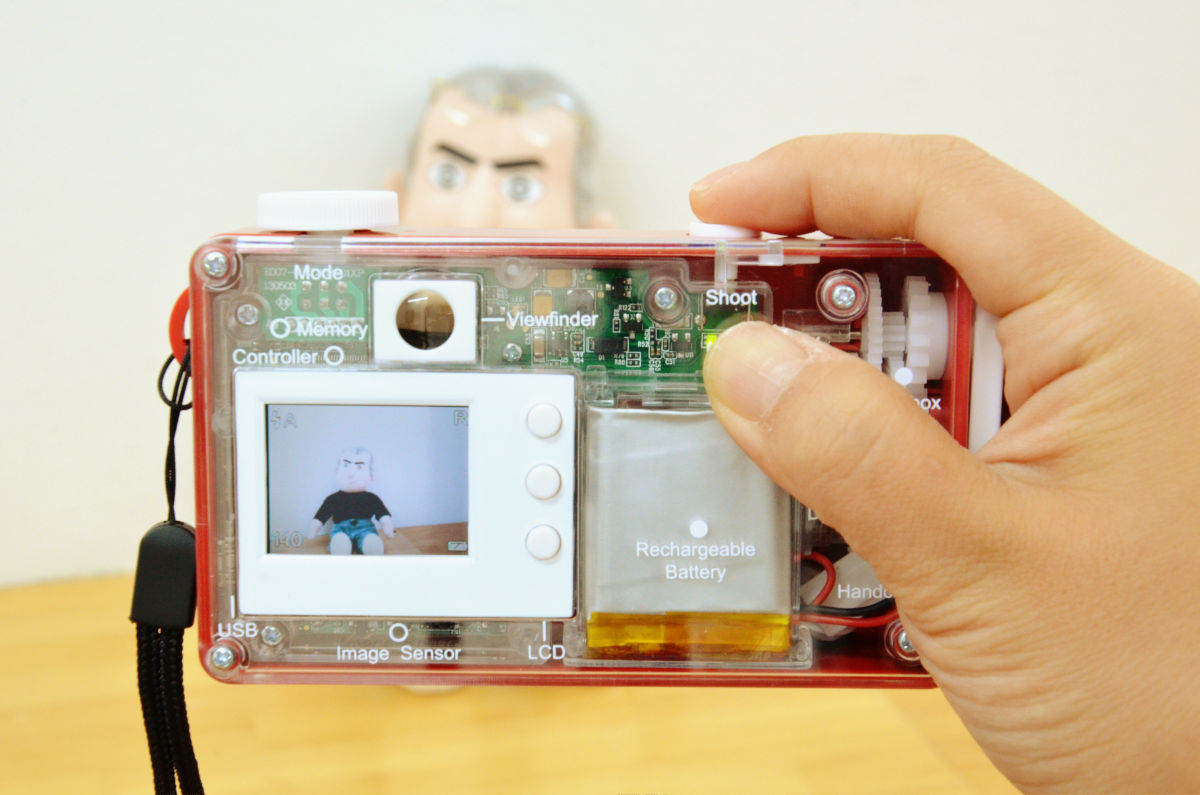
Looking at the camera from the front is like this. There are 3 types of shooting modes, Normal Lens, Panorama Mode, Stereo / 3D Mode, and lenses are switched by rotating the wheel.
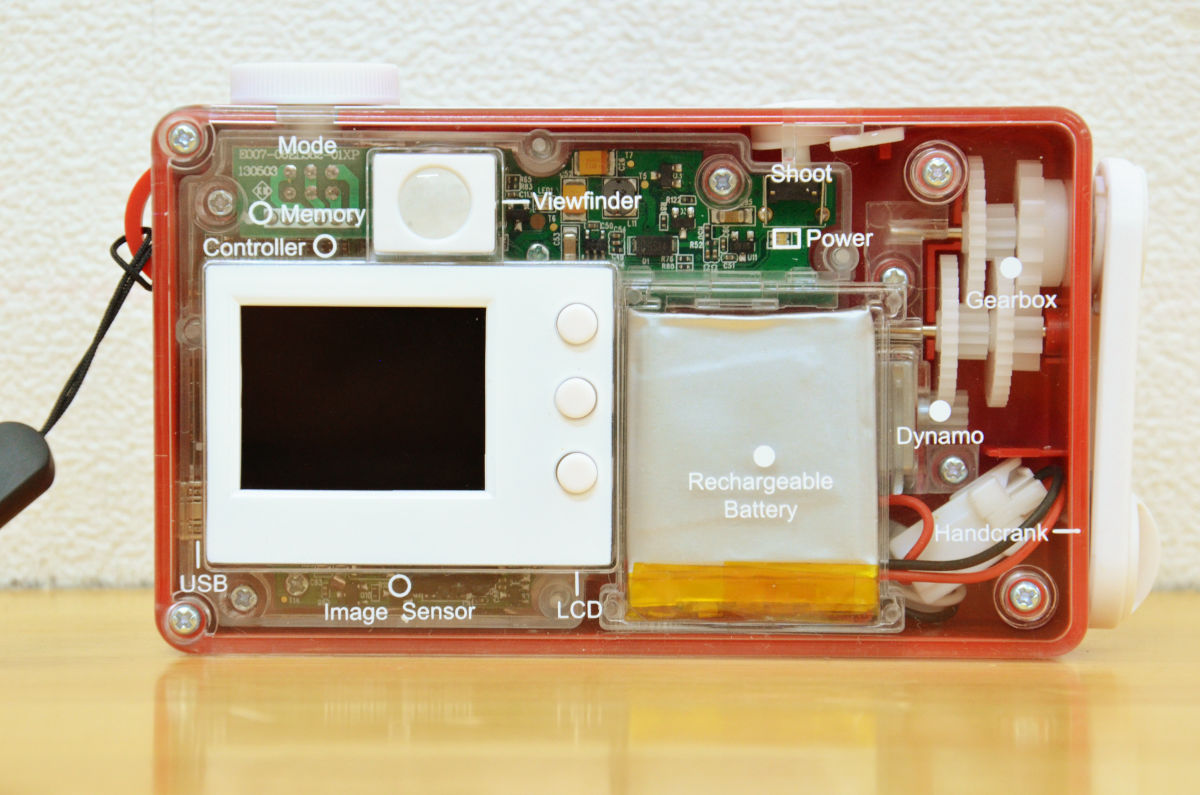
The back side looks like this. The name is written on the transparent cover, and it is clear how to locate it.
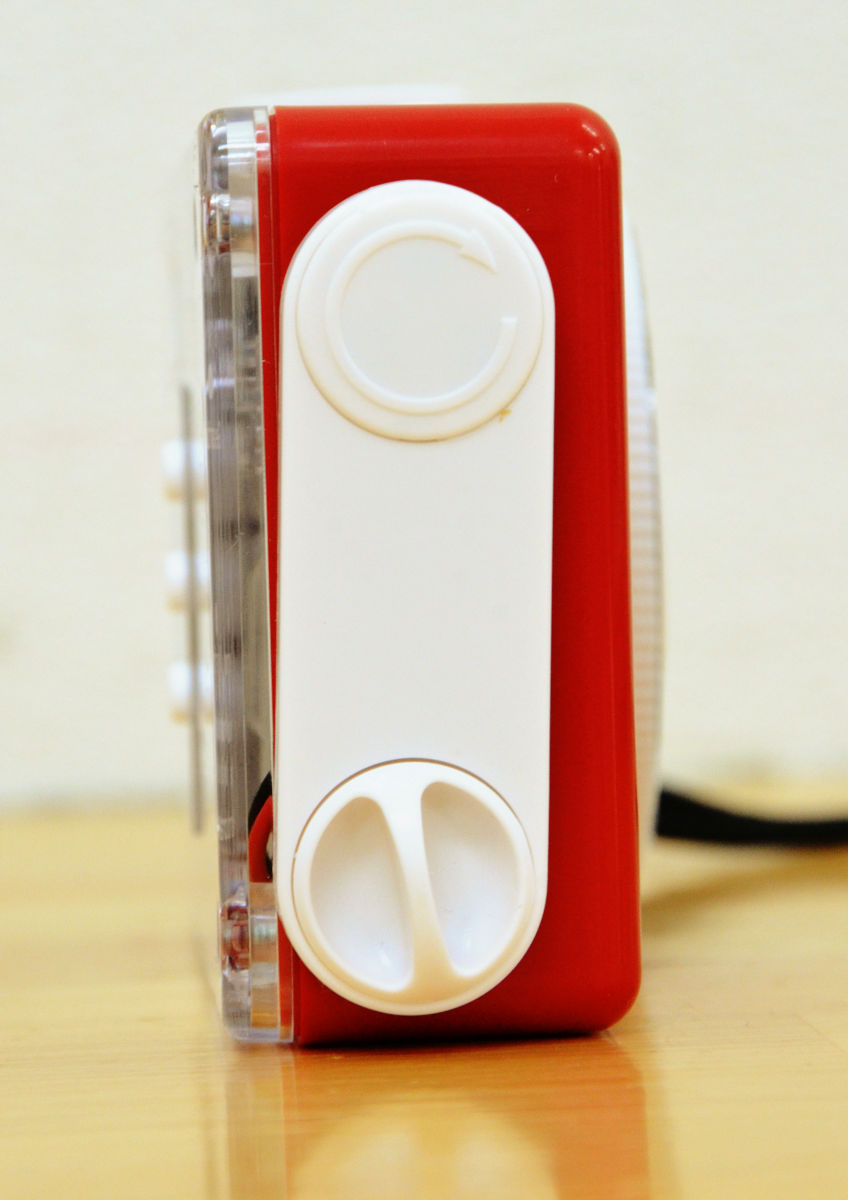
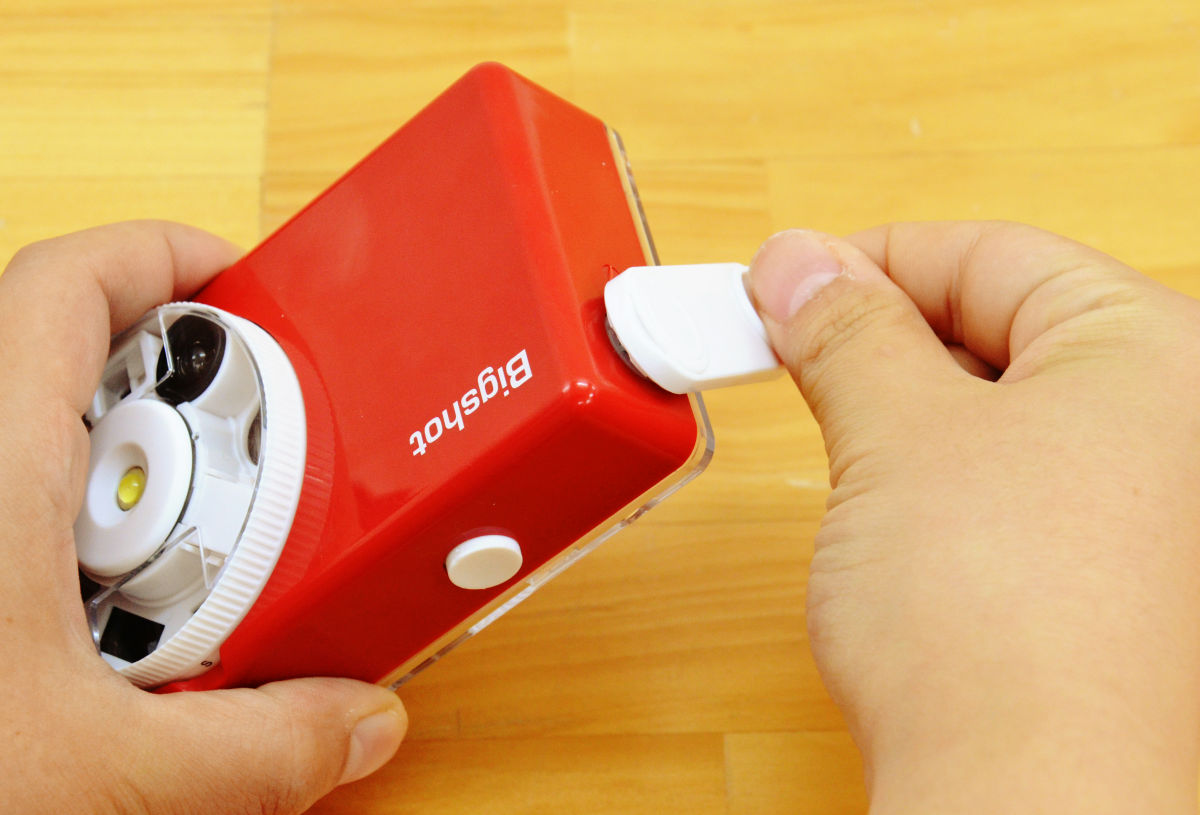
Hand crank for hand-held power generation on the side.
Mini USB port on the other side.

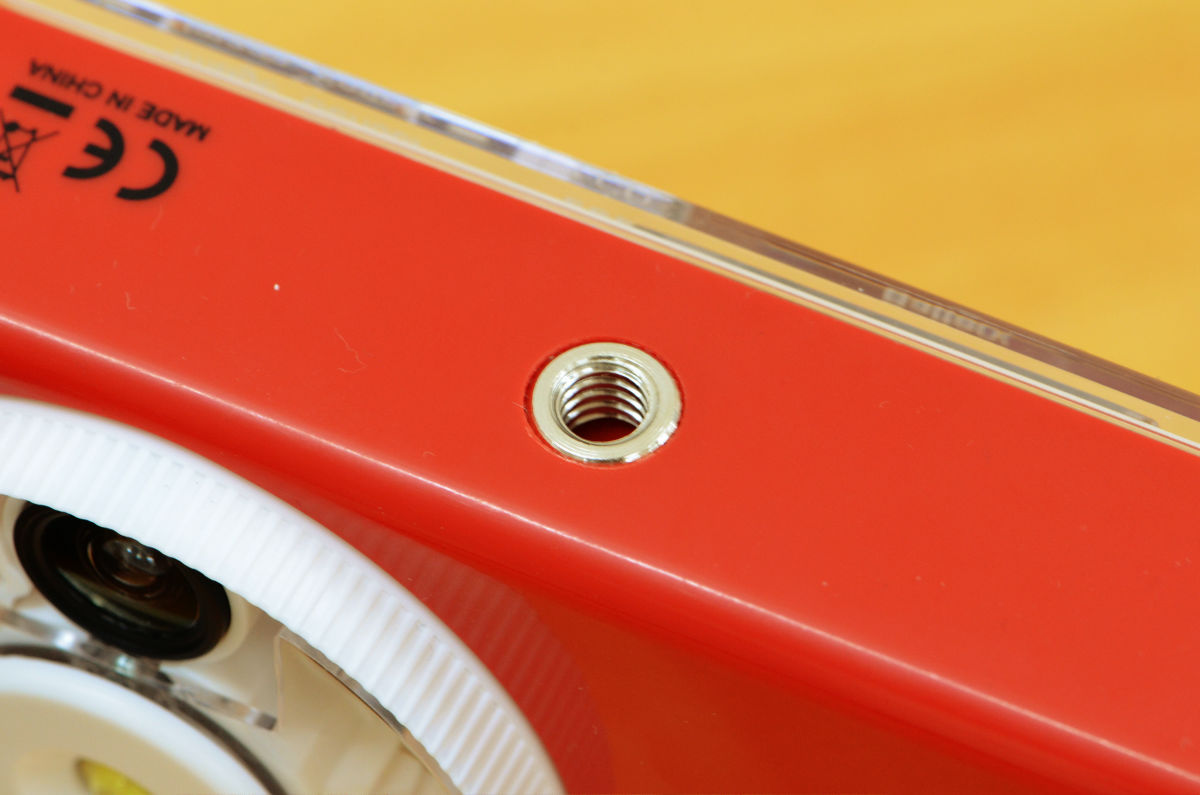
There was a tripod hole on the bottom.
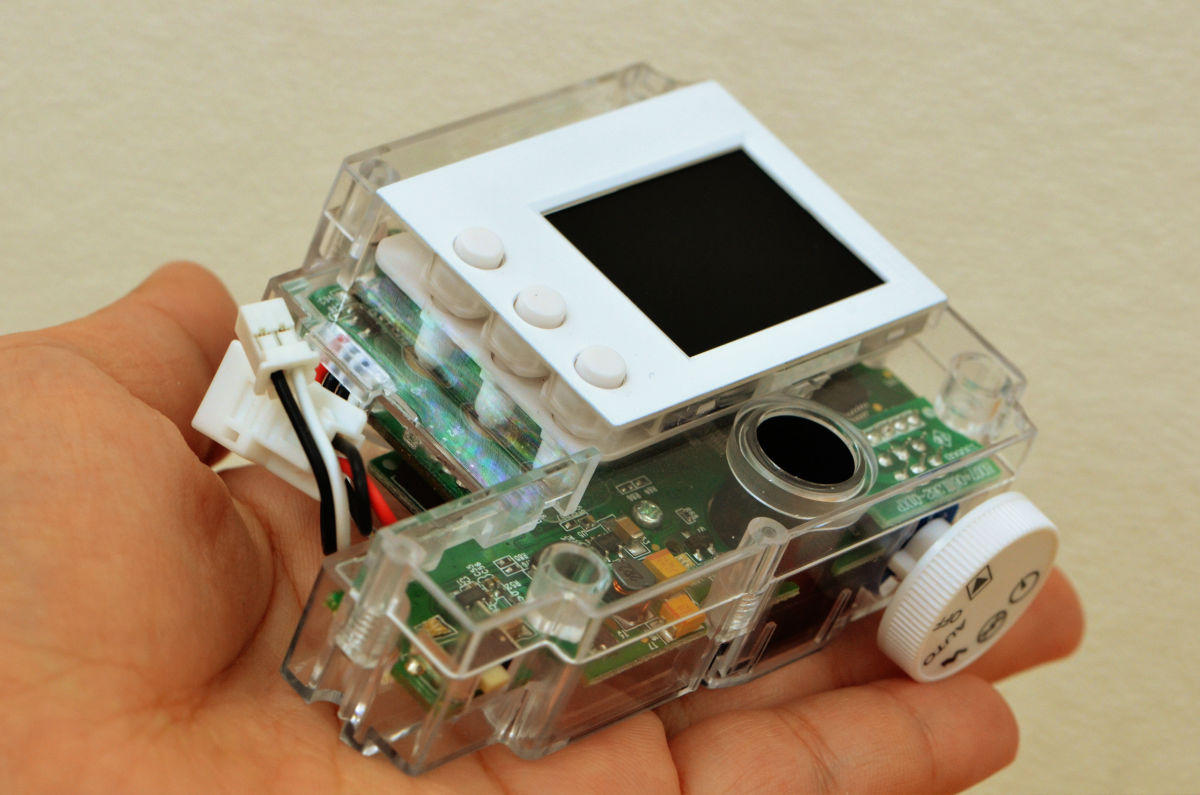
Having it in your hands like this.
Charging is hand-cranked by hand crank ......
Charging is also possible using the included USB cable.
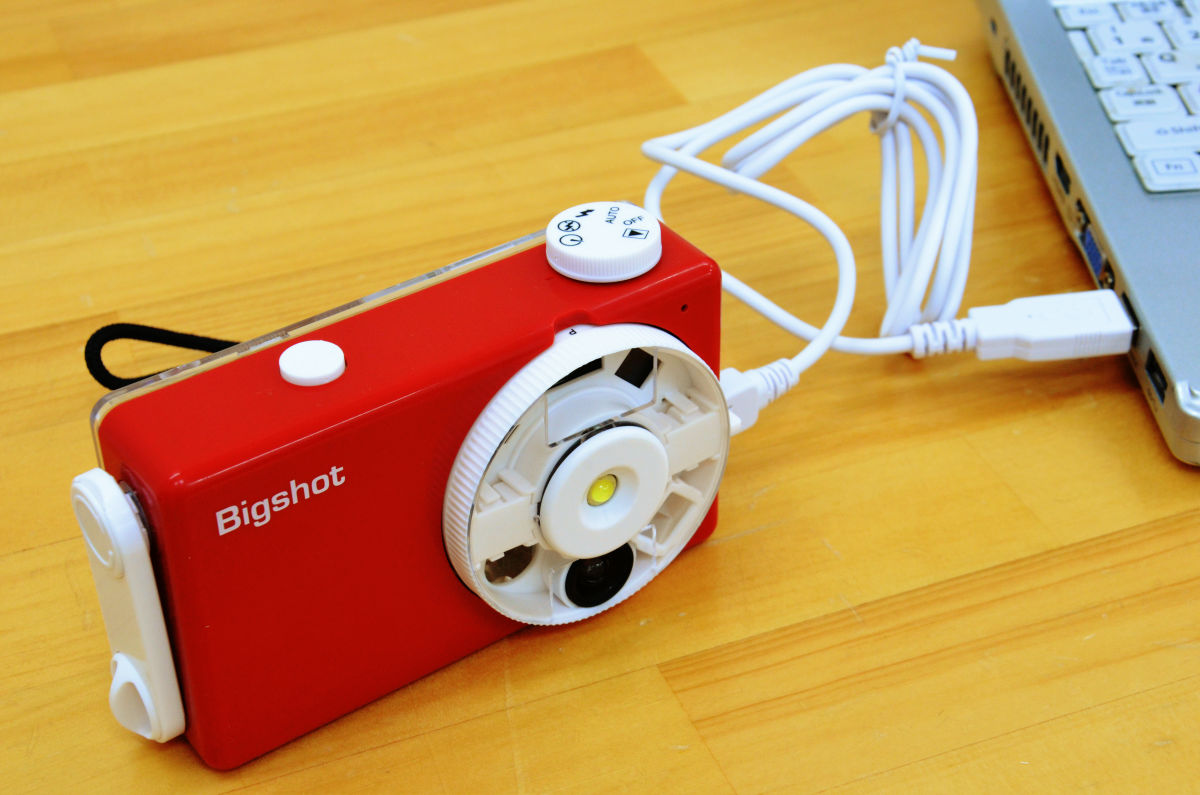
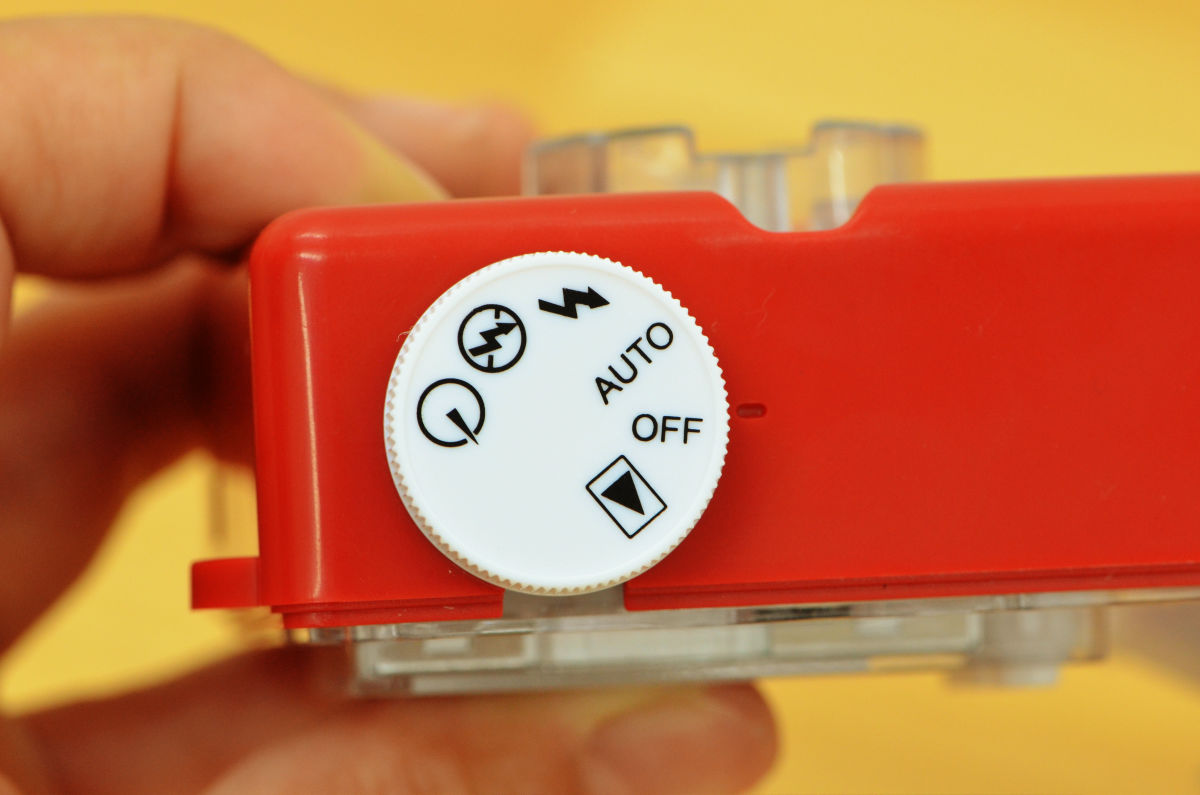
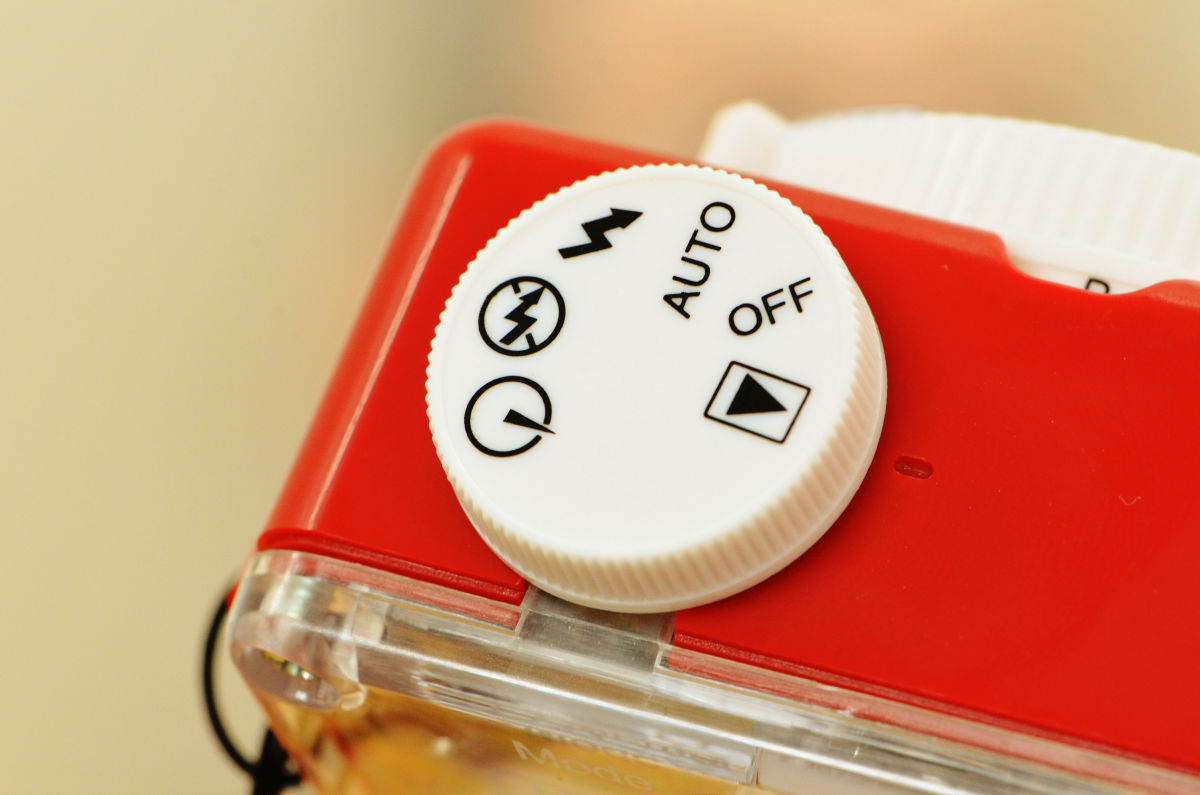
The mode dial has power OFF, flash automatic flash, flash, forced flash, flash OFF, timer mode, and playback mode.

Bigshot camera has three power modes of normal, economy, sleep, and if the light next to "Power" written on the transparent cover is lit in green, it flashes in normal mode, green If it is in economy mode (mode to shift when enough electric power to display on the rear display can not be secured), the light changes to flashing red when the situation becomes impossible to shoot any more. Also, if you do not operate anything for more than 45 seconds, it automatically goes into sleep mode, the light turns off, you need to turn the mode dial again to turn on the power.

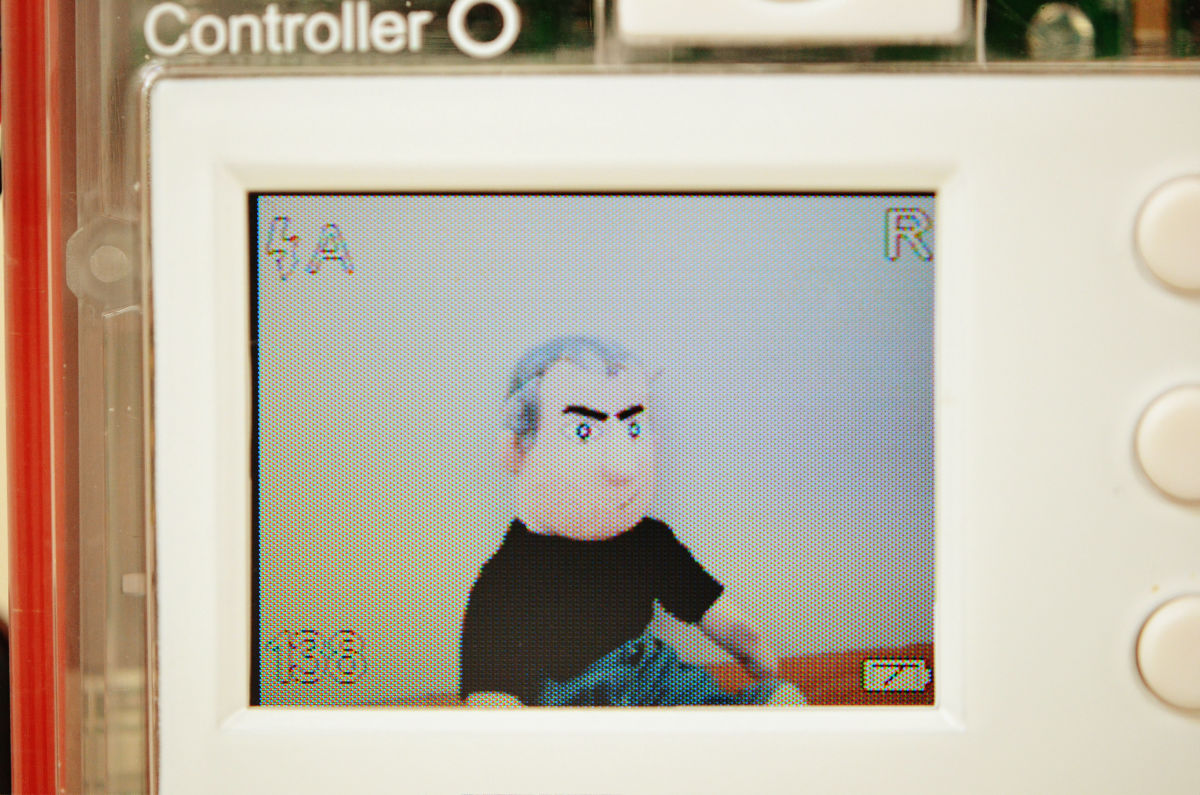
I will actually shoot while turning the lens wheel around. First of all this is the normal mode.
Panoramic mode.

In 3D mode, the subject is displayed with two left and right screens.
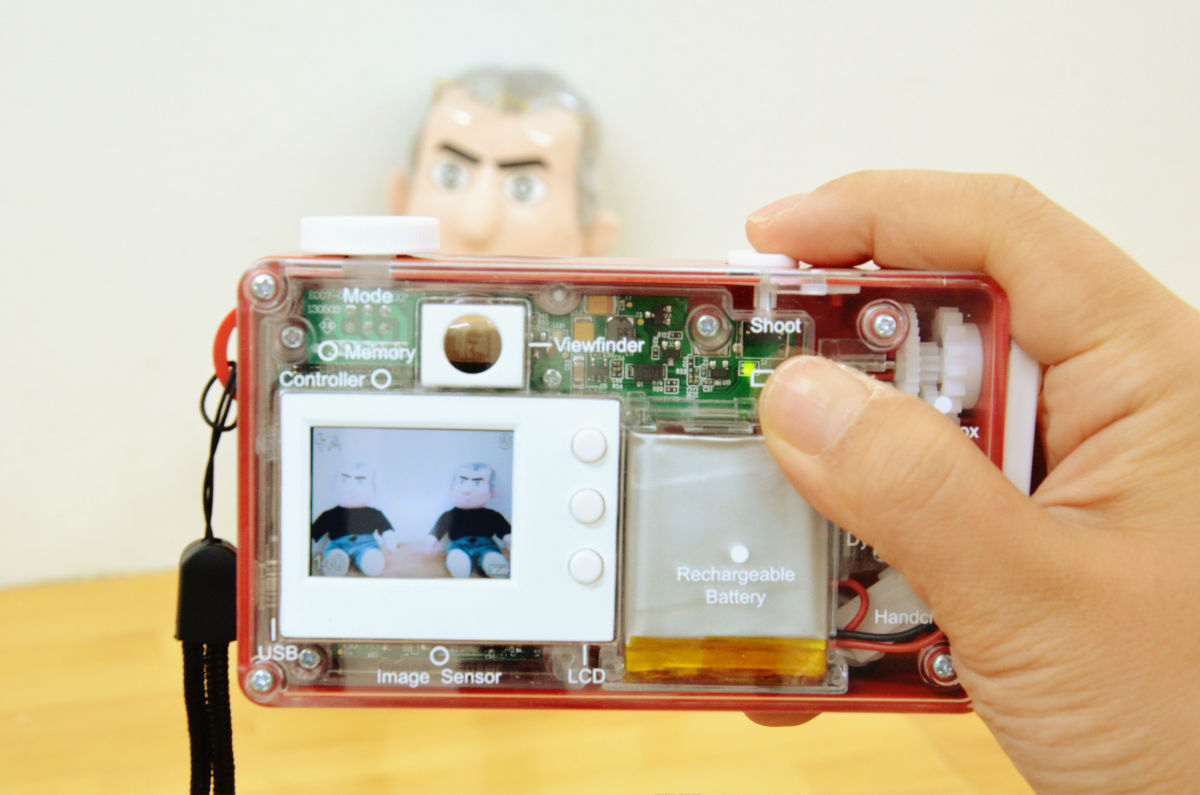
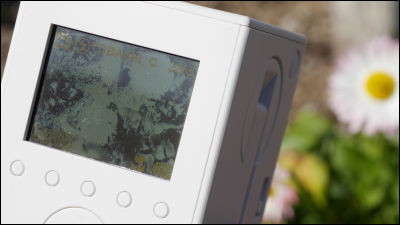
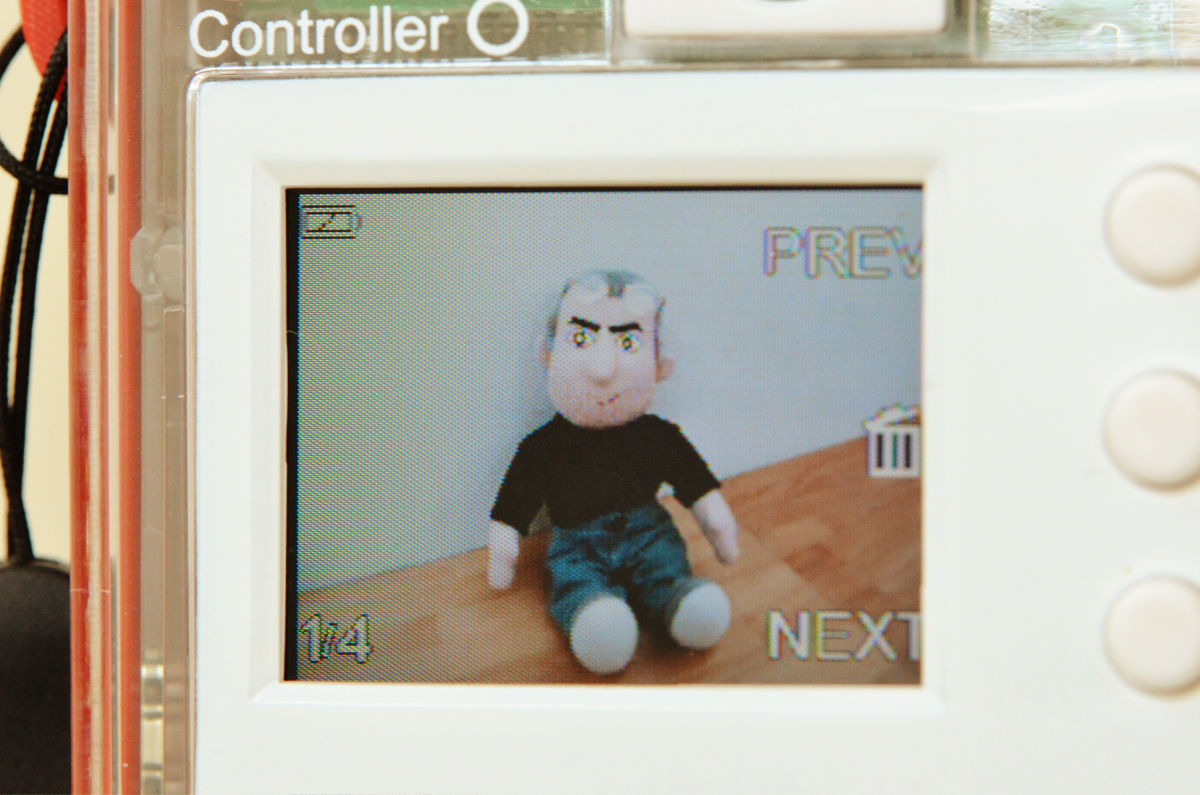
At the top left of the display is the mode dial setting status, the lower left shows the number of photos that can be taken, the upper right shows the current lens setting, and the lower right shows the battery charge.
When the mode dial is adjusted to playback ......
The display has switched. Next time you press the button next to "PREV" in the upper right, you can move to the previous item and press the " NEXT "button to move to the next item.
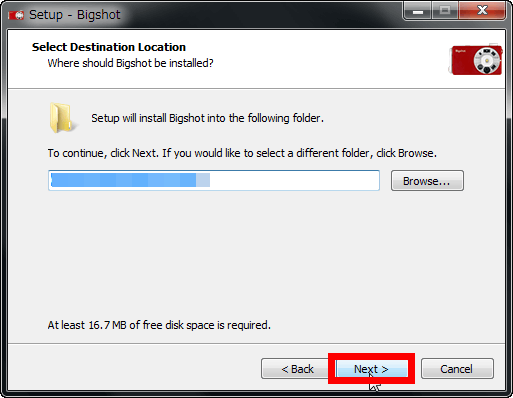
You can also take pictures taken as they are in a PC, but you can install it to properly process it. So this timeDownload software for Windows from websiteTo do.

When you start the downloaded software, the screen like this will appear, so press "Next" to proceed.

As you are asked where to save the file, click "Next".
Click "Install".
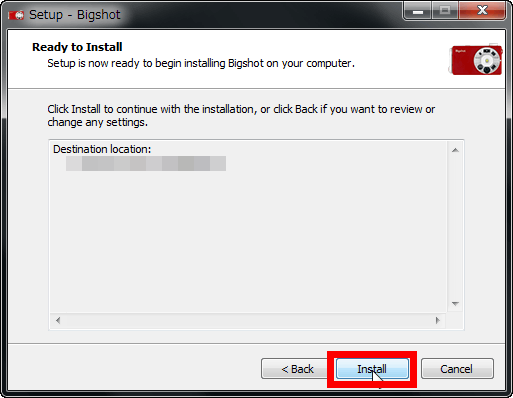
After installation, connect the camera and PC with the included USB cable.
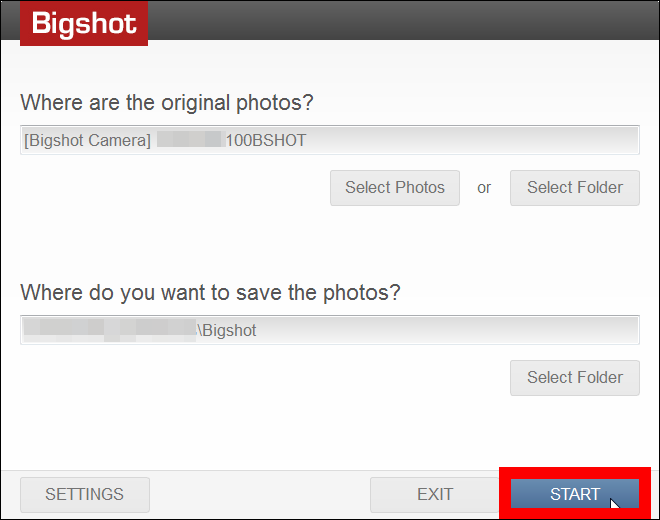
When starting up the software, this screen appears. Select the location where the original photo is located and the place to save the processed photo and press "START". In the default setting, the original file was saved in "Bigshot Camera" folder, and the processed picture was saved in "Picture" on the PC, so if there is no problem let's press "START" as it is.
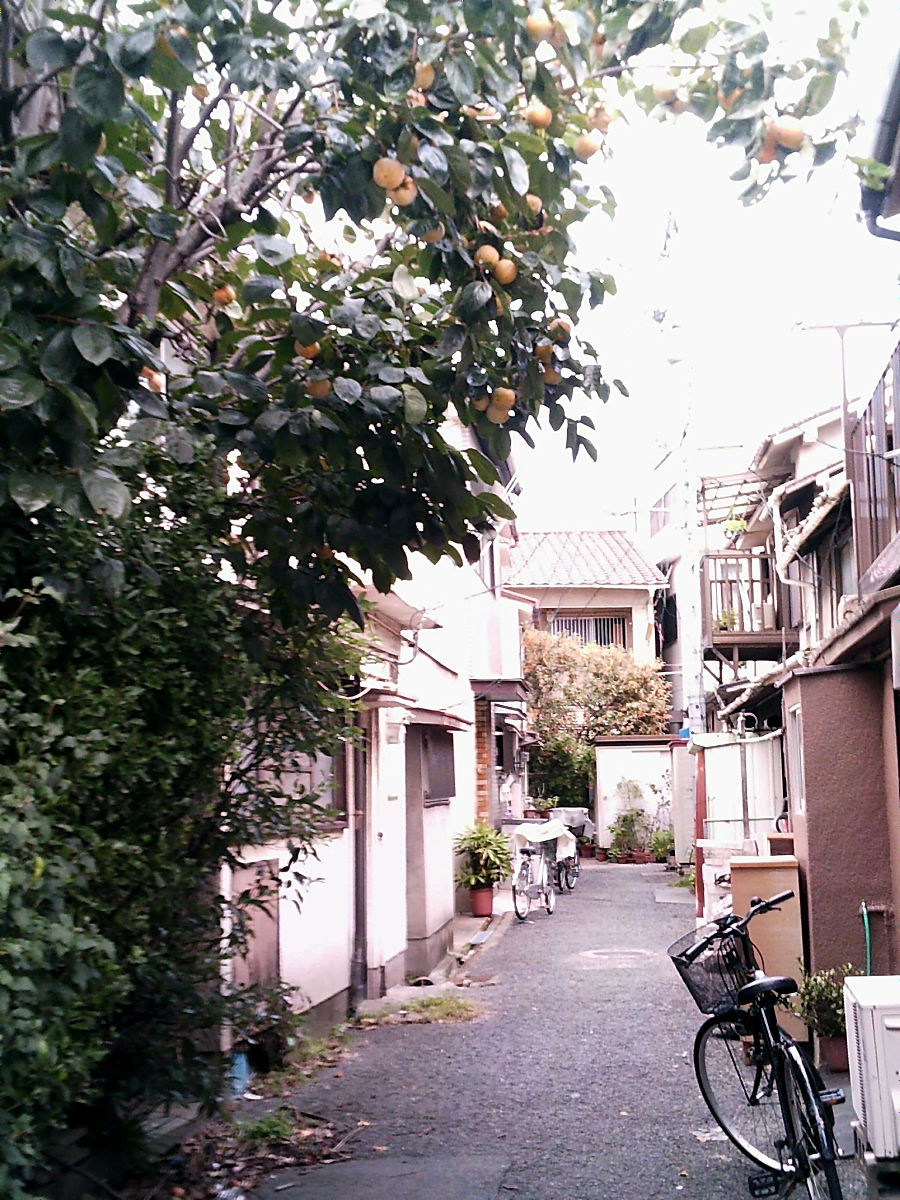
Pictures taken in normal mode after processing look like this.

It is a color that seems a little bit funny, even if it was cloudy.
By processing pictures taken in 3D mode, it corresponds to red and blue 3D glasses for the first time.

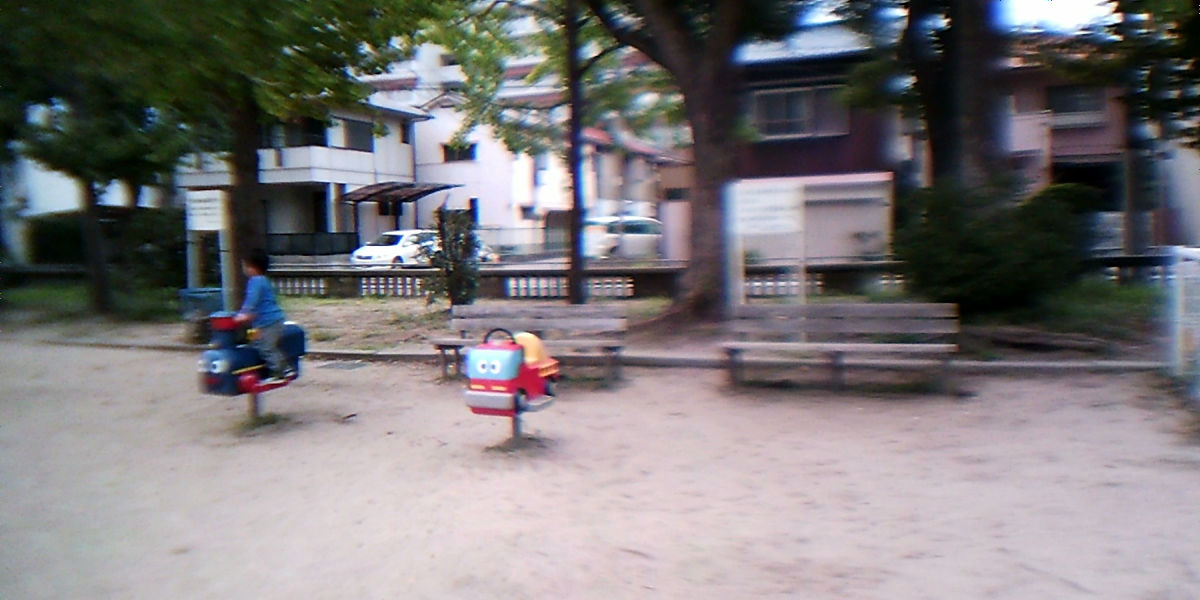
Other pictures taken and processed in 3D mode are as follows.

This is 3D glasses. When I looked at the pictures with glasses, it surely jumped out and looked.
Pictures taken in Panorama mode look like this.

A little space is distorted.
Bigshot camera is 8400 yen including tax, it is currently out of stock, reservation sale is planned for re-arrival scheduled in the middle of November. Since it is a camera that has fun as well as fun to film, it seems to be pleased even for a Christmas gift in the coming season.
Bigshot camera 【mail order】 BIGSHOT CAMERA DIY digital camera assembled by yourself - Iconigarje - A mail order camera shop familiar with toy cameras and toys
http://shop.iconi.jp/?pid=64581930

Related Posts: