Cloud storage "Bitcasa Infinite Drive" that can be used free of charge from personal computers, smartphones, tablets, etc.

Supported OS can be used from Windows, Mac OS, iOS, Android, any computer, smart phone, tablet, etc. When using it for free, you can use 10 GB capacity, more easily back up your PC, smartphone etc. It is also possible to "Bitcasa Infinite Drive"is. In the paid version it is "no capacity limit" how.
Bitcasa Infinite Drive | Cloud external hard drive | capacity unlimited storage
http://www.bitcasa.com/

◆ Account registration and installation
First of all, click "sign up now" on the top page of Bitcasa.

Since it is necessary to create an account at the beginning, please input account information and click "register".

Next enter 'Account Security' information.

Since I move to the plan selection screen ......

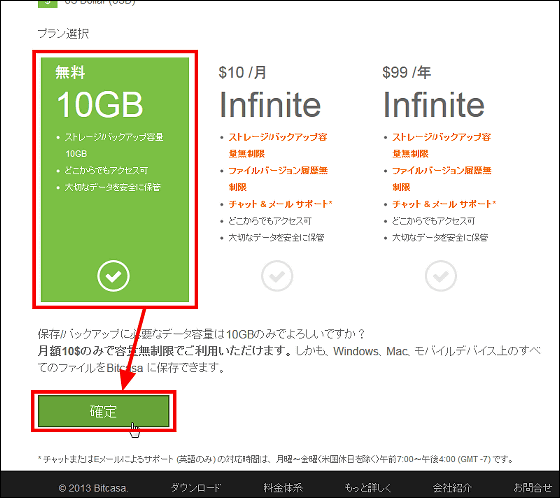
For this time, please select the plan which can use 10 GB capacity for free and click "confirm".
Click "Download application" when you register your account.
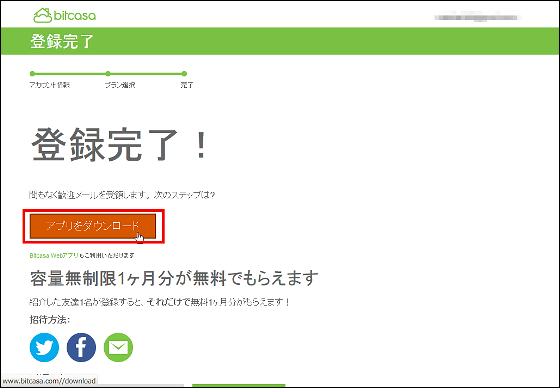
Select "Japanese" from "Download".

Click "Save file".

Launch the saved "Bitcasa Setup 1.1.2.11 ja.exe".

The setup wizard starts, and click "Next".

Click "Next".

Click "Next".

Uncheck "Start Bitcasa automatically when Windows starts up" and click "Next".

Then click "Install".

If another application is open while preparing for installation, this window opens, so click "Next".

Click "Finish" when installation is completed.

Bitcasa will start, so select "Have an account" and click "Next".

Enter account information and click "Login".

Enter the name of the computer displayed in Bitcasa and click "Next".

A tutorial starts from here. "You can save anything to Bitcasa, including a collection of all photos, videos, and music."

Bitcasa installed seems to be displayed in three places in the desktop · Explorer window · system tray.

Also, Bitcasa can be used like a normal folder, and you can easily send files to Bitcasa from the right click.

Applications specifically for iOS and Android and Windows 8 applications also exist, and it is easy to use one Bitcasa with multiple terminals.

This time click "I do not do it now", but you can select a file and save a copy of that file in Bitcasa (mirror).

By the way, if you want to backup your computer, you can choose the file you want to backup.

It is also possible to mirror a specific folder later.

Click "Finish" to use Bitcasa.

◆ Try using the Windows version
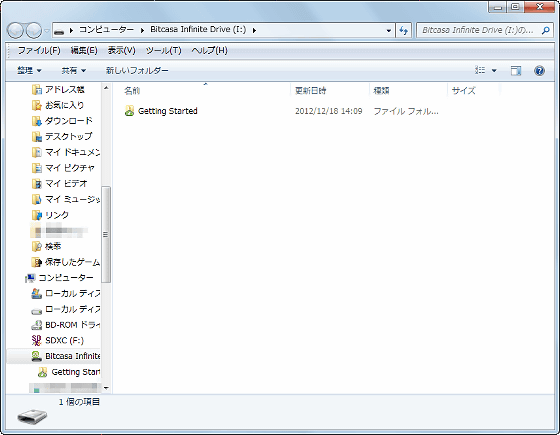
Double-click "Bitcasa Infinite Drive" installed.

Then inside Bitcasa is like this, except for the tutorial file is empty.
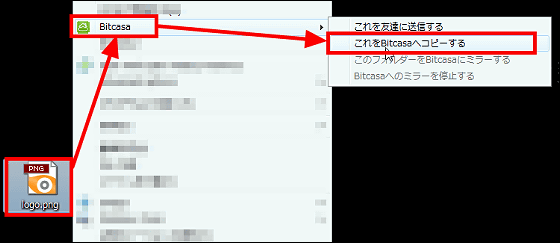
For basic usage, right click on the file you want to send in Bitcasa, select "Bitcasa" and click "Copy this to Bitcasa" OK.
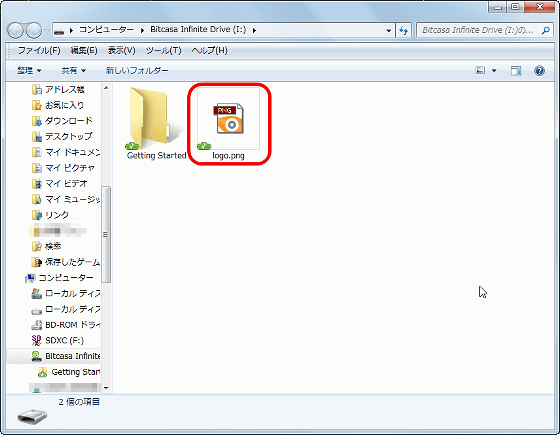
Then this notification comes out from Bitcasa on the task bar ......

The file is copied into Bitcasa.
In addition, in the case that "I want to store all the data in this folder in Bitcasa ..."

Right-click the folder you want to save, select "Bitcasa", and then click "Mirror this folder to Bitcasa".

A green icon will be displayed at the lower left of the folder icon.

In an empty "Photo" folder mirrored to trial ... ...
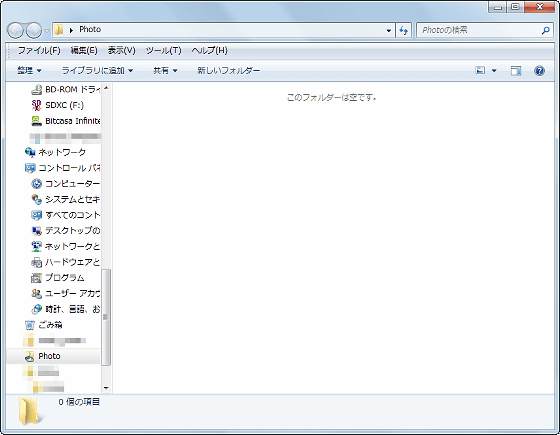
Try saving the file.
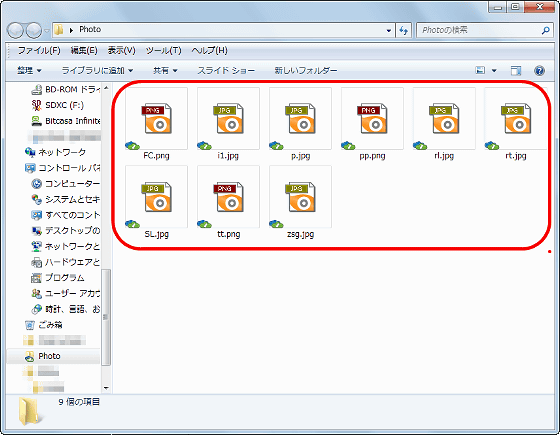
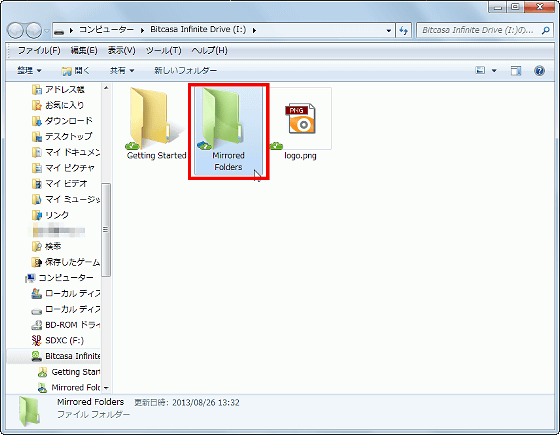
And inside Bitcasa ......

Open the "Mirrored Folders" folder ......
Open the "GIGAZINE" folder.
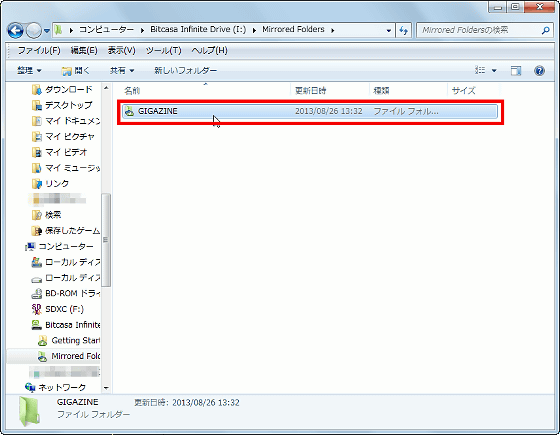
Since there is a folder with the same name as "Folder" mirrored in it, it opens ......
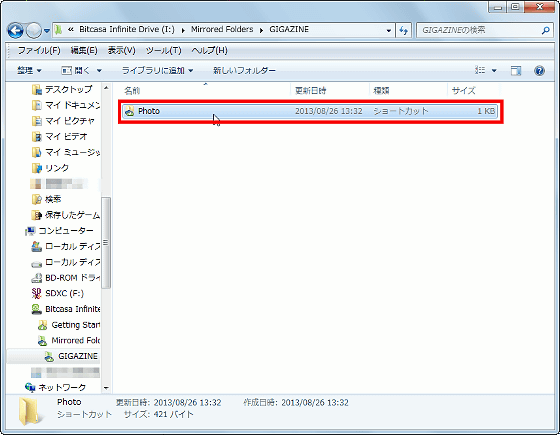
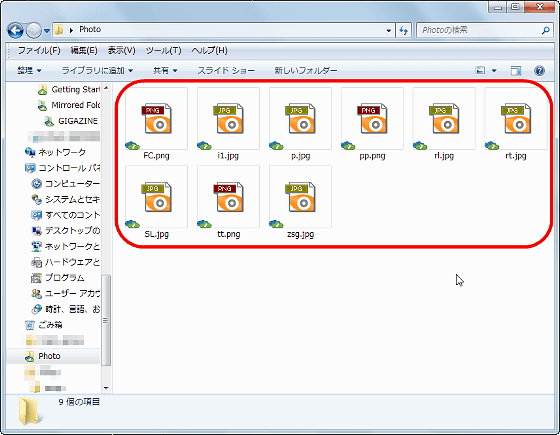
The contents of the "Photo" folder was copied as it is.
◆ Using Bitcasa with the iOS application
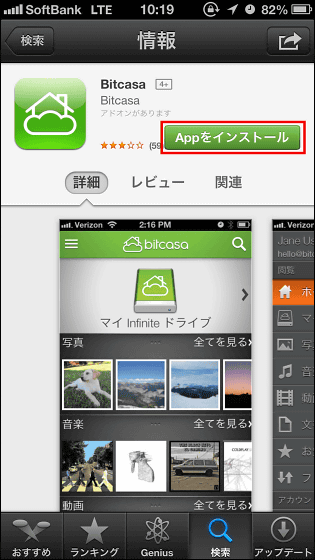
Bitcasa is also useful when you want to access cloud storage and also save and view files from mobile devices. First of allApp StoreInstall iOS app from.
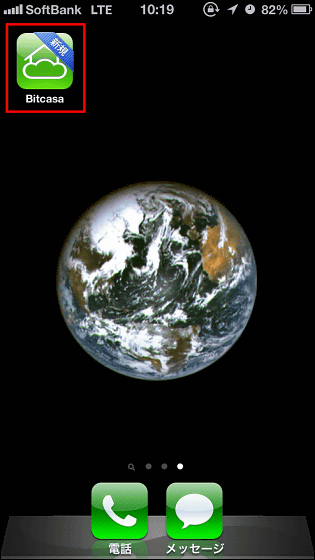
Tap Bitcasa you installed and start it.
Tap "Login".
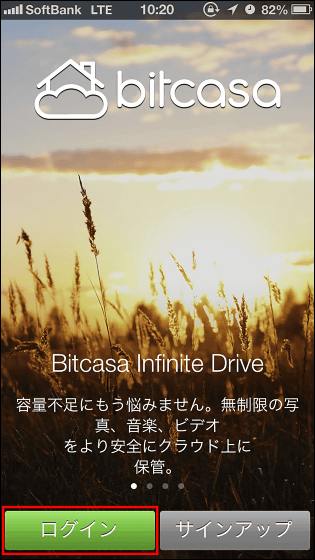
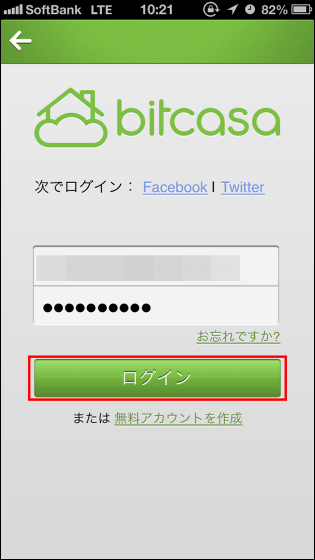
Enter account information and tap "Login".
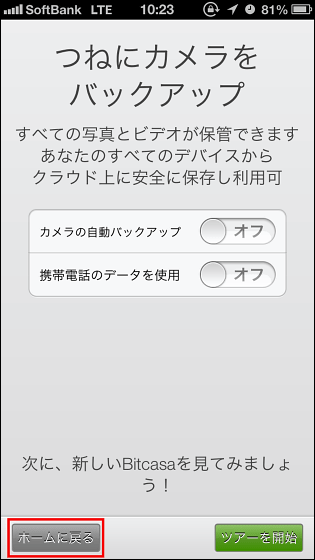
"Auto Backup Camera" and "Use Cell Phone Data" can be done, but for the moment tap "Return to Home".
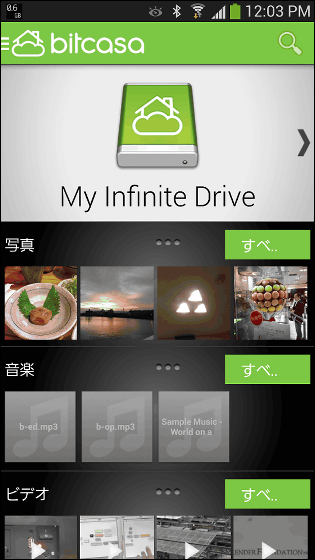
This is the top screen, you can check the data in the folder from "My Infinite Drive" at the top of the screen.
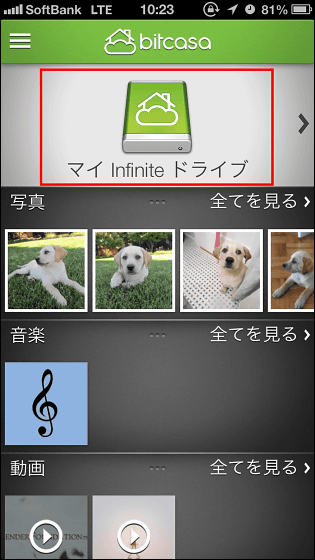
I was able to check the "Photo" folder I created earlier.
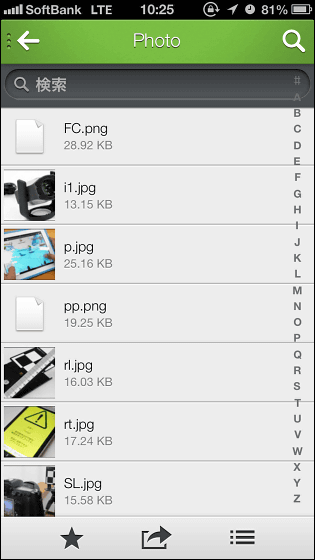
JPEGThe file can be displayed like this. Images in the mirror folder can not be deleted from the iOS application.

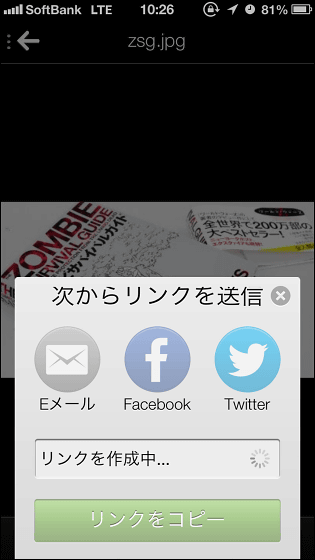
Tap the icon at the bottom left of the screen.
Then you can share the link of the file.
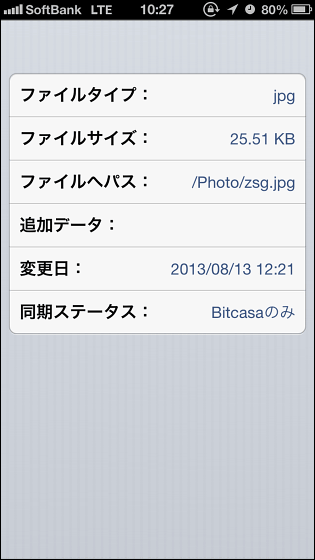
Tap "i" icon ......
File information can be displayed.
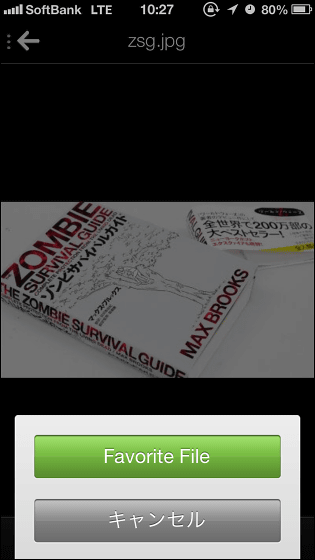
Tap the star icon.
Files can be set as favorites. Files that you set as favorites can also be used offline.
Then tap the arrow icon.
You can save the image from here or open it in another application.
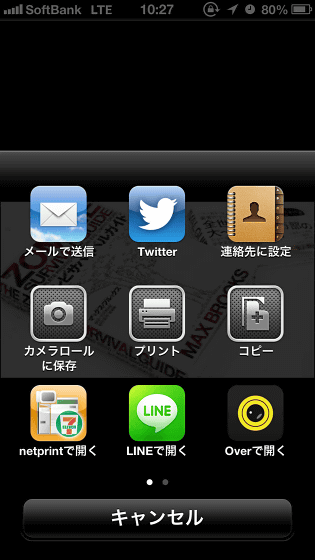
In the iOS applicationPNGThe file could not be opened.
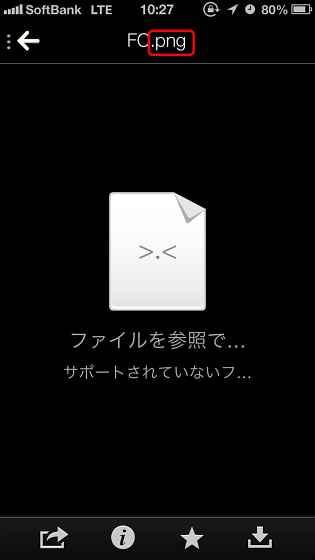
Also, if you want to save all the images taken with the camera in Bitcasa, or if you want to cancel the setting, from the top left icon ......
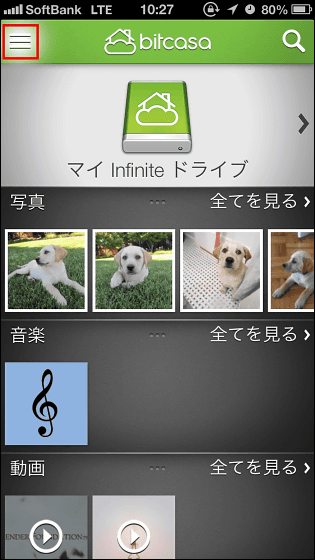
Open the menu.
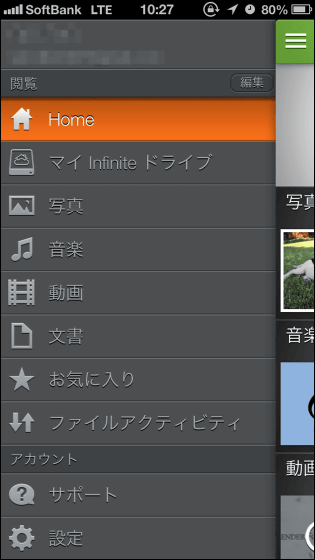
Tap "Settings" in this.
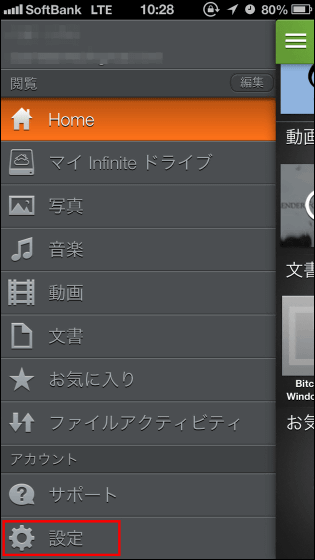
Tap "Back up camera and mobile phone data".
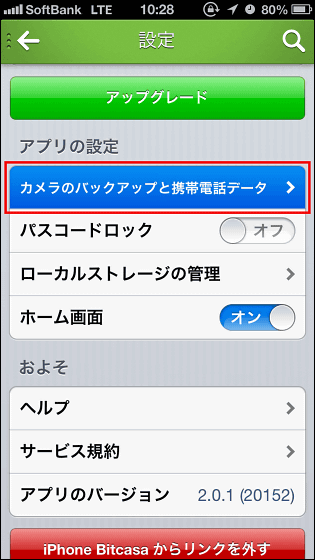
You can set "Auto Backup of Camera" from here. Tap this to "on" ...
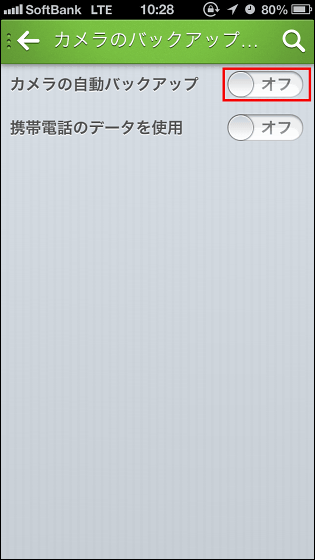
As the confirmation screen is displayed, tap "Yes".
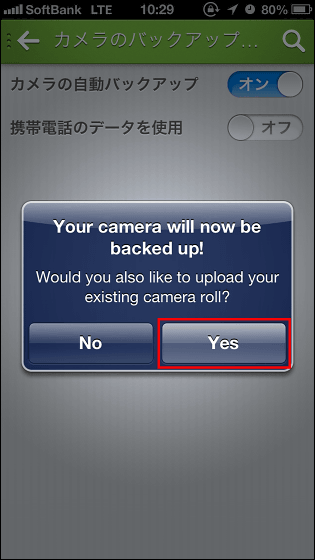
Tap "OK".
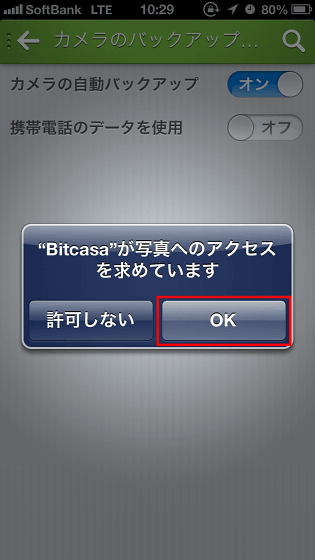
The number will be displayed on the menu icon in the upper left corner. This is the number of images waiting to be backed up.
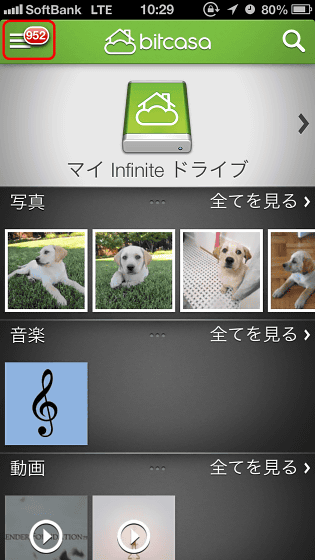
In order to backup the camera image to Bitcasa, it is necessary to connect the iOS terminal to Wi-Fi, it takes a while, but it will automatically take you off so it can be released.
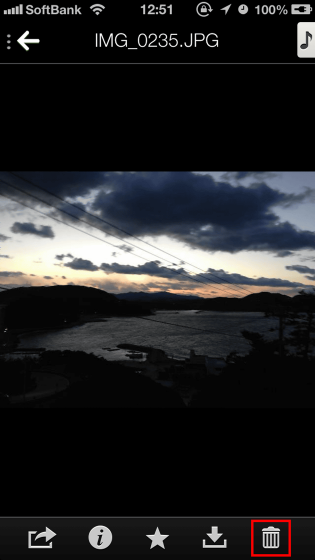
Also, files sent to Bitcasa from the iOS terminal can be deleted from the application.
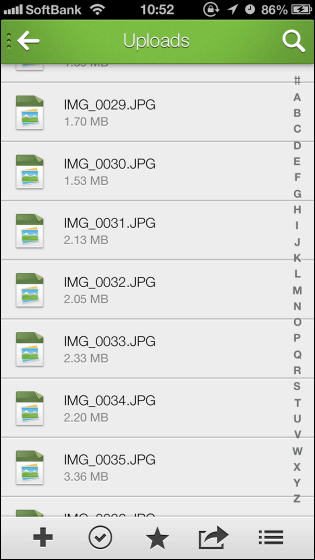
Furthermore, from the "file activity" of the menu screen ......
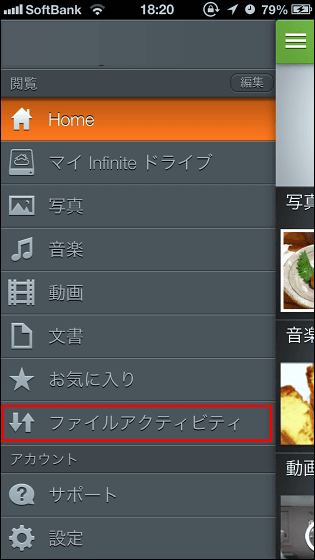
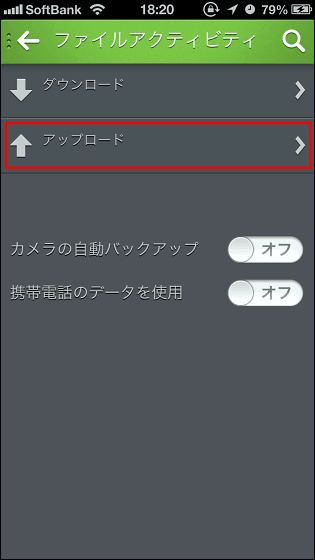
Tap "Upload".
Tap "Add photo / video" on this screen ... ...
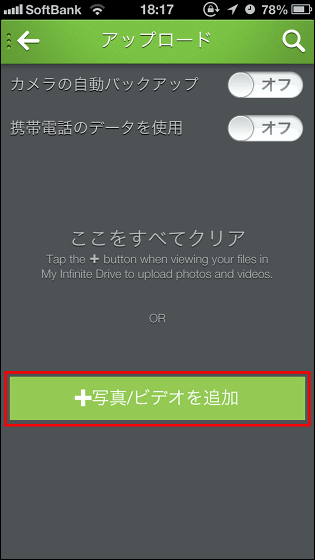
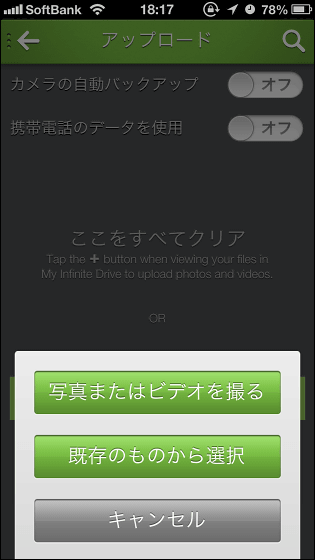
It is also possible to add photos and videos in the iOS device individually from here.
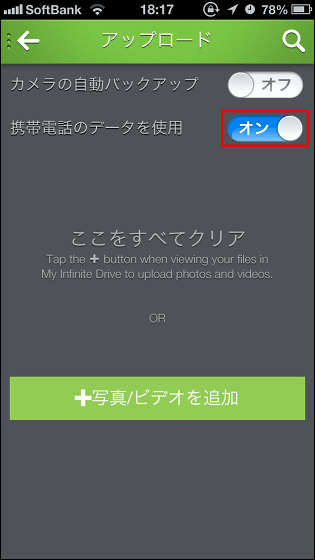
Please note that you can upload files from your mobile phone line by turning on "Use mobile phone data".
◆ Try using Bitcasa on Android
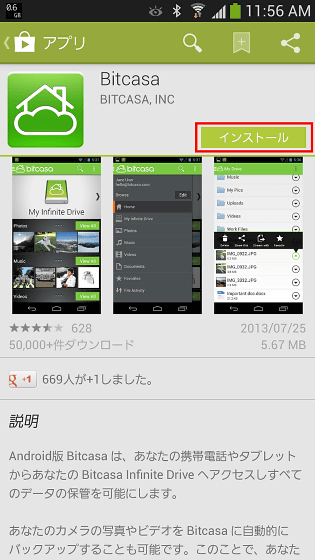
Bitcasa's Android applicationGoogle PlayYou can install from.
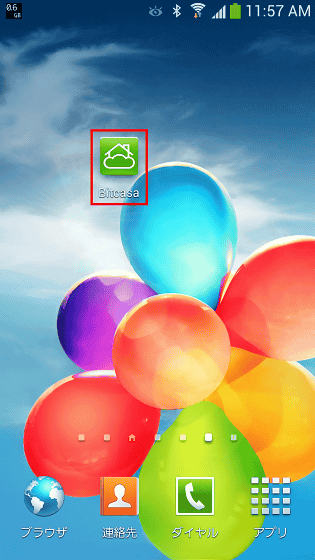
Tap Bitcasa you installed and start it.
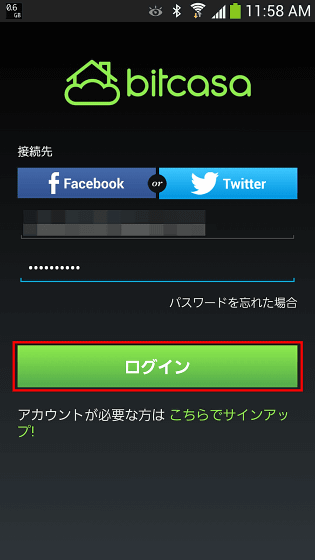
Enter login information and tap "Login".
Tap "Go to Home".
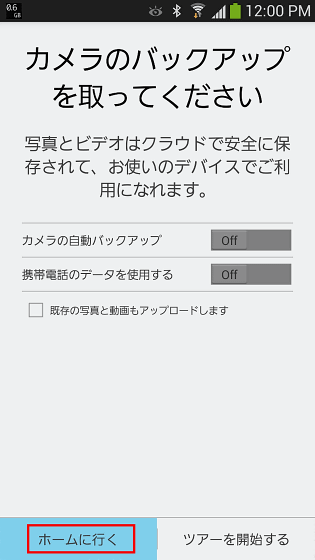
Opening Bitcasa on an Android device looks something like this, the operating system is the same as the iOS application.
Try using Bitcasa with Google Chrome extension
It is possible to send the file to Bitcasa easily from the right click if you use Bitcasa's special extension so soonChrome Web StoreAdd "Bitcasa Everywhere" which is an extension of Bitcasa from.
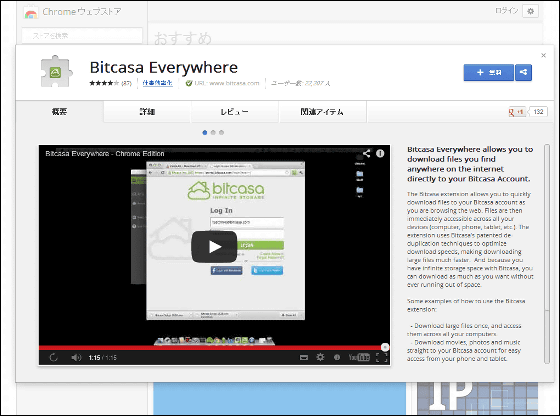
Click "Free".

Click "Add" and Bitcasa Everywhere will be added.

Since it can not be used as it is, click on the added Bitcasa Everywhere icon and click "My Bitcasa".

You will be taken to the login page of Bitcasa, so please enter your login information and click "Login", you are ready.

For example "The way to a "burning man" that creates an imaginary city with a diameter of 2.4 km in the middle of a desert is like this"If you want to send the image used in the article to Bitcasa ......
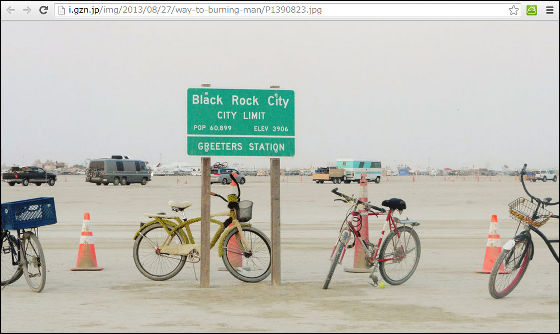
Right click and click "Download to Bitcasa".

Then such notification is displayed ......

The image file is saved in Bitcasa.

There is also a price plan of 99 dollars a year (about 9800 yen), here the capacity is unlimited and usable, the version history of the file is unlimited, support of chat and mail is also ant. furtherWindows 8 applicationAnd Mac OS applications are also provided, so it seems that you can use it without worrying about being cloud storage from any terminal.
Related Posts:
in Software, Smartphone, Review, Posted by logu_ii
