I actually recorded a call using free software "VodBurner" to record & edit Skype video call
There are many people who use Skype's video calls for not only personal contacts but also easy meetings with remote parties. Free software at such time"VodBurner"You can record the contents of the call.
"VodBurner" is a free software specialized for recording Skype video calls. It is attractive that one of the callers installs this software and it is possible to record the contents of both at the same time. Easy editing function is also attached, you can upload and share edited data to YouTube as it is. This time using this software, I purchased the other day "Logicool HD Pro Webcam C 910"I shot a picture of Skype's video call.
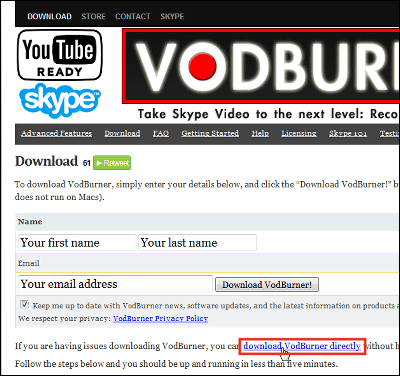
How to install "VodBurner" and how to use it actually is as follows.Download? Record Skype Video Calls and Edit for Free with Vodburner
Click "download VodBurner directly" on the above page
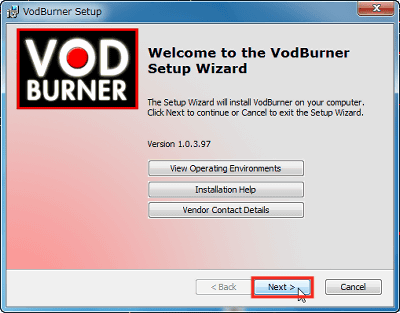
Launch the downloaded installer

Click "Next"
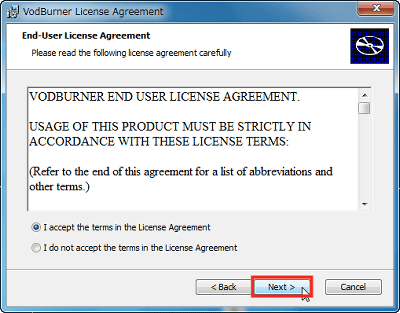
Check "I accept the terms in the License Agreement" and click "Next"
Click "Install"

Click "Finish"

Rebooting is necessary after installation is completed. Click "OK".

Here is the main screen. Recording starts automatically when you make a Skype video call while VodBurner is running.

When Skype call is connected, the other side is asked whether you want to send a message saying "Record this call". Click "Send Message".

This screen is displayed when the call ends. By clicking "View and Edit recording", you can view and edit recorded contents.

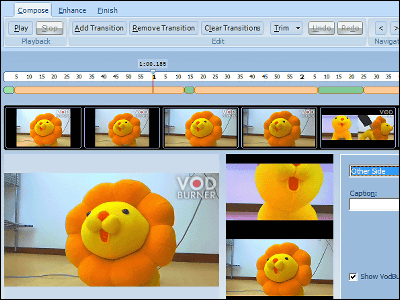
Here is the editing screen. On the lower left preview screen, the edited screen (left), your screen (upper right), and the other's screen (lower right) are displayed.

The seek bar is color-coded into three colors, and the screen of green (myself), red (opponent), and dark green (side by side) is displayed in each part. You can extend the green part by dragging the color transition at the seek bar, or stretch the red part.

You can also change the display screen from the pull down at the bottom right. Currently in red, "Other Side" is selected.

When clicking "This Side", the color of the seek bar turns green, and the preview screen on the lower left has also been changed to the screen on the side of yourself.

"Both Side" displays both screens side by side.

Click "Add Transition" to increase screen switching points.

On the other hand, "Remove Transition" removes the switching point.

"Clear Treansitions" will delete all switching points.

Cut editing is possible from "Trim". Click "Trim From Start To Cursor" to cut to the cursor position on the seek bar.

"Trim From Cursor To End" cuts the tip from the cursor position.

In "Skip Current Segment", cut the area where the seek bar is currently placed.

After editing the video using these functions, let's upload it to YouTube. Click "Private Upload" on the "Finish" tab.

Enter user name and password and click "Next"

Enter title and comment and click "Next"

Enter the tag and click "Next"

A video uploaded to YouTube's "My Videos" has been registered. If you select "Private Upload", it will be uploaded while being set to private from the beginning. If you want to publish as it is, select "Public Upload".

The video uploaded below. The other side (mane worn) photographed with "Logicool HD Pro Webcam C 910". I (mane no) is taken with "Logicool HD Pro Webcam C510".
YouTube - I tried to record the contents of a Skype video call with VodBurner
In addition, past record contents can be seen by clicking "Browse" from "Previous Call" on the main screen.

Related Posts:

