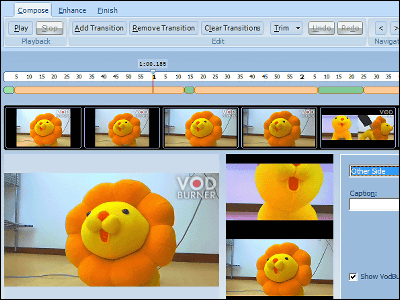
I tried shooting various videos using the high-spec webcam "Logicool HD Pro Webcam C910" full of amusing functions

In the last articleHigh-spec web camera for full HD 1080p "Logicool HD Pro Webcam C910"We talked about the appearance of this movie, but this time I used this to actually shoot a movie.
Although it is a convenient logitech webcam that you can easily post videos to YouTube and others, register photos to Facebook, and easy to use videophone with Skype and special software, shooting functions are also substantial and various effects And fun functions can be used easily. In this time I tried to create various videos using these functions.
Actually, for example, movies taken with "Logicool HD Pro Webcam C 910", details are below.HD Pro Webcam C 910
http://www.logicool.co.jp/ja-jp/webcam-communications/webcams/devices/6816
Automatically from the included installation disk or click "Setup.exe" in the CD.
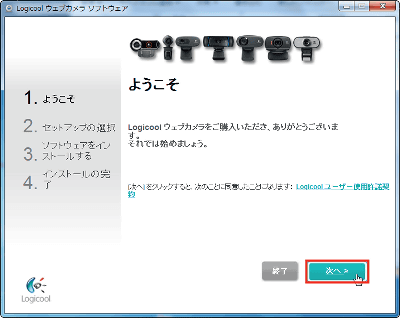
Click "Next".
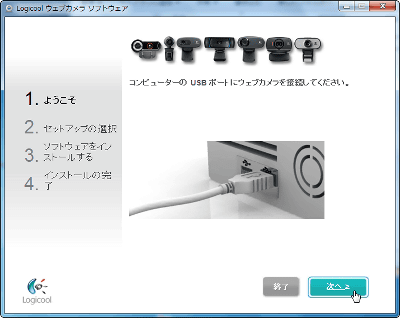
Connect "HD Pro Webcam C910" to the USB port.
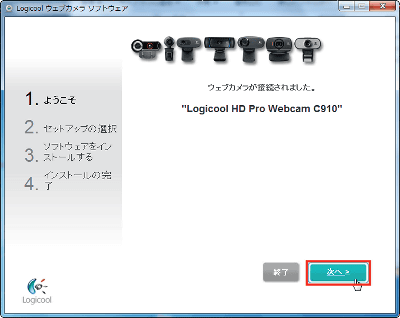
Since the web camera is detected, click "Next".
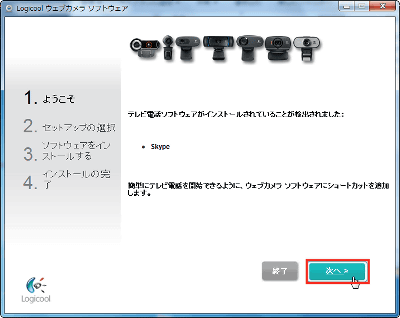
If there is installed TV phone software, it automatically detects and adds a shortcut to the main screen. Click "Next".
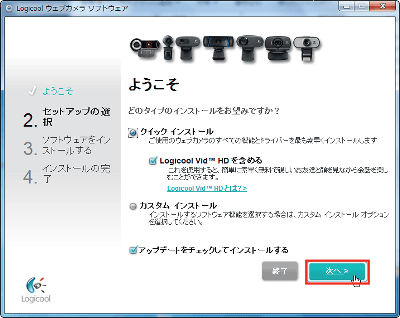
Click "Next".
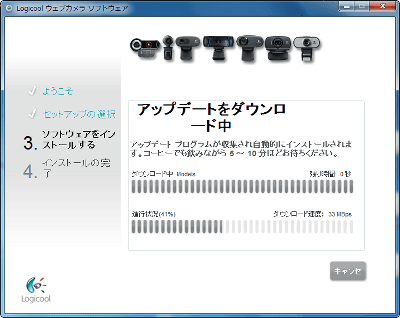
If you have an update you can download and install it.
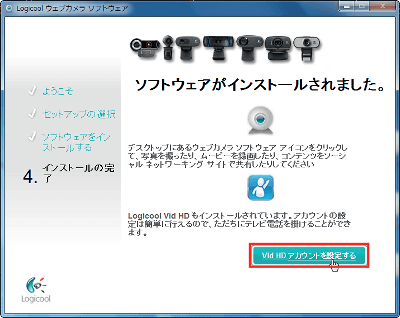
To use Logitech original videophone software, click "Set Vid HD account".
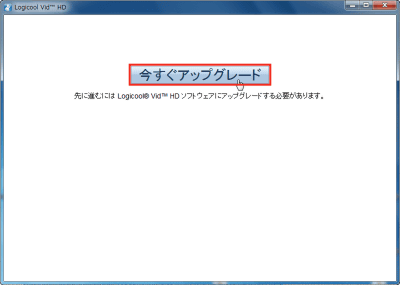
Click "Upgrade Now".
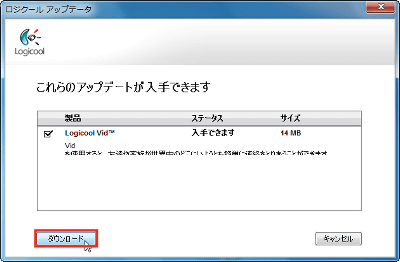
Click "Download".
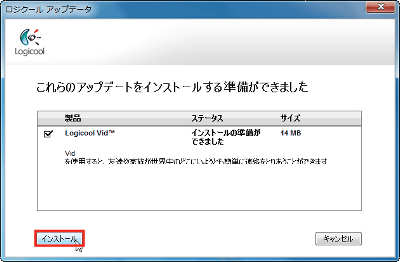
Click "Install".
Click "Create Logitech Vid HD account".
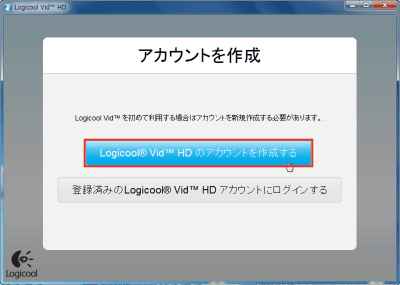
Enter your name, e-mail address, password and check "I read and agree to the Terms of Service and Privacy Policy" and click "Create Account".
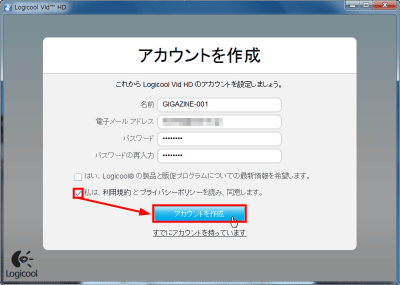
I will take a picture to make an account icon. Click "Photo Shoot". You can do it later.
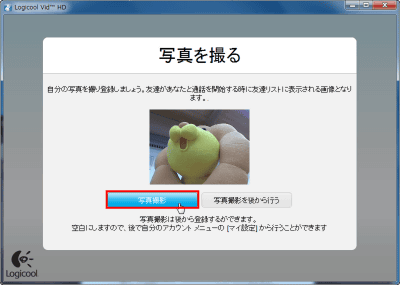
If you have a friend who has an account of Logicool Vid HD you can start a videophone immediately from "Add friends".
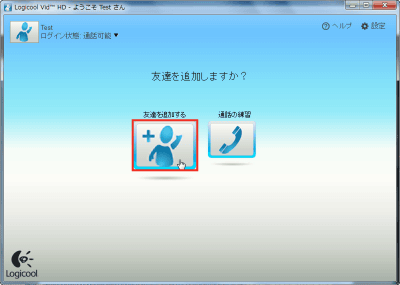
Enter the email address of the person you want to talk to and click "Add".
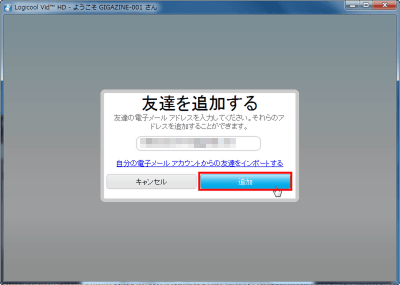
When the entered e-mail address is registered as an account, such a confirmation screen will be displayed.
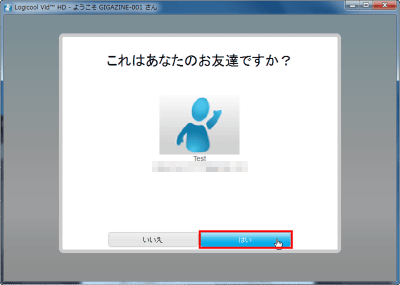
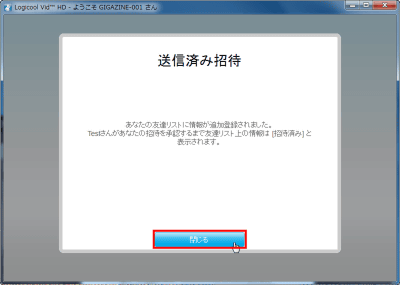
An invitation message will be sent and you will be able to talk if the other party approves.
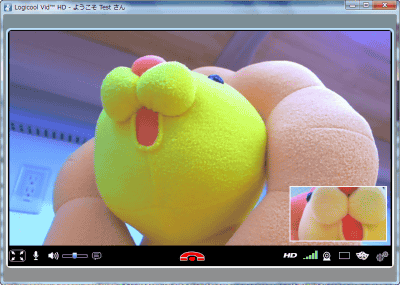
I actually tried calling. It is yourself that the image of the opponent is displayed large and it is displayed small on the lower right.
To shoot movies and photos, double-click "Logicool Webcam Software" that you installed earlier.

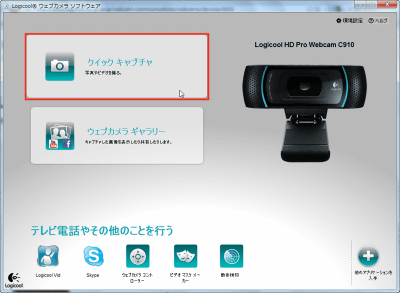
This is the main screen. Both movies and still images can be taken from this "Quick Capture".
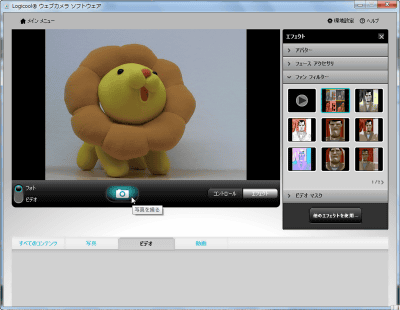
Since such a shooting screen is displayed, you can take a picture by clicking on the camera icon in the center of the screen with the camera facing the subject.
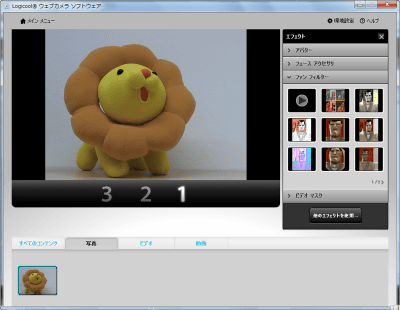
After "3, 2, 1" is displayed, the picture is taken and the screen changes.
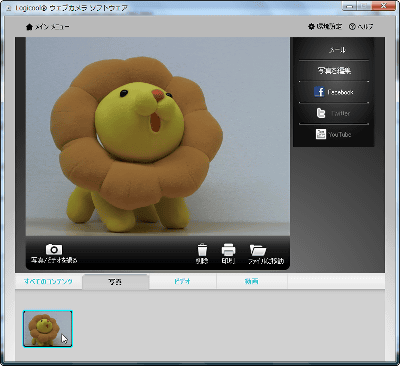
This is the screen after shooting. The picture taken at the bottom left is displayed.
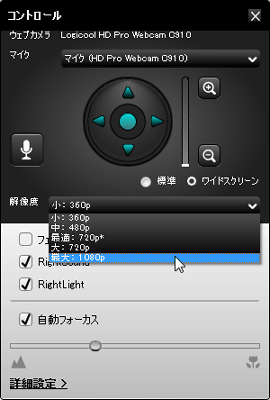
To adjust camera settings such as resolution, click "Control" on the bottom right.
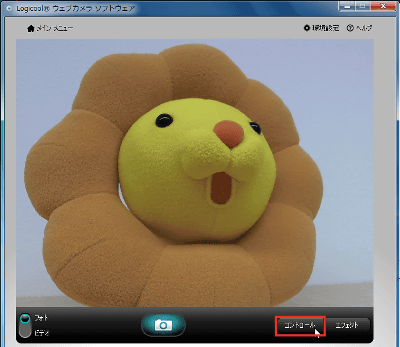
If you check the auto focus, the camera automatically focuses even if the subject moves.
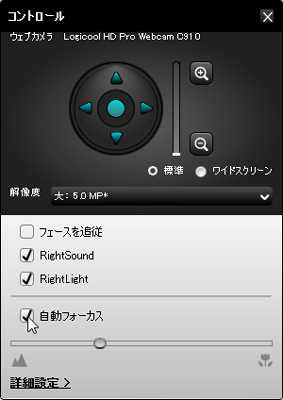
Change the resolution from here. This time we selected the largest 10.0 megapixel (10 million pixels).
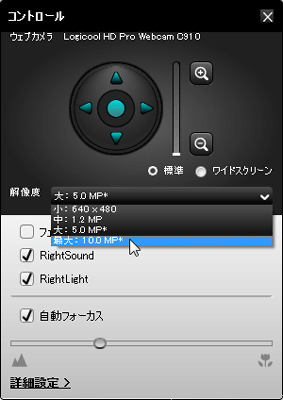
To adjust the color tone and brightness, click the detailed setting.
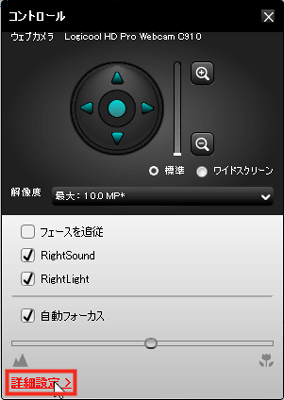
Adjust each item while comparing it with the preview screen and click "Save".
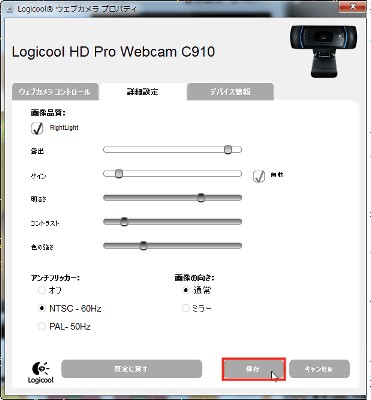
It became bright and the yellow and orange of Pon de lion became clearly visible.
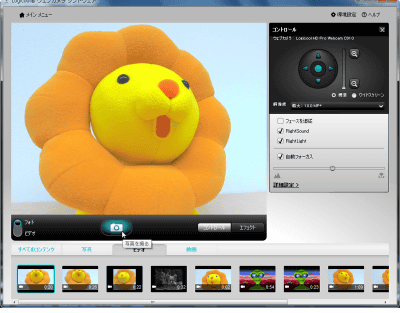
To shoot a movie, click "Video" of the "Photo" and "Video" switching button on the left side of the shooting screen.
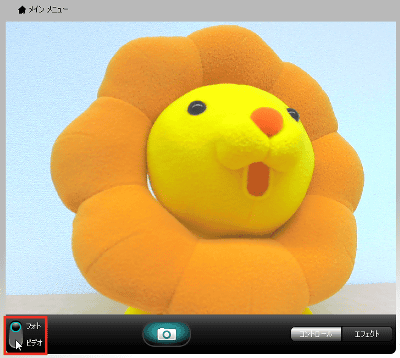
This is the screen after switching. As in still image shooting, shooting starts when you click the center video icon.
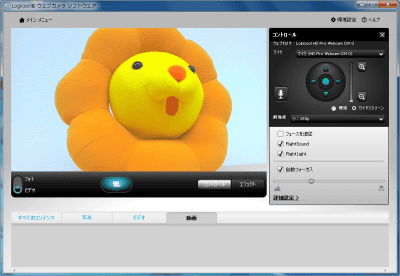
Resolution settings are different for movies and still images, so reset the resolution again. This time we selected the largest 1080p.
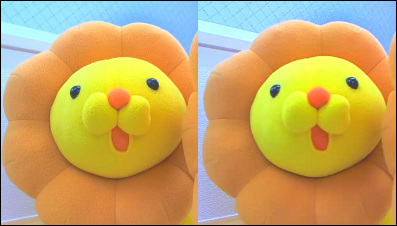
This is Pon de lion shot at 1080p. The texture of the felt is also transmitted.
YouTube - Taking a 1080p full HD video with "Logicool HD Pro Webcam C910"
On the right is the capture of the picture taken at 1080p, the left is the same camera set to 360p and shot. If you compare the enlarged images by clicking thumbnails, you can see that there is a distinct difference in the texture of the hair of Pon de Lion.
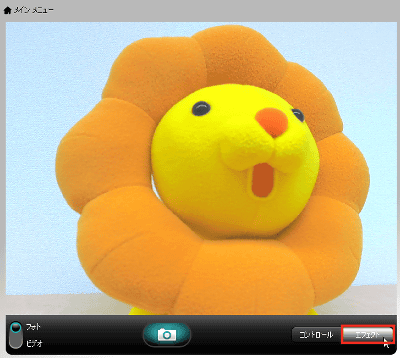
In this shooting software, you can easily use various effects simply by clicking "effect" at the bottom right of the screen.
Then a list of effects is displayed, so first I clicked the appropriate one and tried it.
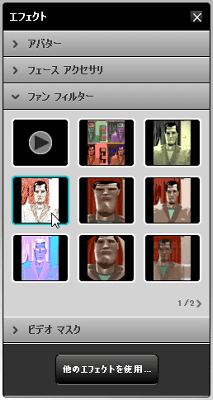
I used "fan filter". You can add effects to the image like this. All these can switch effects with just one click, and you can shoot while checking the effect, so even people without image processing knowledge can use it easily.
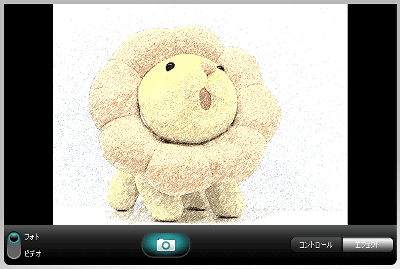
Here is a movie shot using 'Fan Filter'. Various effects are prepared, such as changing colors and stretching your face. The same effect can be used for shooting still images. One disappointment is that this function can not be used at 1080p. When using this function with C 910, it is necessary to set the image quality below 720 p.
YouTube - Taking a movie using the fan filter function with 'Logicool HD Pro Webcam C 910'
Also a video using "Avatar". Recognizing parts of the face such as eyes and mouth, the character moves according to your movement. It may be useful when you do not want to make a face because you can shoot videos and use videophones in aliens, dogs, dinosaurs and other forms.
YouTube - Shoot using the avatar function in 'Logicool HD Pro Webcam C 910'
Next is a video using "video mask". You can attach eye and mouth parts to a still image, you can move only that part according to your movement.
YouTube - Shoot using the video mask function in 'Logicool HD Pro Webcam C 910'
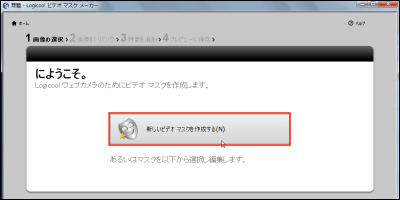
"Video mask" can also create original mask. Click "Video mask maker" from the main menu.

Click "Create a new video mask".
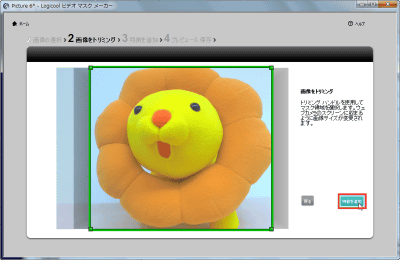
Pick the original image and trim the necessary parts. Since the size is automatically adjusted to fit on the webcam screen, trimming is okay with a rough sense.
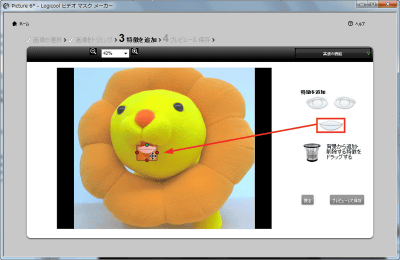
Place eyes, mouth parts. It is also possible to change the size of parts up and down, left and right.
A movie taken with the mask created here. It has become a different creature from Pon de Lion ... .... In this way you can create masks using your favorite images.
YouTube - I created a video mask myself with "Logicool HD Pro Webcam C910"
Next we will tell you about the state of video chat actually using Skype.
Continue
Related Posts:


