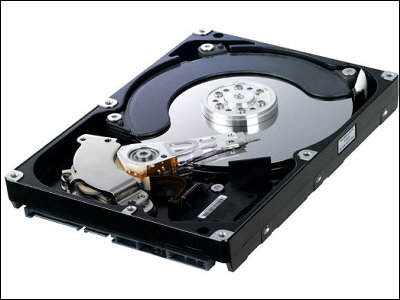
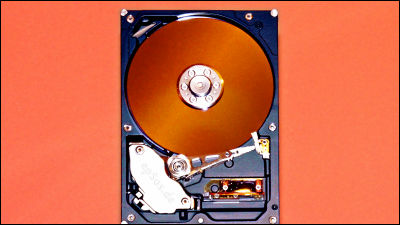
Since the HDD of "TeraStation" has broken down, I tried replacing it with a new HDD
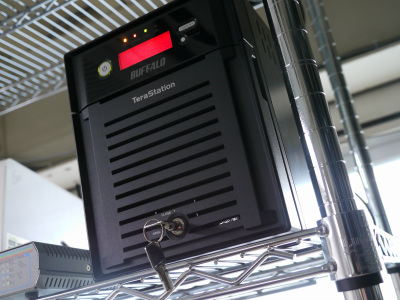
For GIGAZINE for business use as a file serverNASIs "TeraStationHowever, one of the built-in HDDs has failed, so we decided to purchase and replace the replacement HDD.
Although there may not be much opportunity to replace the HDD, it seems that it is very easy to replace it even if you have a replacement HDD.
So, the state of the actual failure and exchange is as follows.
TS-XHL / R6 series with RAID 6 compatible 4 drives | BUFFALO Buffalo
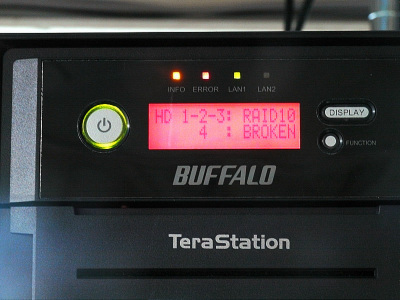
One day, suddenly, the HDD in the middle has broken The HDD has broken down "TeraStation" of the editorial department of GIGAZINE. Normally the display is blue, somehow a red screen is displayed ... ....
"4: broken" is displayed. Apparently it seems that 4 of the four HDDs has failed, but it is very easy to understand.

Looking inside, the lamp next to the HDD is lit in red only by 4.
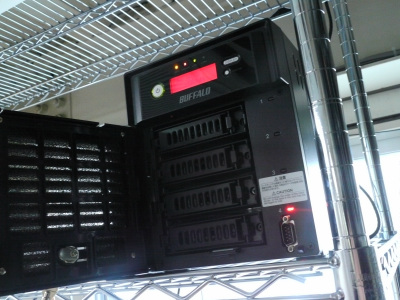
I will take out No. 4 aircraft at once.
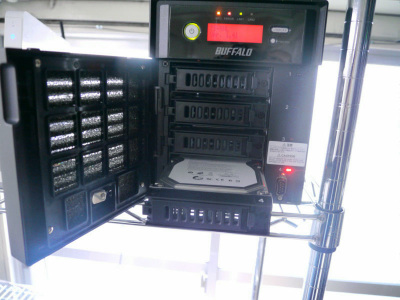
This is No. 4 HDD. Although it may be natural, in the appearance it can not distinguish a broken part.

Replacement HDD with regular cartridge "OP-HD series" is expensive, so we decided to purchase just the replacement HDD. Search by model number listed on the HDD and purchase the corresponding product. This time Seagate's ST32000542AS.

There was a corresponding product in "Price .com". The lowest price is 7980 yen (tax included).

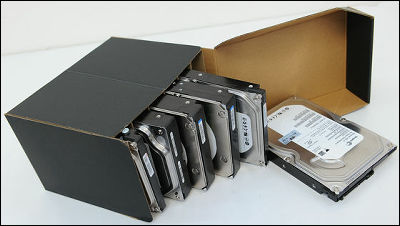
A new HDD arrived in 3 days after ordering. Strictly cushioning material is spread.

This is the main body.

There is a warranty on the back of the package. Let's not throw it away by mistake.

The one in the foreground is brand new and the other is broken. The pedestal remains sticking to the failed HDD.

The back side of the HDD. It is necessary to remove the pedestal from the defective HDD on the left and replace it with a new one on the right.

Though the screws are only four visible in the picture, they are quite securely fastened and could not be turned with a driver for precision instruments. A larger driver is required.

If you remove both the screws, you can get off the pedestal.

HDD stand for TeraStation.

Backside.

I attach a pedestal to a new article.

I will tighten the screws this time as well as when I remove it.

Installation complete. I am ready for exchange with this.

Insert the HDD with the base attached to the TeraStation.

When I closed the cover, I switched to the screen of pushing the "FUNCTION" switch on the right side.

Push "FUNCTION" switch, wait about 5 minutes. The HDD check is completed and the screen has returned to the original blue color. This is the completion of replacement work.

Although it is possible to replace the HDD itself easily, there is a possibility that if the data is lost due to a sudden breakdown, there is a possibility that it will not return to the original, so it seems necessary to prepare everything for backup etc. every time.
2010/11/29 postscript
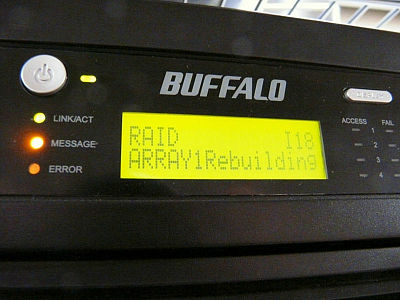
As the reader asked "How much time did it take to rebuild RAID?" This rebuild was done in the following time.
November 25 (Thursday) 10:22 AM Replacement HDD insertion
November 26 (Fri) 8:54 AM Rebuilding completed
HDD check itself was completed in about 5 minutes, but rebuild includes "23 hours 28 minutesIt took. This timeThe configuration is RAID 10 and the total capacity is 1.9 TBIt was a situation. It took a very long time to rebuild, but it seems to be due to rebuilding data with a large capacity of 1.9 TB.
Related Posts:

