Free software 'Explzh' that enables decompression and compression of all files such as ZIP/RAR/LZH/ISO in one shot
Double-click the file to unzip it, decompress and compress from drag and drop, create a ZIP file with a password, repair a broken ZIP file, extract the inside file without mounting the virtual disk image such as ISO, Further compression of Office 2007 documents, file name is garbled when it is created on Mac OS X and decompressed on Windows Compressed file can be decompressed without garbled UTF-8-MAC compatible function, Unicode file name without garbled The free software that has a high
Compatible with Windows 7/Vista/XP/ME/98/2003/2000/NT4.0 and 64-bit versions of Windows 7/Vista/XP/2008/2003, and various types that are generally distributed on the net. Since the DLL files required to decompress various types of compressed files can be automatically downloaded and automatically installed, you can always have the latest decompression and compression environment.
So, explanations such as downloading and installing Explzh, automatic download of DLL file, setting for unzipping in one shot, etc. are from the following.
Explzh-A compression/decompression tool that supports multiple formats
http://www.ponsoftware.com/
Initially it was a paid software, but in August 2007 it became free for home and personal use ( 1050 yen including tax for companies and companies, discount for 10 licenses or more). Since it was originally shareware, it is extremely sophisticated and multifunctional, and you can customize as much as you like. This time, I will basically explain 'making it possible to decompress one file by double-clicking various types of compressed files ' and the functions that are actually easy to use.
◆ Download and install the main unit
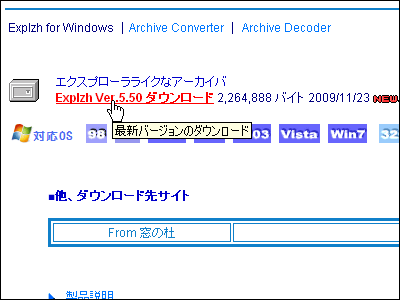
Go to the download page by clicking 'Explzh' from the official website top page
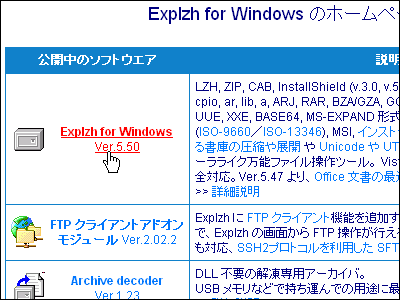
Click to download the installer.
Click the installer to start
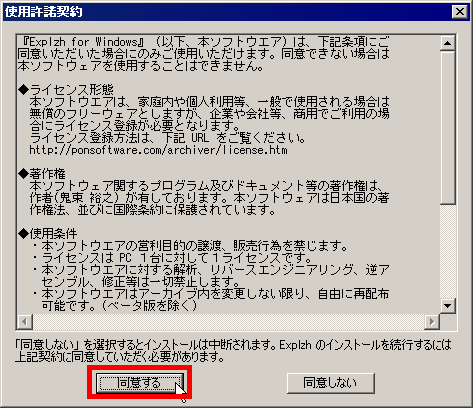
Click 'Agree'
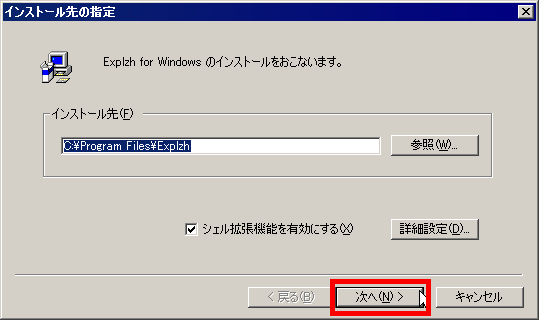
Click 'Next'
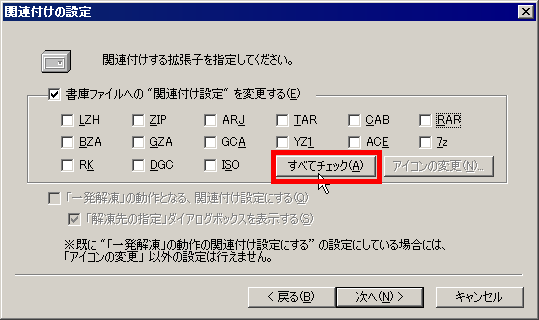
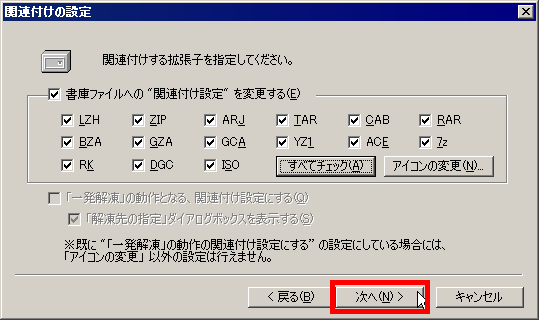
Click 'Check All'
Click 'Next'
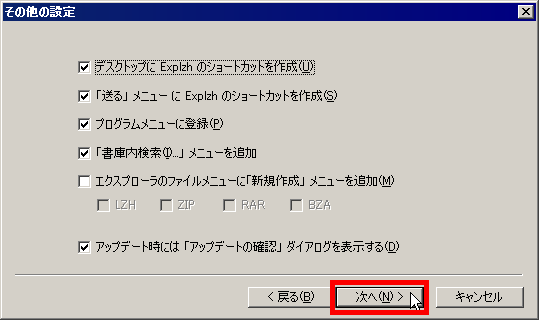
Click 'Next'
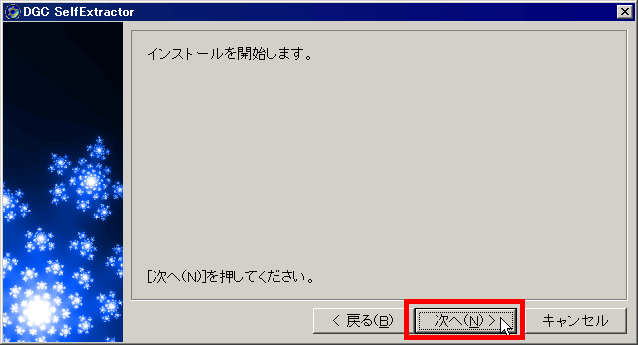
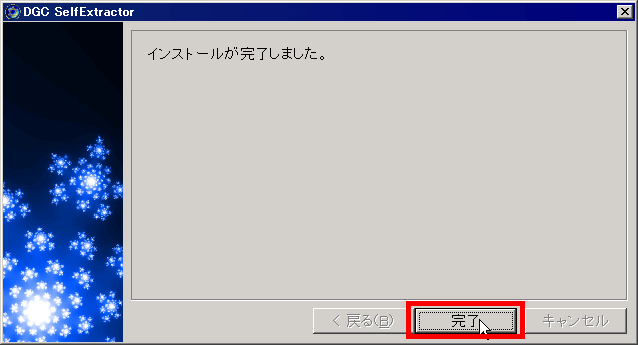
Click 'Finish'
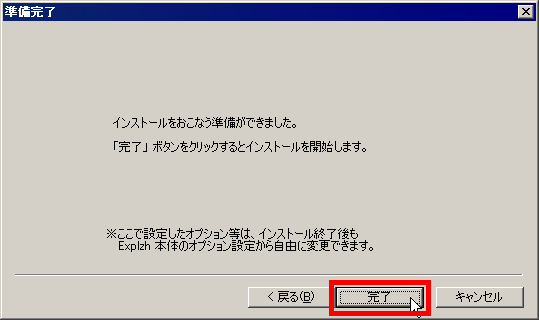
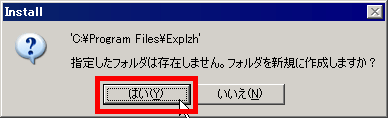
Click 'Yes'
Click “OK” and the installation is complete.

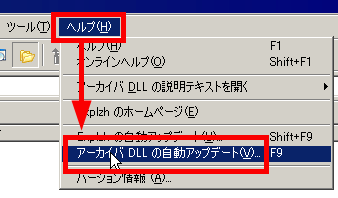
◆Automatically download and install DLL files required for decompression and compression
Launch the installed Explzh.

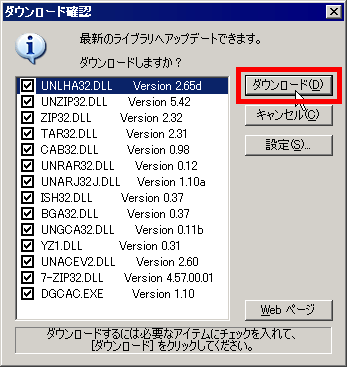
Click 'Automatic update of archiver DLL' from 'Help'.
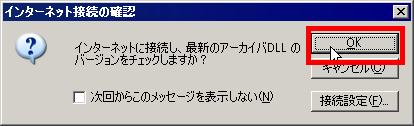
Click 'OK'
Click 'Download'
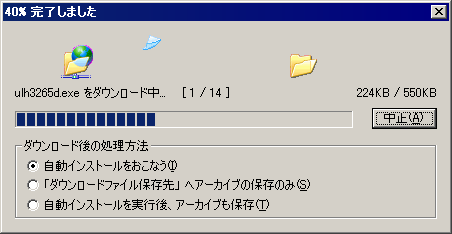
Wait for the download and installation to begin automatically.
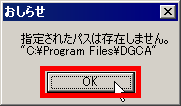
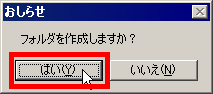
A window like this appears only for 'DGCA', so click 'Next'.

Click 'Next'

Click 'OK'
Click 'Yes'
Click 'Next'
Click “Finish”. That's it.
The DLL file has the latest version when I forget it, so updating it from time to time can keep it up to date.
◆ How to defrost Part 1 'Standard method'
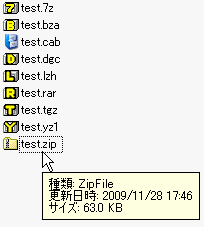
Explzh offers a number of decompression methods. First of all, nothing is set. Try double-clicking on the compressed file.
Then Explzh starts up and the contents of the compressed file are displayed in this way. Click the 'Extract File' button.
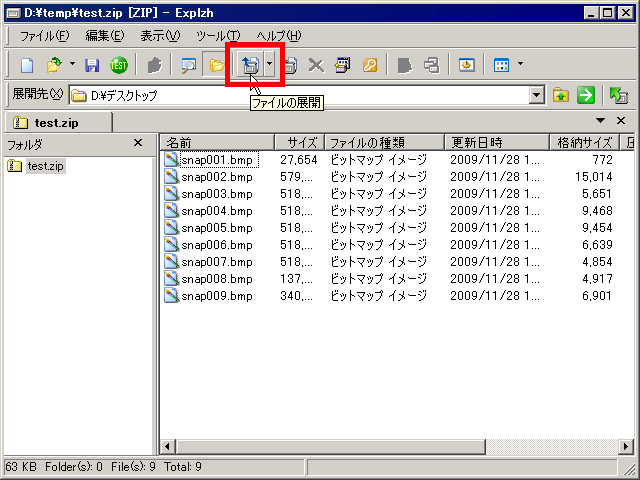
By default, it will be unzipped to the desktop, so if you click 'OK' as it is, the files will appear on the desktop in a staggered manner.
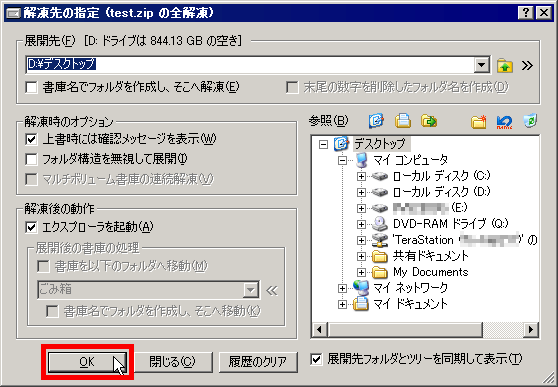
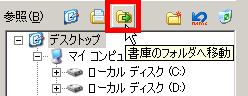
You can quickly move to a place other than the desktop, and this 'move to archive folder' button is particularly convenient.
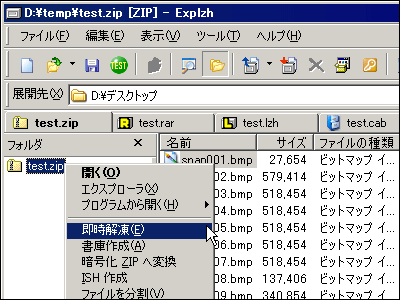
◆ How to decompress Part 2 'Right click'
Right-click the compressed file you want to decompress and select 'Immediate decompression'.
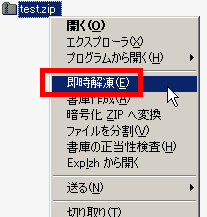
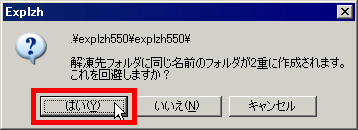
Click 'OK' to automatically create a folder with the compressed file name and decompress it.
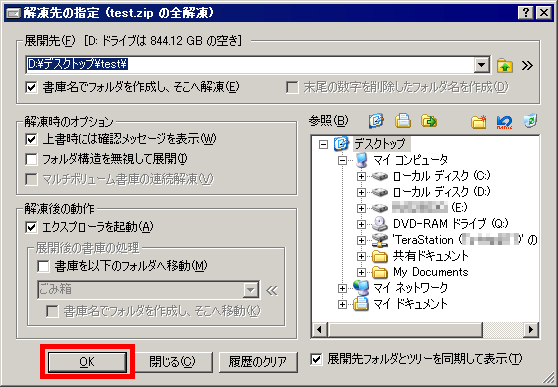
In addition, in the case of a compressed file in which the entire folder is compressed, in most cases the compressed file name and the folder name inside it are the same, so when you create a folder with a compressed file name, a folder with the same name is duplicated. It will be created as a nest, which is very useless, but with Explzh you can avoid it. It is a simple function, but it can be used quite a lot.
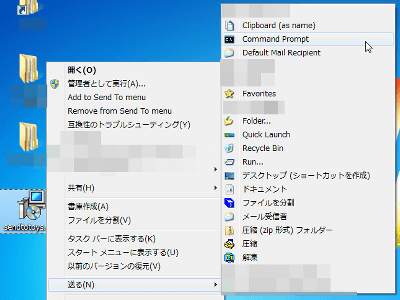
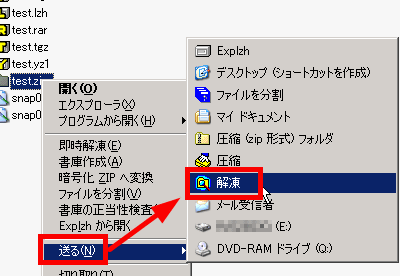
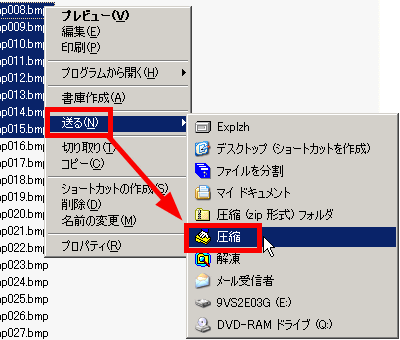
◆How to defrost Part 3 'Send Menu'
Right-click the compressed file you want to decompress, select 'Send', and then 'Decompress'.
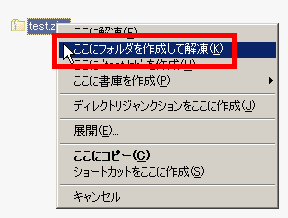
◆How to decompress Part 4 'Drag and drop by right clicking'
Right-click the compressed file you want to decompress and drag and drop it to the location you want to decompress. A menu like this will appear. Select 'Create folder here and decompress' or 'Extract here'.
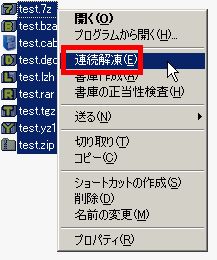
◆How to defrost Part 5 'Continuous defrosting'
If you right-click with multiple files selected, you can select 'continuous decompression', and you can decompress multiple compressed files at once.
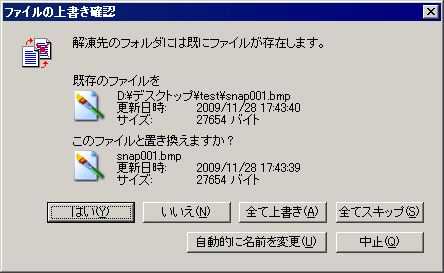
In the unlikely event that there is a file with the same file name, it will be paused like this. 'Automatically rename' is quite convenient.
◆Setting to create a folder on the desktop and 'decompress one shot' just by double-clicking the compressed file
I've seen a lot of decompression methods so far, but the one that I definitely recommend is this one-shot decompression. Just click the compressed file to create a folder with the compressed file name on the desktop and decompress it in that folder. Click 'Tools'-'Options'.
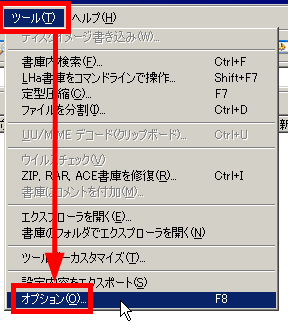
Select 'Association Settings' from 'Shell Extensions' and click 'Association, Icon Settings'.

Check the 'Set associative settings that will be the action of 'one shot decompression'' and click 'Finish'.
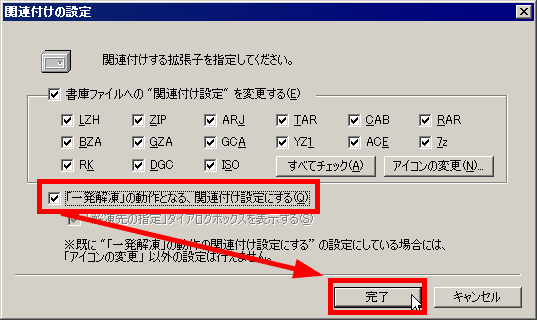
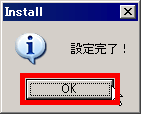
Click 'Complete'
By doing this, if you double-click the compressed file, the 'Specify decompression destination' window will be displayed in a hurry like this.
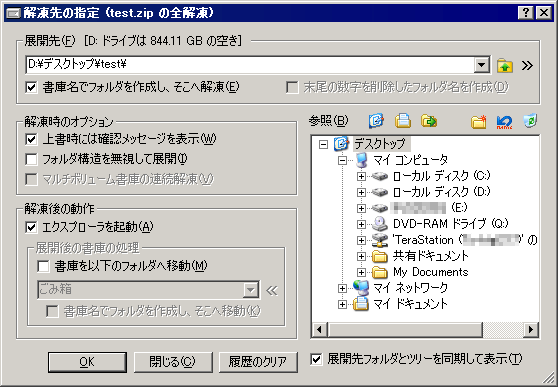
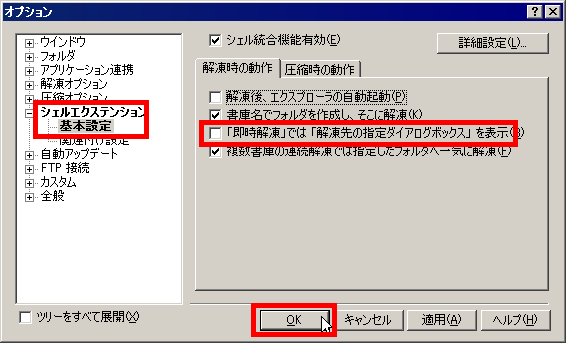
It is troublesome to specify the extraction destination, if you want to unzip it on the desktop anyway, click 'Options' from 'Tools' and select 'Basic setting' from 'Shell extension' and 'Immediate decompression' Then, uncheck 'Display decompression destination dialog box' and click 'OK'. To stop displaying the folder immediately after decompression, also uncheck 'Automatically start Explorer after decompression'. This is very convenient because it will silently create a folder on your desktop and decompress it.
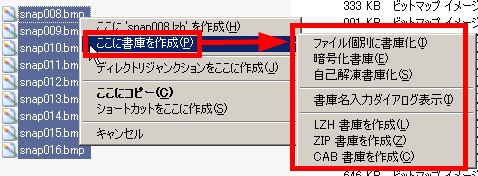
◆File compression #1 'Right click'
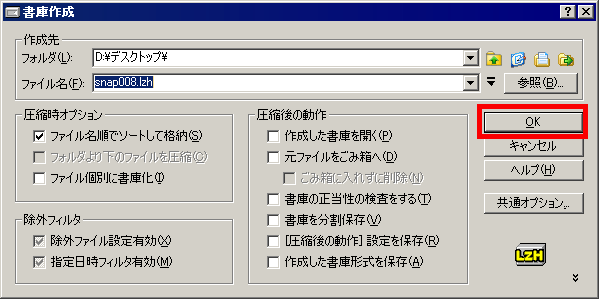
Since Explzh is a software that has existed since the era of Windows95, compressed files are called 'archives' in the old fashioned way. Therefore, to create a compressed file, first select the file you want to compress, right-click and select 'Create Archive'.

Click 'OK' to create a compressed file in LZH format.
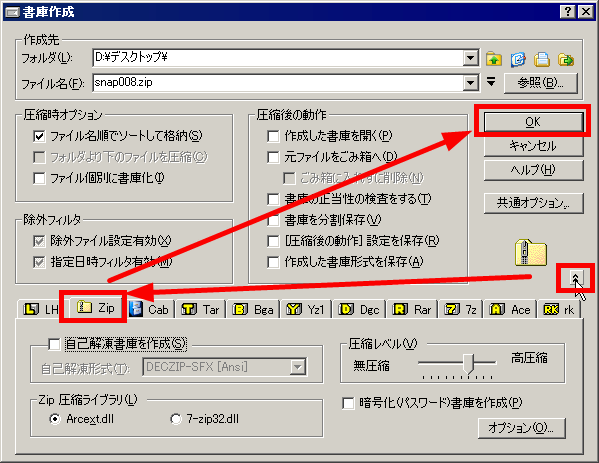
If you want to create a zipped file, click the button near the icon on the bottom right, select the 'Zip' tab, then click 'OK'.
◆File compression #2 'Send menu'
Just select the files you want to compress, select 'Send' and click 'Compress'.
◆File compression #3 'Right click drag and drop'
After selecting the file you want to compress, right-click and drag and drop it to the location you want to create the compressed file, and select 'Create here ○○' or select your favorite menu from 'Create archive here'. is. In particular, 'file-by-file archive' is a tremendous power.
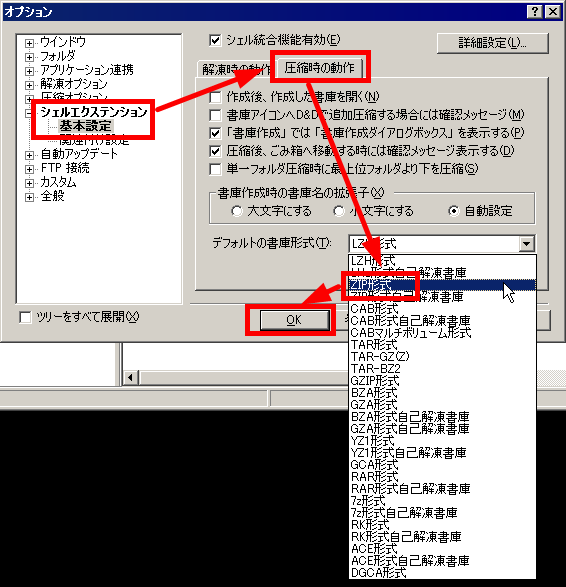
◆ Change standard compression format from 'LZH' to 'ZIP'
In the past, file compression was LZH format, but now Windows can handle ZIP files as folders by default, so ZIP format is more convenient when passing compressed files to strangers. .. So let's use the standard compression format of Explzh as ZIP. Click 'Options' from 'Tools', select 'Basic Settings' from 'Shell Extensions', click the 'Compressing behavior' tab, select 'ZIP format' from the 'Default archive format' list, and click 'OK'. Click '' and you're done.
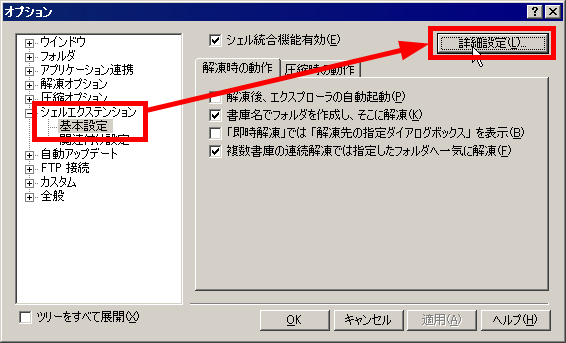
◆ Drag and drop files to ZIP file to add additional compression
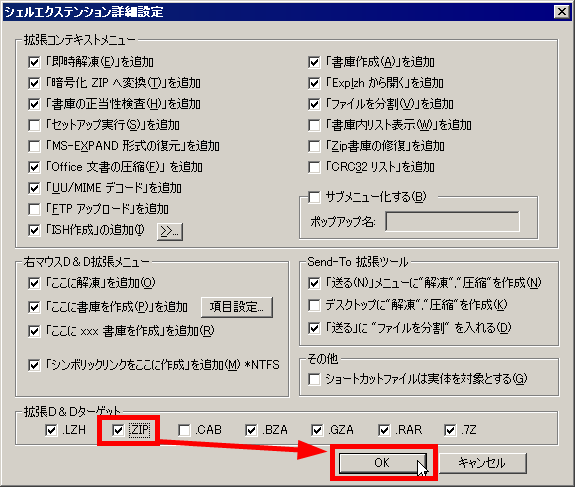
It is a setting to store the file you want to add to the already compressed ZIP file by dragging and dropping it. Click 'Options' from 'Tools', select 'Basic Settings' from 'Shell Extensions', and click the 'Advanced Settings' button.
Check 'ZIP' from 'Extended D&D Target' and click 'OK' to complete.
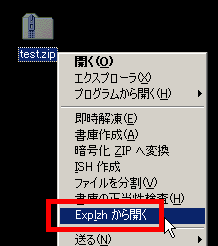
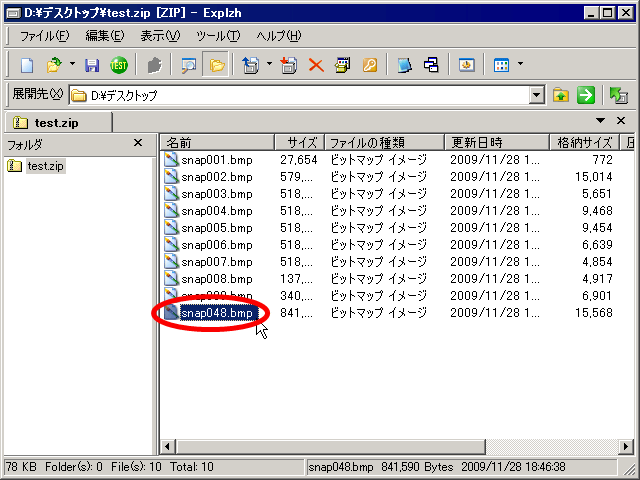
I actually tried dragging and dropping 'snap048.bmp' to 'test.zip'.

After dragging and dropping, right-click 'test.zip' and click 'Open from Explzh'.
Certainly, 'snap048.bmp' was added. It's pretty convenient.
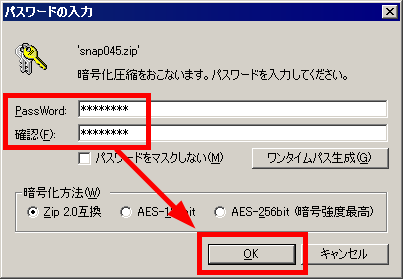
◆ Try making a ZIP file with a password
If you check 'Create encrypted (password) archive' at the time of compression, you can create a ZIP file with a password.
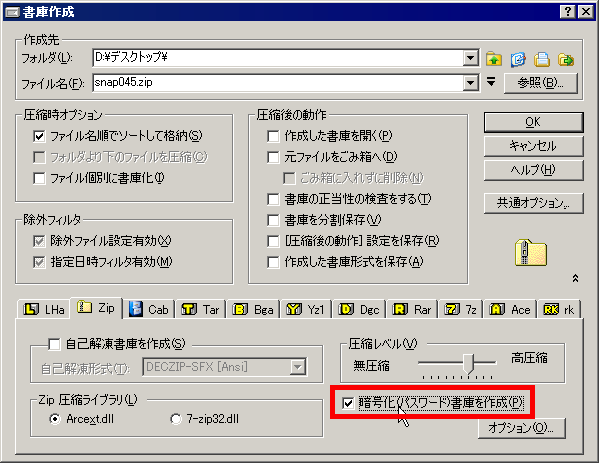
In this way, enter the password in 'PassWord', enter the same password again in 'Confirm', and click 'OK'.
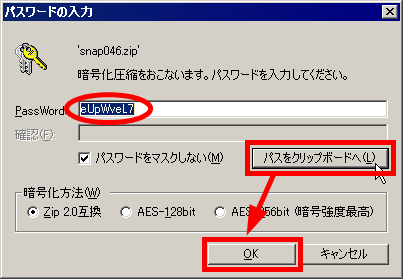
If you want to use a random password that has no regularity, but you have trouble thinking about passwords, click 'Create one-time pass' on the above screen and the random password will be automatically generated as follows. Is completed. You can copy the password by clicking the 'Path to clipboard' button, so immediately paste it in a text editor such as 'Notepad' and make a note of it, then click 'OK'.
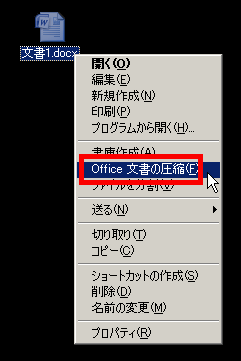
◆ Further compression of Office 2007 documents
Right-click the Office 2007 format file and select Compress Office Document.
By clicking 'OK', you can reduce the file size by reducing the quality of the images in the document file.
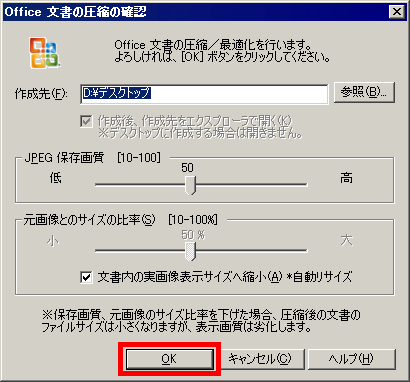
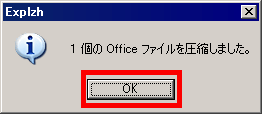
It was successful, so click 'OK'.
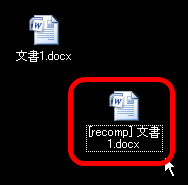
With this feeling, a new file with the letters ' [recomp] ' at the beginning is created. This is the compressed Office 2007 format file.
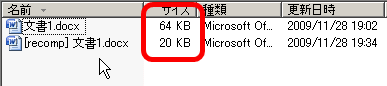
Comparing the file sizes, the 64KB file became 20KB.
Related Posts: