Sync-in is a free desktop sync app for Windows, macOS, and Linux, as well as a self-hostable server app that enables bidirectional and one-way file synchronization, automatic background synchronization, and more for multiple users.
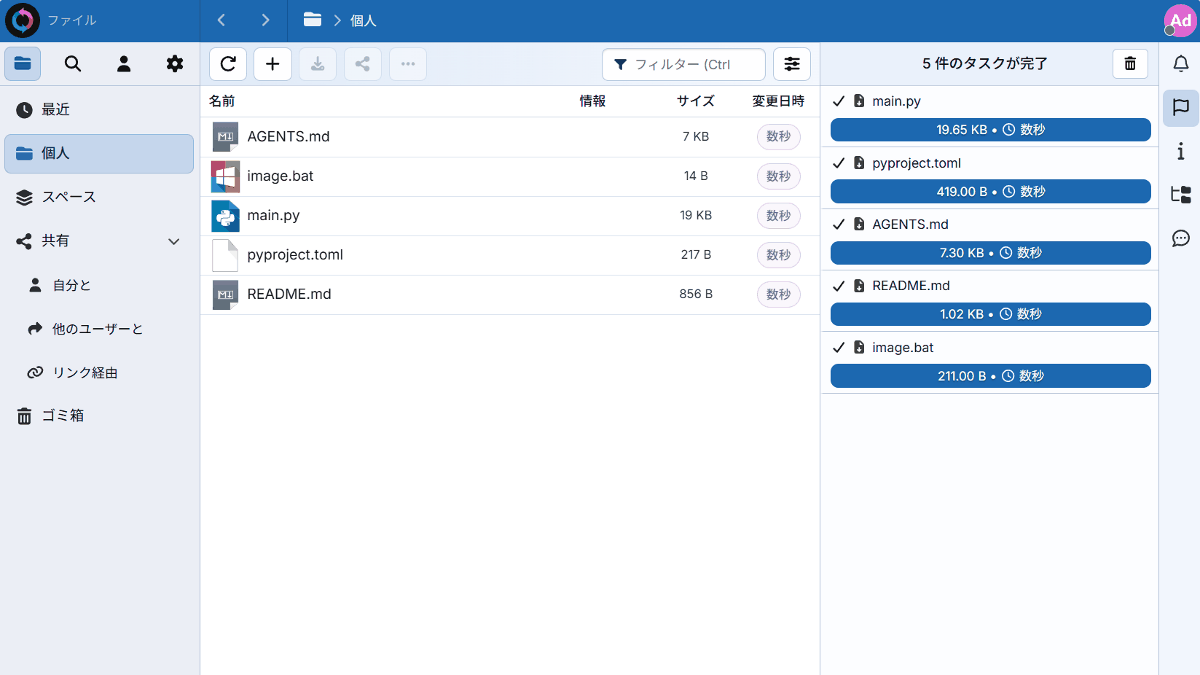
In some cases, when sharing files among multiple people in a company or organization, cloud services may not be usable due to security regulations. In such situations, ' Sync-in ' can be used. It is a self-hosted file server that allows multiple users to synchronize files bidirectionally and unidirectionally, as well as automatically synchronize in the background, from clients for Windows, macOS, and Linux.
Sync-in · Sovereign Document Collaboration Platform
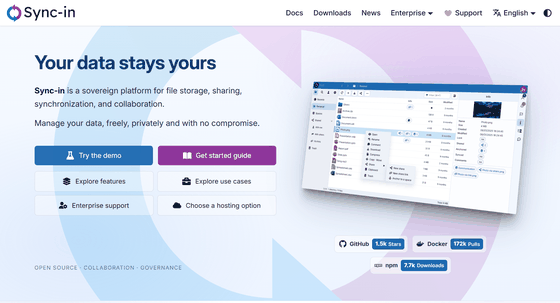
Sync-in
◆Demo Site
Live Demo · Sync-in
https://sync-in.com/docs/demo/
◆Main features of Sync-in
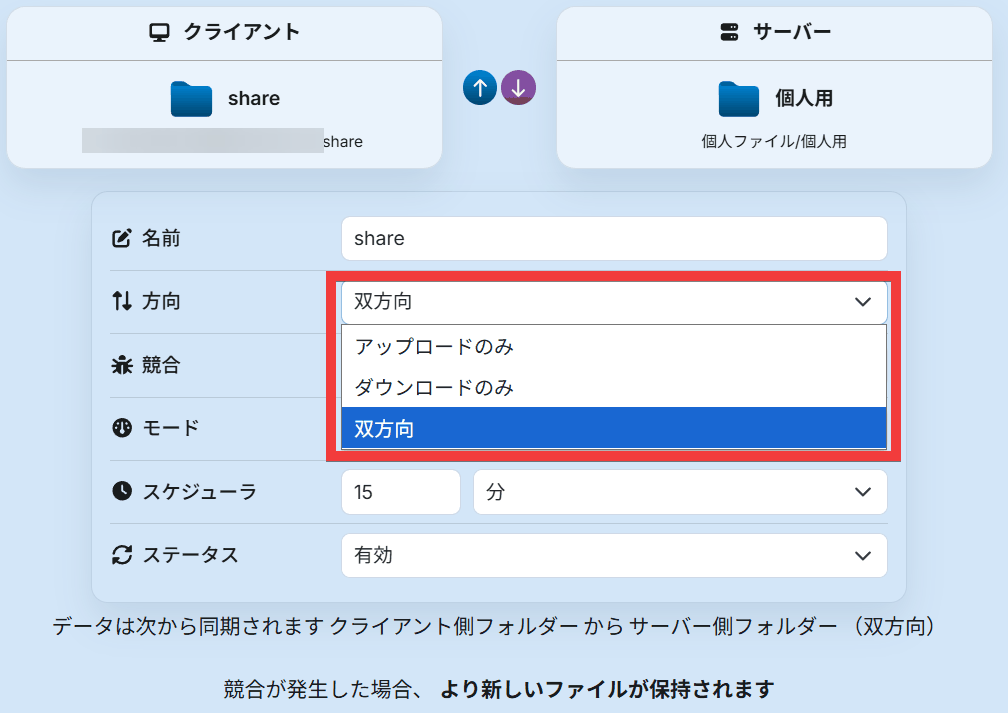
- Synchronization direction can be specified.
Three synchronization methods are available: bidirectional, upload only, and download only.
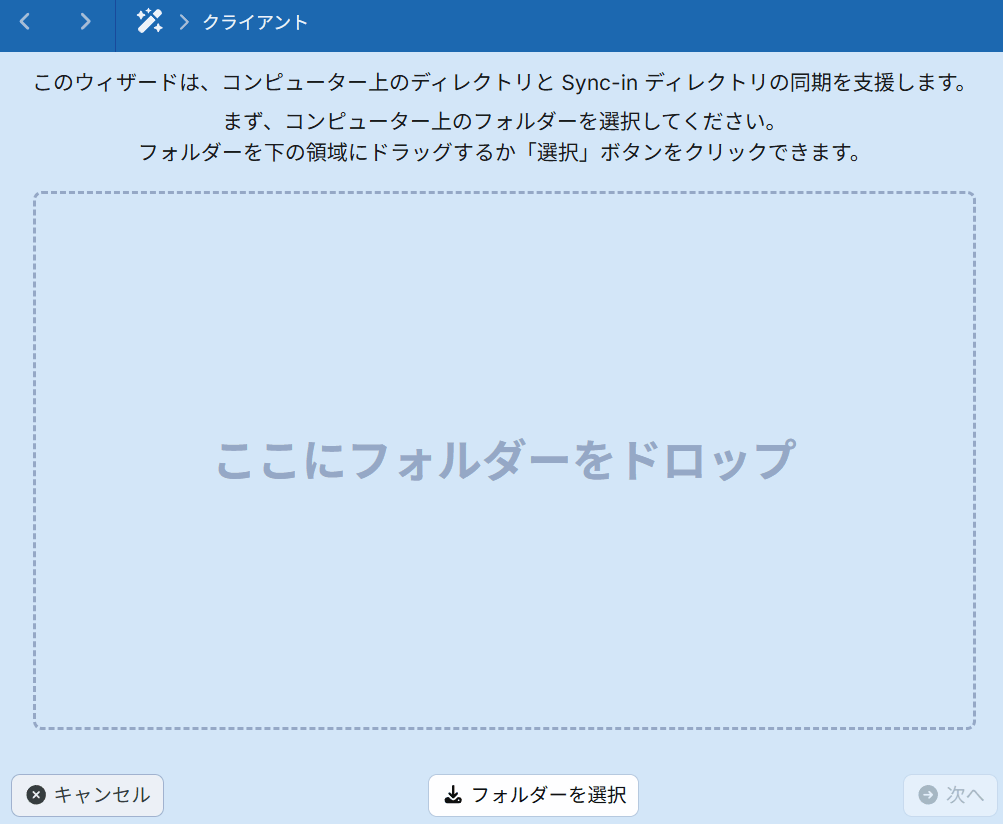
• Setup Wizard
You can set it up simply by specifying the folders you want to sync or share and following the wizard's instructions.
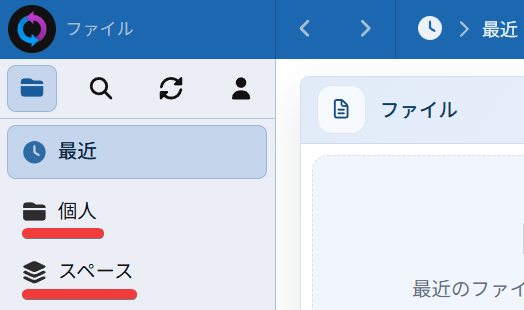
• Individual and shared spaces
If you want to sync your personal folders with other PCs, there's a 'Personal' category; if you want to share folders with a team, there's a 'Spaces' category.
Multiple users
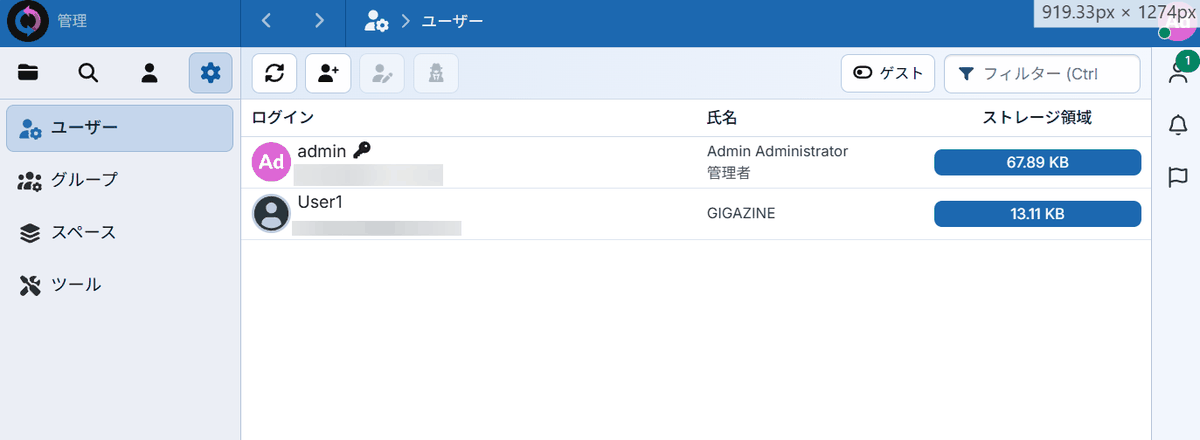
Multiple users can be registered, and a dedicated sync folder can be created for each user.
Detailed permission settings
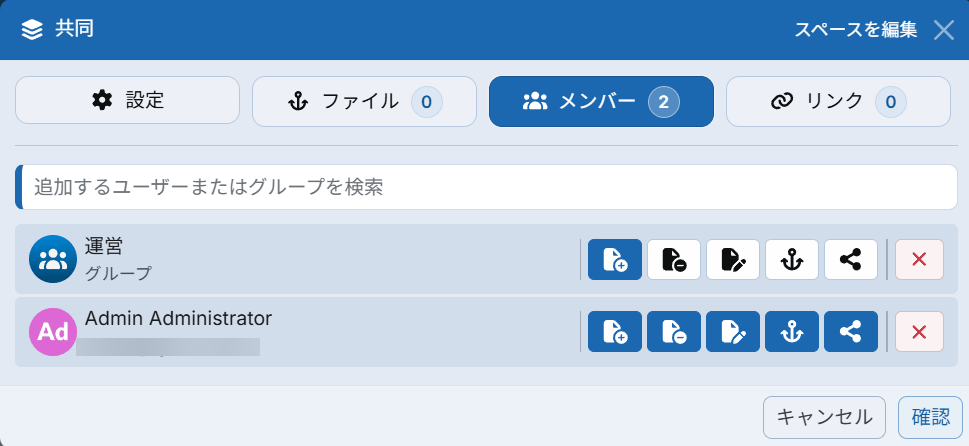
You can add users and groups who can access shared folders synchronized in Space, and grant them permissions such as adding, deleting, and editing files.
- GUI clients dedicated to various platforms
GUI clients and CLI tools are available for Windows, macOS, and Linux.
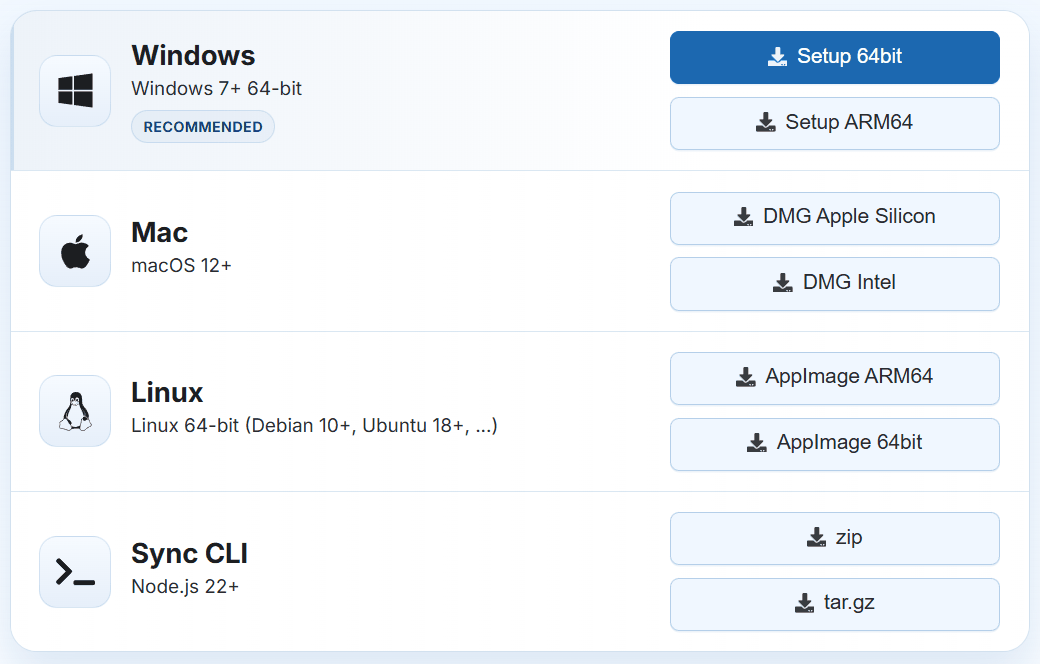
As you can see from the screenshots, you can build your own file synchronization system that is easy to set up and manage.
◆How to set up a Sync-in host server
This time, we will set it up in an environment where
 git clone https://github.com/Sync-in/server.git

 cd server/docker
Start the container.
docker compose up -d
Replace '--login 'admin'' with the administrator's username and '--password 'your_secure_password'' with your desired password, then execute the command to create an administrator.
docker compose exec -it sync_in sh -c 'node server/infrastructure/database/scripts/create-user.js --role admin --login 'admin' --password 'your_secure_password''
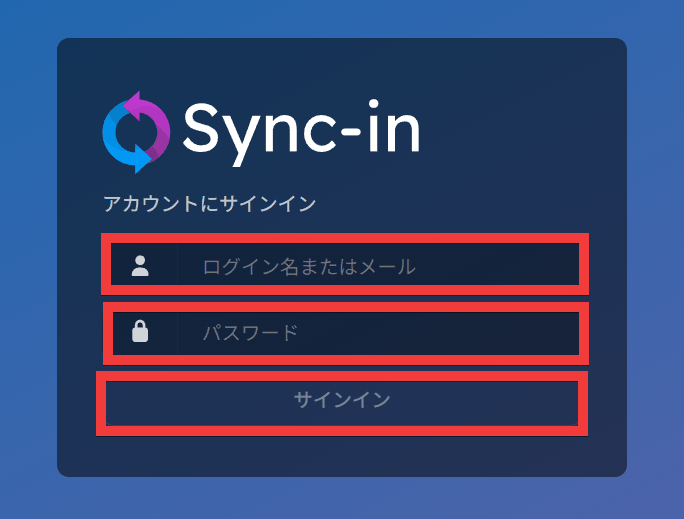
Access port 8080 of the server's IP address or hostname using your browser. A login form will appear. Enter the administrator's username in the 'Login name or email' field and the password you set in the 'Password' field, then click 'Sign in'.
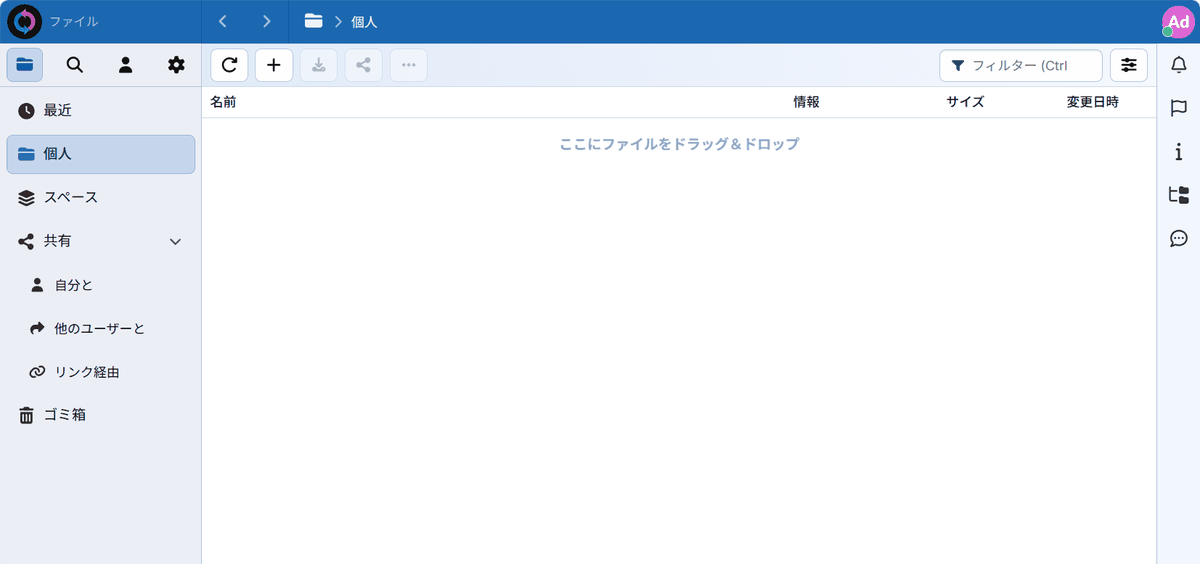
The setup is complete when the file list screen is displayed.
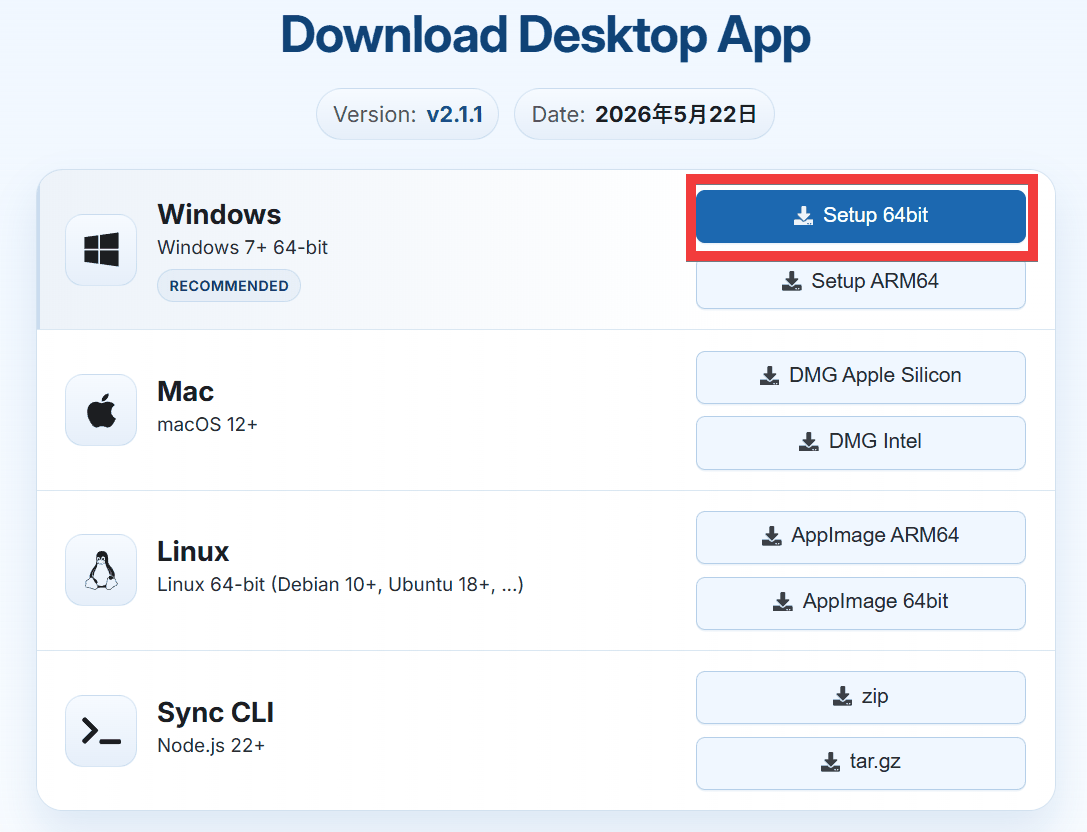
◆How to install the Sync-in client
Go to
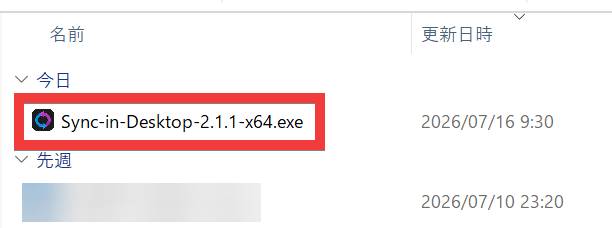
Double-click the saved installer to launch it.
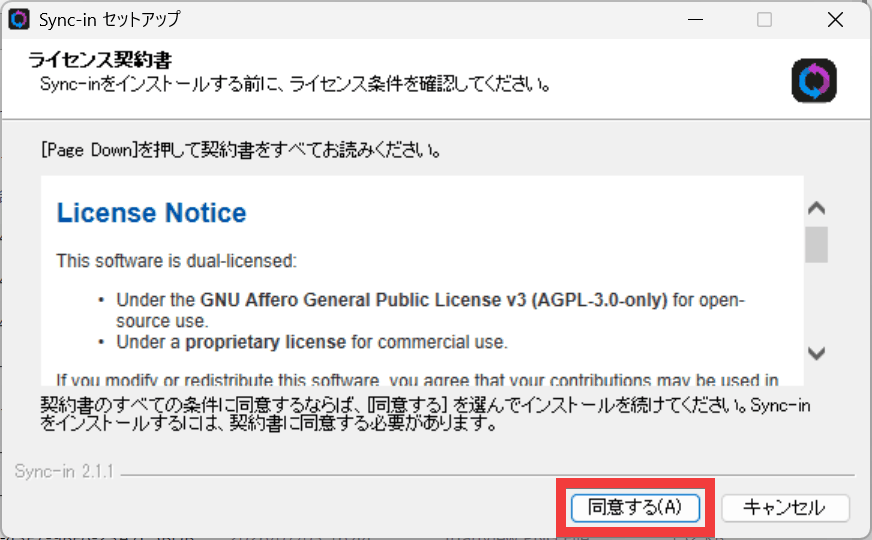
A license agreement consent form will appear, so click 'Agree'.
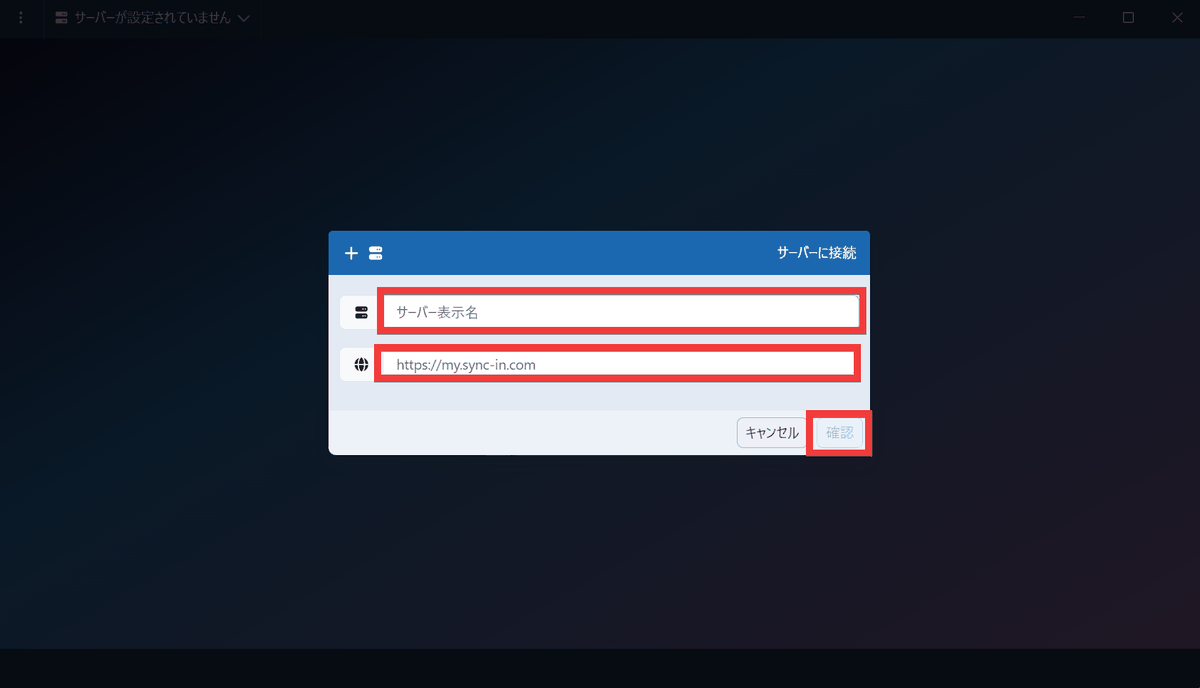
Once the installation is complete, a server connection form will appear. Enter your desired server name in the 'Server Display Name' field and the server's URL in the 'Address' field, then click 'Confirm'.
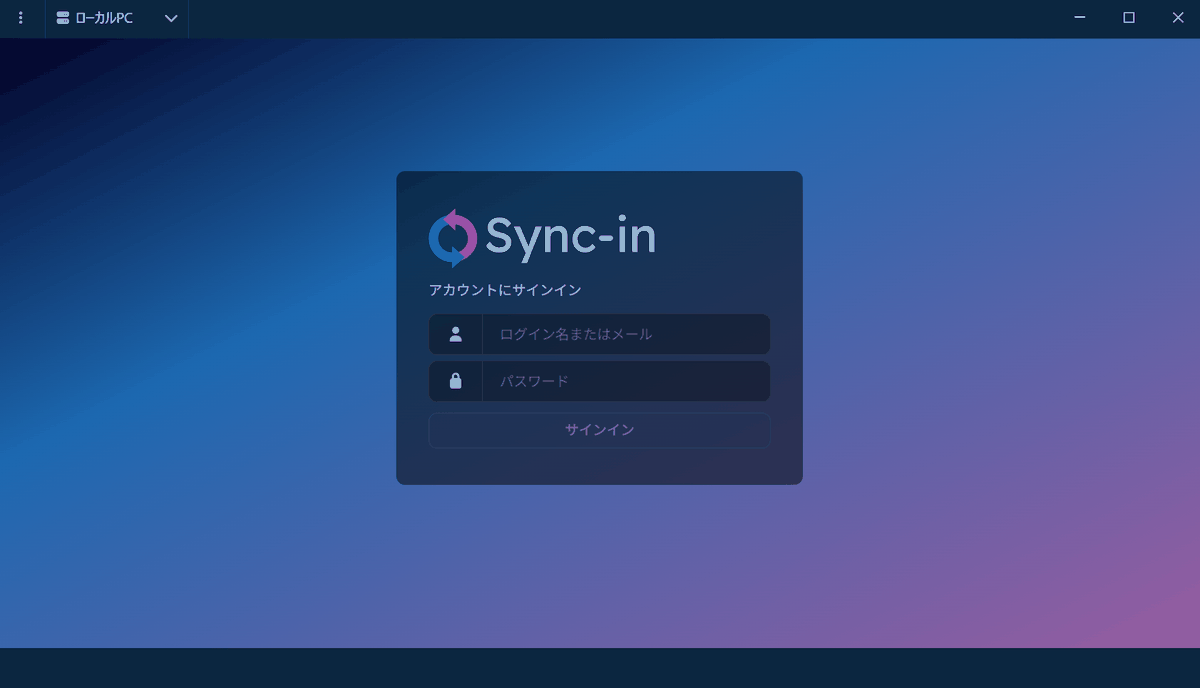
Once the connection to the server is complete and the sign-in screen appears, the installation is finished.
Related Posts: