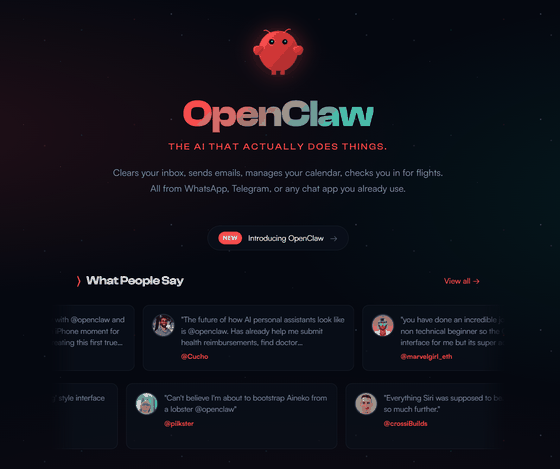
'OpenClaw' is a self-hosted personal AI assistant that can be used in conjunction with Windows, macOS, Linux, Android, and iOS.

'OpenClaw' has been released, which allows you to have your own personal AI assistant running on your PC and automate various tasks using your computer or smartphone.
openclaw/openclaw: Your own personal AI assistant. Any OS. Any Platform. The lobster way.
OpenClaw — Personal AI Assistant
https://openclaw.ai/
◆Features of OpenClaw
・
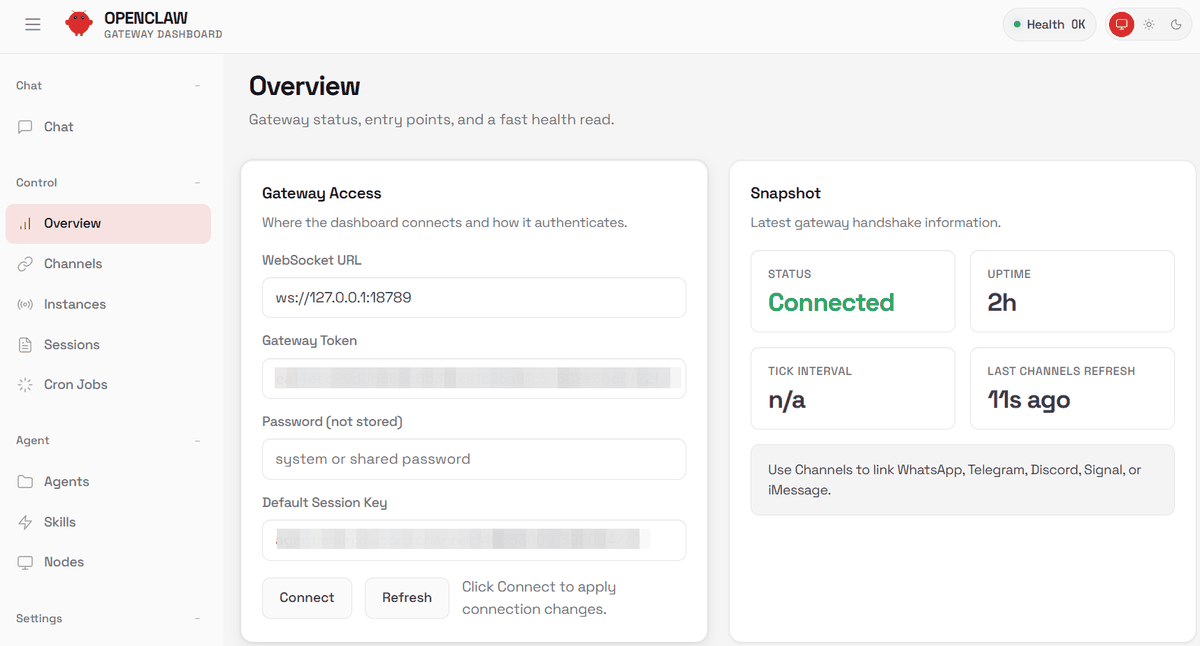
A control management system called 'Gateway' built on a local machine centrally manages all functions and operations, including managing connections, managing chats, using tools to automatically operate PCs, and monitoring time and events to call functions.

・
A wide range of channels are available, including Telegram , WhatsApp , Discord , Google Chat , Slack , Signal , iMessage , Nostr , Microsoft Teams , Mattermost , Nextcloud Talk , Matrix , BlueBubbles , LINE , Zalo , and Tlon .
・
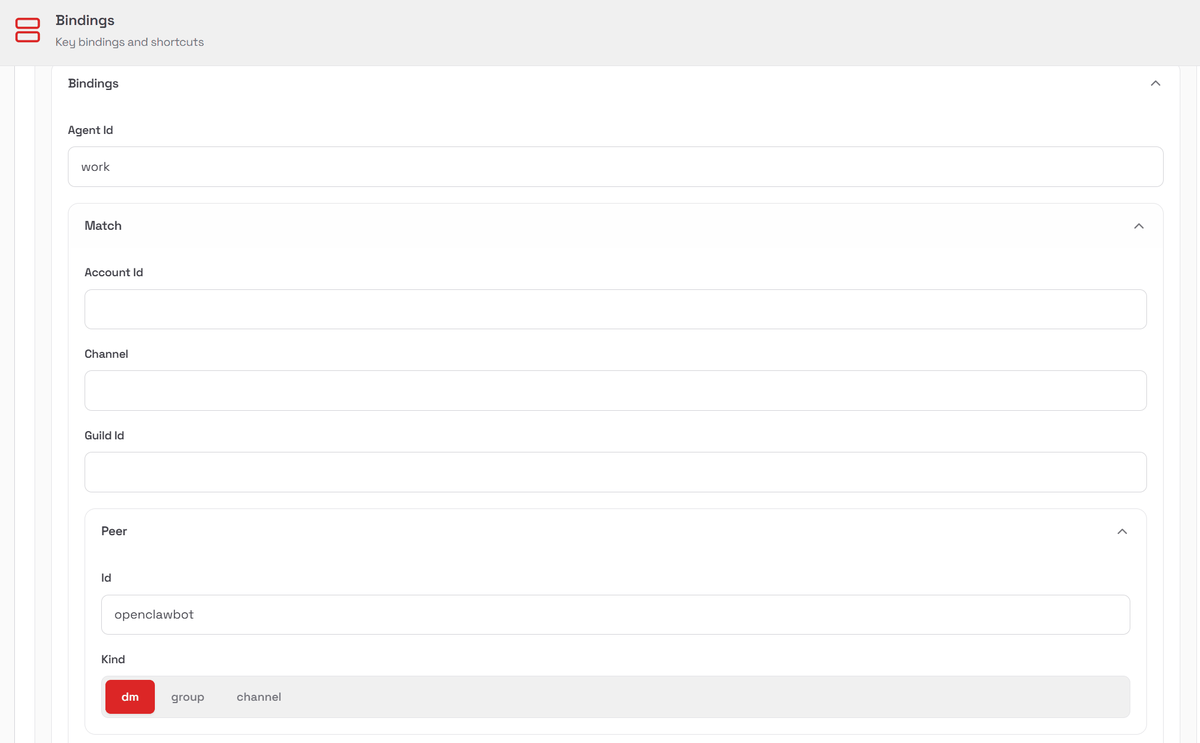
Multiple agents can be registered depending on the AI provider and model usage purpose.
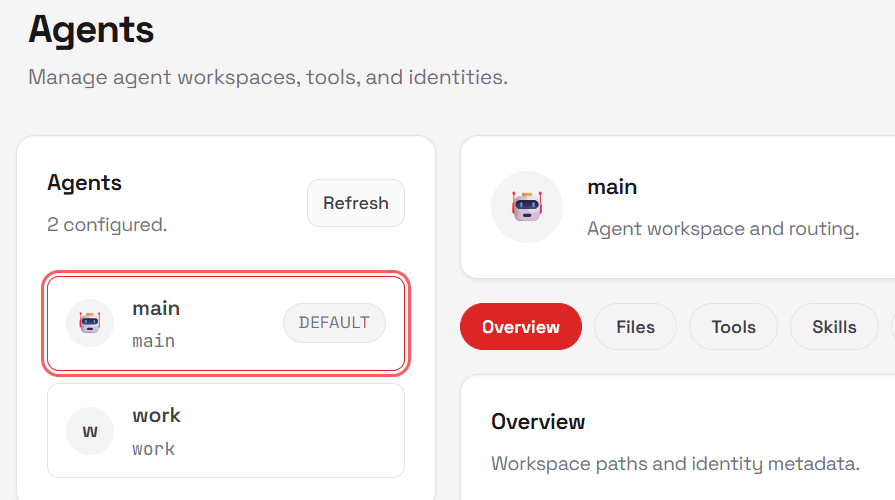
By setting conditions, you can automatically assign which agent to use.
・
Voice activation and conversational control via talk mode are possible on macOS, iOS, and Android. Voice output uses ElevenLabs ' API.
・Live Canvas
Agents can send A2UI standard syntax directly to the canvas of the OpenClaw app installed on their smartphone and display UI such as forms.
First -class tools
Advanced operations such as browser control, Canvas, registering each device and some functions as nodes, Cron, session management, and operation of Discord and Slack are available as standard. The Gateway has a management screen called Control UI, and can also be operated using the HTTP API from scripts.
Companion
macOS, iOS, and Android devices can connect to the Gateway via WebSocket via a dedicated app, allowing agents to use each device's functions, such as the camera and microphone.
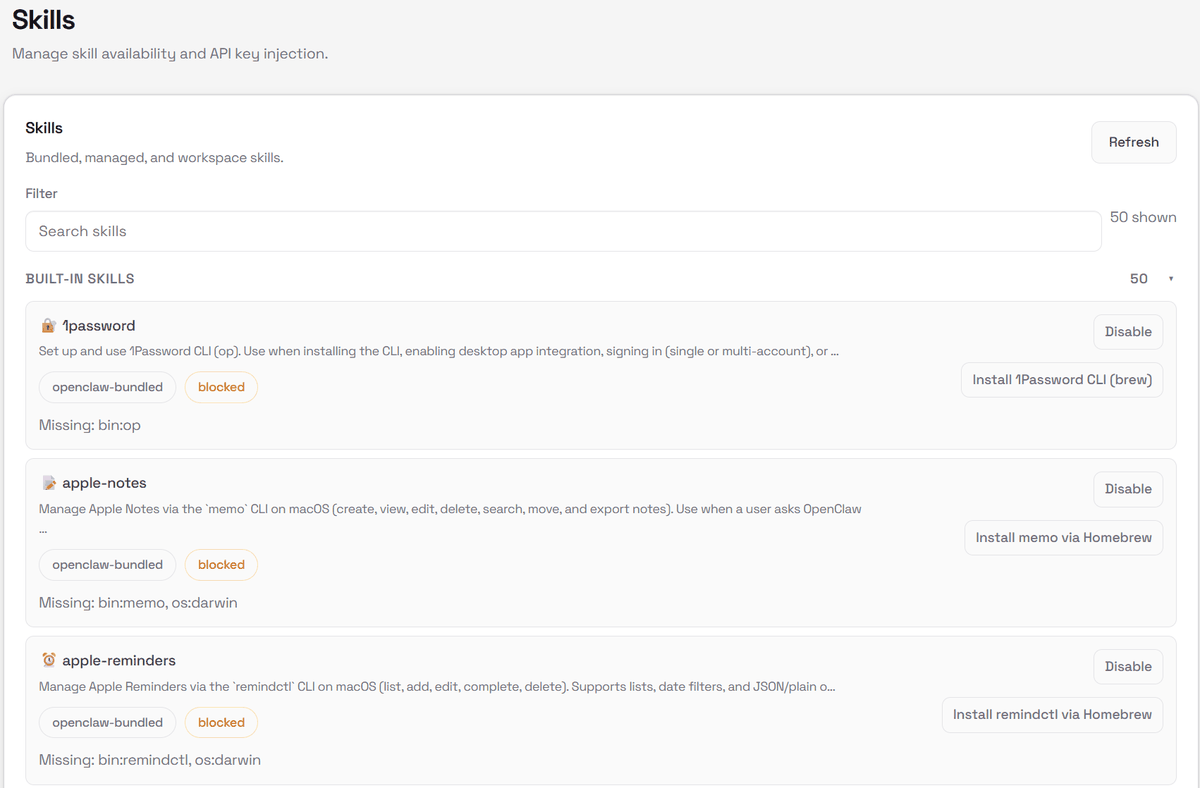
・Onboarding + Skills
The initial setup can be done interactively using the installation wizard. By installing additional functions called skills, it is possible to link with other apps and automate PC operations.
◆Installing OpenClaw
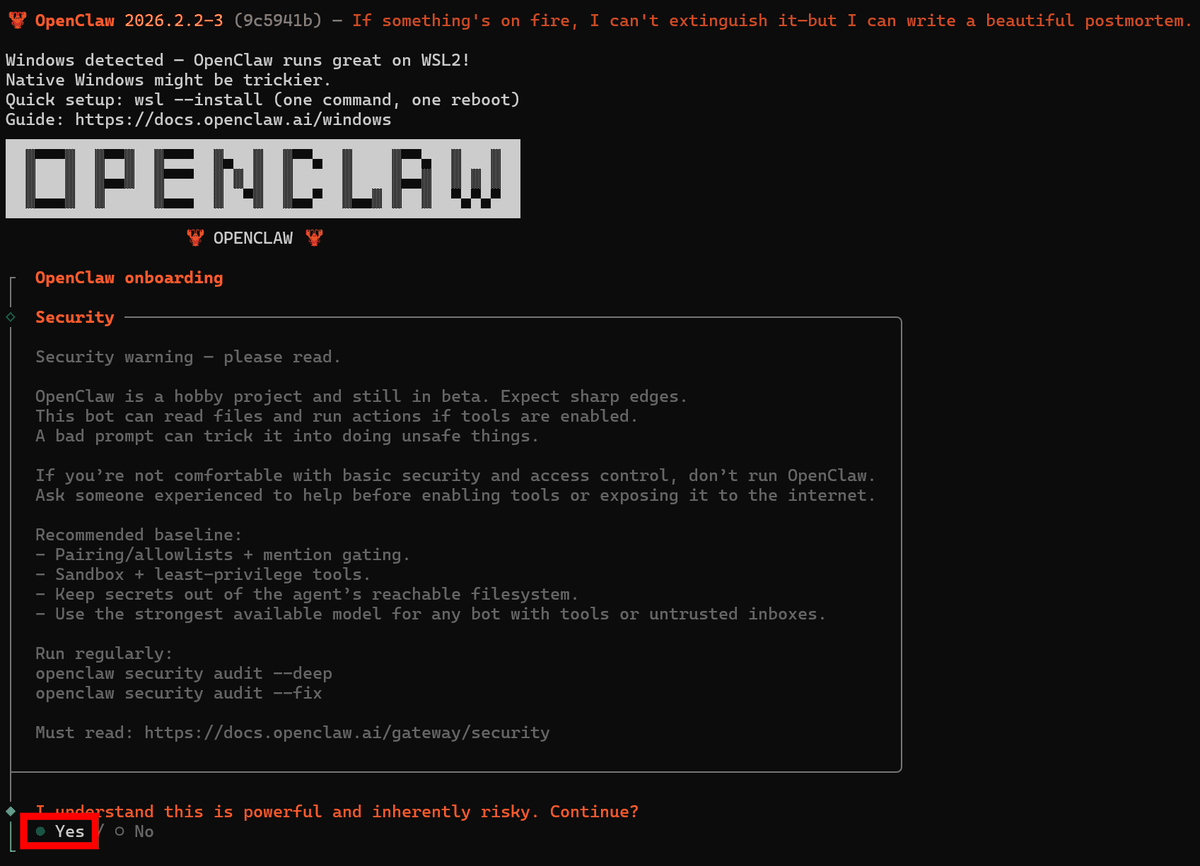
To install OpenClaw on Windows 11, open PowerShell with administrator privileges and copy and paste the installation command from the 'QuickStart' section on
iwr -useb https://openclaw.ai/install.ps1 | iex
Once the command is executed, the setup wizard will begin. You will be asked if you want to proceed, so select 'Yes.'
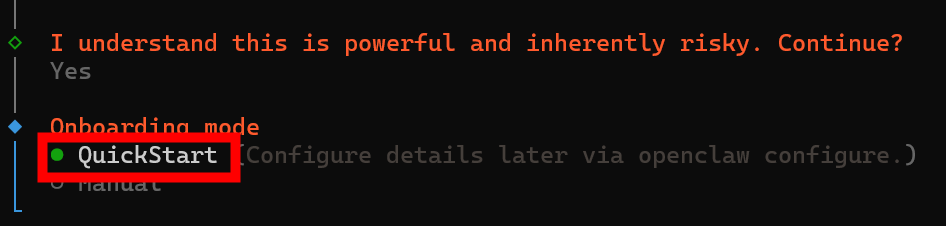
Select 'QuickStart' for a simple setup.
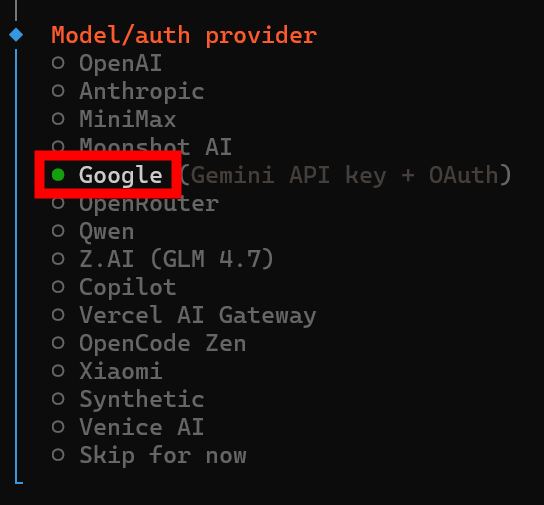
Choose from the following AI providers:
・
・Anthropic
・MiniMax
・Moonshot AI
Google
・OpenRouter
・Qwen
・Z.ai
Copilot
・Vercel AI Gateway
OpenCode Zen
・Xiaomi
・Synthetic
Venice
In this example, we selected 'Google.' If you want to set up a provider that is not listed or a local LLM, select 'Skip for now.'
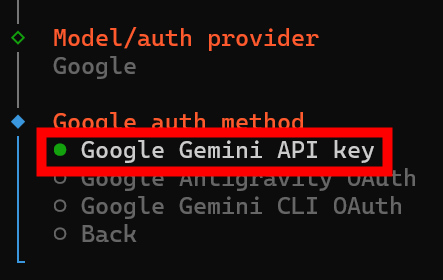
I selected 'Google Gemini API key' as the authentication method.
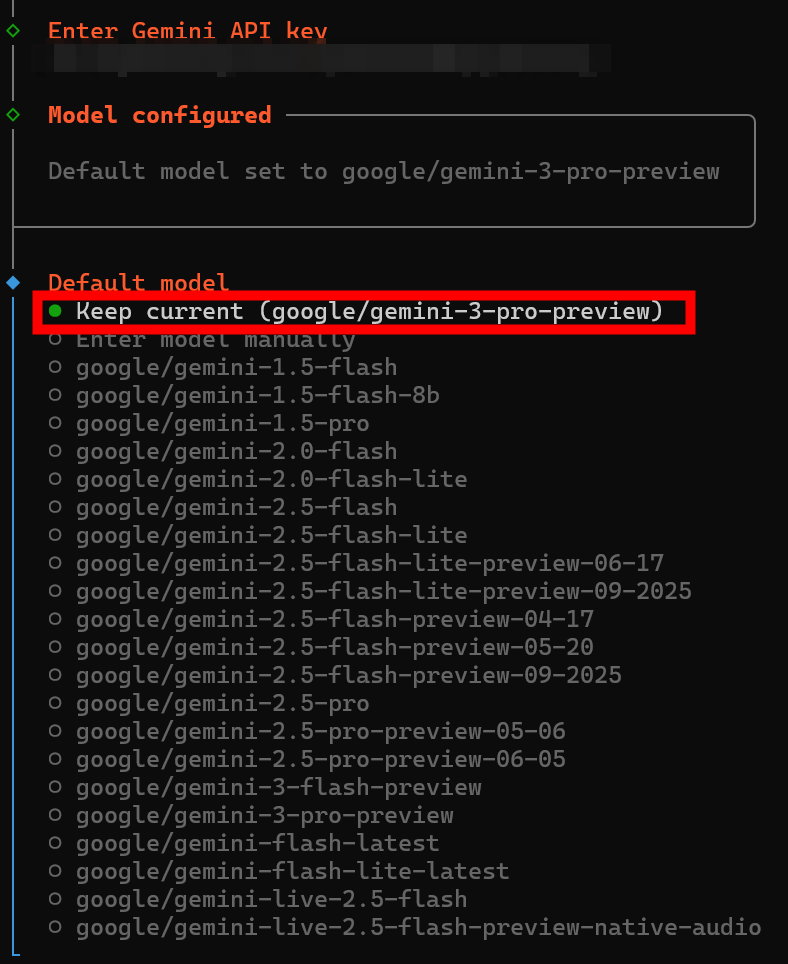
Enter the API key obtained from
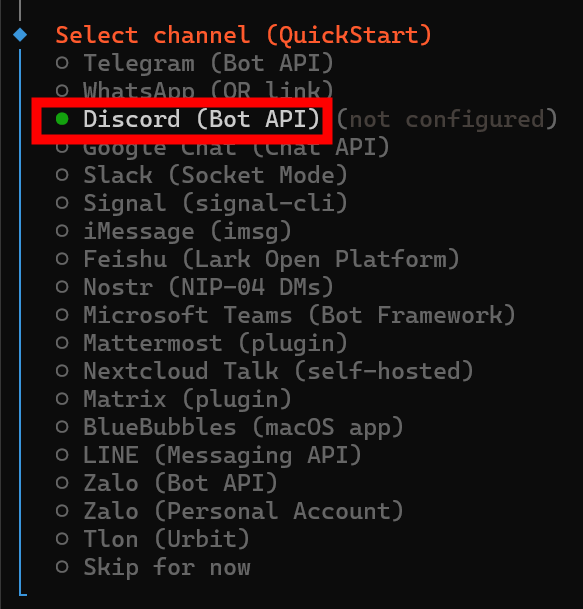
Select the messaging platform you want to use. Select 'Discord (Bot API)'.
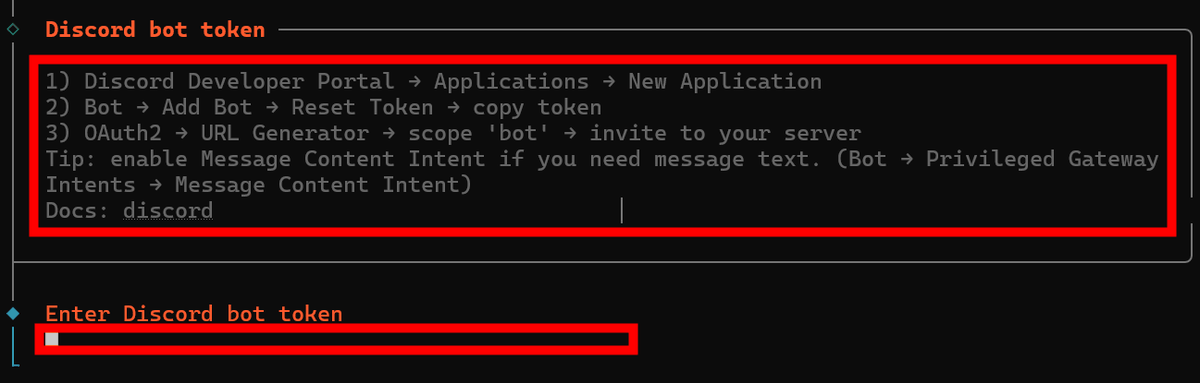
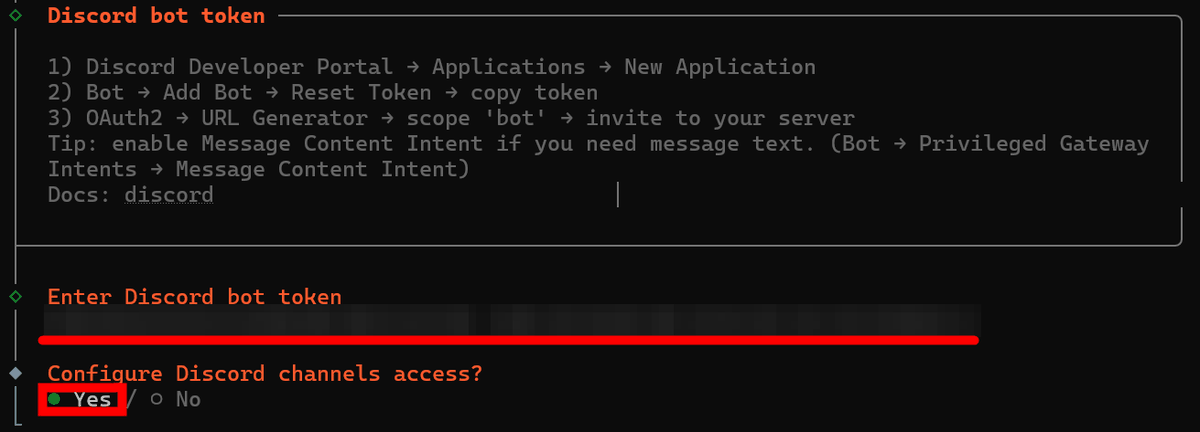
You will be shown instructions for obtaining a Discord token, and then taken to the screen where you can enter the token.
◆Procedure for using Discord Bot
To register an OpenClaw bot on your Discord server, go to
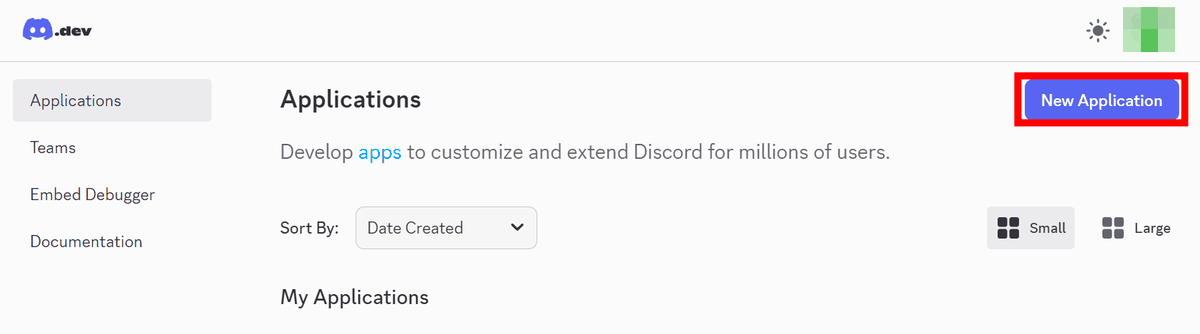
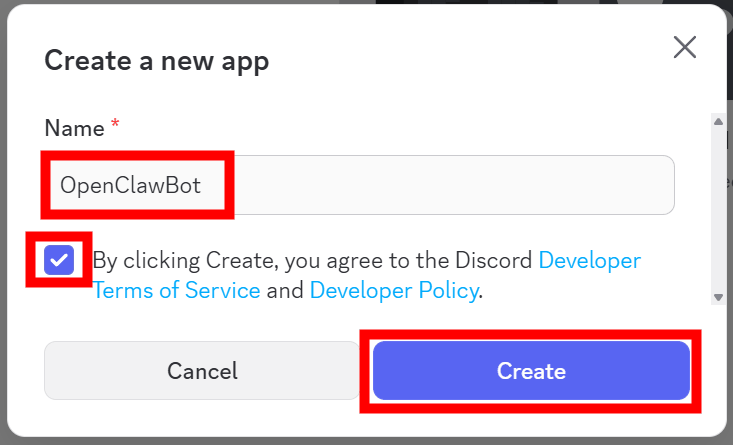
Enter any name in 'Name', check the terms and conditions checkbox and click the 'Create' button.
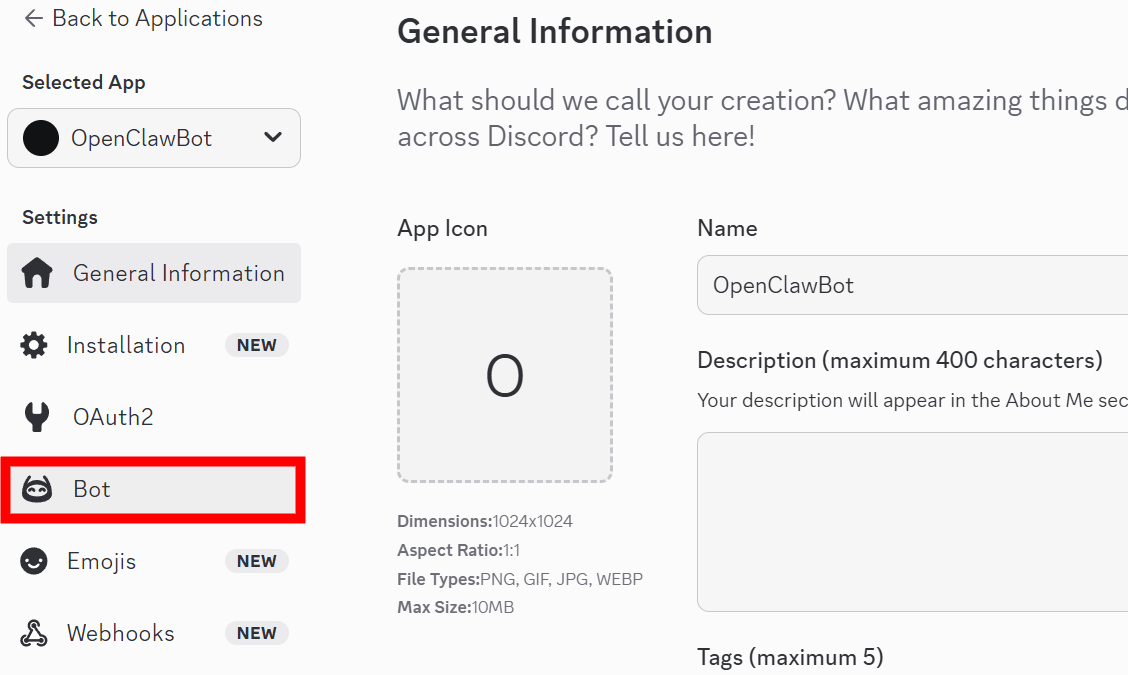
This will take you to the app settings screen, where you can click the 'Bot' tab.
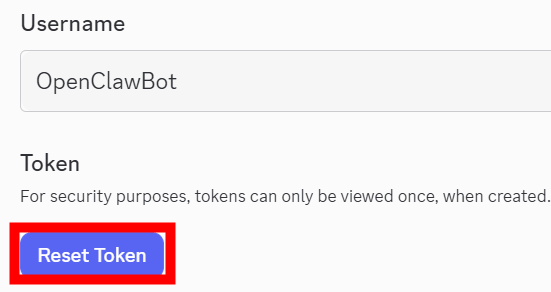
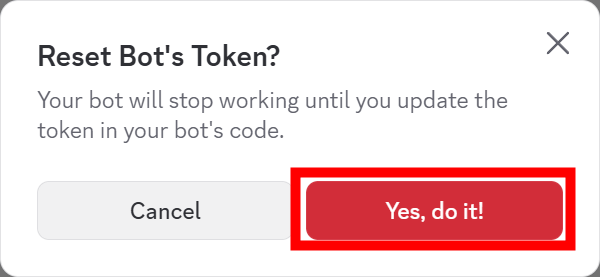
Click 'Reset Token' to generate a token.
A confirmation dialog will appear, so click the 'Yes, do it!' button.
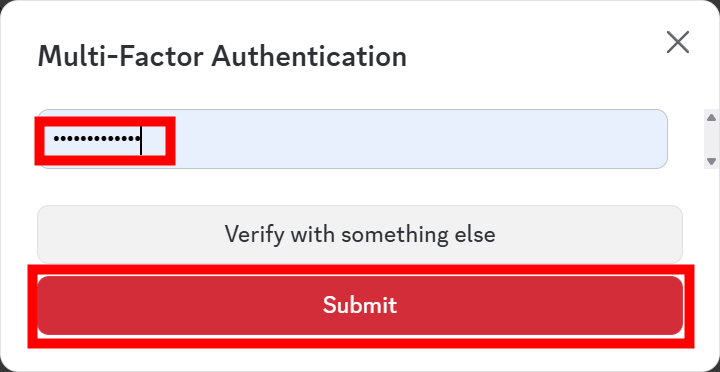
You will then be asked for a password for two-step authentication, so enter it and click the 'Submit' button.
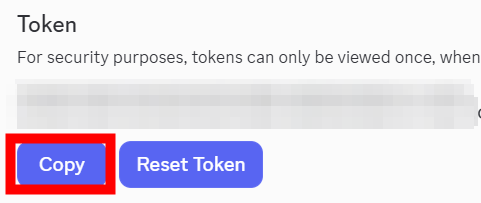
A token will be generated, so make a note of it.
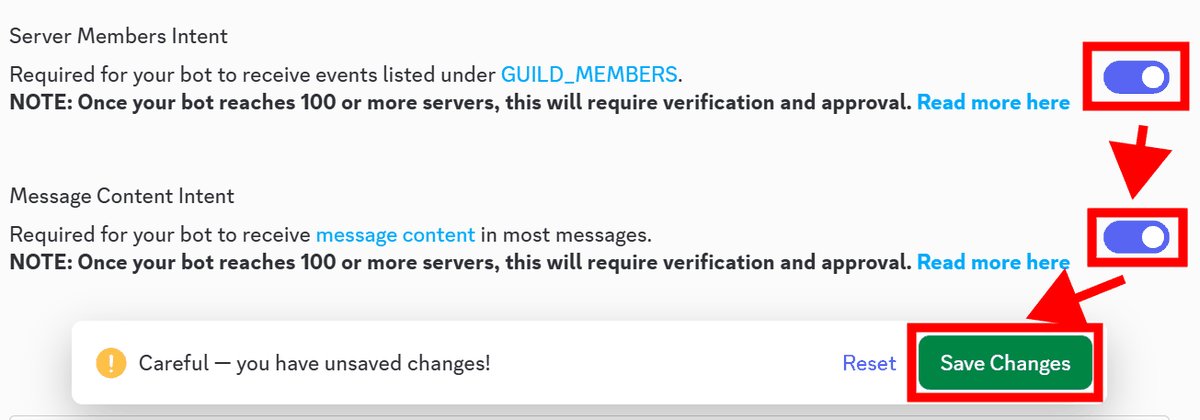
Just below where the token is displayed, in the 'Privileged Gateway Intents' section, turn on the 'Server Members Intent' and 'Message Content Intent' switches and click 'Save Changes' to save.
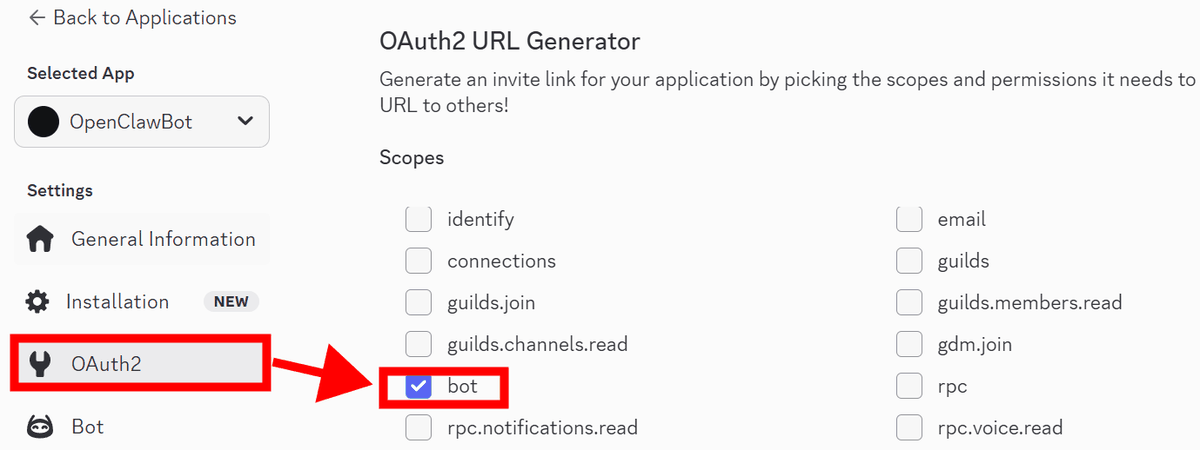
Next, to invite the bot to the server, click 'OAuth2' in the left menu and check the 'bot' checkbox under 'Scopes.'
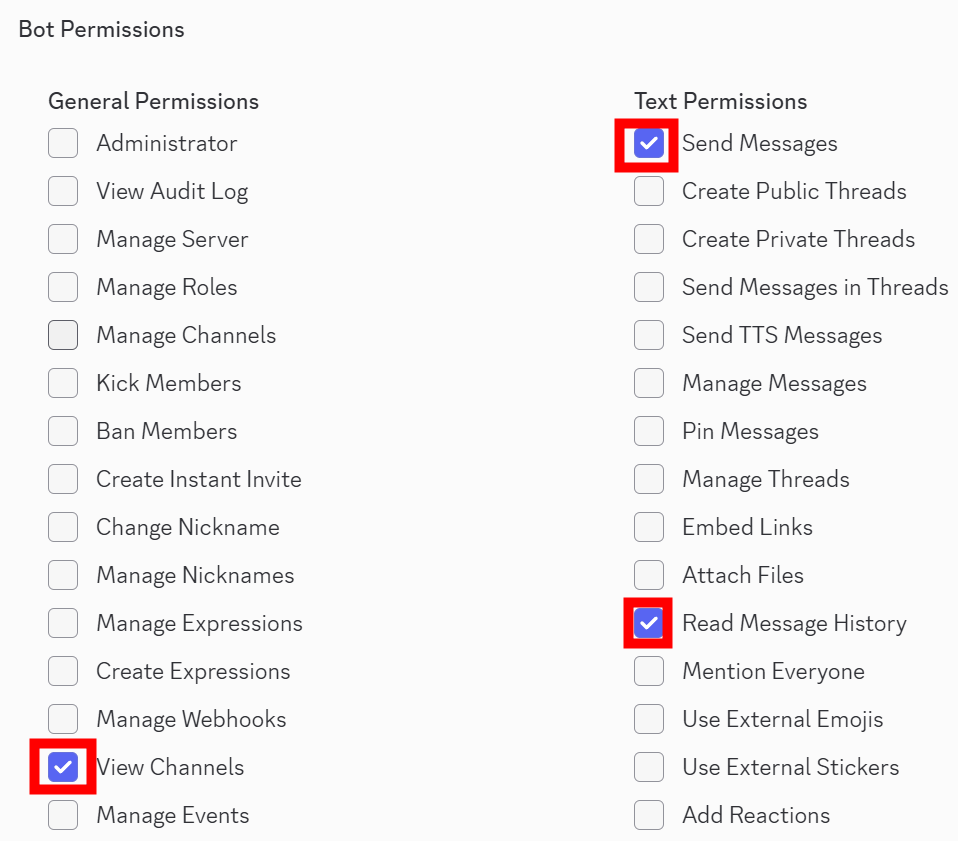
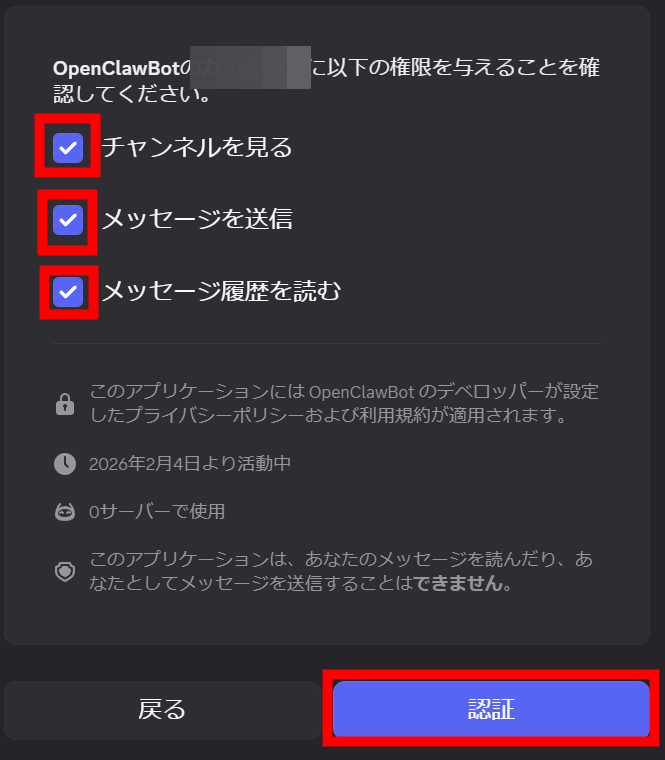
Scroll down and check the boxes for 'View Channels,' 'Send Messages,' and 'Read Message History' under 'Bot Permissions.'
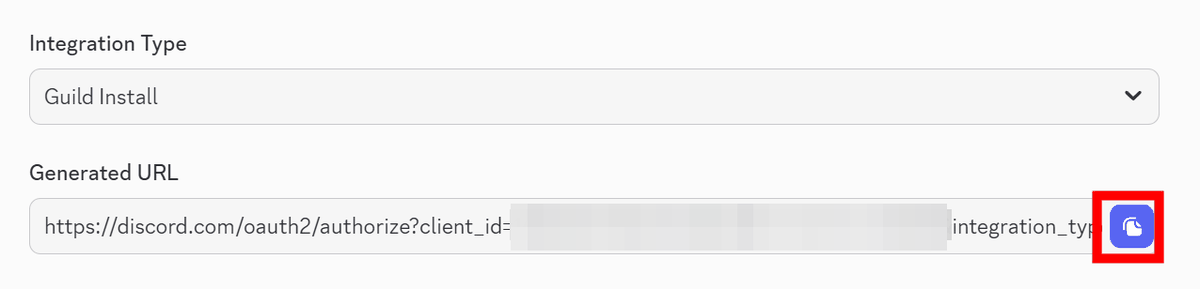
Click the 'Copy' button to the right of 'Generated URL' at the bottom of the page to copy the URL.
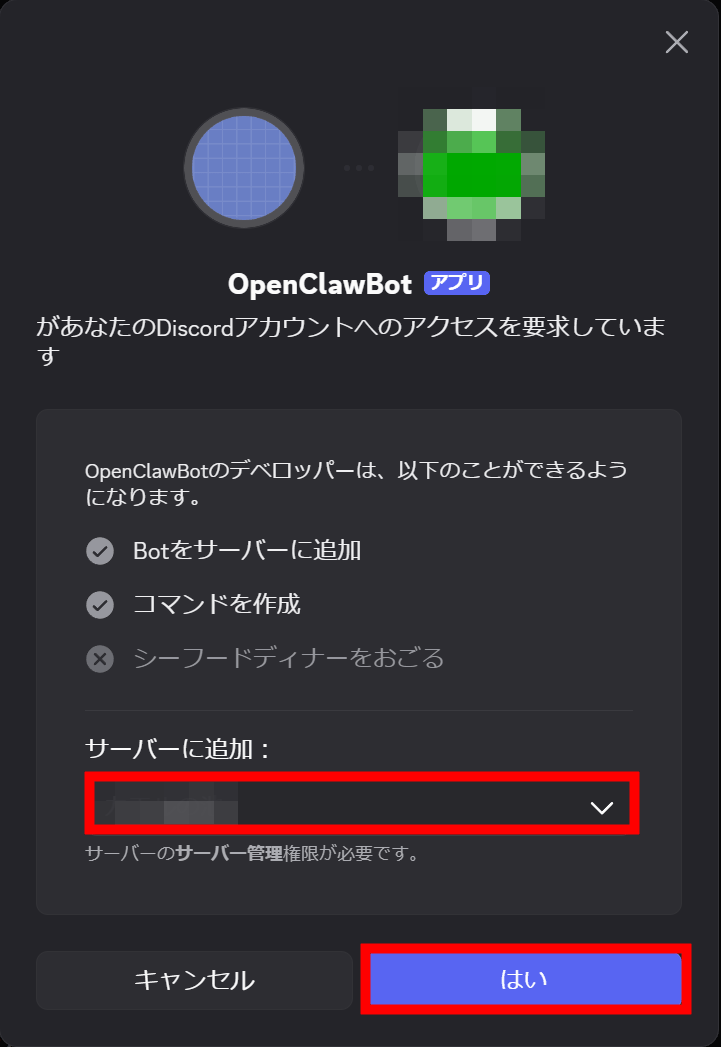
When you open the copied URL in your browser, a screen will appear asking you to select the server to which you want to invite the bot. Select the server you want to invite the bot to and click 'Yes.'
A dialog box will appear asking you to confirm permission, so click 'Authenticate'.
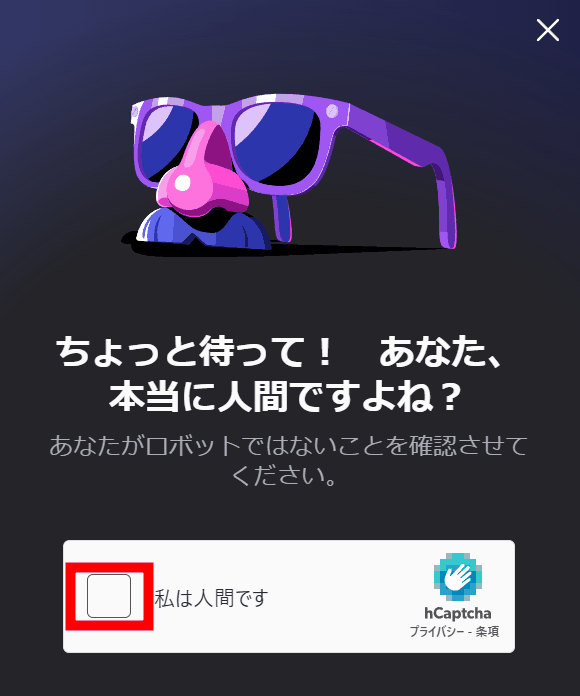
If a dialog box appears asking if you are a robot, check 'I am a human.'
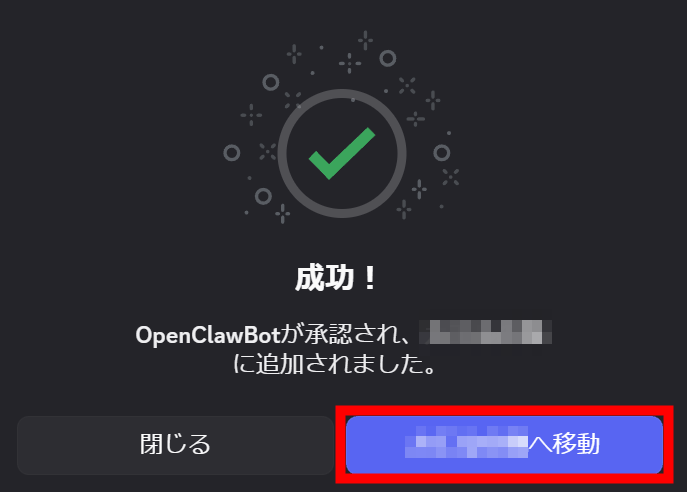
Registration is complete. Click 'Go to [Registered Name Server]'.
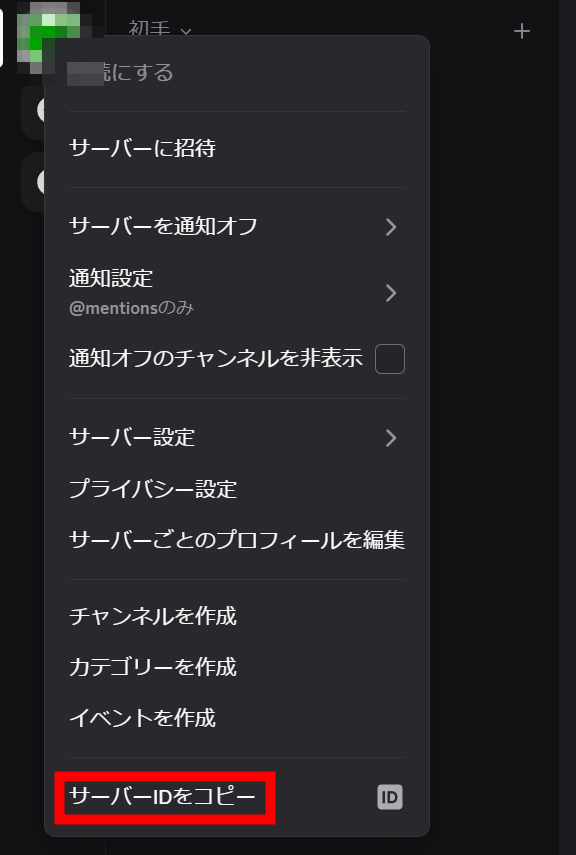
Right-click the registered server in the server list and click 'Copy Server ID' from the menu that appears. Paste it into a notepad or similar and make a note of it.
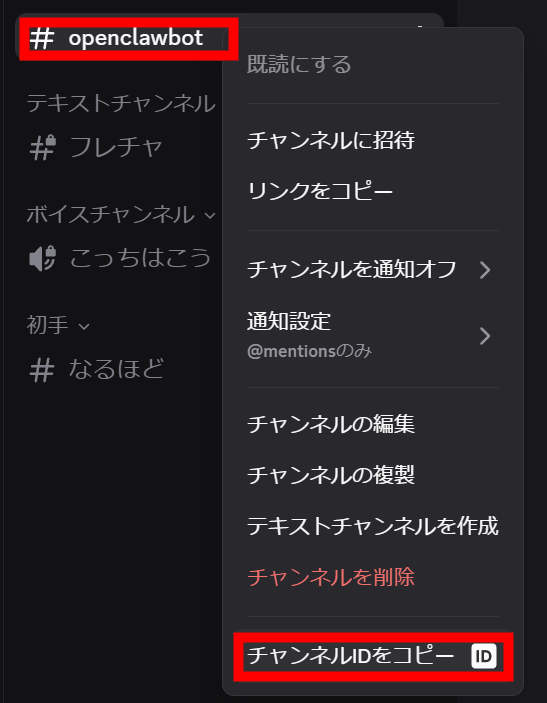
Next, right-click the channel you want to chat with the bot on and click 'Copy Channel ID.' Make a note of this in a notepad or similar.
Enter the bot token and select 'Yes' to continue setting up Discord, then press Enter.
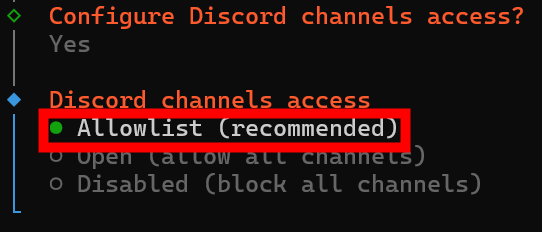
Select 'AllowList' as the channel access method.
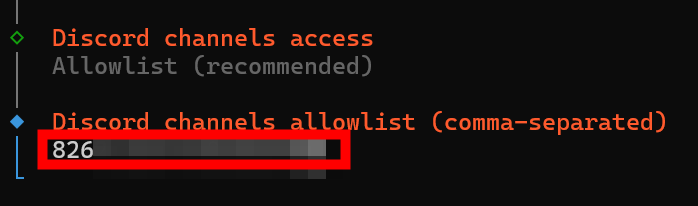
Enter the server ID and channel ID you noted down, separated by a '/'.
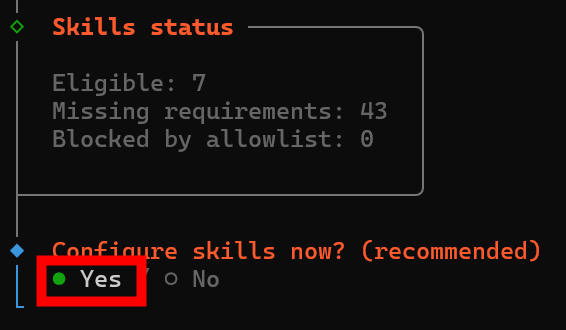
Next, you will be asked if you want to set up 'skills' - select 'Yes'.
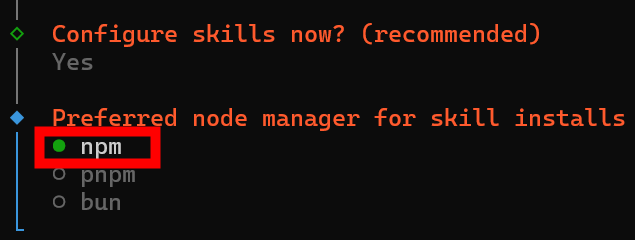
Select 'npm' as the package manager to use when installing the skill.
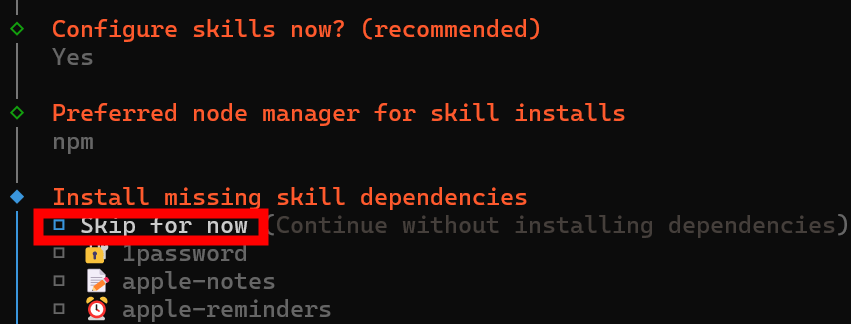
There are no skills to install right now, so select 'Skip for now.'
You will be asked if you want to use
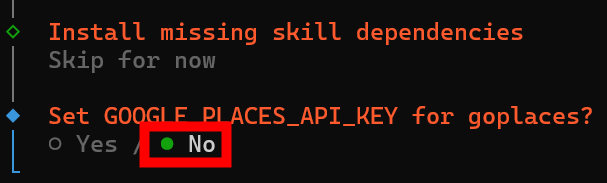
If you want to use
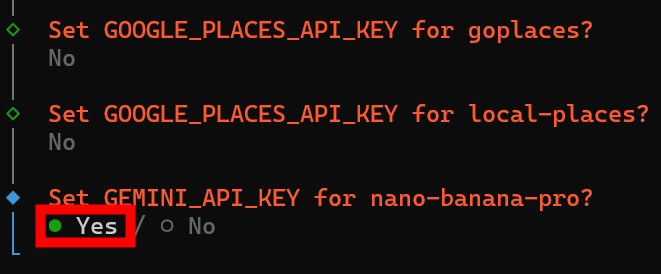
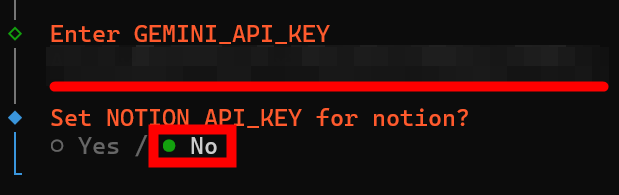
Enter 'GEMINI_API_KEY'. You will be asked for API keys for services such as
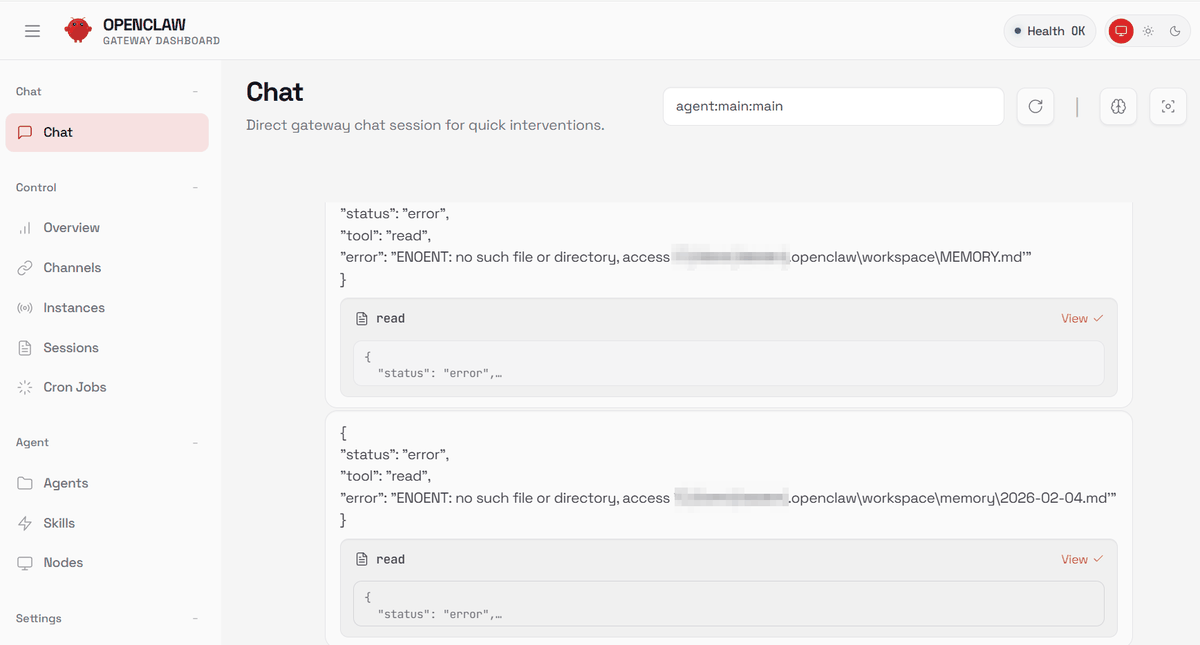
Once you have answered all the questions, the Gateway will start and display a URL to connect to the control panel 'Web UI.' Copy the URL with the token and open it in your browser.

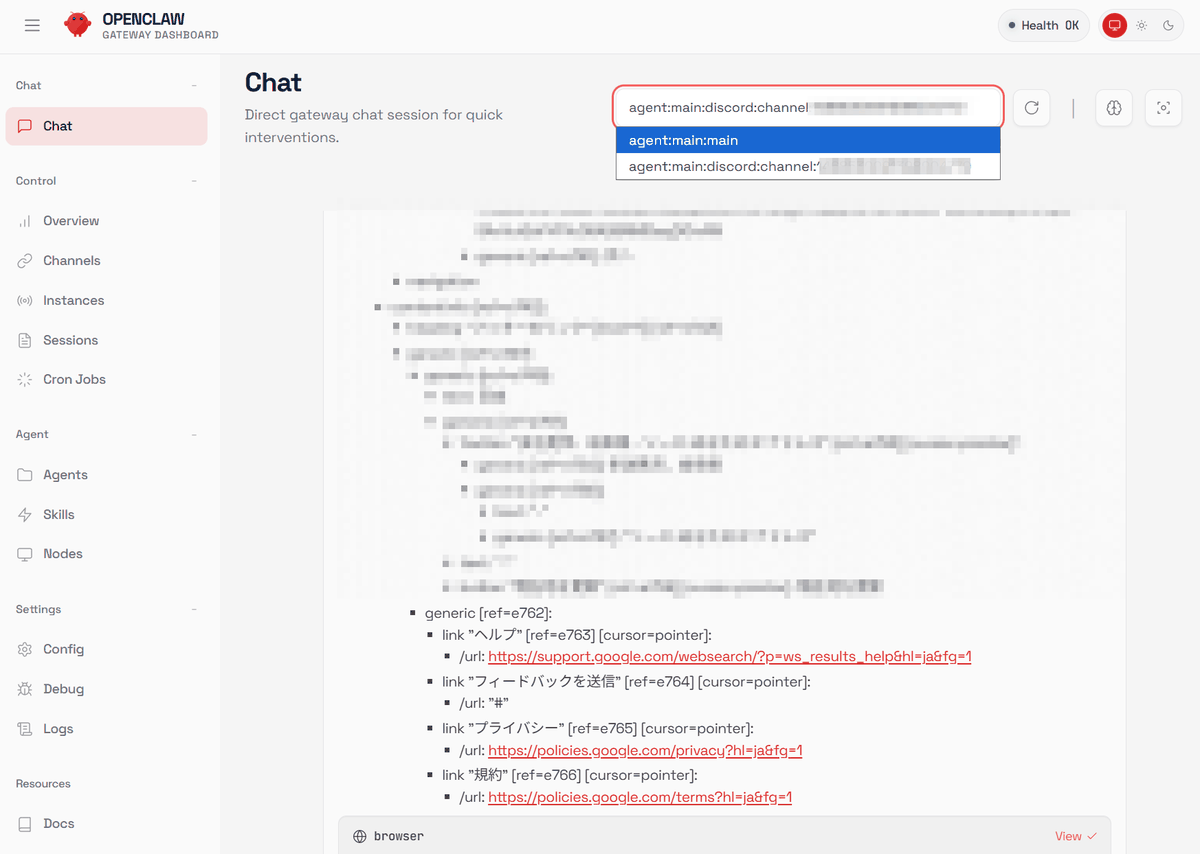
If the chat screen is displayed, the installation is complete. If an error message is displayed in the browser, the Gateway failed to start, so run the command 'openclaw gateway' to start it.
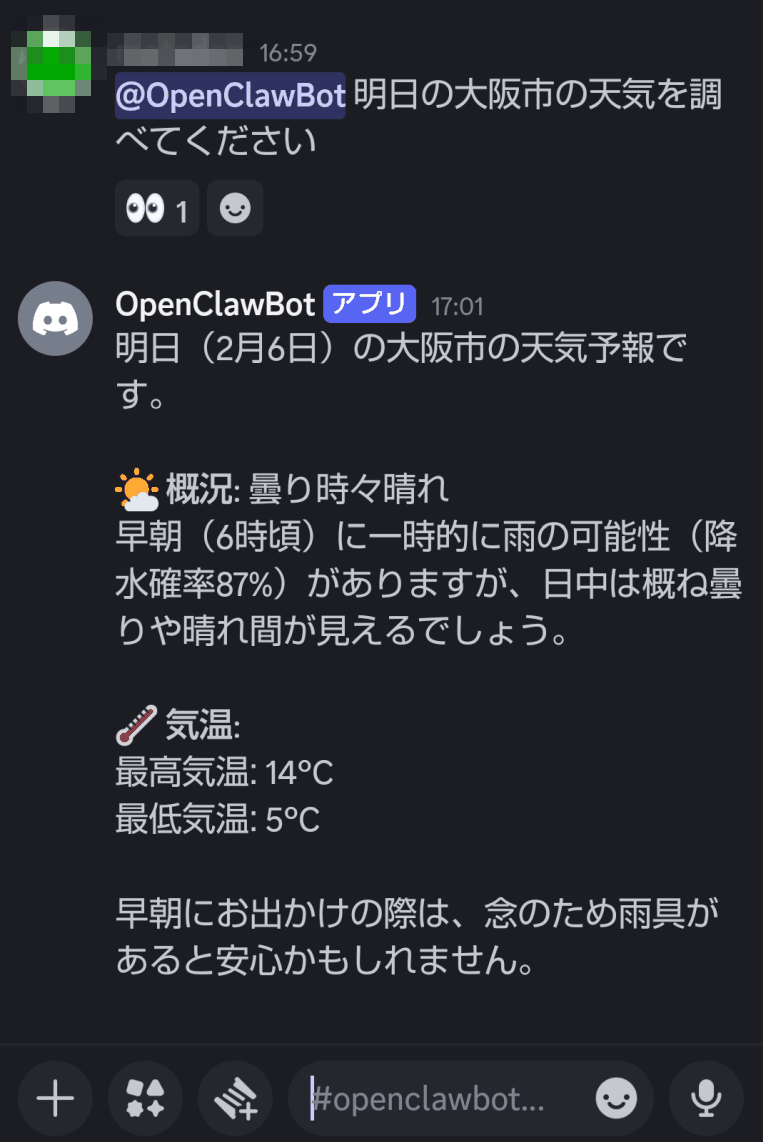
As a test, I sent a message to the bot I registered on Discord on my smartphone saying, 'Please check the weather in Osaka tomorrow.' Two minutes later, the bot returned a weather forecast. It took a little while, but it understood the question correctly.
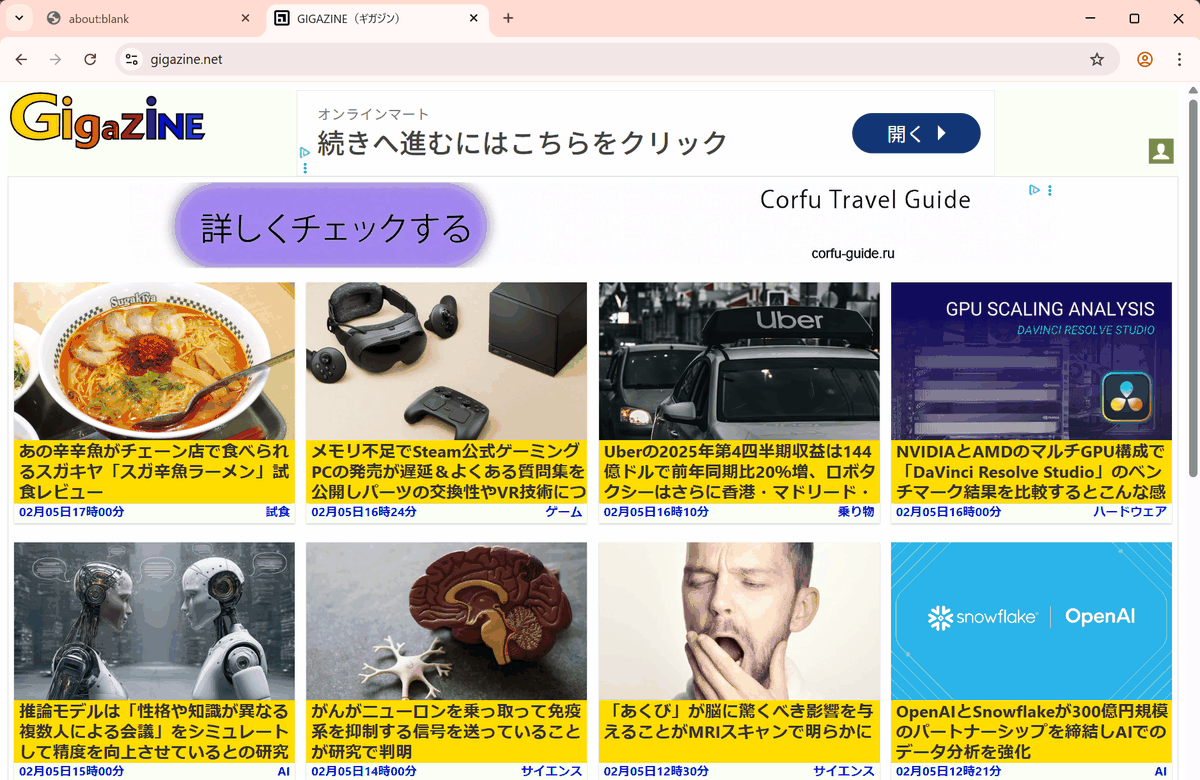
Browser operation is supported as standard, so if you start the browser and send a message to display GIGAZINE...
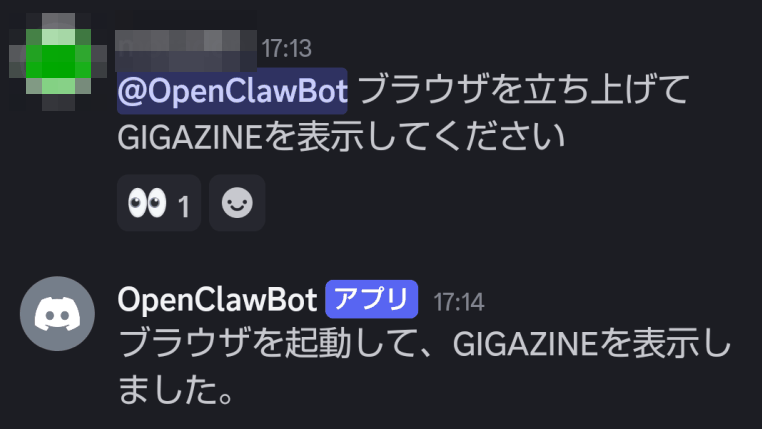
The PC browser started and GIGAZINE was displayed.
In addition, the dedicated OpenClaw app, which allows you to connect directly from a smartphone or MacOS without using chat, requires you to clone the source from the GitHub project and build it in your own environment.
Related Posts: