We used NVIDIA's tool 'LDAT' to measure the 'real delay experienced by users' that cannot be found in the gaming monitor's spec sheet. It is also possible to measure the refresh rate.

NVIDIA's latency measurement tool '
NVIDIA Reviewer Toolkit for Graphics Performance | GeForce News | NVIDIA
https://www.nvidia.com/en-us/geforce/news/nvidia-reviewer-toolkit/
·table of contents
◆1: What is LDAT?
◆2: Installing required software
◆3: Measuring delay with LDAT
◆4: Measuring the refresh rate with LDAT
◆1: What is LDAT?
Many gaming monitors advertise themselves as having 'low latency.' For example, the ASUS monitor below, the ' VX238H-P ,' advertises a response time of 1 millisecond. However, this number only indicates the time it takes for a drawing command to be received by the monitor and for the display to actually be drawn, and the spec sheet does not tell you the latency that users will actually experience.

The latency experienced by users is a combination of various processing times such as 'the time it takes for a mouse or controller button input to reach the CPU,' 'CPU processing time,' 'GPU processing time,' and 'monitor response speed.' LDAT is a tool that can measure the time it takes from pressing a mouse or controller button to being reflected on the screen after various processing.

You can check what kind of device LDAT is at the following link.

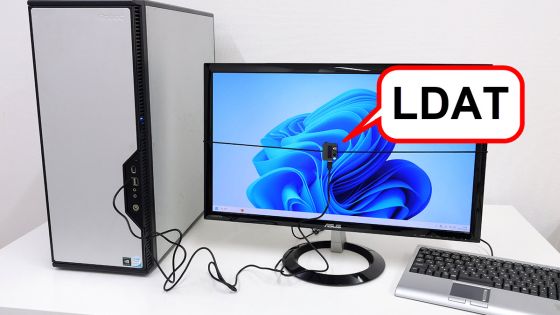
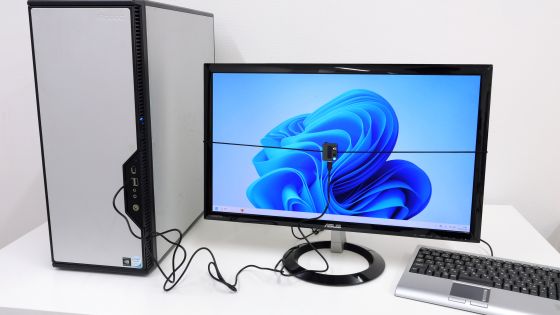
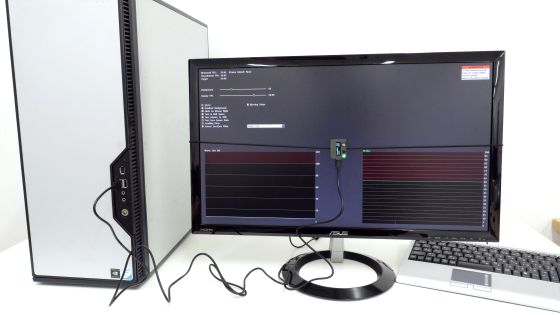
The hardware required to measure latency is a PC, a monitor, and an LDAT. The LDAT is attached to the monitor using a rubber band as shown below.
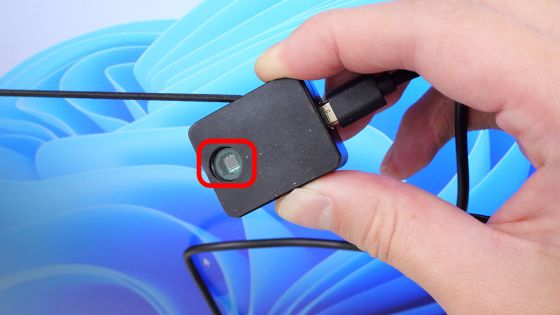
The back of the LDAT is equipped with a brightness sensor that can detect when the monitor's display content changes.
In addition, LDAT is recognized as a mouse by the PC and can emulate the 'clicking action of a mouse.'

In addition, a measurement app for LDAT that runs on Windows has also been released. By combining LDAT with the measurement app, you can measure the time it takes from clicking the mouse to the time the result is displayed on the monitor after various processes.
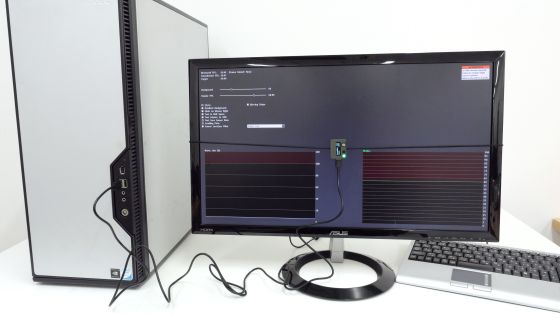
◆2: Installing required software
To actually measure the delay with LDAT, install the necessary software on your PC. If you just want to know what you can do with LDAT, you can skip to '
First, click the link below to access the software distribution page.
NVIDIA Latency and Display Analysis Tool | NVIDIA Developer
https://developer.nvidia.com/nvidia-latency-display-analysis-tool
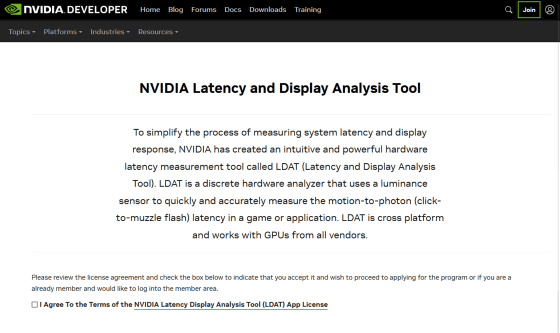
Please read the license carefully, check the box to accept it, and click 'Download'.

Enter

Enter your password and click 'Log In'.

A ZIP file will be downloaded automatically.

Right-click the downloaded ZIP file and click 'Extract All'.

Specify the destination and click 'Extract'.
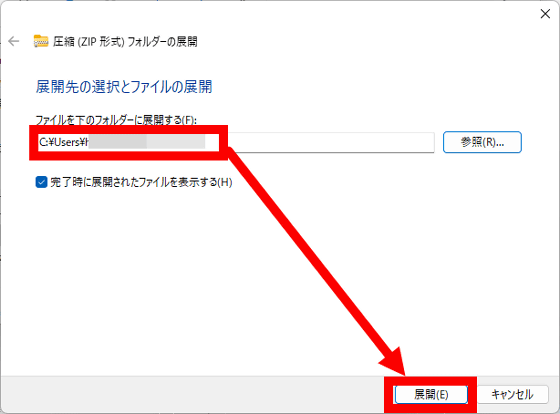
The extracted folder contains a folder containing the driver and a measurement app. Go to 'Sensor Driver' to install the driver.

Double-click 'install.bat' to run it.

A command prompt will appear and the driver installation will proceed. When the installation confirmation dialog appears, click 'Install'.

When you see the message 'Press any key to continue,' press Enter to close the command prompt. The installation of the necessary software is now complete, so restart the PC on which the driver was installed before proceeding with the measurement.

◆3: Measure the latency with LDAT
To measure latency, you will need a PC with the measurement app installed, a monitor to measure, an LDAT, and a USB cable to connect the LDAT to the PC.
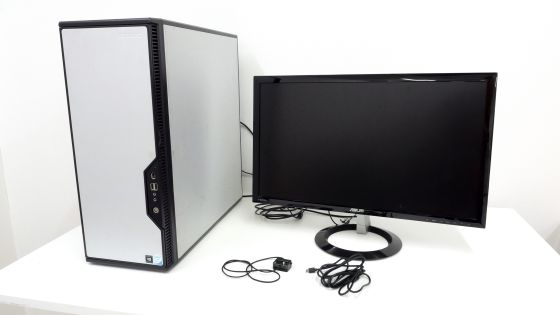
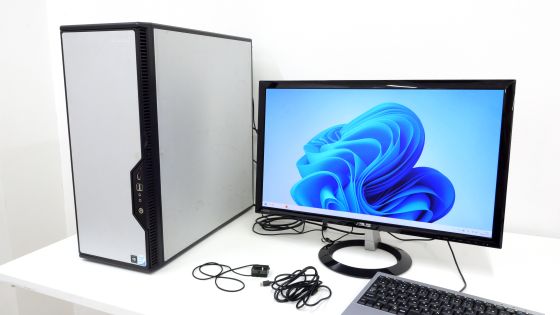
Connect the PC and monitor and power them on.
Next, connect the LDAT to the PC.
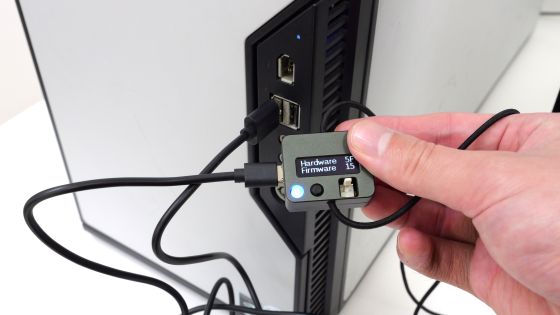
Attach the LDAT to the monitor.
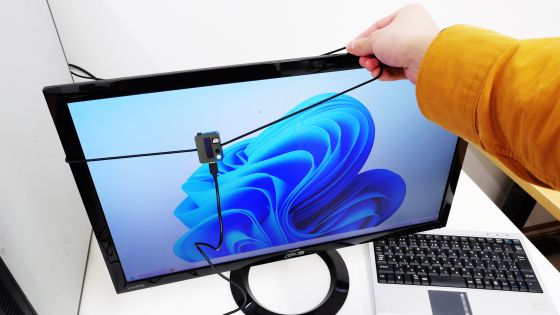
Once you have adjusted the LDAT so that it is positioned near the center of the monitor, the hardware is ready.
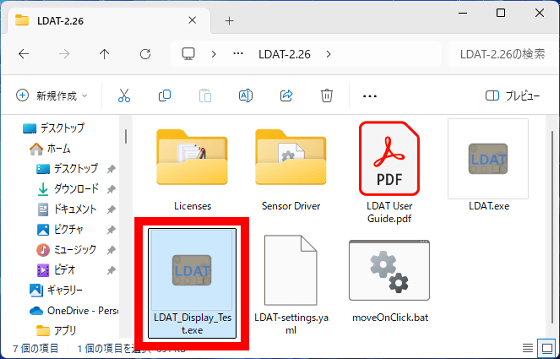
Next, launch the measurement app 'LDAT_Display_Test.exe'.
When you start the application, the following screen will be displayed in full screen.
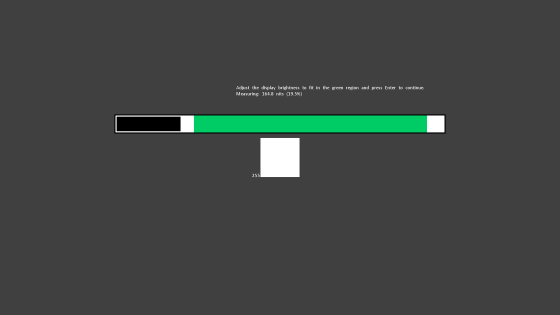
Move the LDAT so that the sensor on the back touches the white square in the center of the screen. The black bar will expand according to the amount of light detected by the sensor, so press the Enter key when the black bar reaches the green area. If there is not enough light, just increase the monitor brightness.
When the measurement screen appears, preparation for measurement is complete.
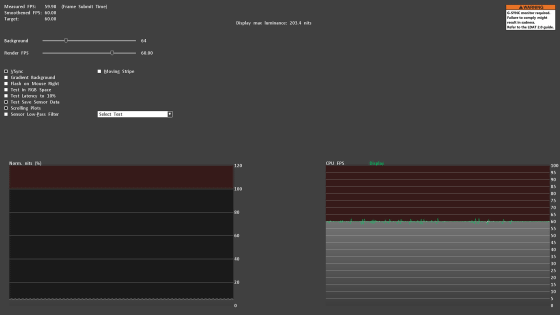
The measurement screen looks like this. Various settings are displayed in the upper left, and the progress of the screen brightness is displayed in the lower left.
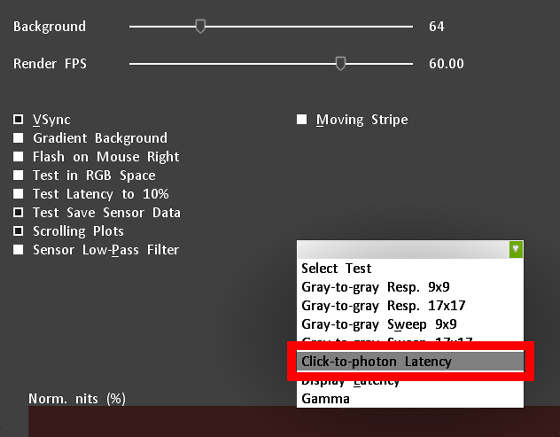
Clicking on 'Click-to-photon Latency' in the dialog in the upper left of the screen will start measuring the time it takes from clicking the mouse to going through various processes and the result being displayed on the monitor.
Below is a video recording the measurement. When you click on the screen, a white square appears in the center of the screen. By measuring the time from 'the moment LDAT issues a click event' to 'the moment the white square appears', the time from 'clicking the mouse to the time the result is drawn on the monitor after various processing' is derived. The number of measurements was 200.
The measurement results will be saved in CSV format in the same folder as 'LDAT_Display_Test.exe'. Open the saved CSV file in Notepad.
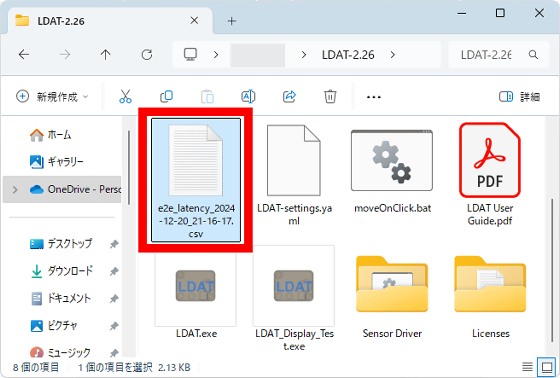
At the bottom of the file, the 'average latency', 'minimum latency', and 'maximum latency' were recorded. The response time of the monitor used this time is 1 millisecond, but in reality, the average latency experienced is 49.7 milliseconds.

VSync was enabled by default, so I disabled VSync and tried measuring again.
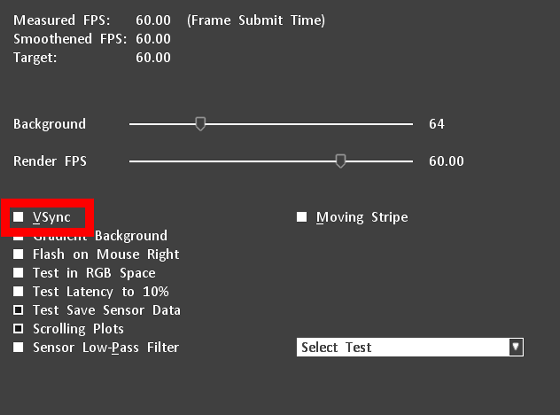
The average latency was reduced to 12.6 ms.

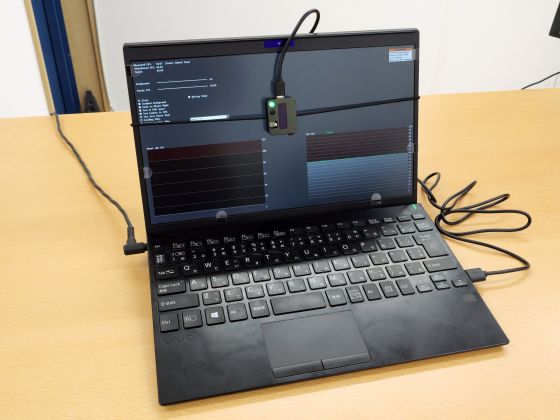
In this way, LDAT can measure the latency including the CPU and GPU processing time, so it can verify the effects of 'GPU latency reduction function' and 'mouse latency reduction boost mode'. In addition, you can also measure the screen display latency of a laptop PC as follows.
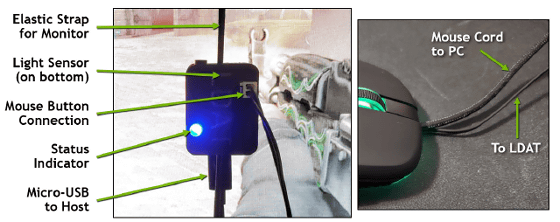
In addition, by modifying the wiring of a mouse or controller and connecting it to LDAT, it is possible to measure delays when using various devices rather than emulating LDAT.
◆4: Measuring the refresh rate with LDAT
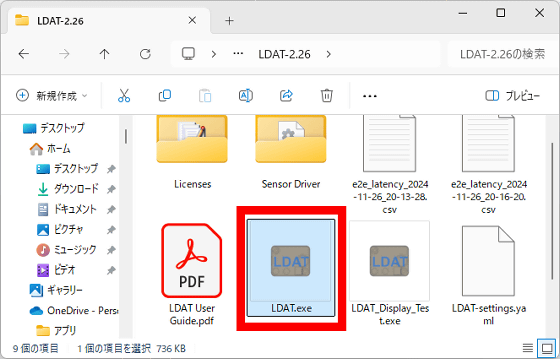
LDAT also has a refresh rate measurement function, so let's try it out. First, connect LDAT to your PC and double-click 'LDAT.exe' to run it.
Once started, press the Q key on your keyboard.
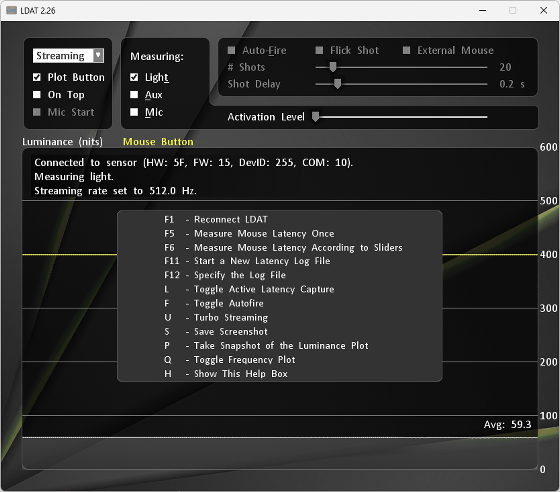
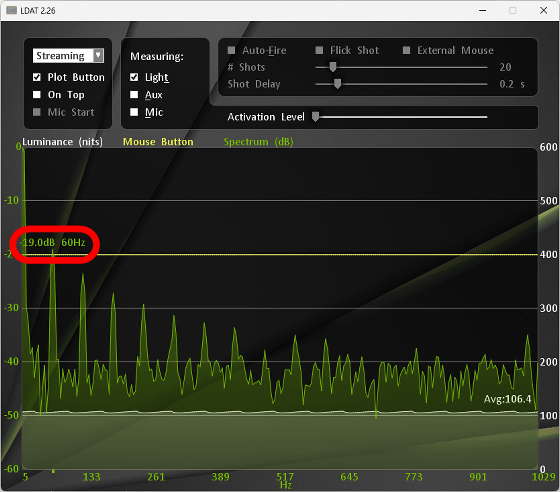
Then, the following graph will be displayed. The horizontal axis shows frequency and the vertical axis shows signal magnitude.
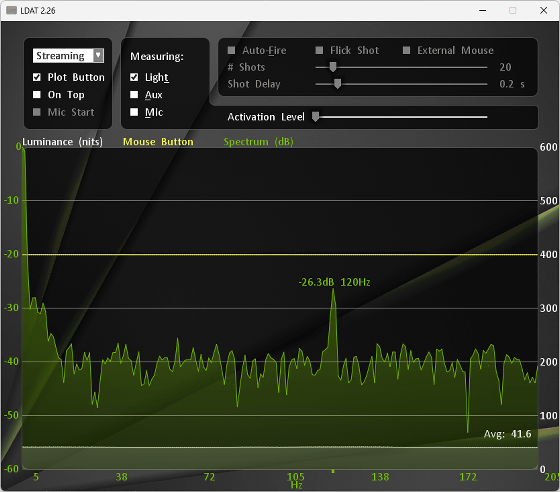
In the initial state, the measurable bandwidth is narrow, so press the U key to expand the bandwidth.
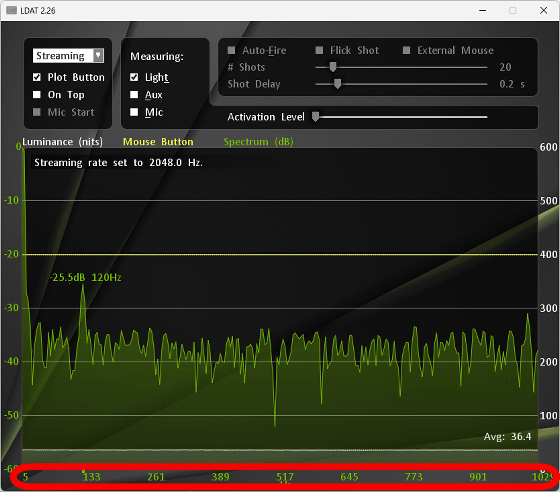
Once you have set up all of this, press the sensor surface of the LDAT against the monitor whose refresh rate you want to measure.
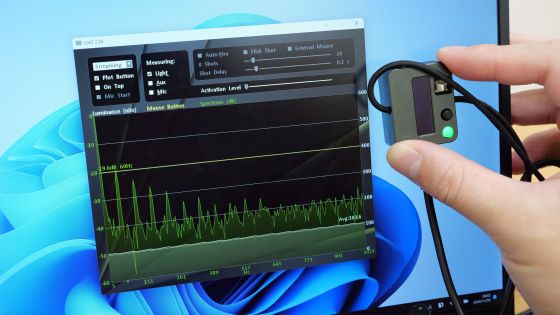
Below is the result when LDAT is pressed against an LCD monitor with a refresh rate of 60Hz. The peak part indicates the screen refresh rate.
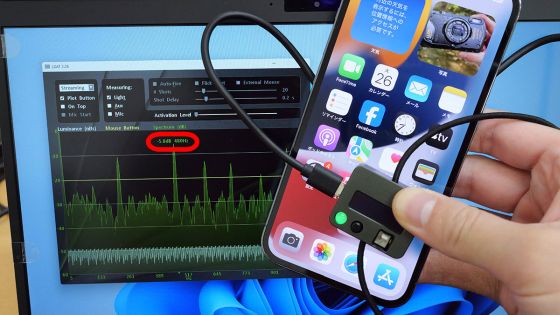
The iPhone 13 Pro screen ran at 480Hz.
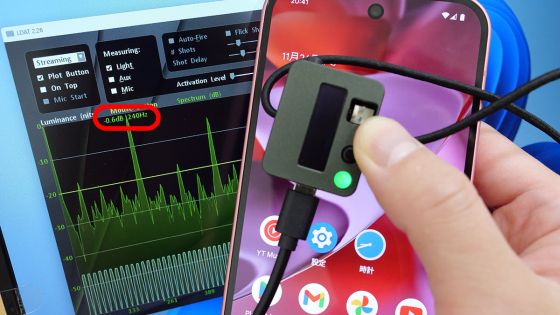
The Pixel 9 had a 240Hz screen.
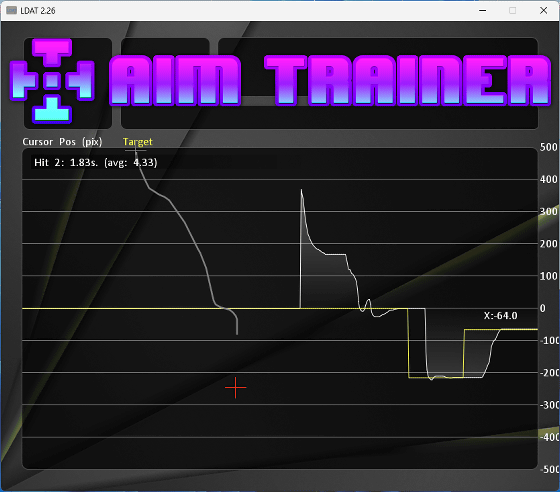
In addition, LDAT also has an audio spectrum analyzer function and an aim practice function.
Related Posts:


