Review of 'Studio' for building a free local WordPress environment

WordPress.com's official tool ' Studio ' allows anyone to easily build a local WordPress environment for free without the need to install Docker or a web server, and it has been announced that AI support functions will be integrated into Studio on Tuesday, October 29, 2024. I actually tried using Studio.
Studio by WordPress.com – WordPress.com Developer Resources
Meet the Studio Assistant: Your Smart Companion for Building WordPress Sites Locally – WordPress.com News
https://wordpress.com/blog/2024/10/29/studio-assistant/
Visit the Studio official website and download the installer. Since we are installing the Windows version this time, click 'Download for Windows'. The installer is in EXE format and the file size is about 178MB.
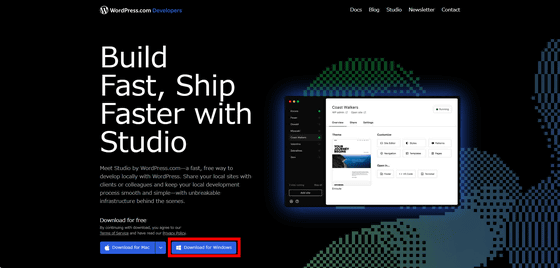
When you start the installer, the installation will begin automatically.

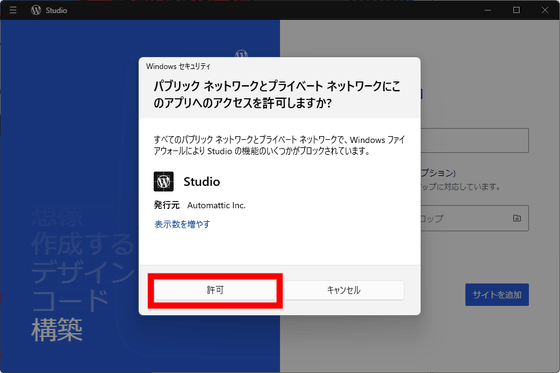
Once the installation is complete, you will be asked for permission to access the public and private networks, so click 'Allow'.
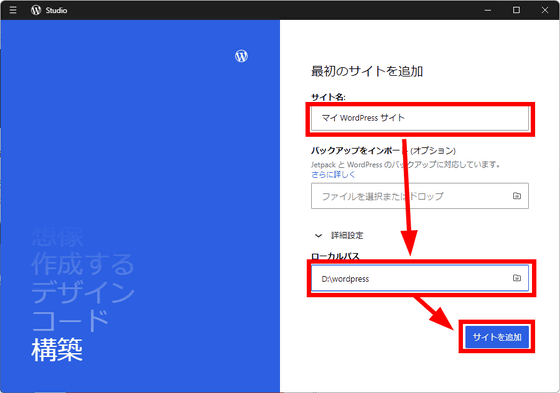
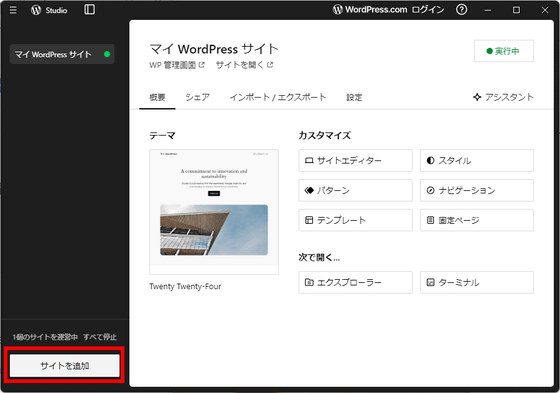
Specify the site name and the local path where the files will be saved, and click Add Site.
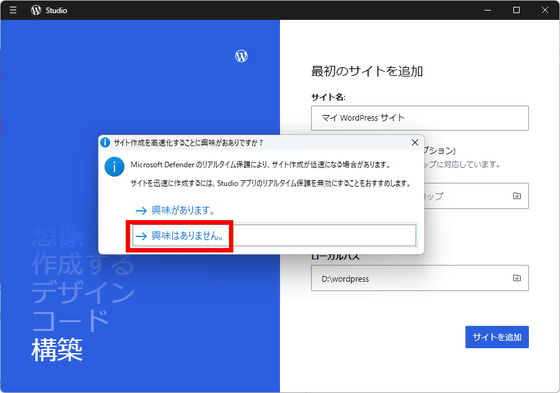
It says that Microsoft Defender is taking a long time to create the site, and asks if you want to disable real-time protection. This time, I chose 'I'm not interested.'
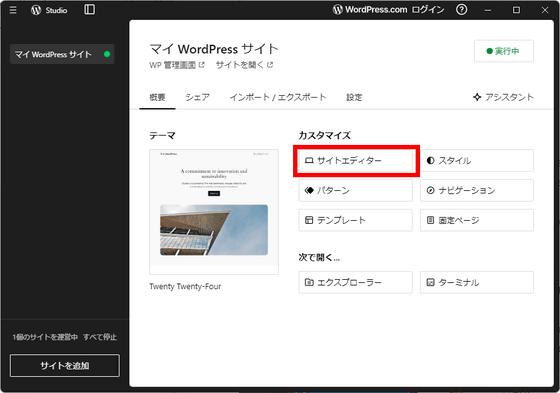
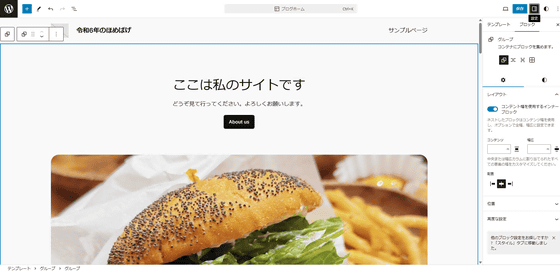
The demo site will be created. Studio supports Japanese, and the UI display language was automatically set to Japanese. Click 'Site Editor' under 'Customize'.
This will open the WordPress site editor in your browser. You can easily create a WordPress site in your browser without having to go through any complicated settings.
You can create up to five free demo sites by clicking 'Create a site' at the bottom right. The created demo site will be valid for 7 days from the last update and will be automatically deleted when it expires.
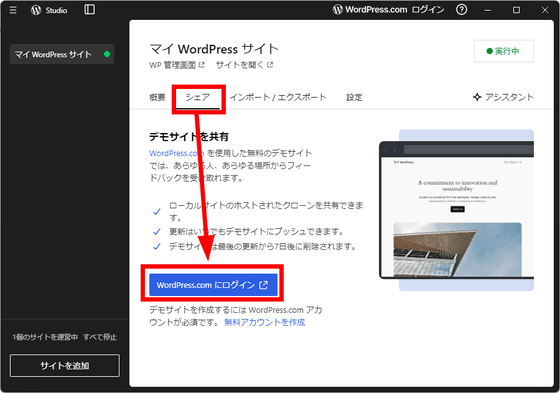
In Studio, you can easily share your pre-published site with others by logging in to your WordPress.com account. Select the 'Share' tab and then 'Log in to WordPress.com'.
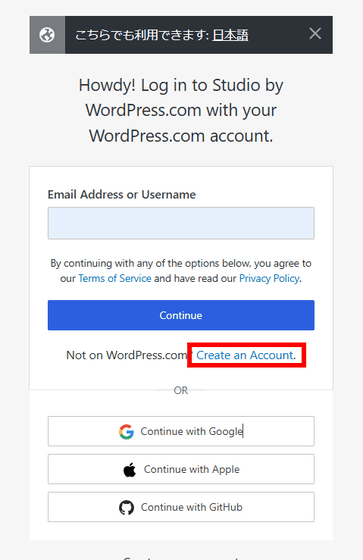
The login screen will open in your browser. To create an account, click 'Create an Account'.
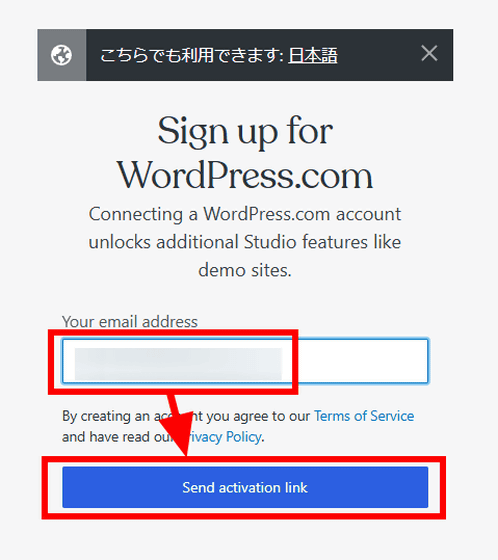
Enter your email address and click 'Send activation link.'
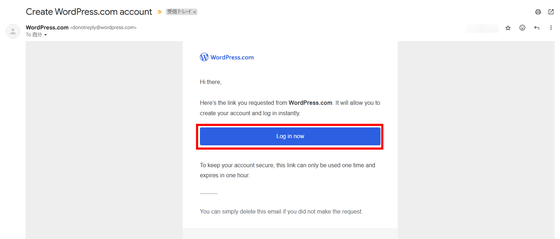
Click the “Log in now” button in the email you received from WordPress.com.
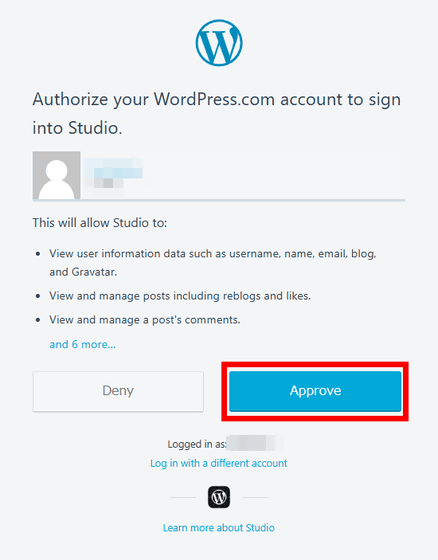
Click “Approve”.
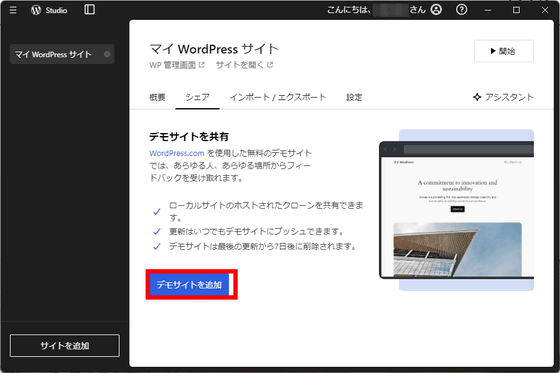
Once you have successfully logged in, the 'Add demo site' button will appear in the 'Share' tab of the demo site you want to share, so click it.
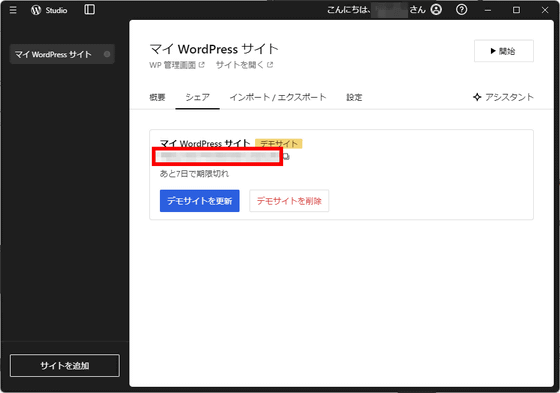
A sharing URL is displayed.
The Import/Export tab allows you to import and export site content. Export allows you to export the entire site as a ZIP file and the database as a SQL file.
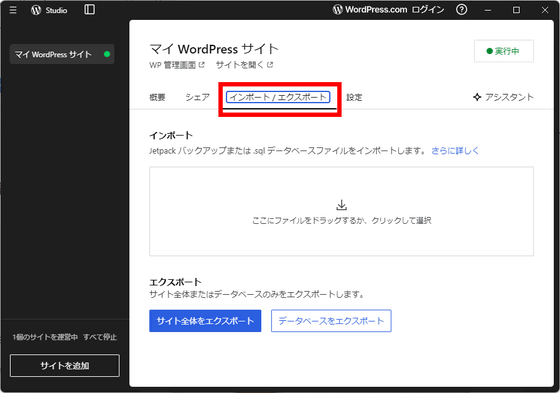
By using Import/Export, you can migrate from a hosted WordPress environment to a local environment using Studio, or upload a site created with Studio to a hosted WordPress site. For details, see the following document.
Studio – WordPress.com Developer Resources
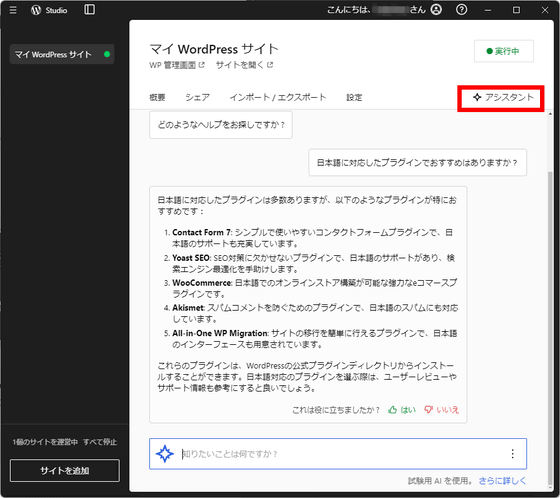
The 'Assistant' tab, which was added on October 29, allows you to ask how to build your site or execute complex WP-CLI commands through a simple and intuitive chatbot-style interface. You can enter up to 200 prompts per month for free.
Related Posts:
in Review, Software, Web Service, Posted by log1i_yk

