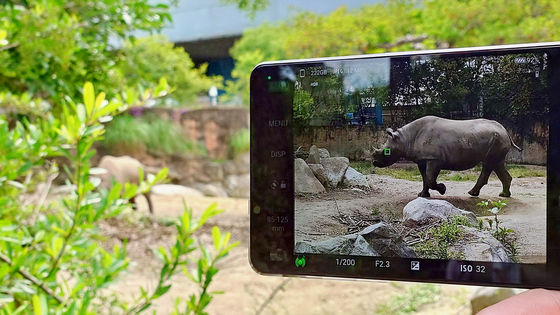
Various examples of photos and videos taken with the 'Xperia 1 VI' and 'Xperia 10 VI' cameras
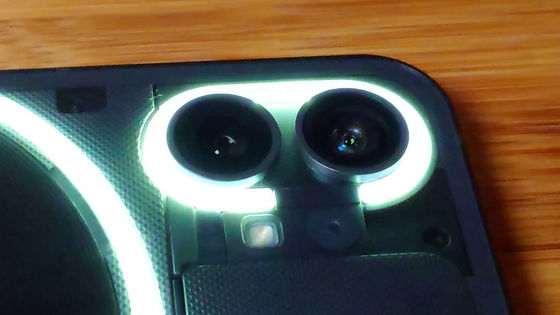
The flagship smartphone model from Sony, the Xperia 1 series, comes equipped with a dedicated photo app,
Xperia 1 VI | Xperia | Sony
https://www.sony.jp/xperia/xperia/xperia1m6/
Xperia 10 VI | Xperia | Sony
https://www.sony.jp/xperia/xperia/xperia10m6/
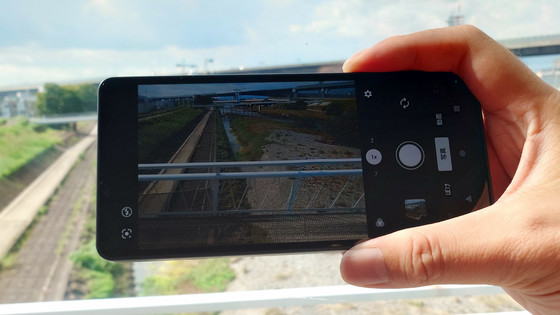
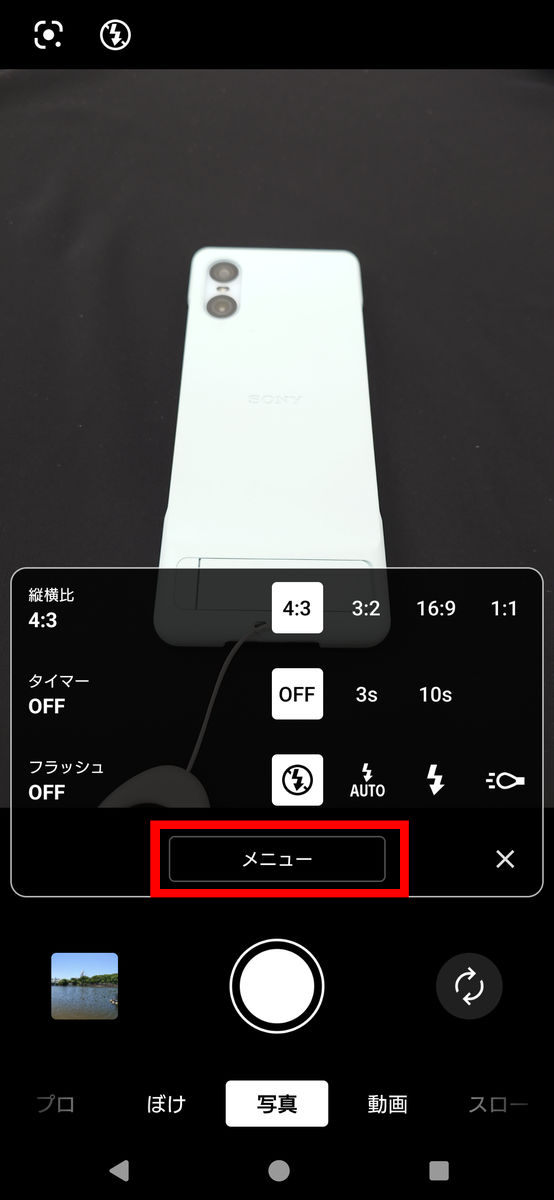
The screen immediately after launching the new camera app looks like this. It has become a fairly orthodox UI. The previous model camera app 'Photography Pro' expressed the multiple cameras by focal length such as '24mm' and '50mm' and switched between them, but the new app expresses them by magnification, such as '.7', '1x', '2', and '3.5 7.1'. '.7' is the ultra-wide-angle lens (16mm), '1x' and '2' are wide-angle lenses (24mm and 48mm), and '3.5 7.1' is the telephoto lens (85mm-170mm). Tap the gear icon on the right to display various setting screens.

The settings screen looks like this. You can customize the 'Aspect Ratio,' 'Timer,' and 'Flash' settings. For other settings, tap 'Menu.'
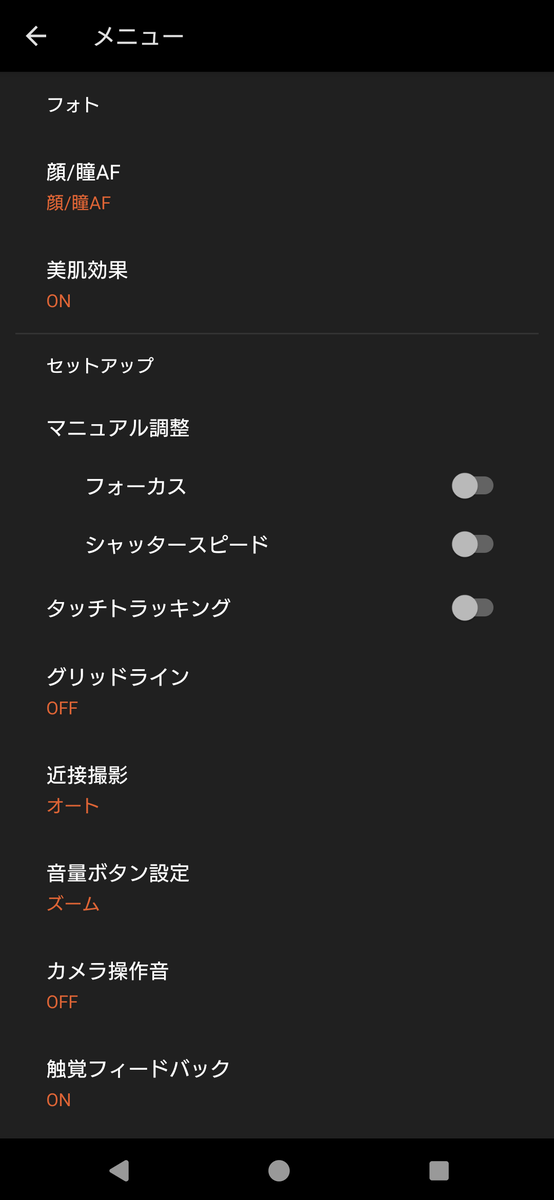
You can switch between 'Face/Eye AF', 'Skin Beautification Effect', grid line display, camera operation sounds, etc.
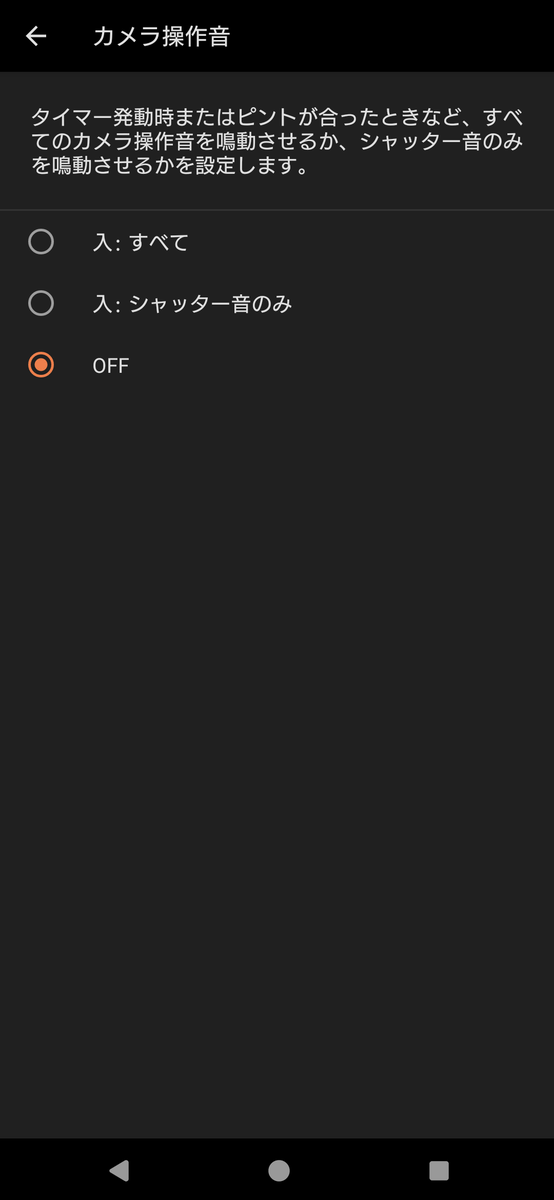
You can choose from three camera operation sounds: 'On: All', 'On: Shutter sound only' and 'Off'.
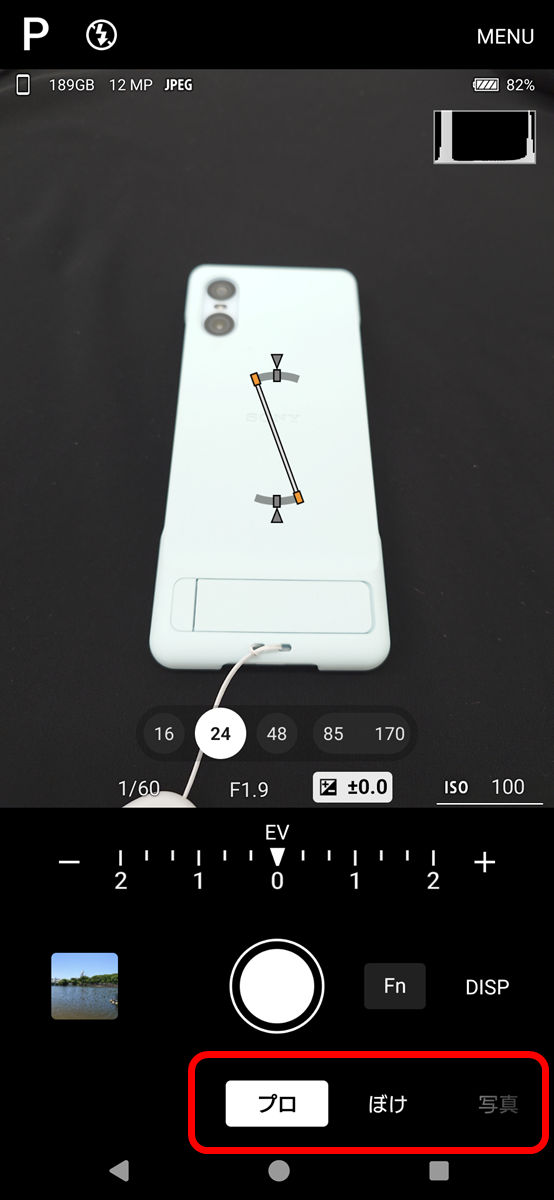
Return to the shooting screen. Swipe the menu at the bottom to switch to a camera for different purposes. 'Pro' allows you to fine-tune exposure, ISO, etc.
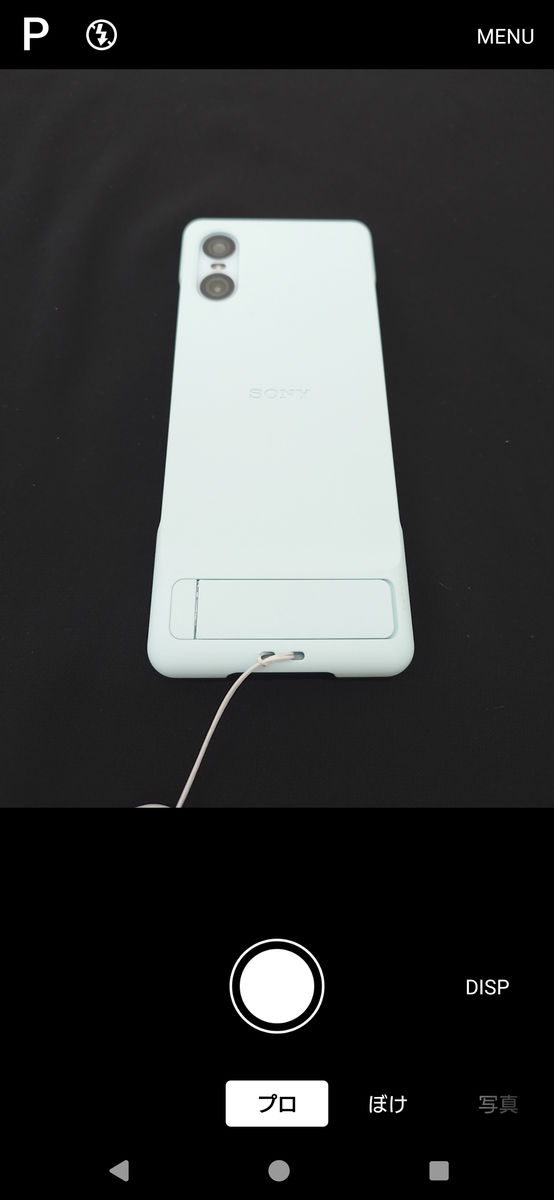
By tapping 'DISP' you can change the amount of information displayed on the screen. You can also reduce it to this extent.
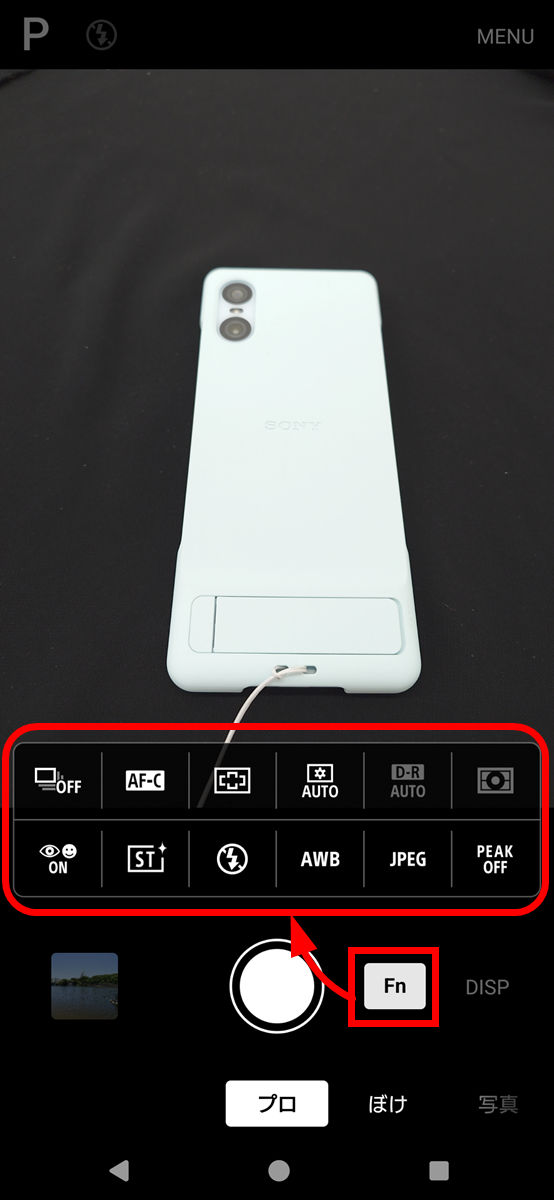
By tapping the 'Fn' button, you can change the shooting mode, AF mode, etc. If you are familiar with using digital cameras, you may want to set various things in this mode.
'Bokeh' adds a strong blur to the areas around the subject.

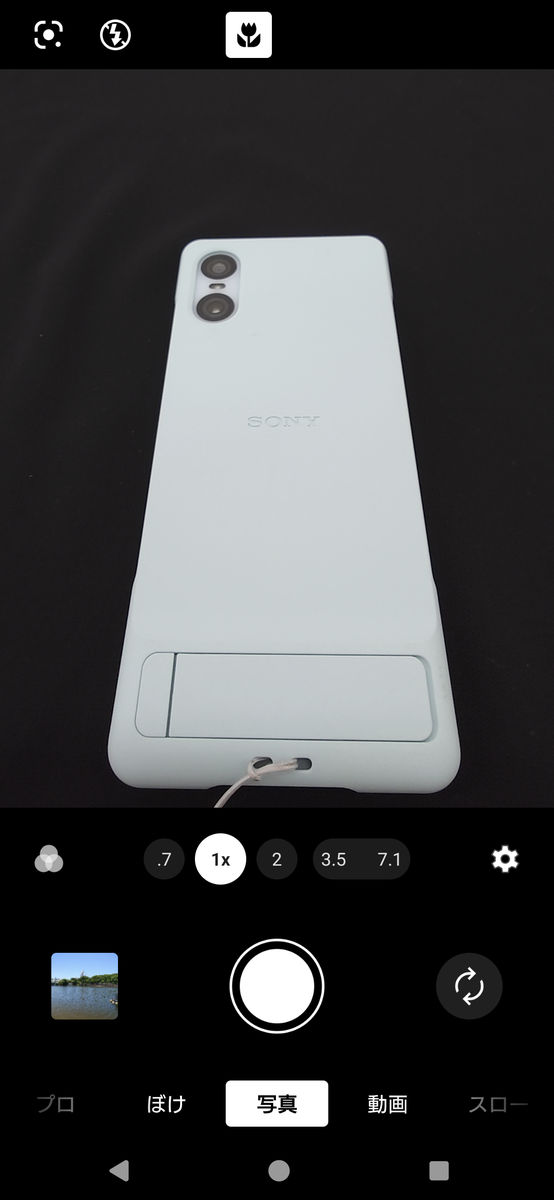
'Photo' is the standard mode. The flower icon at the top of the screen is inverted and selected, which means that the subject is close and the camera has switched from the wide-angle lens to the ultra-wide-angle lens, which is turned on by default. 'Close-up' is automatically released when you move away from the subject, but you can also manually release it by tapping the icon. You can also set it not to switch automatically.
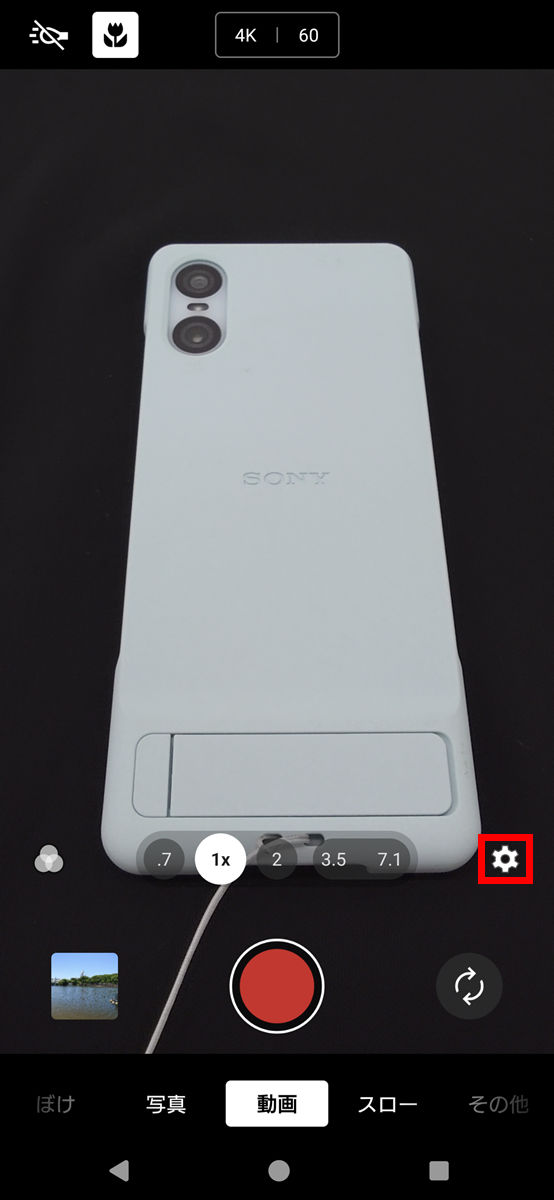
'Video' is the video shooting mode. Again, tap the gear icon to open the settings.
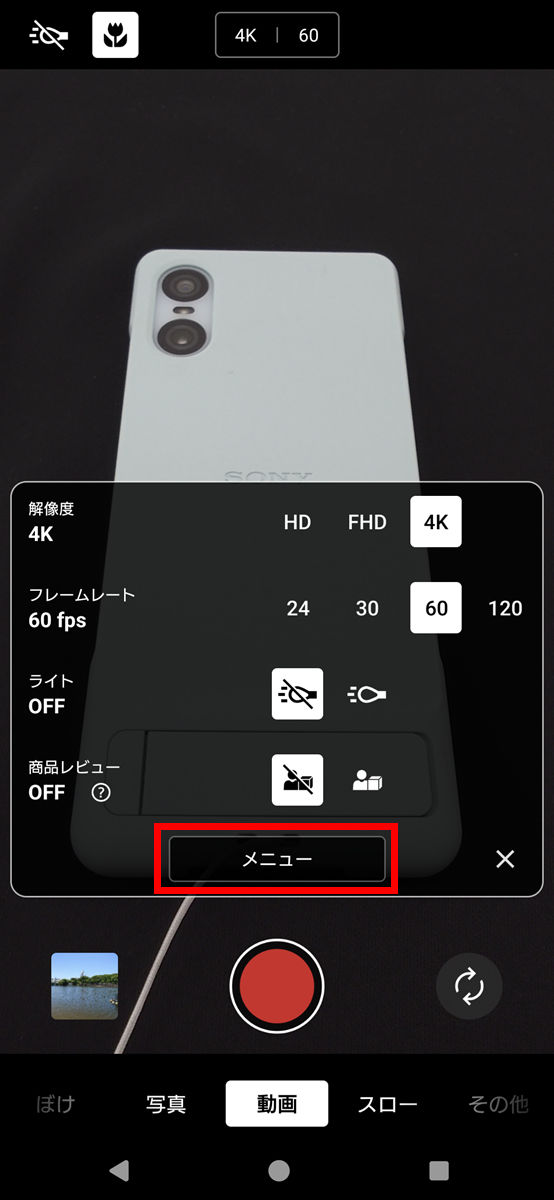
There are four quick settings: 'Resolution,' 'Frame Rate,' 'Light,' and 'Product Review.' 'Product Review' is a function that makes it easier to focus on the center of the screen, making it ideal for taking product reviews. Tap 'Menu' to see more detailed settings.
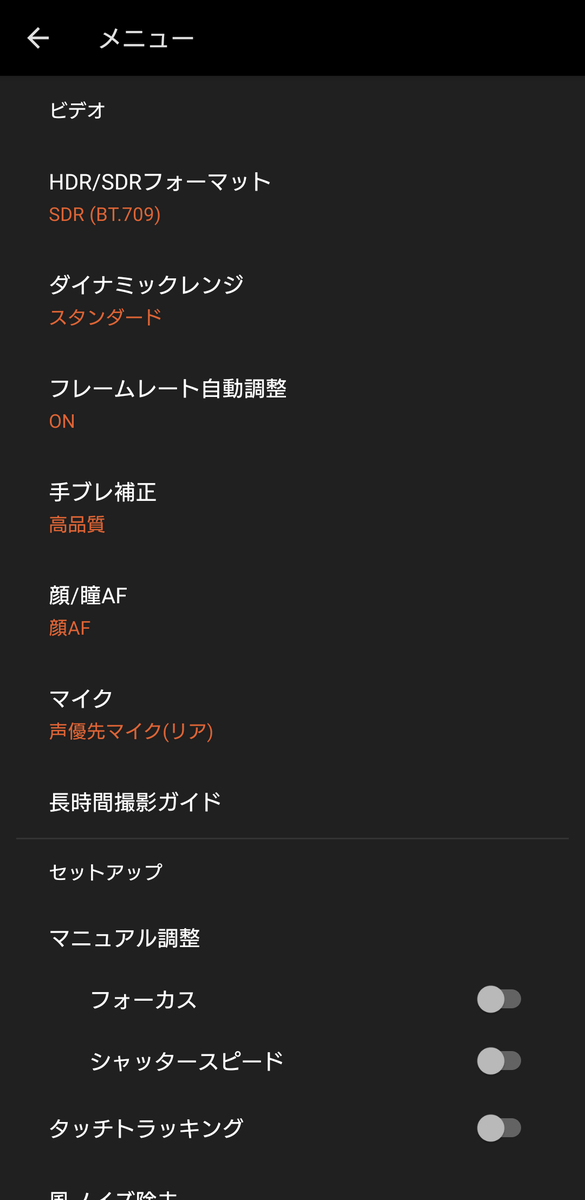
The menu list screen looks like this. If you scroll down, you will see settings that are also common to 'Photos,' such as grid lines and camera operation sounds.
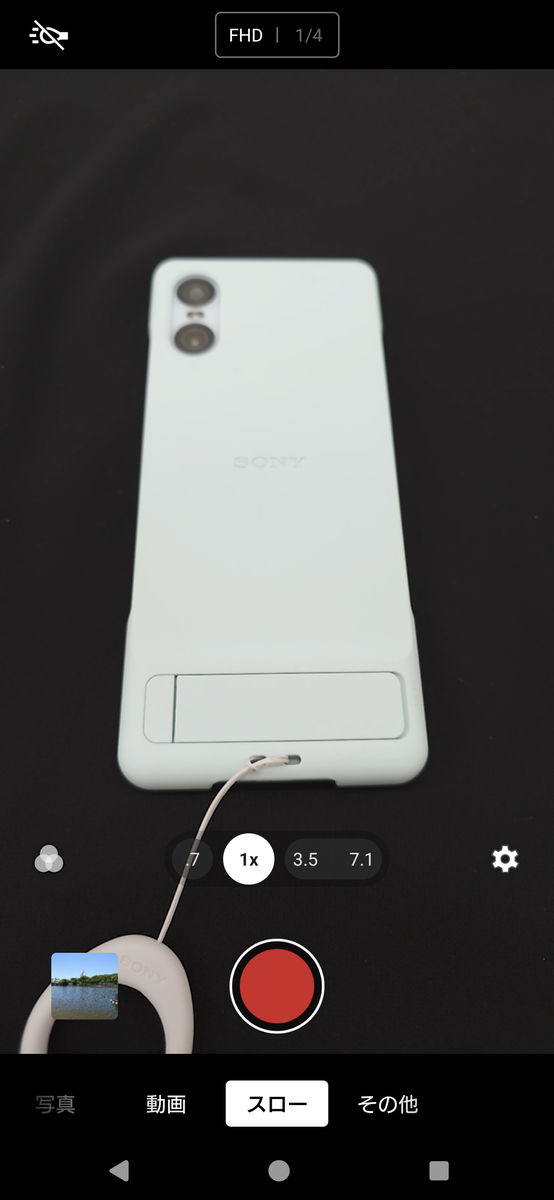
'Slow' is the slow-motion video recording mode.
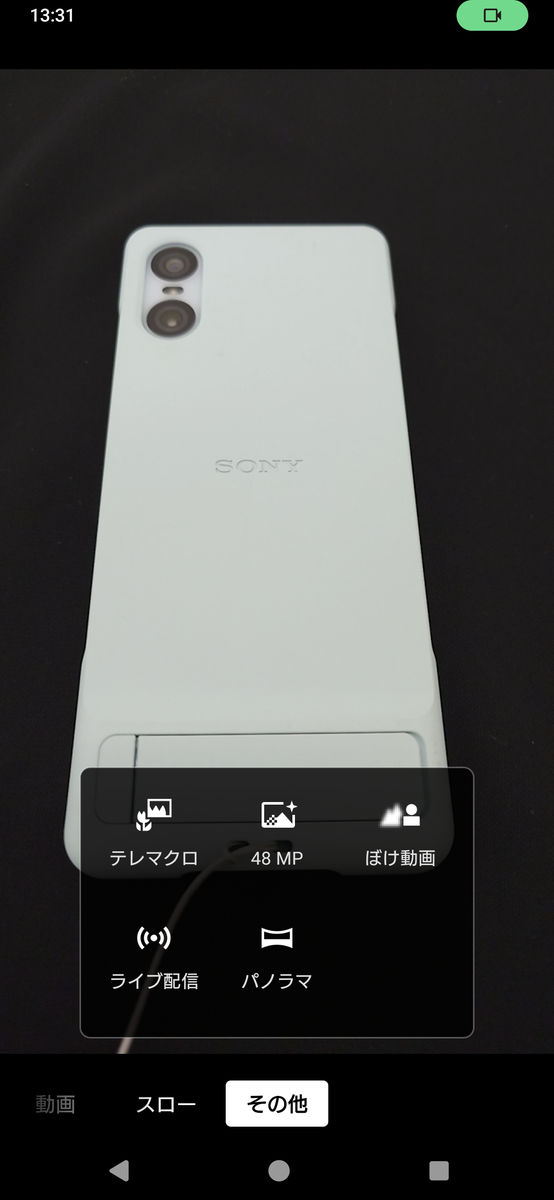
Additionally, 'Telemacro,' '48MP,' 'Bokeh Video,' 'Live Streaming,' and 'Panorama' are available from the 'Other' menu.
Below are some photos actually taken using the 1 VI and 10 VI. The thumbnails are reduced in size, but the images that open when you click or tap are the original size, so each one is several MB in size.
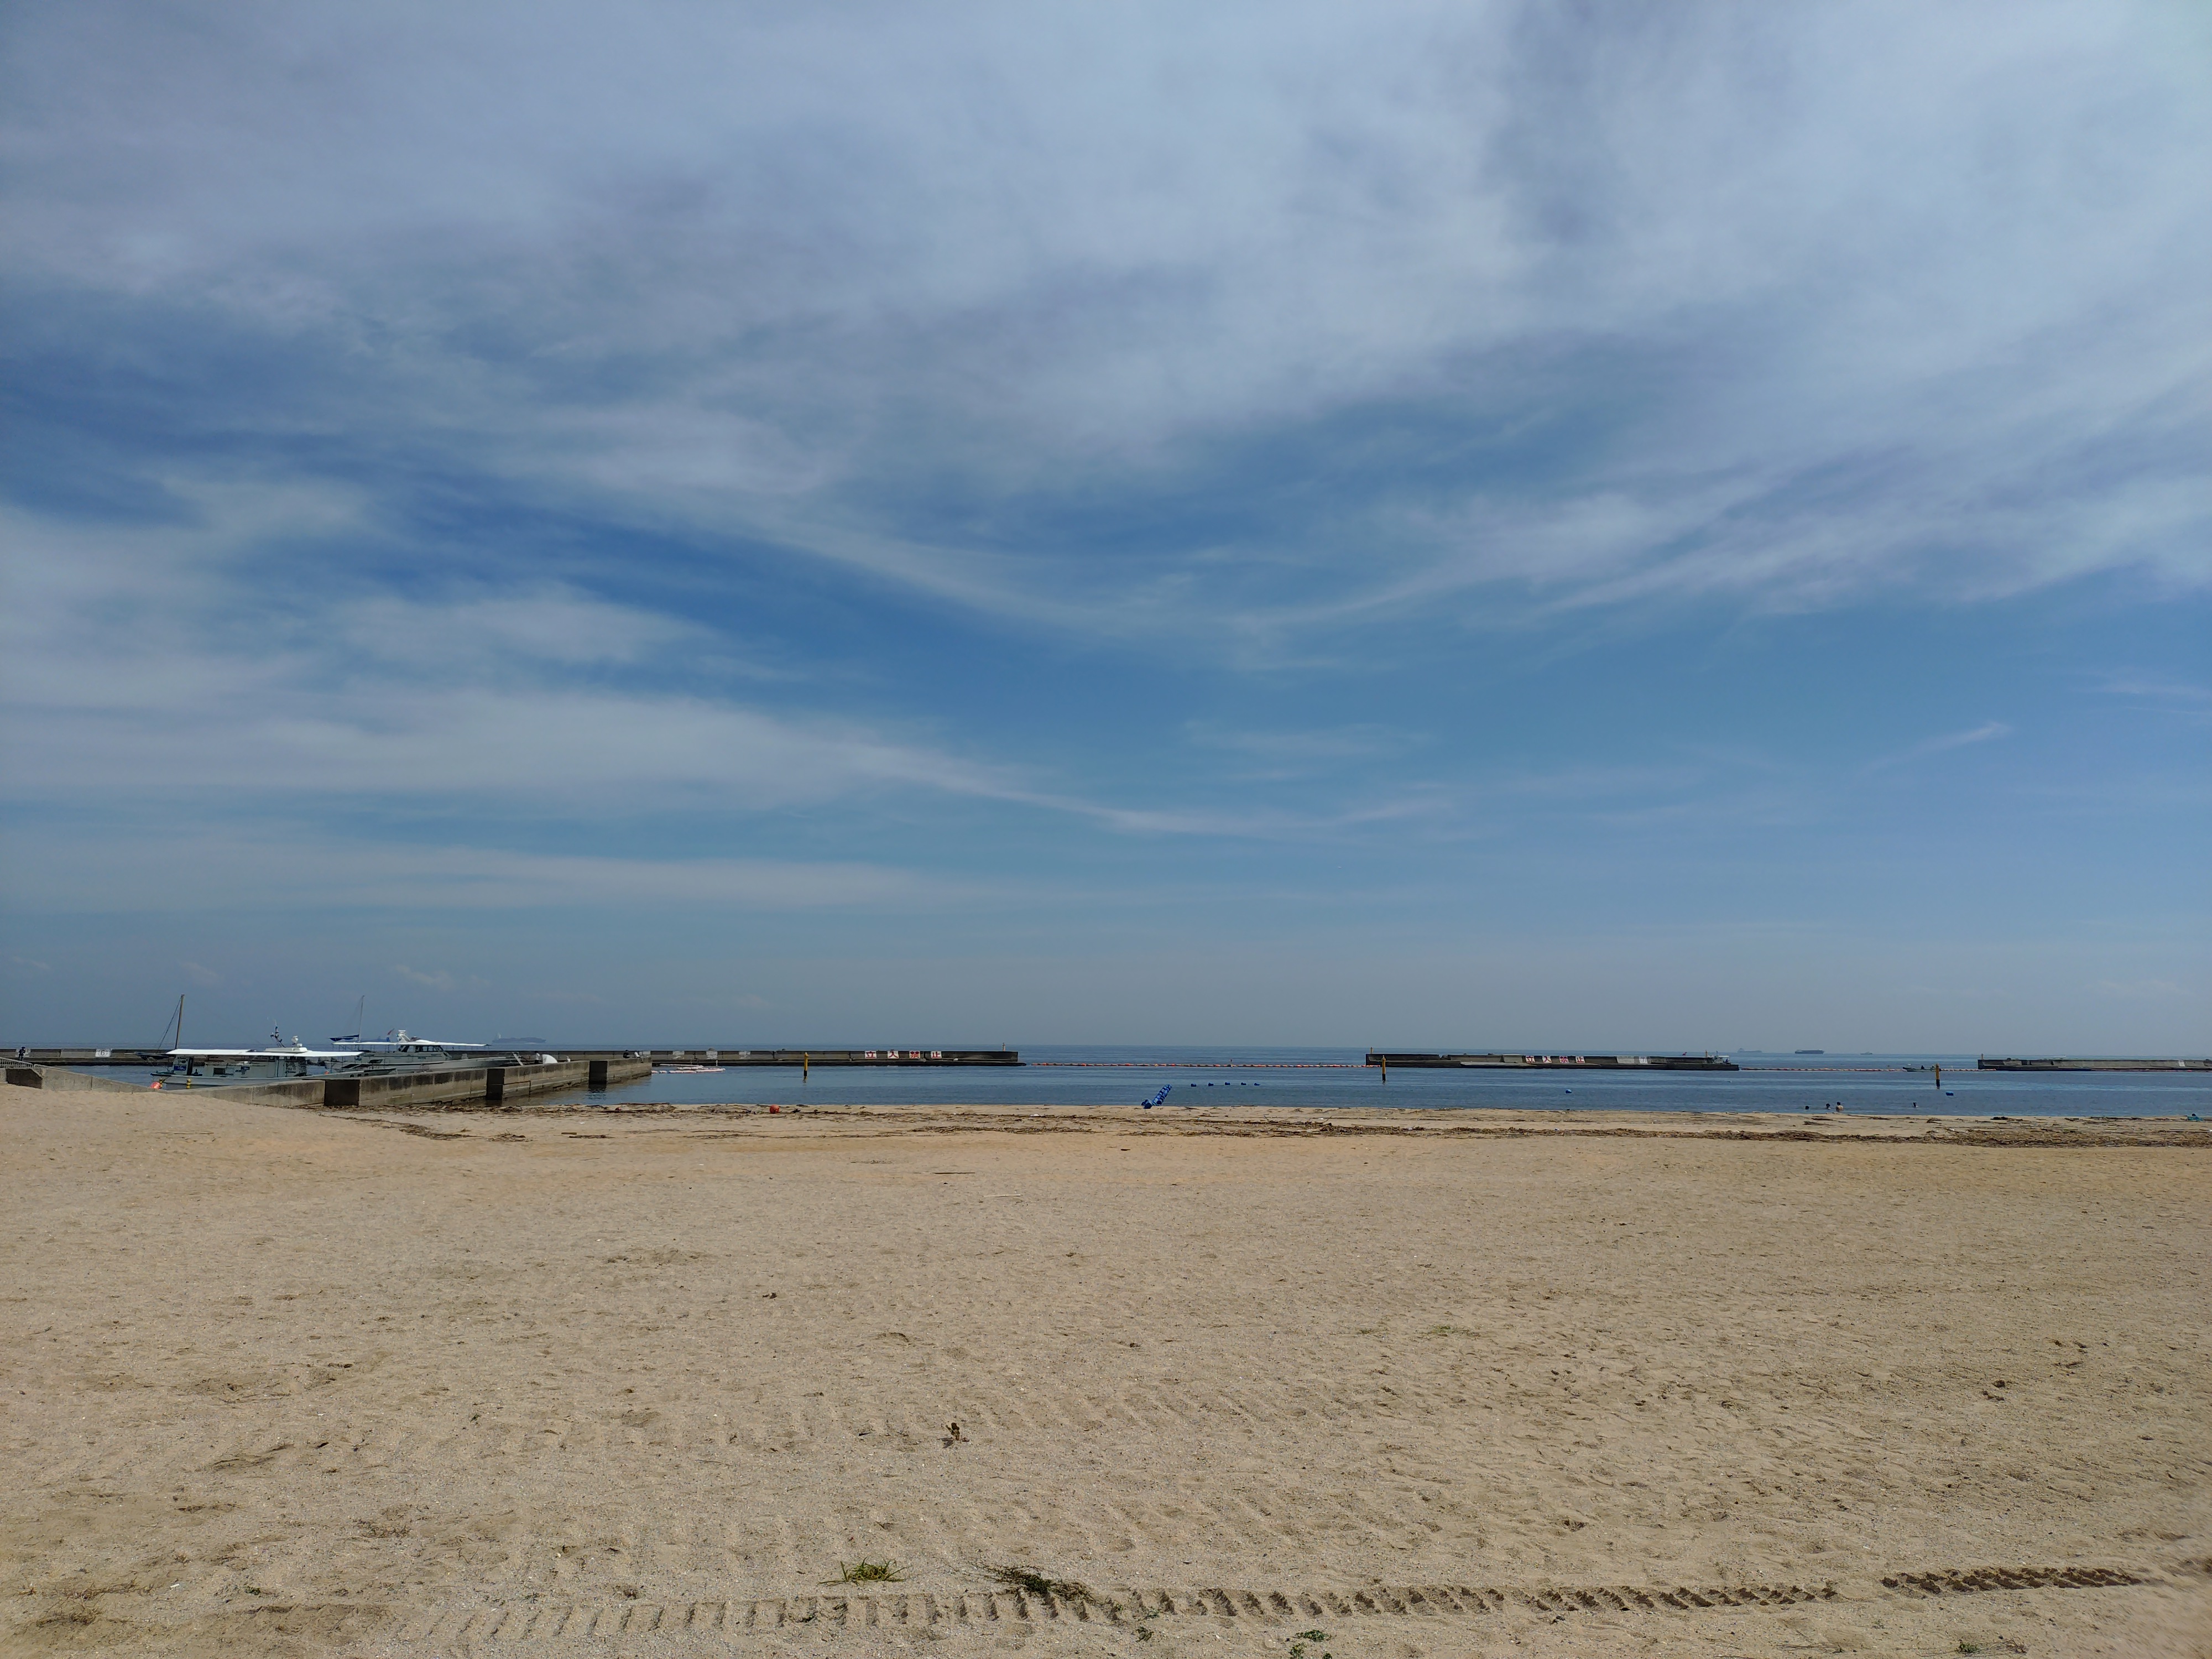
Suma beach photographed with the 1 VI. The 1 VI's characteristic is that it is brighter overall and produces whiter images.

The 10 VI appears slightly darker than the 1 VI.
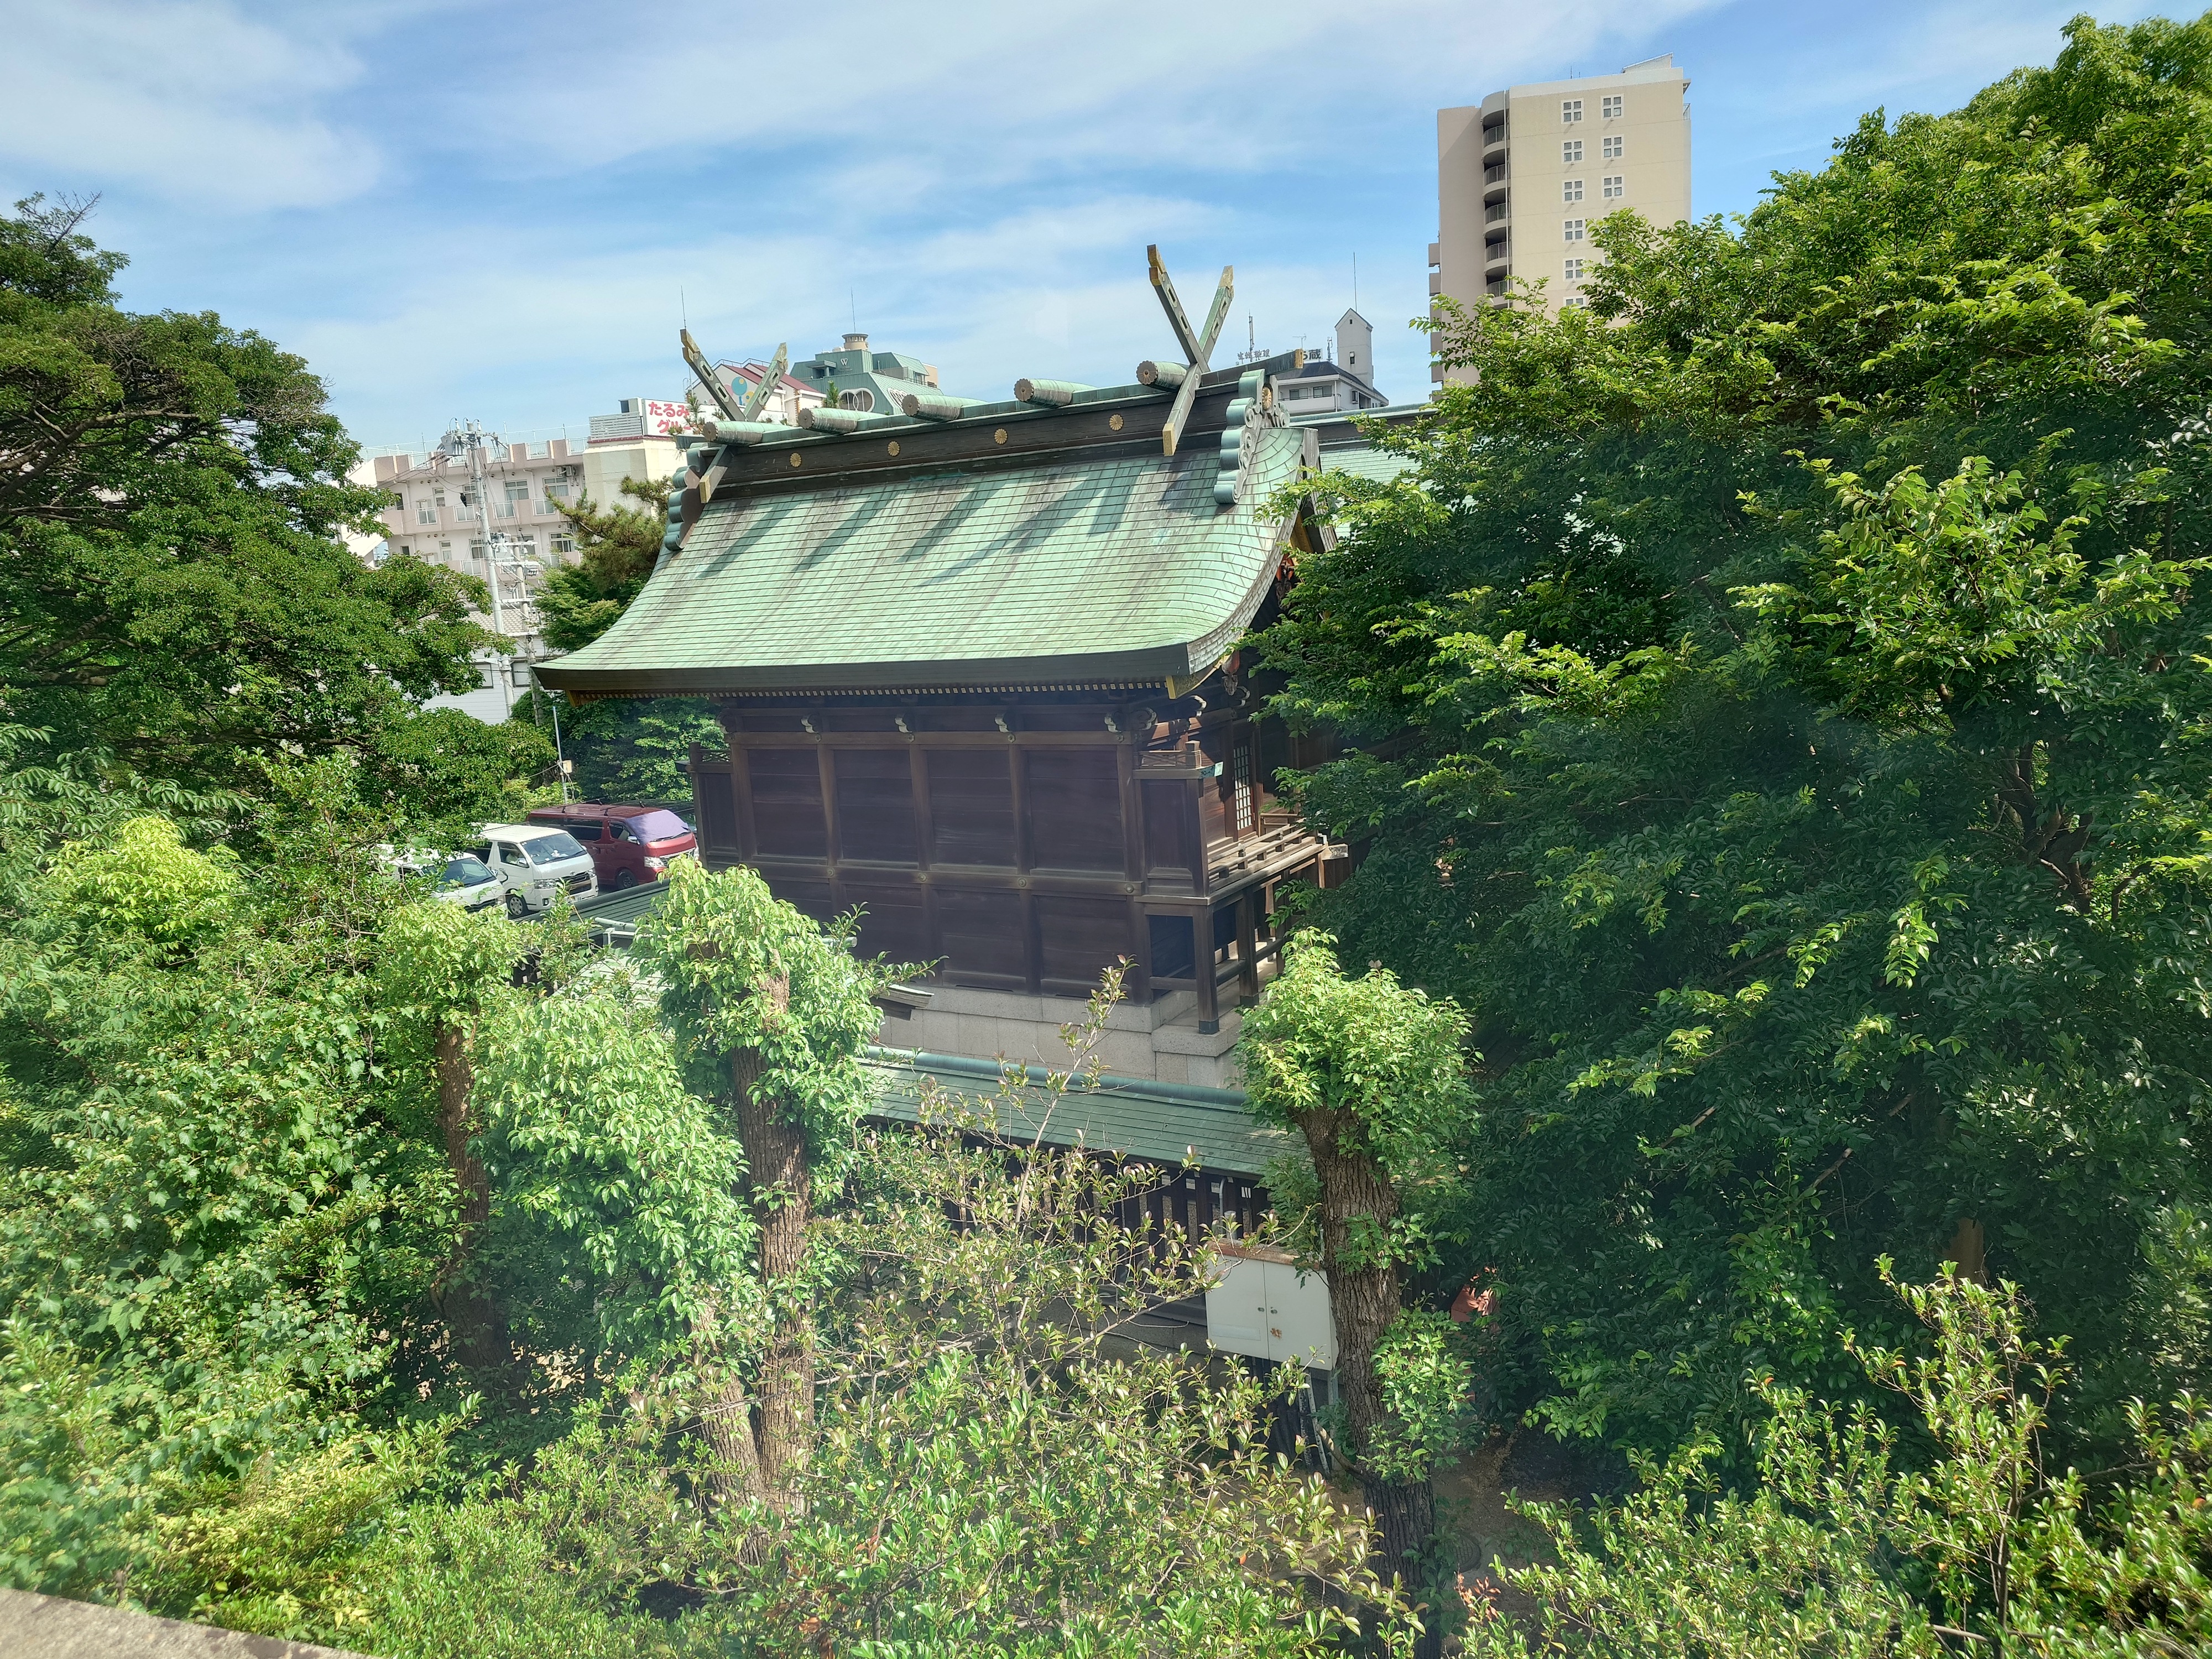
1 VI photo of Umijinja Shrine in Tarumi. Since the photo was taken from the train window, the reflection of the interior of the train is white and overlaps with the building. There are also parts of the sky that look a little rainbow-like.
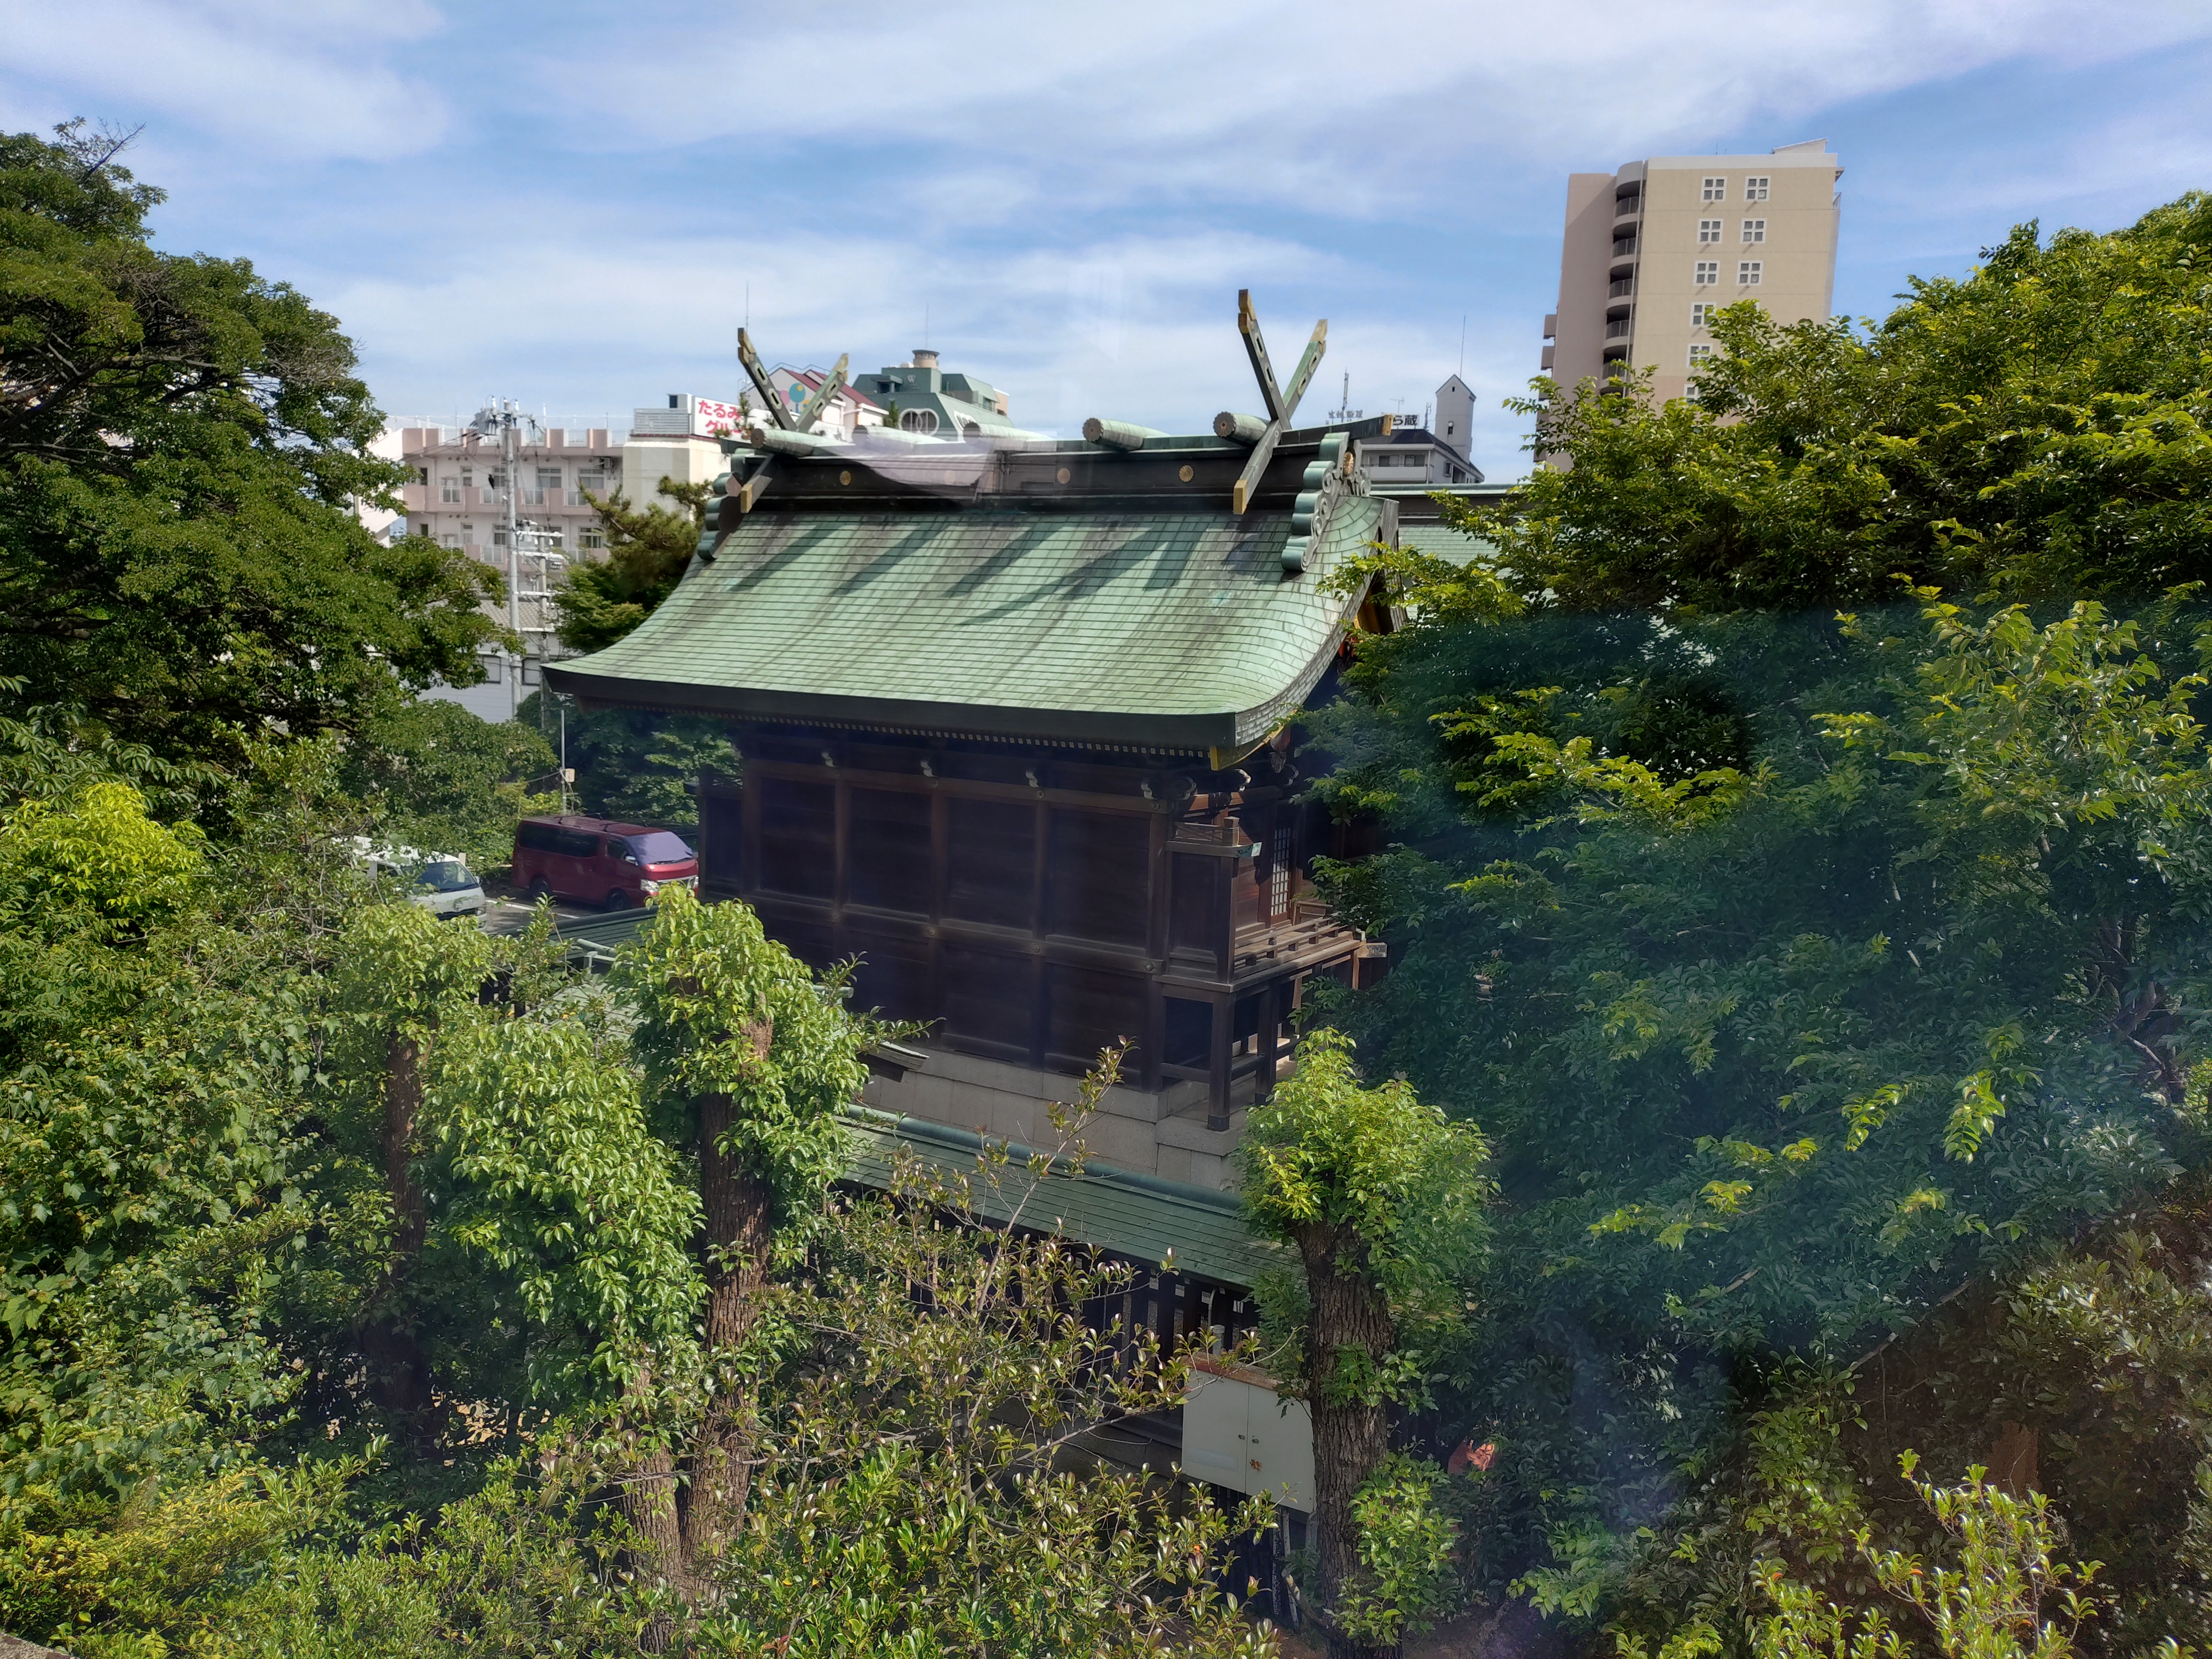
'Umijinja Shrine' photographed with the 10 VI. Although the photographs were taken in almost the same location, the green color is clearly different.
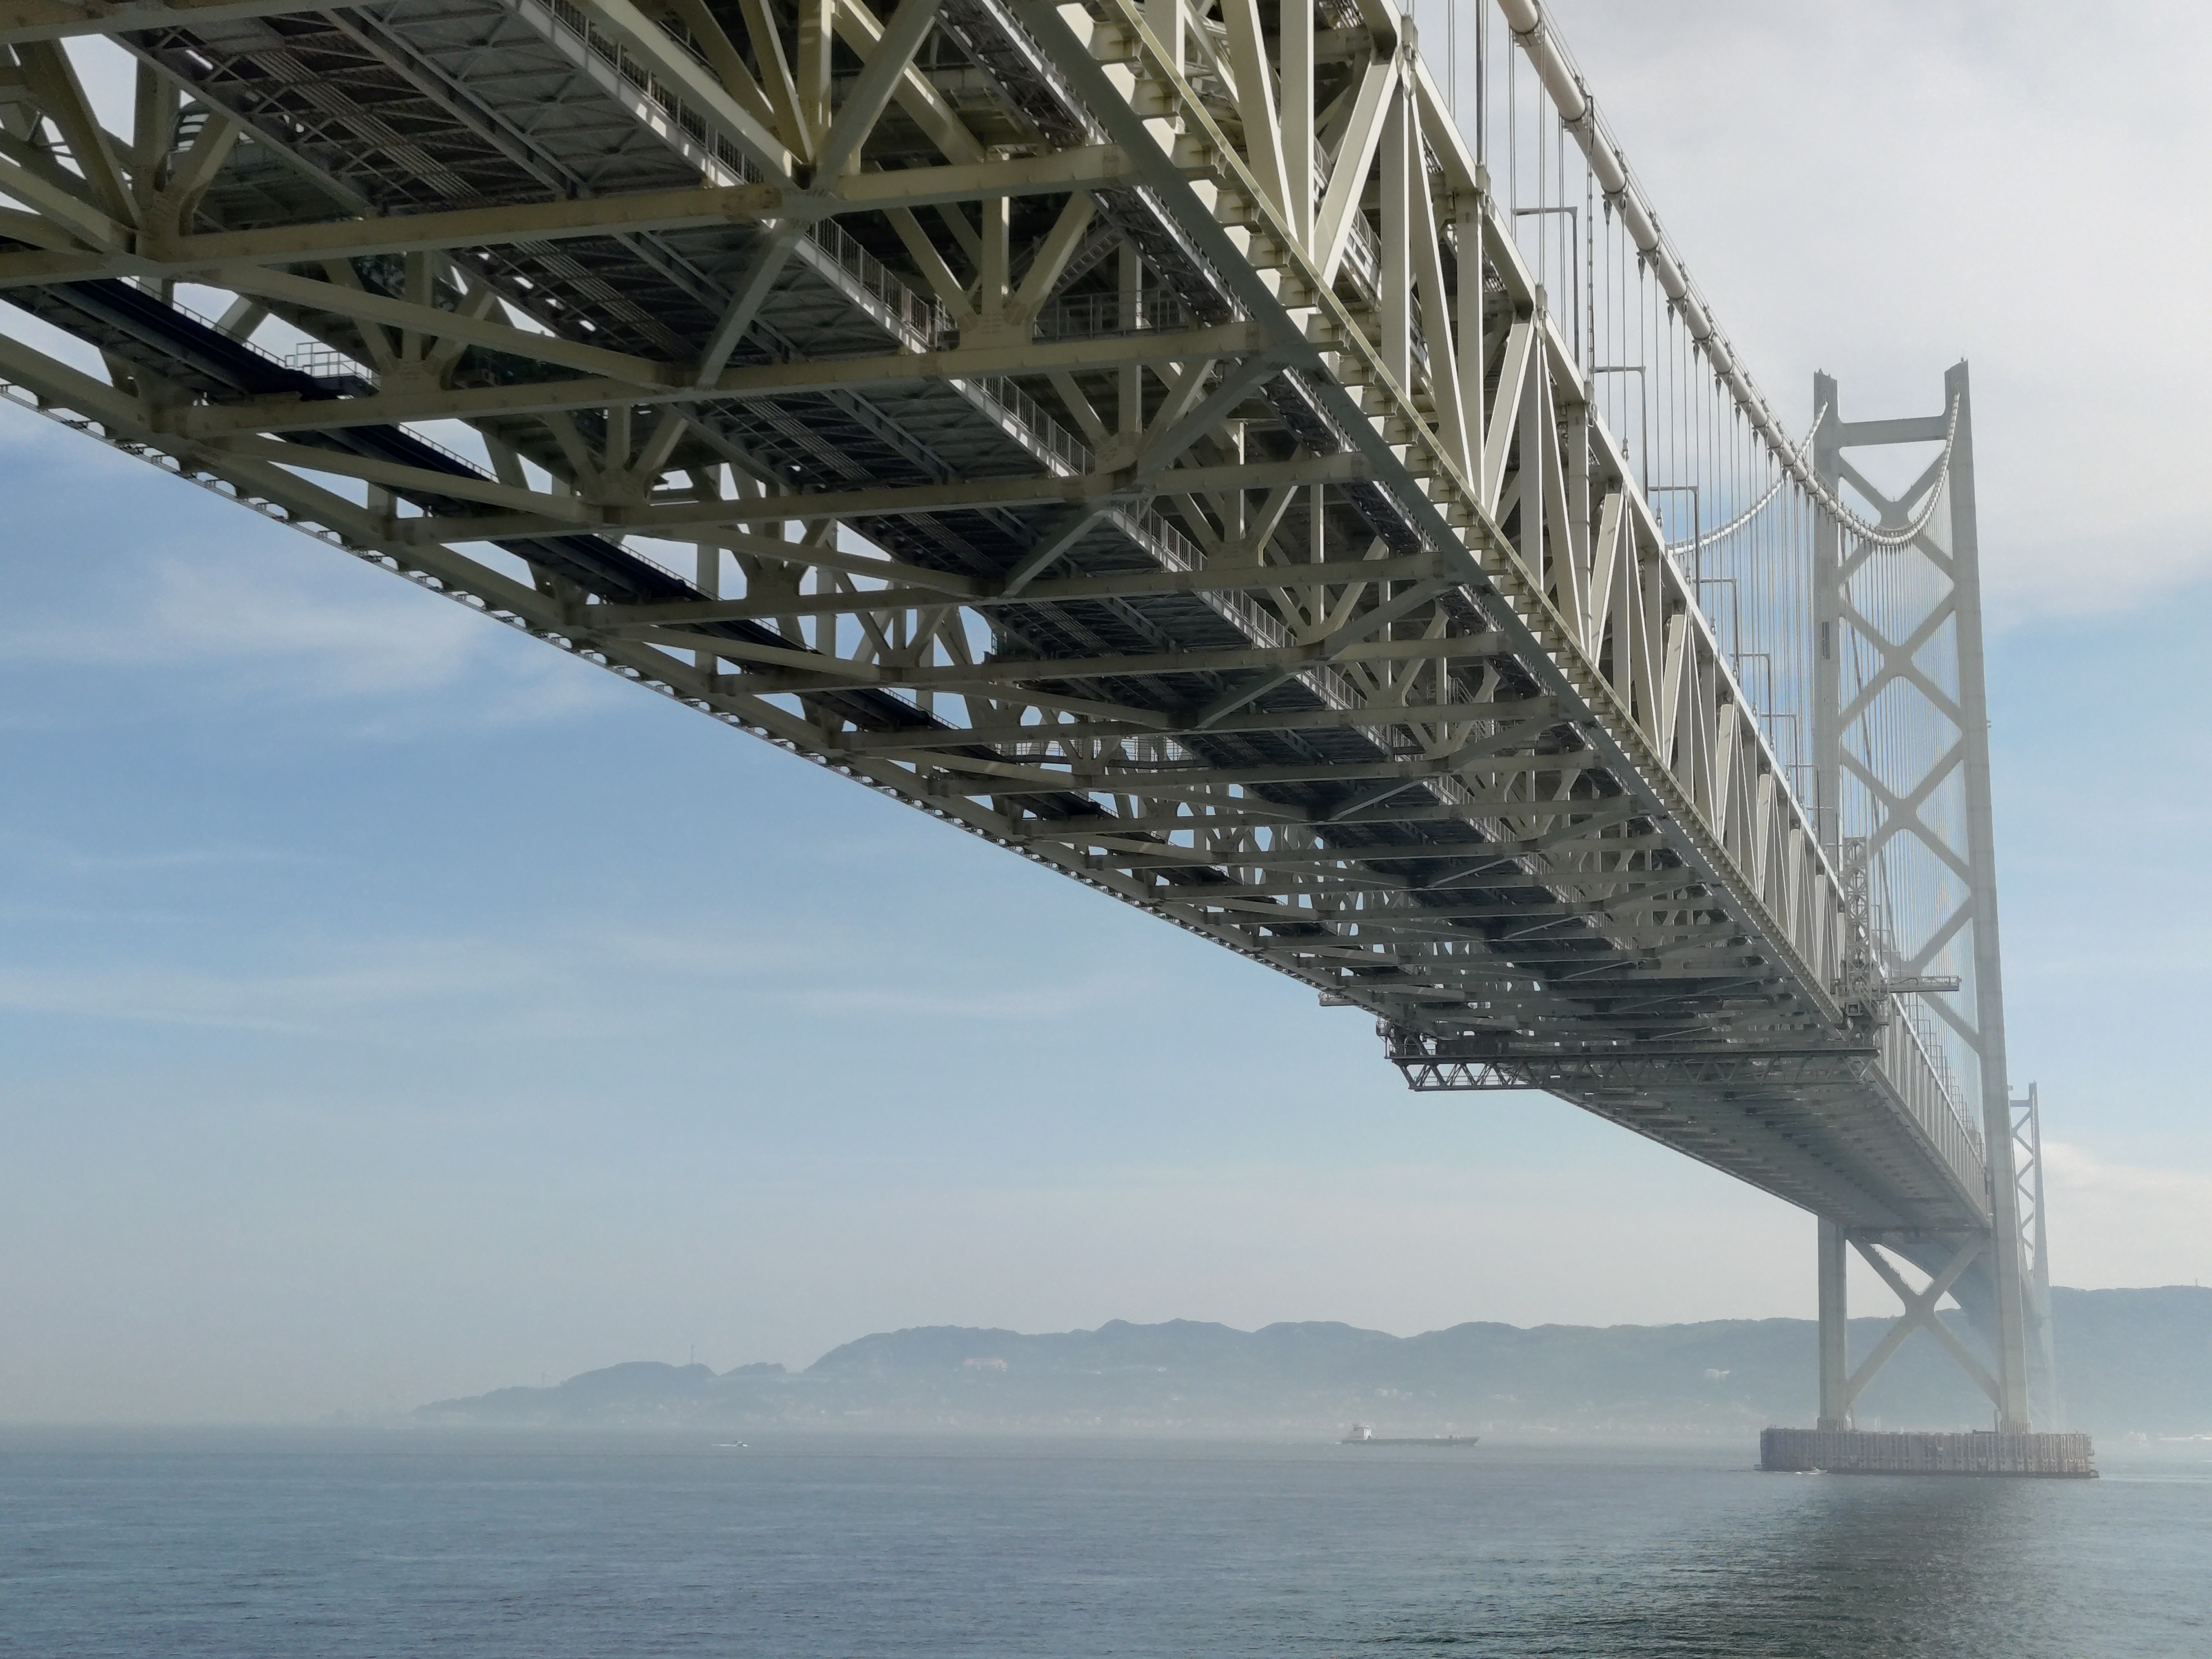
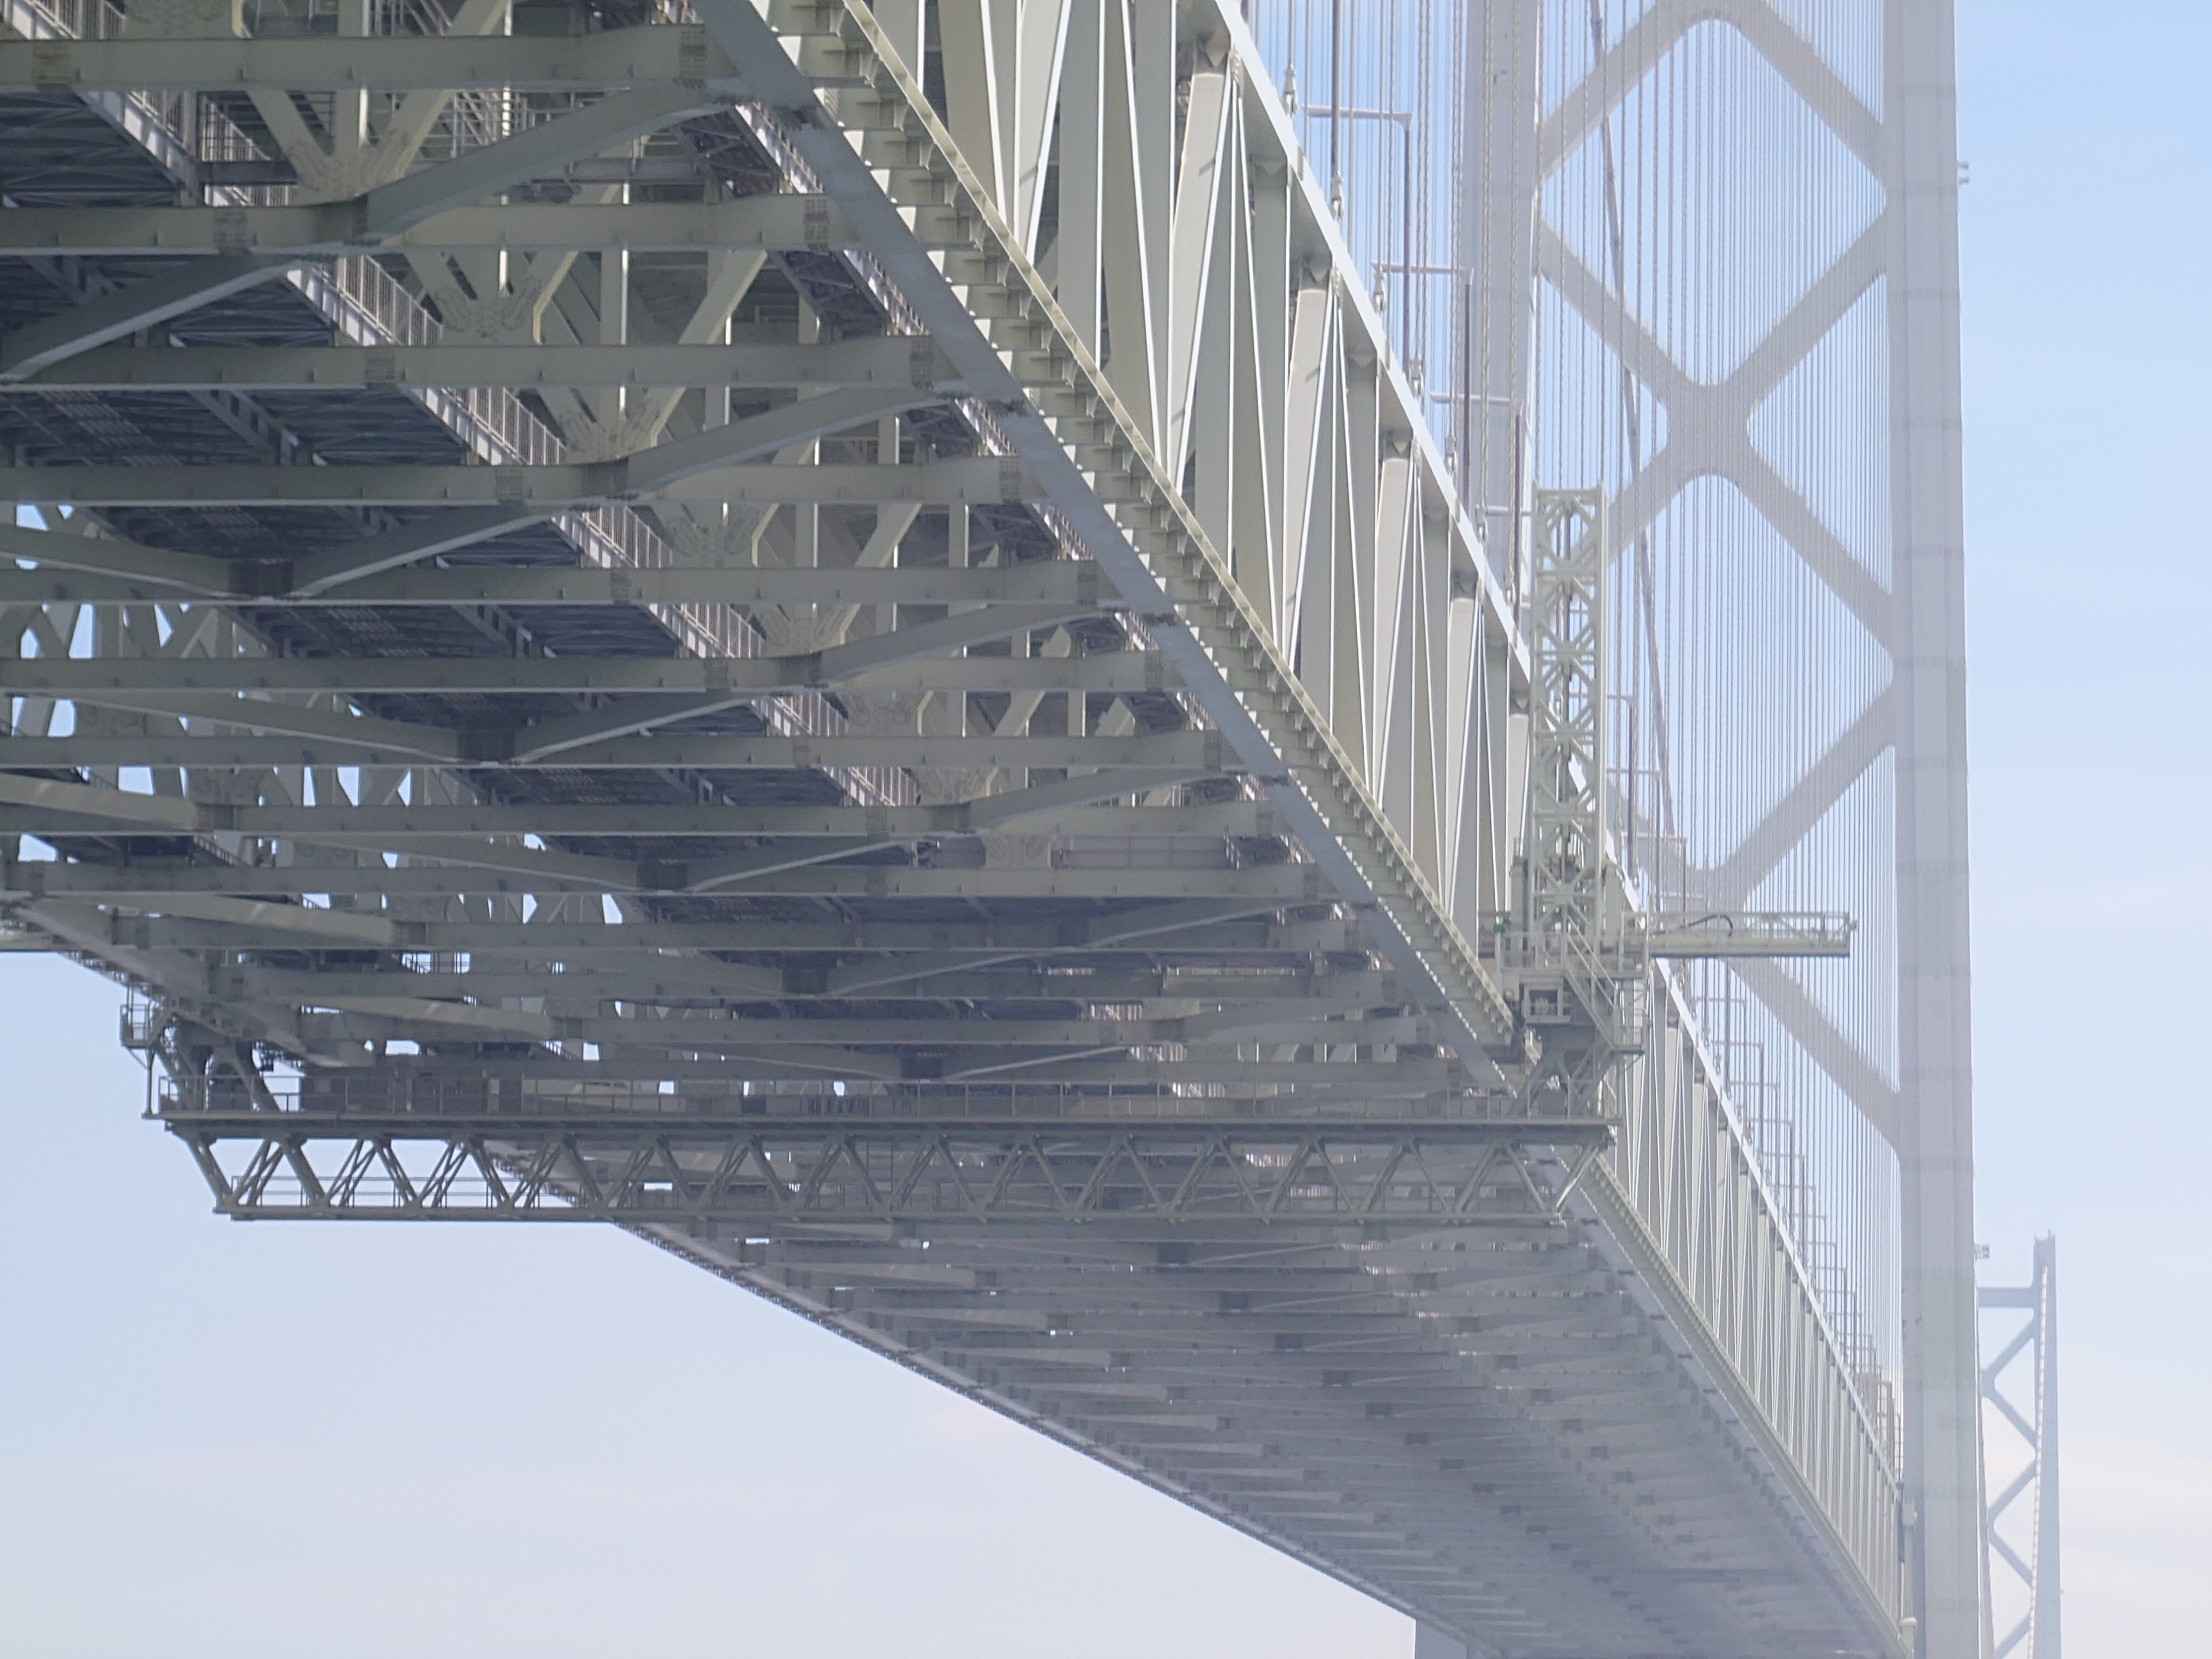
1 Akashi Kaikyo Bridge photographed by VI.
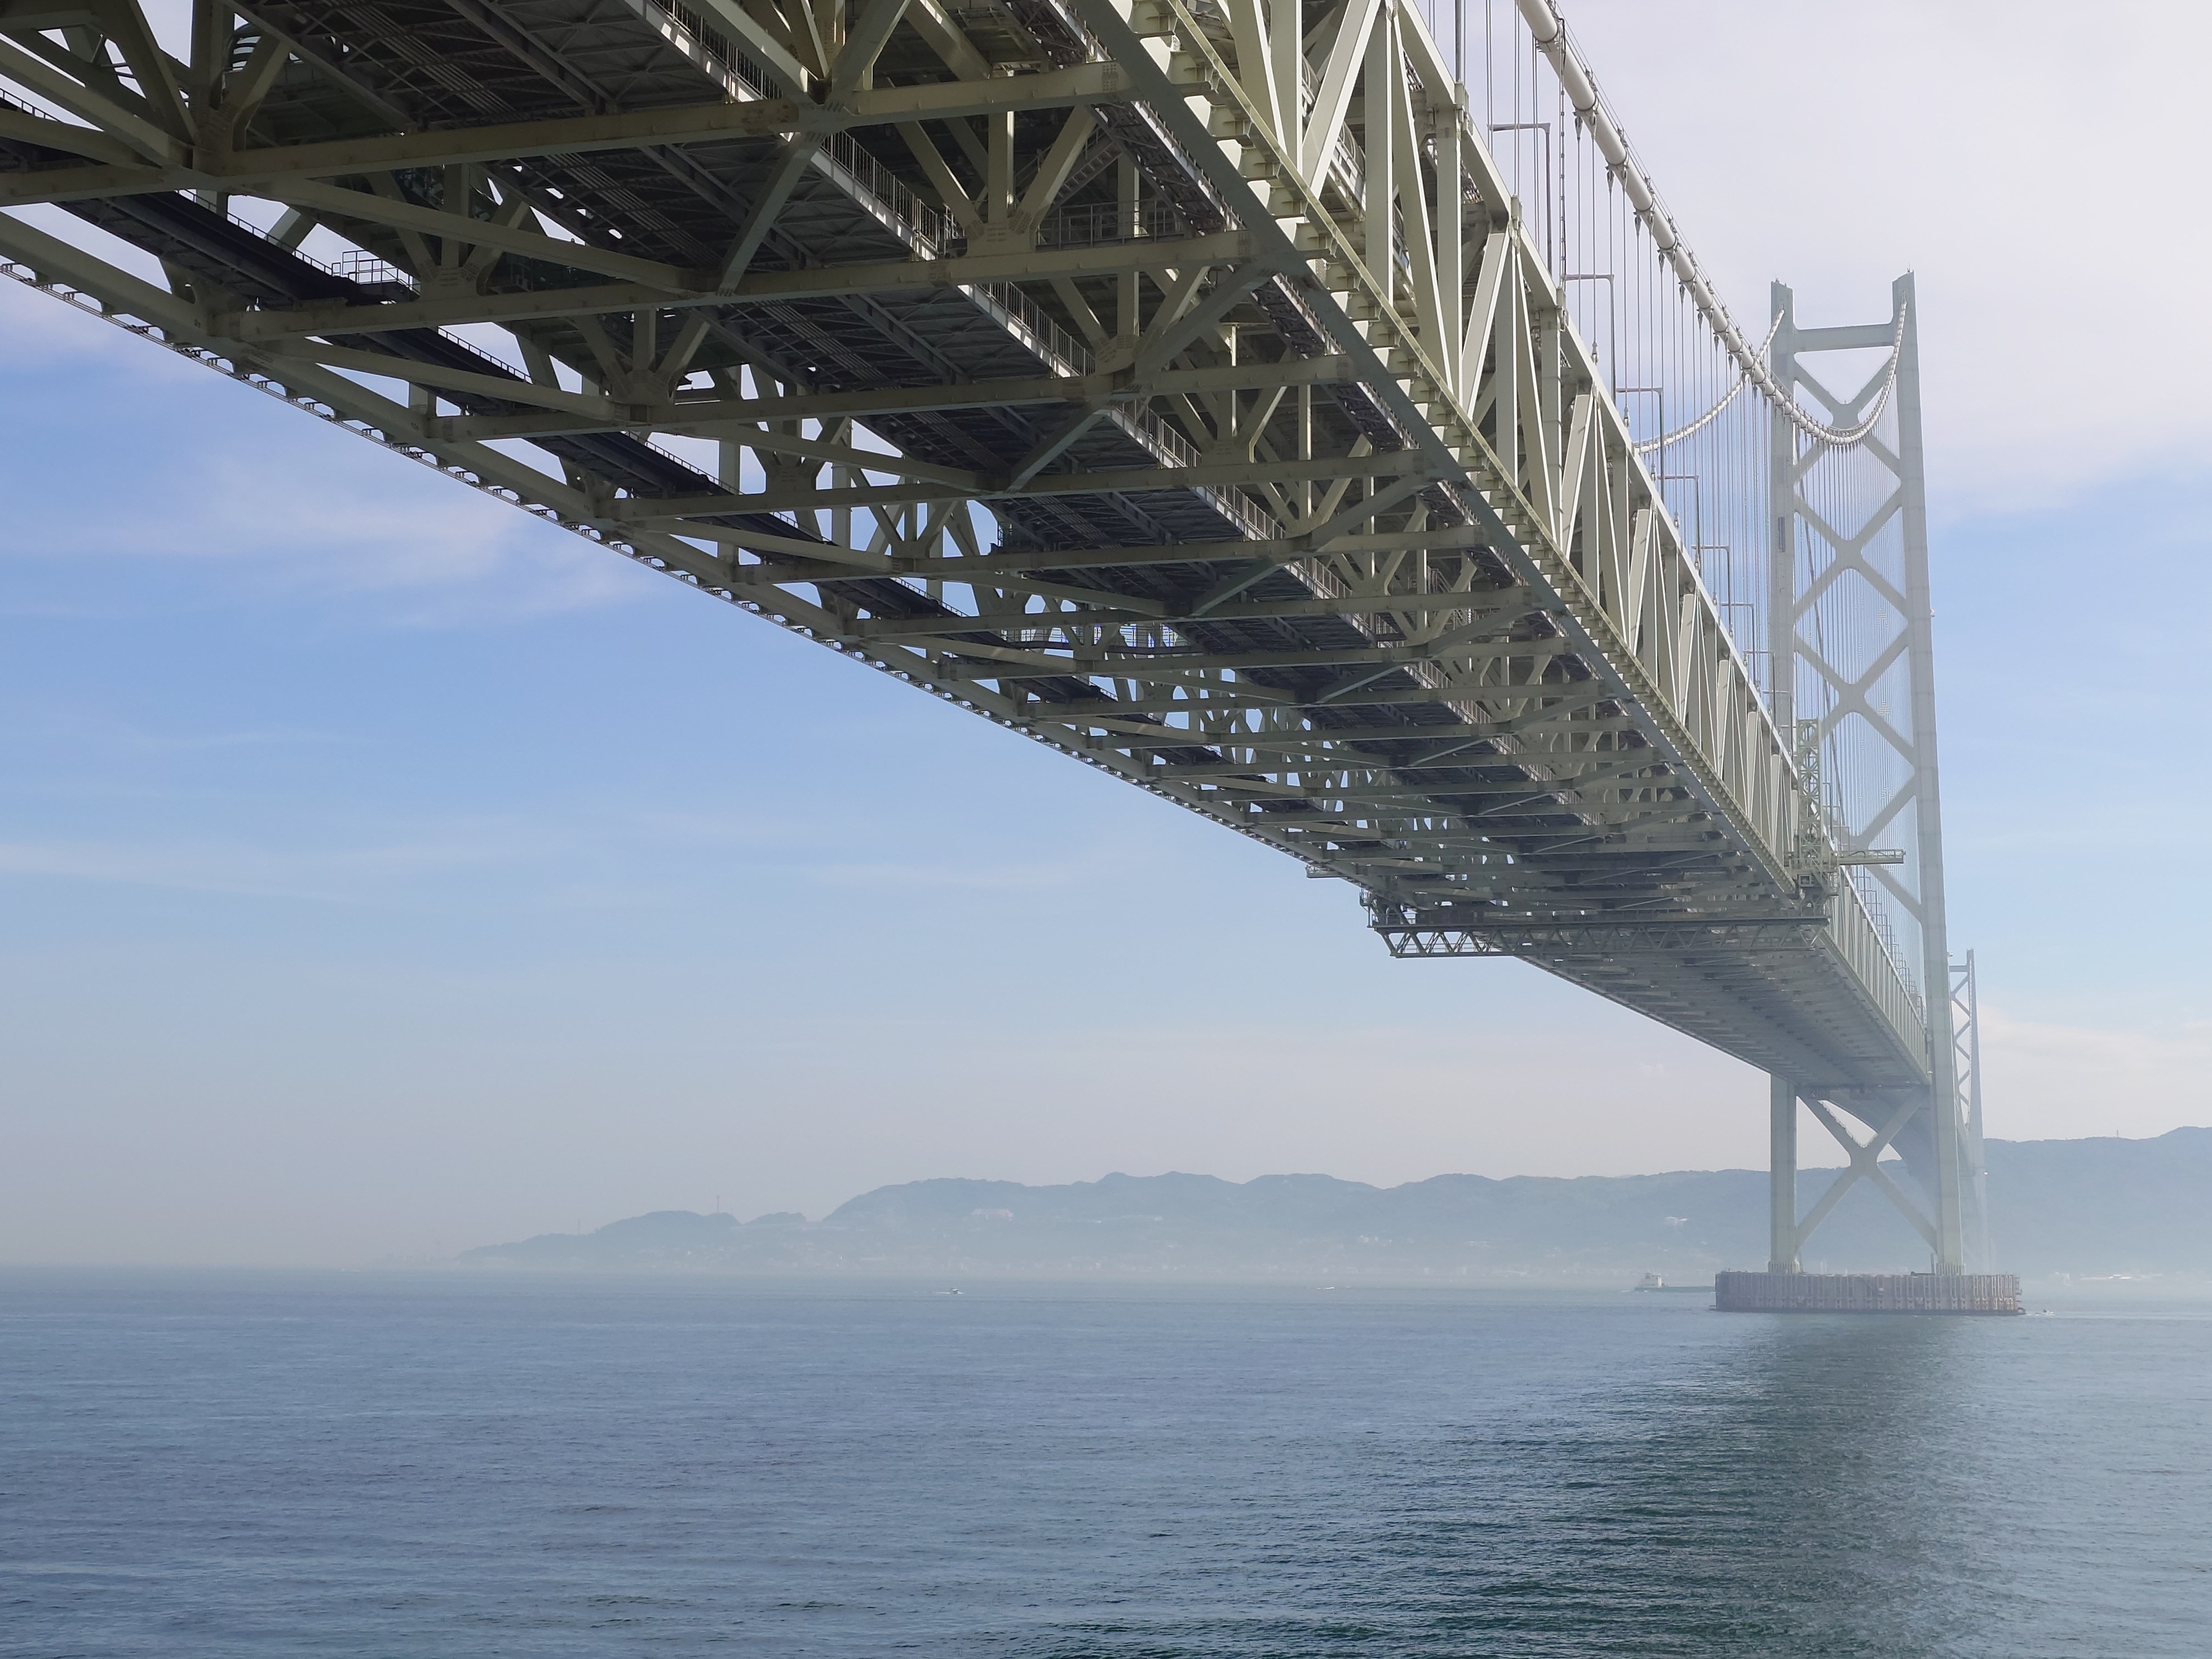
The Akashi Kaikyo Bridge was also photographed with the 10 VI. It has warmer colors than the 1 VI. If you focus on the back side of the bridge girder, you can see that the 1 VI records it more clearly.
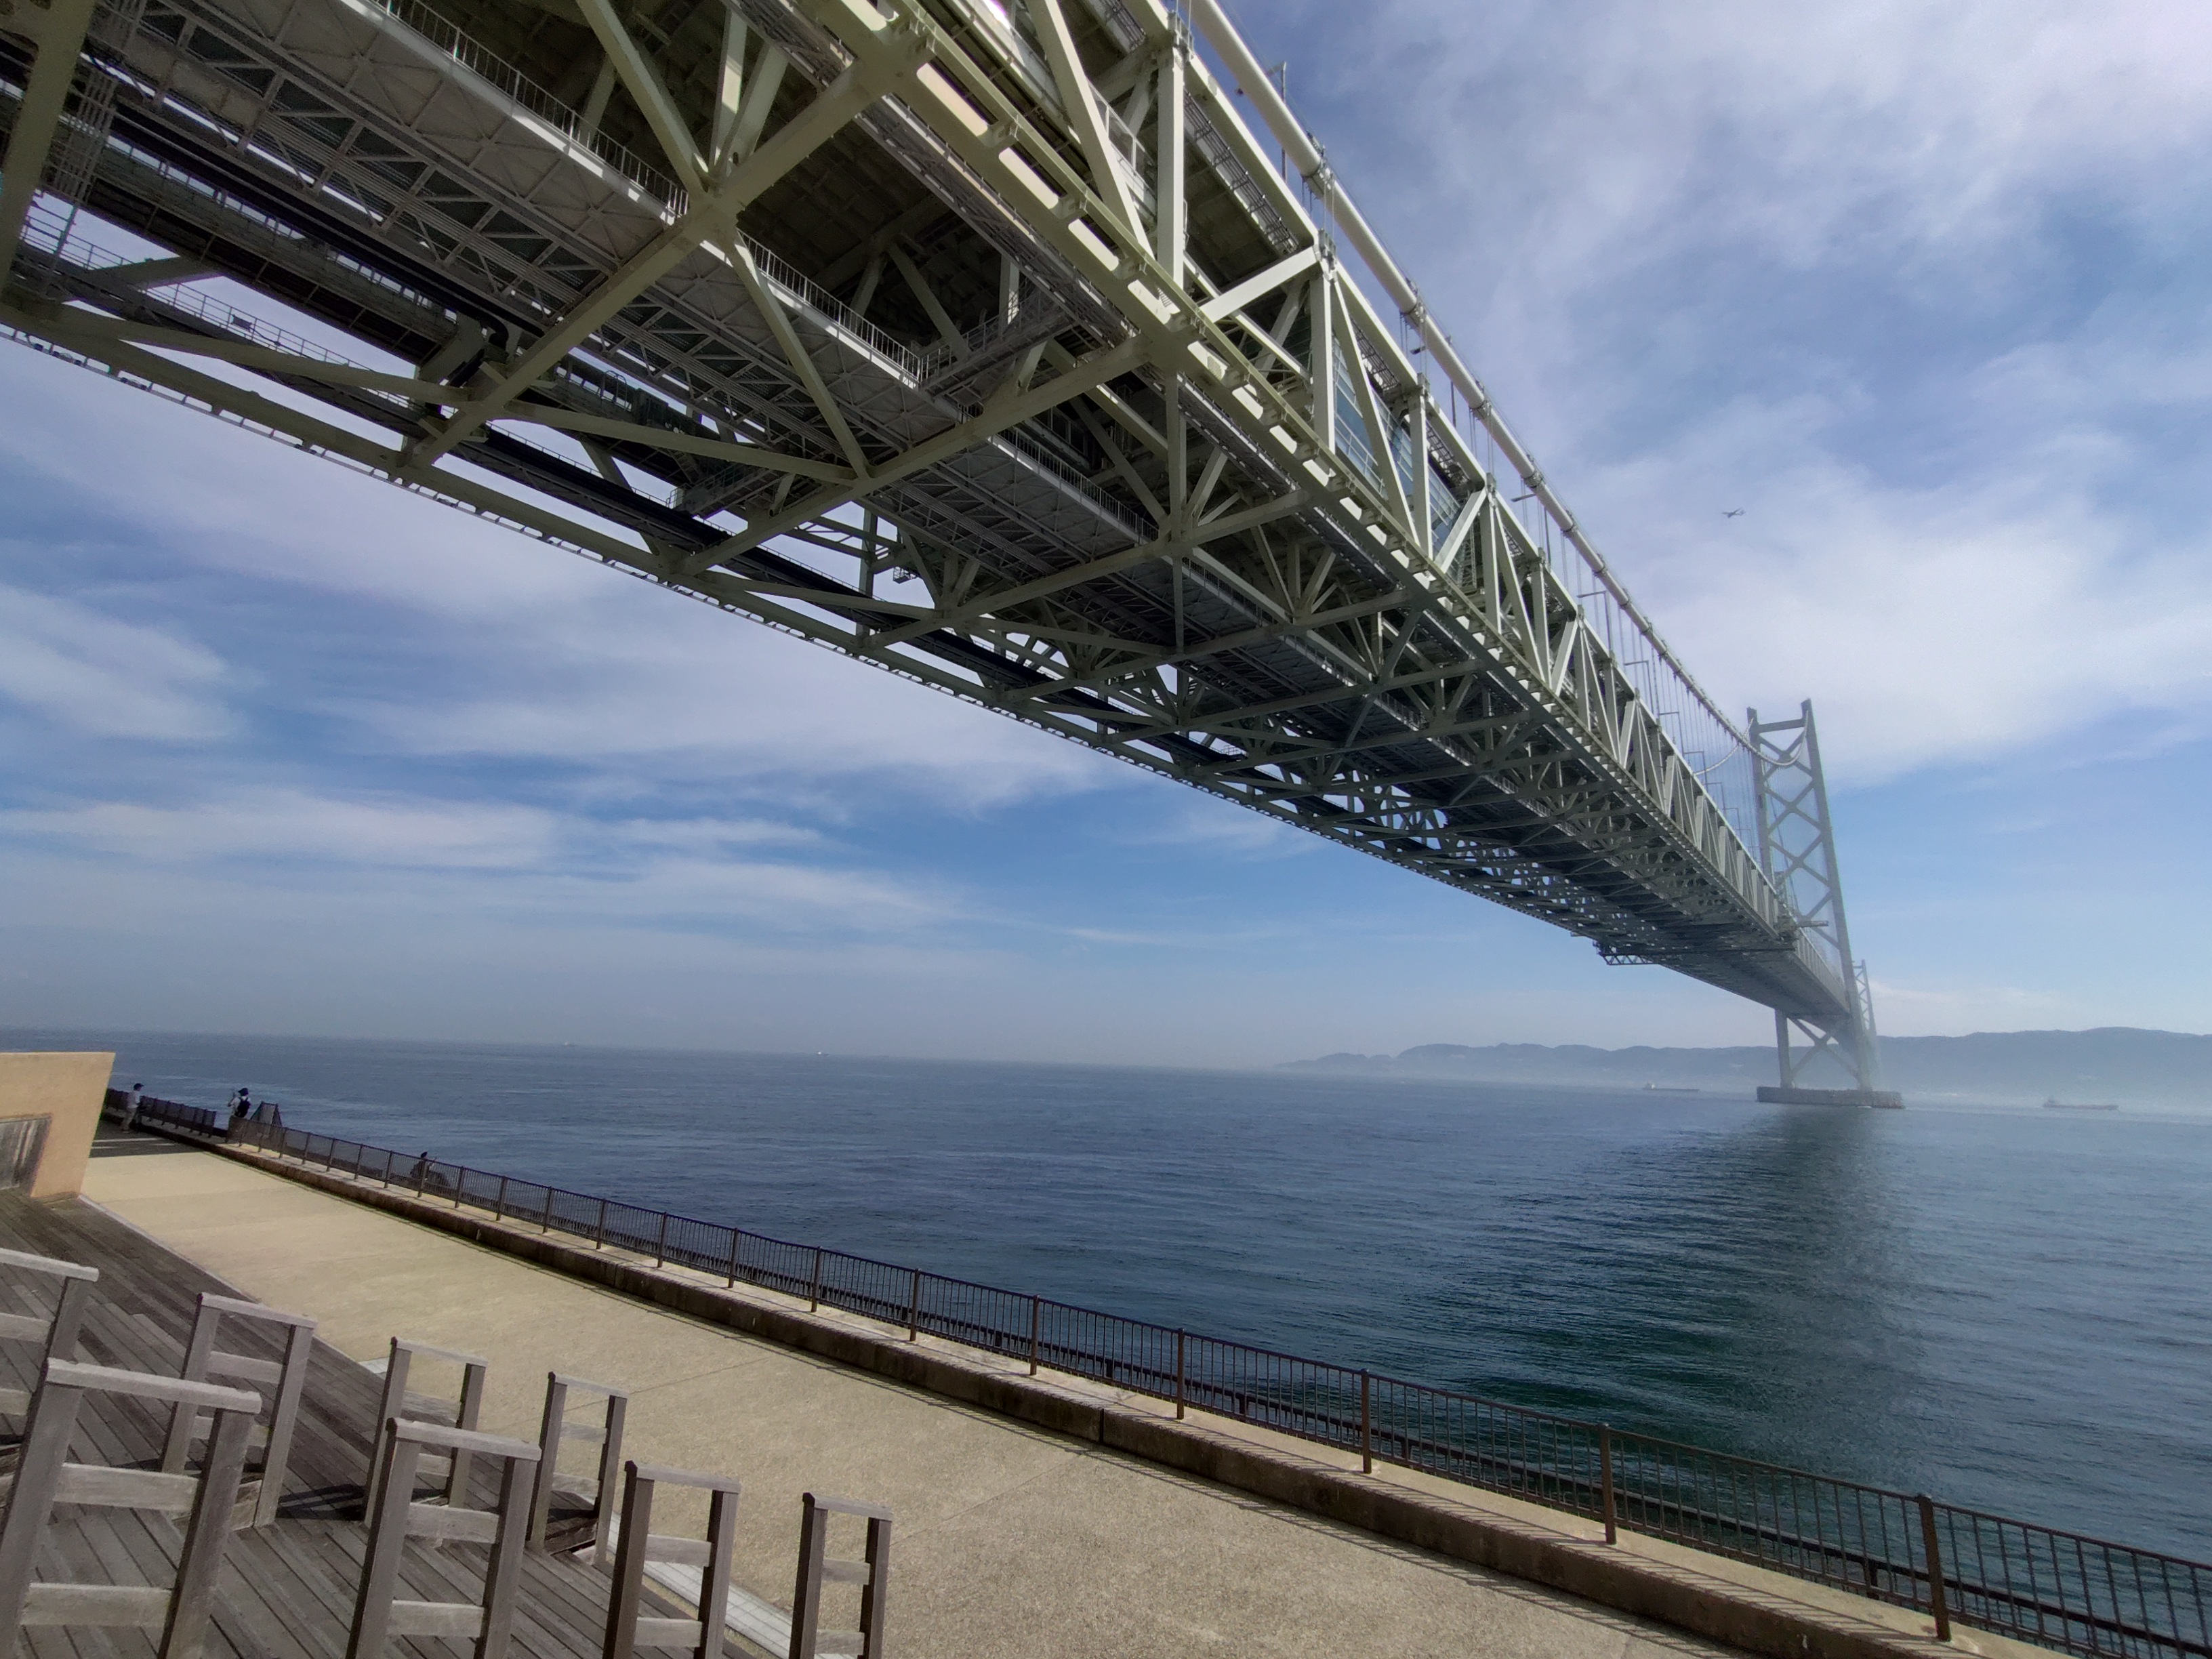
If you shoot from the same position with the ultra-wide-angle 1 VI, you get this shot. It even captures the wooden deck in the foreground.
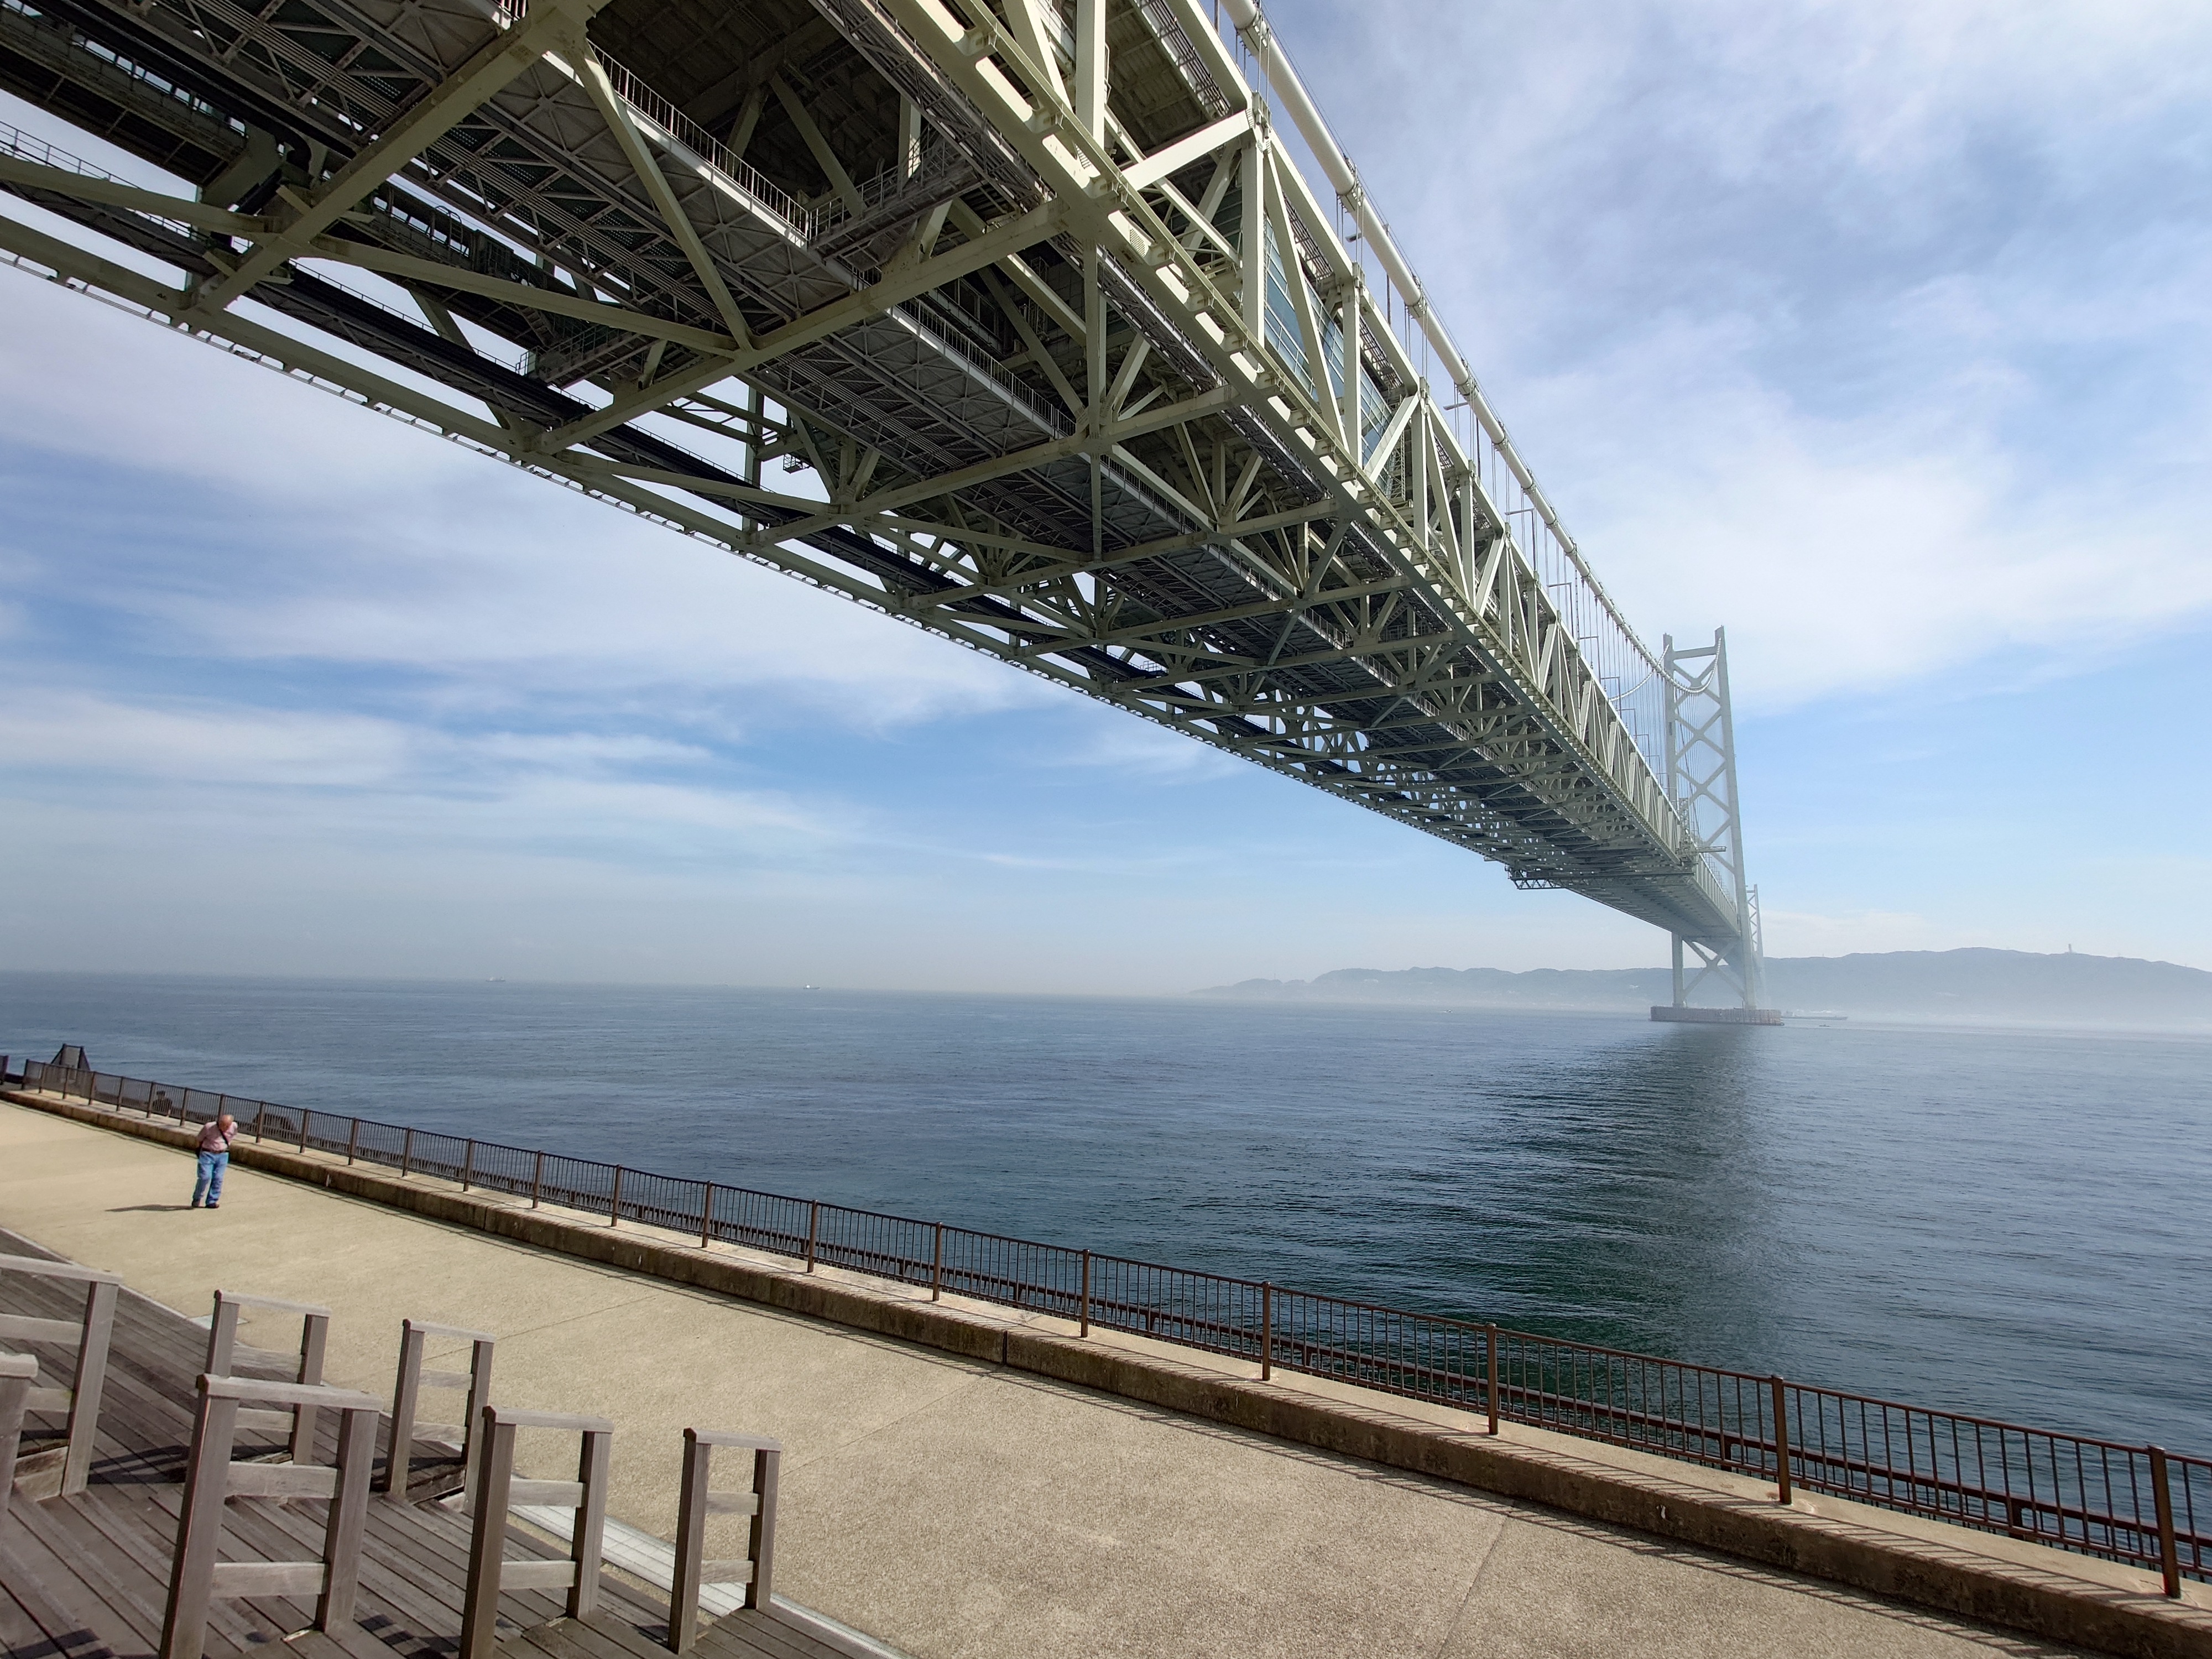
The 10 VI has an ultra-wide-angle lens with a magnification of 0.6x, which is wider than the 1 VI's 0.7x.
I tried taking a 7.1x telephoto shot using the 1 VI telephoto lens. The telephoto lens has an optical telephoto zoom that covers a range of magnification from 3.5x to 7.1x.

The 10 VI's wide-angle lens supports AI super-resolution zoom up to 6x in addition to 1x and 2x. Here's what it looks like when you shoot at 6x. The software corrects it pretty nicely, but it's inevitable that optical zoom will win.

In addition, if you take a picture of the top of the bridge at 7.1 times the magnification of 1 VI, it looks like this.
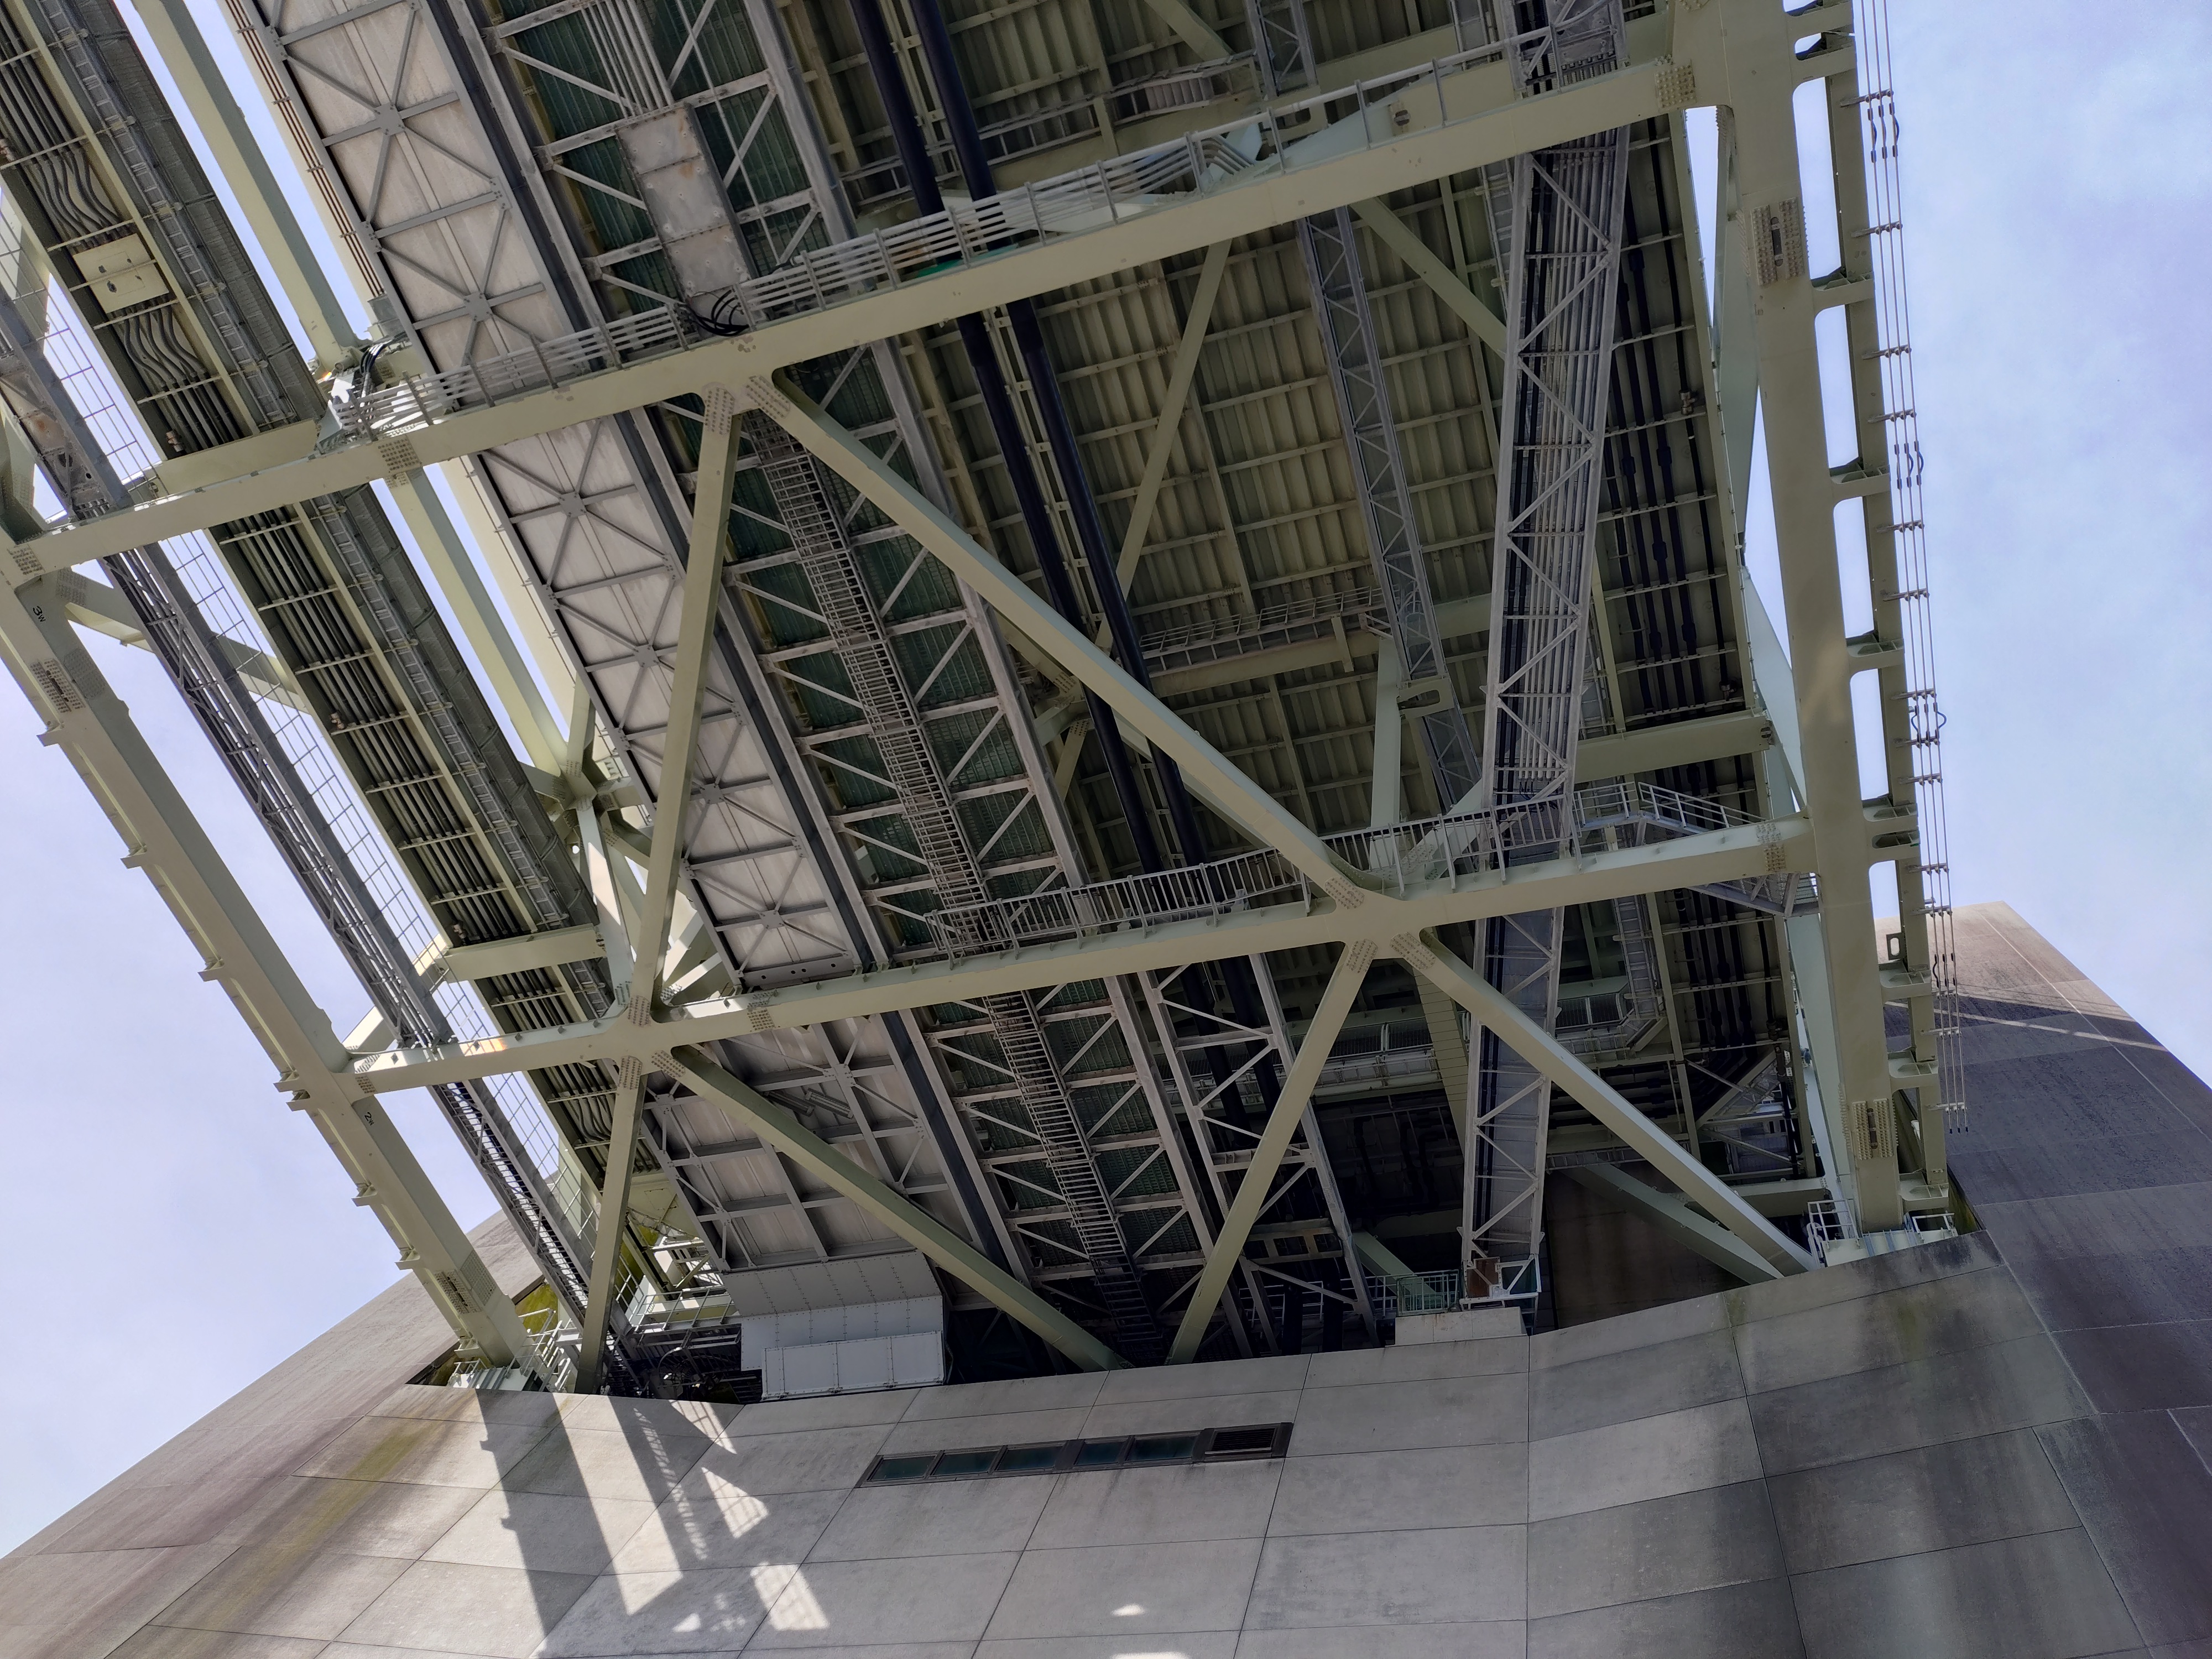
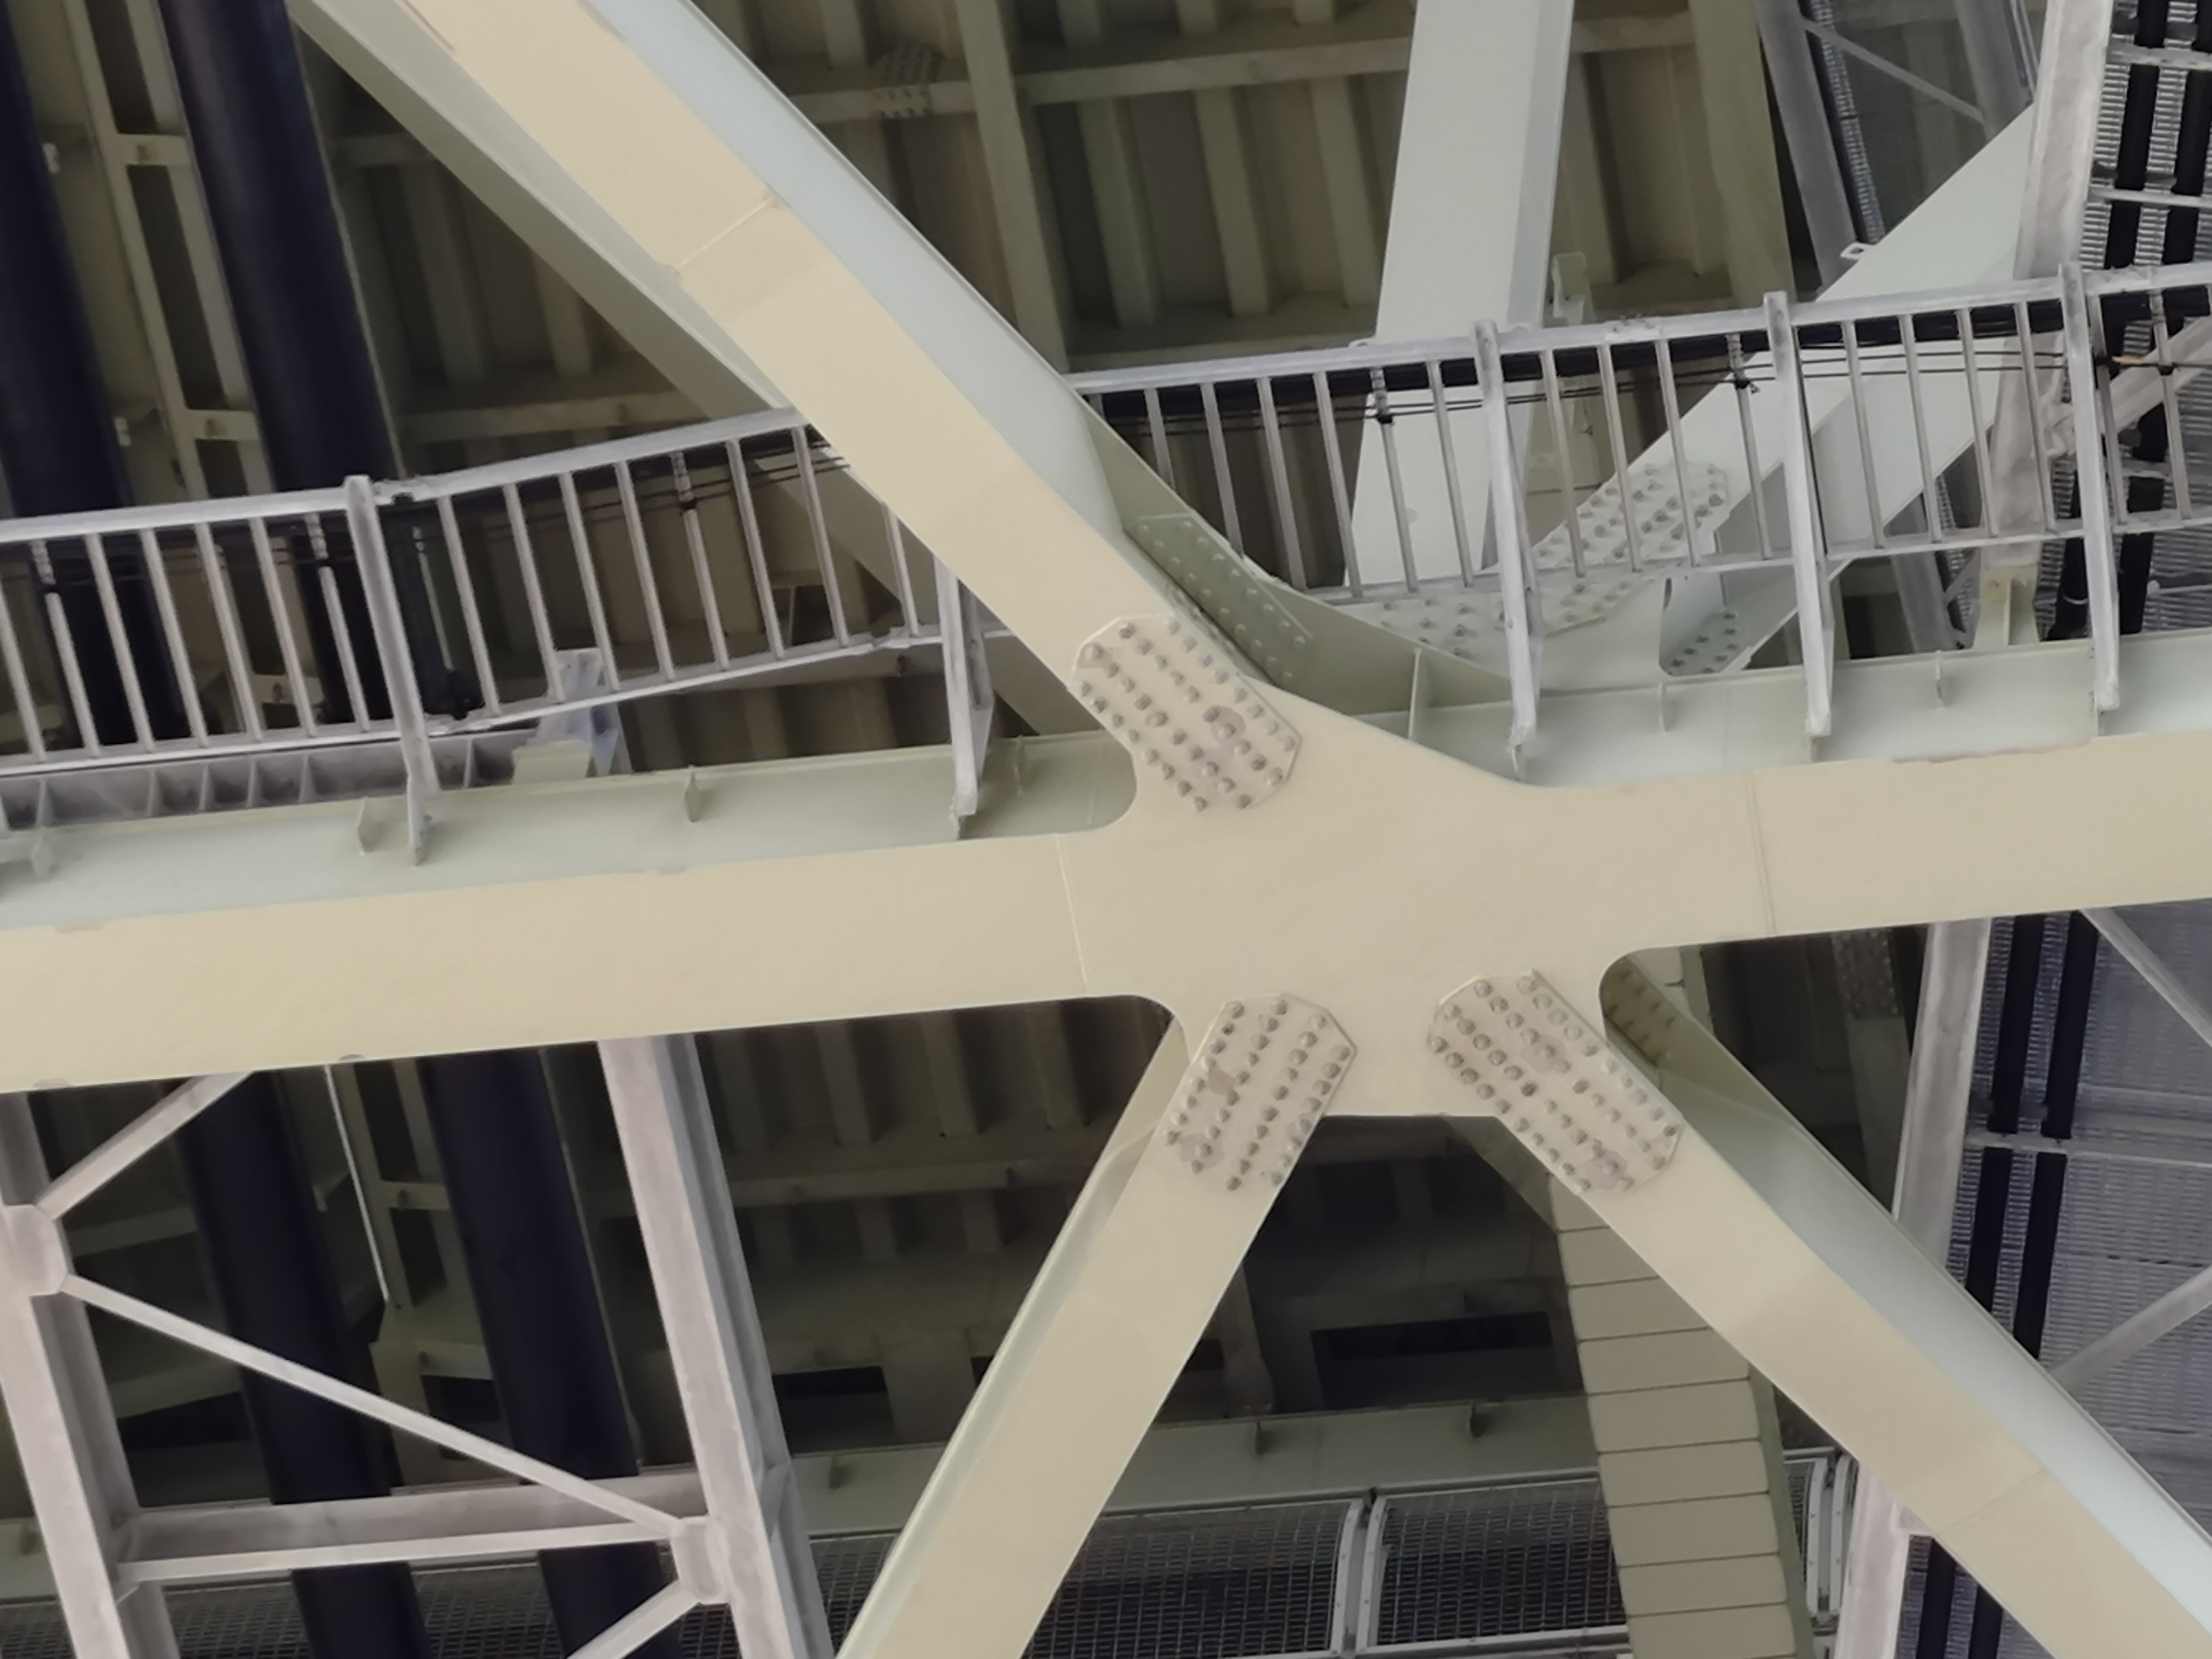
1 VI looking up at the base of the Akashi Kaikyo Bridge.
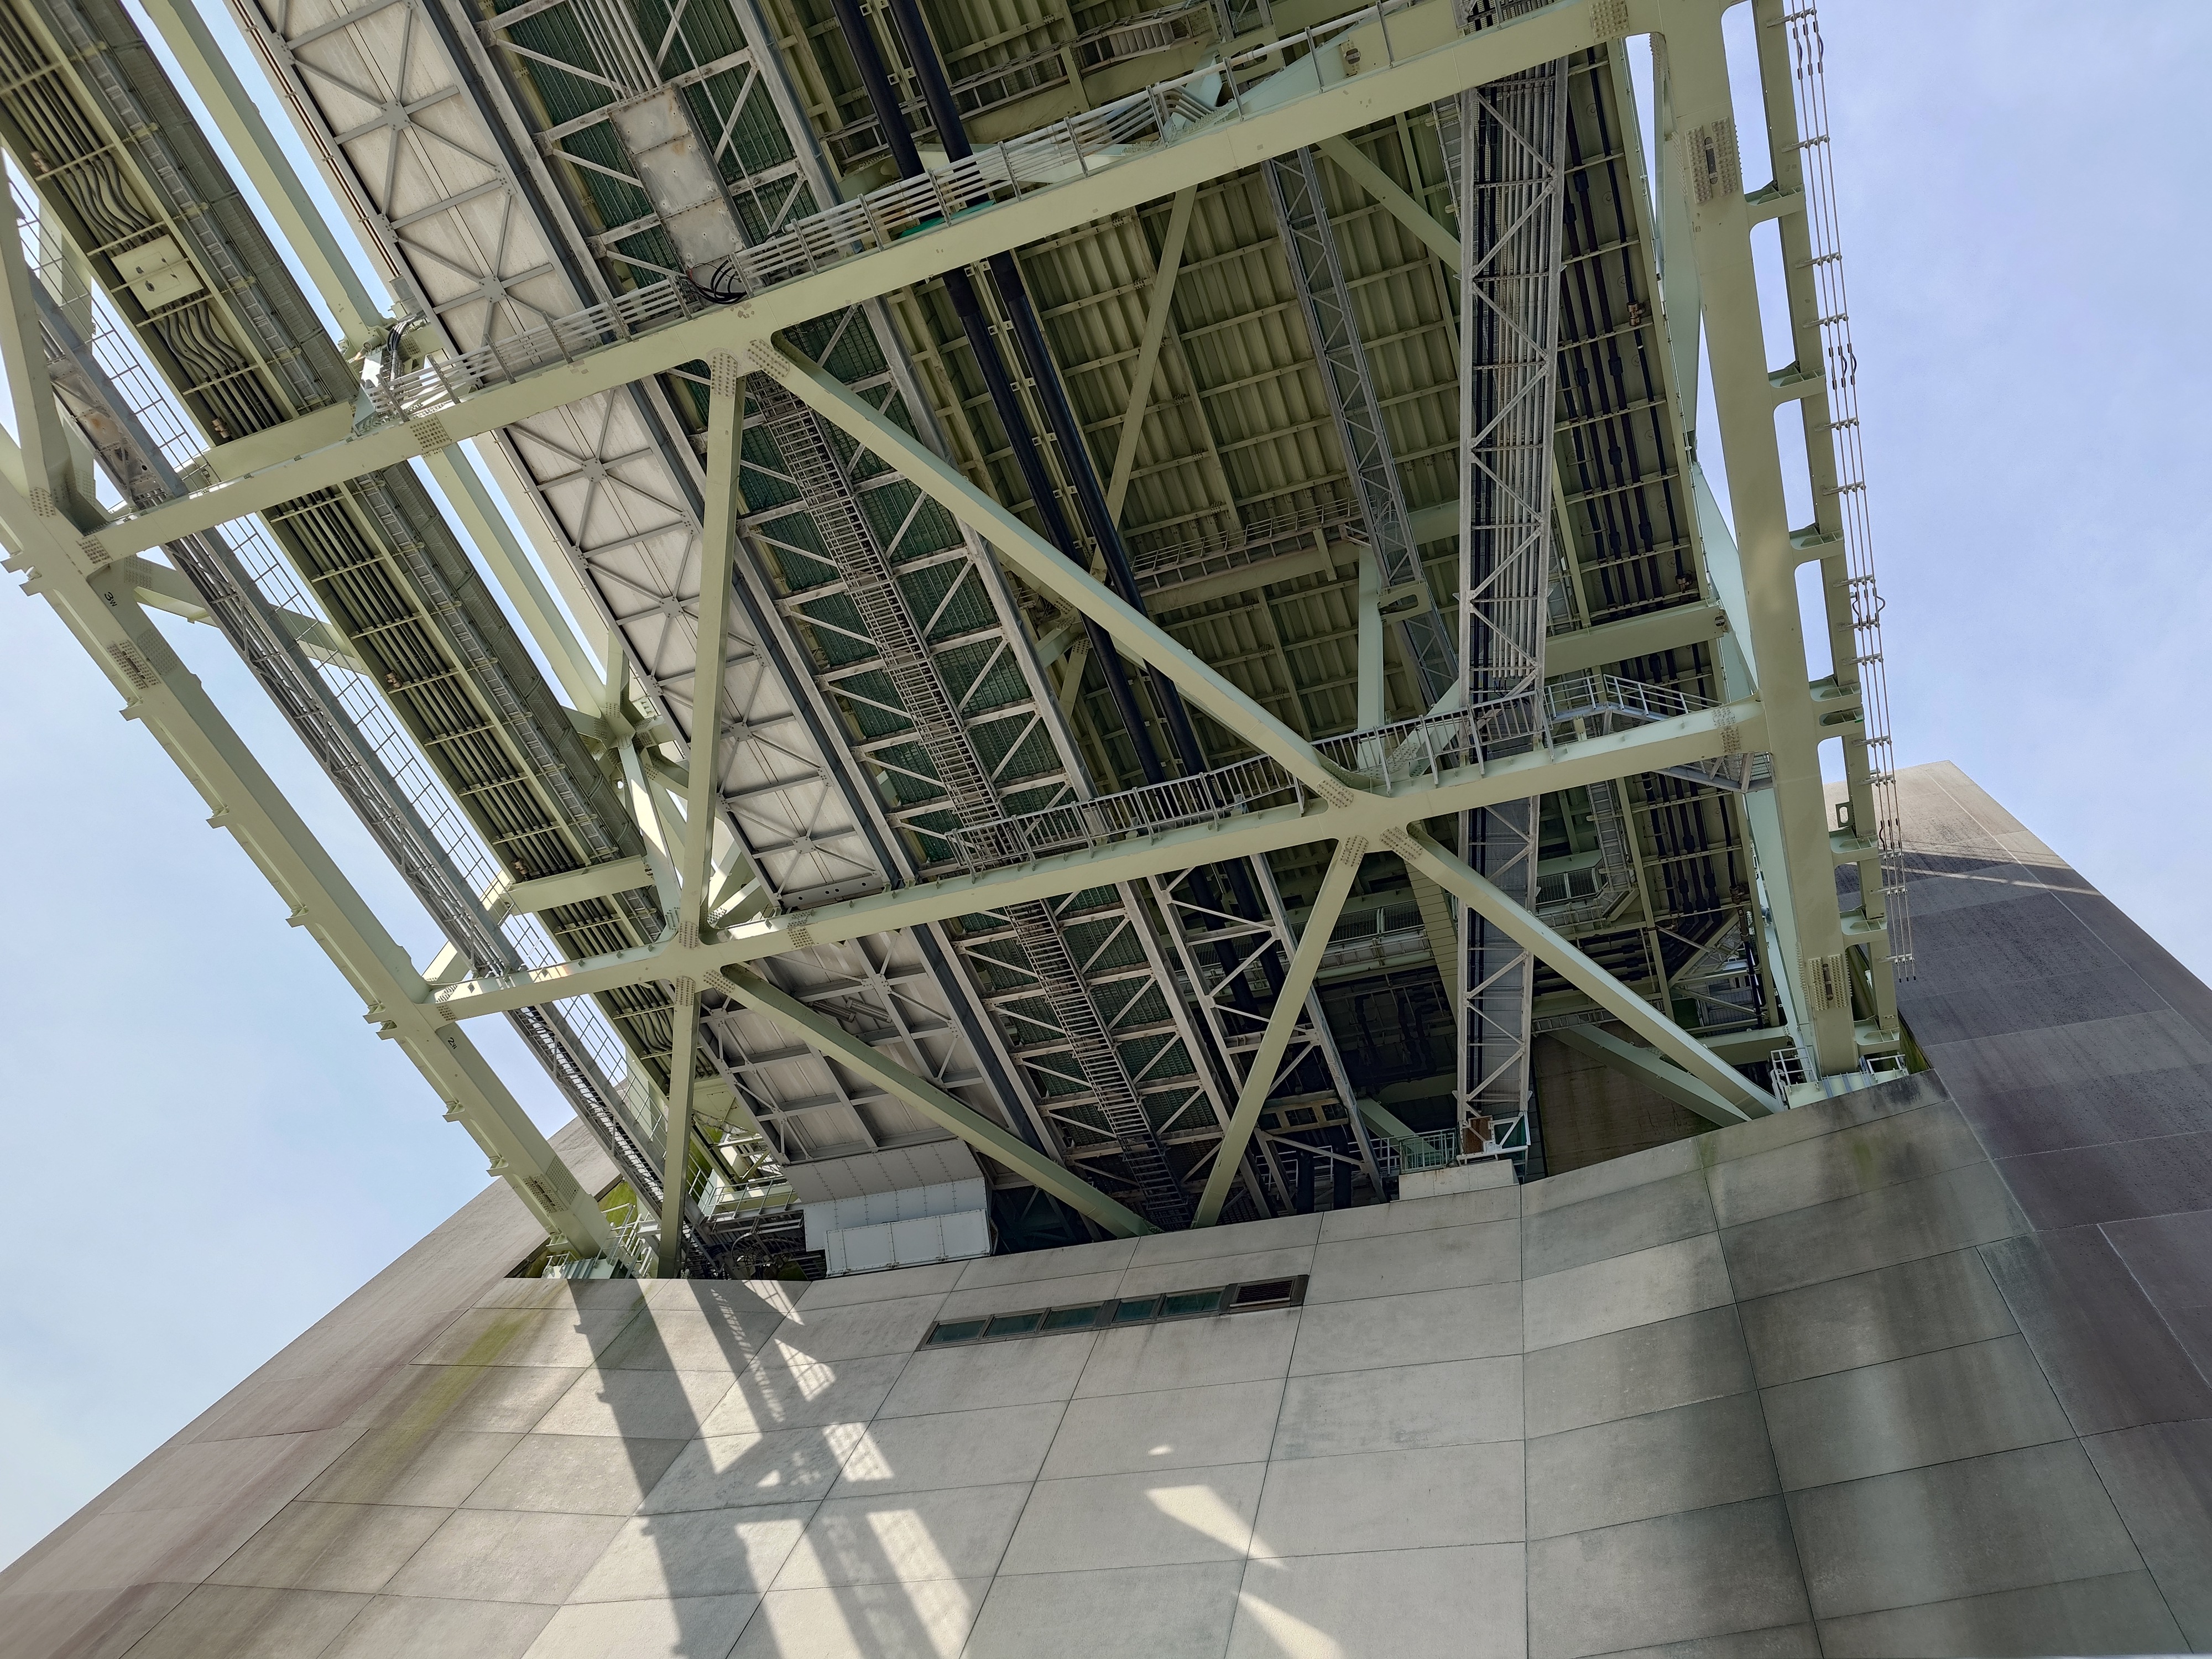
The same location photographed with 10 VI.
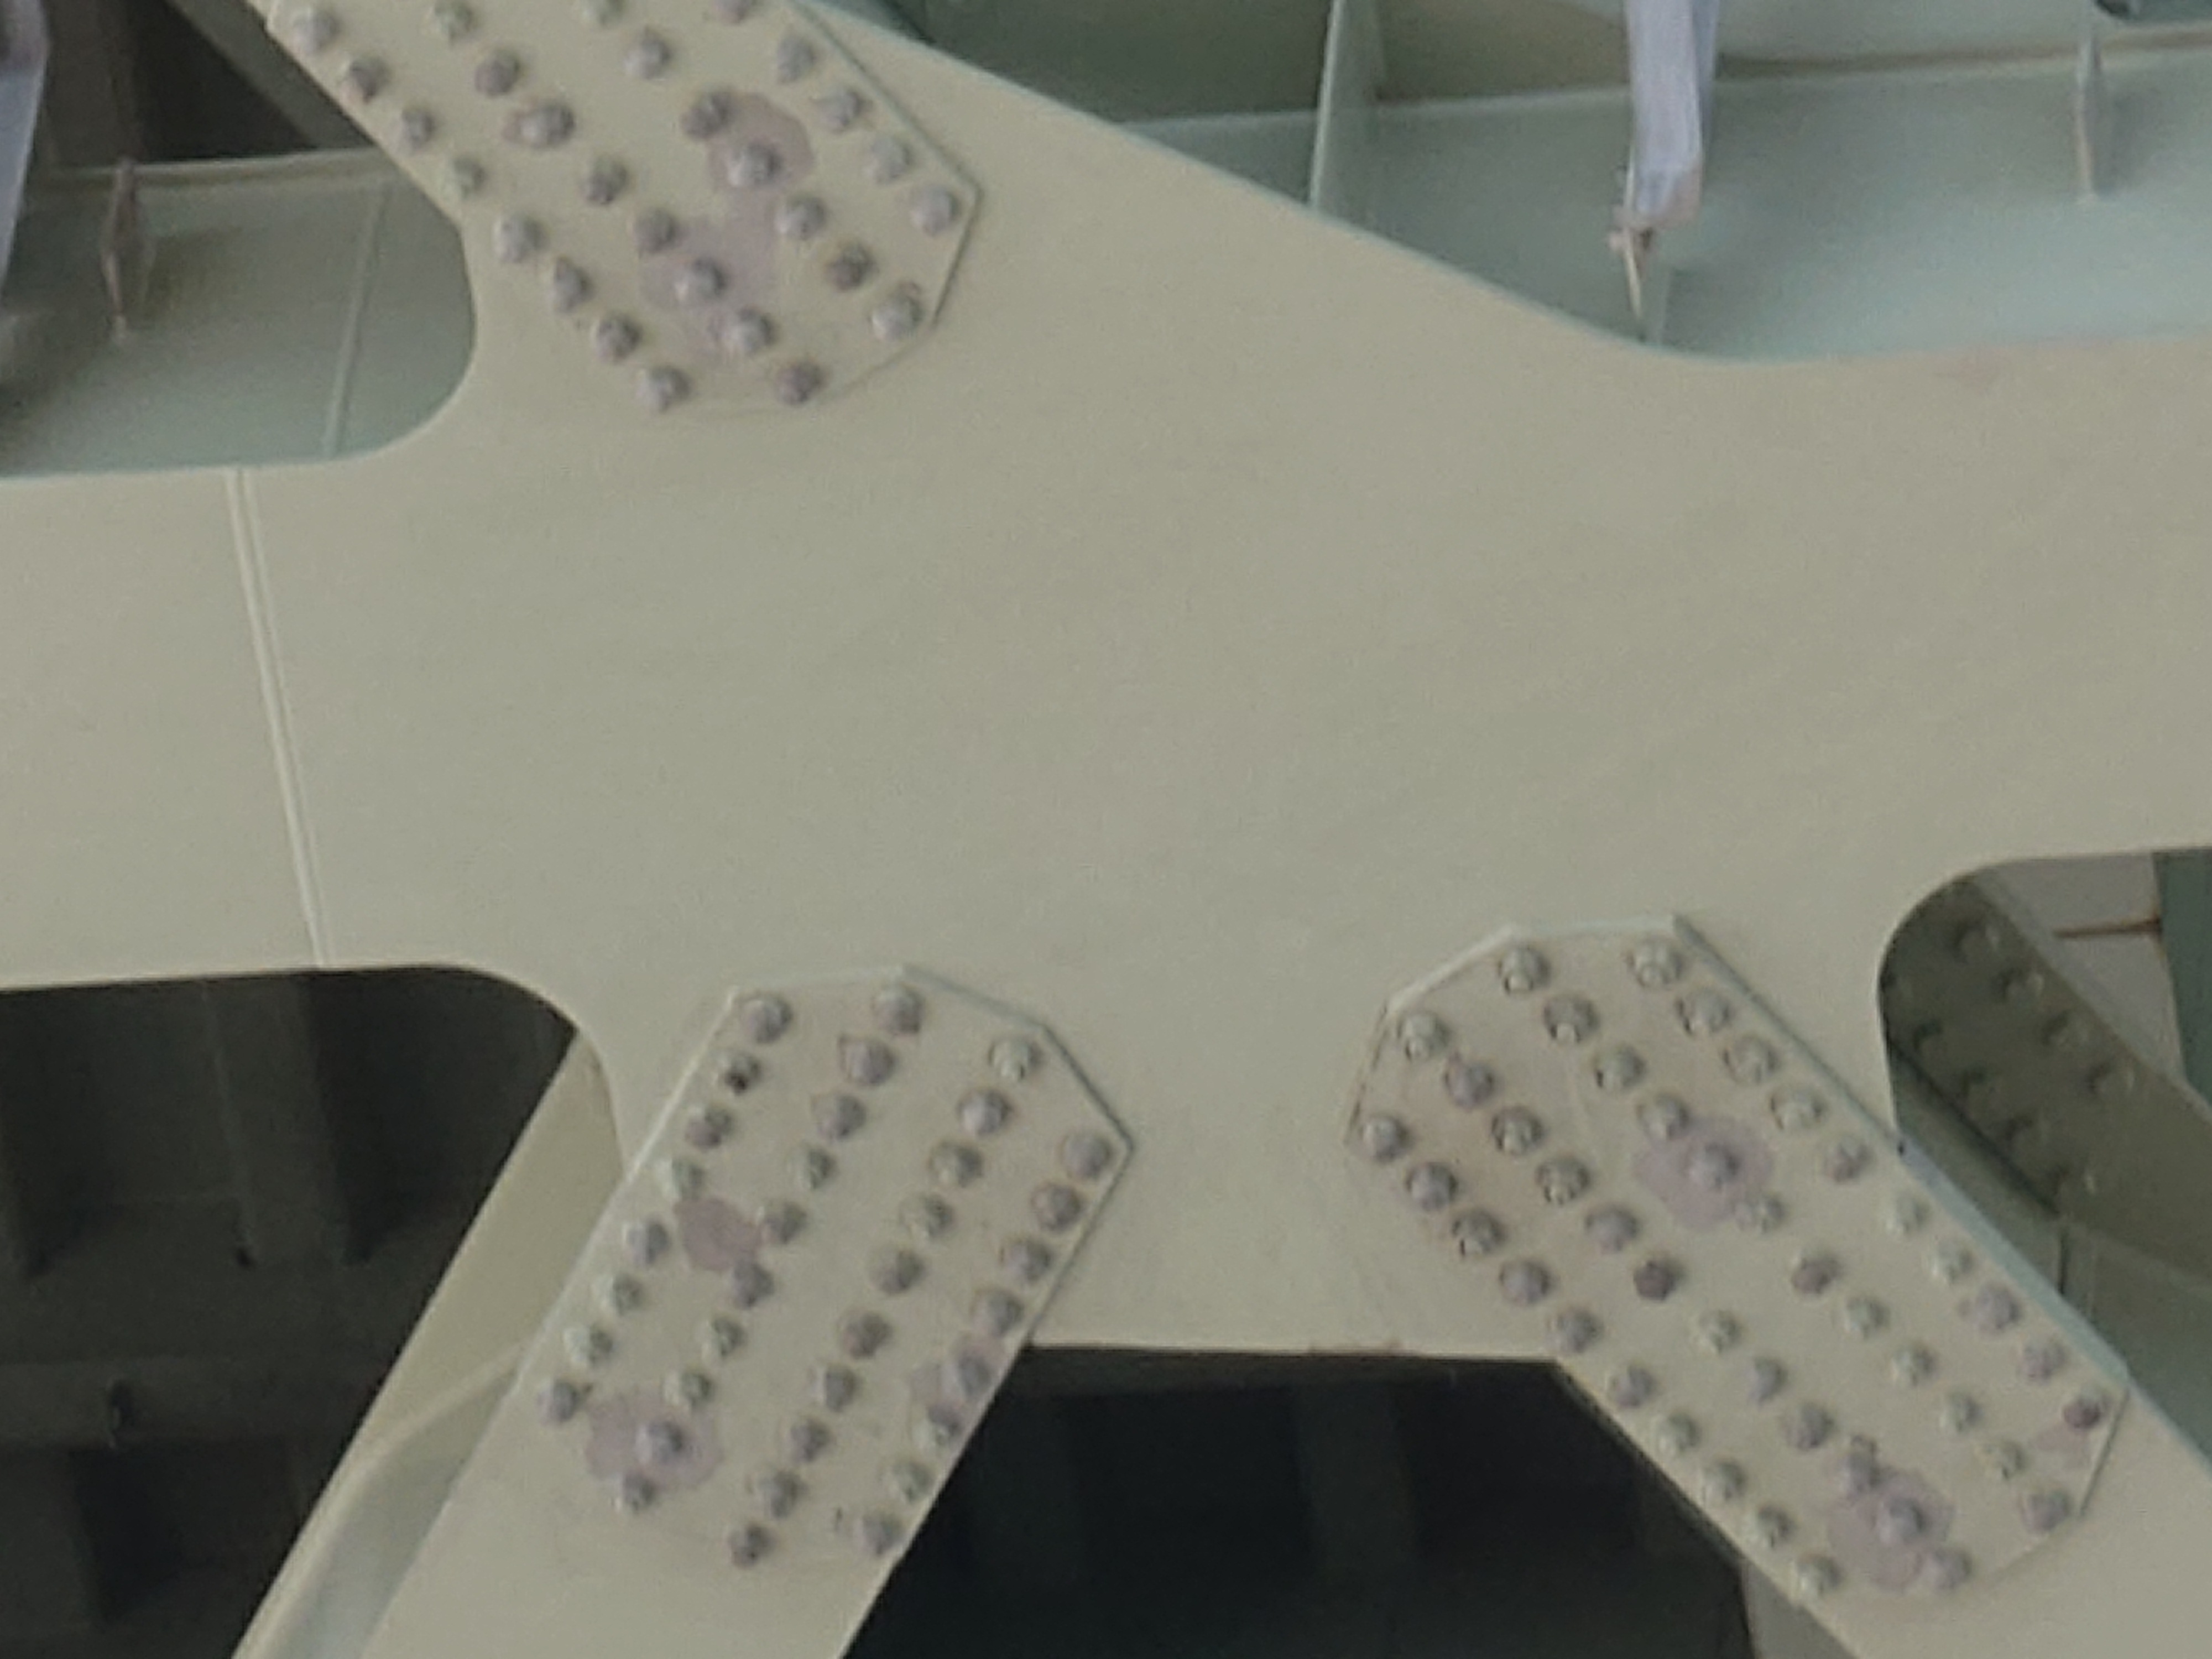
1 VI zooms in on steel frame at 7.1x.
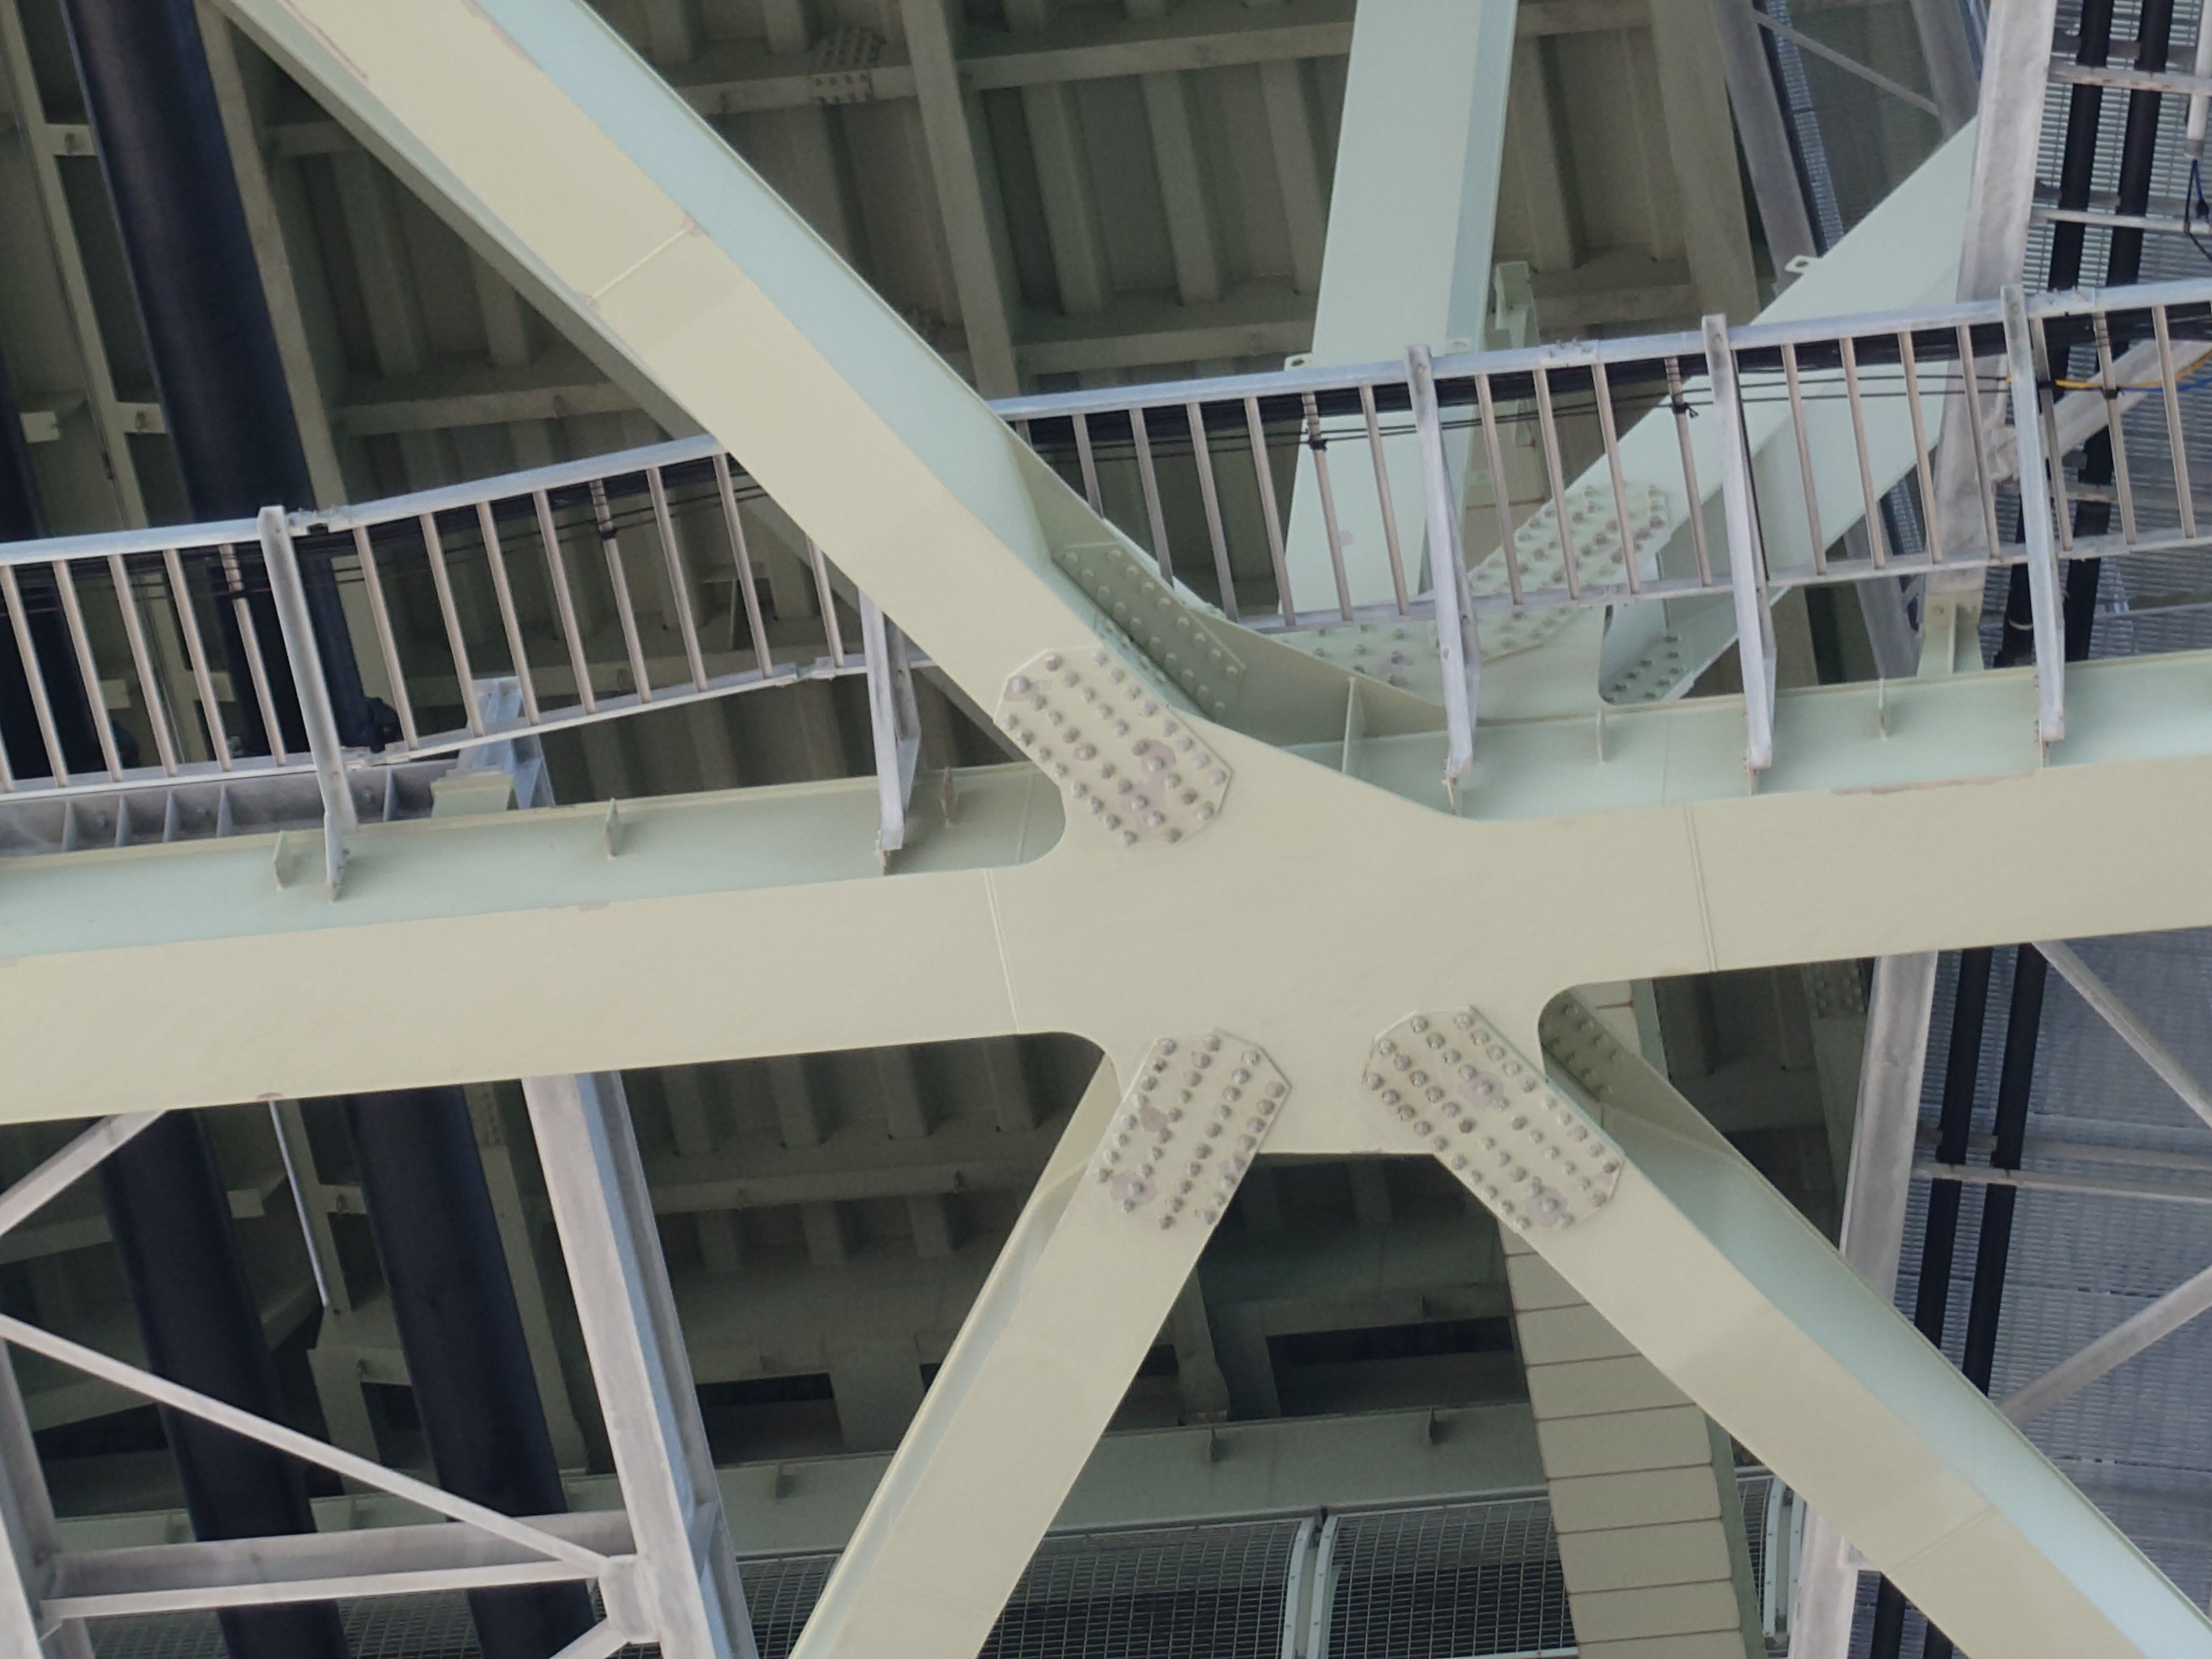
Furthermore, if you zoom in up to 21.3 times with digital zoom, it looks like this.
This is about the maximum zoom of the 10 VI, which is 6x digital zoom.
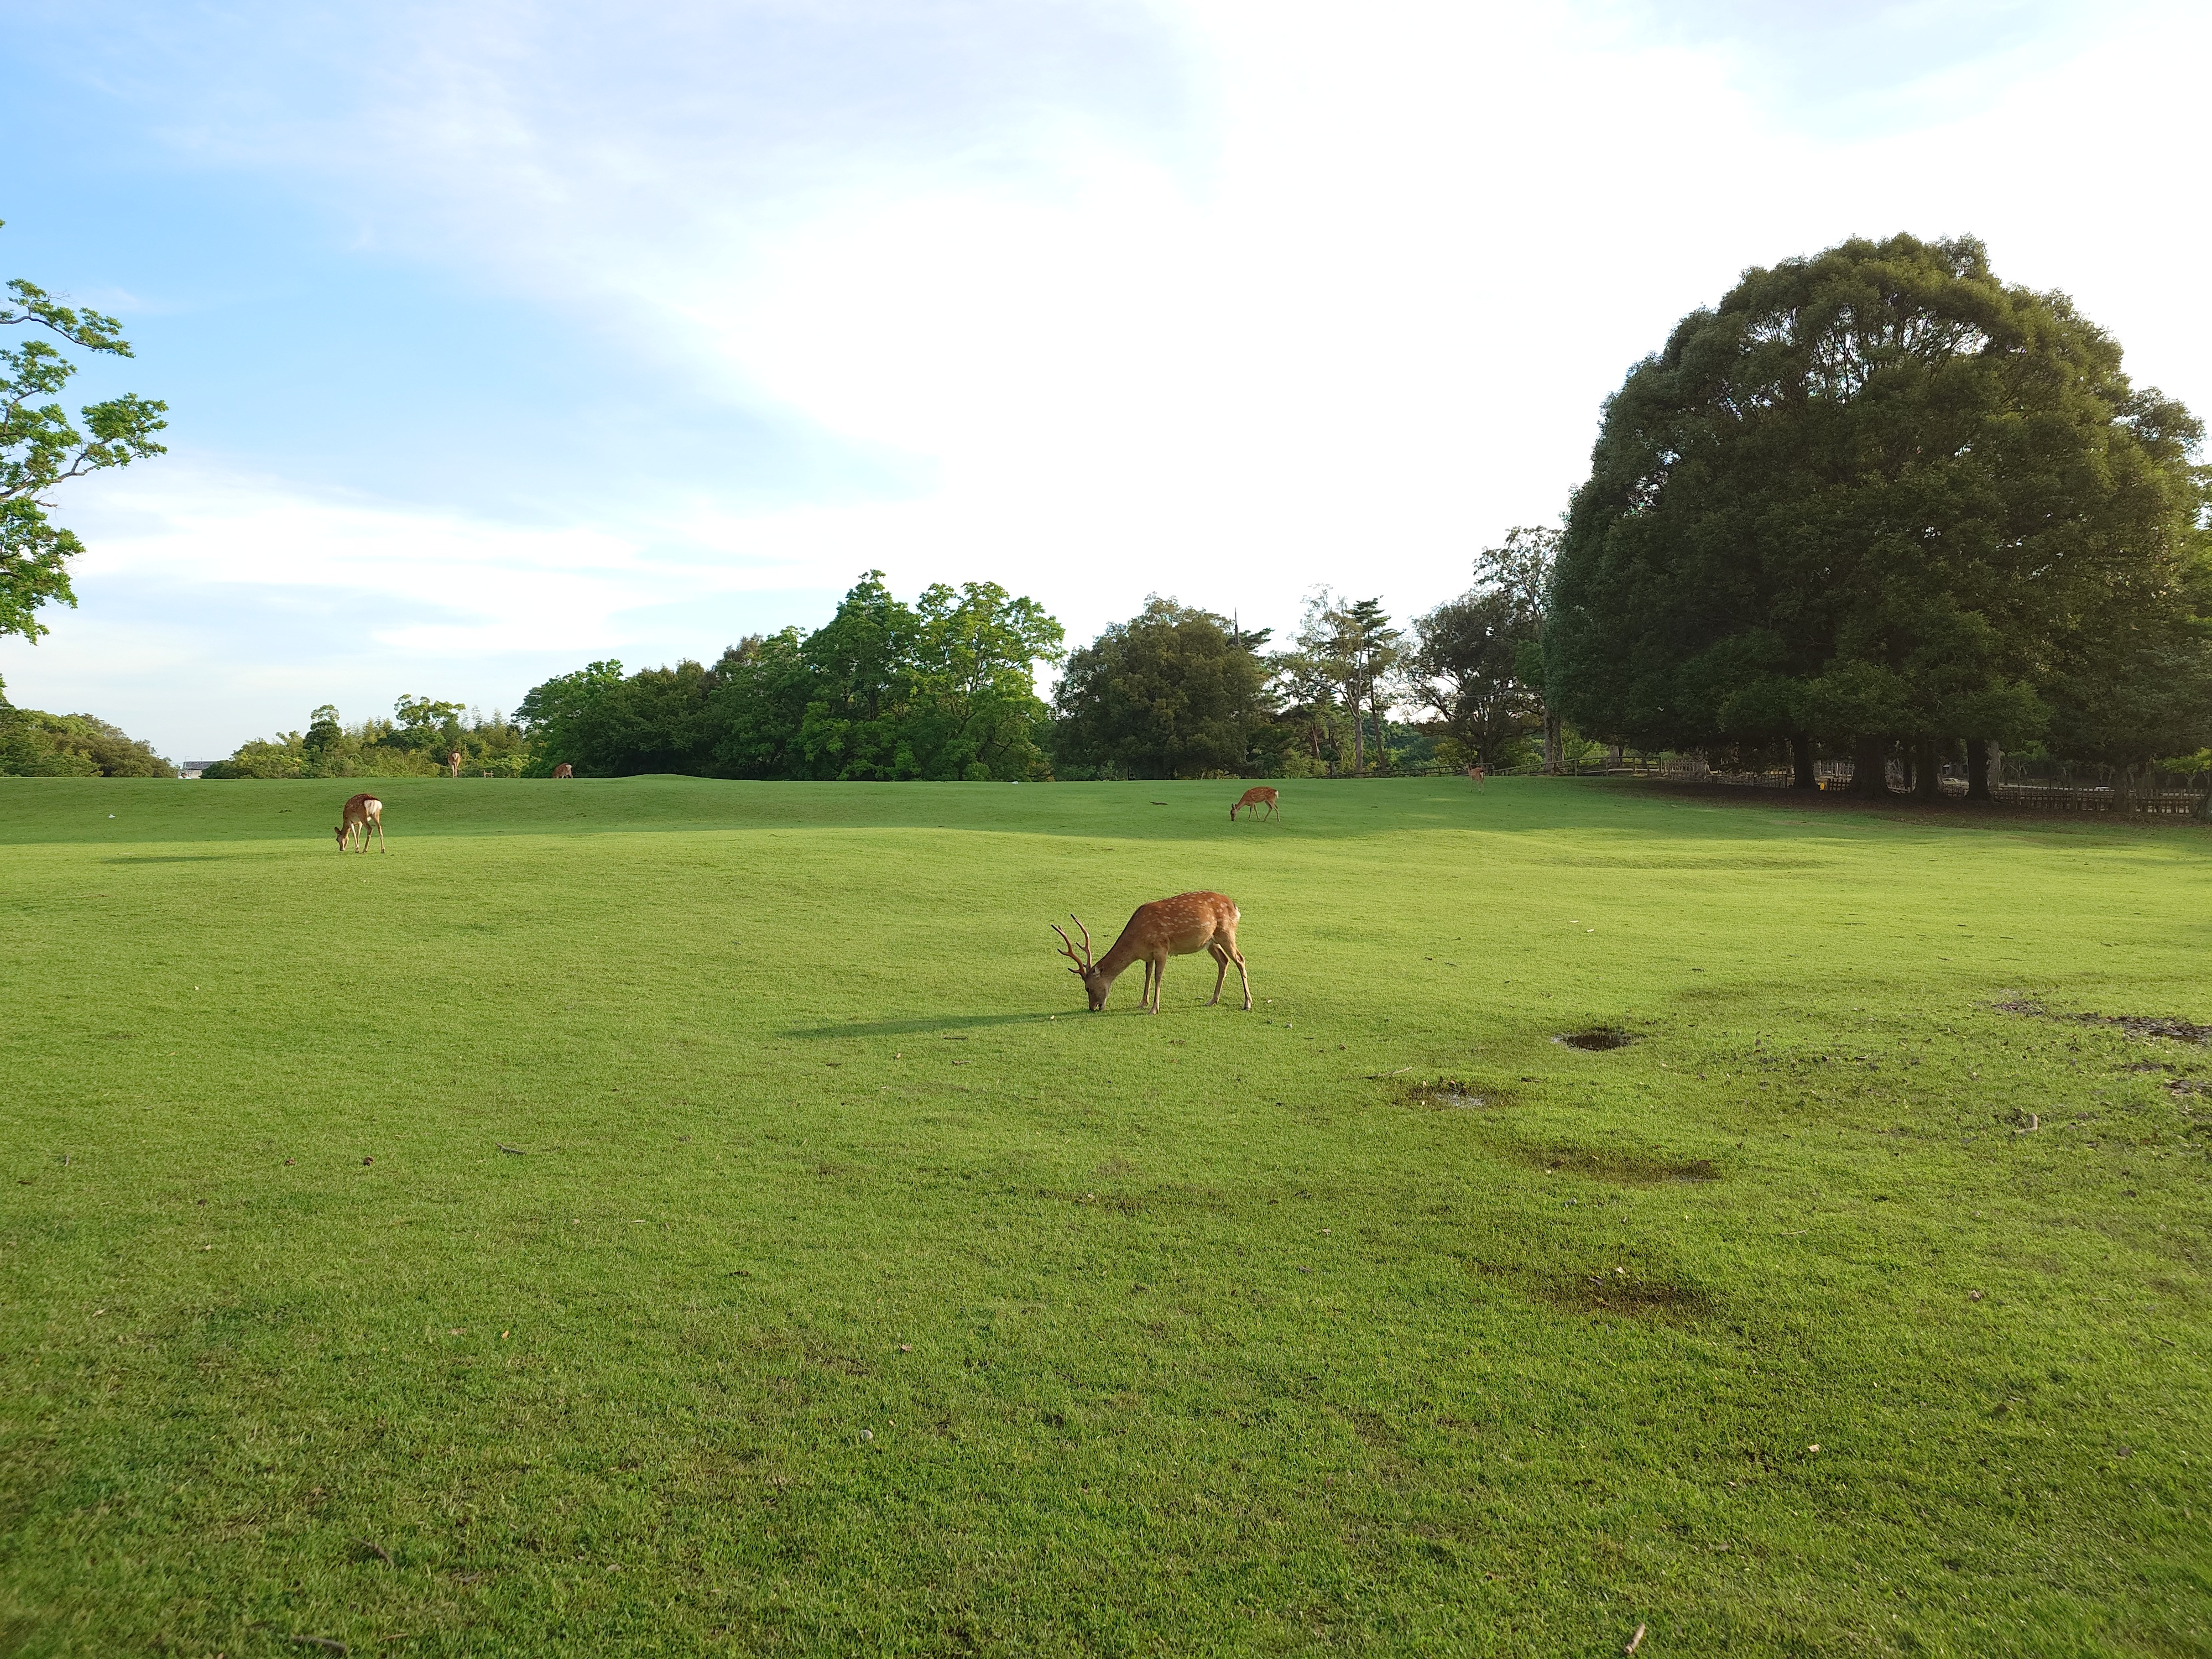
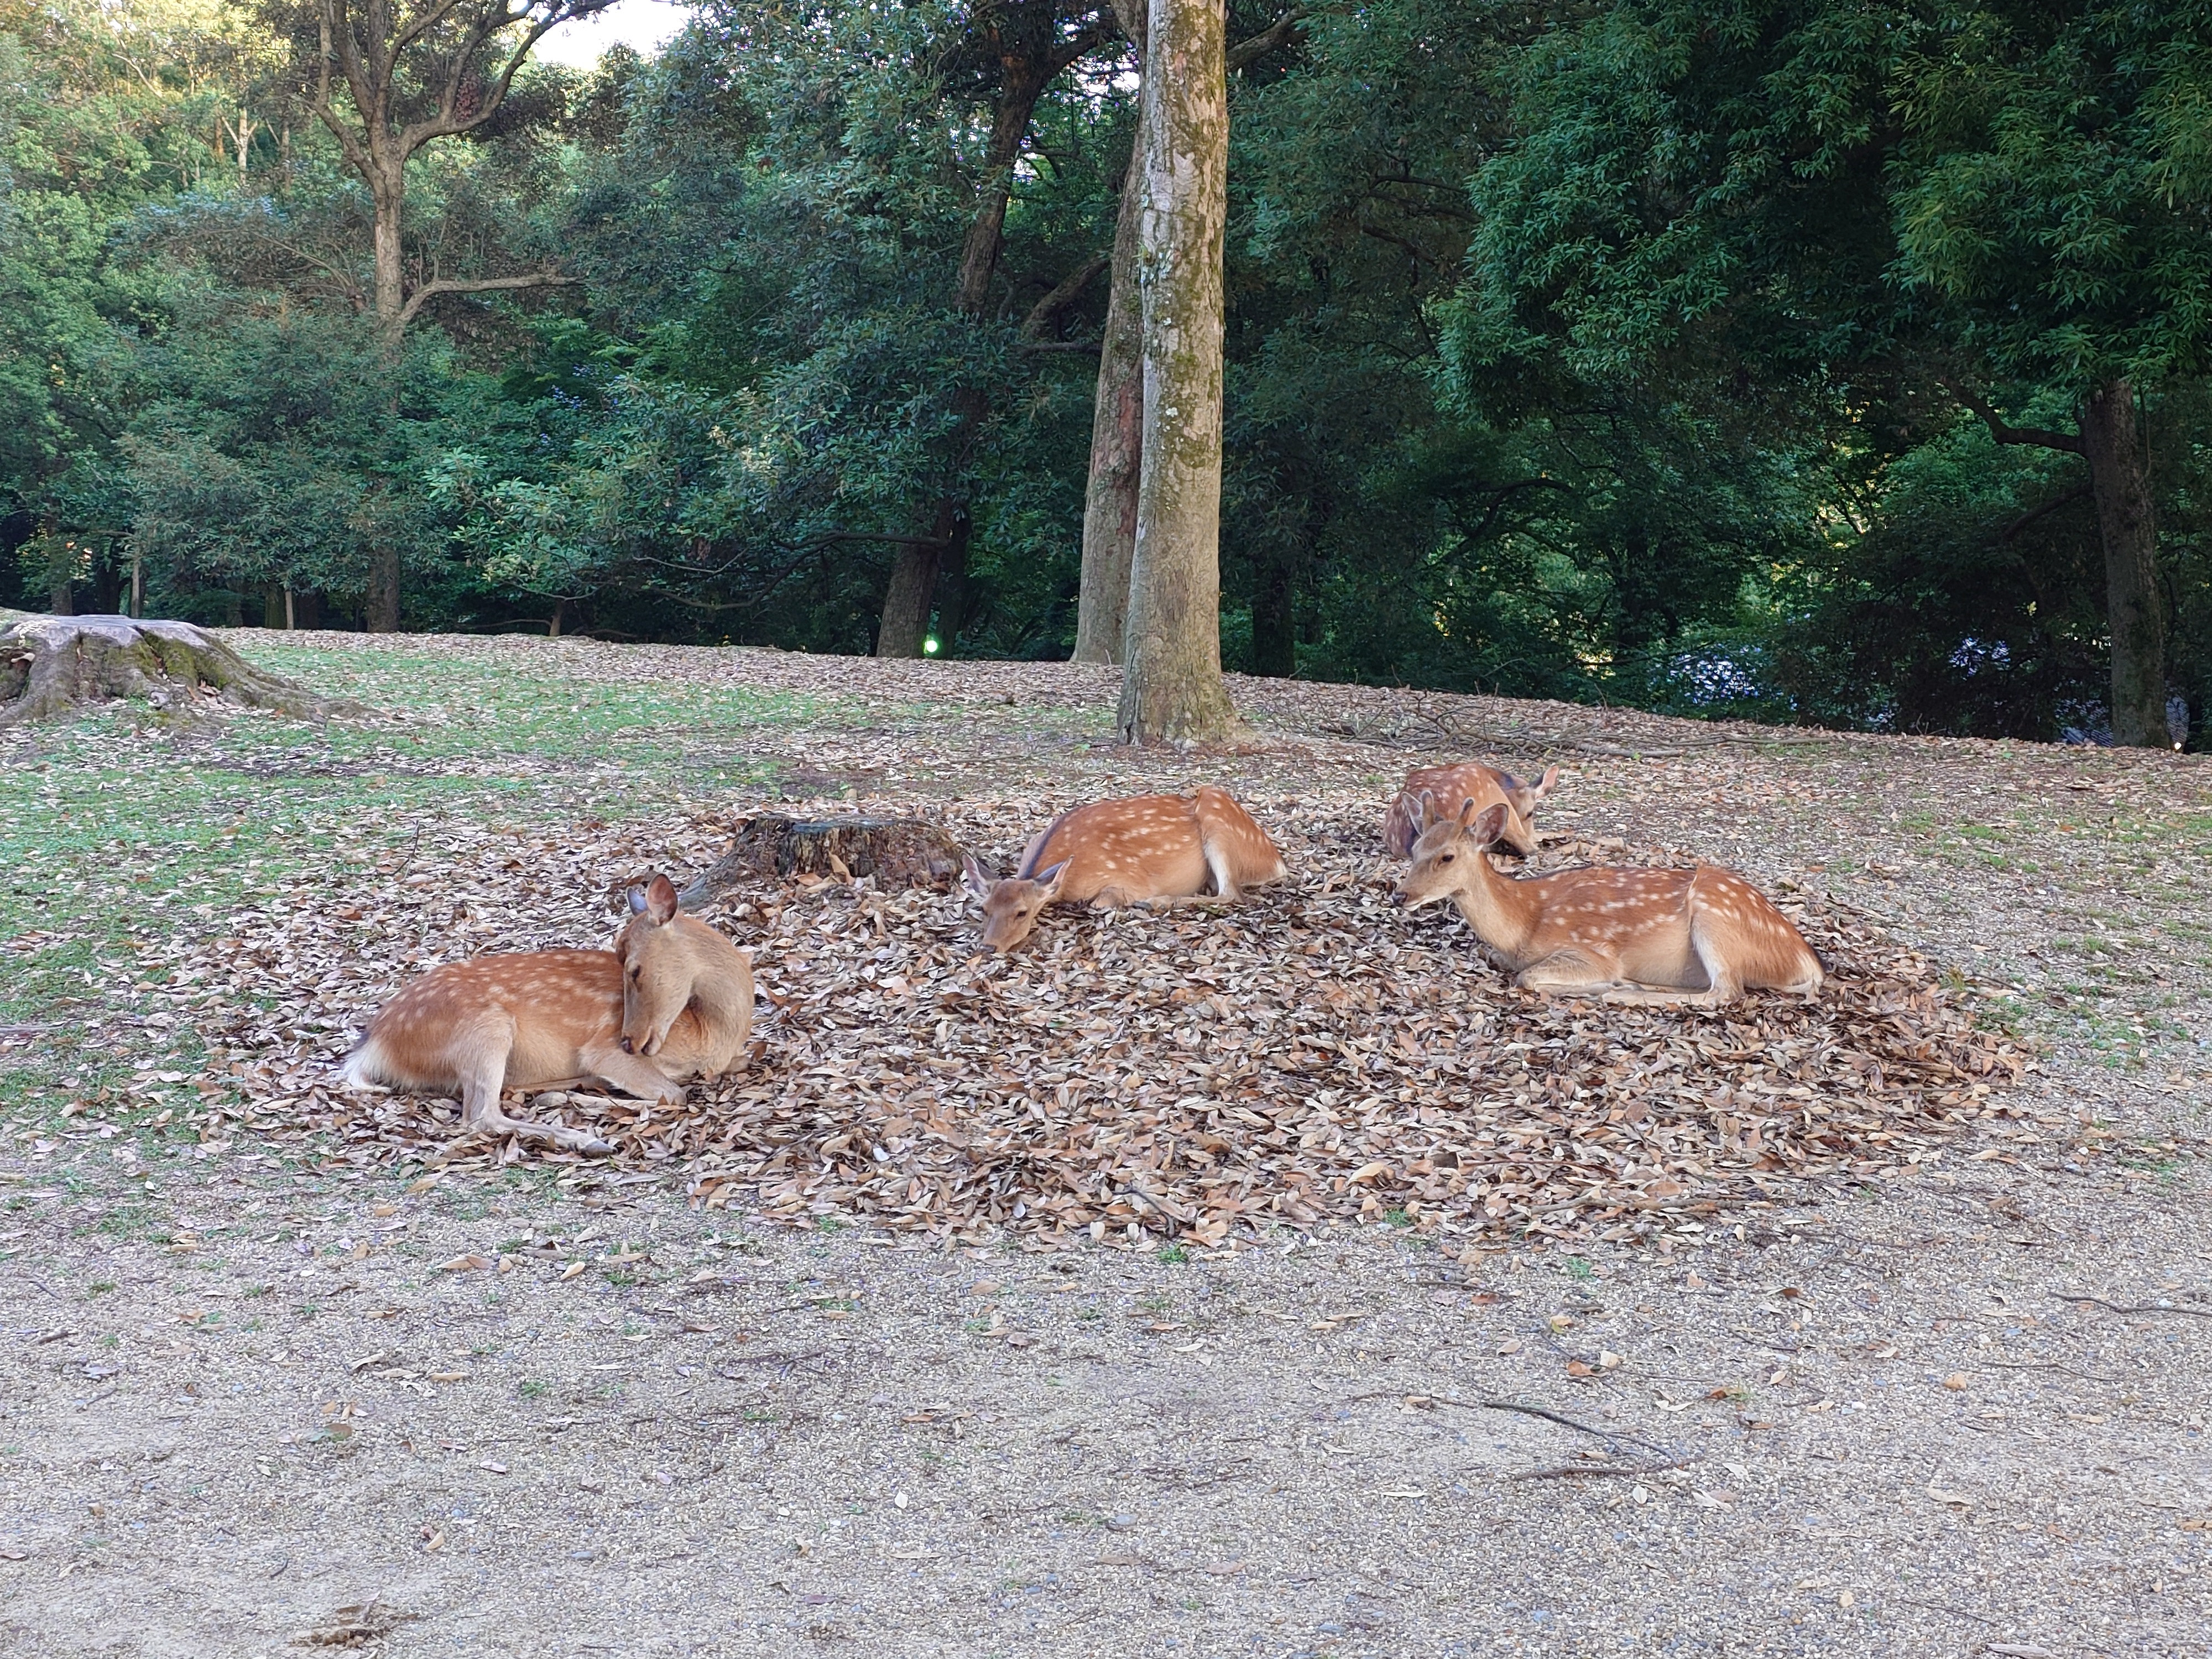
Photographed a deer in Nara Park with 1 VI.
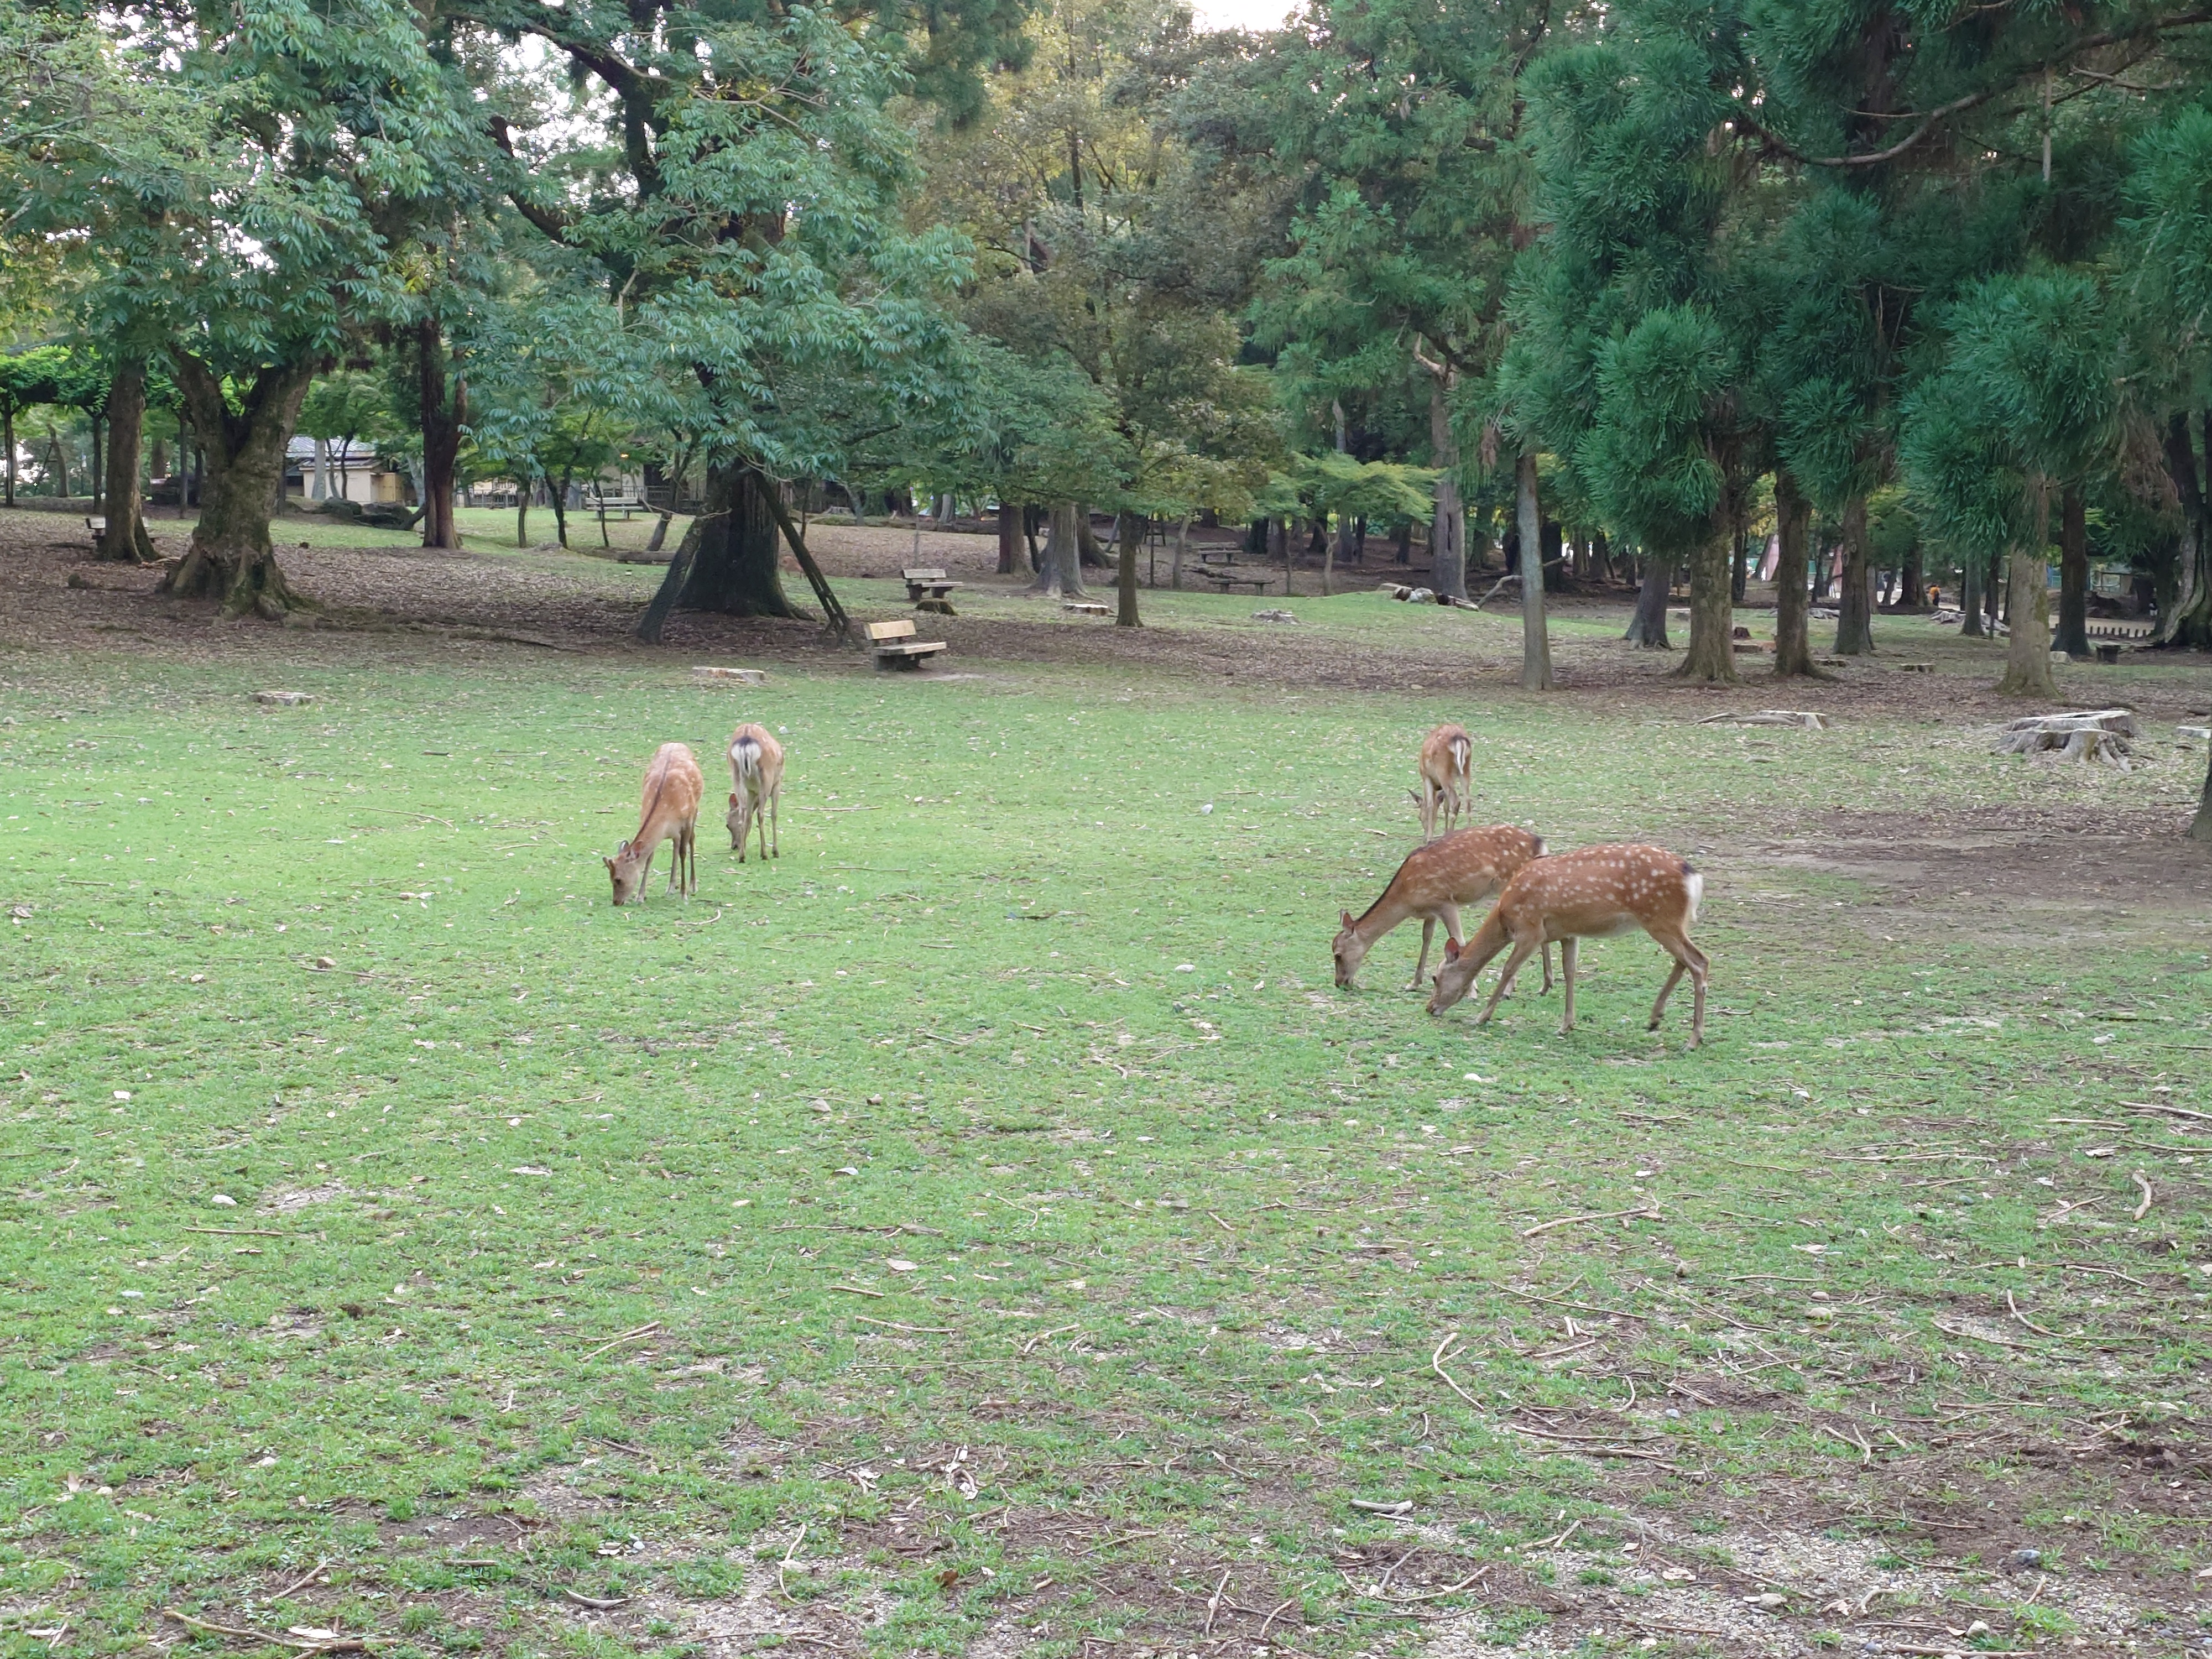
The same group photographed with 10 VI.
I was taking pictures from a distance so as not to disturb the deer too much, but since it was dark, the images came out quite grainy with the 1 VI's 21.3x zoom.
This is what it looks like with 6x zoom on the 10 VI.
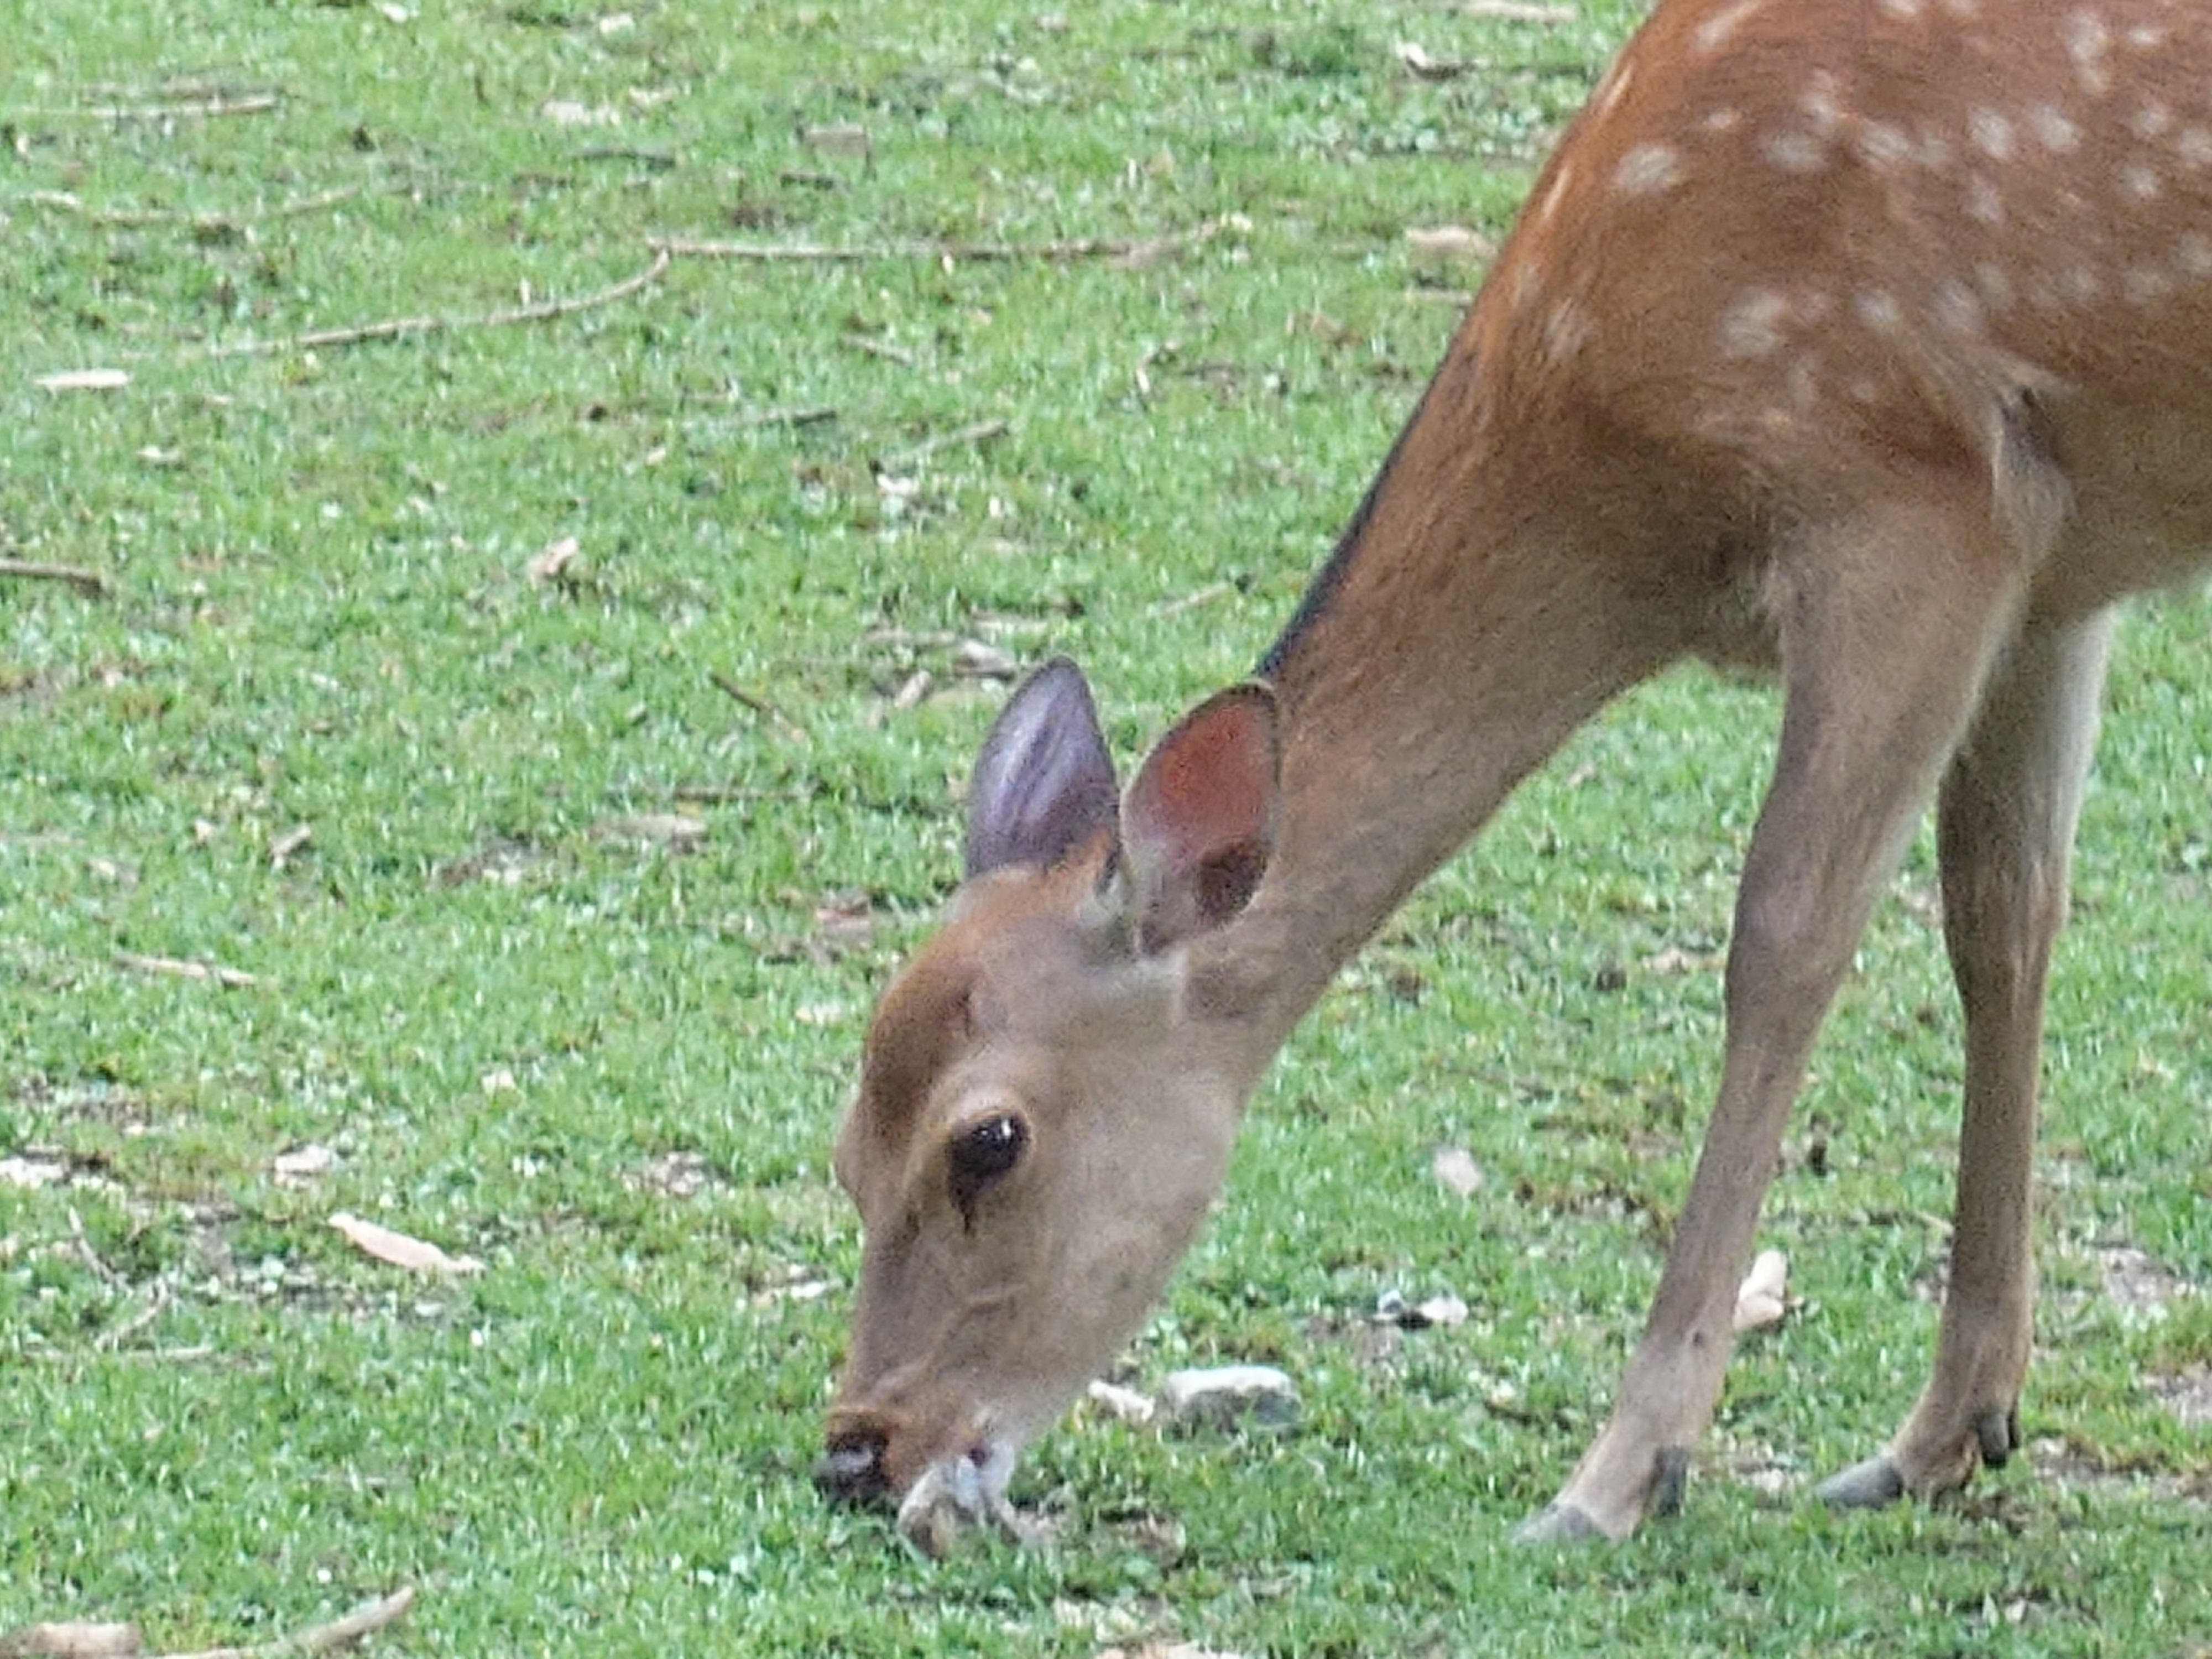
I thought I had taken a good shot, but the deer was constantly moving its head, so when I looked at it up close, there was an afterimage around its ears, and the image was not quite in focus. This was taken with the 1 VI.
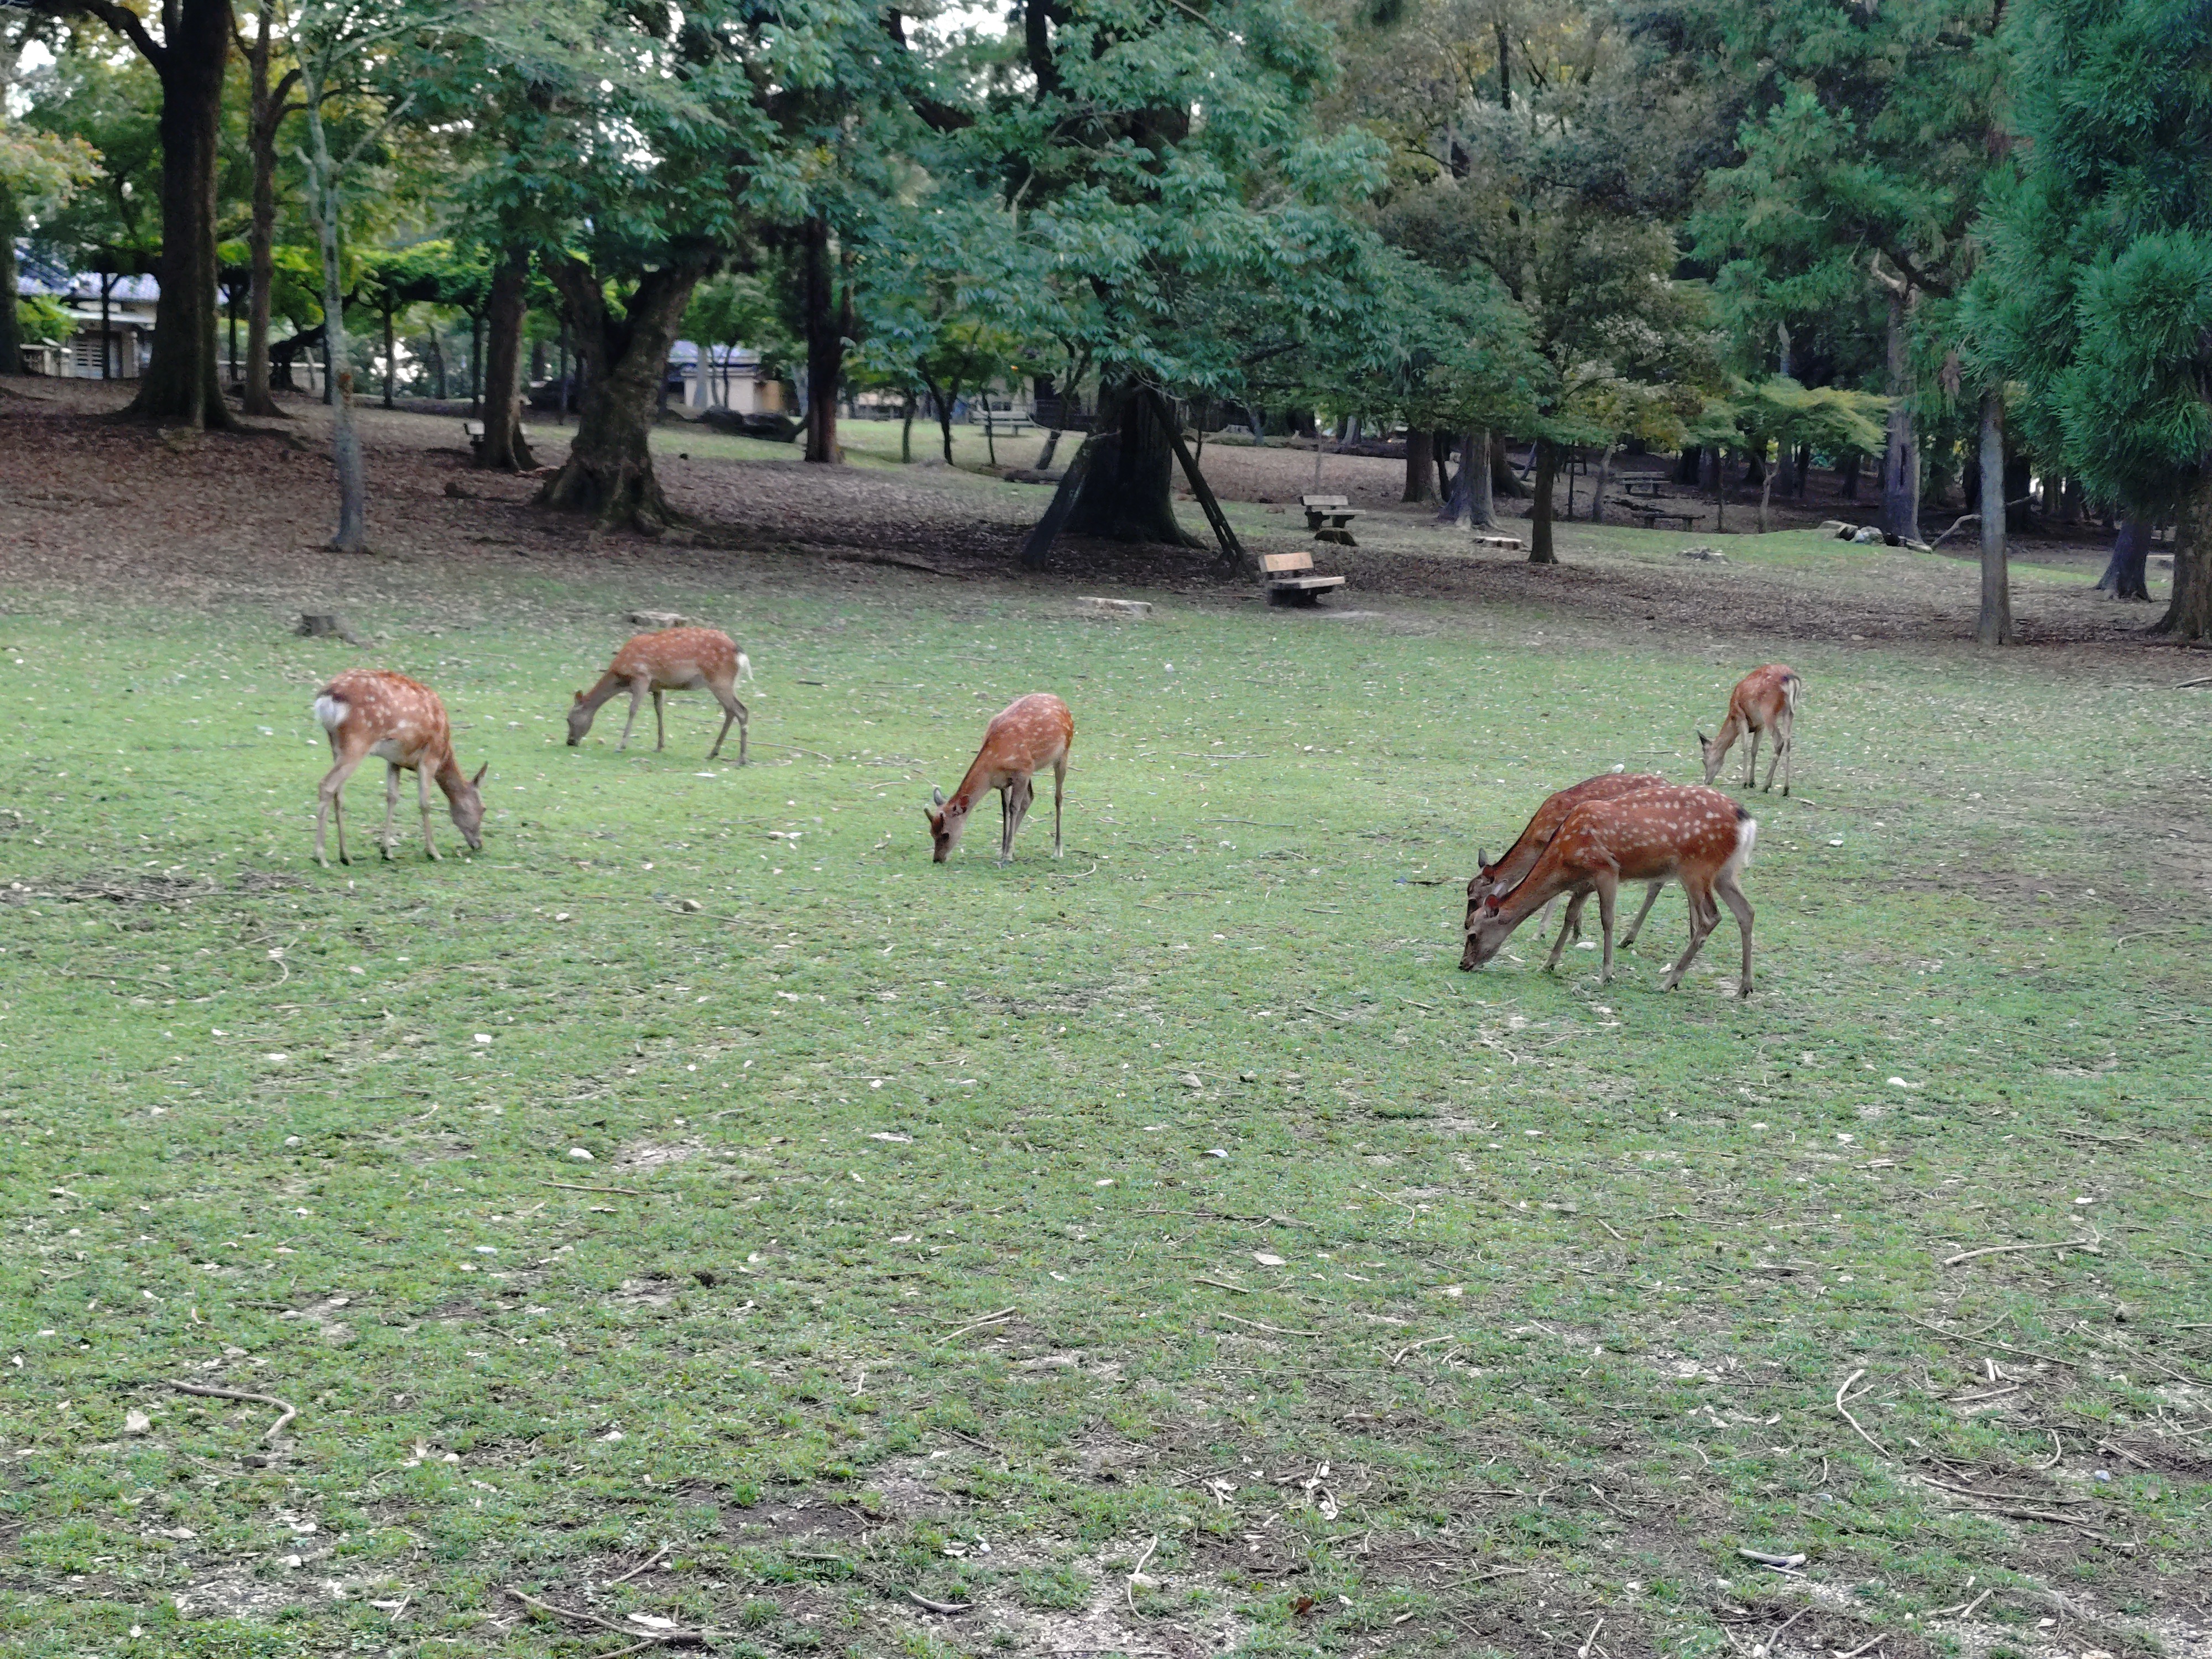
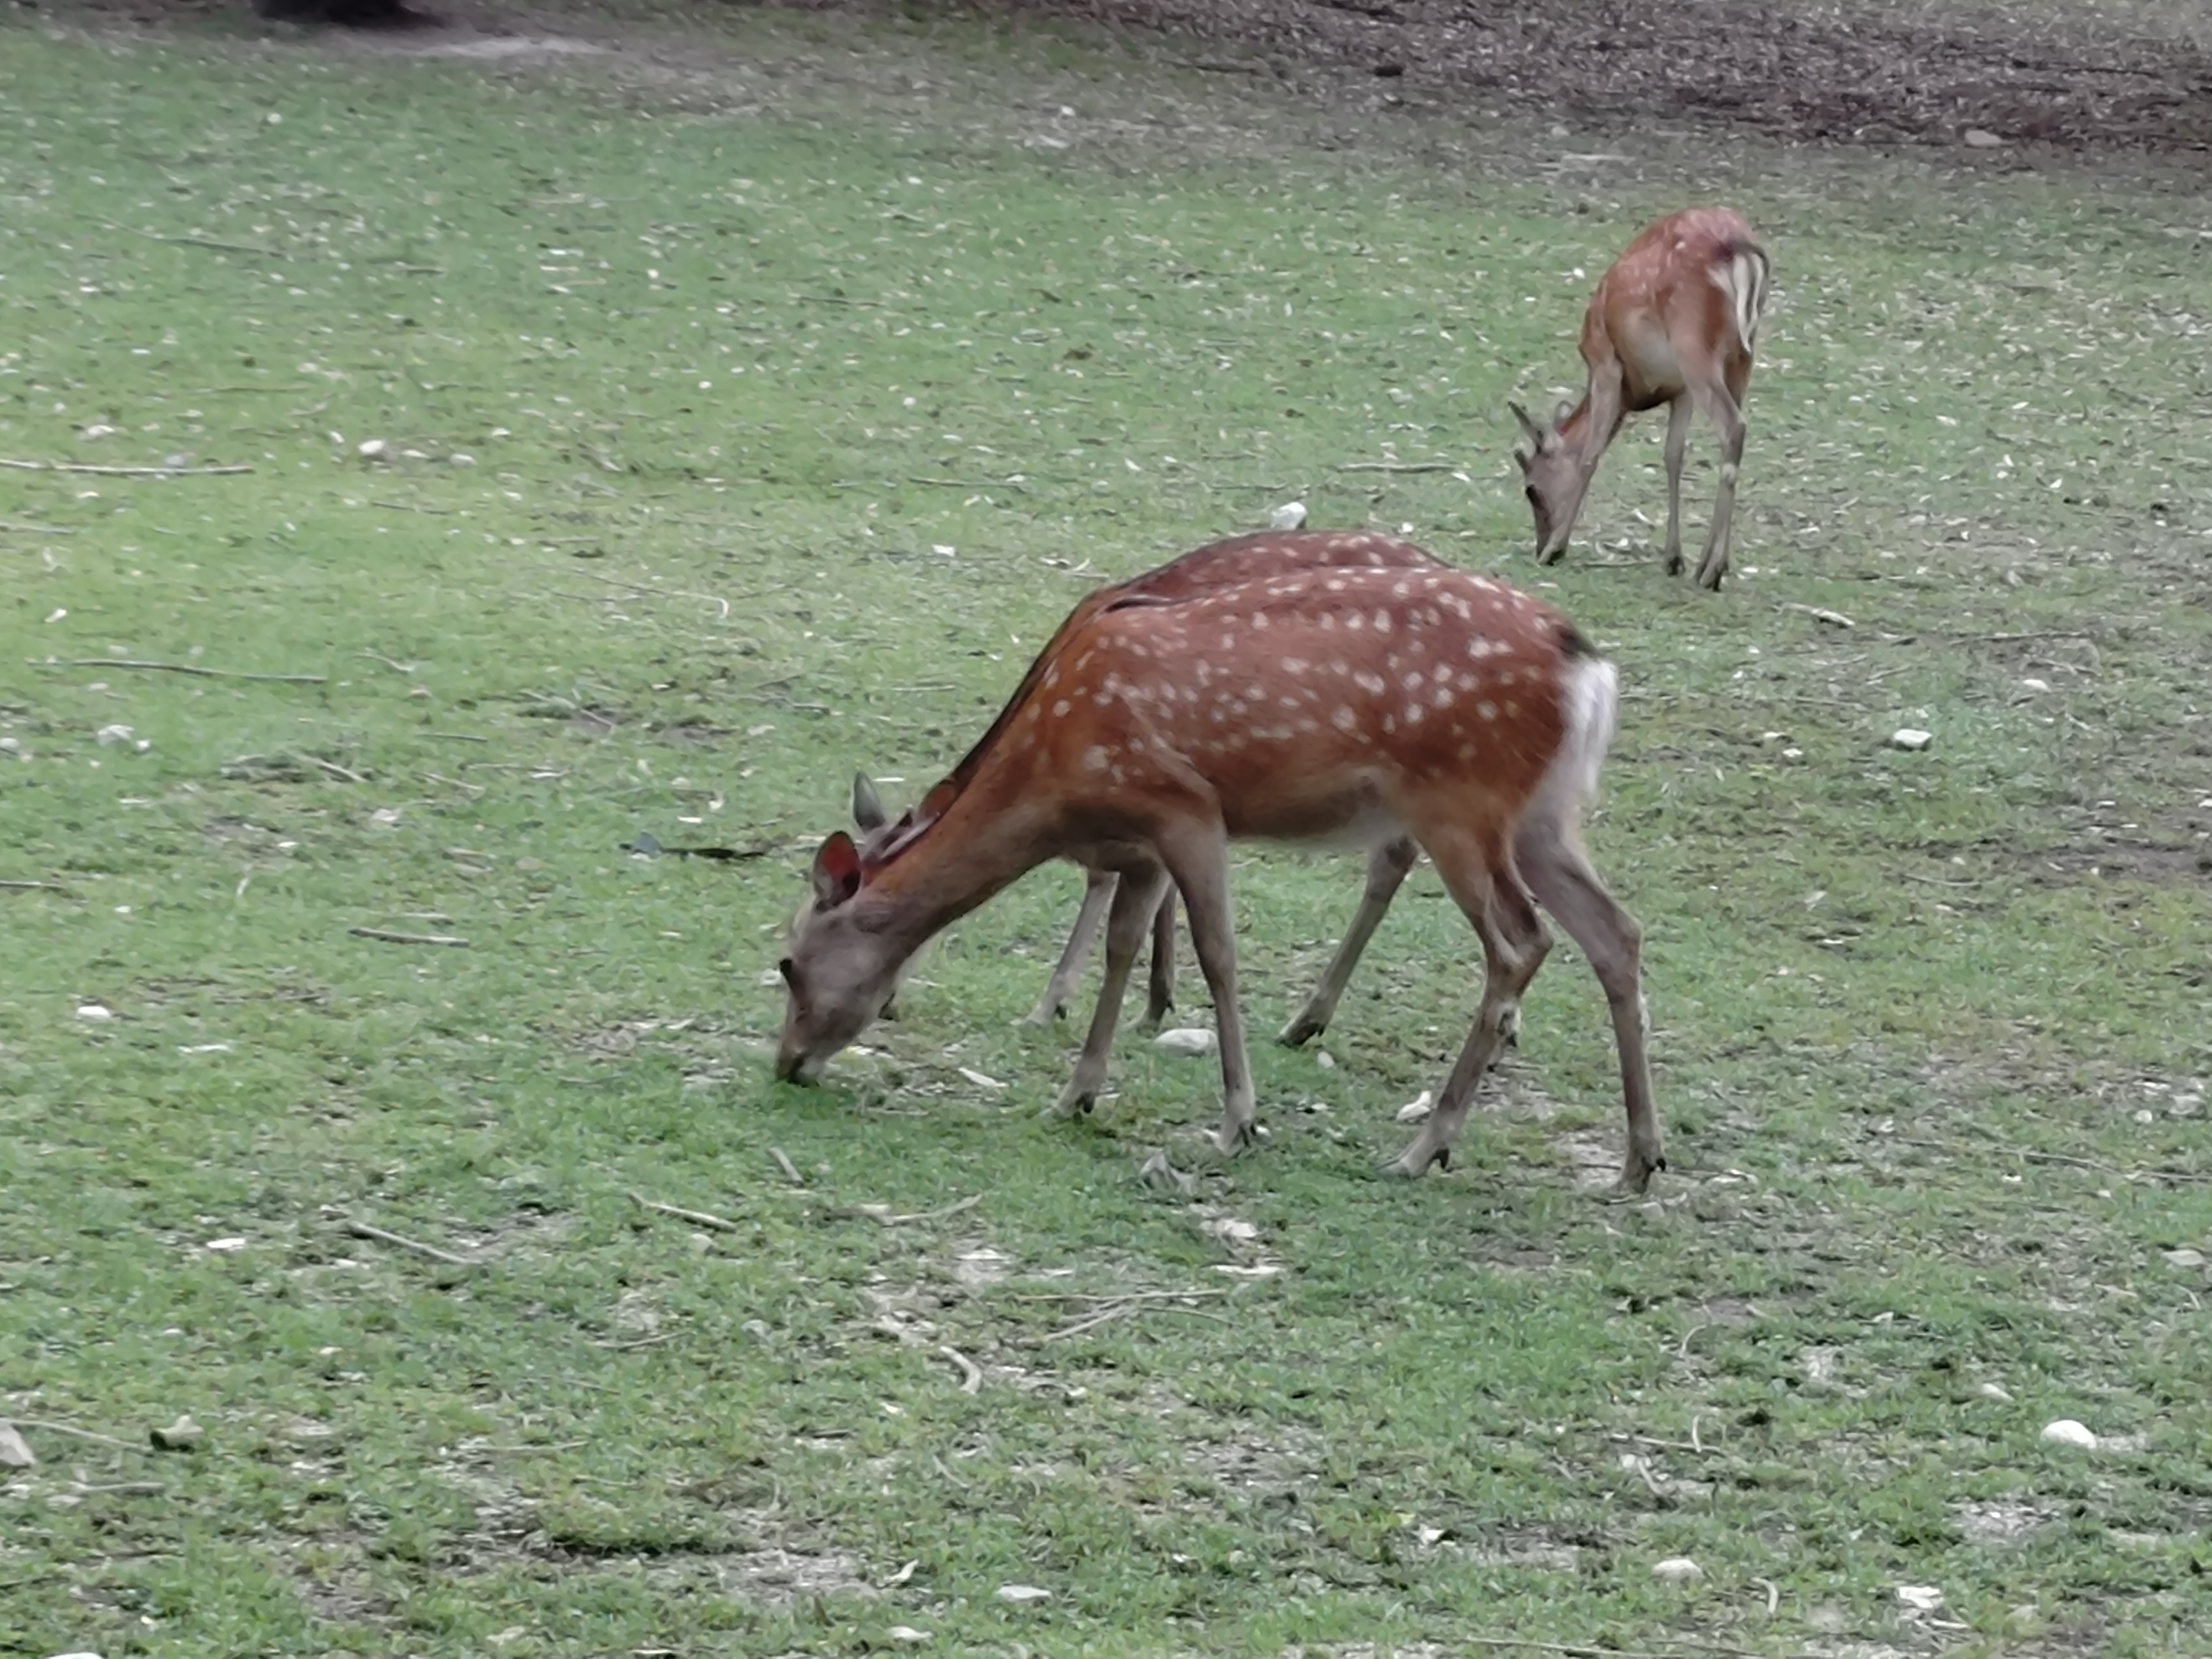
1 VI photographed deer scattered here and there eating grass.
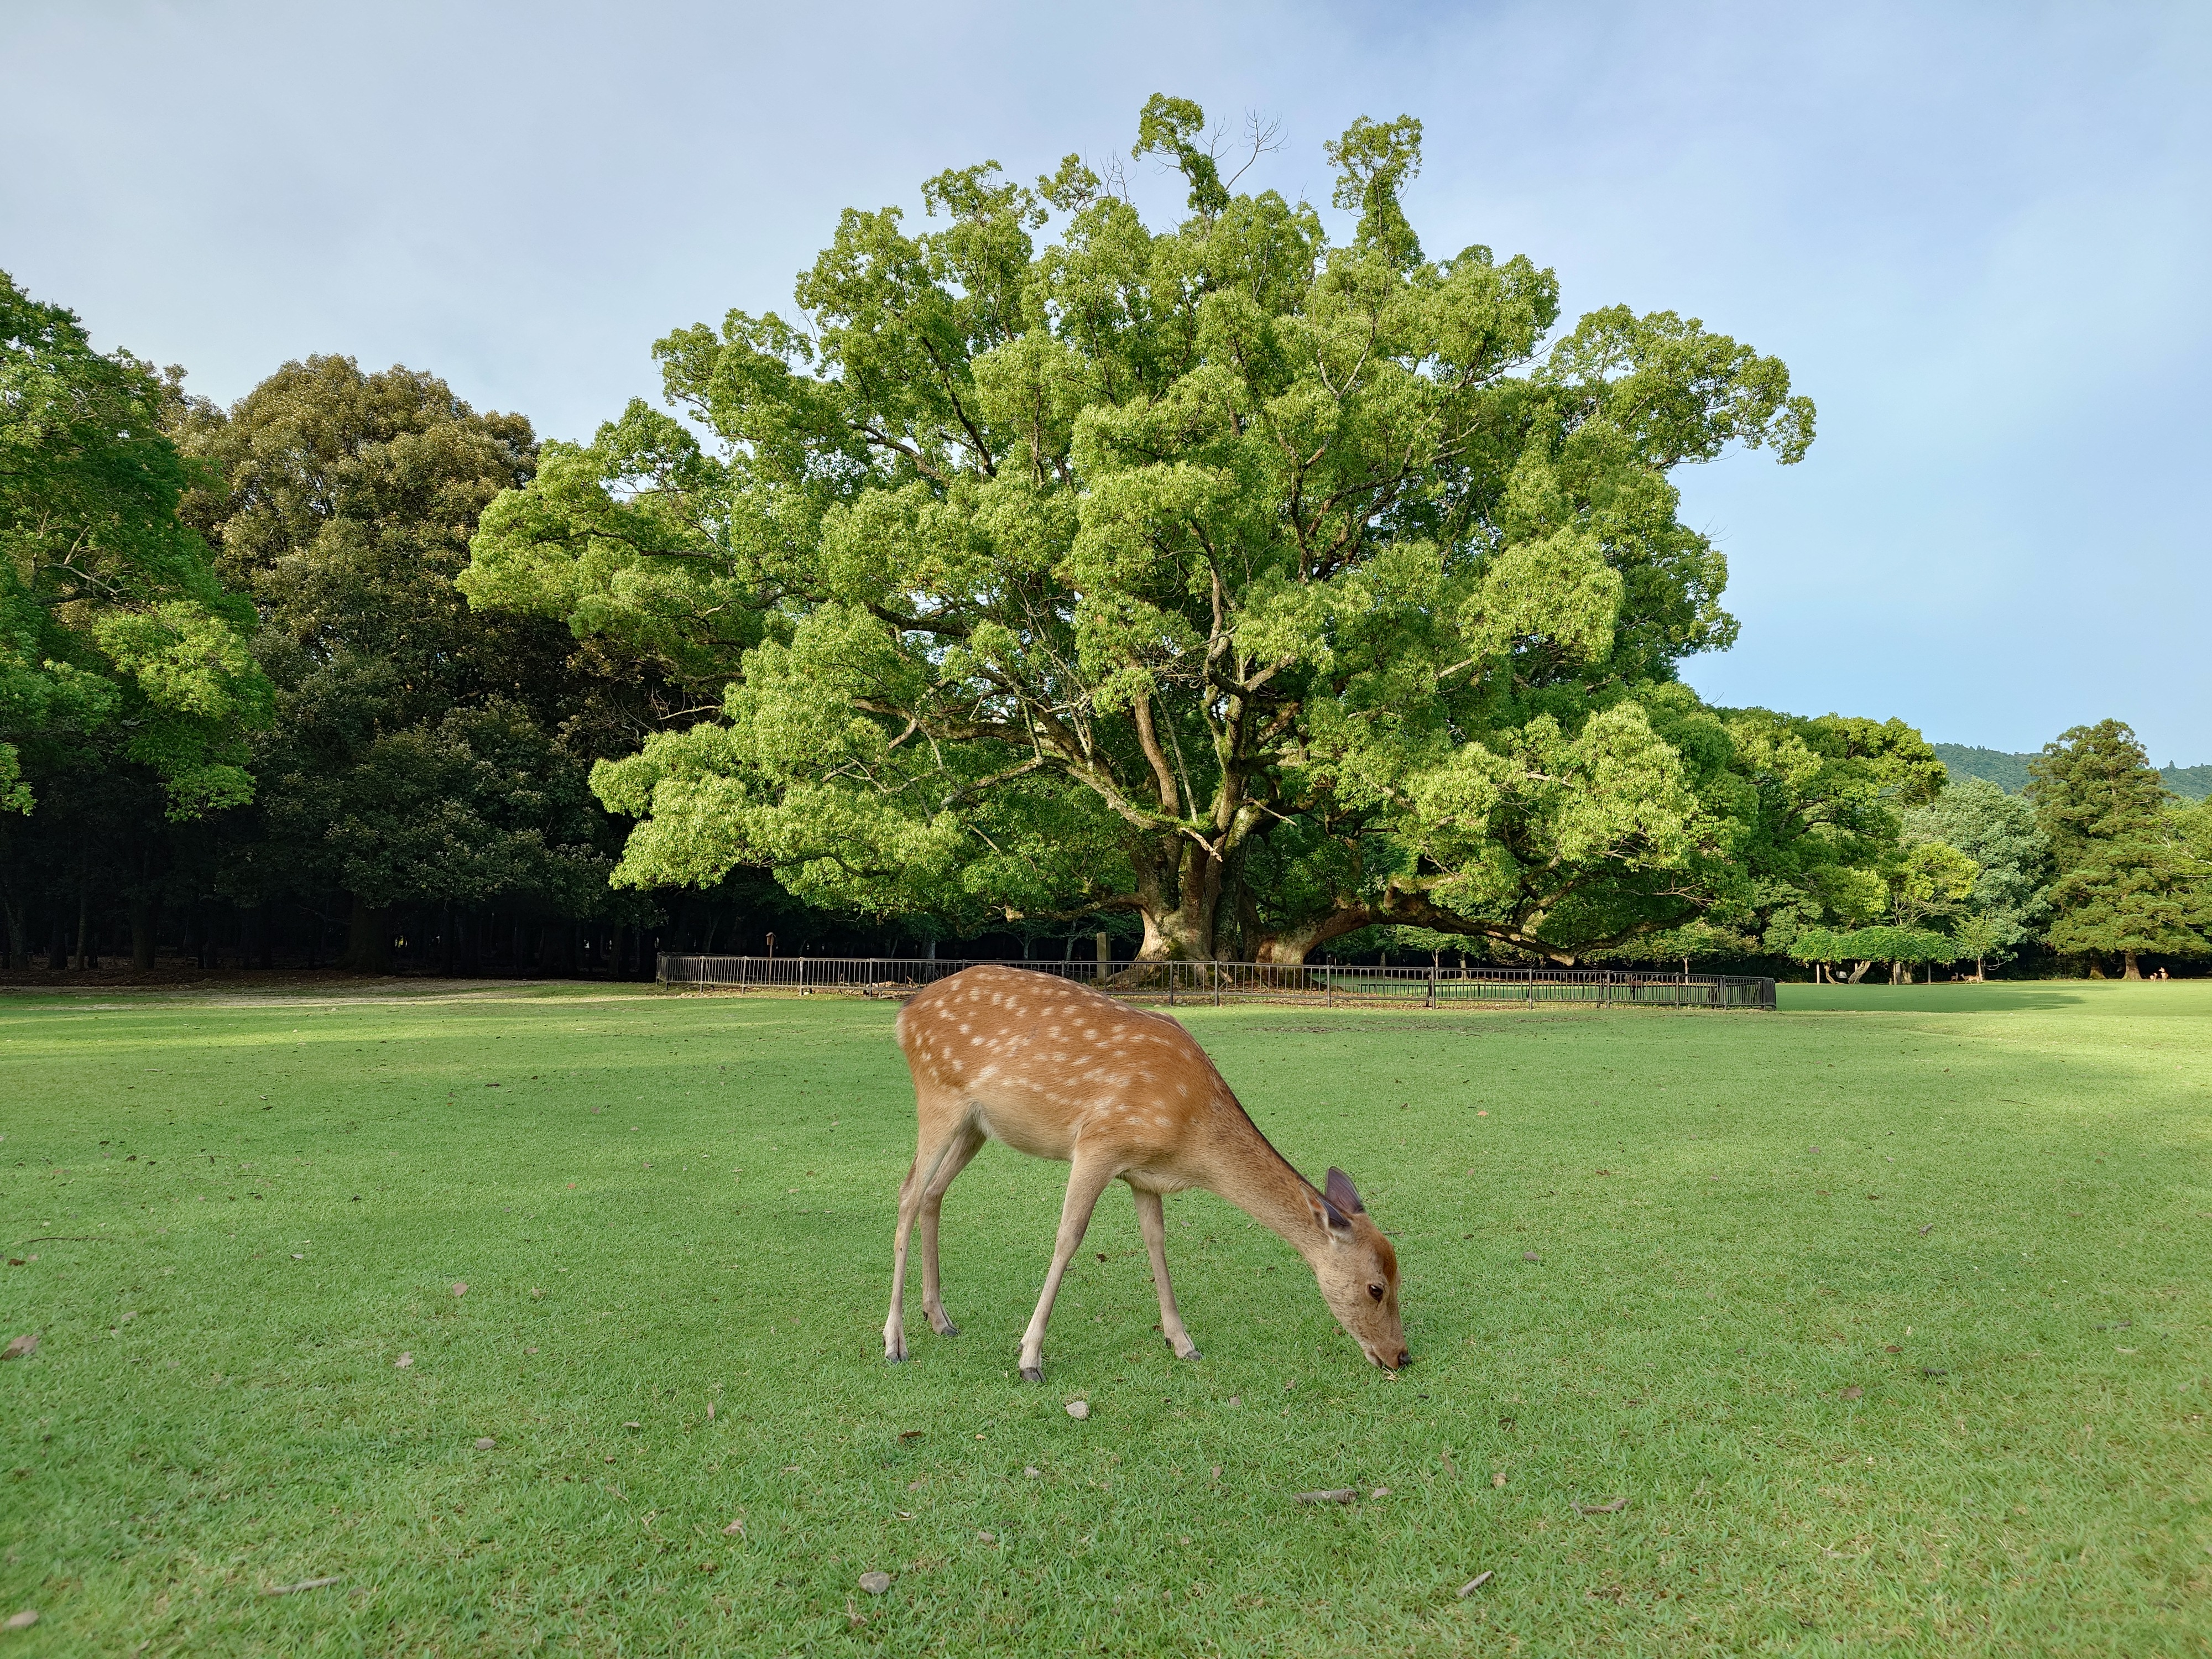
This is also a resting deer photographed with 1 VI.
This is what it looked like when I shot a video of a deer with 1 VI. It was set to 4K and 60fps.
I tried shooting a video of a deer in the same way with the 10 VI. Since the 10 VI does not allow you to select 60 fps at 4K, I set it to 4K at 30 fps.
Deer taken with Xperia 10 VI - YouTube
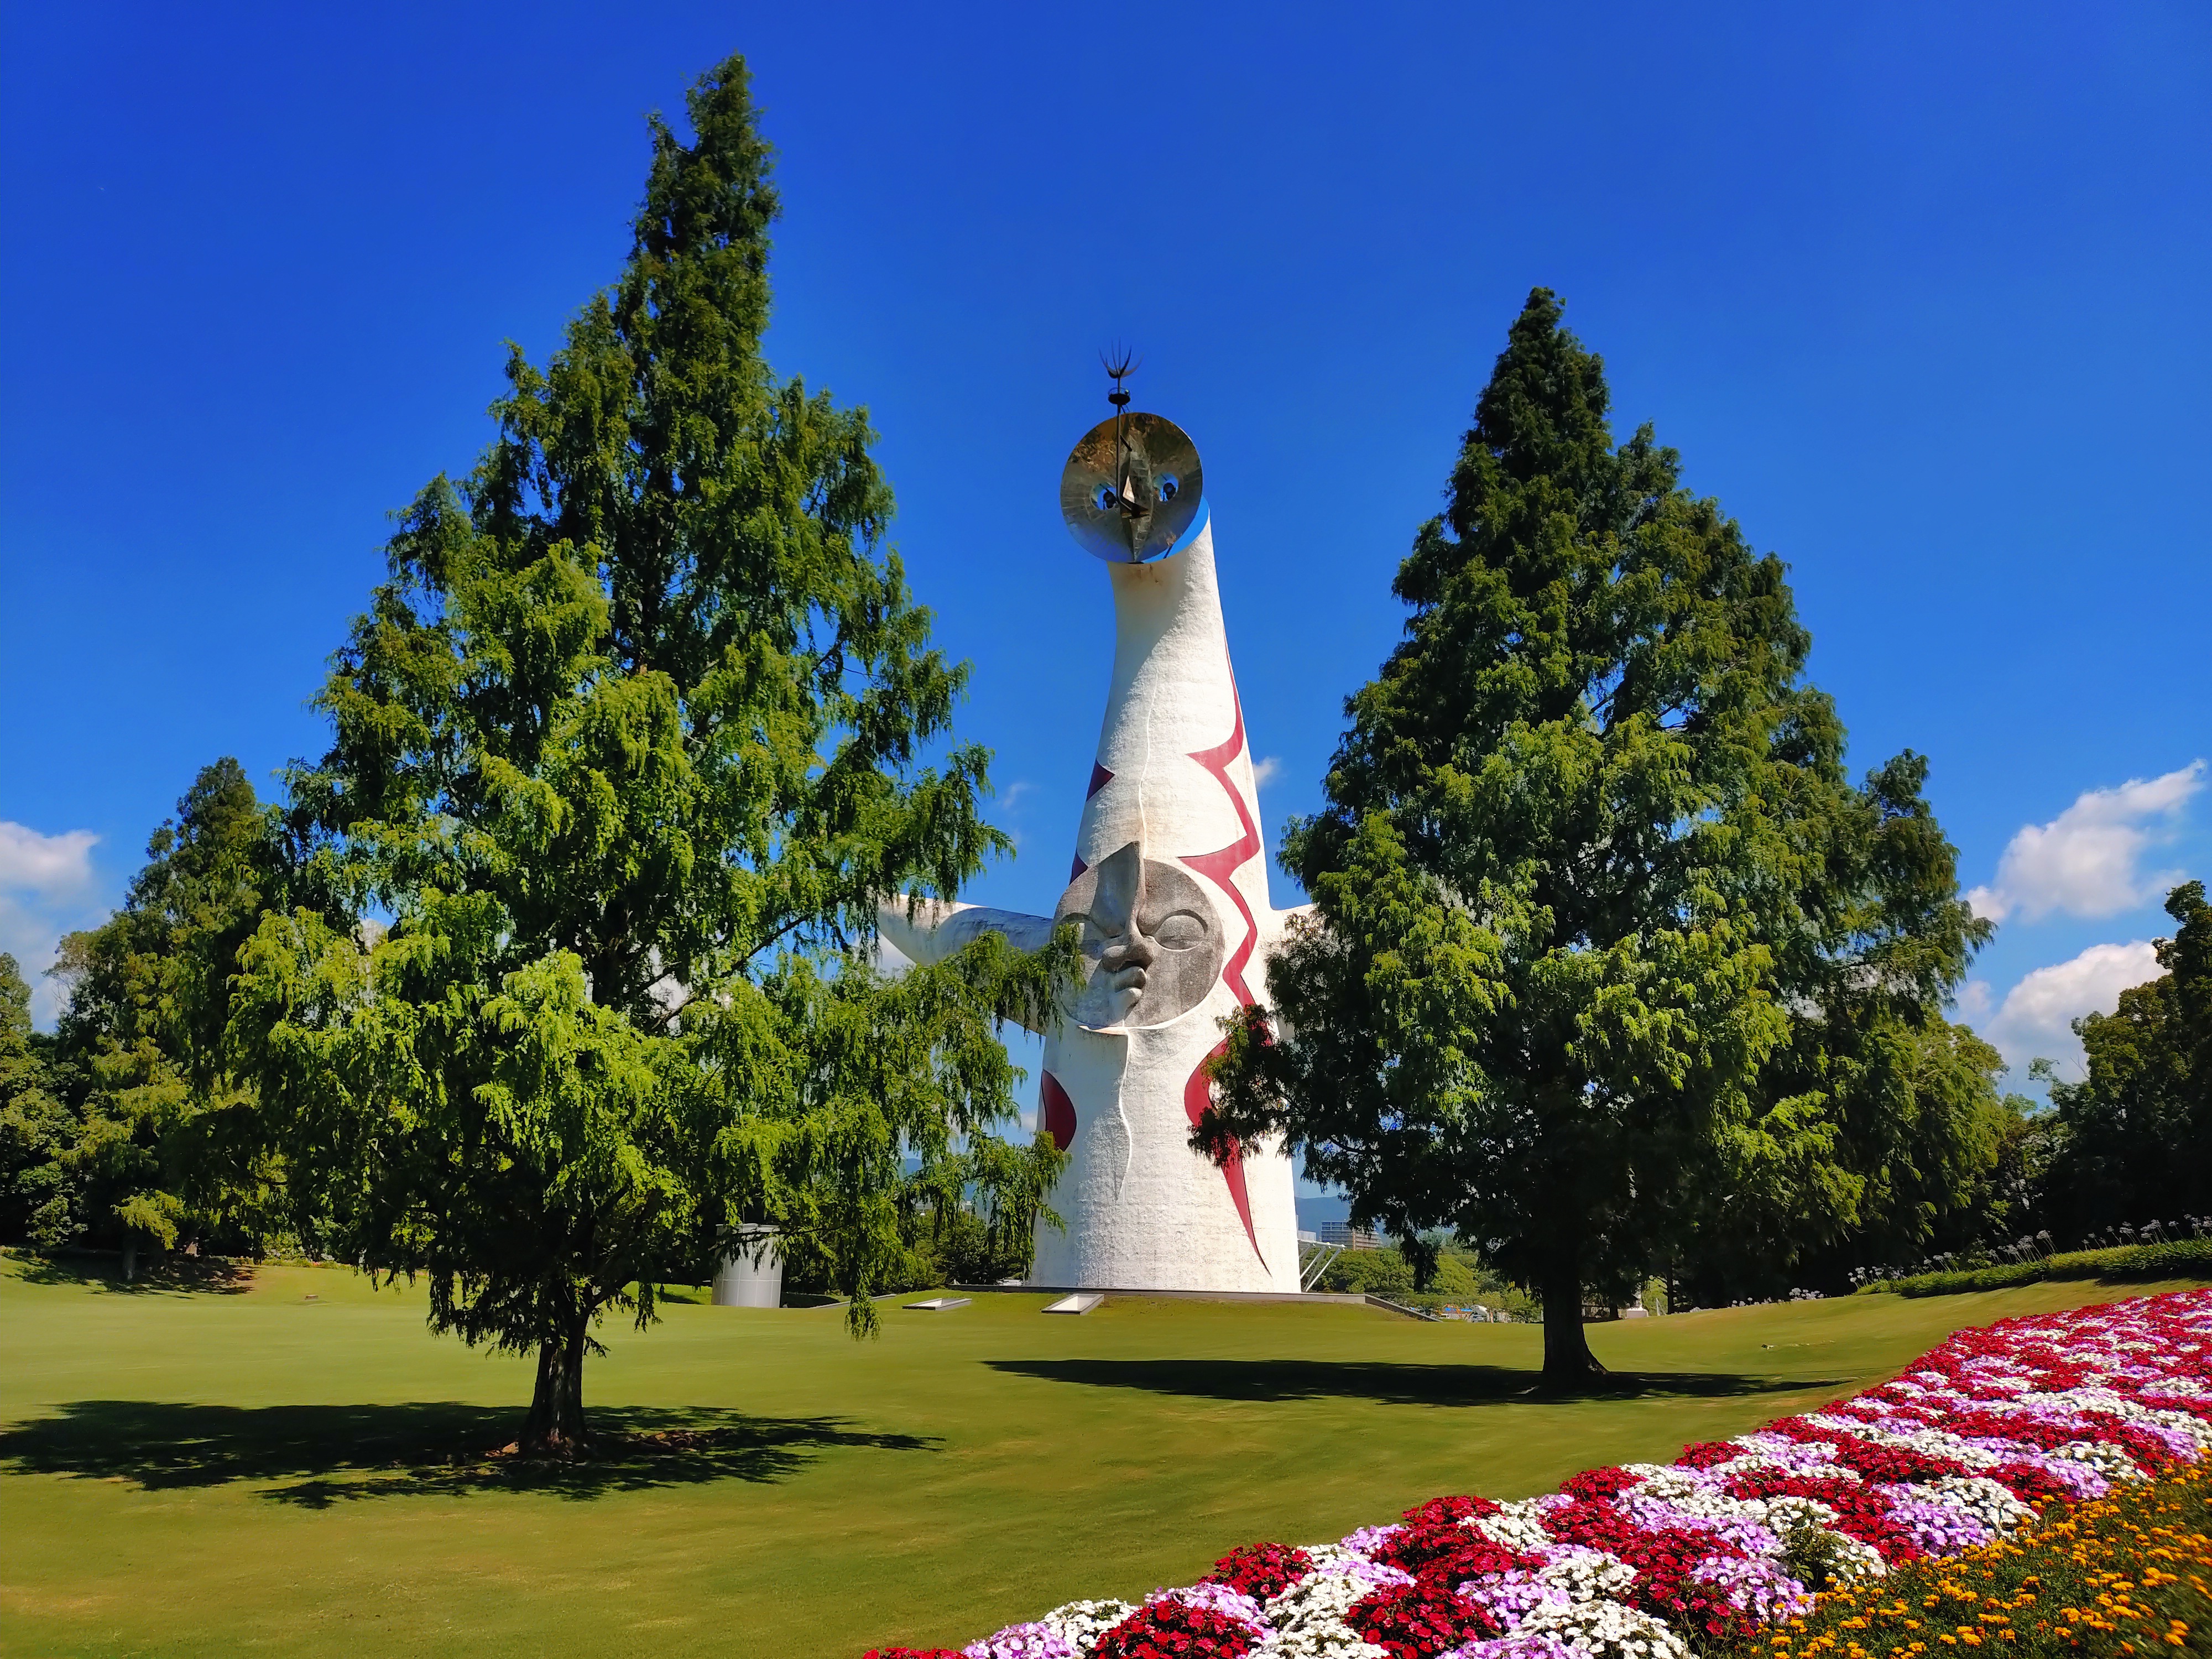
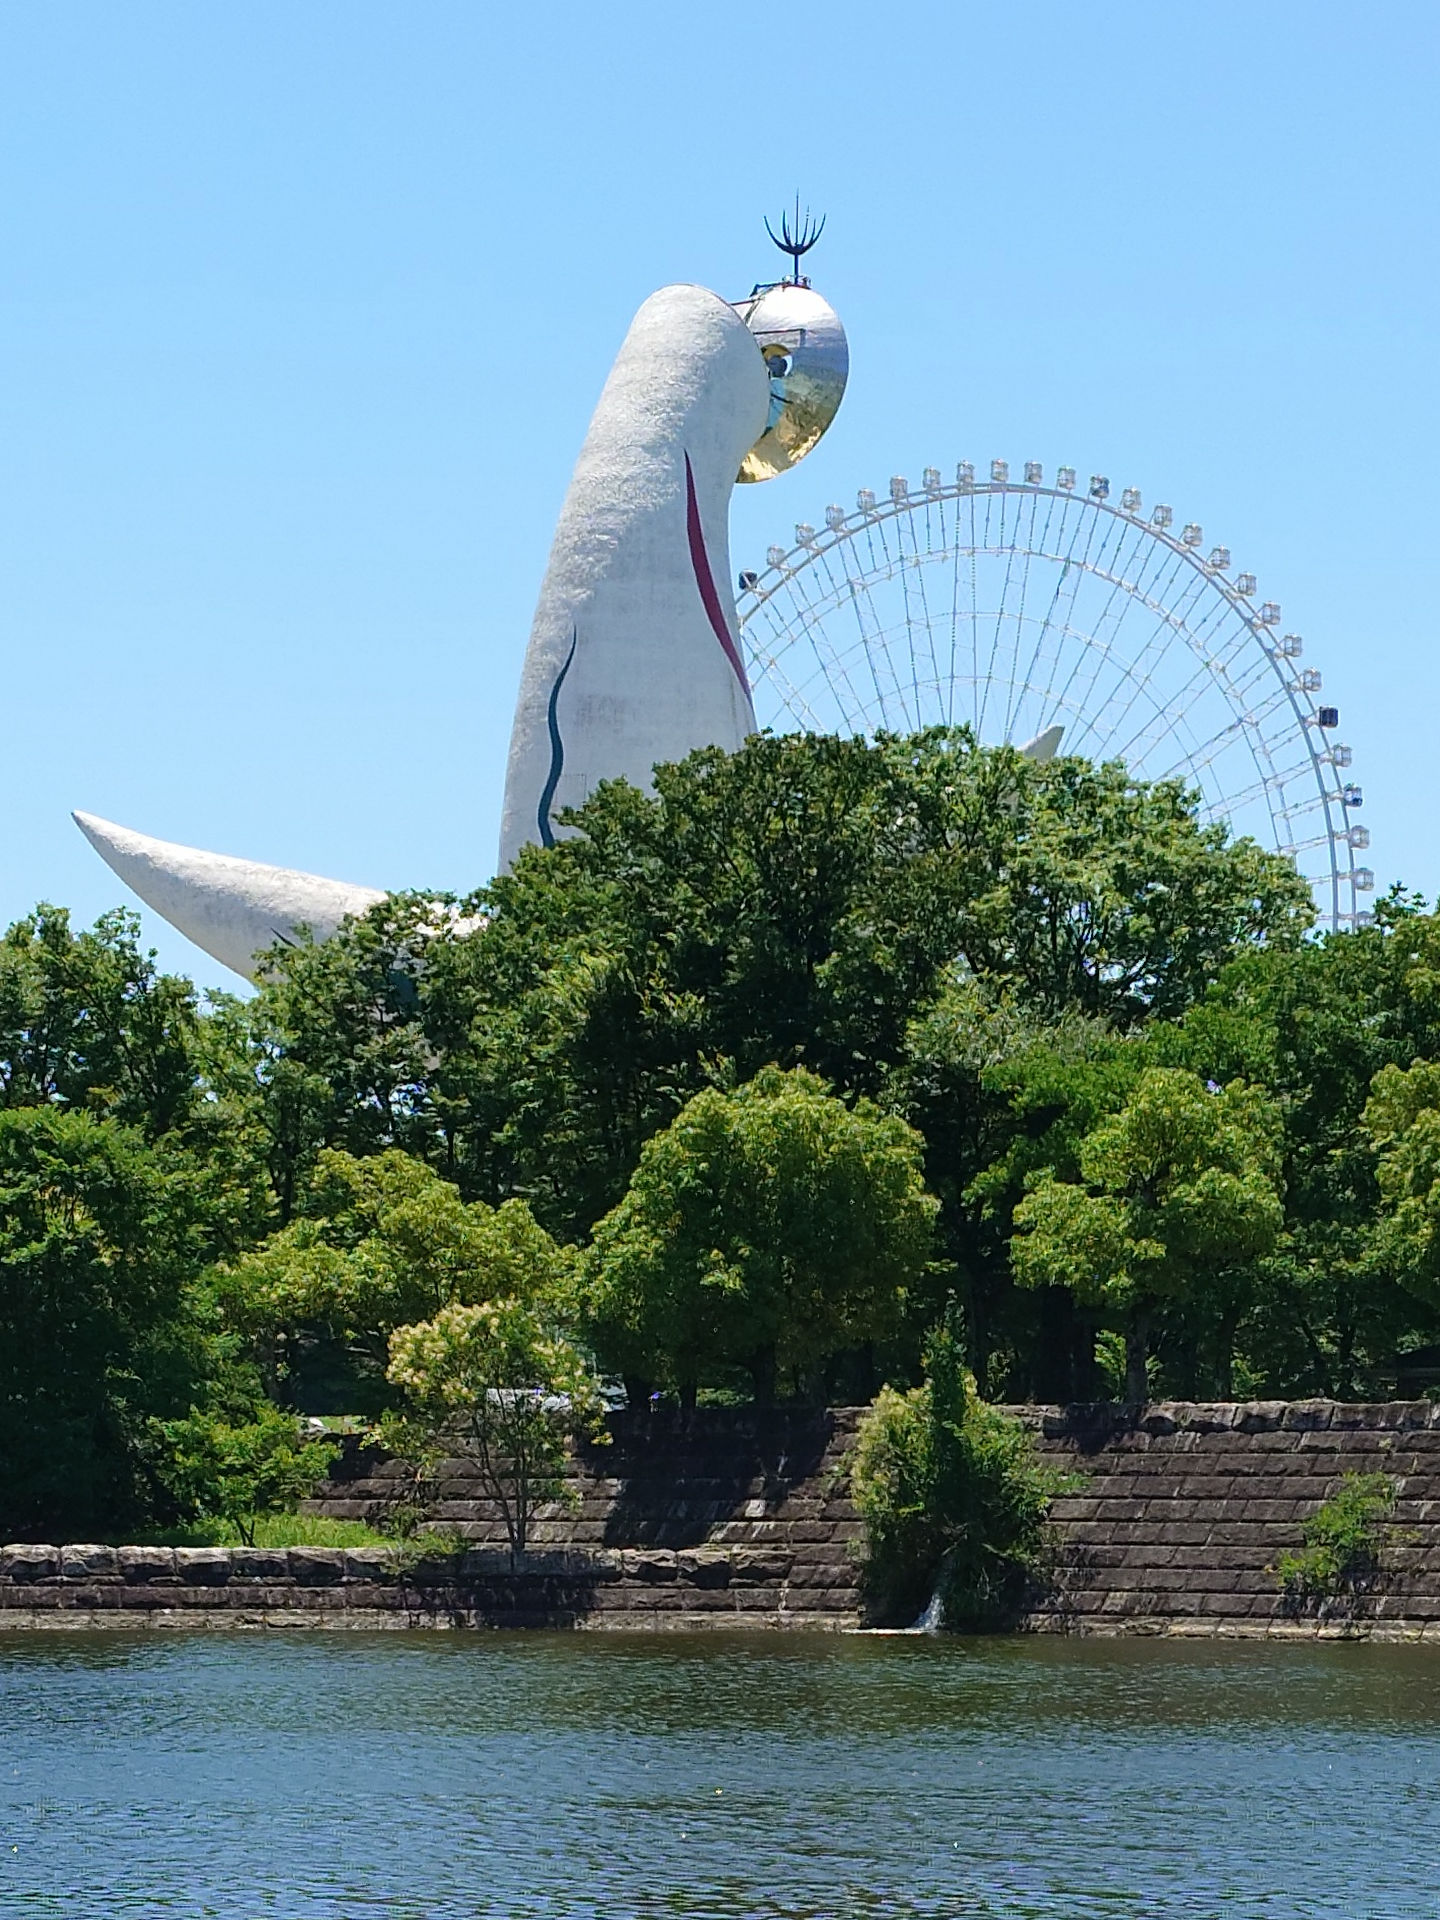
1 Tower of the Sun photographed by VI.
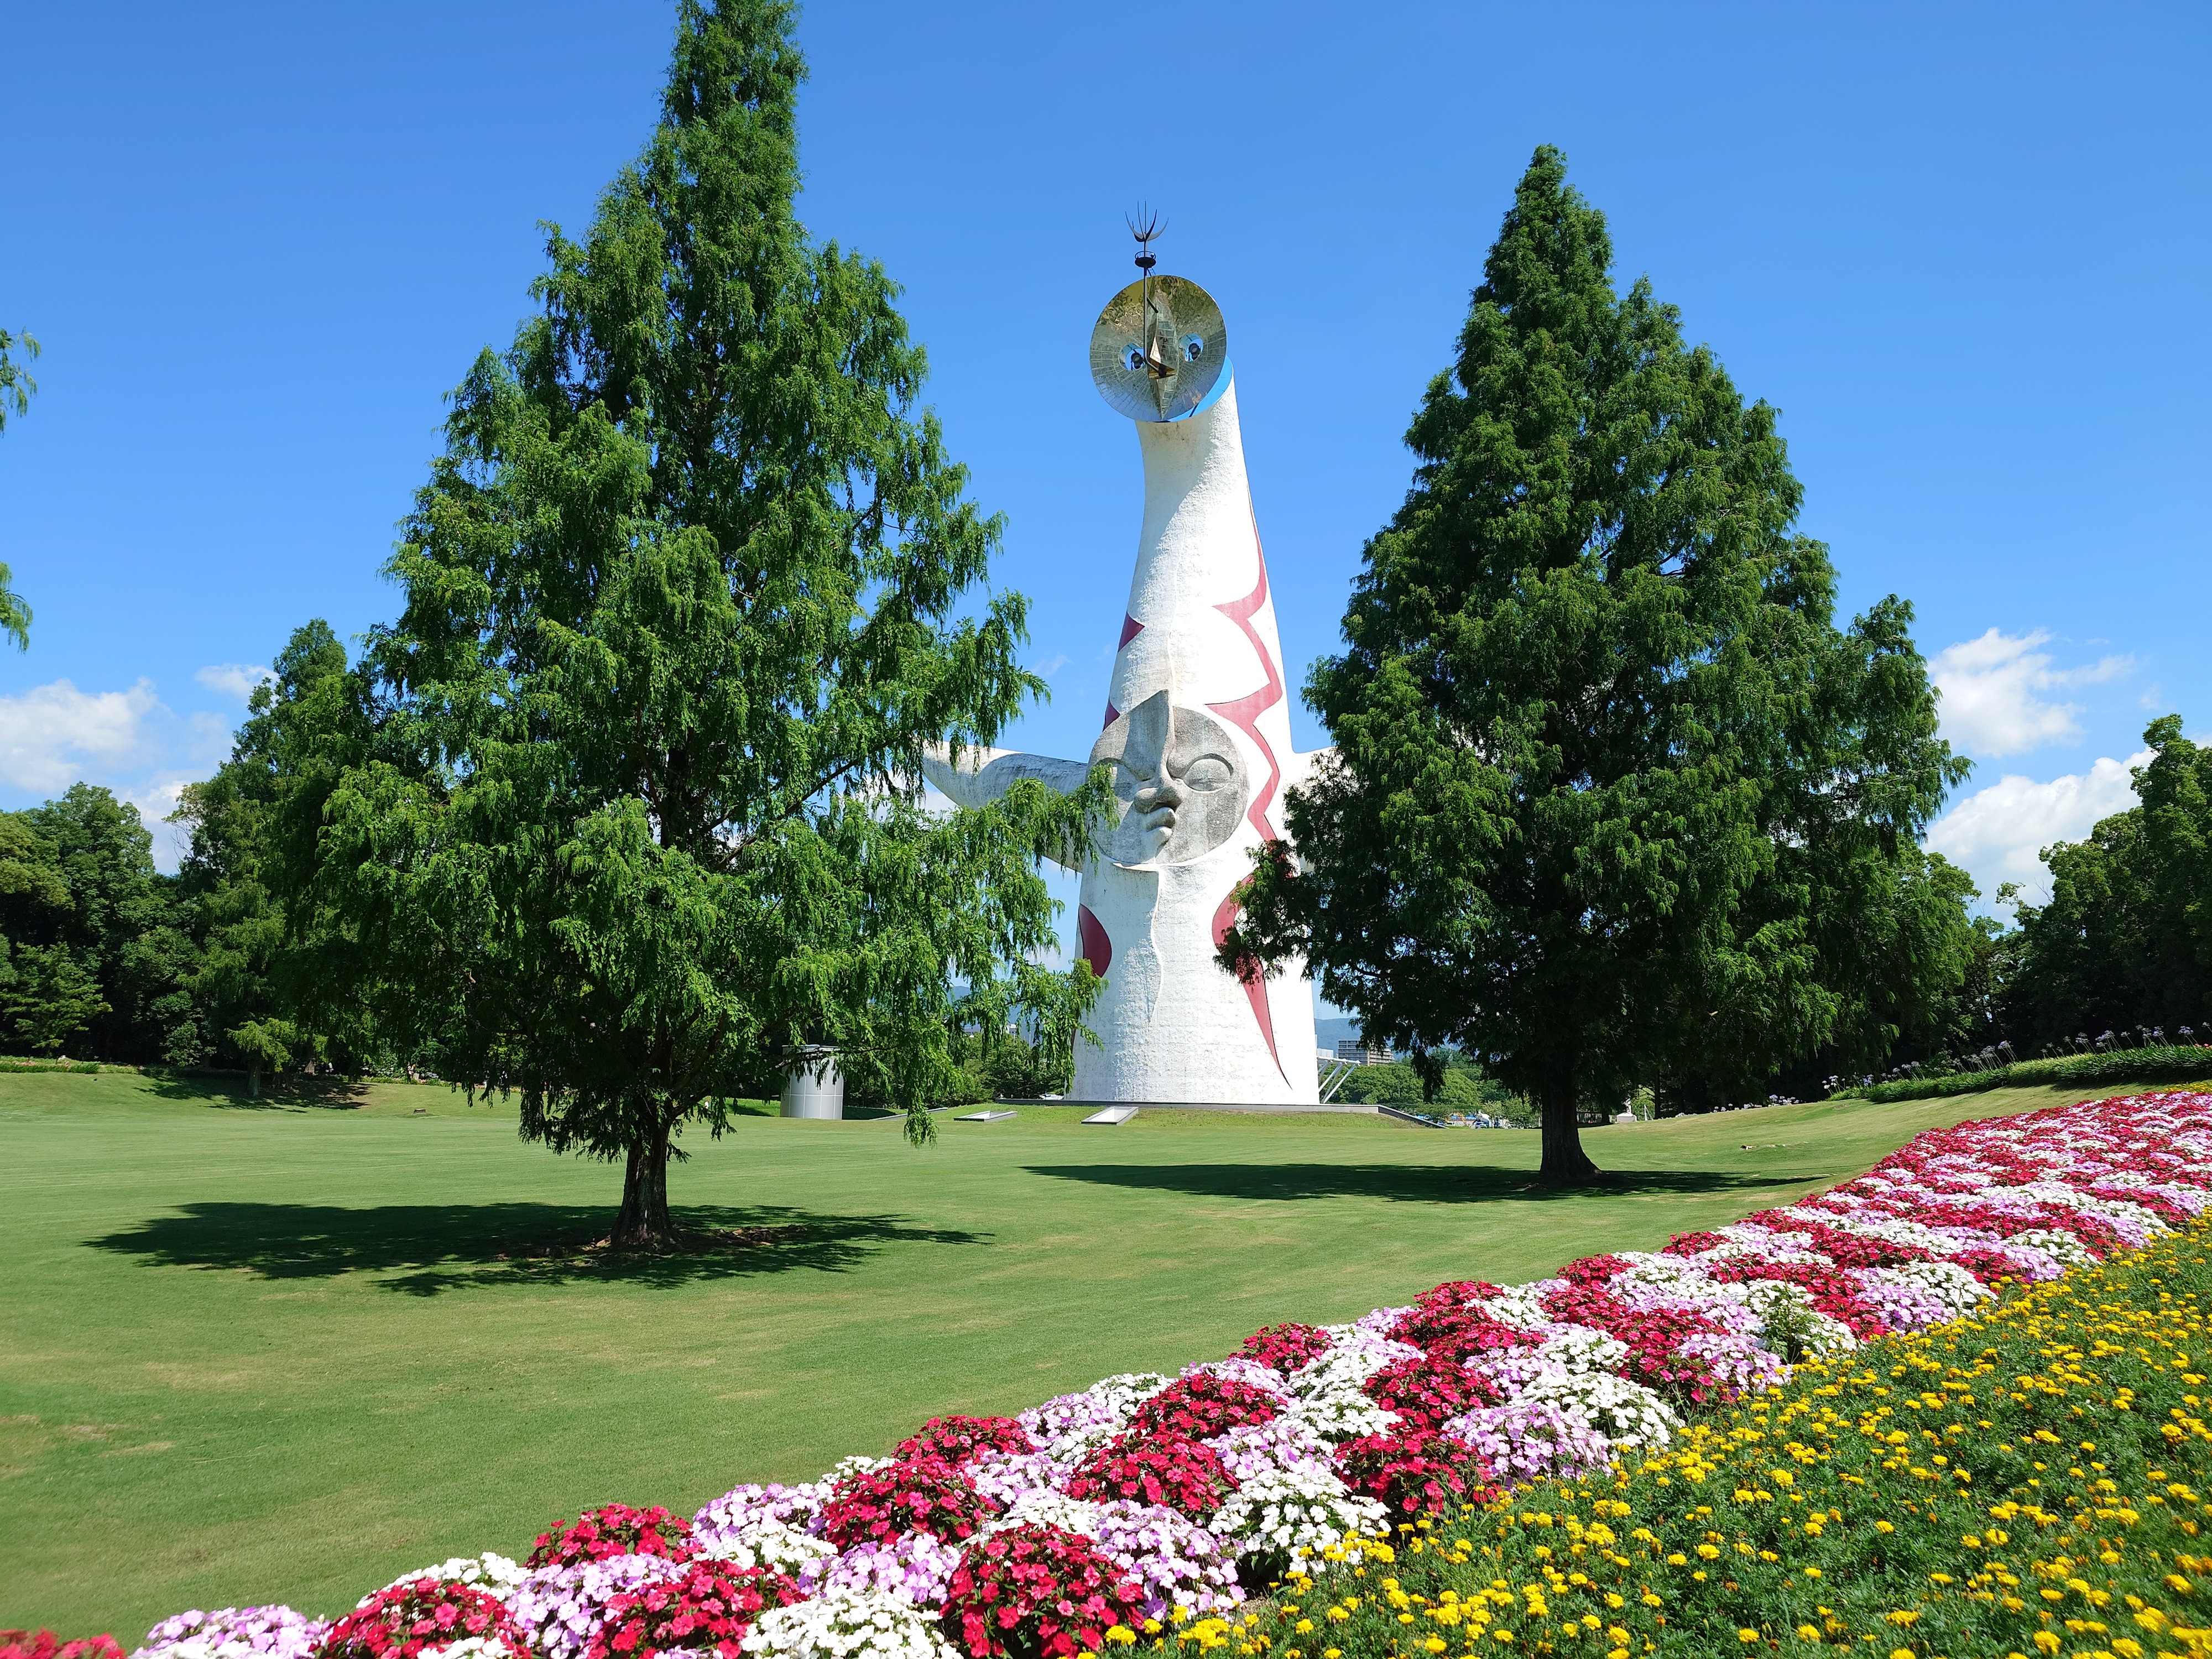
The Tower of the Sun photographed from the same location. It was taken on the same day and at the same time, but with the 10 VI the blue of the sky appears much deeper.
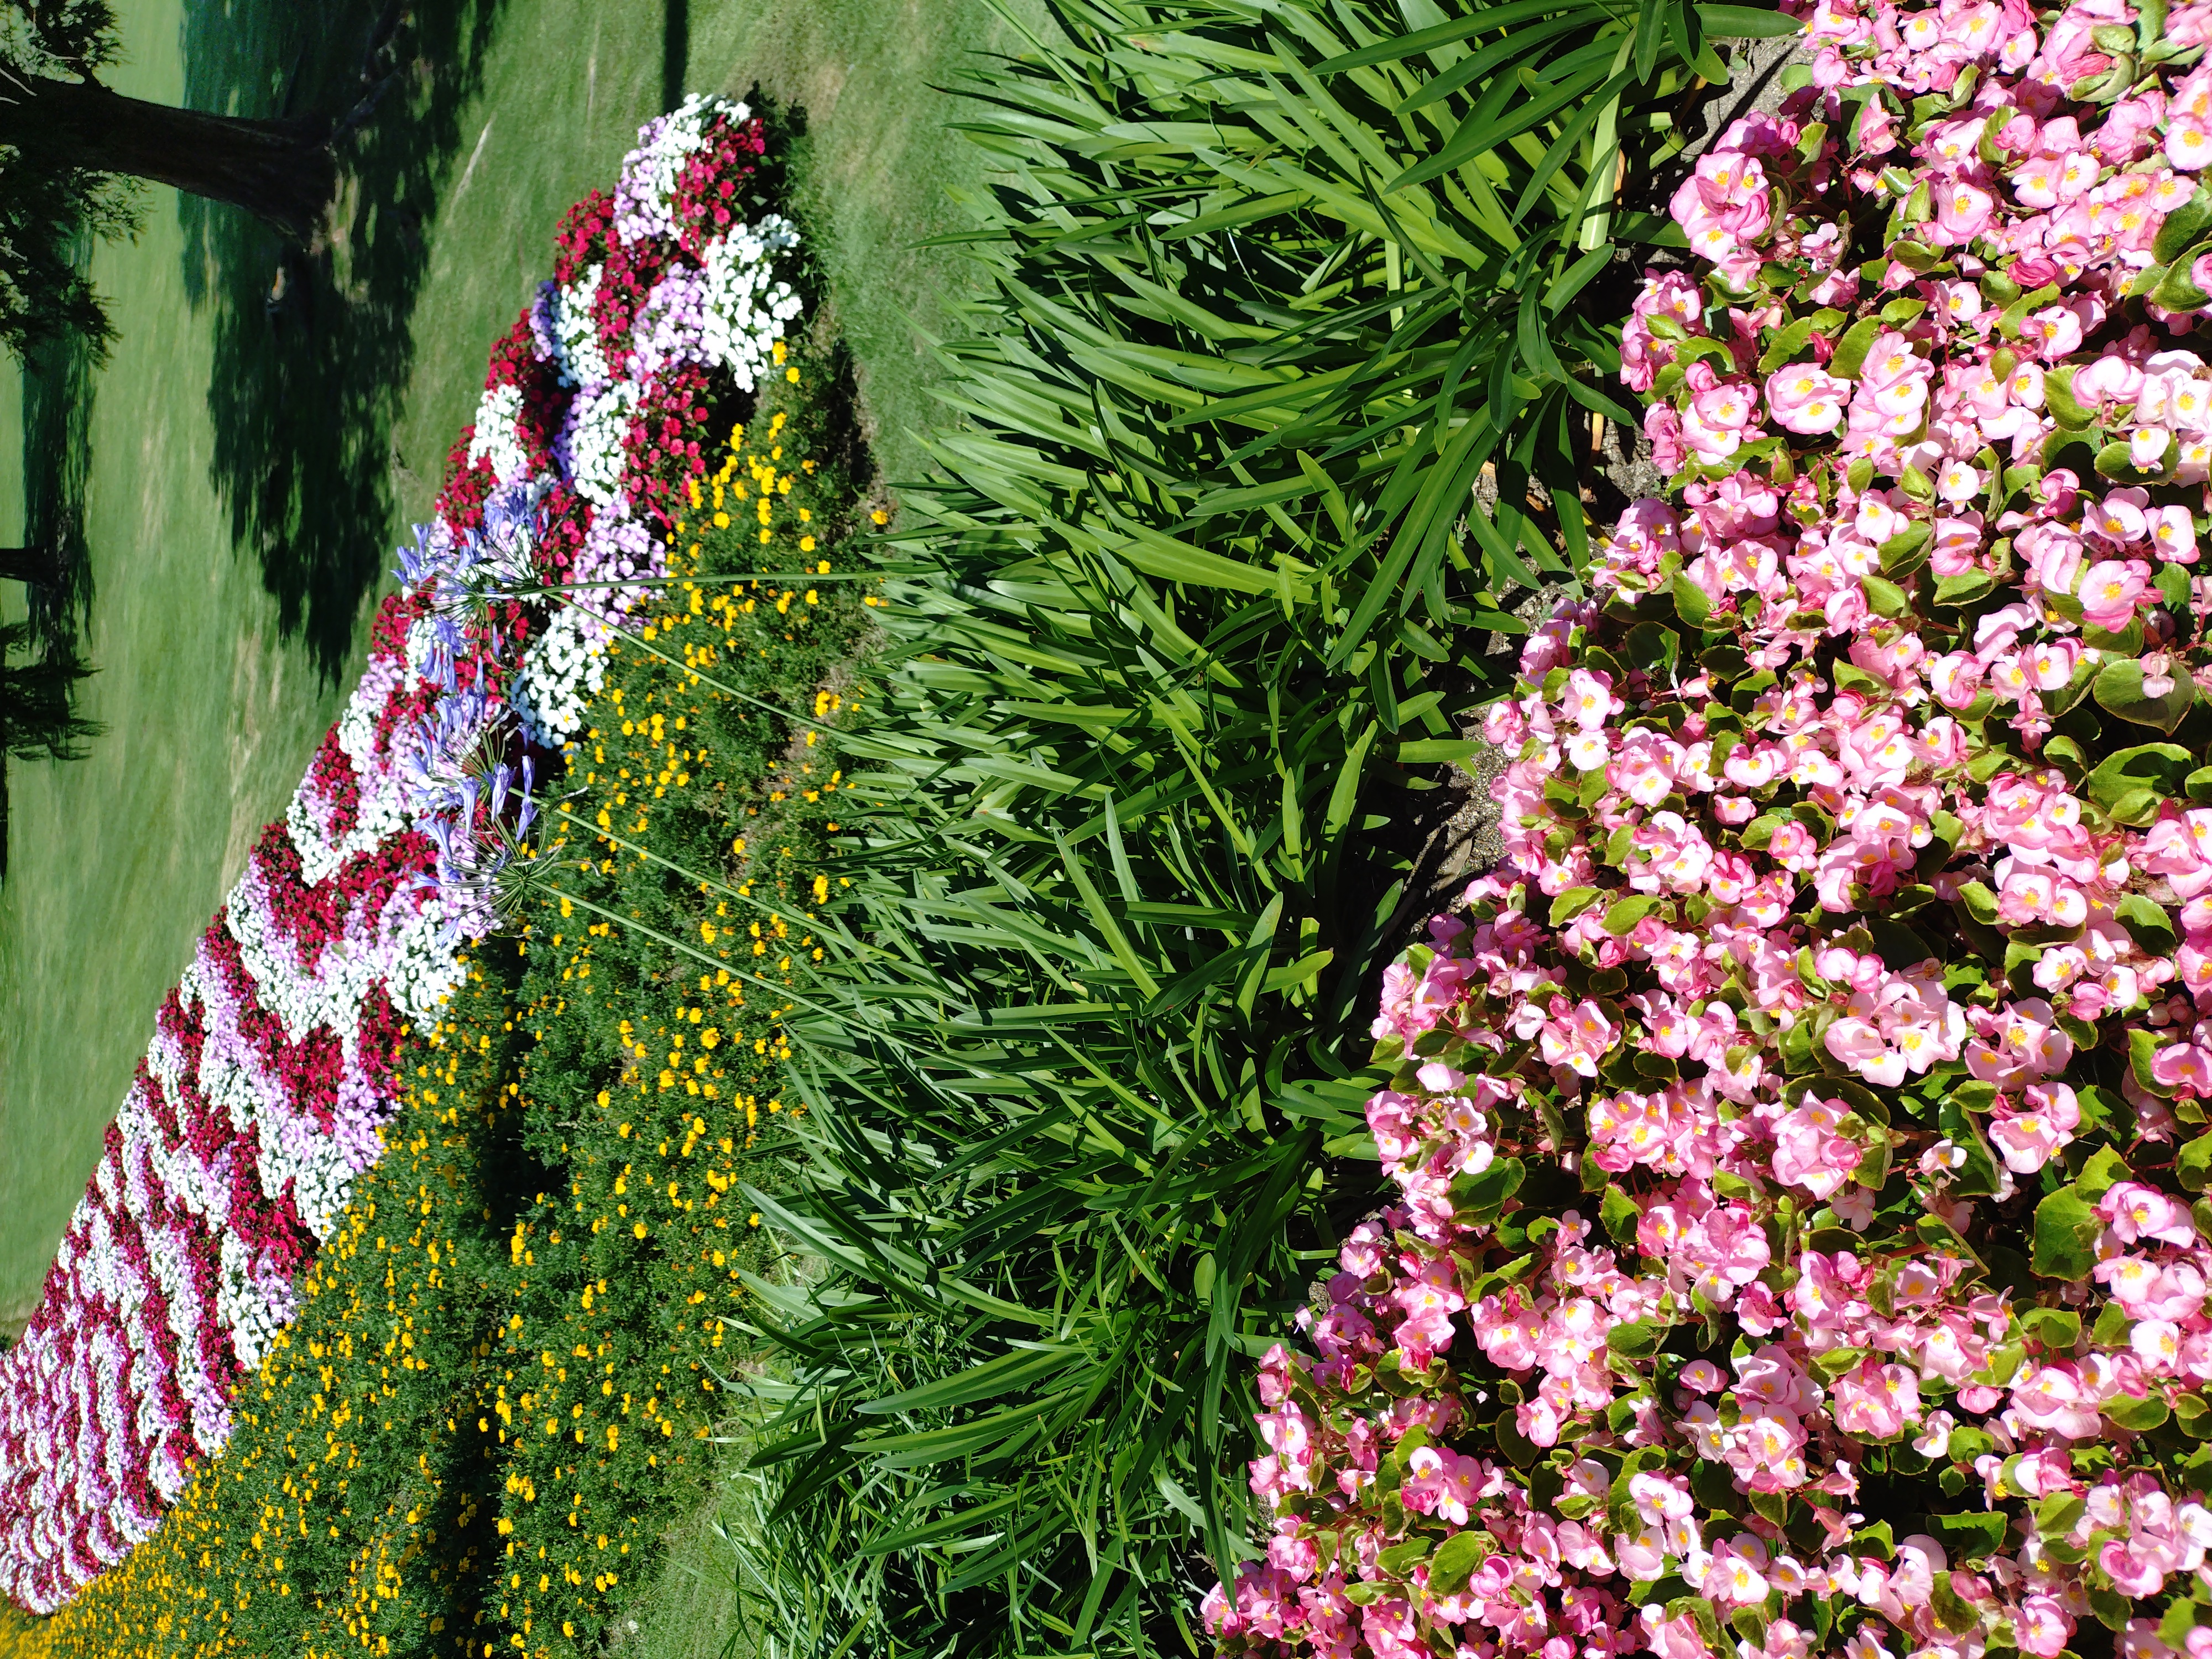
Flower bed photographed with 1 VI.
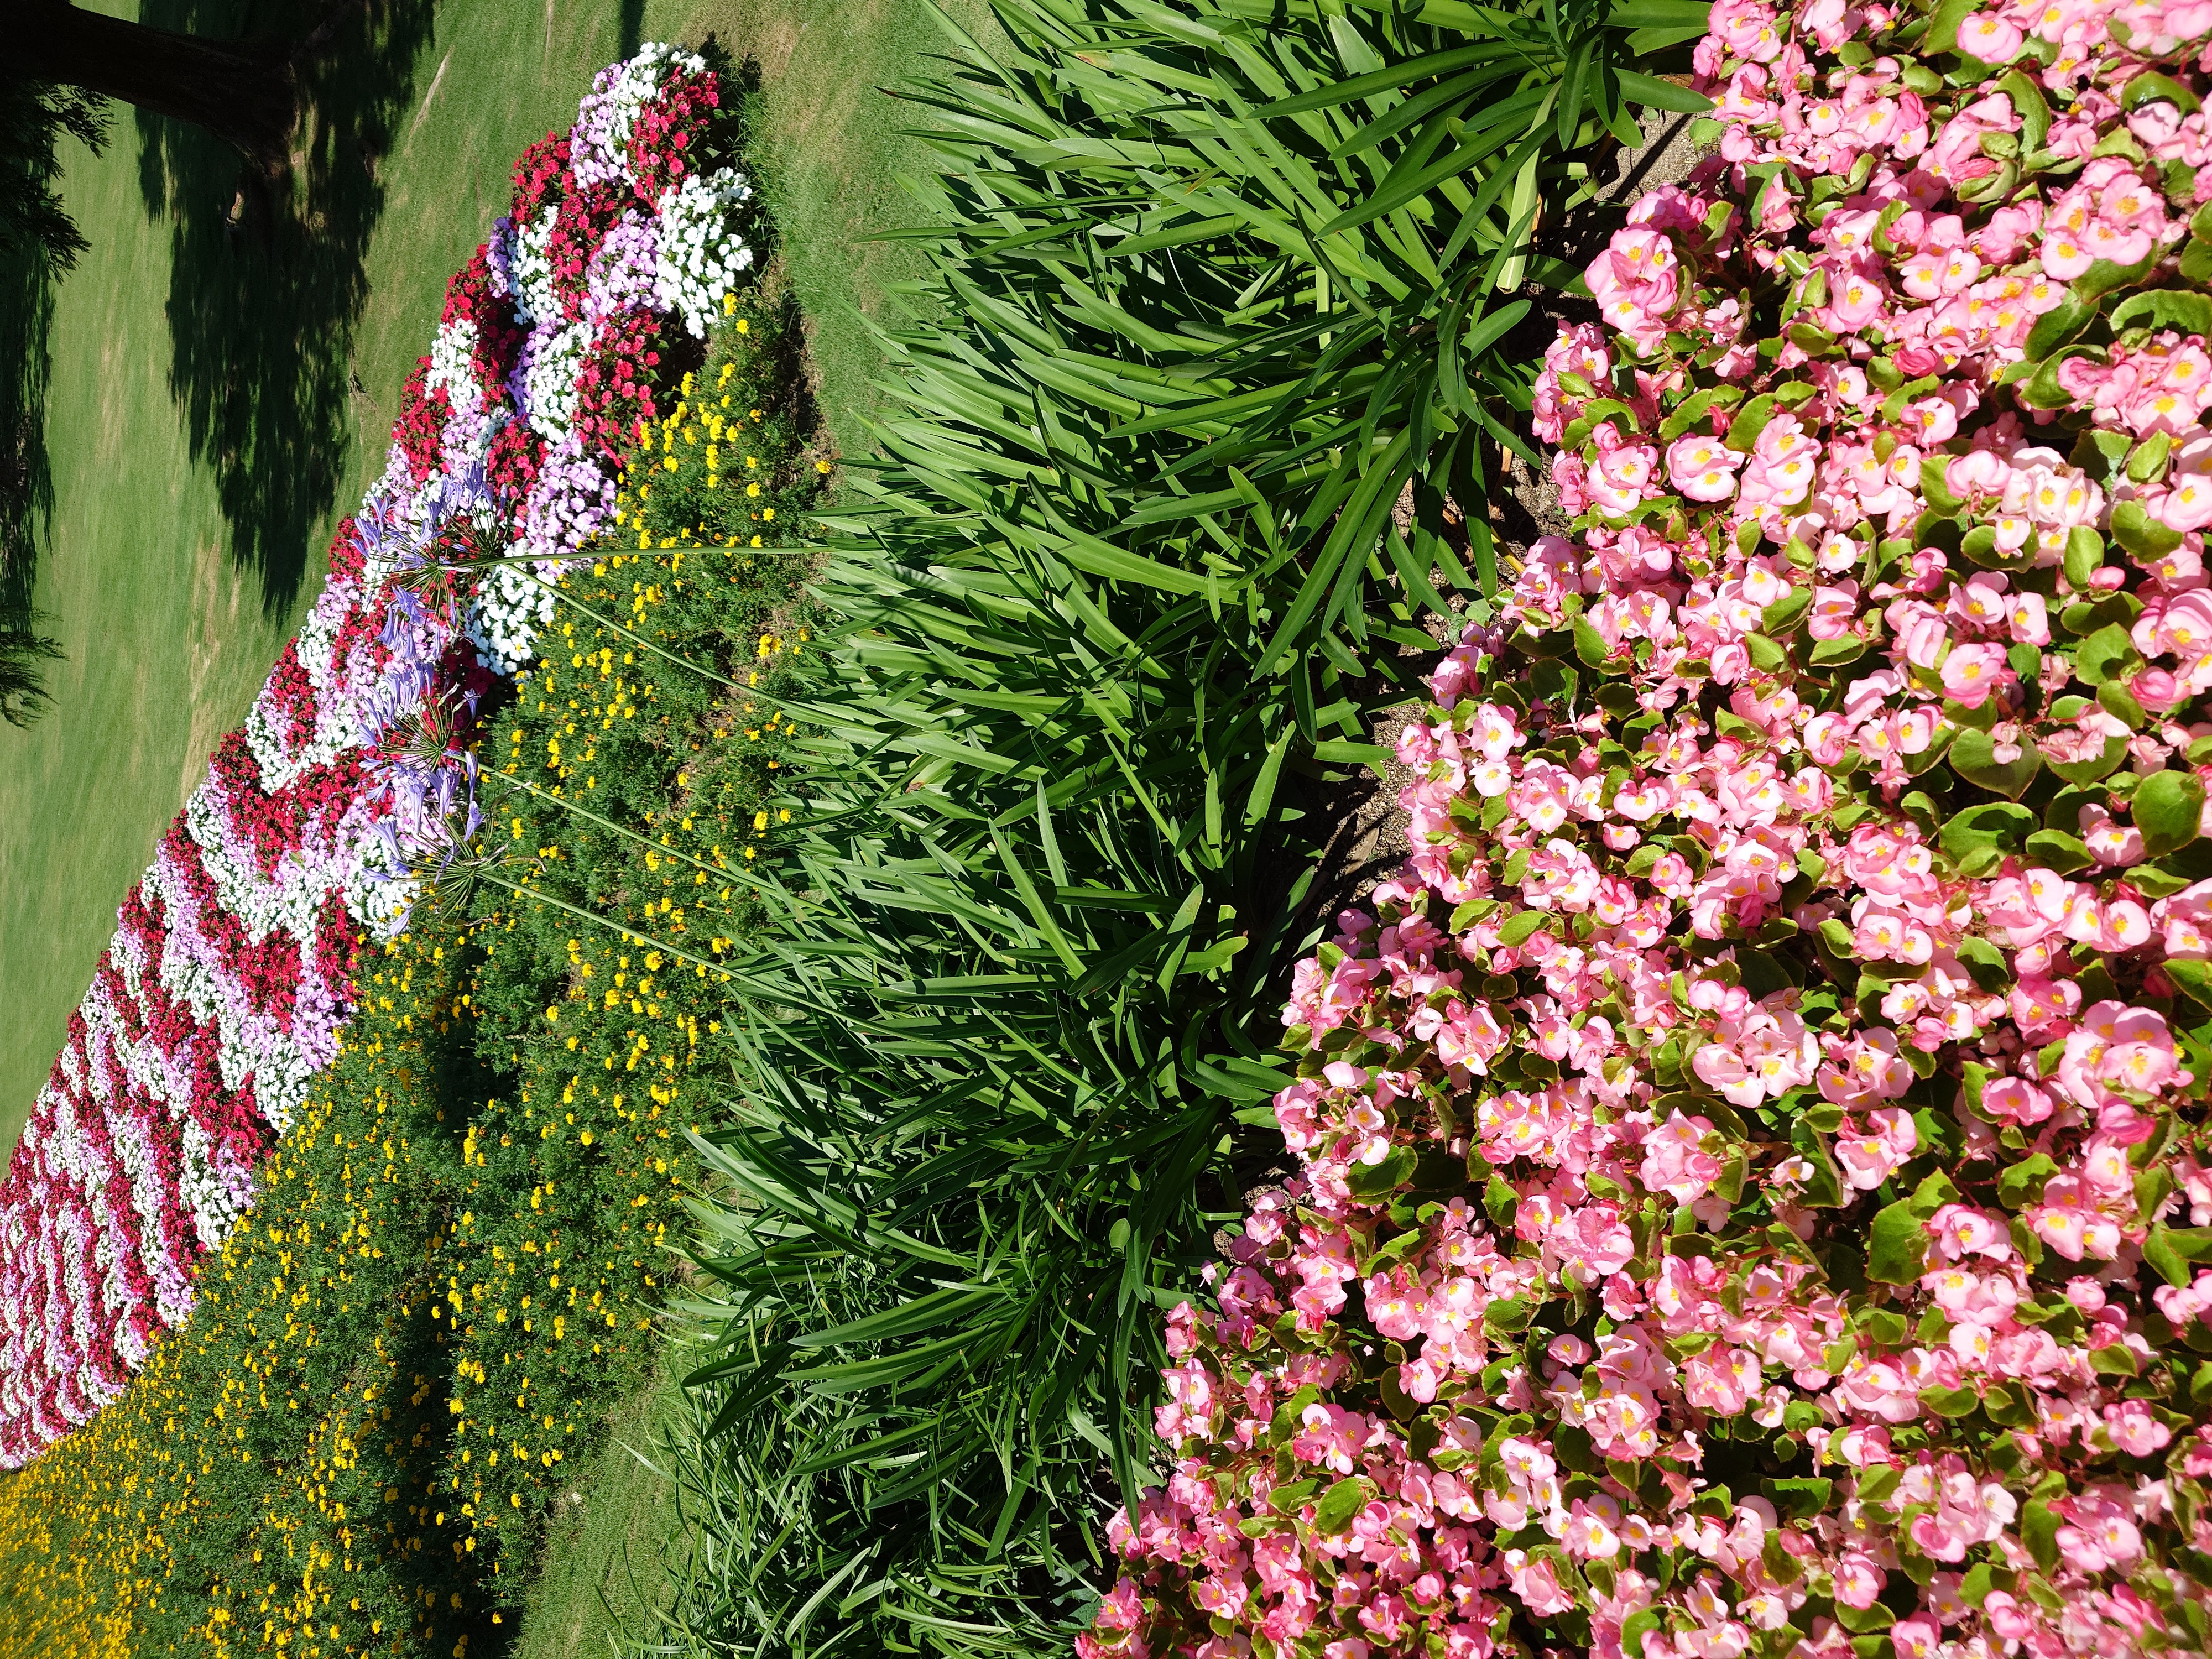
The same flower bed photographed with 10 VI. Here too, the green color is darker than with 1 VI.
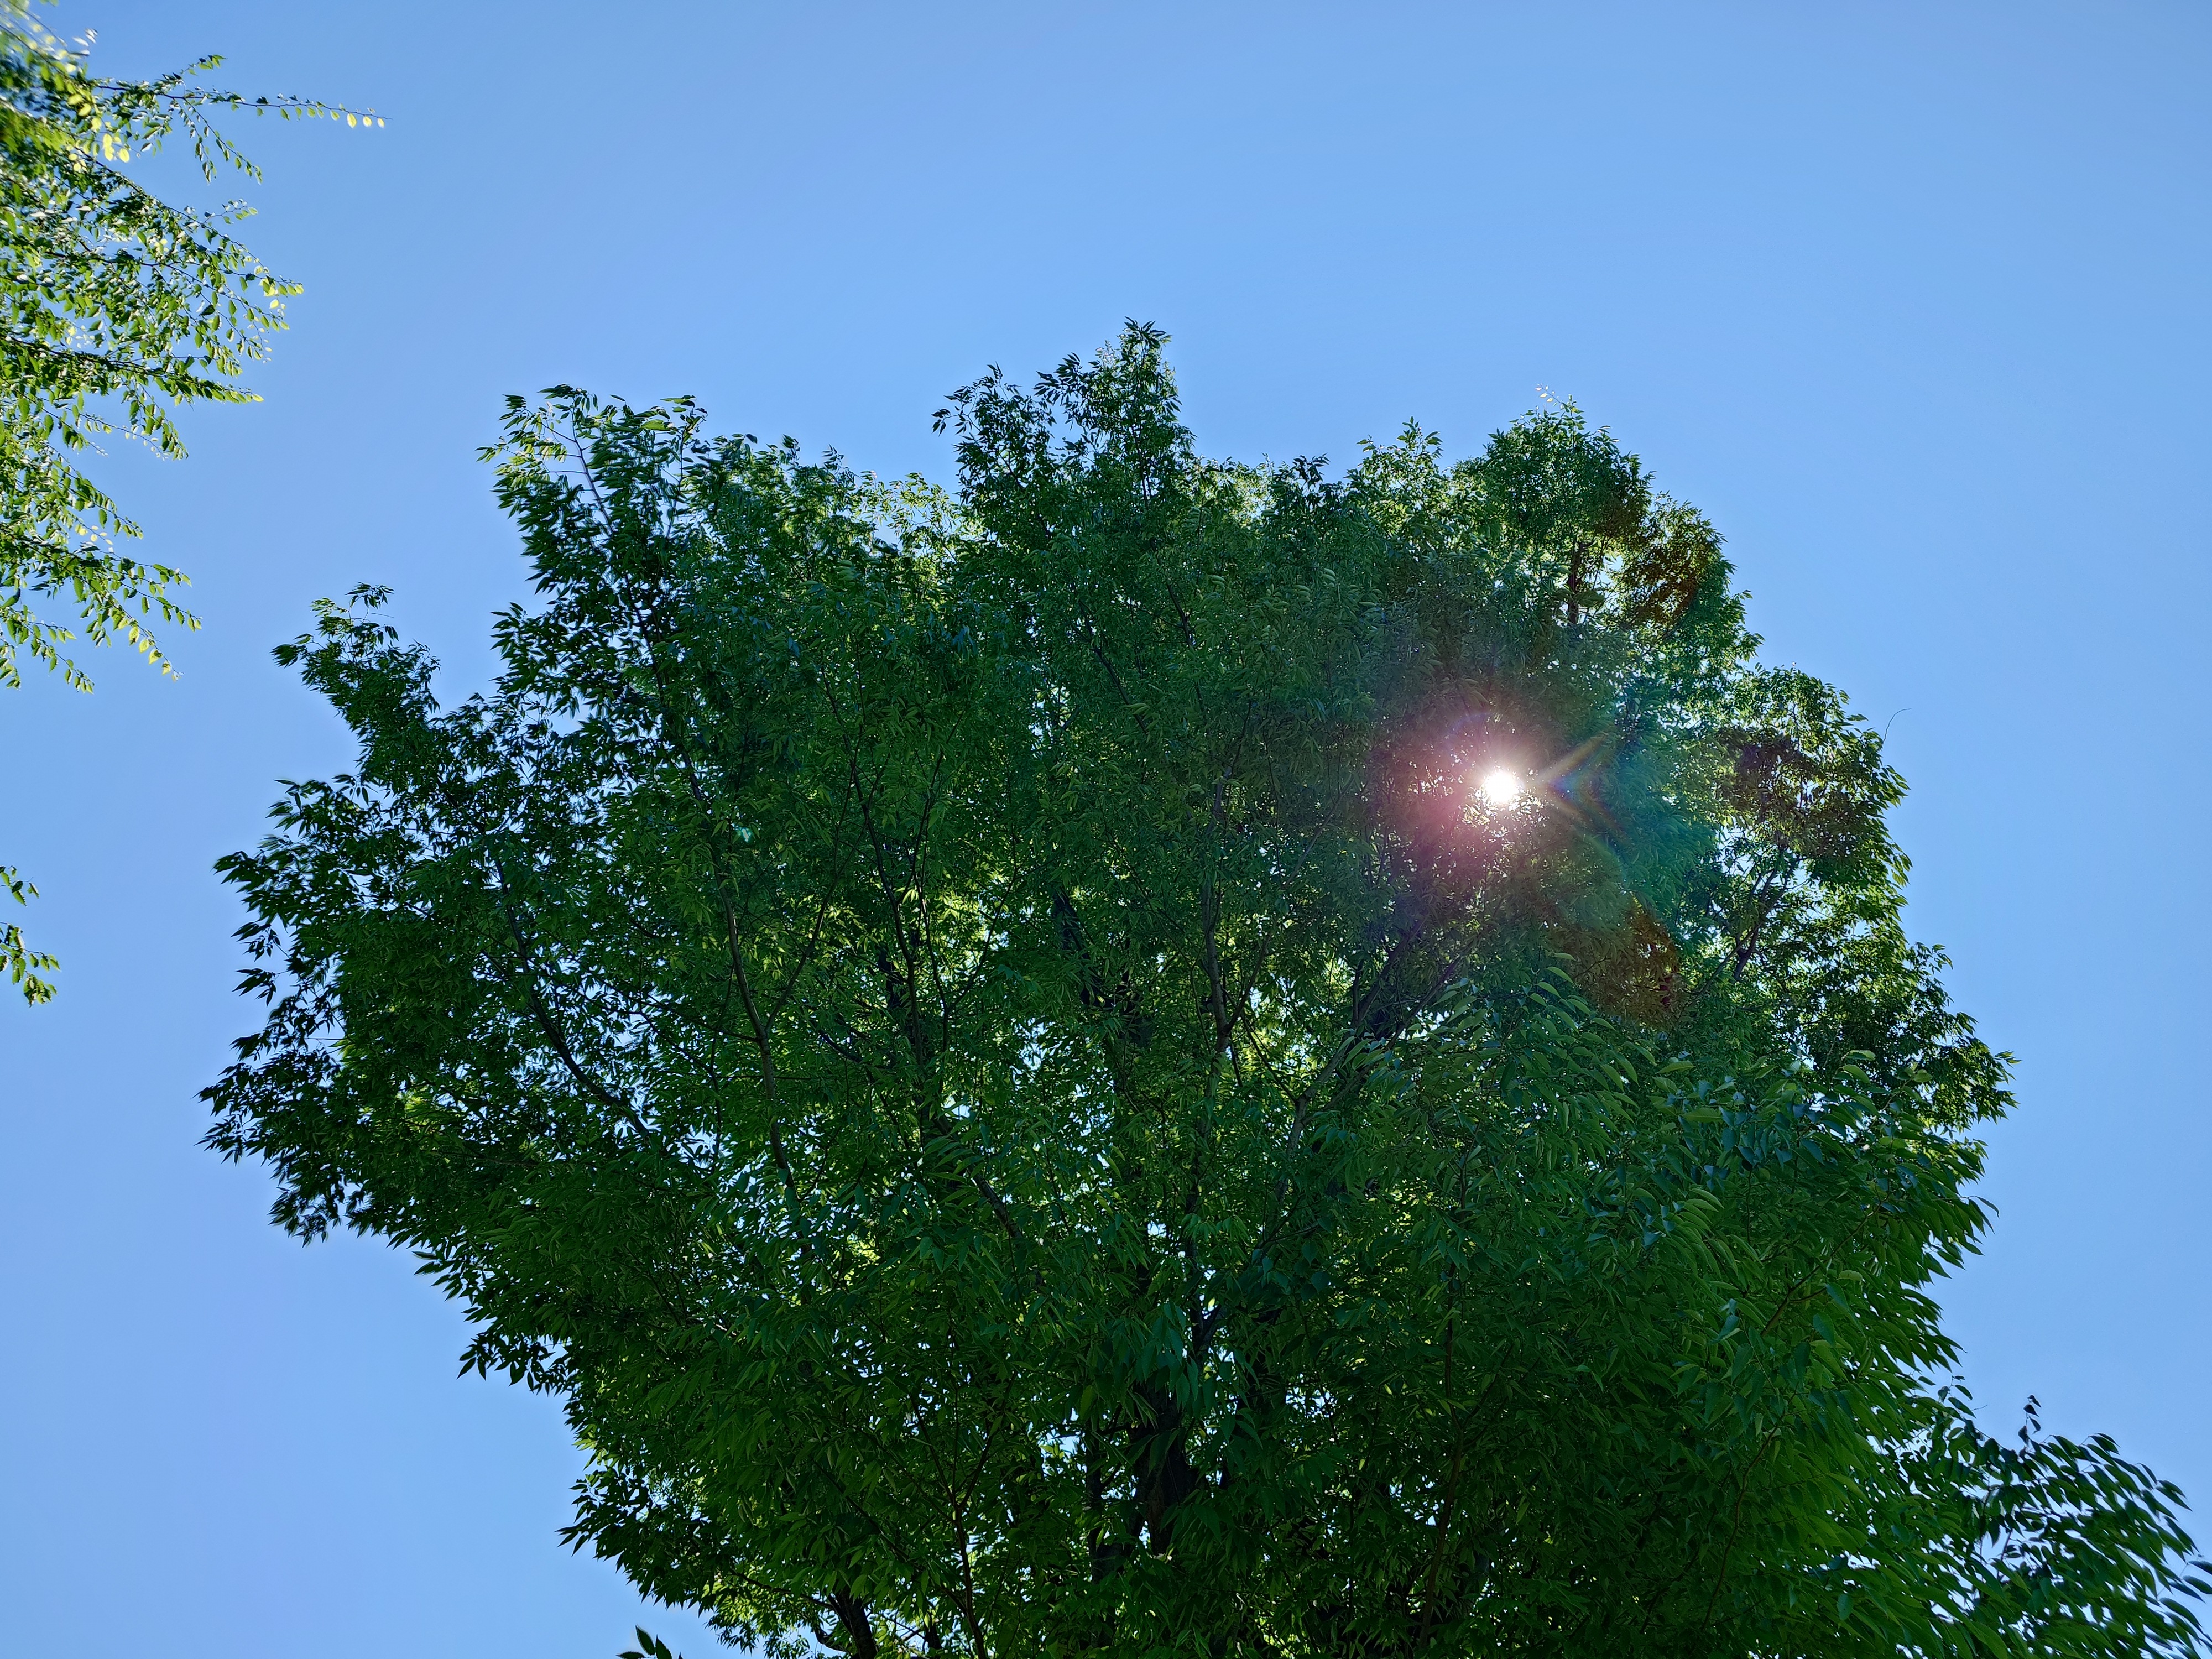
1 VI, looking up at the sunlight filtering through the trees. The outlines of the leaves in the shade are clearly visible.
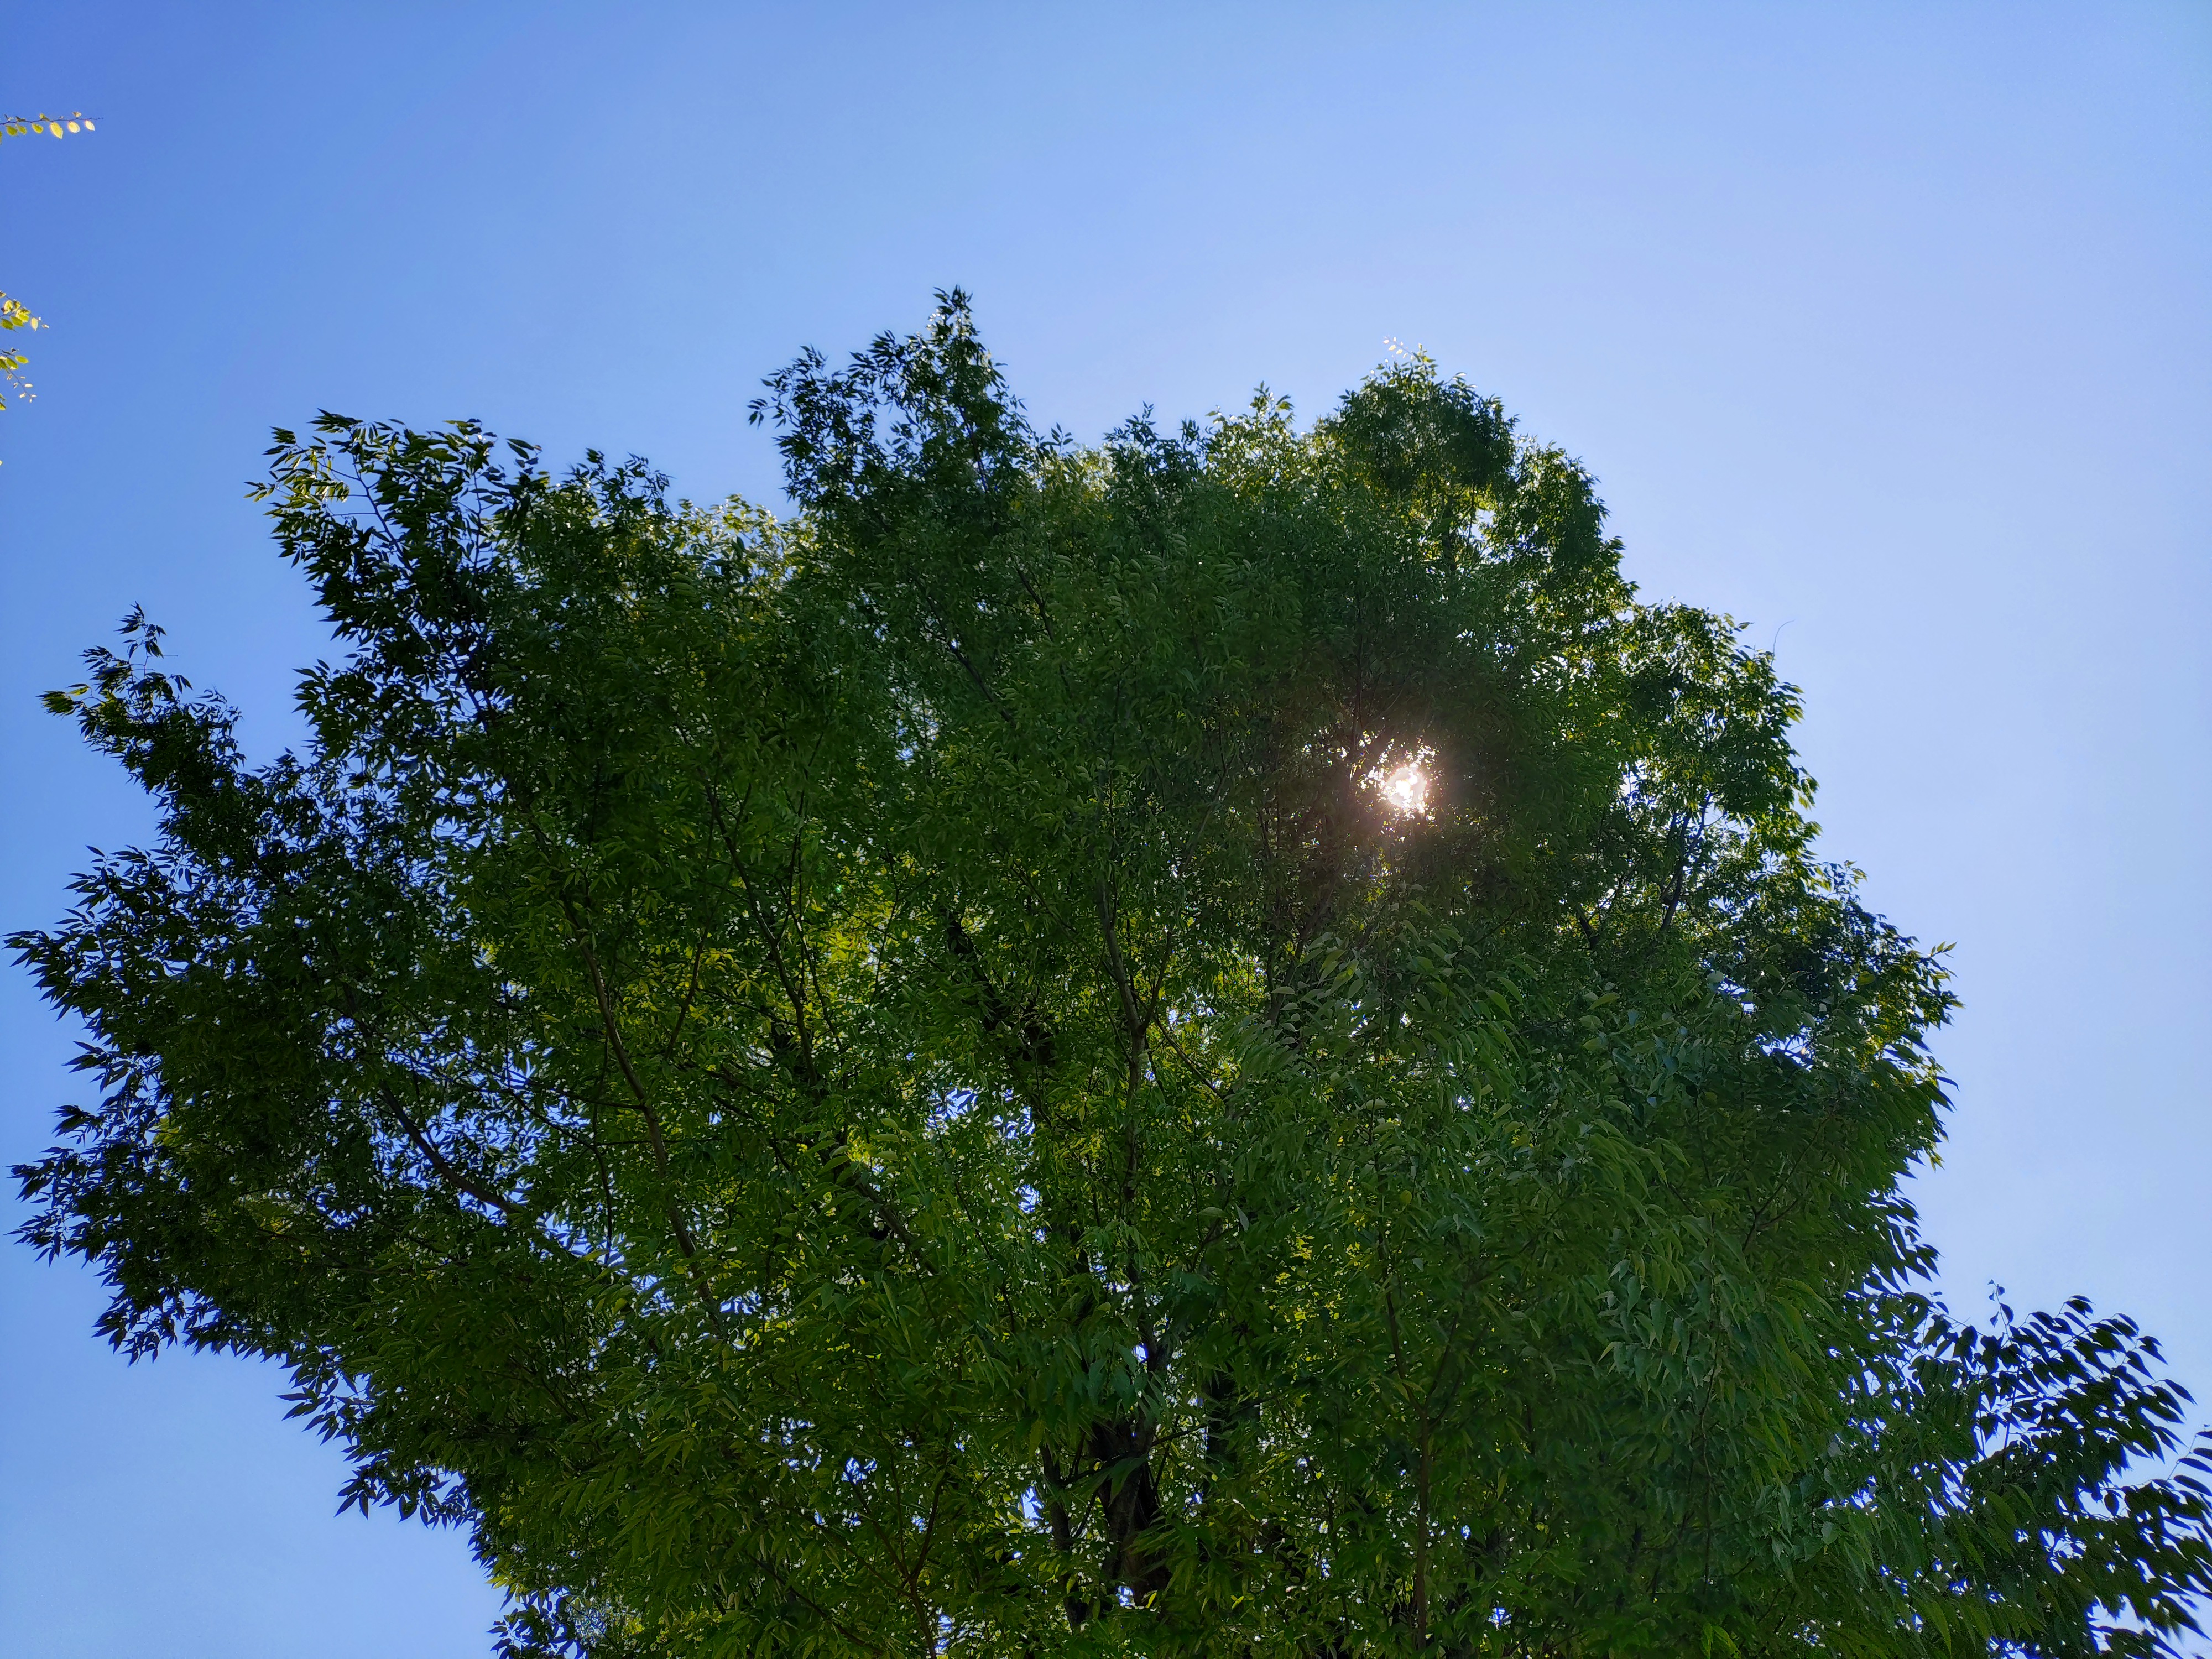
When I photographed the same sunlight filtering through the trees with the 10 VI, it looked like this.
Looking from the pond to the Tower of the Sun, the photo I took with 1 VI at 48MP looks like this. After clicking, the image is 8000 pixels x 6000 pixels and 11MB.
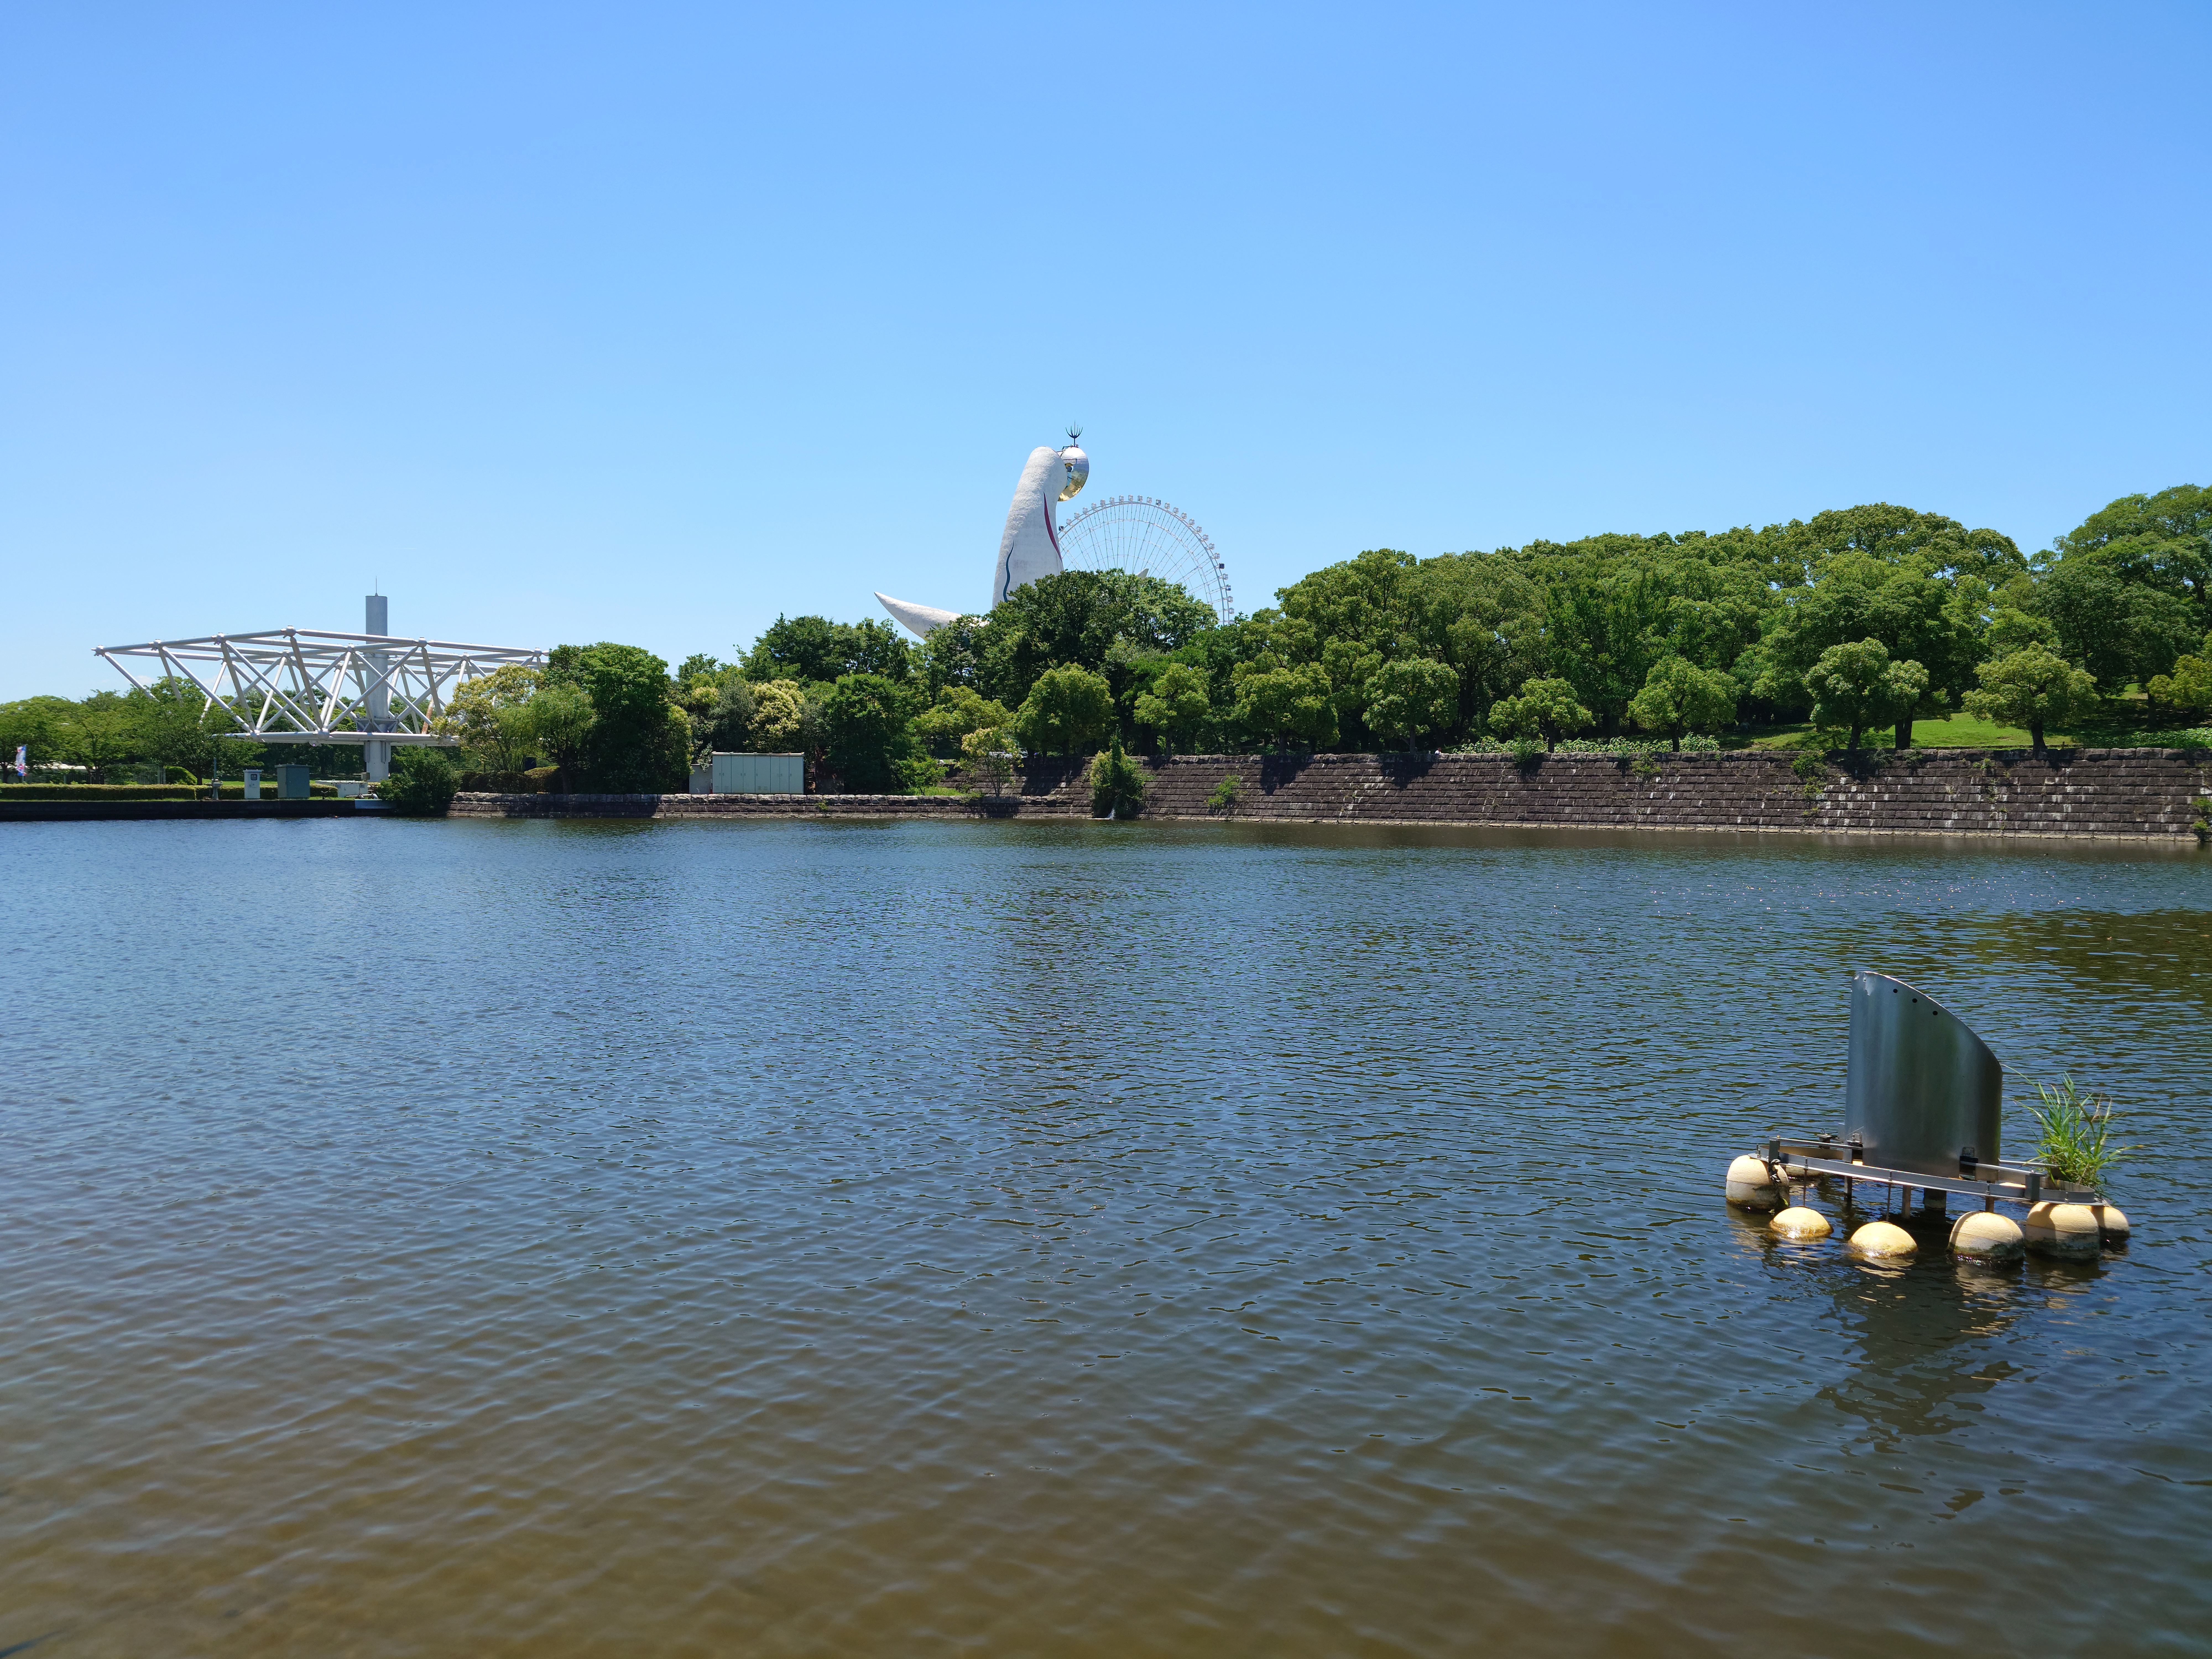
This is what it looks like when you cut out the area around the Tower of the Sun at full size.
I tried to take a video of the flow of the pond on the earth. First, I set it to 4K and 60fps with 1 VI.
10 VI is set to 4K and 30fps.
Water flow captured with Xperia 10 VI - YouTube
The settings for slow-motion shooting are not much different for both. First, 1 VI, full HD, 30 fps, 1/4 speed.
Slow motion footage shot with Xperia 1 VI - YouTube
Slow motion shooting was also done with the 10 VI, with settings of Full HD, 30fps and 1/4 speed.
Slow motion footage shot with Xperia 10 VI - YouTube
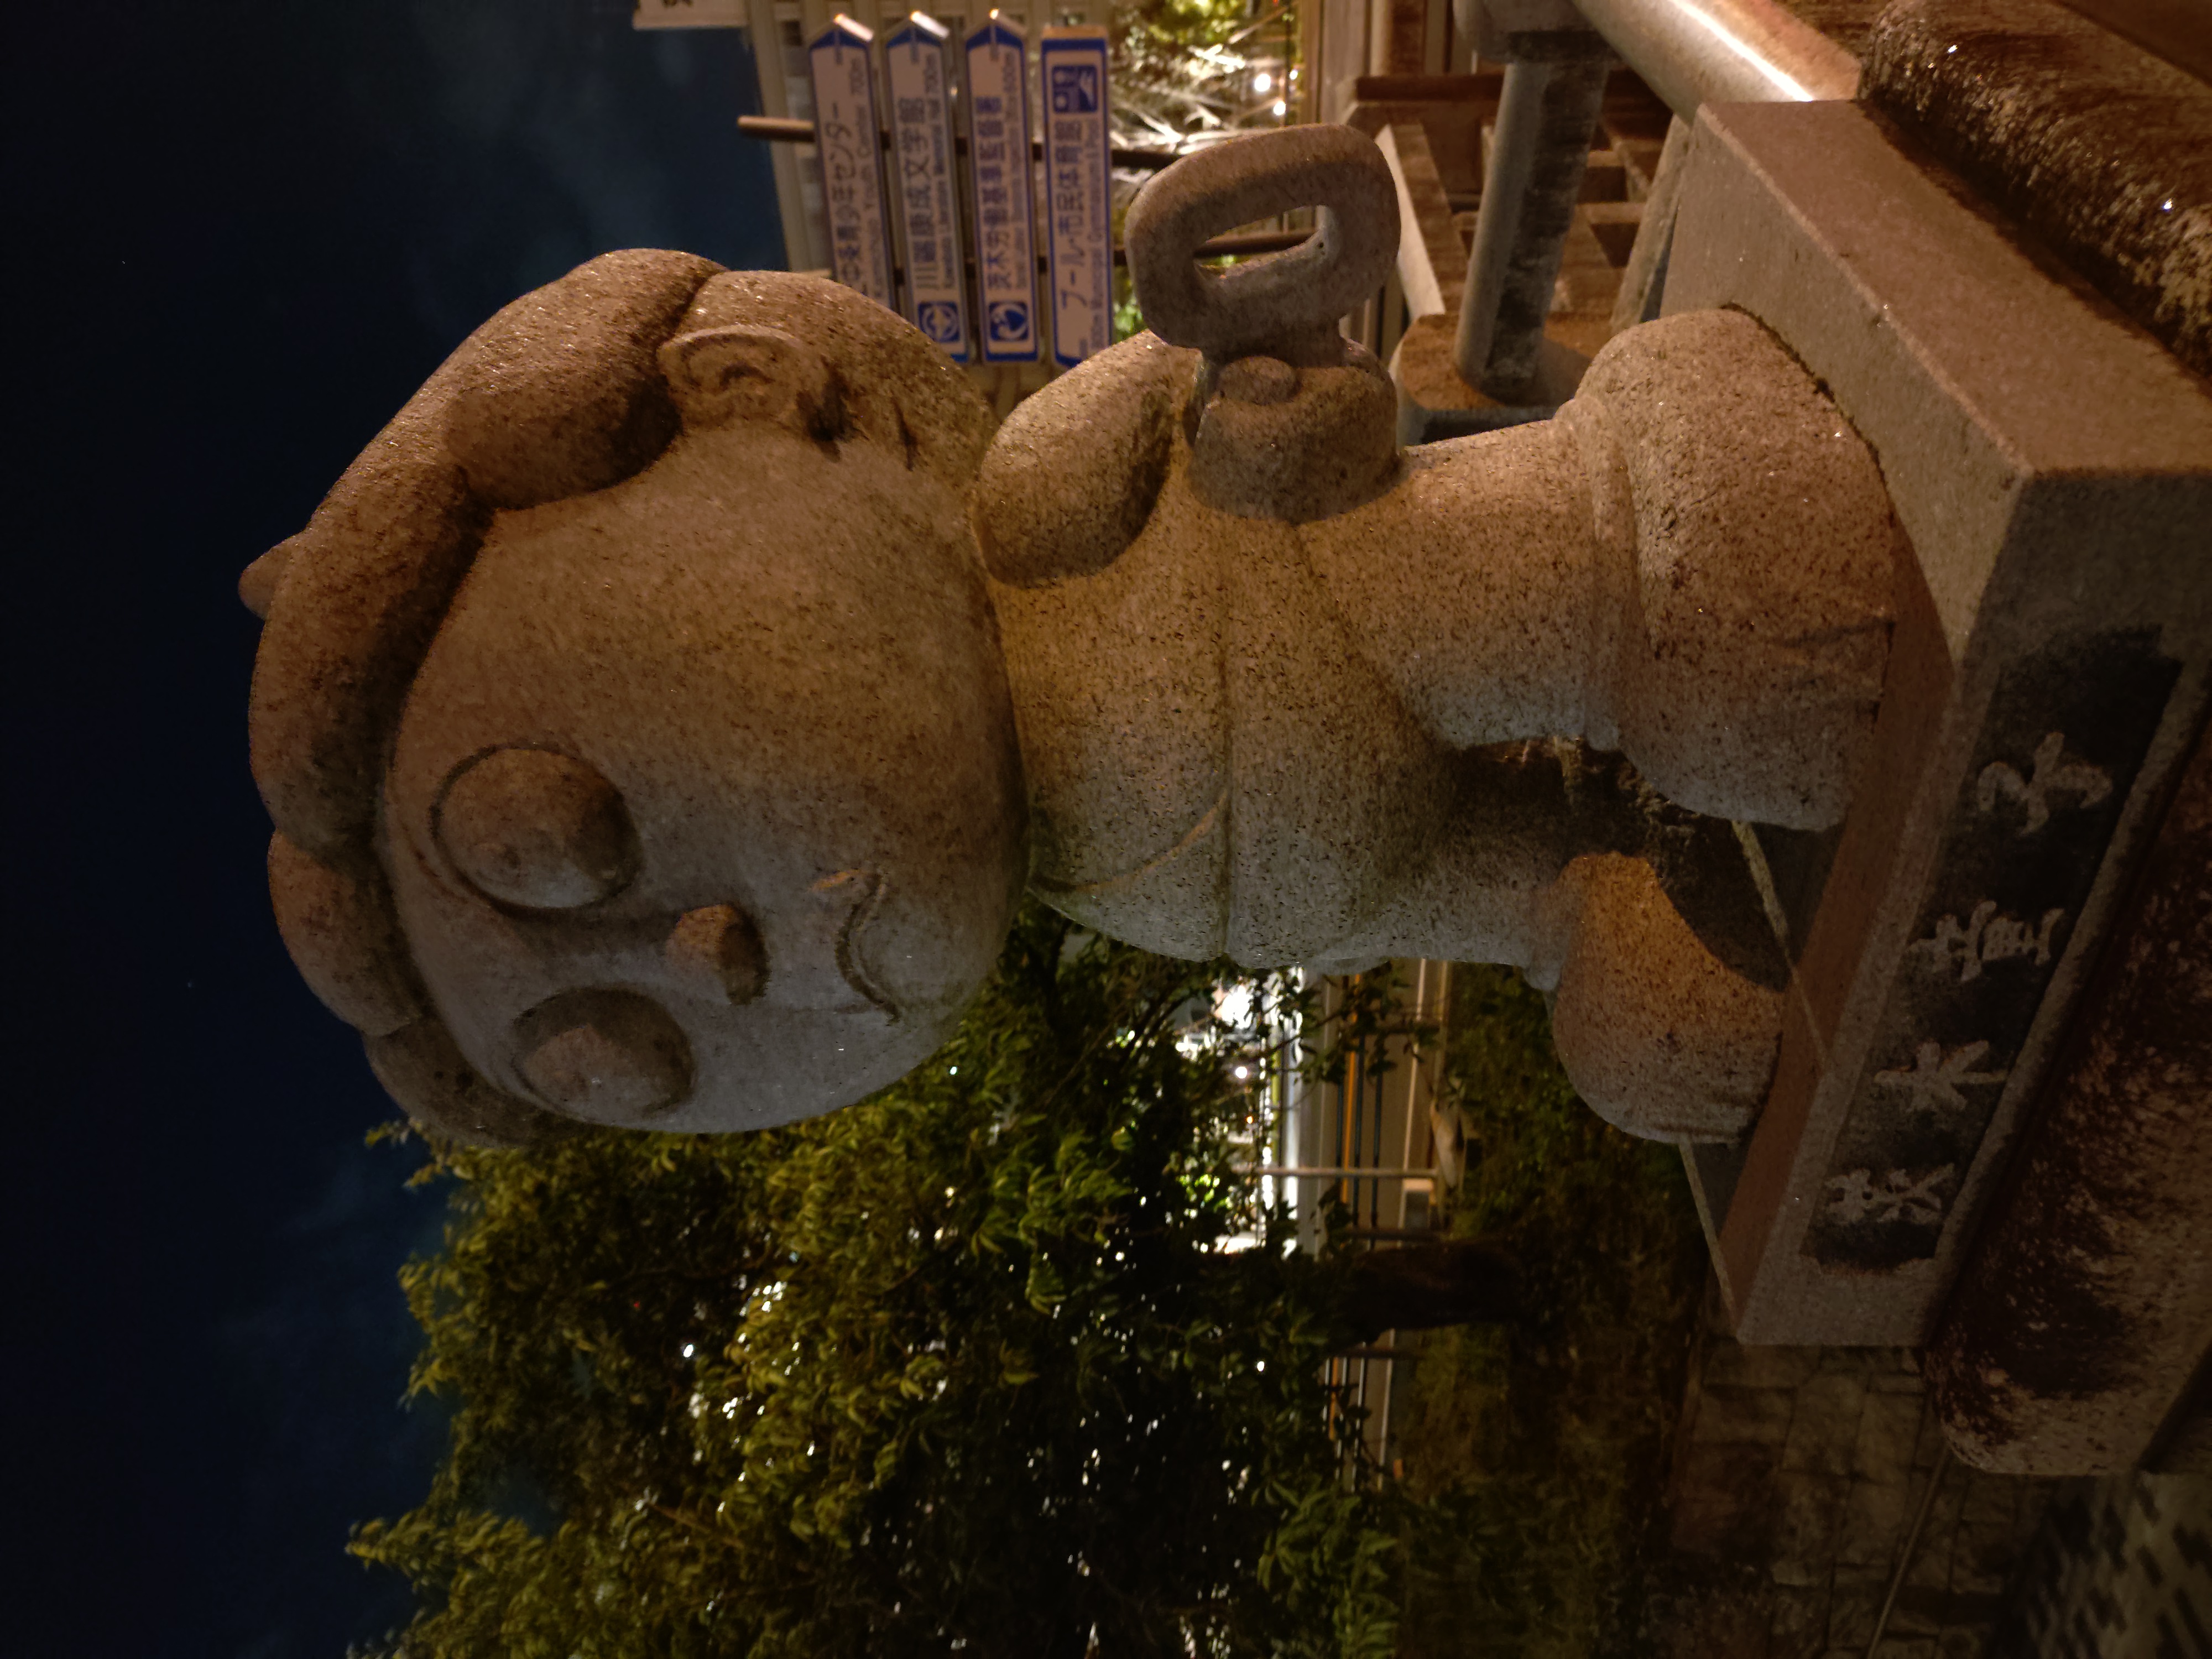
I photographed Ibaraki-doji standing near Ibaraki City Hall at night on 1 VI. Since it is near an intersection, there are headlights from passing cars, but there is no lighting illuminating Ibaraki-doji itself.
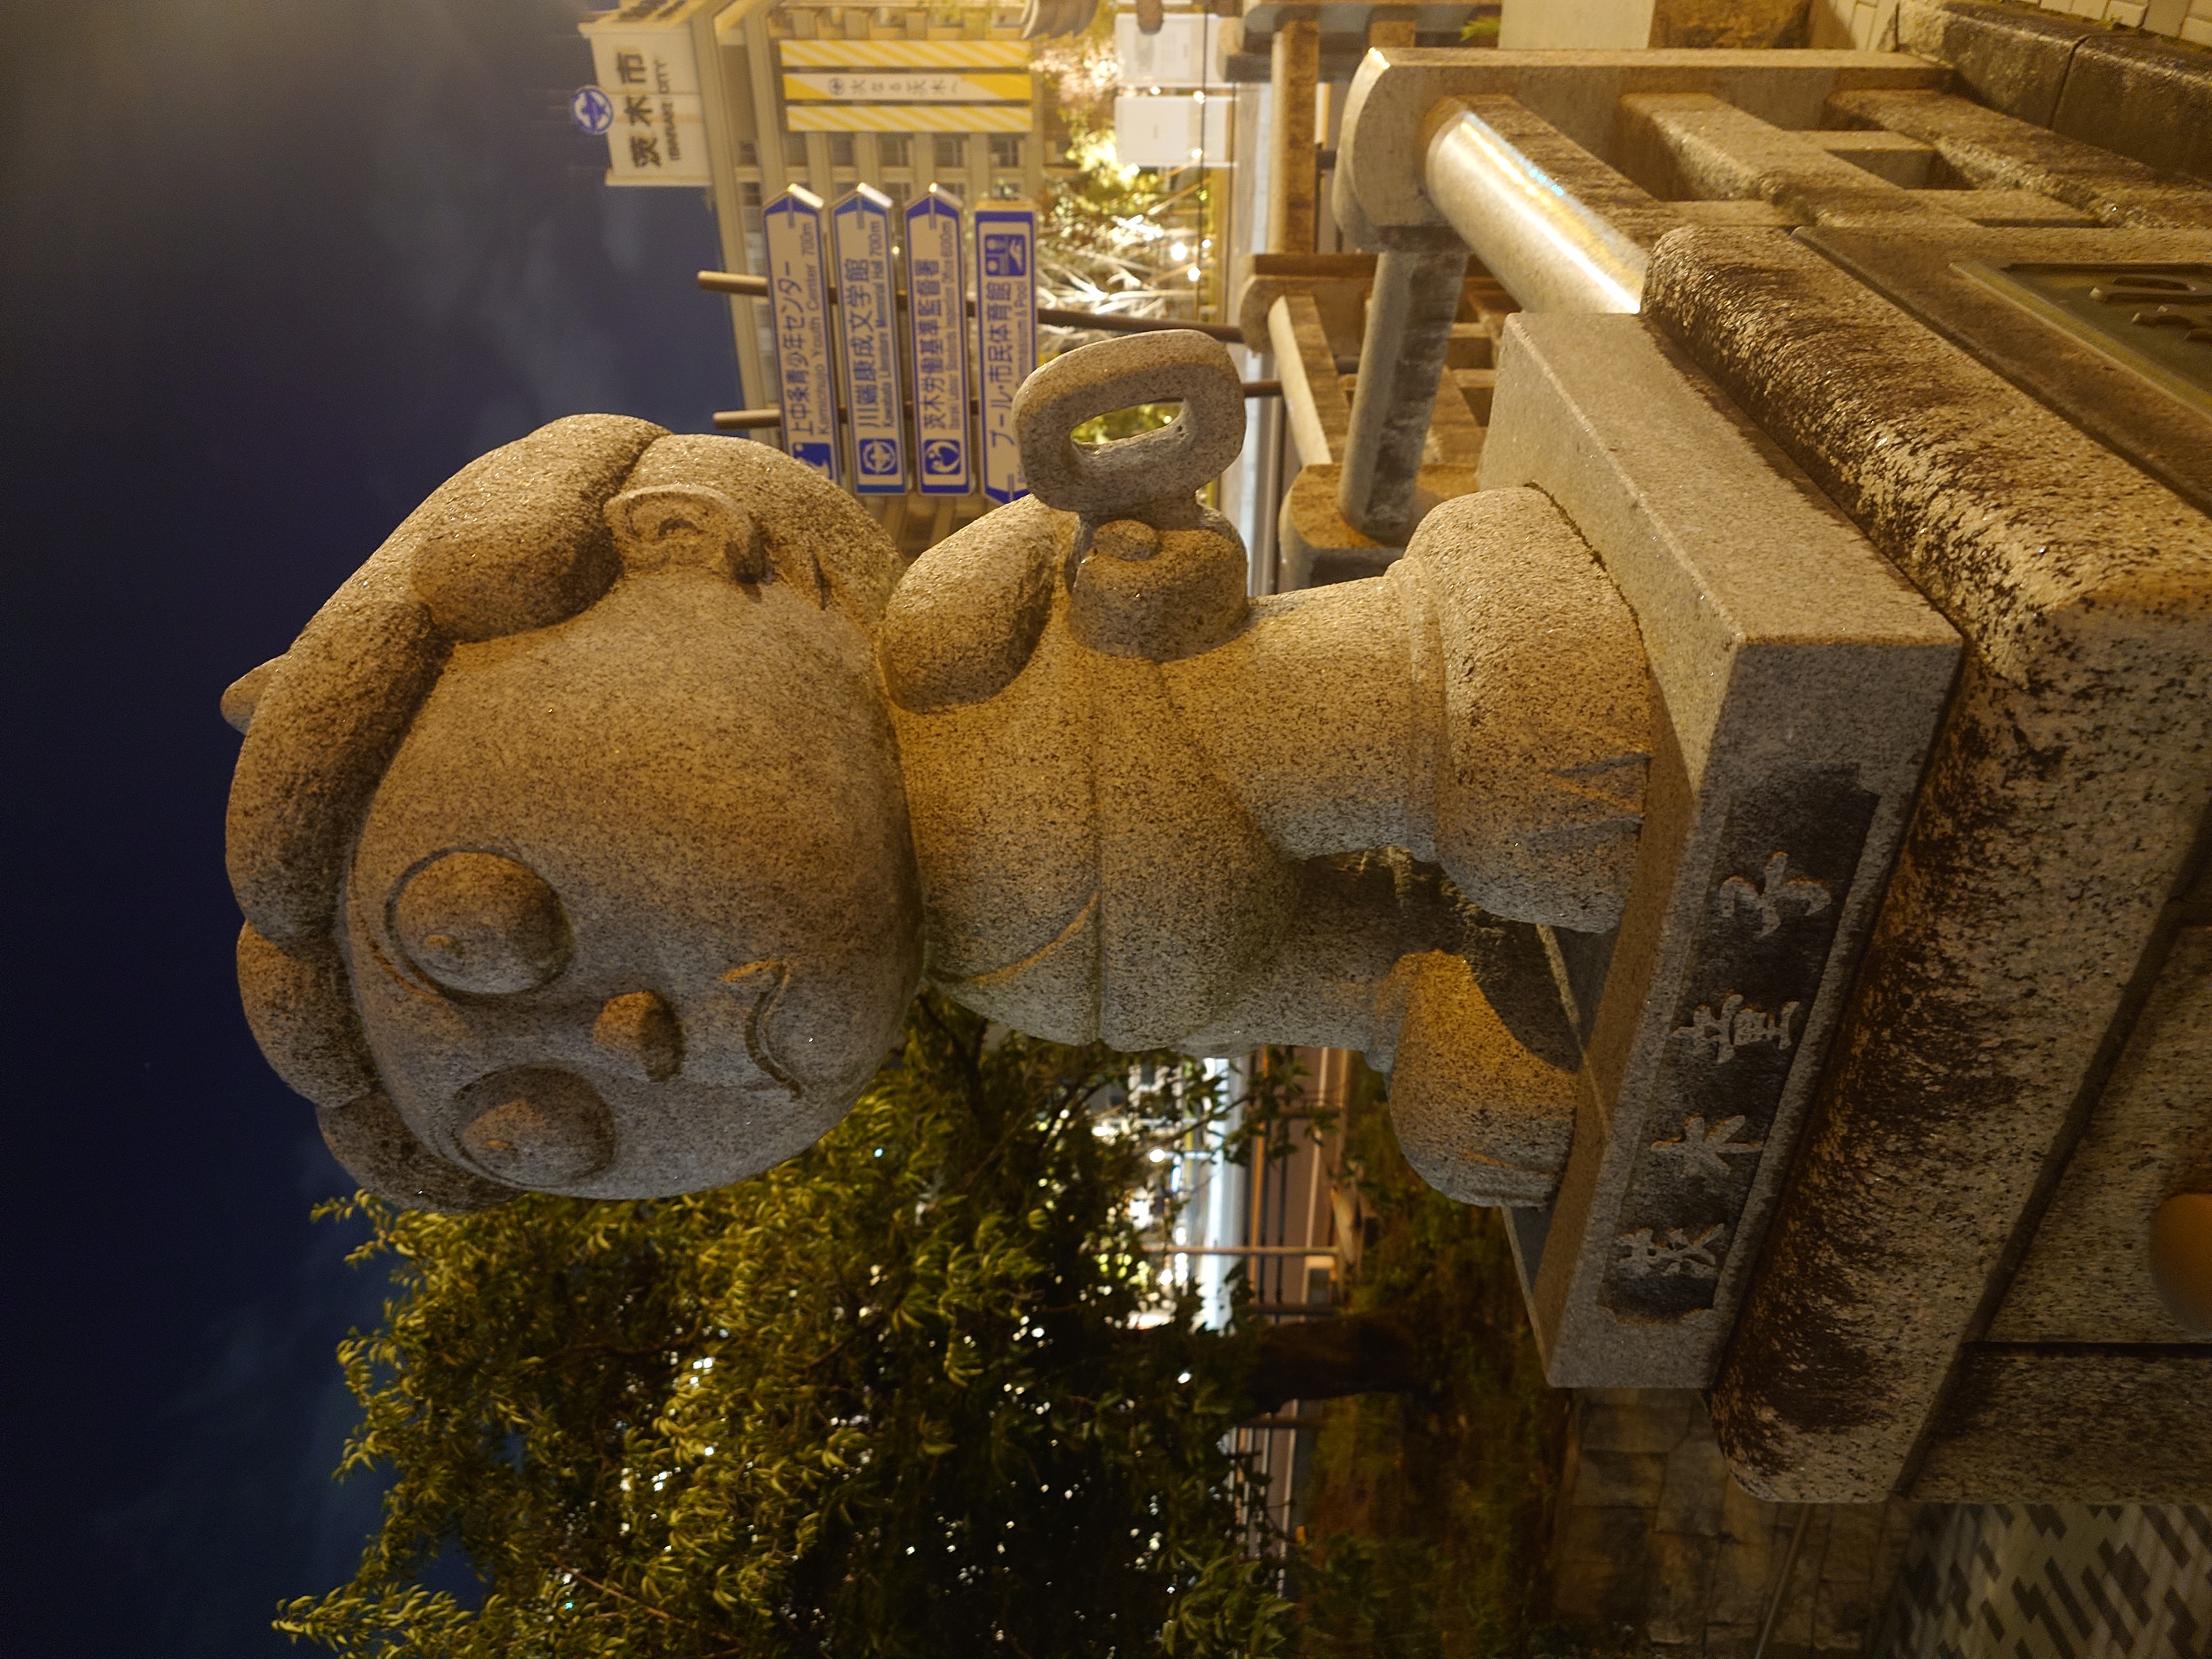
Here's what it looks like with the 10 VI. It was dark and didn't come out very well.
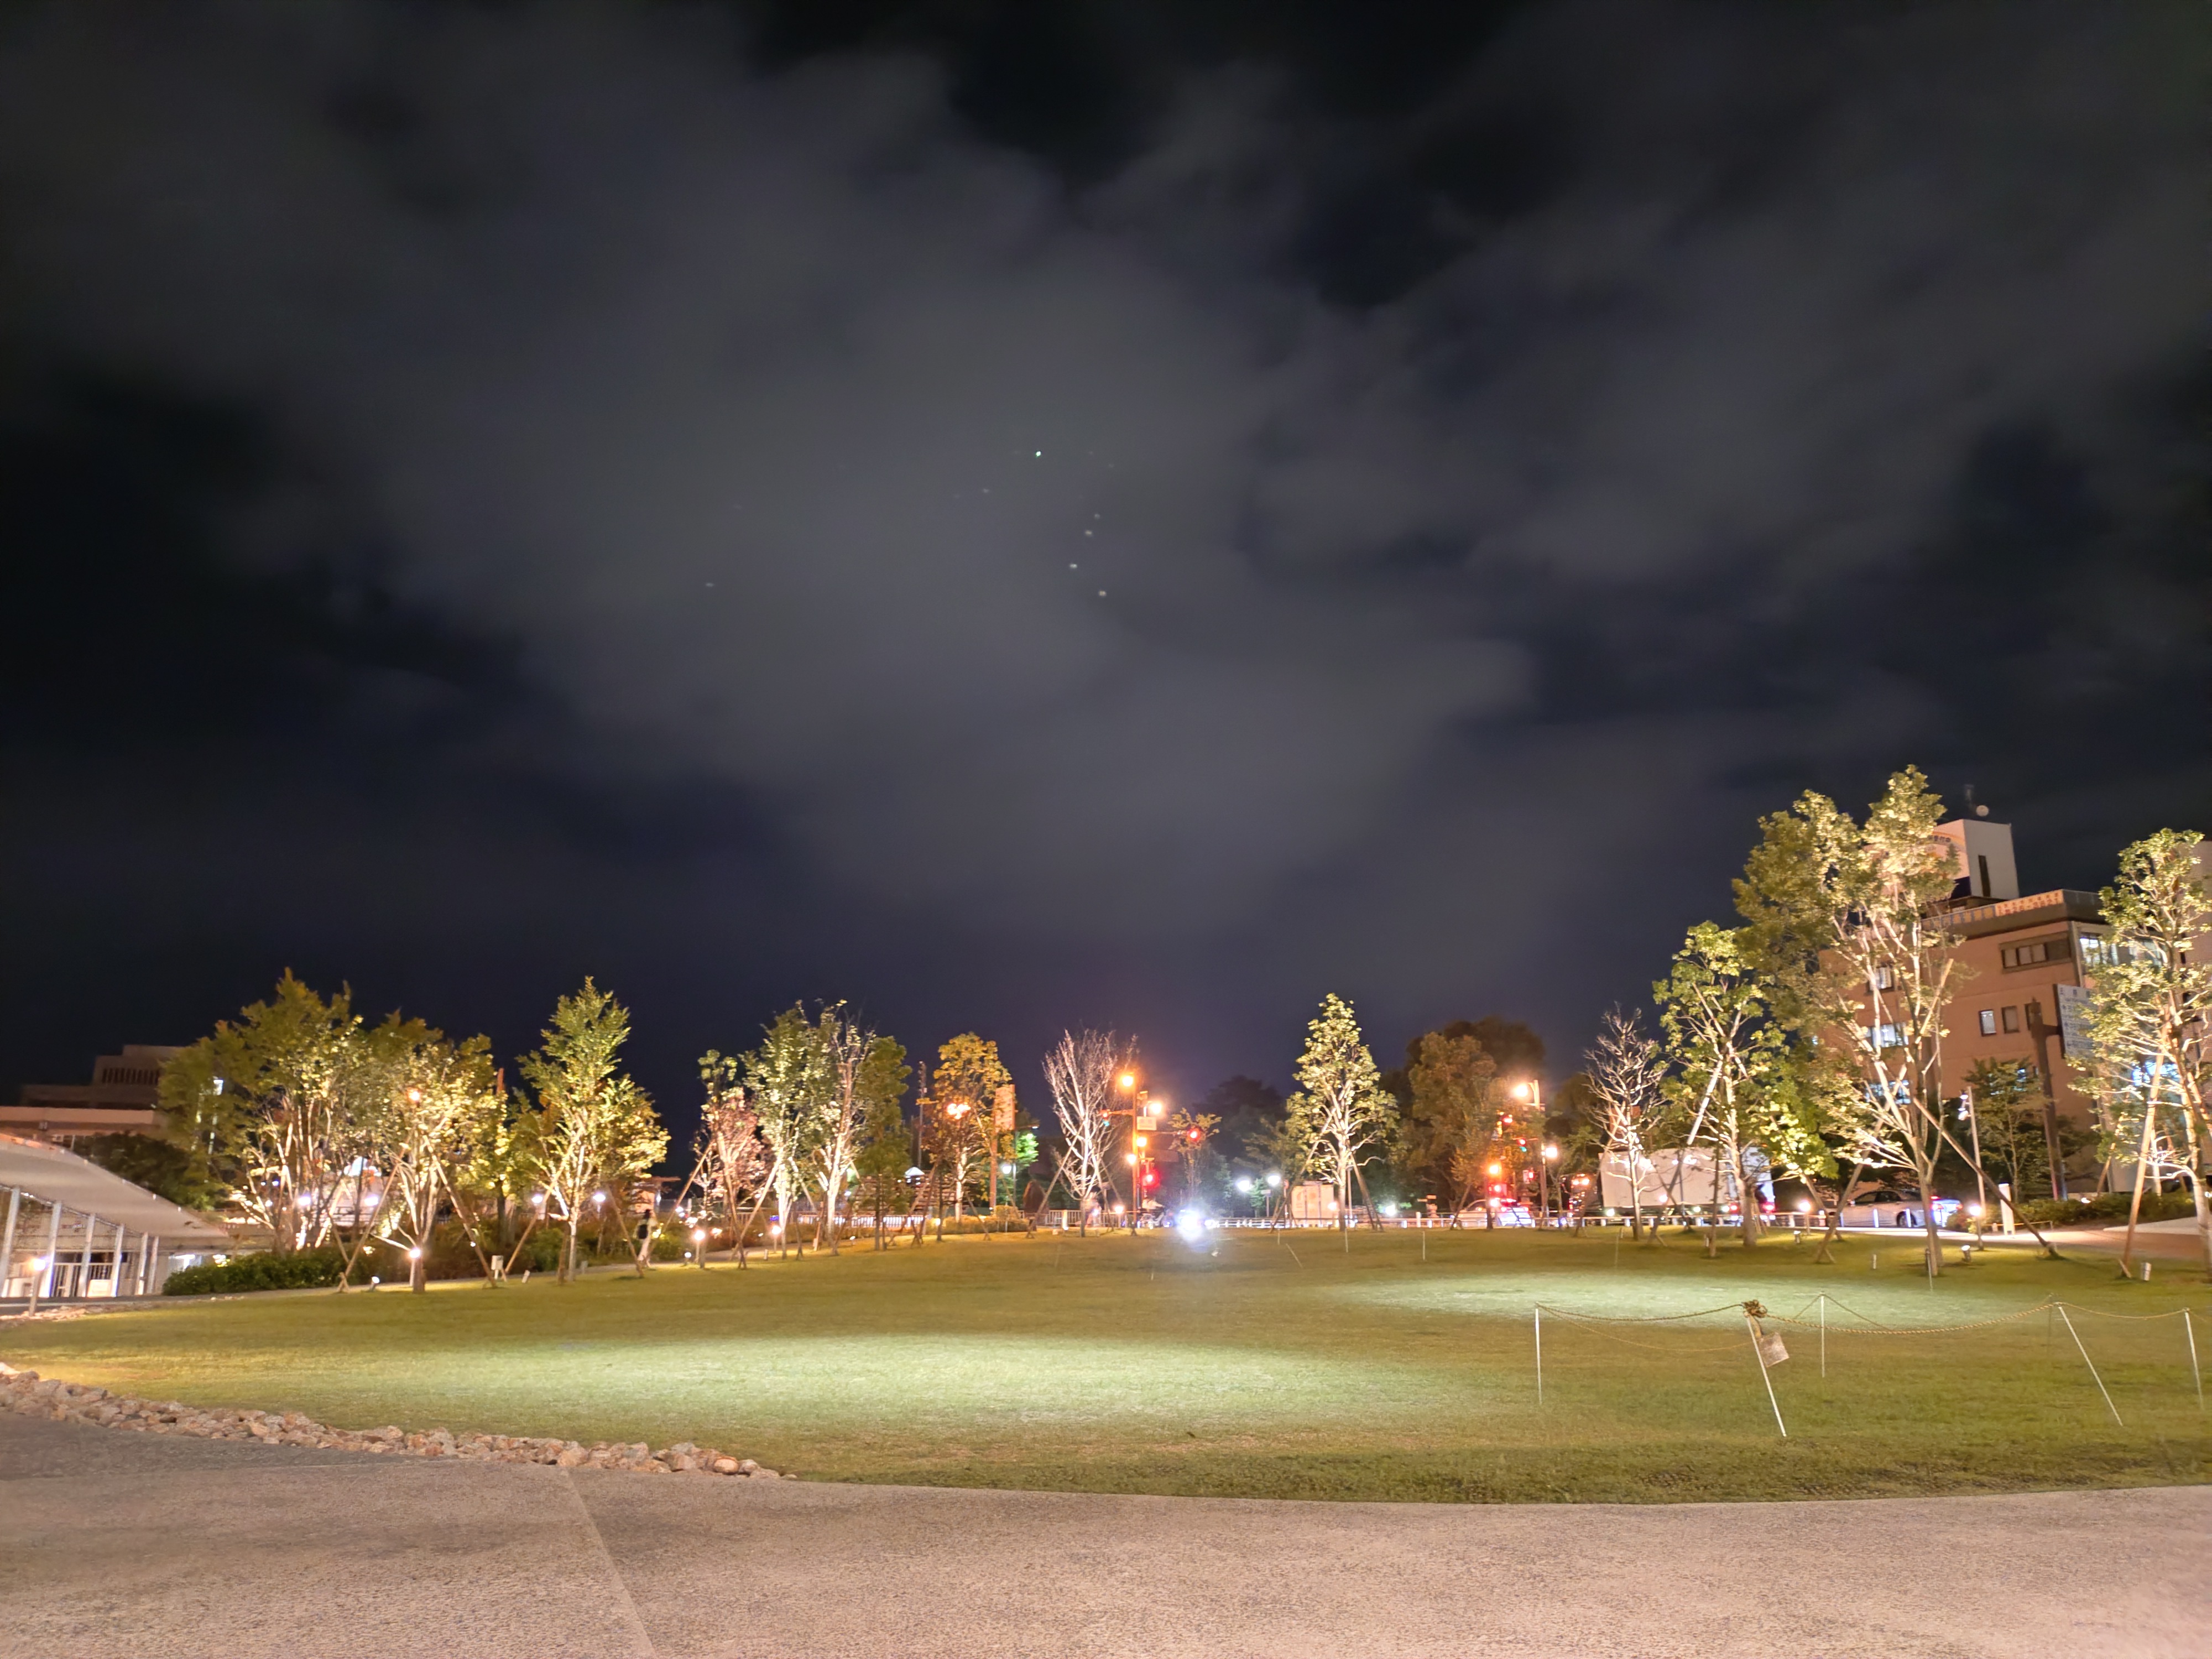
I took a photo of the green space in front of the Ibaraki City cultural and childcare complex 'Onikuru'. 1 VI gives the impression that the image is brighter than it appears to the naked eye. Even in photos like this, where it's difficult to know where to focus, the camera takes the photo as if to 'just press the shutter', which is helpful when you want to record what is there.
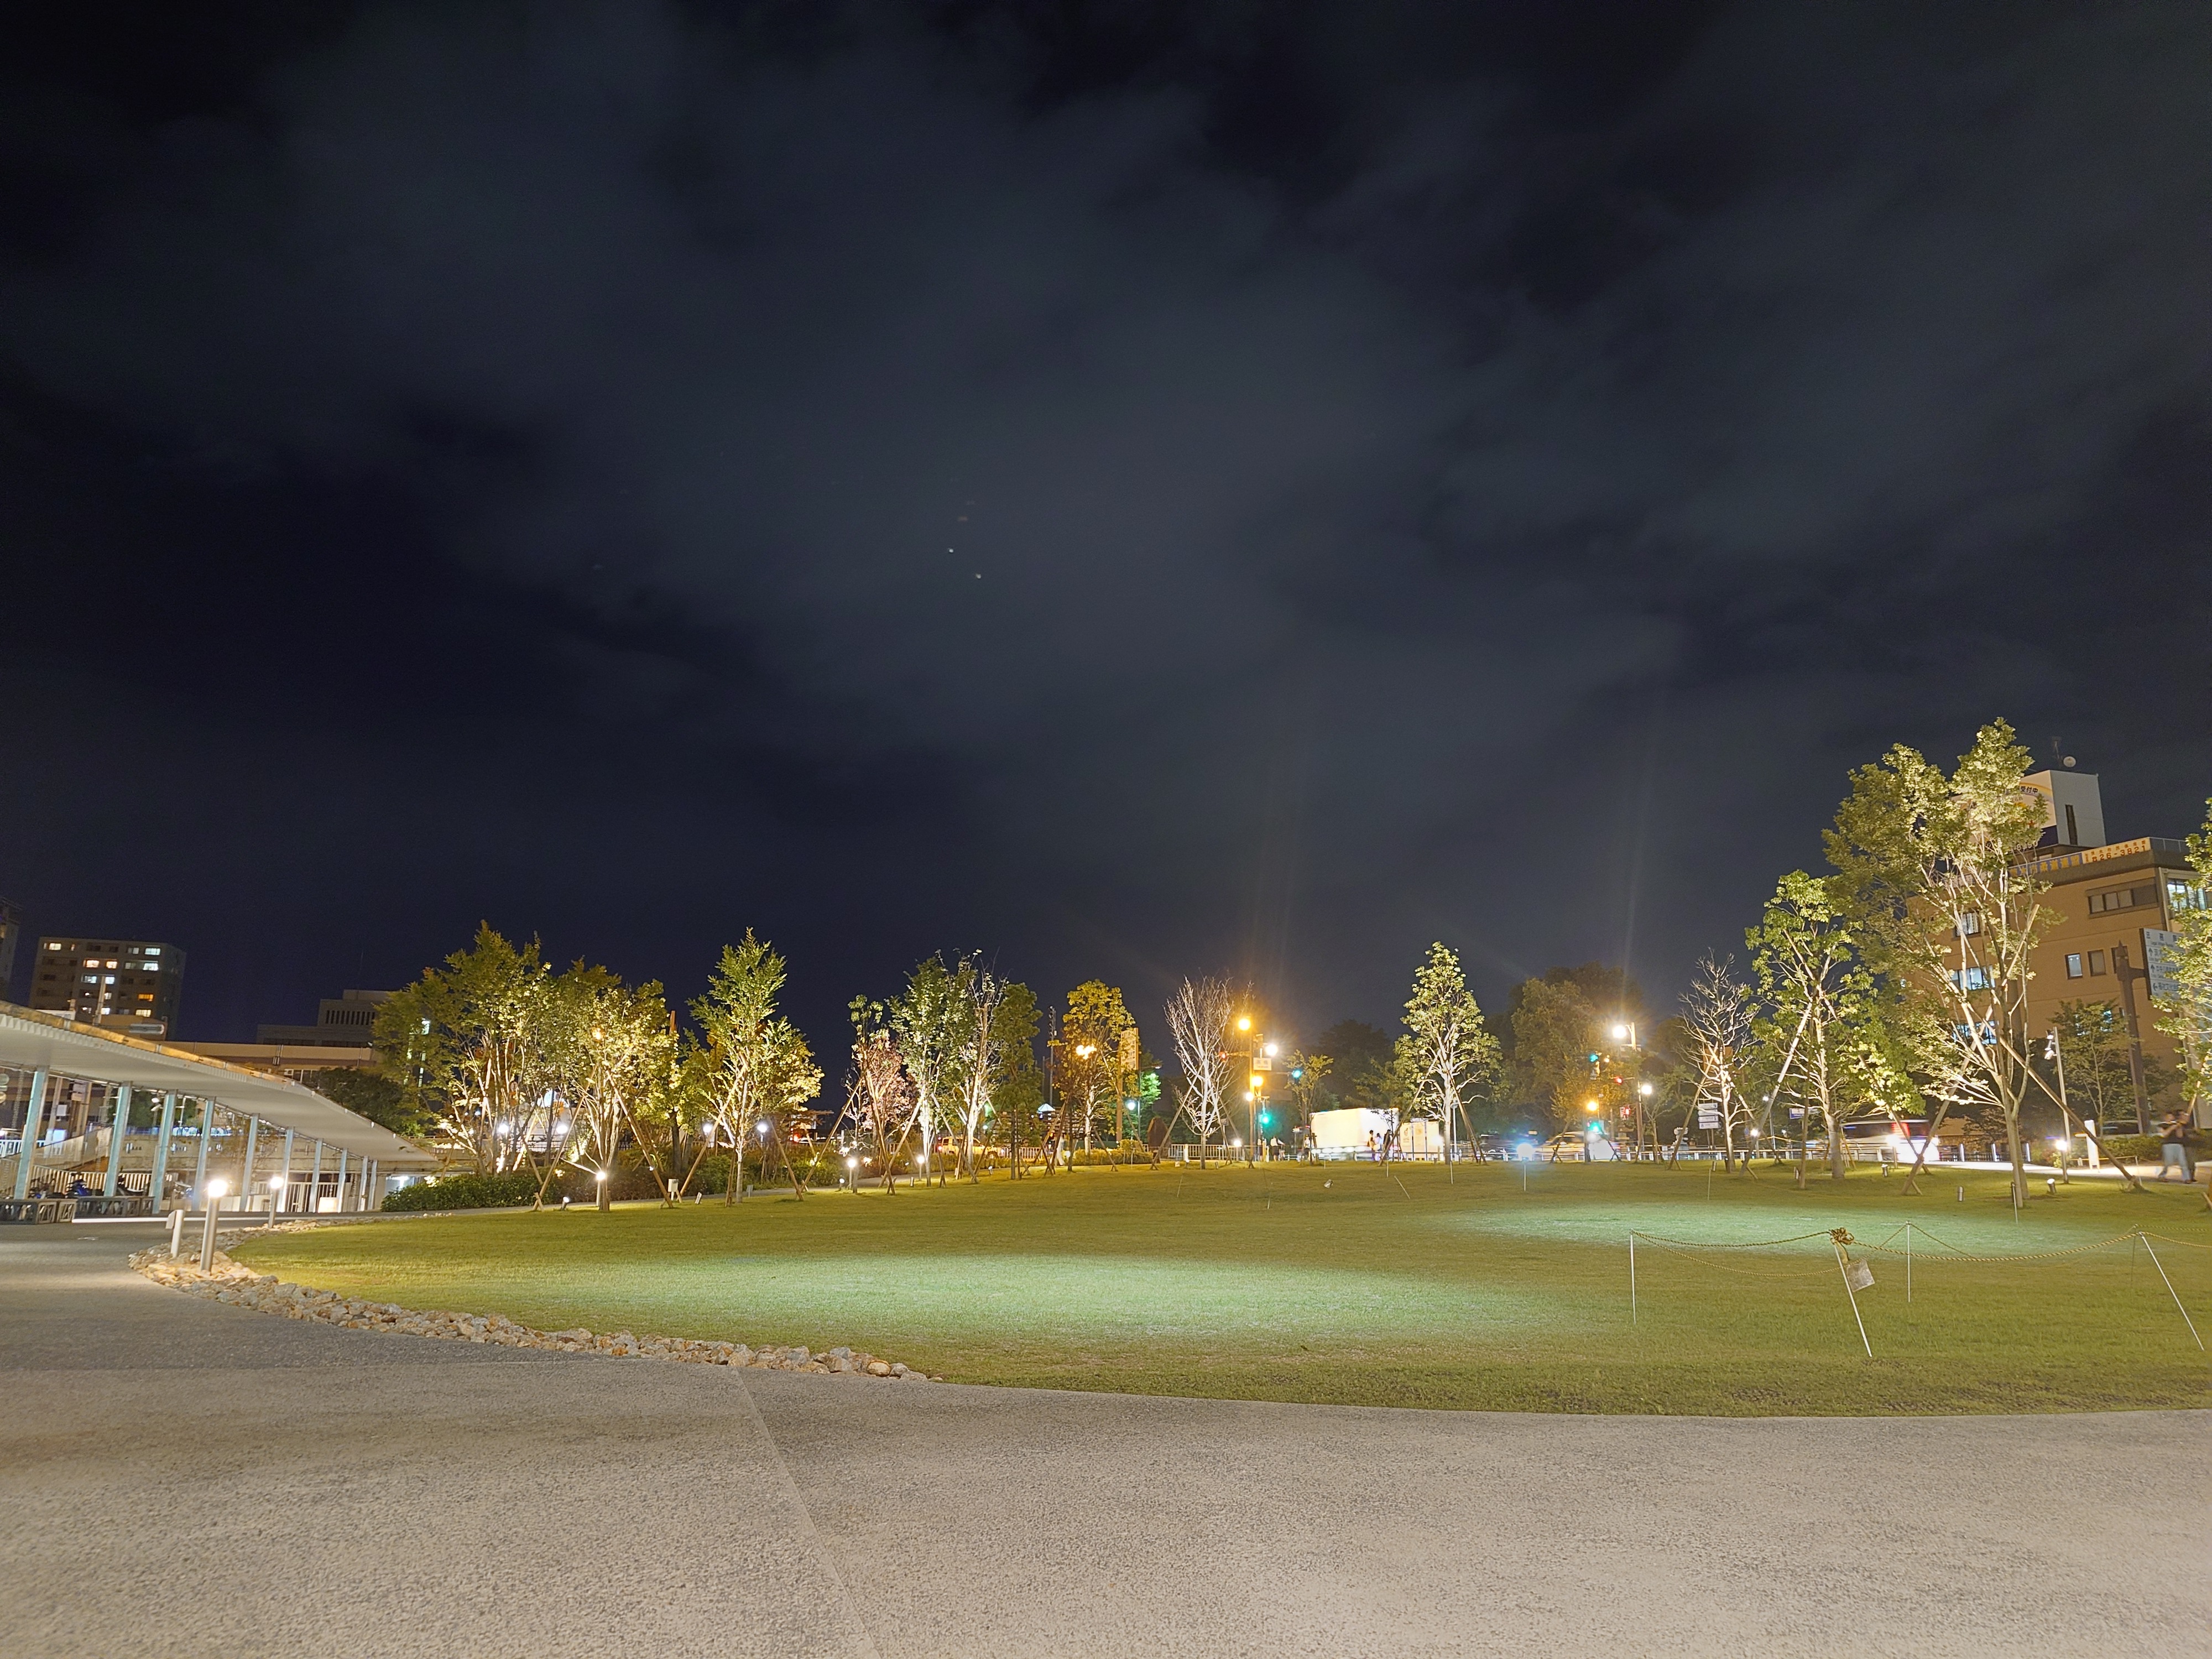
The 10 VI was blurry, but I'd say that's inevitable since it was a handheld shot.
I took a video of a nearby waterway. Both are different from what you see with the naked eye, 1 VI is bright. In reality, the wall on the other side of the waterway is not as clear.
Night waterway shot with Xperia 1 VI - YouTube
On the other hand, 10 VI appears darker than it actually is, and although you can just about make out the streetlights reflecting off the railings, the waterway beyond is completely dark. In reality, there is a faint light from the streetlights falling on the waterway, and you can see the water surface shimmering slightly.
Night waterway shot with Xperia 10 VI - YouTube
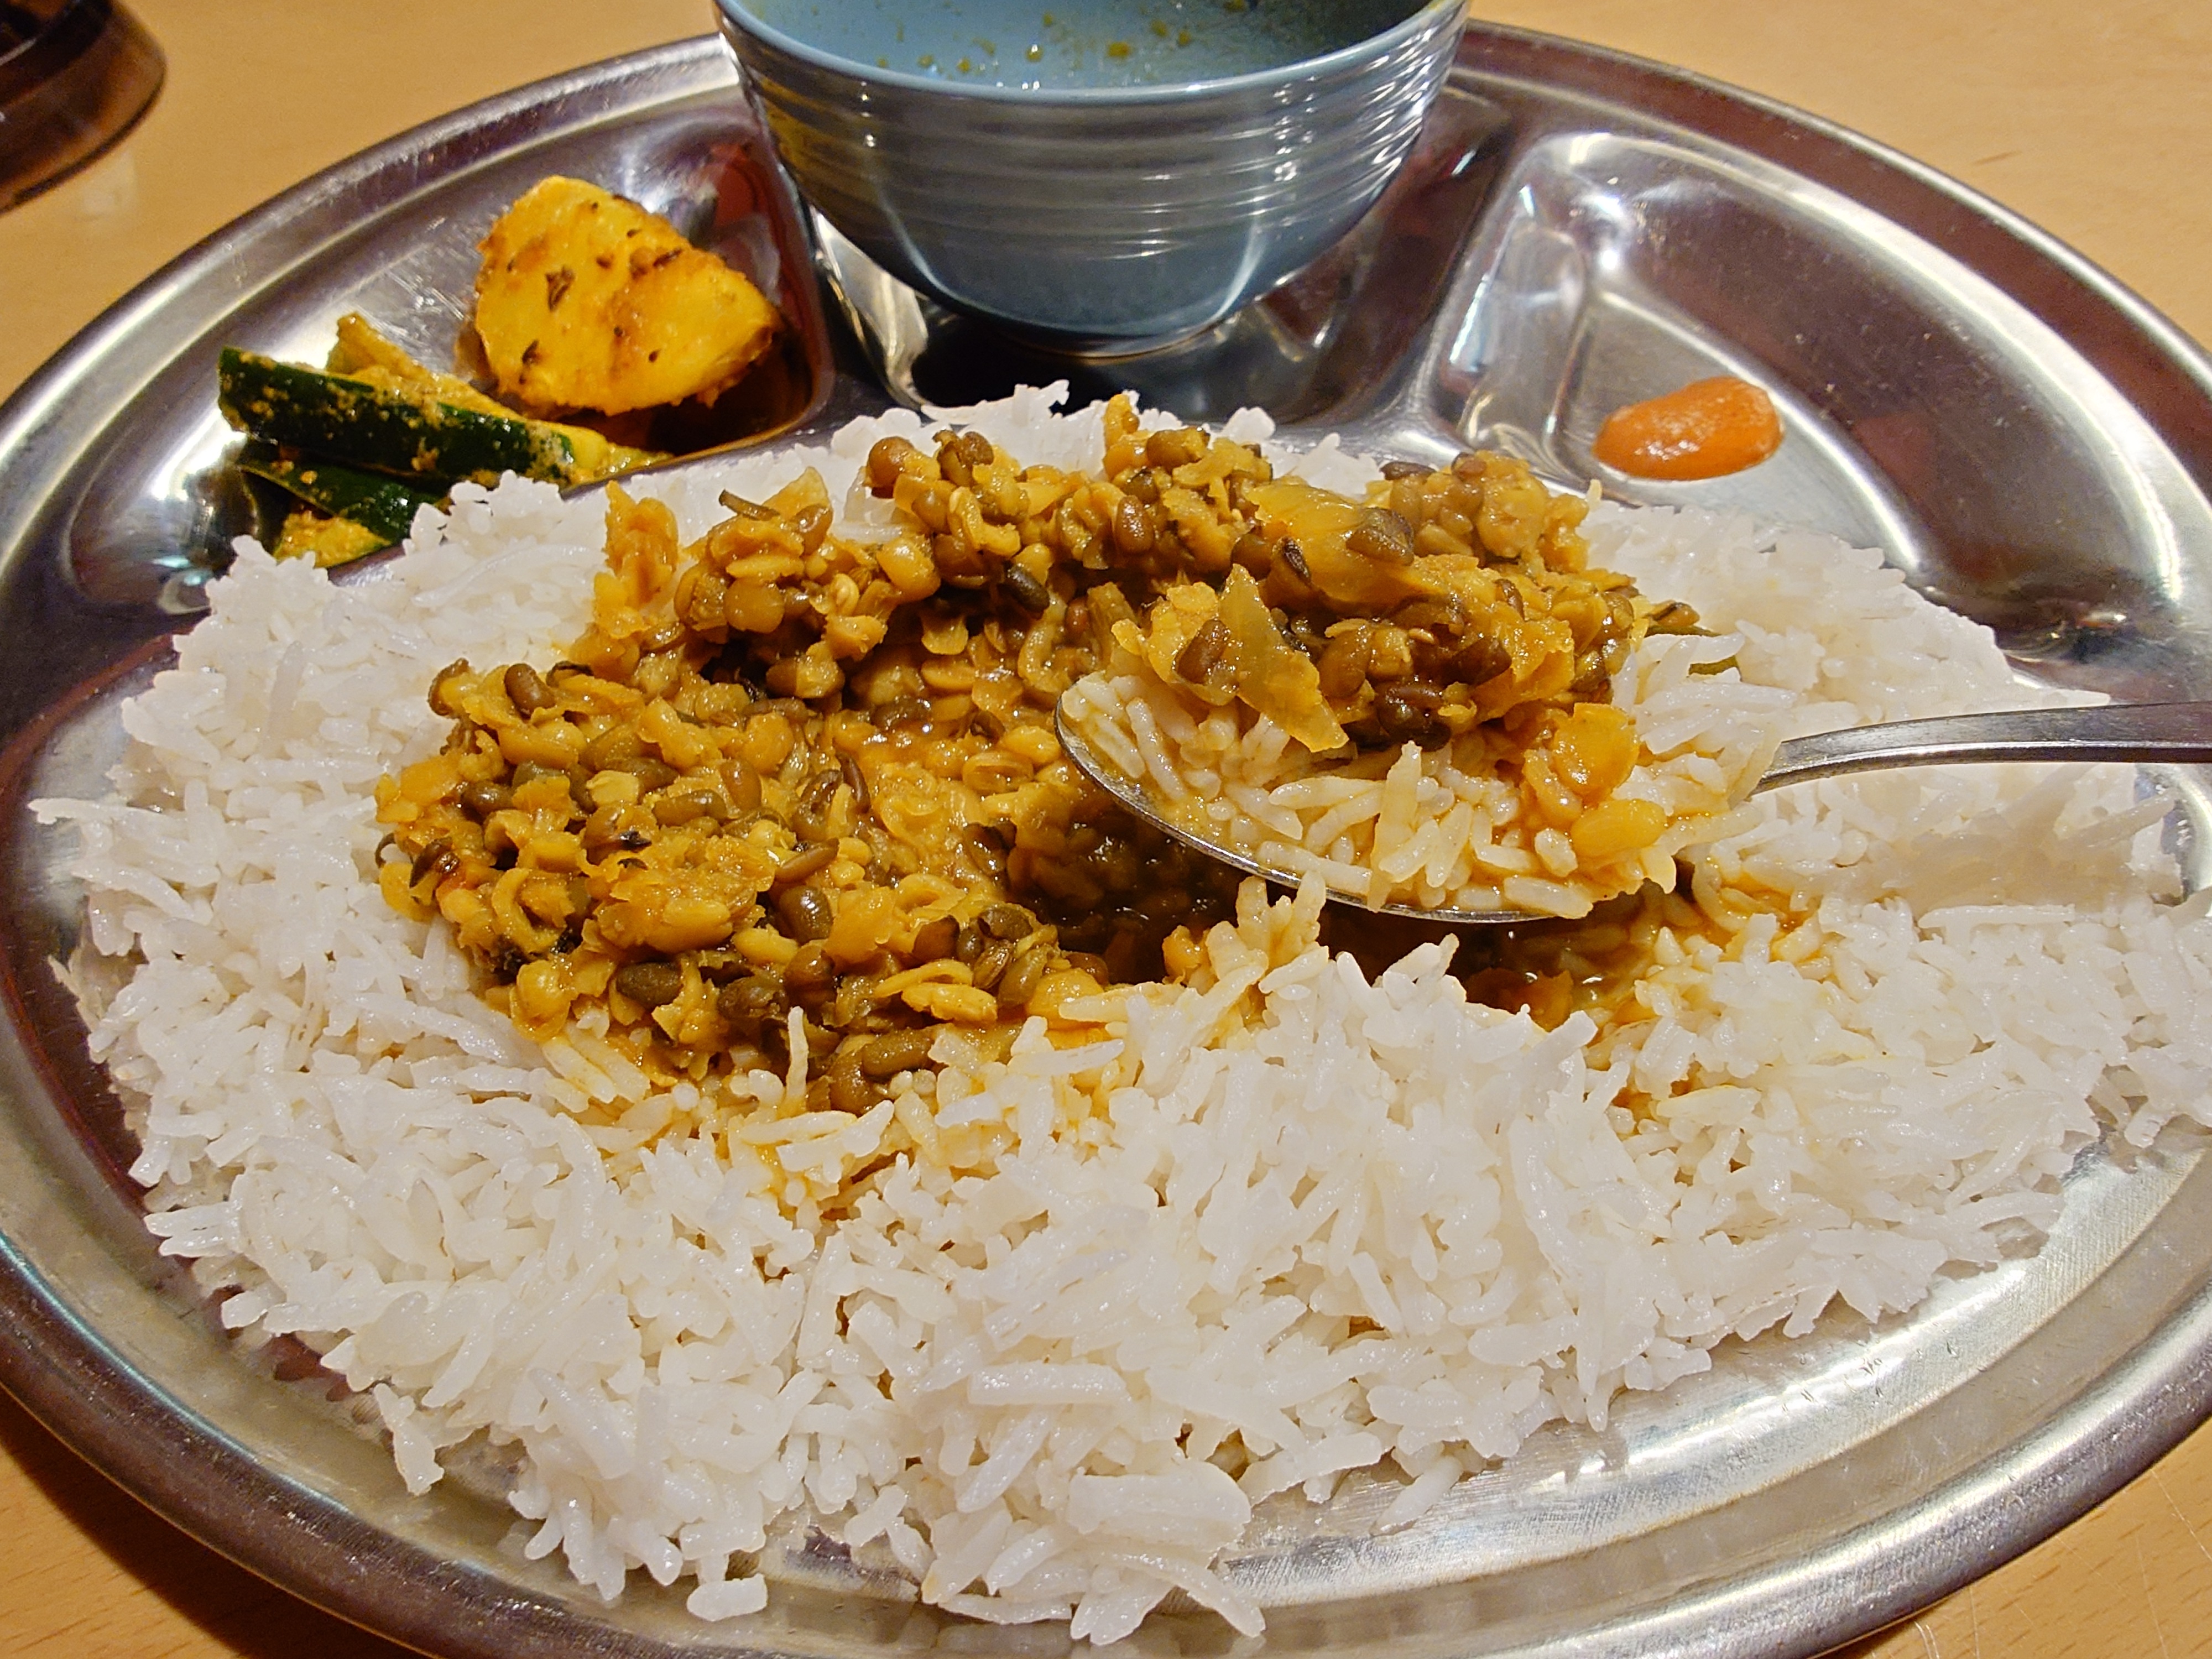
Next, I took a photo of the food. I ordered dal bhat at the nearby Nepalese restaurant Balpipal and shot it with the 1 VI. The grains of rice and beans are clearly visible.
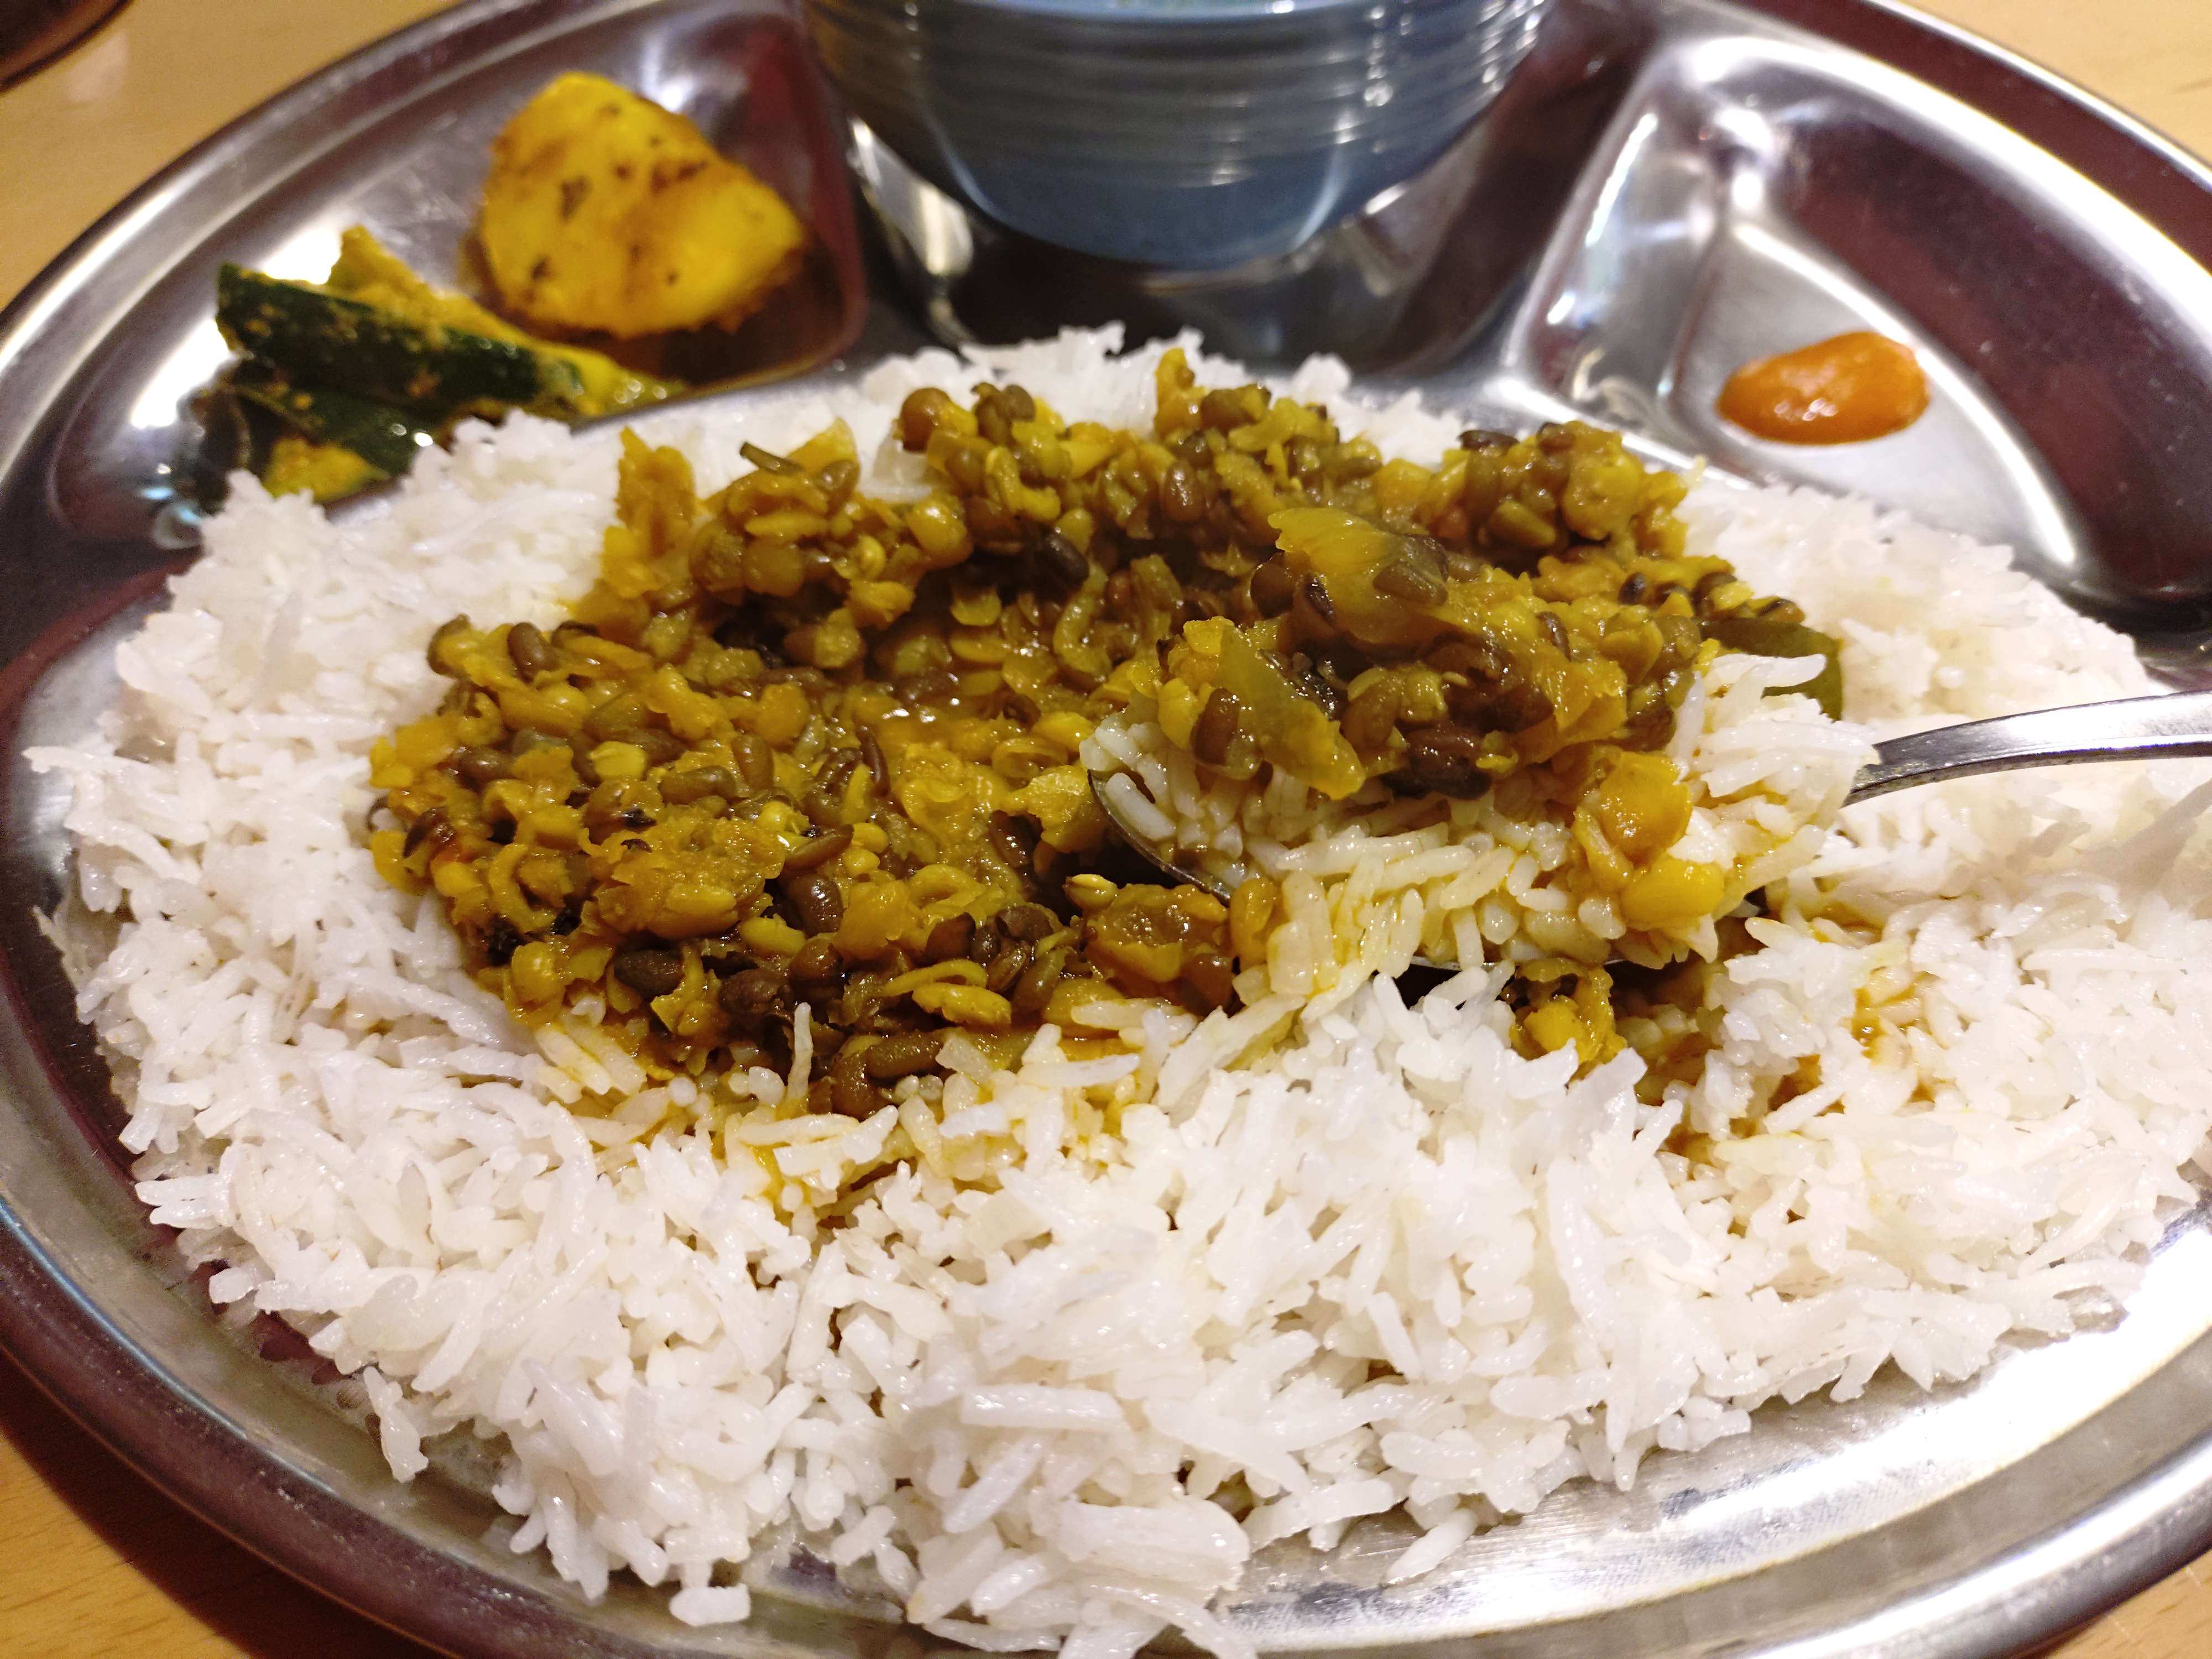
I tried shooting the same way with the 10 VI, but the colors didn't come out as well as I'd hoped.
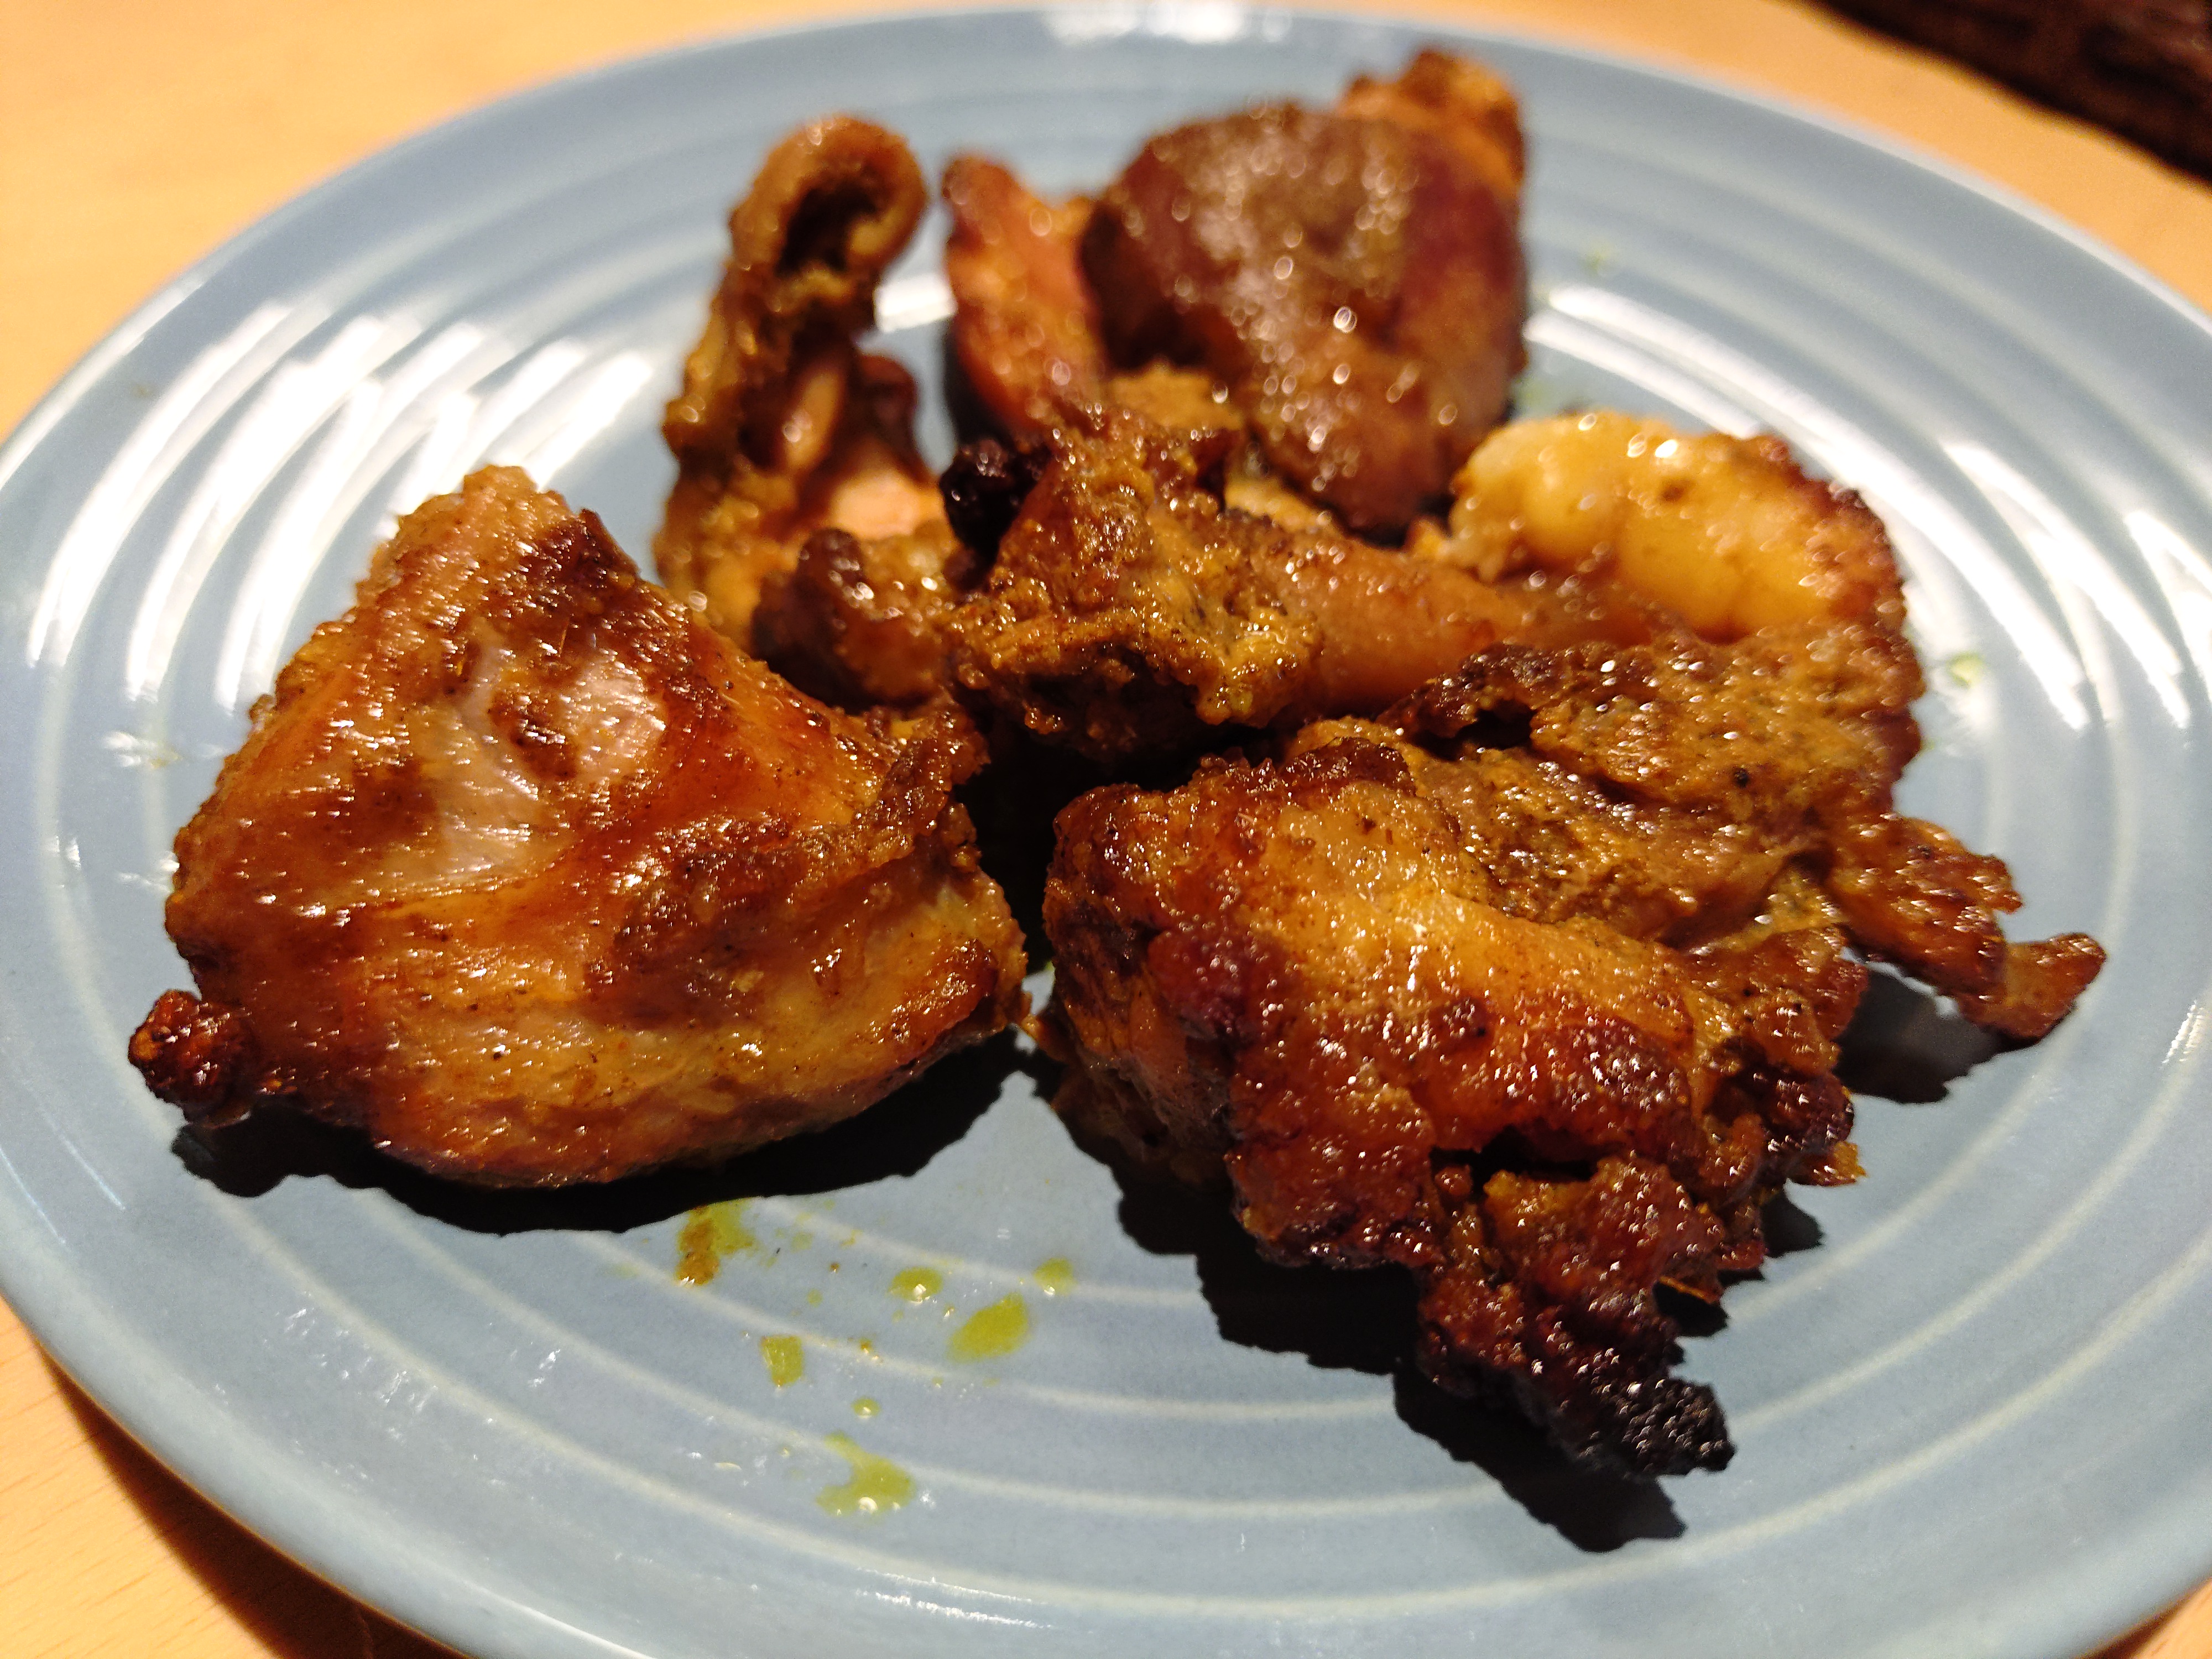
Tandoor-roasted pork photographed in 1 VI. The lustrous shine of the fat is a nice touch.
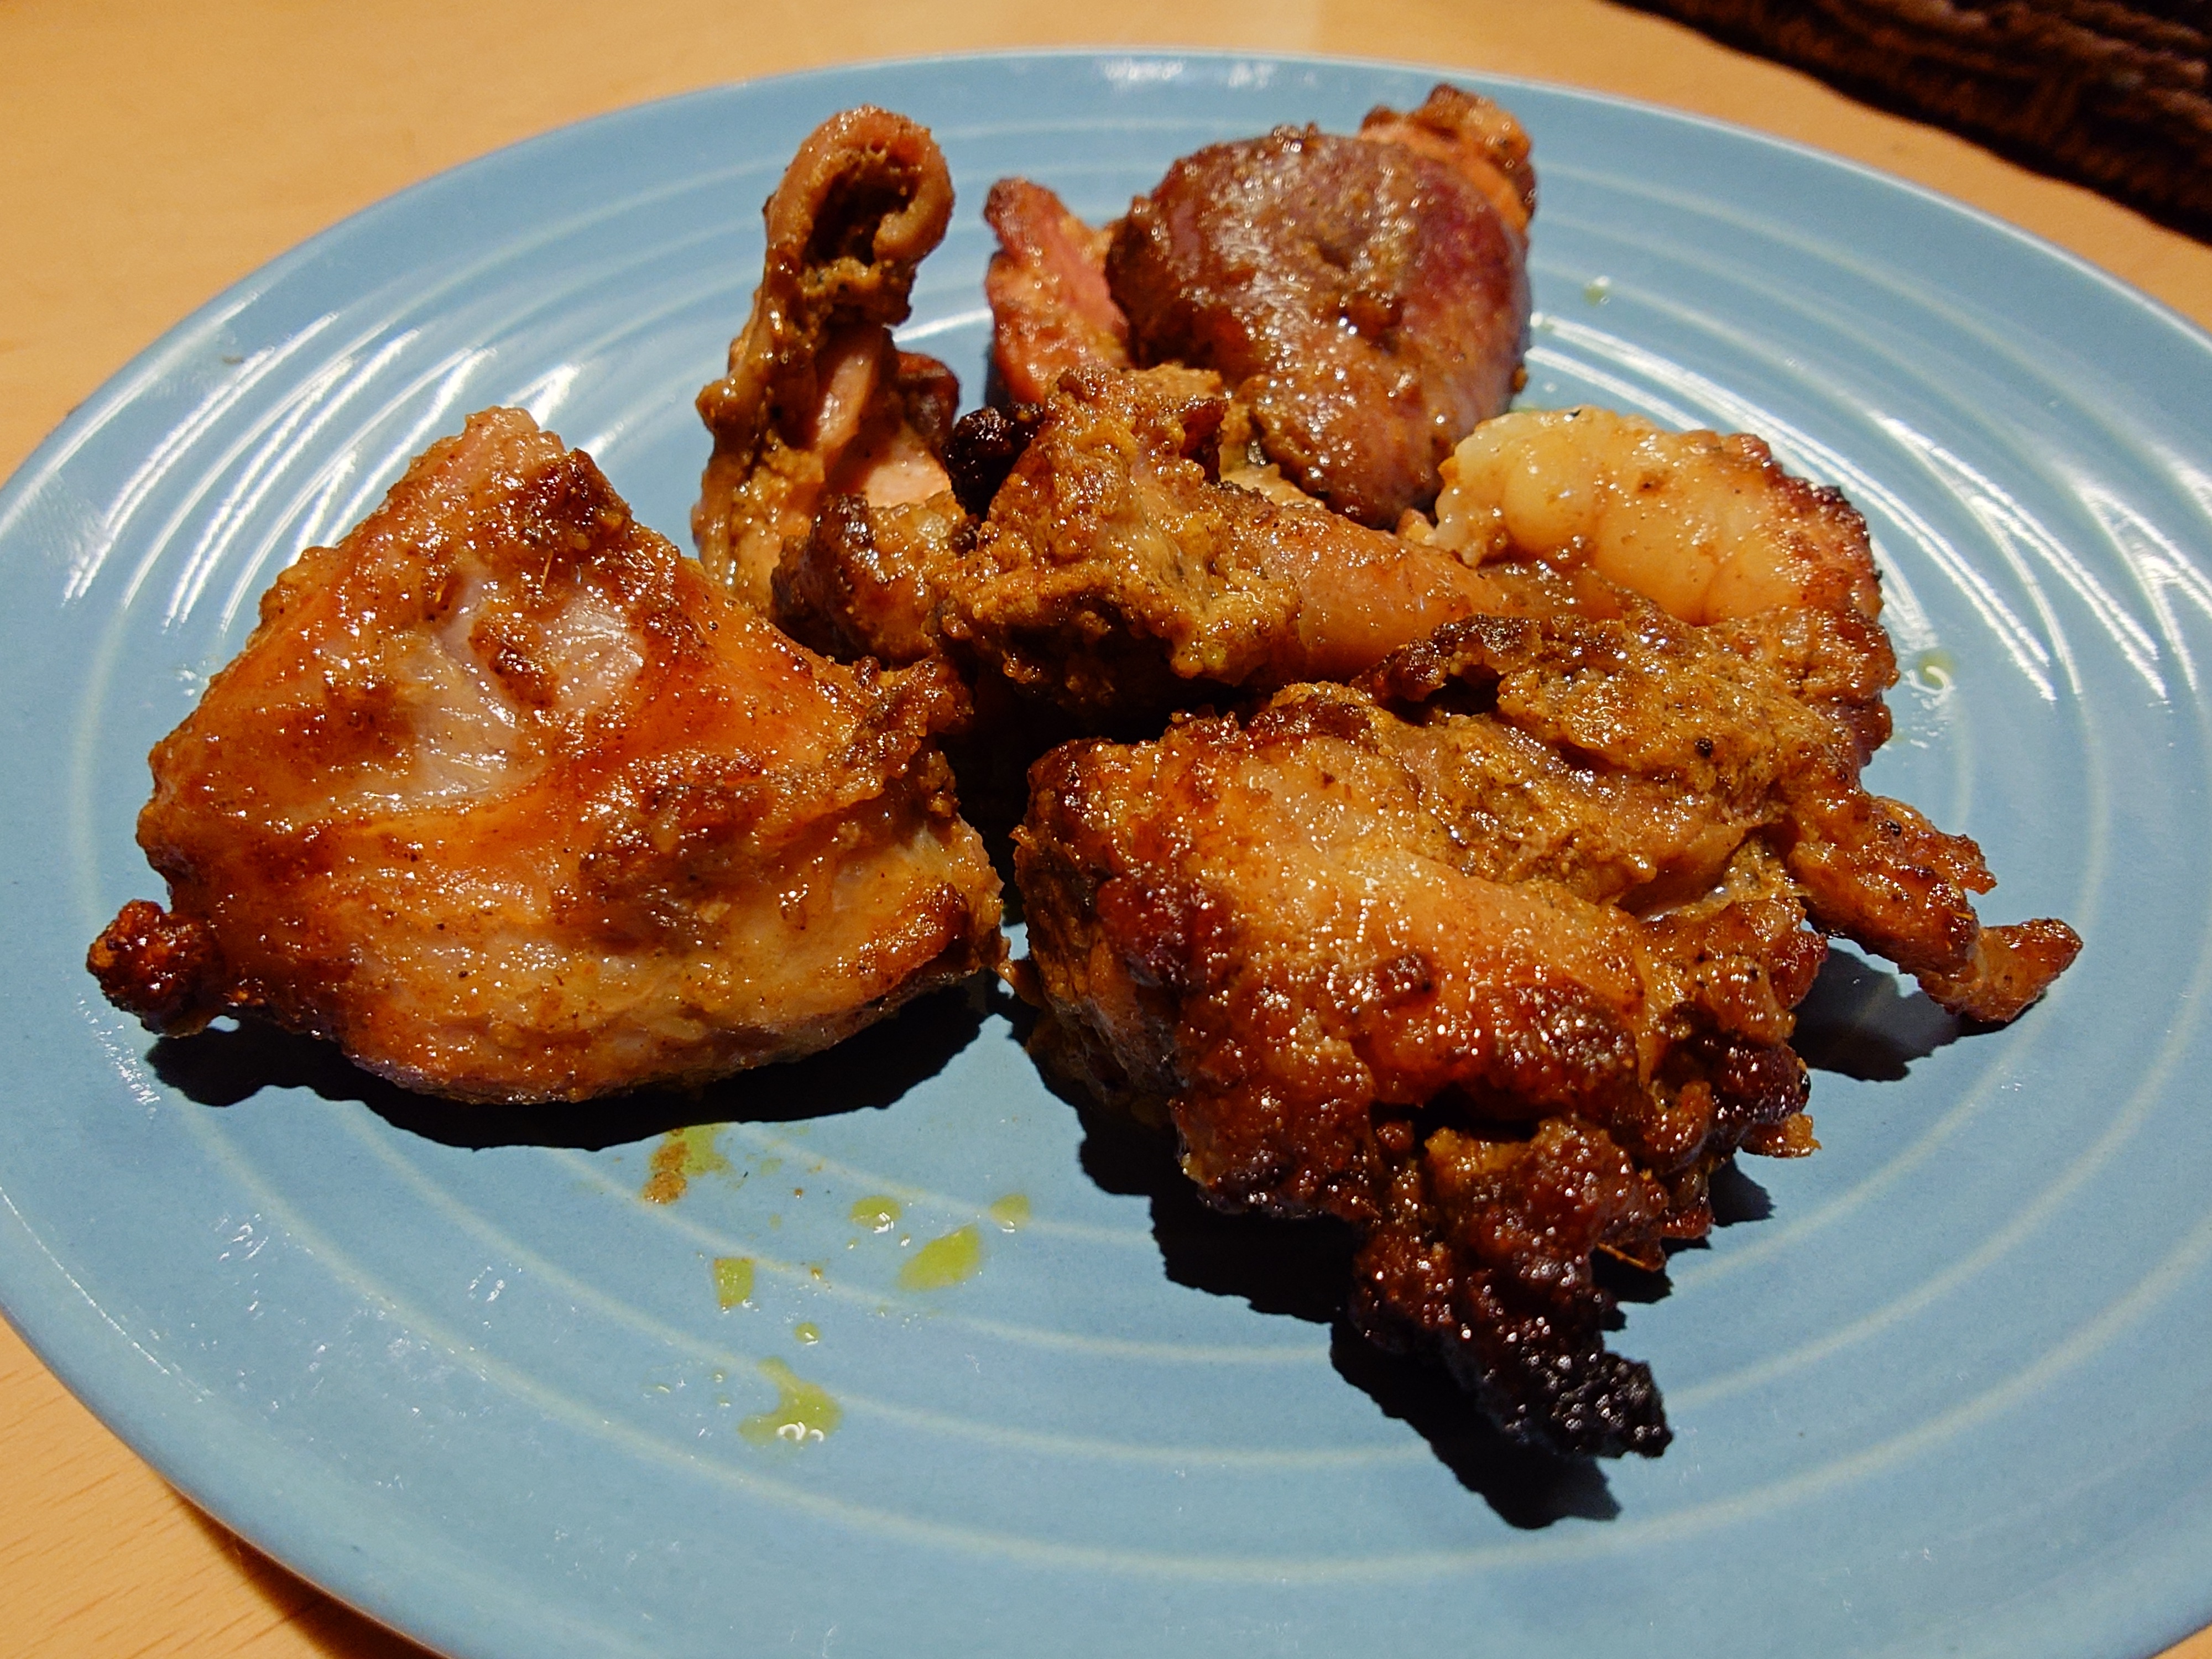
The 10 VI also managed to capture the shine well, but the focus range was narrower, resulting in an overall blurry image.
When photographing food, the 1 VI and 10 VI each showed distinctive behavior. First, the 1 VI automatically switched to close-up photography as it approached the subject.
The 10 VI had a slight flicker, and when I got close to the meat, the auto white balance adjustment became too extreme, perhaps due to the yellow plate, causing the table and meat to take on a purple cast.
Auto white balance adjustment when trying to shoot meat with Xperia 10 VI - YouTube
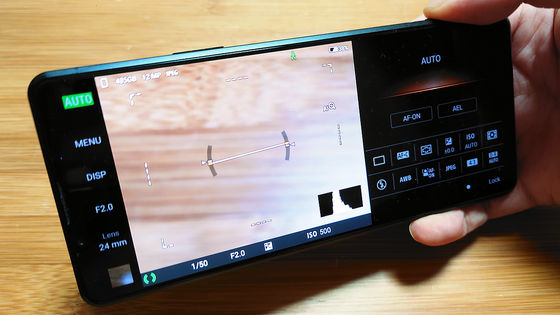
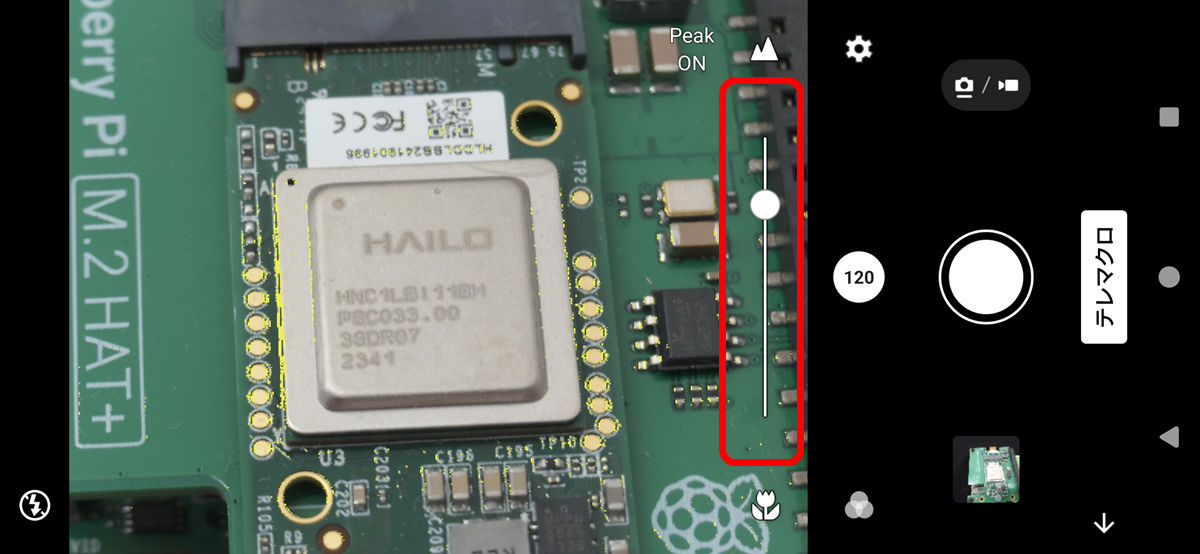
Finally, I tried 'telemacro' photography using the telephoto lens, a feature of the 1 VI. The 'telemacro' mode screen looks like this. There is no autofocus, and you manually adjust the focus using the slider in the red frame. The key to taking photos with sharp focus is to use the peaking function.
You can also get really close and take photos like this.
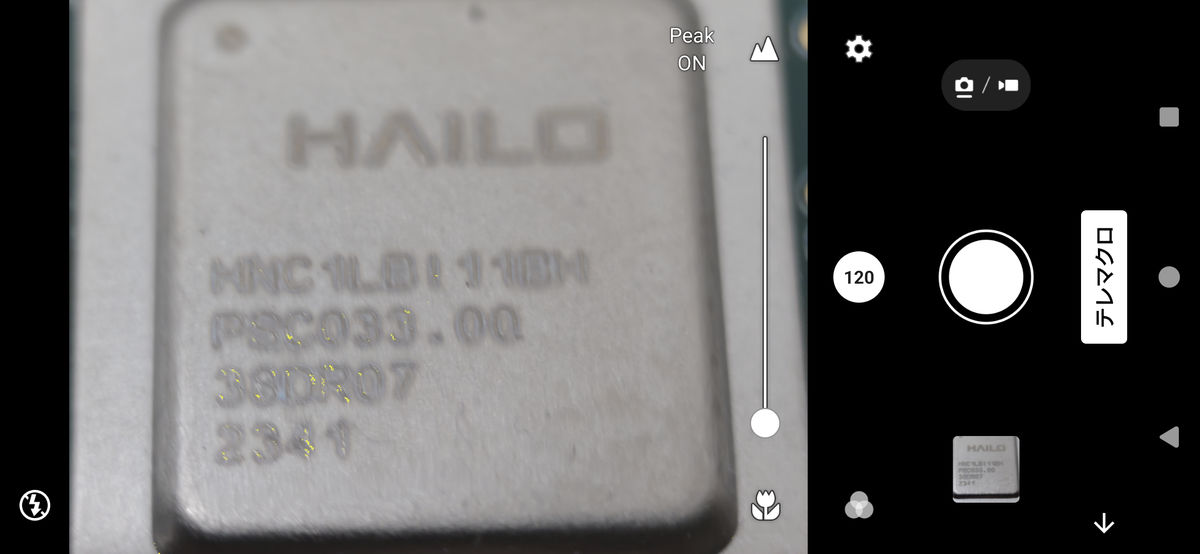
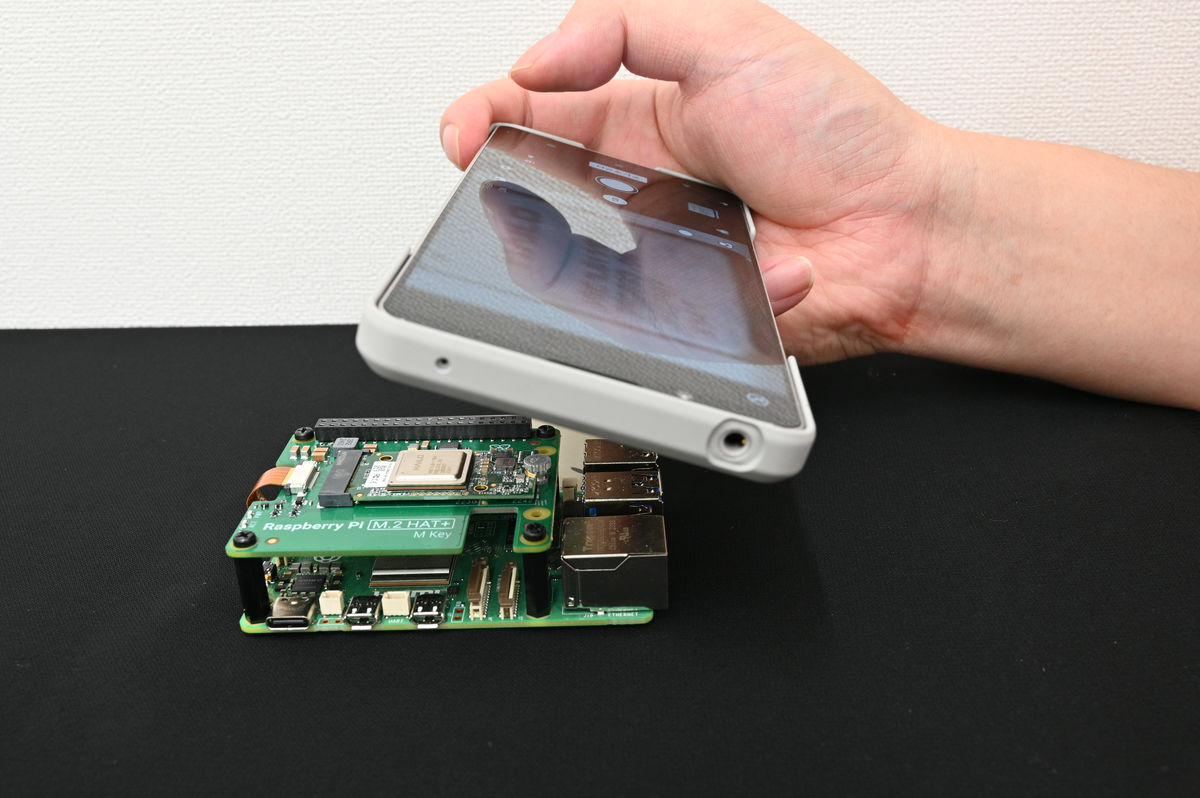
Here's what it looks like when shooting. Not only is the minimum shooting distance close, but the telephoto lens also allows you to focus on small objects.
If you focus perfectly and take the picture, it will look like this.
You can take photos that would be difficult to take with a regular smartphone camera.
As for photos, the 1 VI and 10 VI each have their own unique feel, with the 1 VI being particularly powerful when it comes to taking bright photos. On the other hand, it tends to make dark places brighter, so it seems like it would be difficult to take photos that emphasize the dark.
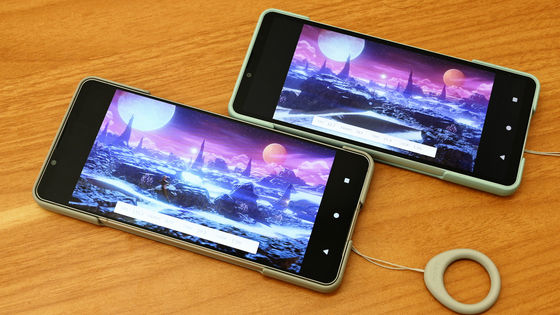
This time, I kept the original accessory ' Style Cover with Stand ' on the 1 VI and 10 VI, but there was no time when I wanted to take it off.In fact, the ring strap stabilized the device when I was holding it in my hand, the grip made it easy to hold when taking pictures because my fingers fit snugly around it, and it protected the device from direct contact even if I placed it face down, so it was all good.In particular, with the 1 VI, I often used the separate shutter button rather than pressing the shutter button in the photo app, so although it may be a small thing, having the grip was a great help.
The 1 VI breaks the traditional 21:9 aspect ratio of the Xperia 1 series, and the screen resolution has been reduced from 4K to Full HD+. However, even with eyes accustomed to 4K resolution smartphones, there was no scene where I thought 'Full HD+ is no good.' In fact, I even thought that this was better if it extended the battery life.
The Xperia 1 VI and Xperia 10 VI are available from each carrier, as well as SIM-free models at the Sony Store, with the 1 VI being sold for 189,200 yen (tax included) depending on the specs, and the 10 VI being sold for 69,300 yen (tax included).
Purchase Xperia 1 VI (XQ-EC44) | Xperia Smartphone (SIM-free) | Sony
https://pur.store.sony.jp/xperia-sp/products/XQ-EC44/XQ-EC44_purchase/
Purchase Xperia 10 VI (XQ-ES44) | Xperia Smartphone (SIM-free) | Sony
https://pur.store.sony.jp/xperia-sp/products/XQ-ES44/XQ-ES44_purchase/
Related Posts: