Apple's first high-end MR headset, the Apple Vision Pro, which costs about 600,000 yen, has finally been released in Japan, so I opened it and set it up
Sales of Apple's first spatial computing device, ' Apple Vision Pro ', began in Japan on Friday, June 28, 2024. It is quite expensive among Apple devices, costing nearly 600,000 yen including tax, and is Apple's first terminal compatible with MR (mixed reality). It came to the GIGAZINE editorial department, so I tried touching the real thing right away.
Apple Vision Pro - Apple (Japan)
◆Apple Vision Pro Unboxing Ceremony
The model I purchased this time was the 256GB storage model (599,800 yen including tax).
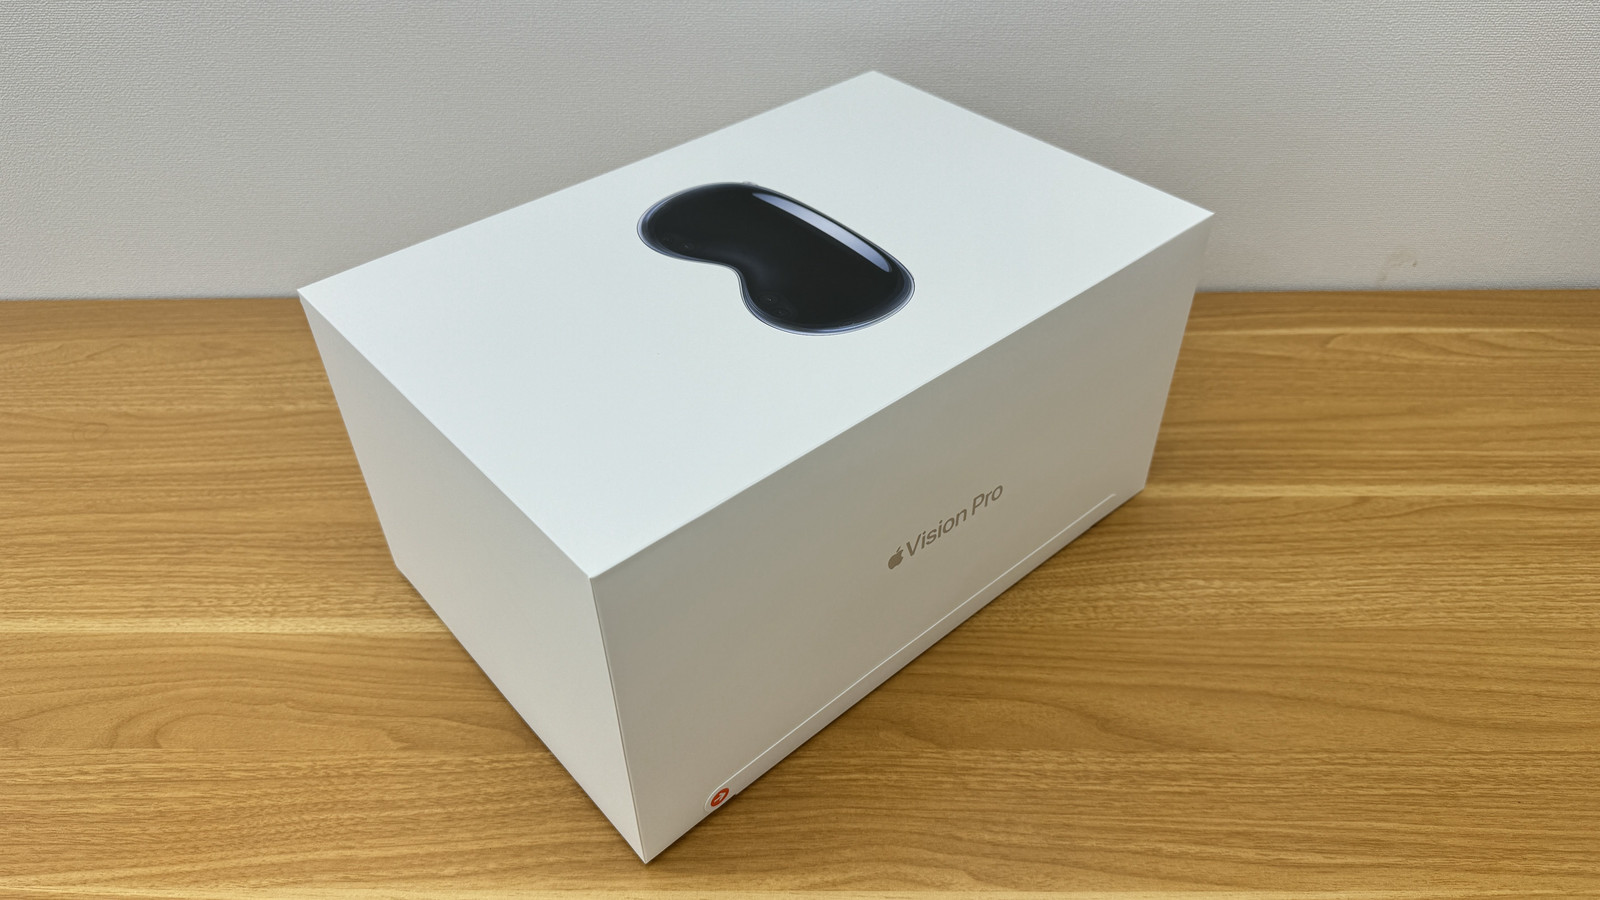
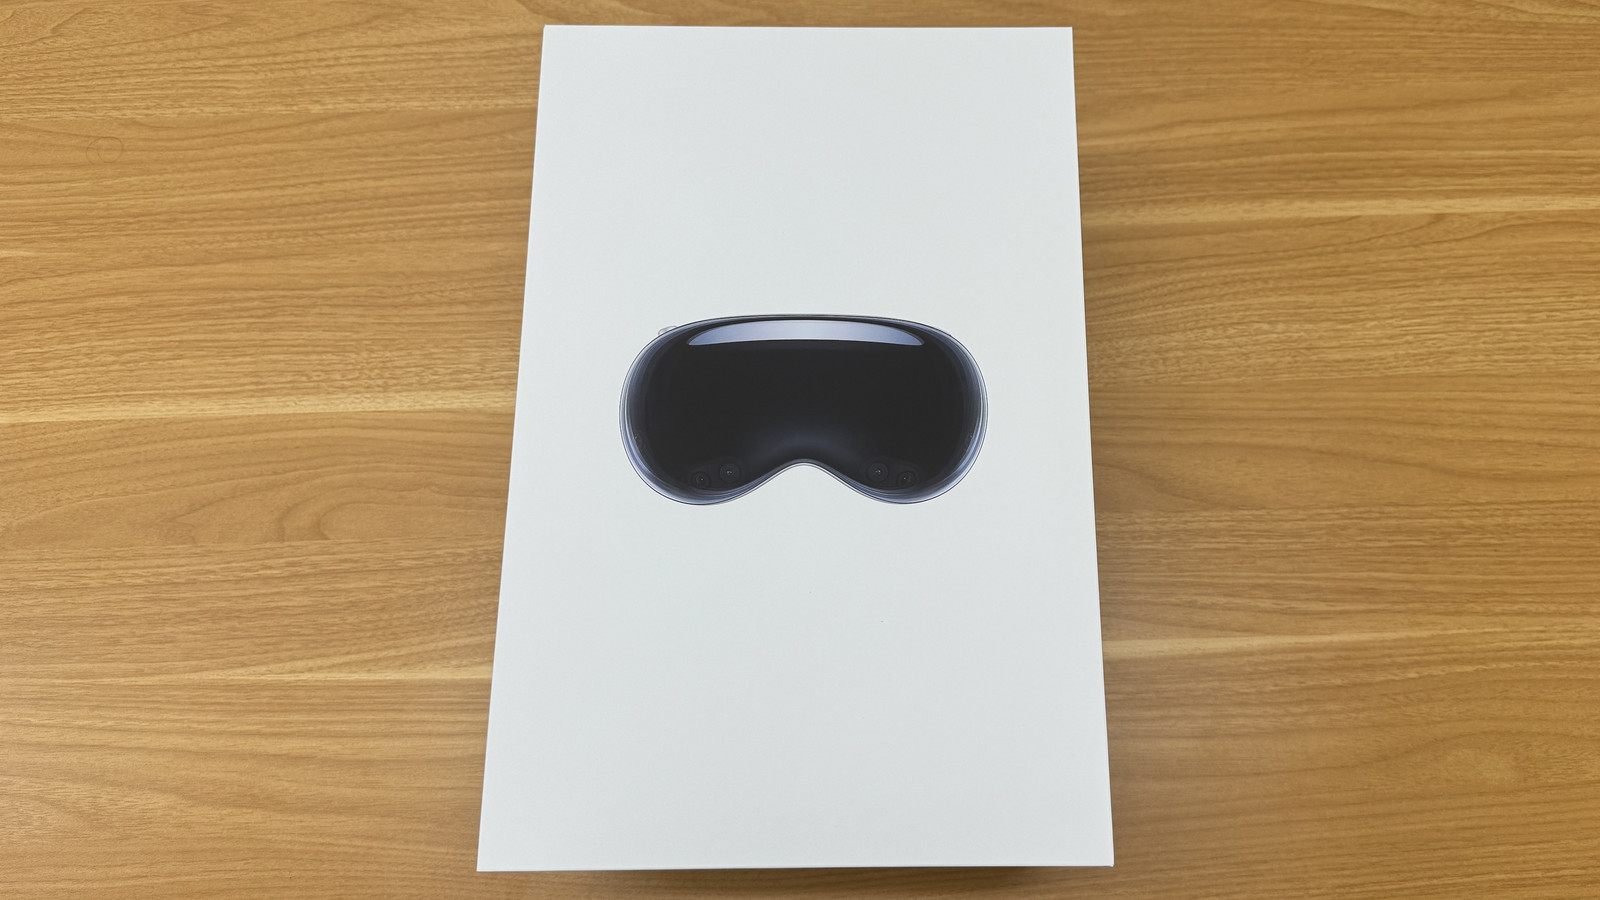
The top of the box shows the Apple Vision Pro goggles.
The Apple Vision Pro logo is on both sides.

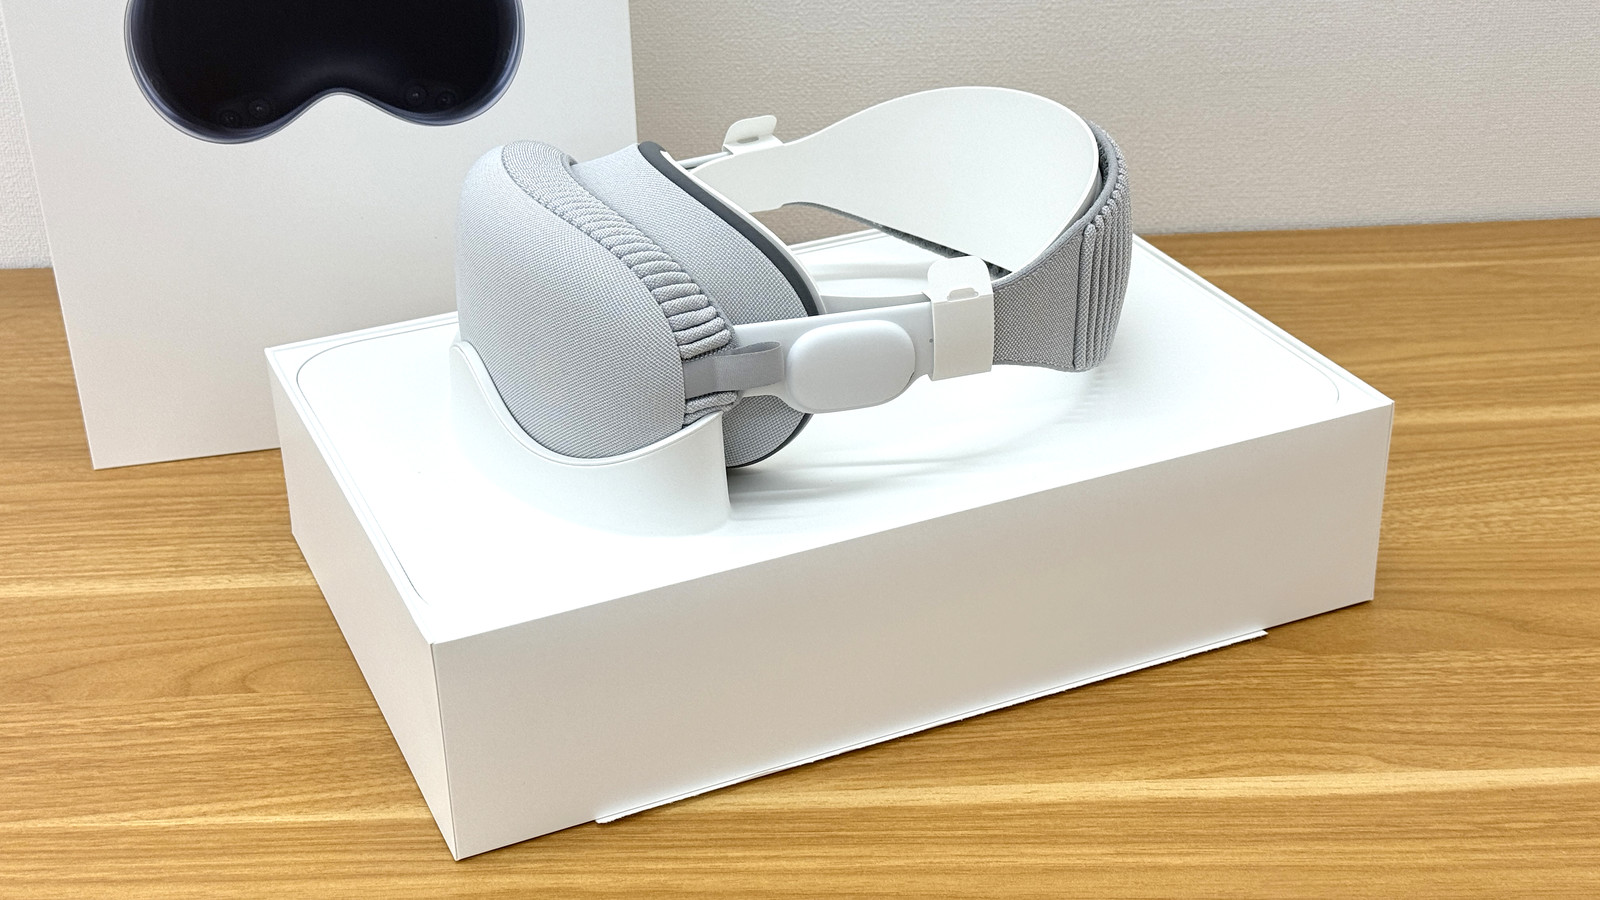
When you open the lid, the main body of the Apple Vision Pro appears.
There are included items underneath the unit.
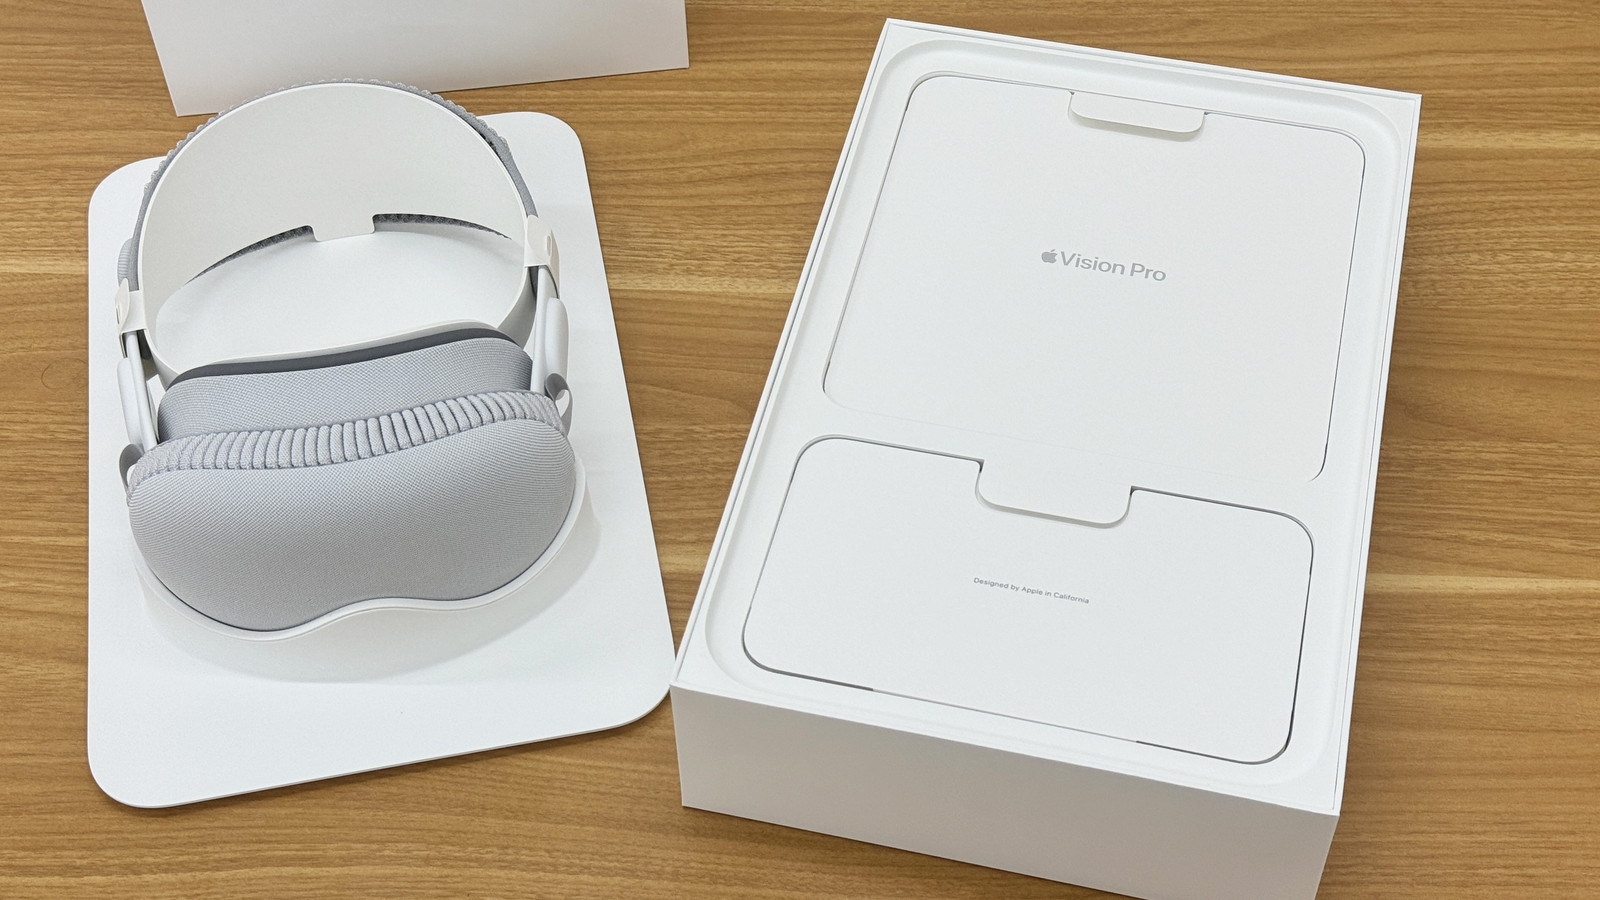
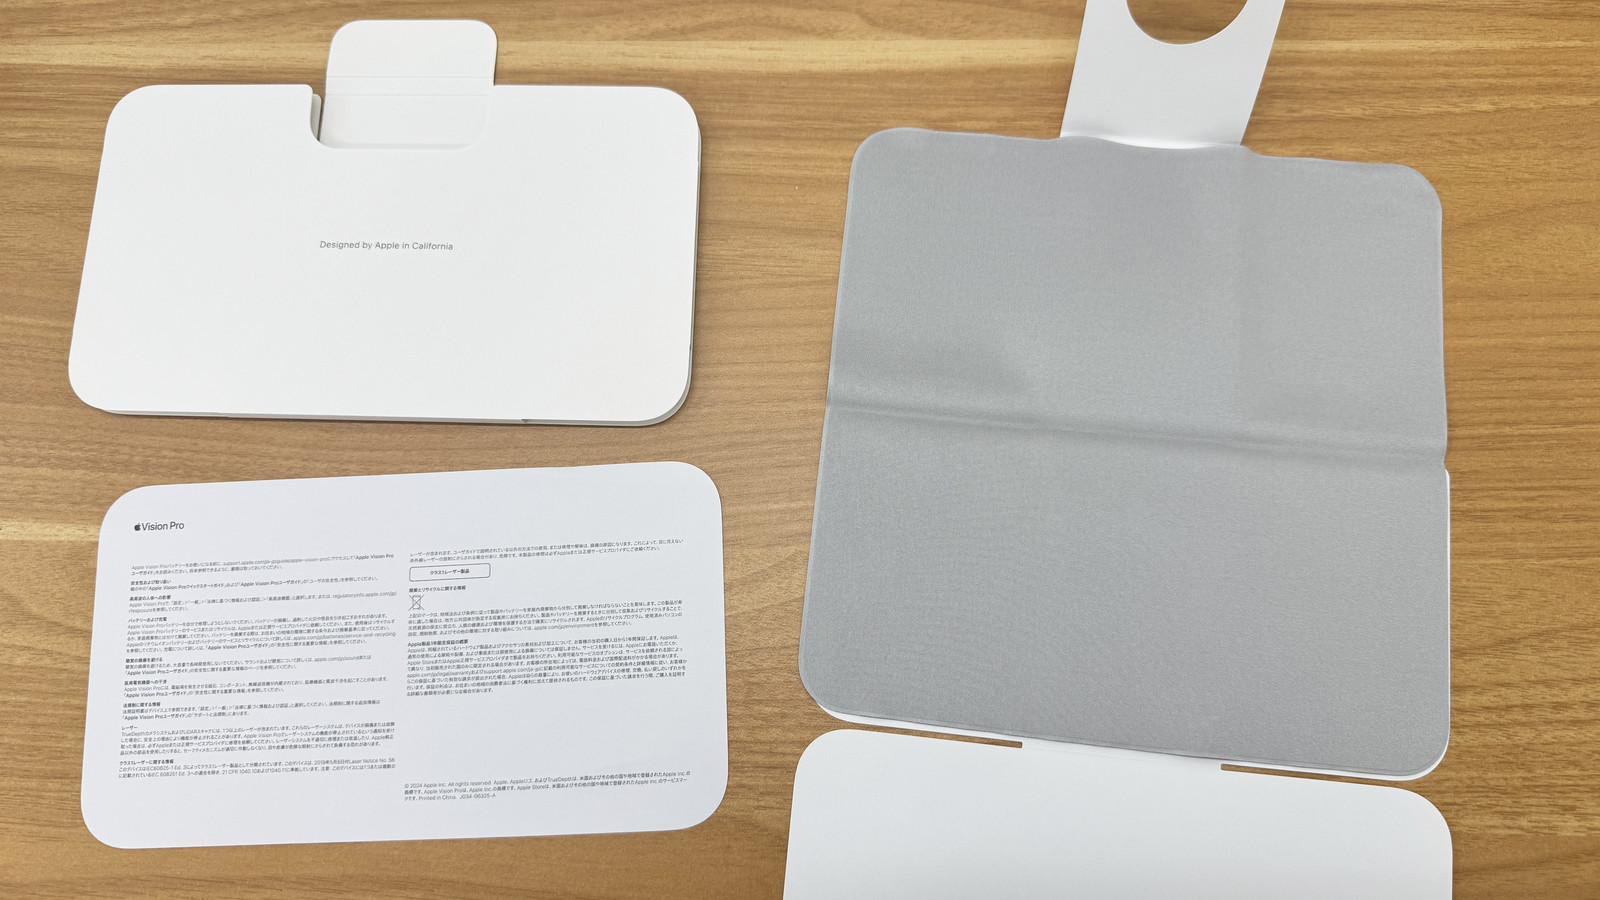
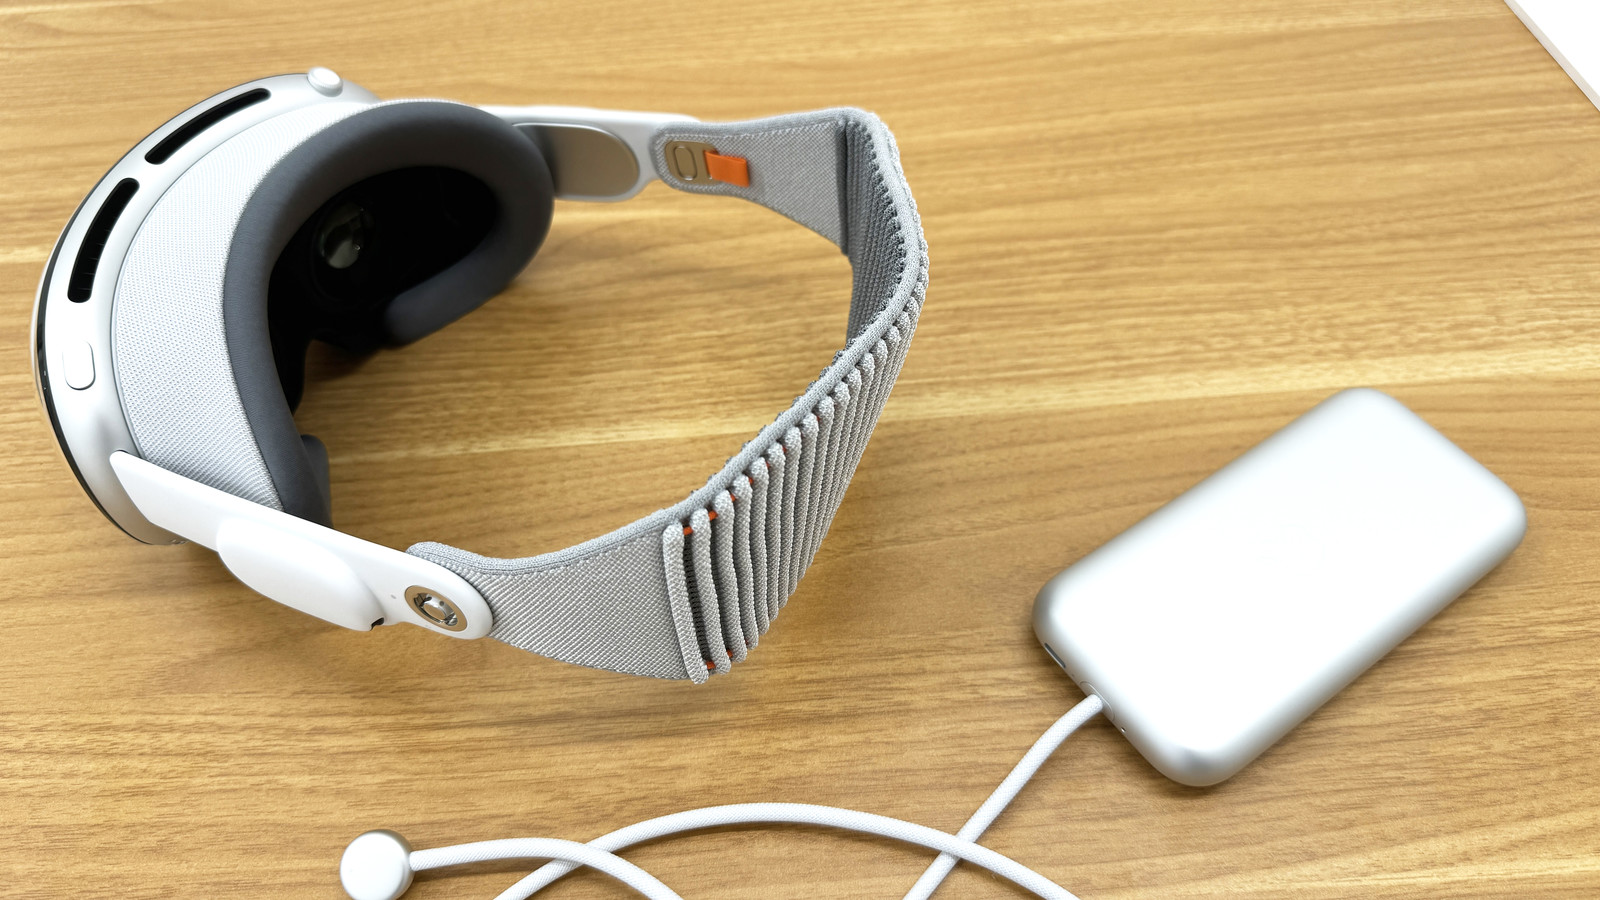
On the top shelf are the instructions, the dual loop band, the battery, the USB-C charging cable, and the USB-C charging adapter.
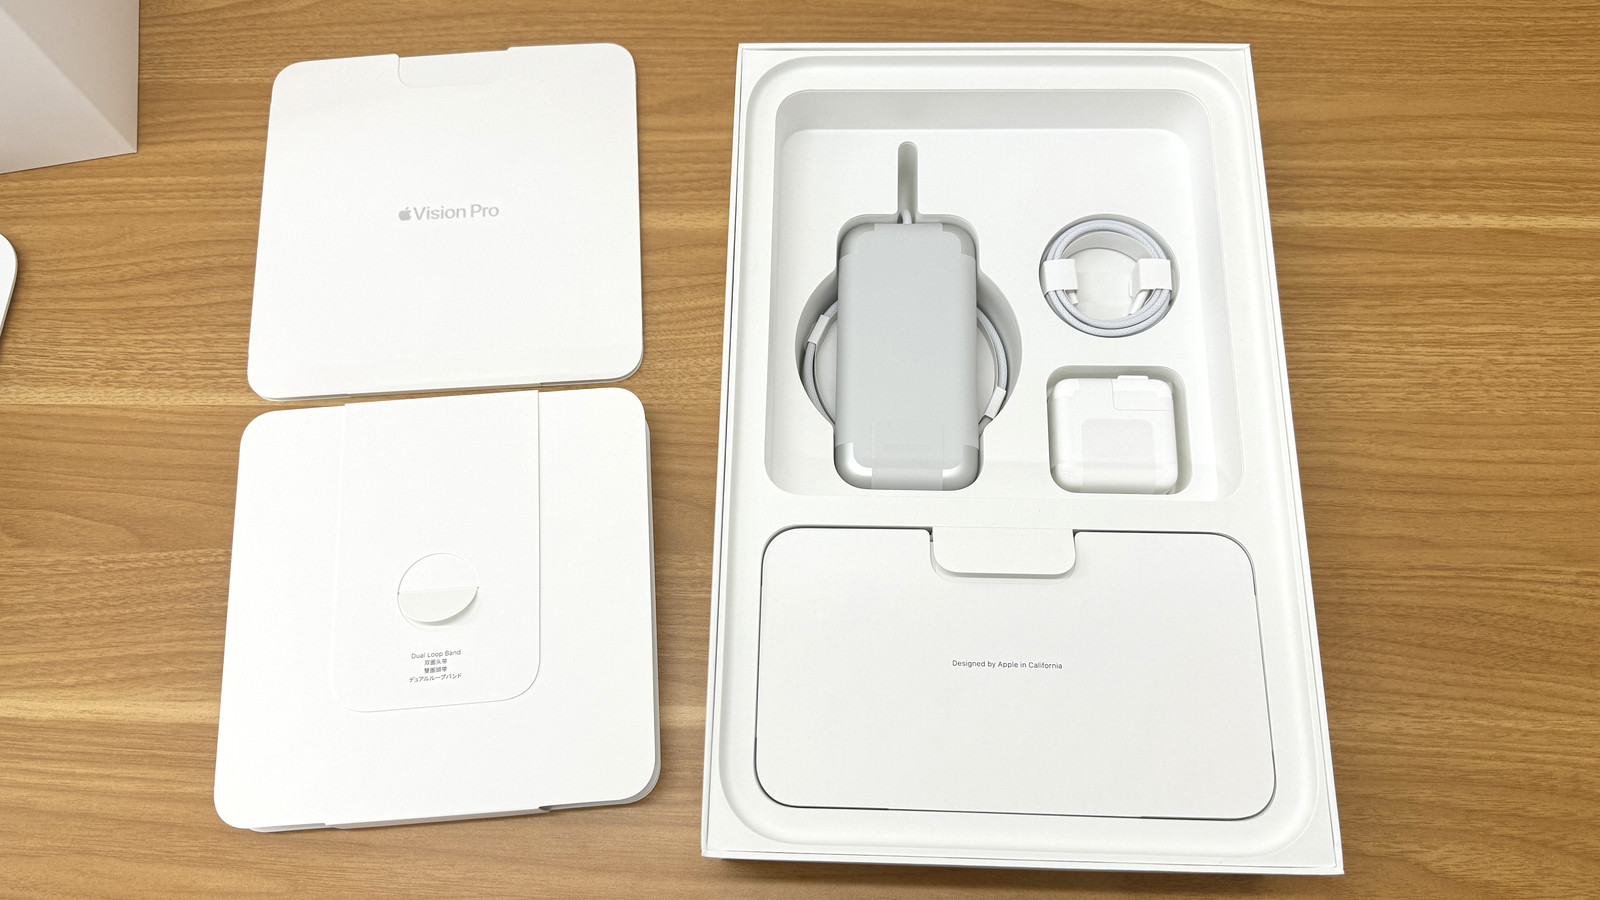
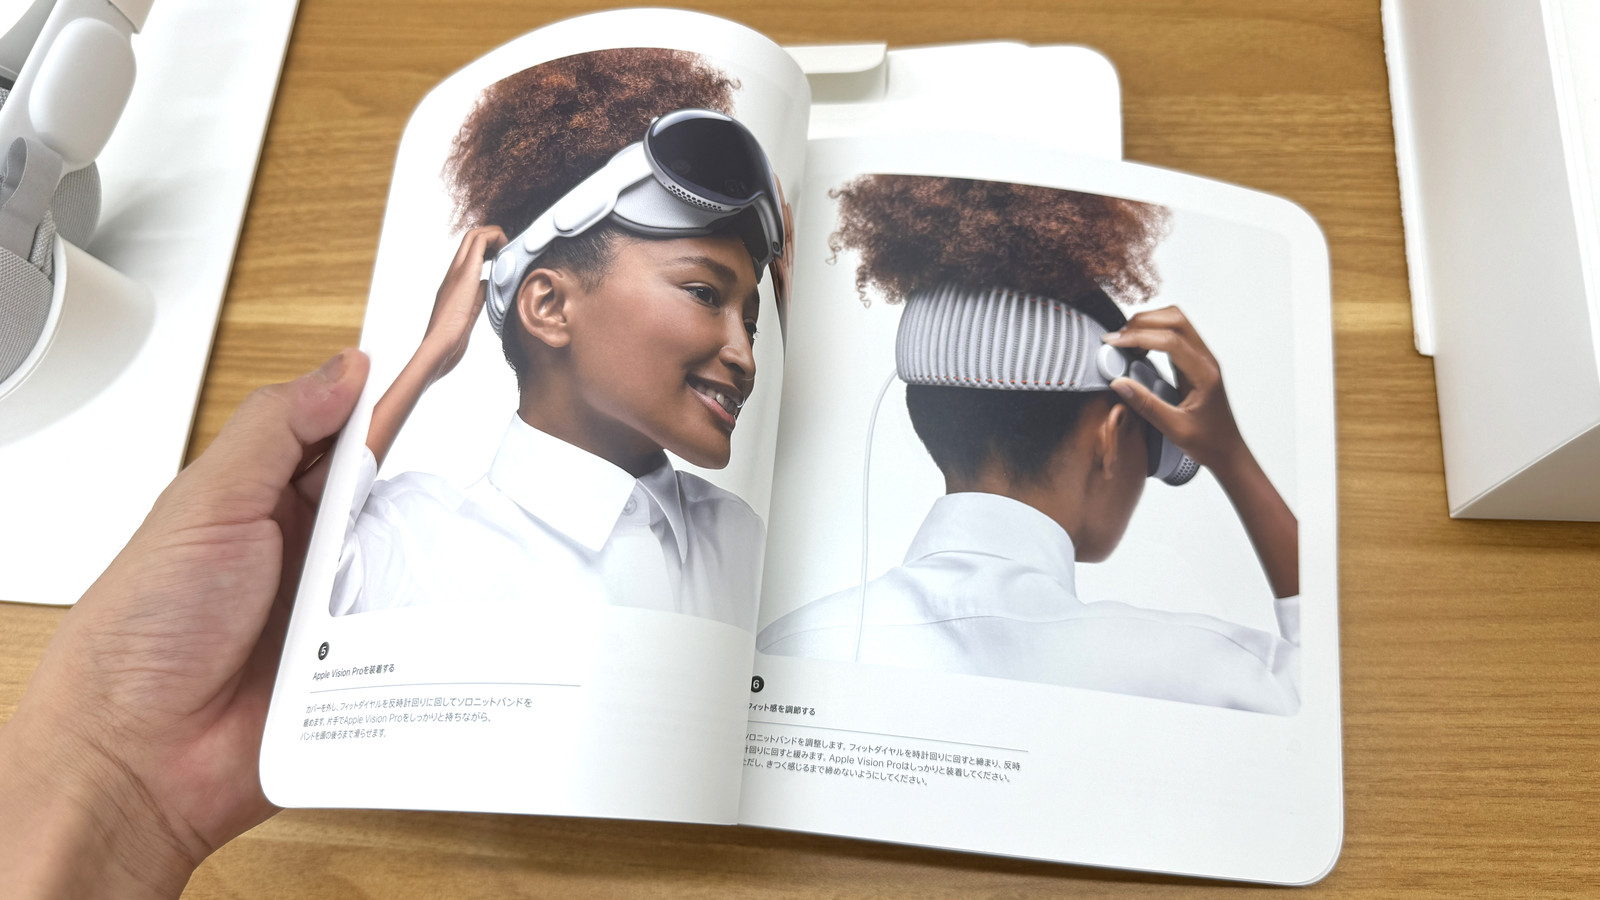
The instruction manual is quite thick, at 28 pages, and is entirely in Japanese. With colorful photos, it provides detailed instructions on how to install and set up the device.
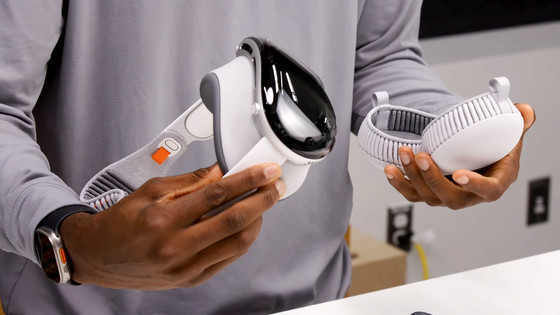
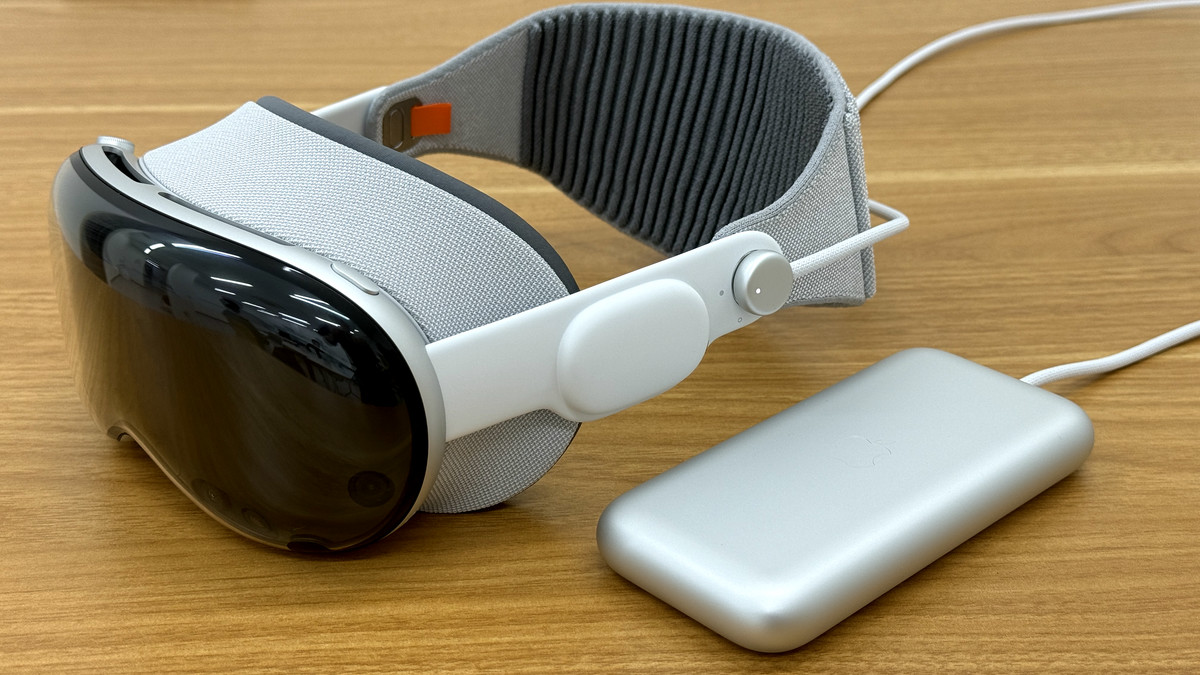
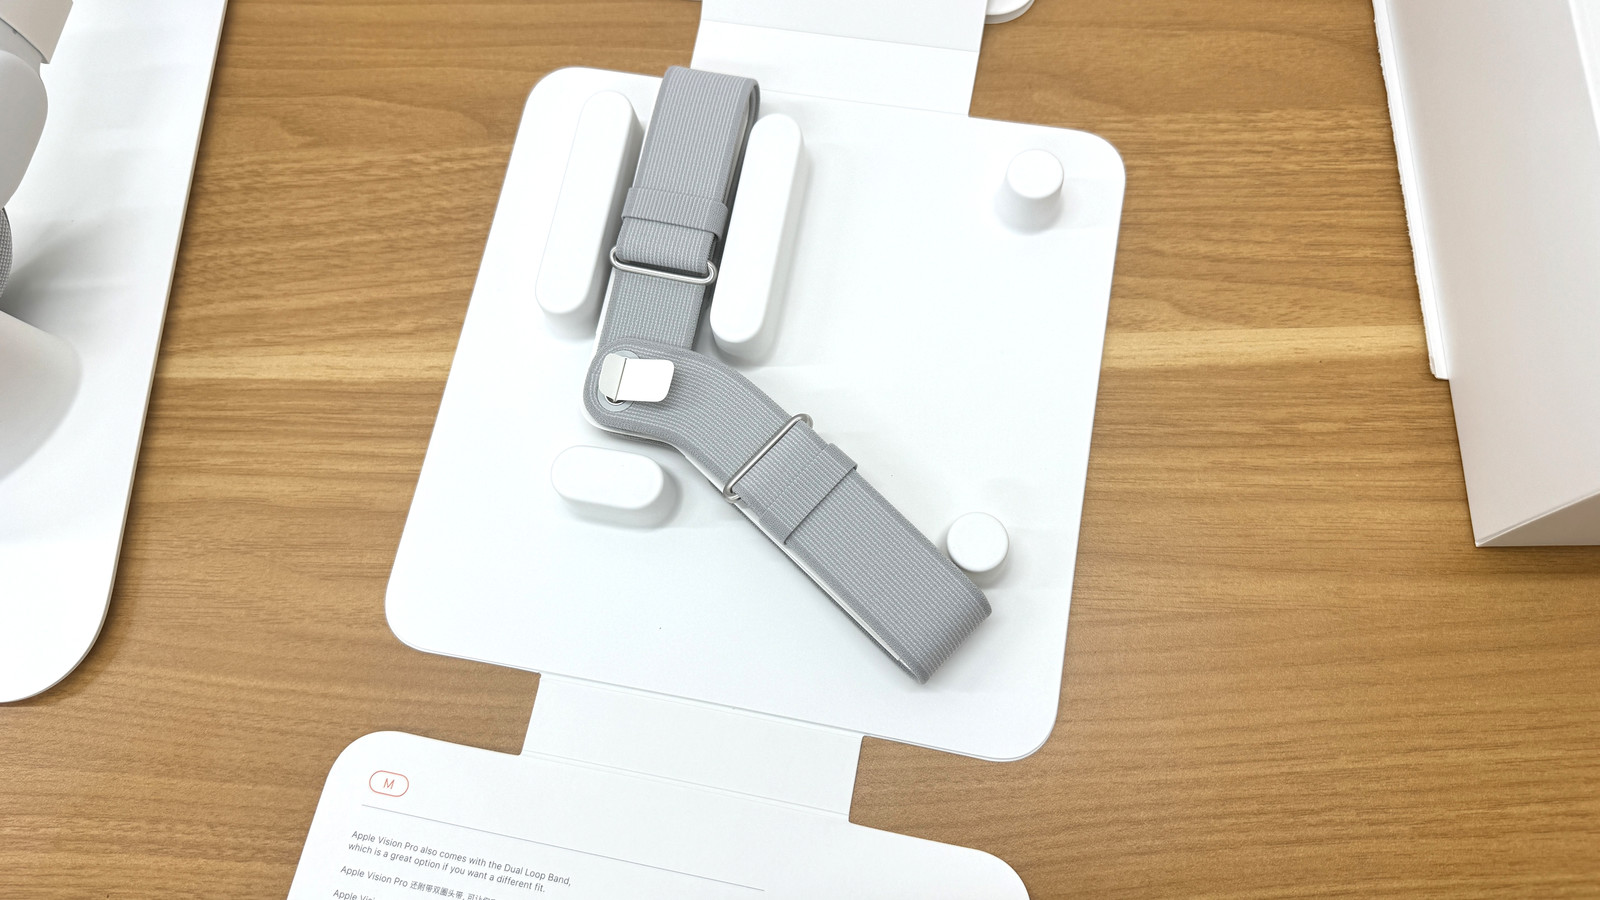
The included dual loop band looks like this. It is used in place of the Soloknit band that comes with the device.
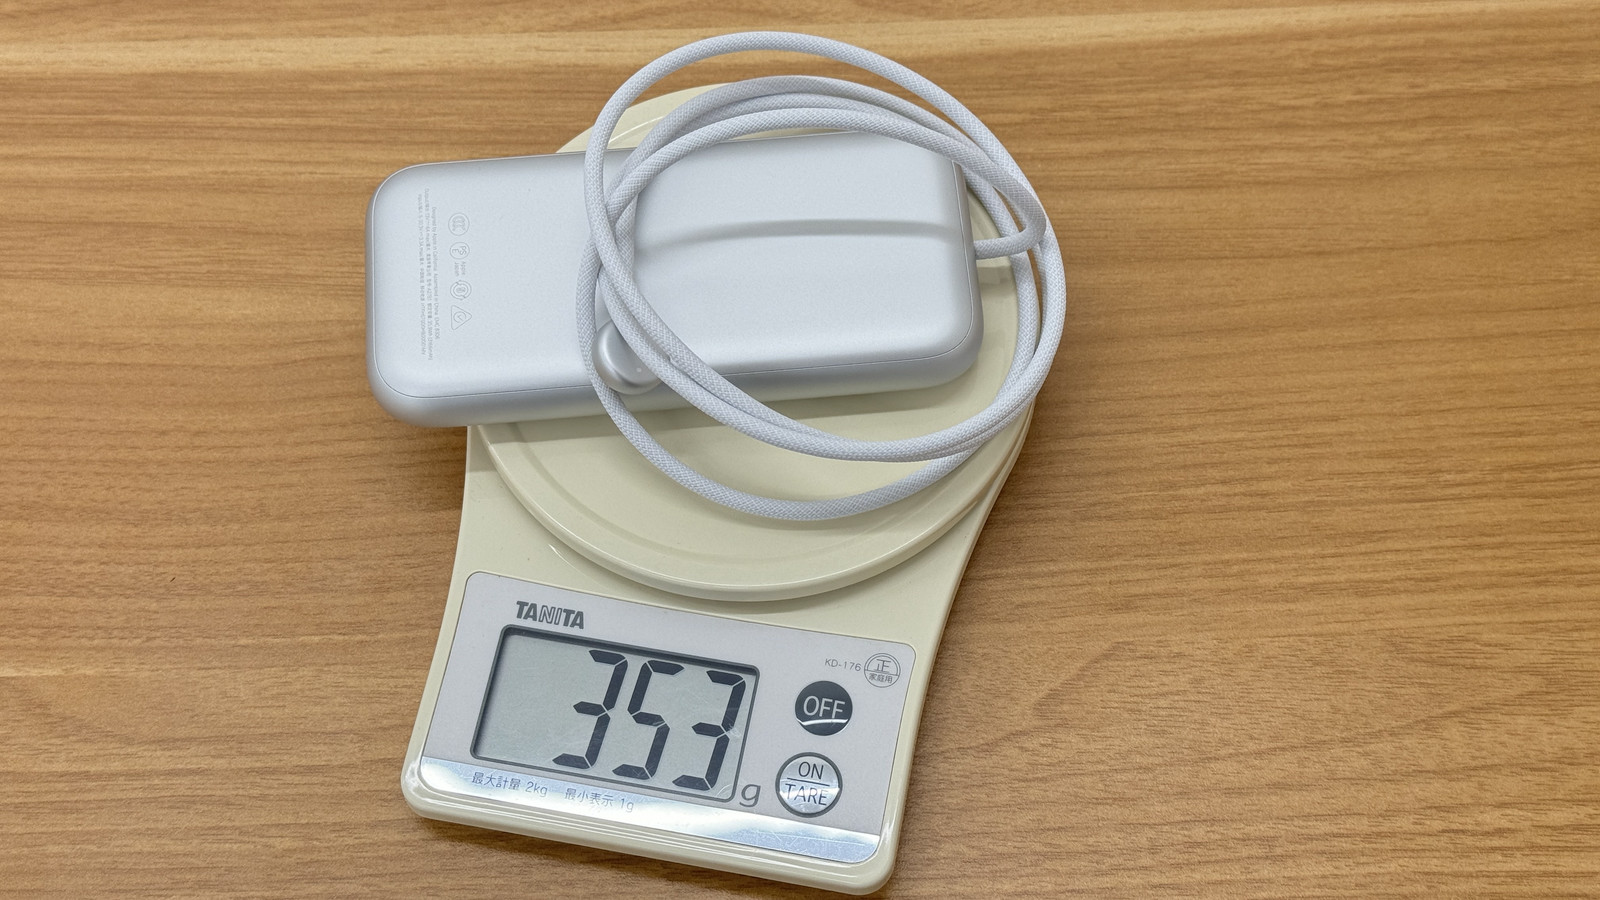
The battery looks like this. The Apple Vision Pro always uses this battery connected to the main unit.
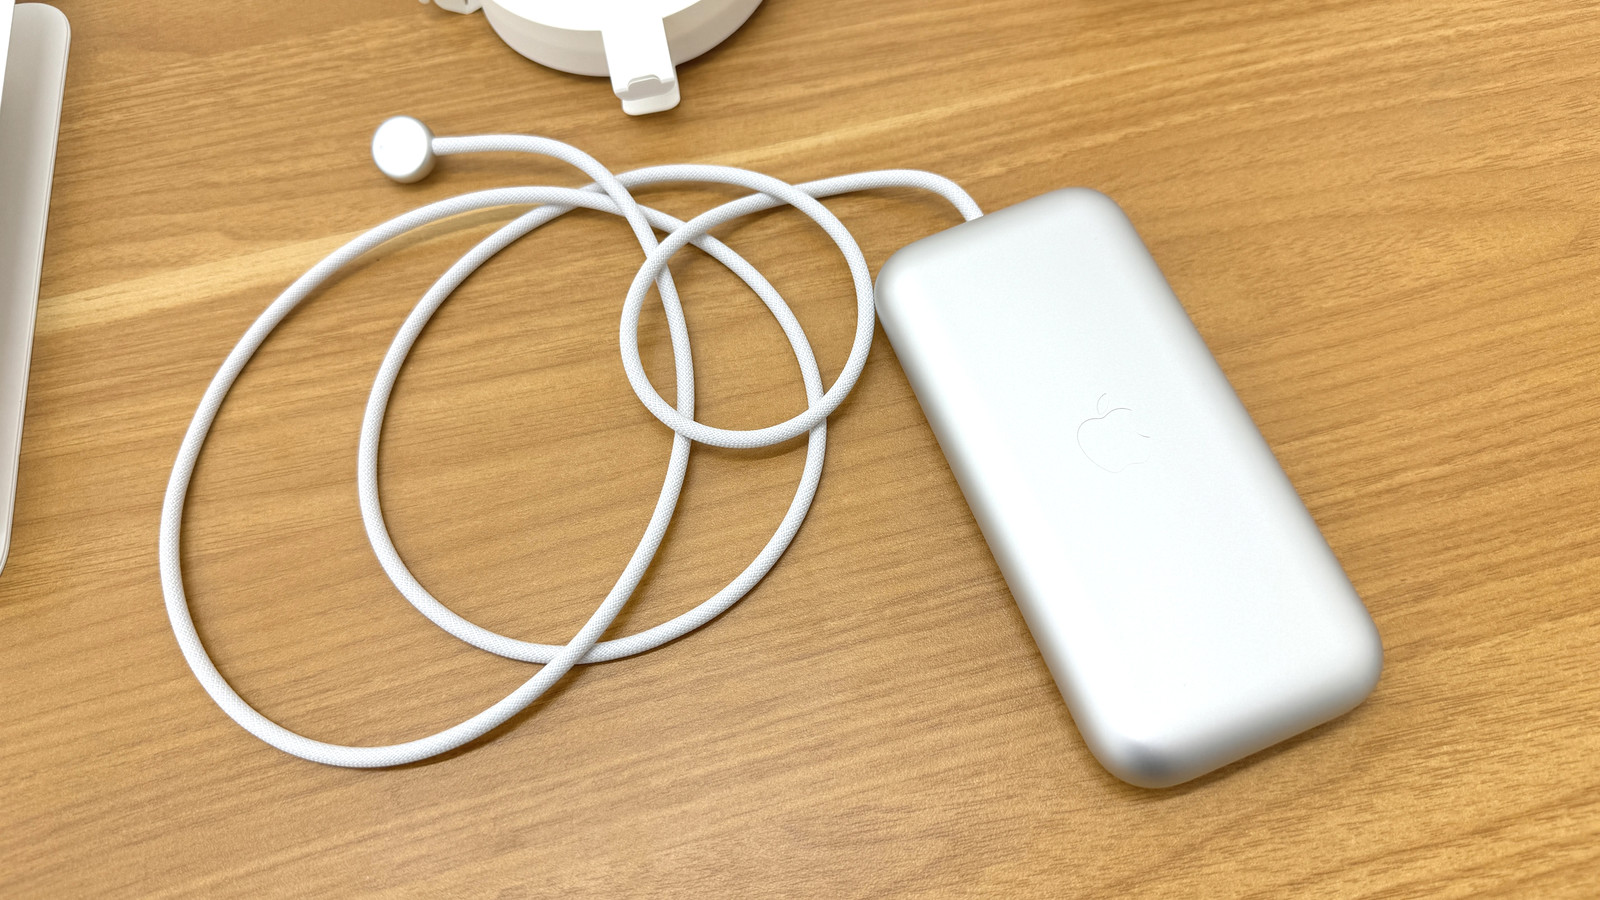
The actual weight of the battery was 353g.
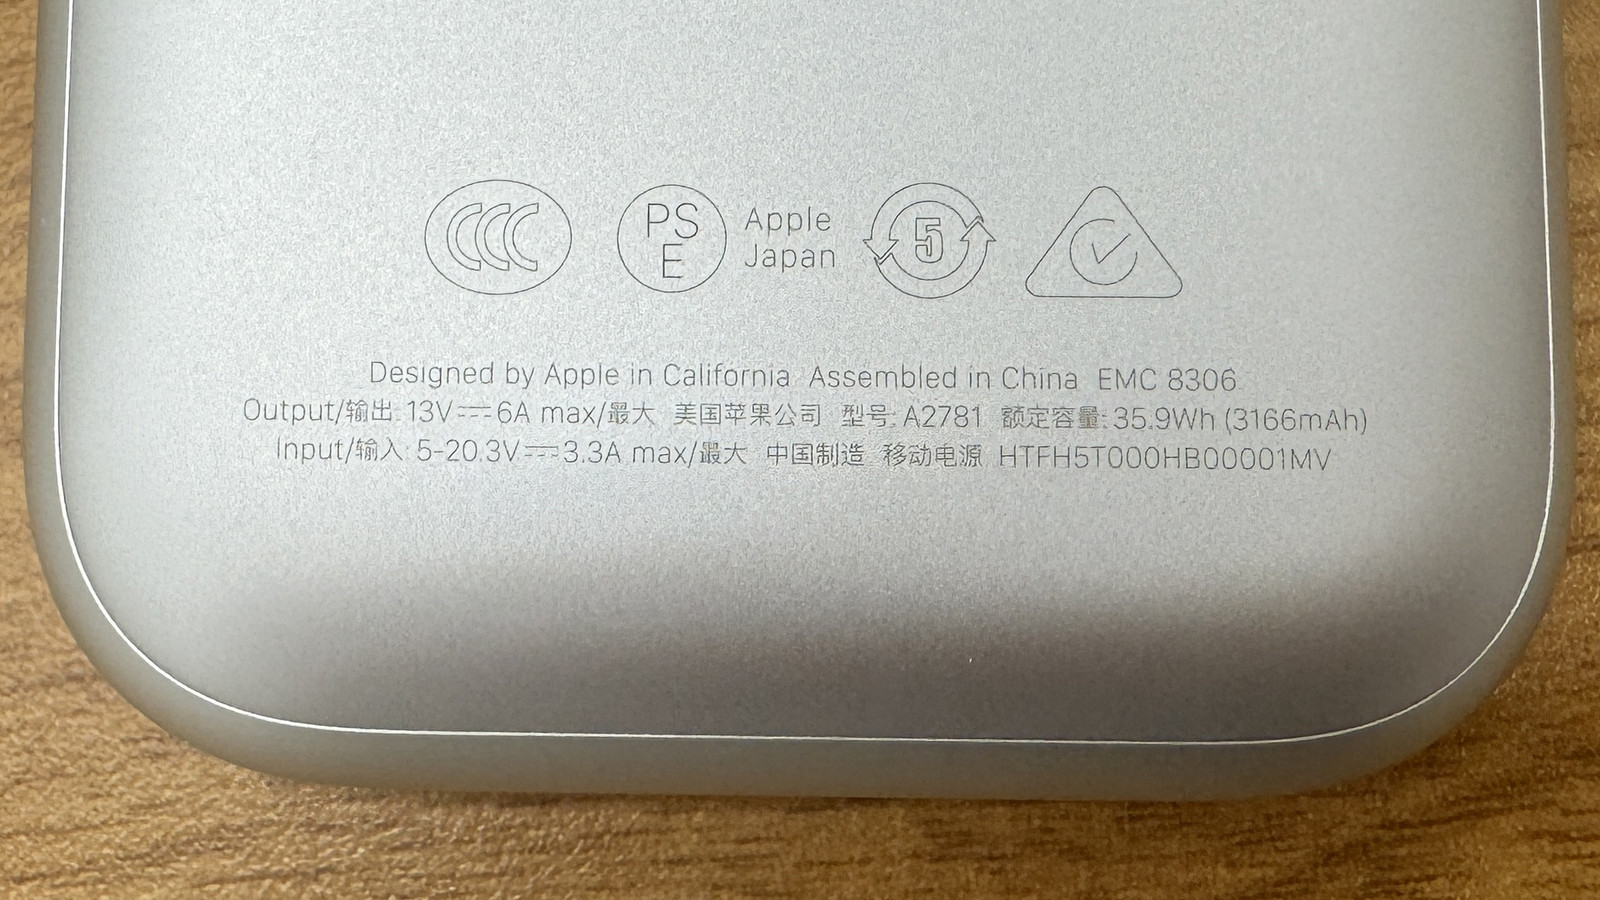
The rated capacity was 35.9Wh (3166mAh).
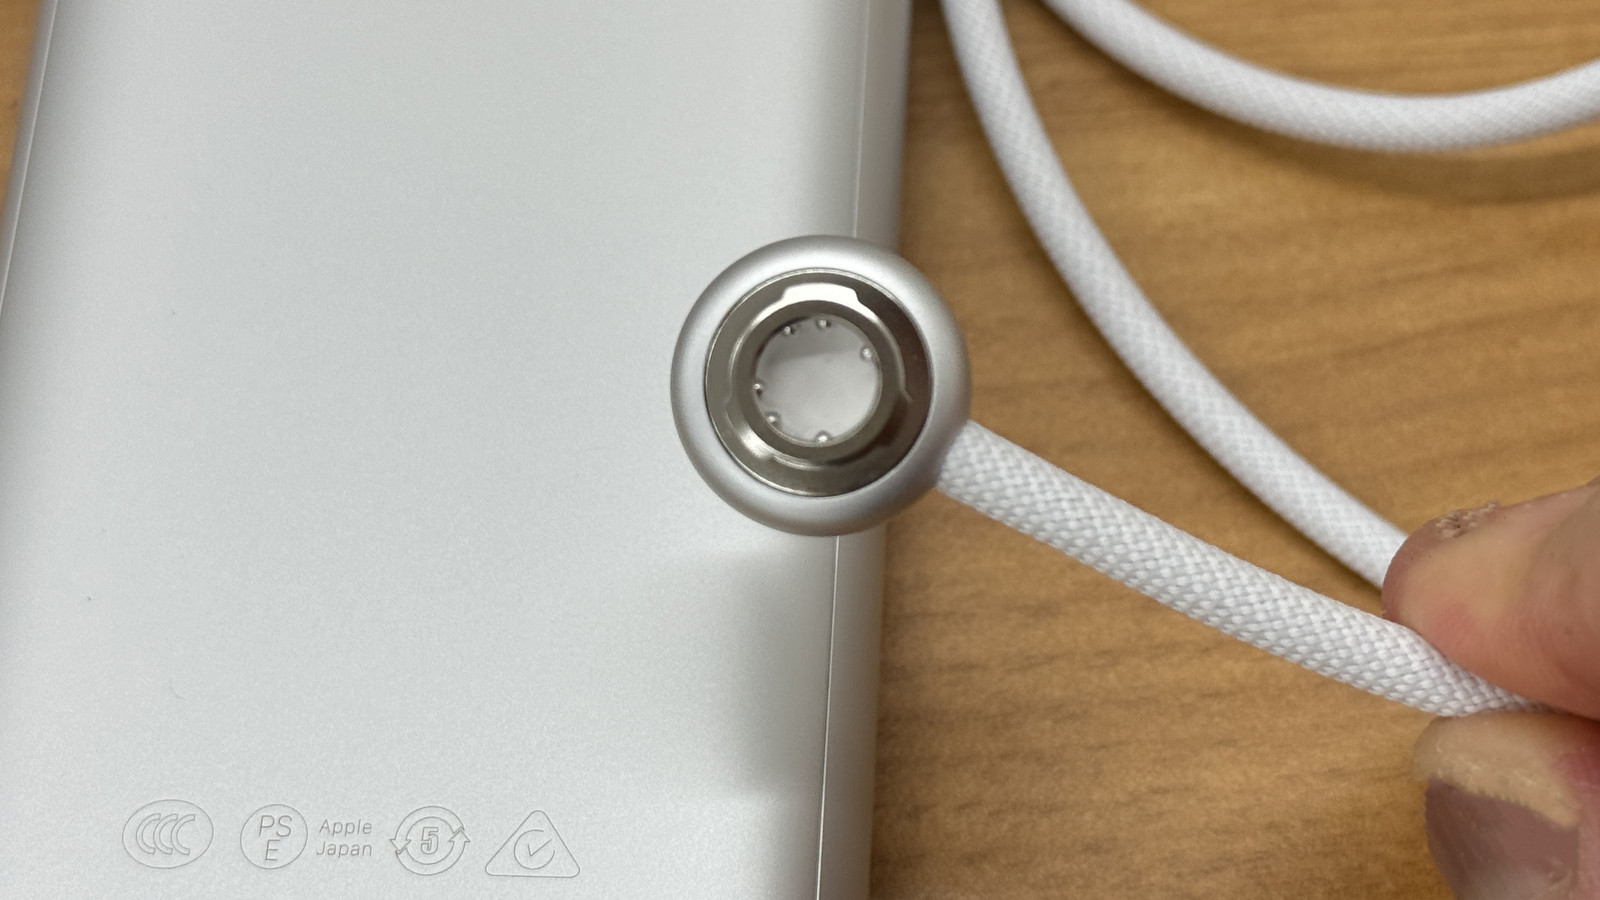
The connector that connects to the main unit looks like this.
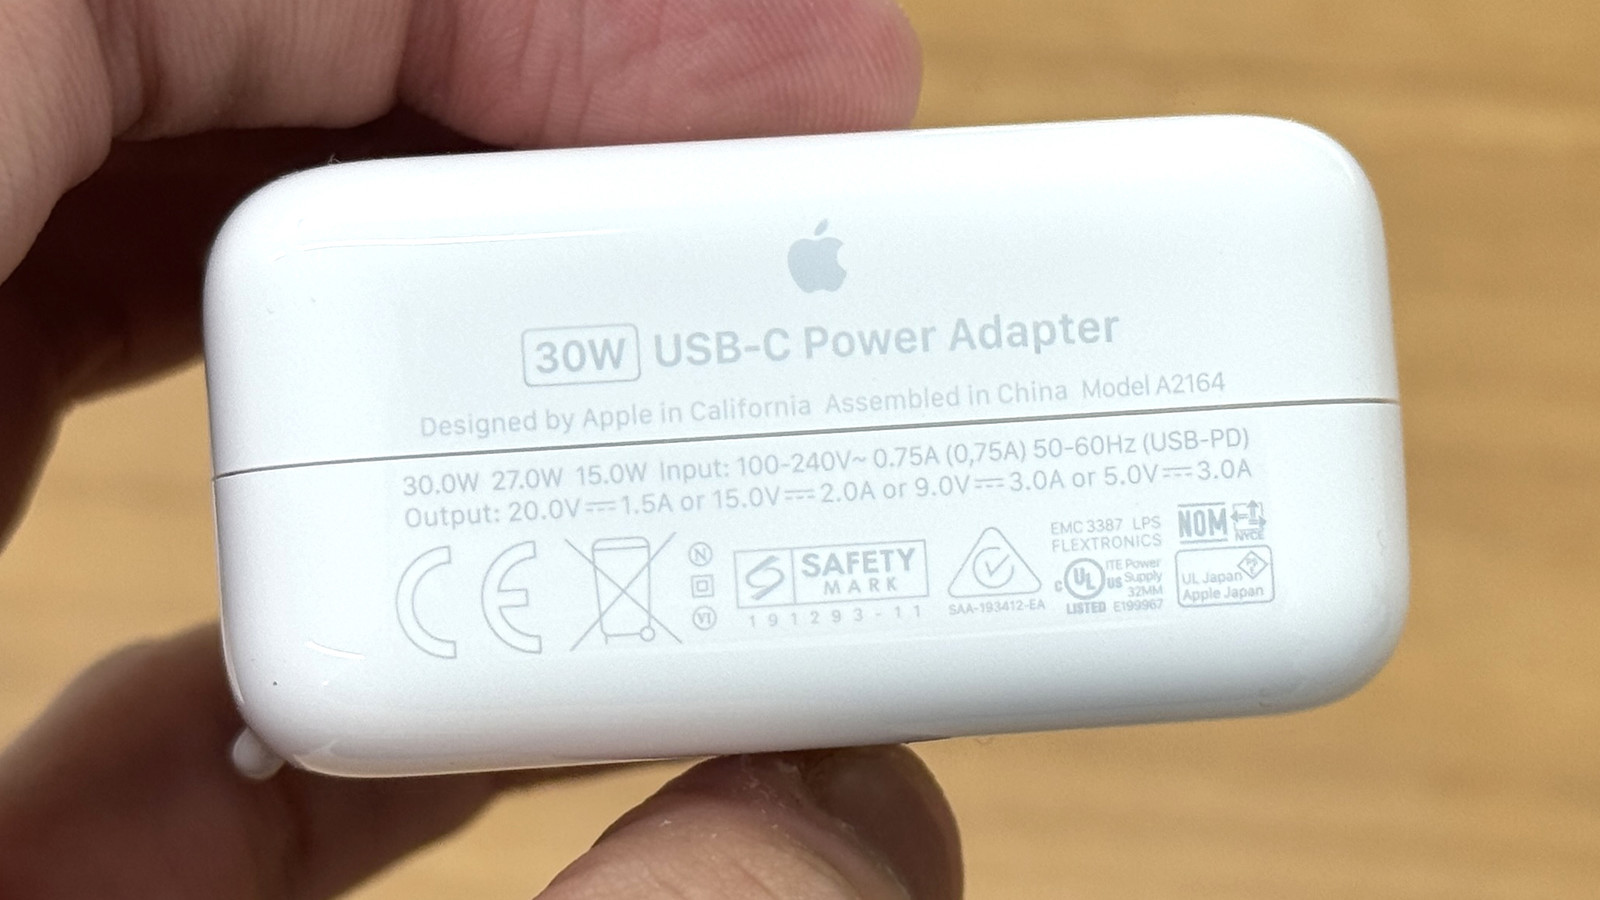
A USB-C charging cable and a USB-C charging adapter.
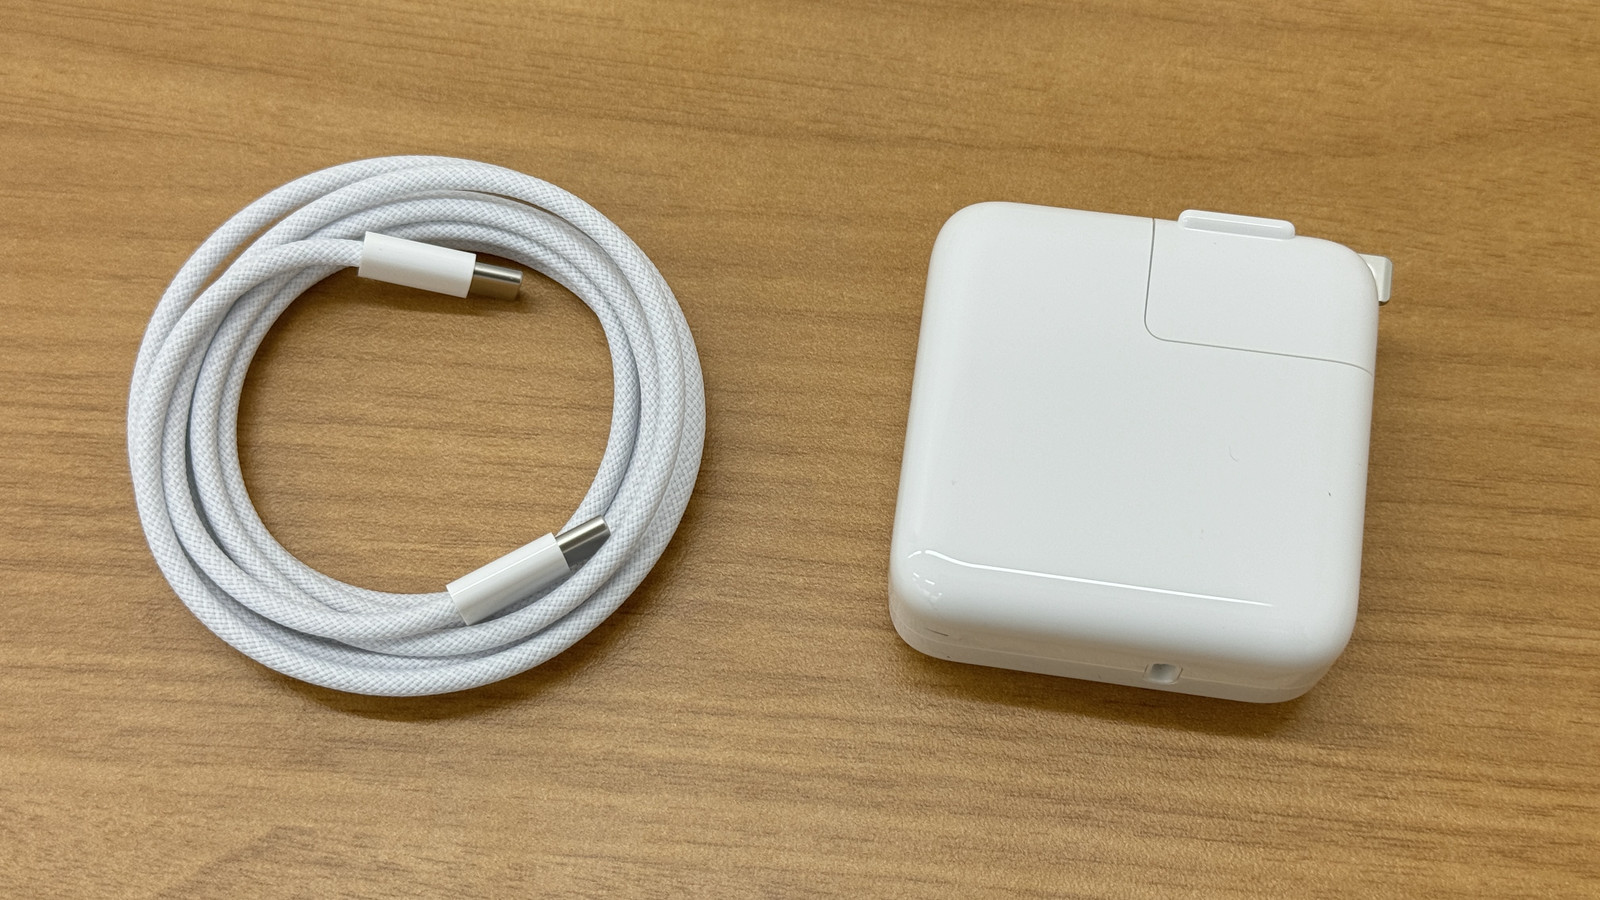
The output of the USB-C charging adapter was 30W.
A polishing cloth for wiping cover glasses and displays.
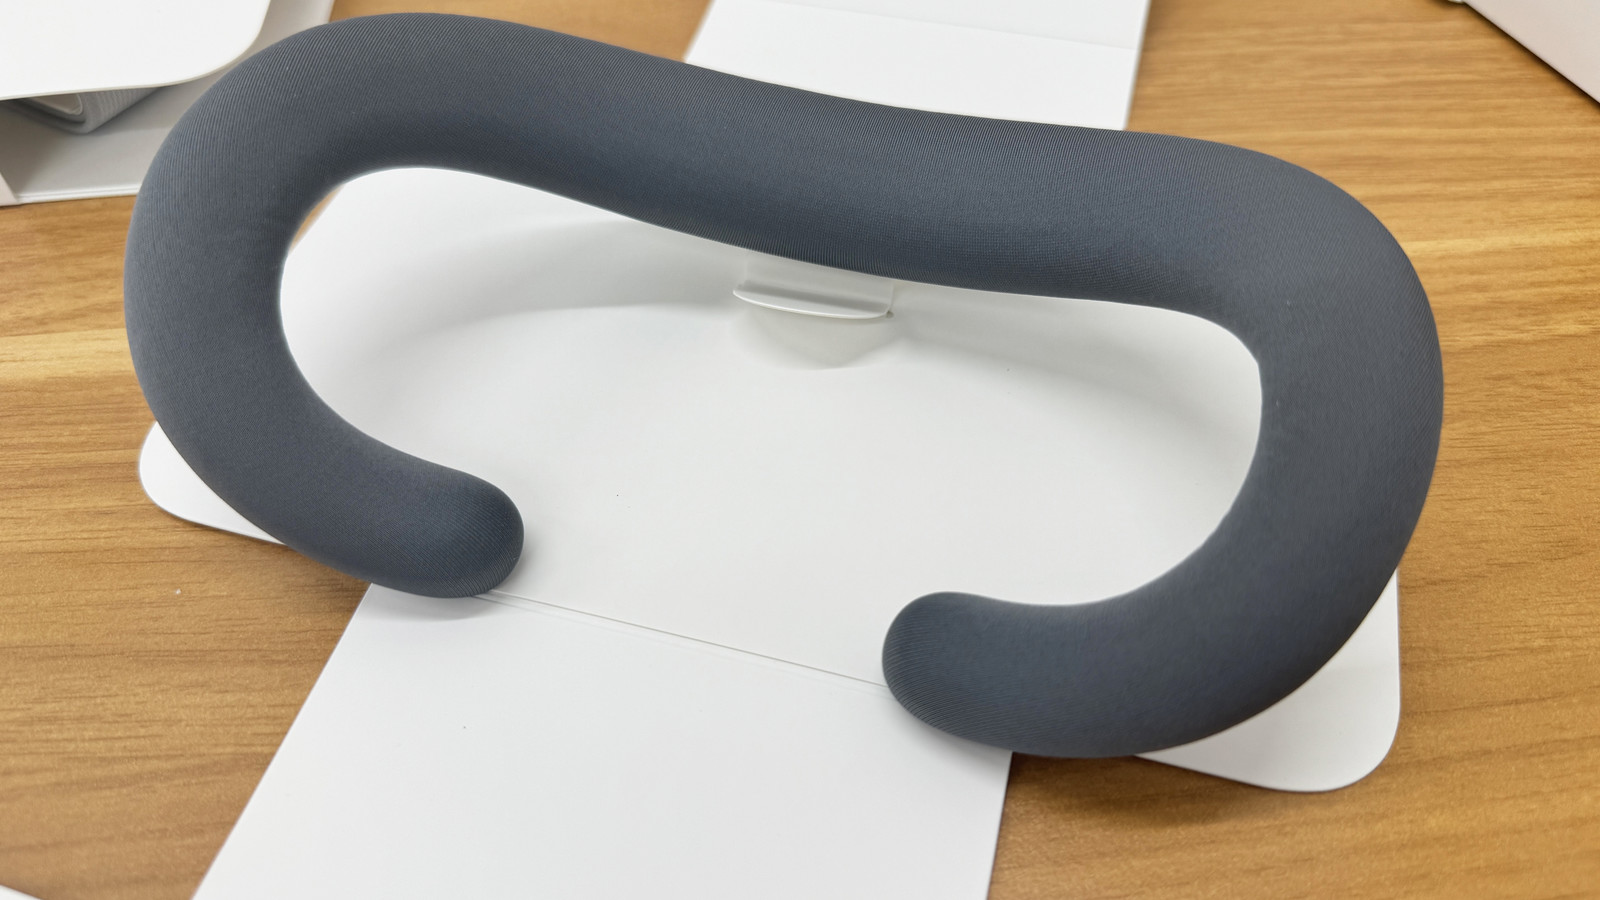
Light ceiling cushion. This is the cushion that rests against your face.
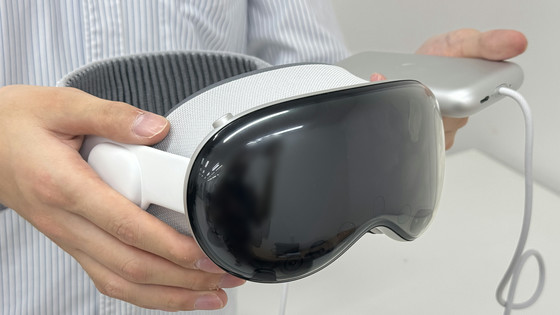
This is the Apple Vision Pro itself.
The cover glass is covered.
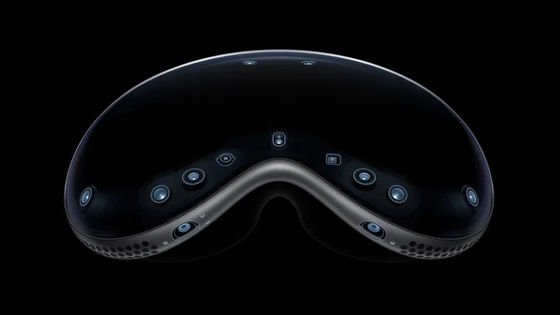
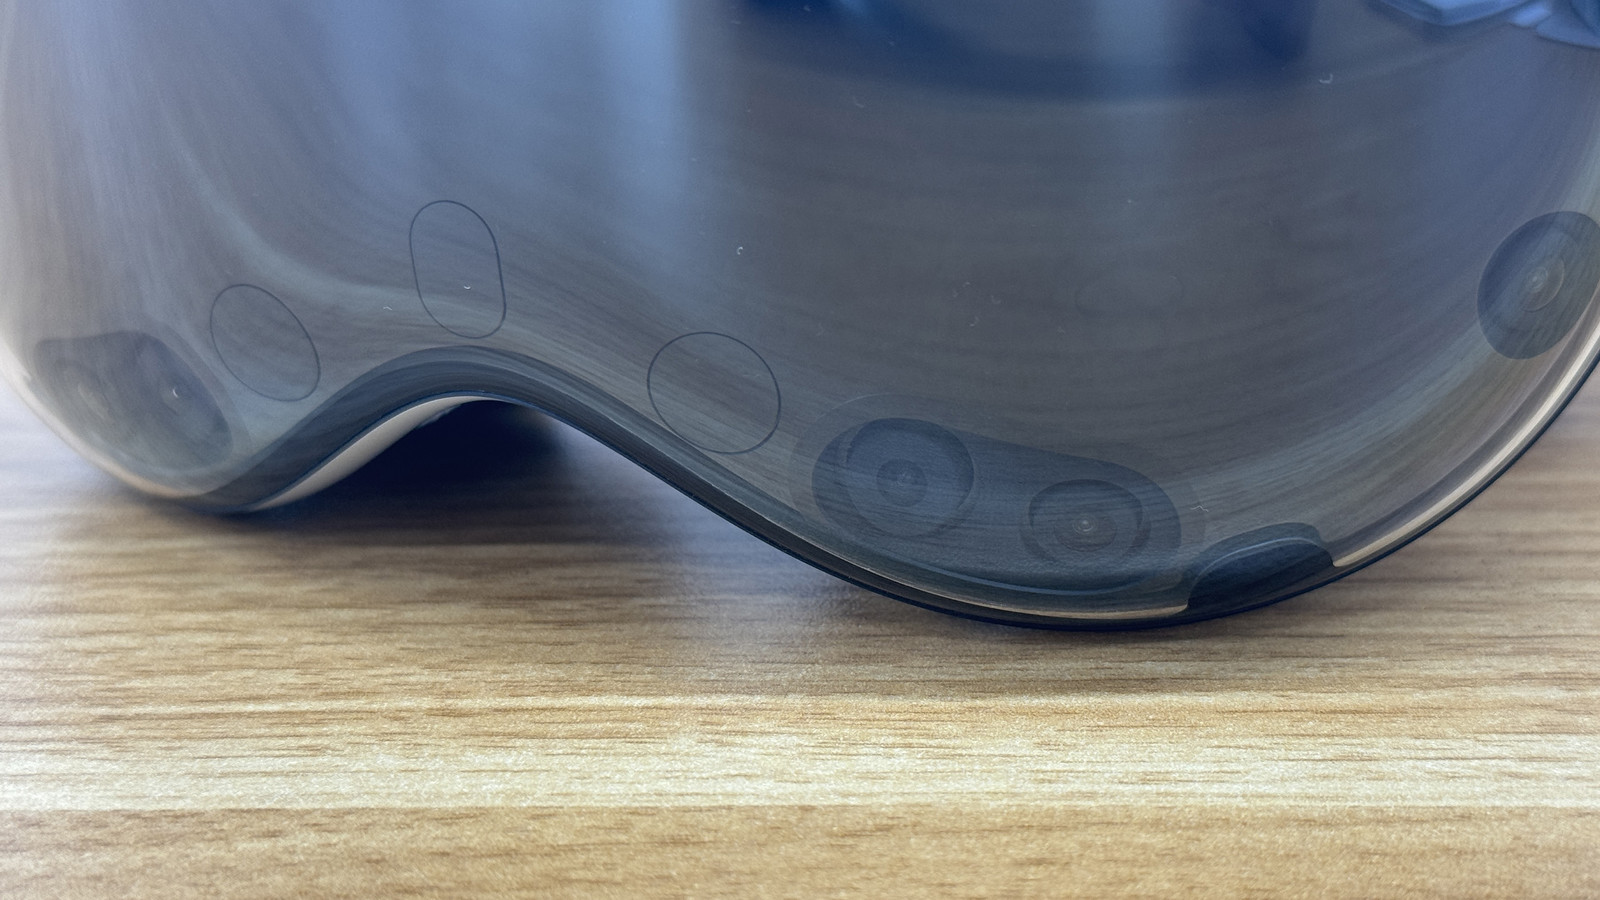
View from the front. The front is covered with glass.
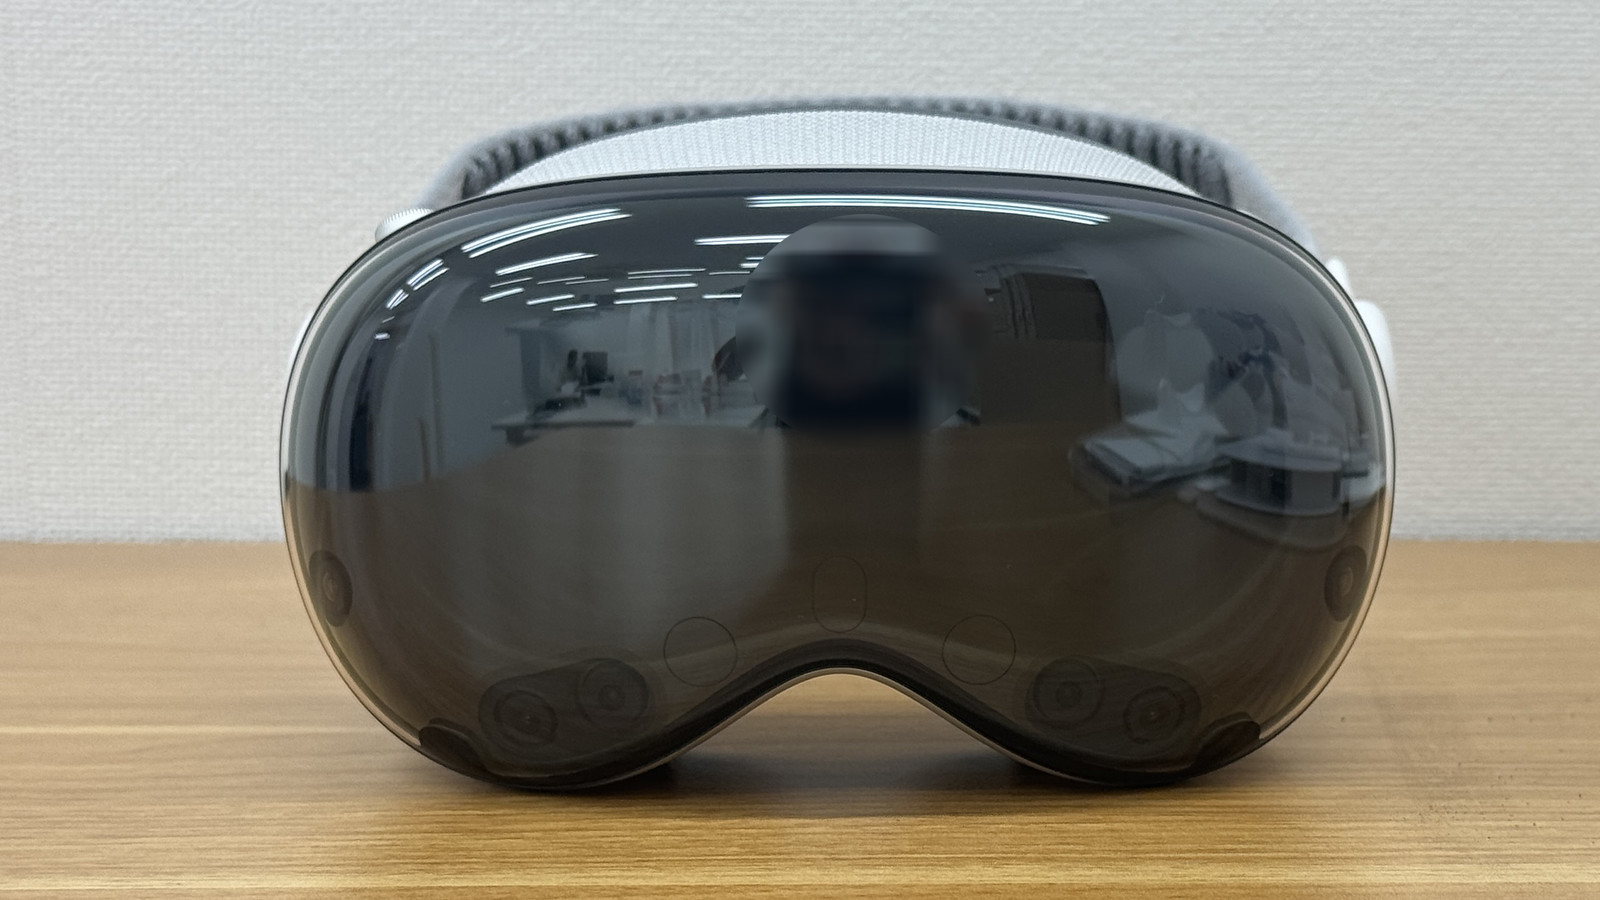
Looking closely, I could see multiple cameras and sensors on the other side of the glass.
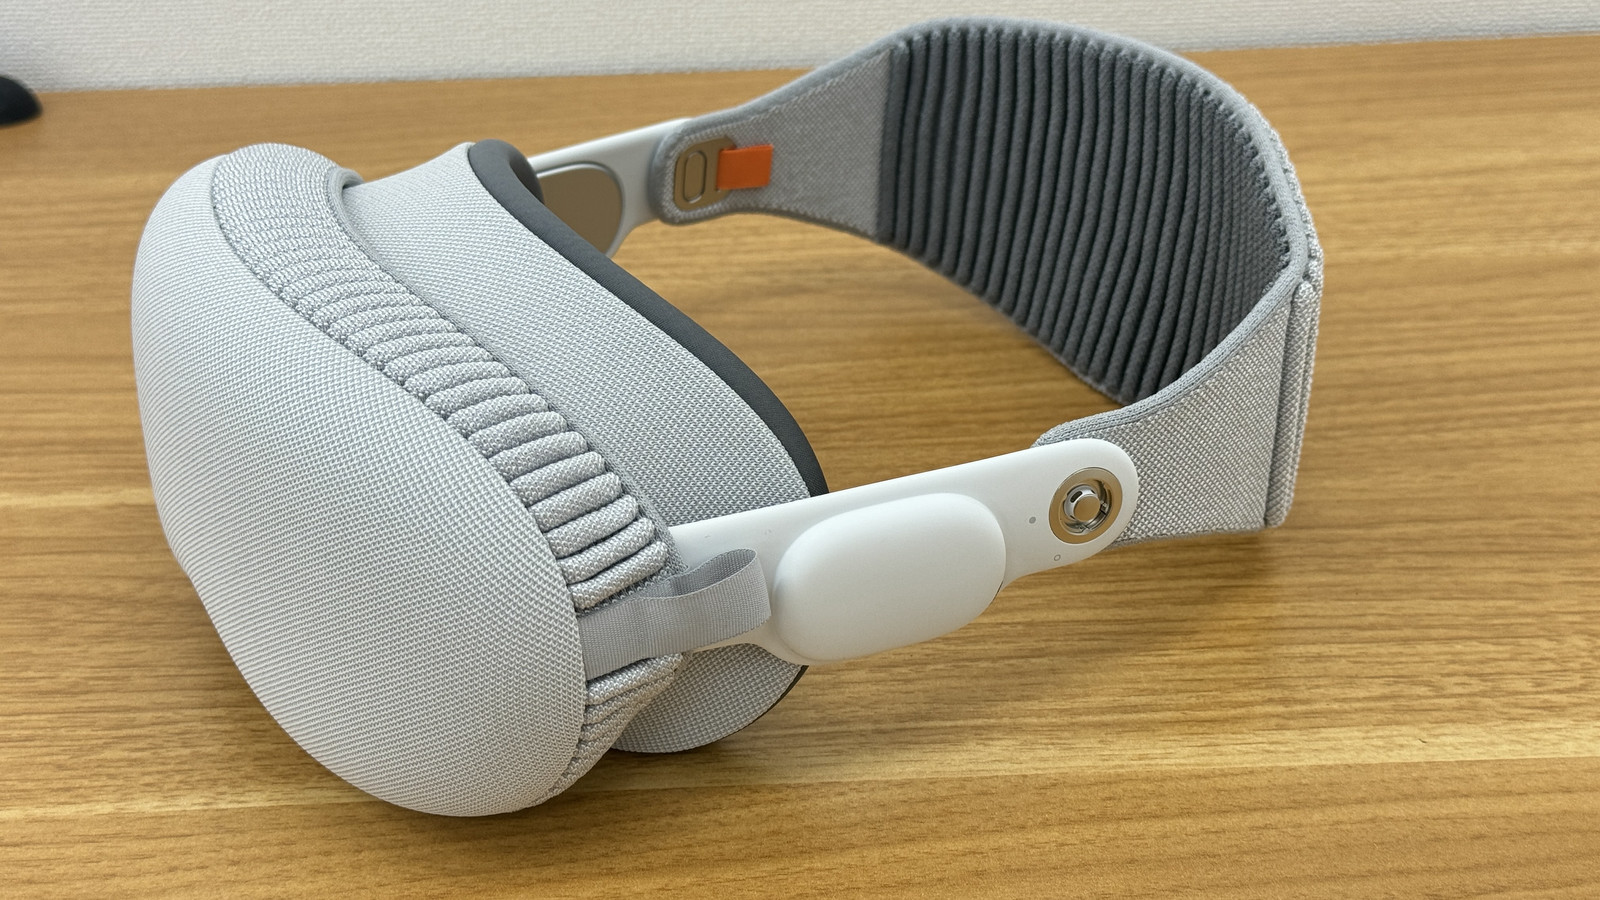
Left side. The part that touches the ear is the 'audio strap' and has a built-in speaker. The silver part next to it is the connector for connecting the battery.
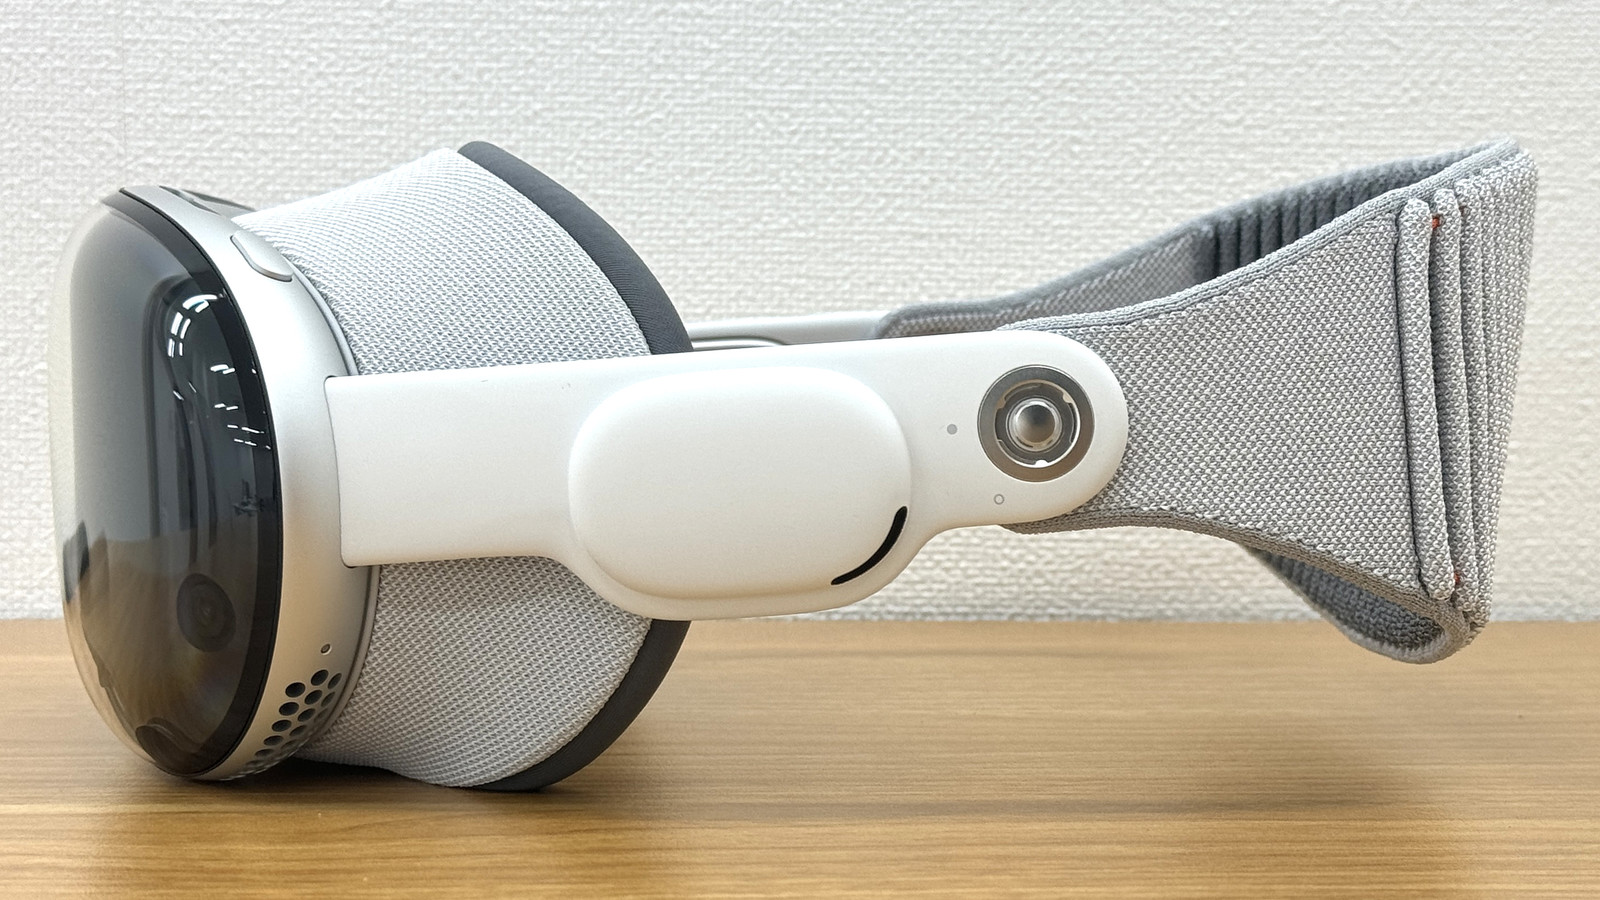
Right side. The fit dial on the Soloknit band is used to tighten the band and secure it to your head.
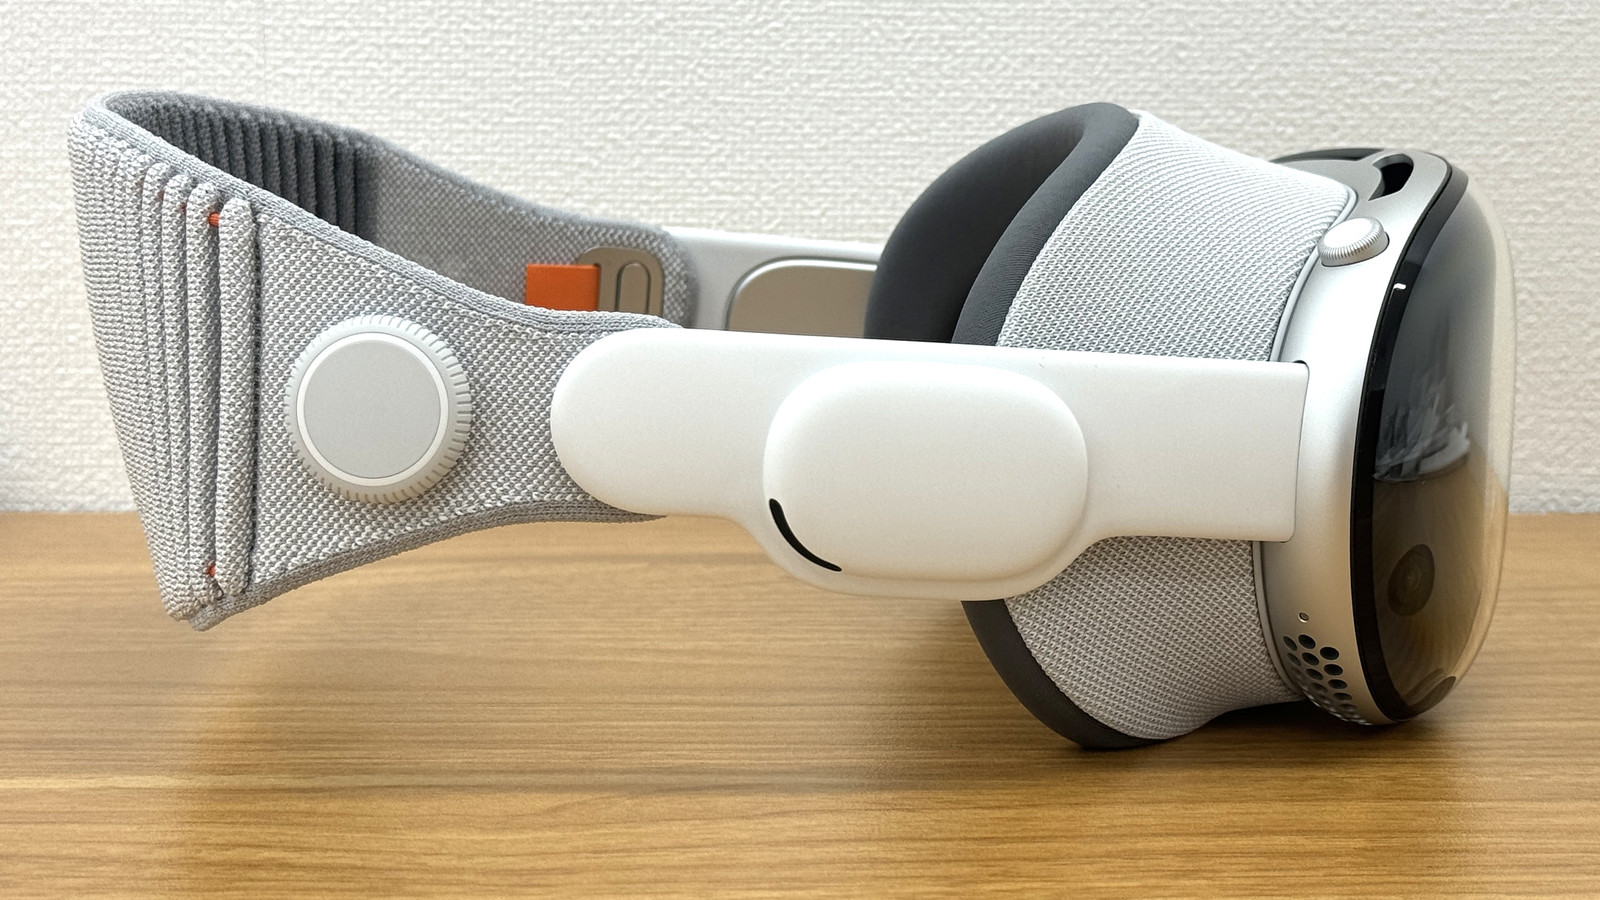
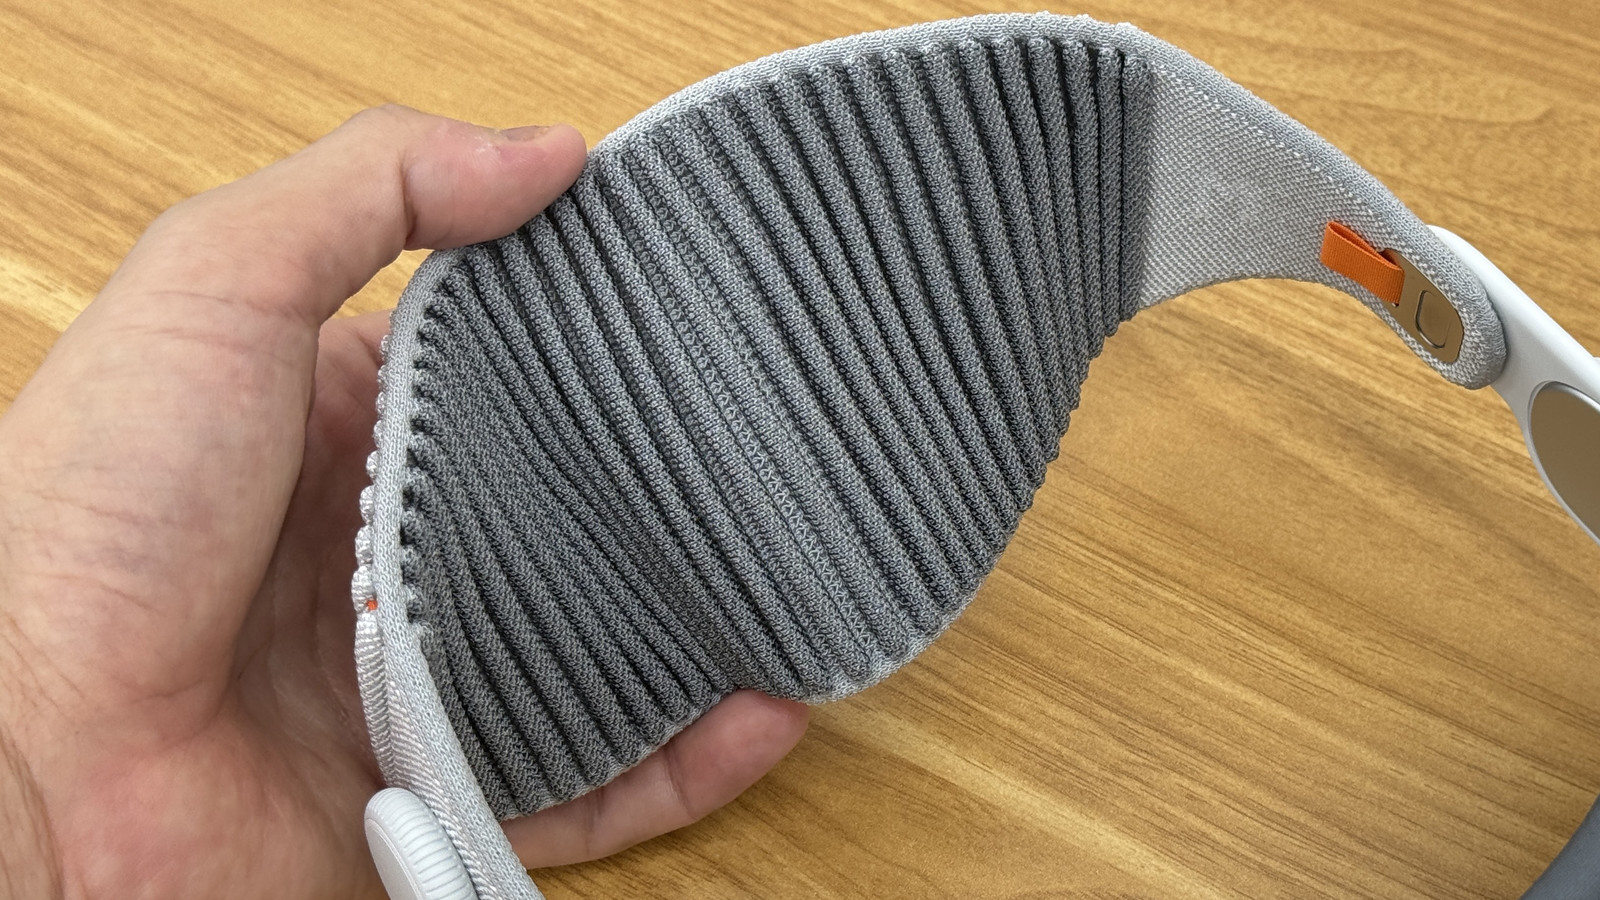
The Soloknit band is wide and designed to wrap around the back of the head for support.
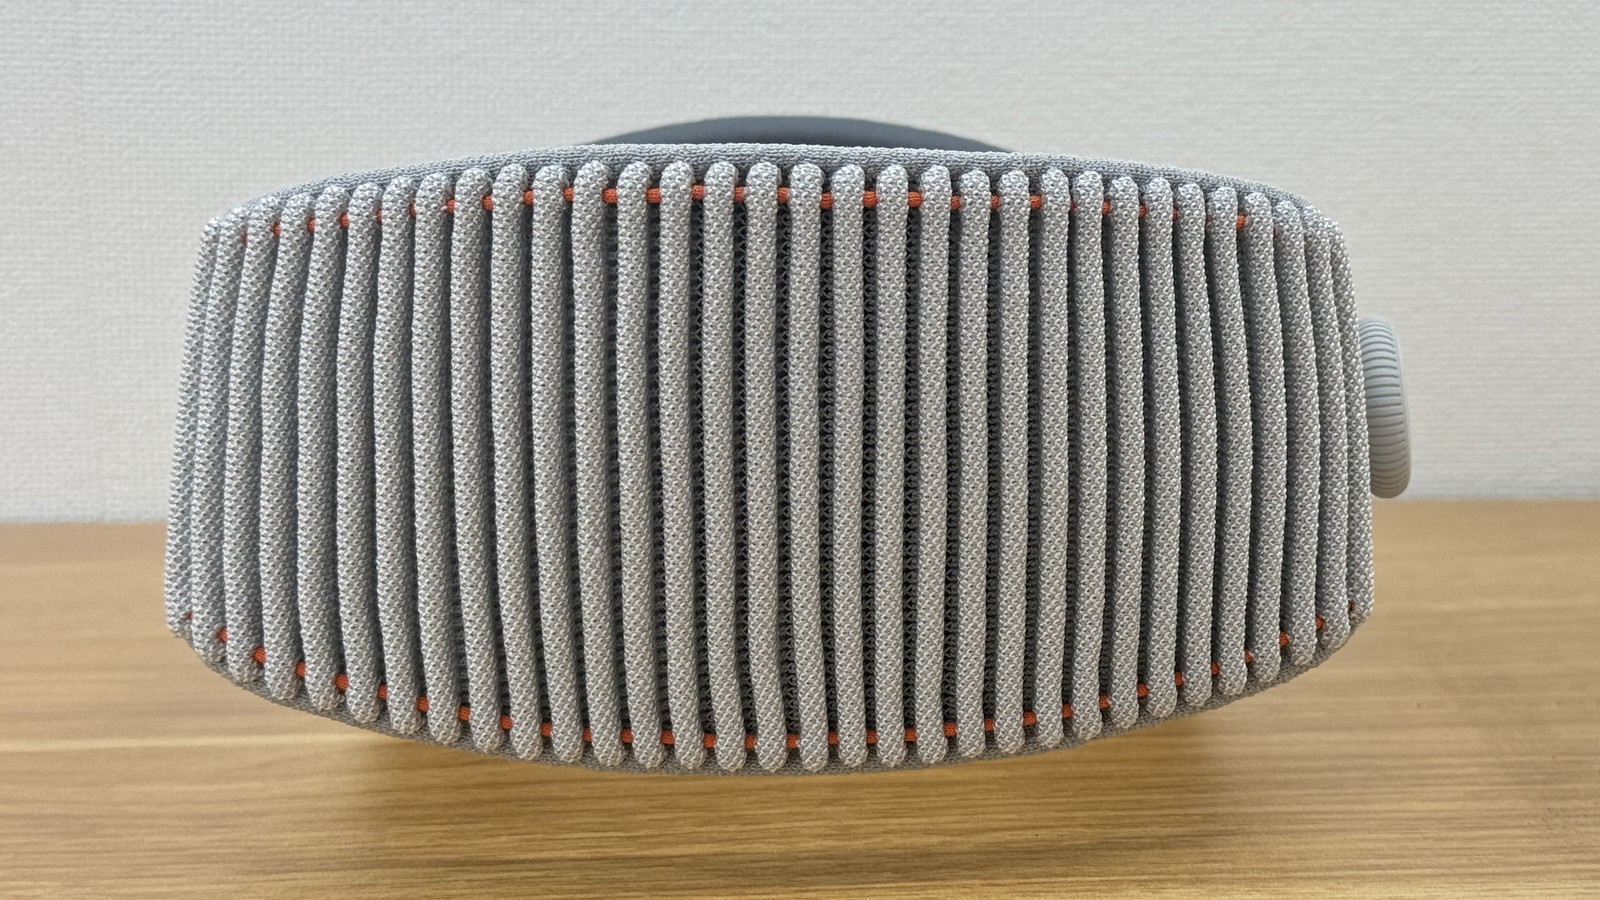
The Solo Knit band stretches like rubber, making it easy to put on with one hand. There is a string inside for adjusting the size, and you can adjust the circumference by tightening the fit dial.
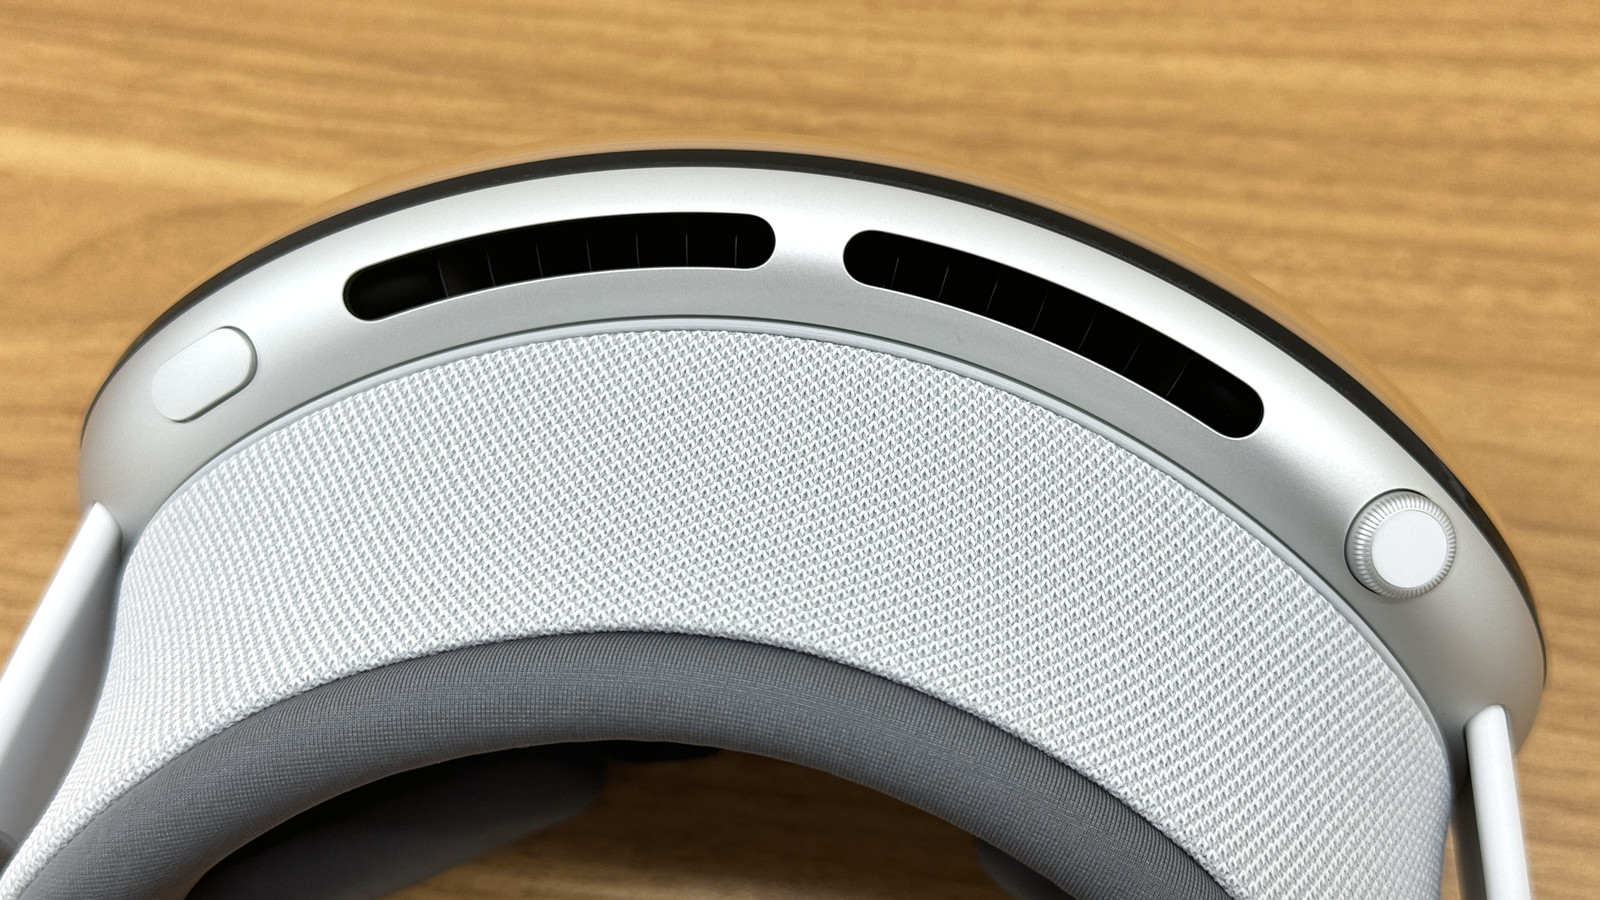
View from above.

On the top of the goggles are the top button and the Digital Crown. The two black lines between them are the ventilation holes.
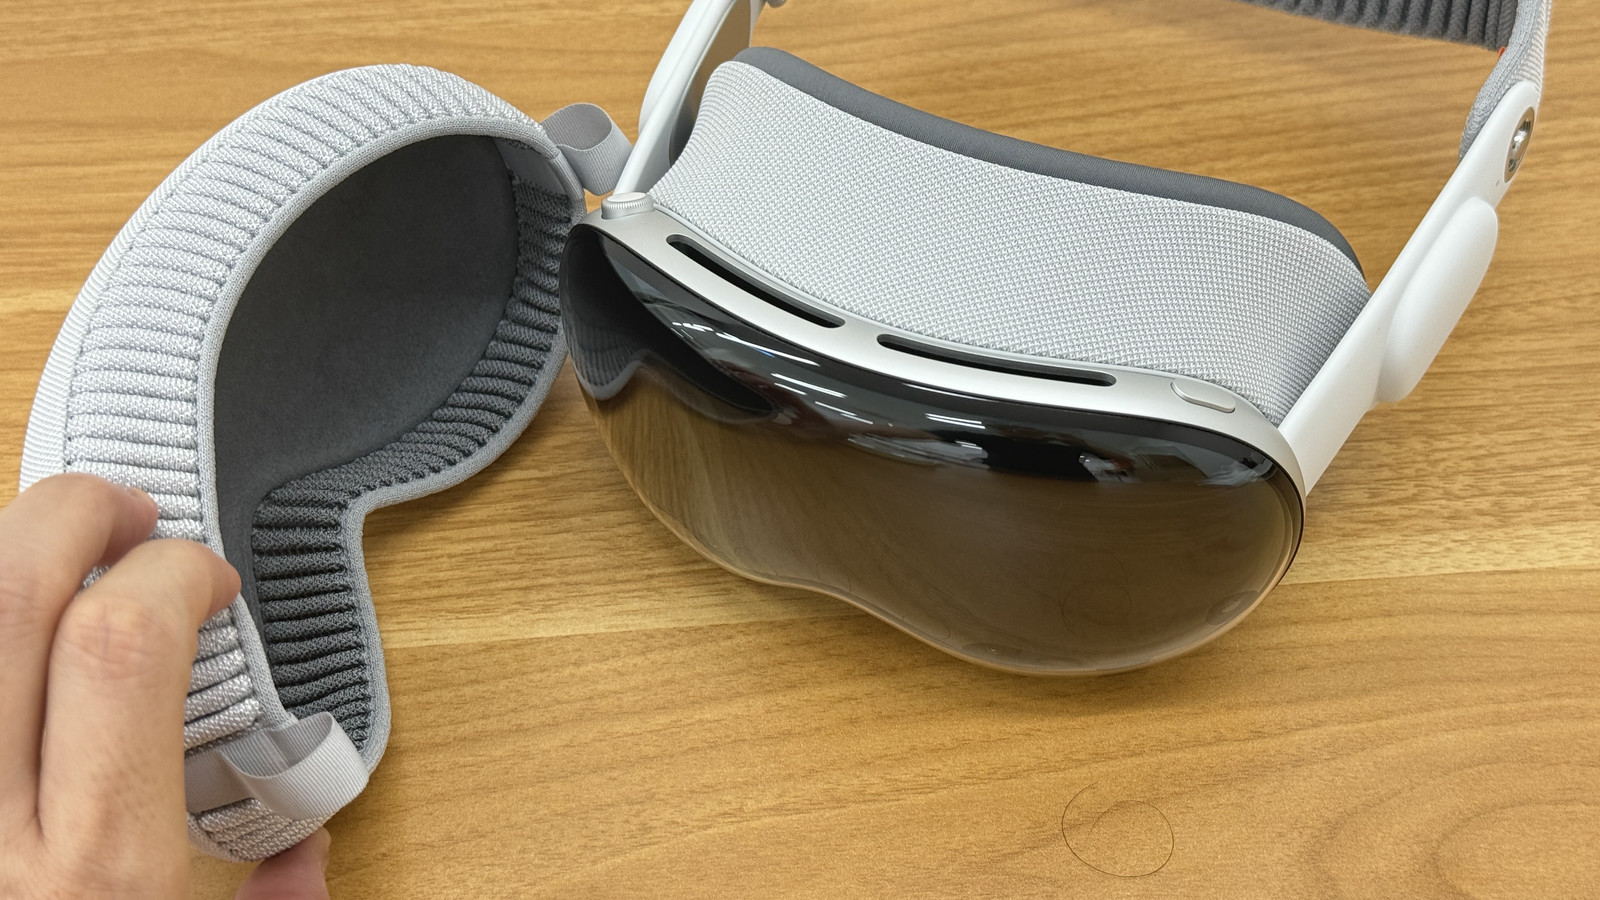
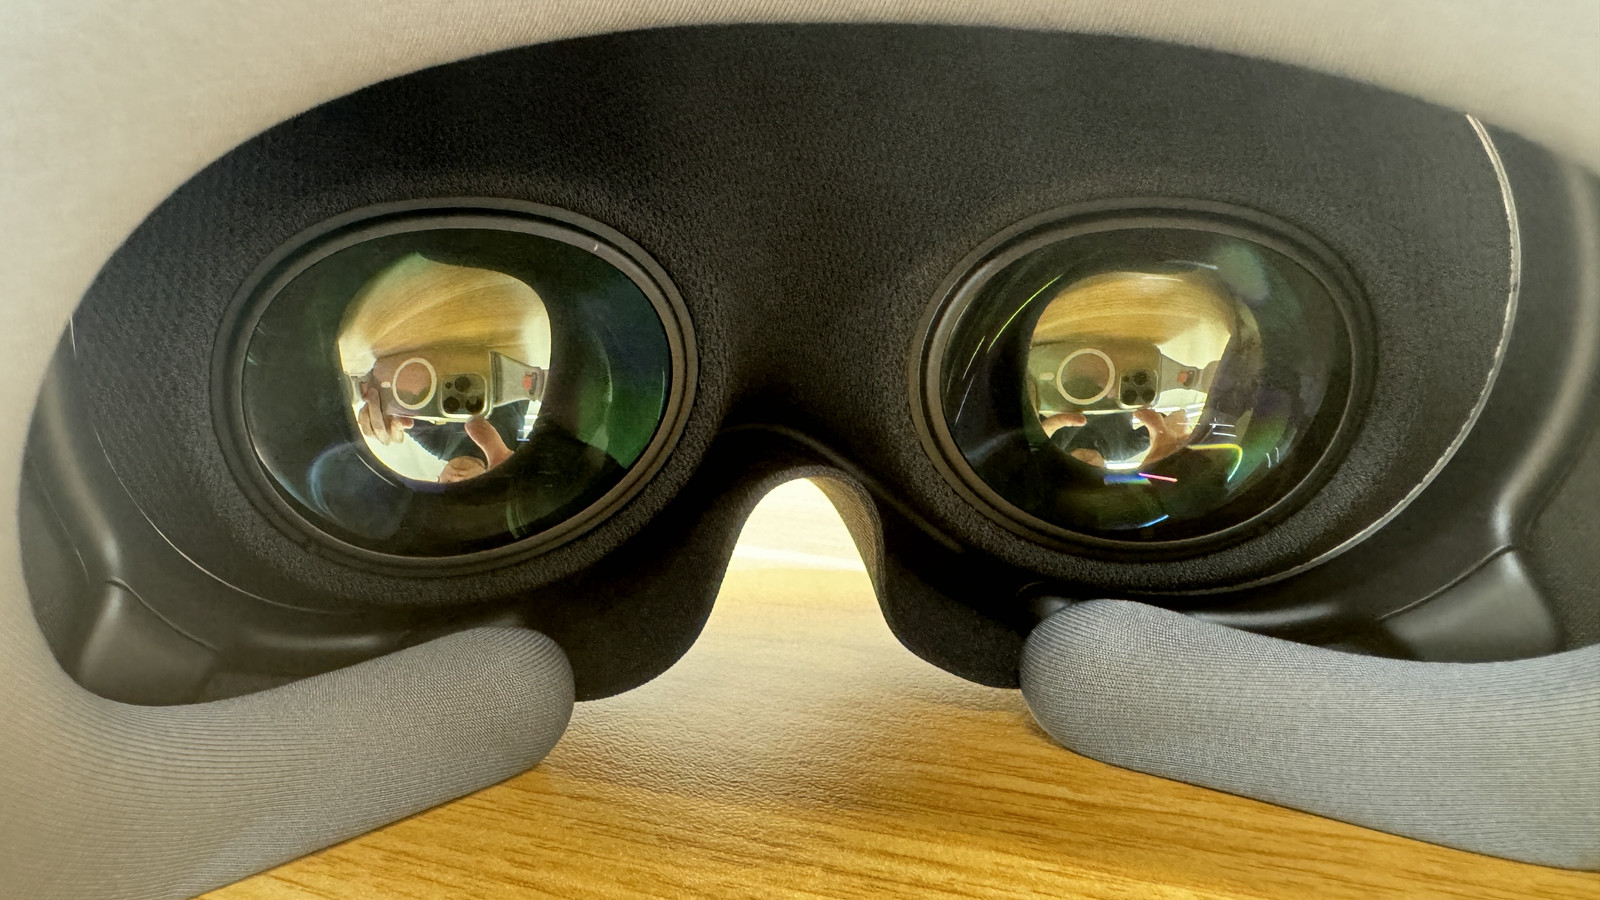
The spacer part is held in place by a magnet and can be easily removed by pulling it with a little force.

This is what the inside looks like. The lens is a pancake lens, and does not have concentric grooves like a Fresnel lens.
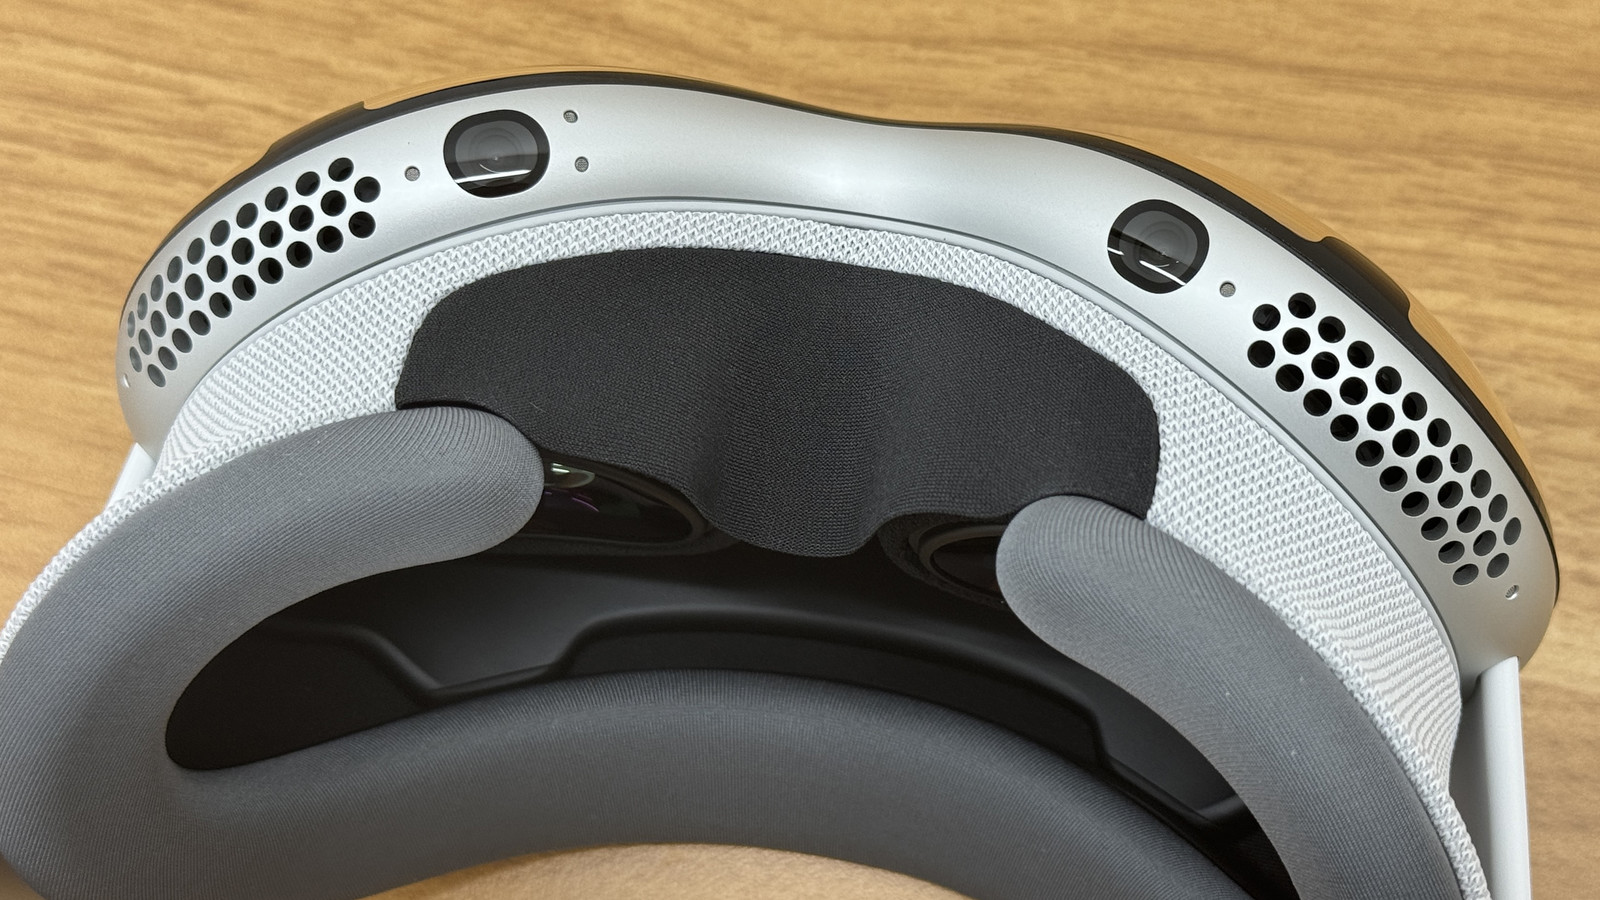
Looking at Apple Vision Pro from below, it looks like this.
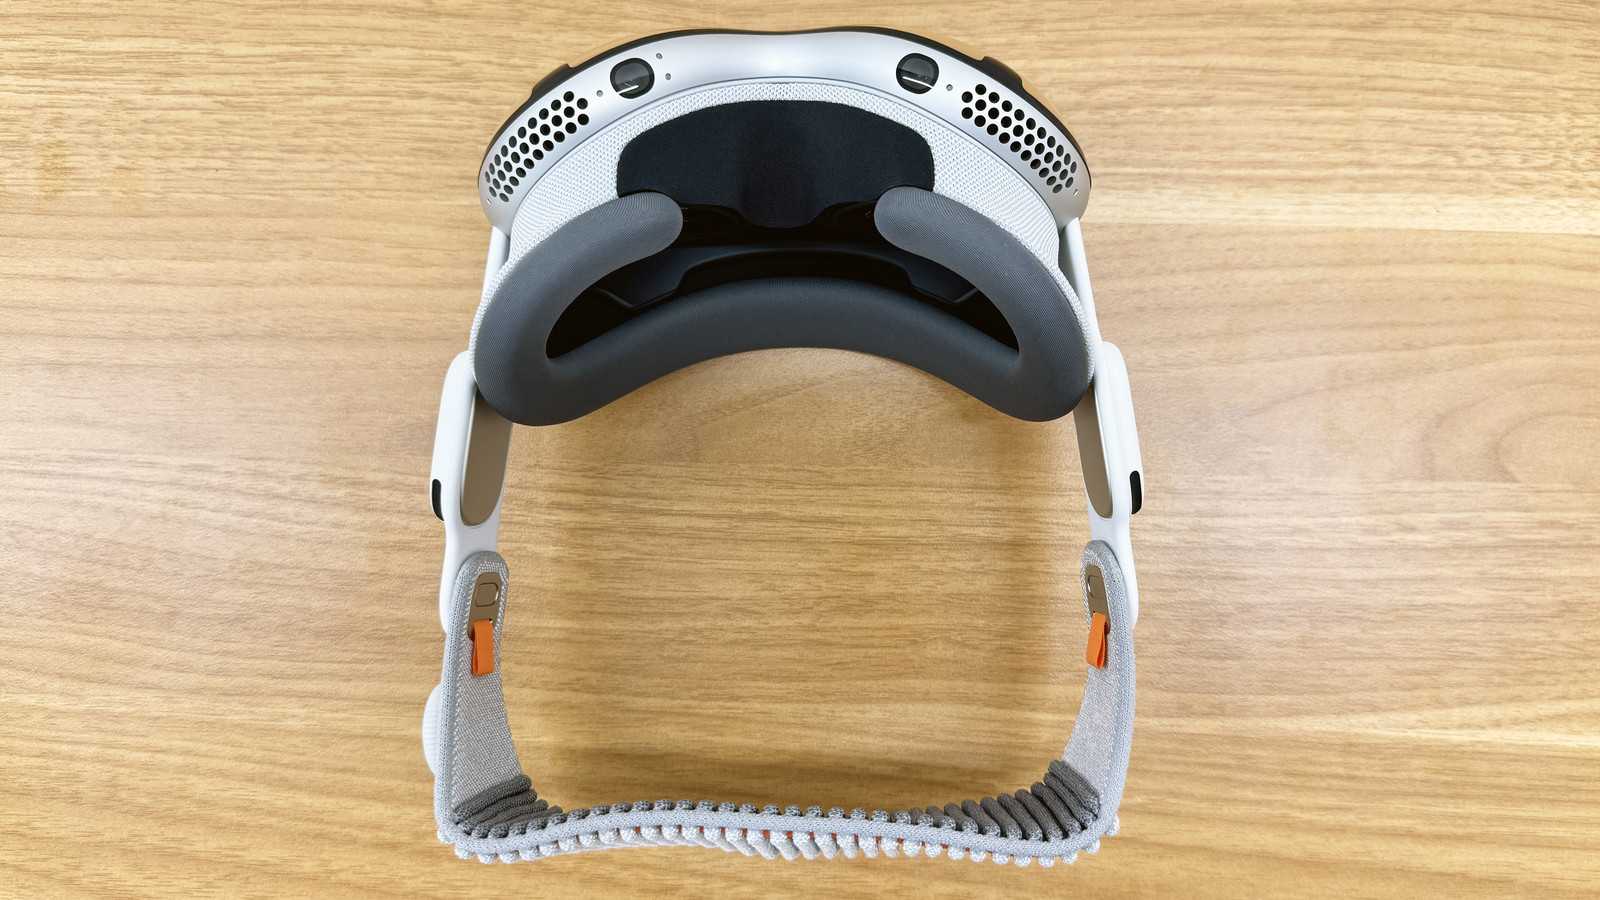
There's a sensor next to the grill, and only a soft black cloth curtain covers the nose.
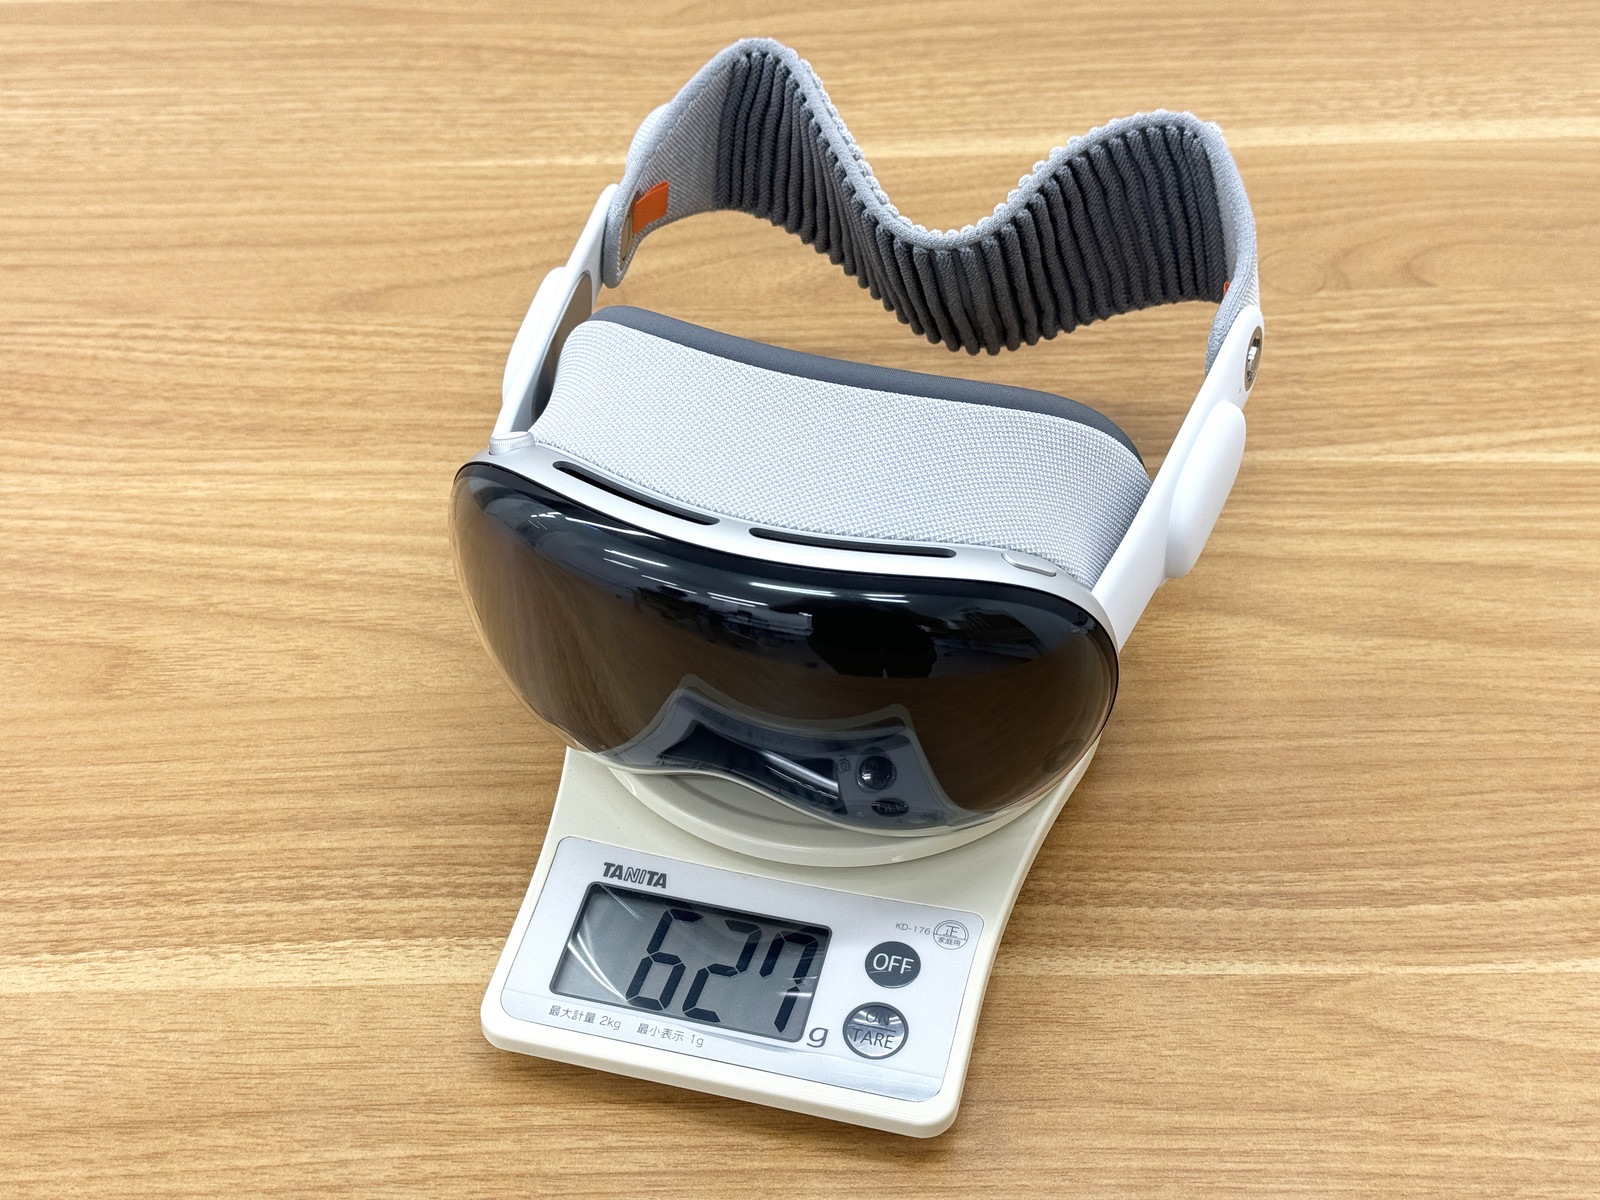
The actual weight of the main unit was 627g. With the battery, the total weight is about 980g.
◆I tried setting up Apple Vision Pro
First, connect the battery to the device.
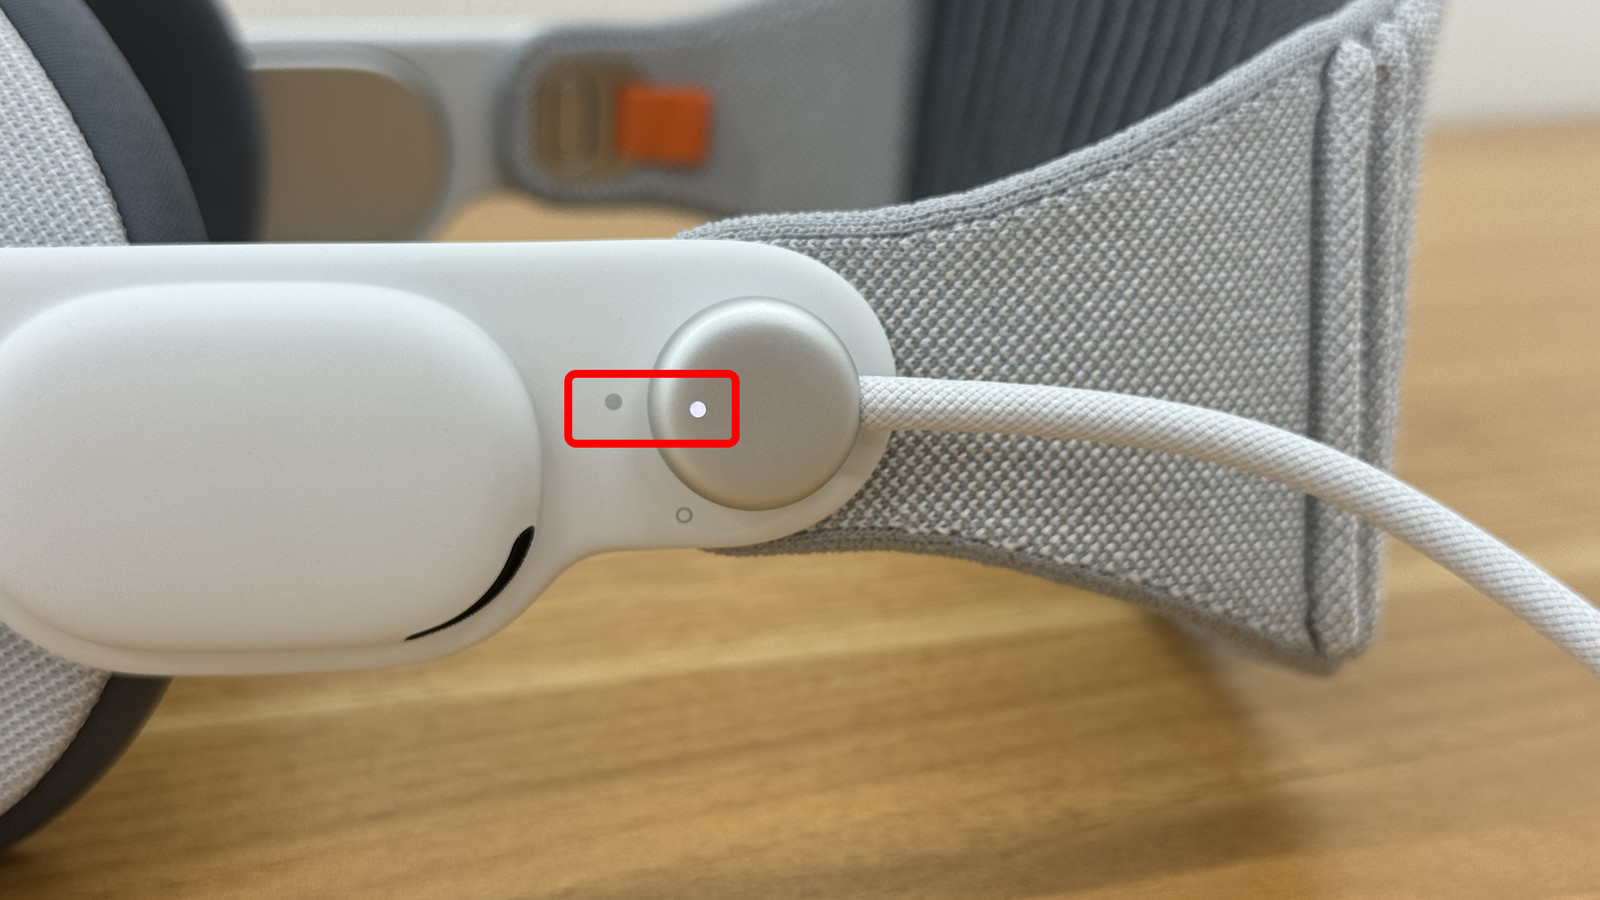
As shown in the image below, align the markings on the battery terminals with the white markings on the main unit, and attach the battery terminals to the main unit.
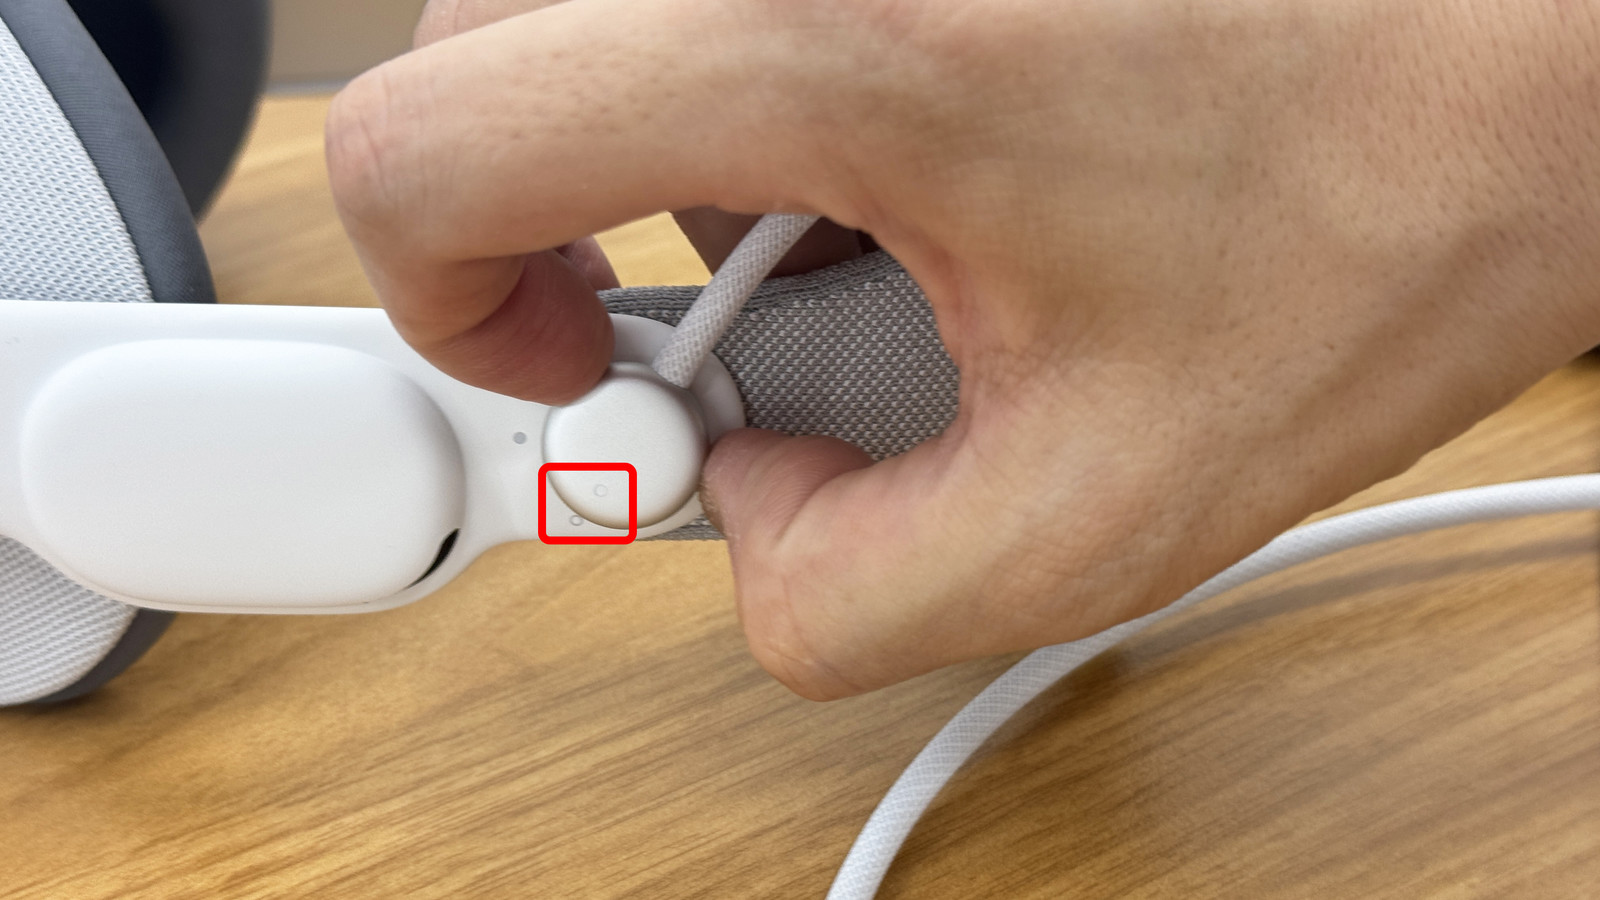
Next, twist the battery terminal so that the mark on the battery matches the black mark on the main unit. When power is applied, the mark on the battery terminal will glow white.
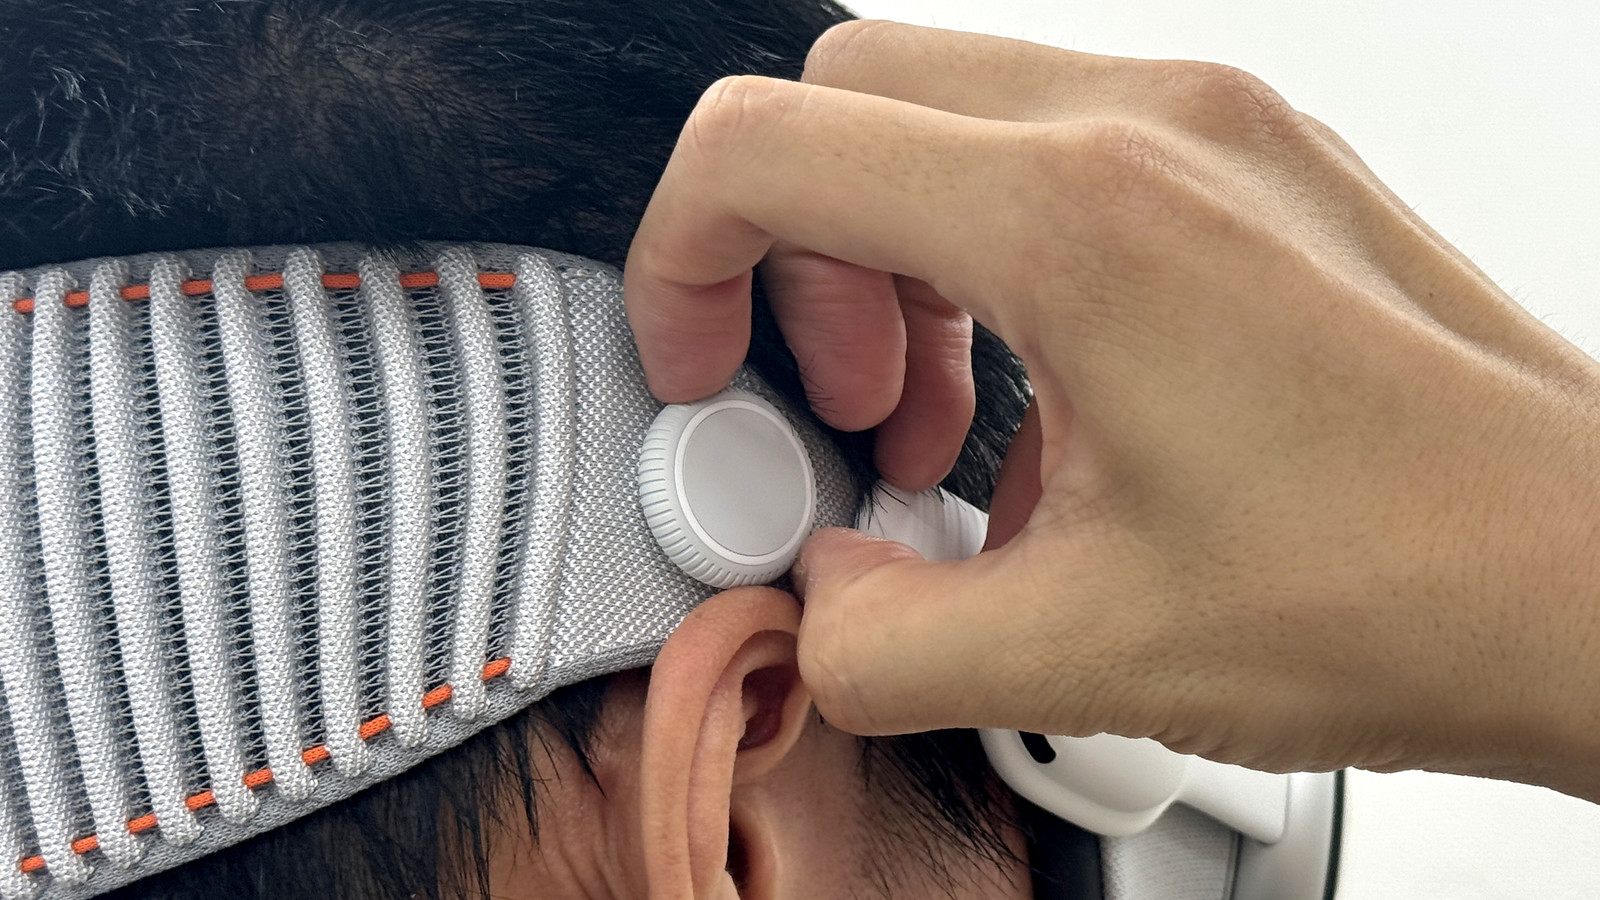
Wear the Soloknit band by placing it firmly around the back of your head.
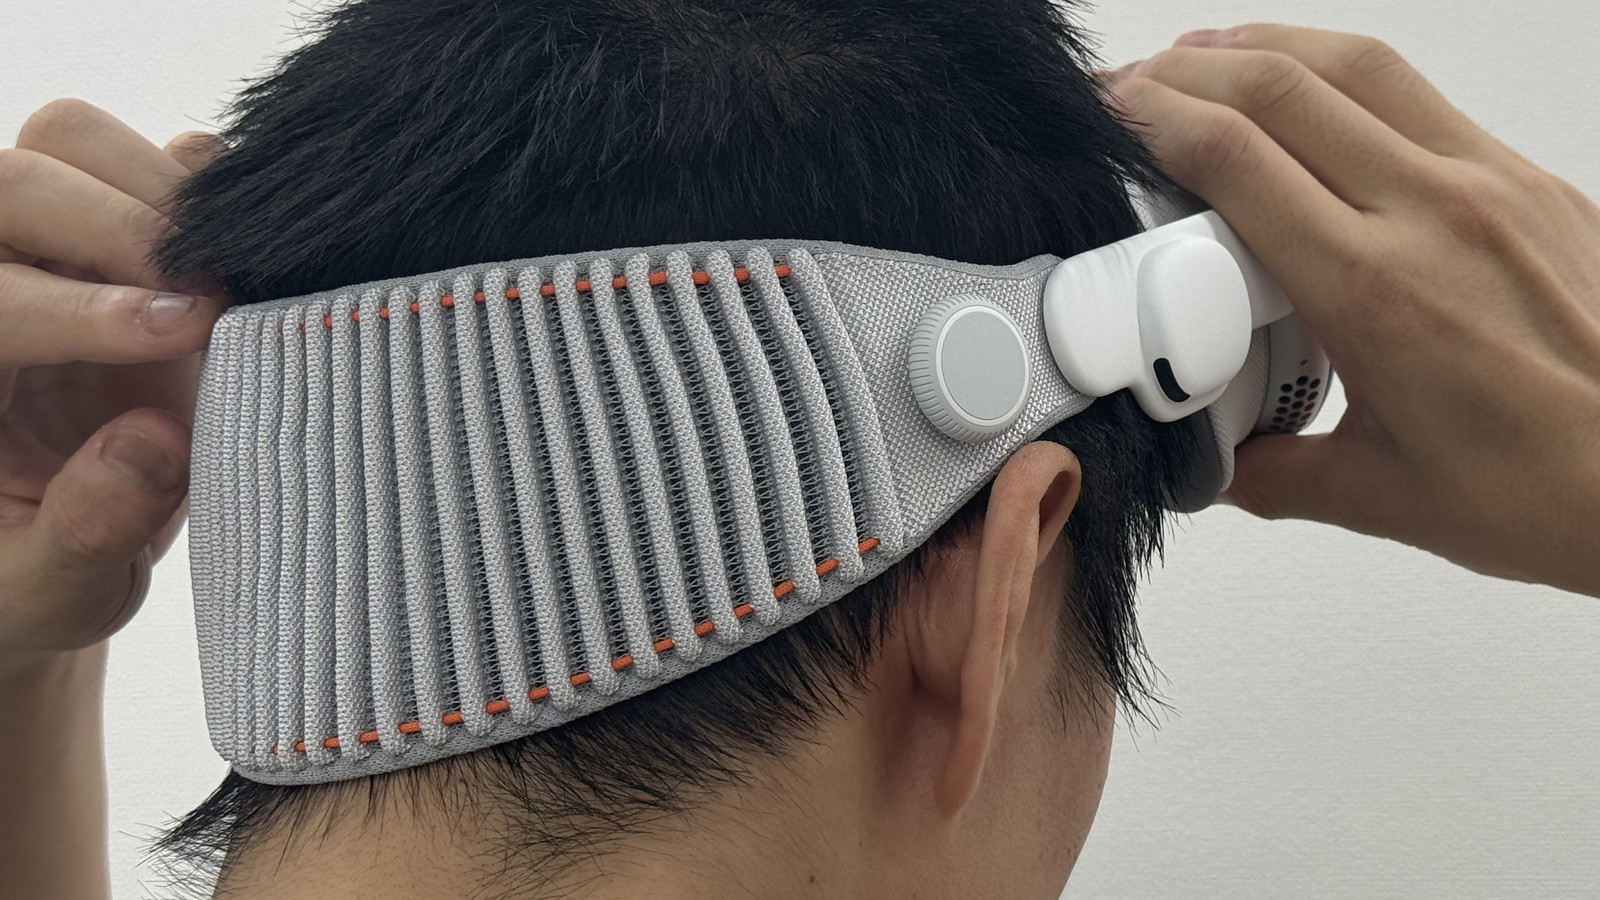
Place the goggles over your eyes and turn the fit dial on the right side clockwise to tighten the band and secure it in place.
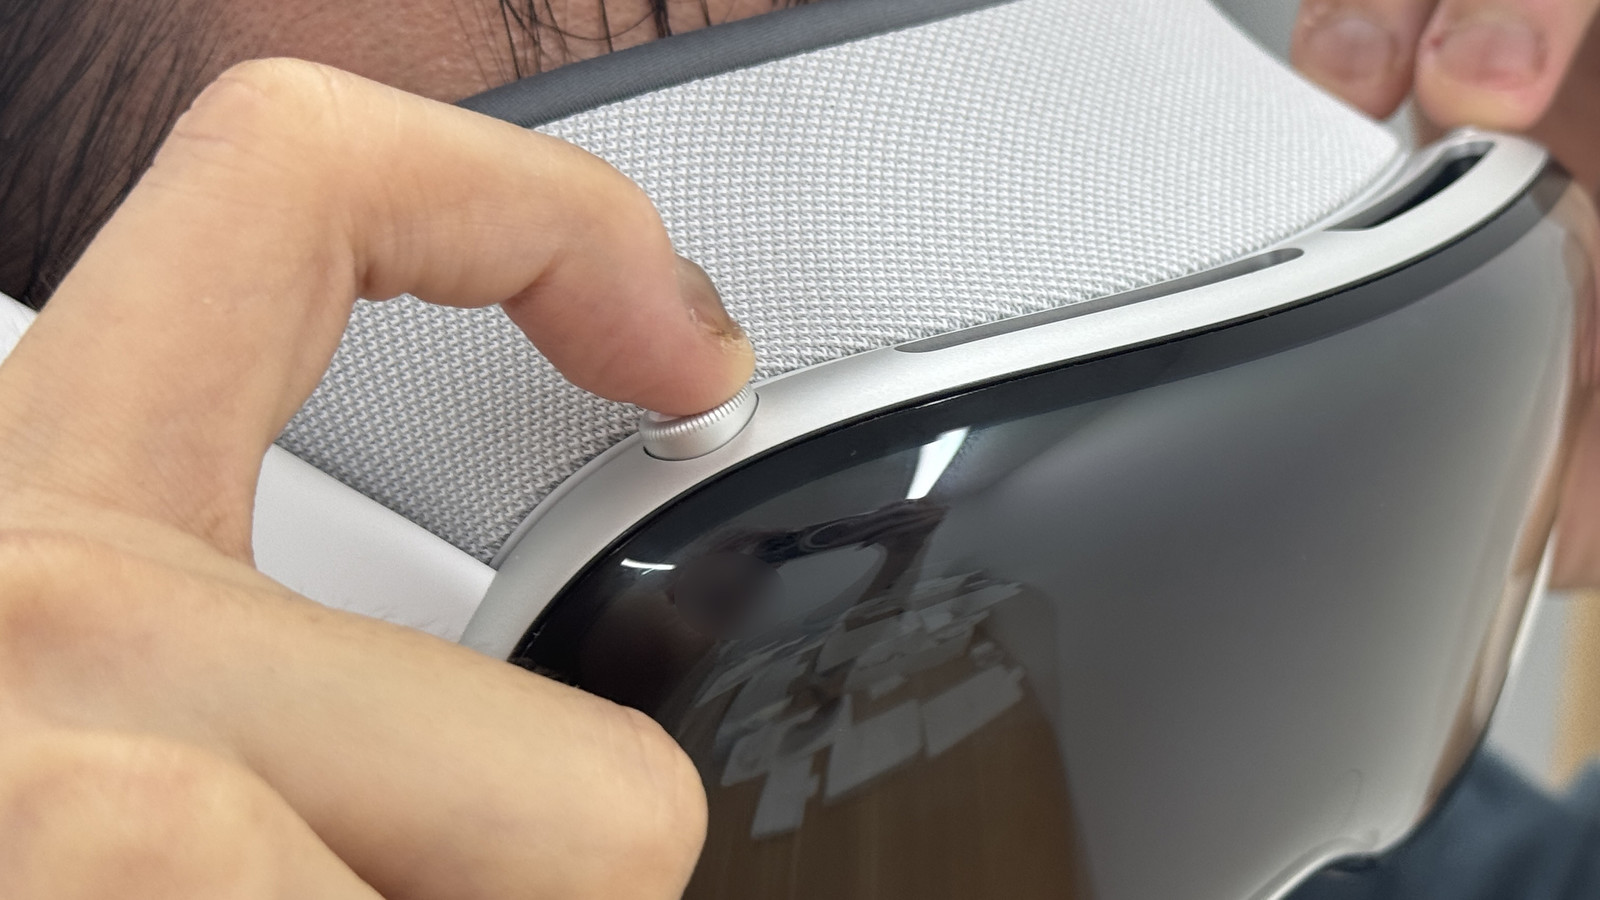
Click the Digital Crown on the top of the goggles.
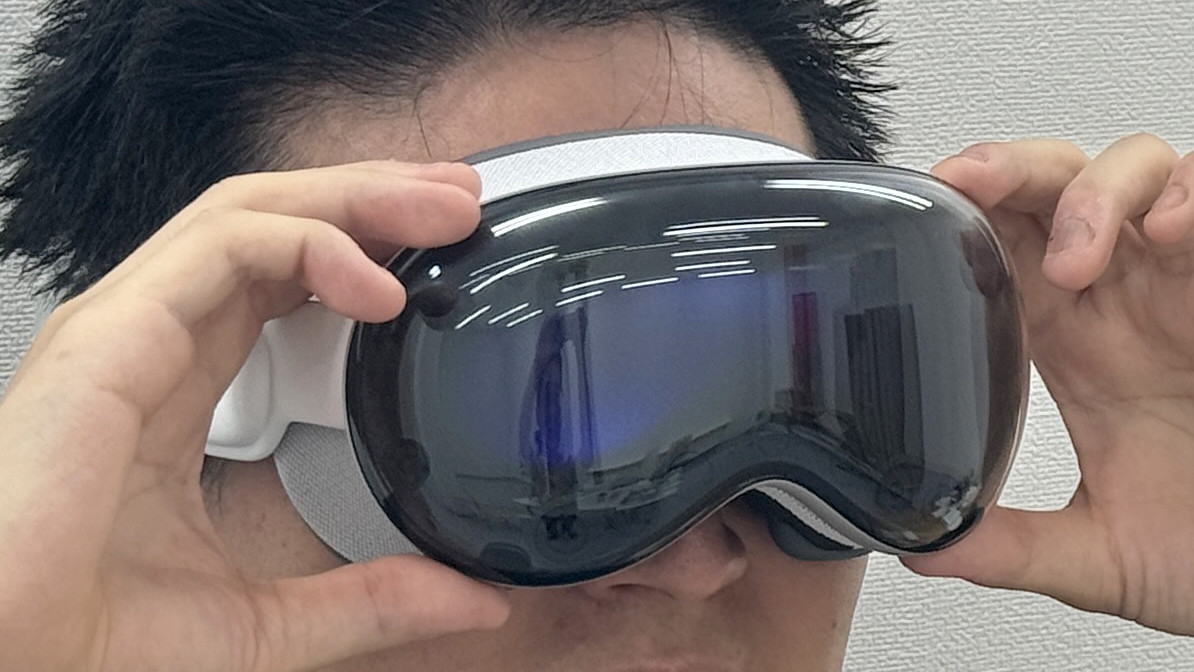
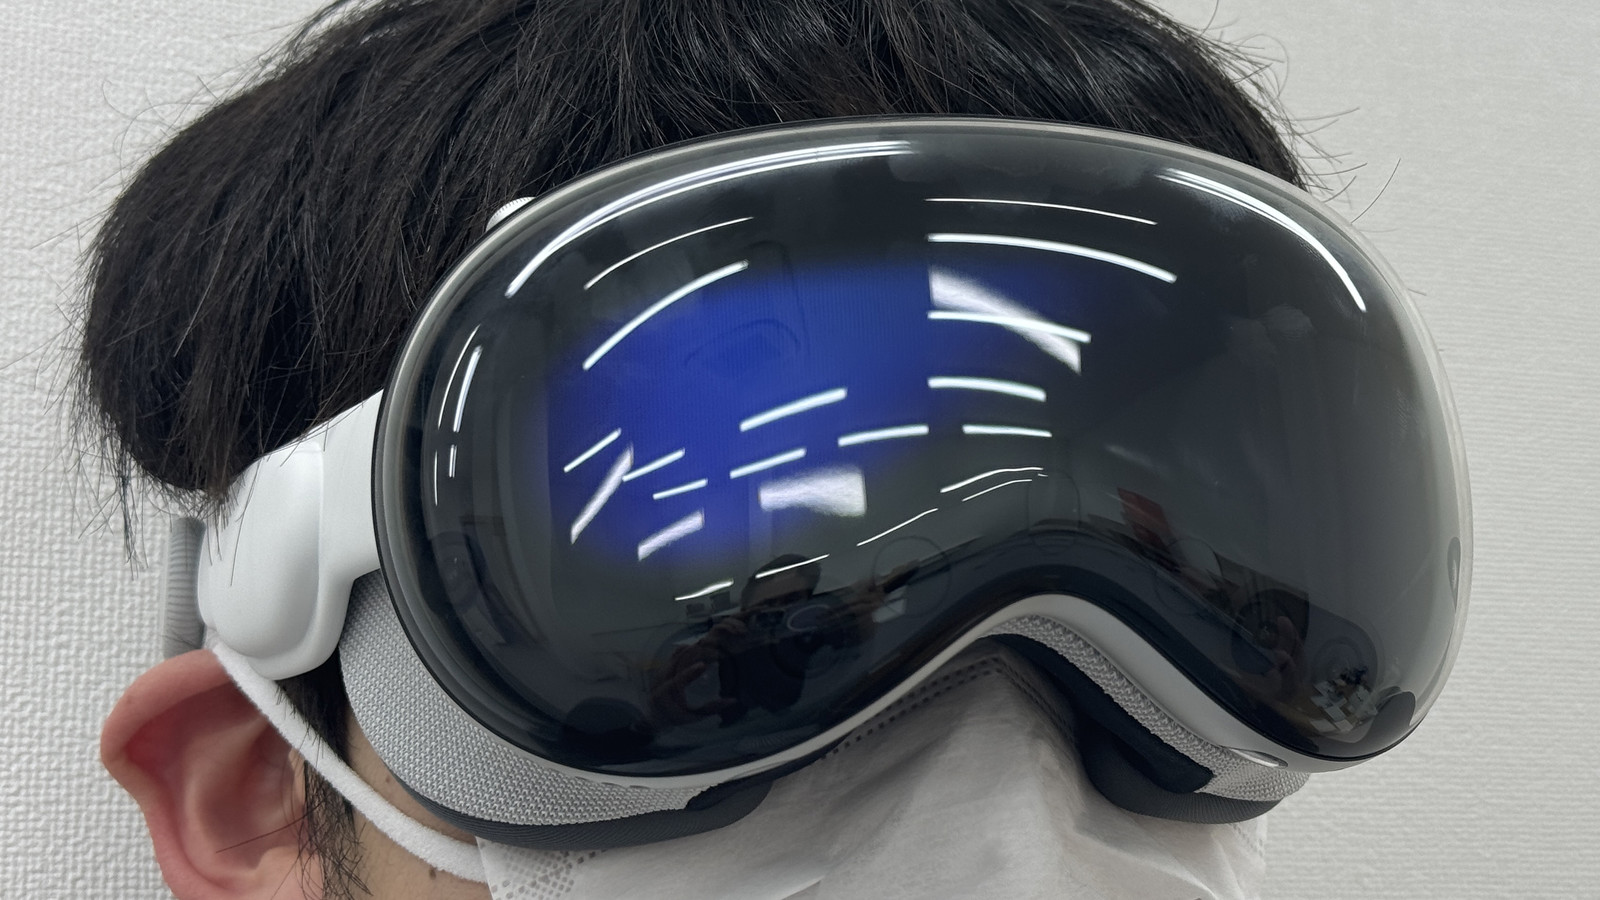
Then, Apple Vision Pro started up. A blue hazy light was projected onto the cover glass display.
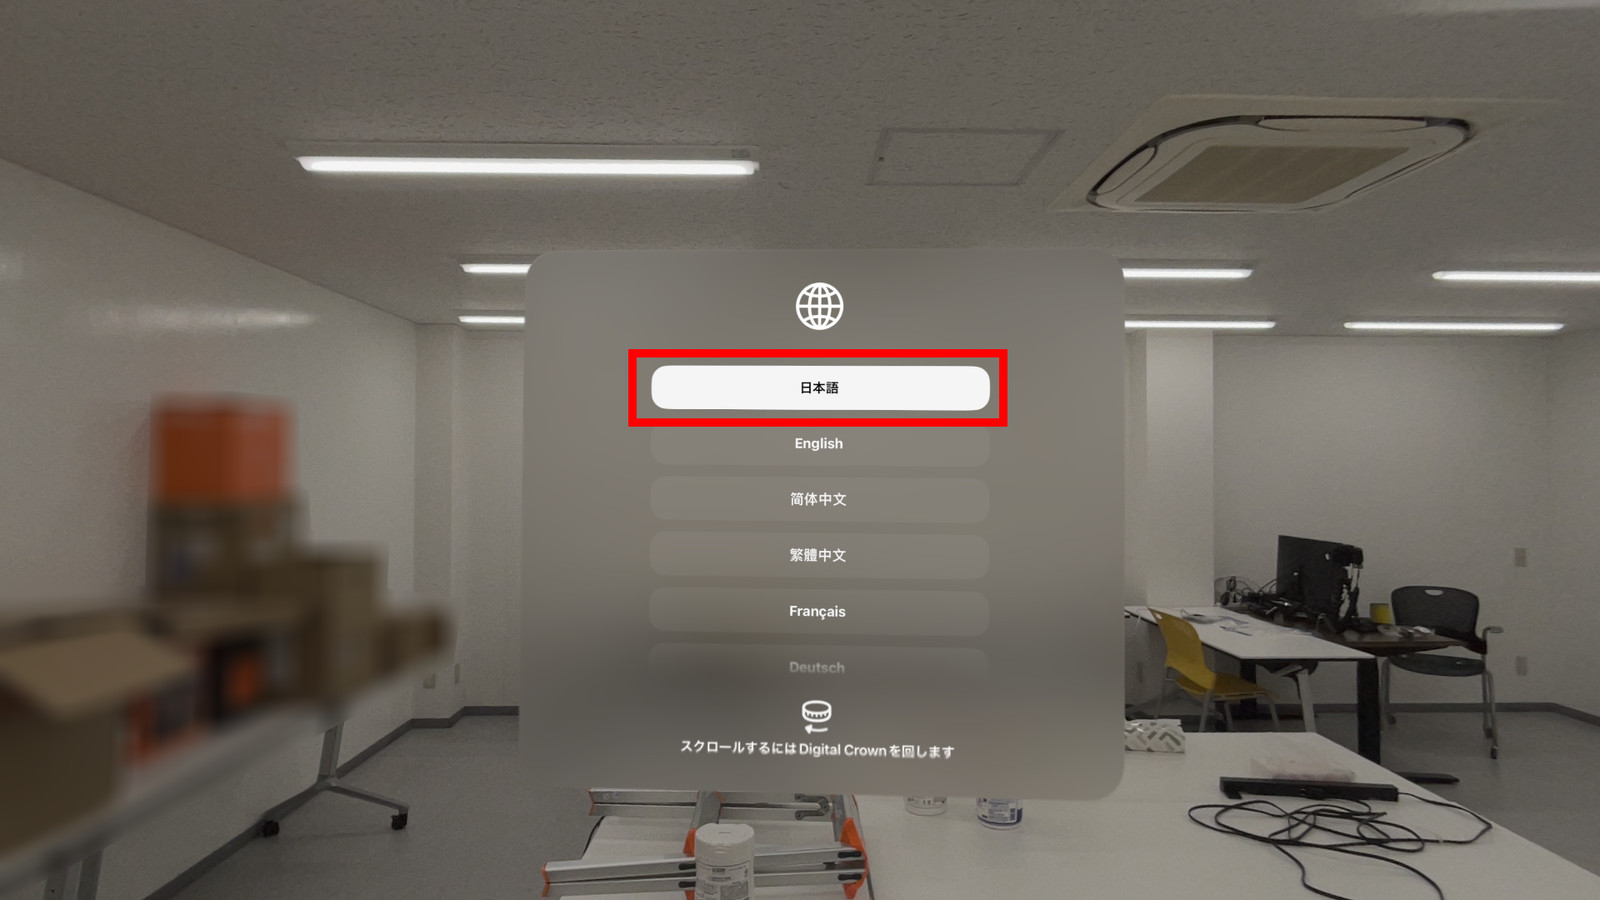
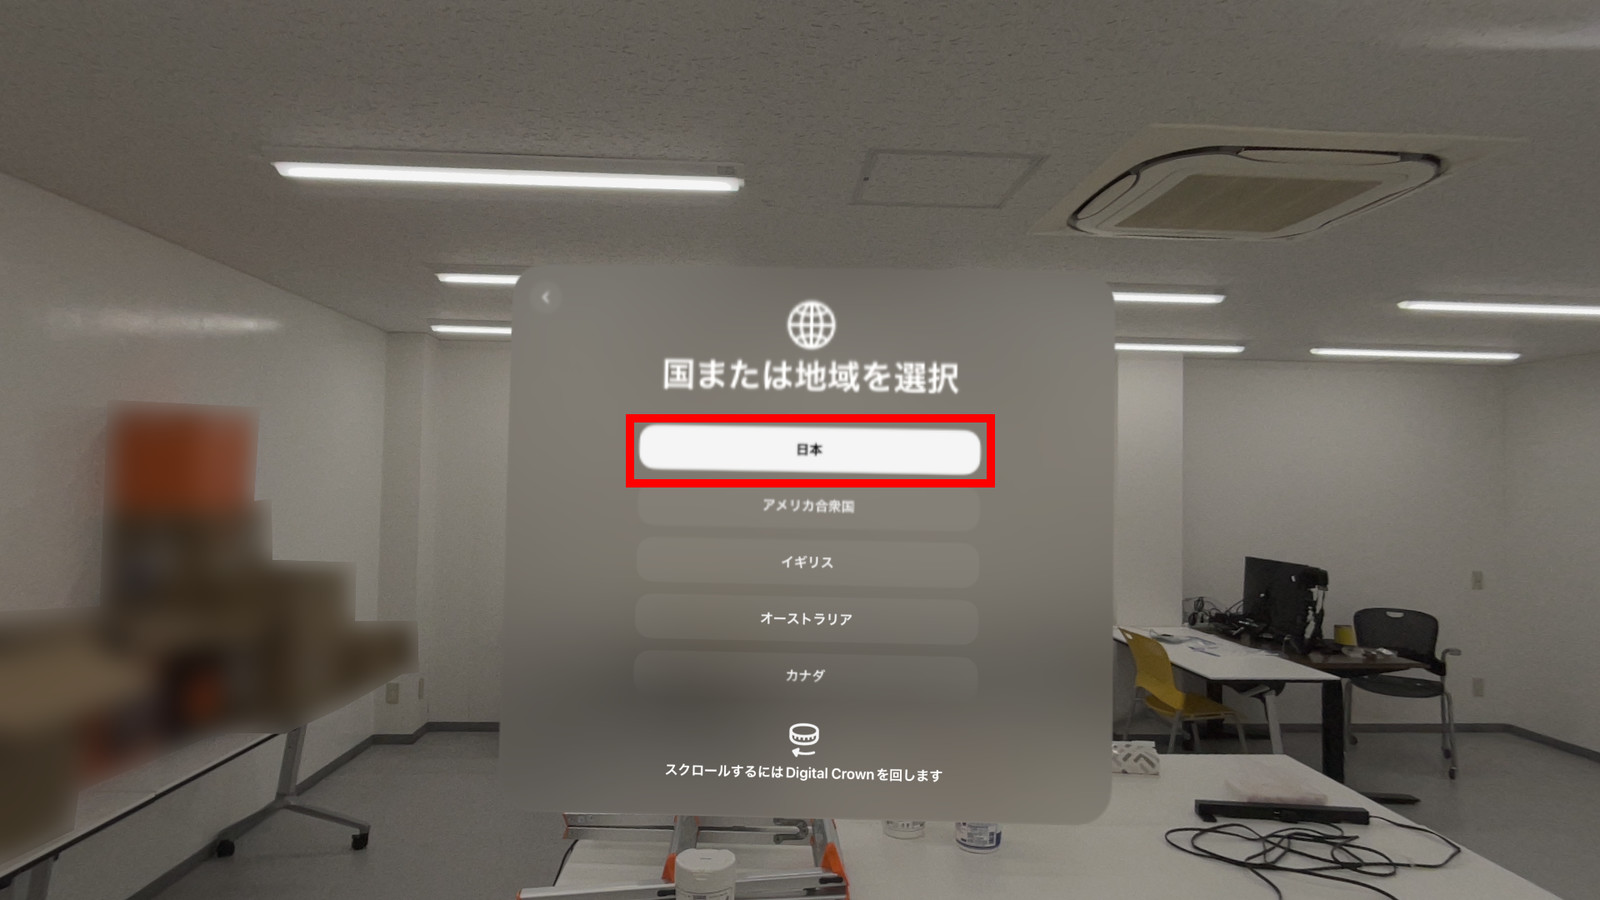
The view from inside looks like this. The pass-through that shows the surroundings is high quality and you can see the surroundings quite clearly. A language selection window will appear, so turn the Digital Crown to move the cursor, select 'Japanese' and click the Digital Crown. Note that screenshots are saved to the photo library by pressing the Digital Crown and the top button at the same time.
Select 'Japan' as the country or region.
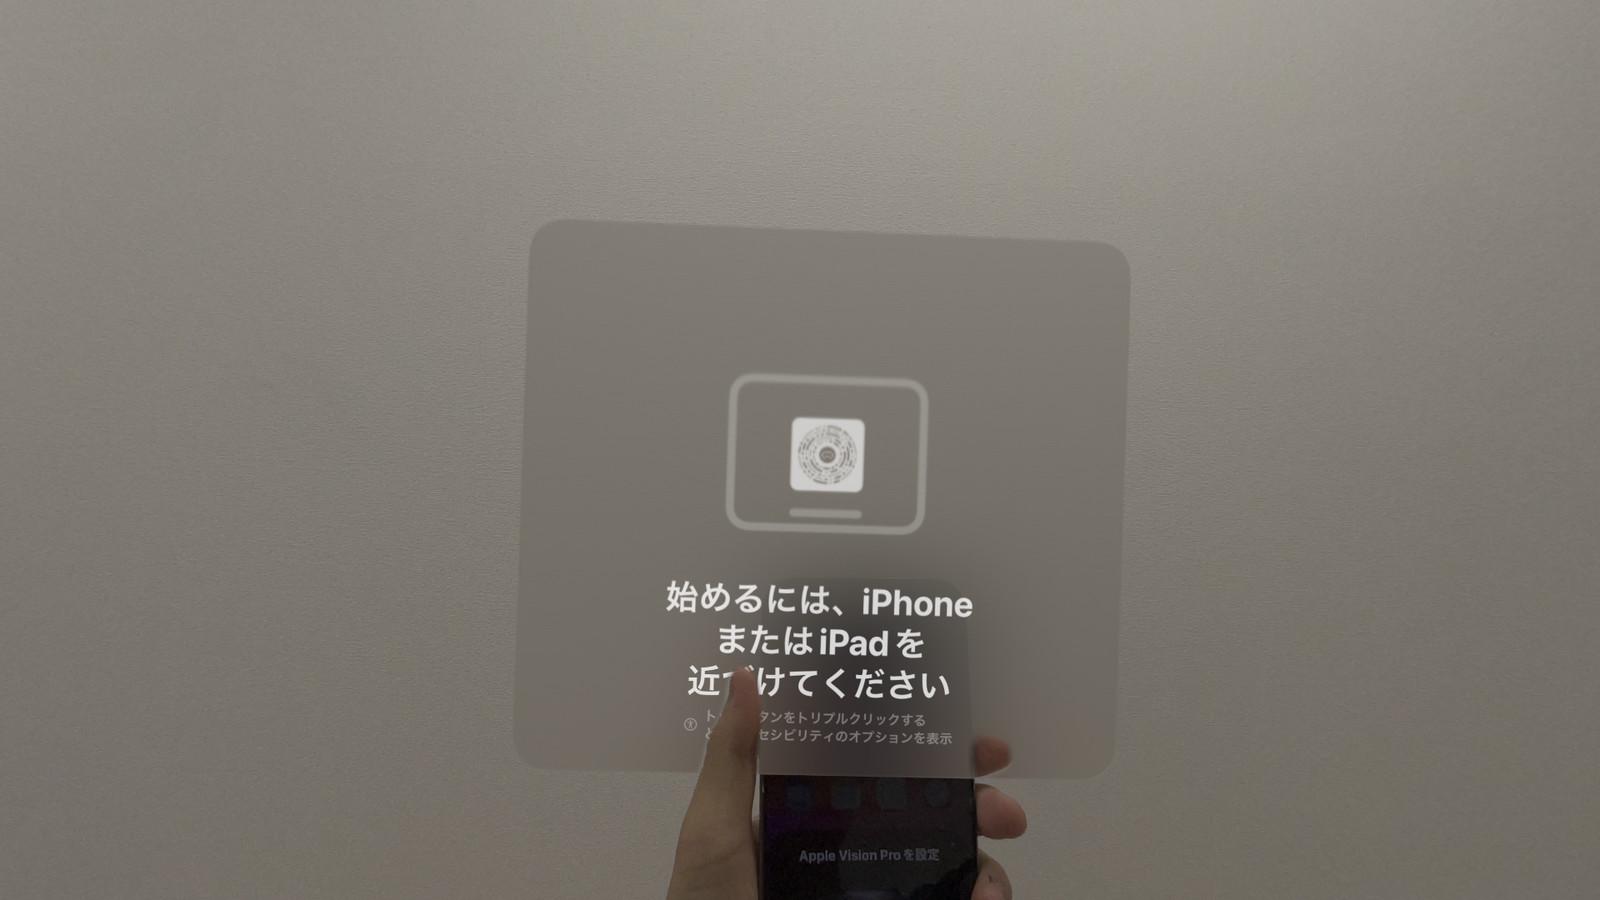
To begin setting up your Apple Vision Pro, you will need an iPhone or iPad. Bring it close to your iPhone that is logged in with the same Apple ID.
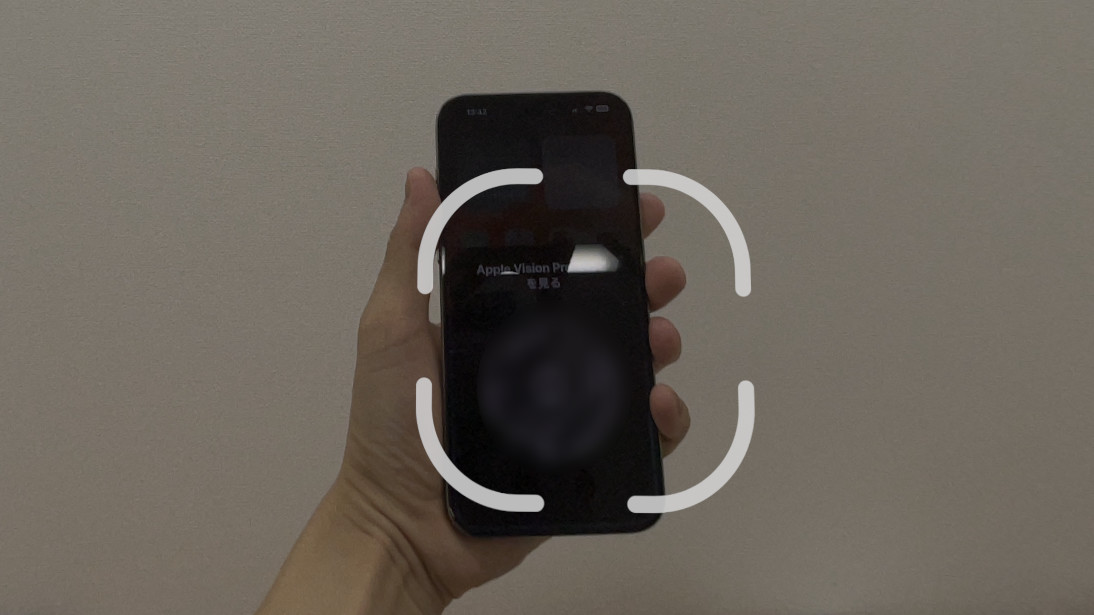
The code then automatically appeared on the iPhone screen and began to be read via the camera.
Next, set your gaze and hands. Click the Digital Crown.

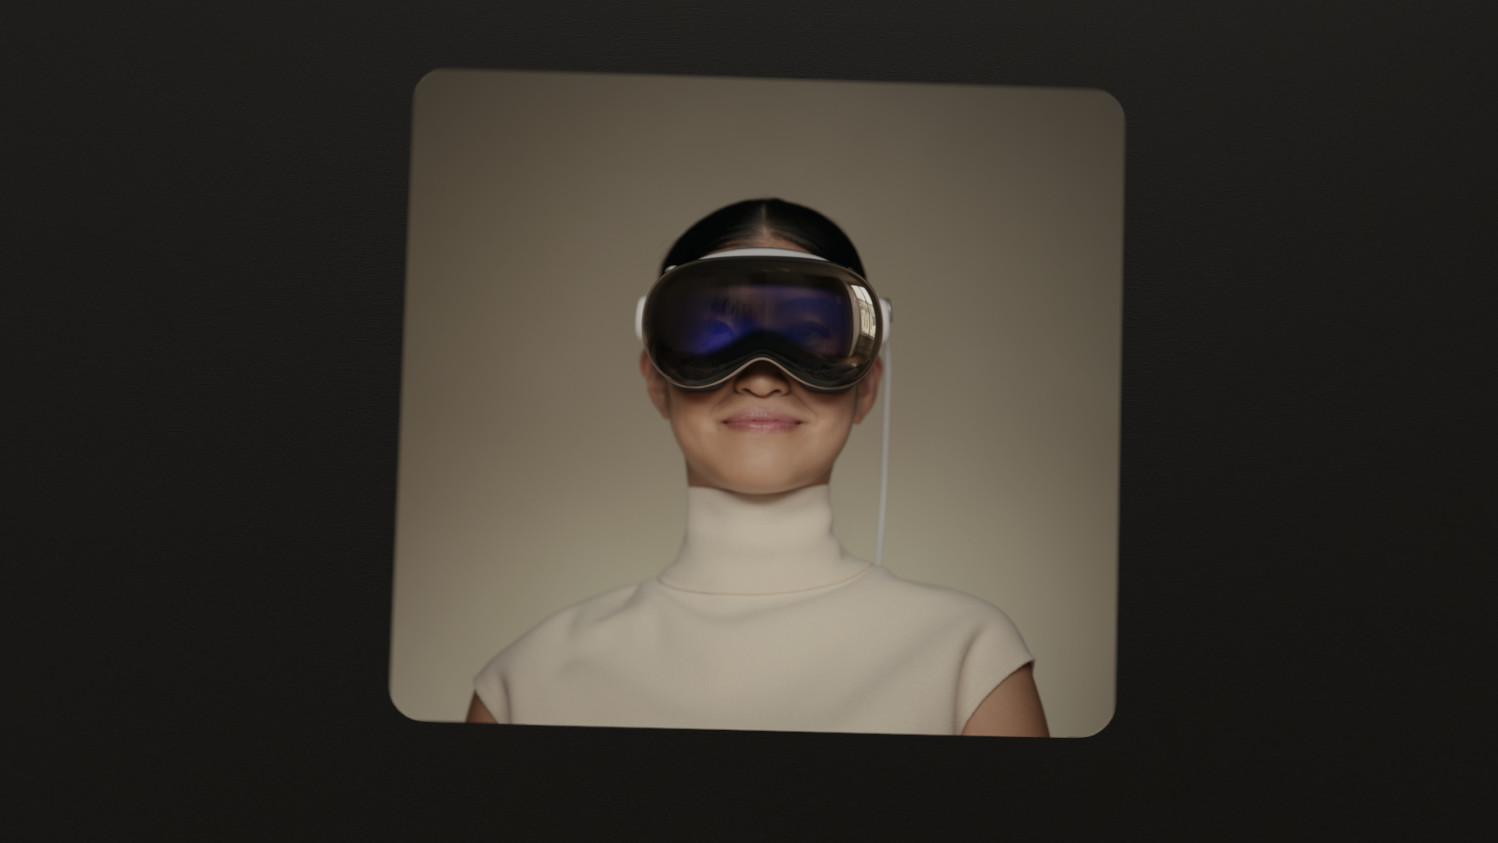
The explanatory video was played.
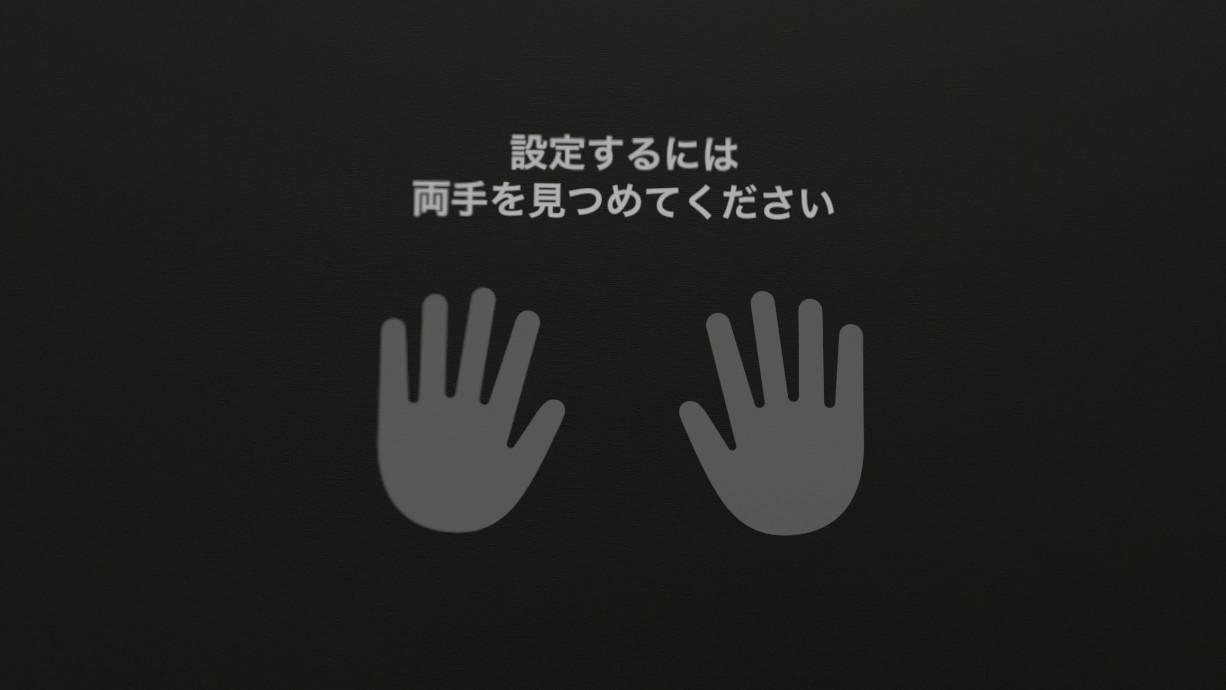
To set it up, you're asked to look at your hands. They're not projected, but you look at your hands and follow their shadows.
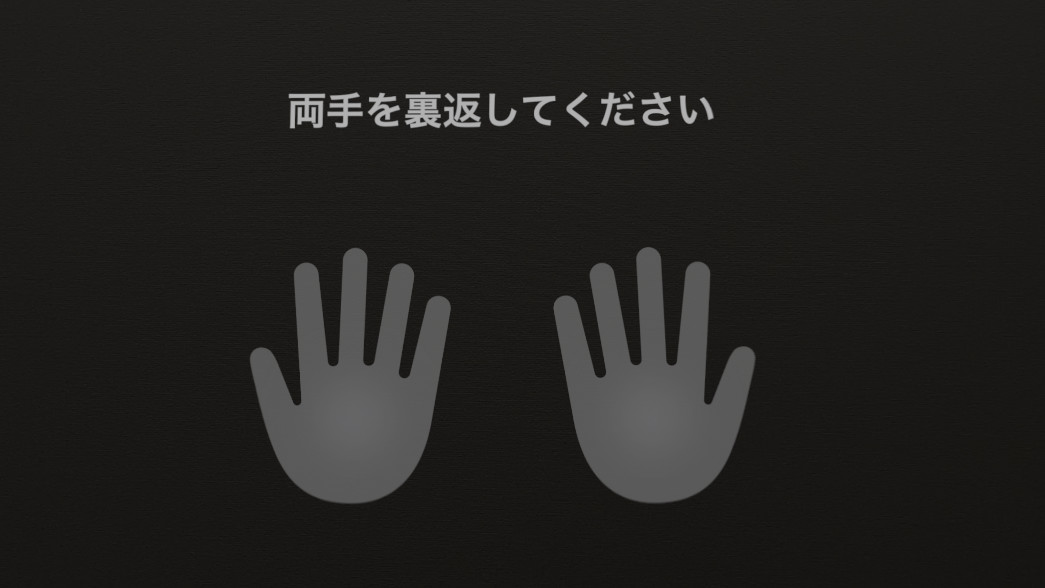
Next, turn your hands over and look at them in the same way.
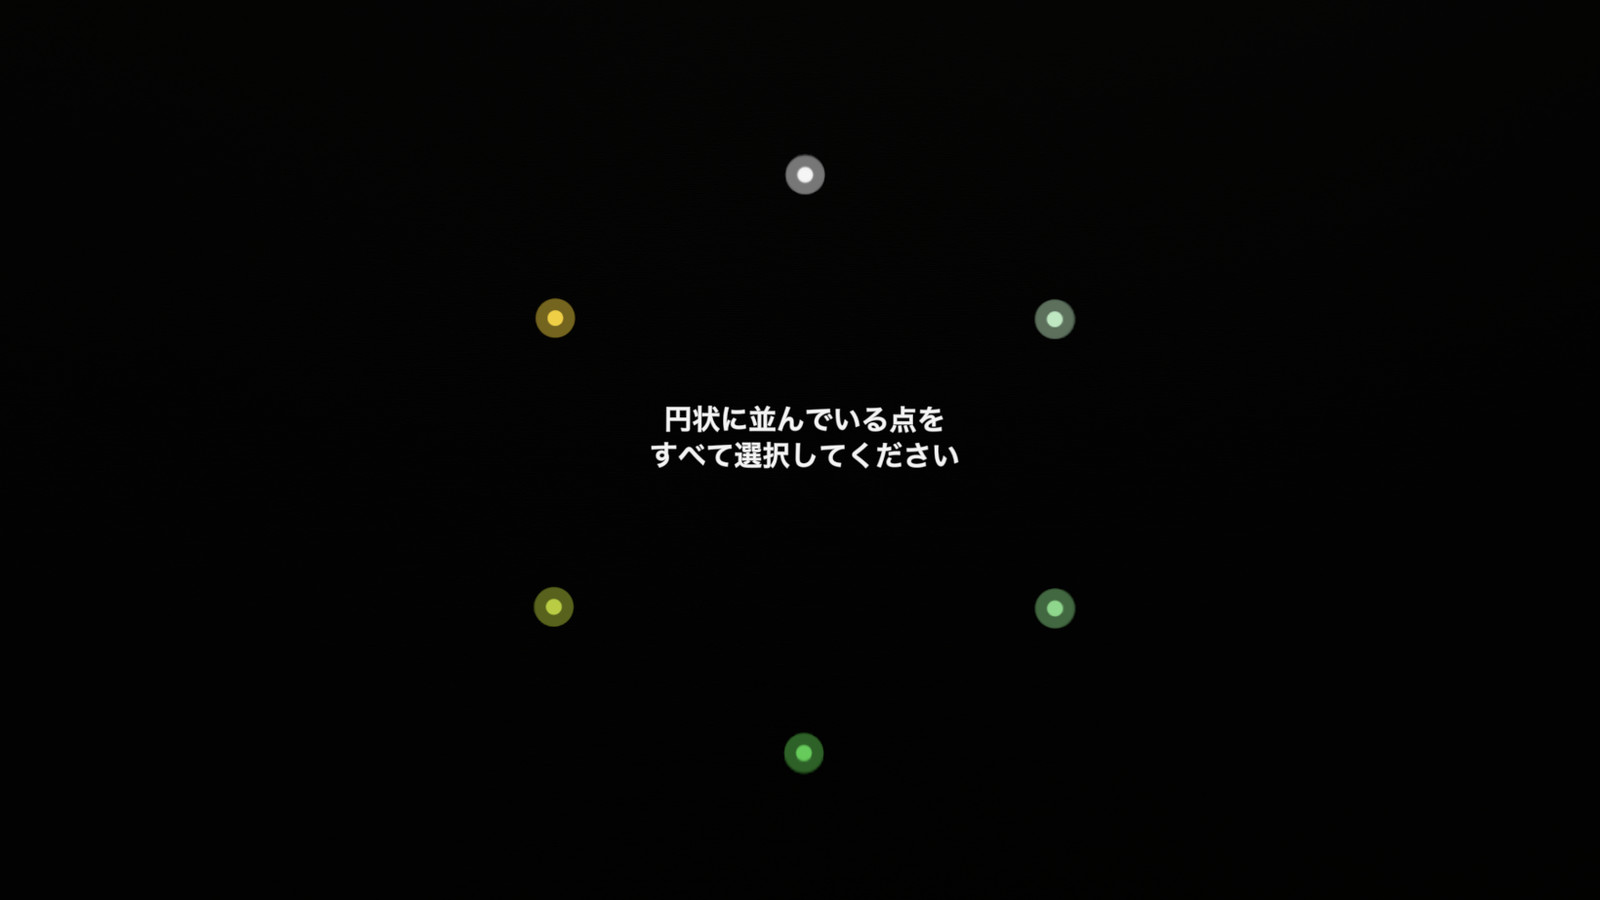
Then look at the dot that appears and tap your finger.

Repeat the same operation several times. Now you will be able to track your gaze.
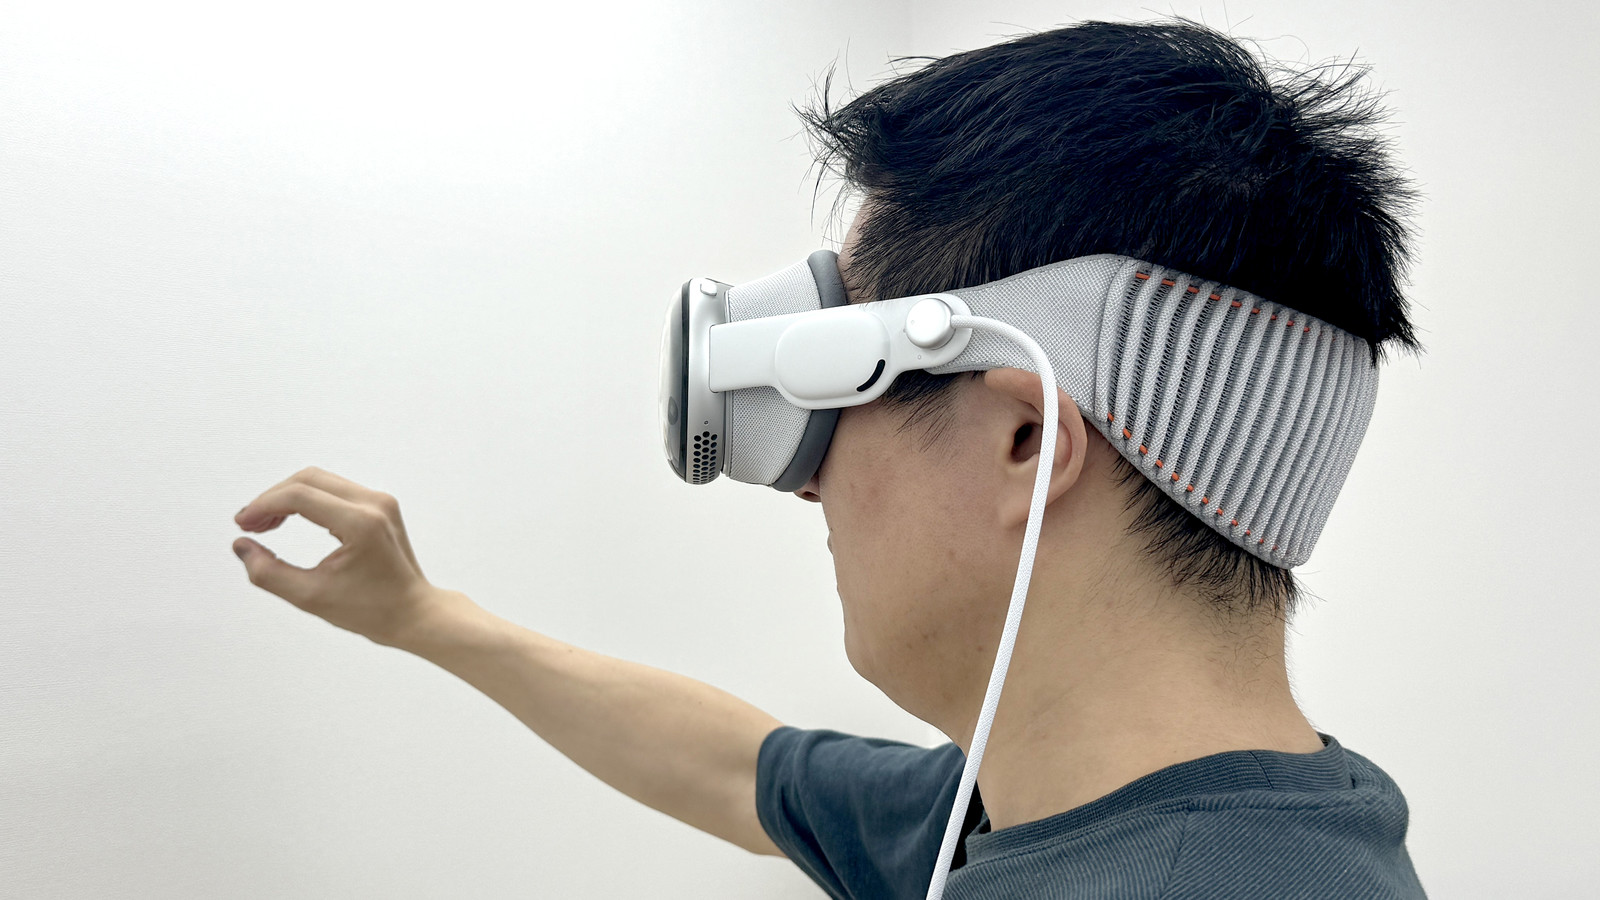
The operation of Apple Vision Pro is simple: just look at what you want to operate, pinch it with your finger and tap it. Although it requires you to look at what you want to select, once you get used to it, it is quite comfortable to operate.
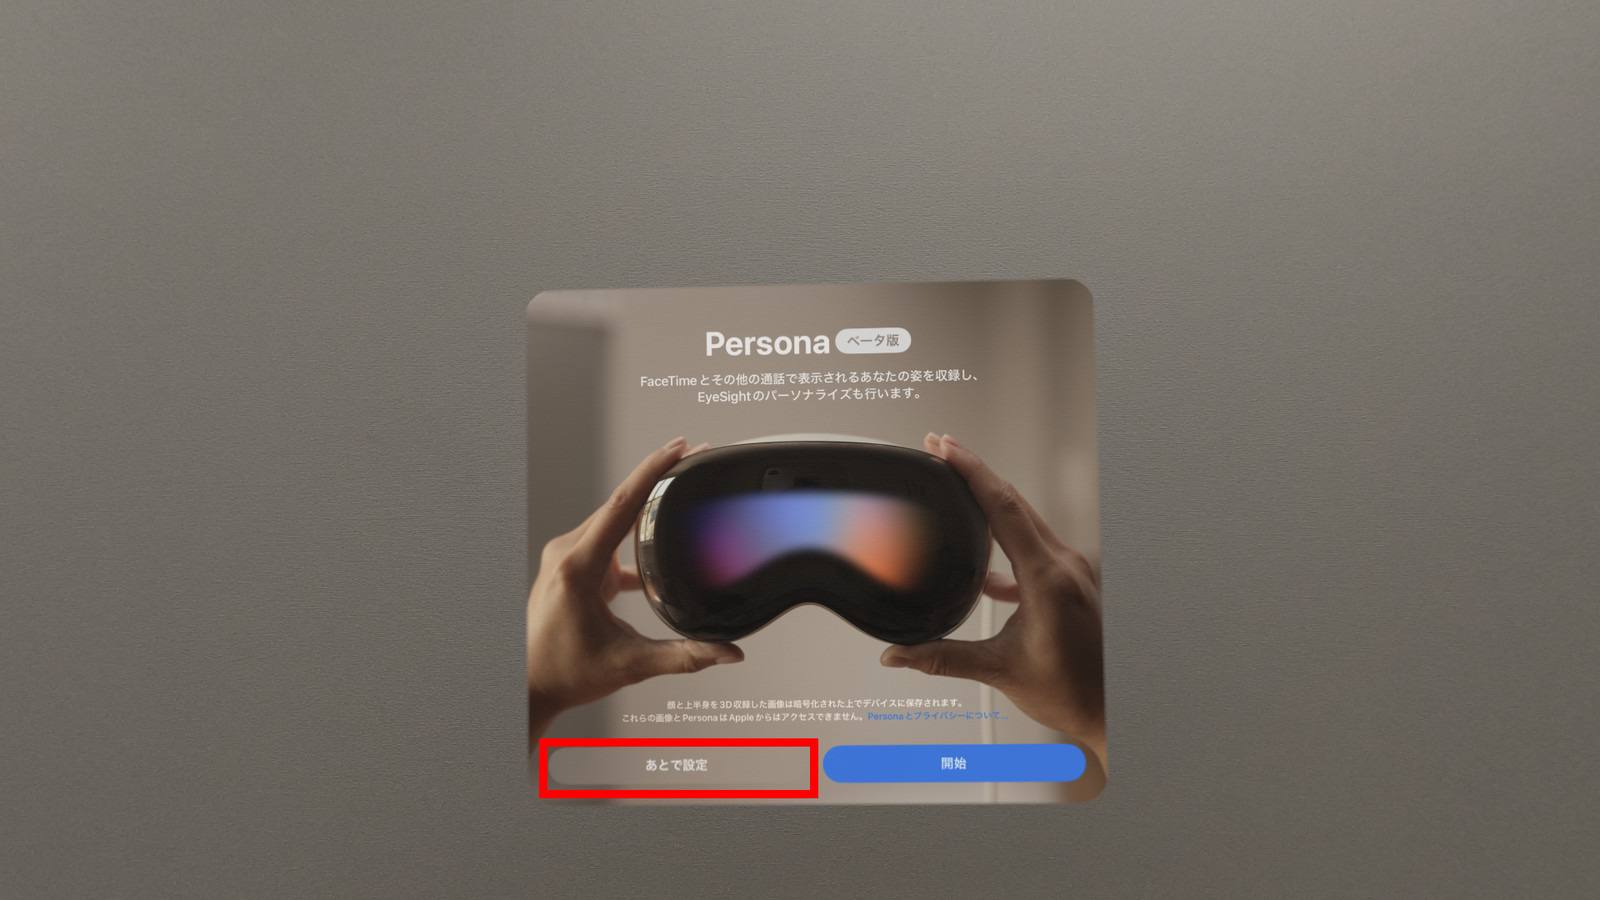
I was prompted to register a Persona. This time I selected 'Set up later.'
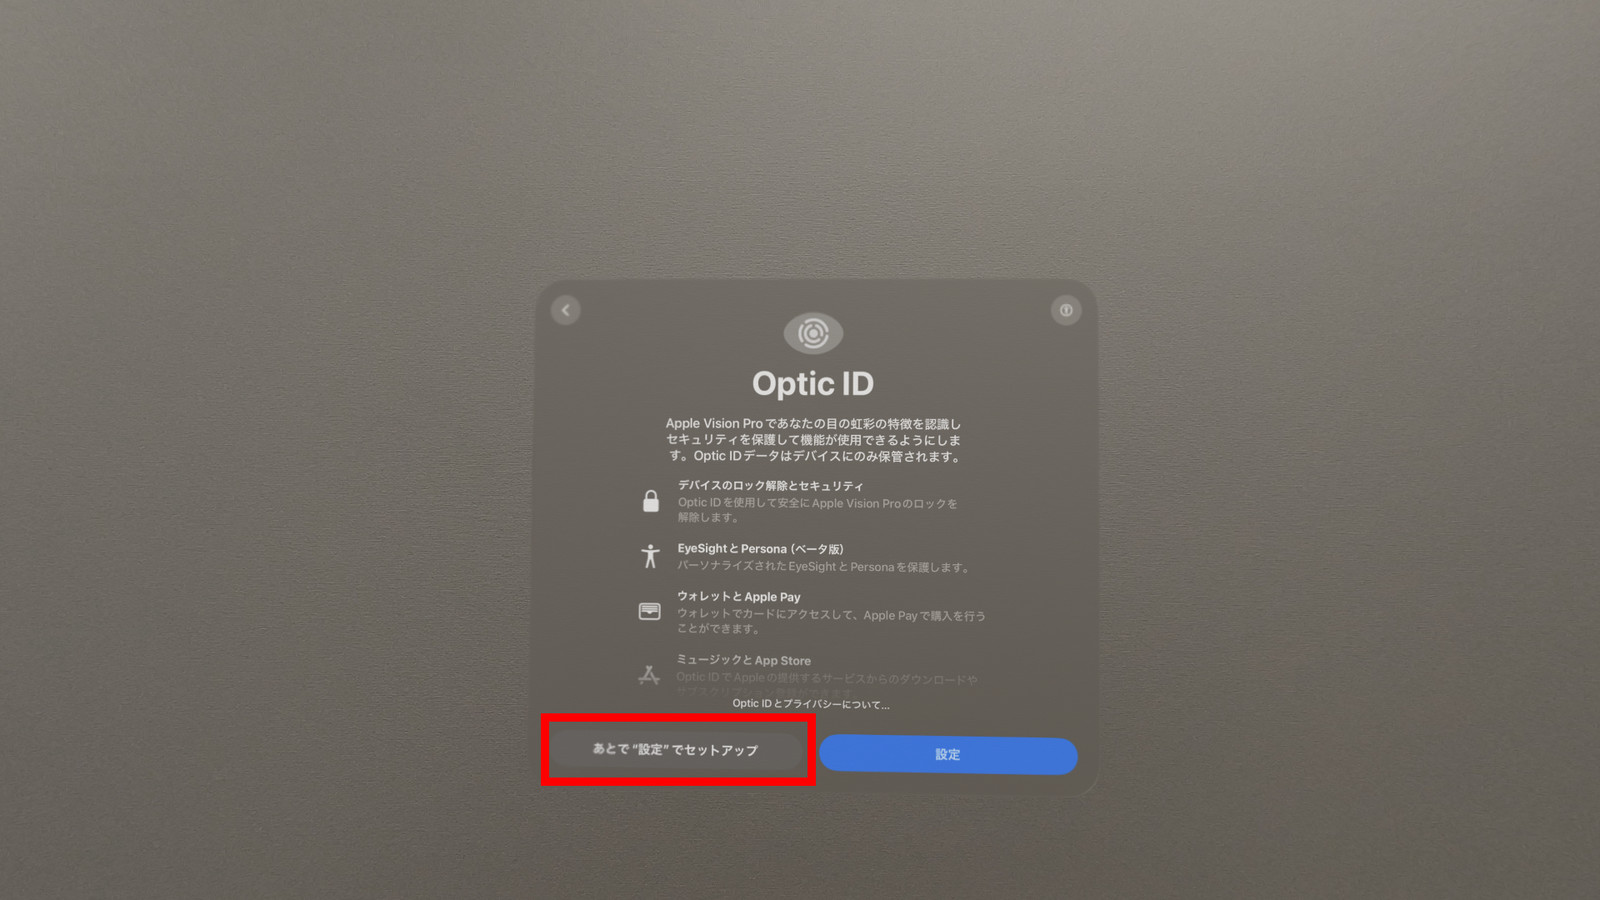
For the Optic ID settings, I selected 'Set up later in Settings.'
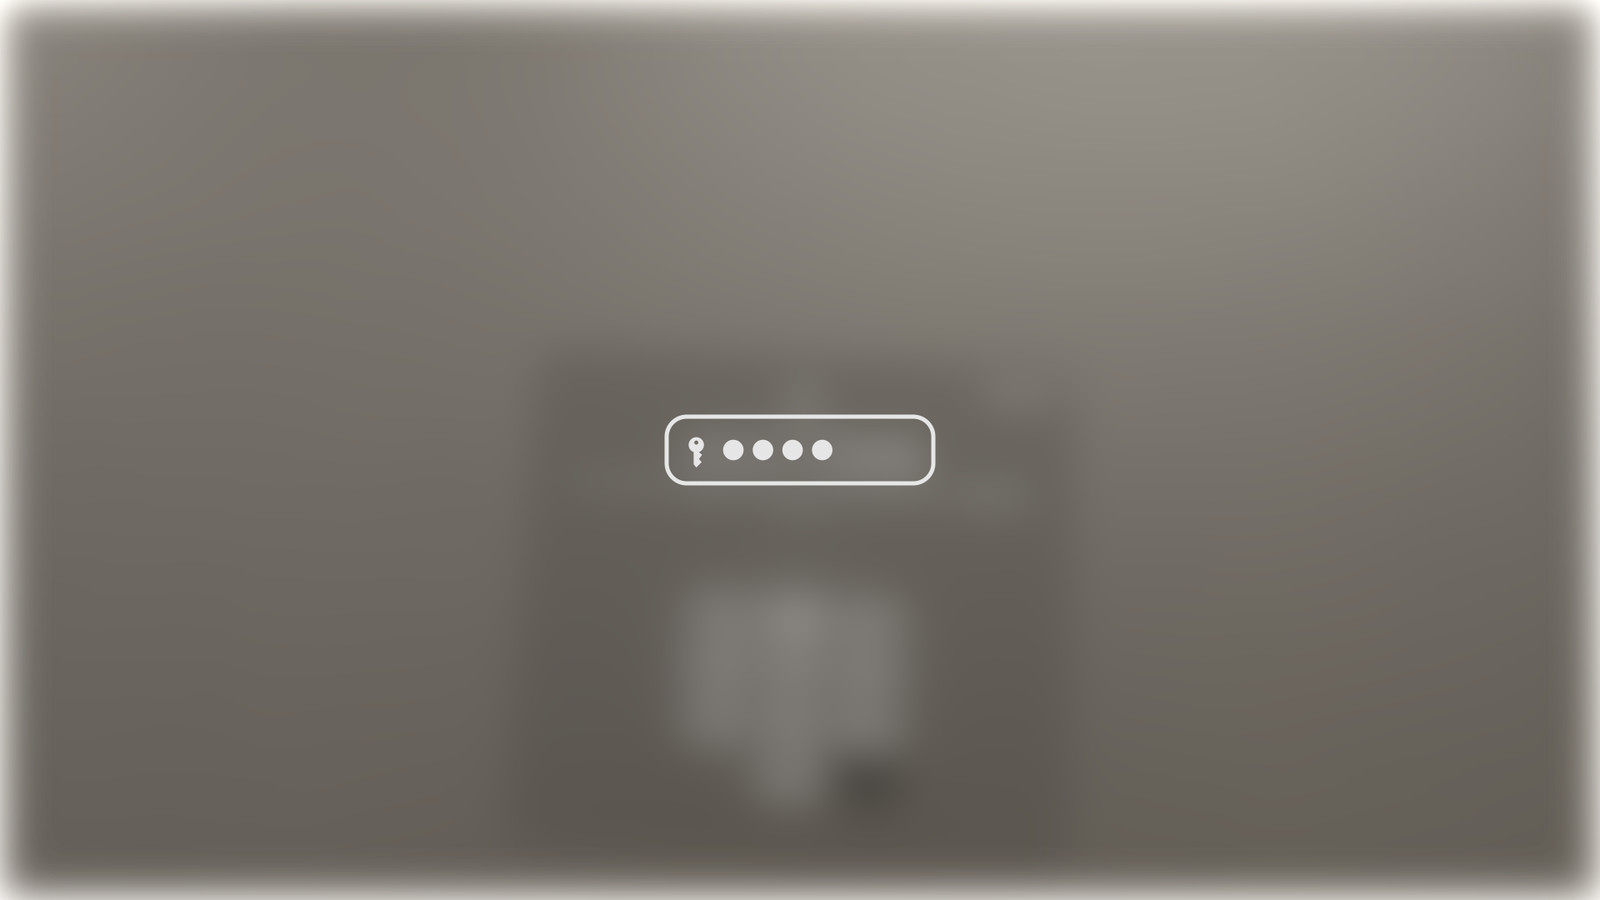
Set the passcode required for logging in. When I captured the passcode being set, it was automatically blurred so that the numbers could not be captured in the picture, as shown below.
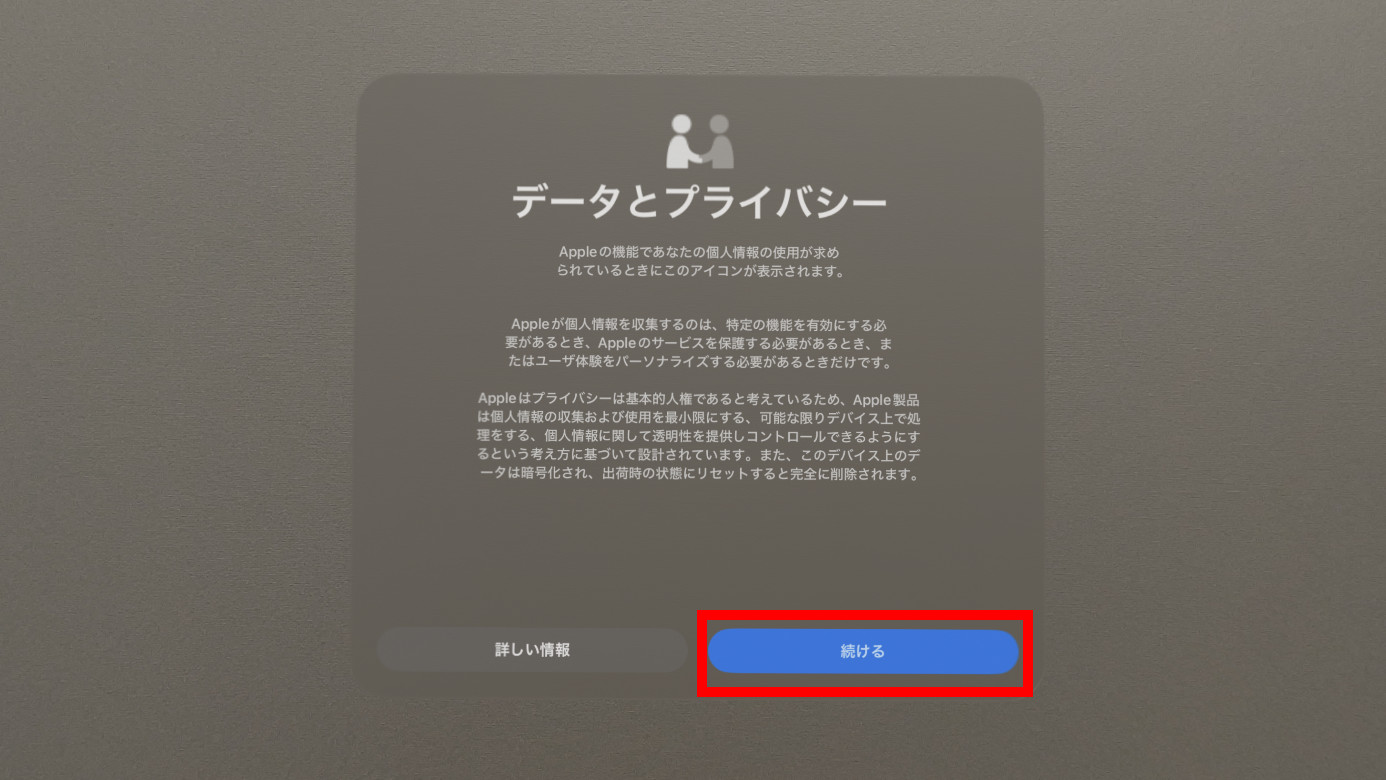
Data and privacy will be displayed, so tap 'Continue'.
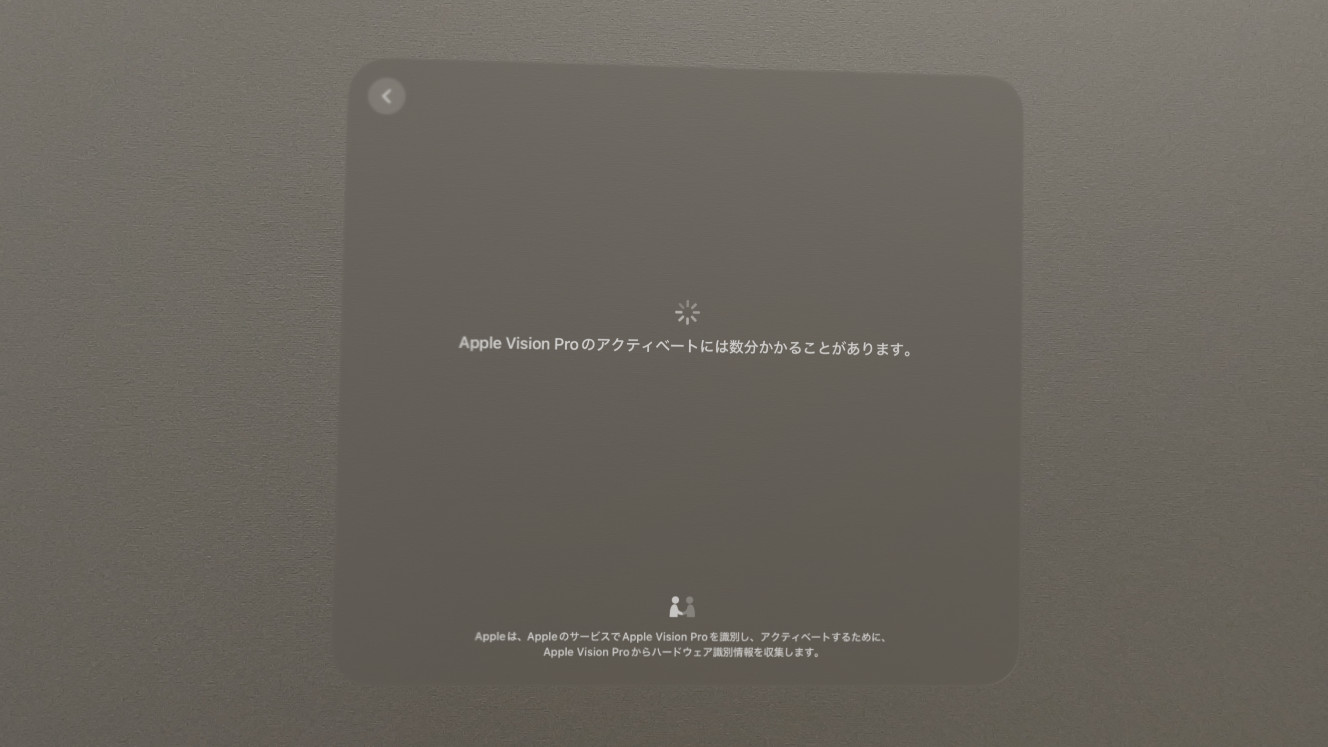
Once you agree to the privacy policy, Apple Vision Pro activation will begin.
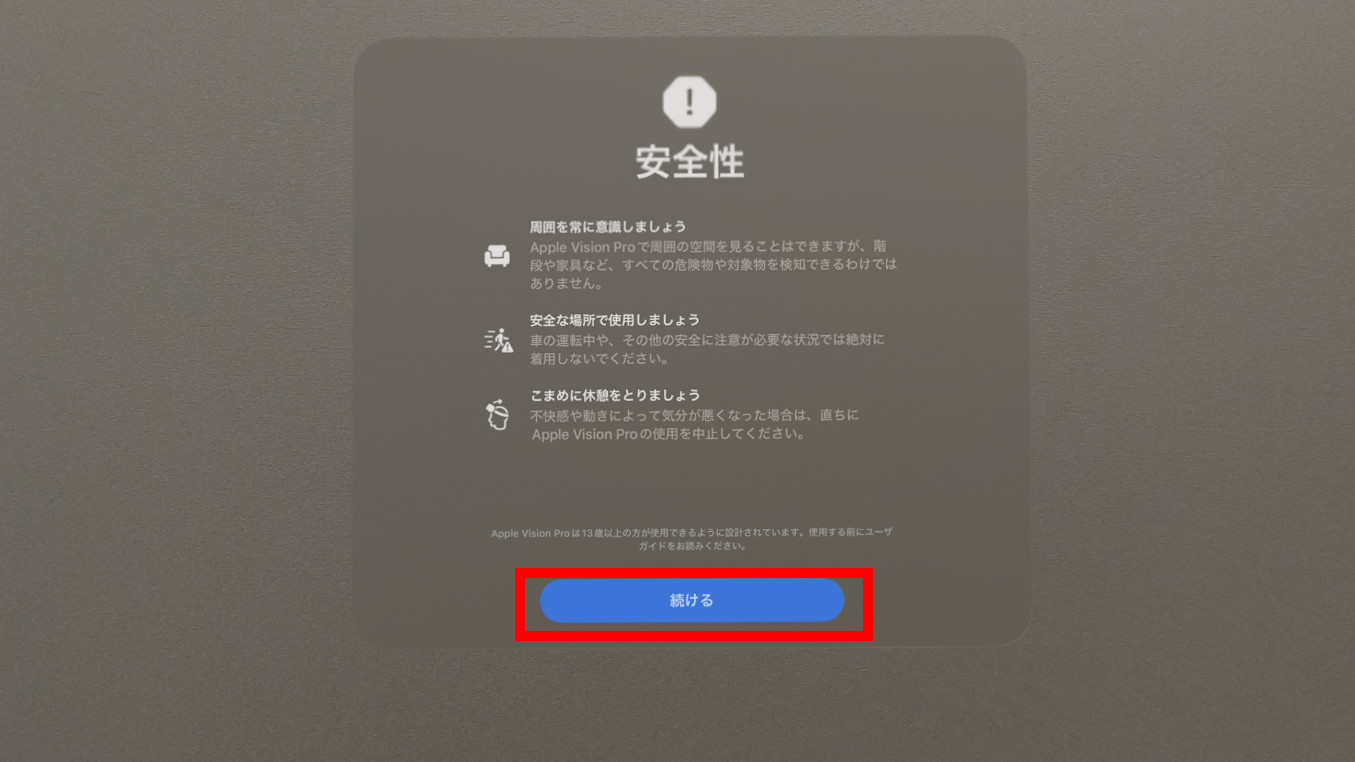
About safety. Tap 'Continue'.
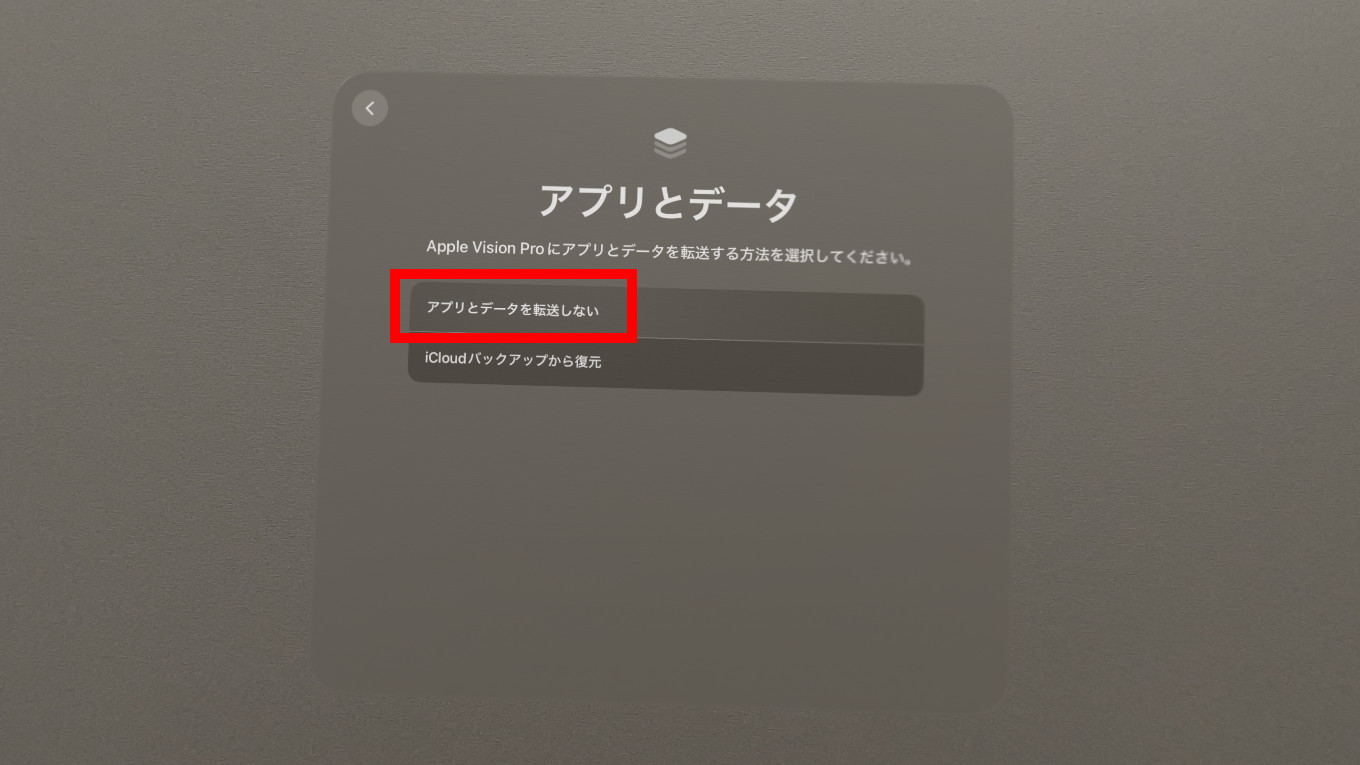
You can transfer your apps and data via your Apple ID. This time, I chose 'Don't transfer apps and data.'
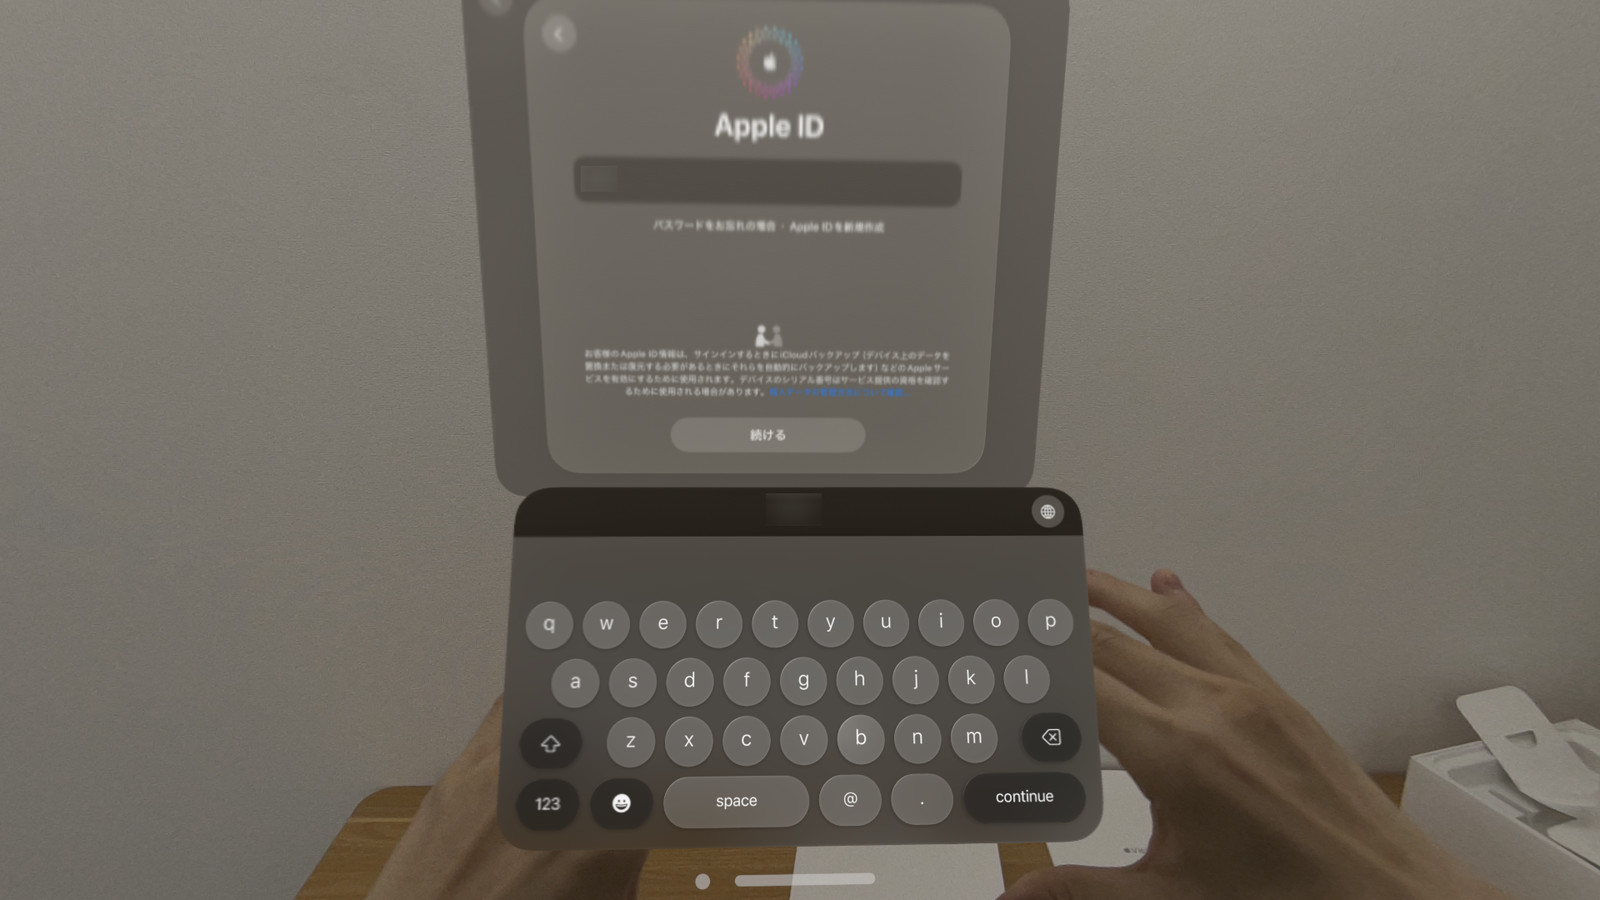
Sign in to your Apple ID. A virtual keyboard will appear for input. You can input by staring at the key you want to press and tapping, or by typing directly on the keyboard.
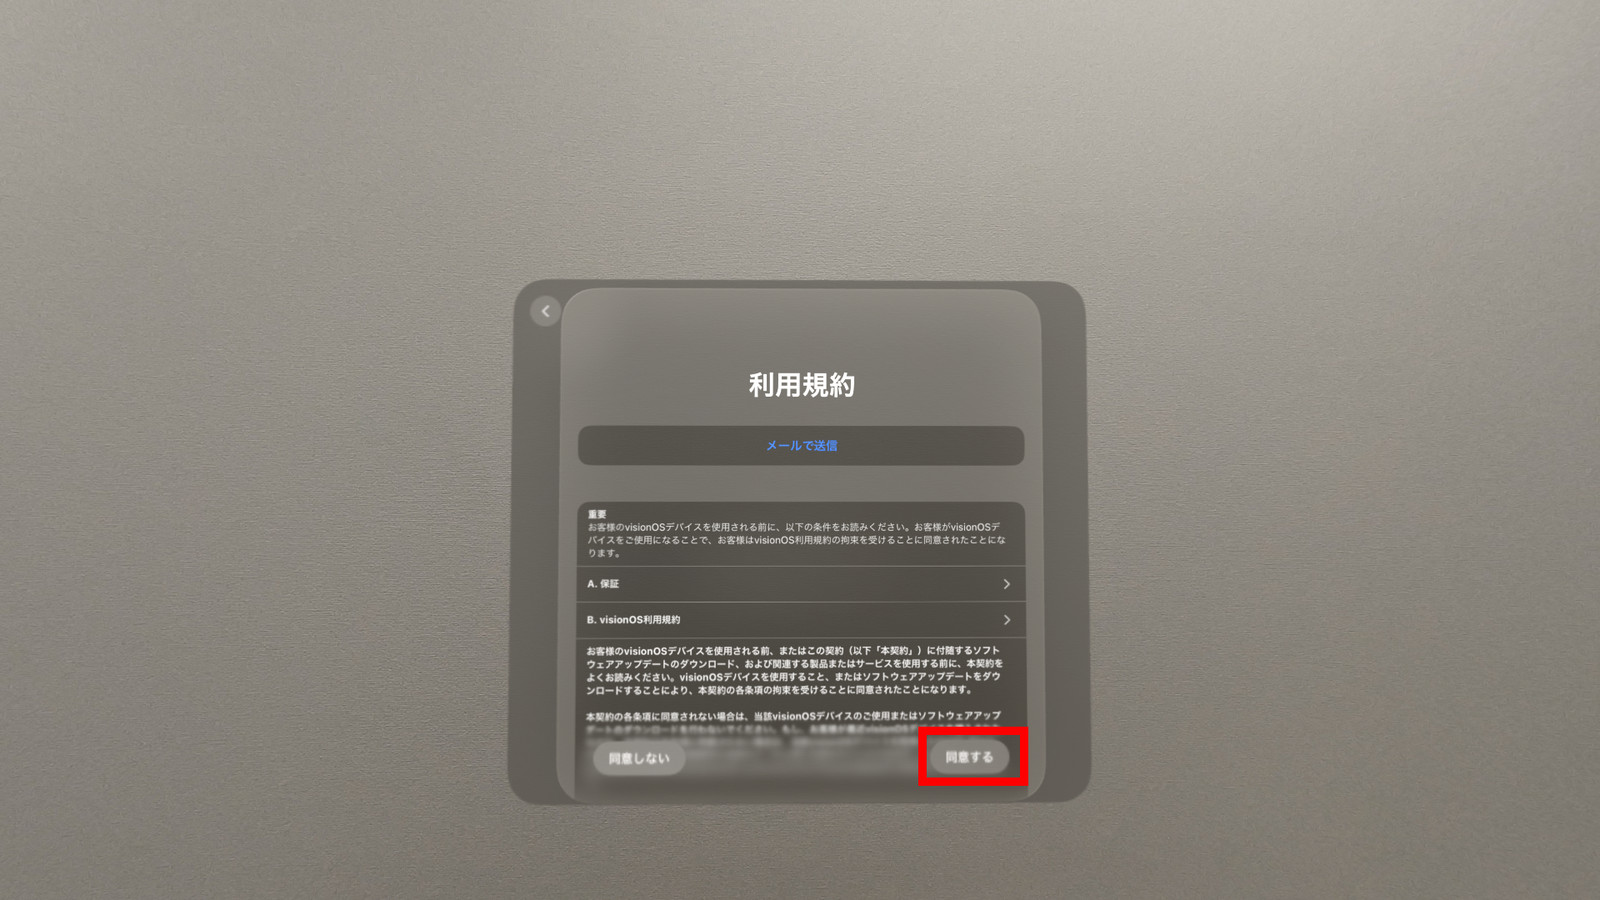
The terms of use will be displayed, so select 'Agree'.
I was able to sign in to my Apple ID.

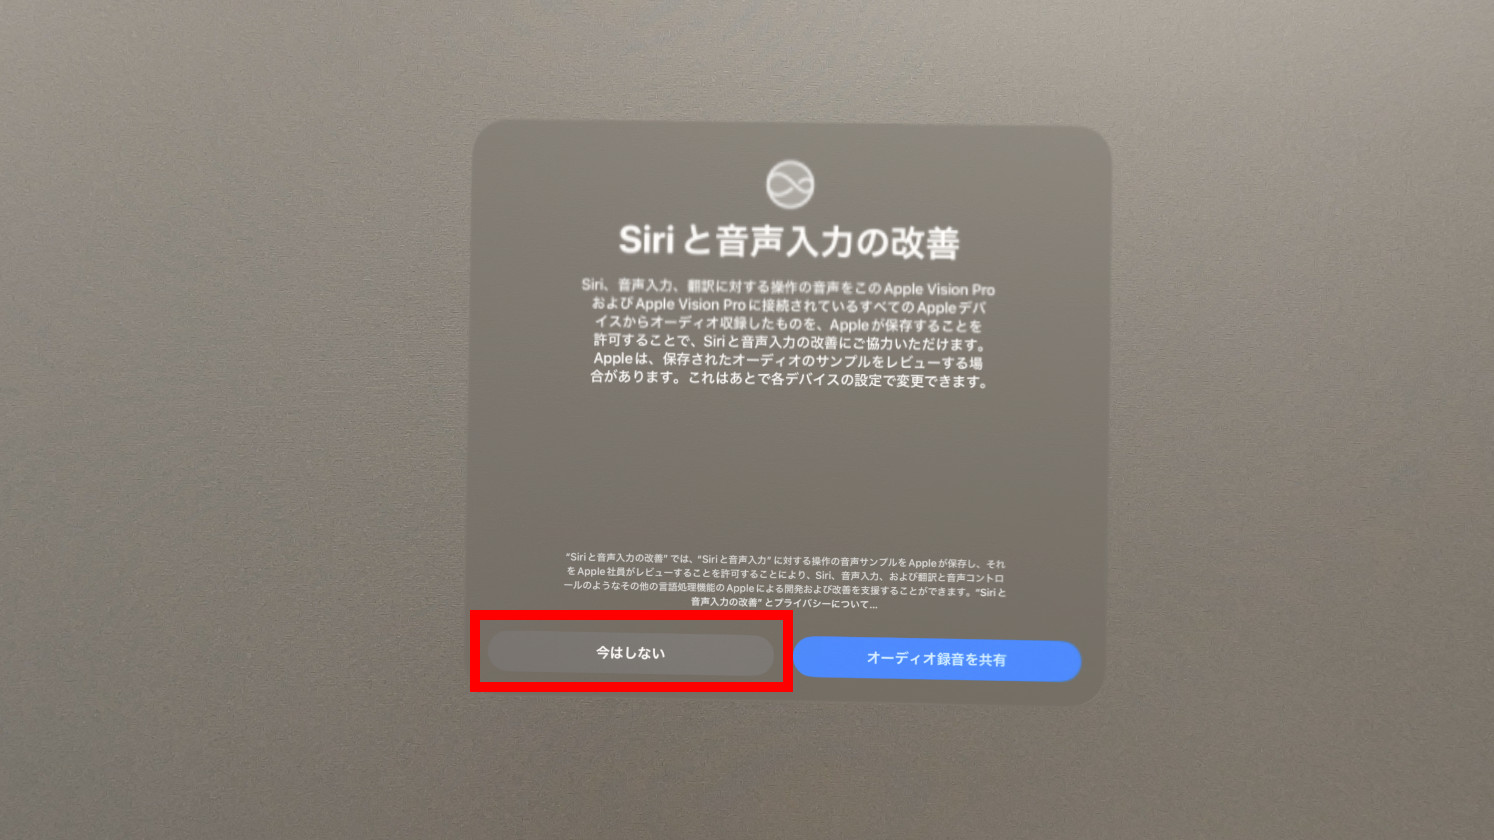
Regarding improvements to Siri and voice input, select 'Not now.'
For iCloud analytics, select 'Don't share.'

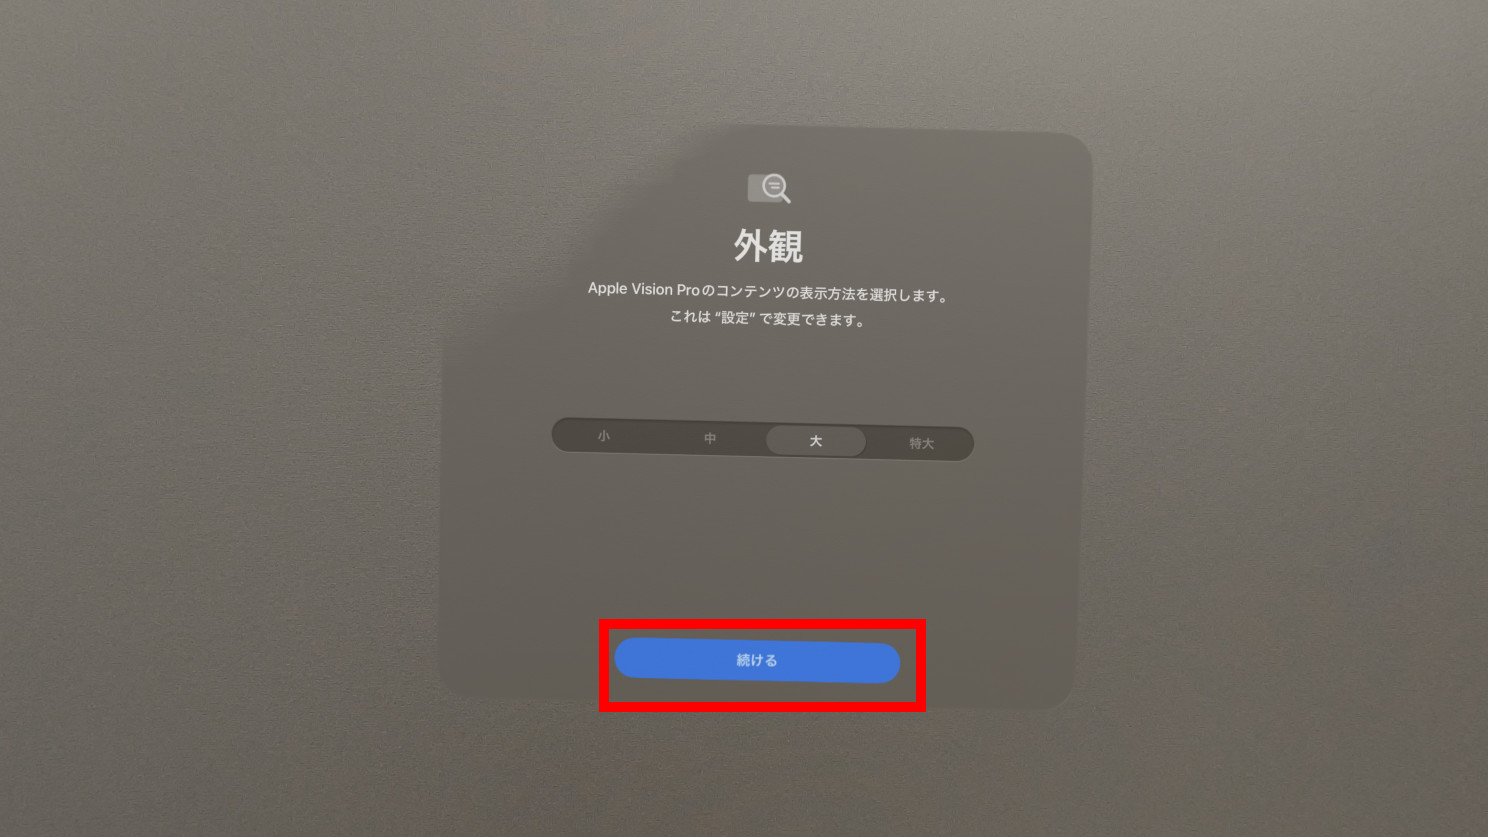
'Appearance' is the setting for how content is displayed, and the default is 'Large.' Tap 'Continue.'
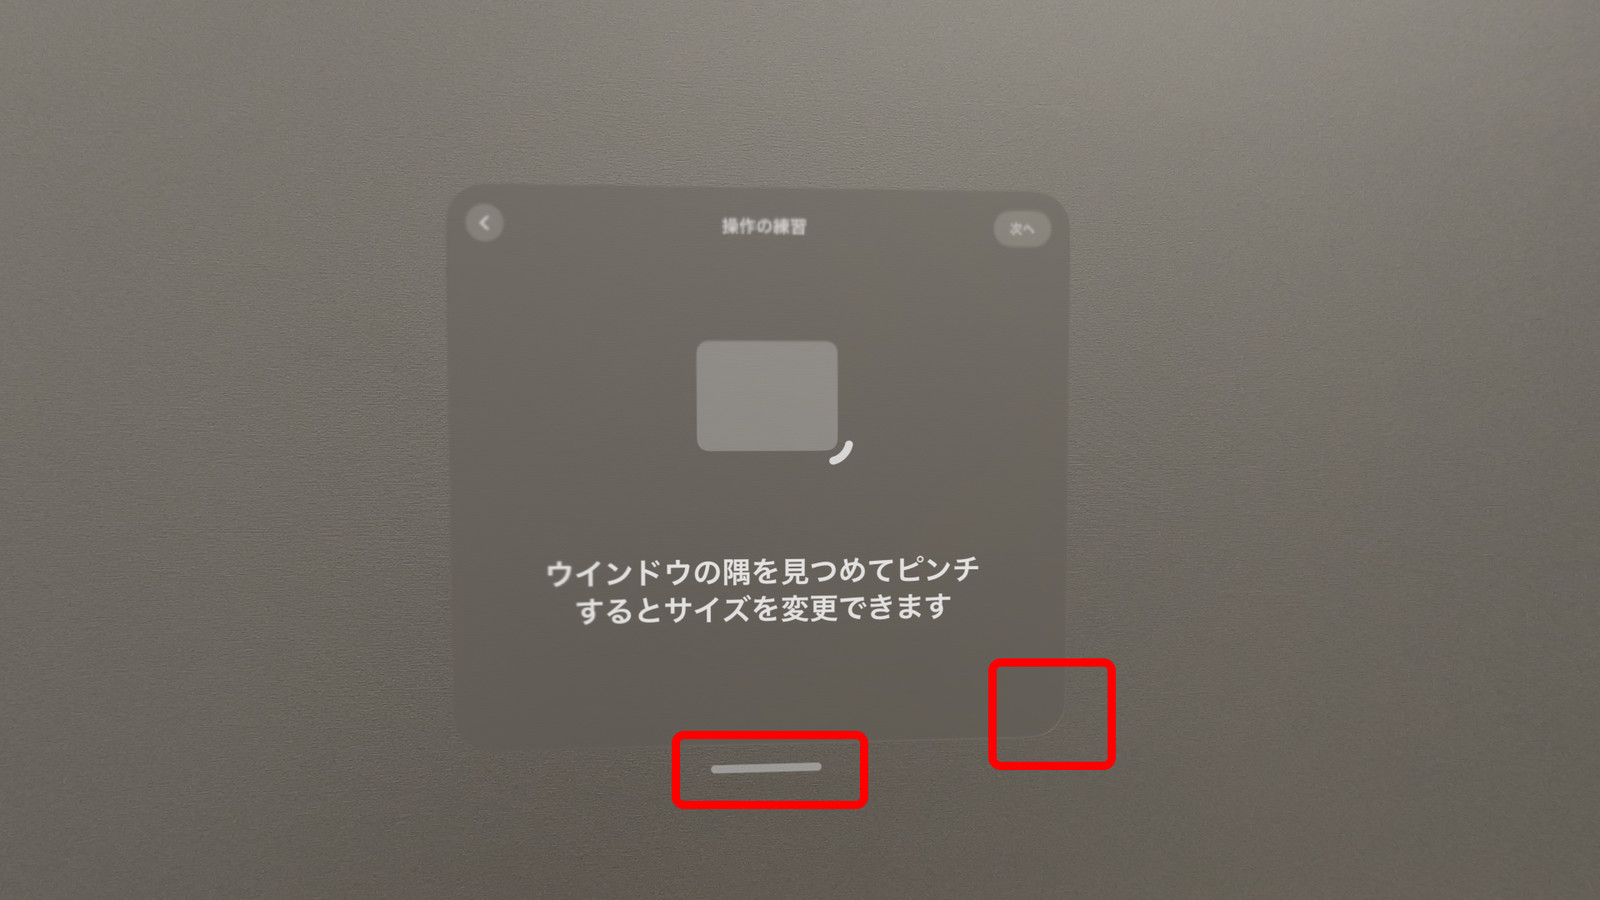
Practice changing the position and size of a window. You can move a window by looking at the white bar at the bottom of the window and pinching it with your fingers. You can adjust the size of the window by looking at the corners and pinching in and out.
Press and hold the Digital Crown to re-center the view.

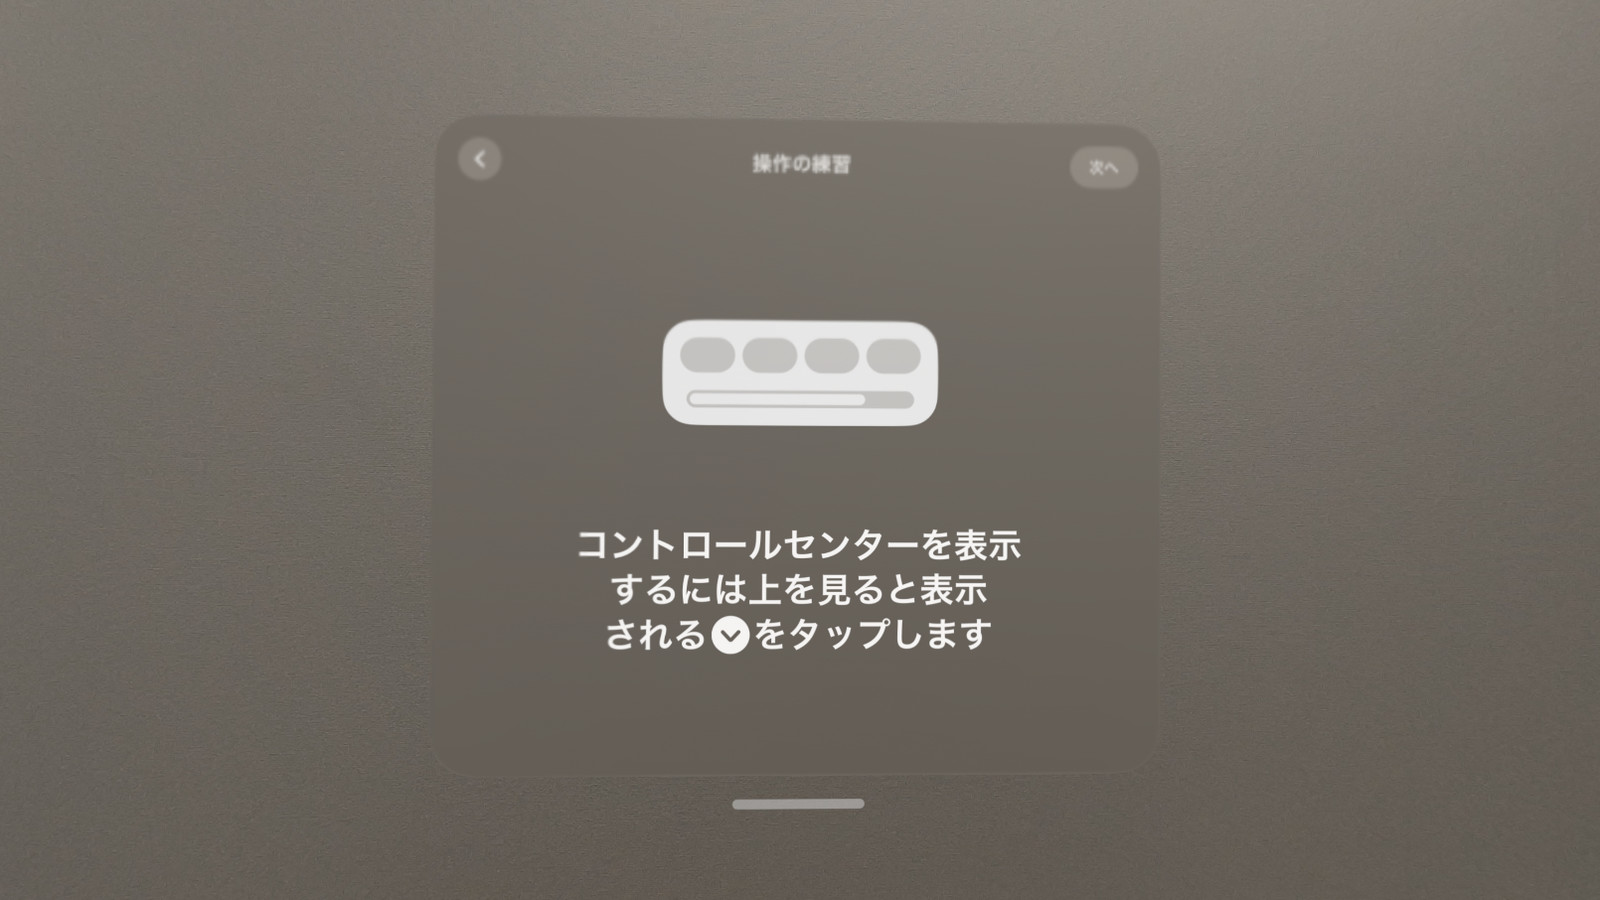
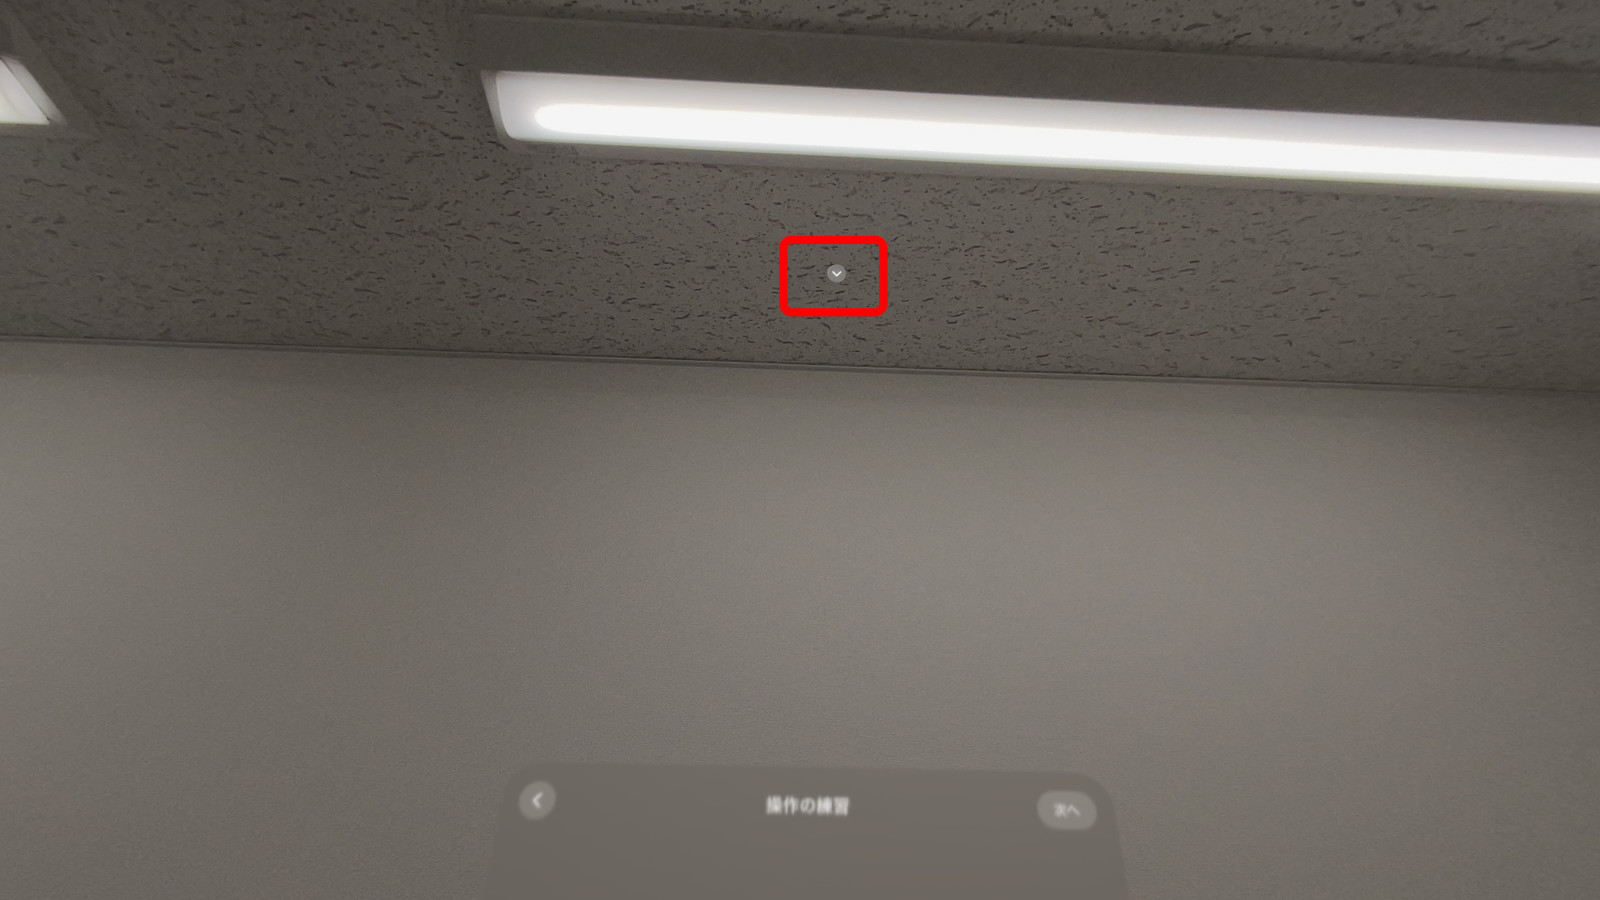
Look up to see the Control Center.
So I looked up and sure enough, the icon appeared, so I tapped it.
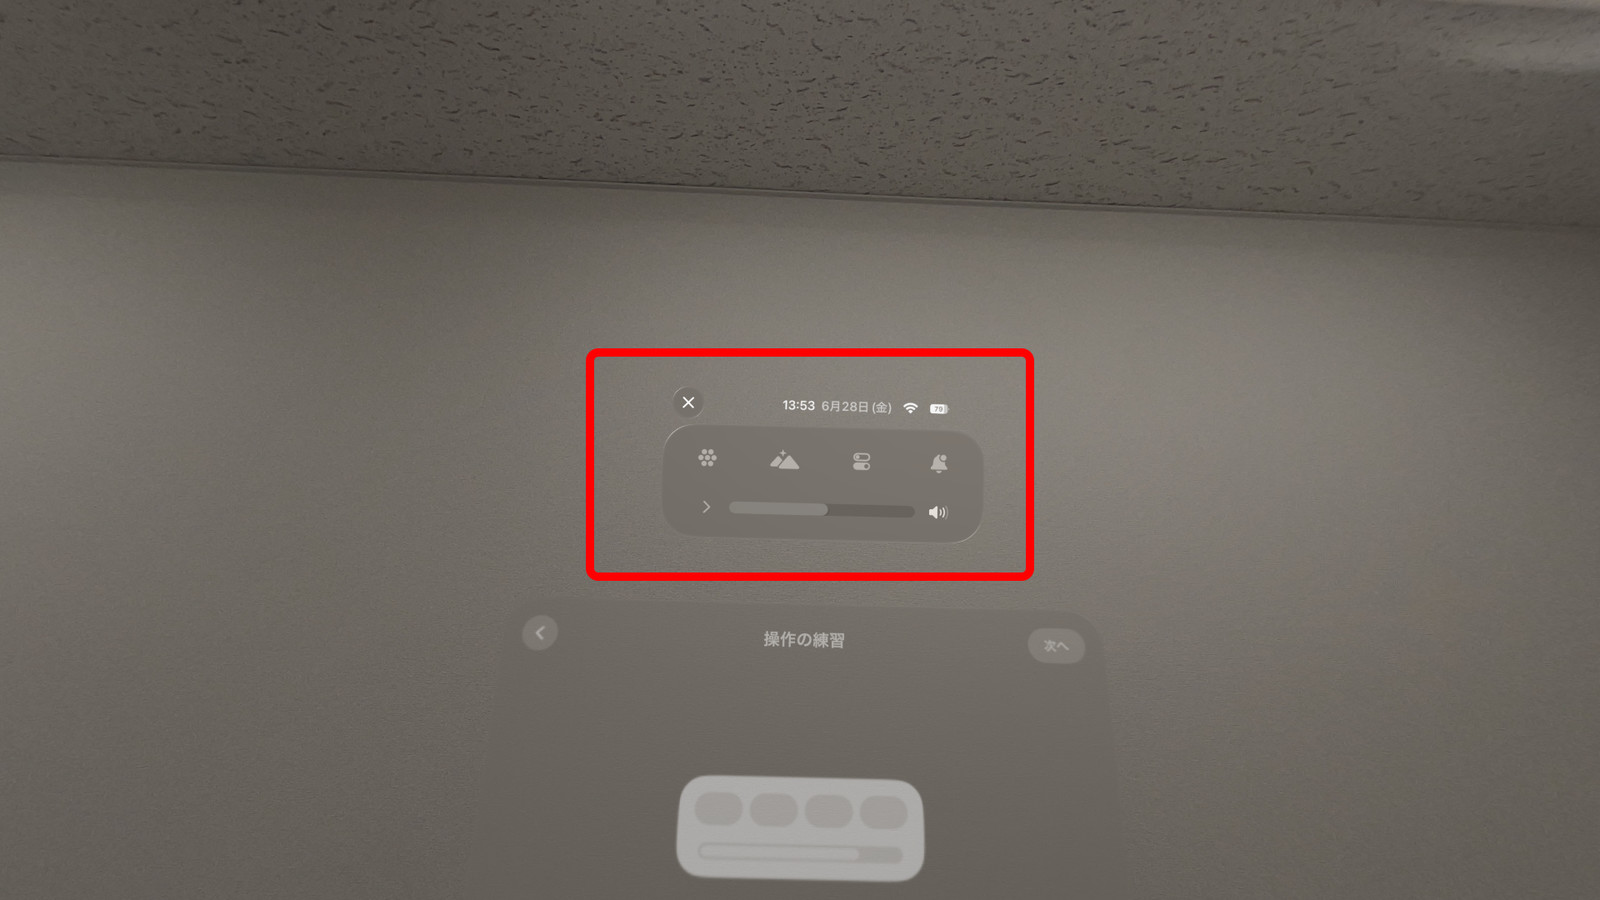
The Control Center is displayed. If you want to quickly return to the home screen or adjust the volume, just call up the Control Center.
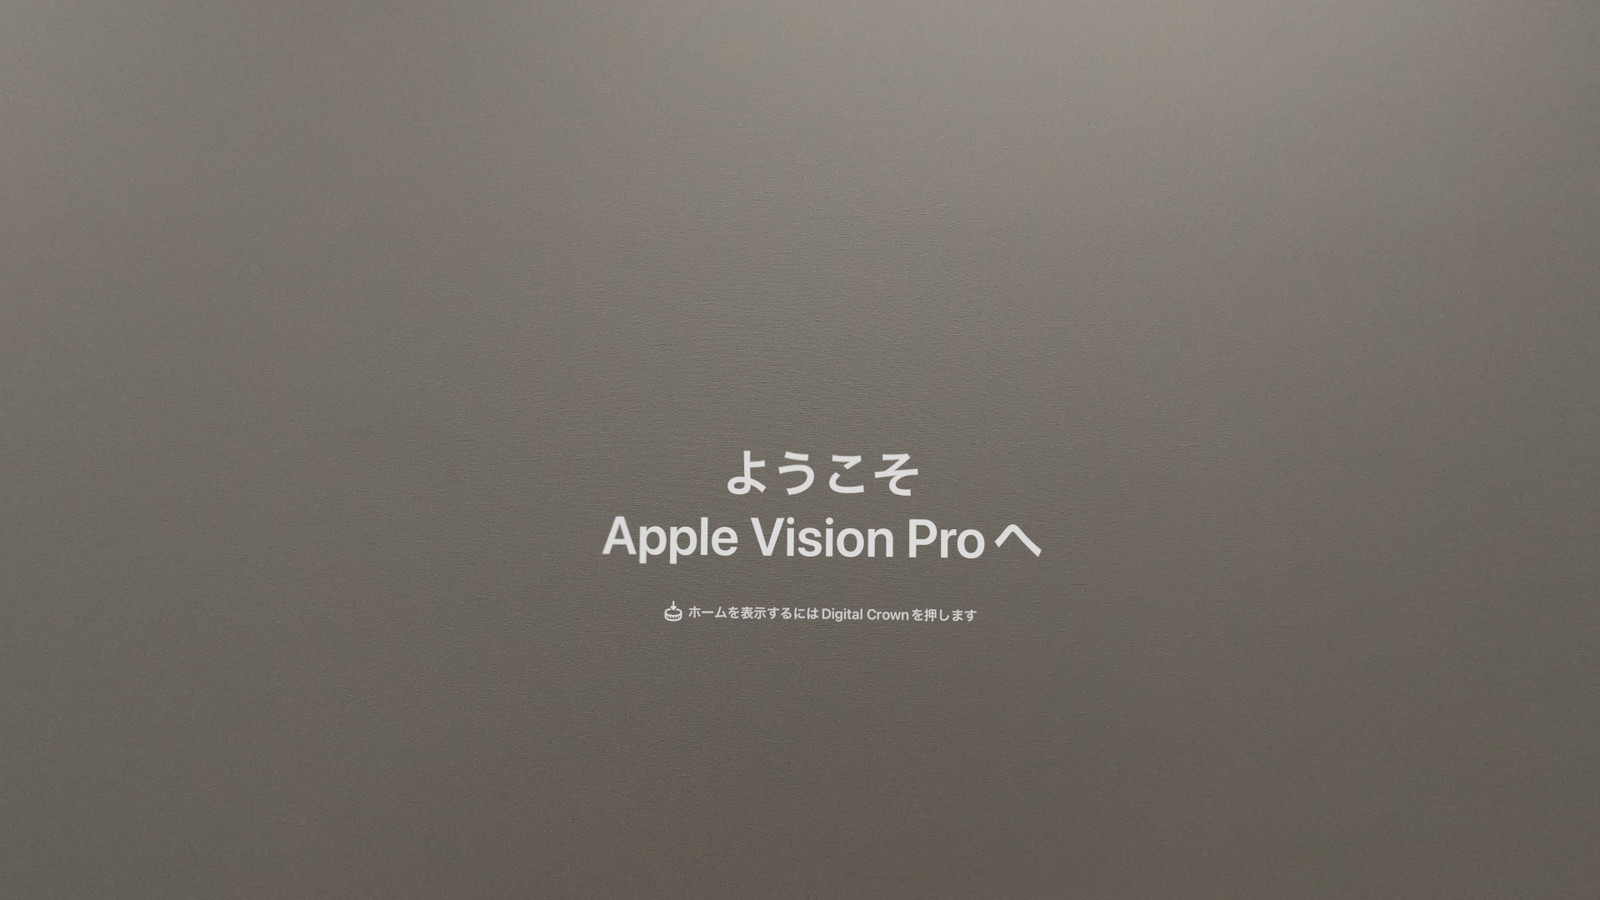
After the general operating instructions were completed, the setup of Apple Vision Pro was complete.
◆Scenes seen with Apple Vision Pro
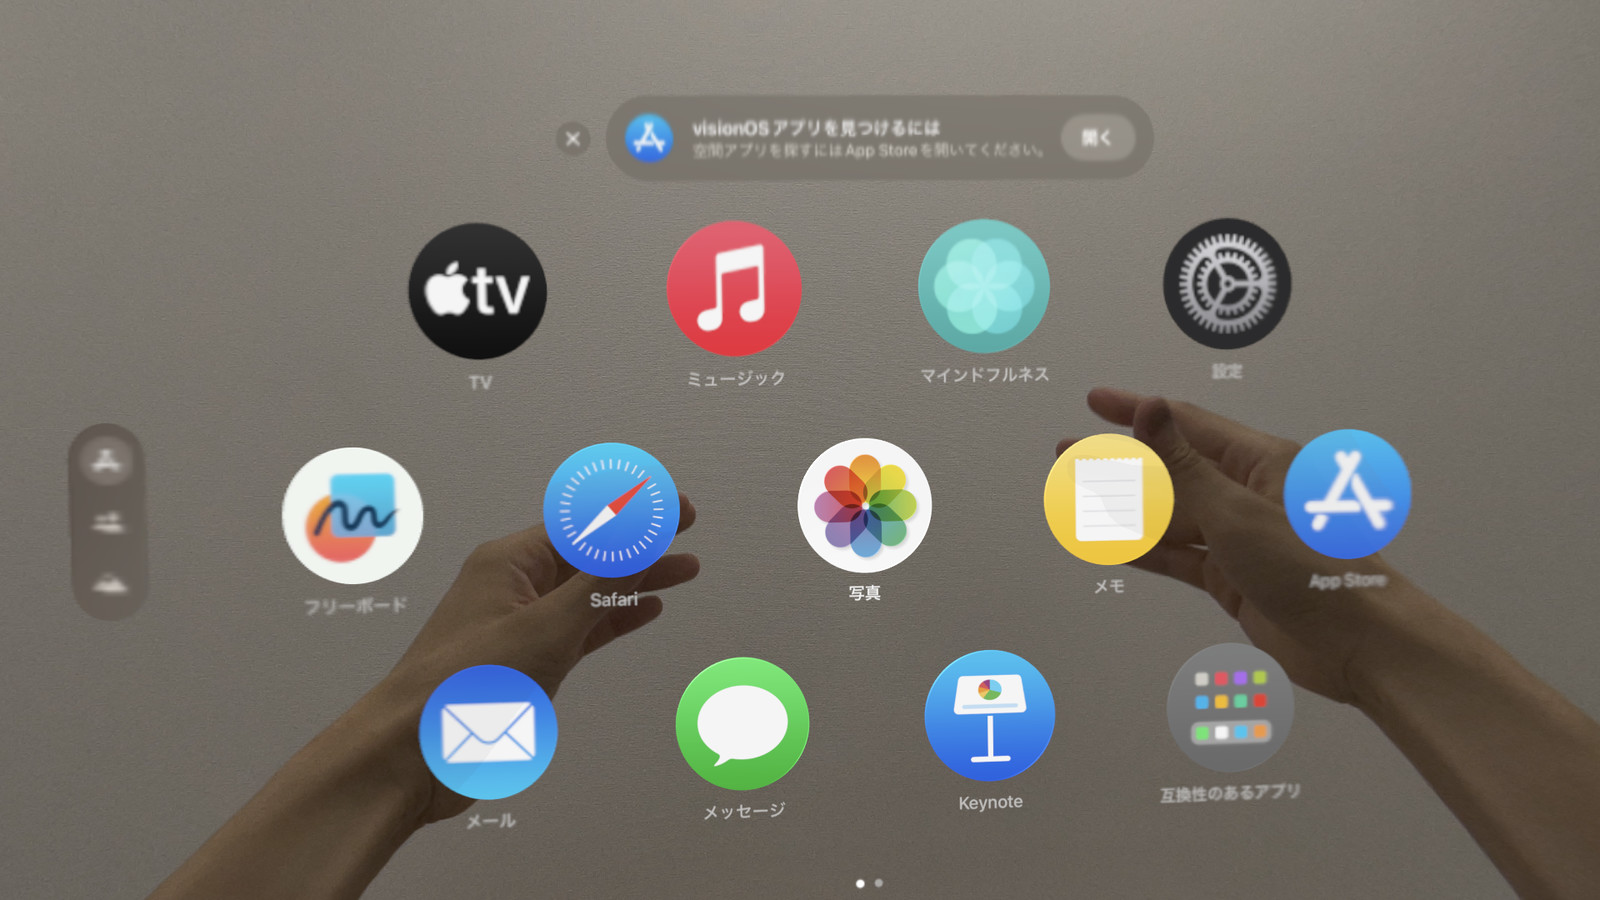
The app display on the home screen looks like this. It's a little hard to tell from the image, but the thin, round icons have a three-dimensional feel and a floating-like animation, so it's easy to tell whether an app is active when you select it with your eyes.
The surroundings are clearly reflected by the pass-through. By turning the Digital Crown while using Apple Vision Pro, you can smoothly switch from the surroundings reflected by the pass-through to the virtual space. You can see how it switches in the movie below. When you enter the virtual space, ambient sounds are heard, you can no longer see your surroundings, and the scenery changes to mountains and lakes. However, since it is not a 'beautiful landscape photo' but a three-dimensional space, there is a strong sense of immersion that 'you are there.'
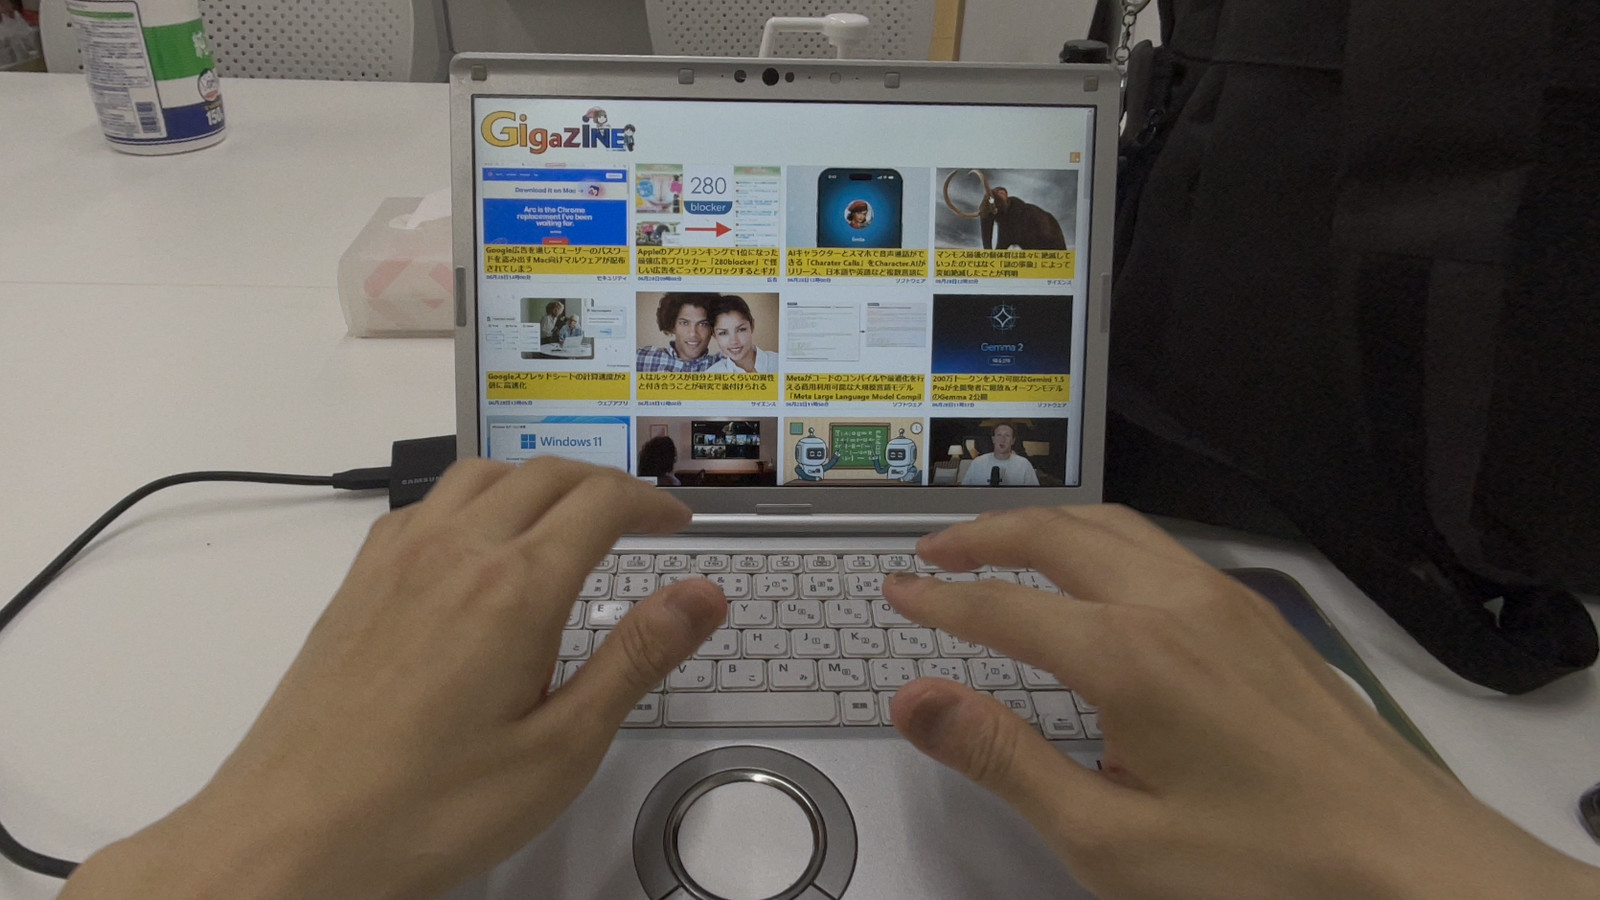
The pass-through has very good image quality, and you can read the text written on the PC screen as shown below, so you can probably do some real-world work without any problems even with it on.
I launched Safari on Apple Vision Pro and tried reading GIGAZINE. Apple Vision Pro uses 'foveal rendering' which increases the resolution of the center of the field of view and reduces the resolution of the peripheral vision. If you look at the movie below, you can see that when you are browsing the GIGAZINE page, the text in the place where you are reading or looking at is clearly readable, while the surroundings are a bit blurry.
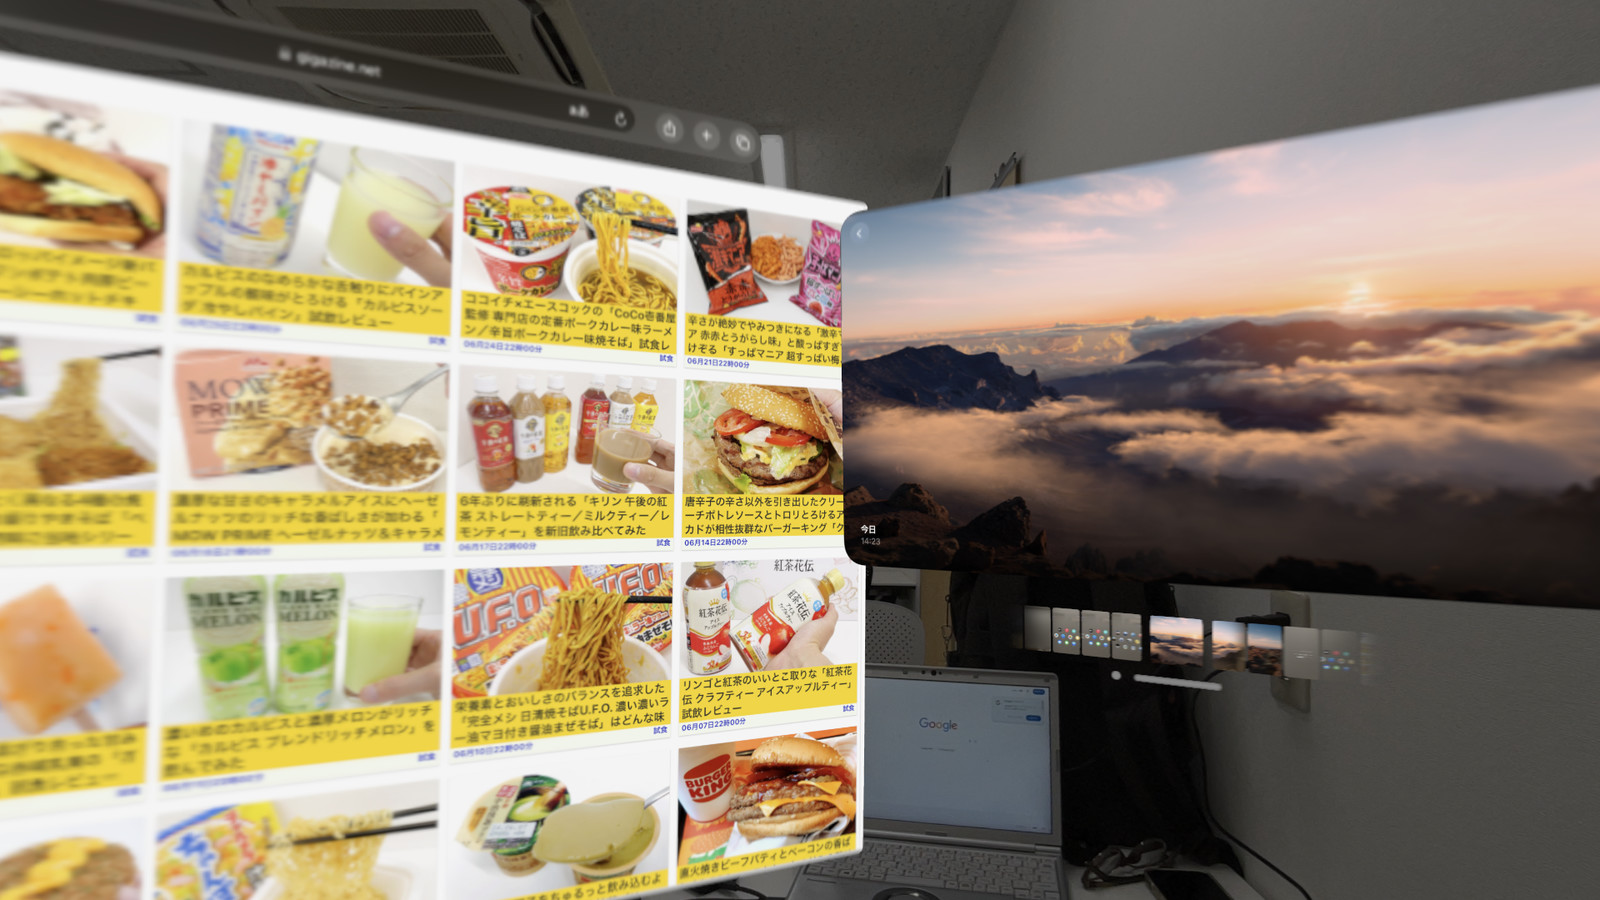
I'm displaying Safari and Photos, and looking at my PC through the gaps. The entire space becomes a window placement area, so I can place the information I want to see where I want to see it.
◆First impression
Although it takes some getting used to using Apple Vision Pro's eye tracking selection and hand movement, after a few minutes of use, I was able to quickly get the hang of it. It's very easy to operate without having to move your body too much, and for example, I was able to operate Apple Vision Pro with just my eyes and right hand while operating my smartphone with my left hand at the same time. Also, Apple's
In previous reviews , multiple media outlets have criticized the weight of the Apple Vision Pro as a drawback, saying that it 'feels heavy.' When I actually tried wearing it, I didn't notice the weight that much, but the weight balance was a little toward the front, and even when I tightened it with the Solo Knit band, I didn't feel like it was firmly fixed. In particular, the shape of the Apple Vision Pro and the unevenness of my face were not compatible, and I sometimes saw gaps at the bottom of my field of vision. However, the feeling of pressure was not that strong, and the pass-through was already giving me a clear view of my surroundings, so I didn't feel that seeing gaps was necessarily a negative thing.
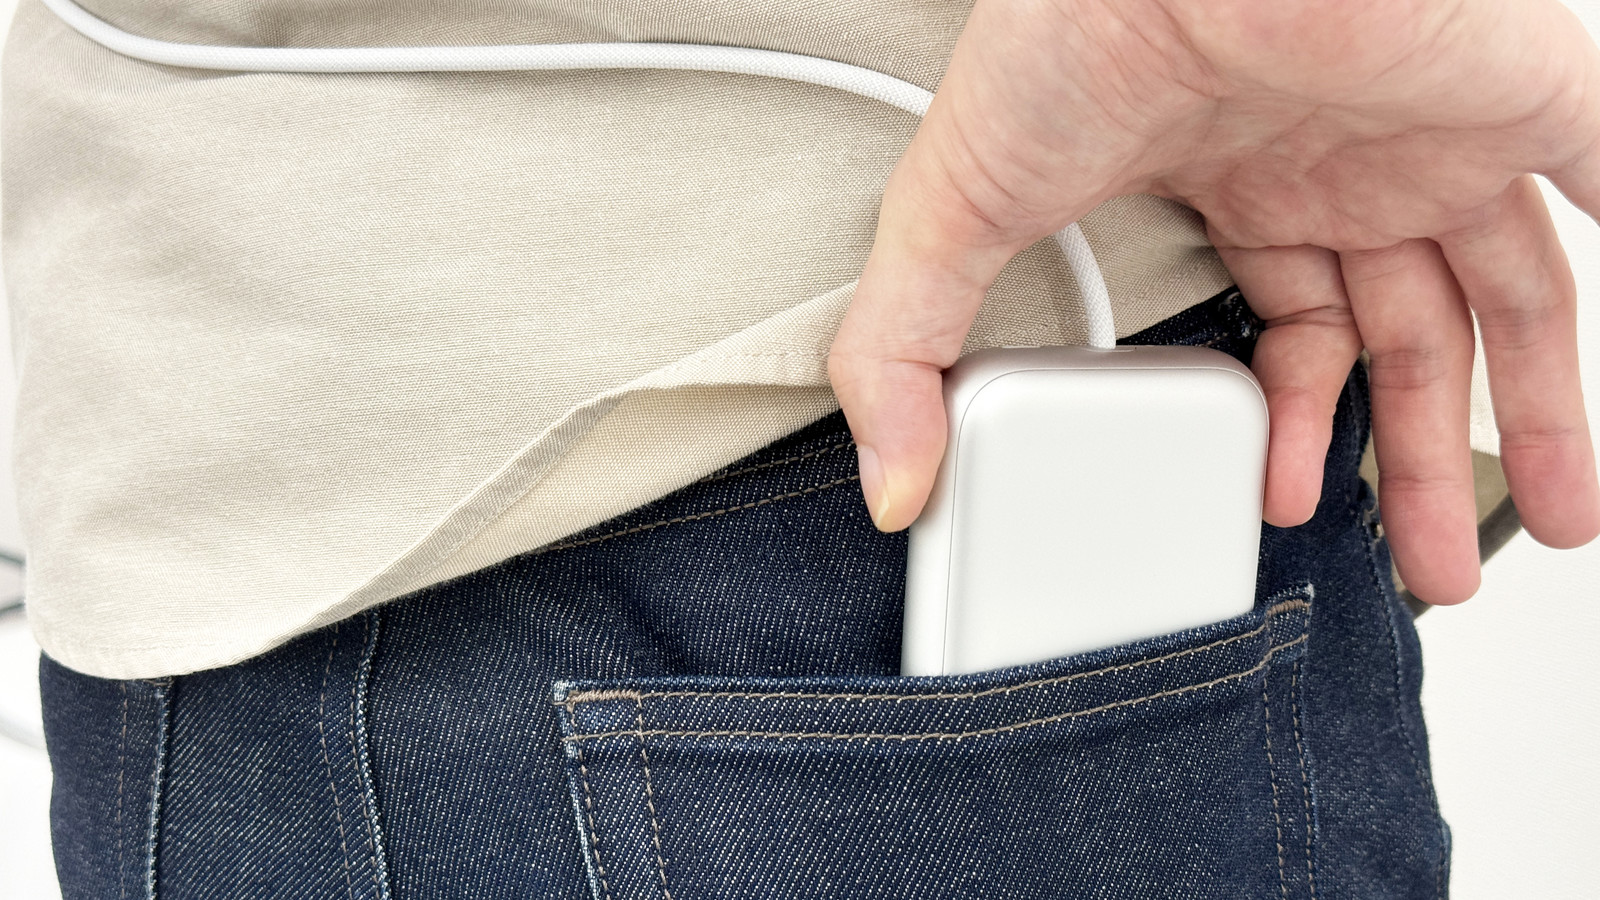
The external battery isn't too much of a problem if you put it in your pocket, but I still found it a bit of a hassle to have to carry the battery around when moving around indoors.
◆ Forum is currently open
A forum related to this article has been set up on the official GIGAZINE Discord server . Anyone can post freely, so please feel free to comment! If you do not have a Discord account, please refer to the account creation procedure article to create an account!
• Discord | 'I got the Apple Vision Pro and am currently reviewing it. Tell me what you want to know!' | GIGAZINE
https://discord.com/channels/1037961069903216680/1257266593352908901
Related Posts: