The multifunctional mailer ``Thunderbird'' has been updated with a modern operational feeling by revamping the UI, so I checked various UIs and how to use them

The open source mailer 'Thunderbird' has a great many functions as a free e-mail software and is used by many users all over the world. Version 115, which incorporates the results of Thunderbird's UI renewal plan `` Supernova '', was released on July 11, 2023, so I tried to summarize the basic functions of Thunderbird together with Supernova's new UI.
Thunderbird — Lighten your inbox. —Thunderbird
◆Thunderbird installation procedure
Thunderbird 115 was released on July 11, 2023, but at the time of writing the article, automatic updates were not delivered, so I will update manually using the installer. The steps are the same for new installations.

First, go to Thunderbird's

Double-click the downloaded installer to run it.

Click 'Run' when the following warning is displayed.

Click 'Next'.

Click 'Next'.

Click 'Update'. For a new installation, click the Install button.

Wait a few seconds for the installation to complete.

Click 'Finish' when the installation is completed.

Then Thunderbird will start automatically. For some reason, the width of the subject field and the sent date and time field of the inbox was reset.

◆ Creating a mailbox
With Thunderbird, you can create mailboxes without complicated settings for compatible services such as Gmail. This time, I will check the procedure to receive Gmail emails with Thunderbird.
First, click the menu button at the top right of the screen and click 'New Account'.

Then click 'Existing email address'.

Enter your name, email address and password and click 'Continue'.

Select 'IMAP' and click 'Finish'.

Then Google's login screen is displayed, so click 'Next'.
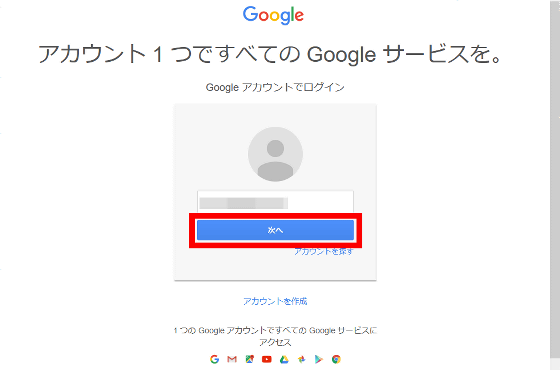
Enter your password and click 'Login'.

When the access request confirmation screen is displayed, click 'Allow'.
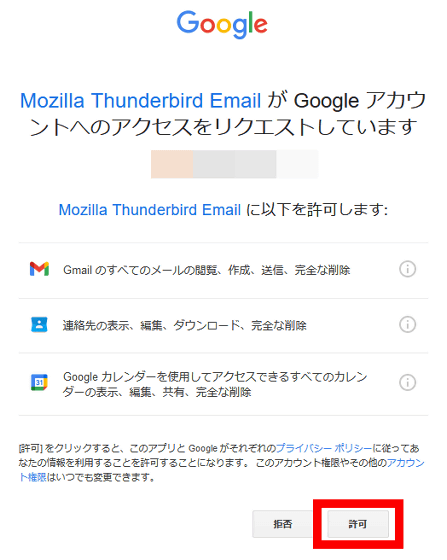
Click 'Finish'.

Your mailbox is now added to the sidebar. You can create an email by clicking 'Create message' in the upper left.
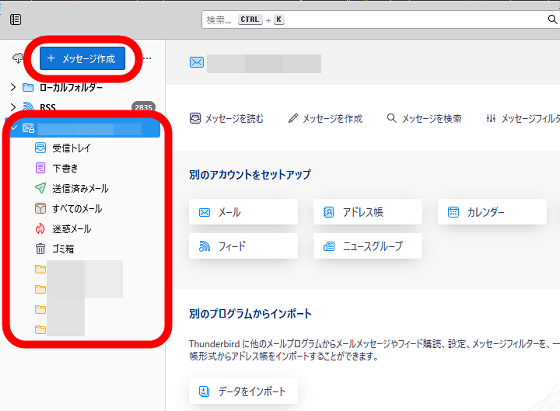
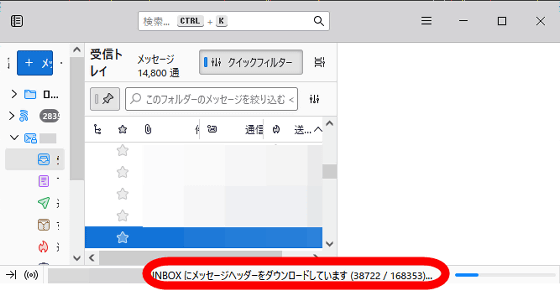
In addition, since the reception of past mail continues for a while after creating the mailbox, the operation becomes a little slow.
◆ UI switching
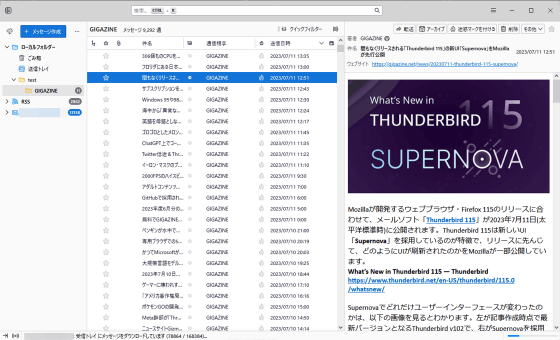
Thunderbird provides three layouts: 'Classic View', 'Landscape View' and 'Portrait View'. To switch layouts, click the menu button at the top right of the screen and then click 'View'.

Then click 'Layout'.

You can switch layouts from here.

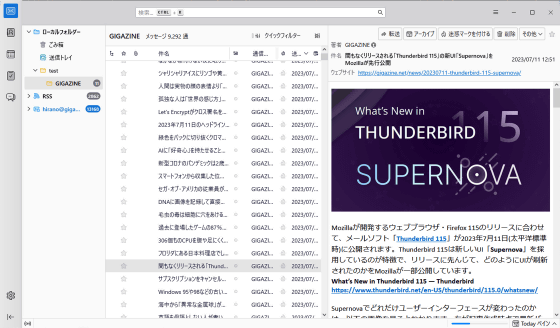
'Classic' is like this.
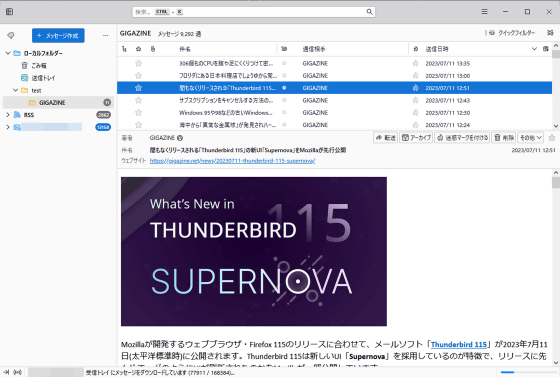
'Landscape' shortens the sidebar.
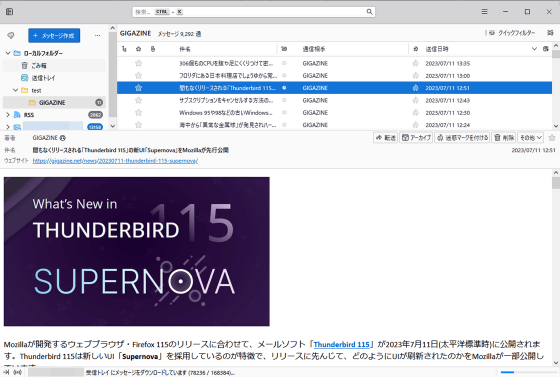
'Vertical view' allows you to display many emails at once.
◆ Calling functions other than e-mail
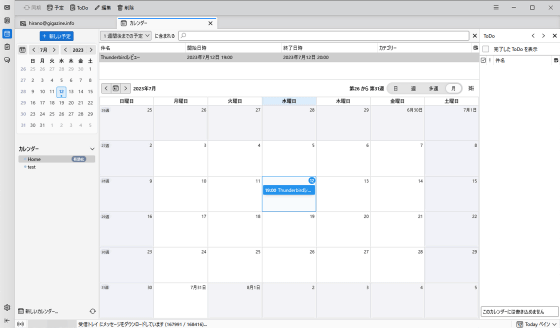
Thunderbird also has an address book, calendar, ToDo function, etc. Various functions can be called from the menu button on the upper left of the screen.

The appearance of the calendar looks like this.
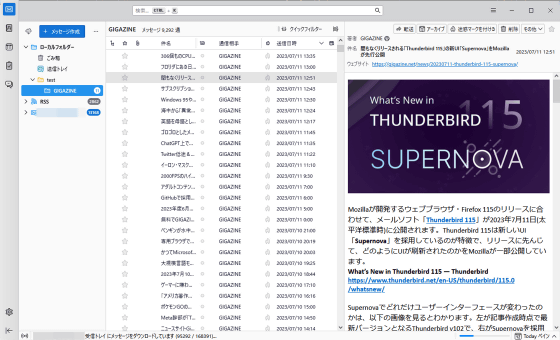
If it is troublesome to press the menu button one by one, click 'Show space toolbar'.

Now you can arrange buttons on the left side of the screen that can start the calendar etc.
◆ Hide 'Compose message'
The 'compose message' button and the receive button on the left side are convenient, but they can be a hindrance because they occupy the area of the sidebar. To hide both buttons, click the menu button in the red frame and uncheck 'Display'Receive' and 'Display'Create message''.

If you leave it as it is, a blank space will remain, so click 'Hide folder pane header' as well.

Now you can use the sidebar widely.

◆ UI density & UI font adjustment
In the 'UI density' in the upper right menu button, you can select the density of the UI from three levels of 'compact', 'regular', and 'relaxed', and you can adjust the font size of the UI with 'font size'.

Setting the UI density to 'Compact' and using a smaller font size allows you to see more information on the screen.
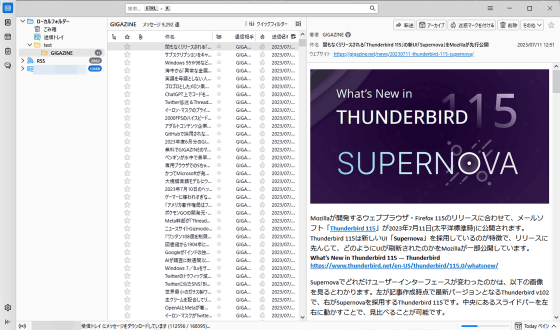
Conversely, if you set the UI density to 'Relaxed' and increase the font size, various buttons and text will be larger and easier to read.
Related Posts:


