I tried using 'Microsoft Designer' which makes it easy to make posters and cards with the help of AI

Microsoft PowerPoint has a
Microsoft Designer - Stunning designs in a flash
https://designer.microsoft.com/

There are several sample prompts, so I decided to actually make a birthday card.

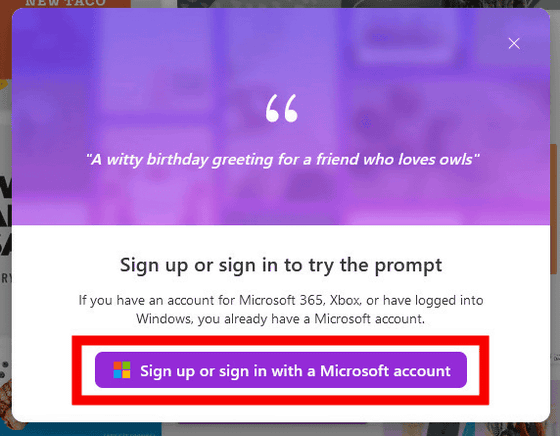
You need to sign in with a Microsoft account to use it. Click 'Sign up or sign in with a Microsoft account'.
Enter the Microsoft account name and click 'Next'. It is OK if it is used for Windows login or Microsoft Teams. If you do not have a Microsoft account, please create one.

Enter the required password and click 'Sign in'.

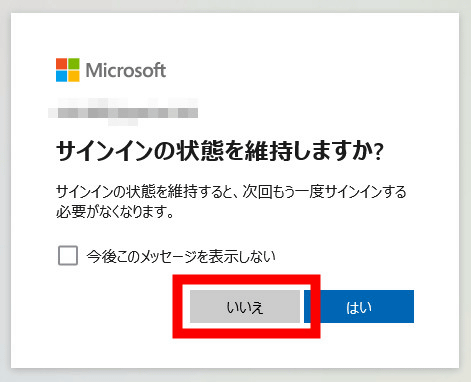
You will be asked if you want to stay signed in. Click 'No' because it is only used for trial this time.
Moved to the card creation screen. Several types of candidates are already displayed on the right side.
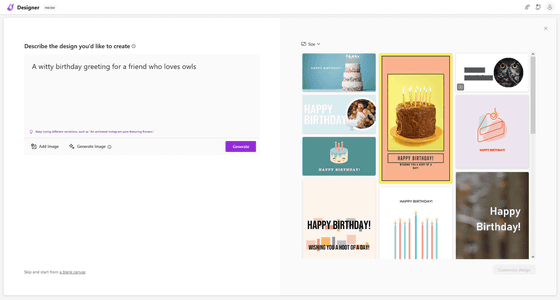
Enter the contents of the card you want to make in the text box on the left. You can add photos and images you want to use on the card from 'Add image', or have the image generated using DALL E 2.5 with 'Generate image', and create a card using the material with 'Generate'.

When I clicked 'Generate image' as a trial, it became an image generation screen. Enter the prompt for image generation in this text box.

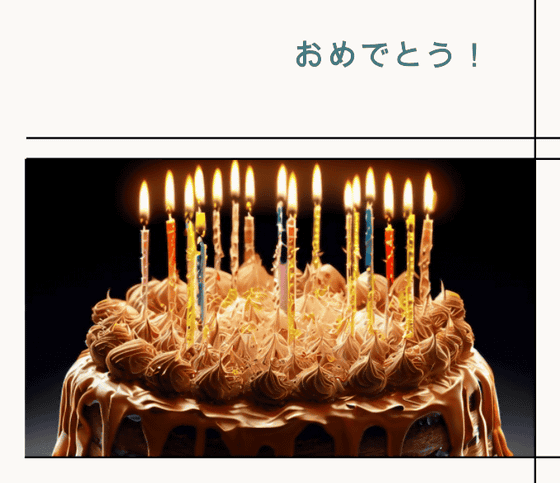
If you roughly specify 'whole cake with candles', an image of a whole cake with a lot of candles will appear. Select the one you want to use and click 'select'.

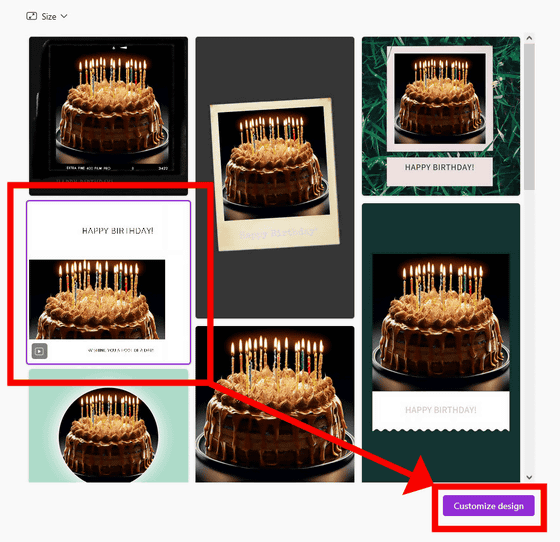
Then he made me a card using that image. The owl element has completely disappeared from the first specified 'A witty birthday greeting for a friend who loves owls (witty birthday card sent to a friend who loves owls)', but that's all the image It may be that the is strong.

Select one from the candidates on the right and click 'Customize design'.
Moved to the edit screen for individual cards. This is where we start fine-tuning the design.
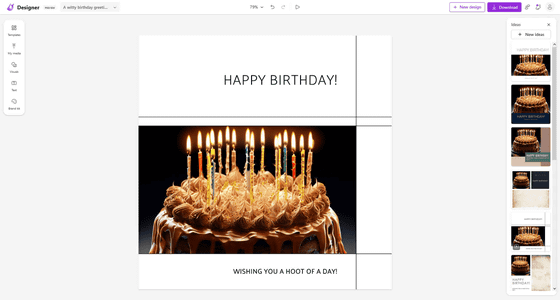
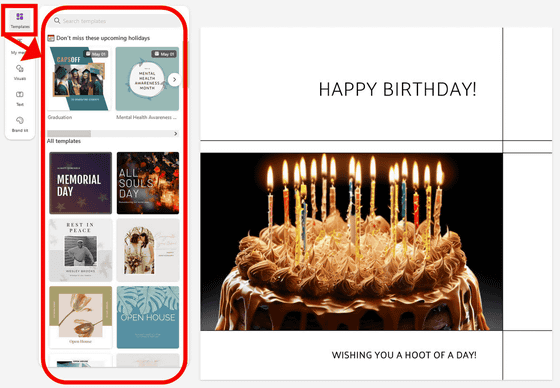
There are several edit menus on the left. In 'Templets', you can apply new templates.
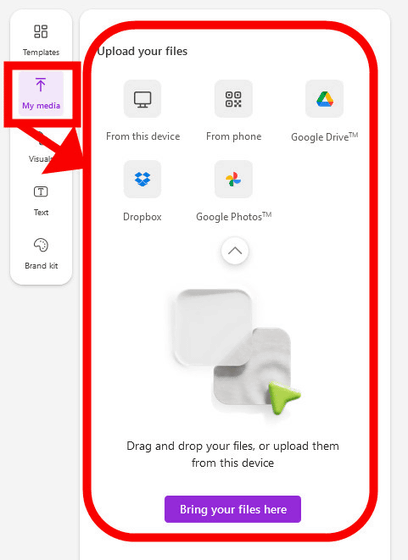
In 'My media', you can add materials from your PC, smartphone, Google Drive, Dropbox, and Google Photos.
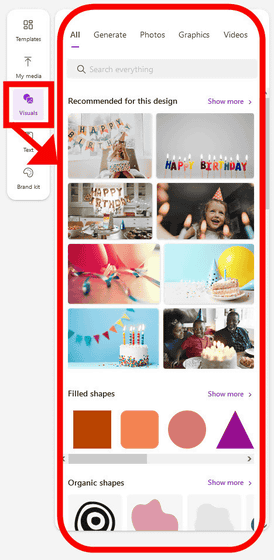
In 'Visual', you can add visual elements such as AI's recommended images.
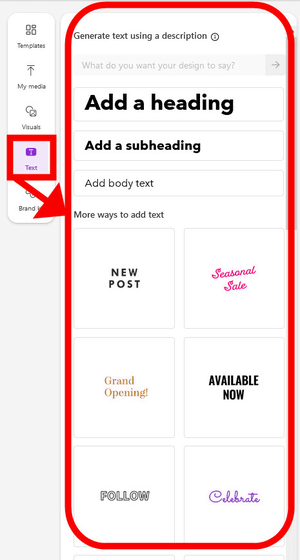
'Text' allows you to add text elements in the card.
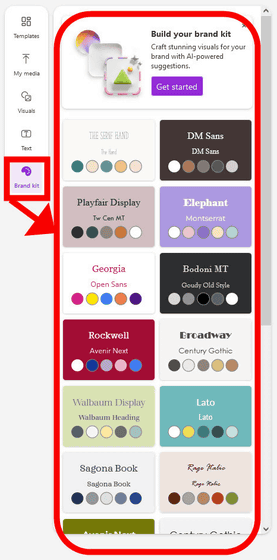
'Brand kit' allows you to choose a combination of fonts and colors. You can also create your own Brand kit with the help of AI.
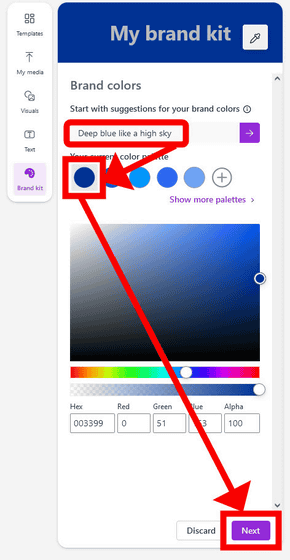
I will actually make a Brand kit. Enter the color image of your own Brand kit, select your favorite color from the candidates given by AI, and click 'Next'.
Next, choose a font. First, select the heading font and click 'Next'.
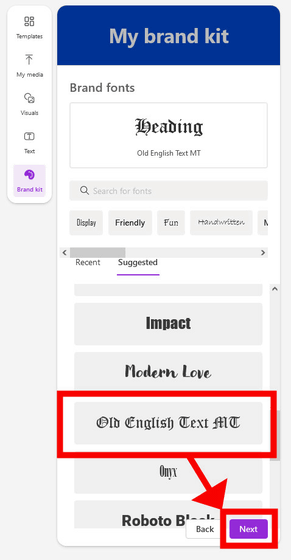
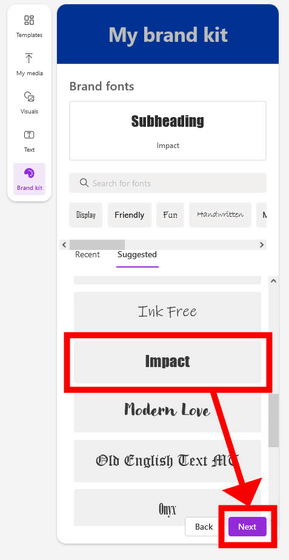
Next, select the subheading font and click 'Next'.
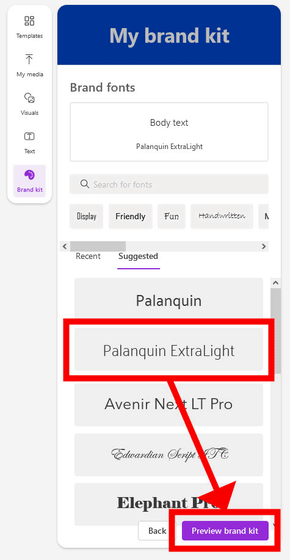
Then select the text font and click 'Preview brand kit'.
After checking the preview, click 'Save'.
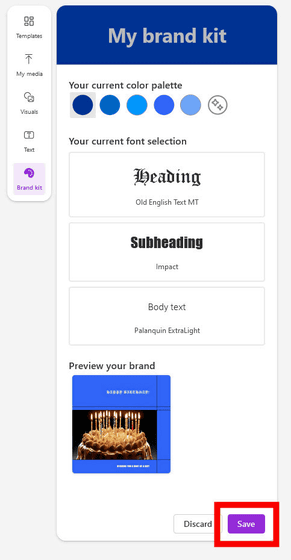
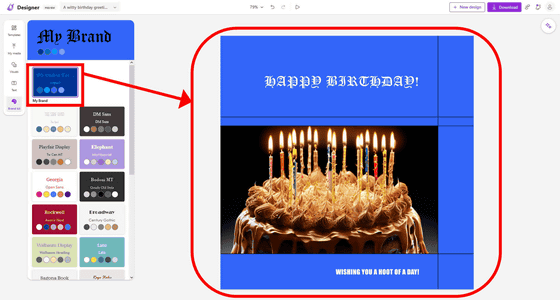
Reflecting the design, it looks like this. If not, make further adjustments.
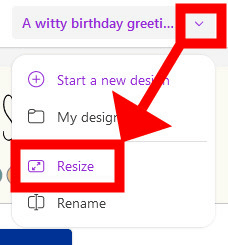
By the way, if you want to change the size of the card, click the '˅' icon next to the card name in the upper left and click 'Resize'.
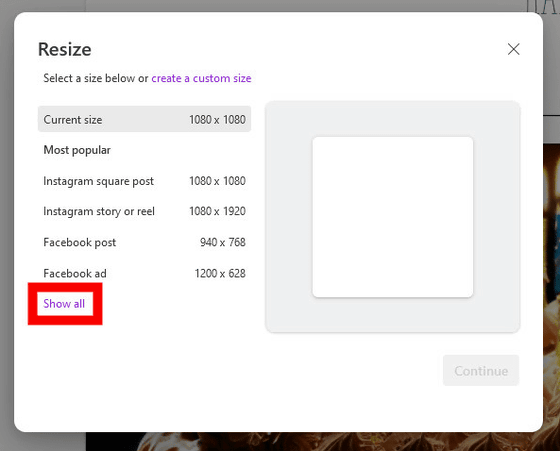
Then you can change it to various sizes. Most popular shows sizes for Instagram and Facebook, so click 'show all'.
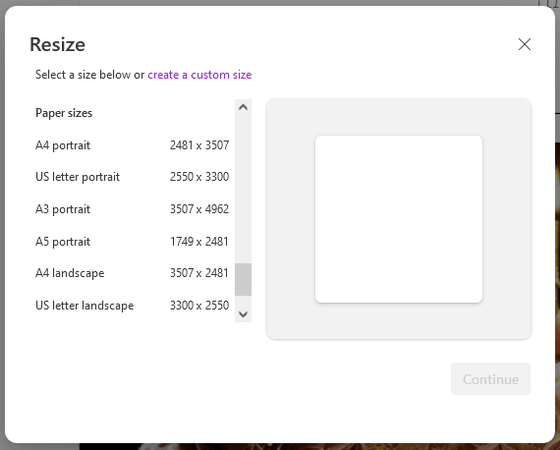
You can change to various sizes such as Twitter header, body post, and print paper size with one click. Of course, it is also possible to change in units of 1 pixel.
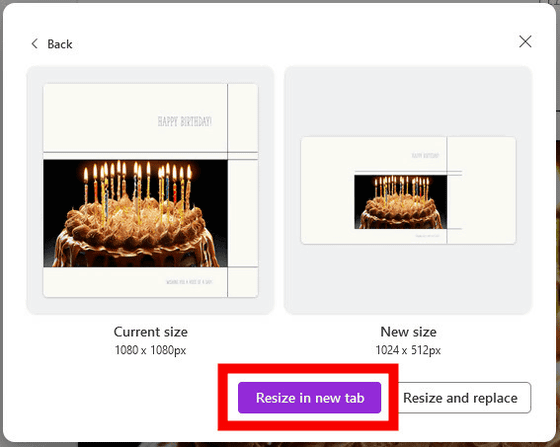
I decided to resize it to Twitter's post size (1024px x 512px). After checking the preview, click 'Resize in new tab'.
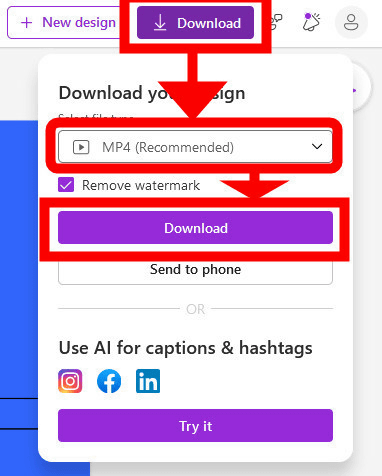
I have a good image, so I will save it. Click 'Download' at the top right of the screen and download it in your favorite file format. The file formats that can be selected are MP4, GIF, PNG, JPEG, and PDF. With PNG, you can choose whether or not to make the background transparent. After selecting, click 'Download' below.
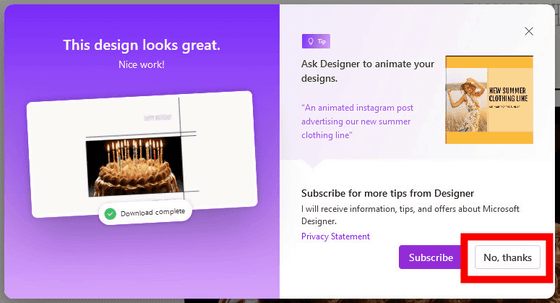
Finally, such a dialog will be displayed, so click 'No, thanks'.
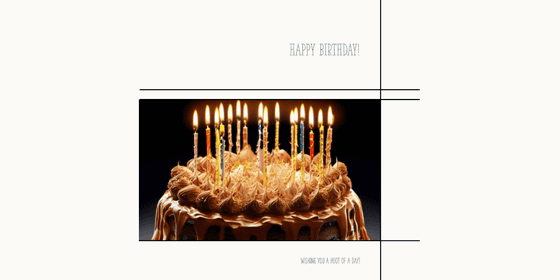
Then, the corresponding file is saved in the 'Downloads' folder with the file name 'Designer'.
When designing, the materials are prepared in advance, and even if you don't have them, the AI will generate them, so it's very easy to challenge creation empty-handed.
However, I felt that I had to hone my own skills, as there are some parts that cannot be done with just the help of AI to create a good design.
Note that Japanese prompts are not recognized.

It is possible to use Japanese in the design.
Related Posts:
in Review, Web Application, Design, Posted by logc_nt


