The AI noise removal function added to Photoshop and Lightroom is very high performance, so I summarized how to use it and compared it before and after Review
If you take a picture with the ISO sensitivity increased to cope with dark scenes, etc., a large amount of noise will be created in the screen. When I tried using the noise removal function using AI added to Adobe's photo management / editing application 'Adobe Lightroom' and the RAW development application 'Adobe Camera Raw' attached to Photoshop, the noise was cleaned while maintaining the image quality. Since I was able to remove it, I summarized how to use it and a comparison before and after noise removal.
Behind the scenes of Adobe Lightroom / Adobe Camera Raw's AI function 'Noise Removal'
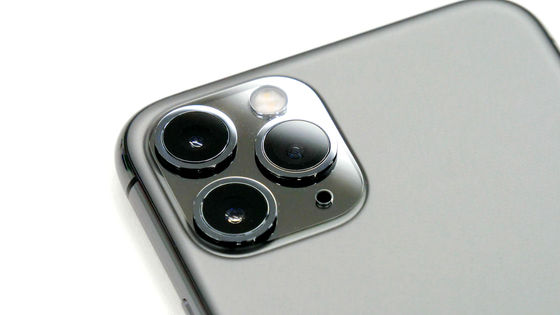
First, let's try noise reduction using AI, using a photo taken with the Panasonic camera ' GH6 ' with ISO sensitivity set to 25,600 as an example.
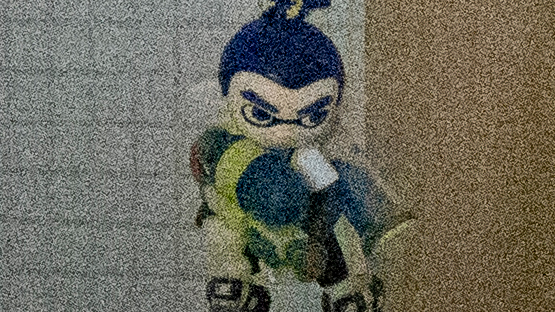
I cut out a part of it by displaying it at the same size. There is a lot of noise because the ISO was shot in a dimly lit place without turning on the lights.
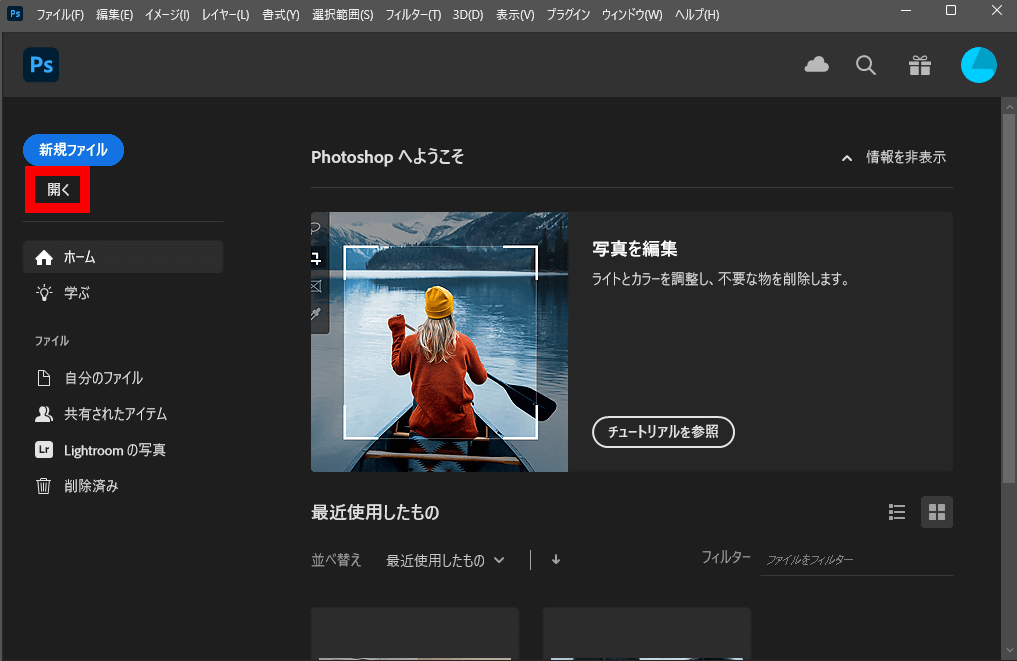
AI noise reduction is available in Camera Raw 15.3, Lightroom 6.3, Lightroom Classic 12.3 and later. This time, I will check the usage procedure with Camera Raw 15.3. First, start Photoshop and click 'Open'.
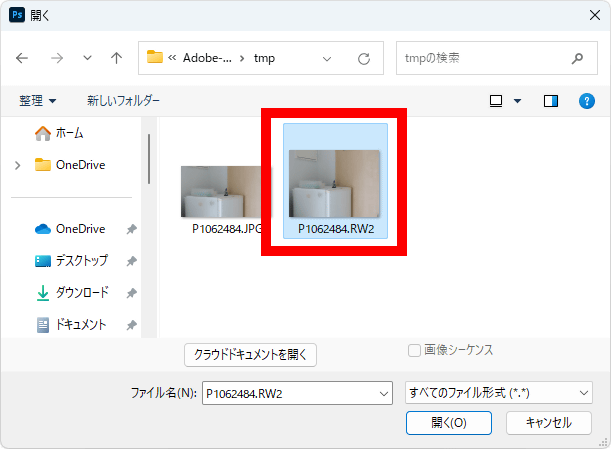
When the file selection screen appears, select the RAW file of the photo you want to remove noise from.
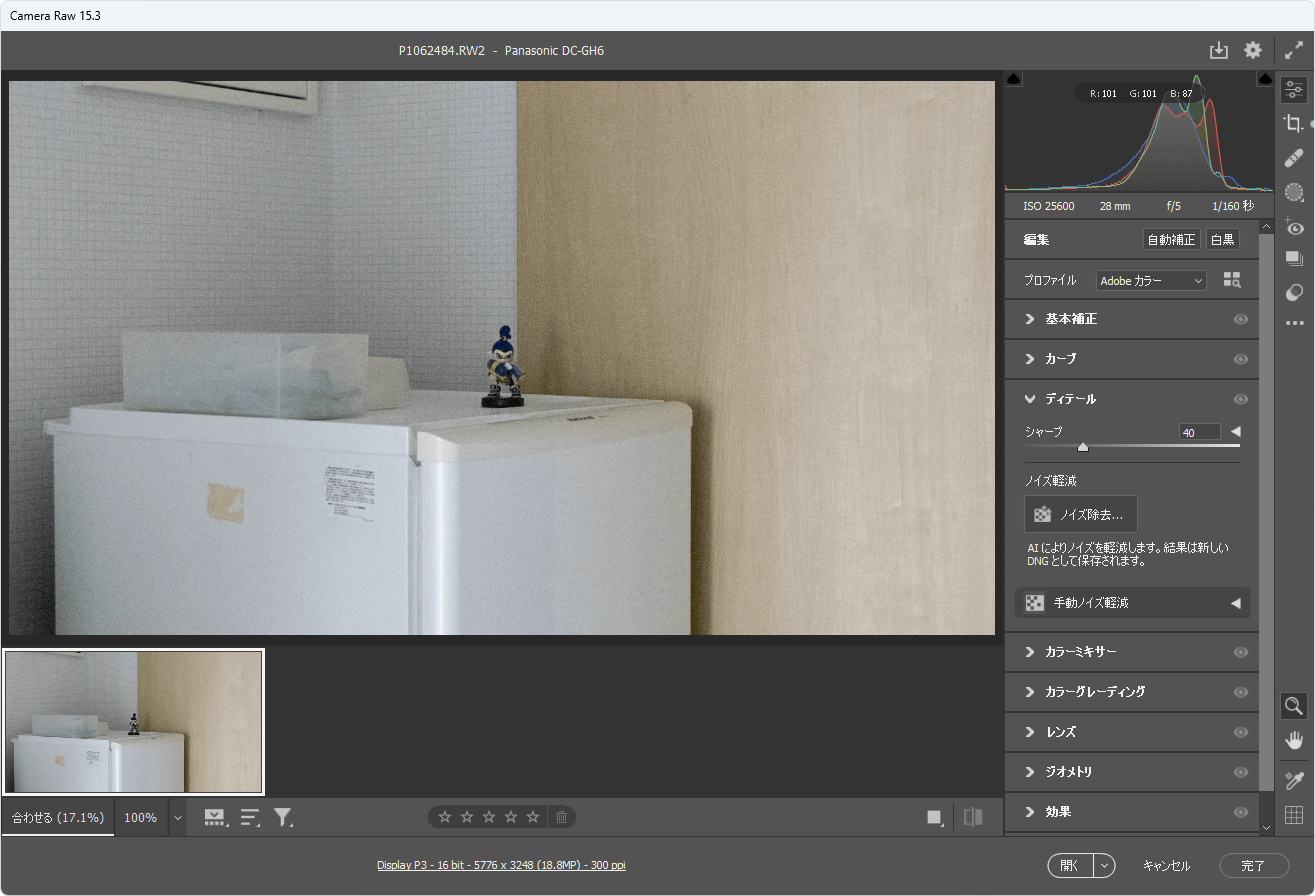
Then Camera Raw will launch with the selected RAW file loaded.
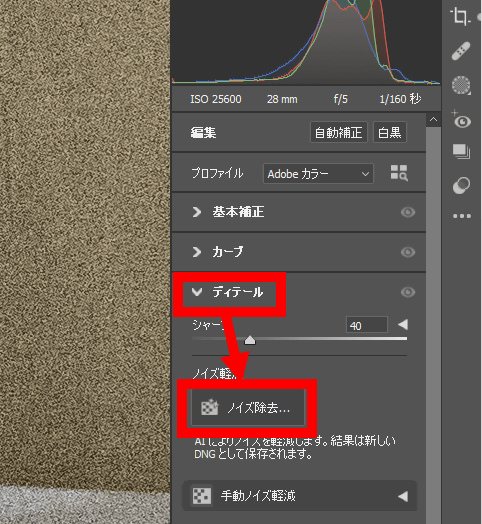
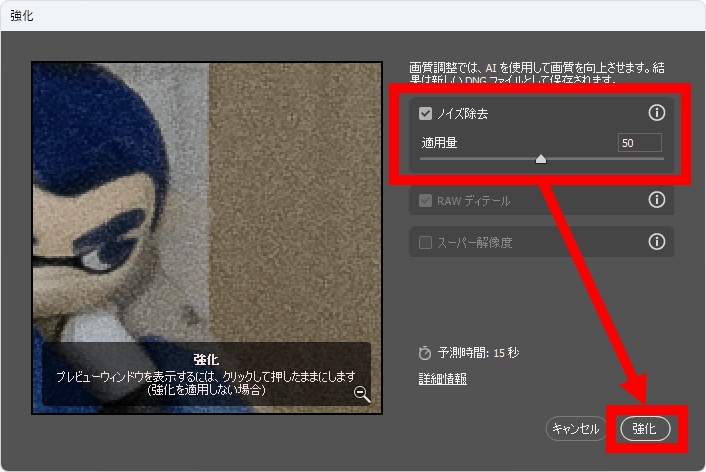
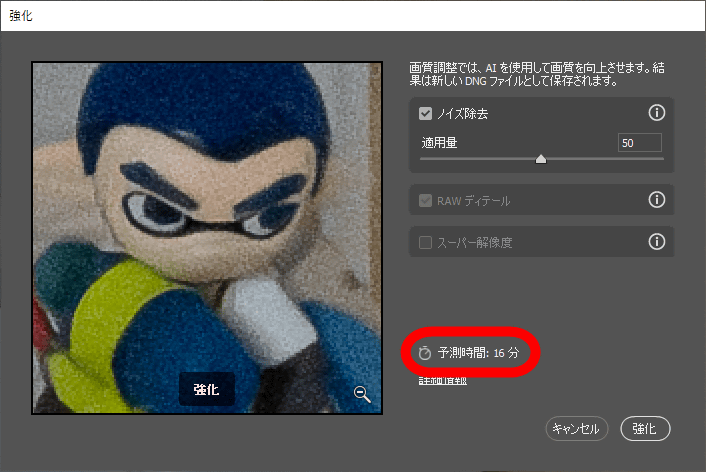
To remove noise, select 'Detail' from the function list on the left side of the screen and click 'Noise removal'.
When the following screen is displayed, set the amount to be applied and click 'Strengthen'.
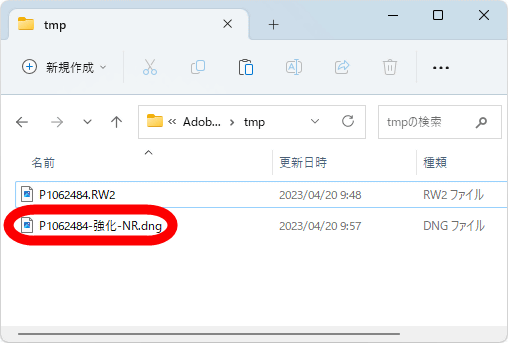
After a short wait, a new RAW file will be generated with the string 'Enhanced-NR' appended to the file name. Since the noise removal function by AI puts a heavy load on the GPU, the higher the performance of the GPU installed in the PC, the shorter the processing time. This time, as a result of running it on a PC equipped with GeForce RTX 3060, the process was completed in 10 to 20 seconds.
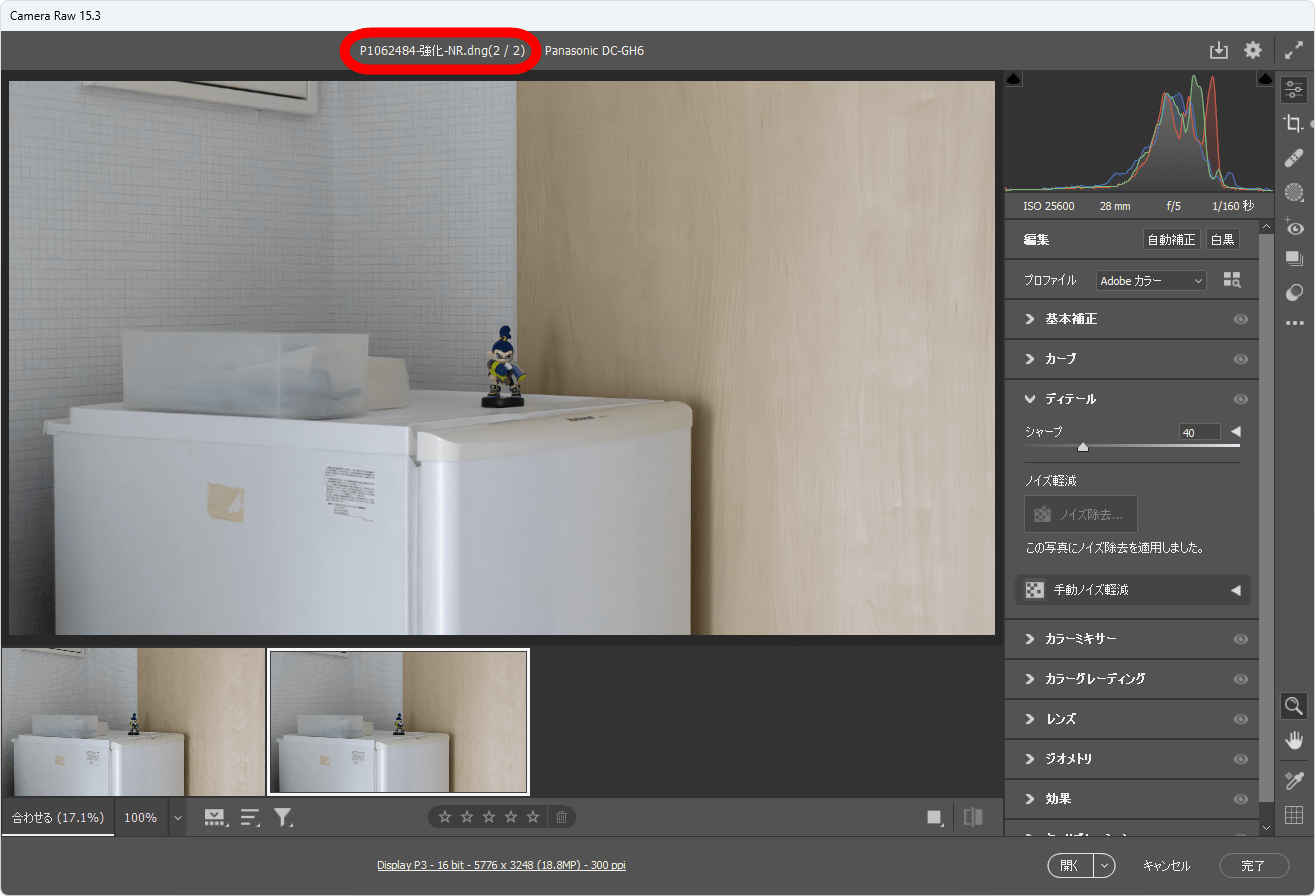
The generated RAW files are saved in the same folder as the original RAW files.
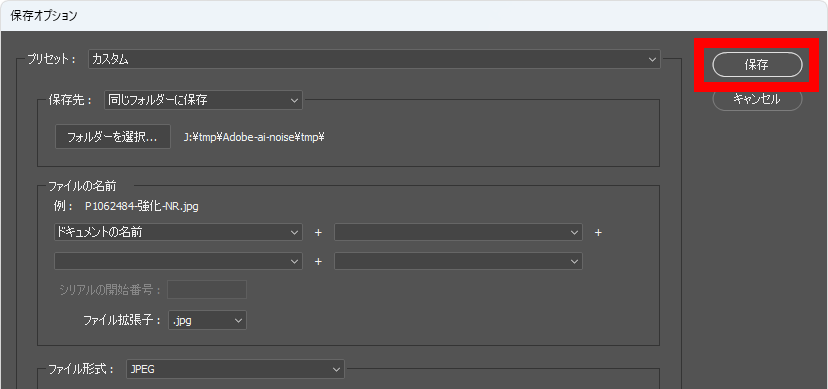
To generate a JPG file from the RAW file, click the save button at the top right of the screen.
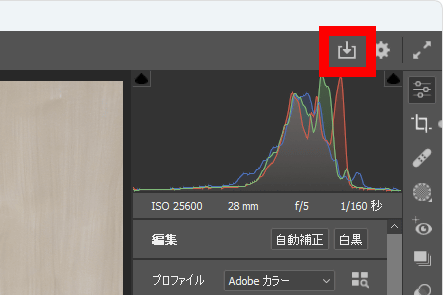
If you adjust the file name and compression rate and click 'Save', a JPG file will be generated.
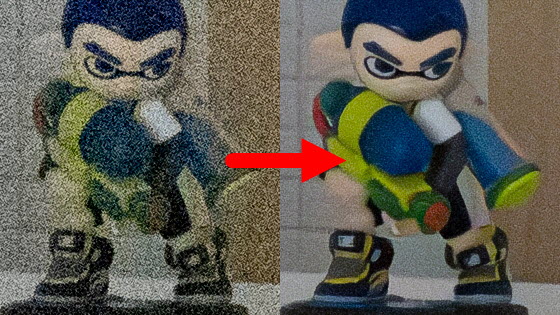
In order to confirm the effect of noise reduction, 'photograph of original RAW file before noise removal JPG output without processing' (left) and 'photograph with 50% noise reduction applied' (right) are displayed at the same size. I cut off a part of it. You can compare two photos by moving the slide bar on the image. Before noise removal, there was a lot of colorful noise and it was difficult to see the subject, but after noise removal, the details of the subject are clearly visible.
Below is a list of ``photos output as JPG without processing'' (left) and ``photos with noise removal applied at 100% application amount'' (right). Amount of 100% removes most of the noise, but if you focus on the tiles in the background, you can see that there is an unnatural distortion.
Below is a comparison photo that focuses only on tiles. In the 'unprocessed JPG output photo' (left), there is too much noise and it is difficult to see the tile boundaries, but in the 'photo with noise reduction applied at 50%' (right), the details of the tiles are preserved. I was able to remove the noise.
Comparing the ``unprocessed JPG output photo'' (left) and the ``noise removal photo with 100% application amount'' (right), the noise removal effect is too large and the shape of the tile is unnatural. You can see that The noise reduction function by AI is very powerful, but depending on the subject, the result may be unnatural, so it is necessary to adjust the amount of application according to the subject.
Next, let's remove noise from a photograph taken with the Fujifilm camera '

The following is a part of the above photo that is displayed at the same size and cut out. When viewed from a distance, the noise is not noticeable, but when displayed at the same size, you can see that a lot of noise is occurring.

Below are 'Photos output as JPG without processing' (left) and 'Photos with noise removal at 50% application amount' (right). The denoised photo has less noise and restores the correct color of the hardware.
And the following is a list of ``photos output as JPG without processing'' (left) and ``photos with noise removal applied at 100% application amount'' (right). Detail is maintained while removing noise cleanly.
Focusing on the out-of-focus part, I arranged 'photograph output as JPG without processing' (left) and 'photograph with 50% noise removal' (right). In the noise-removed photo, noise is noticeable at the boundary between the bright and dark areas, but the noise was effectively removed in other areas.
Below is a list of ``photos output as JPG without processing'' (left) and ``photos with noise removal applied at 100% application amount'' (right). When the applied amount was set to 100%, the boundary between light and dark was also beautifully processed.
As a result of actually trying noise removal by AI, I found that it is a very high-performance function that can remove noise while maintaining details. However, as mentioned above, the noise removal function by AI places a very heavy load on the GPU, so processing takes a long time on a PC that does not have a high-performance GPU. As a result of trying to process a photo that could actually be processed in 10 to 20 seconds on a PC equipped with GeForce RTX 3060 with a notebook PC '
Related Posts: