Photo review of 'Meta Quest Pro', a high-end model of standalone VR/AR headset for over 220,000 yen
Meta's
Meta Quest Pro: The most advanced new VR headset in the series | Meta Store | Meta Store
https://www.meta.com/jp/quest/quest-pro/
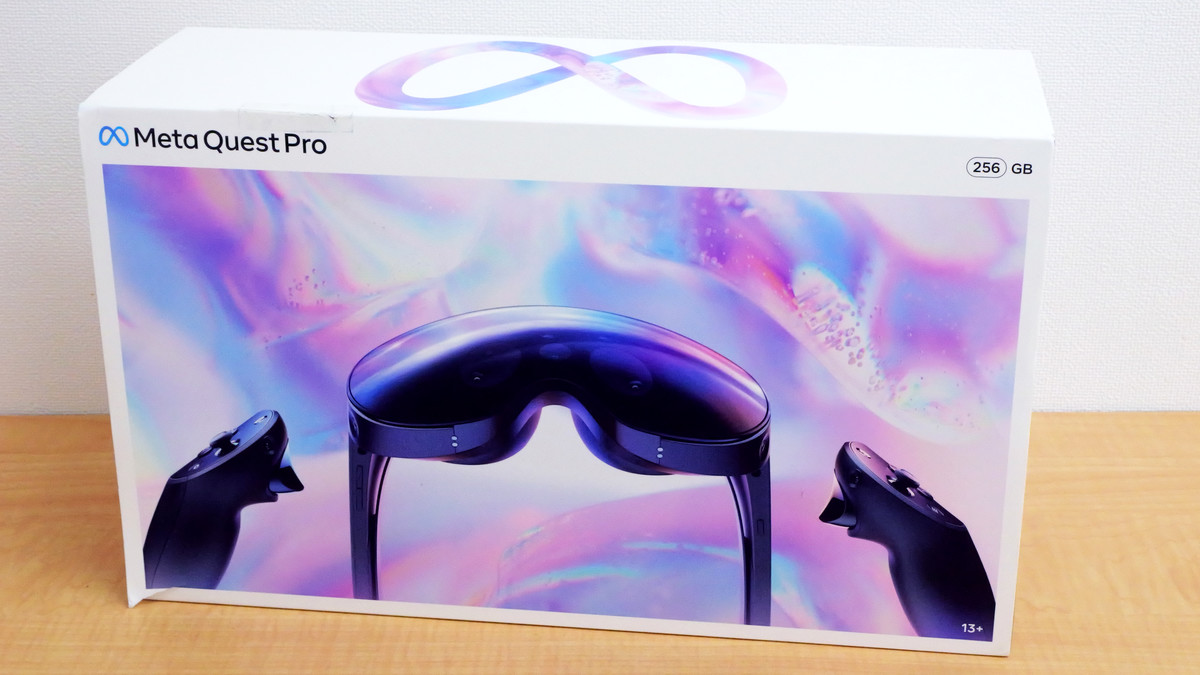
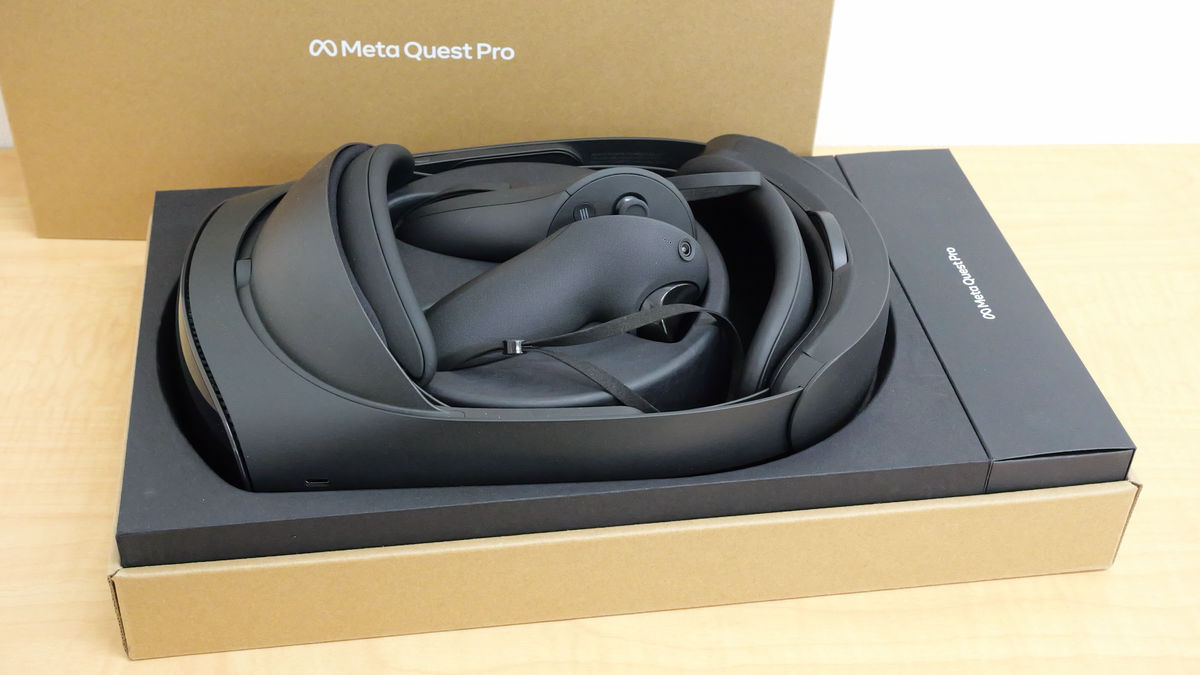
The Quest Pro package looks like this.
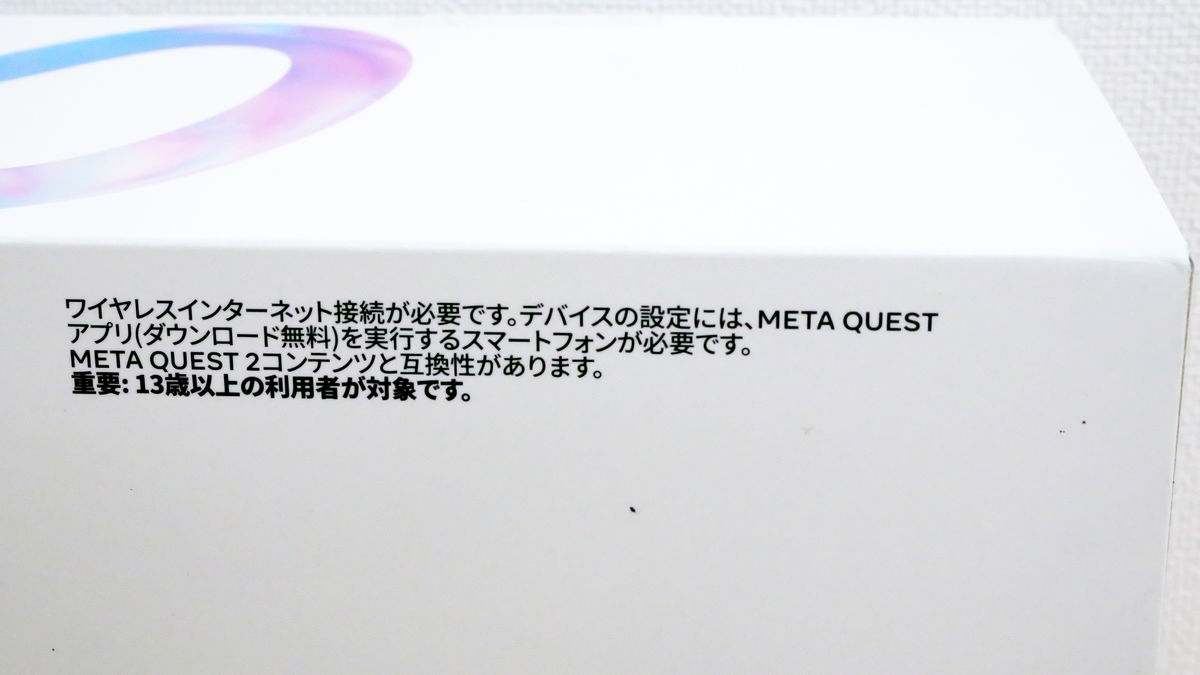
The outer box says ``For users 13 years and older.''
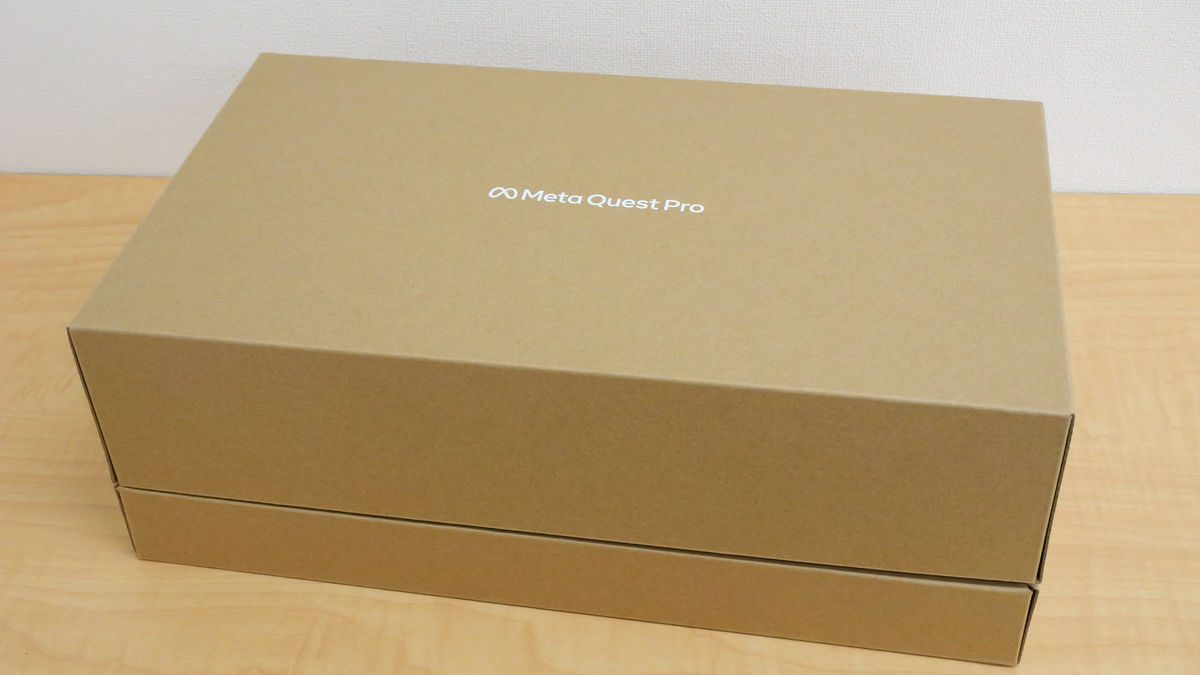
I removed the outer box.
When I opened the lid, the Quest Pro main body and Quest Touch Pro VR controller appeared.
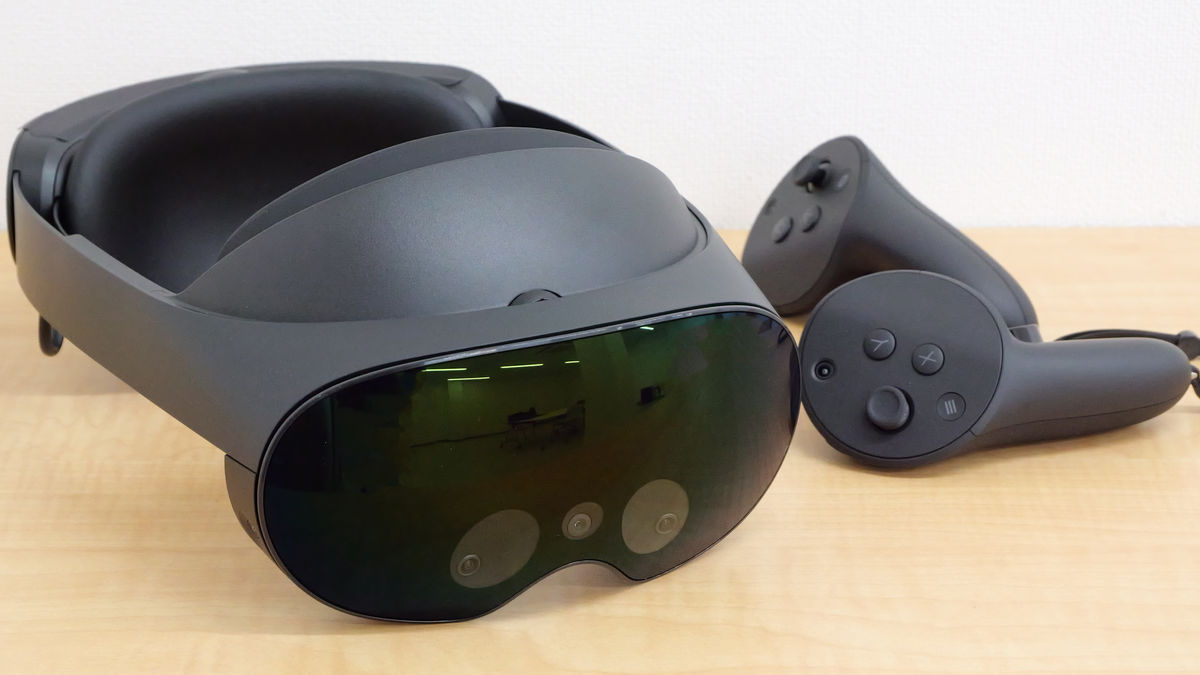
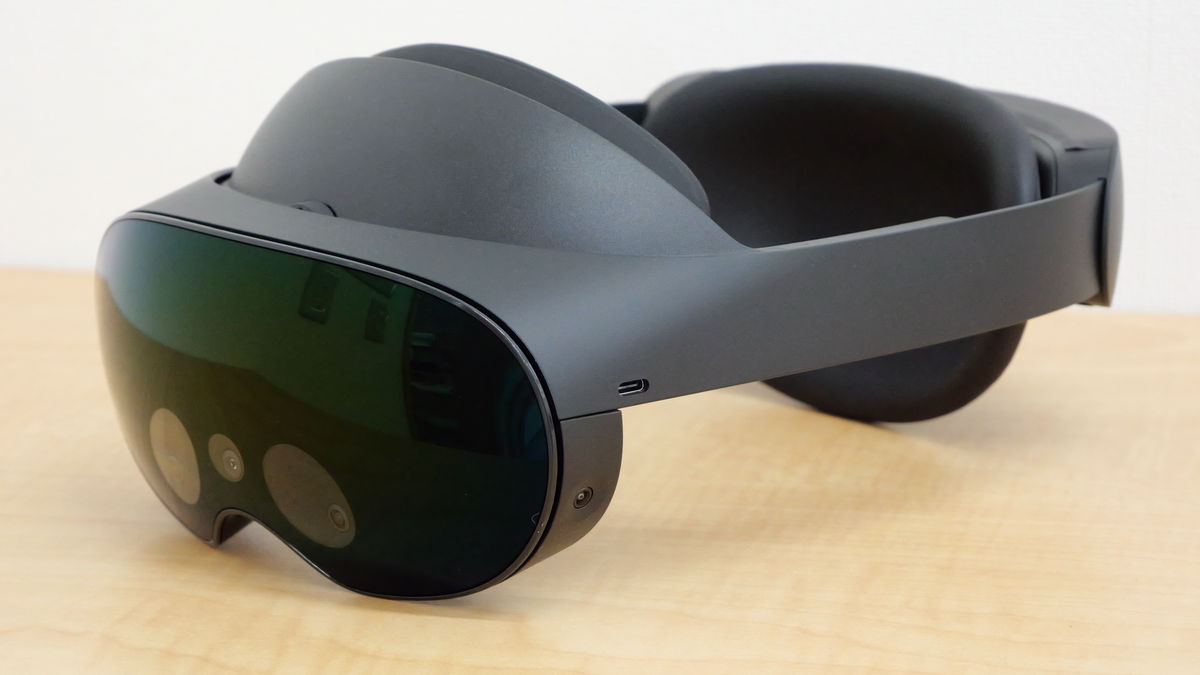
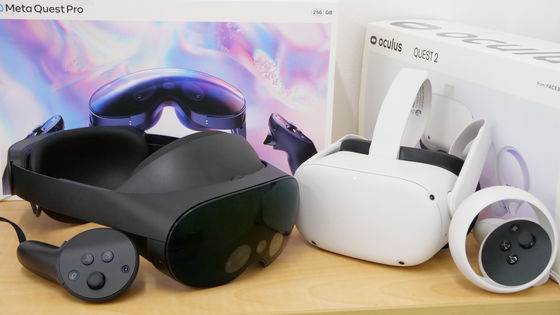
This is the Meta Quest Pro main body.
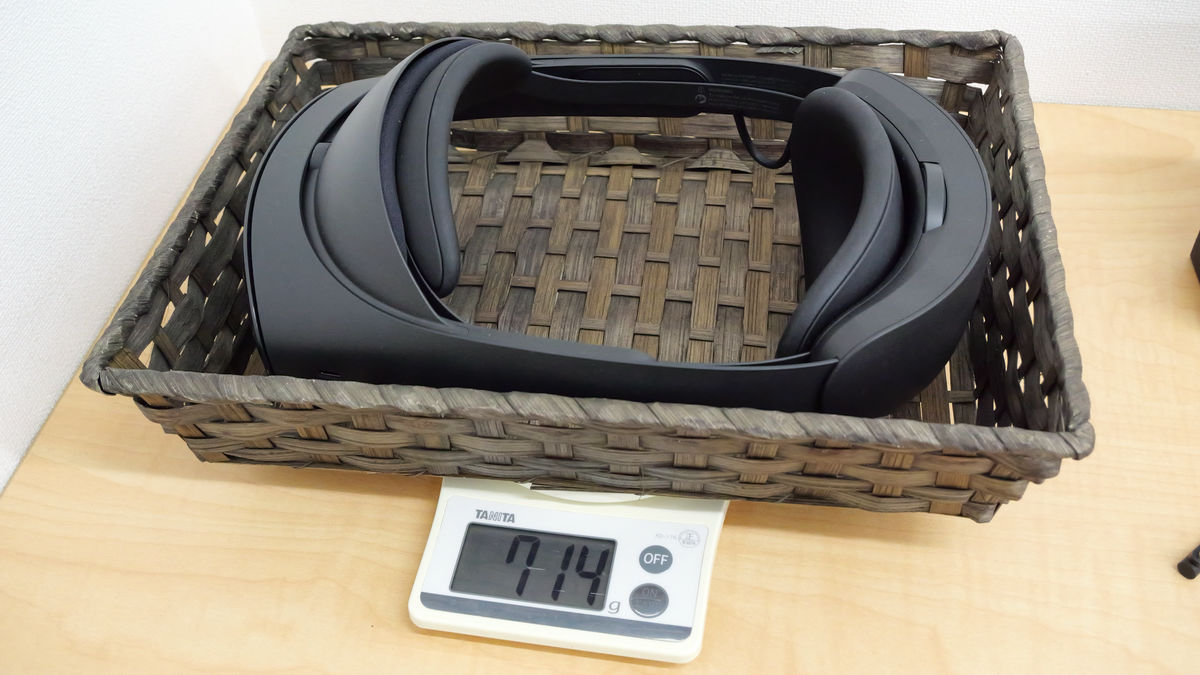
The actual weight is 714g. When you hold it in your hand, the weight is balanced in the front and back, and the center of gravity is right in the center.
Viewed from the front. The visor part is shaped like snow goggles and reflects the surroundings like a mirror.
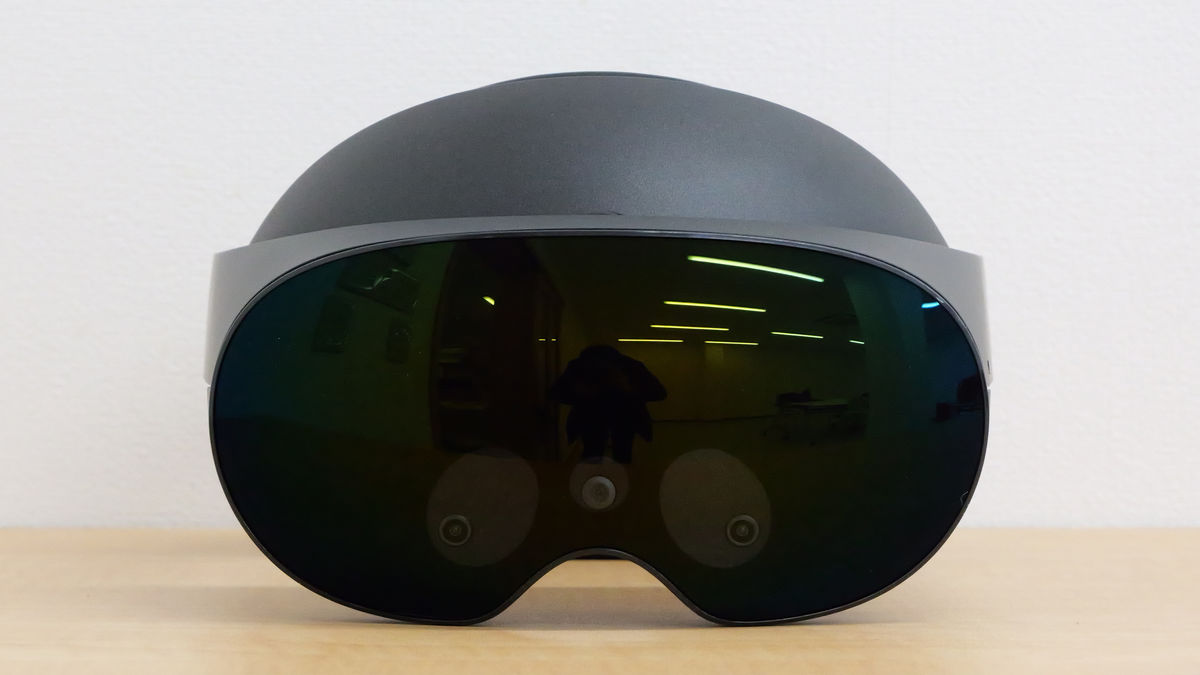
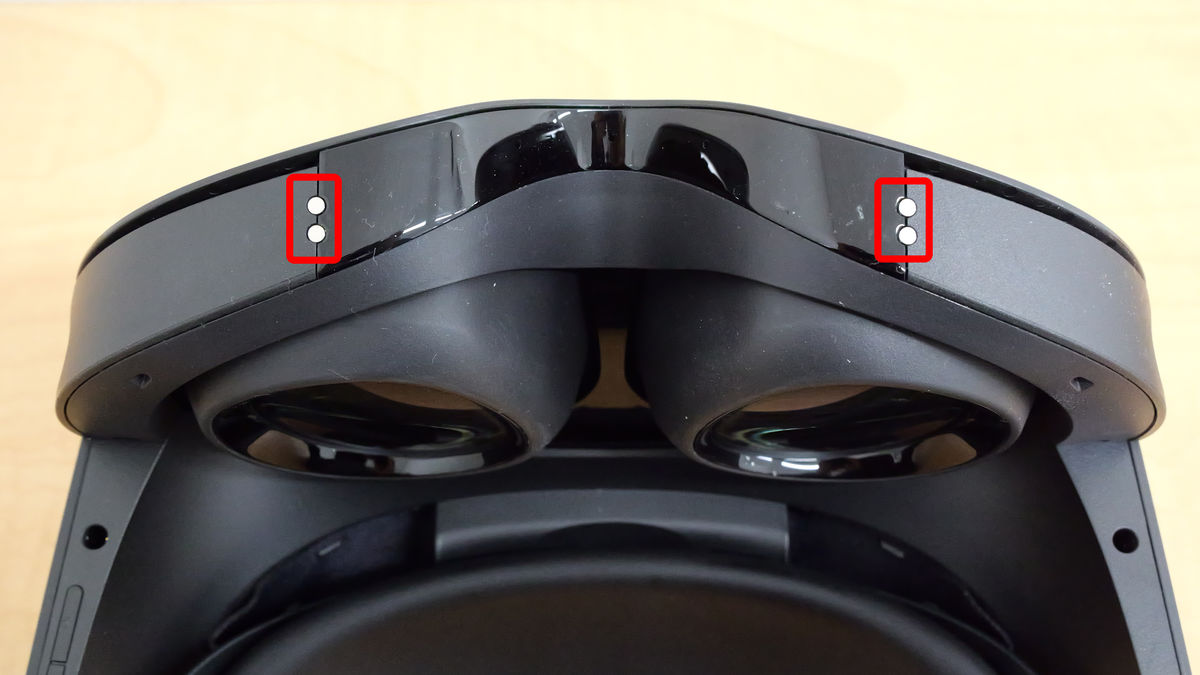
A full-color pass-through camera is located just above the nose in the center. There are sensor cameras on both sides for inside-out tracking.
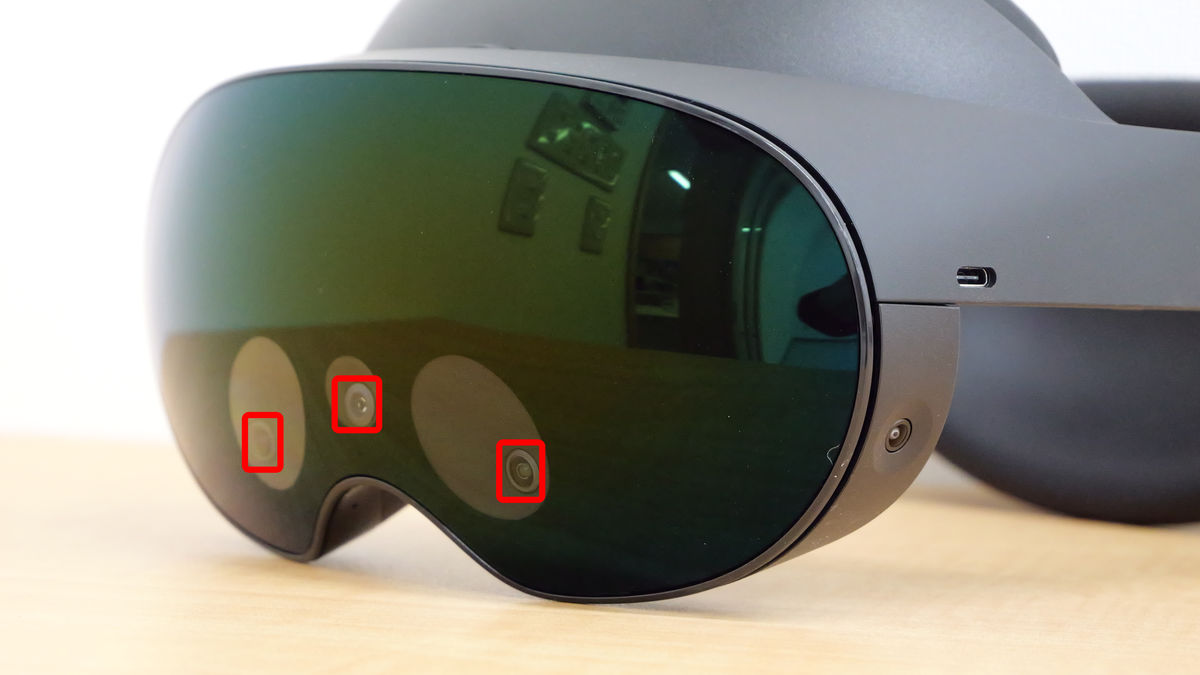
The lens is a pancake lens. The Fresnel type used in the Quest 2 was characterized by a concentric striped pattern, but the Quest Pro's pancake lens does not have a striped pattern.

You can attach blackout blockers to the left and right sides of the inside of the visor. The silicone blackout blocker has a built-in magnet and is easy to install and remove.
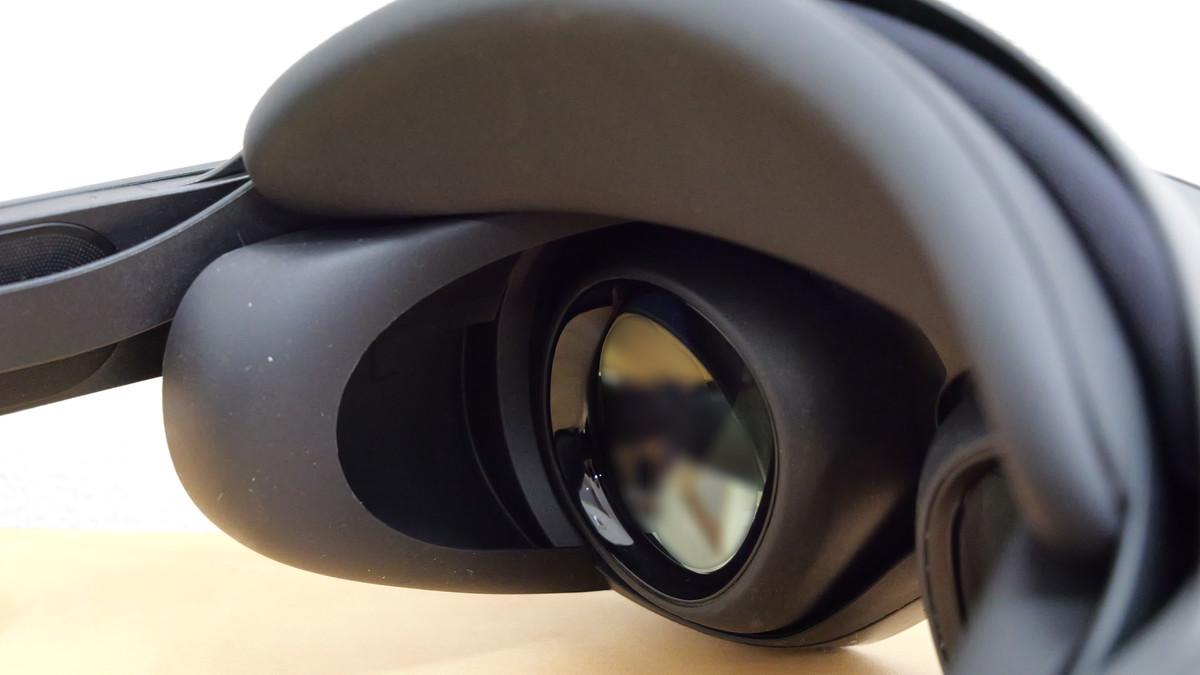
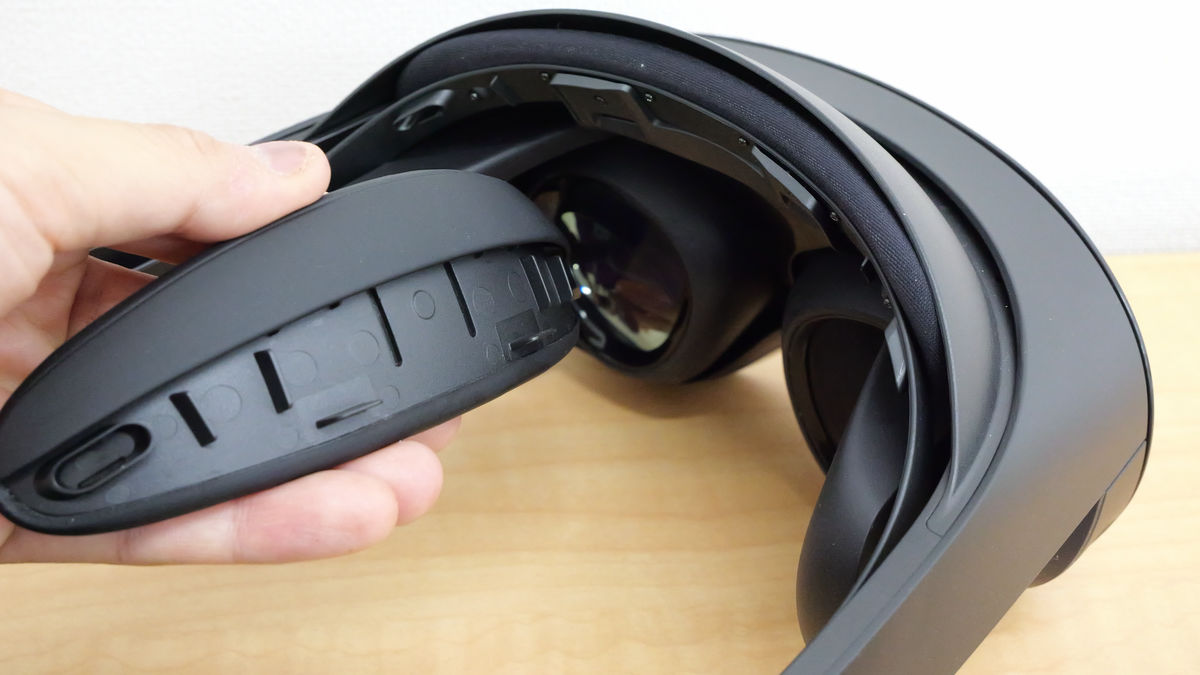
The cushion at the top of the inside of the visor is a forehead rest. The Quest 2 had a cushion surrounding the visor part, but the Quest Pro has only the forehead and is fixed with plastic claws. The size and distance of the cushion cannot be adjusted, so depending on the shape of your face, you may need to adjust it by inserting a towel or handkerchief.
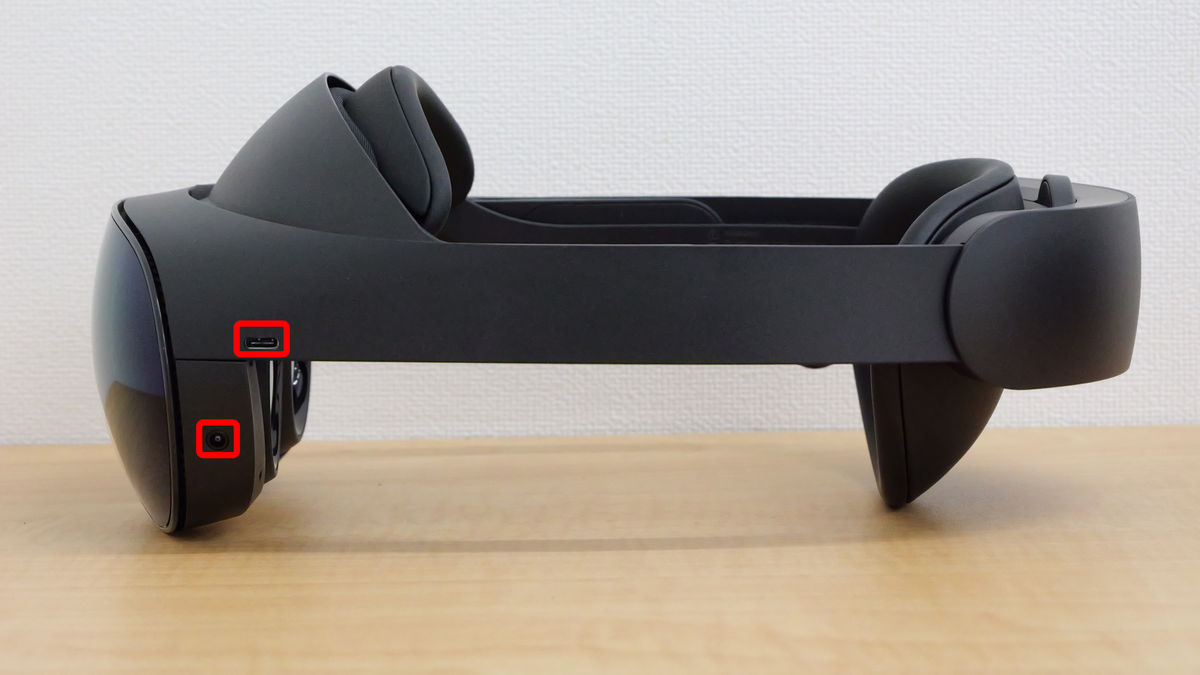
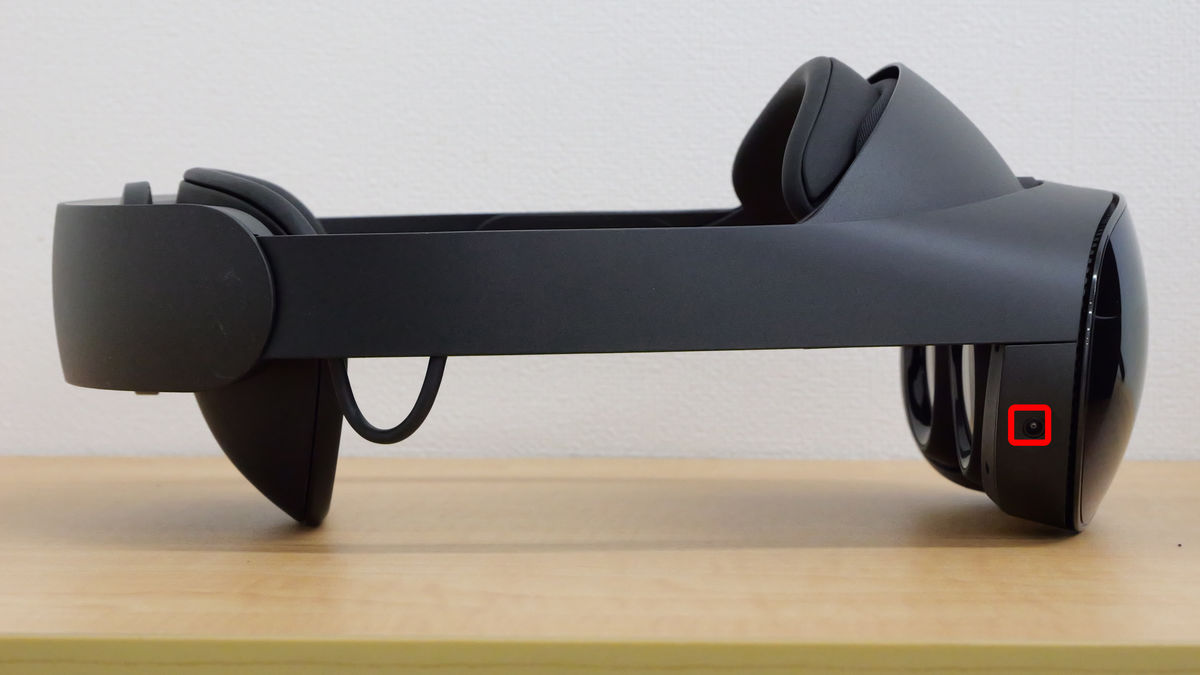
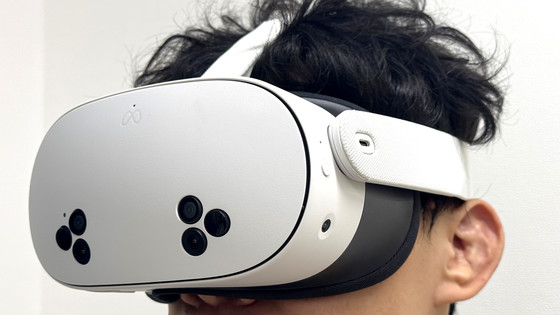
On the left side of the main unit, there is a sensor camera for inside-out tracking and a USB Type-C port.
There was a sensor camera for inside-out tracking on the right side of the main body. A total of four sensor cameras are installed on the Quest Pro body.
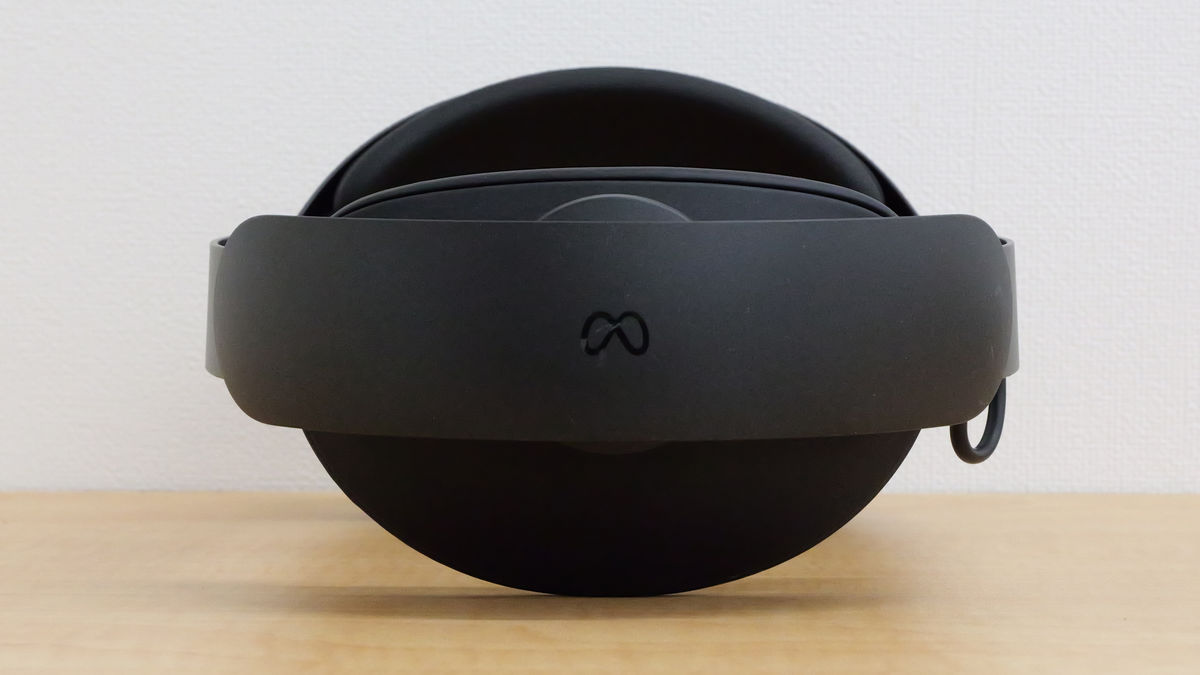
The head strap part where the cushion is attached. The Meta logo is engraved.
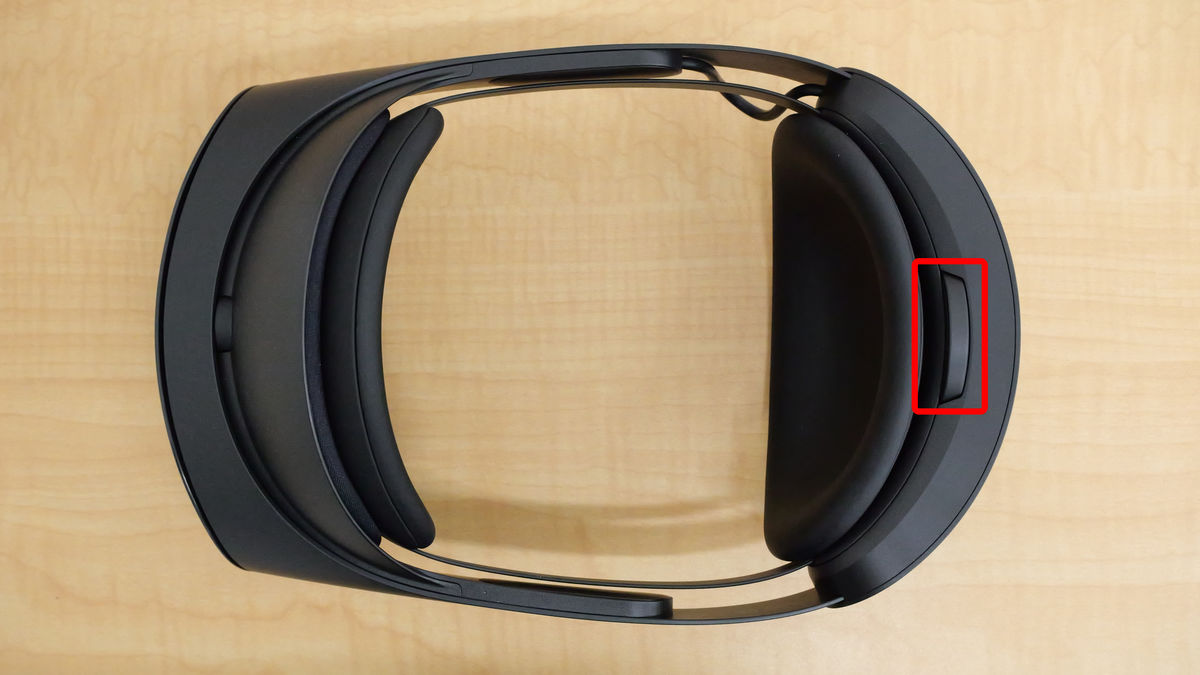
A view of the main body from above. The length of the head strap part is adjustable with a dial.
A view of the main body from below.

There is a volume control button on the bottom of the right part of the strap. The round hole next to it is a 3.5mm audio output terminal.

There is a power button on the bottom of the left part of the strap. The round hole above it is a 3.5mm audio output terminal. If you point a stereo earphone to either the left or right audio output terminal, you can hear the sound as is, or you can also insert separate earphones like

There is a charging terminal on the bottom of the visor part.
Quest Pro comes with a dedicated charging dog that allows you to charge the Quest Pro and the Quest Touch Pro VR controller at the same time.
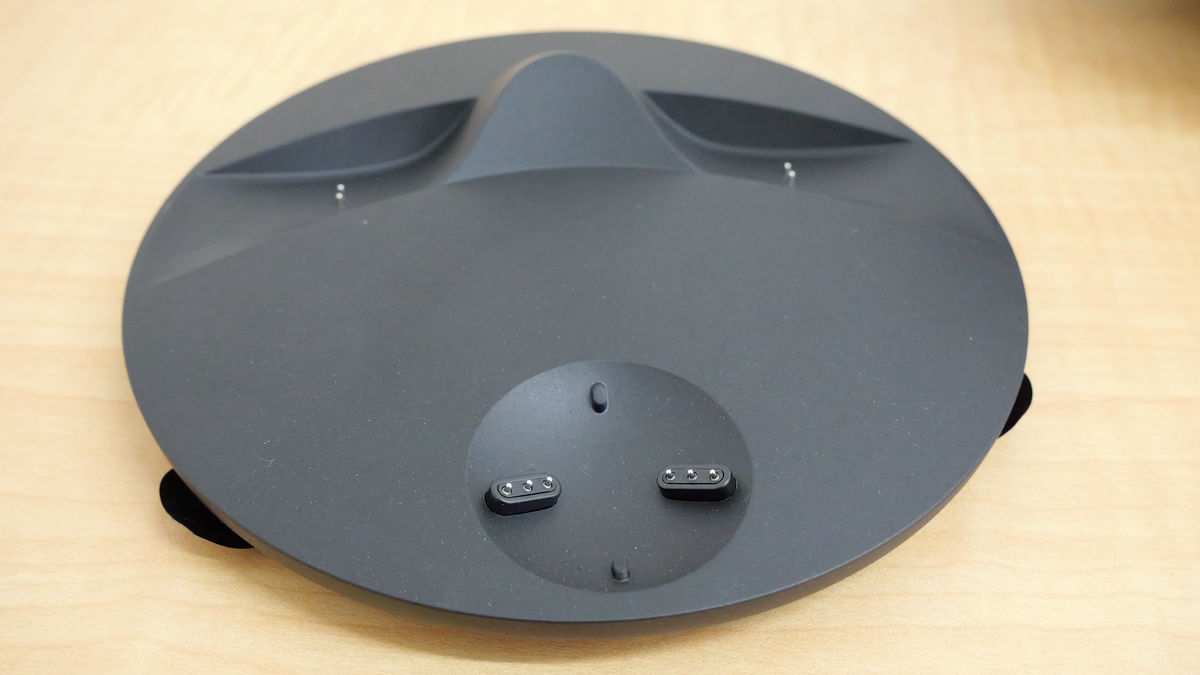
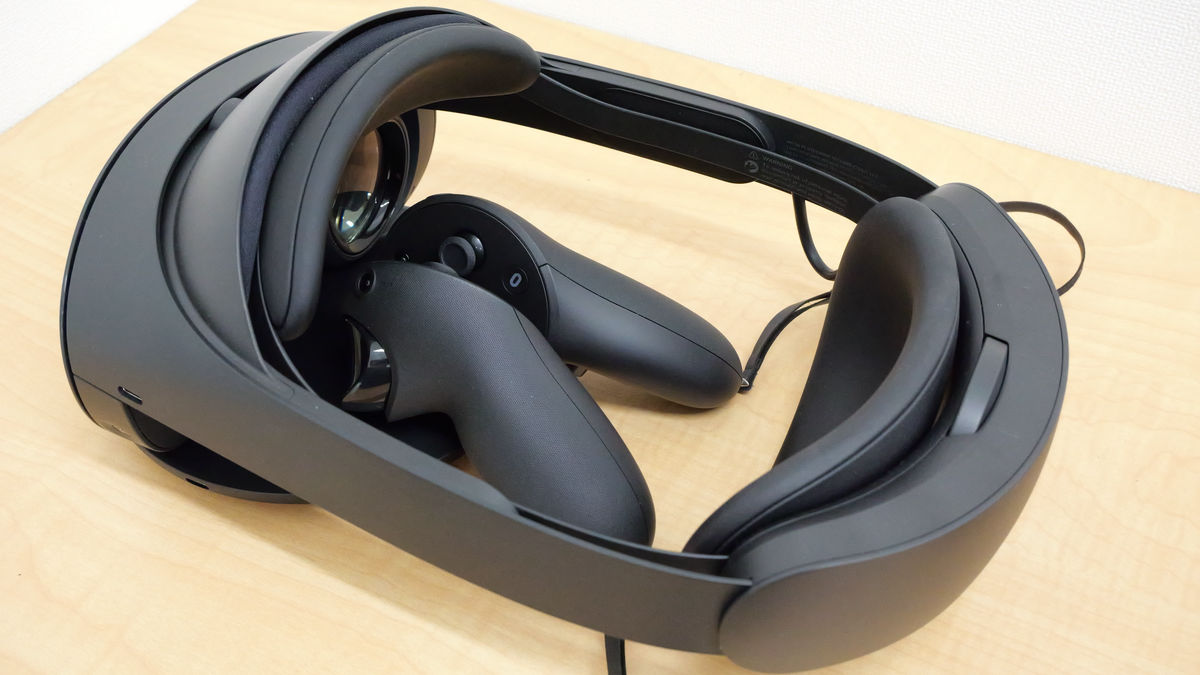
When you put the Quest Pro main body and Quest Touch Pro VR controller on the charging dog at the same time, it looks like this.
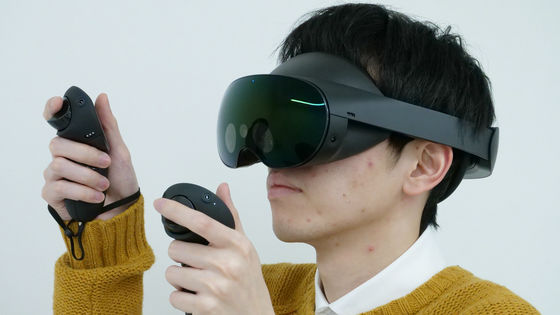
The Quest Touch Pro VR controller looks like this.
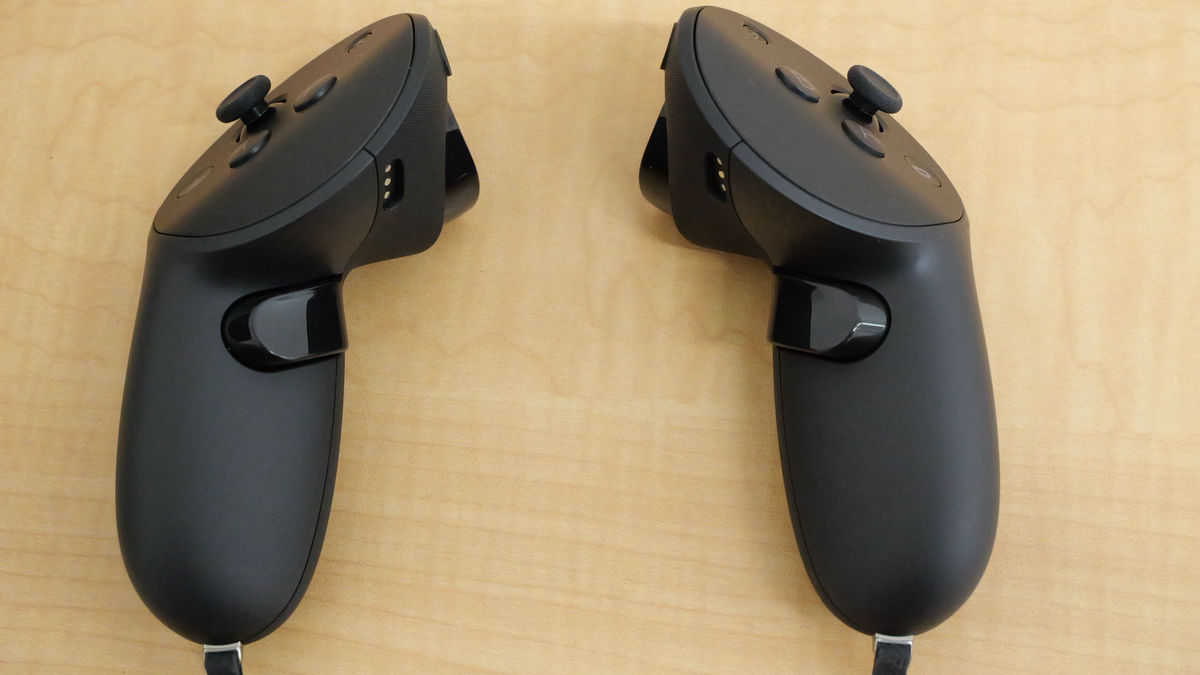
The actual weight of each piece was 164g.

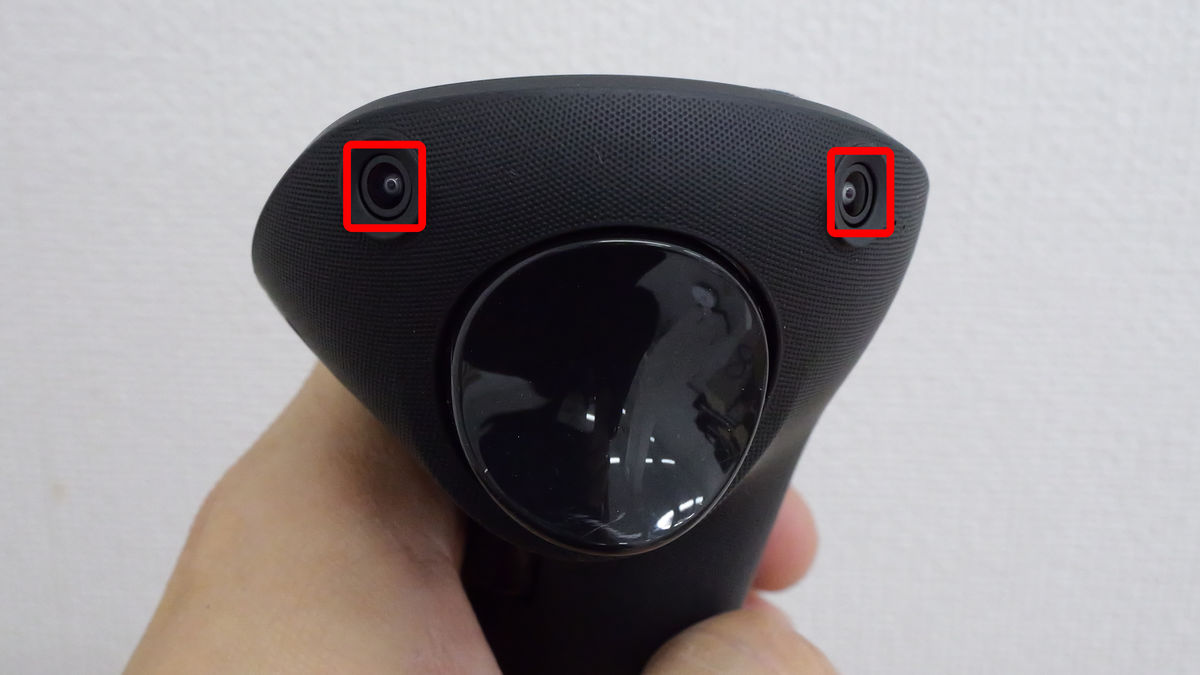
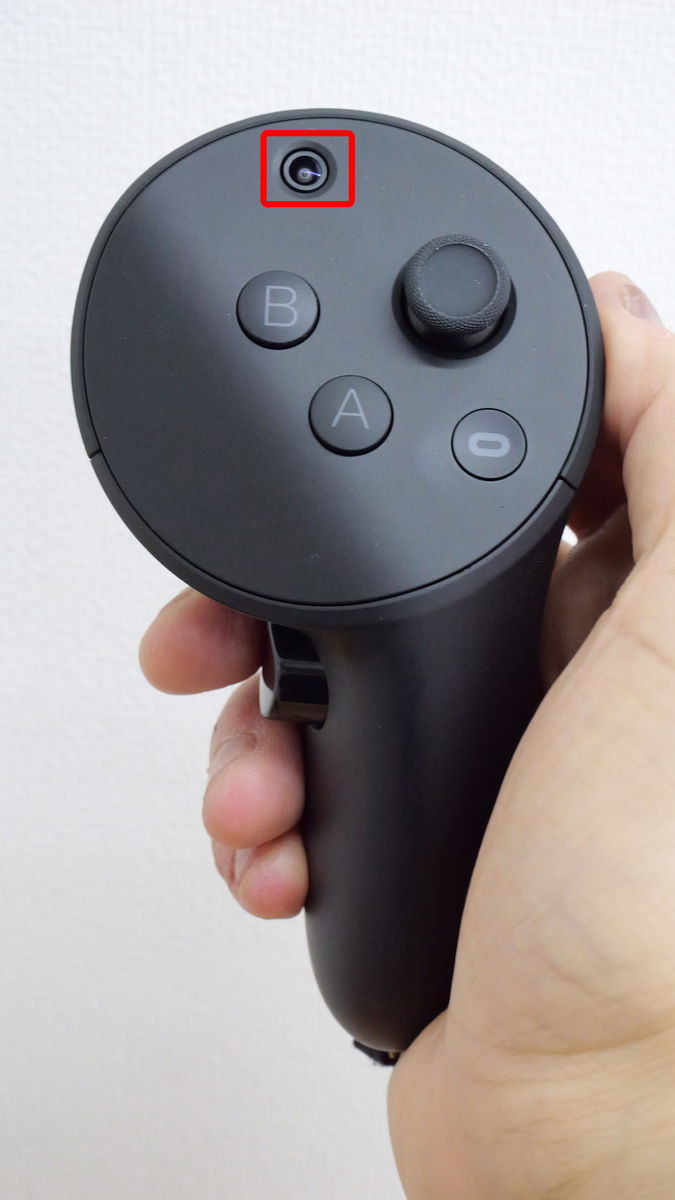
I held the Quest Touch Pro VR controller (left). At the top of the panel is a sensor camera for tracking. The X button, Y button, and menu button are arranged.

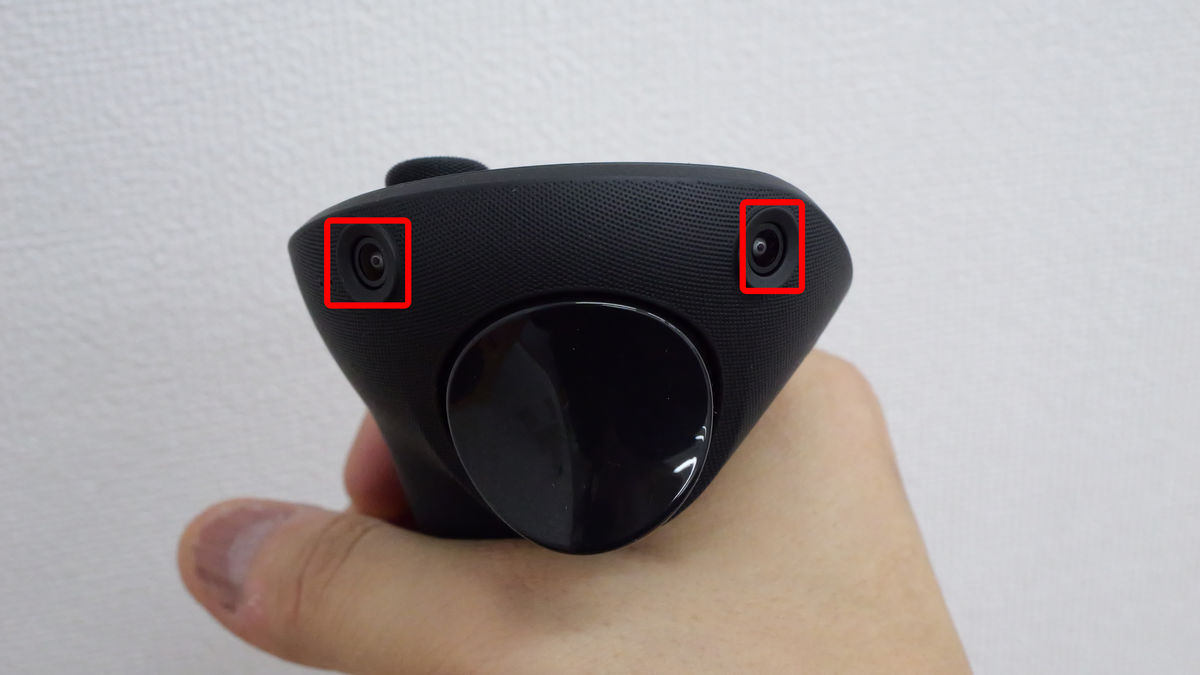
There are also two sensor cameras for tracking on the front. Below that is the trigger button.
There is a charging terminal on the side. There is also a button on the grip, which you can press by squeezing it. The Quest Touch controller that came with the Quest 2 required one AA battery, but the Quest Touch Pro VR controller has a built-in rechargeable battery.
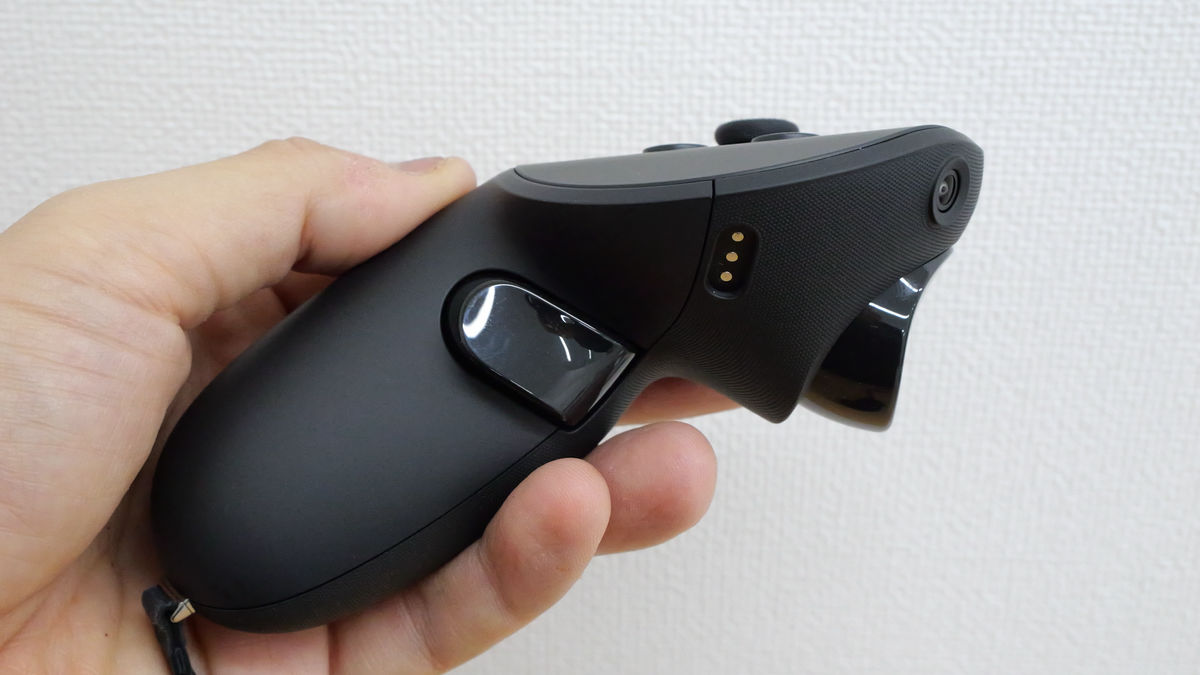
I held the Quest Touch Pro VR controller (right). There is a sensor camera for tracking at the top of the panel, and the analog stick, A button, B button, and Oculus button are arranged.
There are two sensor cameras for tracking on the front. Below that is the trigger button.
Charging terminal and grip button on the side.

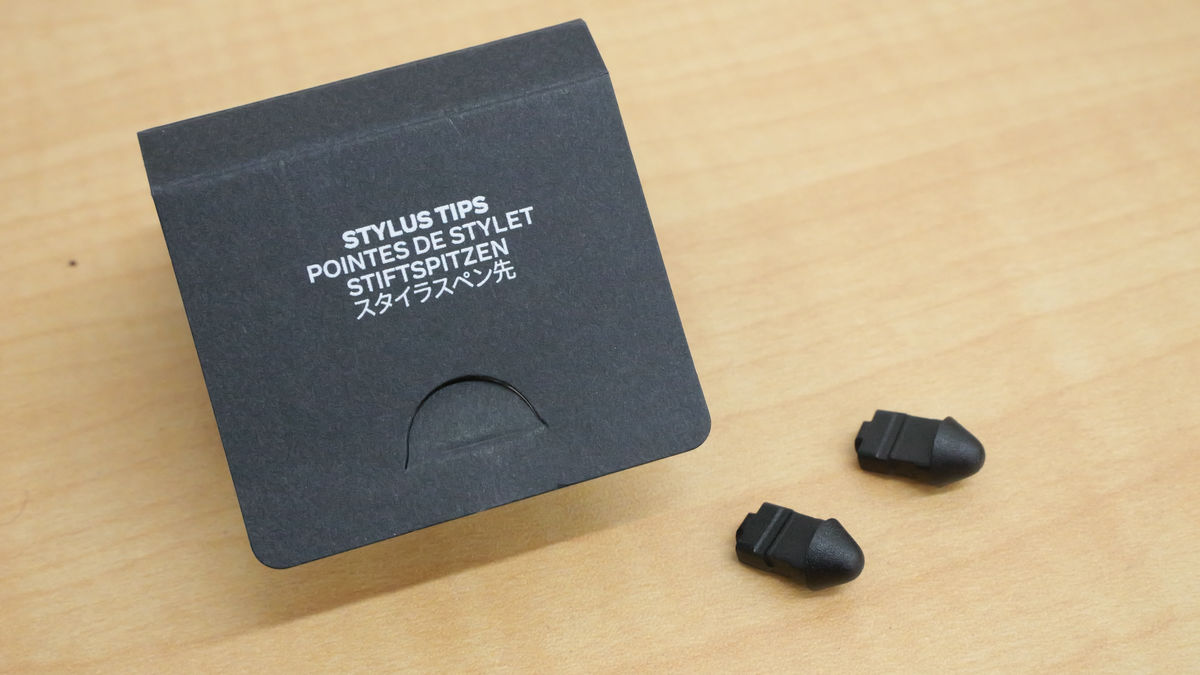
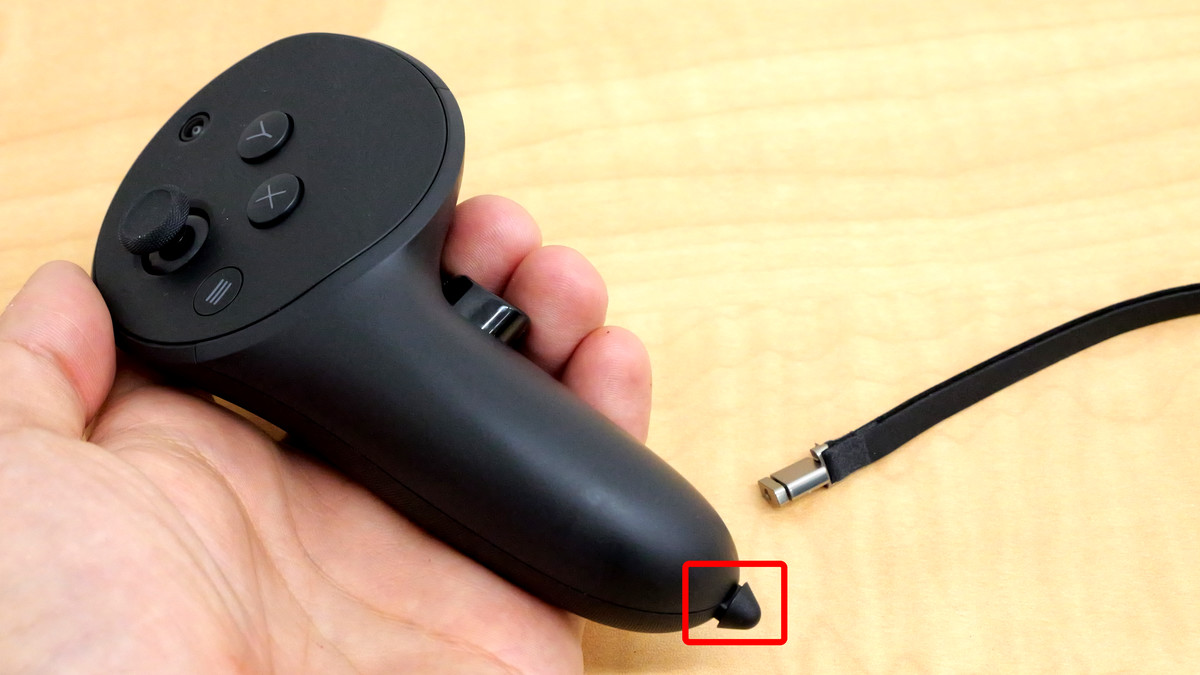
By removing the strap of the Quest Touch Pro VR controller and attaching this stylus pen tip, the accuracy of writing characters and pictures with the controller will increase.
The included cables are a USB Type-C cable, charging terminal cable, and AC adapter.
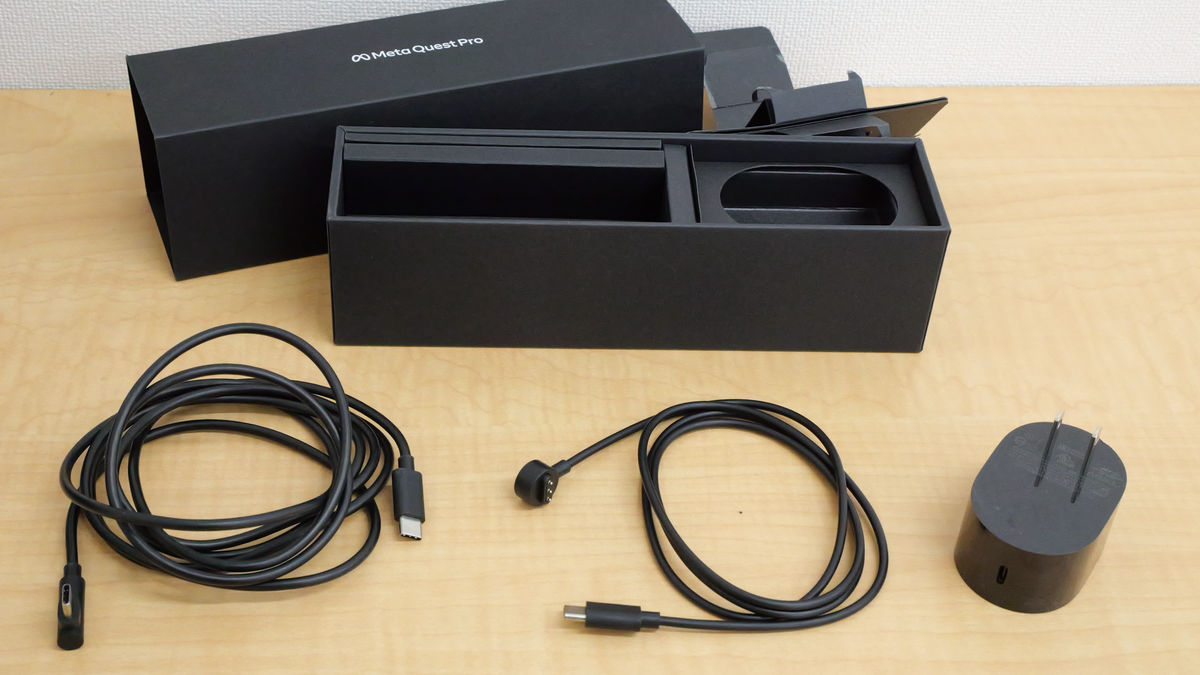
The output of the AC adapter was 5.0V = 3.0A / 15.0W, 9.0V = 3.0A / 27.0W, 15.0V = 3.0A / 45.0W, 20.0V = 2.25A / 45.0W.

Meta Quest Pro costs 226,800 yen including tax and can be ordered on Meta's official website. Delivery is free of charge.
Meta Quest Pro: The most advanced new VR headset in the series | Meta Store | Meta Store
https://www.meta.com/jp/quest/quest-pro/
・Continued
I tried wearing a high-class VR headset ``Meta Quest Pro'' that allows you to experience MR (mixed reality), which is a mixture of full-color reality and virtual reality - GIGAZINE
Related Posts:

in Free Member, Hardware, Review, Posted by log1i_yk