'Gimel Studio' that allows you to build a workflow for processing images on a node basis
I tried using the image editing software ' Gimel Studio ' that allows you to assign 'brightness/contrast change', 'reverse', 'rotate', etc. to one node and build a workflow for processing images with a node network.
Gimel Studio – Open source, non-destructive 2D image graphics editor
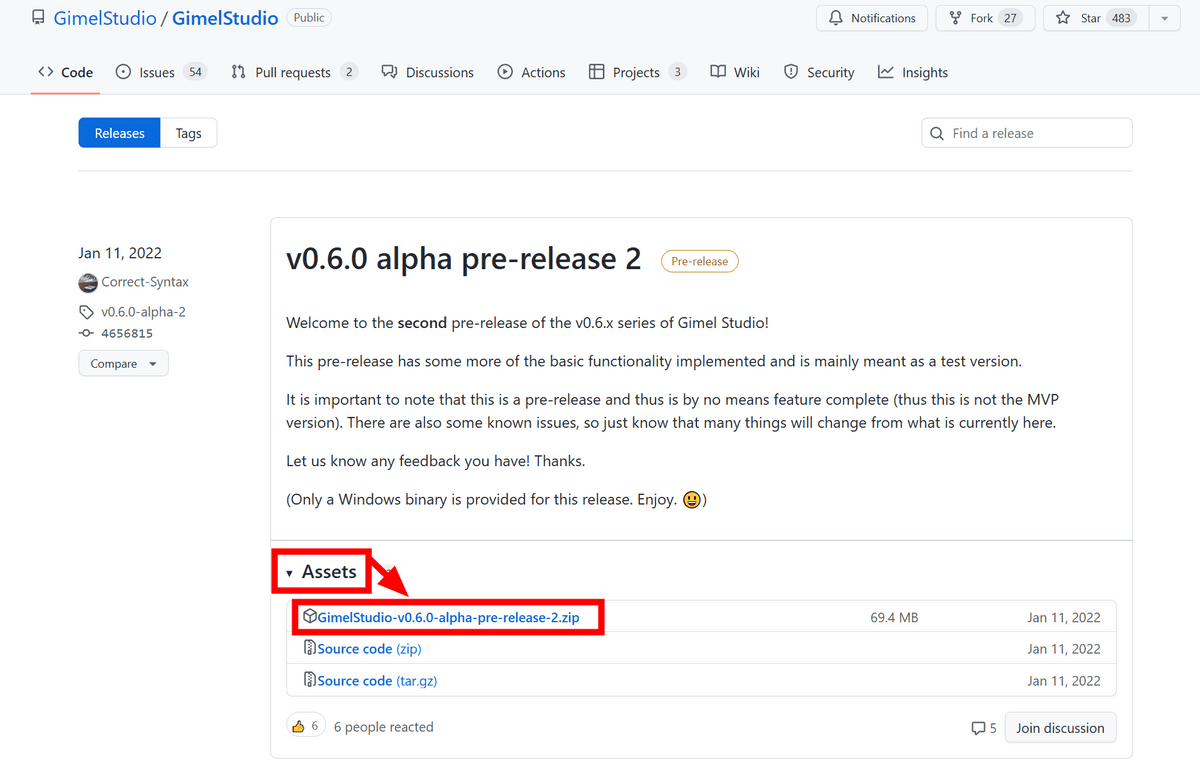
Gimel Studio has not been officially released at the time of article creation, and only the alpha version has been pre-released. Try this alpha version. For download, go to the GitHub releases page , click Assets, and click GimelStudio-v0.6.0-alpha-pre-release-2.zip. Wait for a while as the download of the zip file starts.
Unzip the downloaded file.
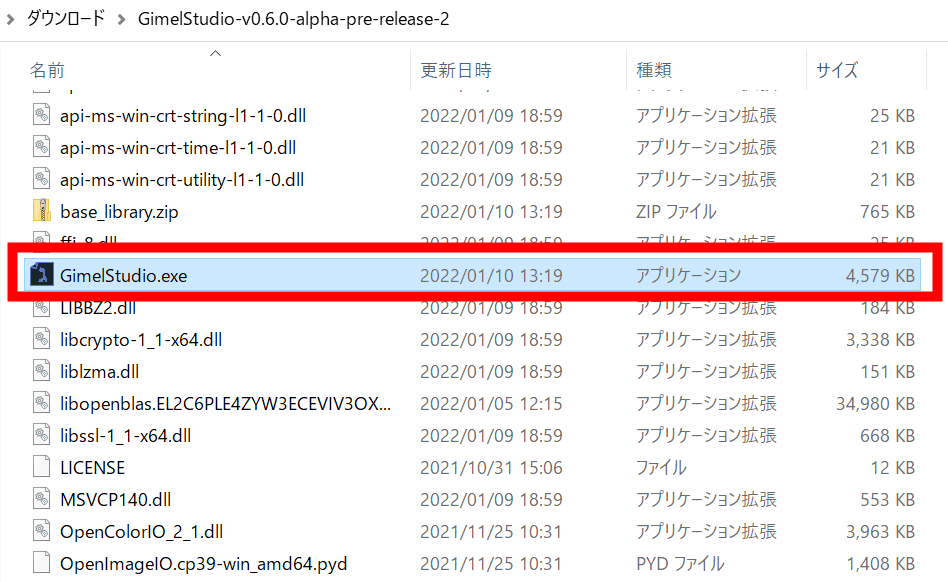
Find 'GimelStudio.exe' in the extracted folder and start it.
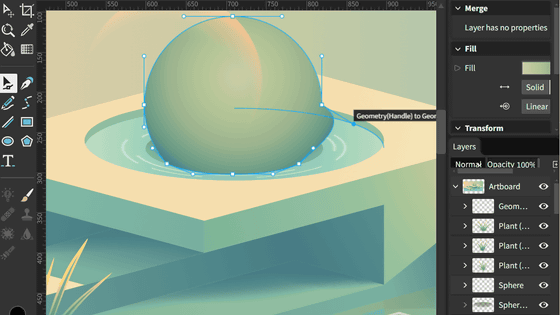
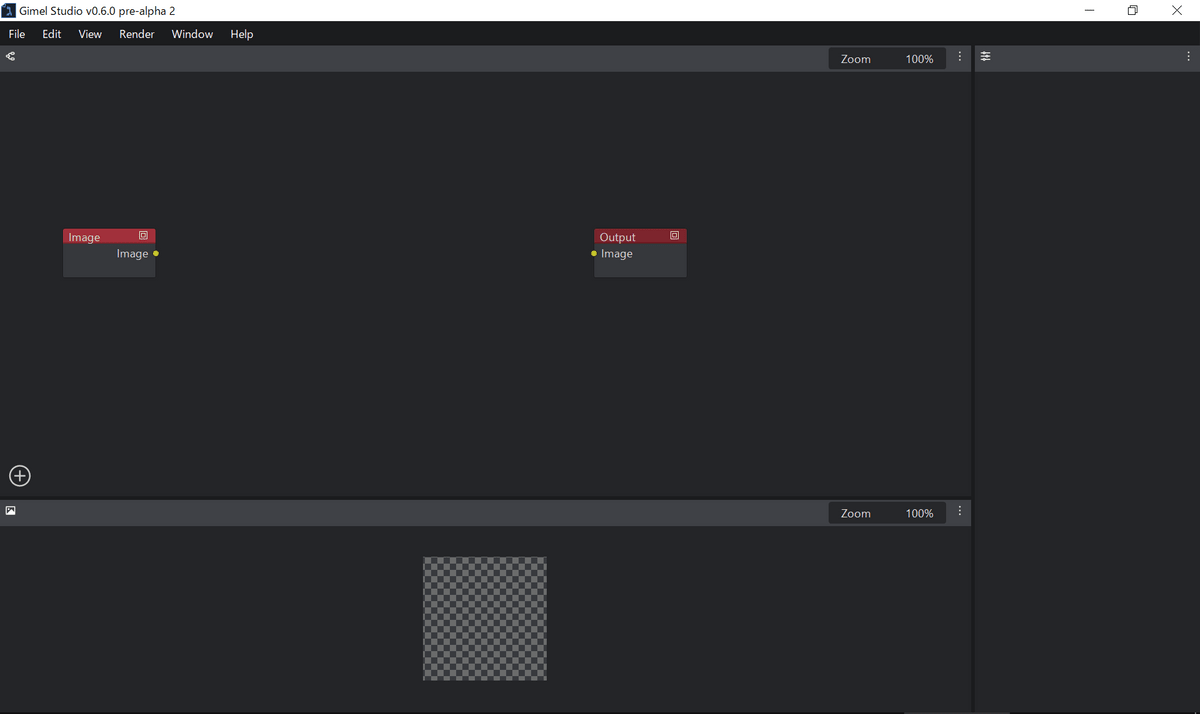
The overall picture of Gimel Studio is like this.
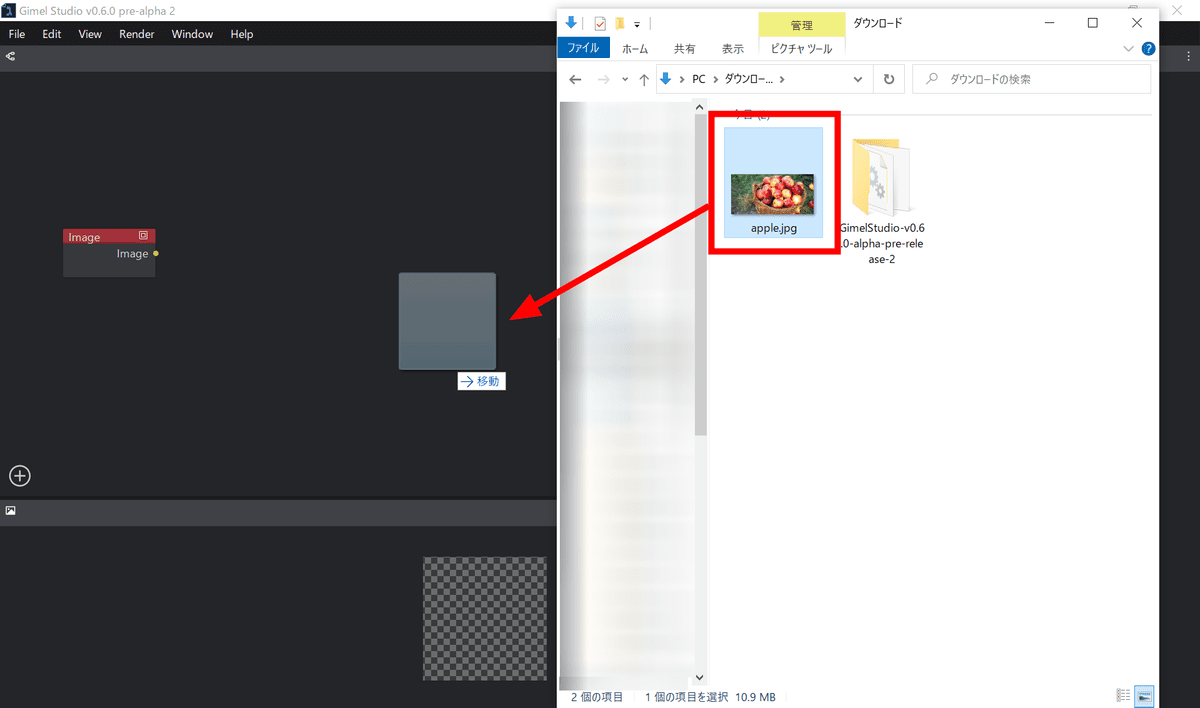
First, drag the image you want to edit to Gimel Studio.
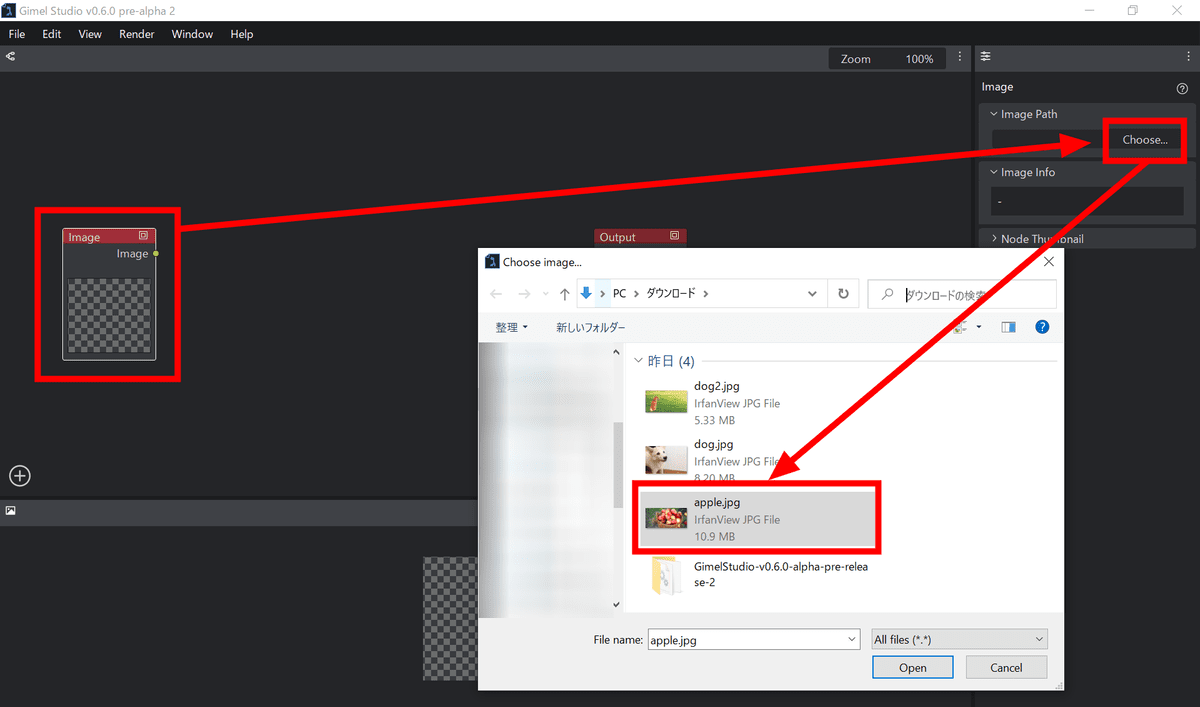
Or click the node labeled 'Image' and select 'Choose' from 'Image Path' on the right to select an image.
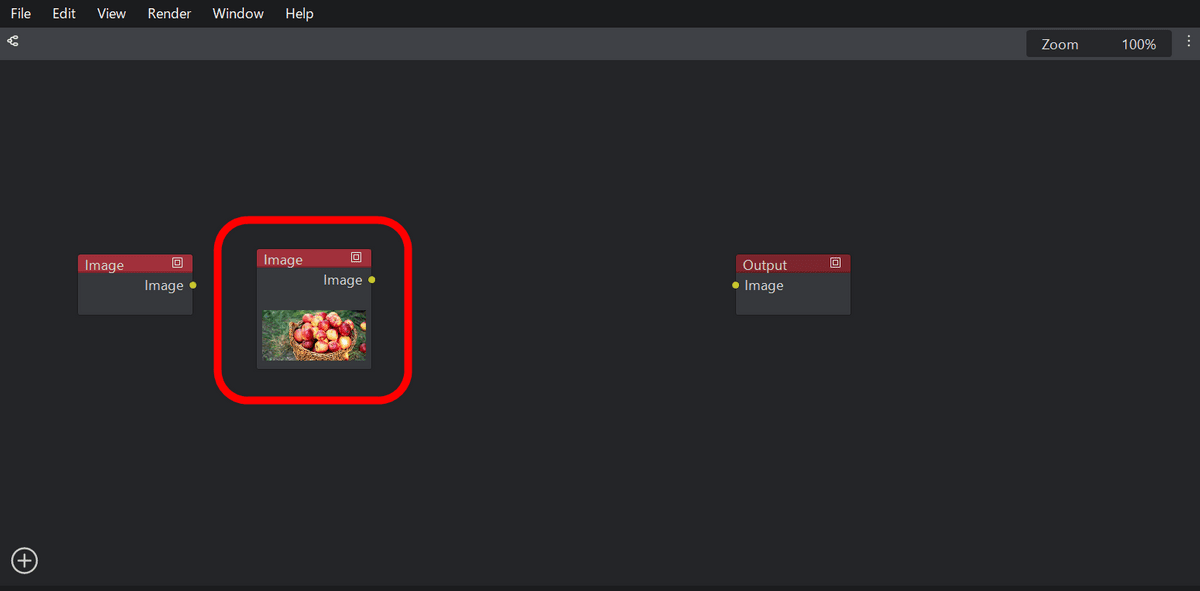
If you use any of the above methods, a single node will appear that incorporates the image. This is the starting node of the workflow.
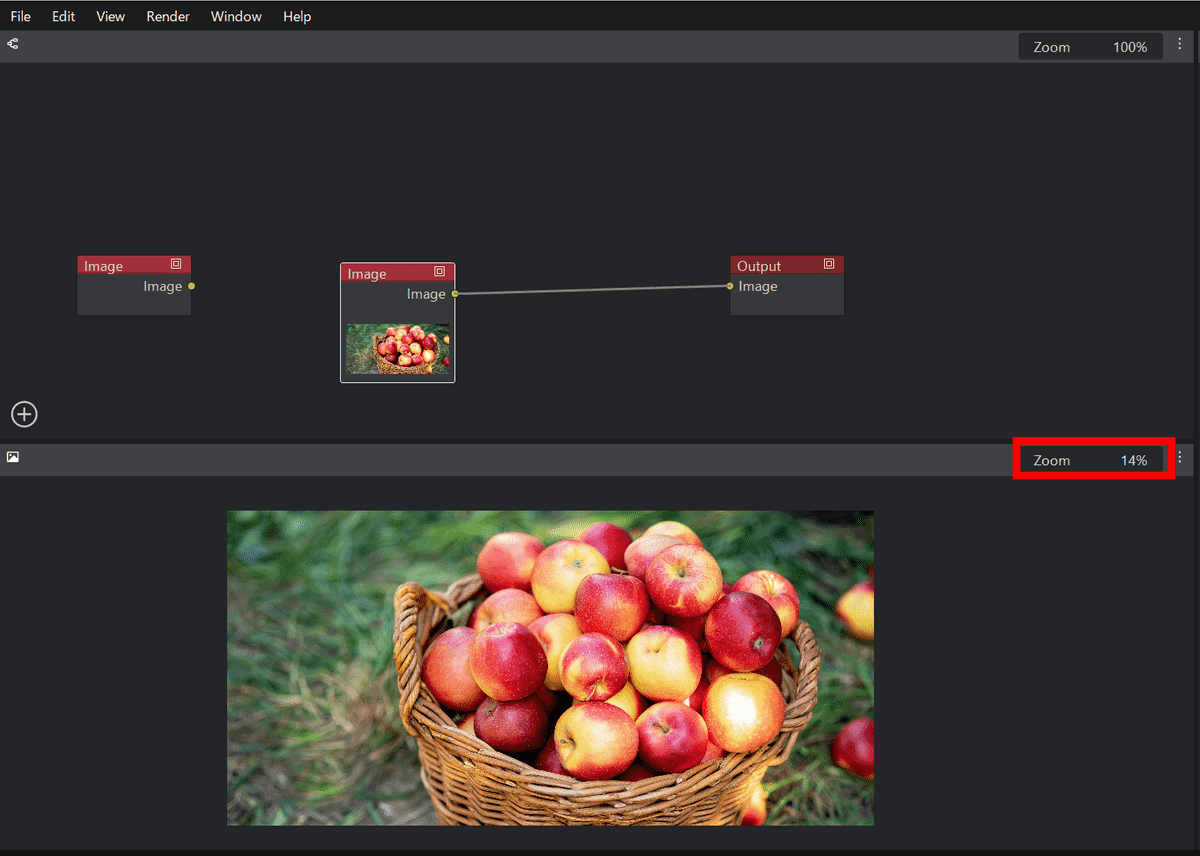
Next, connect the point of the node that appeared and the point of the 'Output' node on the right side.
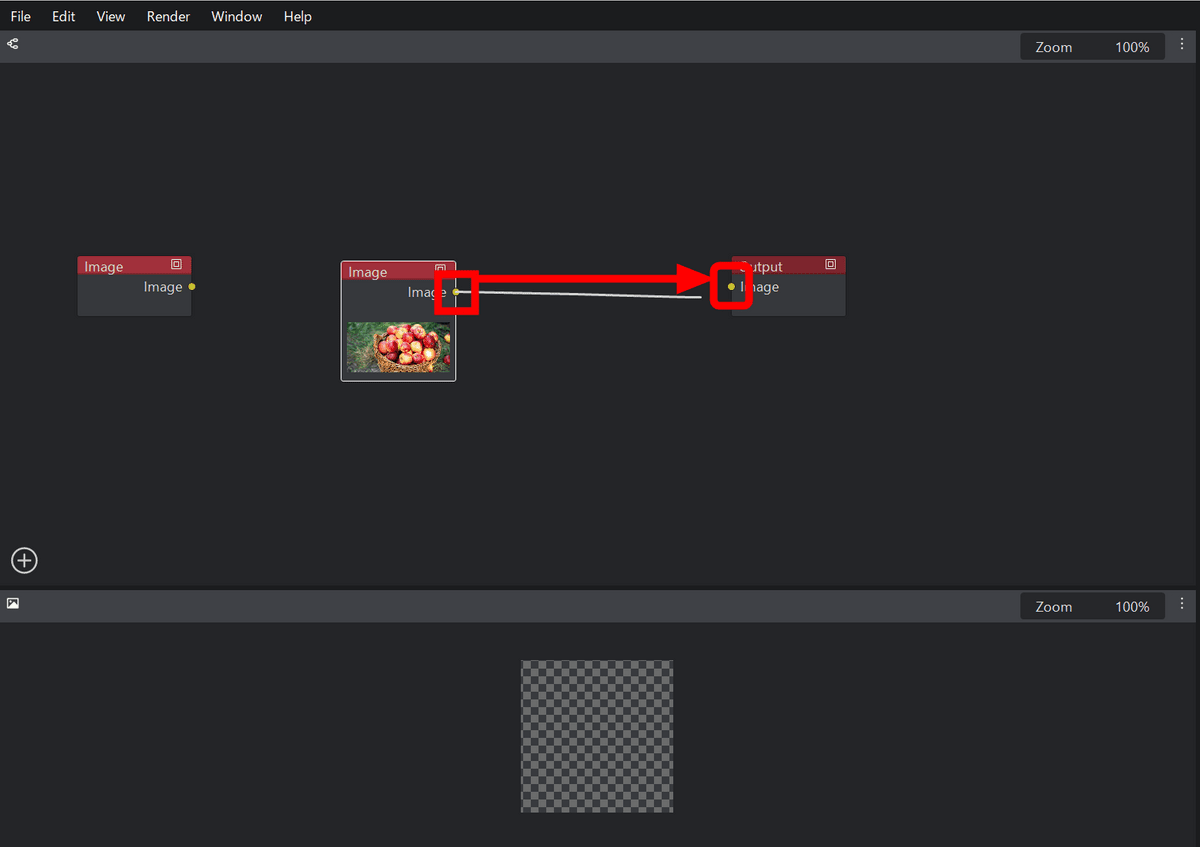
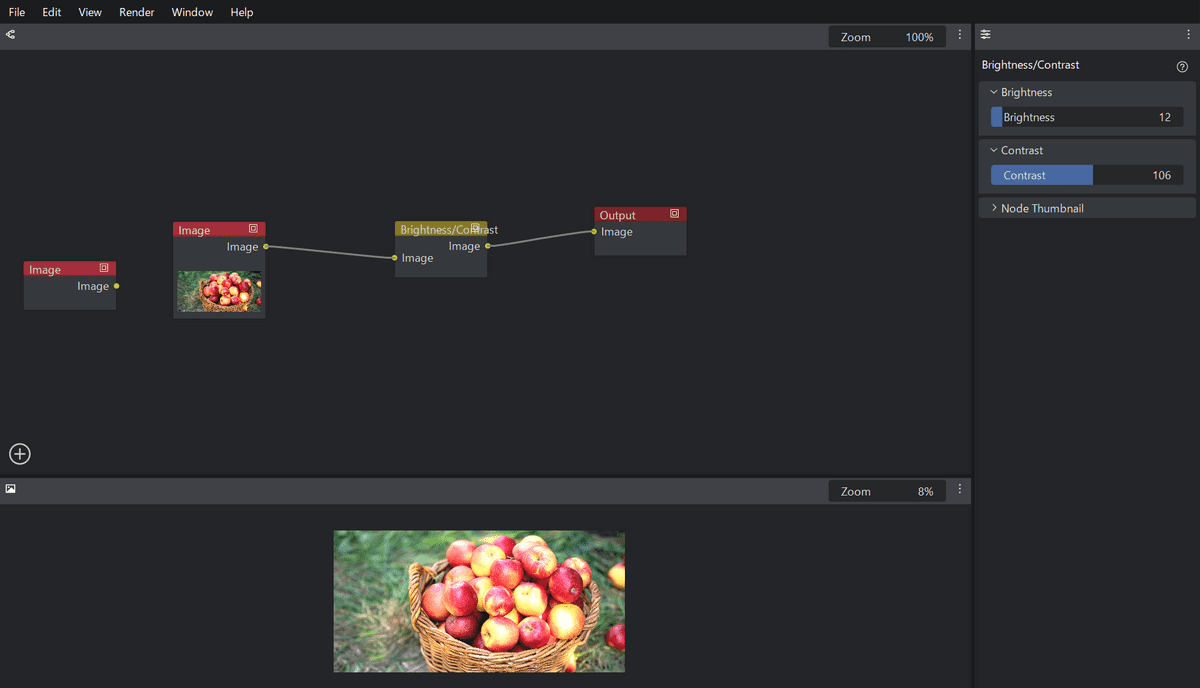
A preview will appear at the bottom of the screen. If the size of the image is wrong, adjust it with 'Zoom' on the right side of the center. The basic design is to start from the image node and finally connect to the Output node.
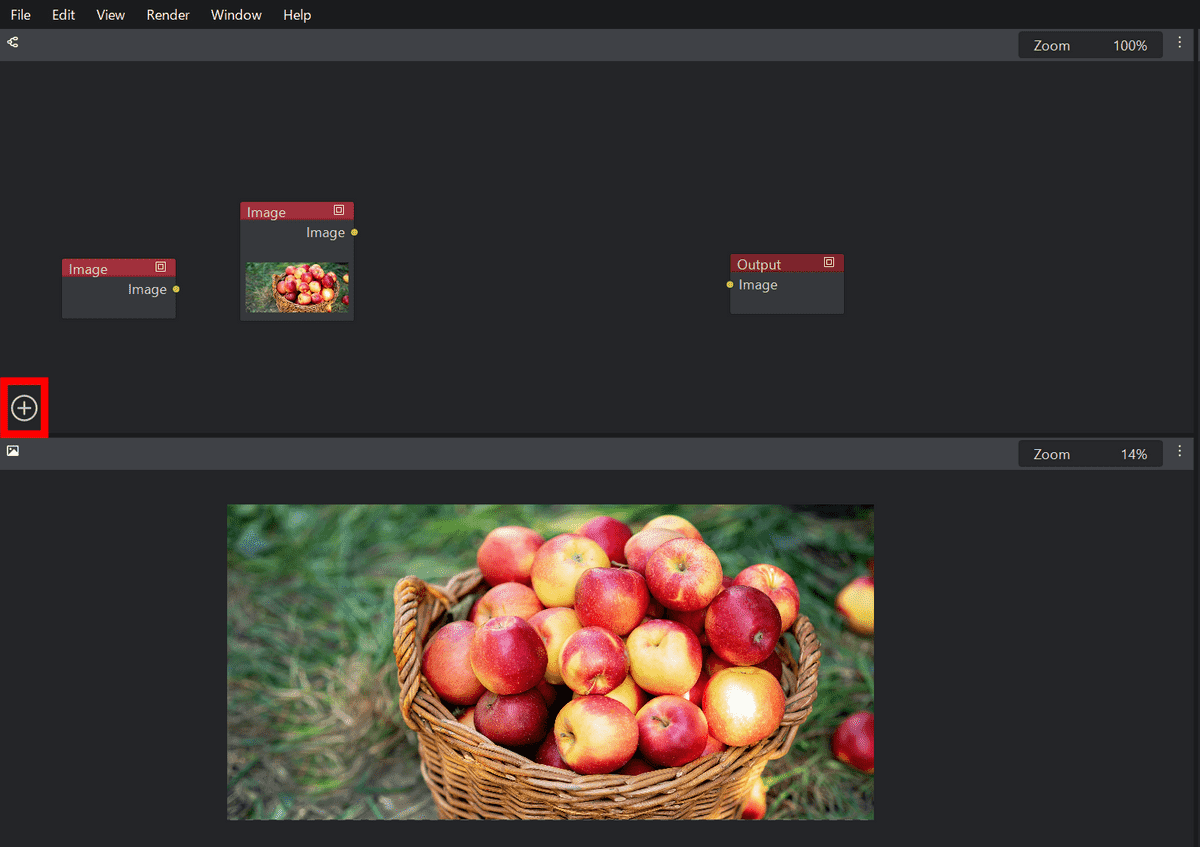
To add a node, click the '+' icon on the left side of the upper screen.
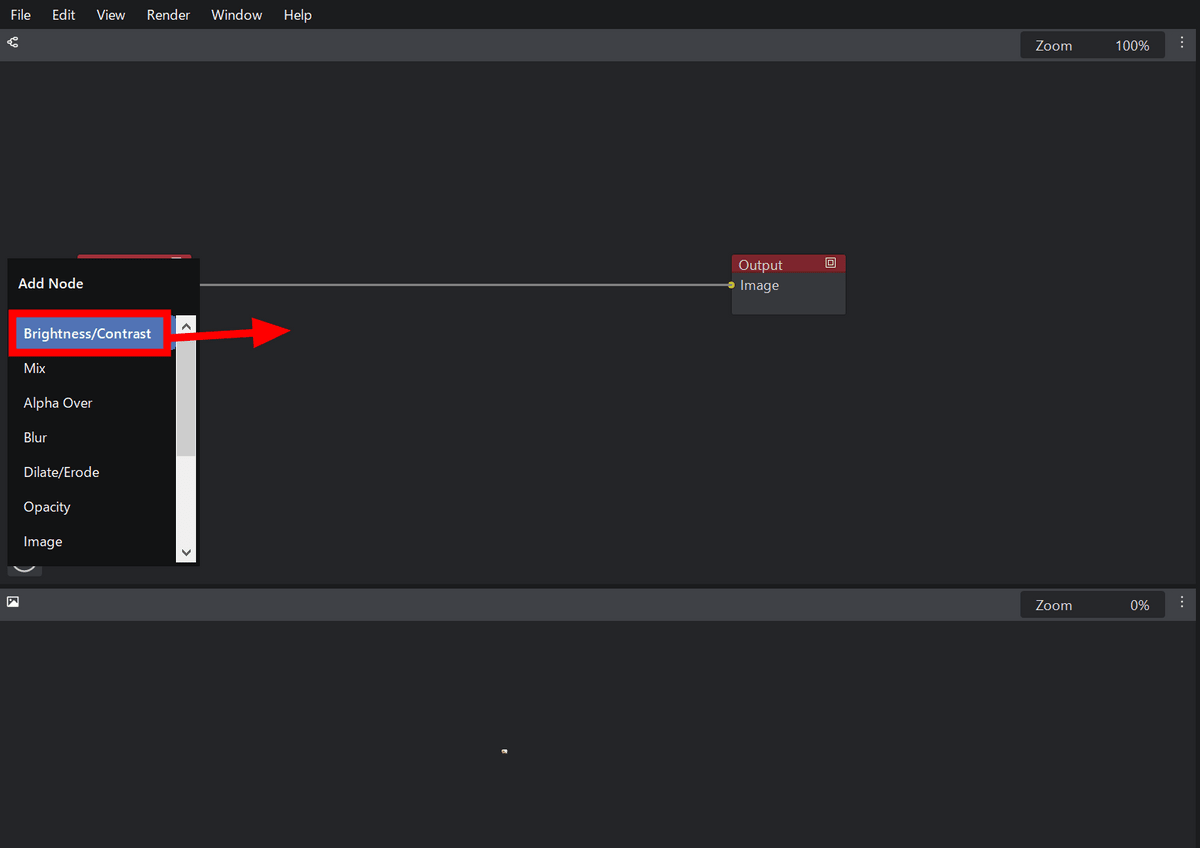
Select your favorite function from functions such as 'Brightness/Contrast', 'Mix', 'Alpha over', and 'Blur', and drag it onto the design screen.
Below is where 'Brightness / Contrast' is dragged. You can see the yellow nodes appear.
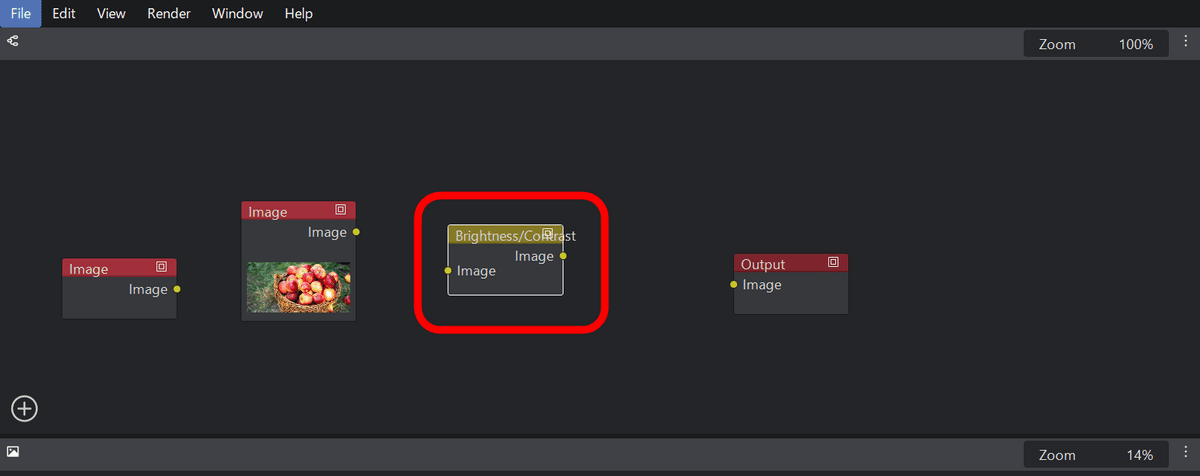
Click the node to display the setting screen. Brightness and contrast can be adjusted separately in this node.
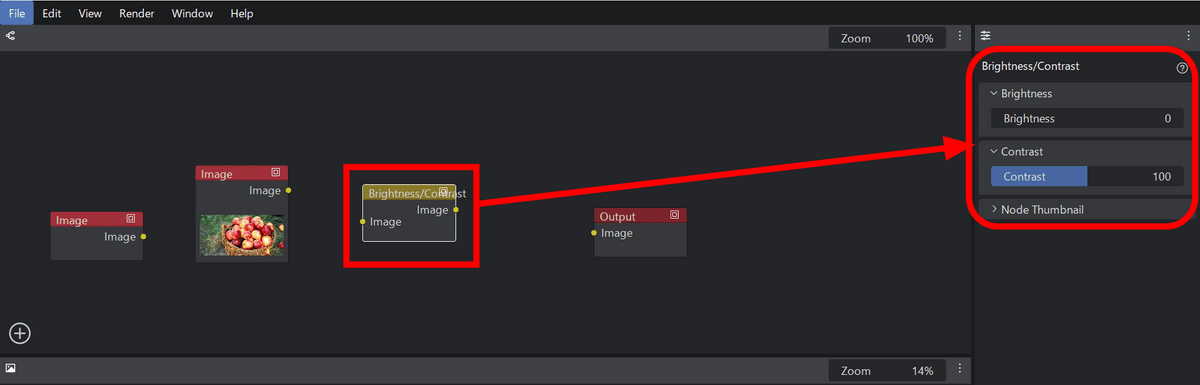
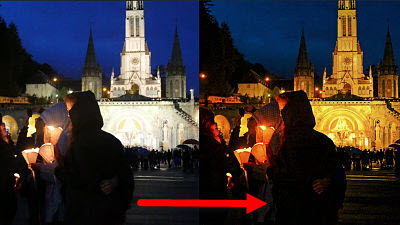
By inserting a brightness/contrast node between the starting node and the output node, you can reflect the brightness/contrast settings in the output image.
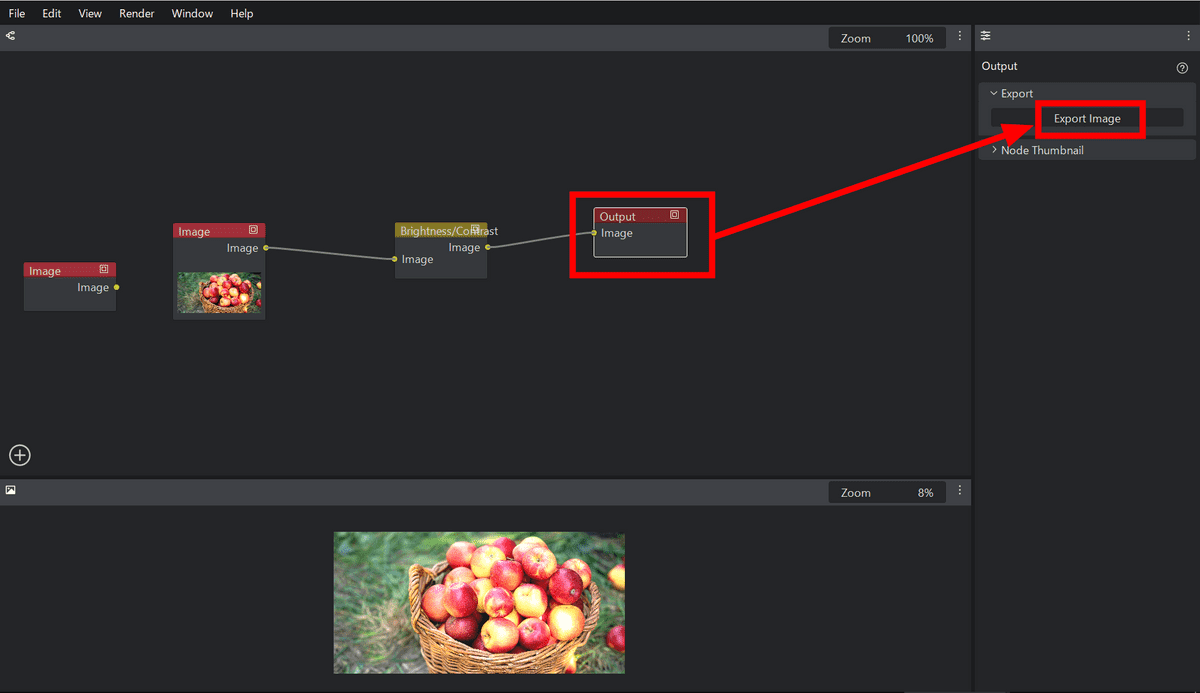
To save the image, click 'Export Image' on the right side of the screen after clicking the 'Output' node.
Select the destination folder and click 'Save'.
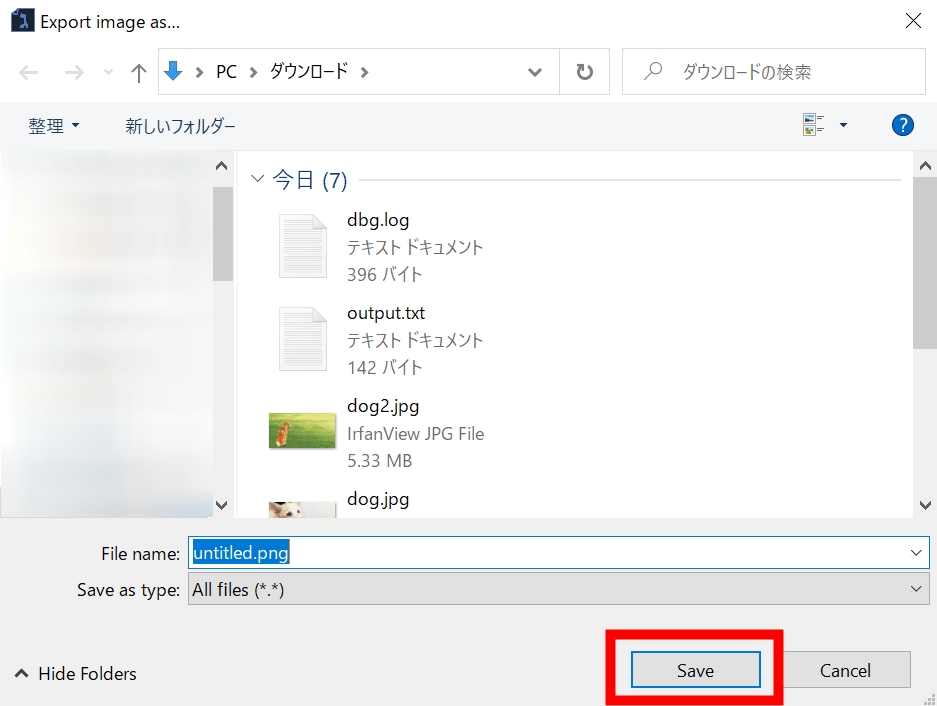
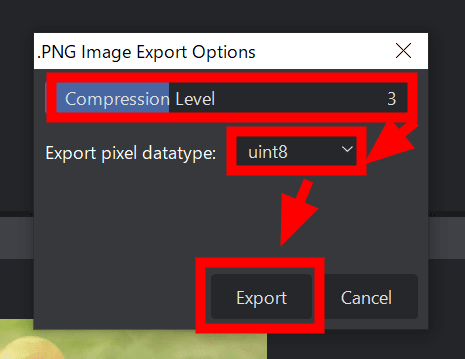
After adjusting the Compression Level and data type, click 'Export'. This will save the PNG file.
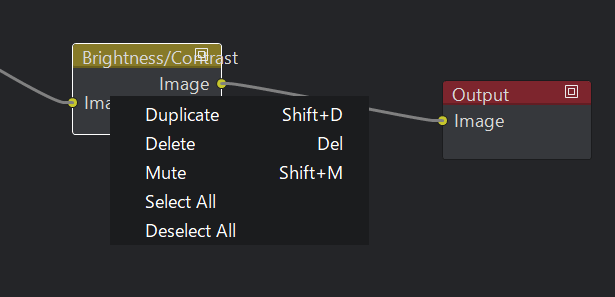
Note that duplication, deletion, and muting (disabling) of a node can be selected by right-clicking on the node.
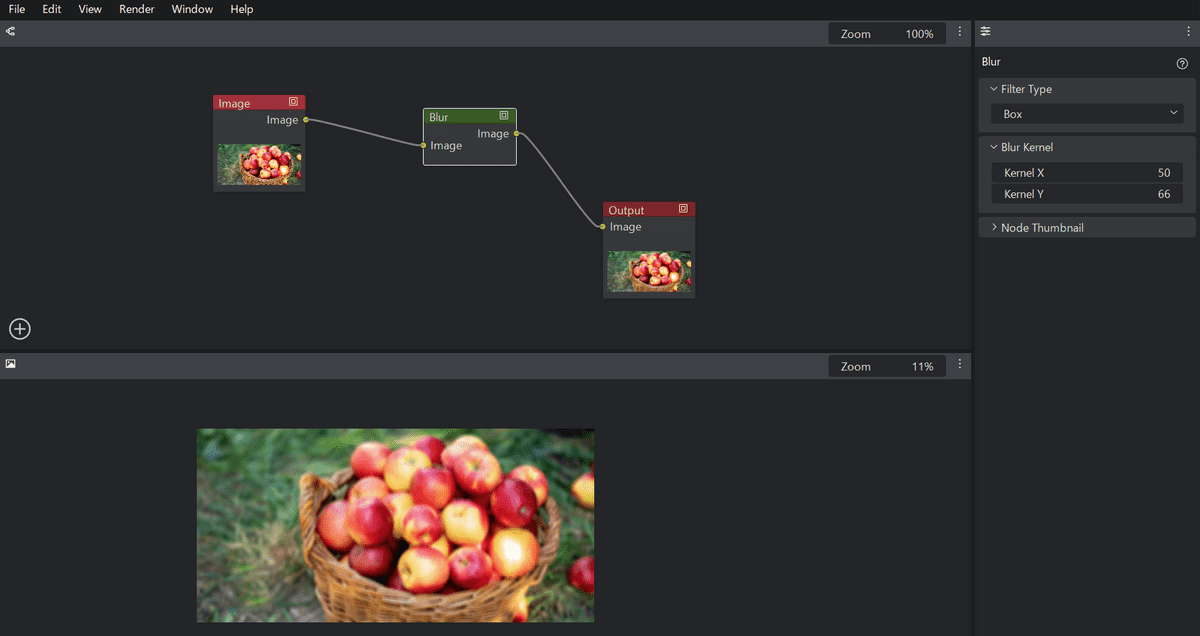
Blur adjustment
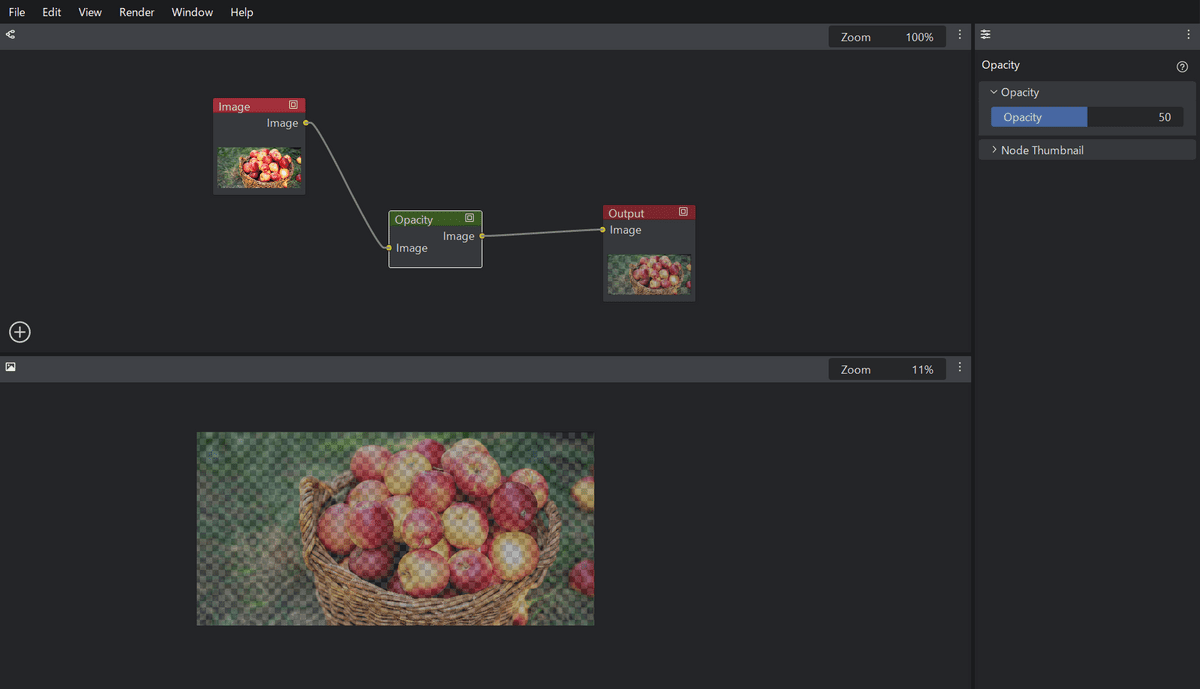
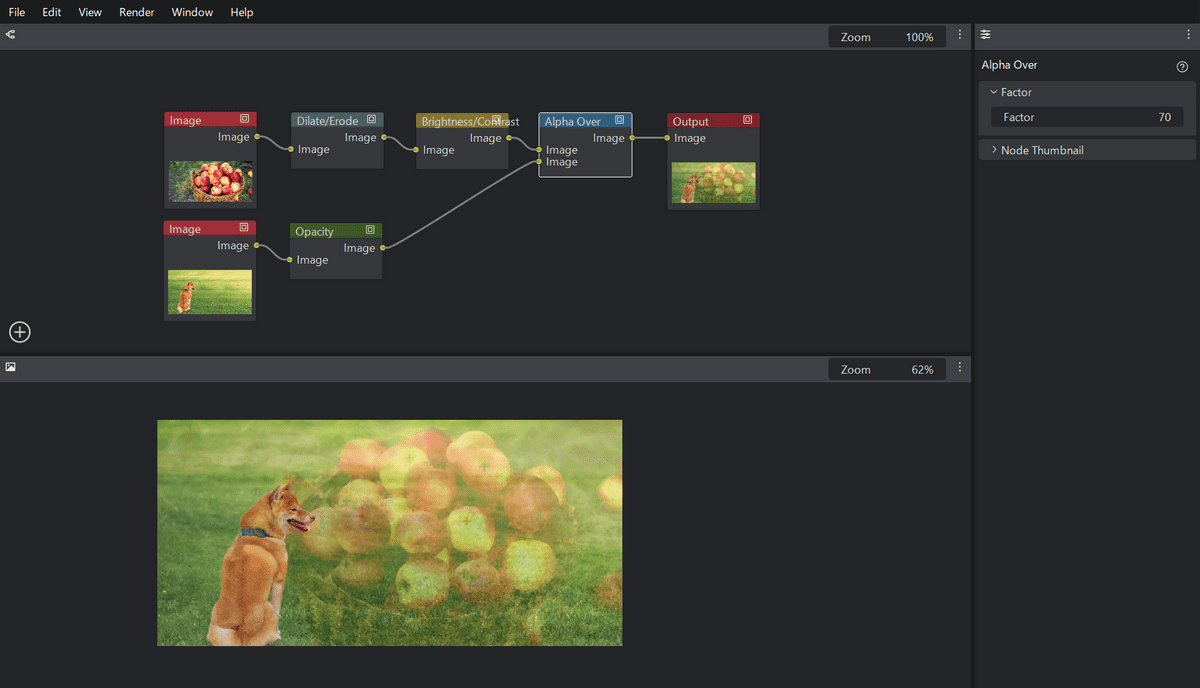
Adjust Opacity
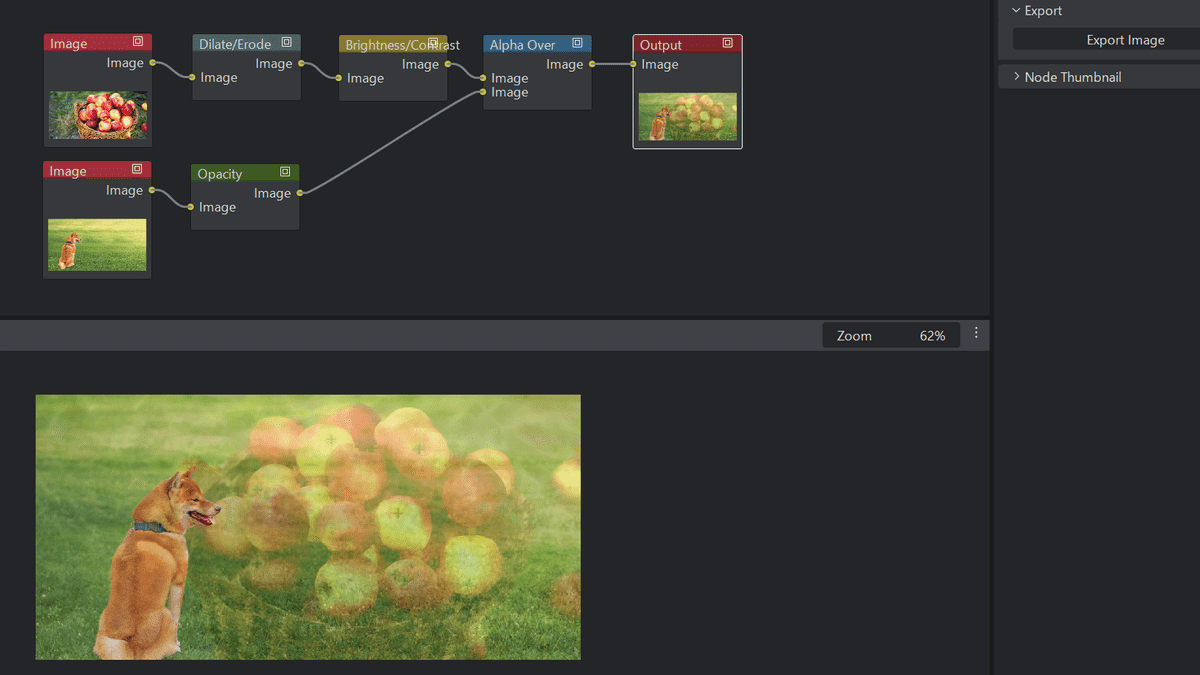
You can also combine multiple images.
In addition, when some nodes are sandwiched, there is a problem that the output image becomes pure white.

Related Posts: