Open source application ``Aegis Authenticator'' review that allows two-factor authentication for free and safe backup & export between devices

One of the methods to strengthen security when using web services is to 'perform two-factor authentication using a one-time password issuing application'. However, 'Google Authenticator', which is widely used as a one-time password issuing application, 'has not supported the export function for a long time since the application was released', and '
Aegis Authenticator - Secure 2FA app for Android
https://getaegis.app/
·table of contents
◆1: Installation and initial setting of Aegis Authenticator
◆ 2: Procedure for registering two-factor authentication information & authentication procedure
◆3: Procedure for exporting and backing up authentication information from Aegis Authenticator
◆4: Procedure for importing authentication information to Aegis Authenticator
◆ 5: Other functions
・Automatic backup to the cloud, etc.
・Appearance customization
・Operation settings
・Acquisition and registration of icon packs
・Security settings
◆ 1: Installation and initial setting of Aegis Authenticator
Aegis Authenticator is an app developed for Android and distributed on Google Play and F-Droid . This time, I will install it from Google Play.
First, search for Aegis Authenticator on Google Play and tap 'Install'.

When the installation is complete, tap 'Open'.

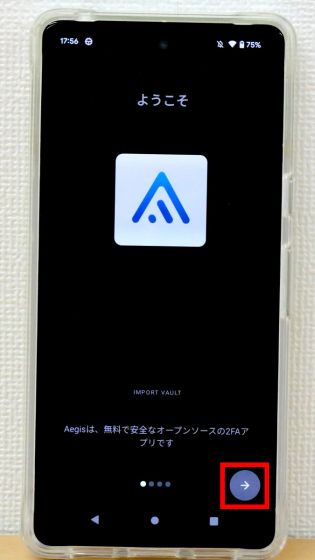
When Aegis Authenticator starts up, tap the arrow button at the bottom right of the screen.
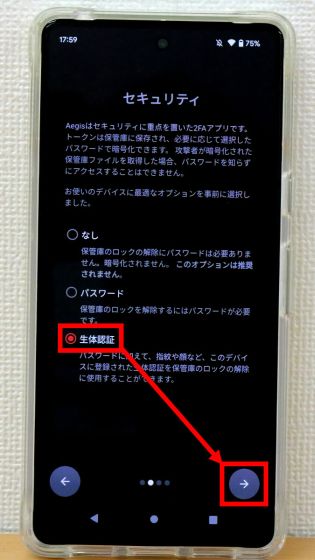
When the security setting screen is displayed, select either 'None', 'Password' or 'Biometric authentication'. If you set a password or biometric authentication here, you will be able to request password authentication when starting Aegis Authenticator or importing authentication data, so if you value security, select 'password' or 'biometric authentication'. It is safe to do so. However, in order to use biometric authentication, the device in use must support fingerprint authentication and face authentication. This time, I want to use fingerprint authentication, so I selected 'biometric authentication' and tapped the arrow button.
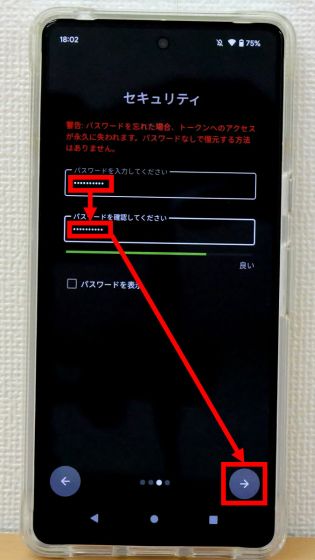
Even if you select biometric authentication, it is necessary to register a password, so enter your preferred password twice and then tap the arrow button.
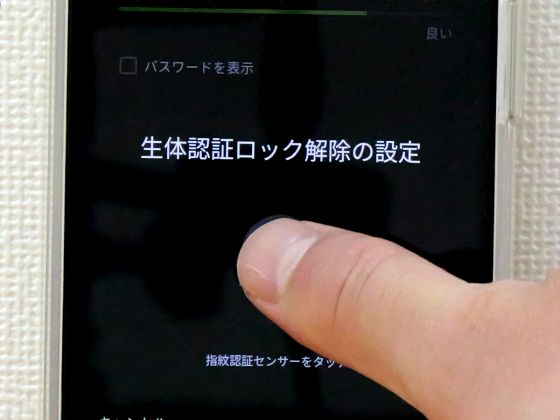
When the password registration is completed, the fingerprint authentication screen is displayed at the bottom of the screen.

It is OK if you perform fingerprint authentication with the finger you are using to unlock the device.
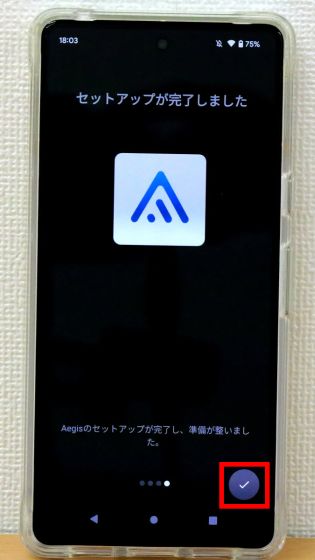
When 'Setup is complete' is displayed, tap the check mark at the bottom right of the screen. This completes the installation and initial settings of Aegis Authenticator.
◆ 2: Procedure for registering two-factor authentication information & authentication procedure
Next, let's check the procedure for performing two-factor authentication with a one-time password using Aegis Authenticator.
First, you need to enable two-factor authentication on the web service side. The activation procedure differs for each service, but this time we will check the setting procedure in Discord.
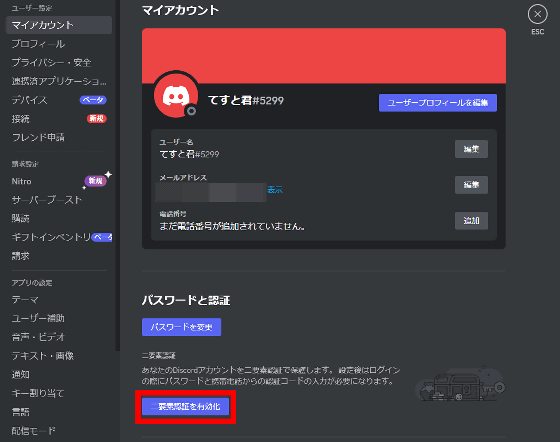
First, open the user settings screen and click 'Enable two-factor authentication'.
Then enter your account password and click Yes.

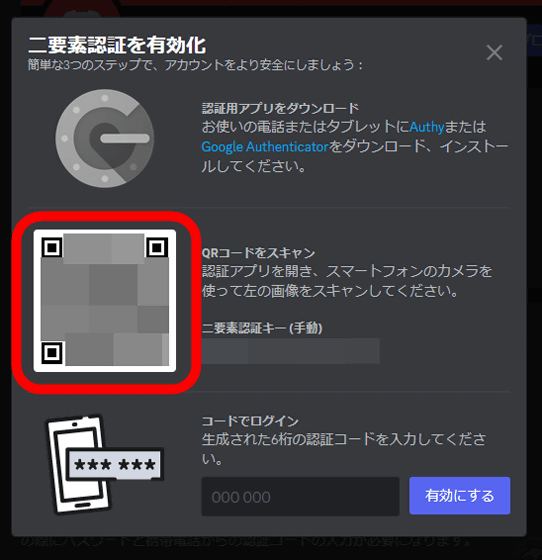
Then, a QR code will be displayed as shown below. Once you have made these settings, operate the Aegis Authenticator.
First, tap the + button at the bottom right of the screen.

Tap 'Scan QR code'.

When asked for permission to use the camera, select 'Only when using the app'.

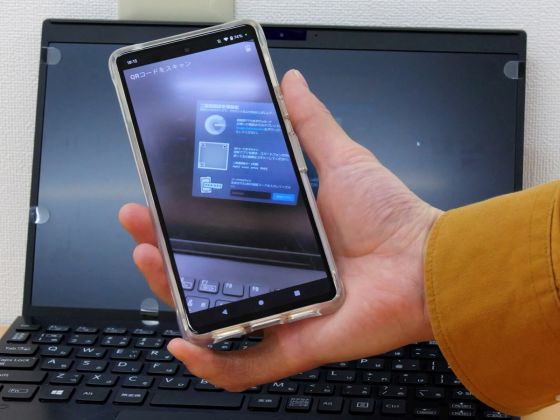
When the camera becomes available, scan the QR code displayed on the Discord settings screen.
When the following screen is displayed, tap 'Save'.
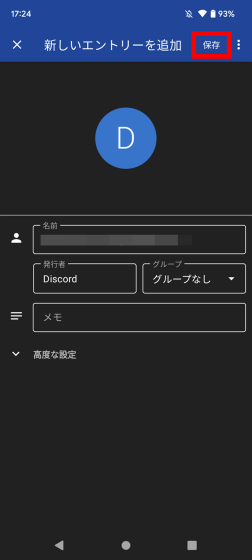
You should now see a 6-digit one-time password that you can use for two-factor authentication on Discord. Remember the one-time password displayed on the screen to continue setup.

Next, enter the one-time password on the Discord setting screen and click 'Enable'.
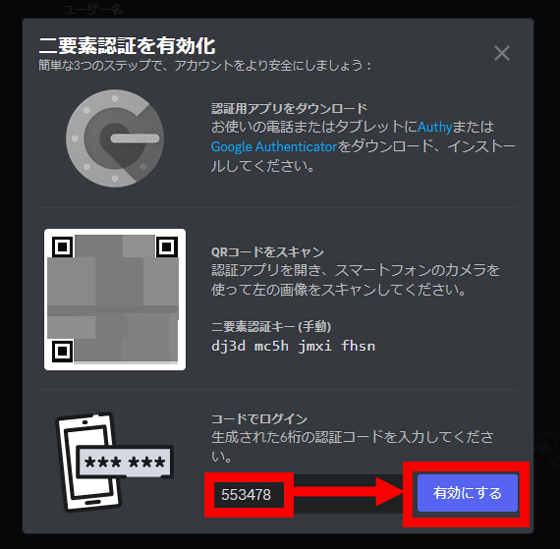
The setting is completed when 'Two-factor authentication has been activated' is displayed. From now on, you will be asked to enter the one-time password shown in Aegis Authenticator when logging into Discord.

The actual login procedure looks like this. First, enter your email address and password as usual and tap 'Login'.
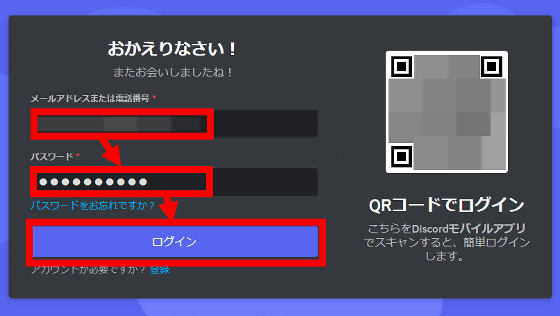
Then, the following two-factor authentication screen will be displayed, so prepare Aegis Authenticator.

Launch Aegis Authenticator and check the one-time password.
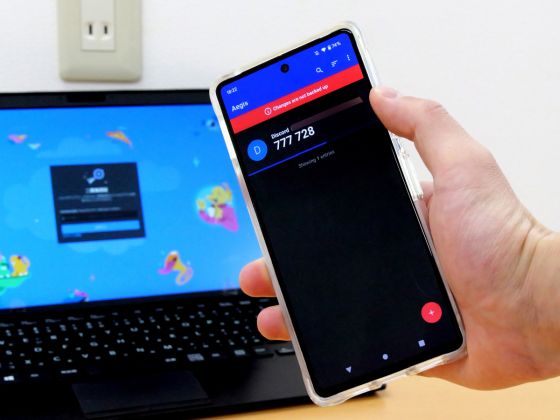
Before the one-time password replaces another number, enter the password in the input field and tap 'Login'.

You have successfully logged in. By using a one-time password, you can keep your account safe even if your password is leaked.
◆ 3: Procedure for exporting and backing up authentication information from Aegis Authenticator
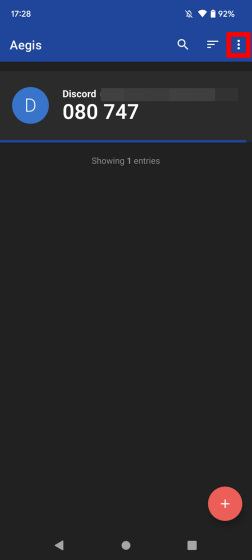
Aegis Authenticator comes with the ability to easily export and back up your two-factor authentication information. To export information, first tap the menu button on the top right of the screen.
Then tap 'Settings'.

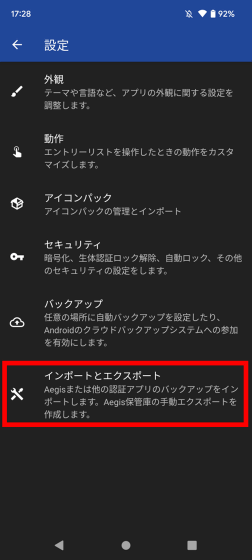
When the setting screen is displayed, tap 'Import and Export'.
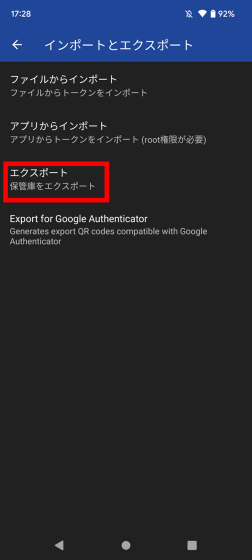
Tap 'Export'.
When the following screen is displayed, tap 'OK'. At this time, if you enable 'Encrypt vault', you will be prompted for the password set during initial settings when importing. It is better to keep encryption enabled, as any two-factor authentication will be bypassed if the exported data is stolen.

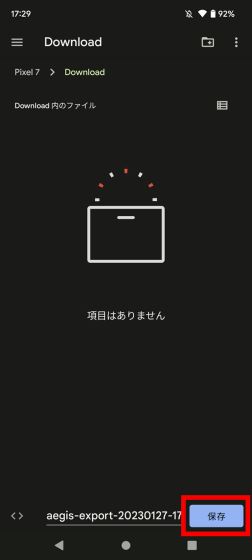
After selecting the save location, tap 'Save'. The export of credentials is now complete.
◆ 4: Procedure for importing authentication information to Aegis Authenticator
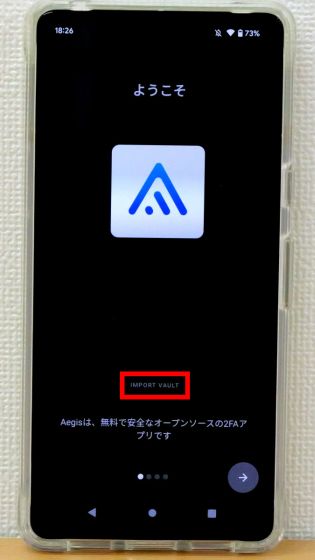
The procedure for importing authentication information to Aegis Authenticator installed on another device is as follows. First, tap 'IMPORT VAULT' when you start Aegis Authenticator for the first time.
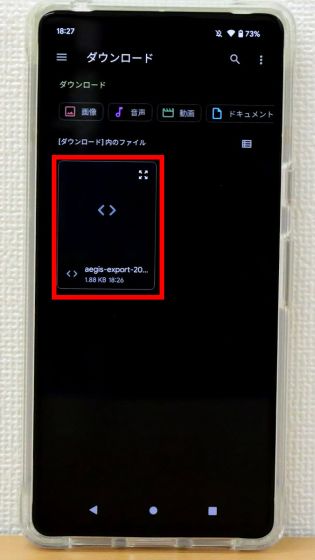
Then select the file you want to import.
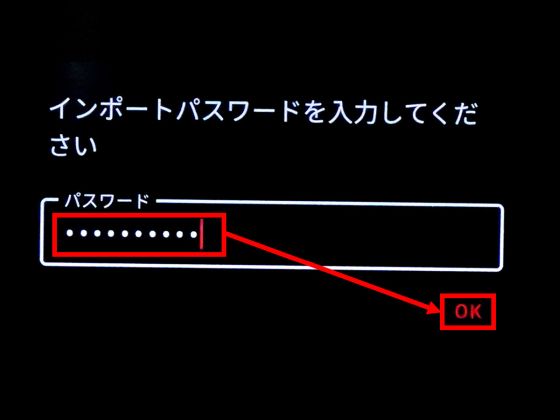
Enter the password set on the import source device and tap 'OK'.
Tap the check mark when 'Setup is complete' is displayed.
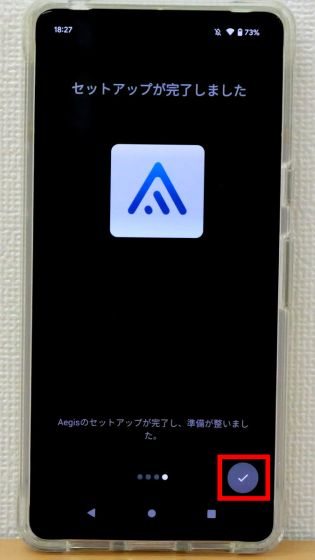
You have now imported your backed up credentials. With Aegis Authenticator, you can easily export and import authentication information like this.

◆ 5: Other functions
Aegis Authenticator also has other features such as automatic backup function and appearance custom function. How to use each function is as follows.
・Automatic backup to the cloud, etc.
Tap 'Backup' on the setting screen.
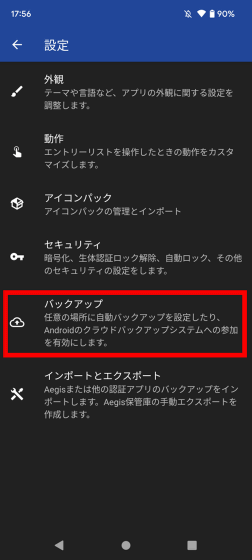
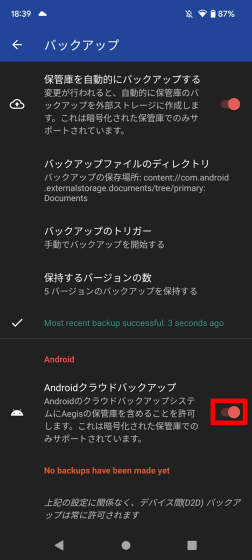
Backup settings allow you to automatically back up your credential data to a specified location each time you add a new credential. You can also specify a cloud storage service as the save destination in addition to any folder in the device or external storage.
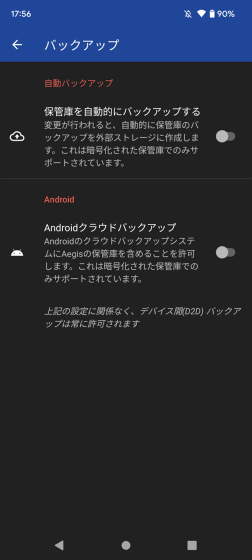
If you want to save the backup locally, tap the toggle switch to the right of 'Automatically back up the vault'.
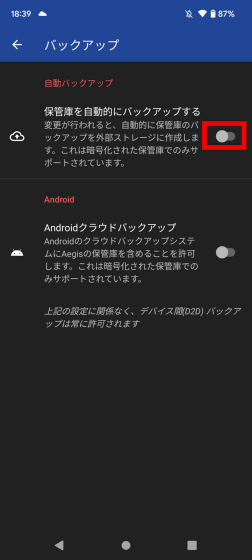
Then, the backup storage location selection screen is displayed. Here, you can select any folder in your internal or external storage, and a backup will be automatically saved each time you add a new credential.
Tap the toggle switch located to the right of 'Android Cloud Backup' to enable cloud backup. However, in order to use cloud backup, it is necessary
・Appearance customization
Aegis Authenticator also offers appearance customization features.
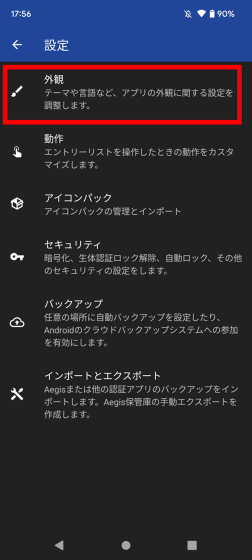
In the appearance settings, you can select the display size and display theme of authentication information. To change the theme, tap 'Theme'.
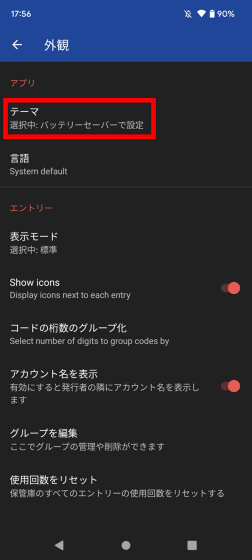
The theme can be selected from 5 types: 'light theme', 'dark theme', 'AMOLED theme', 'battery saver setting', 'battery saver setting (AMOLED)'. I chose the light theme this time.

This is what the light theme looks like.
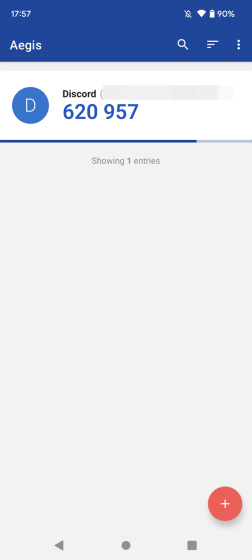
In 'Display mode', you can set the display size of the one-time password.
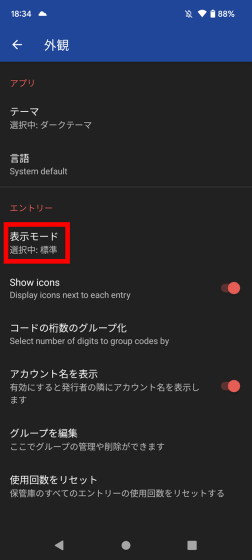
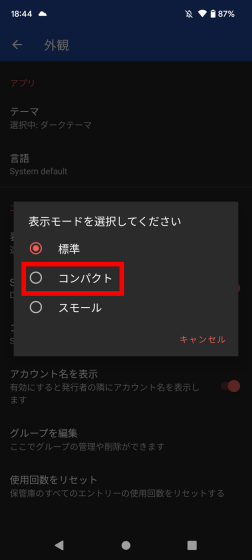
The display mode can be selected from three types: 'Standard', 'Compact', and 'Small'. Select 'Compact' as a test.
The compact mode display is below. When managing a large number of one-time passwords, you can reduce the display area to improve the overview.

In 'Code digit grouping', you can set how many digits the one-time password is separated and displayed.
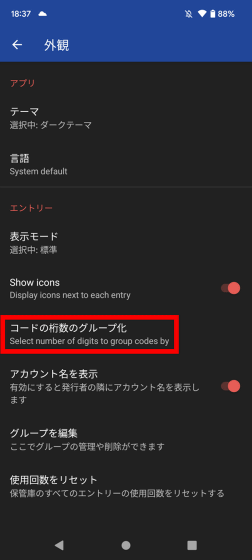
This time, I want to separate by 2 digits, so select 'Groups of 2'.
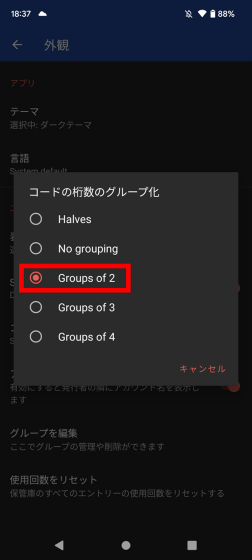
The display when the one-time password is separated by two digits is like this. It is quite useful because it can be divided into digits that are easy for you to remember.

You can manage a group of credentials by tapping 'Edit Group'.
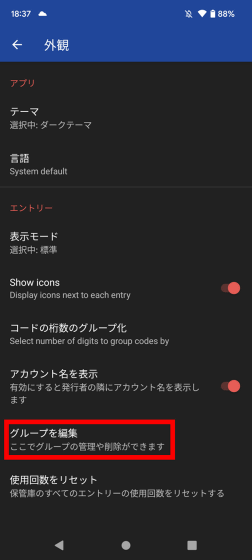
The group management screen looks something like this. In addition to displaying the list of groups, you can remove groups by tapping the trash can button.

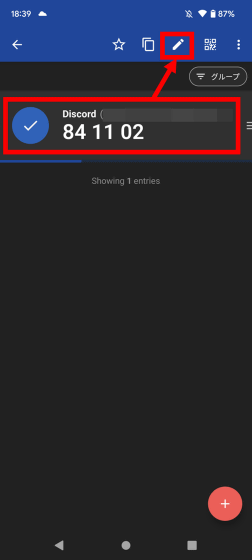
Group assignment is performed from the edit screen for each authentication information. First, press and hold the credentials and then tap the pencil-shaped edit button.
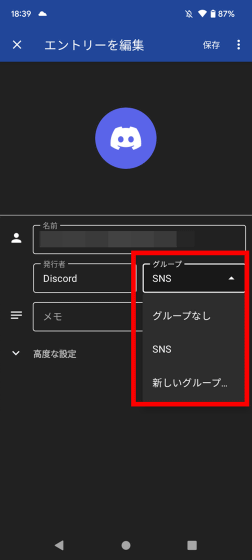
You can create a new group or assign a group from the 'Group' pull-down menu.
·Operation setting
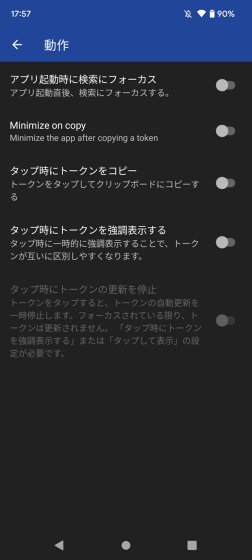
In the operation settings, you can set the copy method of the one-time password, etc.
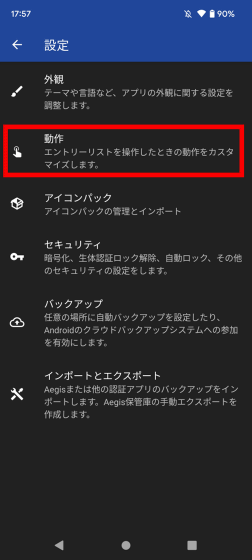
The operation setting screen is as follows. It is also possible to configure settings such as 'Tap the authentication information to copy the one-time password to the clipboard and automatically close Aegis Authenticator'.
・Acquisition and registration of icon packs
In the standard state of Aegis Authenticator, the initials of various services are displayed on the left side of the screen. In this state, it is inconvenient because it is difficult to distinguish services with the same initials such as 'Discord' and 'Dropbox', but with Aegis Authenticator, you can easily distinguish various services by adding icon packs.

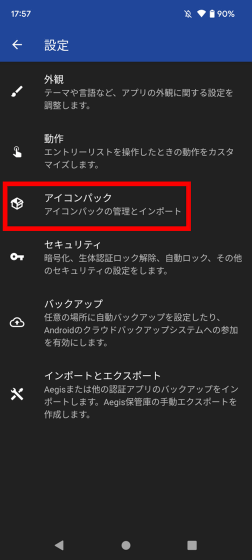
To add an icon pack, tap 'Icon pack' on the setting screen.
Next, tap 'aegis-icons' on the screen.

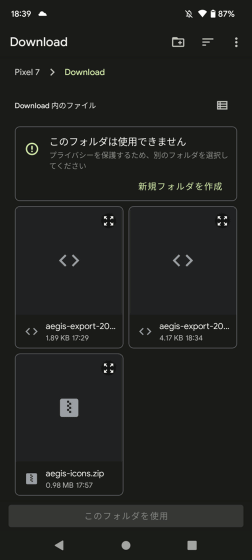
Then you can access the
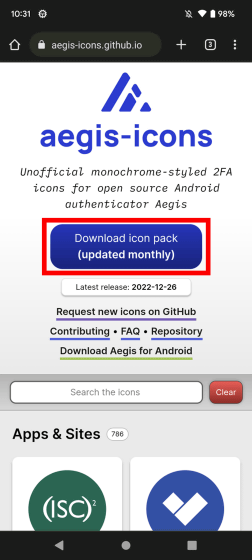
When the download is complete, return to the Aegis Authenticator screen and tap the + button at the bottom right.

Select the downloaded icon pack.
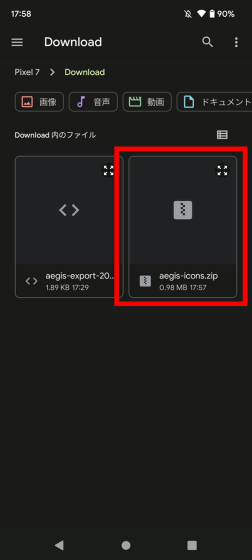
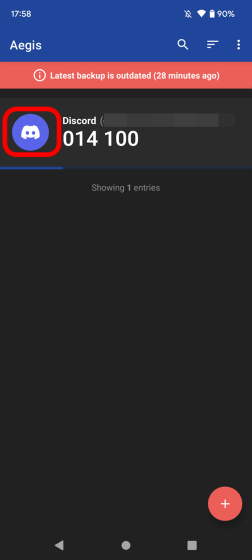
If you can add icon packs as shown below, preparation is complete.
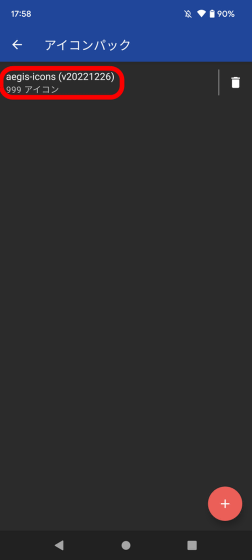
Next, press and hold the credential for which you want to set the icon.

When the menu is displayed at the top, tap the pencil-shaped edit button.

Tap the circular part at the top.
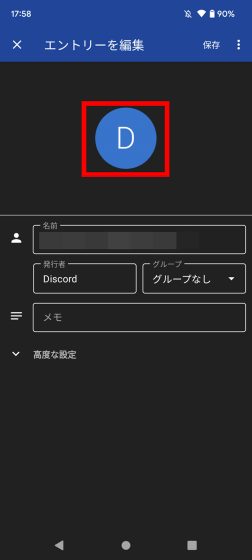
Select the icon you want to register.
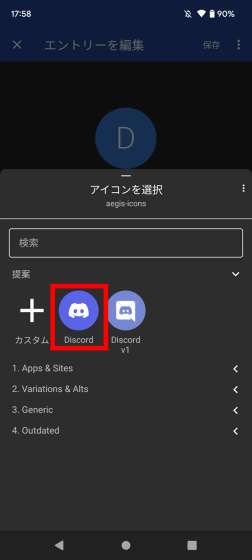
After registering the icon, tap 'Save'.

This makes it easier to distinguish between multiple credentials.
·security settings
Aegis Authenticator password settings etc. are done from 'Security'.
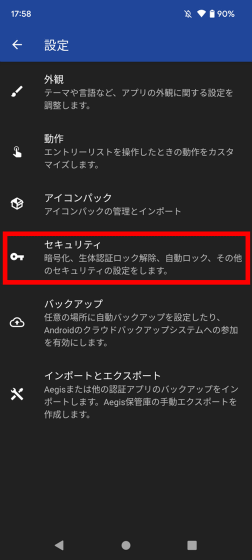
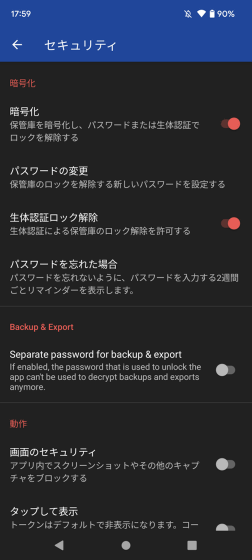
In the security settings, it is possible to disable the password request when Aegis Authenticator is started, or to separate the password at startup from the password at the time of importing authentication information.
Related Posts:
in Software, Smartphone, Review, Security, Posted by log1o_hf


