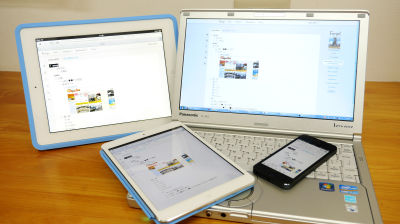
"TickTick" which can be used with smartphone · PC · Apple Watch and even multiple people can manage tasks perfectly has further evolved, so I tried using it
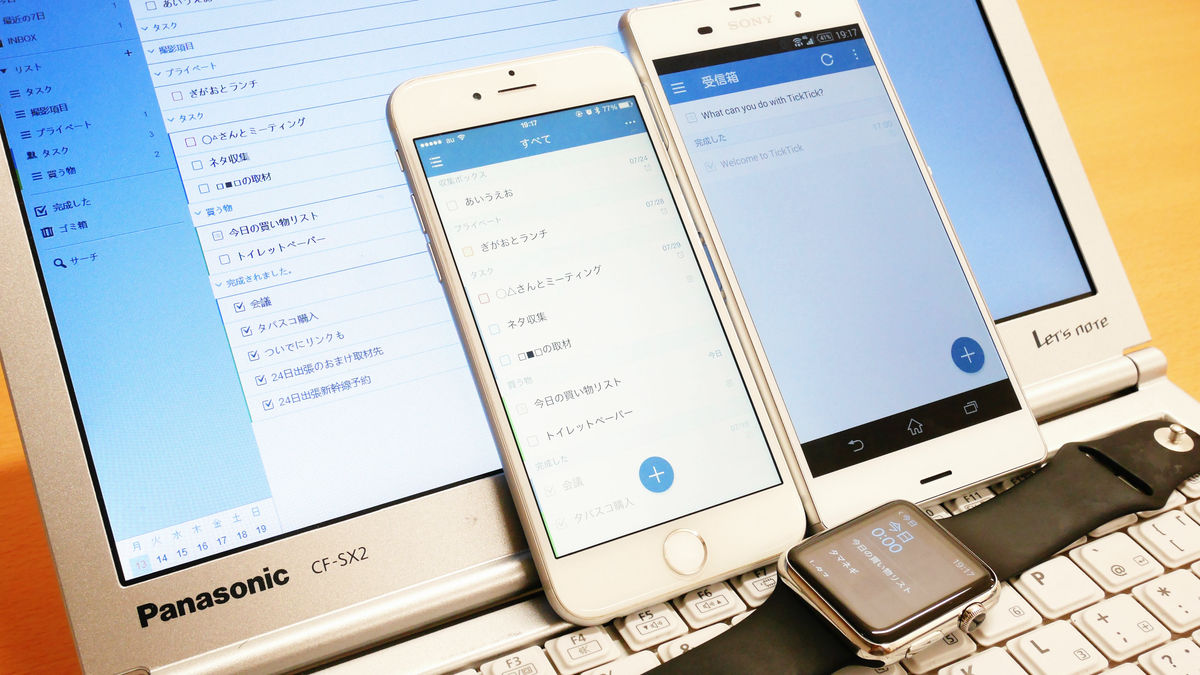
Task list · Checklist can be seamlessly managed by browser · iPhone · Android and services that can be shared by multiple people are "TickTick"is. Approximately two years have passed since it was reviewed in 2013TickTick 2.0It was reborn asOn official blogAs I was revealed in, I tried using the actual how I was born again.
TickTick: Todo list, checklist and task manager app for Android, iPhone and Web
https://www.ticktick.com/
◆ TickTick for iOS application
"TickTick" is a service that can be used from the web browser, iOS application and Android application also exist. So I decided to install the iOS application and use it first.
TickTick - your to-do list & task management on the App Store on iTunes
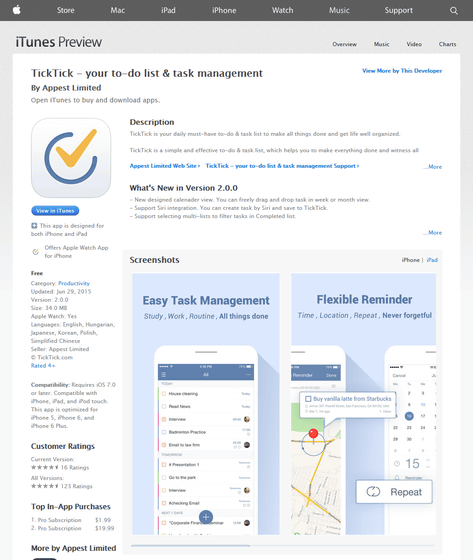
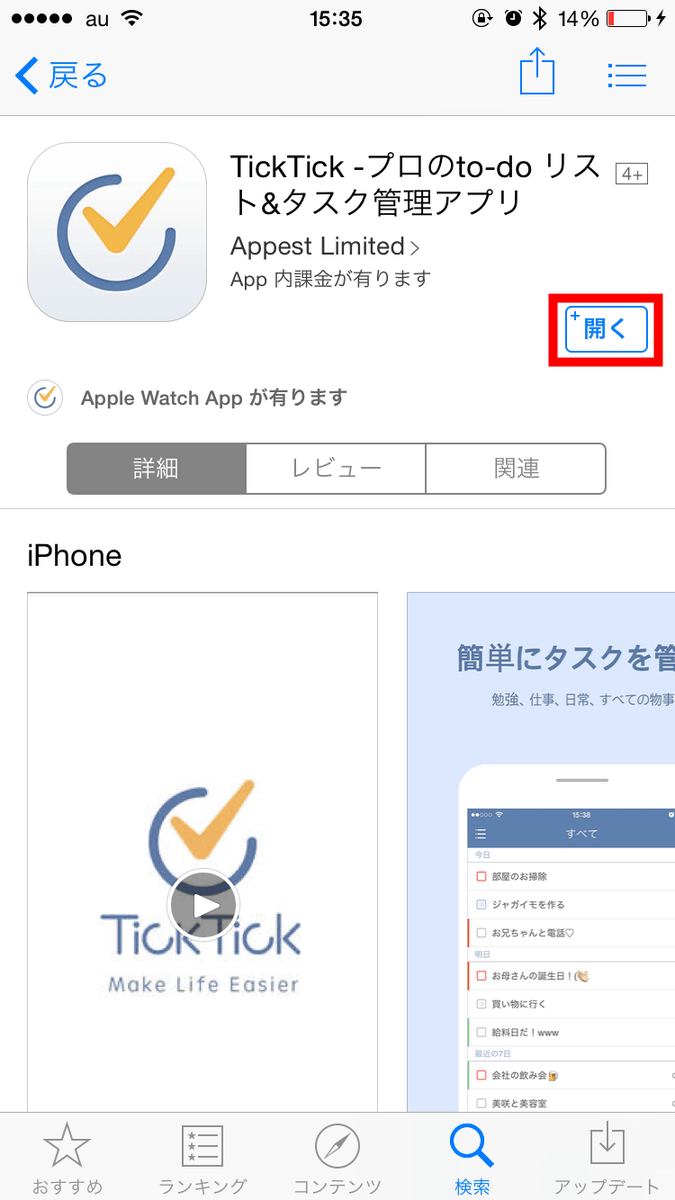
Apps are available for free from the App Store.

After installation, tap "Open" to launch the application.
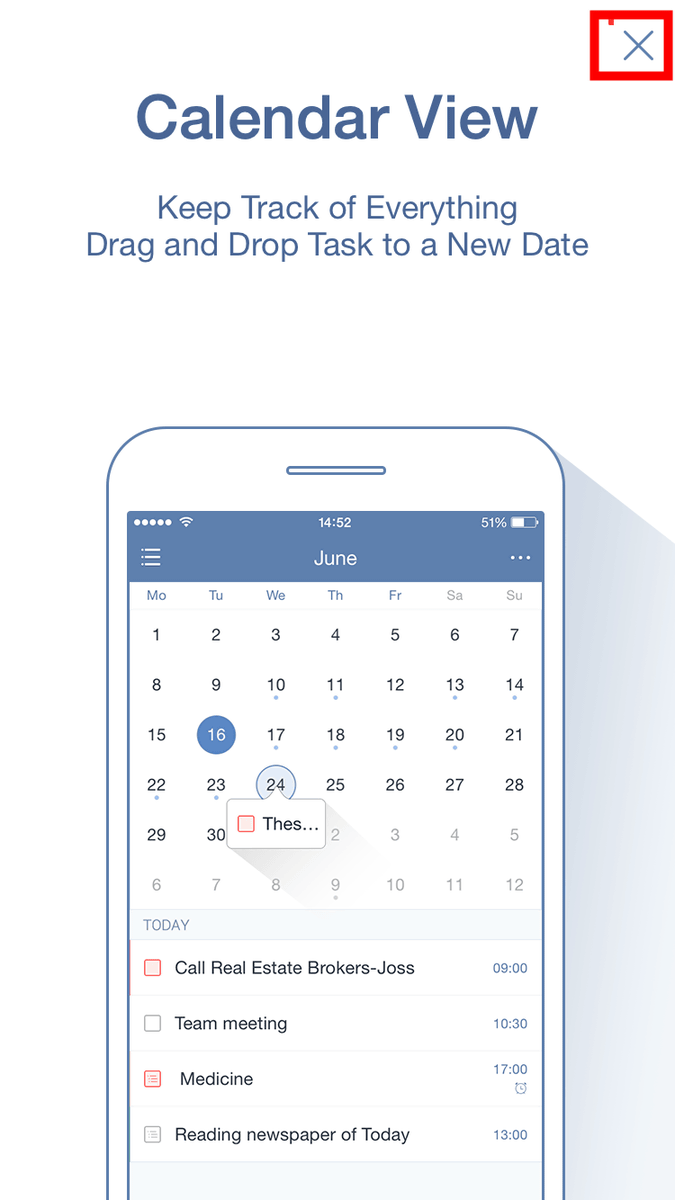
When the application is started for the first time, the introduction screen of the new "Calendar View" is displayed, so tap on the top right of the screen.
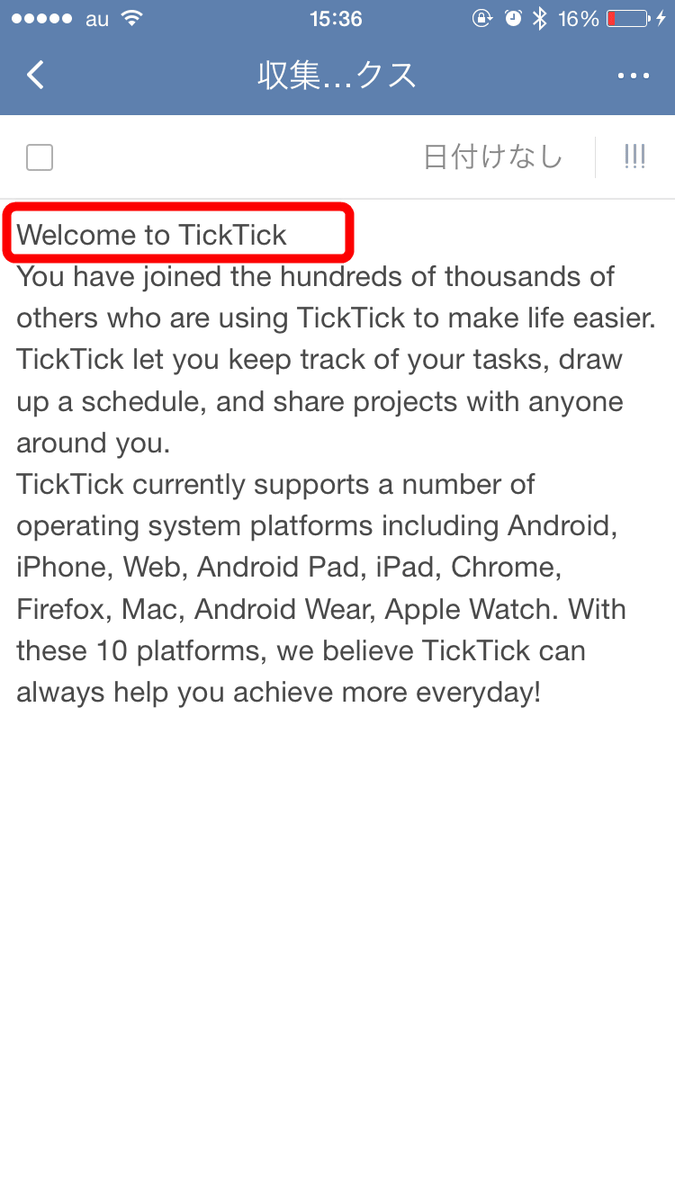
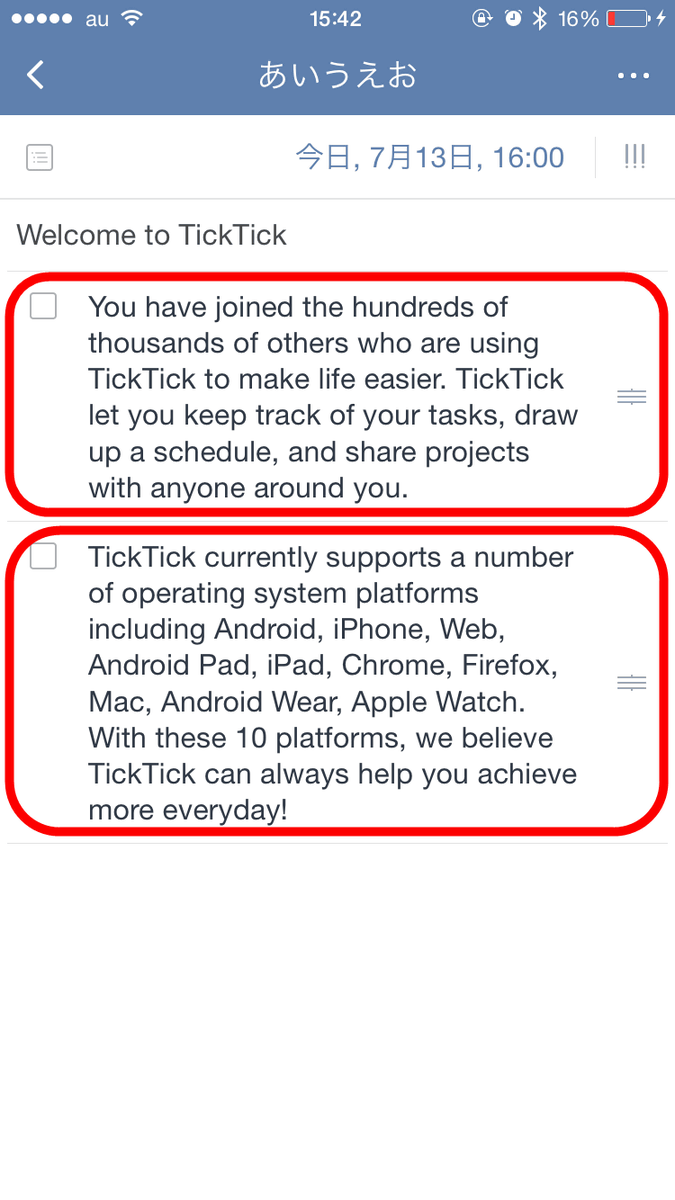
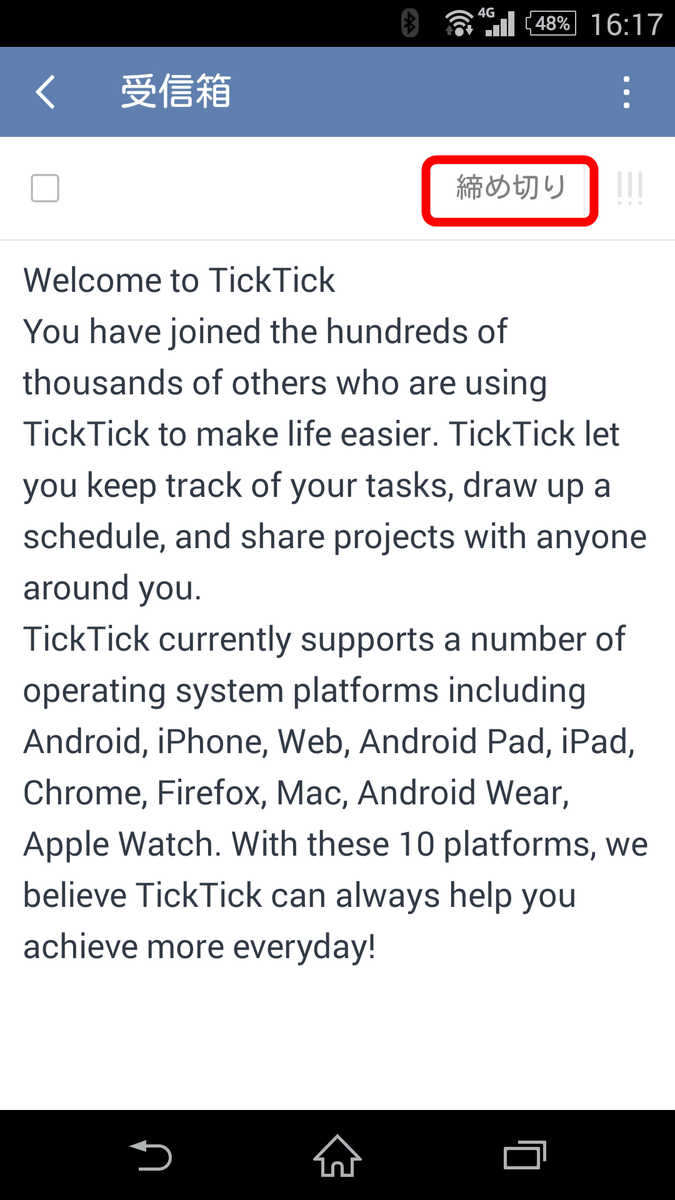
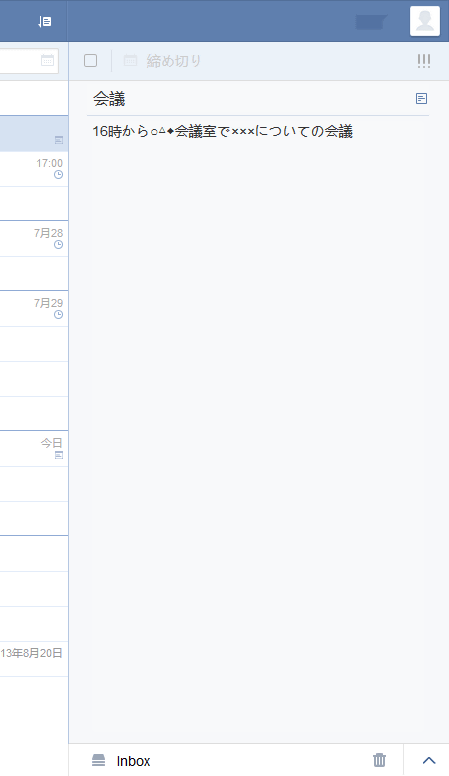
It is like this at the first start. First of all, I will tap the task written "Welcome to TickTick".

Then you can see that the task name is written in the red frame part, and the details of the task are written below it.
Tap the red box part check box ......

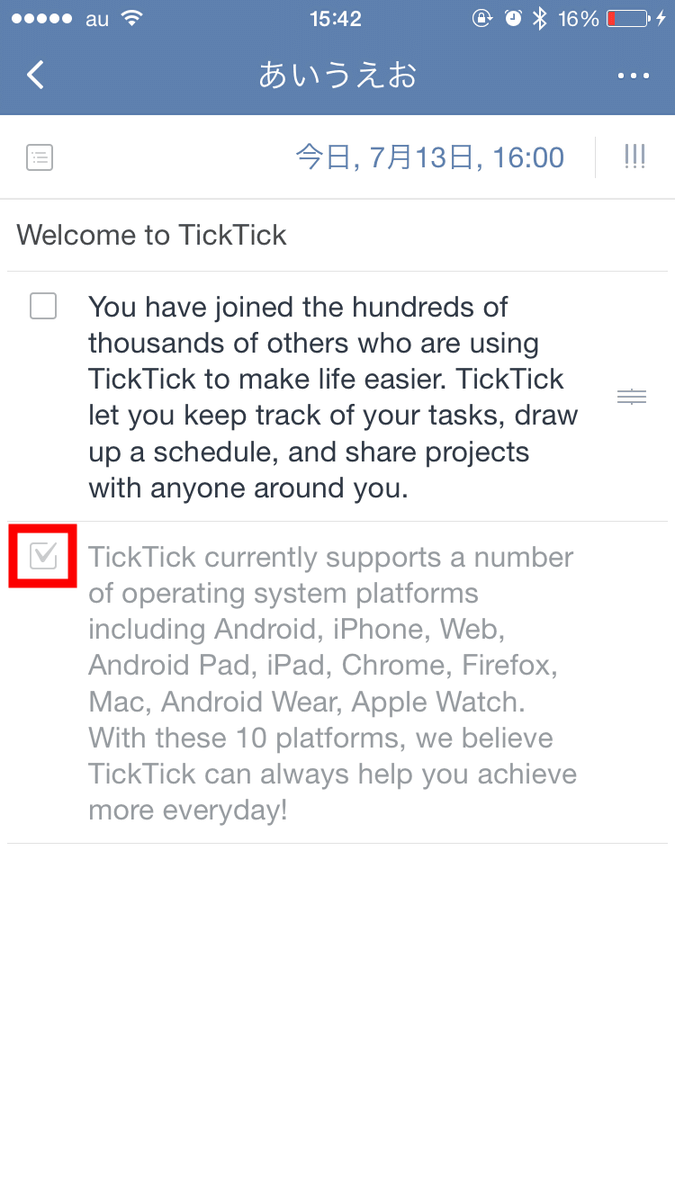
A check mark is attached and "the task is completed".

When you tap the part that says "No date" ......
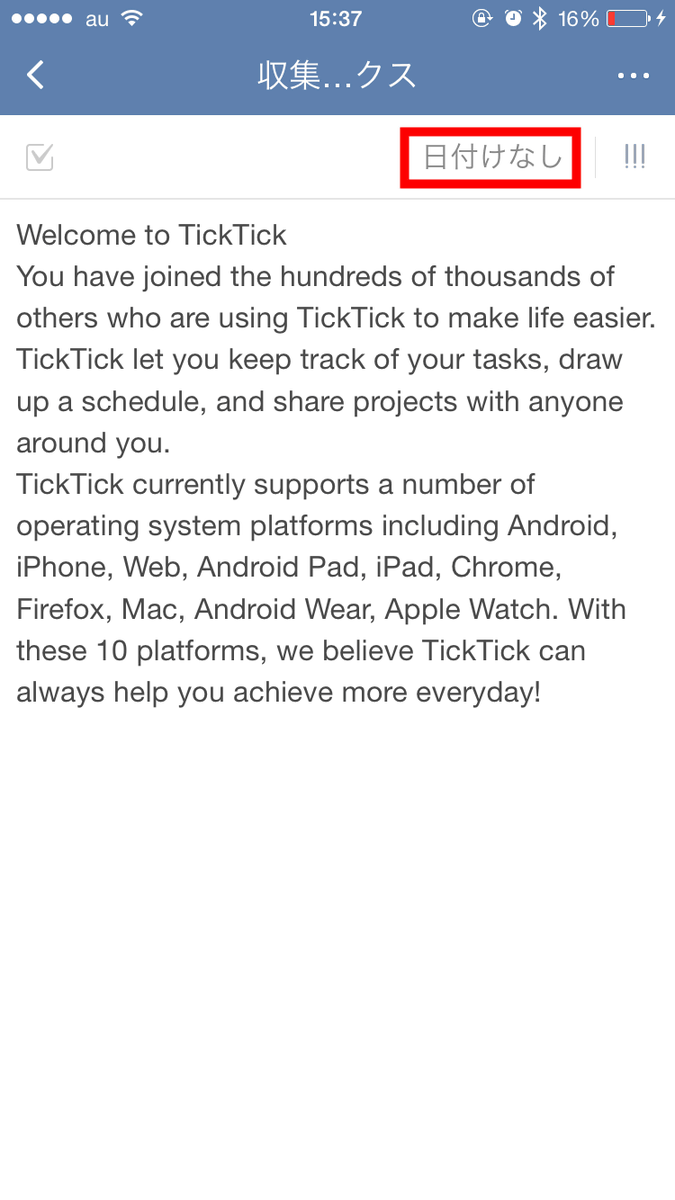
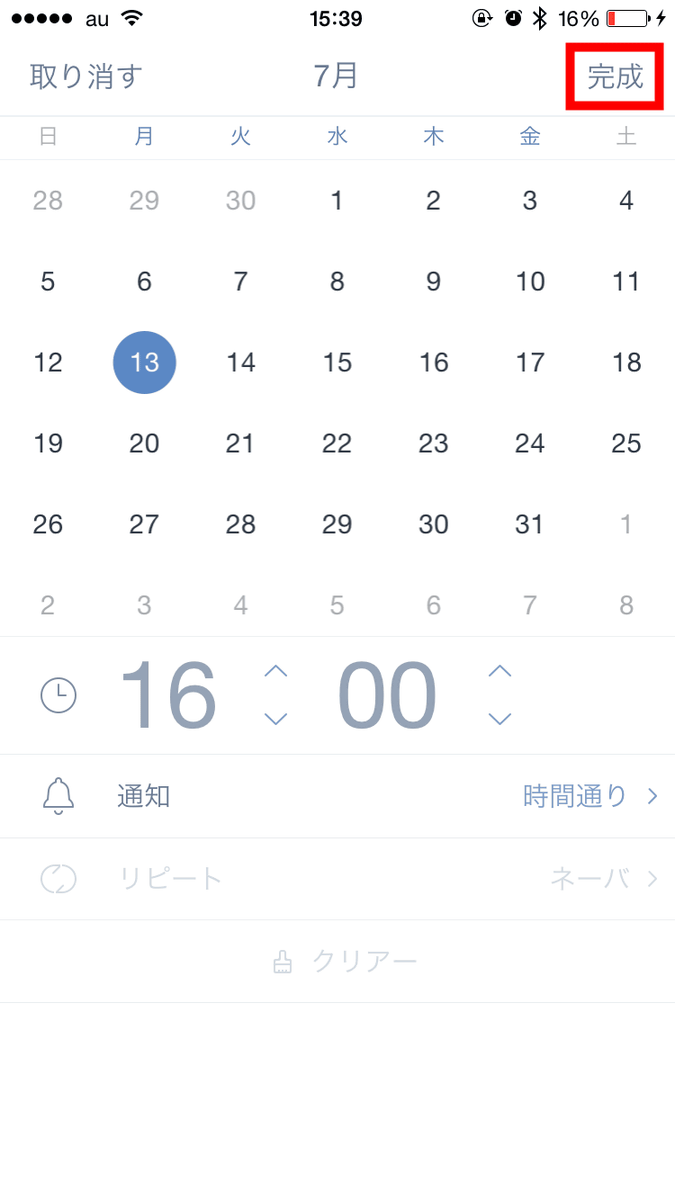
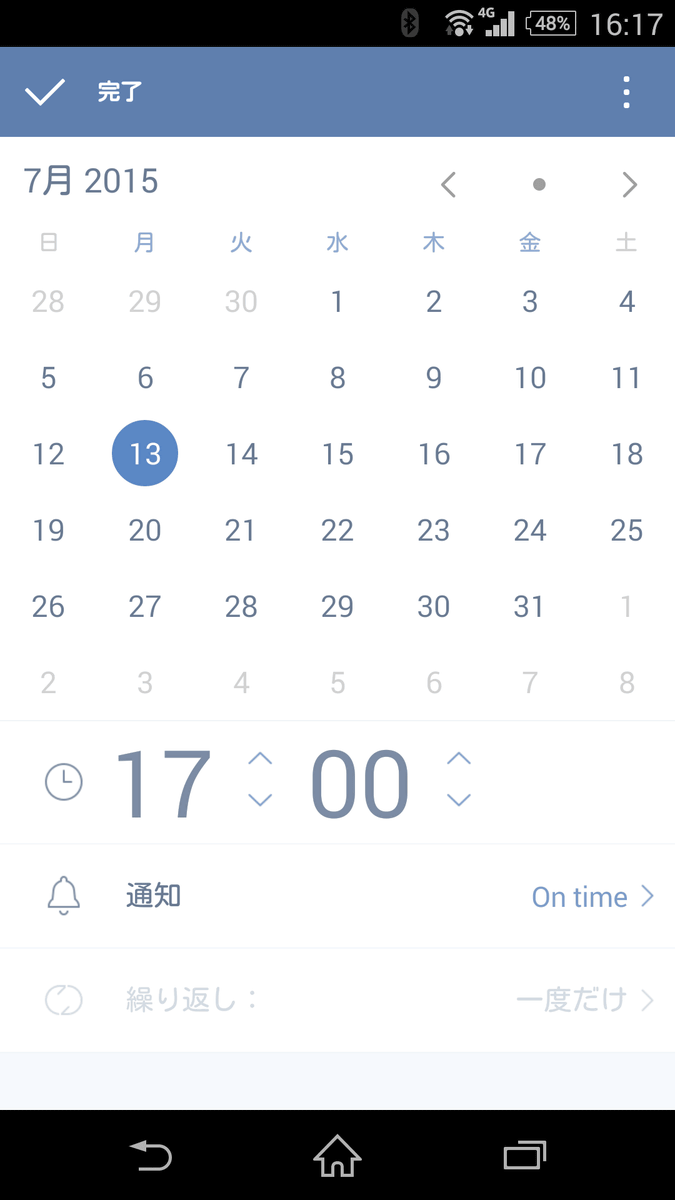
It is possible to set the deadline of the task. Tap on the calendar for the date, OK, and tap the clock icon on the red frame portion if you want to set it up to the time.
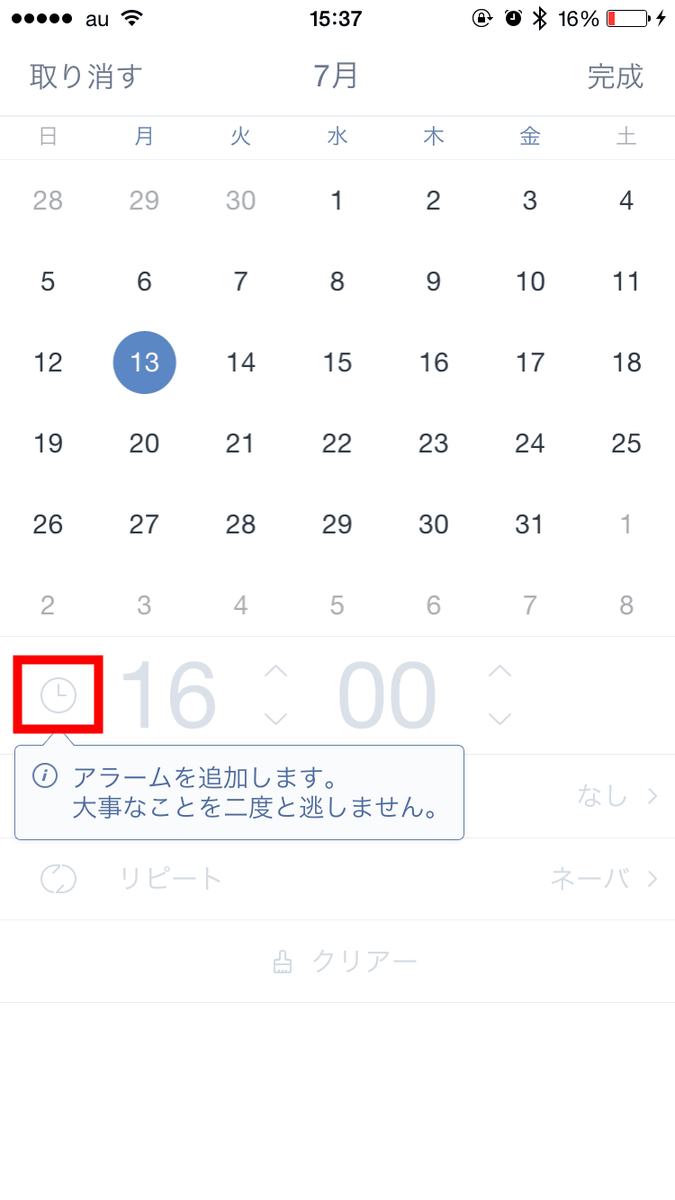
When you set it up to the hour, a notification will be displayed at that time, so when you set it for the first time, a notification permission screen will be displayed. Tap "OK".
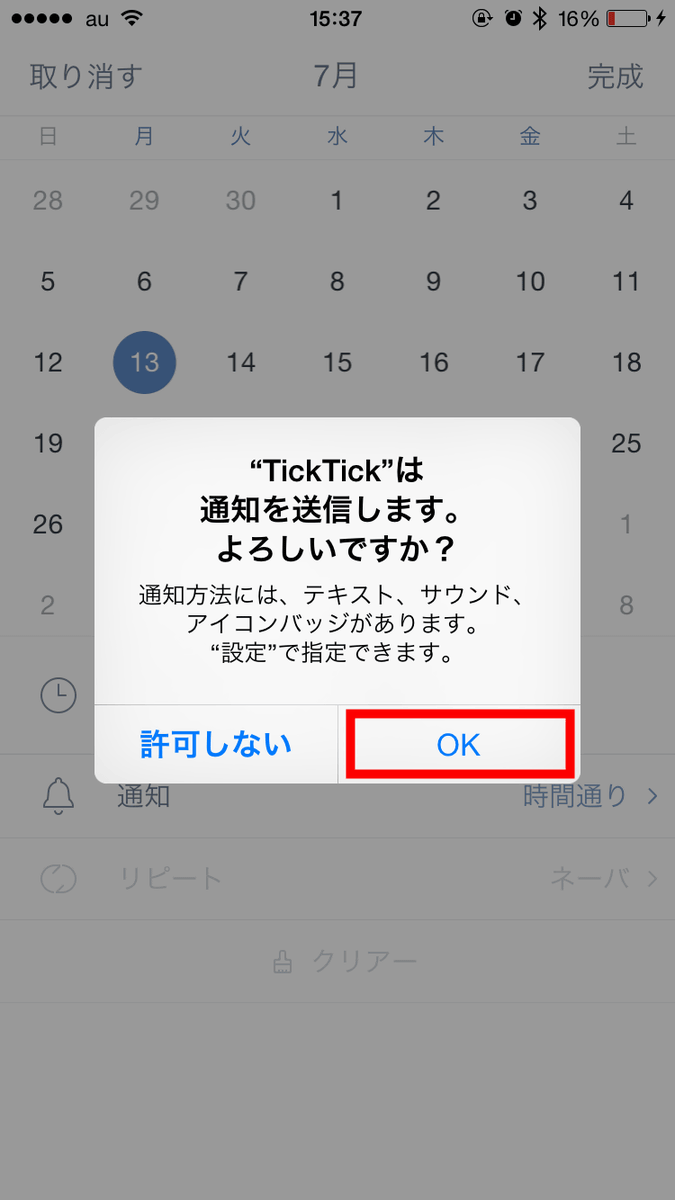
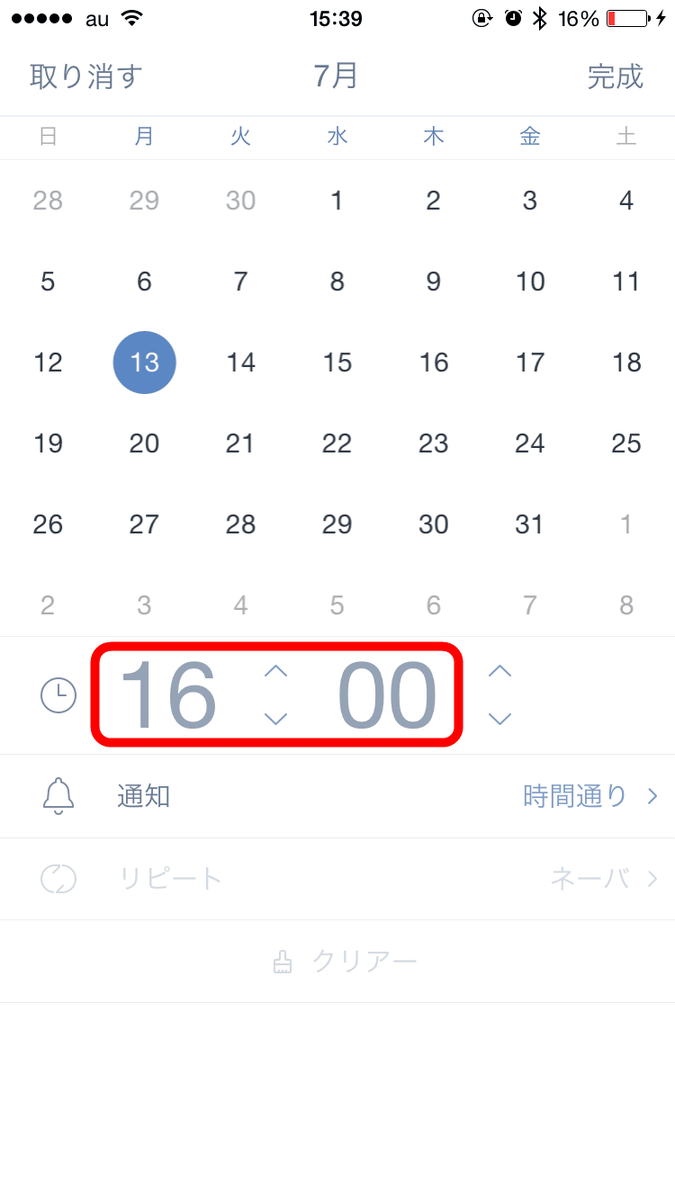
Then the clock in the red frame part will be displayed dark, so swipe the clock up and down and set the time.
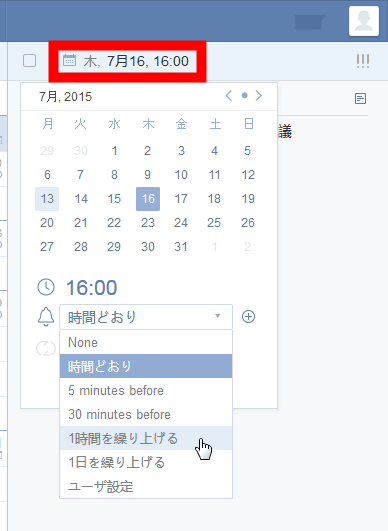
Tap "Notification".
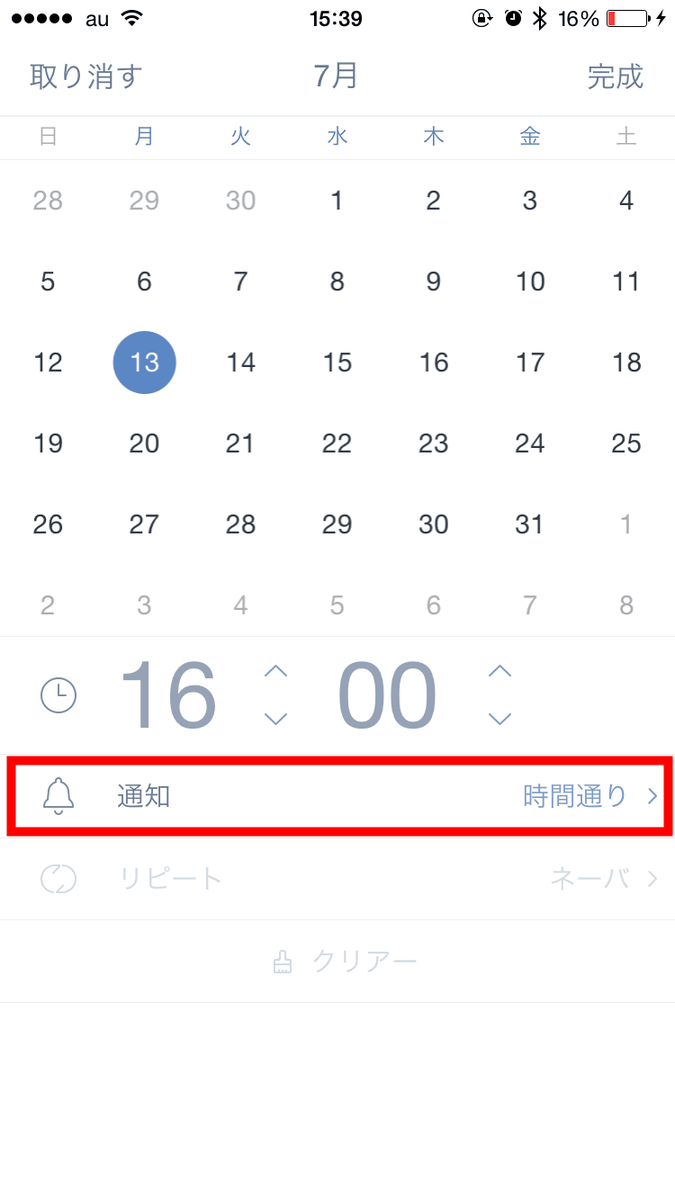
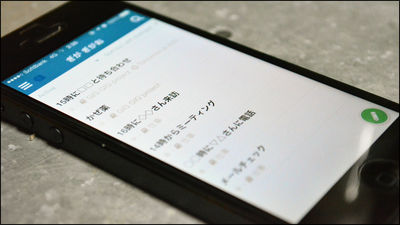
Then you can set "When to notify task?" This can be set in multiple sets, so even if you set a task called "meeting at 15 o'clock, for example, you can set the notification to be displayed one day before or one hour before the meeting.

Tap "Repeat".
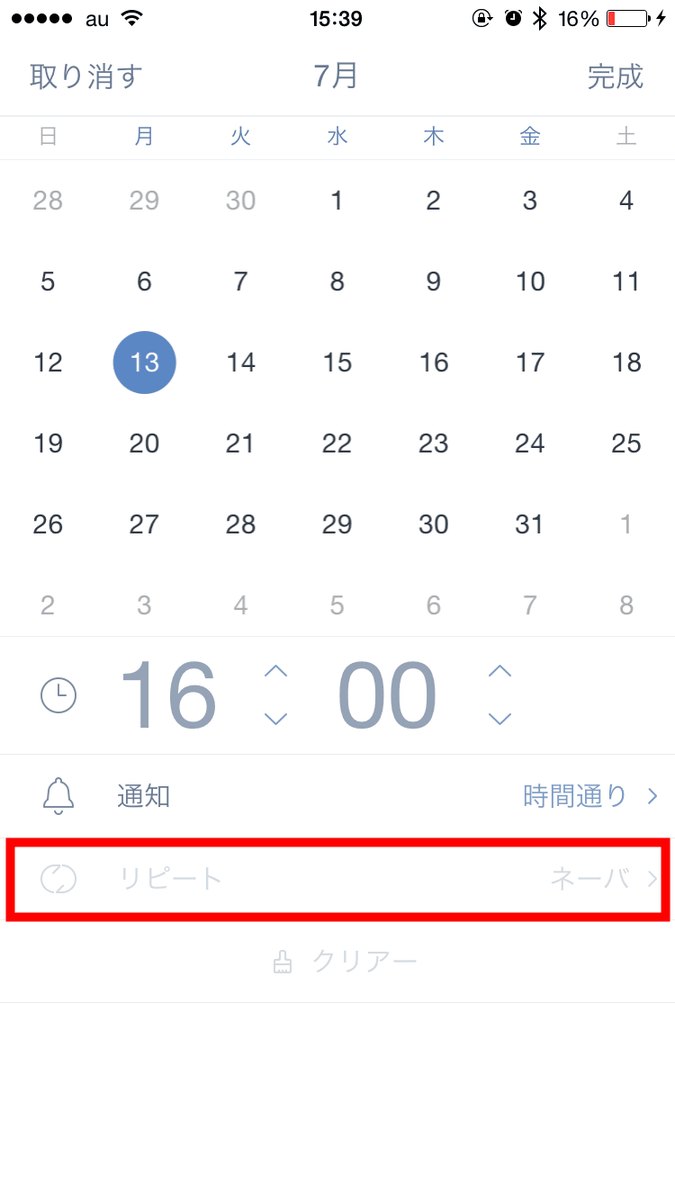
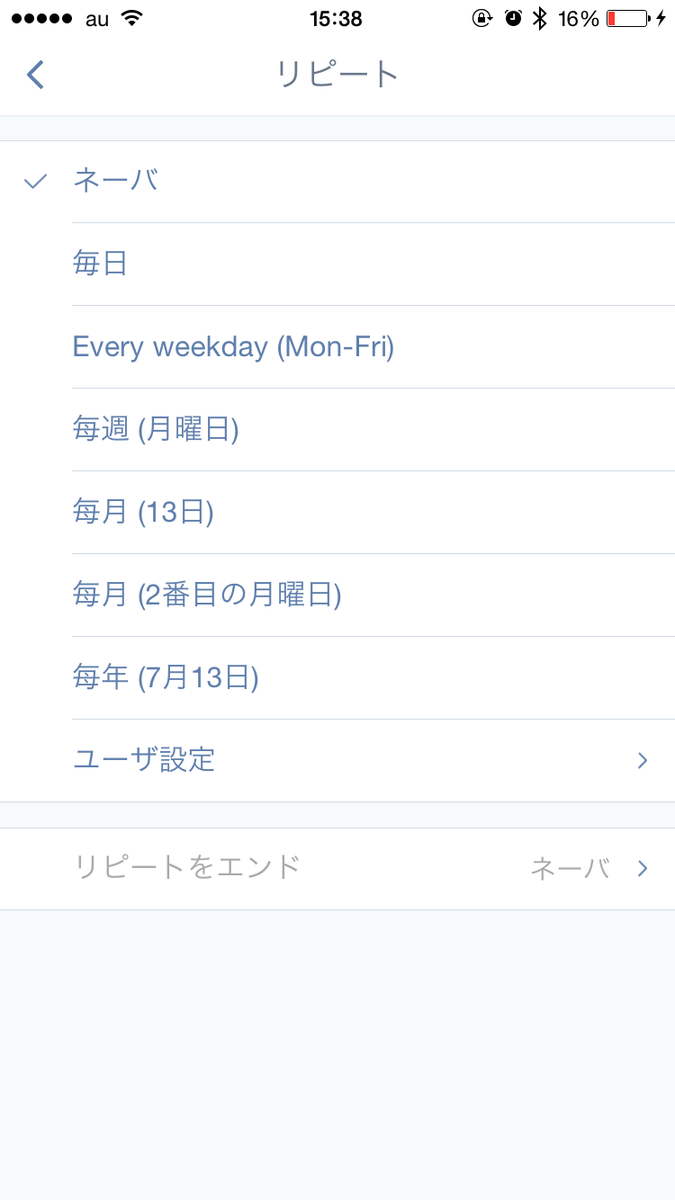
Then you can freely set the repetition frequency of the task. Since you can create repeating patterns freely, you can also set tasks such as "Day of resource waste on the second Monday of each month".
After setting the task time, tap "Complete".
Then the date is now displayed in the task. However, even if you set a deadline for a task that has already been completed, "Reminder set is invalid" will be displayed.
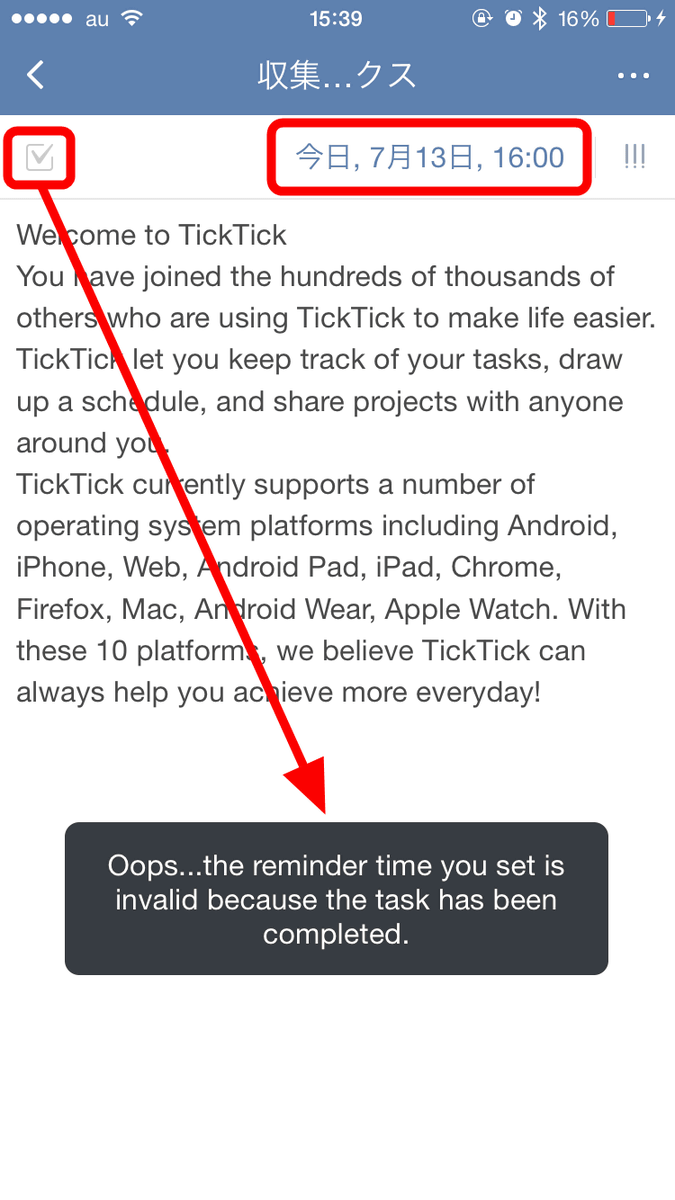
It is possible to set date and time securely if tasks are not completed.

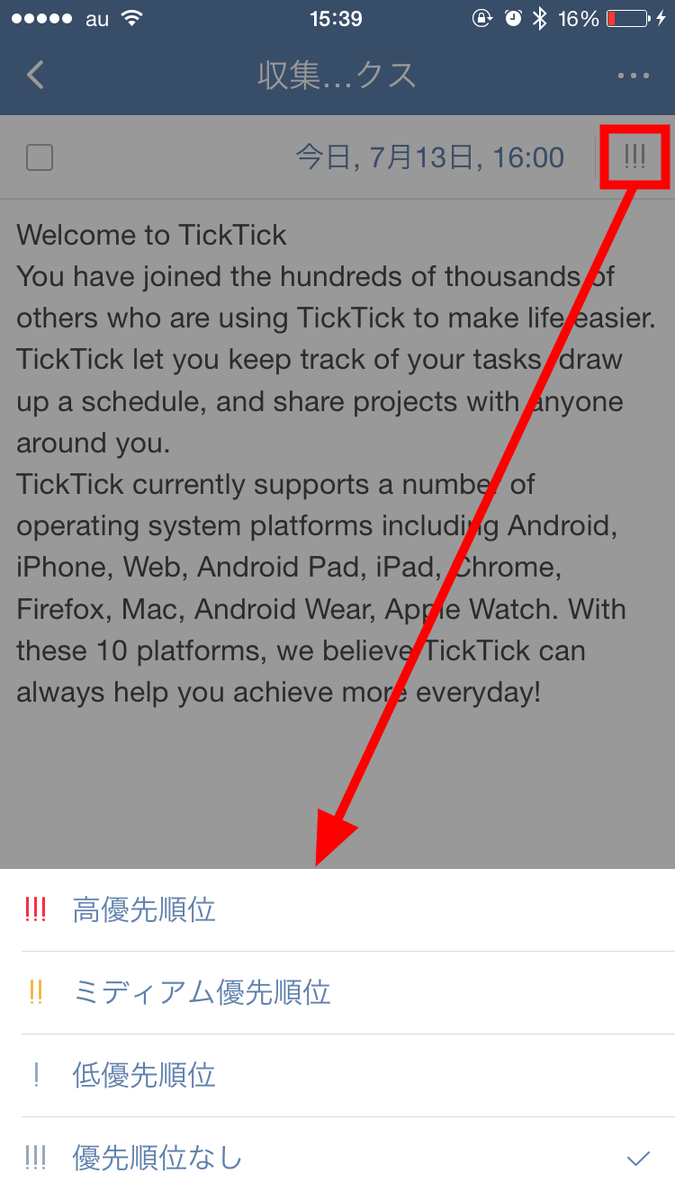
Next, by tapping the three-line icon in the red frame part, you can set the task priority.
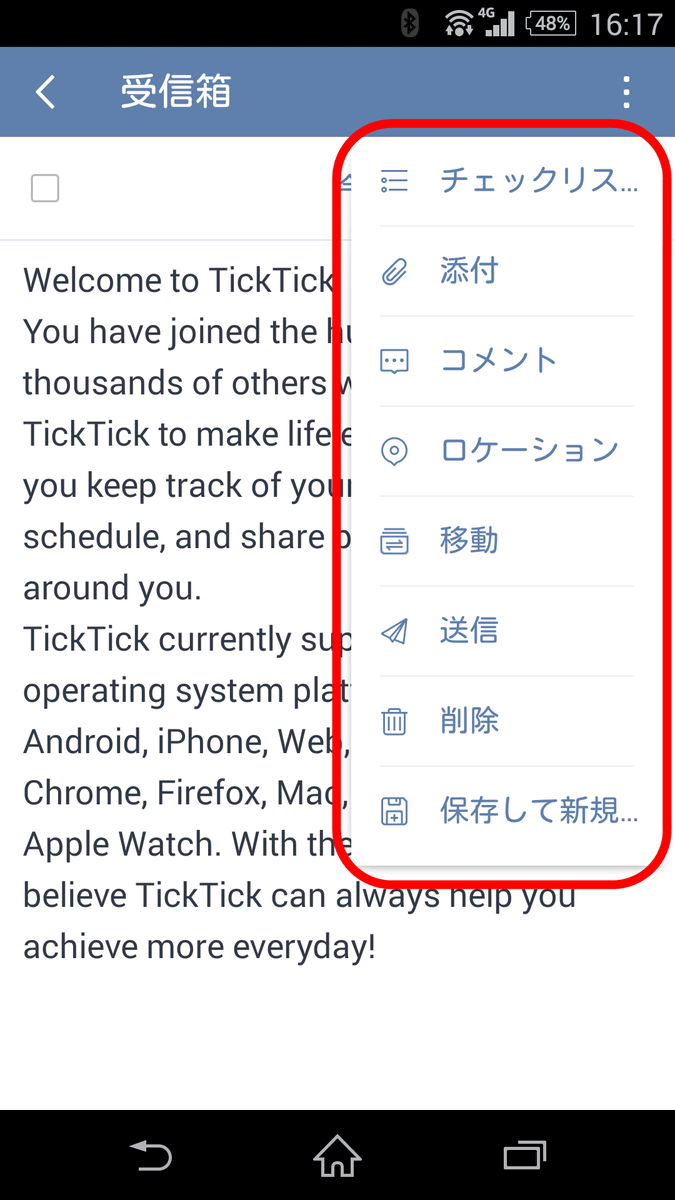
When you tap "..." at the top right of the screen, the menu will be displayed like this.

From here, tap "..." tap to review what you can do with the nine menus displayed.
Tap this icon which is only one Korean notation ......
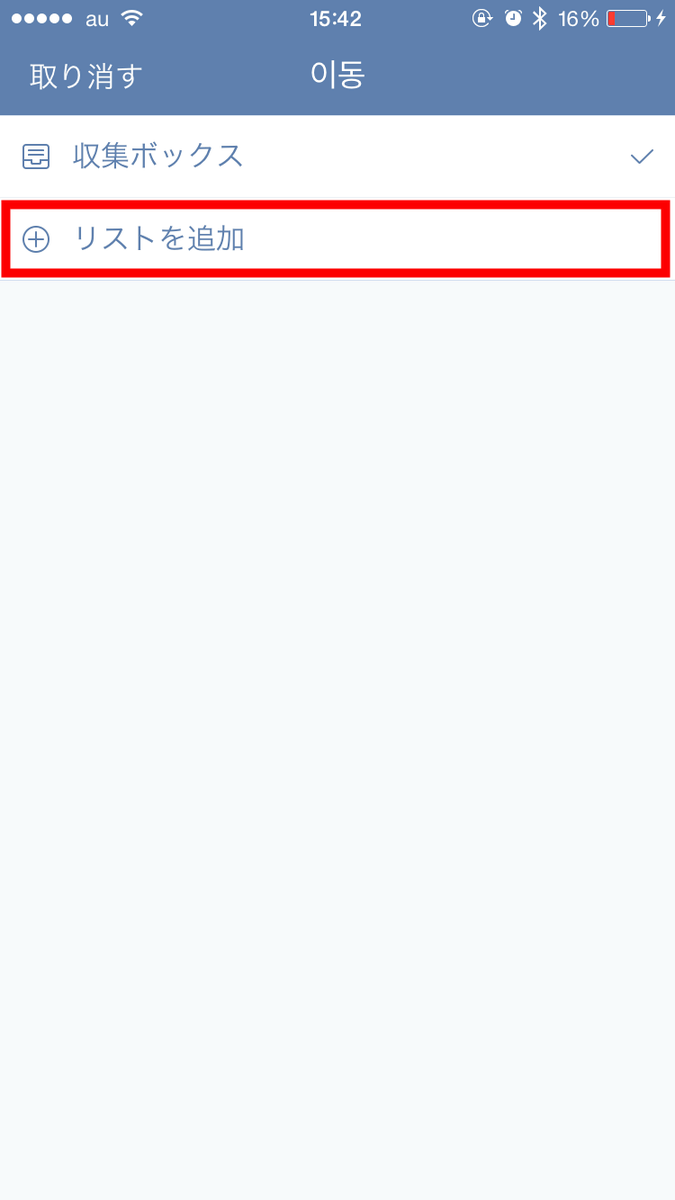
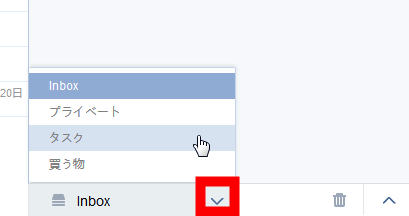
You can create a "list" to store tasks created with TickTick, and a screen where you can distribute the created tasks to the list is displayed. At the beginning there is no list at all, so tap "Add List".
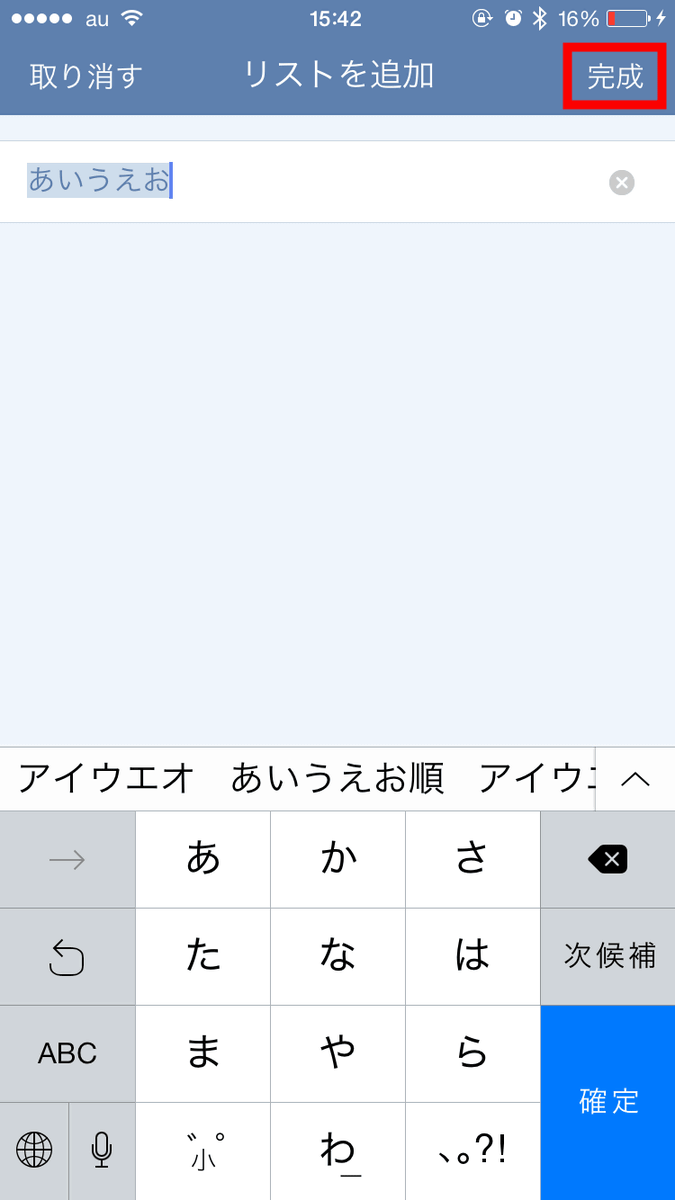
Enter a letter and tap "Complete".
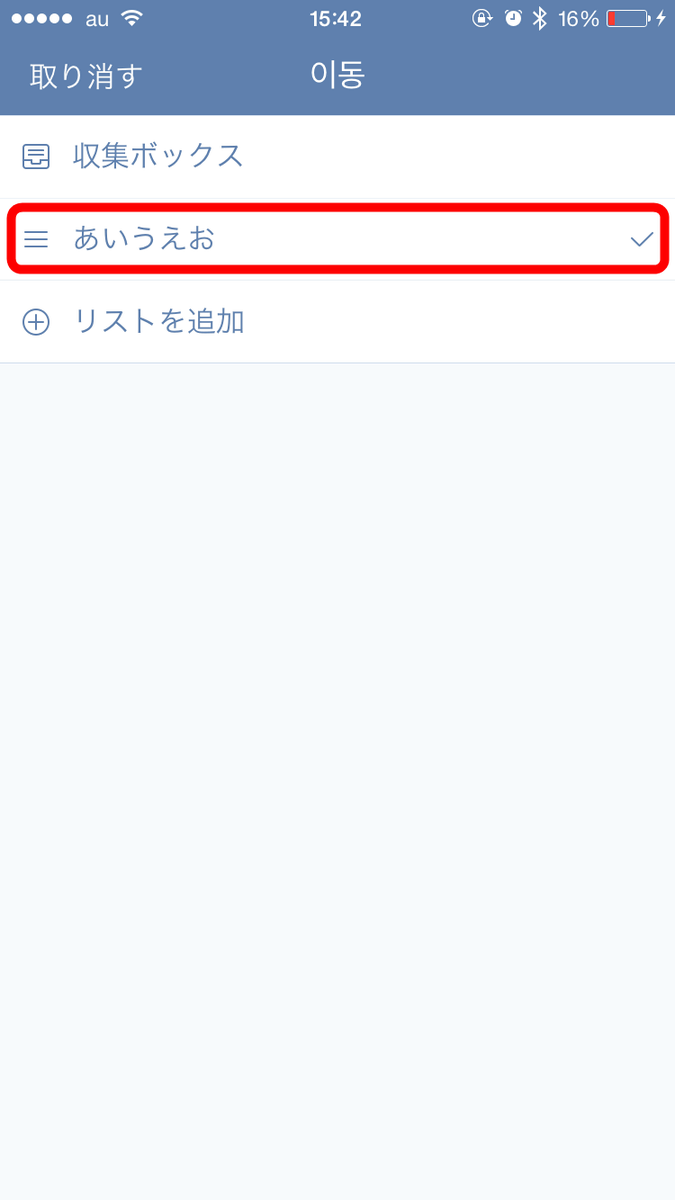
Then the list will be added like this. Tap the list to store the task, so if you create a list for each type of task you can categorize it.
Then tap "List".
Then the sentences where task details were written were separated by paragraphs, and a check box was added to each.
Check boxes can be added by tapping, so it seems to be useful for making shopping lists etc.
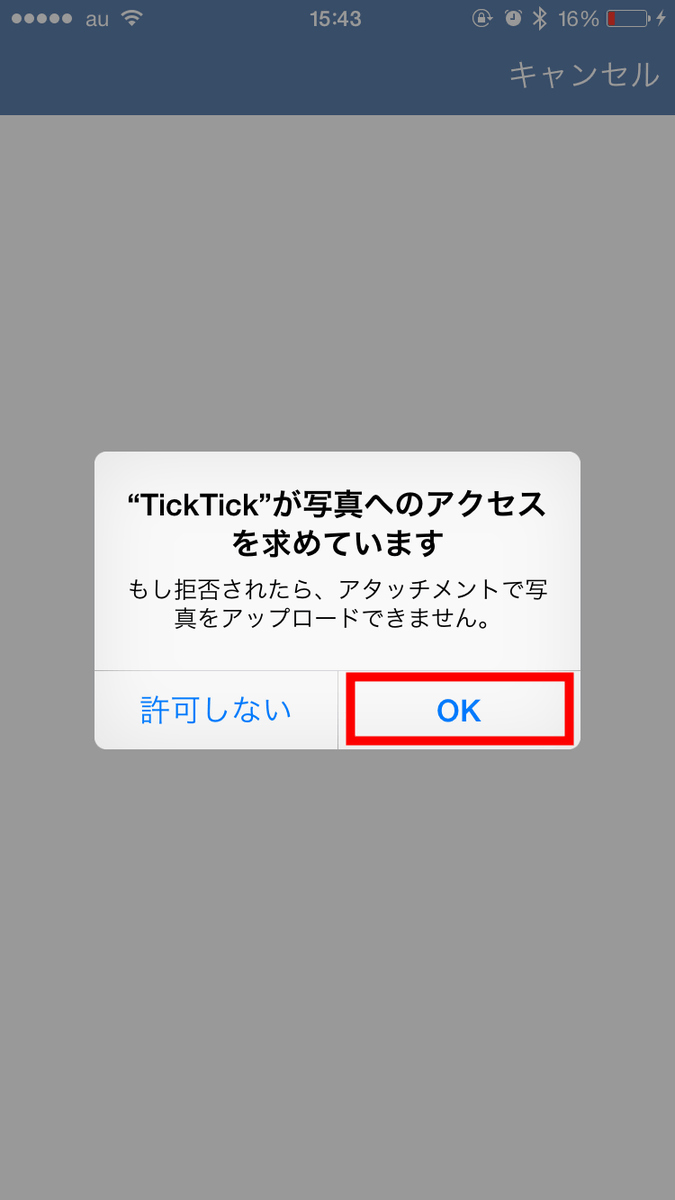
"Mobile Album"
At the first use, access to the photo is required, so tap "OK".
Then it will be the screen to select the photos in the iPhone, so tap the photo you want to add.
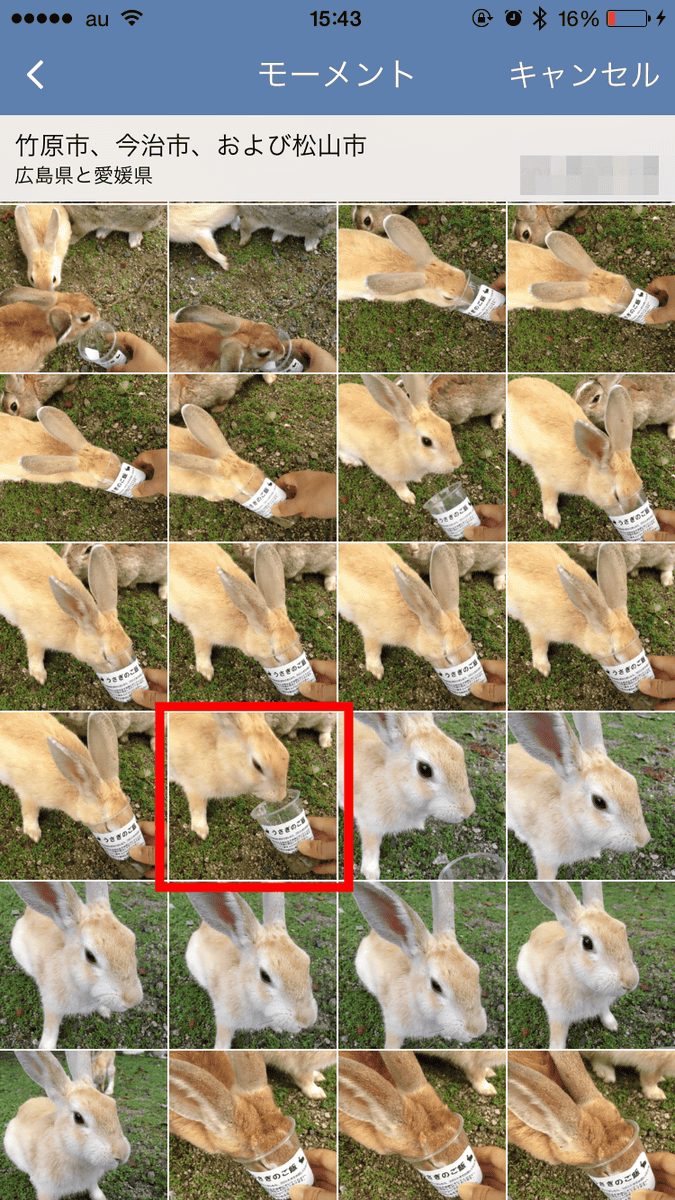
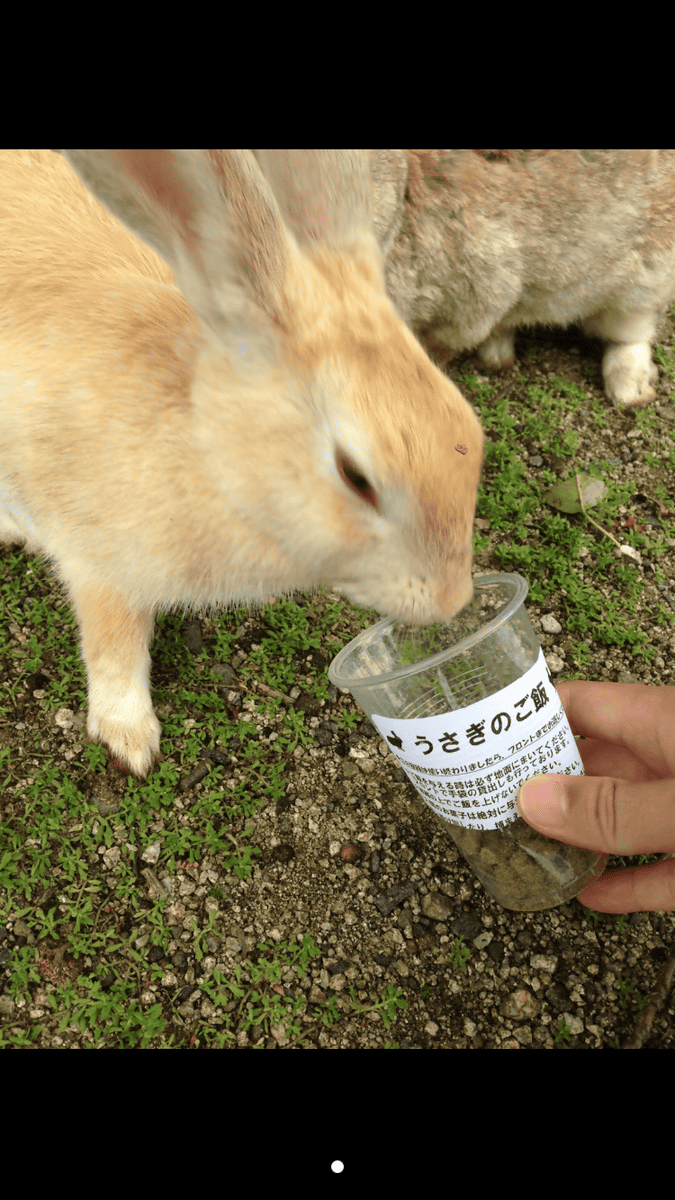
I succeeded in embedding pictures at the bottom of the task. Tap a photo ... ....

Full screen display is also possible.
"take a picture"
Also when you use it for the first time, you are asked for permission so tap "OK".
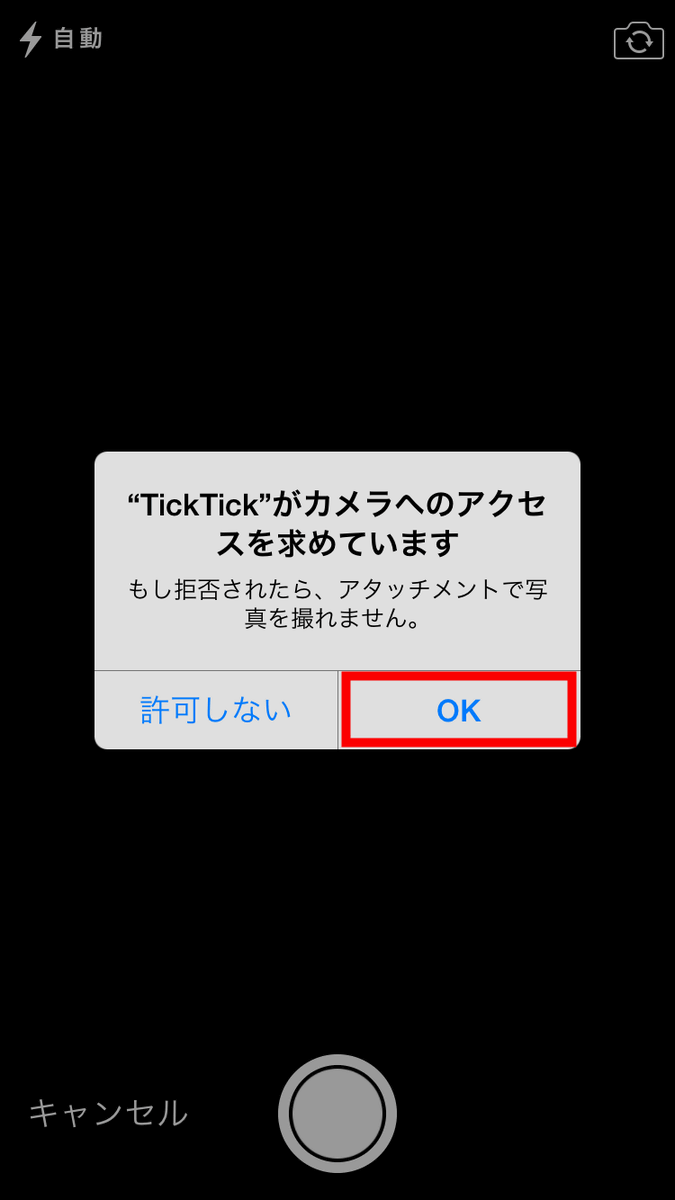
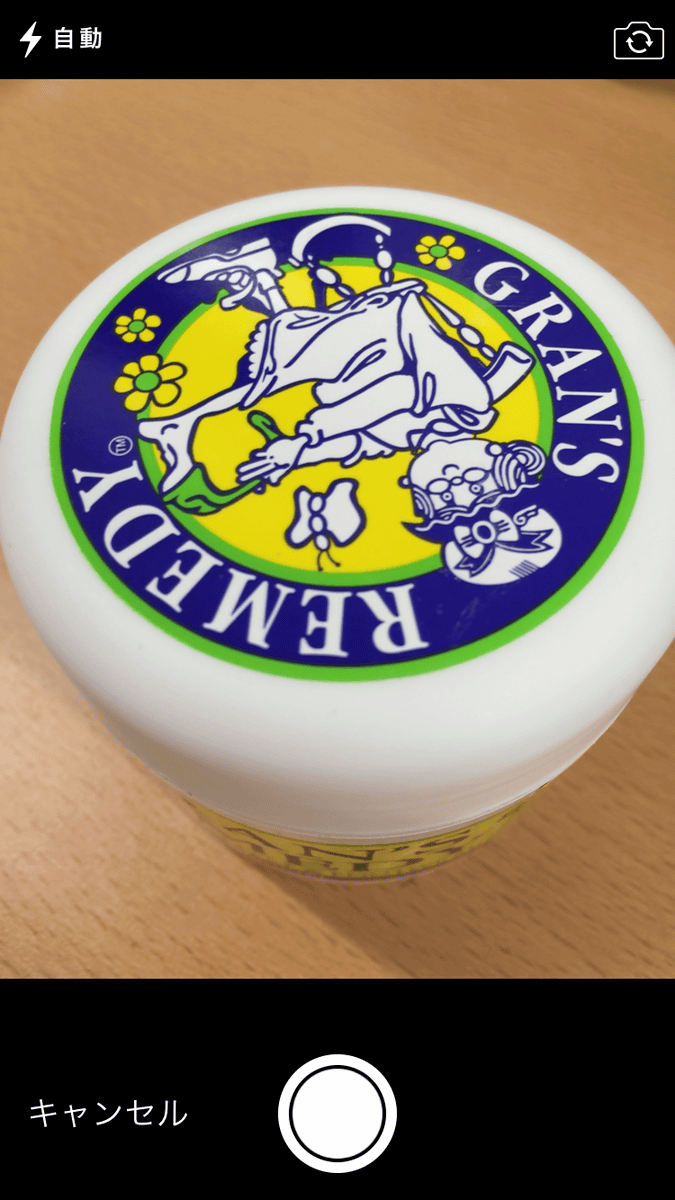
Then the camera starts up. The photographs taken are added to the detailed screen of the task.
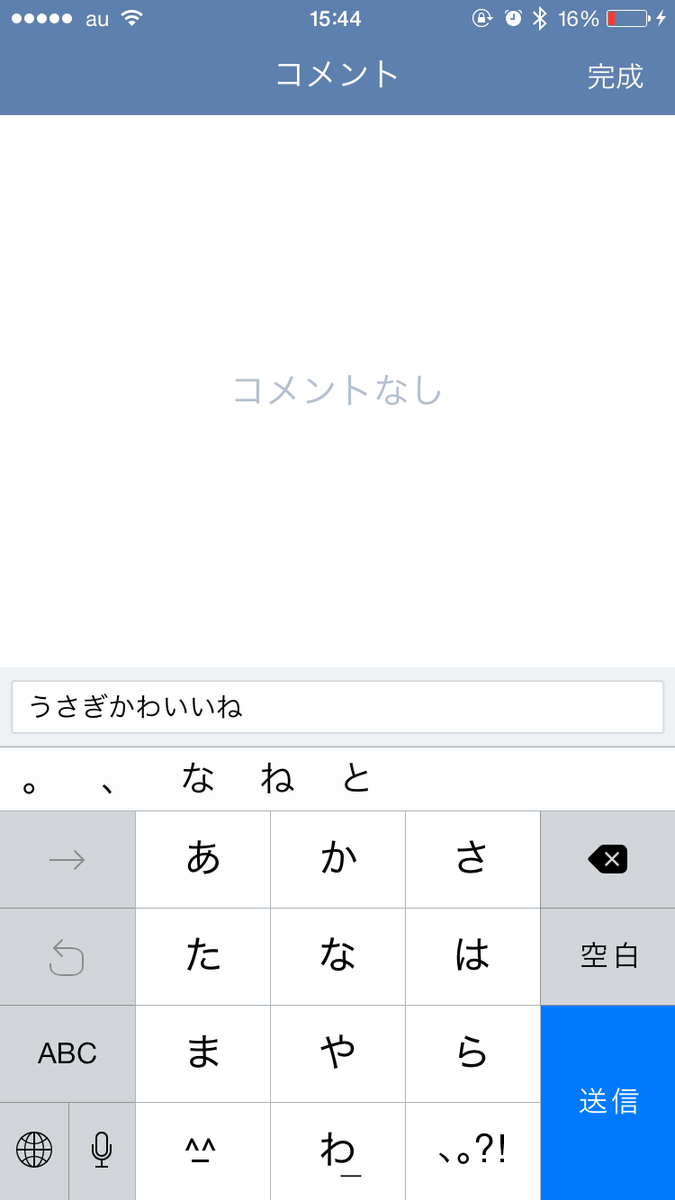
"comment"

You can add comments on the task. This is a function to use when managing tasks by multiple people.
"Send"
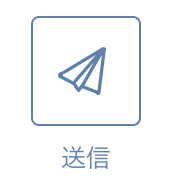
By tapping "Send" you can send the task in text format. Tap "Message" to try ... ...
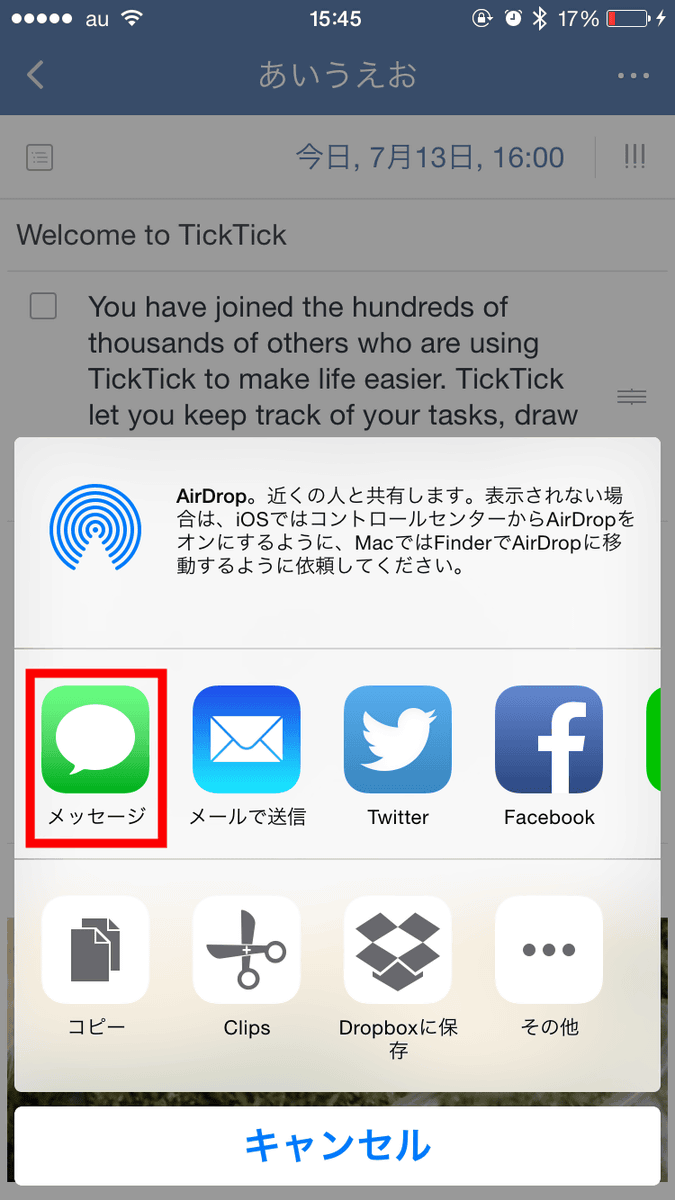
With this feeling, you can easily send task name, task details, and deadline in text format.

"Location"
Tap 'Permit' because 'Location' is also asked for permission when using for the first time.
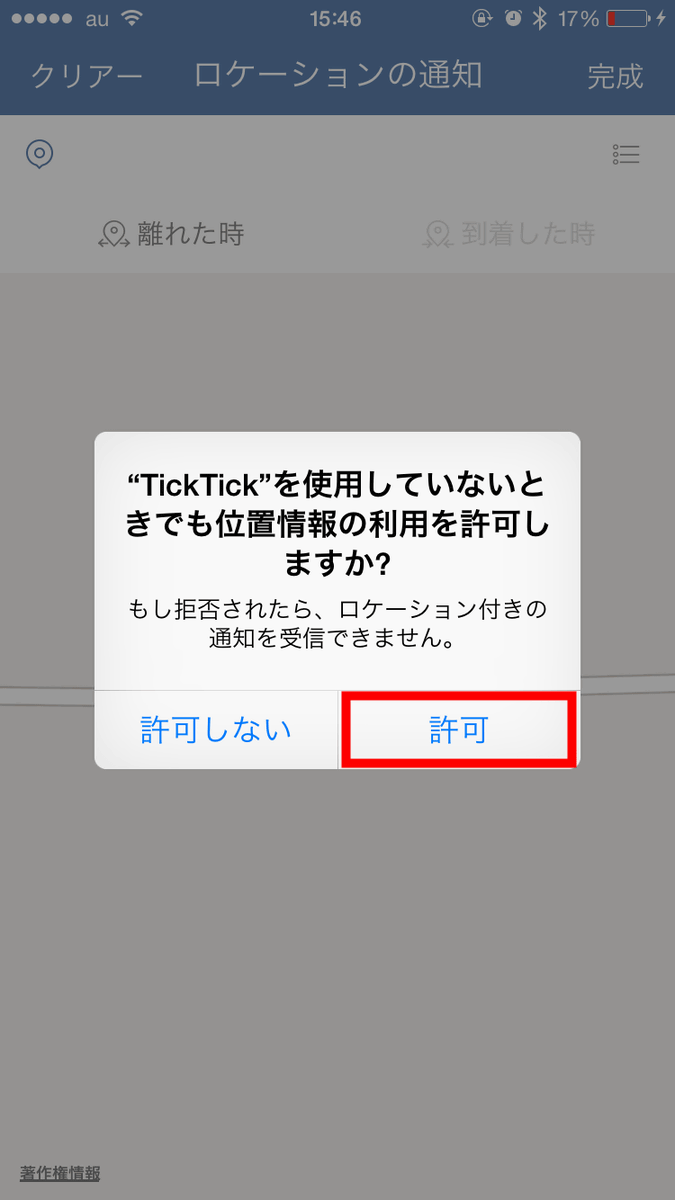
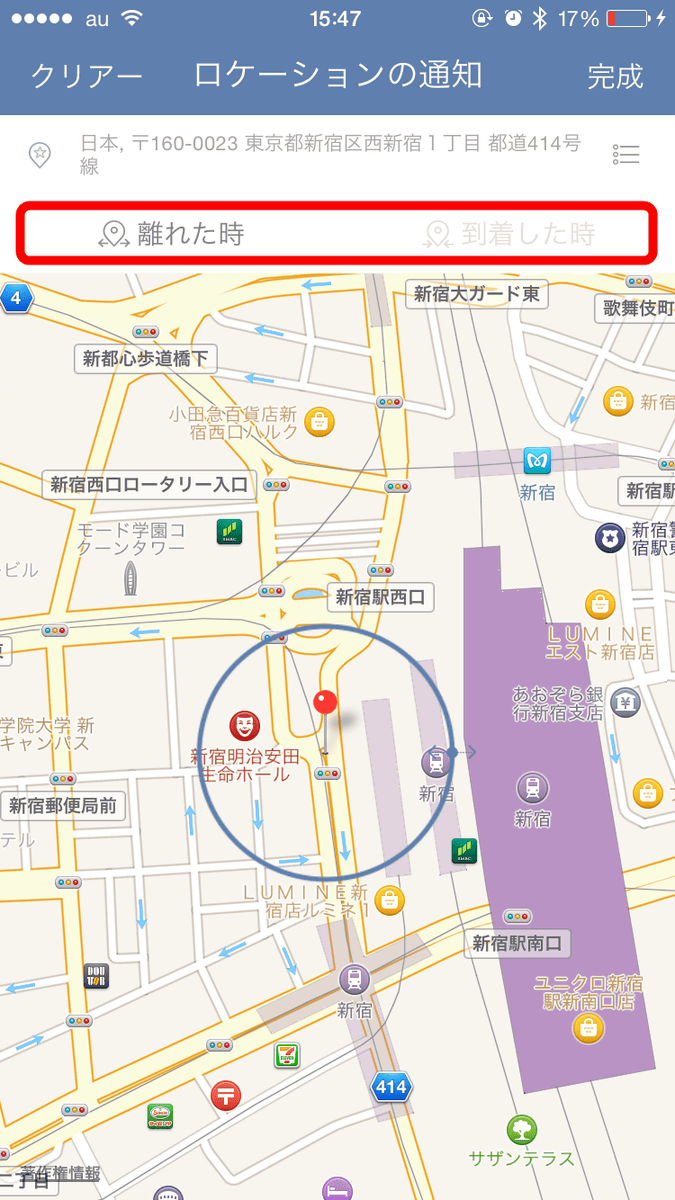
The "location notification" screen will be displayed. This is a function to display a notification when you "leave" or "arrive" from the point where you dropped the pin. Although it seems that there is not much use for one person's use, if this place is set when plural people share a task, "The name of the person gathered at the meeting place is notified to the screen of the smartphone It will be possible to use such as "to be done."
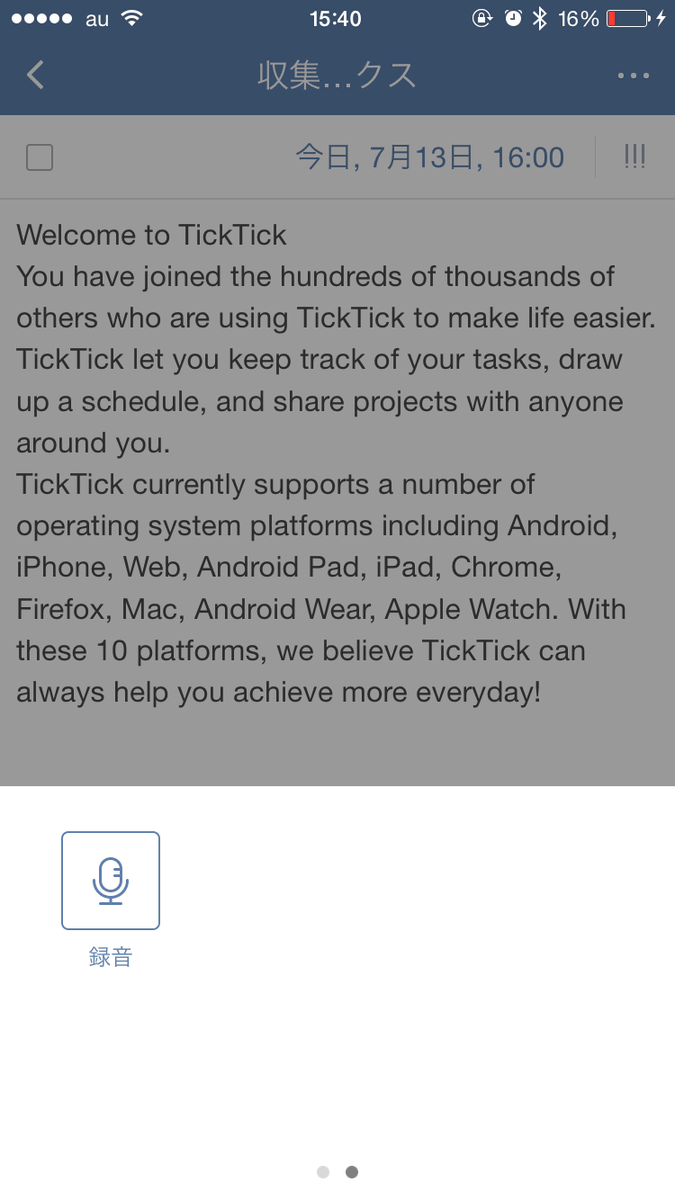
"recording"
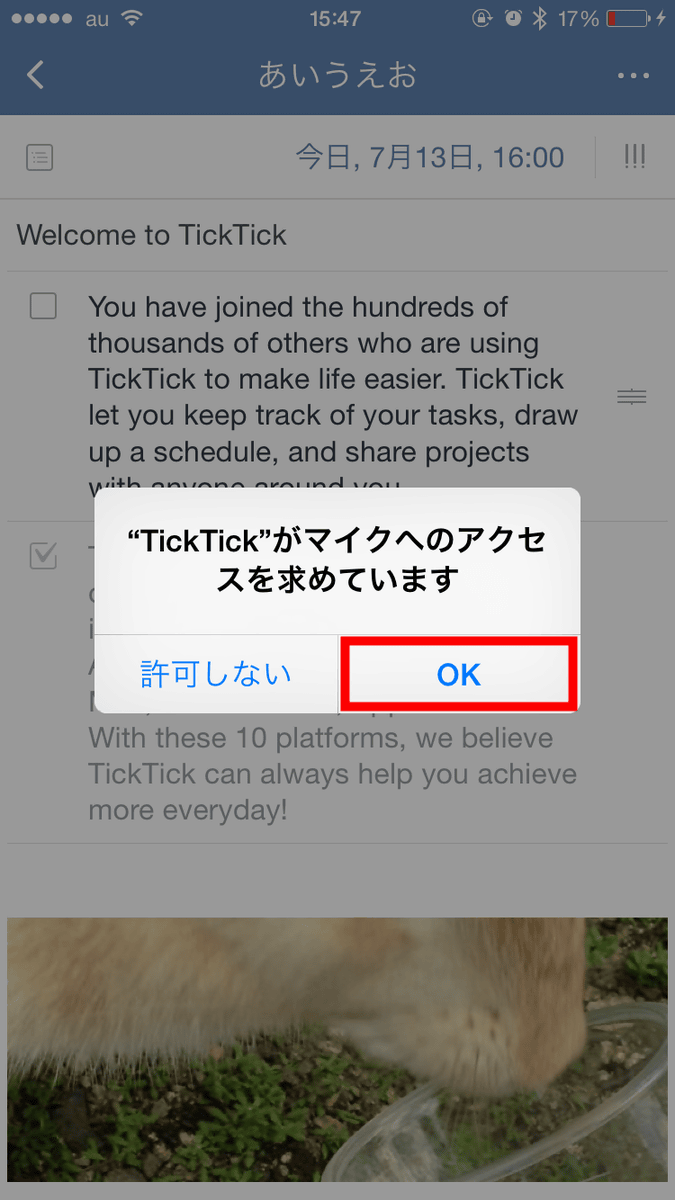
When you use it for the first time, you are asked for permission, so tap "OK".
"Recording" allows you to record sound as its name suggests.
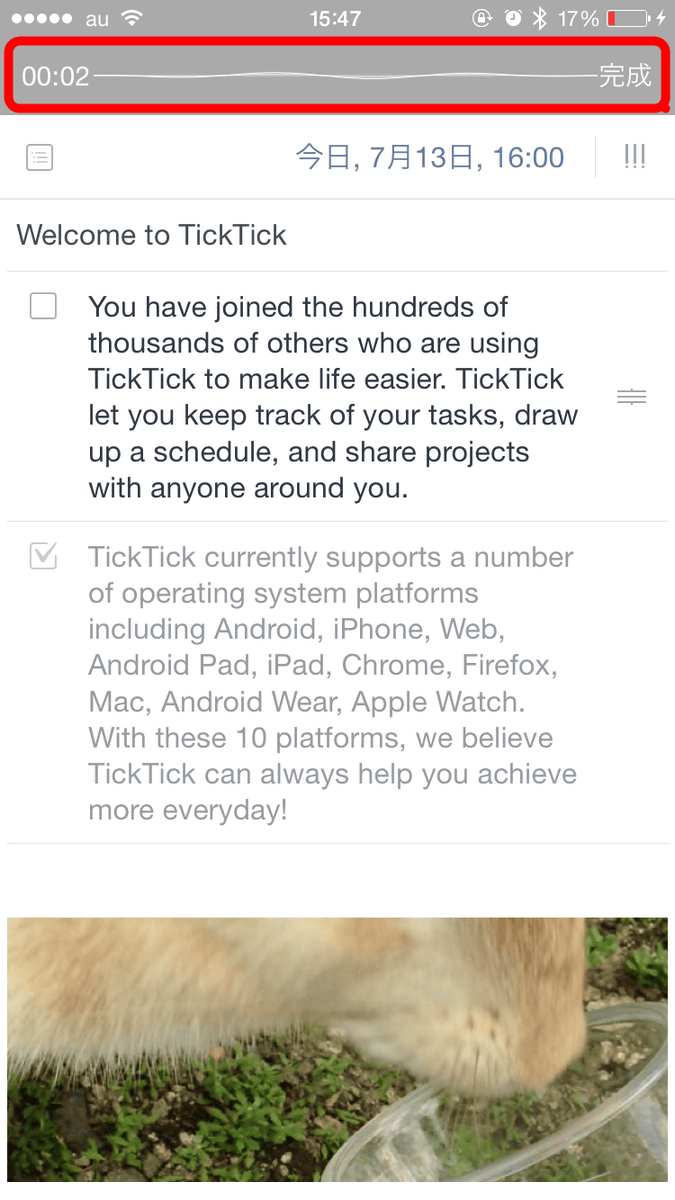
Saved voice will be saved like this.

"Delete"
Tap this to delete the task. This completes the function of all nine.
Now return to the start screen and swipe the displayed task to the left.
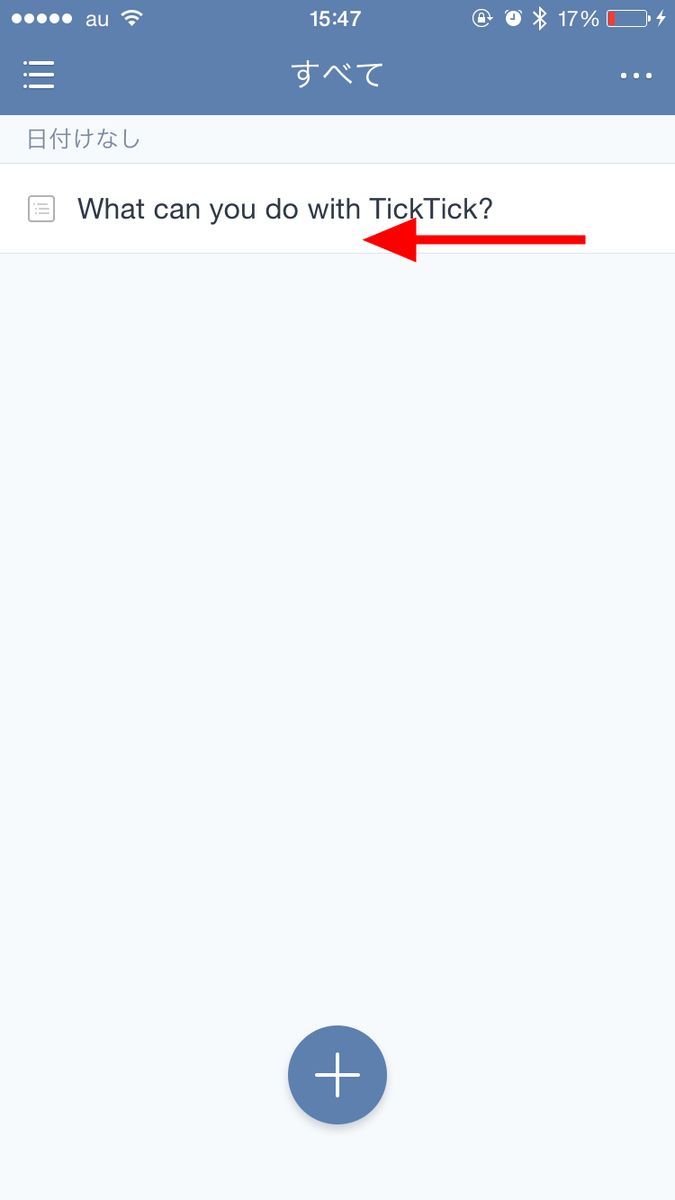
A yellow strip is displayed and you can set the deadline for the task. In addition to preset time, it is also possible to set the time freely such as "a certain time of the day".
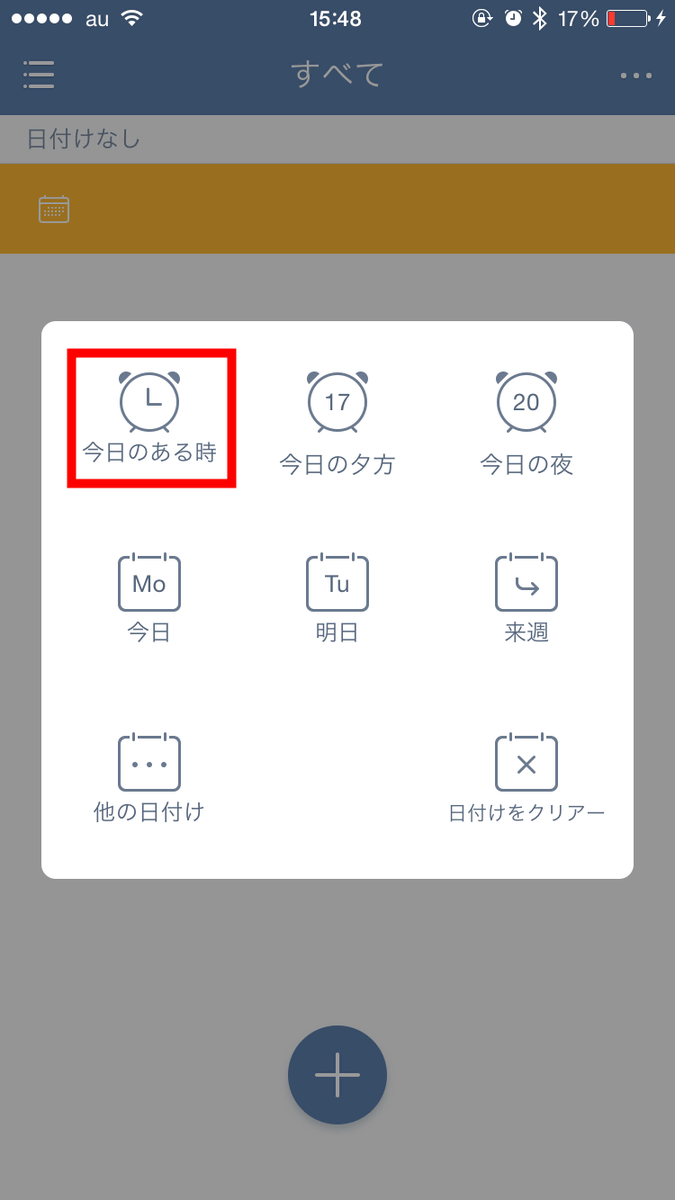
It is possible to set the time freely with this feeling.
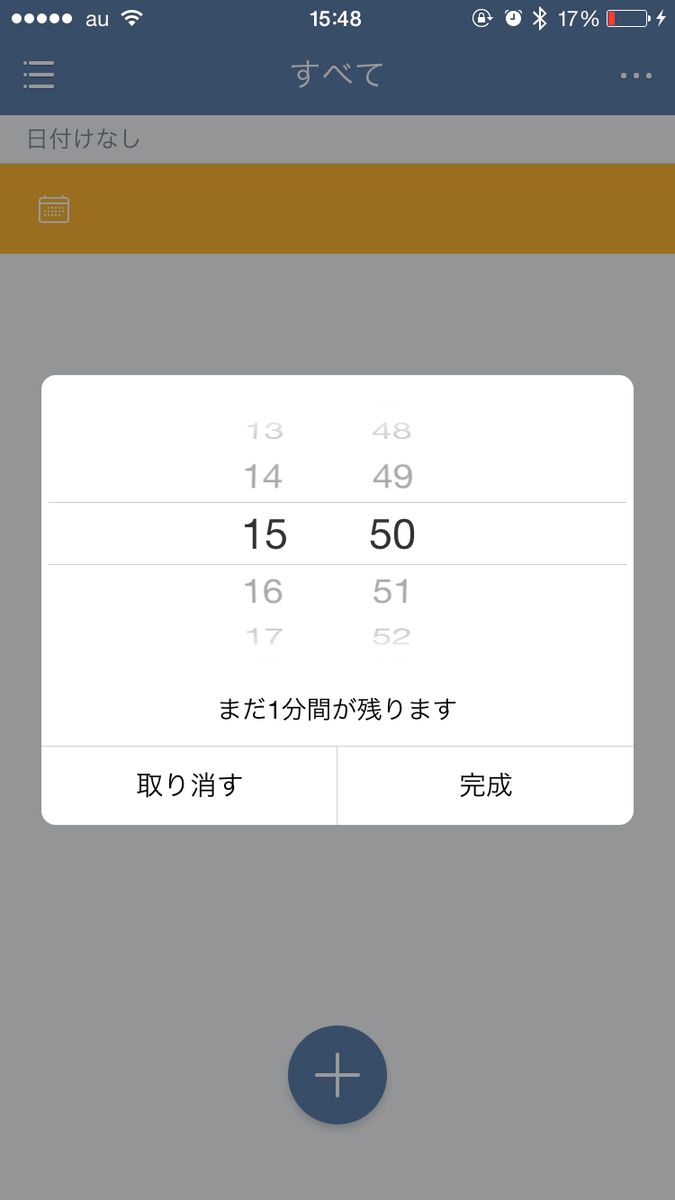
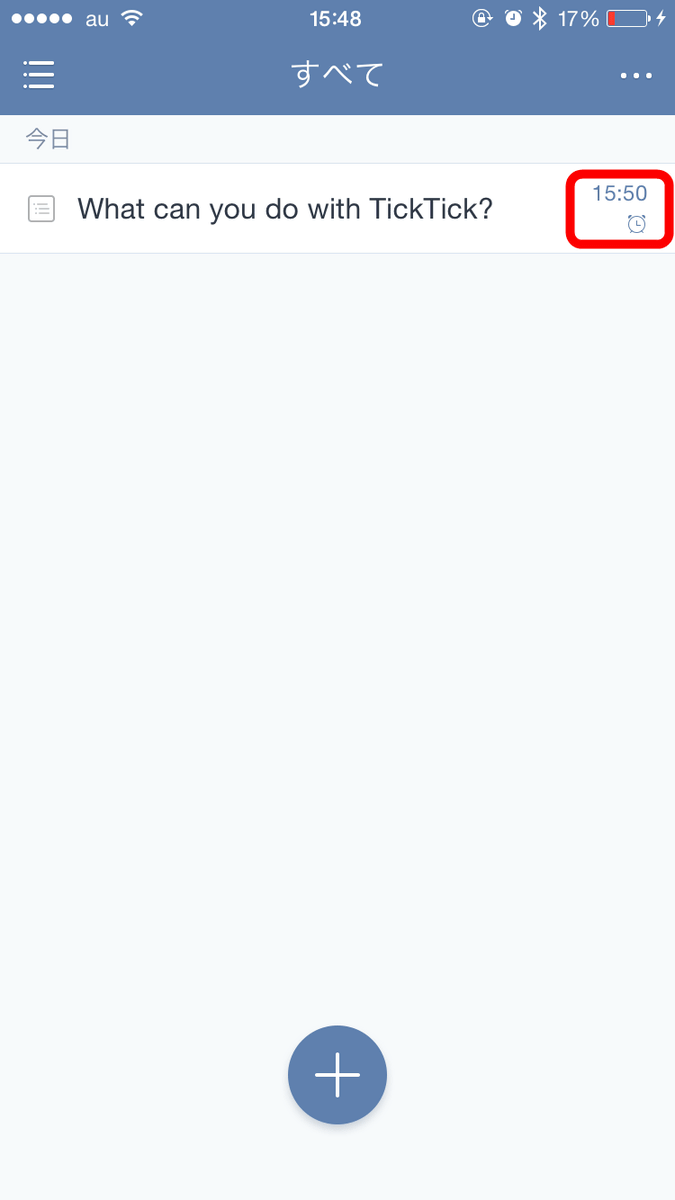
When the deadline of the task is set, the time is displayed in the red frame portion.
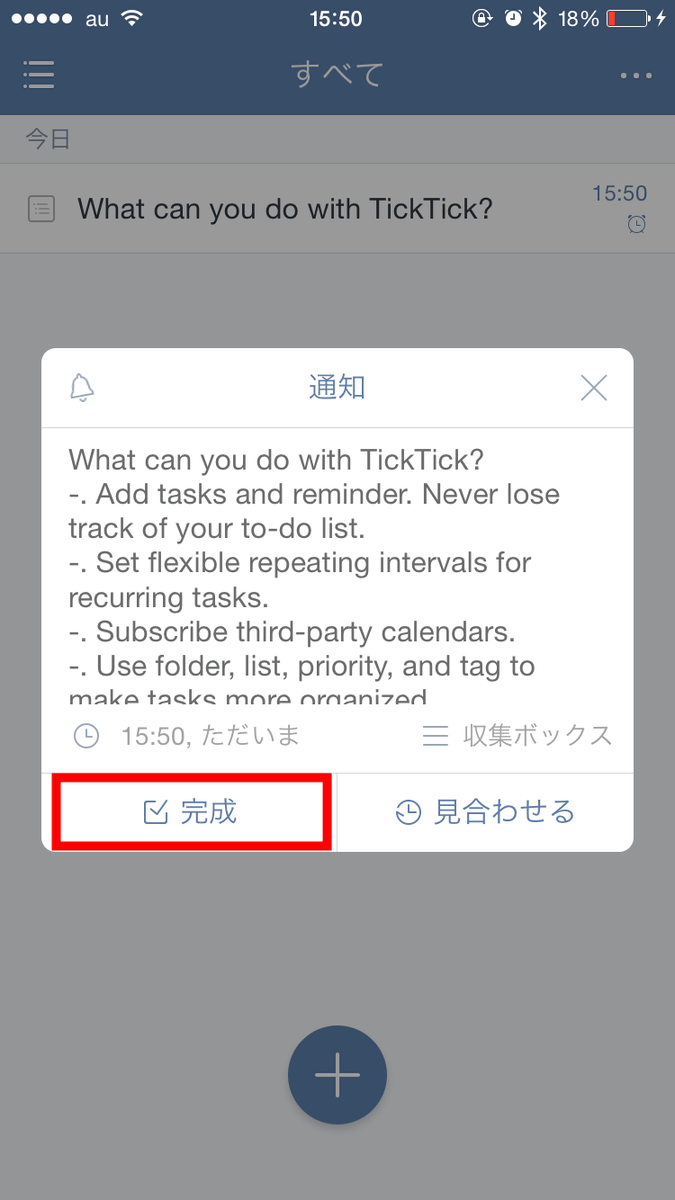
When time comes, notifications are displayed like this. Tap "Complete" if you have completed the task.
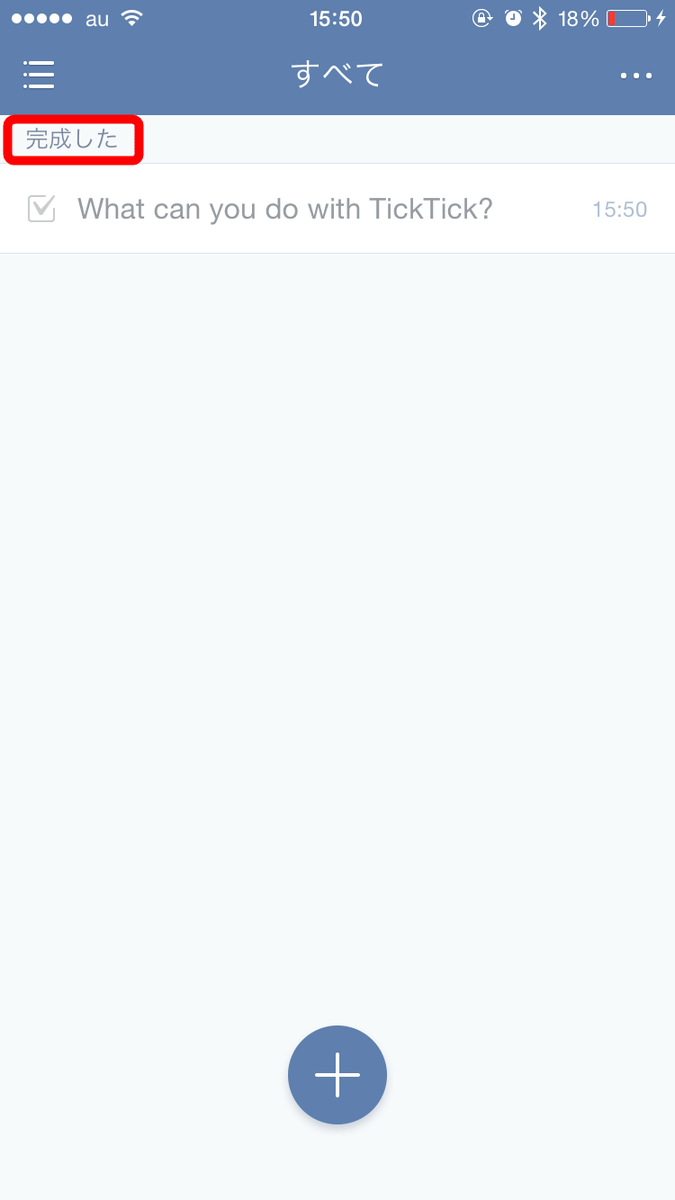
Then the task is completed.
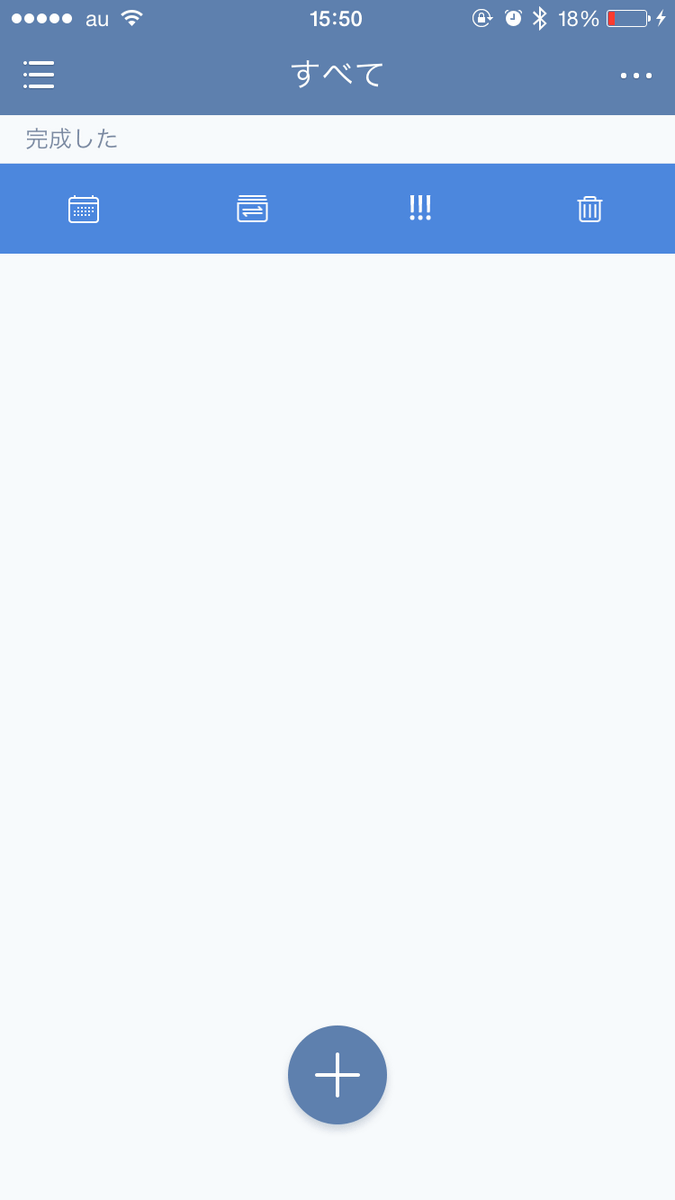
Also, if you swipe the task to the left greatly ...

A blue band appeared. From the left "task deadline" "task listing" "task prioritization" "delete" icon.
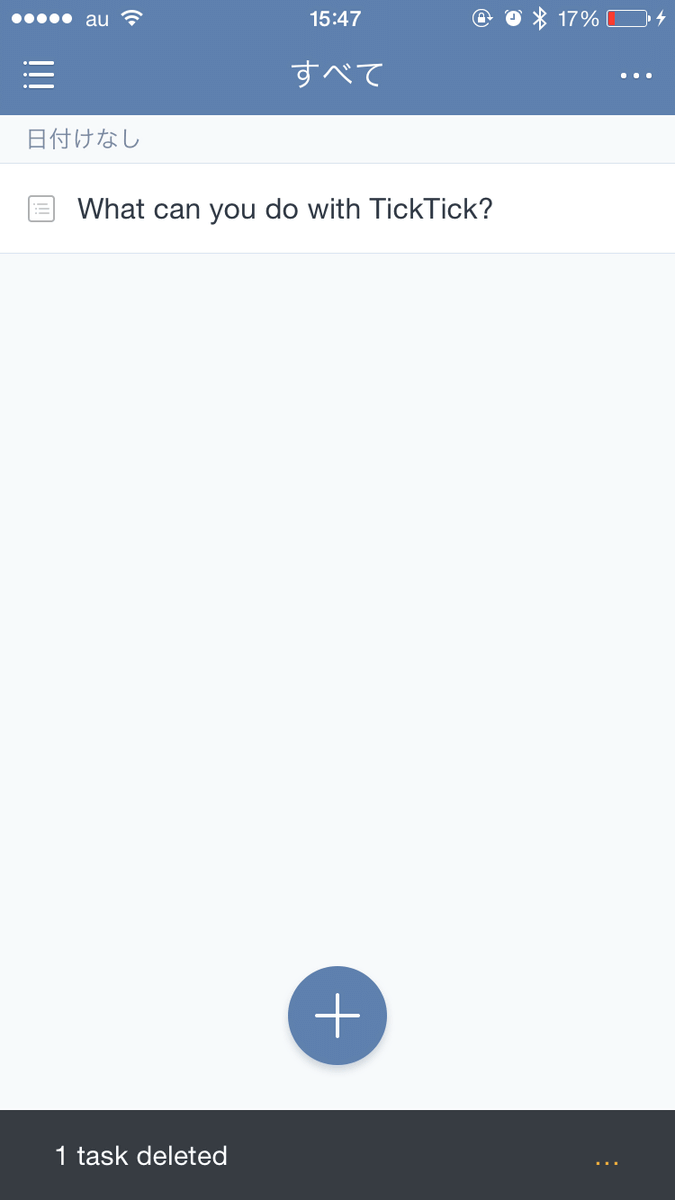
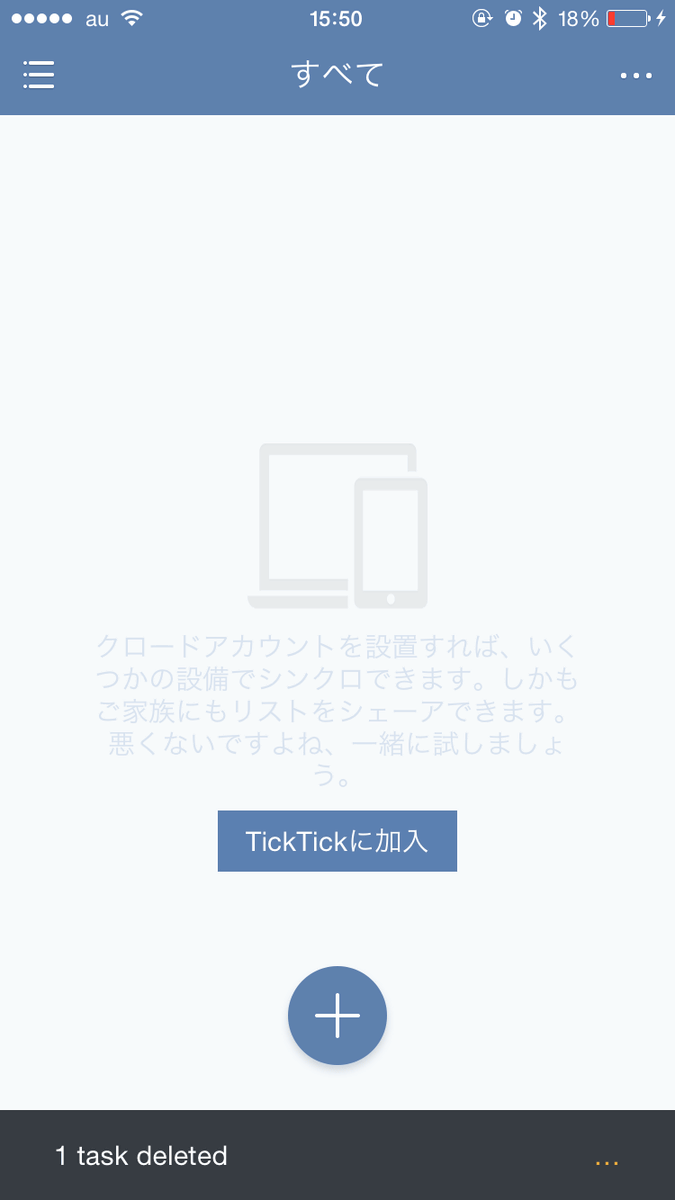
That's why I deleted a task that I had pre-entered and put it in a clean state.
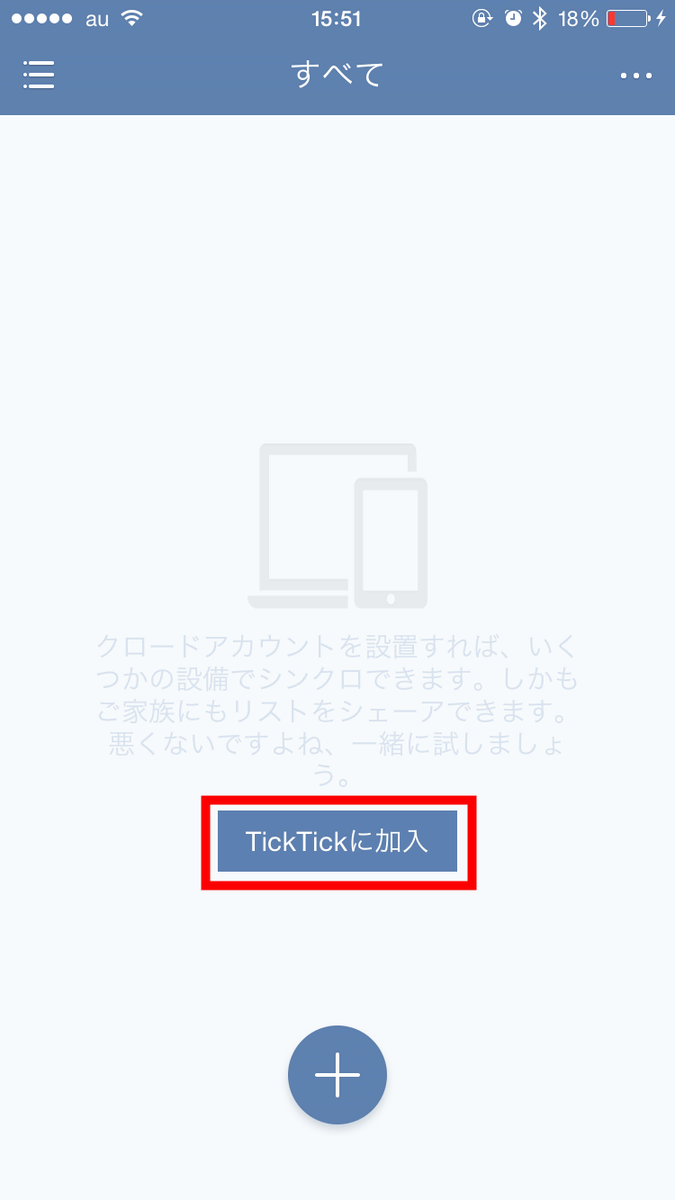
Then, since the icon "join TickTick" appeared, tap this.
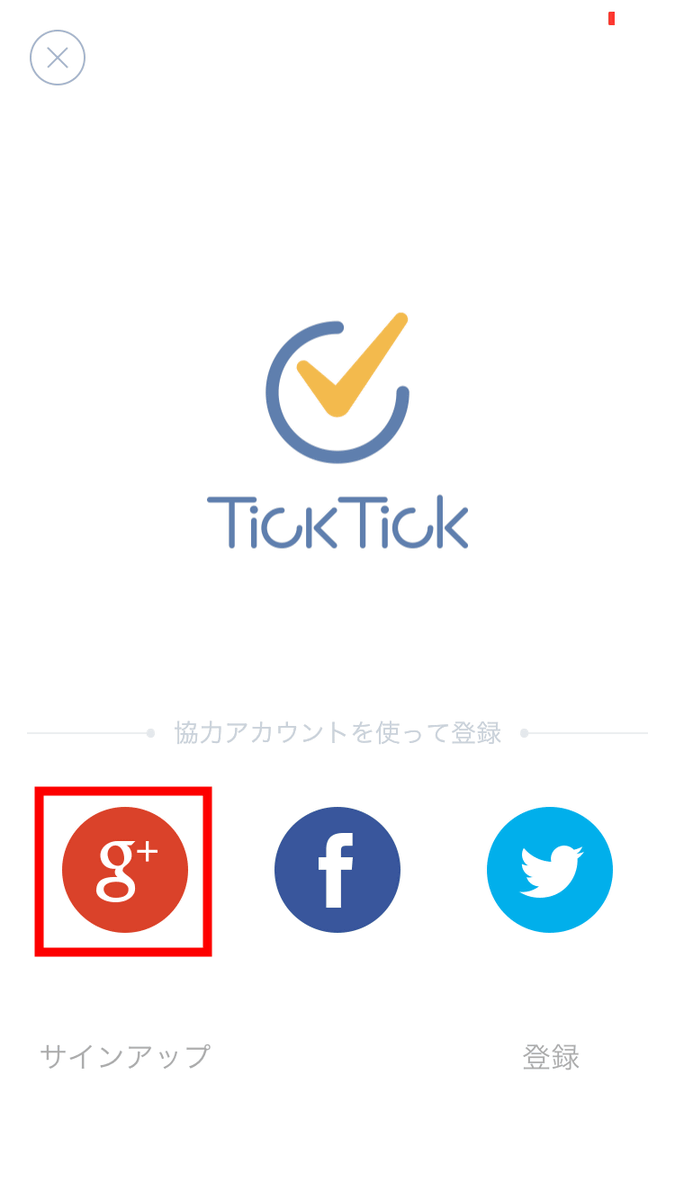
TickTick can easily create an account if you have one of Google, Facebook, Twitter accounts. When logging in with a Google account, tap the red frame part.
Then enter Google's account information and tap "Sign in".
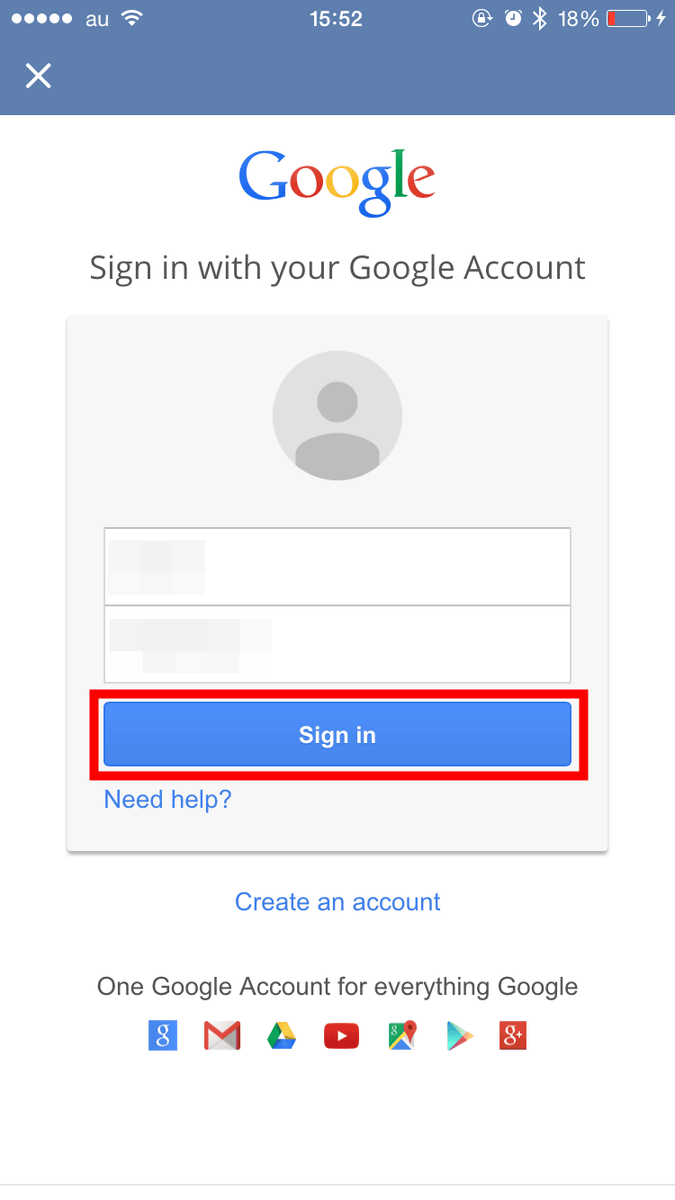
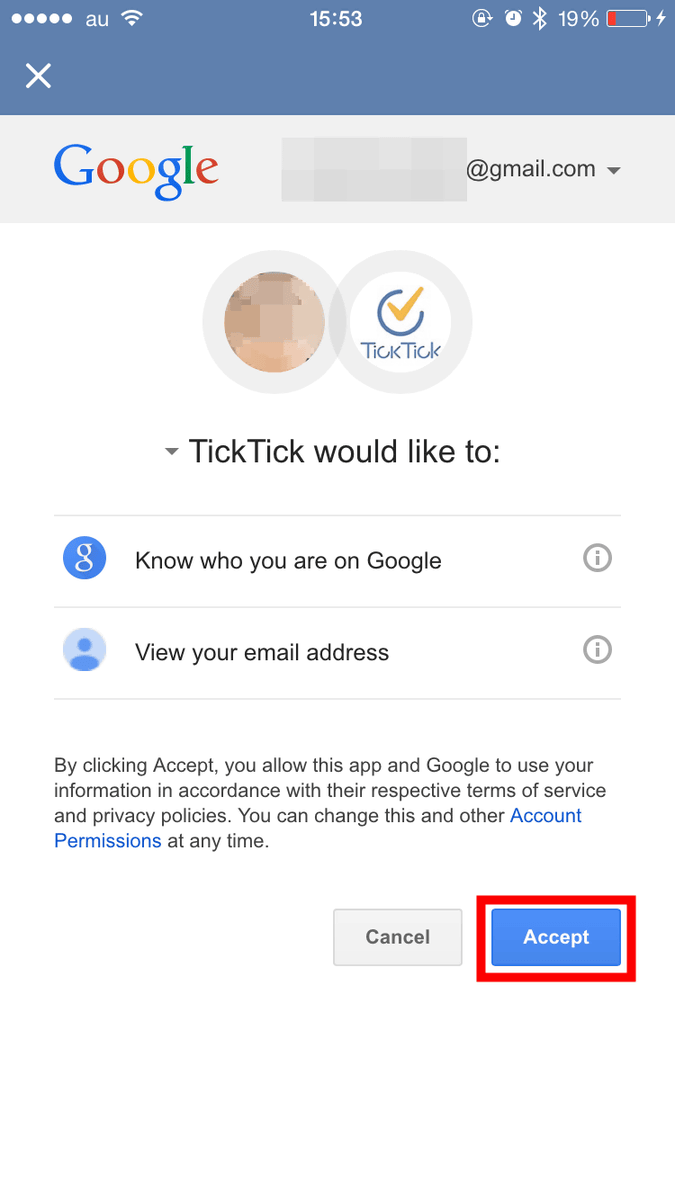
Tap "Accept". Your account is now complete.
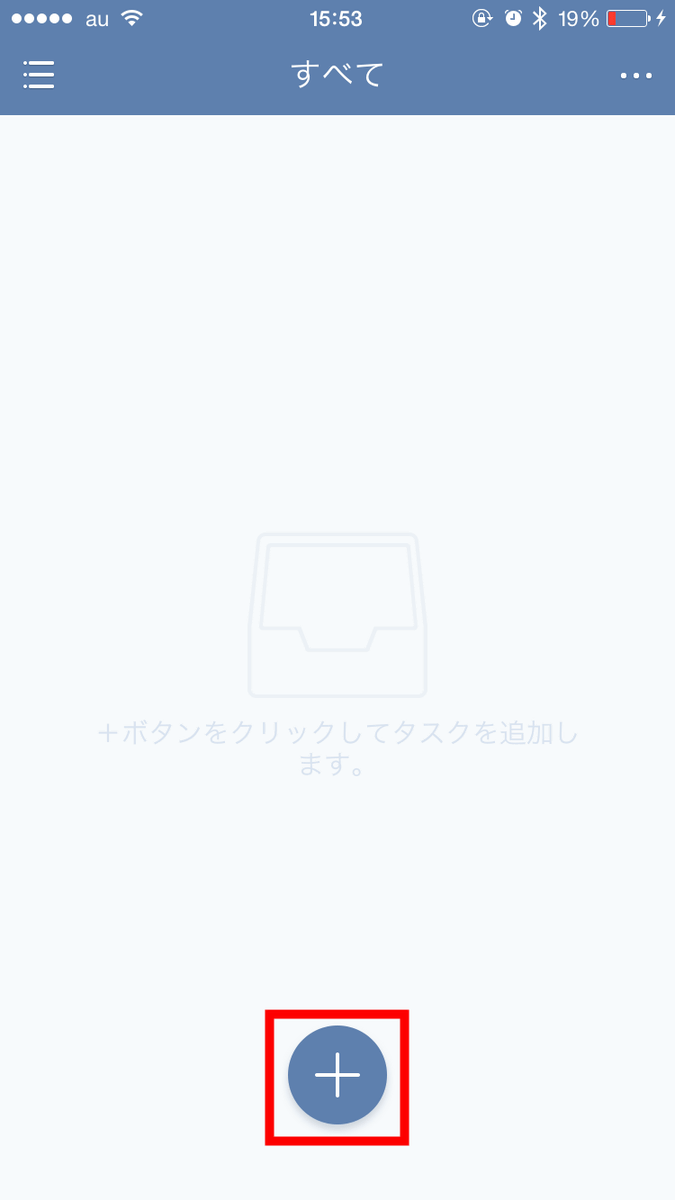
Tap "+" if you want to add a new task yourself.
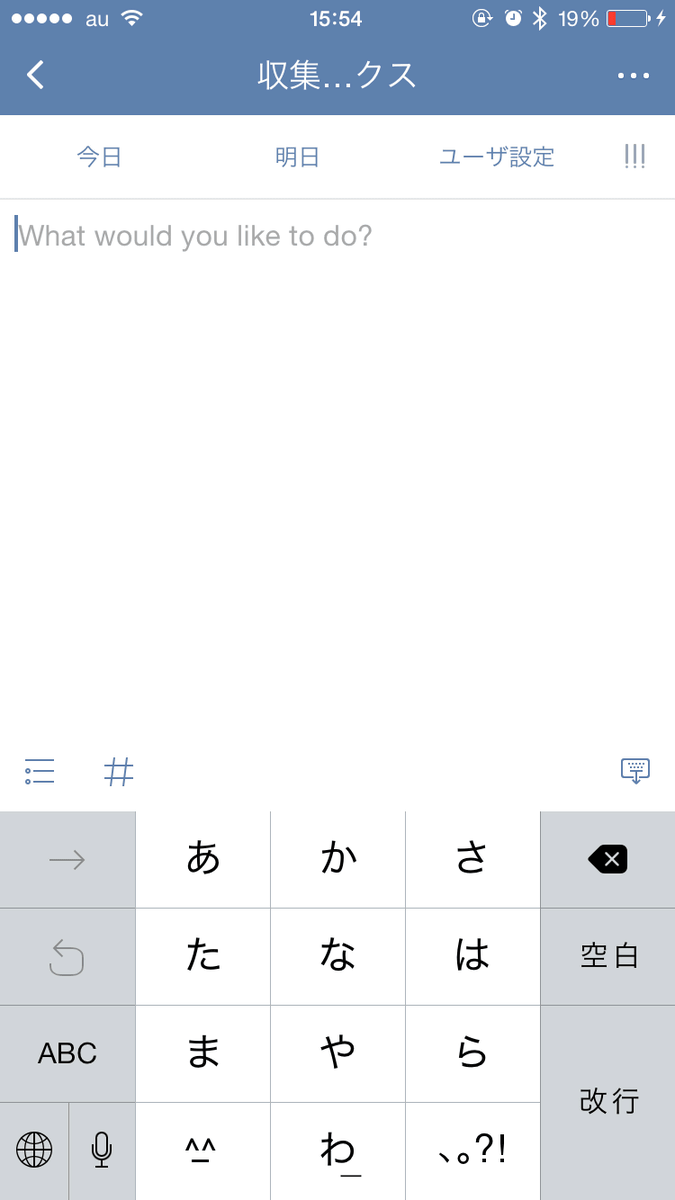
You can enter the task name and details now.
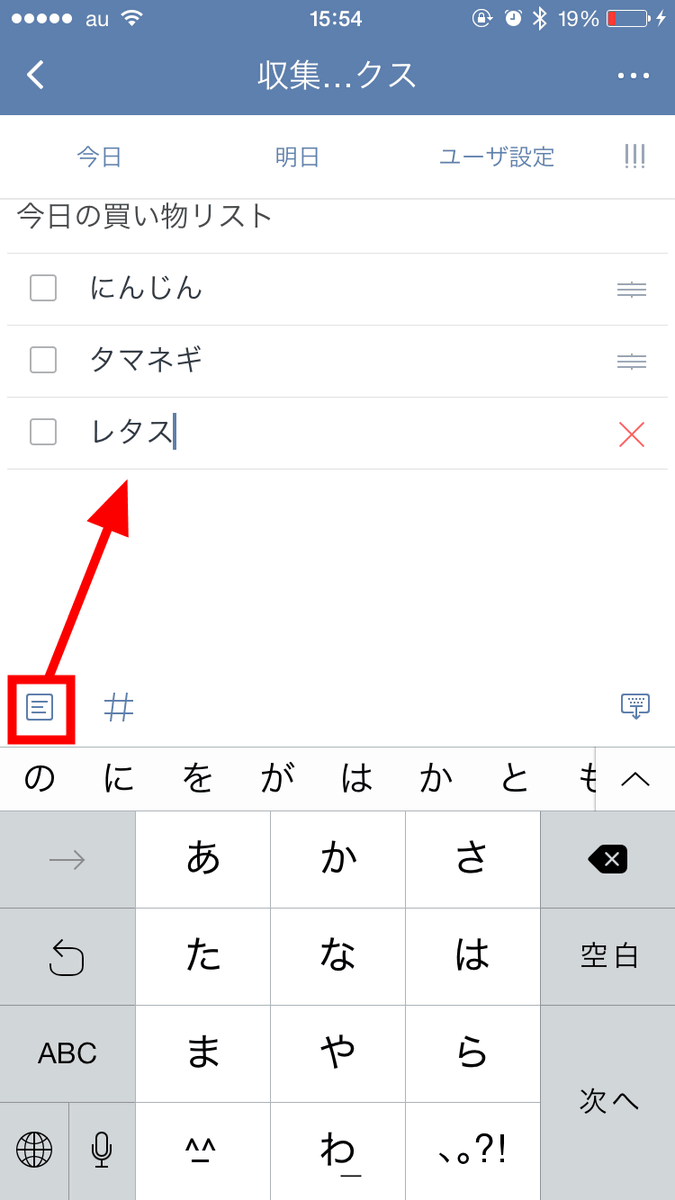
By tapping the icon in the red frame part, you can create a check list like the image below.
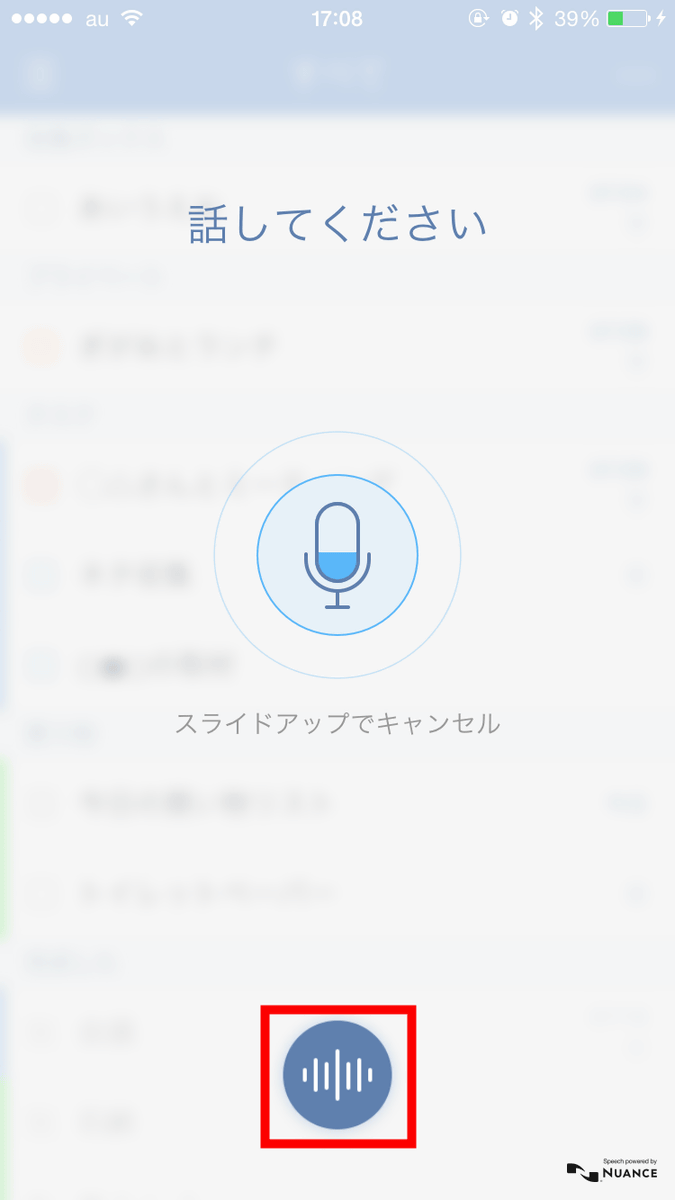
Also, if you press and hold the "+" icon for a long time, the screen will look like the following, it is possible to input the task voice.
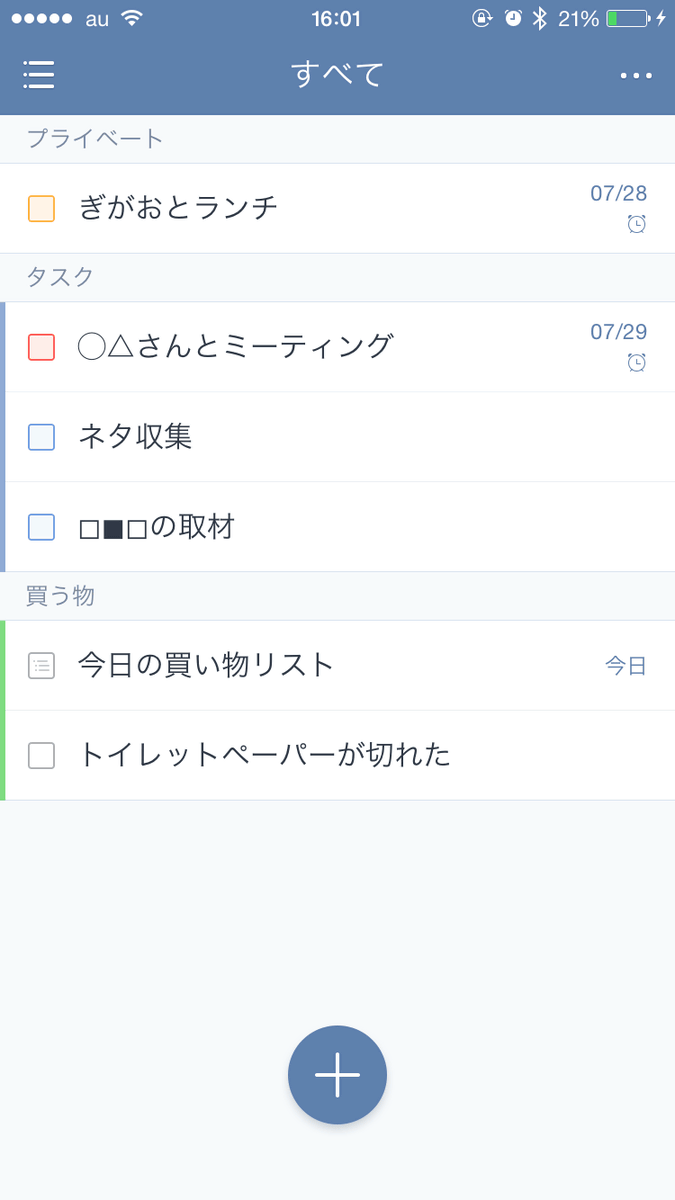
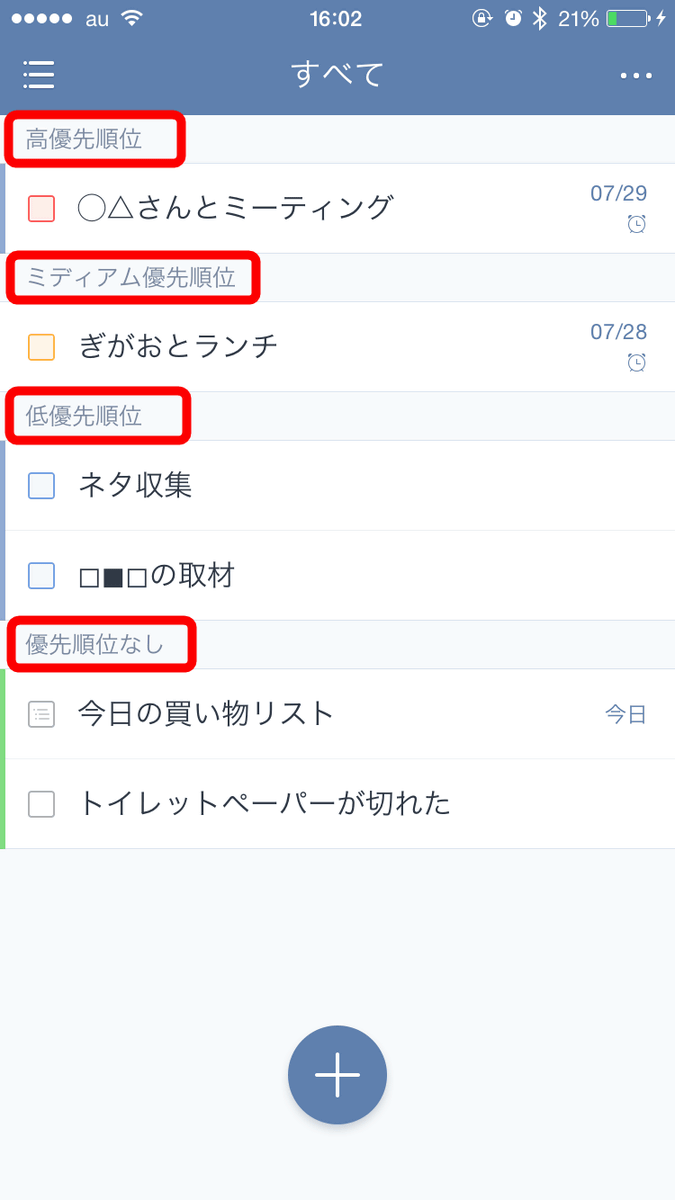
So when you create a task by making full use of the knowledge learned so far, it is like this. "Private" "Task" "Buying things" is written in the list, the tasks under it are tasks. The colors of the check boxes are color coded according to the task priority.
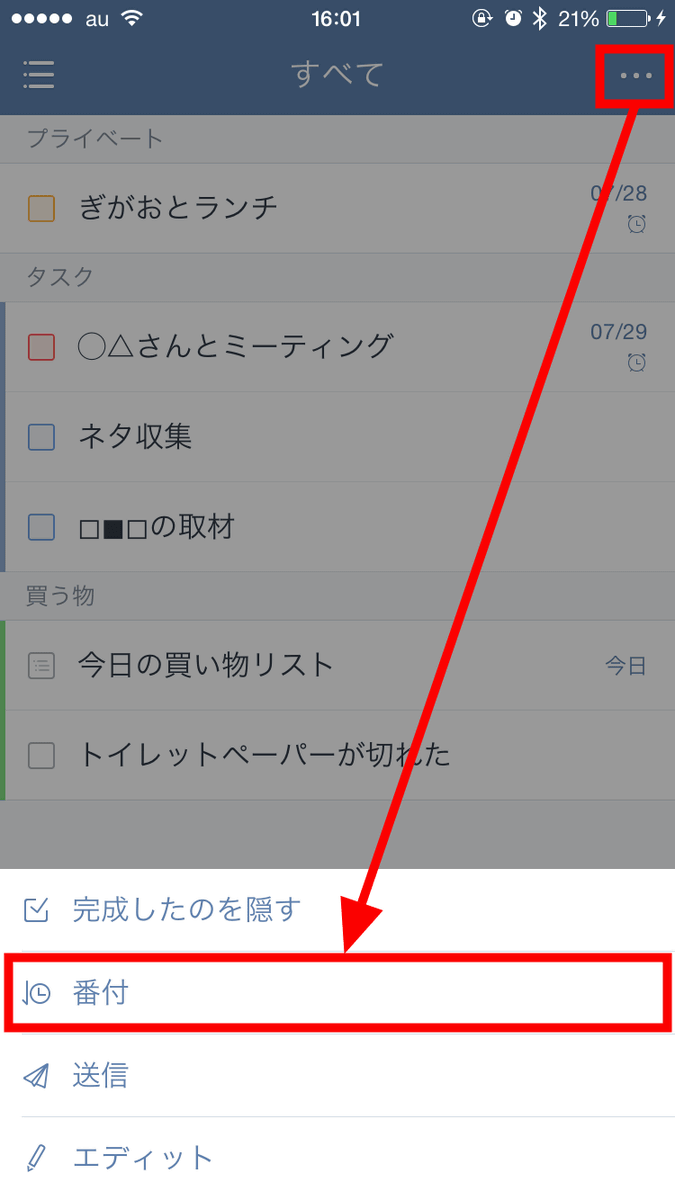
By tapping "..." at the top right of the screen, you can hide the completed task, send the task list, and edit the tasks at once. Tap "ranking" in this.
Then you can rearrange the tasks. Try "By Priority" to try ... ...
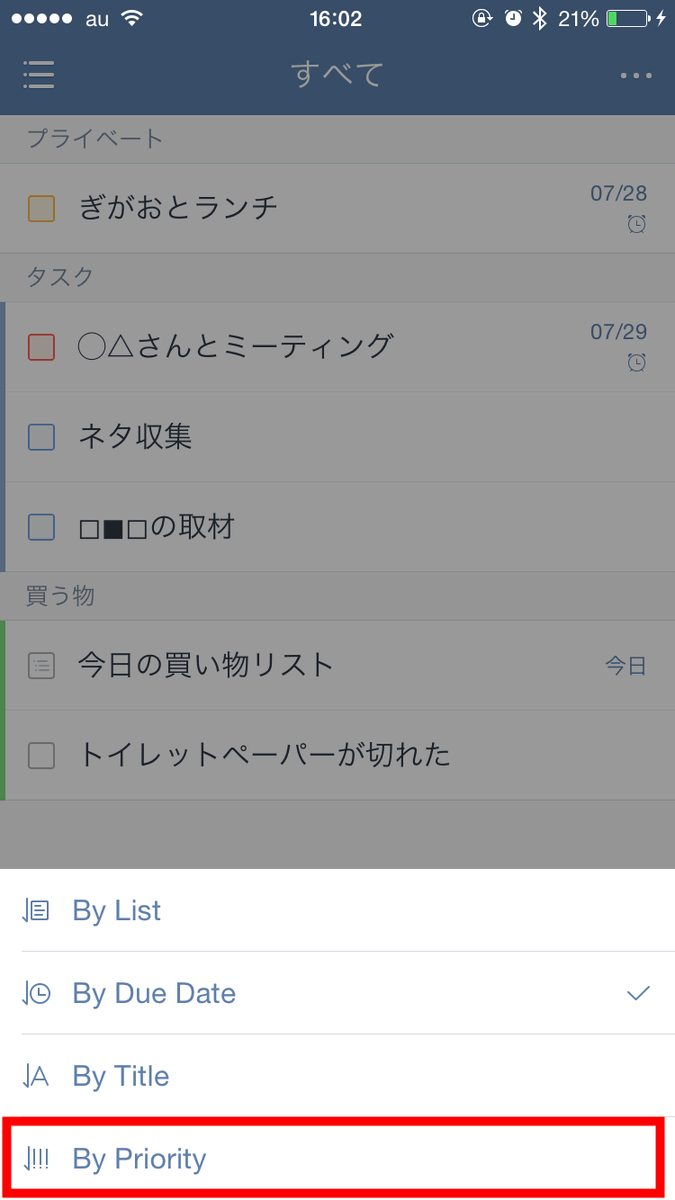
It will be displayed from the task with the highest priority from above.
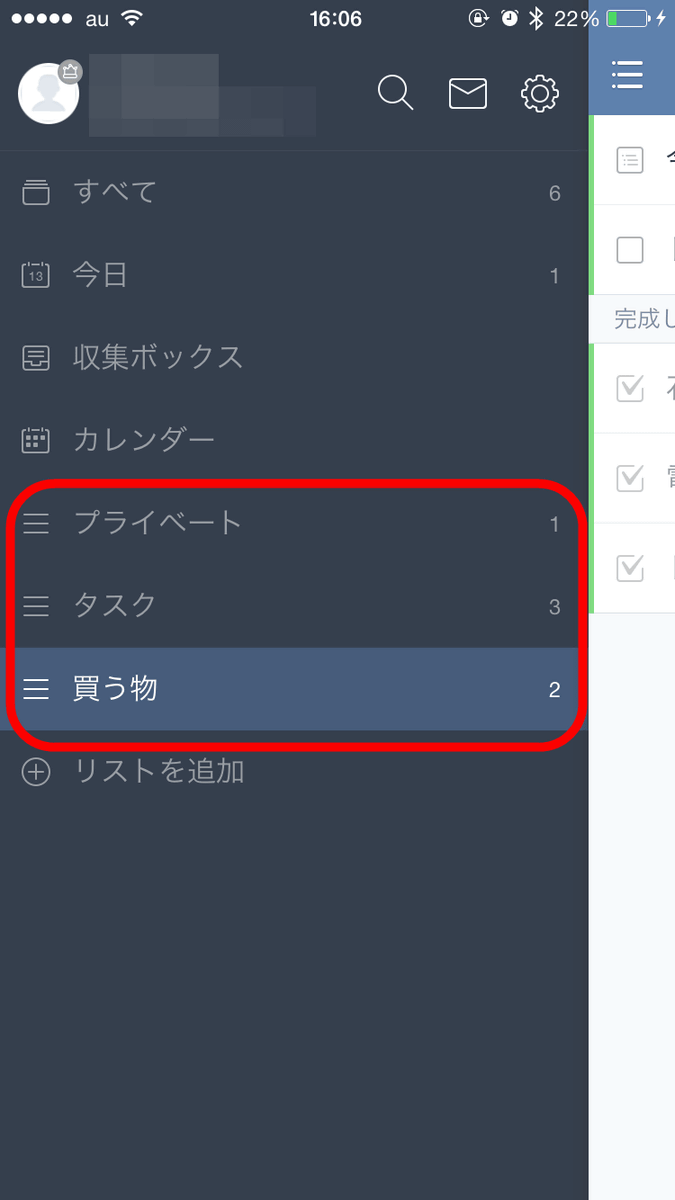
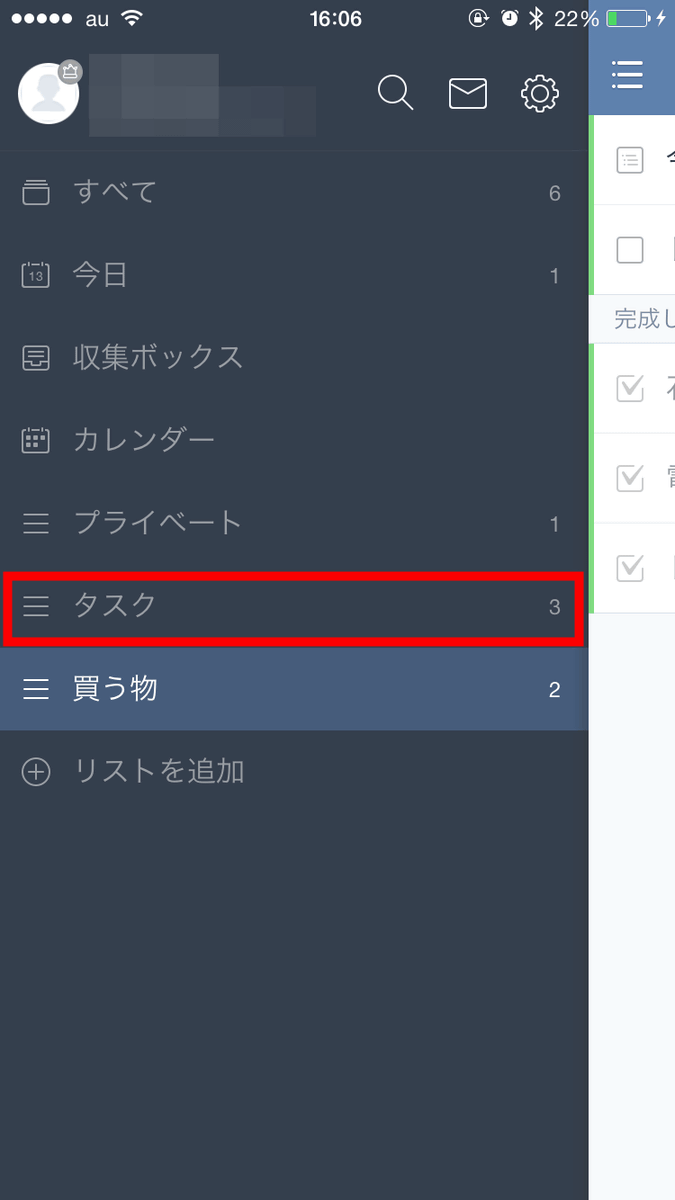
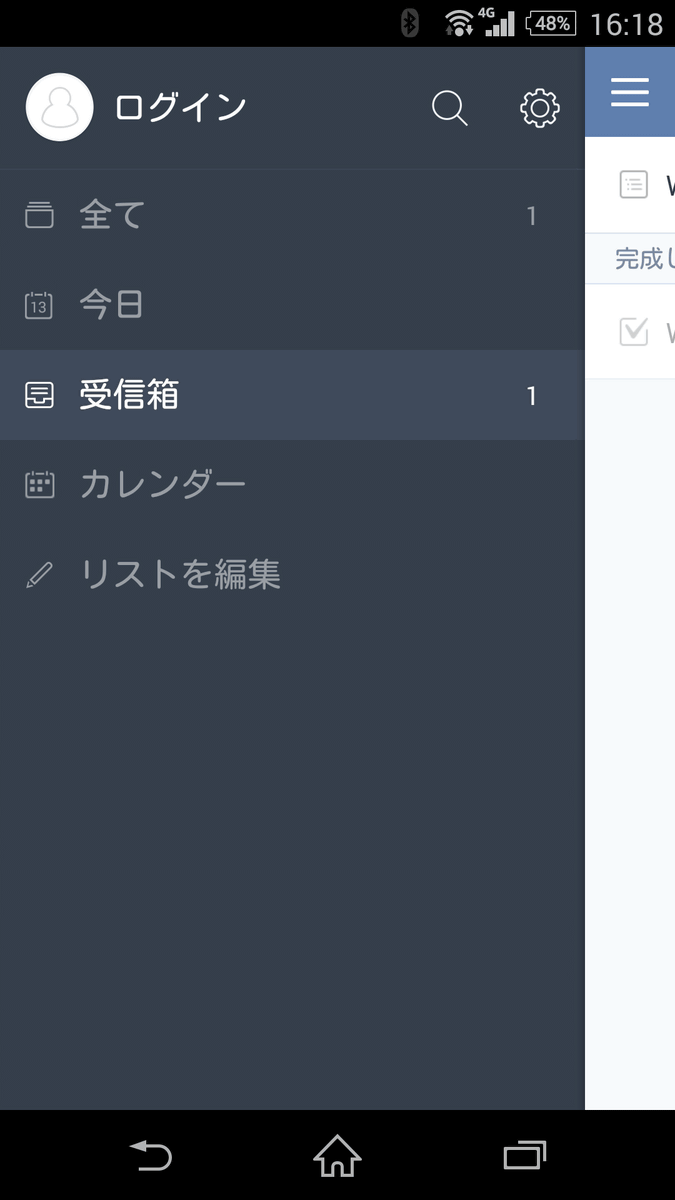
Then, when you tap the red frame part icon on the upper left of the screen, the menu will be displayed in the left half of the screen.
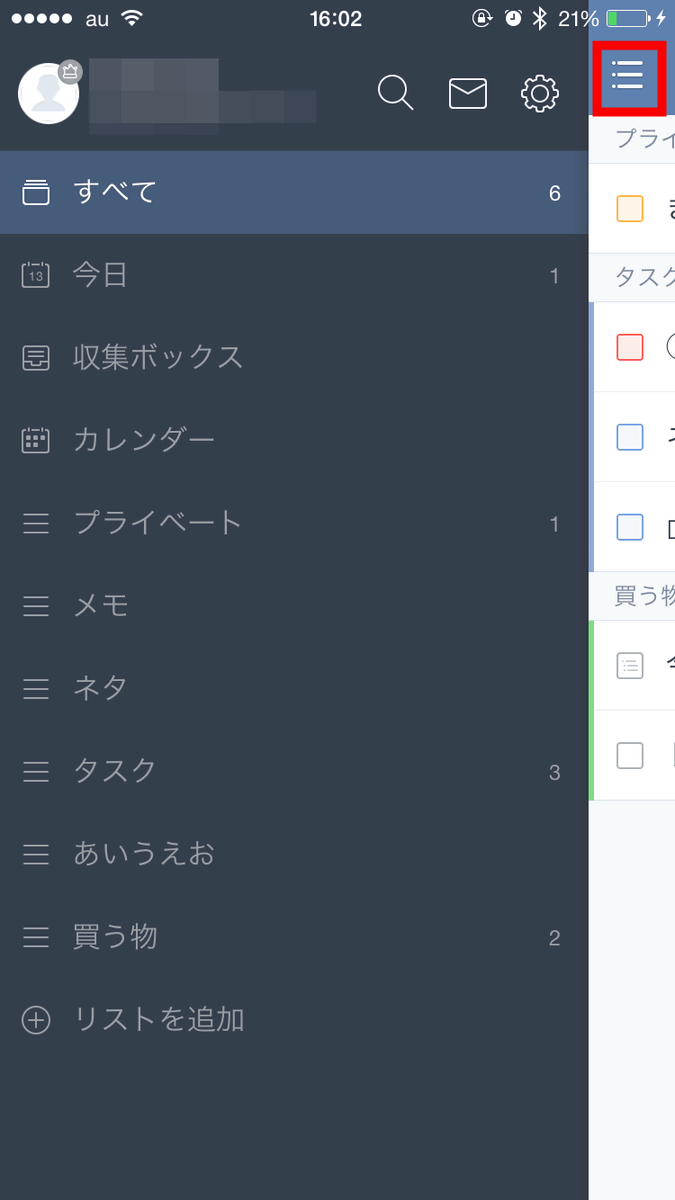
Below "Calendar", the list created by you is displayed, and this list can be edited or deleted by swiping to the left.
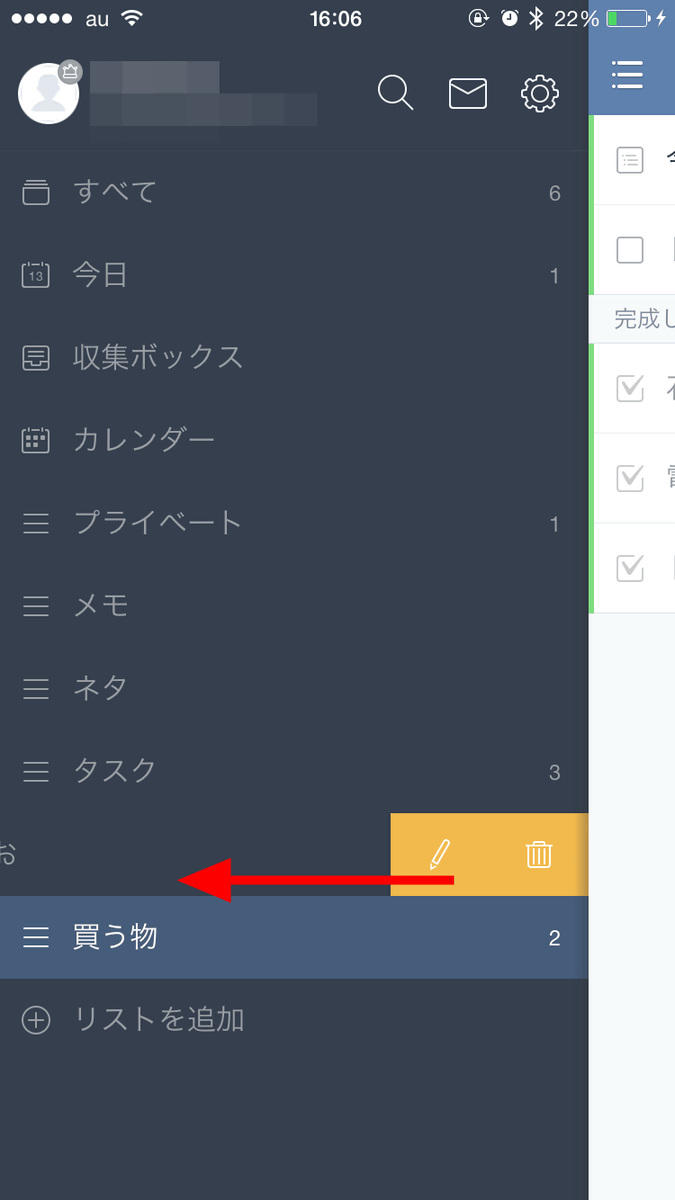
Tap the trash can icon and tap Delete to delete useless list.
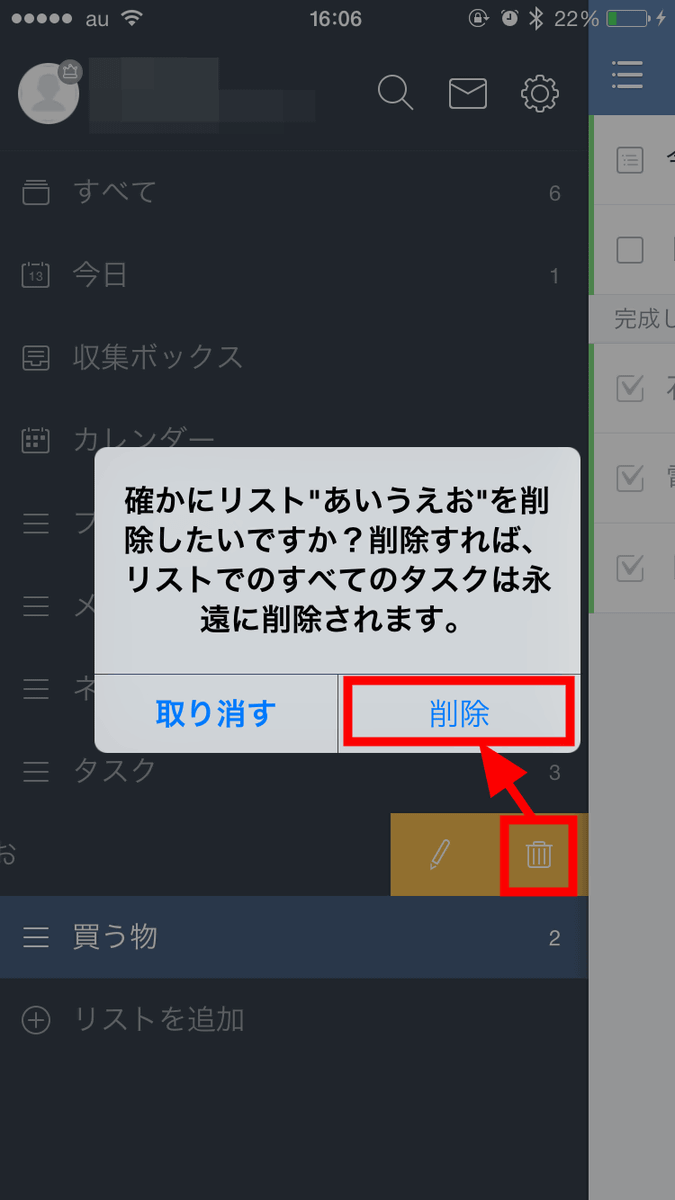
With this feeling my original list was refreshing.
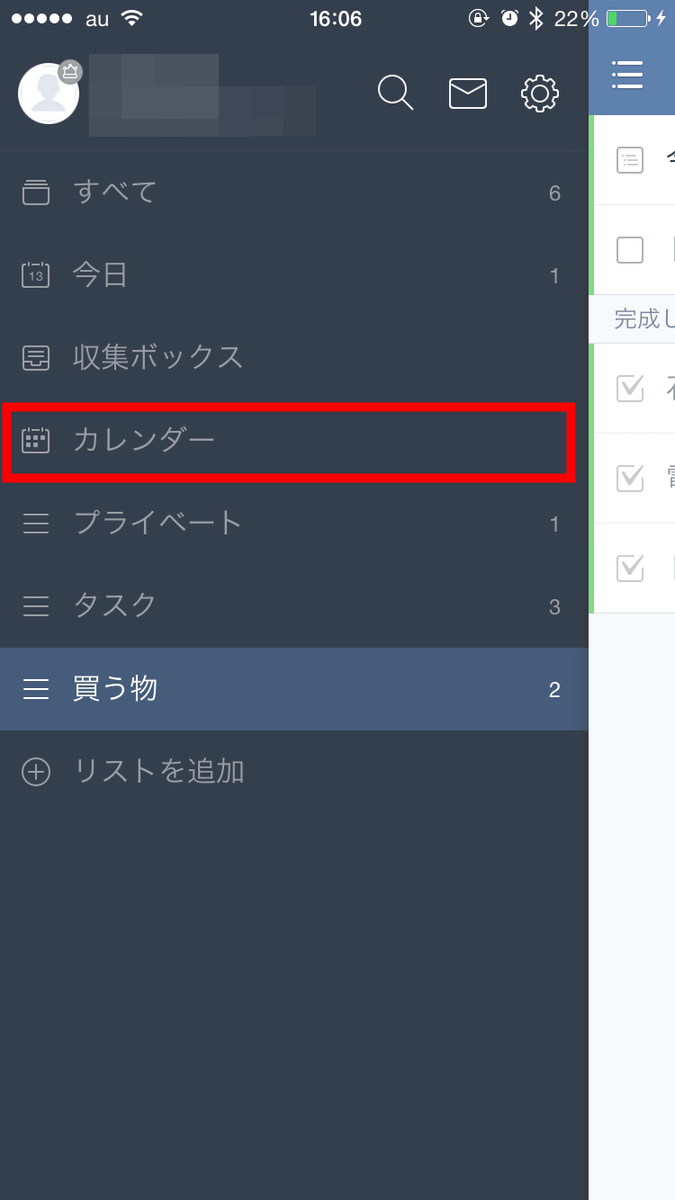
Tap "Calendar".
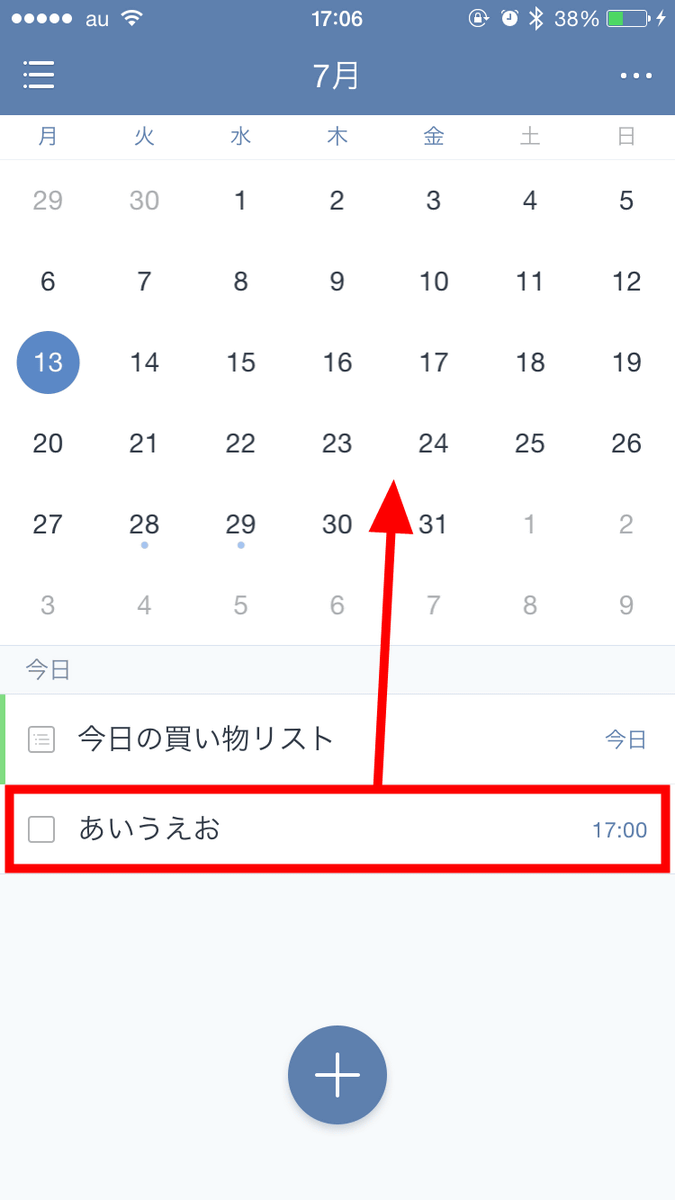
The task can be displayed on the calendar and managed. For example, if you want to change the deadline, tap it and move it to the calendar ...
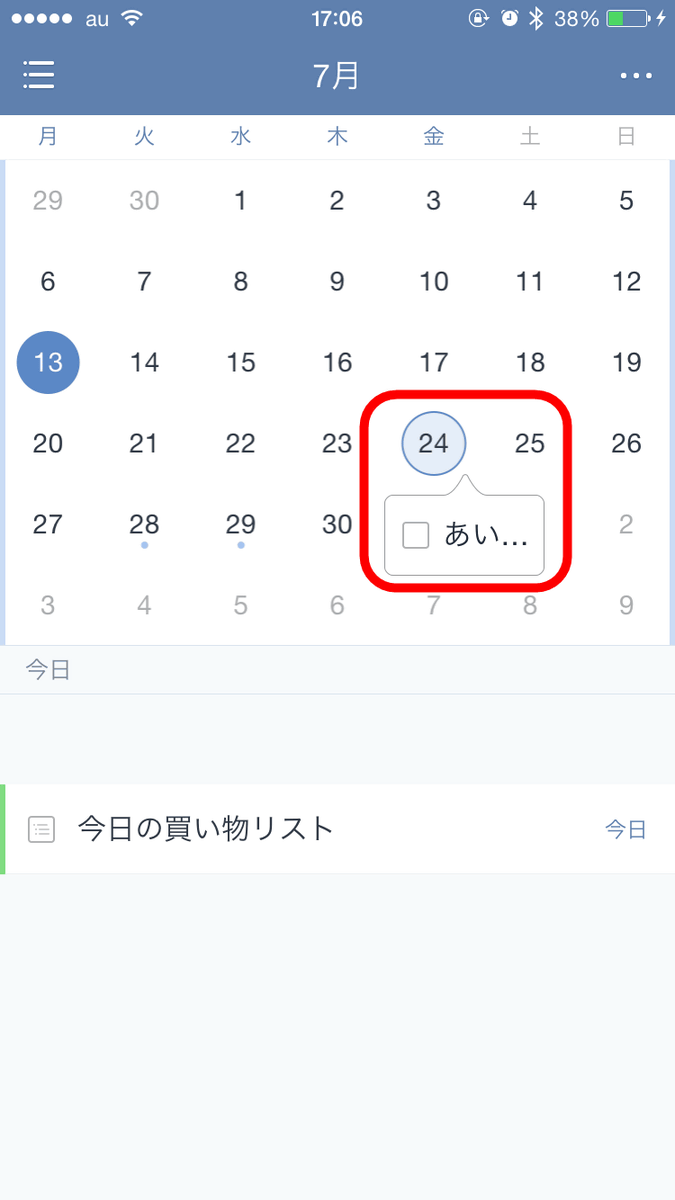
You can easily change the deadline in this way.
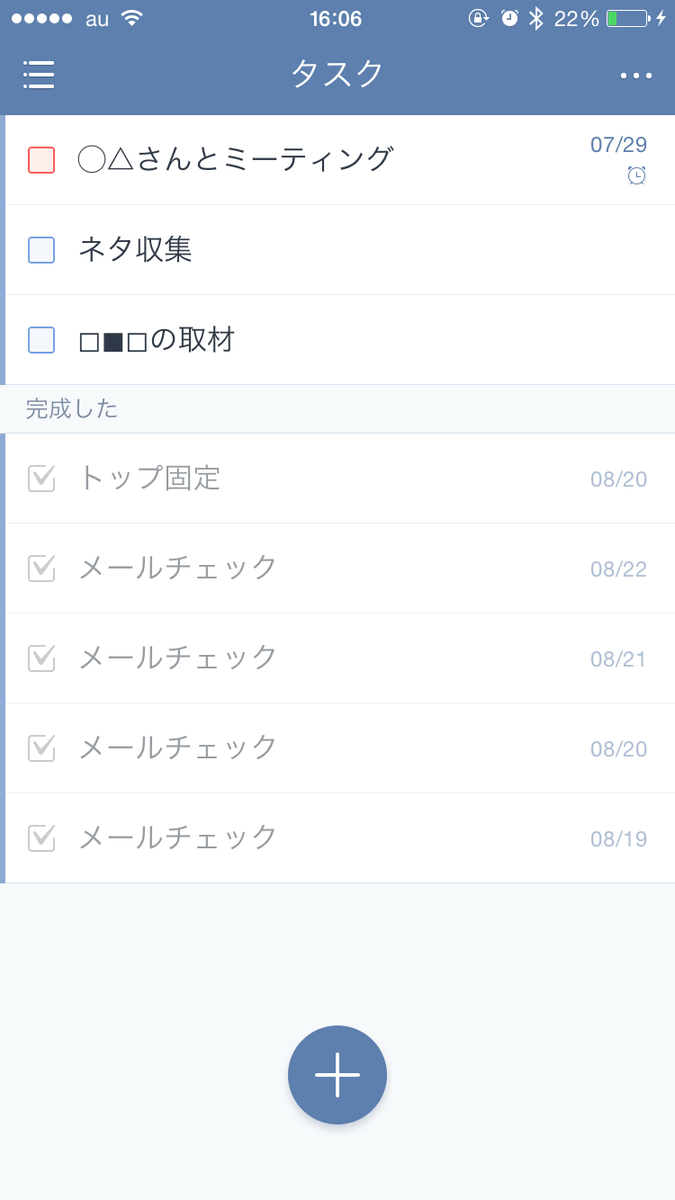
Tap on your own list ... ...
Only the tasks stored in the list are displayed.
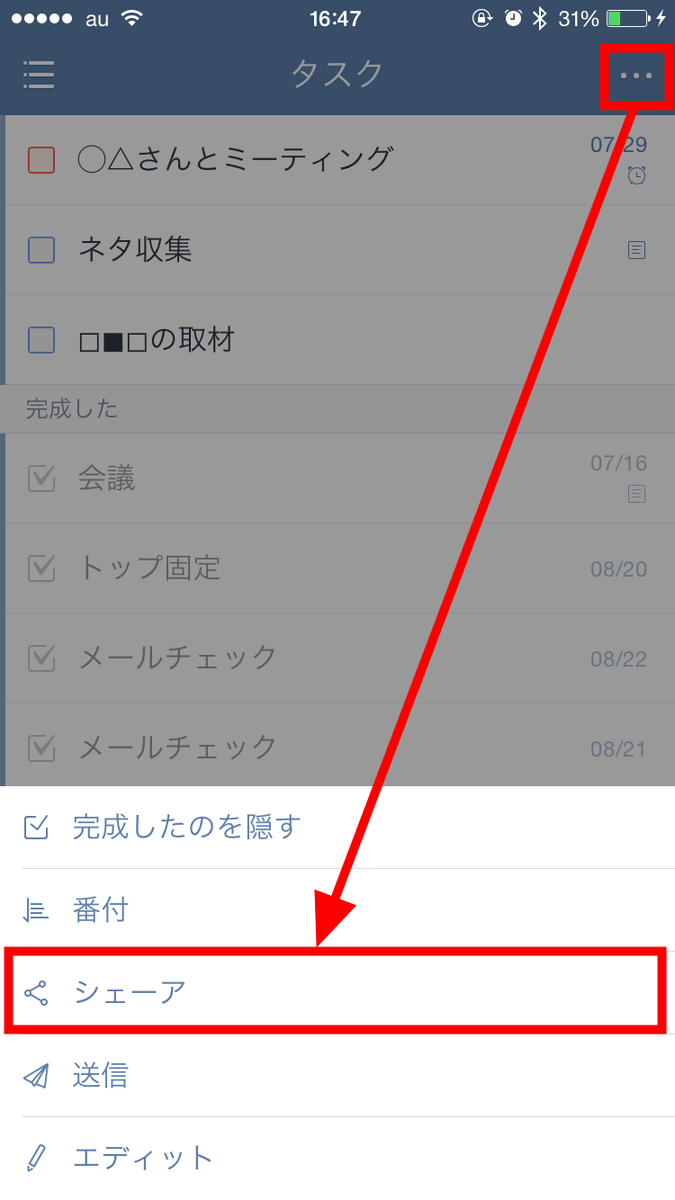
You can also share your own list with multiple people. If you want to share the list, tap "Shore".
Tap the icon at the top right of the screen.
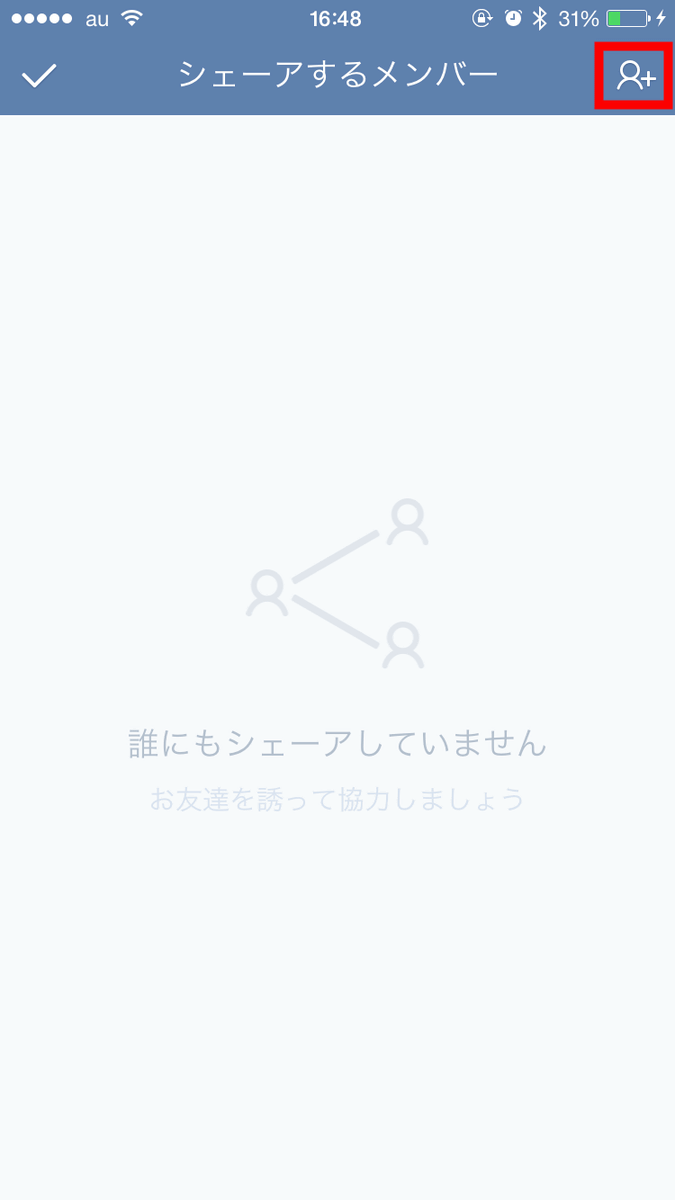
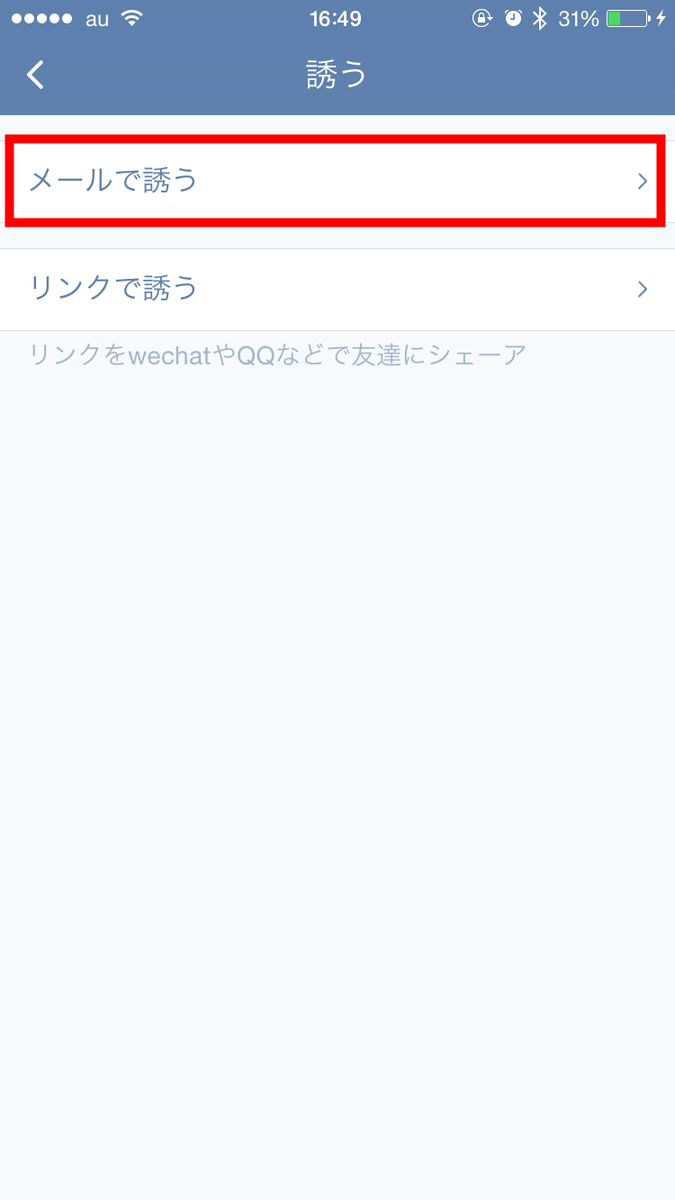
Tap "Invite by mail".
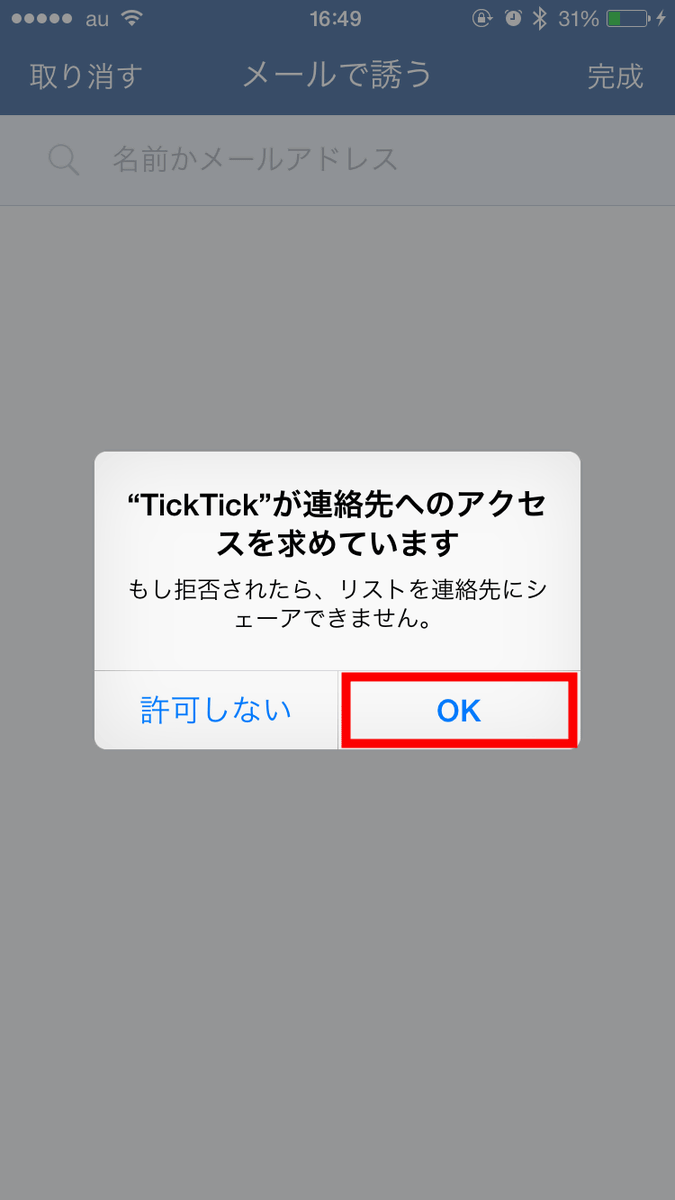
Tap "OK".
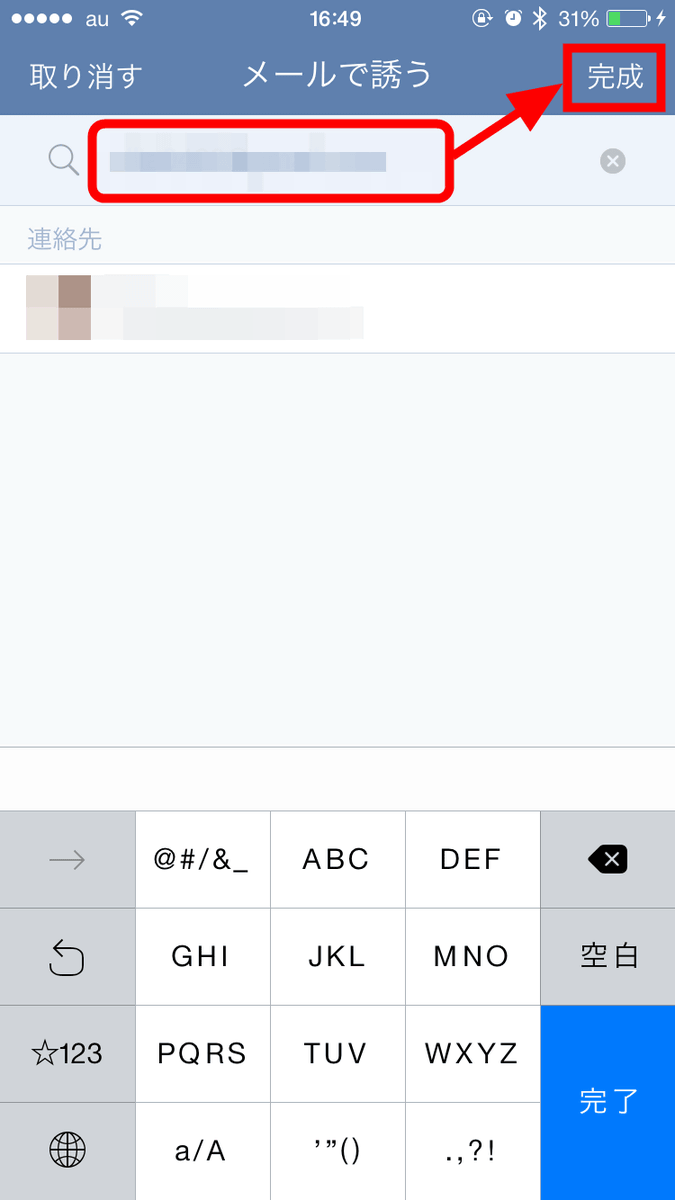
In the red frame part, enter the email address of the person you want to share the task and tap "Complete".
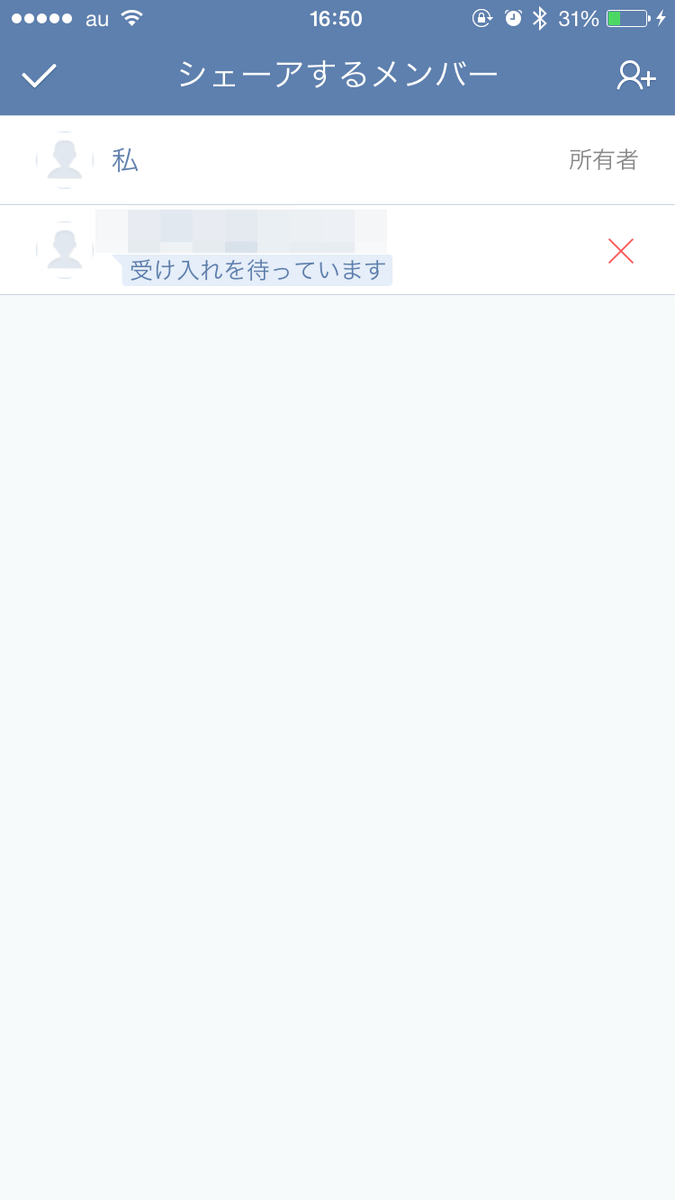
You are ready. If the solicited user holds the TickTick account and approves the list sharing, it will be able to manage the shared list jointly.
Then tap the magnifying glass icon ......
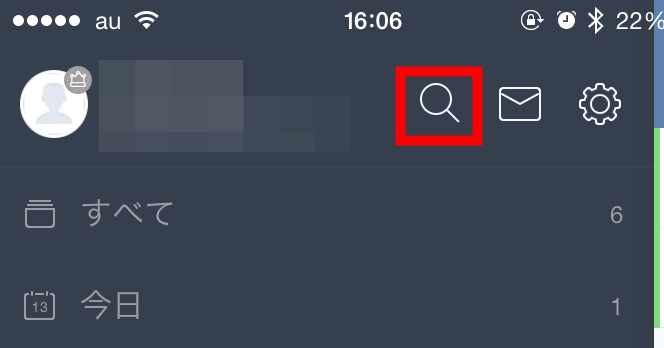
Task searchable text.

Tap the gear icon ......
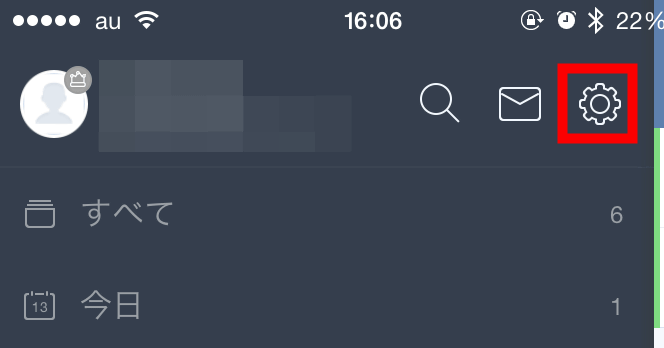
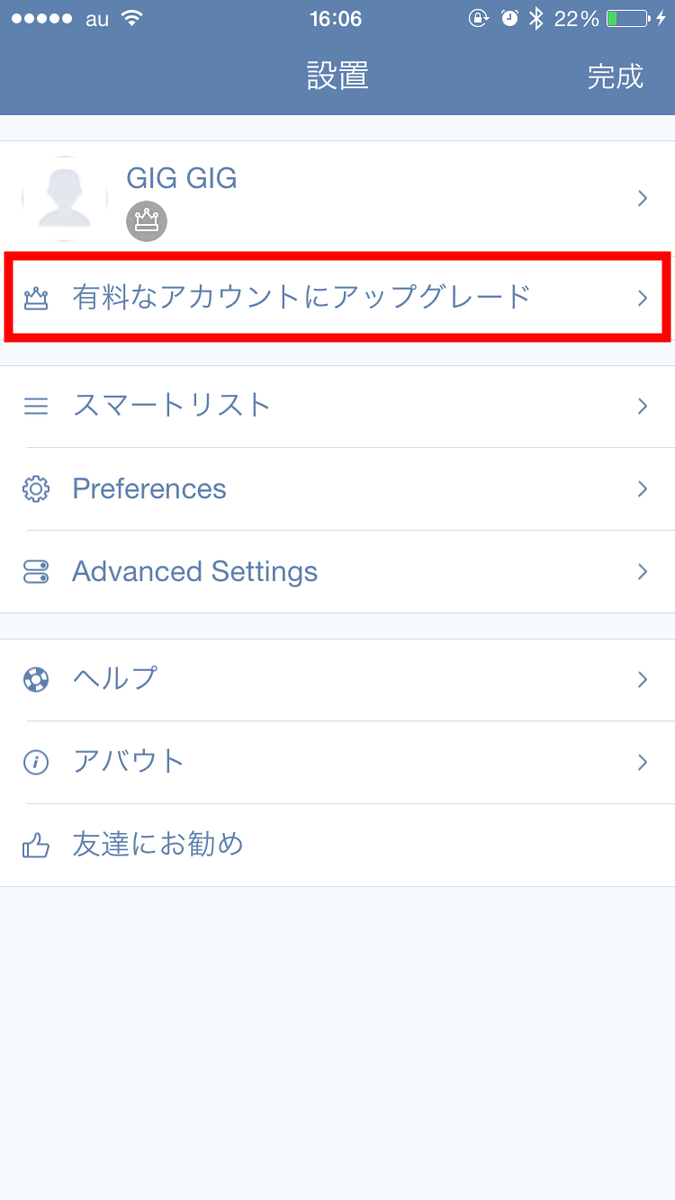
The setting screen will be displayed. However, in the application "Installation" was displayed. Tap the red frame part ......
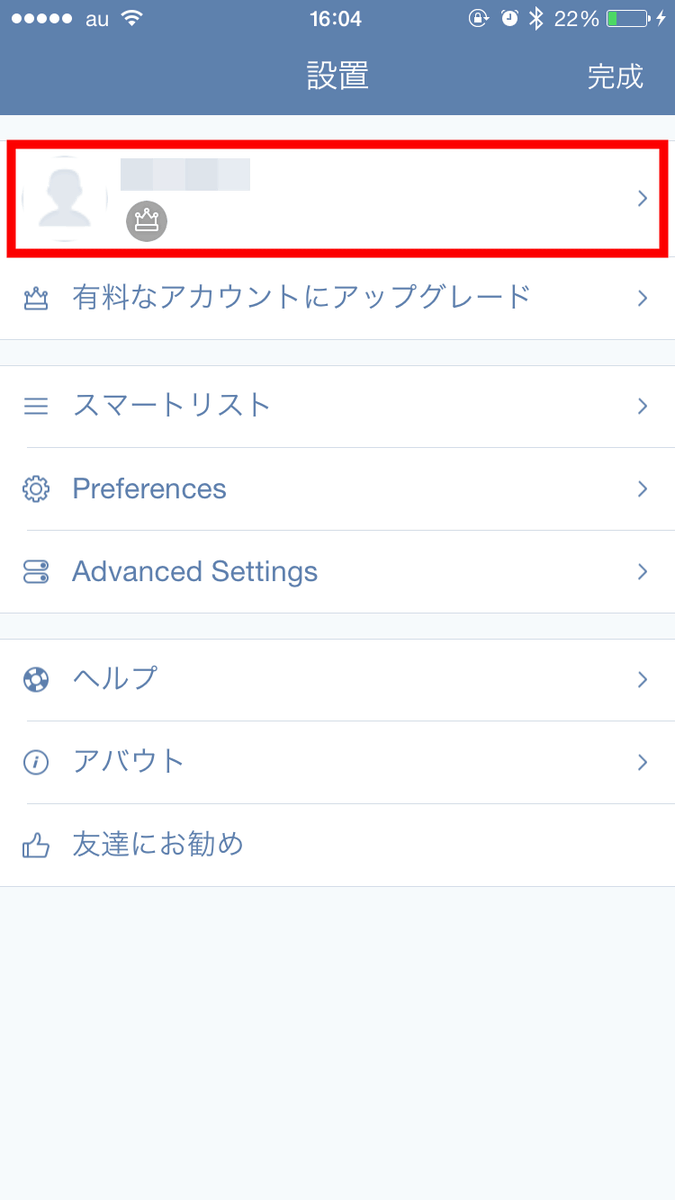
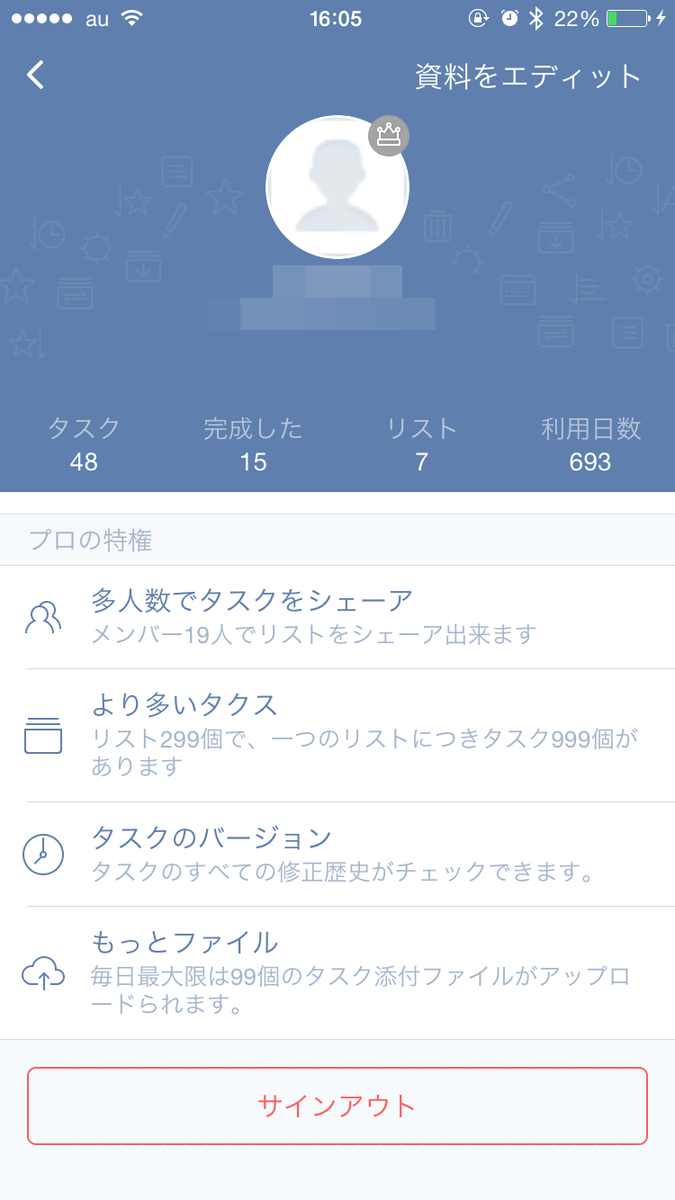
You can check how much tasks and lists you have created in the TickTick account so far.
TickTick is a service available for free, but you can upgrade to a paid version if you pay 240 yen each month. If you want to make the account paid version, tap "Upgrade to paid account".
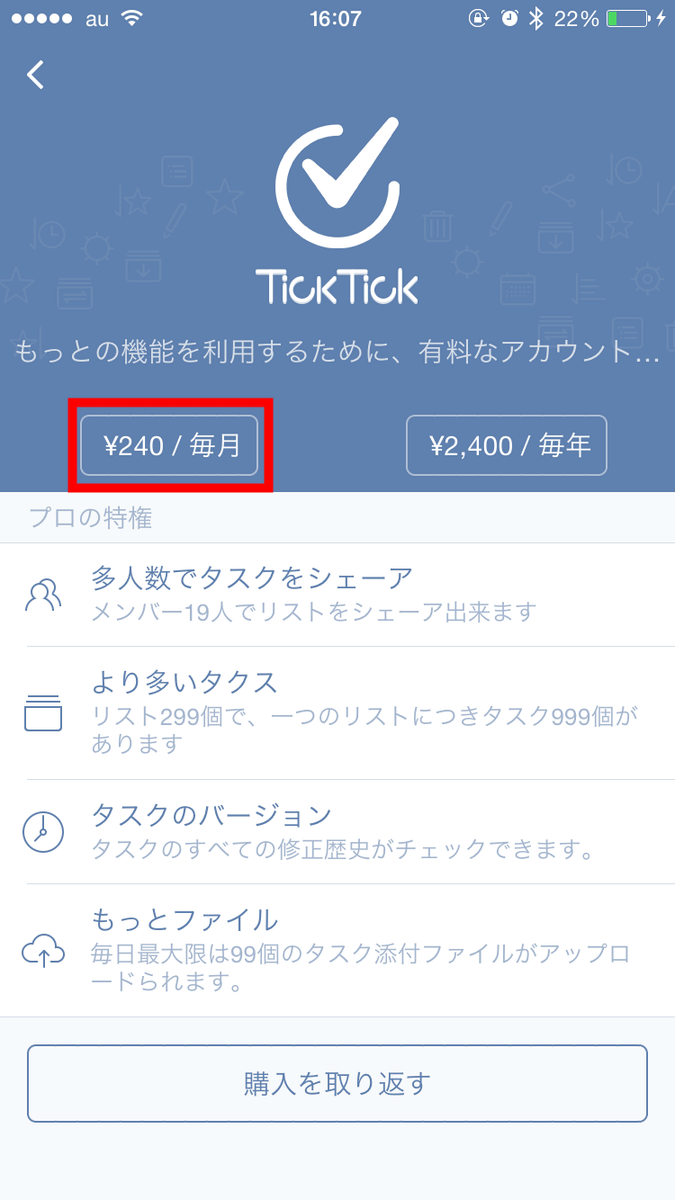
Then tap "¥ 240 / monthly" or "¥ 2400 / yearly".
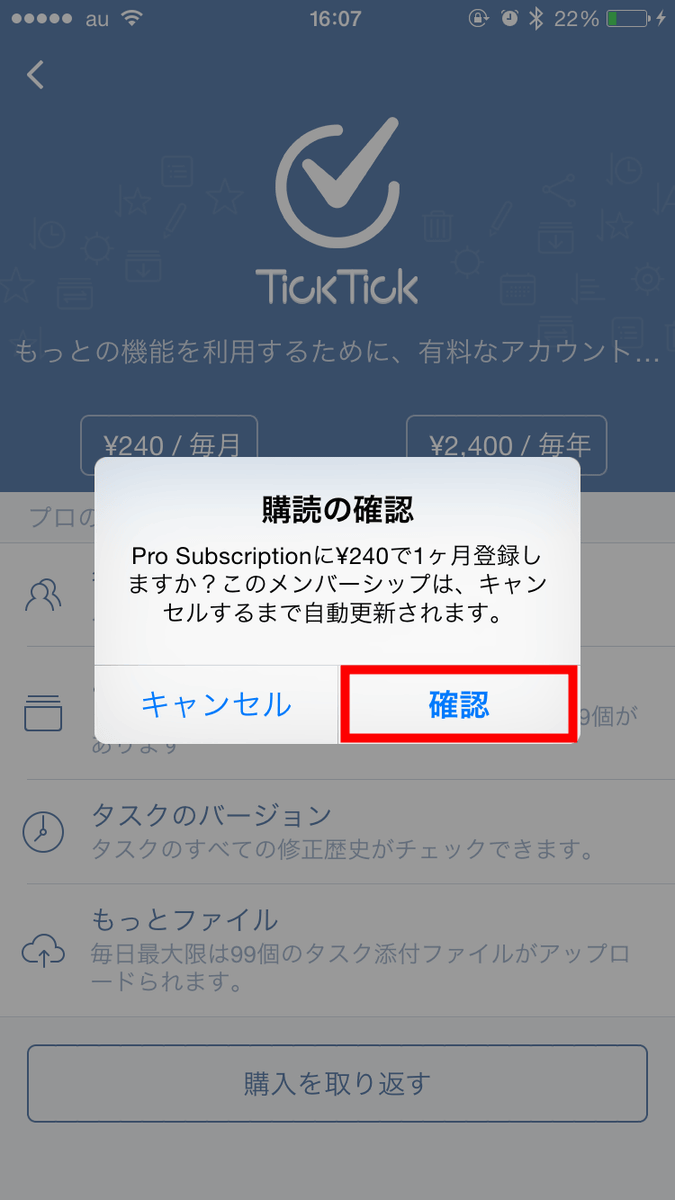
Tap "Confirm".
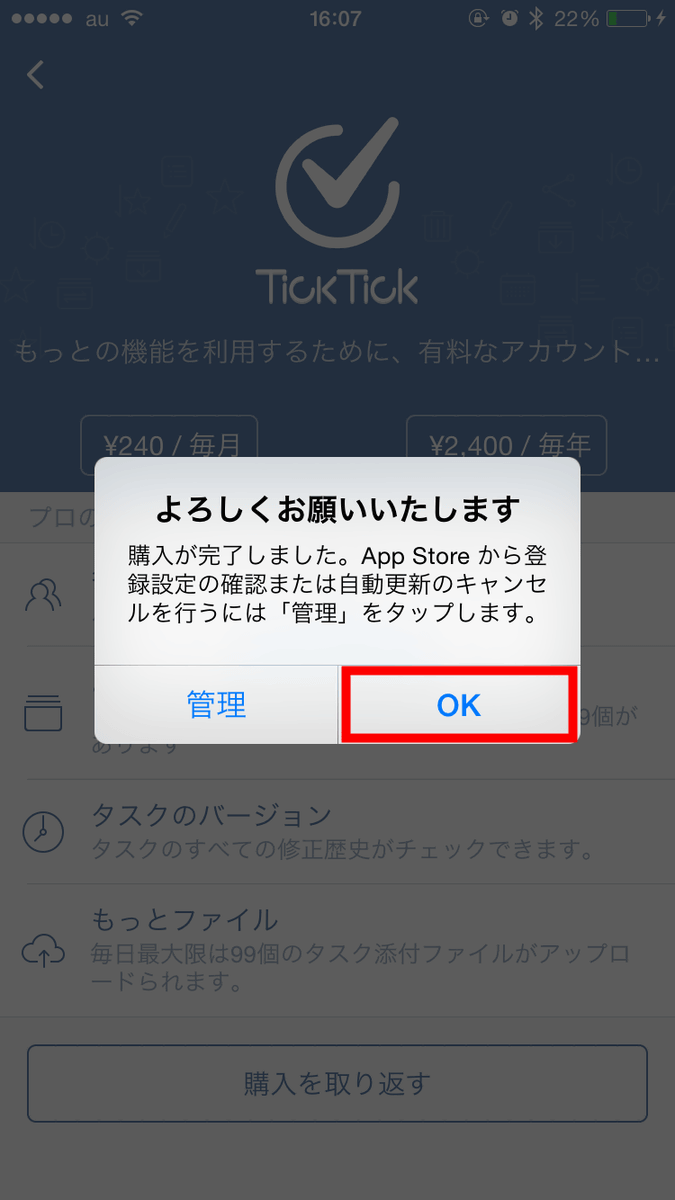
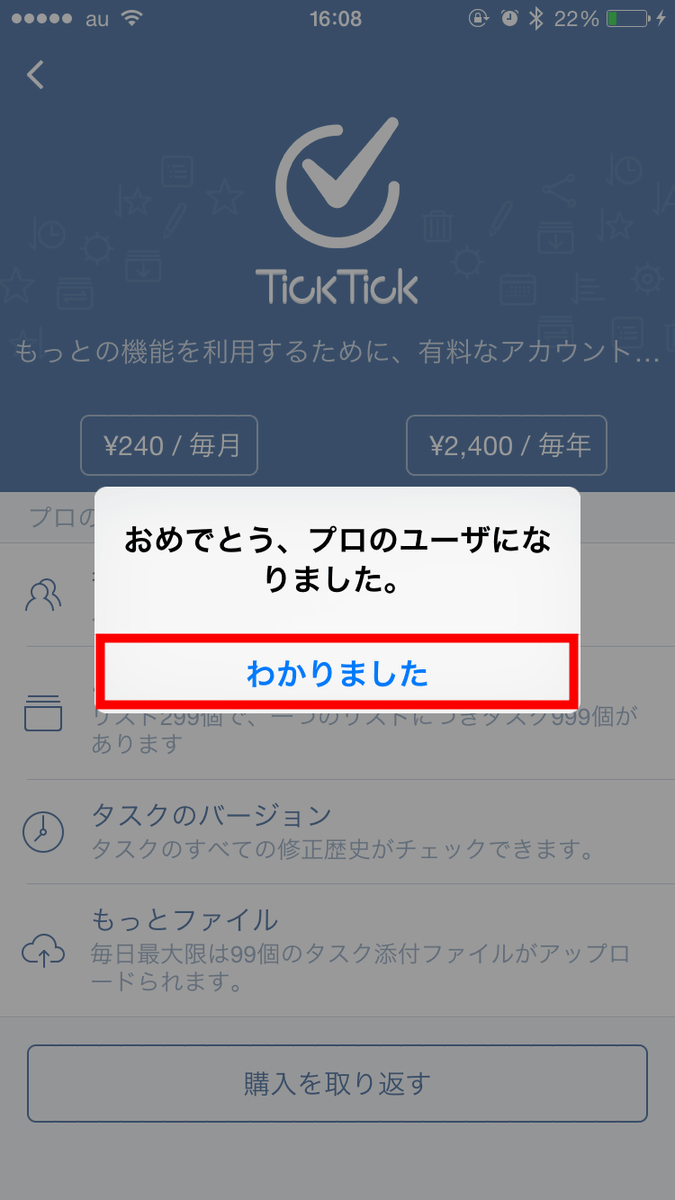
Tap "OK".
Tap "I understand". You can now use the paid version. In TickTick's free version, the number of lists that can be created is limited to 19, and the number of tasks that can be created in the list is limited to 99. However, the number of lists that can be created for a paid version is 299, the number of tasks Changed to 999 items, the number of people who can share the list also changed from 1 person to 19 people, the file size that can be uploaded is from 1 file (up to 5 MB) per day to 99 files (1 file up to 5 MB) per day In addition, you can use "Calendar View" from the PC browser, check the correction history of the task, use the trial function. The detailed difference between the detailed paid version and the free versionHereIt is possible to check from within 14 days after upgrading to a paid version.
When you upgrade to a paid version, the icon of the red frame changes to yellow. There are other items such as "Smart list", "Preferences" and "Advanced Settings" on the setting screen ......

"Smart list" allows you to change the list to display to your preference.

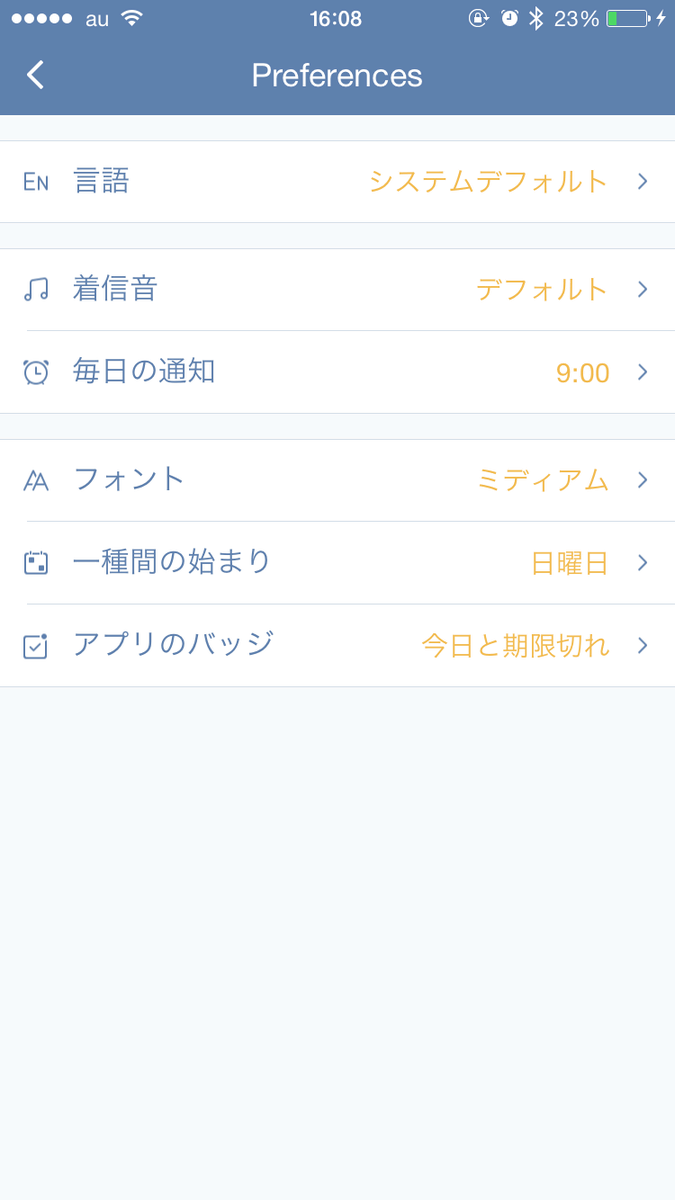
In "Preferences" you can change the language used, the ringtone at notification, the size of the font, the beginning of the week of the week, and so on.
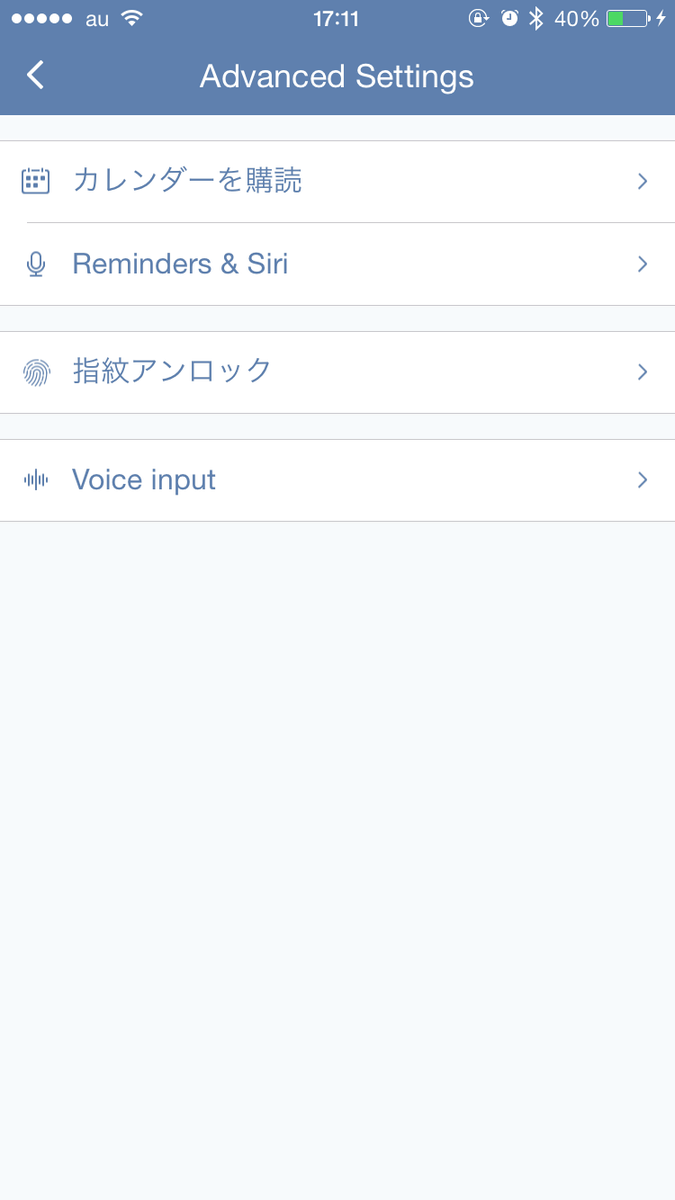
In "Advanced Settings", "Subscribe to Calendar (Synchronize calendar app schedule of iPhone with TickTick)" "Reminders & Siri (Schedule registered from Siri is automatically added to TickTick application)" Fingerprint unlock (unlock with fingerprint when TickTick is launched) "and" Voice input (setting related to voice input) "can be set.
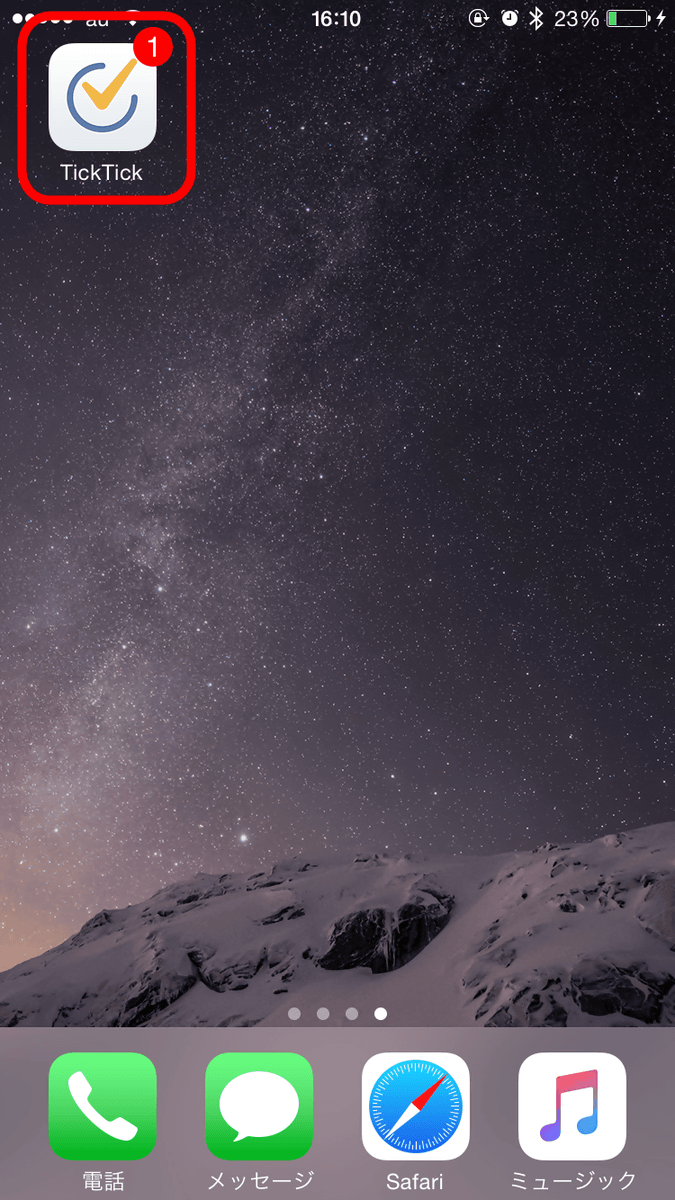
If there are remaining tasks to be done, the number of tasks left unattended is displayed on the TickTick application icon on the home screen with numerals.
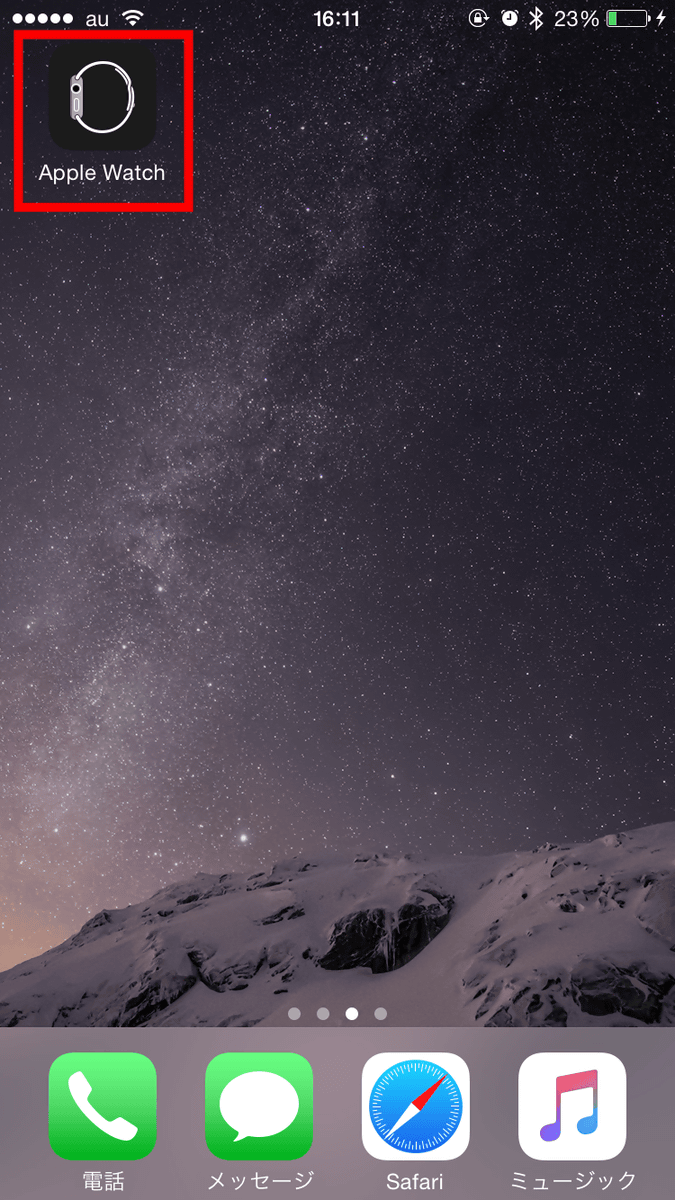
◆ Use TickTick with Apple Watch
When using TickTick with Apple Watch, first tap "Apple Watch" application of iPhone paired with Apple Watch.
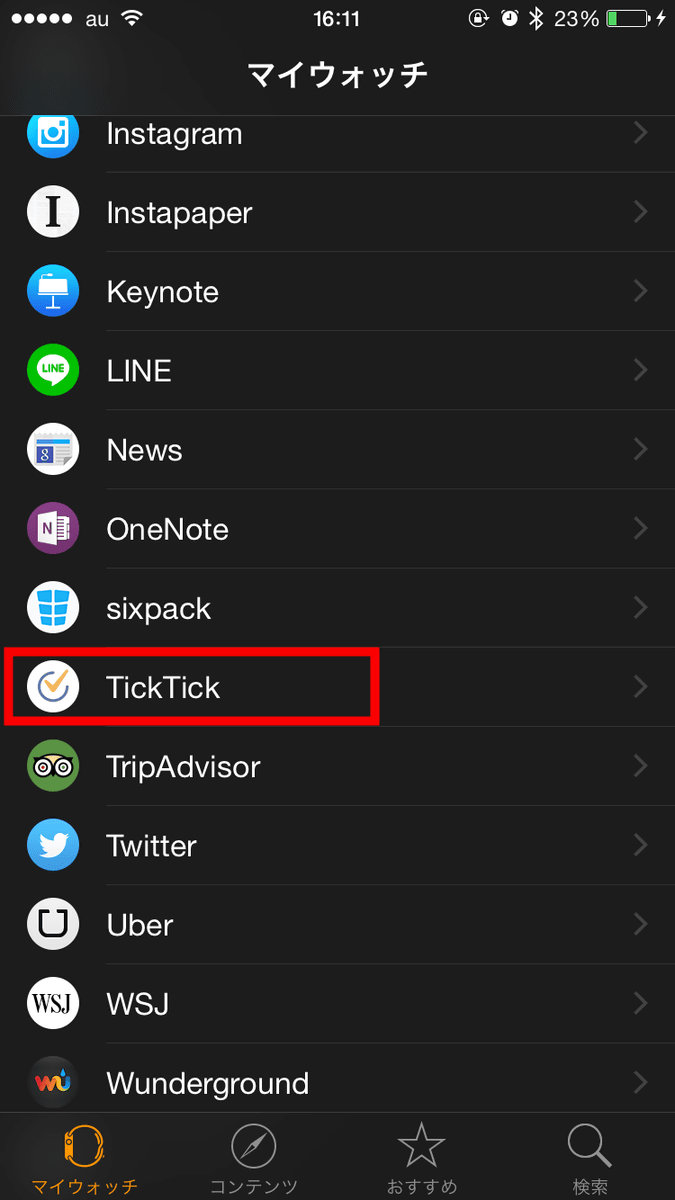
Then tap "TickTick" from "My Watch".
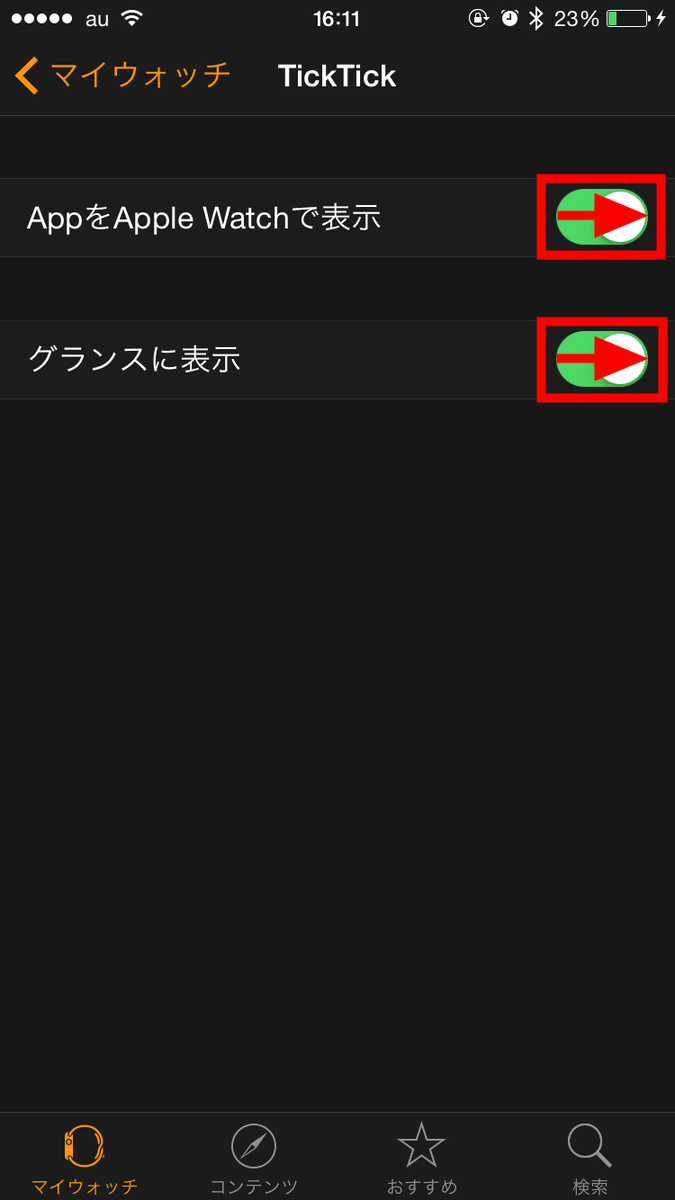
Tap "App Watch Apple Watch" and "Show on Glance" and change it to green.
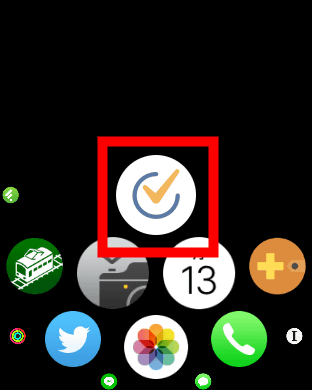
Then, "TickTick" will be displayed in Apple Watch's application, so tap this.
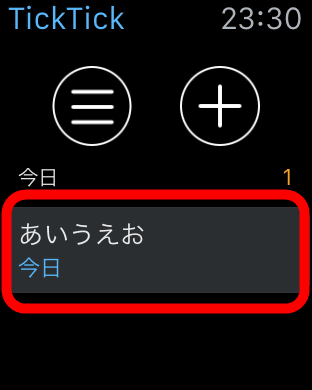
When TickTick is displayed with Apple Watch, it looks like this. Tap the red frame part icon.
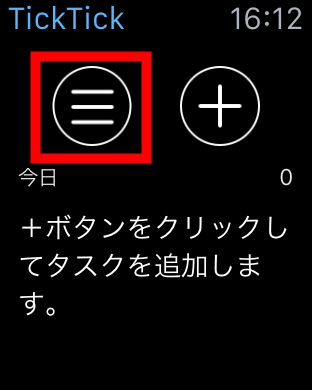
Then "Today" "Recent 7 days" "All" "Collection box" is displayed. The number at the right end of each display is the number of the corresponding task, and it seems that there is no applicable task except "All", so tap "All".

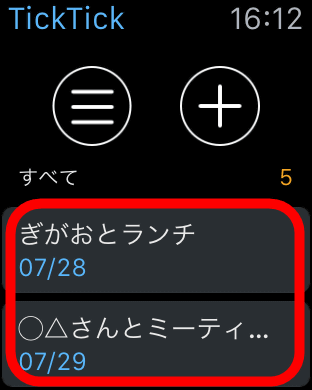
Then the task is displayed in the red frame part like this.
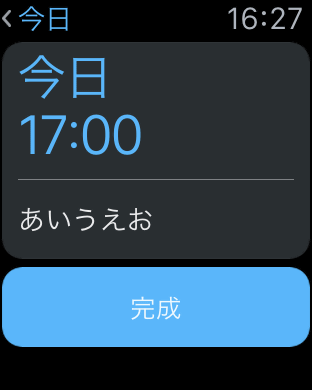
When you tap the task, the deadline and "completion" button will be displayed like this. By tapping "Completion", the task is completed.
Also, tap "+" ...
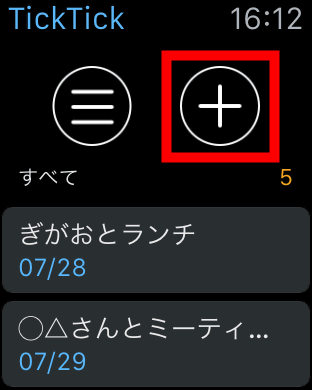
Task can be input by voice recognition.

It is like this when you add it.
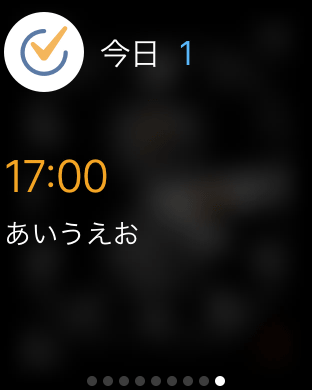
Also swipe up the watch screen of Apple Watch up.
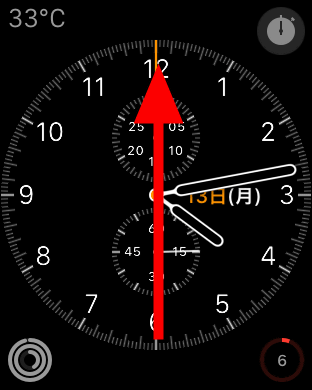
The glance is displayed. TickTick on the glance screen will only display tasks that should be done "today" with this feeling.
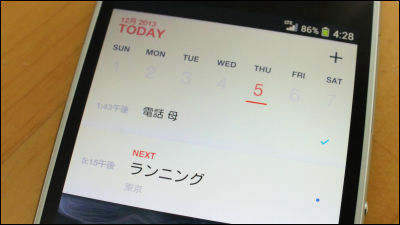
◆ TickTick with Android application
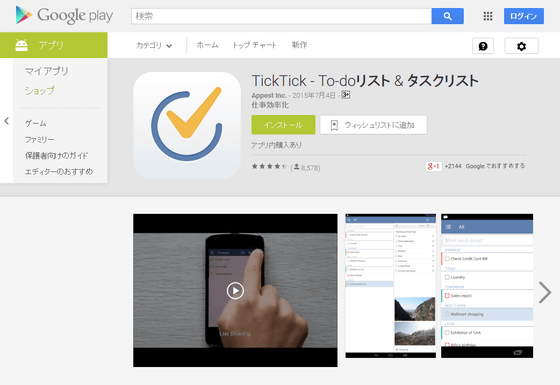
Next, try using TickTick from the Android application. TickTick's Android application can be installed free from Google Play.
TickTick - To-do list & task list - Android application on Google Play
The application start screen looks something like this. It differs from the iOS application only in that the "+" icon used to create a new task is on the lower right of the screen.

On the task details screen, the part that was written as "no date" for iOS application changes to "deadline".
The calendar display for determining the deadline for the task is the same.
This is the menu that adds images and location information to tasks.
The menu screen displayed on the left of the screen does not change either.
Since UI and operation method are almost the same as iOS application, people who use iOS application and Android application should also be able to use it without any discomfort.
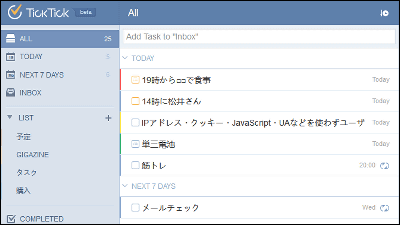
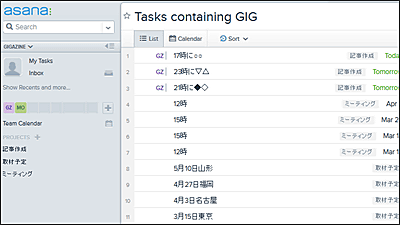
◆ TickTick from PC Browser
You can also use TickTick from the PC browser.
TickTick: Todo list, checklist and task manager app for Android, iPhone and Web
First, access the above link and click "Sign in" at the upper right of the screen.
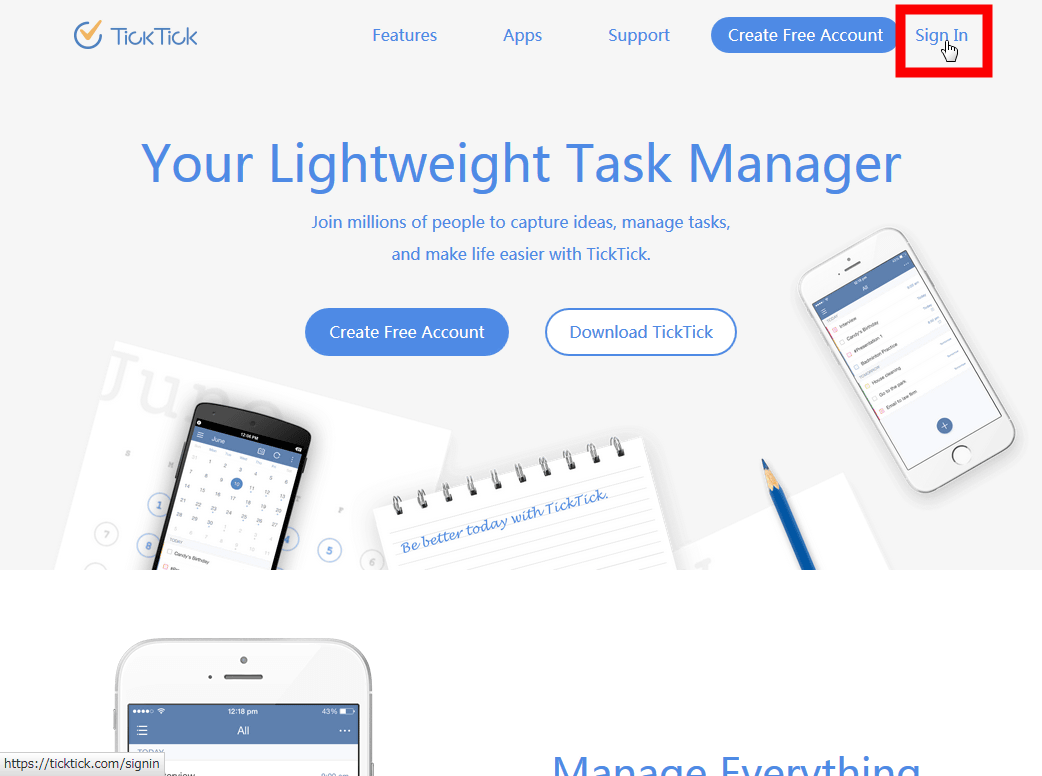
Click the red frame icon.

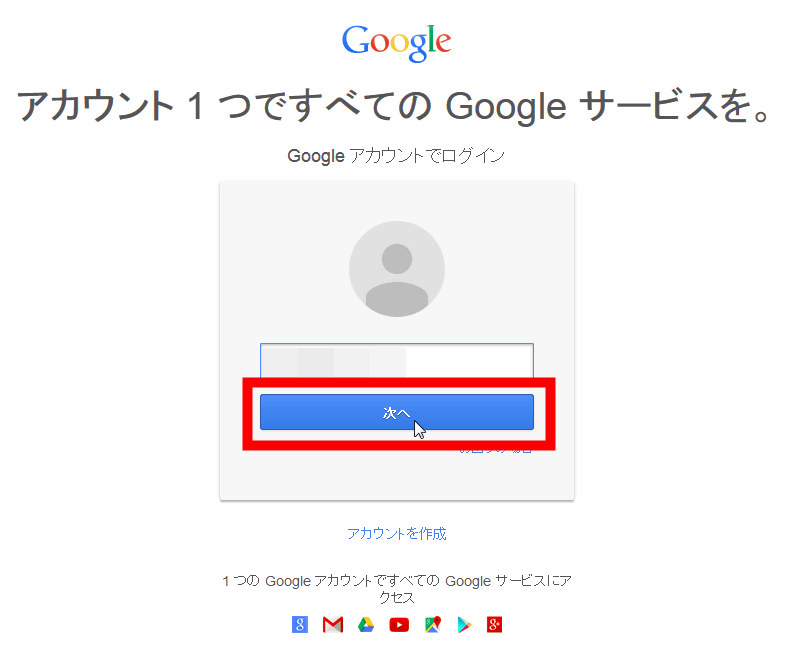
Enter the email address of the Google Account you just entered and click "Next".
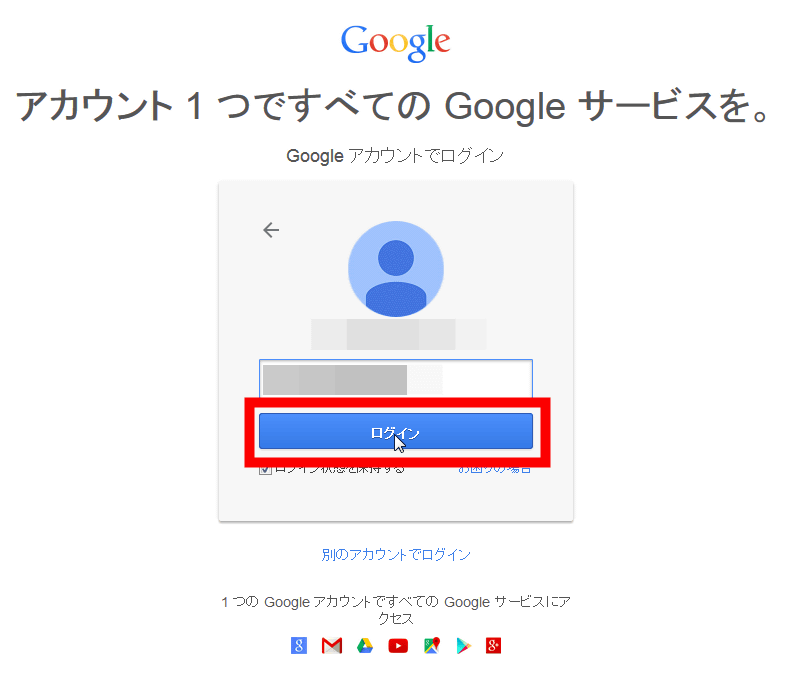
Please enter login password and click "Login".
Click "Approve".
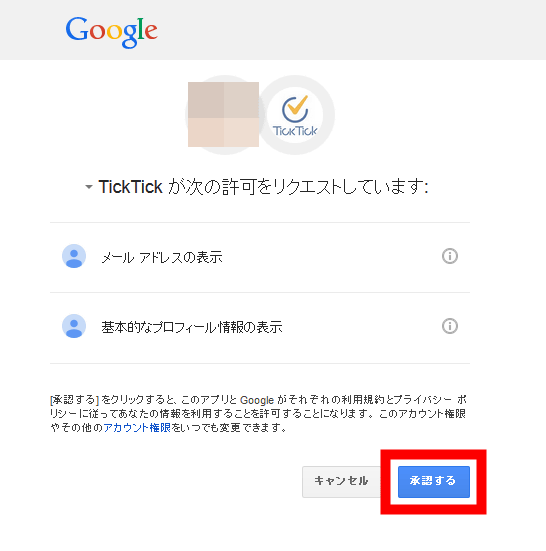
I succeeded in logging in to TickTick with this.
When adding a task with the browser version of TickTick, enter the task in the red frame part.
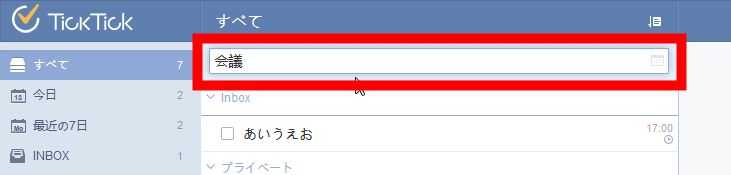
When added, the task added to the right of the screen is displayed as shown below, and it is made possible to describe the details of the task in the part written as "What will you do?" In the red frame part.
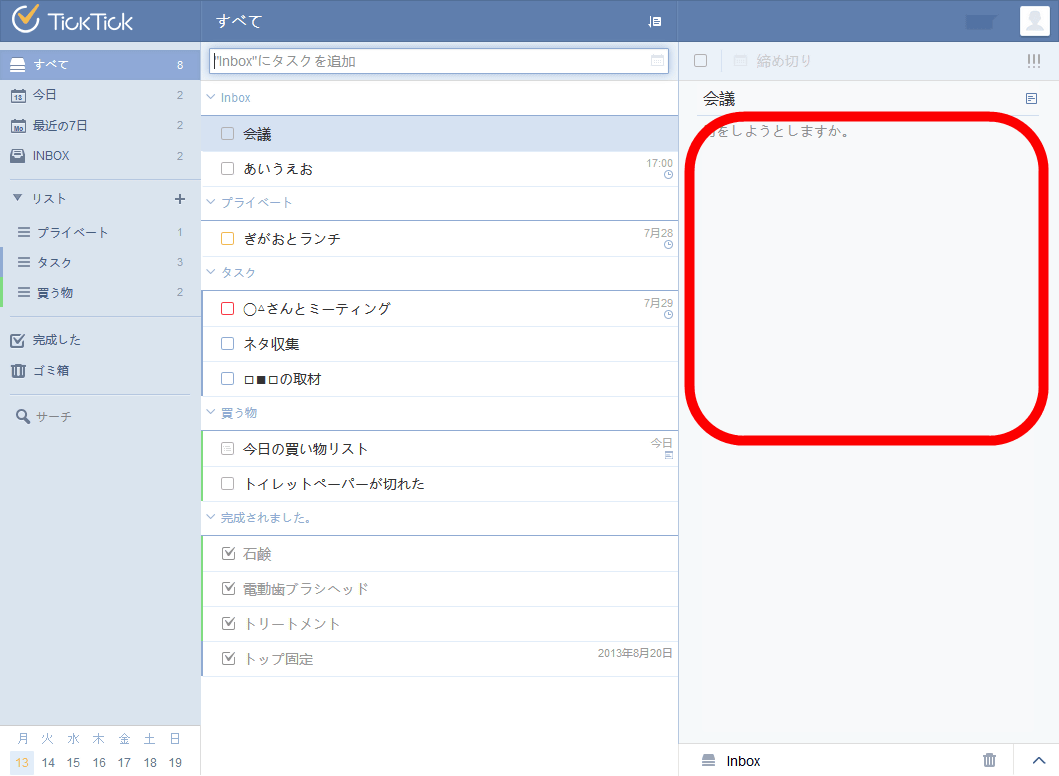
That's why I entered details like this.
By clicking the red frame part you can set the deadline and reminder of the task.
You can set the task priority by clicking the three lines on the upper right of the screen.

By clicking the cave icon at the bottom right of the screen, you can sort the tasks into a list.
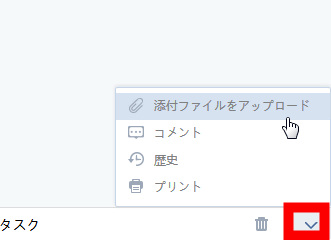
Then click on the icon next to the trash can icon to attach a file to the details of the task, add a comment, see the correction history of the task, print the task on the printer.
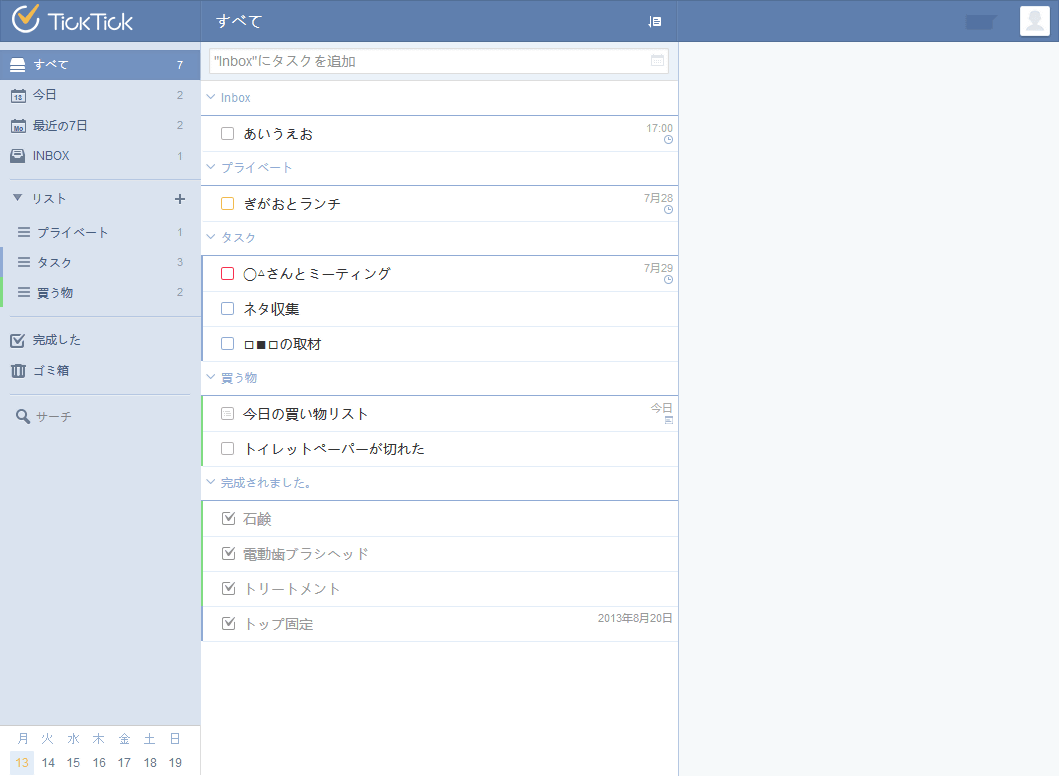
The added task is displayed in the list "task" ... ...
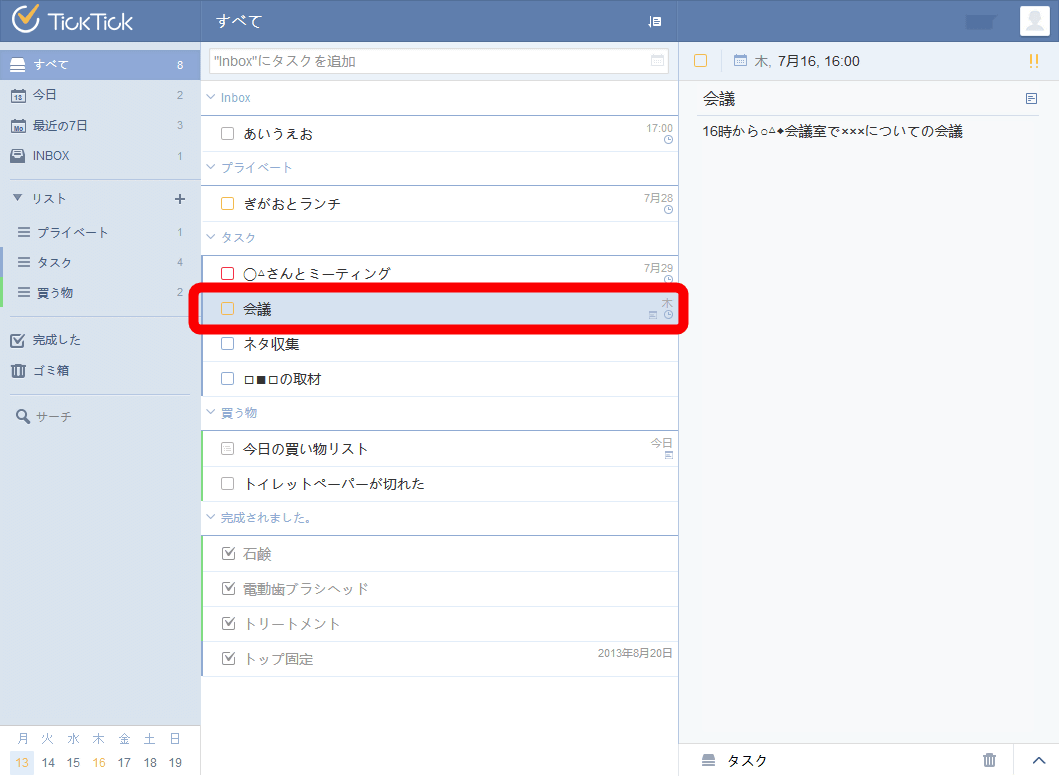
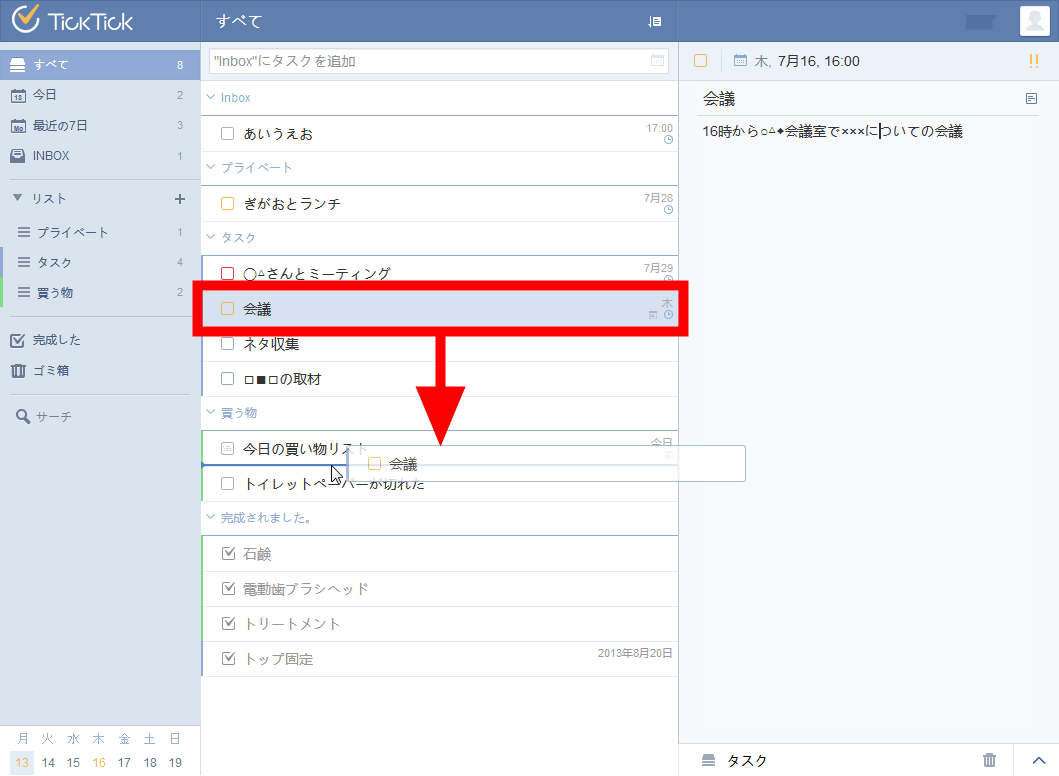
You can easily move between lists by dragging and dropping.
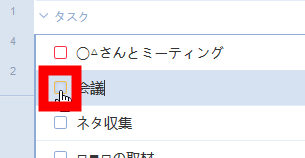
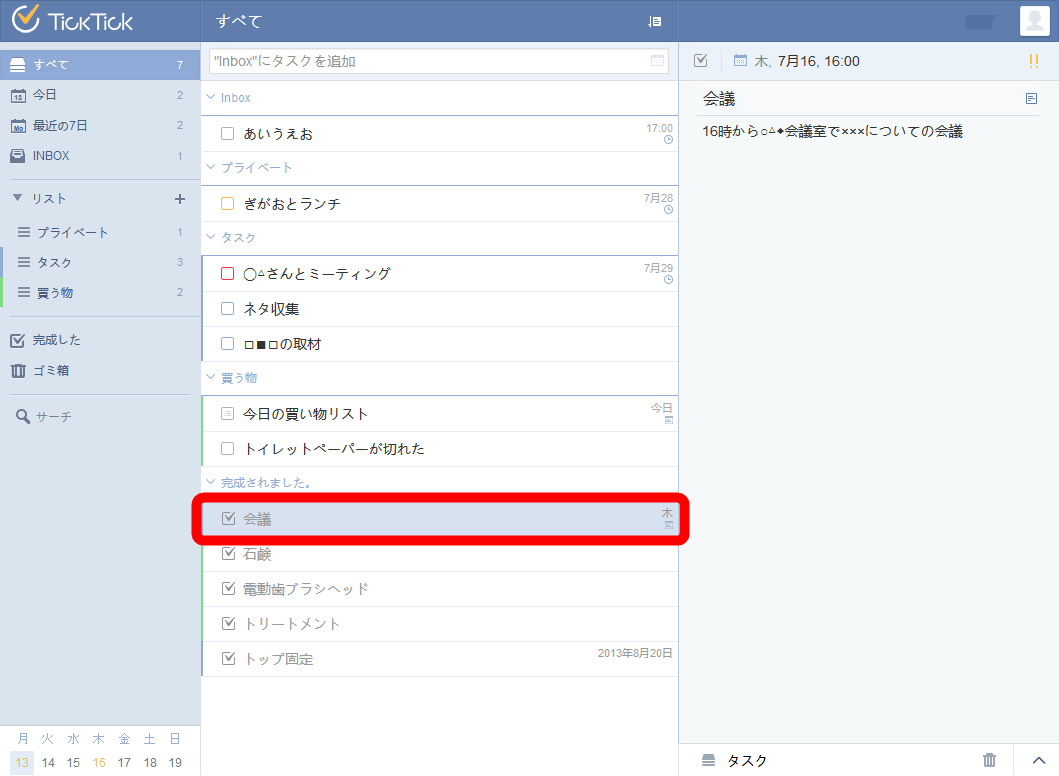
Click the checkbox next to the task name for the completed task.
Then it will be stacked in a completed task called "completed."
Clicking the red frame part at the bottom left of the screen ... ...
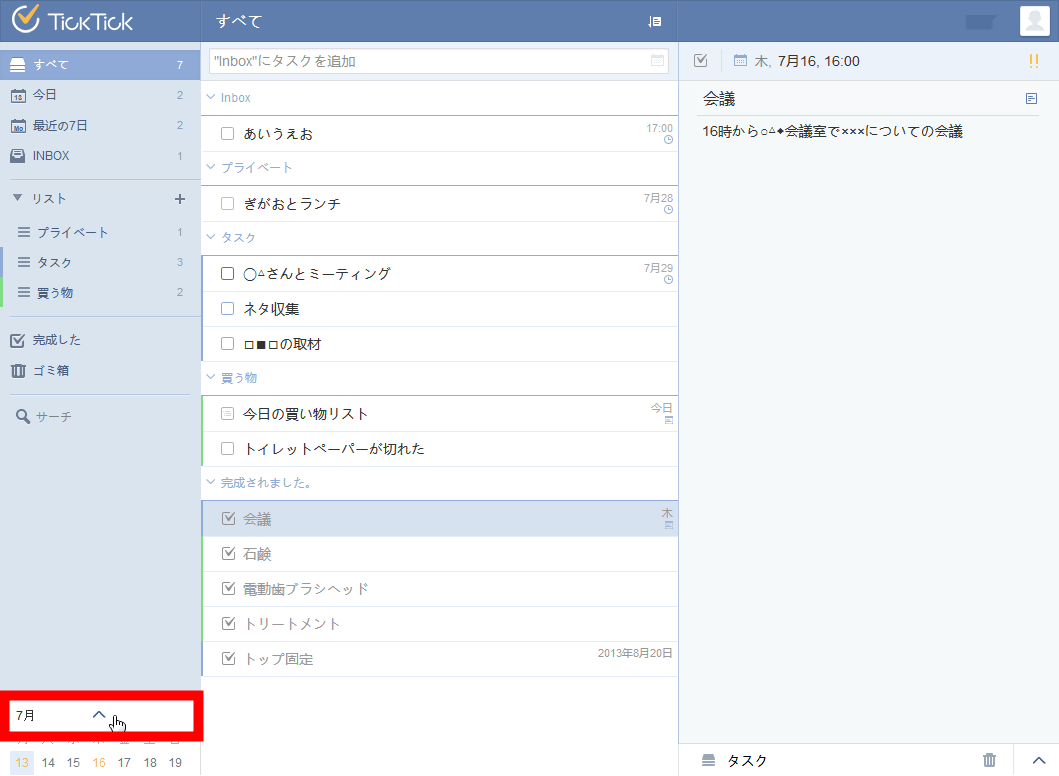
The calendar is displayed. This is a function that can not be used unless it is a paid version account.
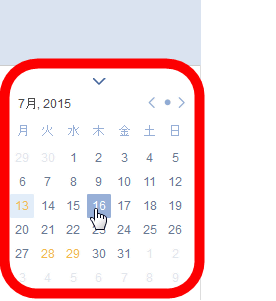
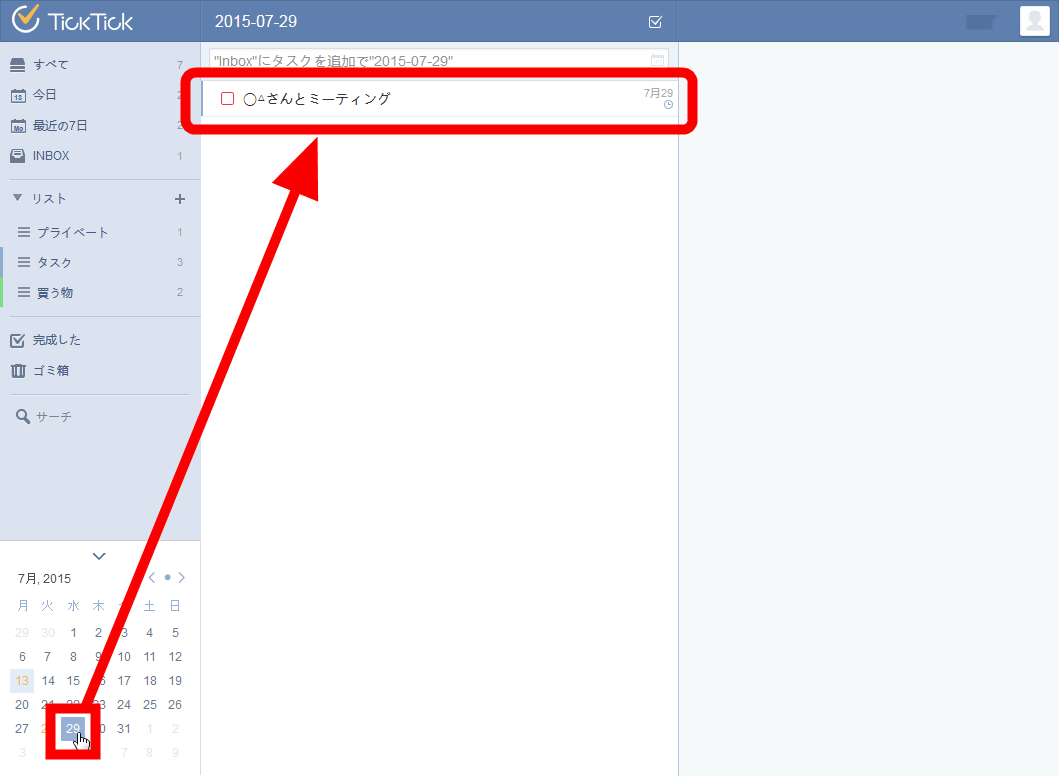
When you click the date, the task whose due date is due will be displayed.
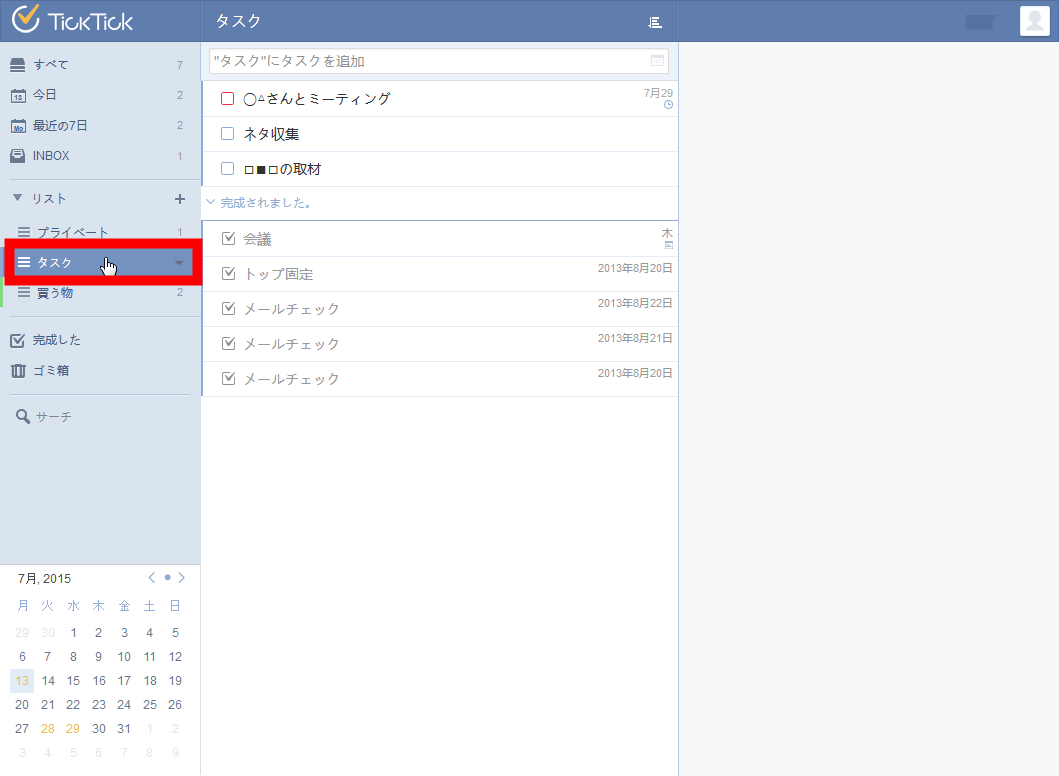
By clicking on your own list you can see the tasks in the list like this.
Furthermore, clicking the triangle icon next to the list and clicking "Shore" ... ...
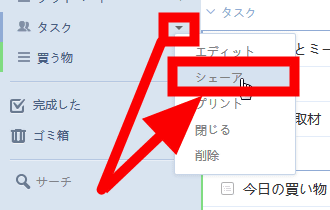
Share list possible. The free version can share the list with only one account, but the paid version can share the list with 19 accounts.

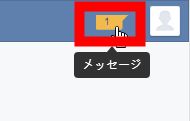
If you are invited to share the list, the message in the upper right of the screen will be orange.
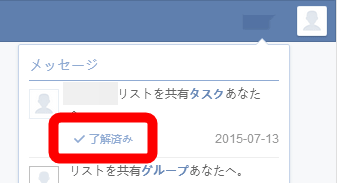
Since the invitation of the shared task has come here, click "receive".

And if it becomes "OK" it will be able to share the task list.
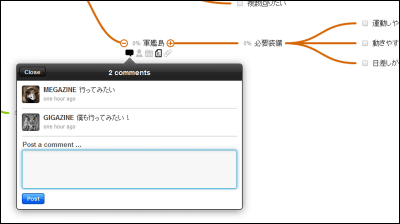
If you share tasks with more than one person, you can complement the parts not in the memo of the task with comments like the image below.

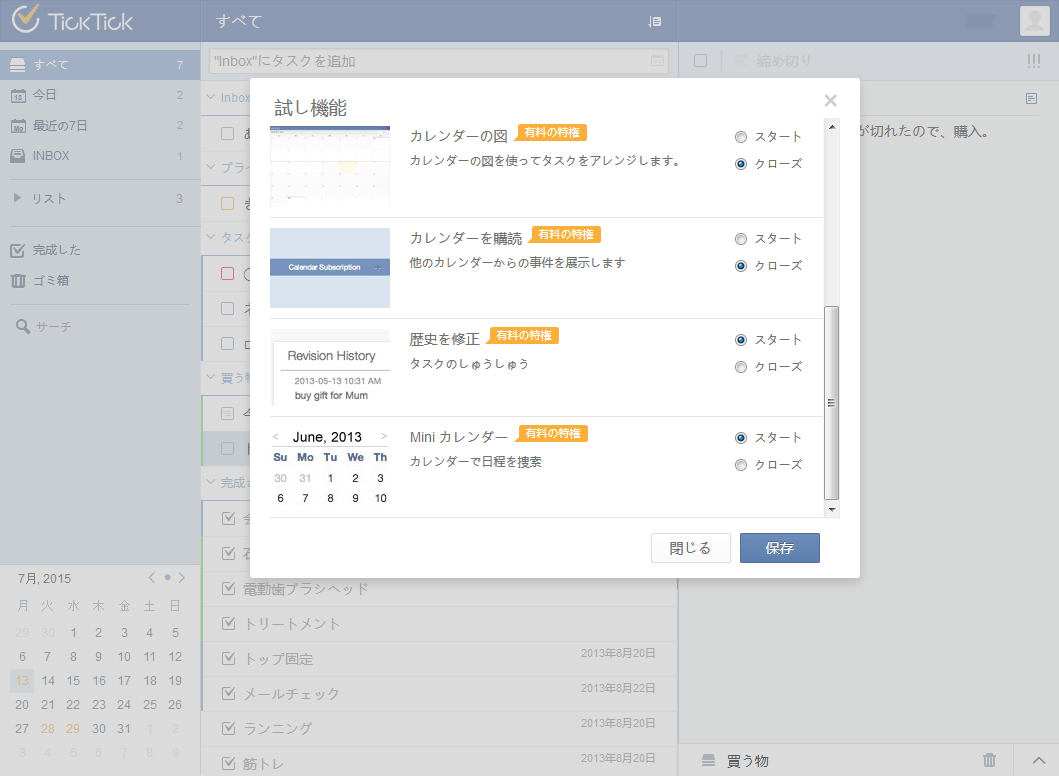
Also, if you want to use "trial function" which is one of paid version benefits, click the humanoid icon in the upper right of the screen and click "Trial function".
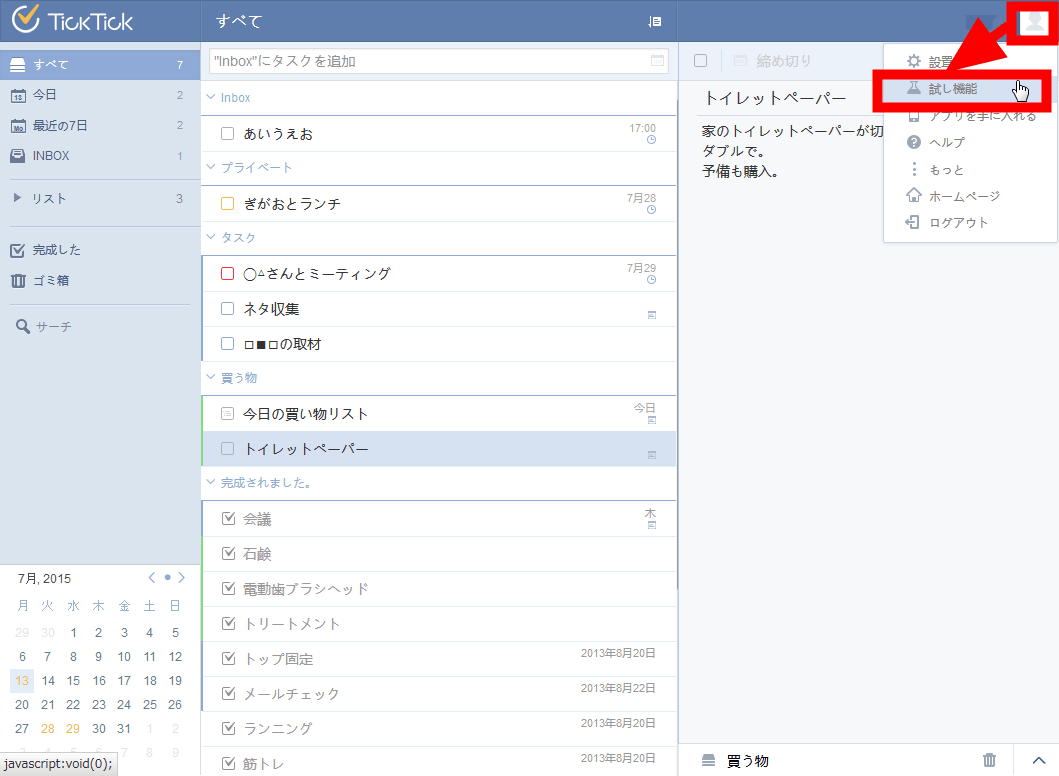
Then you can see the trial function currently available. If you check "Start", you can use the trial function.
TickTick can be used from any terminal such as iPhone, iPad, Apple Watch, Android terminal, PC browser, etc. You can add tasks by hand or by speech recognition and can also link with existing calendar applications and reminder apps. Especially reminder function is smart, it is a terrible service that it is possible to use it for free even though it is possible to share tasks with multiple people, so if you need to manage tasks with people and teams who tend to forget about promises etc., once used It seems to be okay.
Related Posts:

in Software, Web Service, Smartphone, Review, Posted by logu_ii