A college student who made his own open source cheap NAS for less than 8000 yen appears, the case is made by a 3D printer and the OS is also self-made
A
DIY Raspberry / Orange Pi NAS That Really Looks Like a NAS - 2023 Edition : 15 Steps (with Pictures) - Instructables
https://www.instructables.com/DIY-Raspberry-Orange-Pi-NAS-That-Really-Looks-Like/
Chui, a university student, used an unlimited cloud storage service provided by Google for university students, but since the cloud storage capacity was capped in 2021, files can be stored on NUCs , external hard disks, etc. said to have moved. After that, he said that he decided to make his own compact NAS with a large storage capacity because the NUC ran out of capacity.
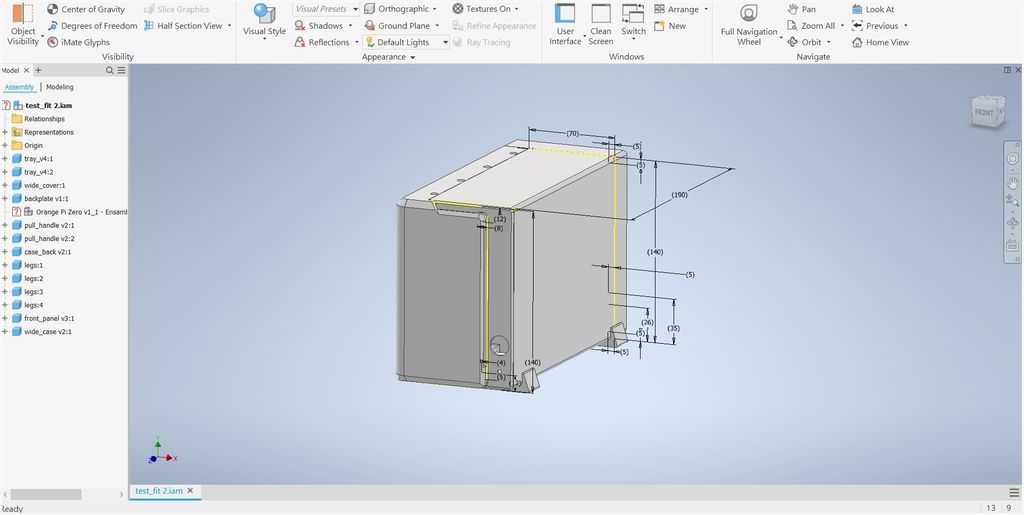
The conditions set by Mr. Chui when making his own NAS are: ``Use small and efficient space in the device'' ``Maximize performance while using low-cost parts'' ``Compatibility that can be purchased all over the world'' 'At least 1080p video can be played by 1-2 people at the same time, and the upload/download speed is 100Mbps or higher.' With these conditions in mind, Mr. Chui selected the parts and decided to make the case with a 3D printer.
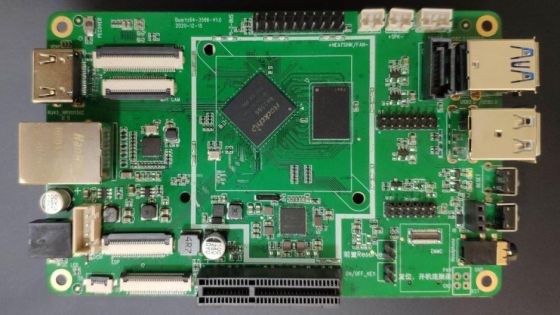
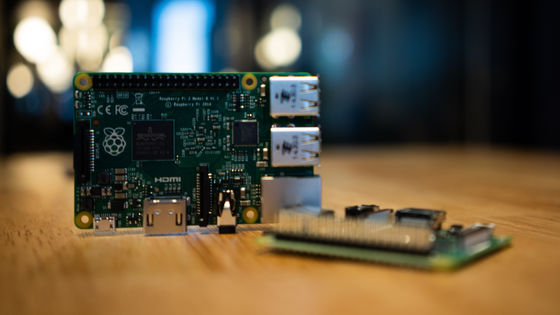
This time, Mr. Chui adopted Orange Pi Zero , an open source single board computer, and designed a 3D model of the NAS case accordingly. The purchase price of Orange Pi Zero at Ali Express is 2810 yen at the time of article creation.
The
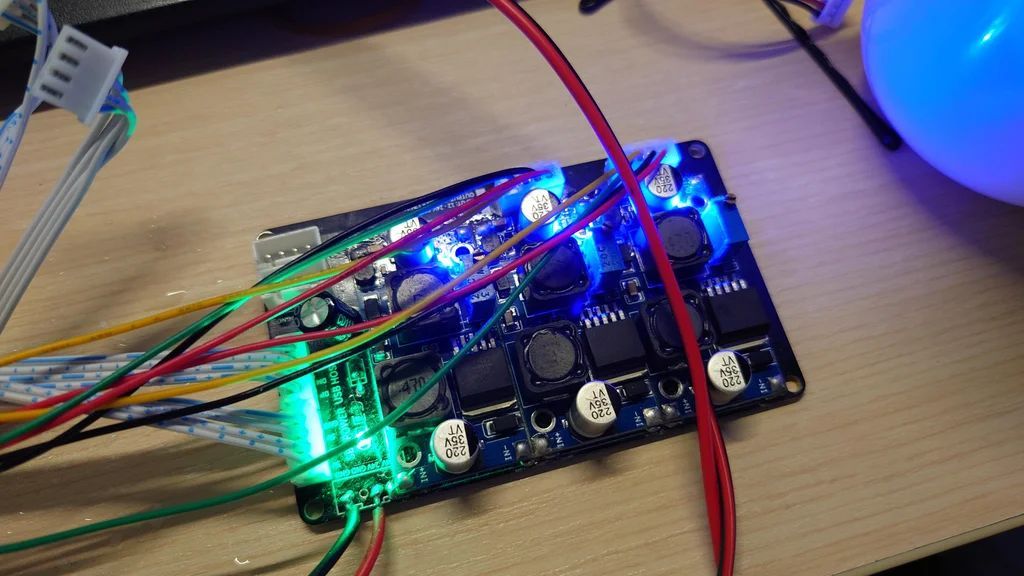
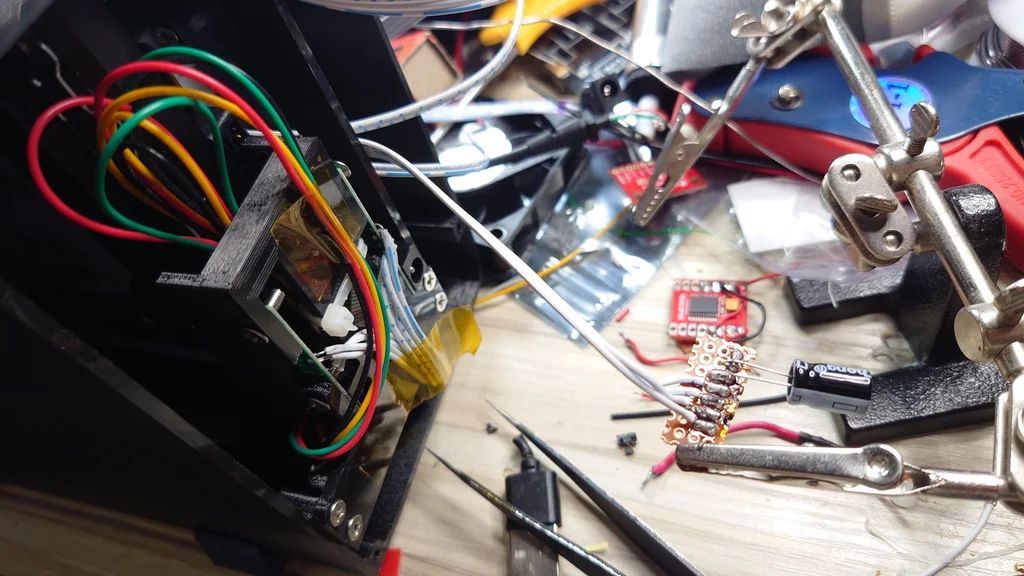
Assemble the hard disk tray, insert it into the NAS case, and install the single board computer and power conversion board.
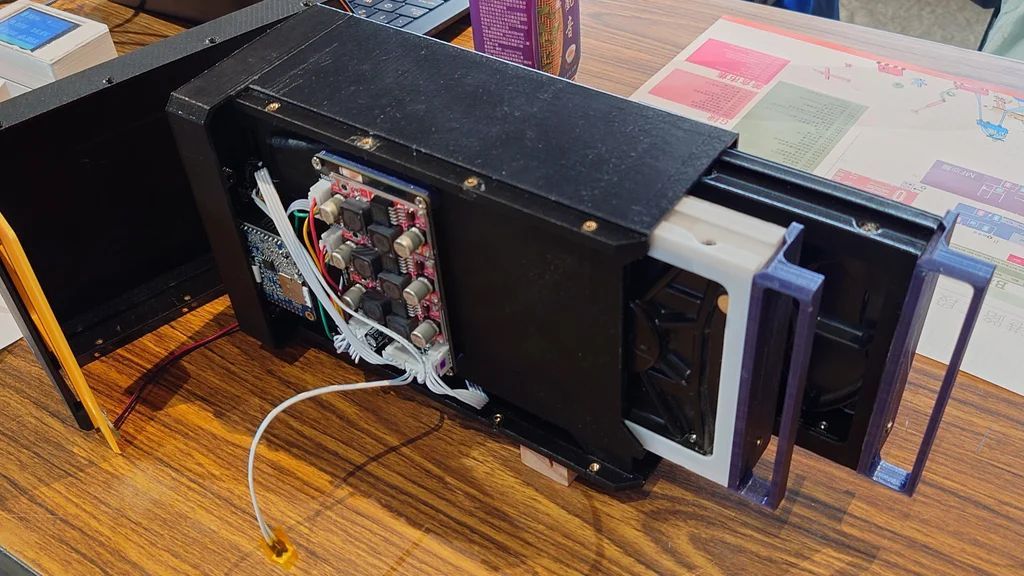
Connect a single board computer to the power control board. If you are using a single board computer that is not a Raspberry Pi, before closing the case, install the Armbian OS for single board computers, and if you are using a Raspberry Pi, install the Raspberry Pi OS on a 32GB or larger SD card. It is said that it is necessary to leave. In addition, Mr. Chui recommends using an SD card of 64 GB or more as storage for single board computers.
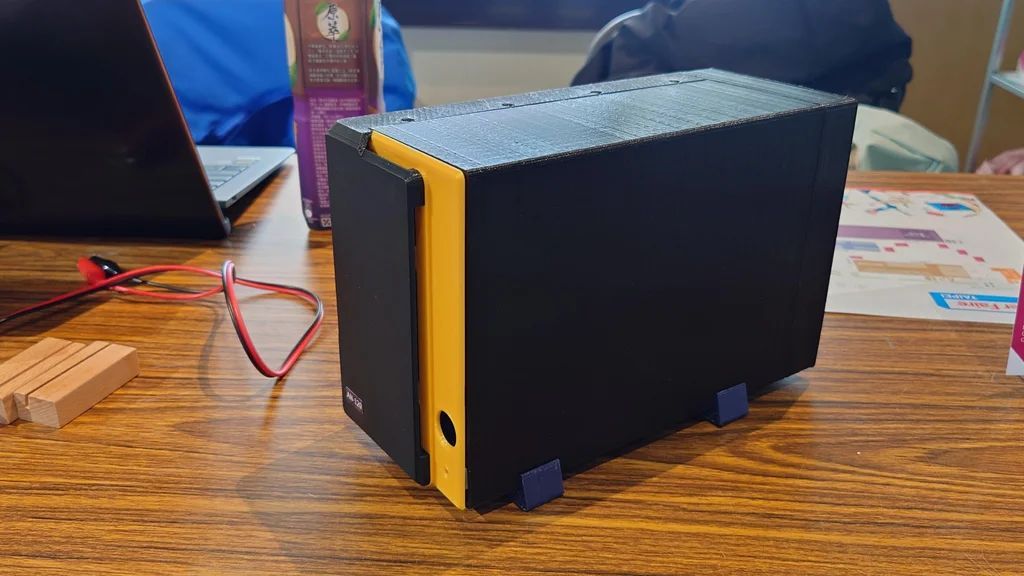
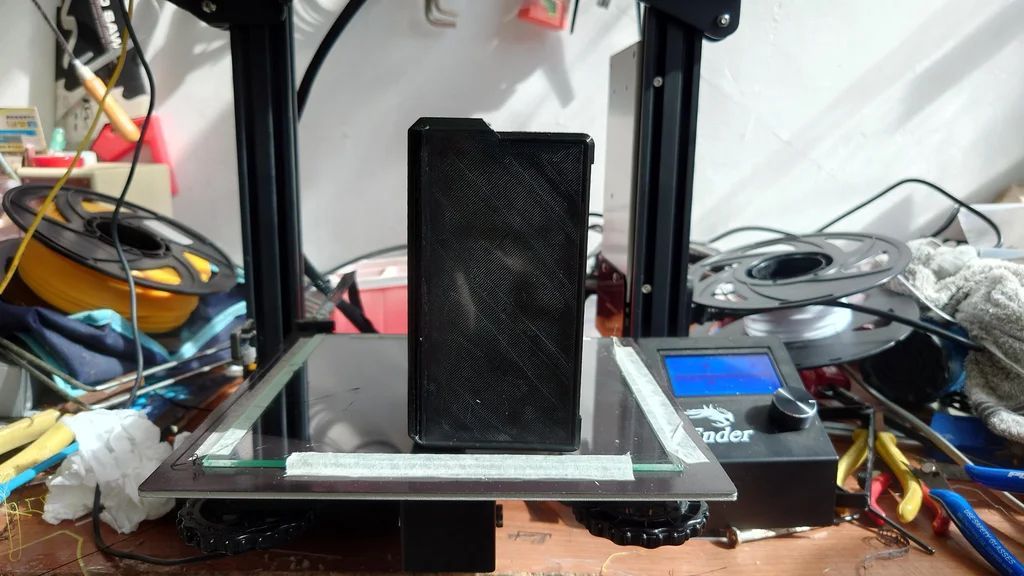
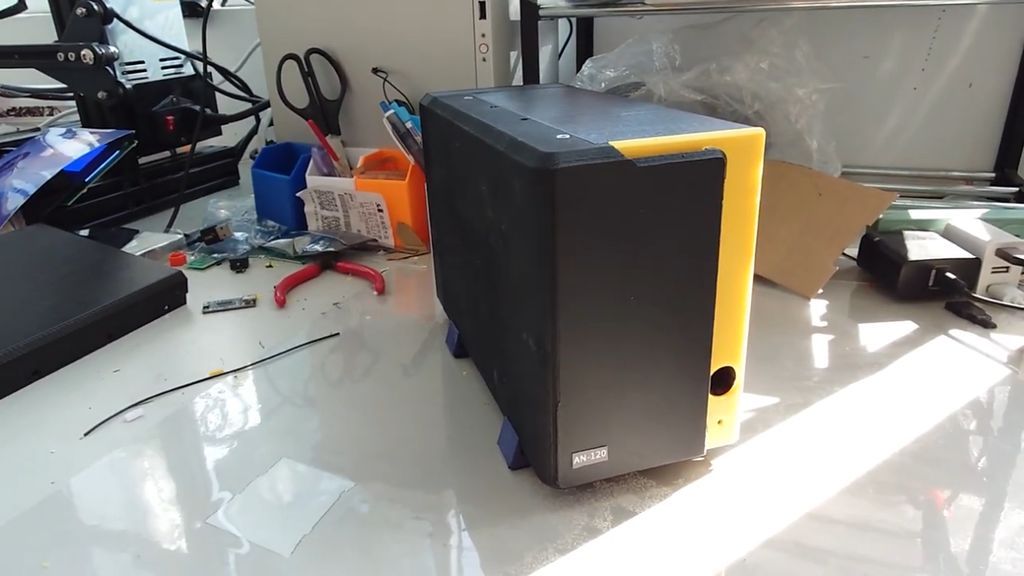
When you close the case it looks like this.

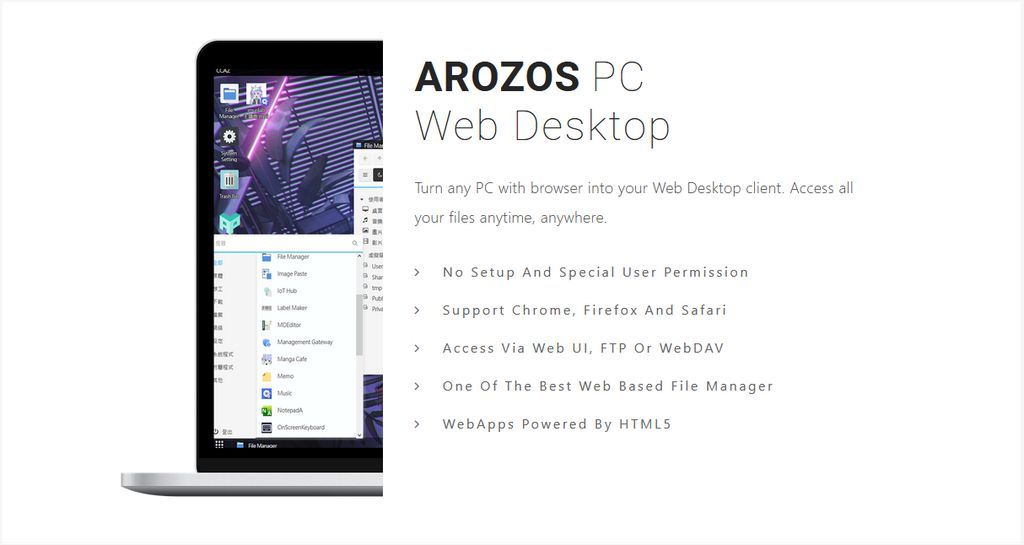
The OS installed in the NAS uses '
After ArozOS setup is complete, mount the HDD.
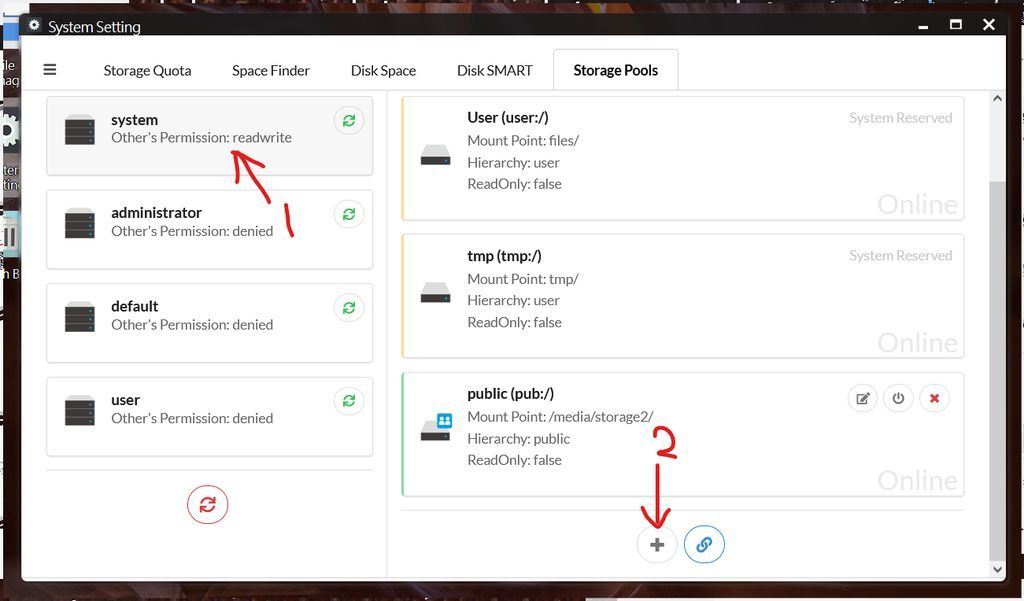
Now you can use a completely open source cheap self-made NAS with up to two 4TB hard disks. ArozOS also supports clustering and cross-mounting capabilities, providing scalability when more storage is needed.
Mr. Chui has released more detailed creation procedures, 3D model design drawings, details of parts, ArozOS setup methods, etc. for the NAS created this time so that anyone can make the same NAS by themselves.
Related Posts: