``Loomio'' that visualizes the decision-making process of the community and enables remote participation anytime, anywhere

Communication is very important in running a community. Transparency is important in any form of discussion. ' Loomio ' is a service that allows you to discuss and vote online for decision-making in the community. It has a simple design and is easy to use, and it is useful for the smooth operation of the community.
Loomio: decide together
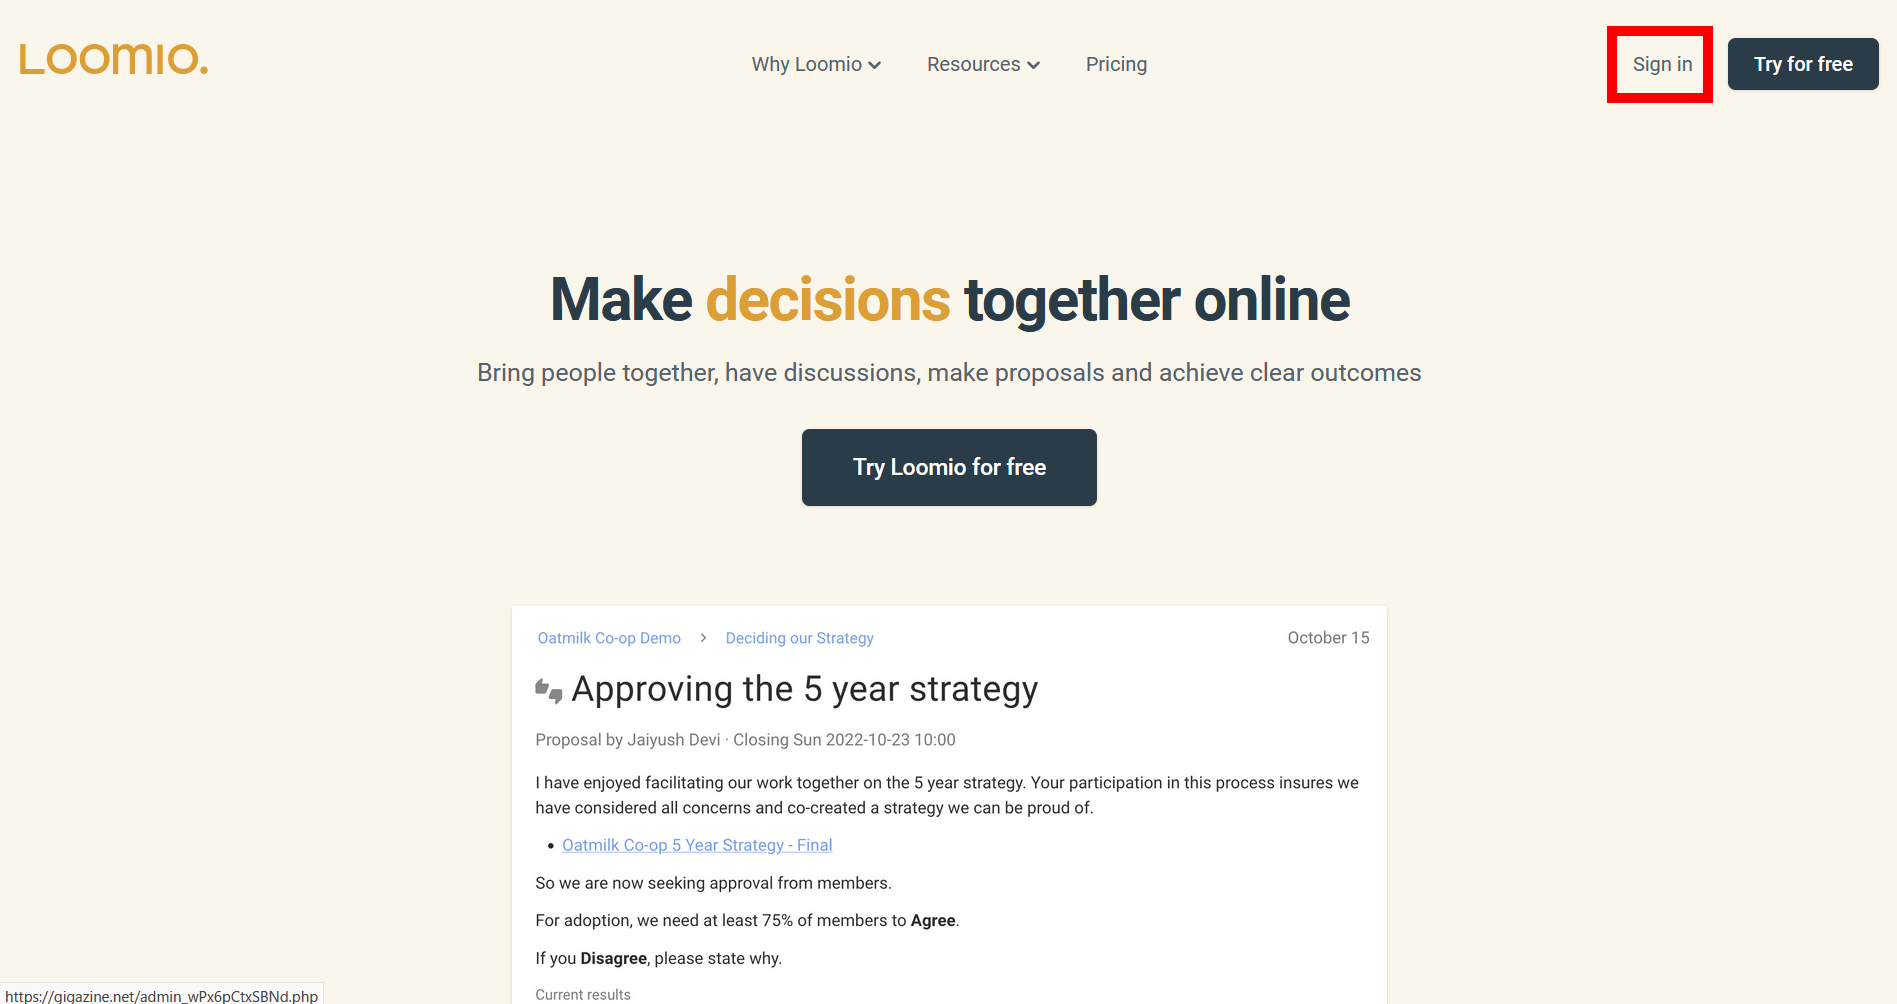
Access Loomio and click 'Sign In' in the upper right.
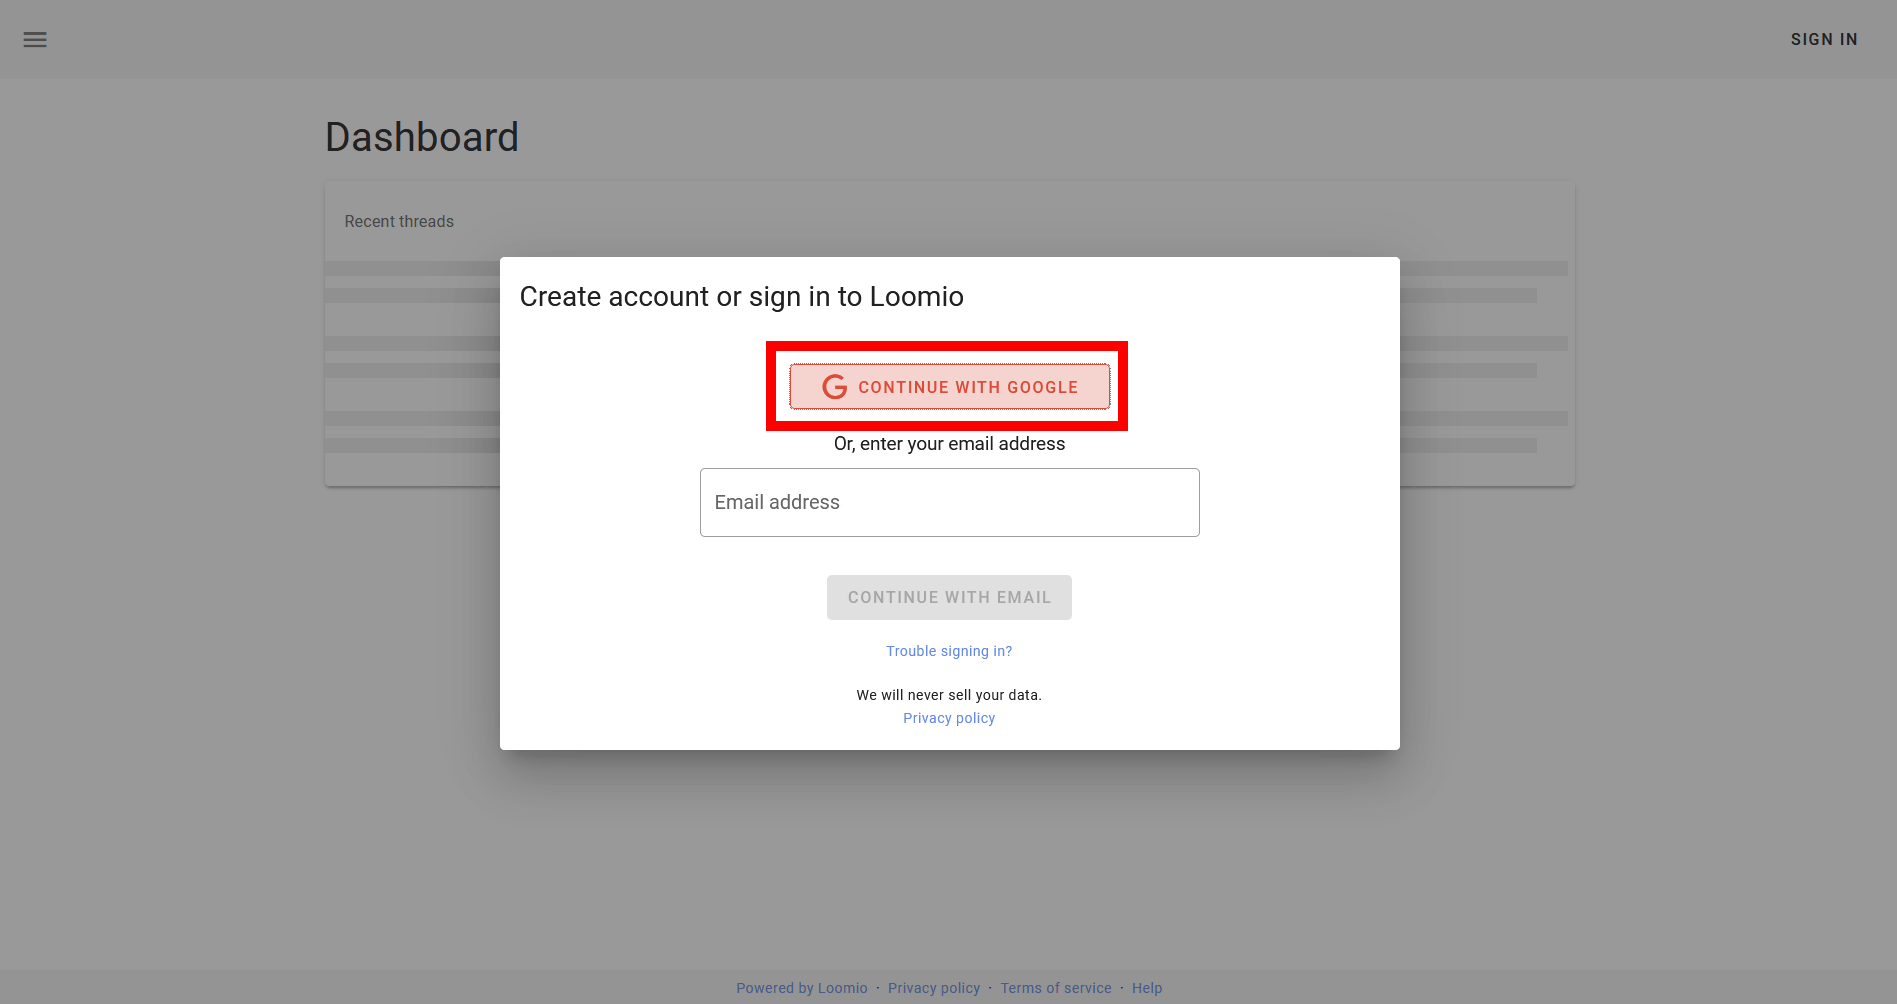
A Google account or email address is required to register for the service. This time, I will register with a Google account. While logged in to your Google account, click 'CONTINUE WITH GOOGLE'.
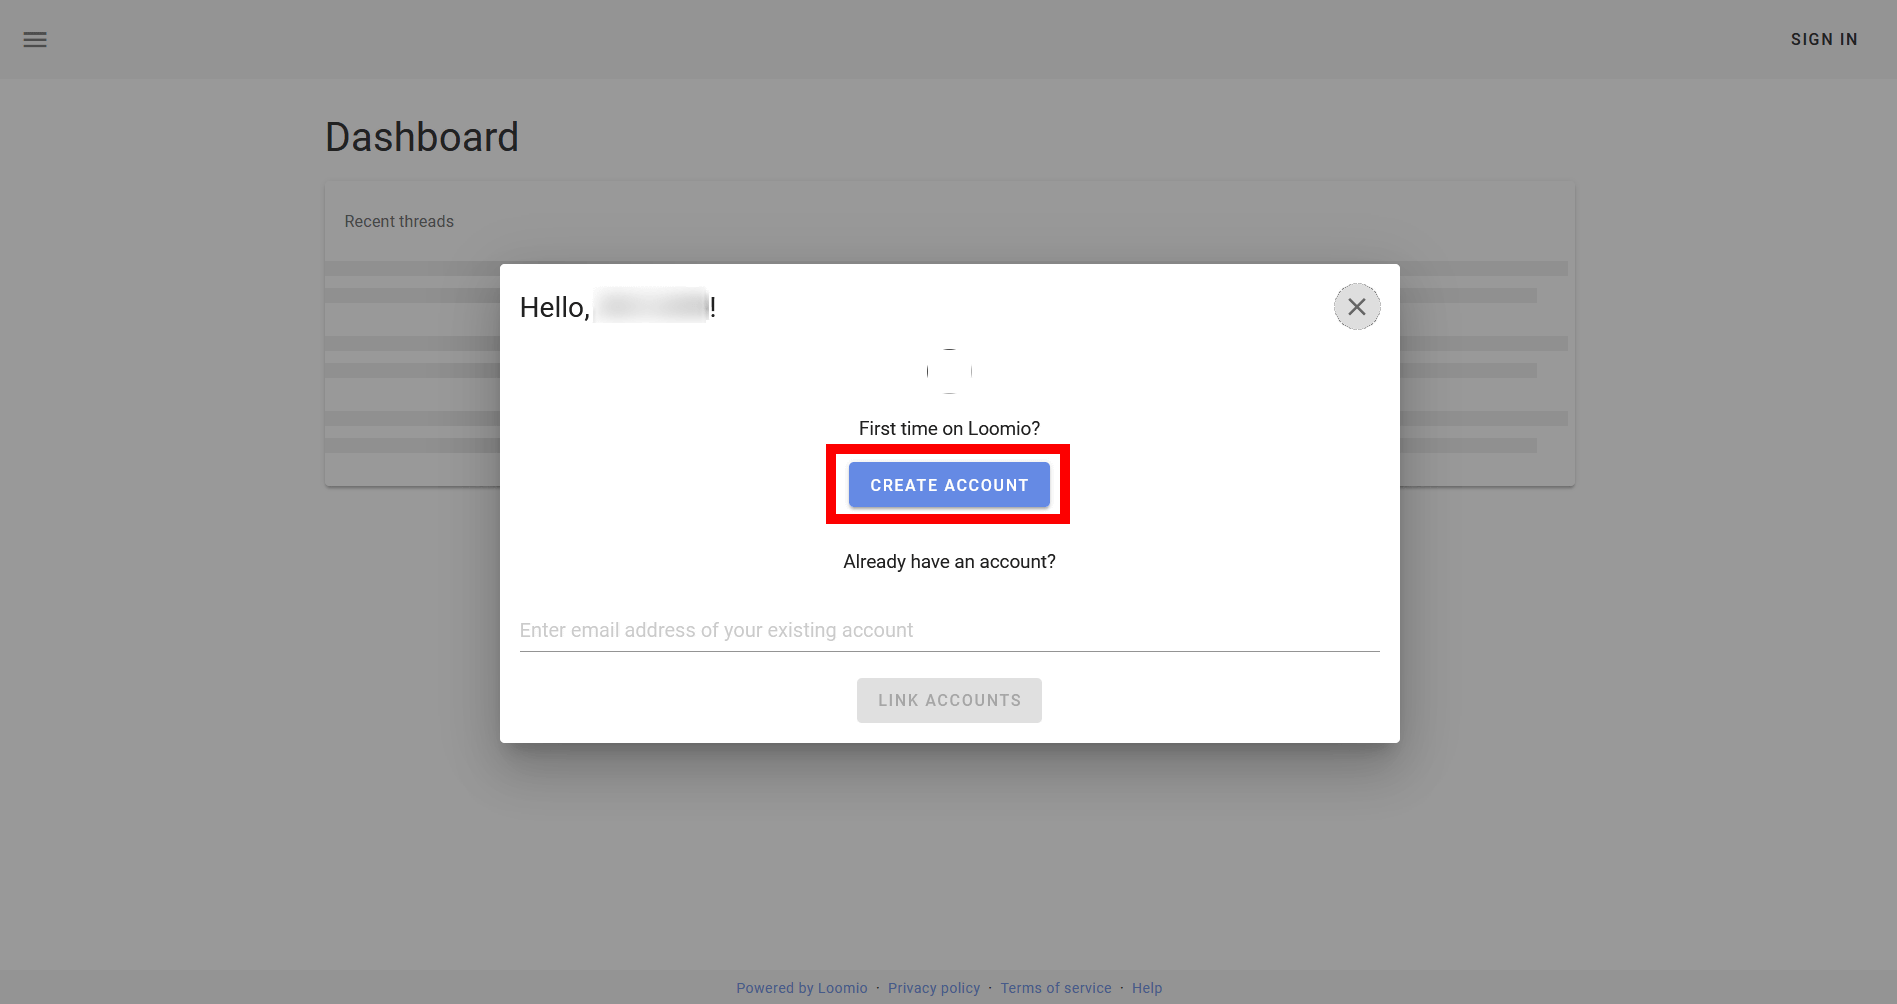
Click CREATE ACCOUNT.
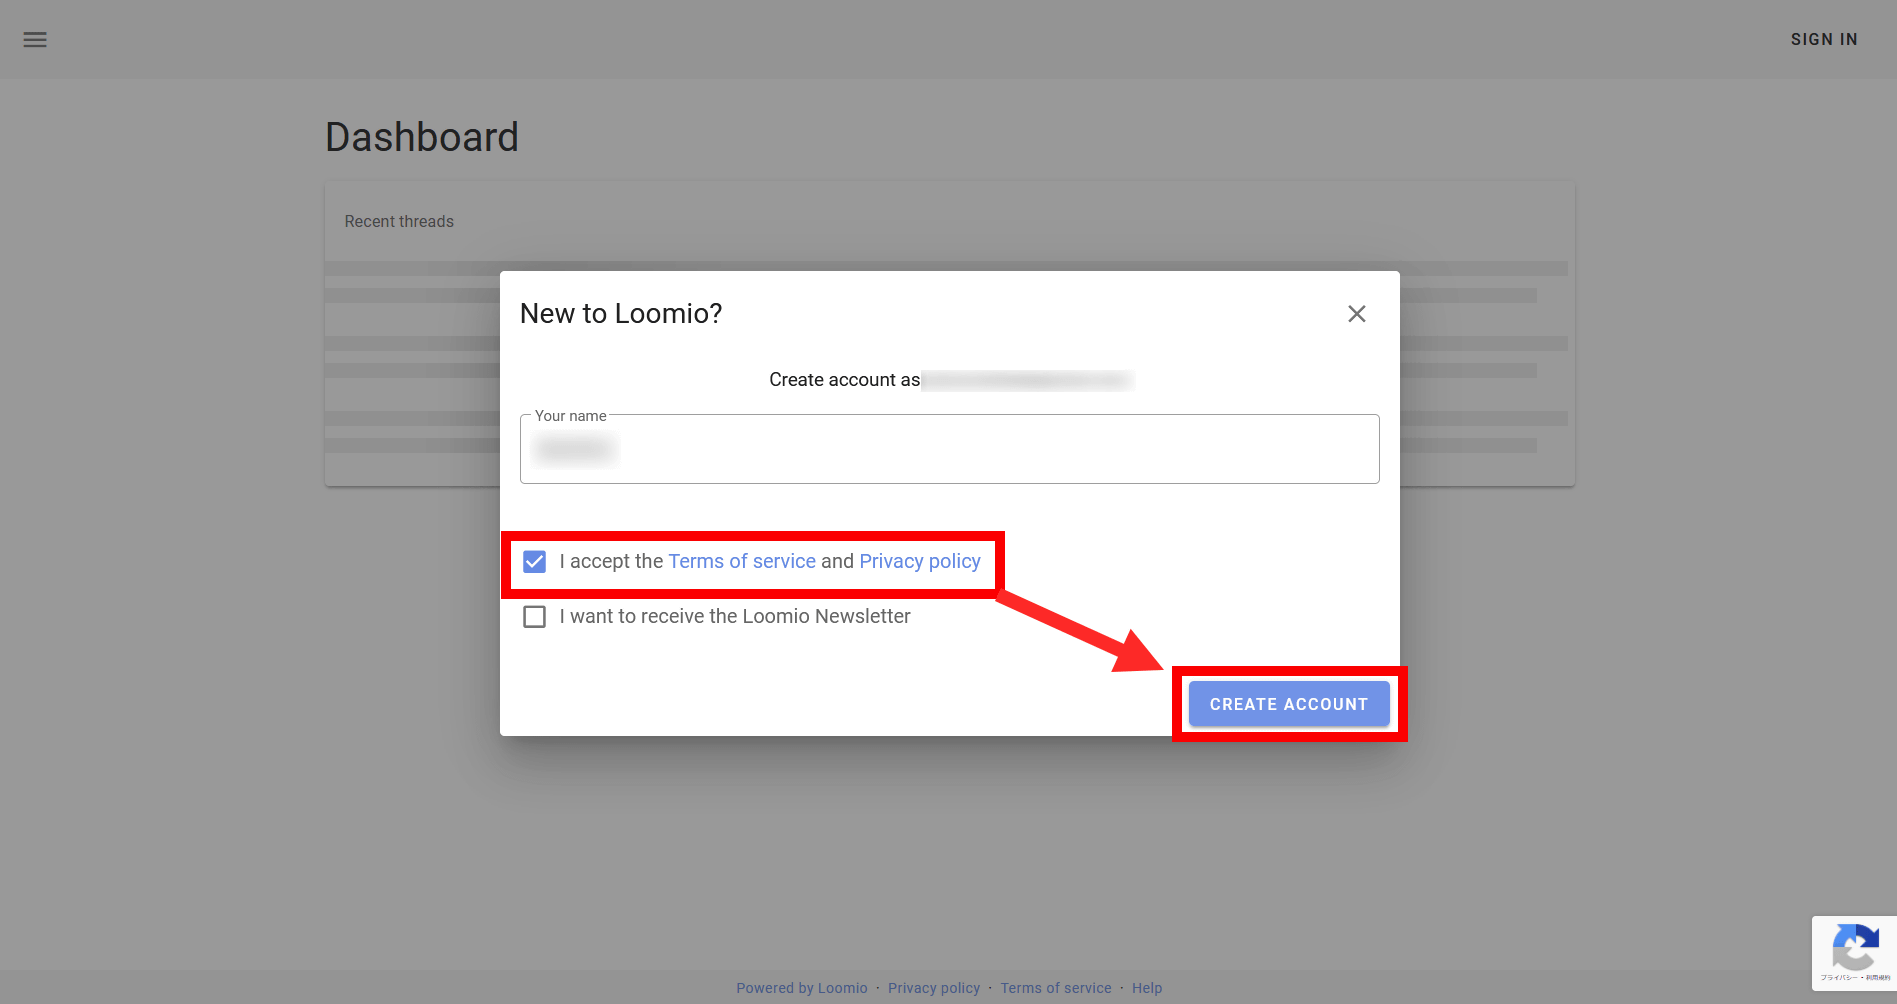
Check 'I accept the Terms of the service and privacy policy' and click 'CREATE ACCOUNT'.
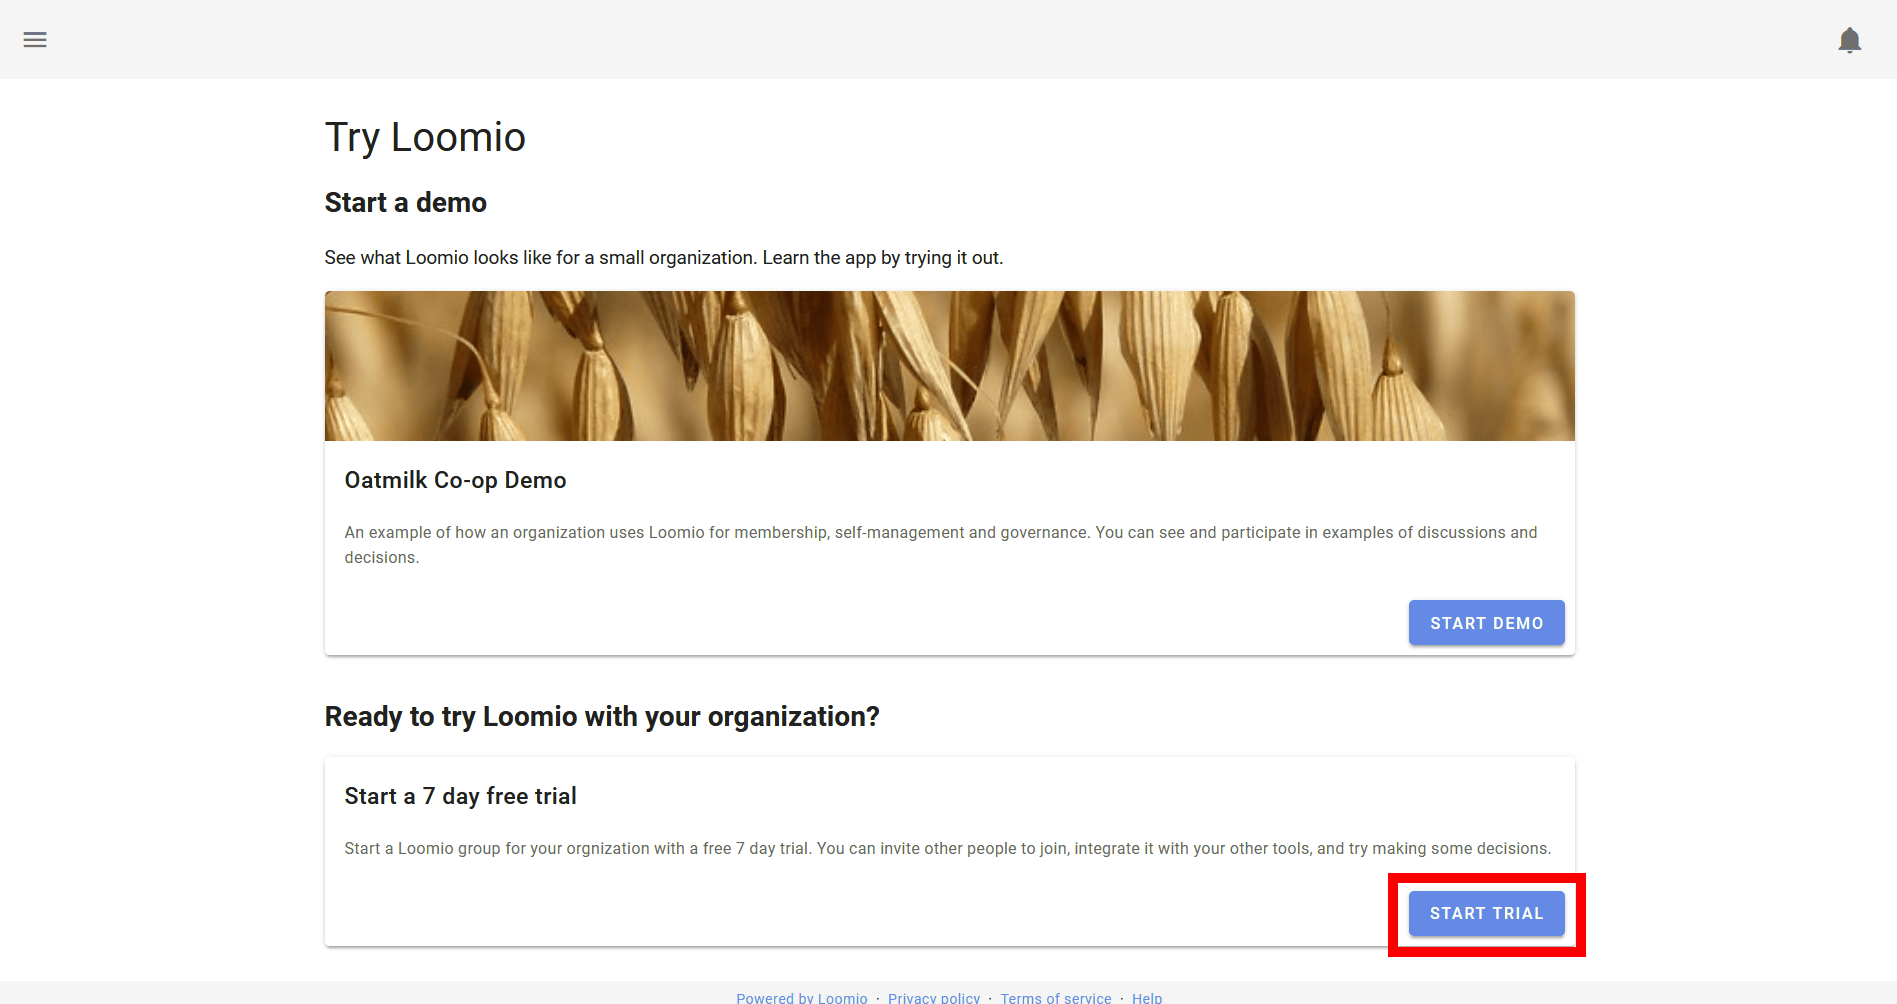
Your registration is now complete. The cloud version is charged (described later), but a free trial is available for only 7 days. Click 'START TRIAL'.
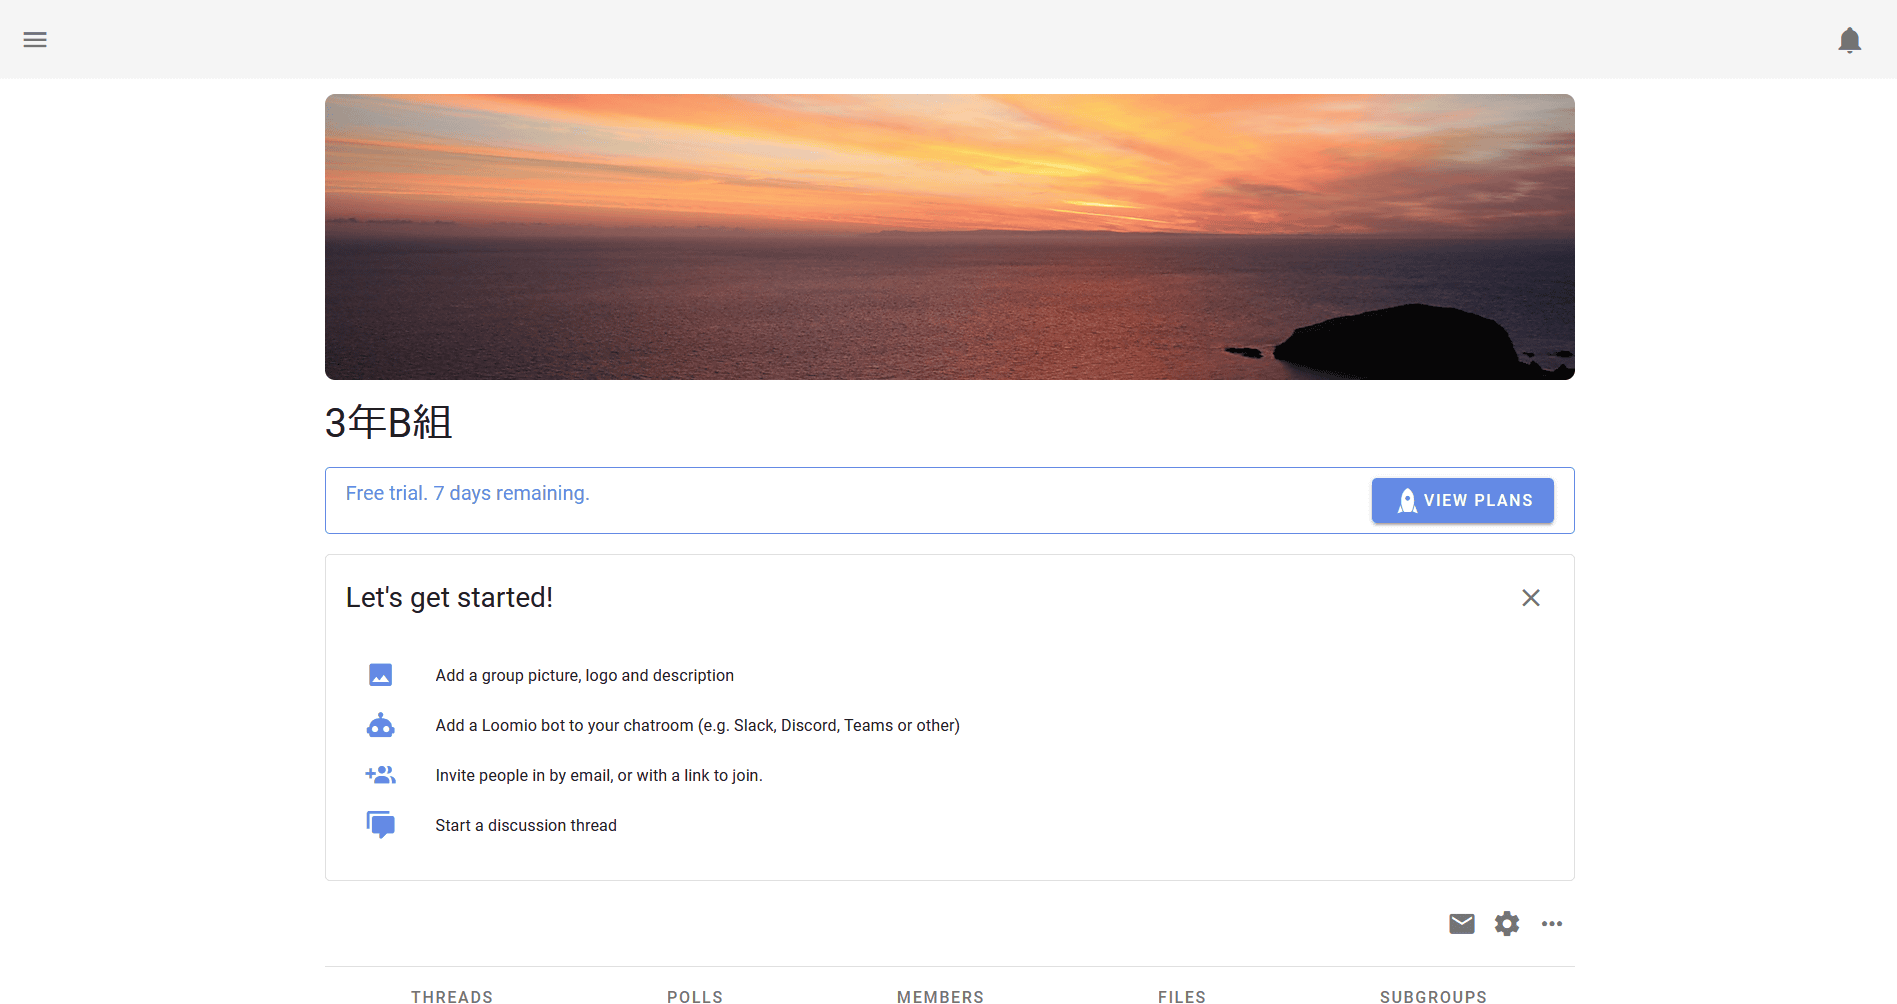
First you need to create a group. Enter the group name and group tag and click 'START GROUP'. The group name can also be entered in Japanese.

Then, the group dashboard was created like this.
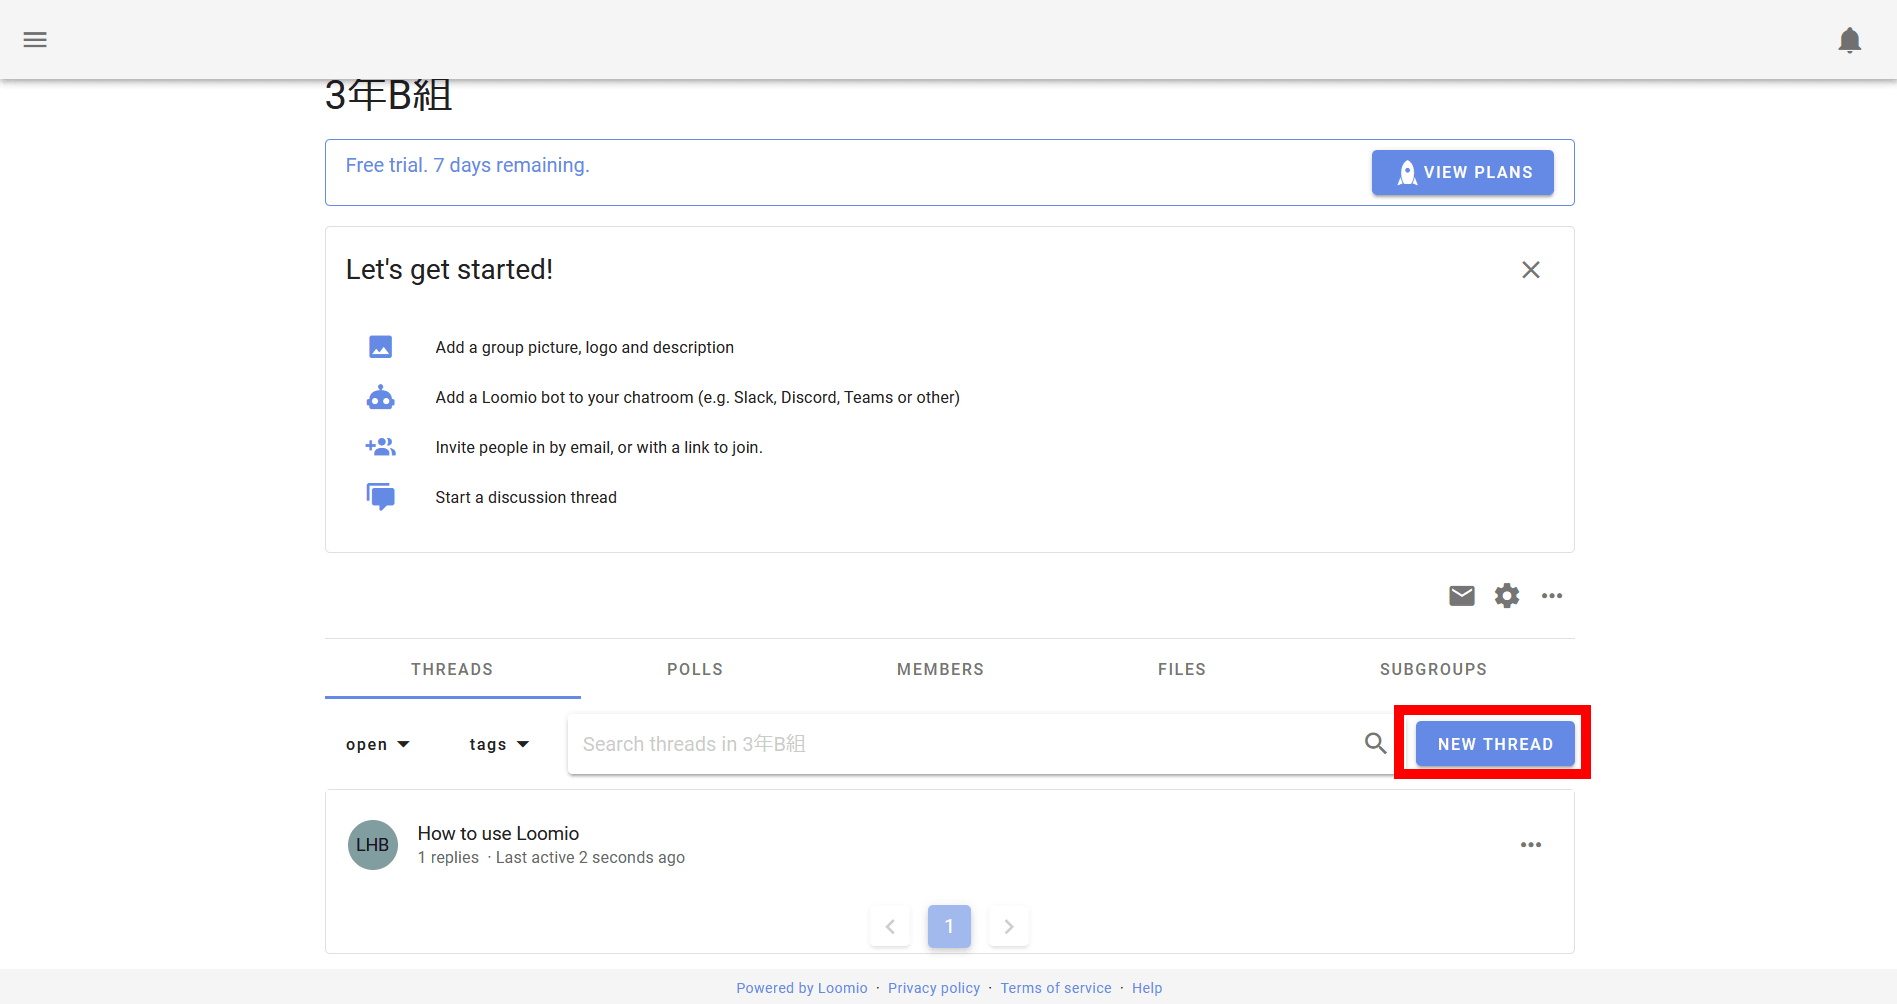
Loomio allows you to propose and vote on agenda items within your group. To propose an agenda, click 'NEW THREAD'.
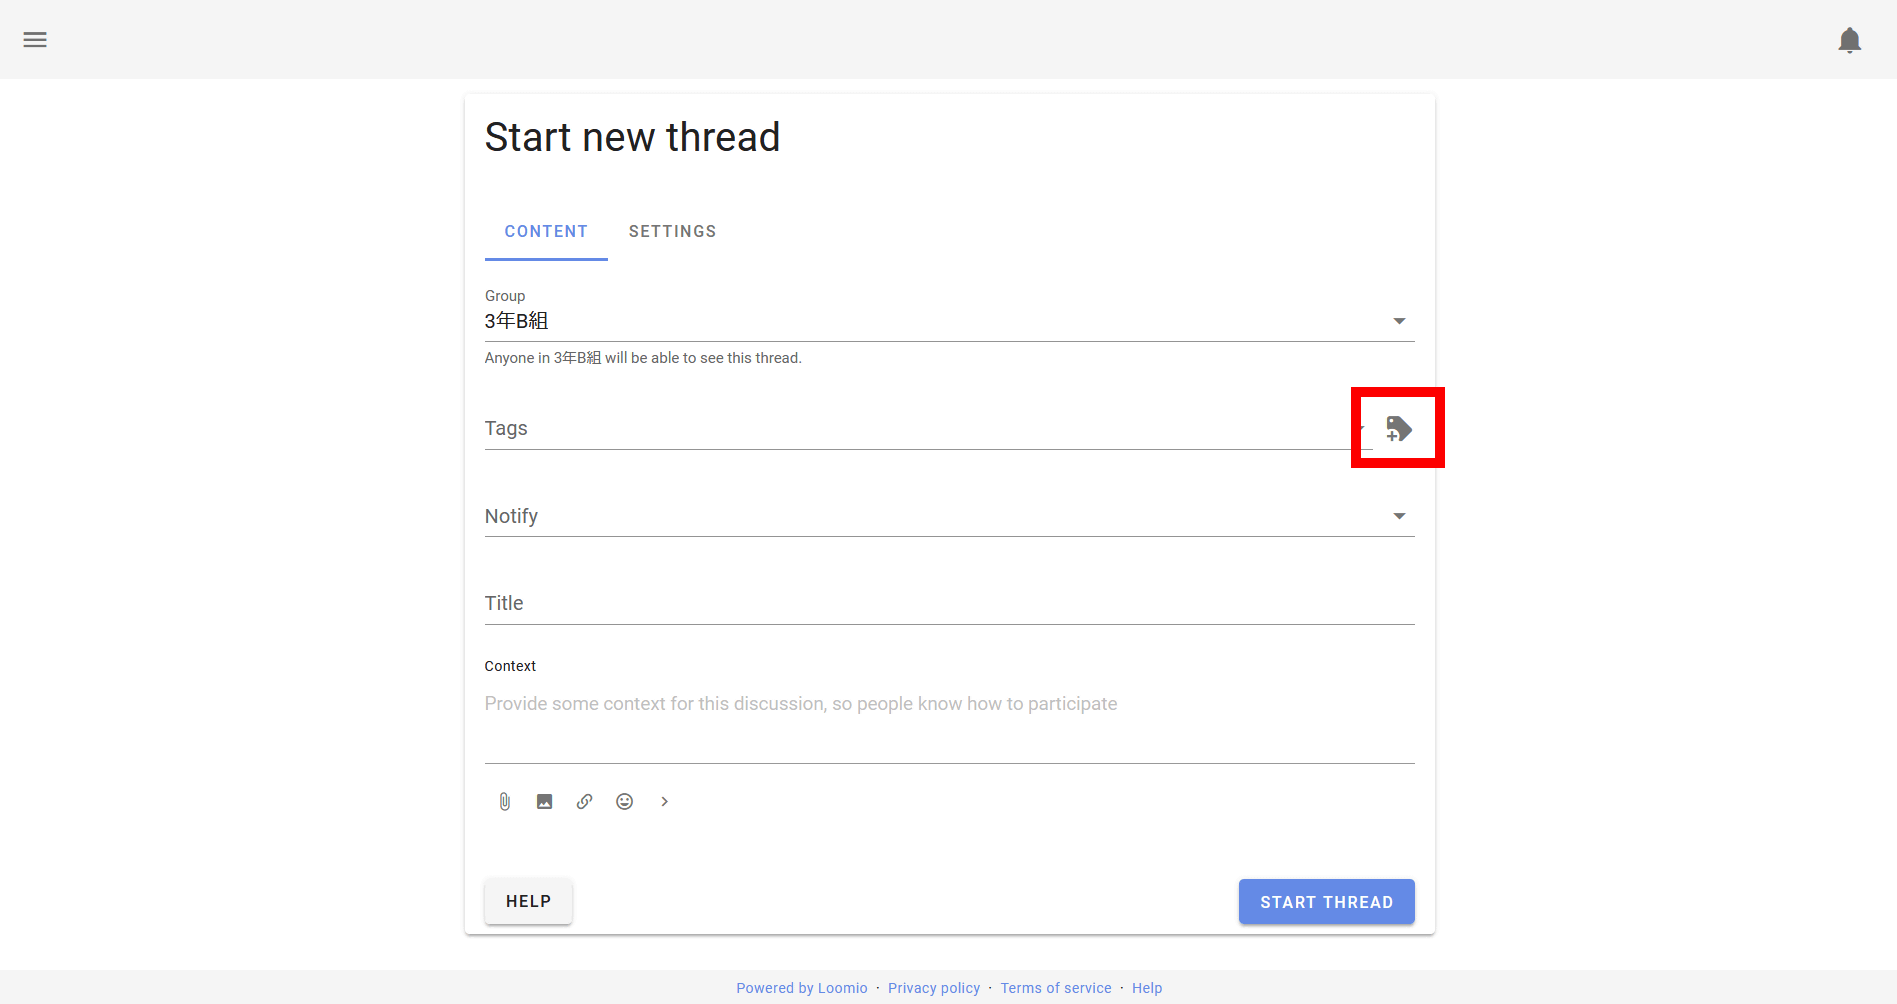
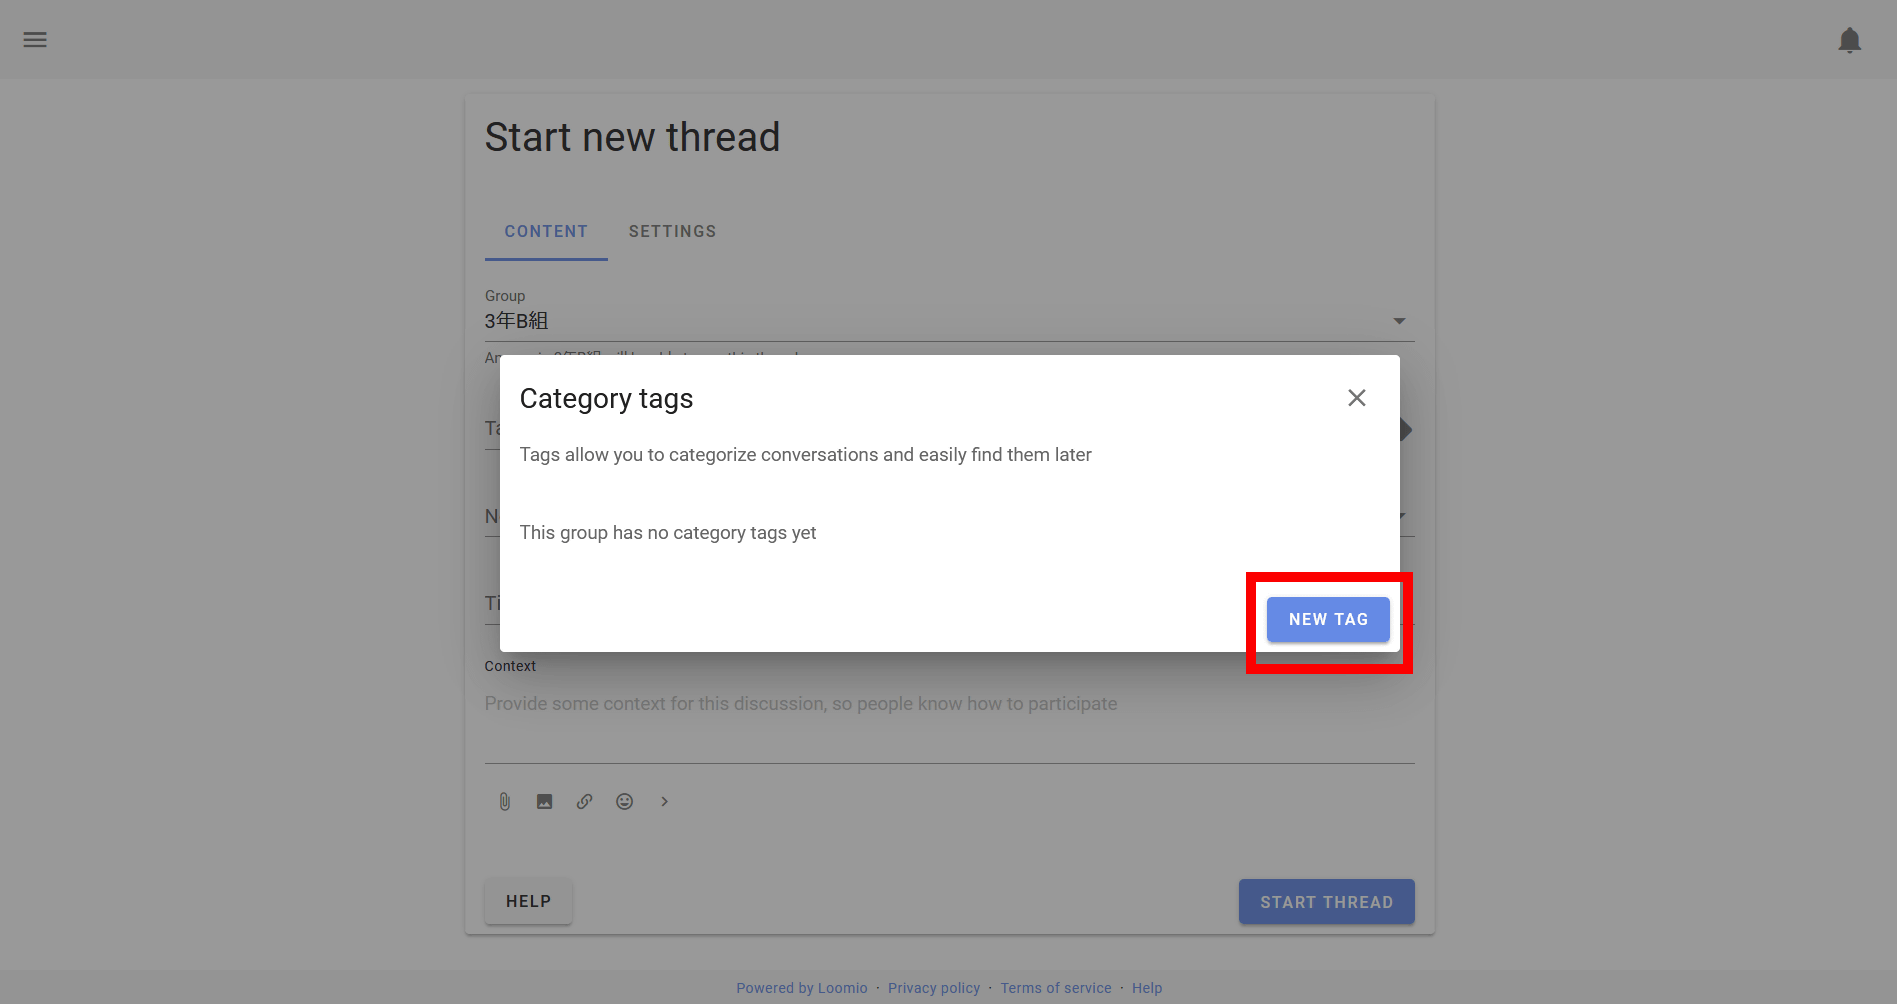
Then, the agenda creation screen is displayed. You can freely attach tags such as 'Design', 'Tech', 'Accounting', etc. to the agenda according to the content. No tags are provided at first, so you have to create your own. Click the icon to the right of the 'Tags' column.
Click 'NEW TAG'.
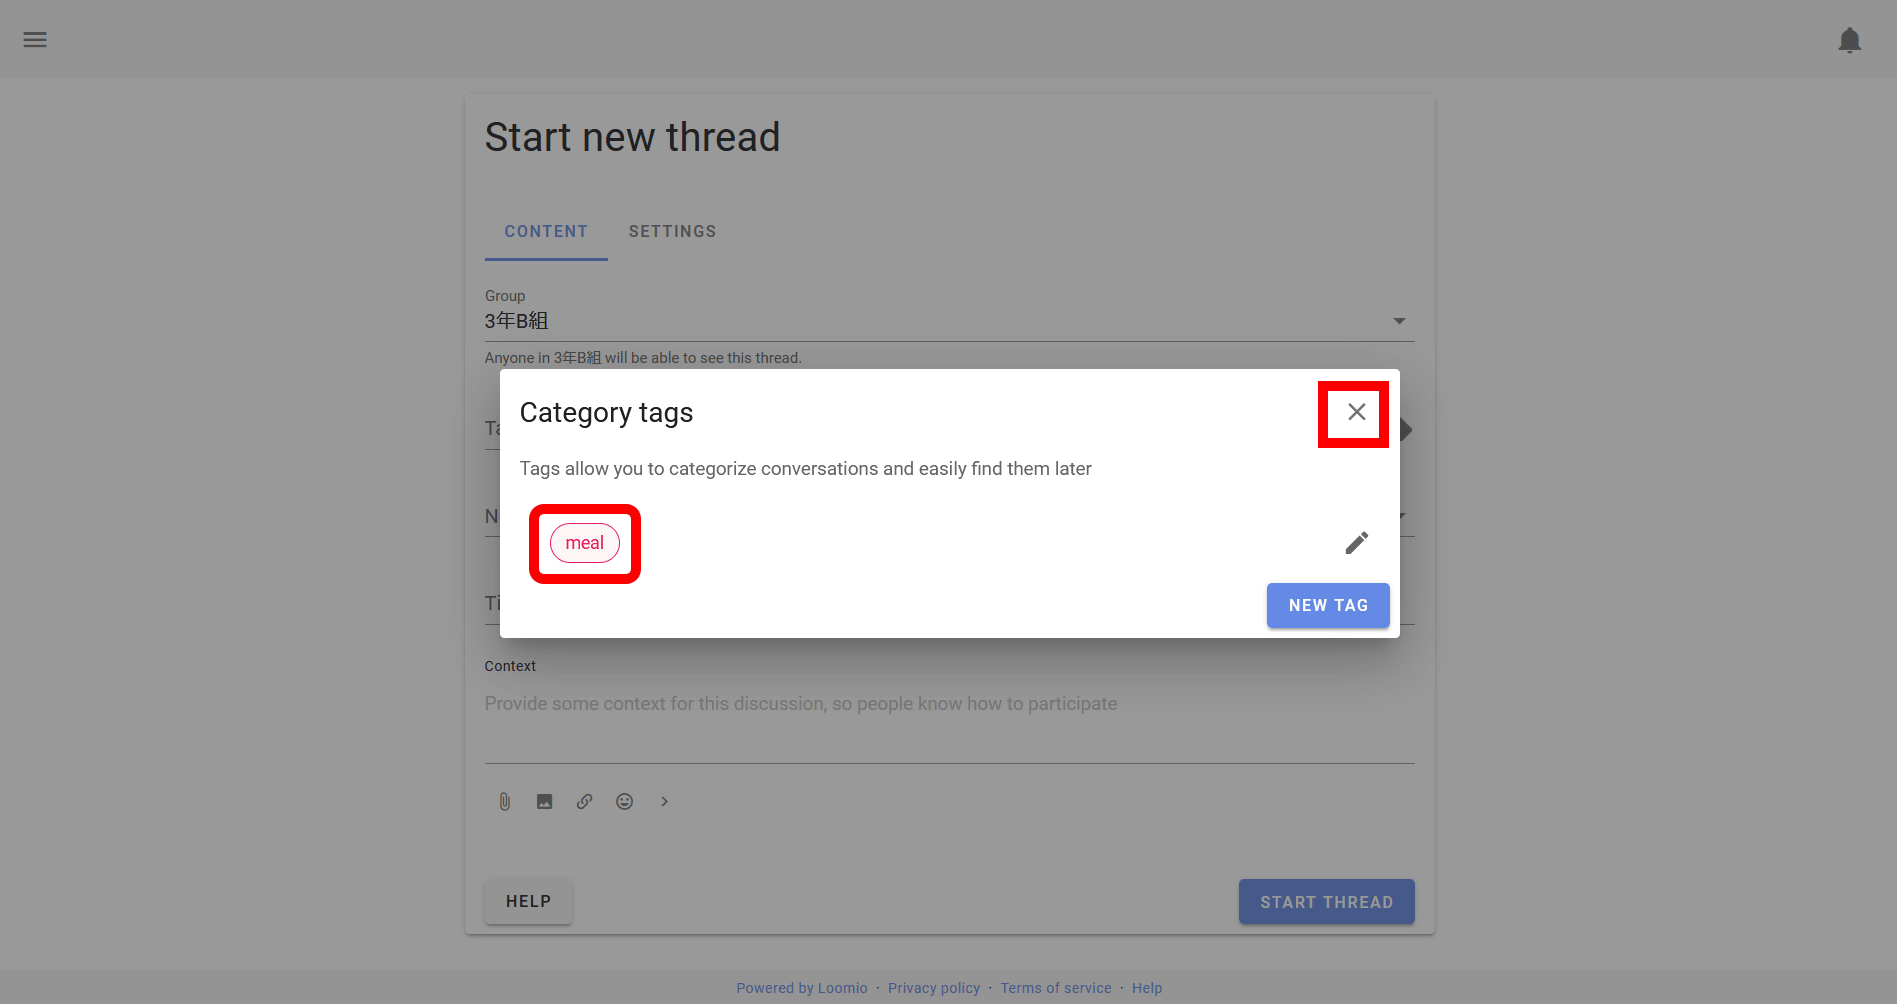
Enter a tag name, select an image color for the tag, and click SAVE. In addition, Japanese input of the tag is possible.

Then the tag will be created as shown in the image below. Click the X icon in the upper right to close.
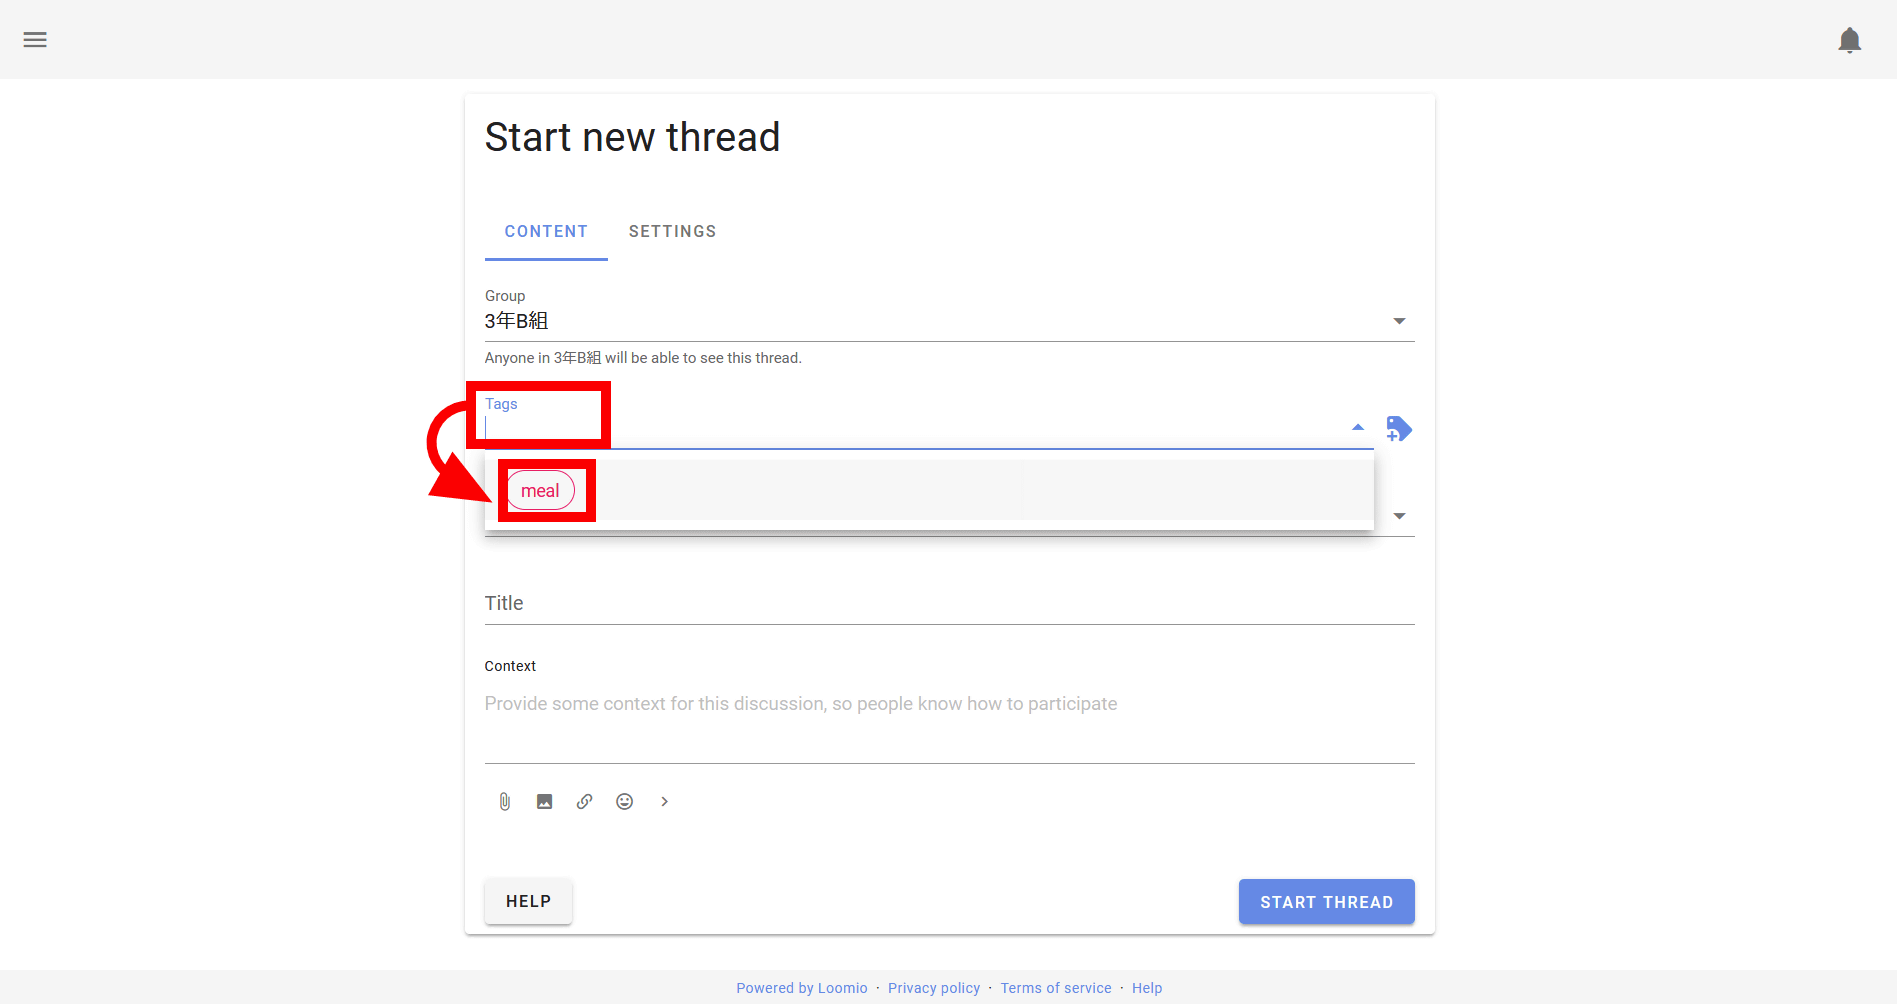
Now click on the 'Tags' column. Then, the created tag list is displayed, so select the appropriate tag.
In 'Notify', select the person to send a notification when the agenda is shared.
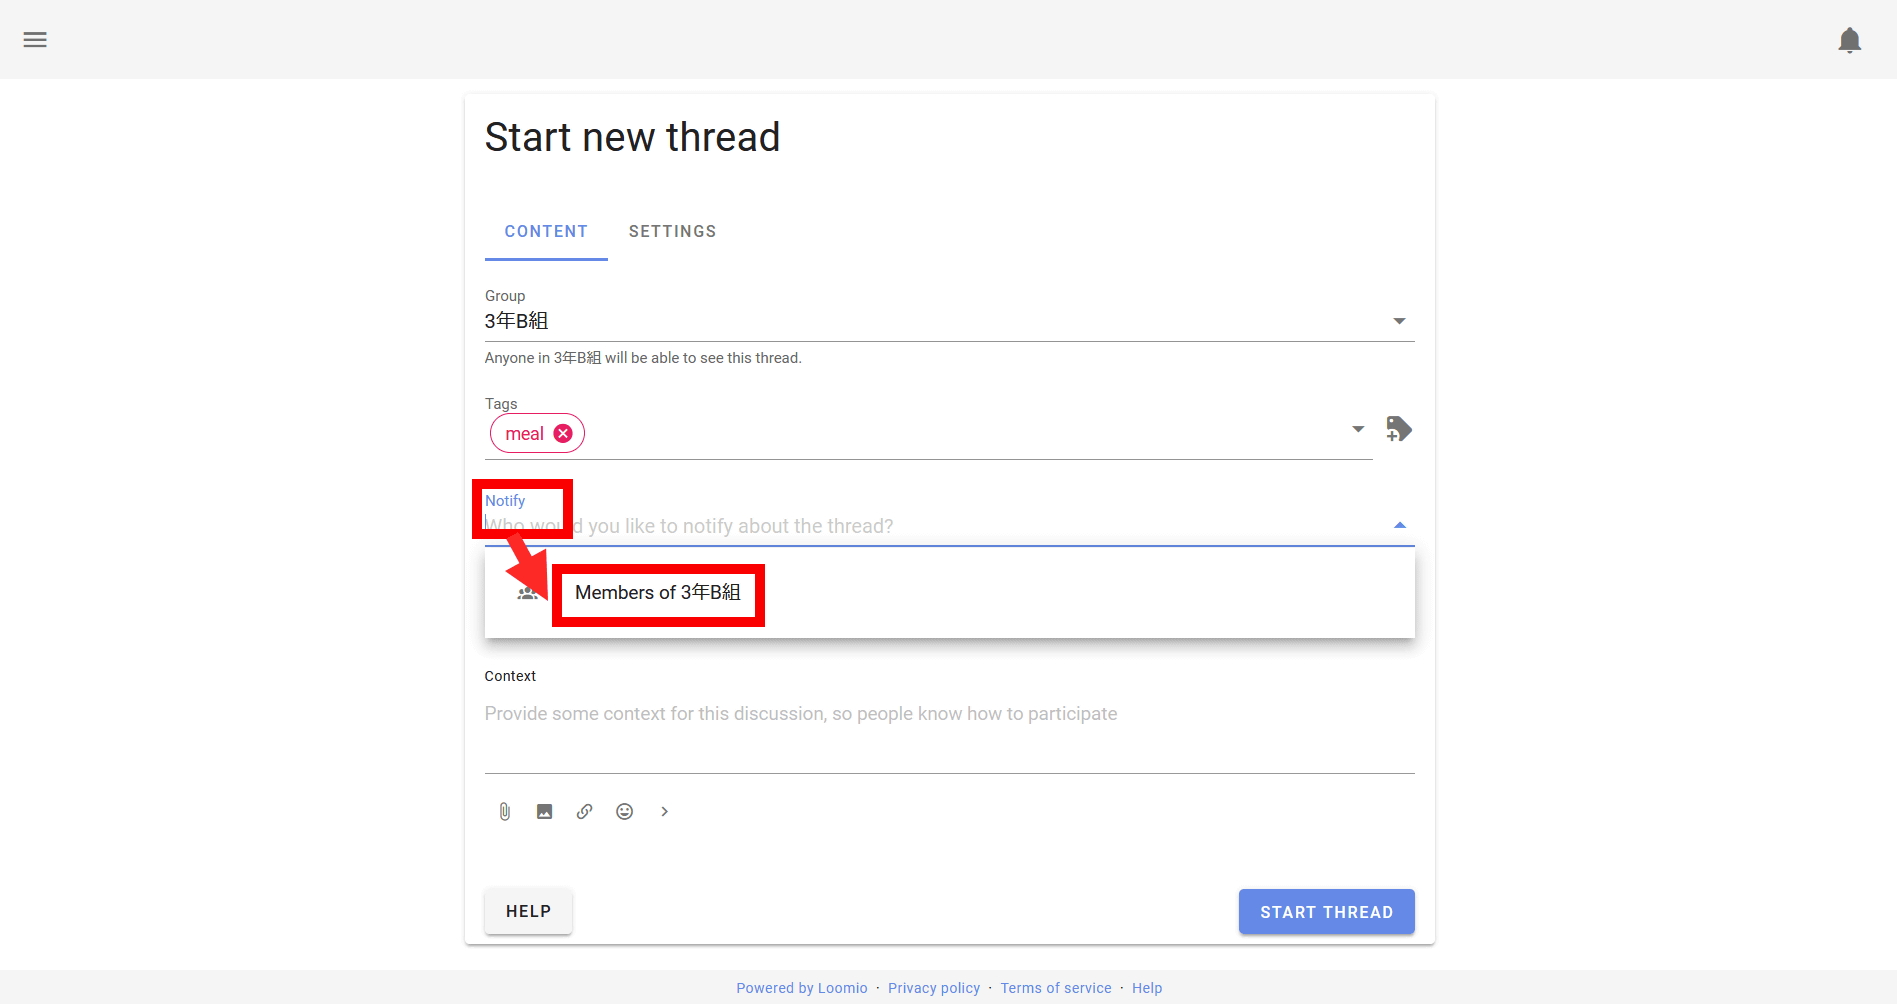
Finally, after entering the title and explanation of the agenda, click 'START THREAD'.

Then the proposal was created like this.

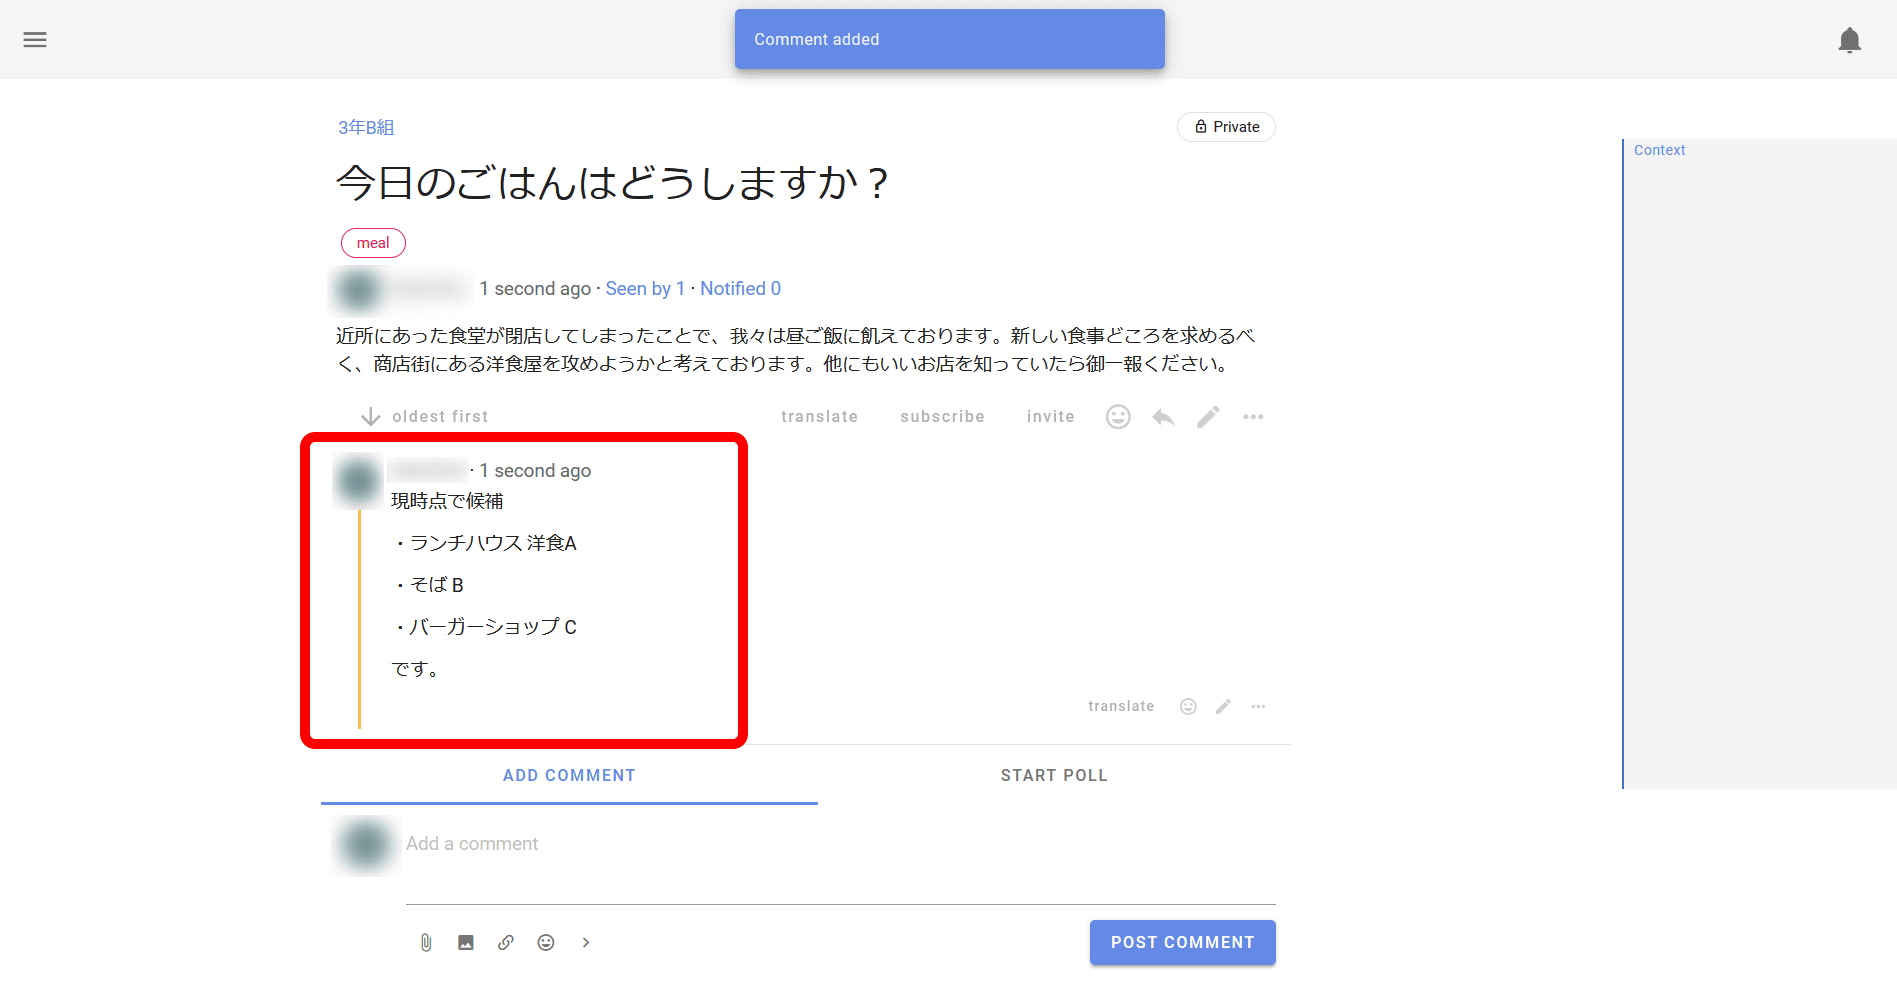
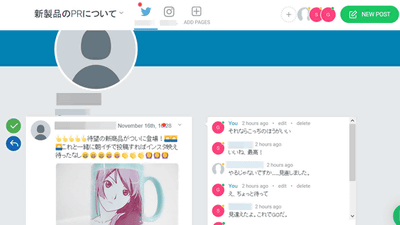
Since it is a thread format, comments follow the created bills in chronological order. Comments can be posted by selecting the 'ADD COMMENT' tab, entering a comment, and clicking 'POST COMMENT'.

Posted comments are displayed as follows.
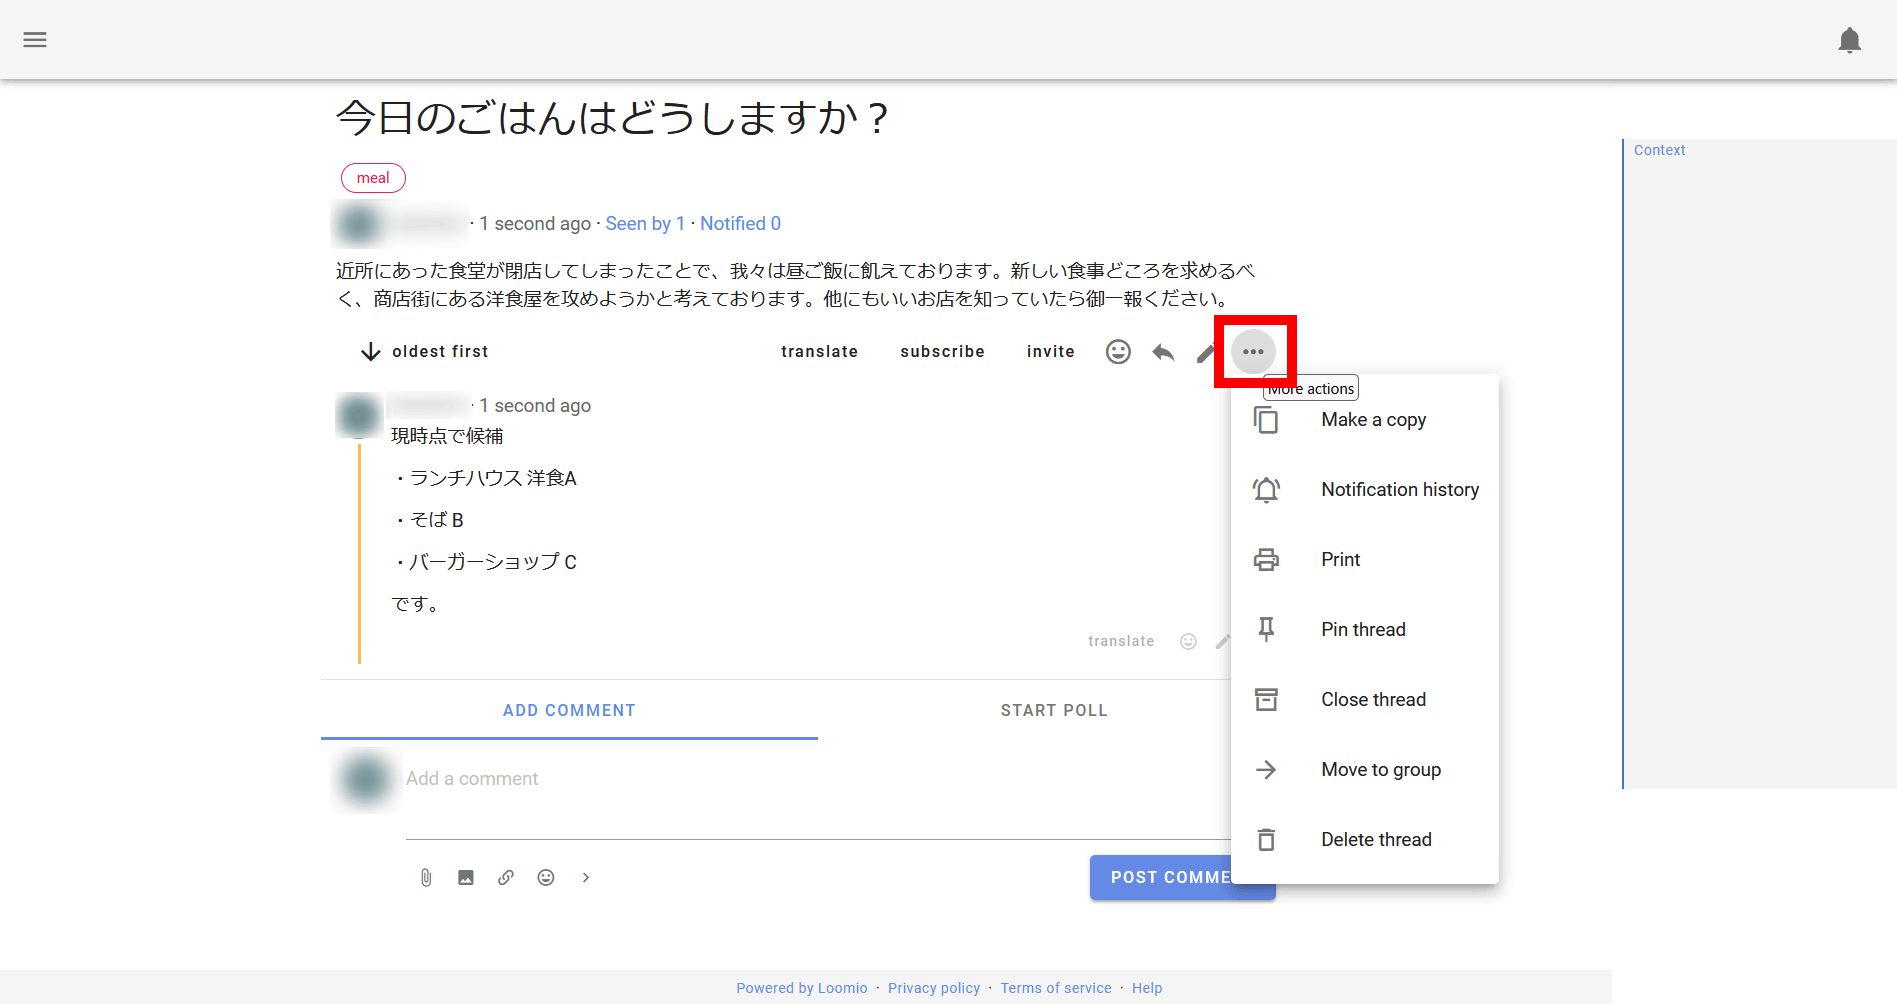
Click the meatball icon on the far right of the thread to select 'Make a copy', 'Notification history', 'Print', 'Pin thread', 'Close You can select 'thread (close thread)', 'Move to group (move thread to another group page)' and 'Delete thread (delete thread)'.
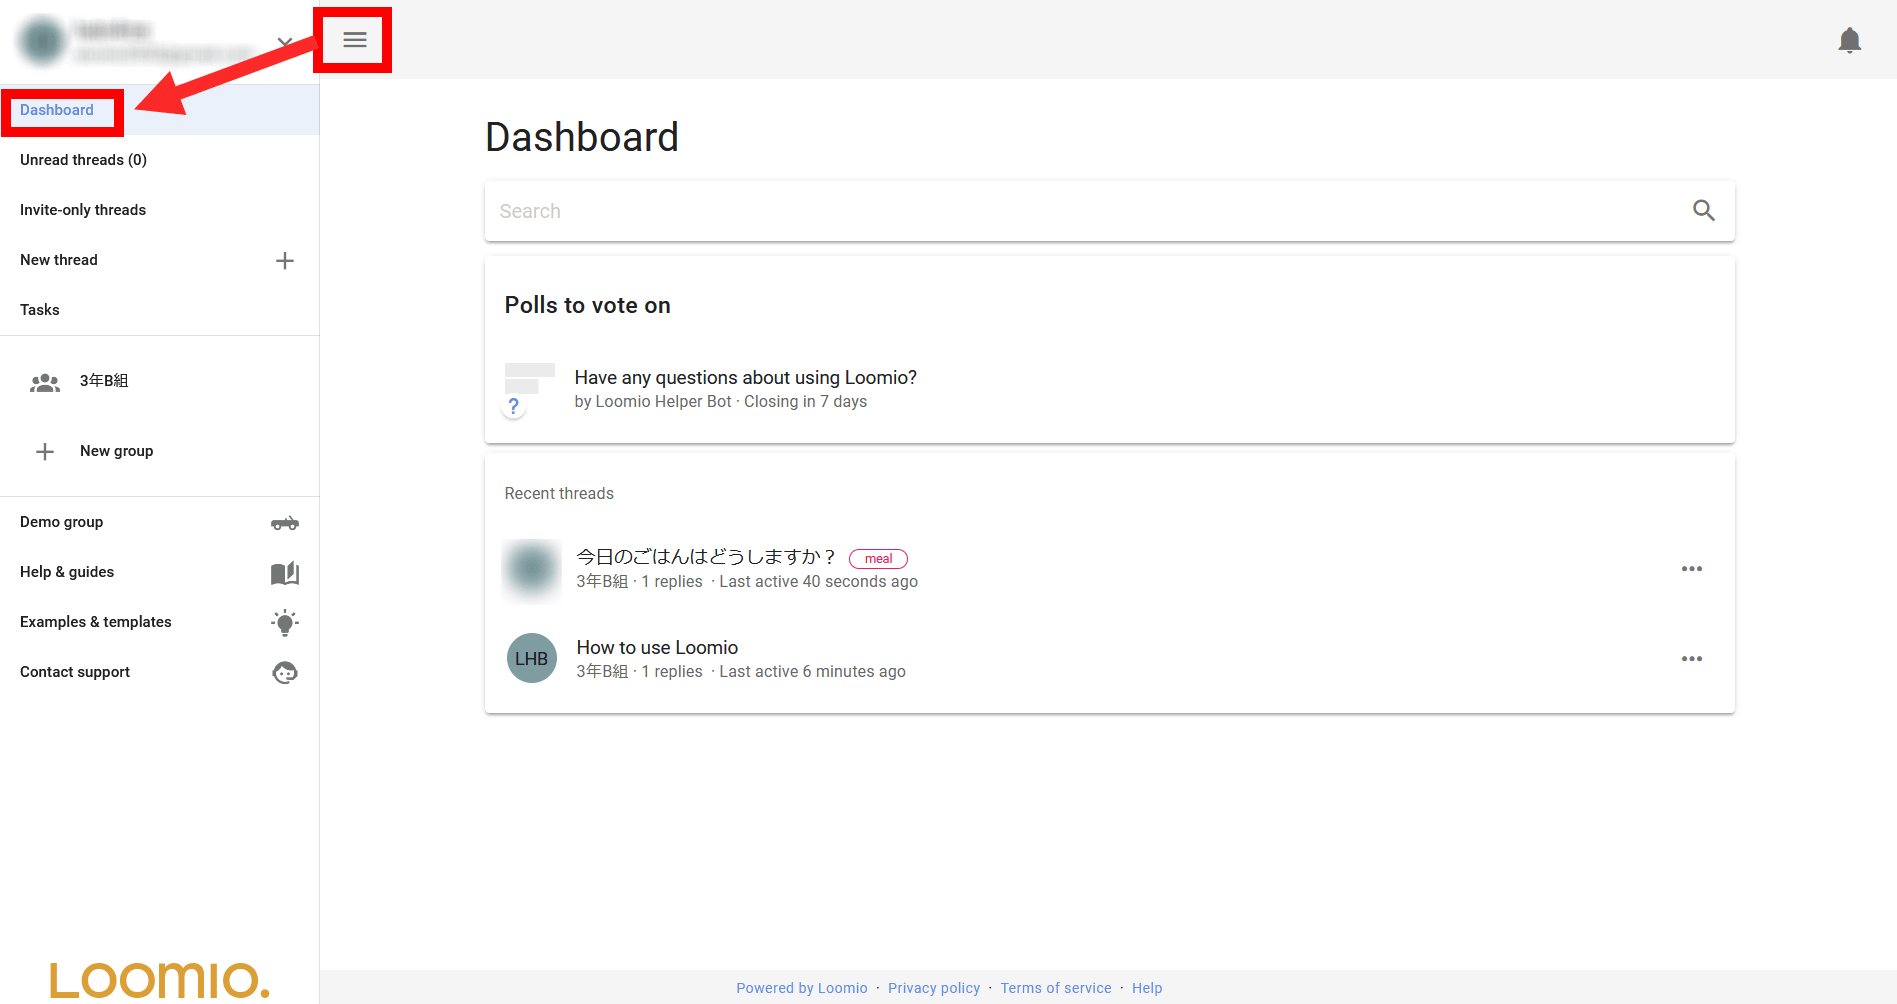
You can also return to the dashboard from the left column by clicking the hamburger icon on the top left.
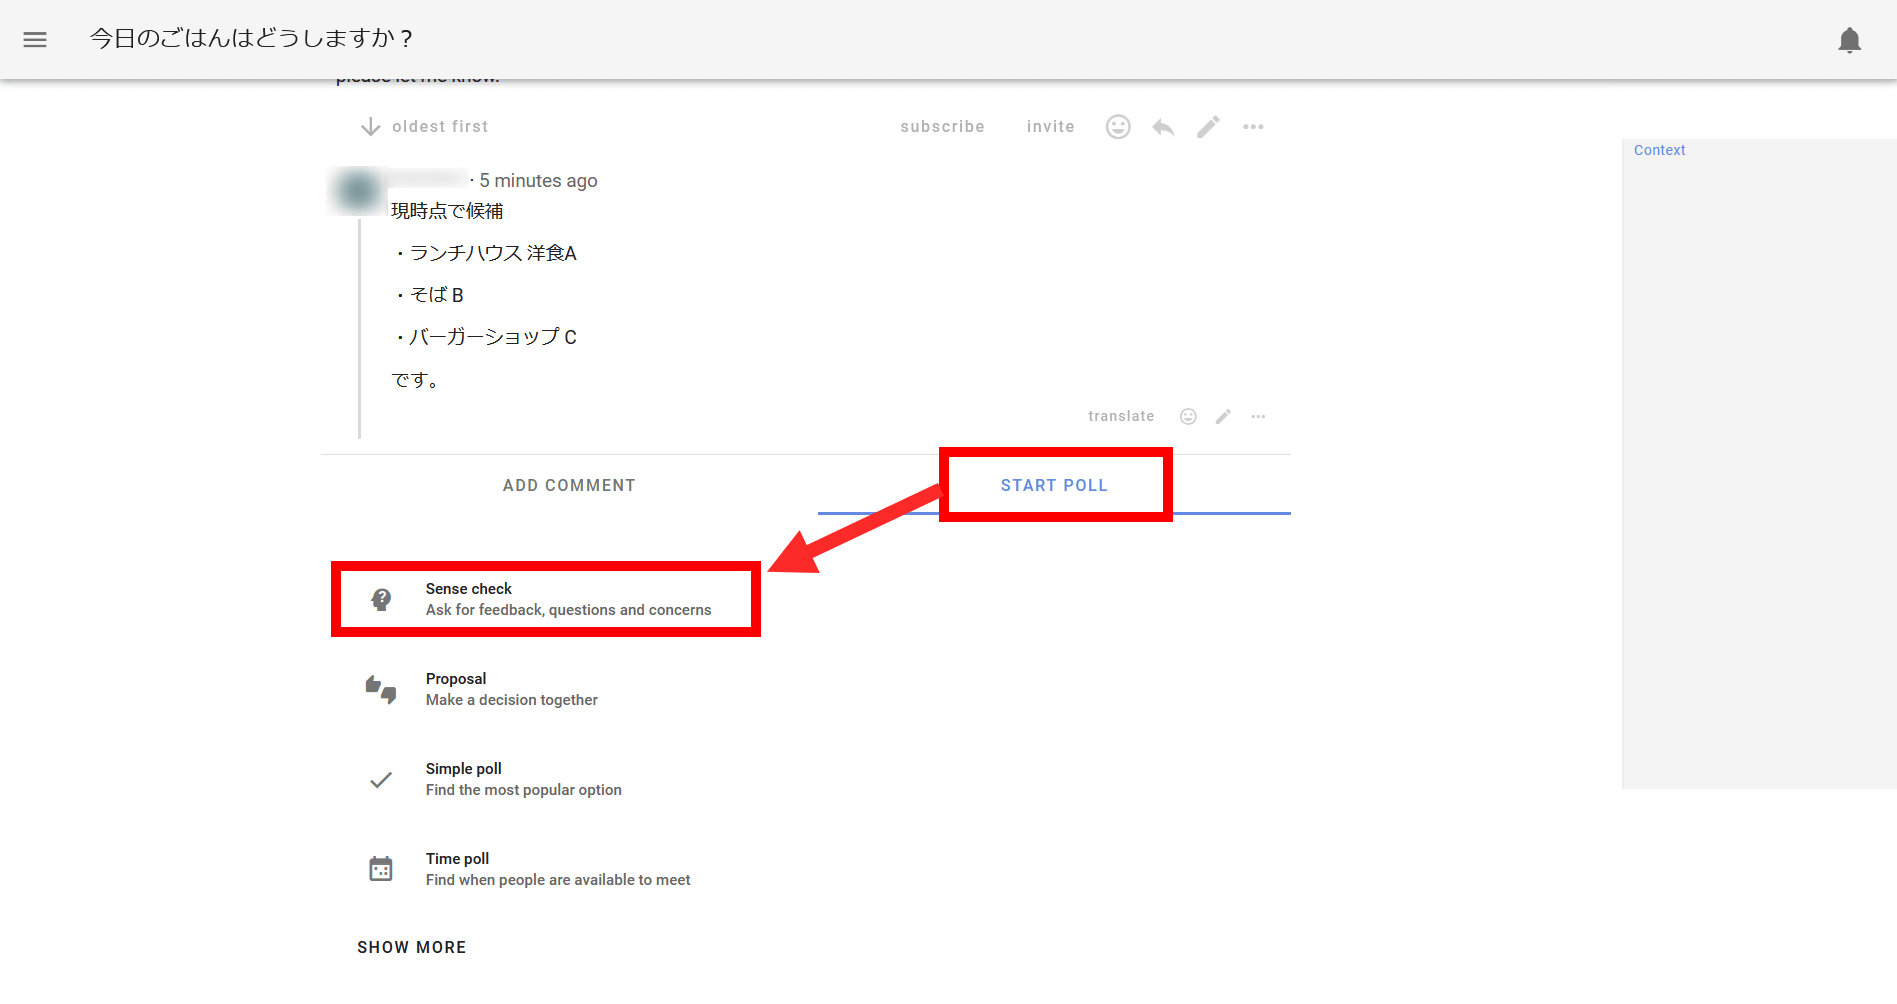
In addition, Loomio threads can have not only comments but also 'Poll' that allows you to select pros and cons and questionnaires. To create Poll, select the 'START POLL' tab in the thread. There are four types of Poll: 'Sense Check', 'Proposal', 'Simple Poll', and 'Time Poll'. This time I chose 'Sense Check'.
First, enter the Sense Check title, tags, and description.

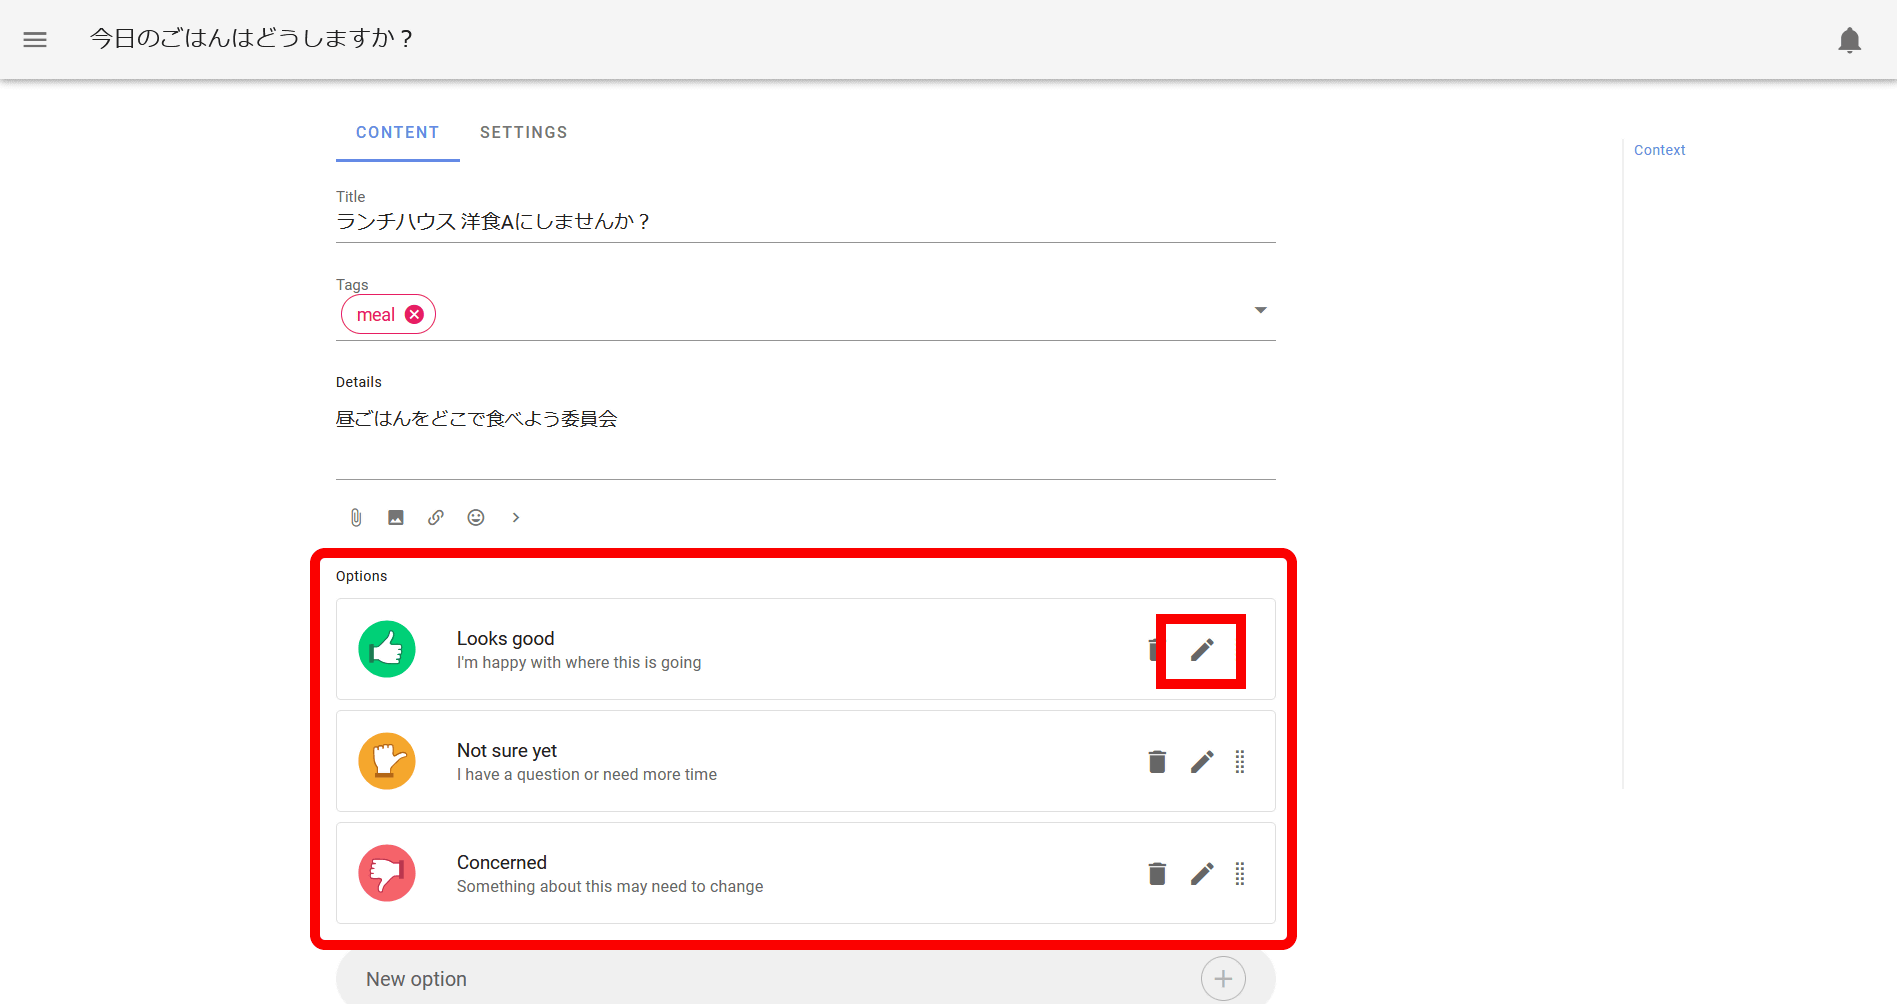
There are three options by default: You can edit the selection by clicking the pen icon.
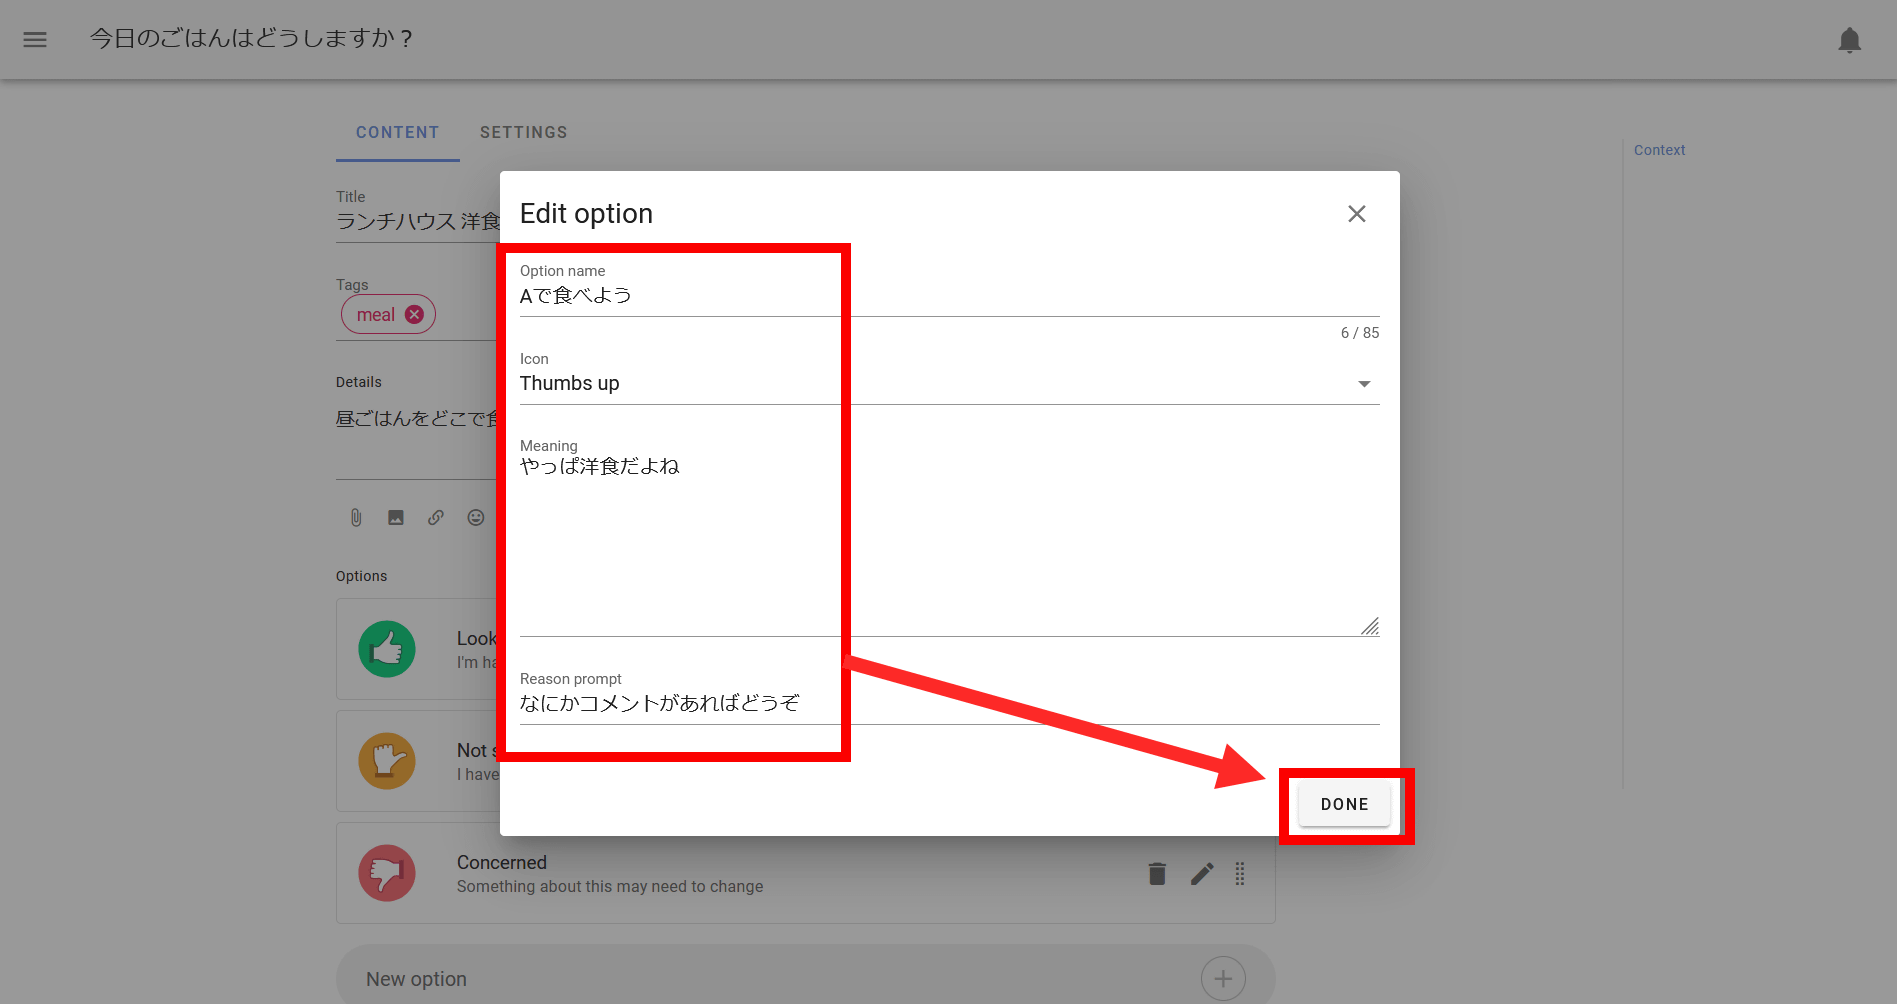
Enter the name in 'Option name', the icon of the option in 'Icon', the explanation of the vote in 'Meaning', and the explanation to be displayed in the reason input field in 'Reason prompt', and click 'DONE'.
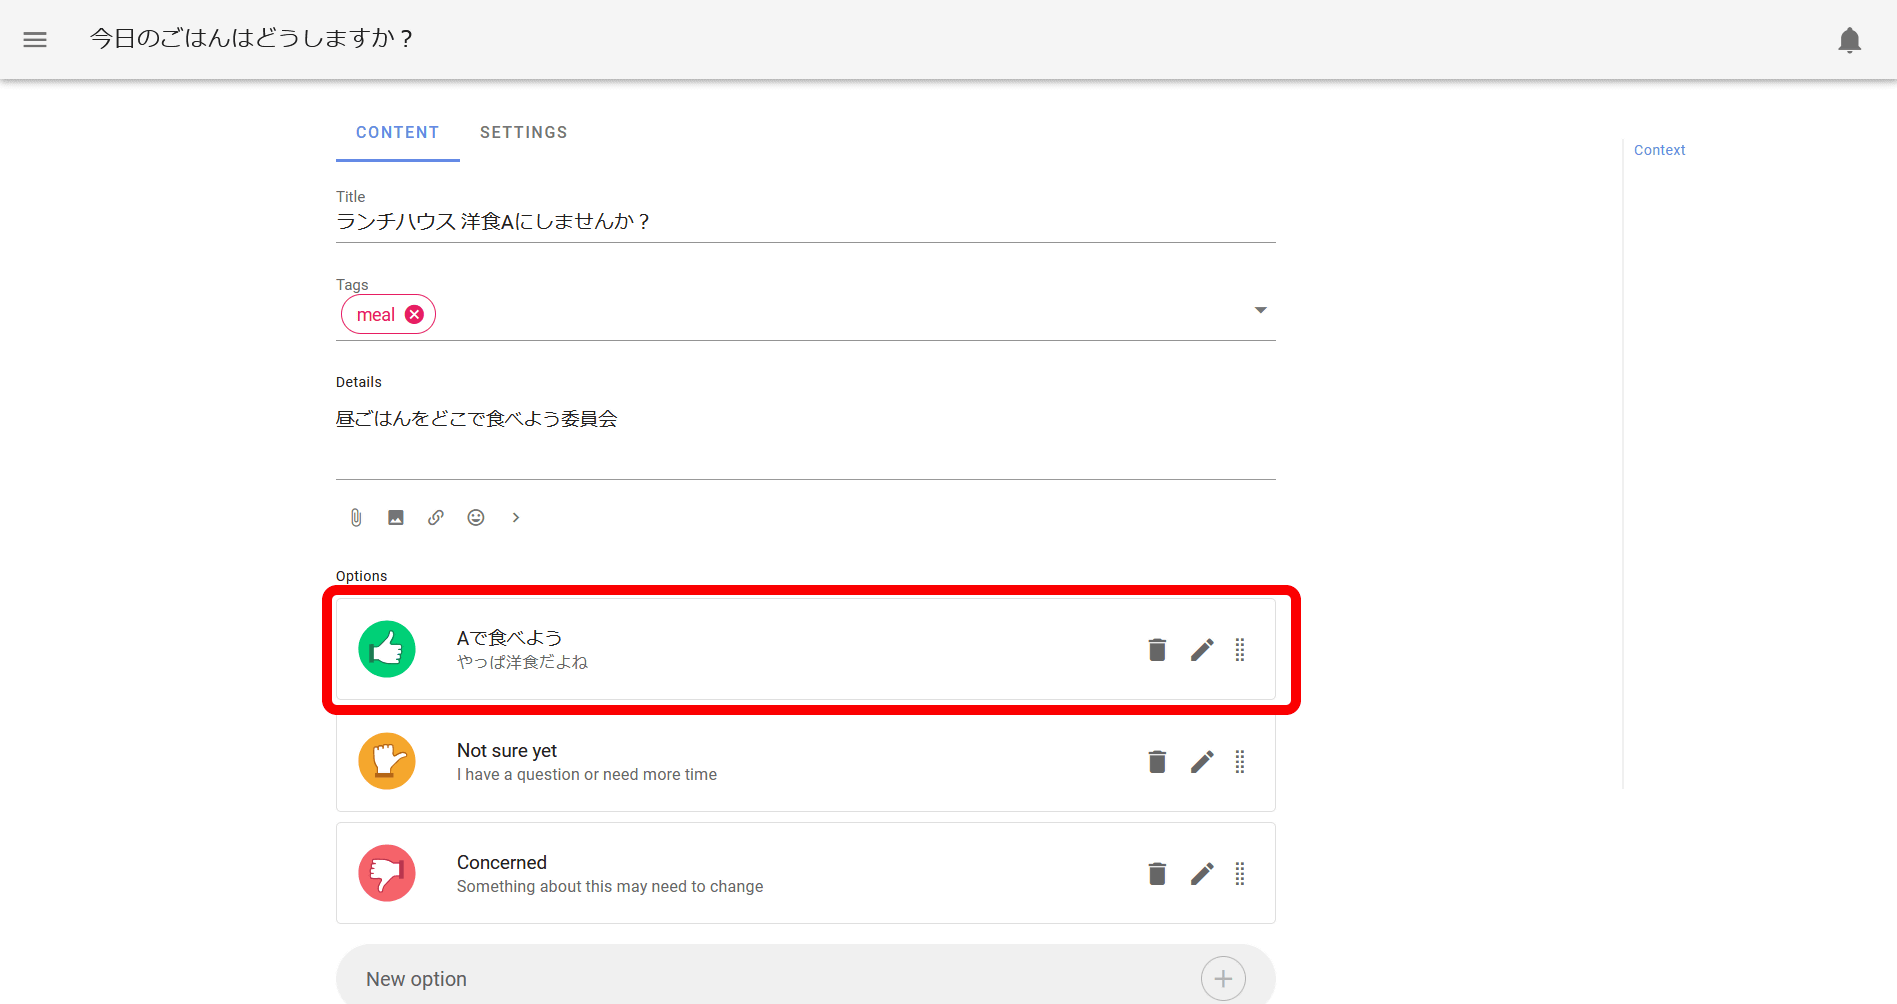
Then you can edit the options as follows.
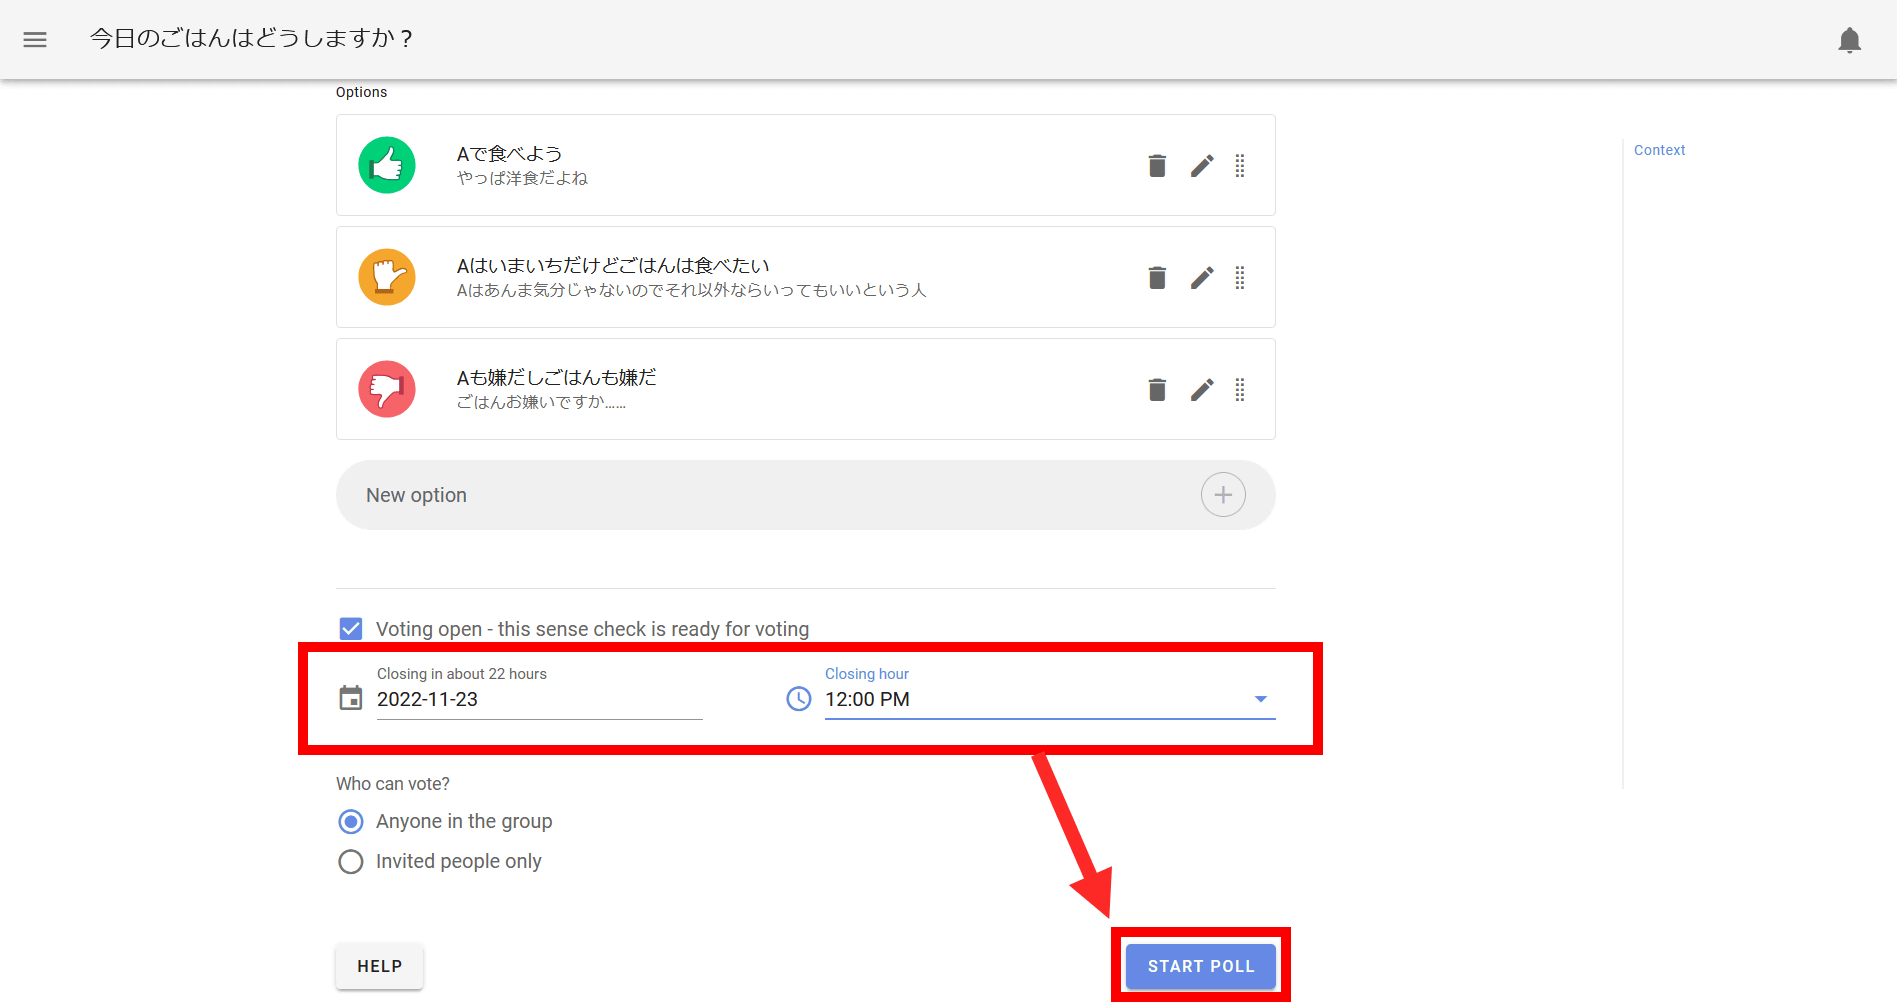
Similarly, after editing other options, set the date and time of the voting deadline and click 'START POLL'.
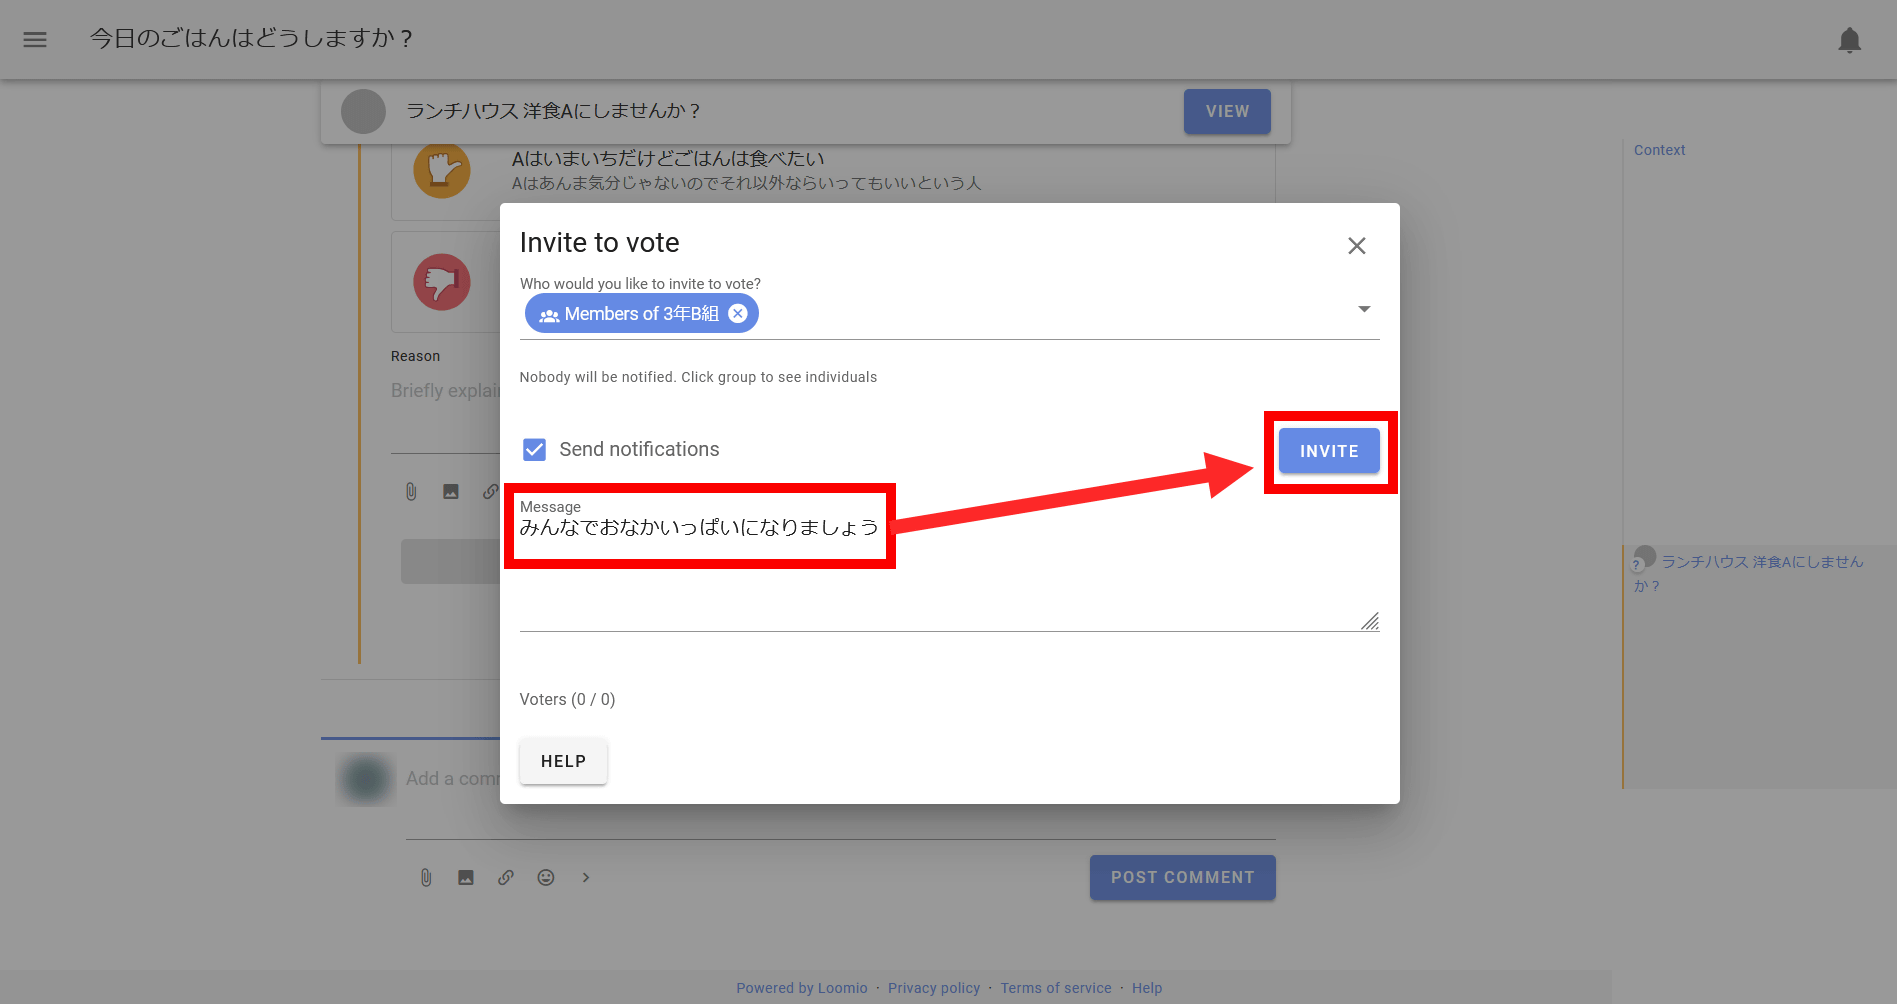
Since the invitation screen to vote is displayed, enter the invitation text and click 'INVITE'. Members of the same group will now receive a message inviting them to vote.
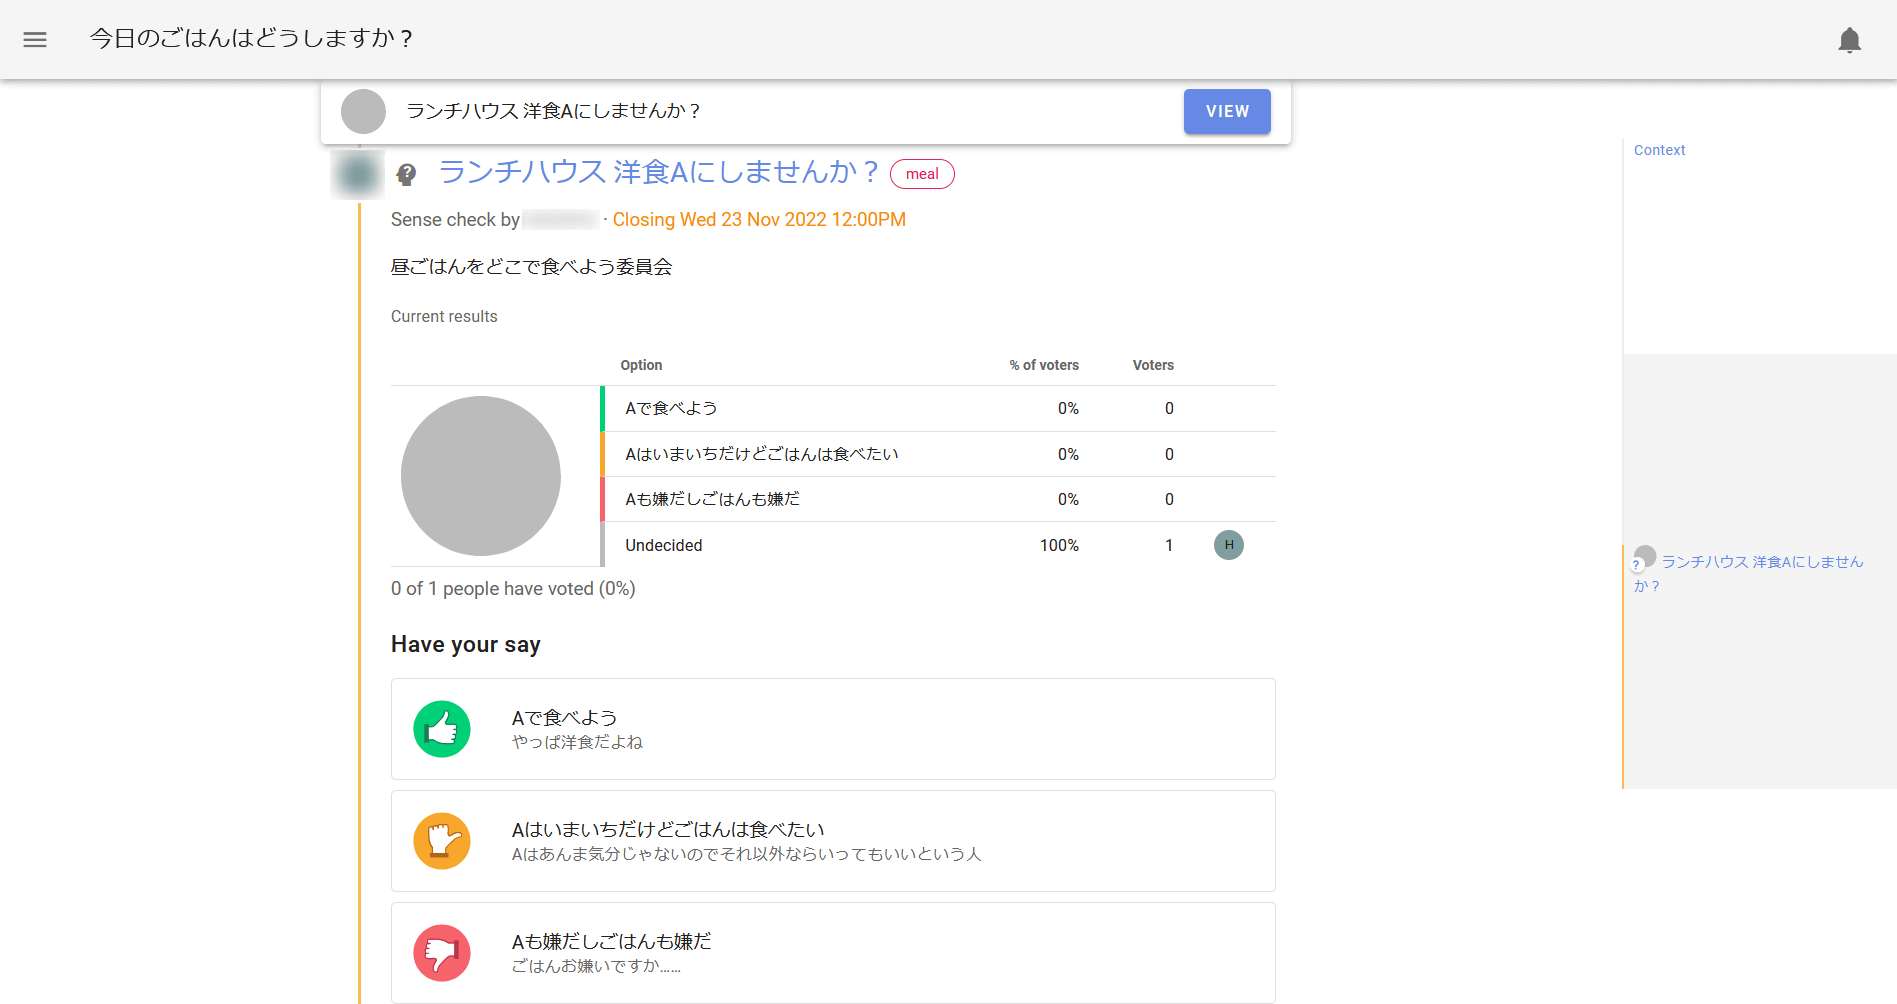
The created voting screen looks something like this.
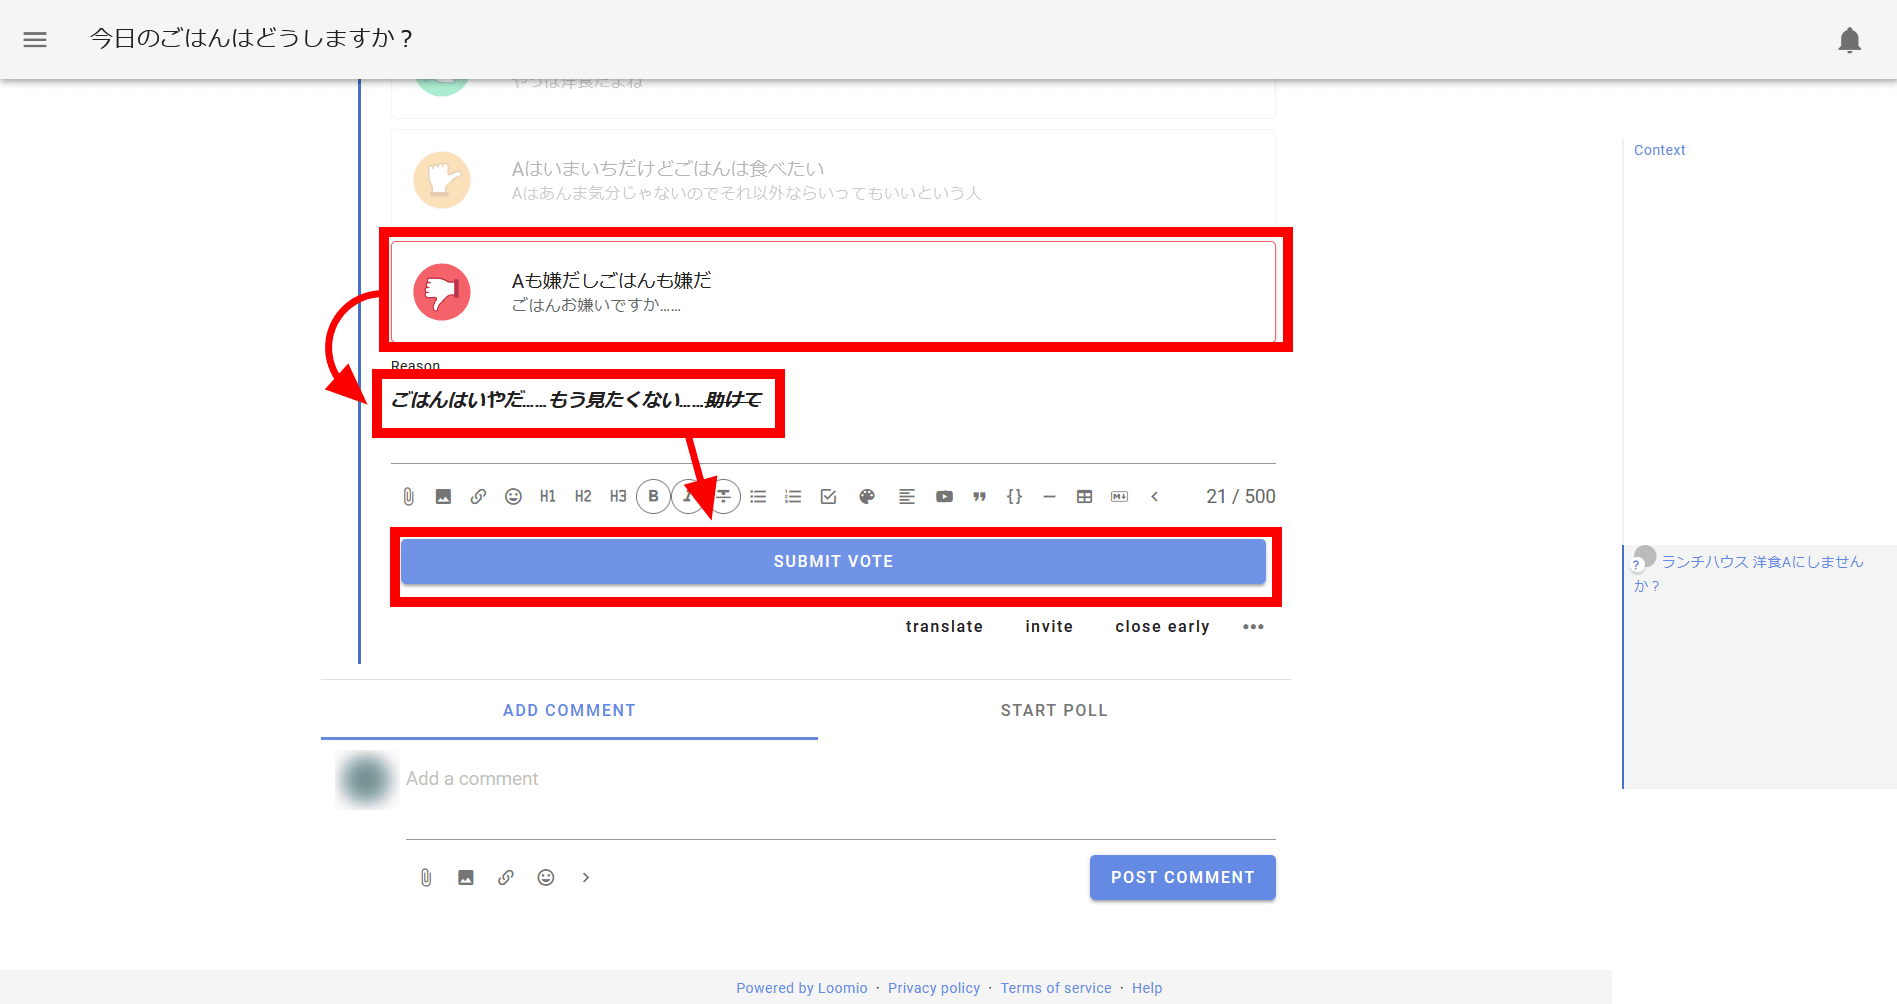
To vote, select an option, enter the reason and click 'SUBMIT VOTE'.
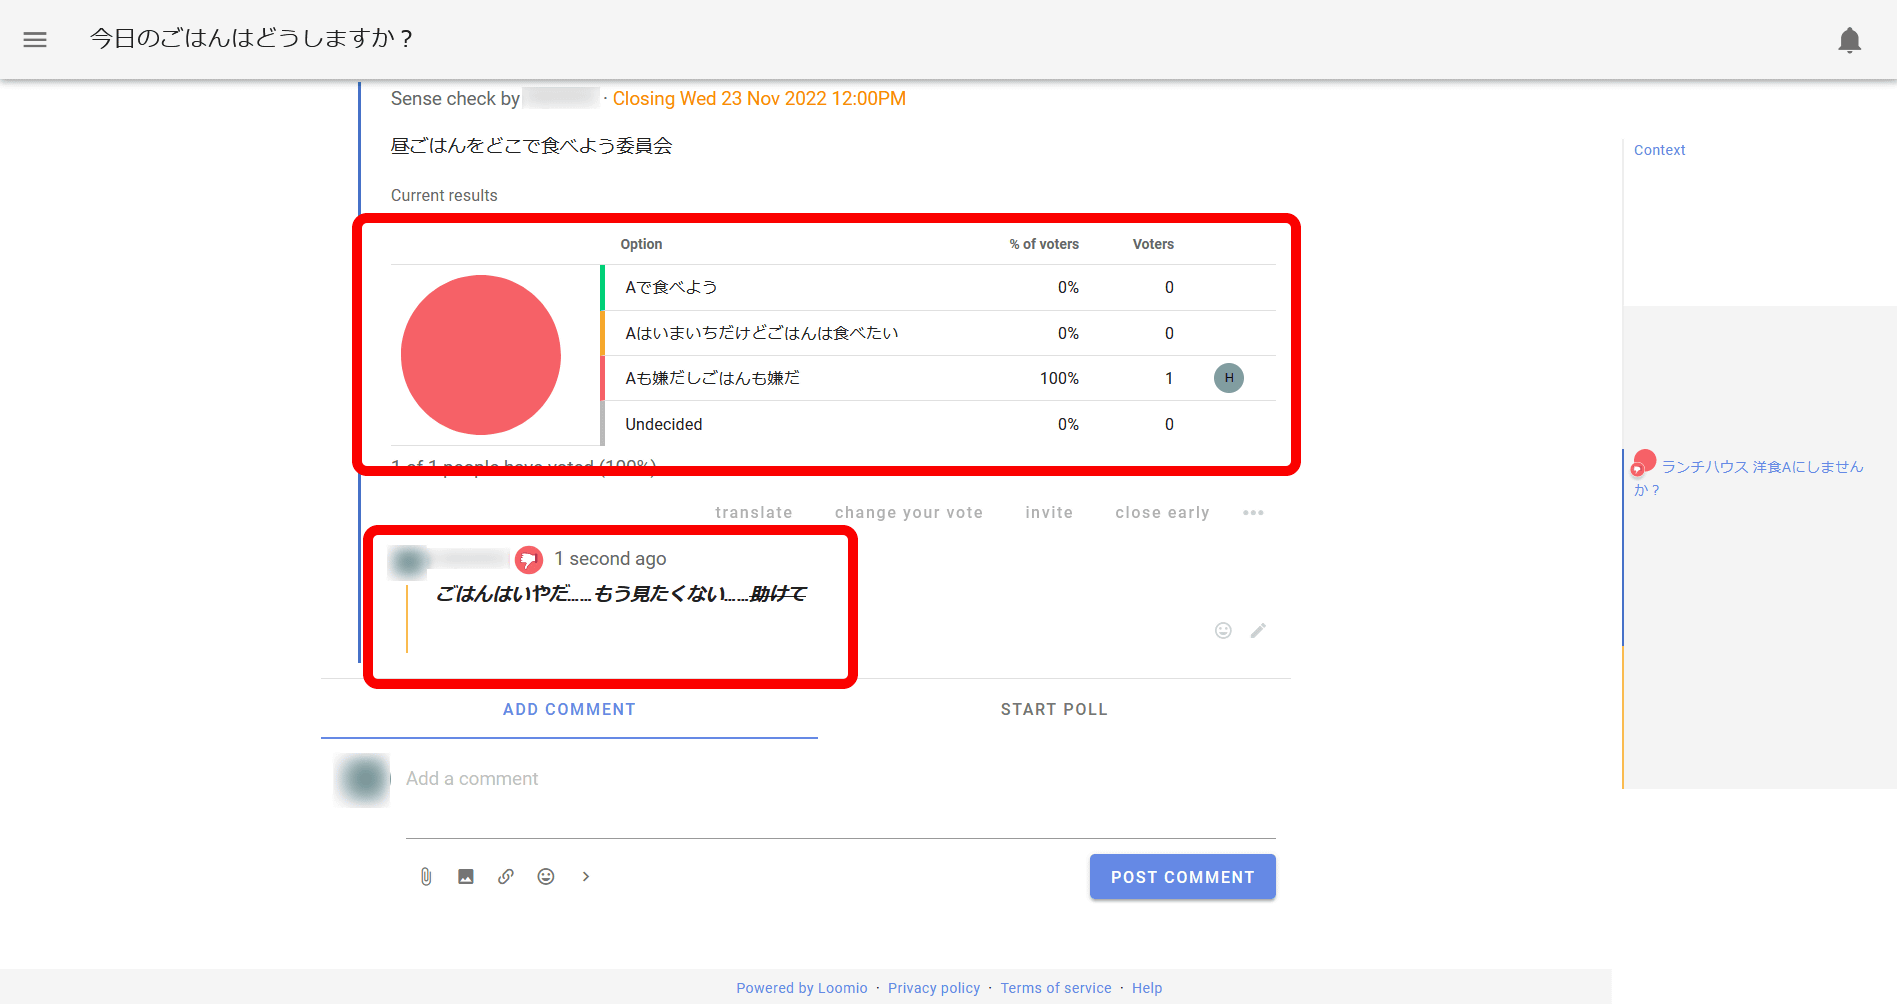
Voting result statistics will be displayed immediately as shown below, and the reason you entered will be posted in the form of a comment.
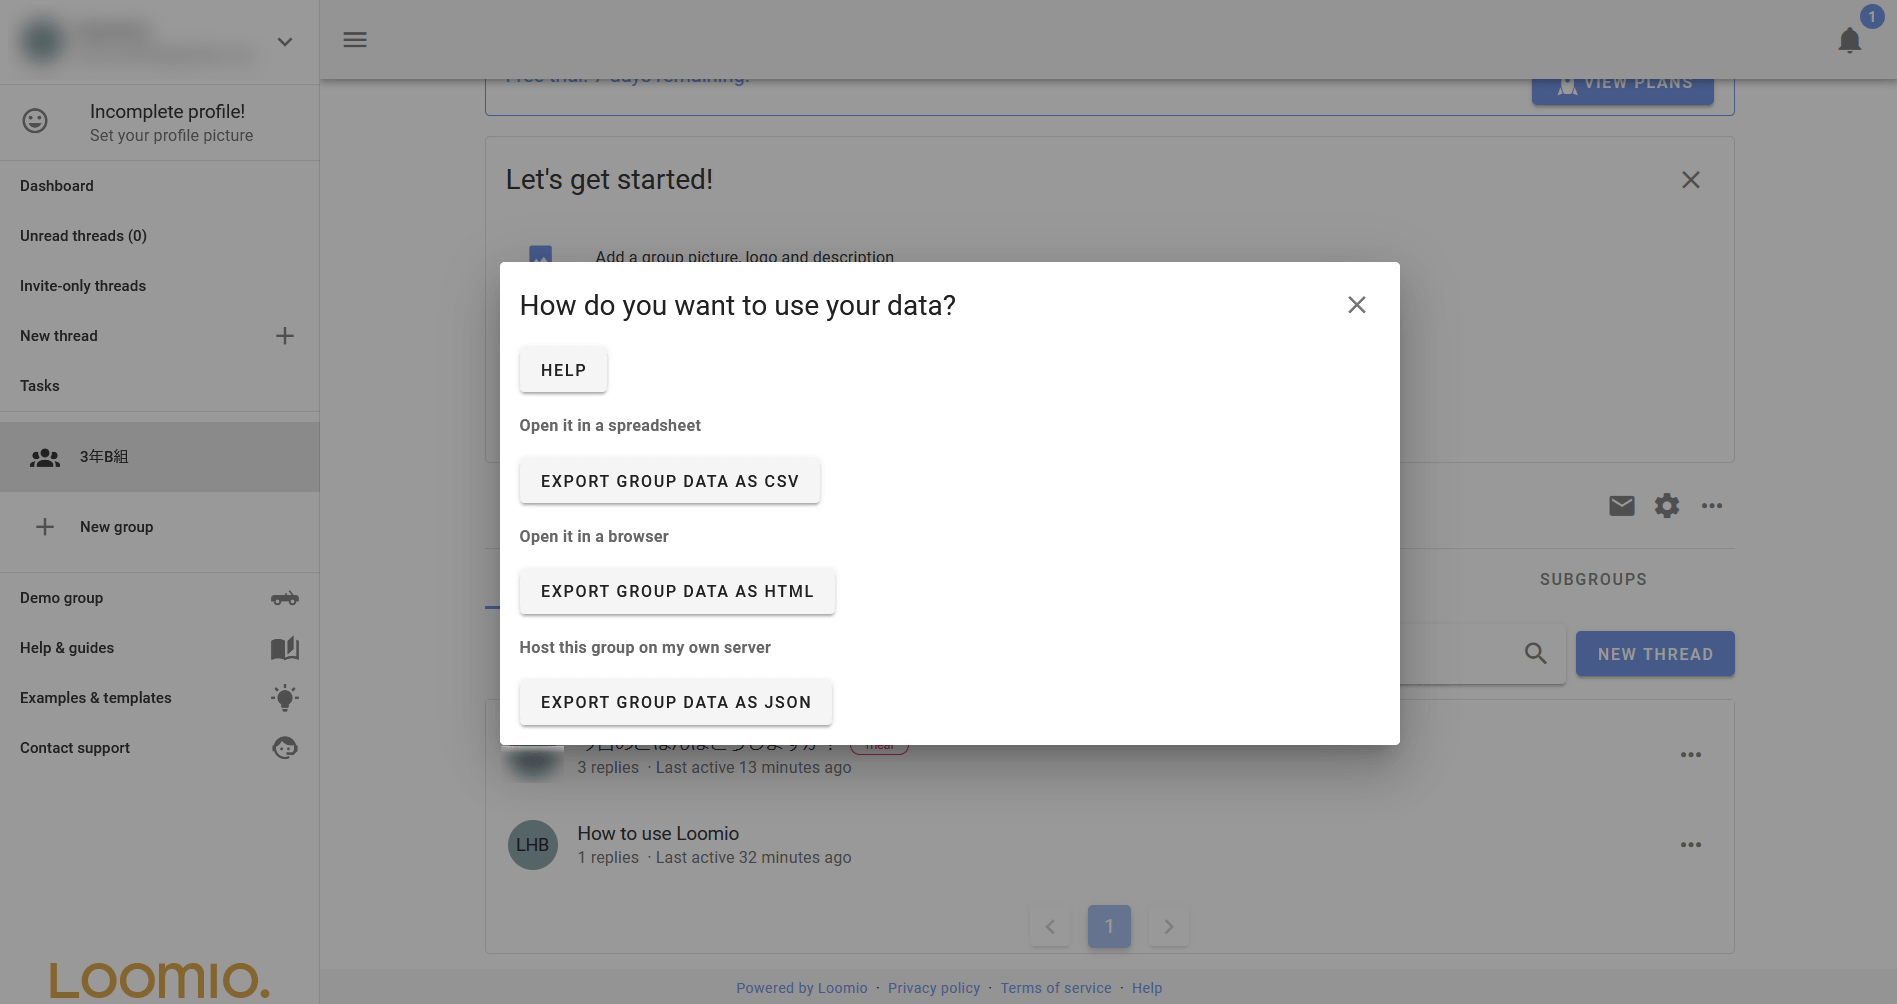
With Loomio, it is possible to propose an agenda and solicit votes in the group like this. In addition, you can also output the discussions held in the group collectively. Return to the dashboard and click the meatball icon in the upper right of the thread list.

Click 'Export group data' in the menu.

Then you can save all data in CSV format, HTML format,
Loomio has two versions, a cloud version and a server version, and the cloud version has four types of paid plans as follows. The basics are monthly or annual subscriptions, but only the Community plan can be purchased outright.
| Community | Starter | Pro nonprofit | Pro | |
| content | ●Volunteer group only All Loomio Features Up to 100 members can be created per group Self-service setup | All Loomio Features Up to 100 members can be created per group Self-service setup with customer support | Non-profit groups only All Loomio Features 10 groups and up to 2000 members can be created Loomio is in charge of setup and customer support Priority help | All Loomio Features 10 groups and up to 2000 members can be created Loomio is in charge of setup and customer support Priority help |
| price | Monthly fee: $ 10 (about 1400 yen) Purchase: $ 199 (about 28,000 yen) | Monthly fee: $ 25 (about 3500 yen) Annual fee: $ 199 (about 28,000 yen) | Monthly fee: $ 75 (about 10,600 yen) Annual fee: $ 649 (about 92,000 yen) | Monthly fee: $ 149 (about 21,100 yen) Annual amount: $ 1299 (about 184,000 yen) |
Also, the server version is free if you install it on your own server and operate it. When operating on a server prepared by Loomio, there is a charge, and the price is $ 490 per month (about 70,000 yen) and $ 4999 per year (about 700,000 yen).
Related Posts:


in Web Service, Review, Posted by log1i_yk