Review using the new 'nasne', how the ability of Buffalo that can externally attach 6TB with built-in HDD 2TB

Network recorder & media storage 'nasne ' with built-in tuner and HDD for terrestrial digital broadcasting & satellite digital broadcasting (BS / 110 degree CS) has been released for PC peripherals manufacturer Buffalo two years after the end of shipment in 2019. Will be resurrected from.
Basically, I actually tried using the new nasne, which is powering up while inheriting what the conventional nasne could do.
nasne ™ | Buffalo | Network recorder & media storage to enjoy TV anytime, anywhere | BUFFALO
https://www.buffalo.jp/nasne/
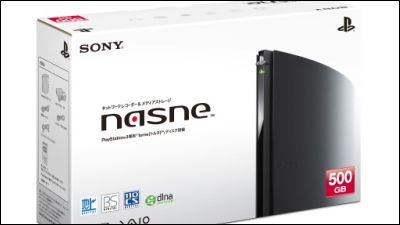
nasne is a network recorder released by SCE (currently SIE) in 2012. The internal HDD of the initial model was 500GB, but later a 1TB model also appeared. We have made many model changes, but it will be sold out in 2019. The following year, 2020, it was announced that Buffalo would succeed.
Buffalo inherits the network recorder 'nasne' and releases it in the spring of 2021 --GIGAZINE

◆ Appearance of the main body
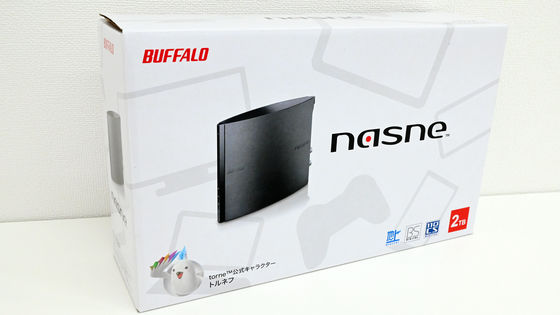
This new 'nasne' will be released at the end of March 2021. The bottom box looks like this, and although it has the Buffalo logo, it inherits the image of the conventional 'nasne'.
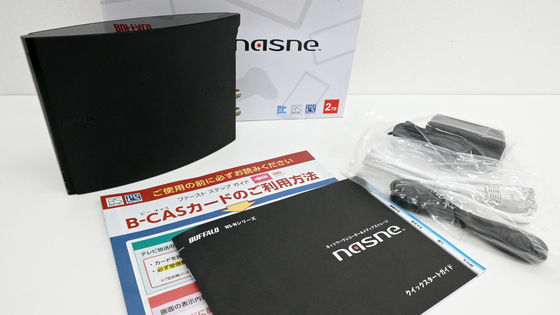
The contents are nasne body, miniB-CAS card, quick start guide, AC adapter, LAN cable, antenna cable.
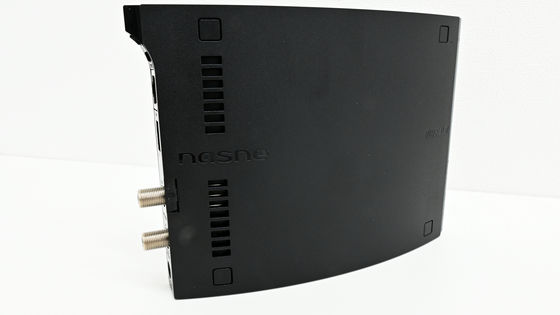
The main body dimensions are approximately 44.5 mm wide x 187 mm deep x 135 mm high. The left side of the photo is the front of the main unit, and there are lamps indicating power supply, network connection, and HDD access. There are 'Buffalo' and 'nasne' logos on the right side.
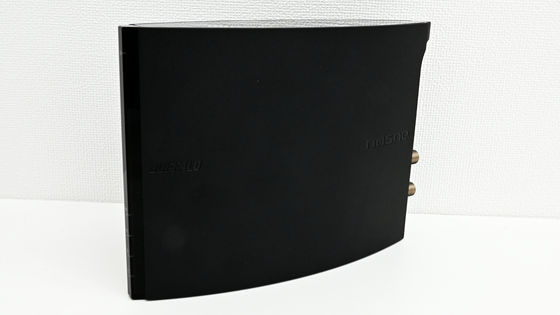
There is a heat exhaust slit on the left side along with the logo.
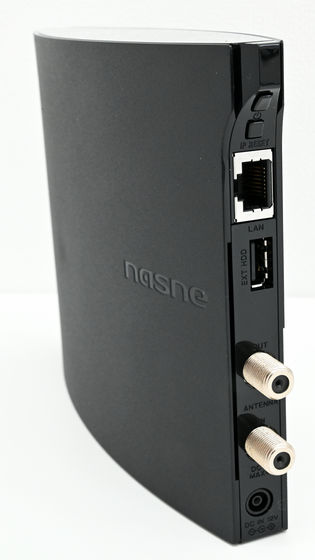
There is a power button, IP reset button and LAN port, USB port for connecting an external HDD, antenna output / input terminal, and power terminal on the back.
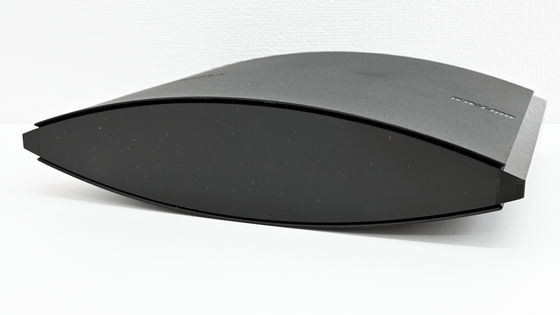
There are no slits on the top.
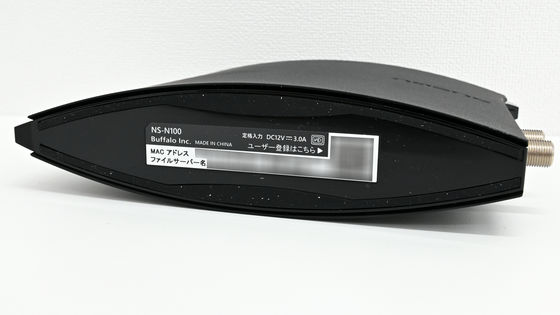
There is a sticker on the bottom that shows the MAC address and the location of the file server.
◆ Preparation for nasne
To use nasne, first insert the included miniB-CAS card into the card slot at the rear of the left side of the main unit.
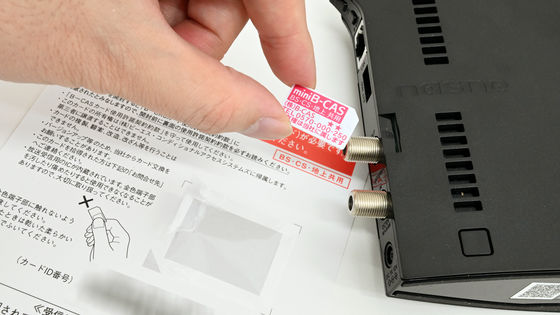
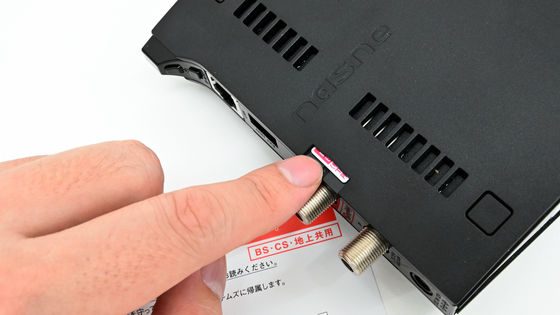
Push the card all the way in to lock the card. If you want to remove it, push it in again to unlock it.
Next, connect the antenna output terminal at home and the input terminal of nasne with an antenna cable. Since the terminals of nasne are a mixture of terrestrial digital and satellite digital, if you have two antenna output terminals at home (terrestrial digital and satellite digital are separate), you need to combine them into one using a mixer.
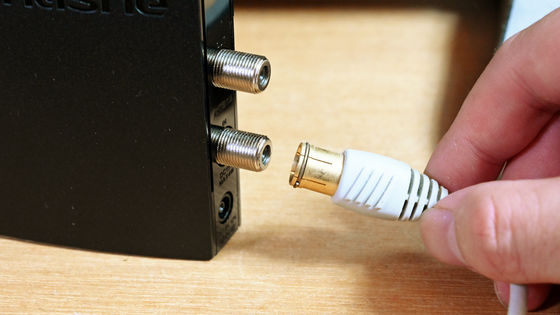
Next, connect the antenna cable to the output terminal of nasne. Since the output of nasne is a mixture of terrestrial digital and satellite digital, it is divided into two by a demultiplexer.
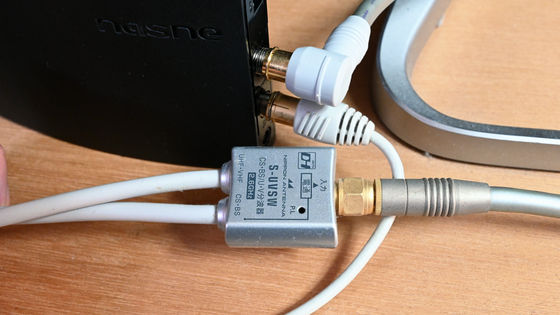
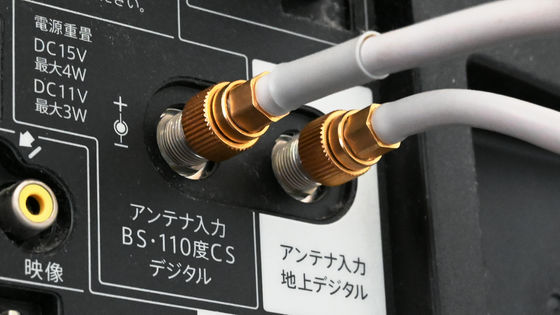
Connect the separated cables to the terrestrial digital input terminal and satellite digital input terminal of the TV, respectively.
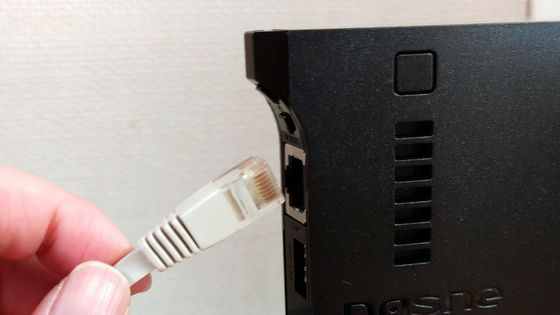
Connect the LAN cable to nasne. In order to use the network recorder nasne, the PS4, smartphone, and tablet to be operated must be connected to the same network.
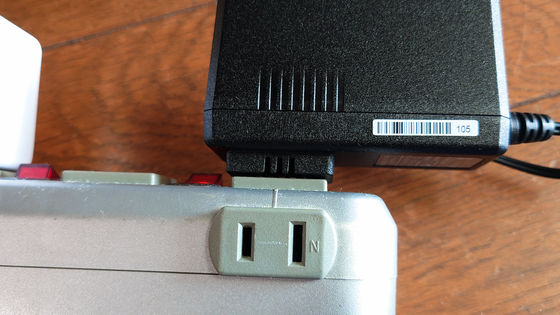
All you have to do is connect the power supply. In addition, since the plug of nasne is a large type horizontally, it is okay if the outlet holes are lined up vertically, but if it is a tap that is lined up side by side, it may interfere with the neighbor.
When the ready nasne is lined up with PS4, it looks like this.
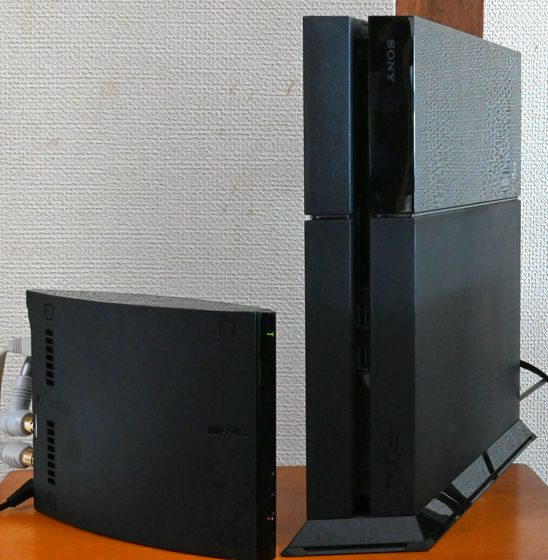
◆ Watch and record programs on 'nasne' using PlayStation 4 version 'torne'
Operate nasne on PlayStation 4 or iOS / iPadOS / Android smartphones & tablets.
For PlayStation 4, you need to install 'torne'.
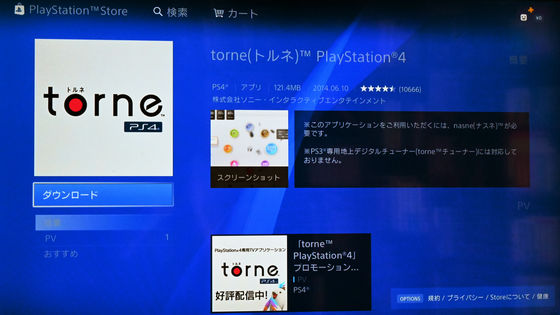
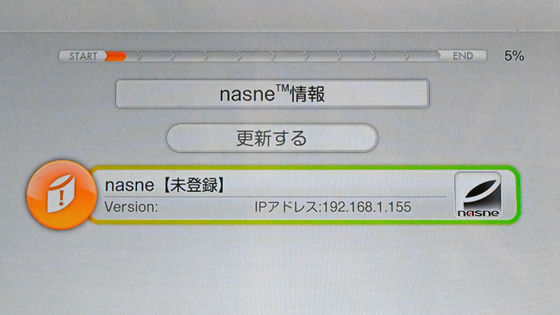
To set up 'torne', basically just follow the instructions on the screen. Among them, register the 'nasne' prepared earlier.
The official torne character,
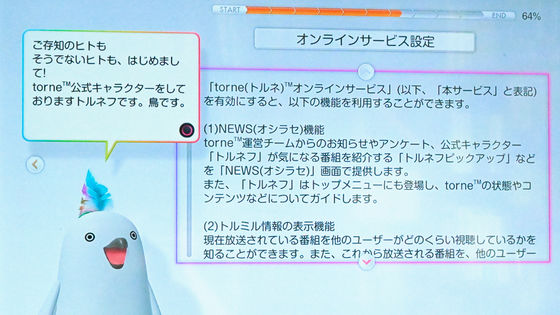
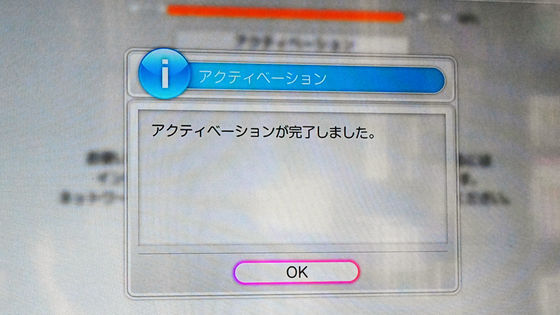
It takes less than 10 minutes to complete the final activation.
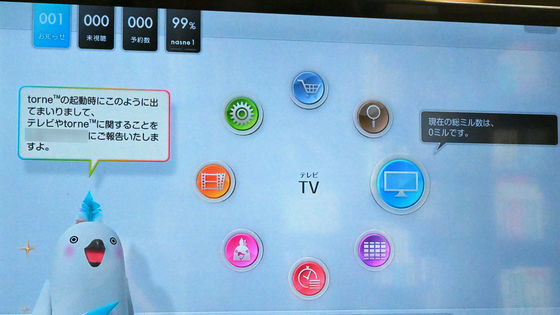
The basic screen of torne looks like this. If you select 'TV', you can watch the program being broadcast.
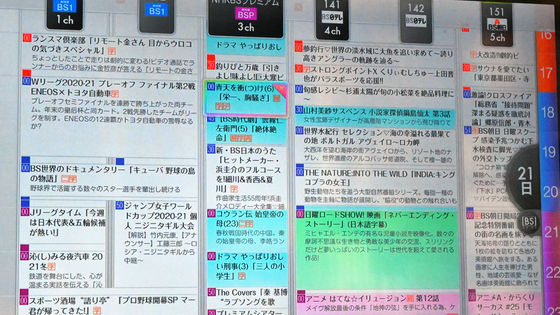
The program guide looks like this, and it can be scaled up or down. Color coding is based on the program type such as 'news', 'movie', 'sports', and 'animation', and you can change it yourself. As long as the network connection is not cut off, the program guide acquisition is fairly fast, and the acquired program guide can be moved up, down, left, and right.
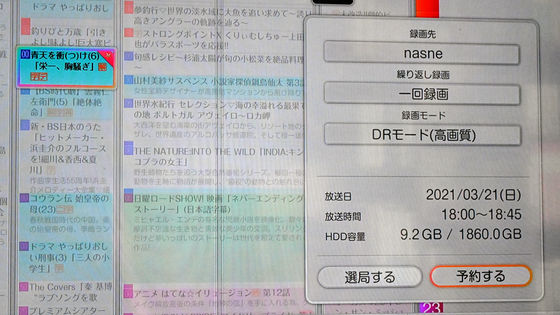
When recording, select the program you want to record, select the recording destination, repeat, and select the recording mode. There are two recording modes, 3x mode and DR mode.
By the end of 2021, 'torne' for PS5 will also be released.
The PS5 ™ TV application 'torne®' will be released for the 2021 year-end sales season! – PlayStation.Blog
https://blog.ja.playstation.com/2021/03/17/20210317-torne/
◆ Watch and record programs with 'torne mobile' for smartphones and tablets
In addition to 'torne' for PlayStation, an app 'torne mobile' is available so that you can use nasne on your smartphone or tablet.
'Torne ™ mobile' on the App Store
https://apps.apple.com/jp/app/torne-mobile/id949323340
torne ™ mobile-Google Play app
https://play.google.com/store/apps/details?id=com.playstation.tornemobile
This time I will install it on my iPhone.
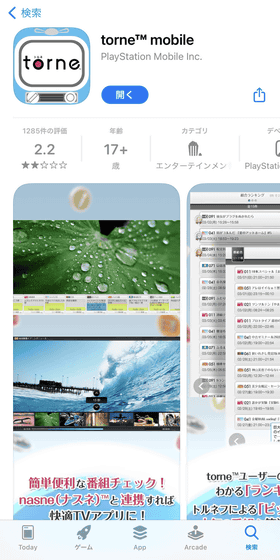
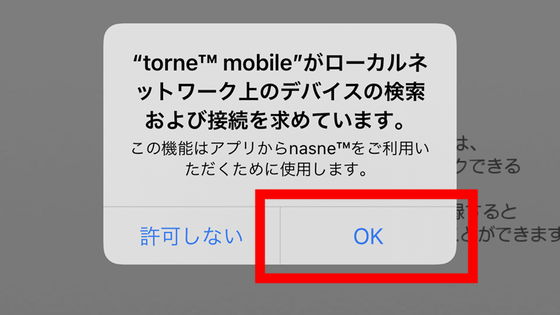
After installation, when you start up for the first time, a dialog will appear asking you to search for and connect to a device on the local network, so tap 'OK'. If you do not allow this, you cannot use nasne.
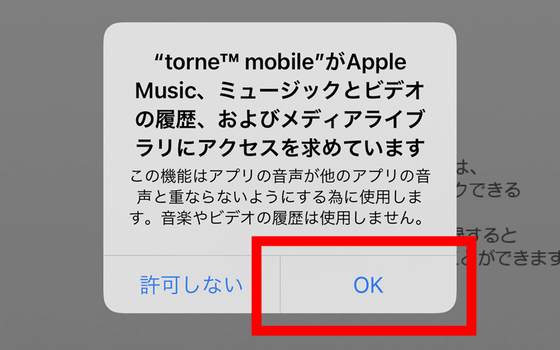
Next, you will be asked to access the history of Apple Music, so tap 'OK'. This is used to prevent the audio of the app from overlapping with the audio of other apps, and nasne does not use the history.
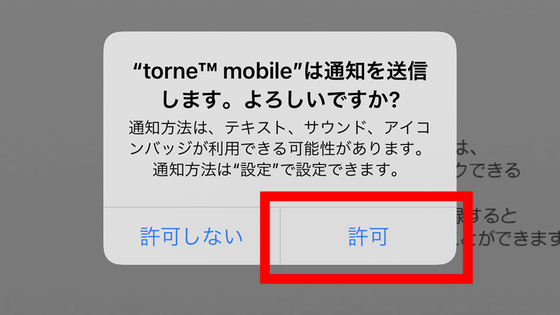
Tap 'Allow'. If you don't need the notification, you can turn it off.
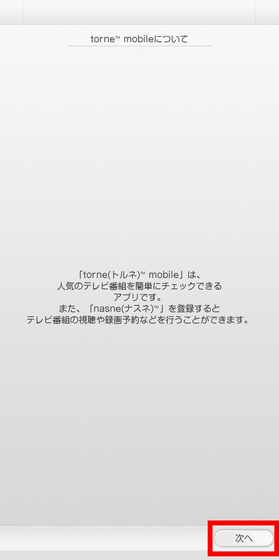
Basically, just follow the instructions and tap 'Next' to proceed with the initial settings of torne mobile.
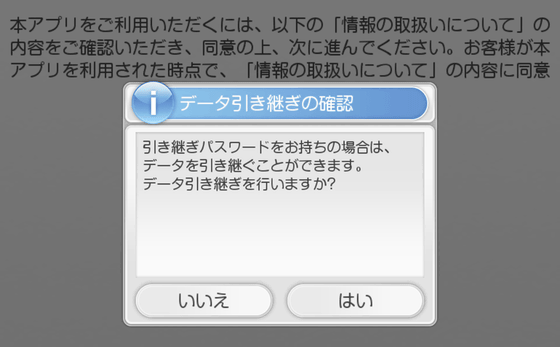
Along the way, the 'Confirm data transfer' dialog is displayed. This is used when data is taken over from the old terminal when the smartphone or tablet is switched to the new terminal. If you do not need it, click 'No'.
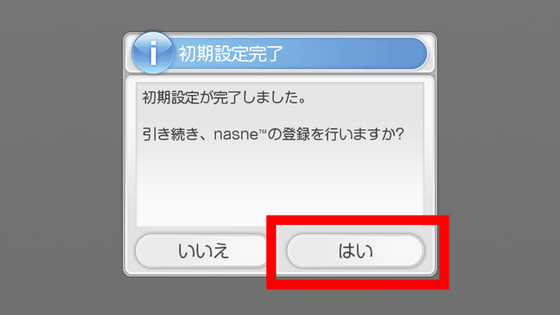
After the initial settings, nasne will continue to be registered, so tap 'Yes'.
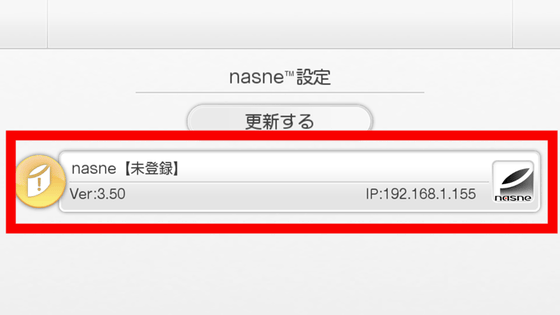
Tap the connected nasne.
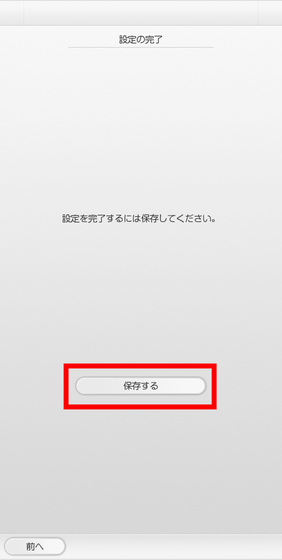
After completing various settings, tap 'Save'.
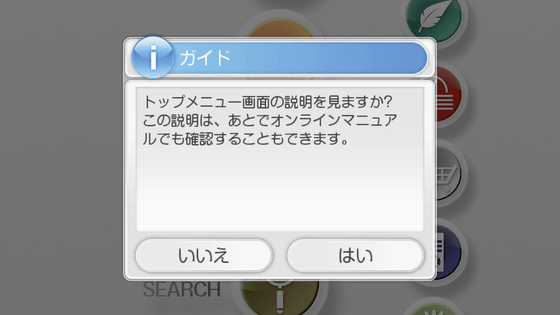
When each screen is displayed for the first time, a dialog asking whether to view the explanation is displayed. You can also check the explanation in the
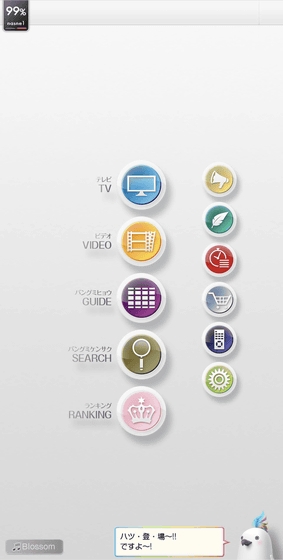
The home screen of torne mobile looks like this. The arrangement of the icons is a little different from torne, but what you can do is basically the same.
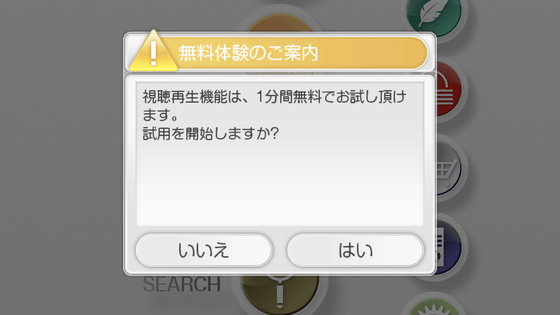
To watch TV or play recorded video, you need to purchase the 'viewing / playback function' for 610 yen including tax.
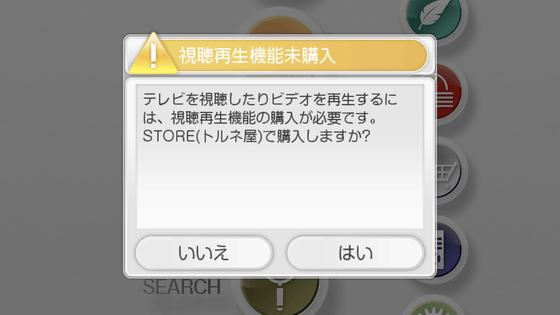
However, since it is set so that you can try it for only 1 minute, you can check whether you can really watch and play it on your device. When I checked it in my environment, the playback was very smooth and I didn't feel any difference from when I was watching it with torne. Watching TV seemed to be delayed by about 3 seconds compared to broadcasting.
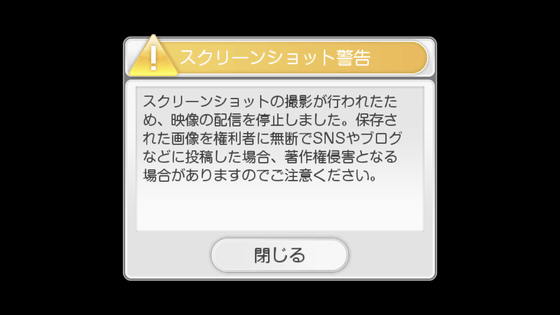
Please note that you cannot take screenshots of the screen you are watching or playing.
◆ 'nasne HOME' that manages nasne settings
The nasne settings are made on the page 'nasne HOME'. This page can be opened from within the 'torne' and 'torne mobile' settings, and can also be accessed on a PC.
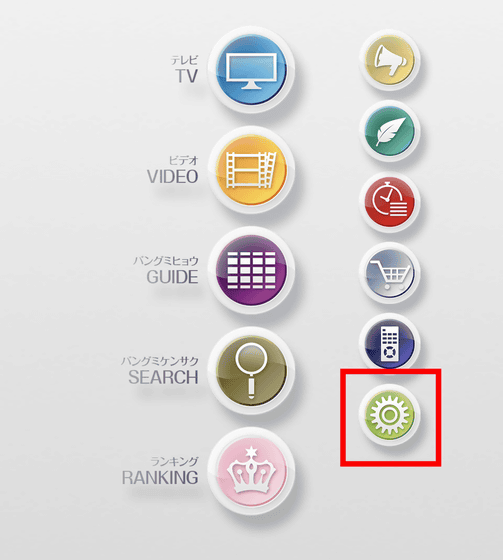
For 'torne mobile', tap the gear icon.
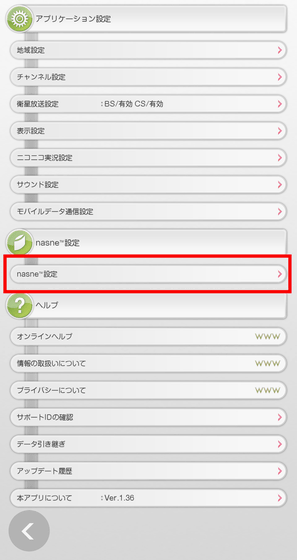
Tap 'nasne settings'.
Tap the nasne you want to set.
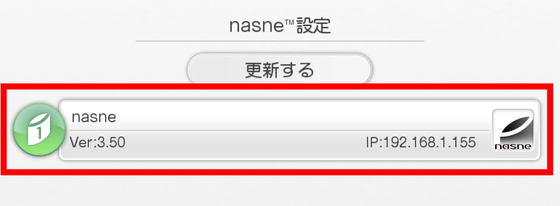
Tap 'nasne HOME'.
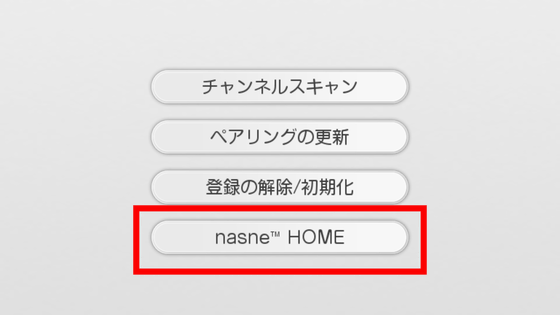
Tap 'Yes'.
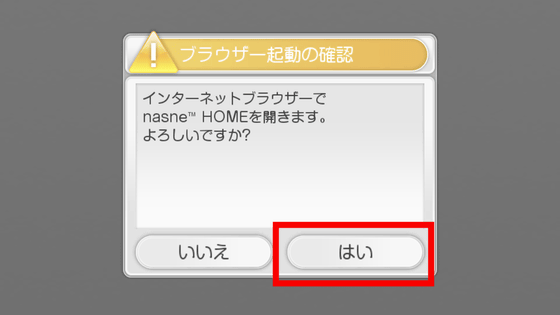
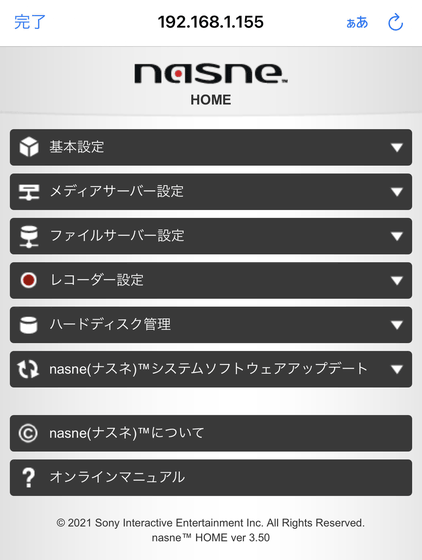
Then 'nasne HOME' will open in your browser. The flow is the same for 'torne'.
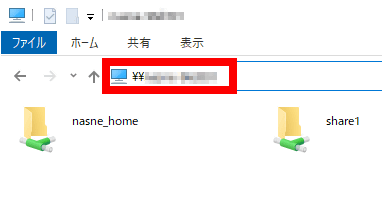
When accessing with a PC, enter '\\ [media server name written on the bottom of nasne]' in the address field of Explorer and press Enter to see the folders 'nasne_home' and 'share1'. open.
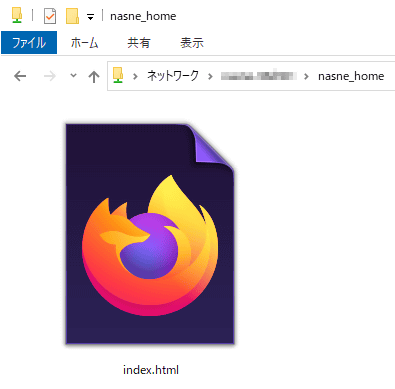
There is an 'index.html' file in the folder, so open it.
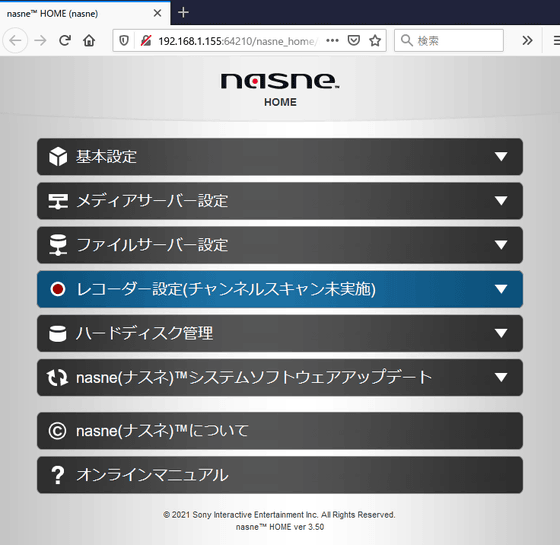
Then 'nasne HOME' will open. In addition, '192.168.1.155' in the address column is the IP address automatically assigned in this setup, so it depends on the environment.
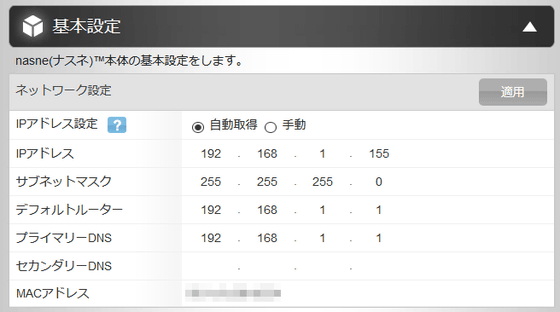
In 'Basic settings', it is possible to manually set and fix the IP address.
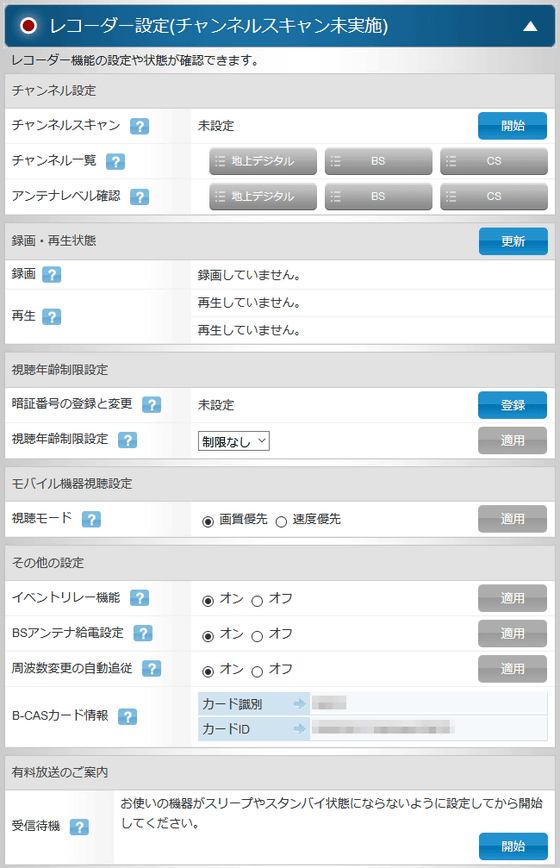
In 'Recorder settings', you can set channel scan, age limit for viewing, and whether to prioritize image quality or speed when viewing on mobile devices.
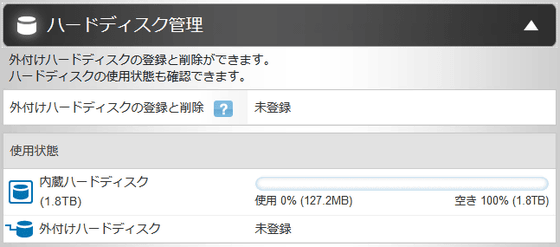
In 'Hard Disk Management', you can register / cancel the external HDD and check the usage status. The internal HDD is 2TB, and up to 6TB can be attached externally.
◆ Difference between Buffalo and SIE nasne
The SCE / SIE nasne that was on sale until 2019 and the Buffalo nasne that was revived in 2021 haven't changed much in appearance, but have undergone major changes internally.
First, the SIE nasne's internal storage was up to 1TB, but the Buffalo's was 2TB. In addition, the maximum capacity of external storage has been increased from 2TB to 6TB. In the first place, SIE products did not support portable HDDs and SSDs, but Buffalo products do, which is a big difference. The supported file system for storage has changed from FAT32 to XFS , and the nasne built-in function allows you to format the storage to XFS.
Due to the change in heat generation that accompanies this, the fan design has been changed from fanless to equipped with a silent fan.
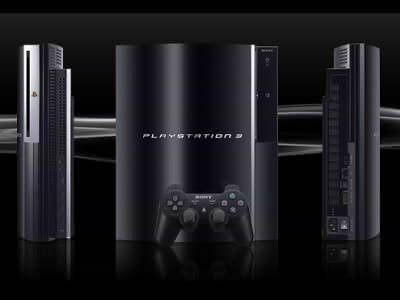
In addition, as a slightly scraped part, there is a point that it is not compatible with PS3, PS Vita, PS Vita TV, BRAVIA. The first model of PS3 was released in November 2006, PS Vita was released in December 2011, 15 years and 10 years have passed, respectively, but PS Vita TV was released in November 2013, the same as PS4. did.
The new Buffalo nasne will be available at the end of March 2021.
Amazon | Buffalo nasne HDD Recorder 2TB Terrestrial Digital / BS / CS Tuner torne Scheduled to be released at the end of March [PS4 / iPhone / iPad / Android / Windows compatible] NS-N100 | Buffalo | Terrestrial Digital Tuner
Related Posts:

