An 'iRobot Root' review where you can move, shine, and ring a 'little rumba' to learn programming
Robot maker '
Programming Robot Root | iRobot Official Website
https://www.irobot-jp.com/root/
You can see how Root actually works by watching the following movie.
◆ Appearance
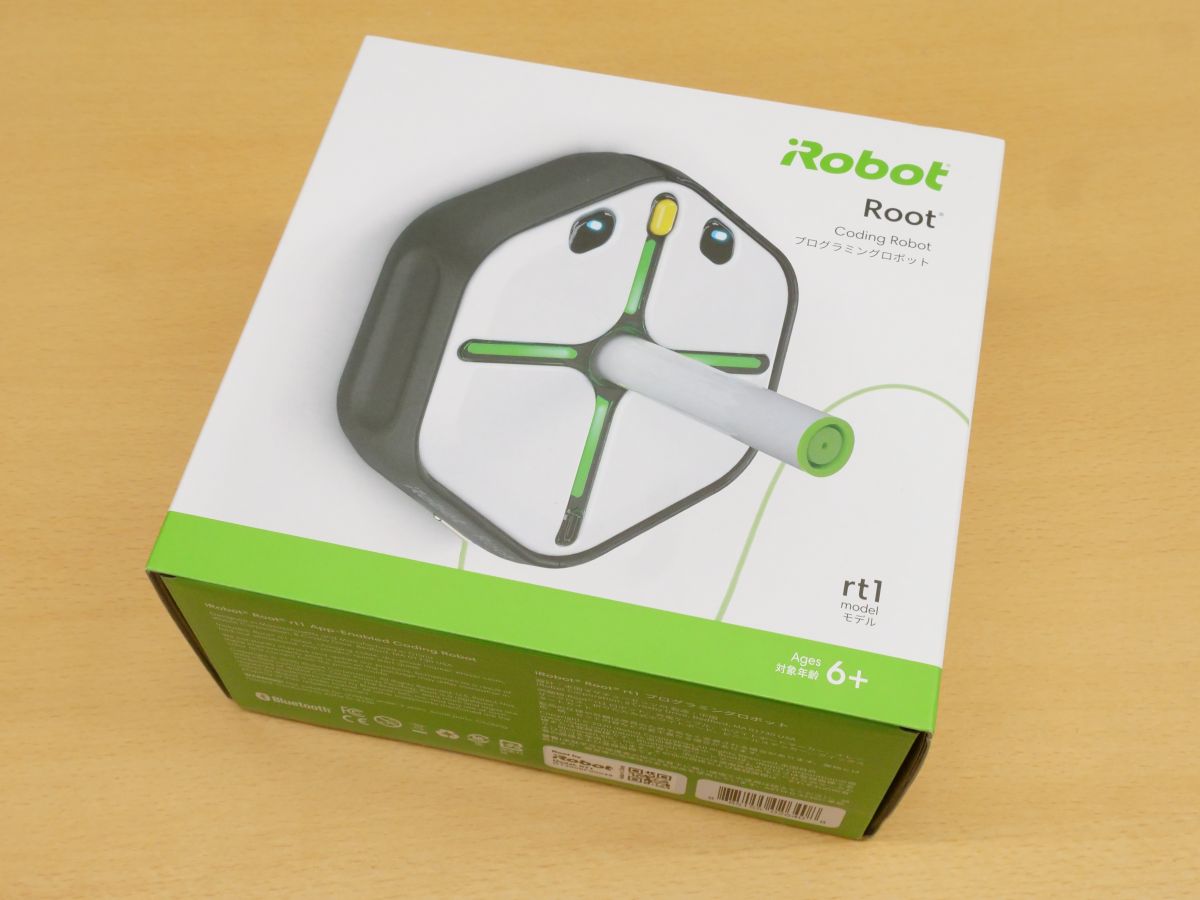
The outer box of Root looks like this.
When I opened the box and took out the accessories, the Root body appeared.
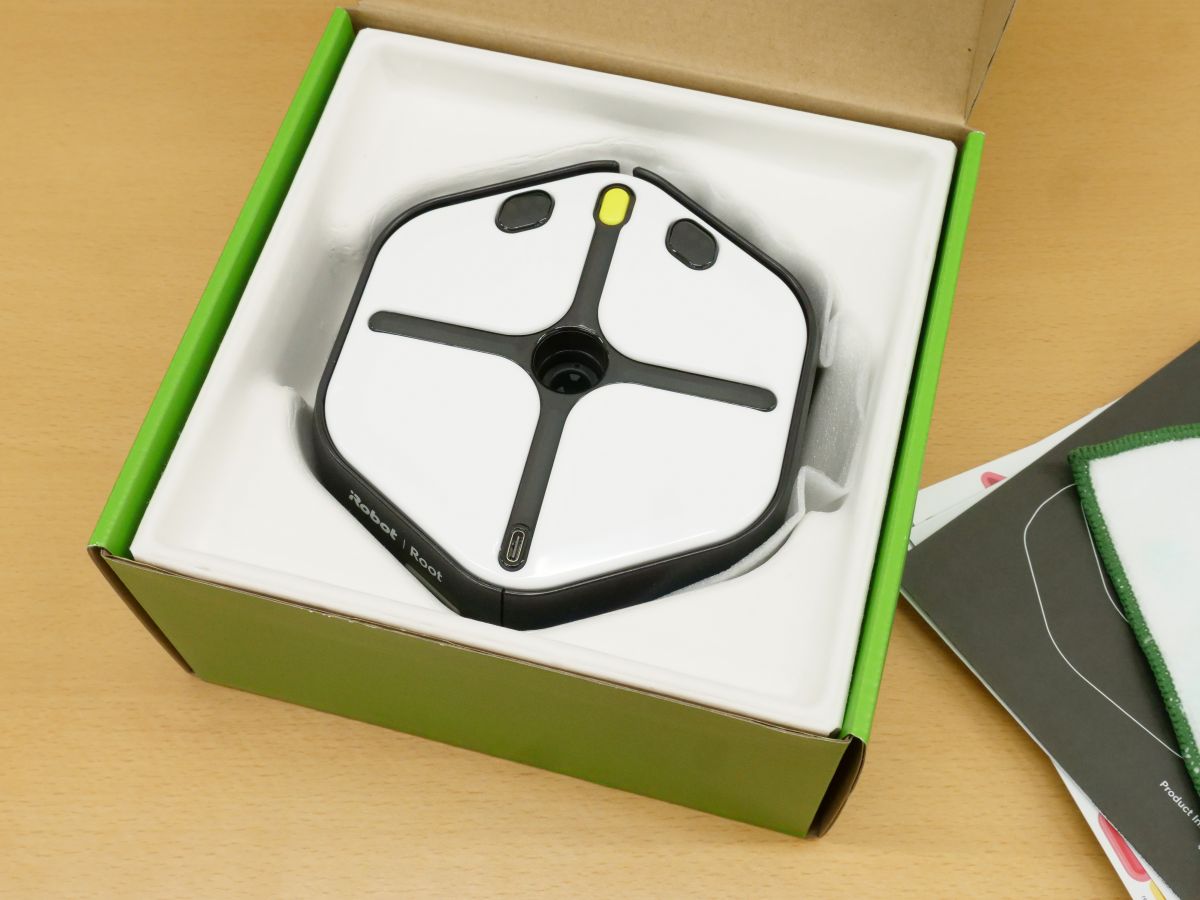
In addition to the main body, a whiteboard marker for drawing a picture, a wiping cloth, a foldable whiteboard, and a decoration sheet are included.
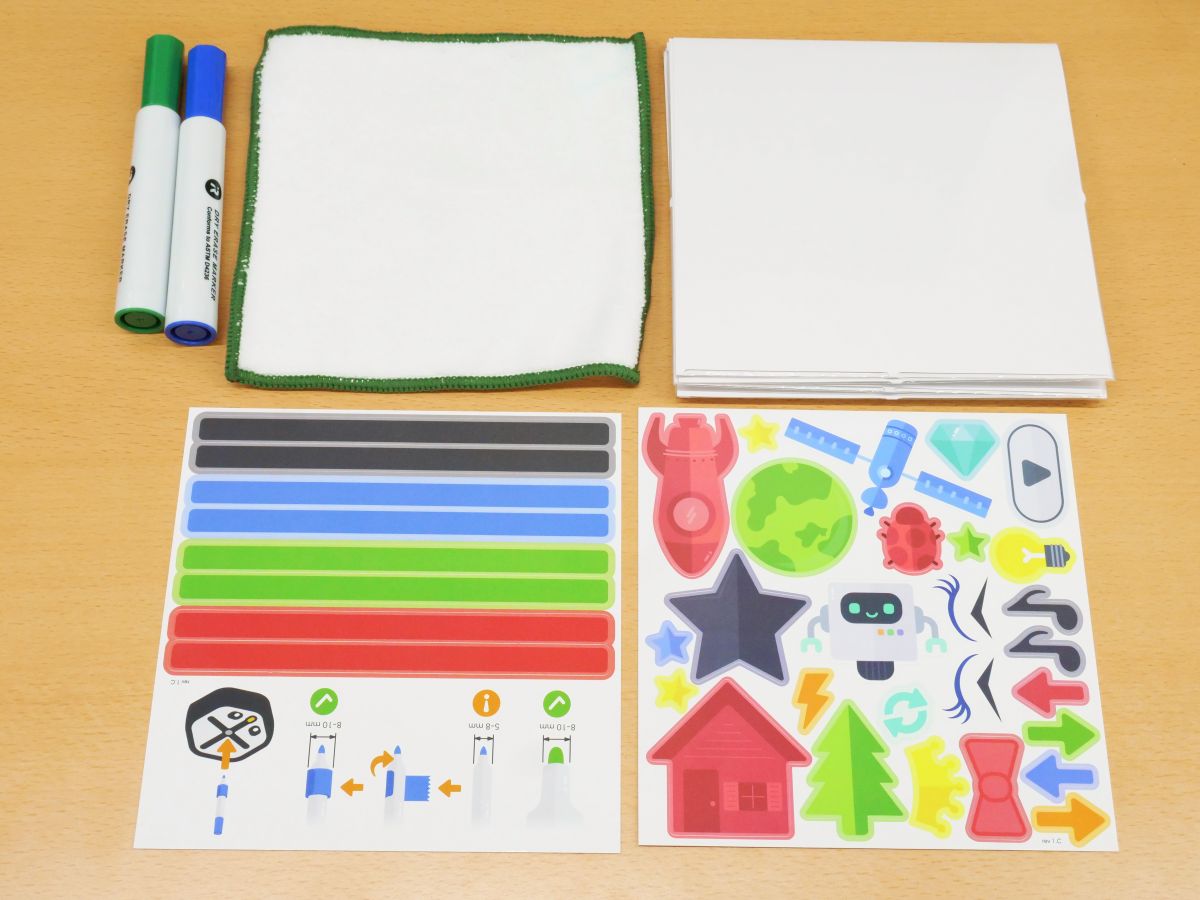
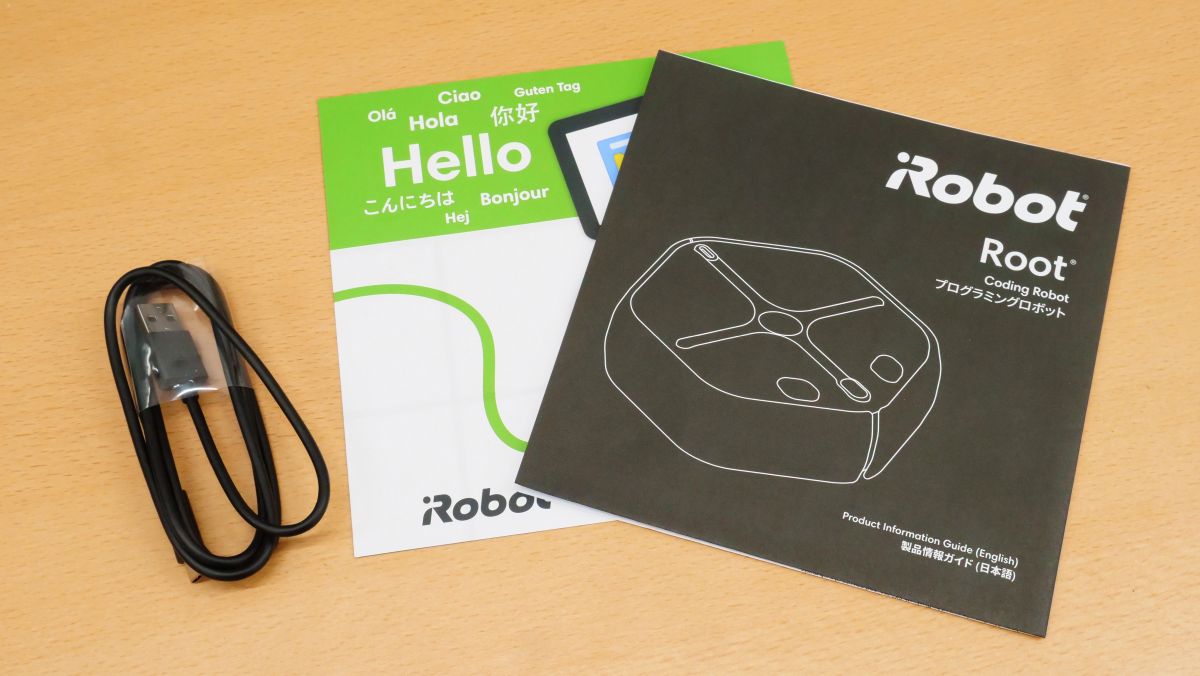
A USB Type-C cable for charging and an instruction manual are also included.
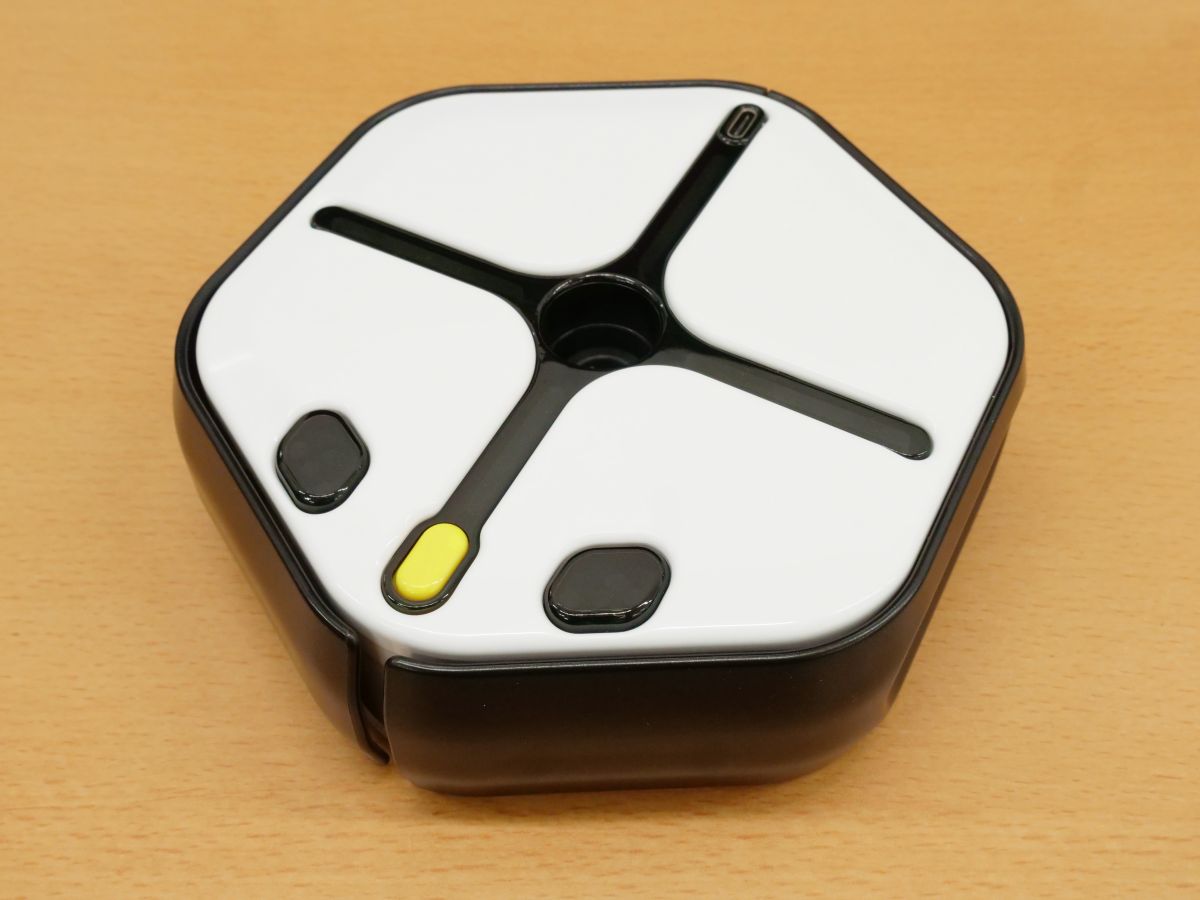
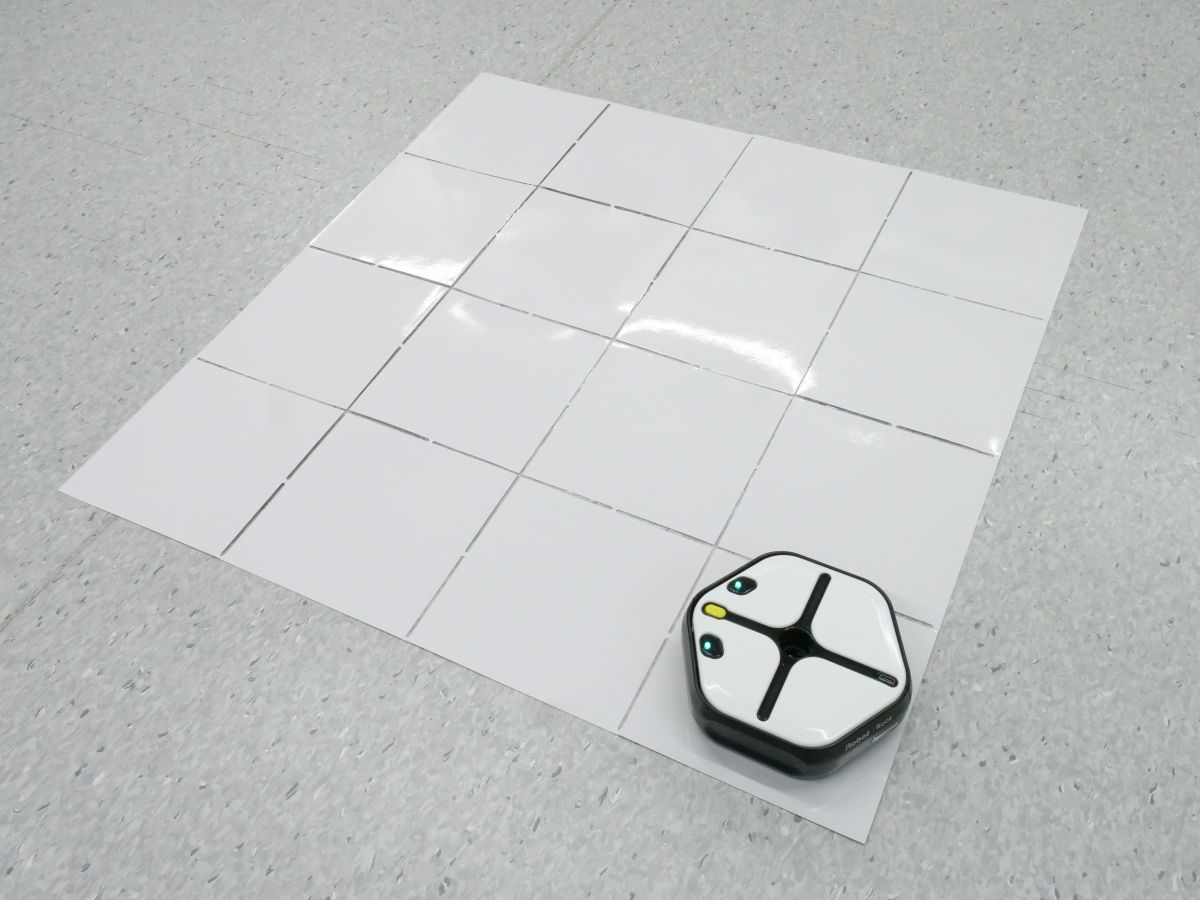
The Root body has a hexagonal design based on white and black.
The size of the main body is 13.4 cm in width and 14.9 cm in depth, and when iPhone 12 mini with a long side of about 13.1 cm is lined up side by side, it is almost the same size.
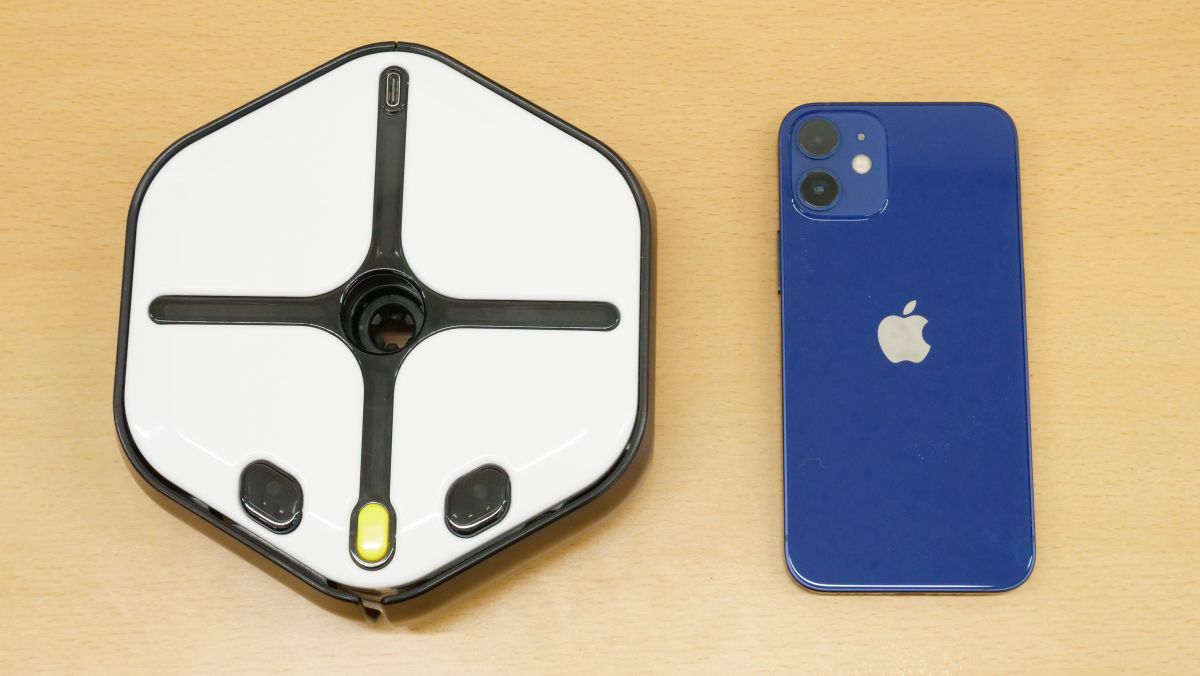
The height of the Root is 4.5 cm, and it looks like this when compared with the iPhone 12 mini with a short side of about 6.4 cm. It weighs about 0.49 kg and is lightweight, so you can handle it like a toy.

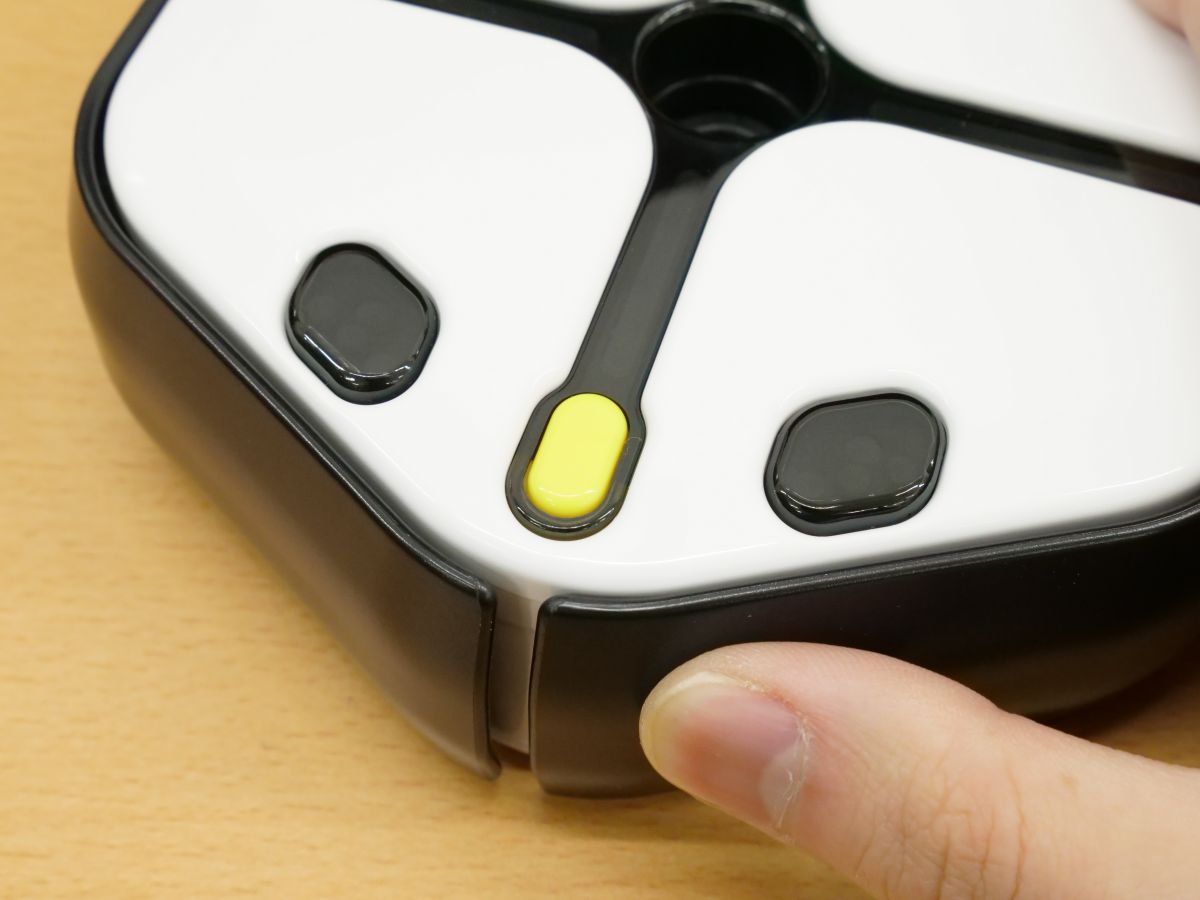
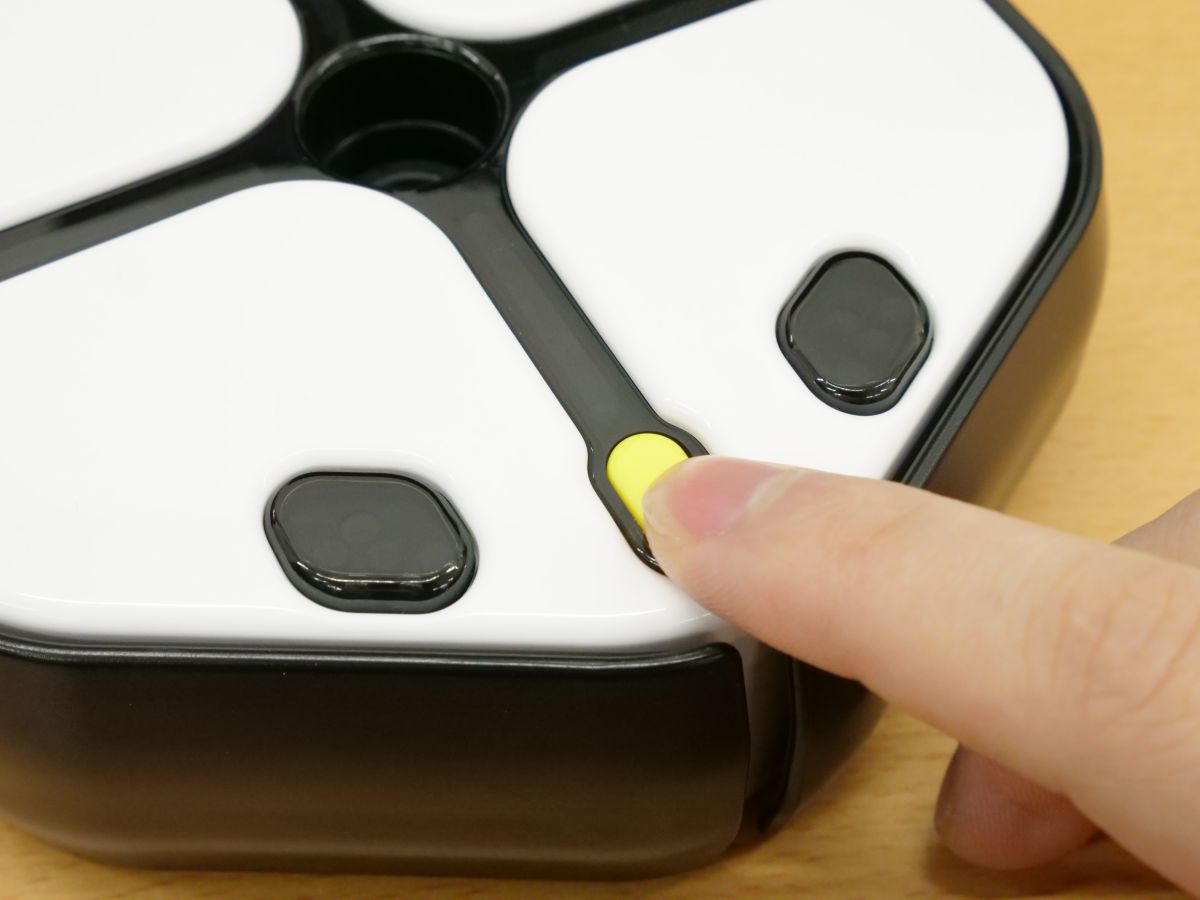
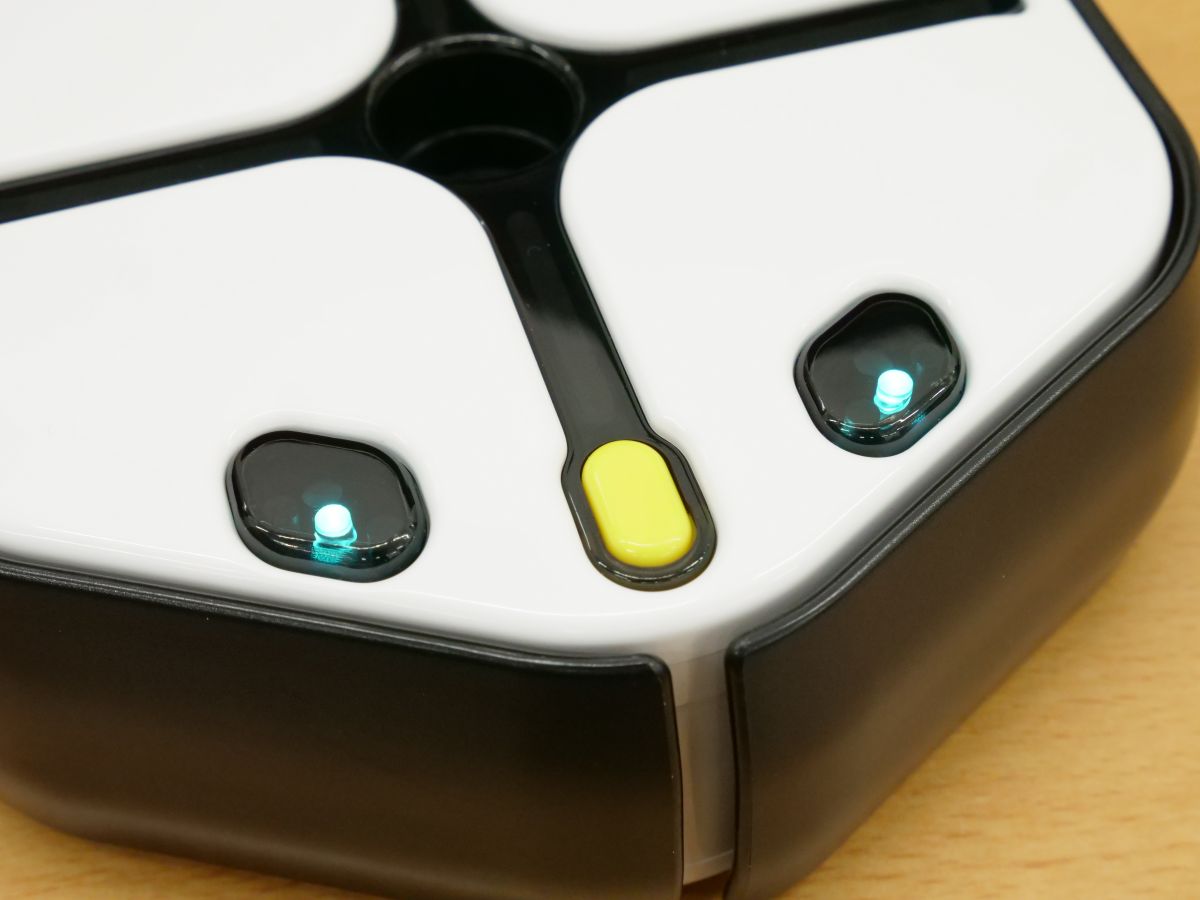
There is a yellow power button on the front of the main unit, a bumper that detects obstacles, and the two black parallelograms are optical sensors.
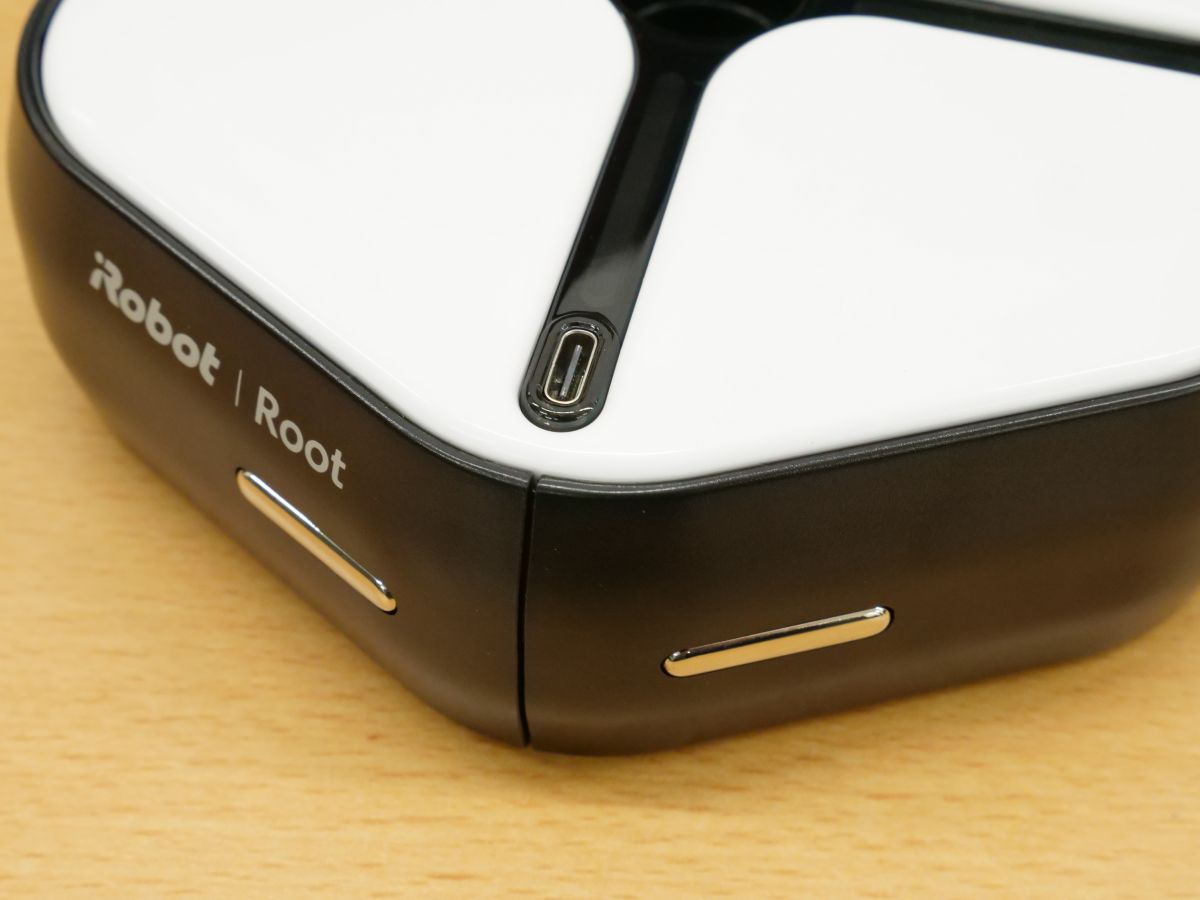
There is a USB Type-C connector on the back of the main unit for charging. Root is equipped with a 2600mAh lithium-ion battery, with a maximum operating time of 5 hours and a charging time of 3 hours.
In the center of the top surface, there is a hole for inserting a marker when drawing a picture on the whiteboard, and the LED sensor extends in a cross around the hole. In addition, the white part is a touch sensor.

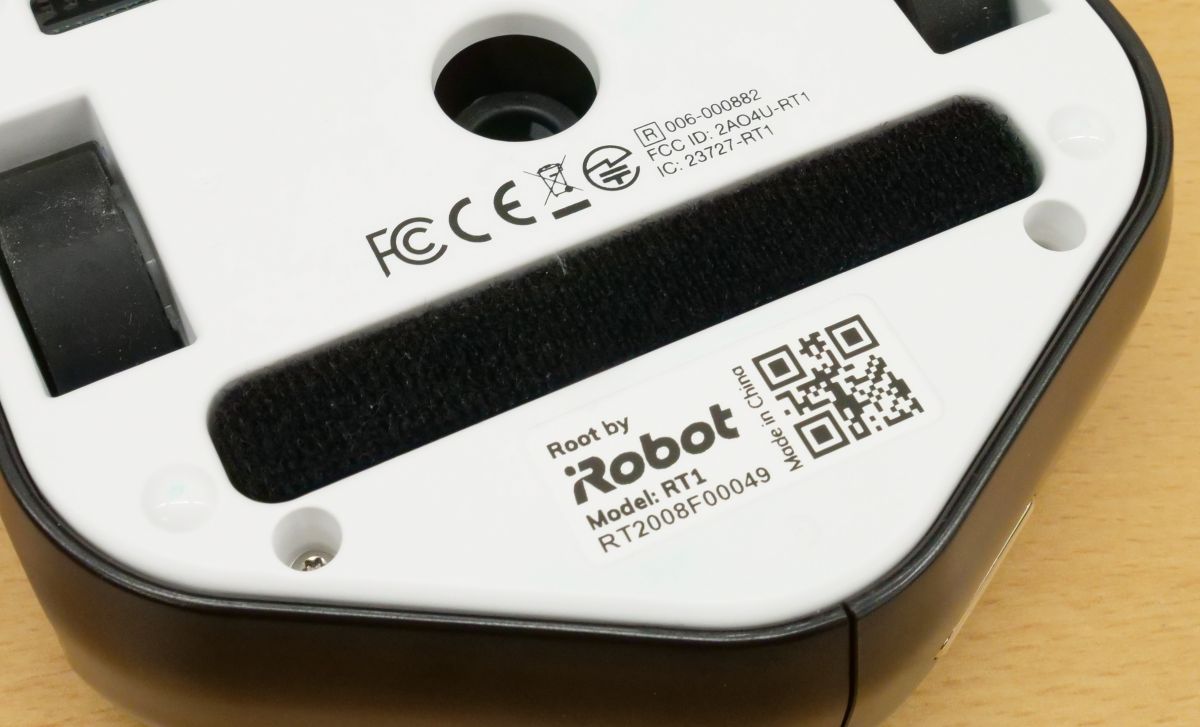
The back of the main body looks like this. The rollers on both sides are the same as the company's Roomba series.
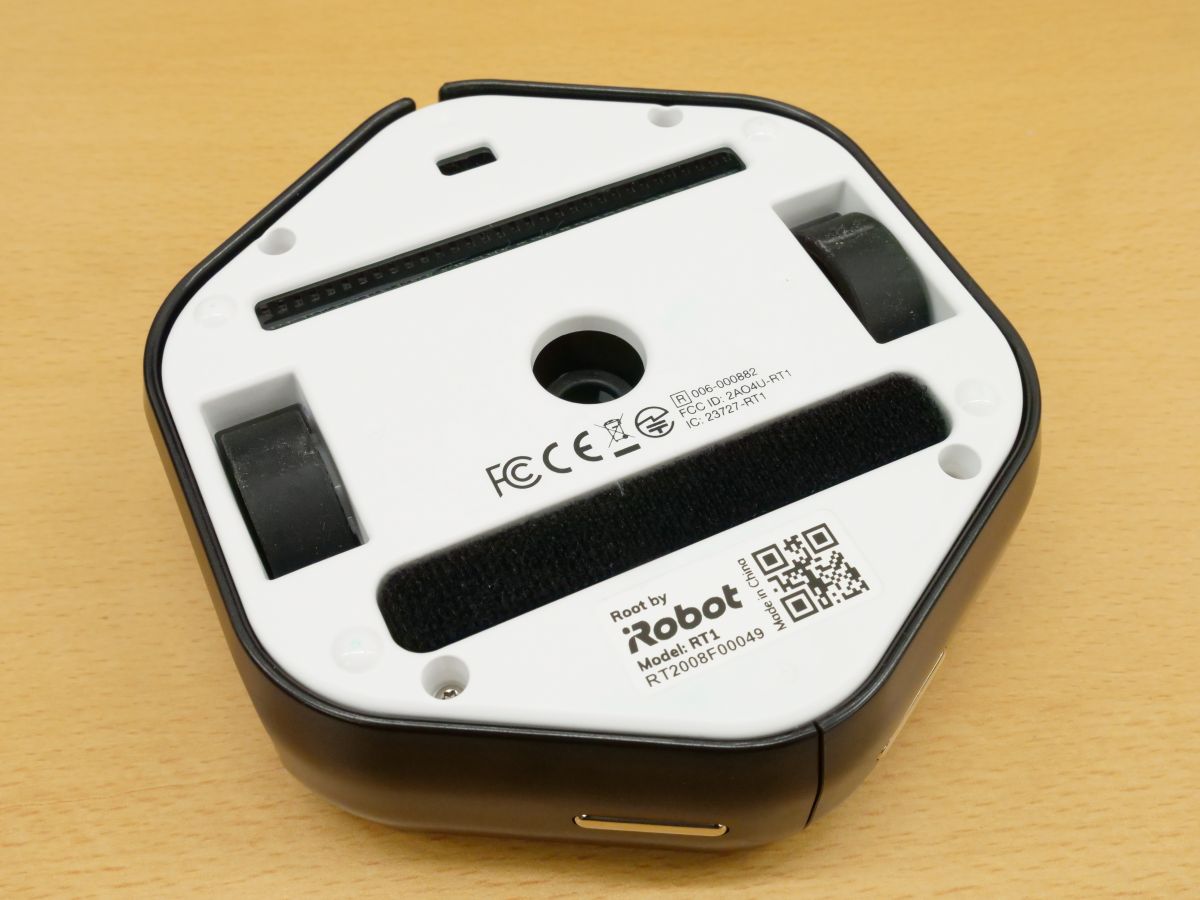
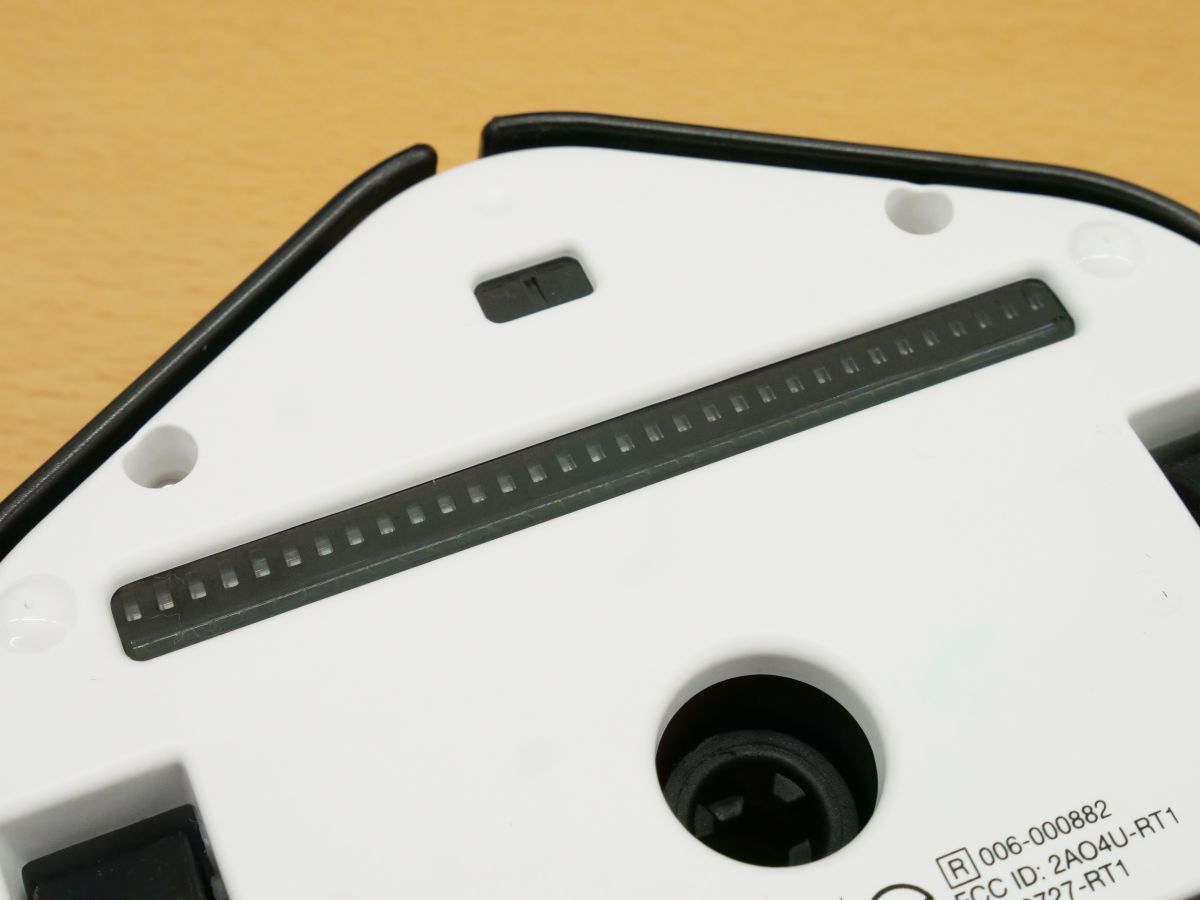
Various sensors such as step sensor and color sensor are also installed on the back side.
There is also an eraser to erase the picture.
When I press the power button at once ...
The LED sensor and light sensor emit light.
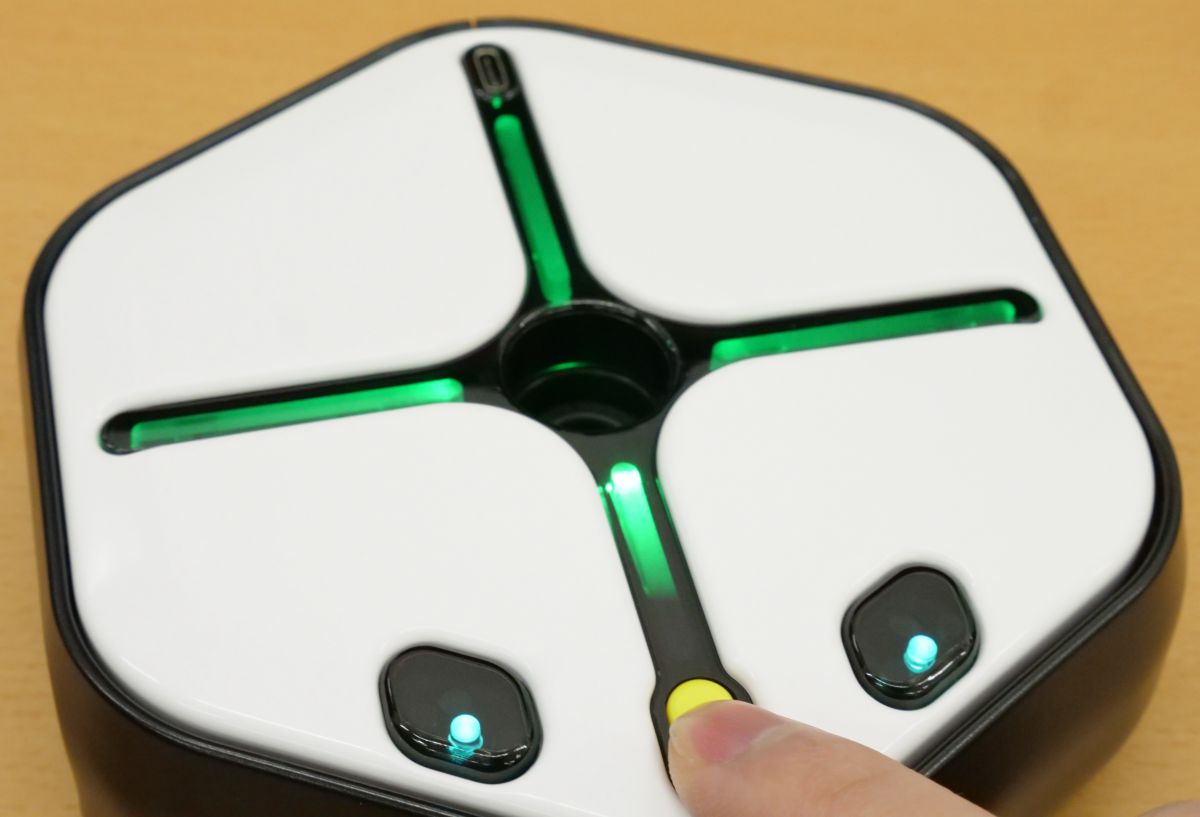
The LED sensor turns off immediately, but the light sensor is always on when the power is turned on.
◆ Programming
Root programming is done with software called ' iRobot Coding '. iRobot Coding can be used as an iOS app, Android app, Google Chrome and a web app that runs on Microsoft Edge. This time, I will try programming using the iOS app iRobot Coding.
'IRobot Coding' on the App Store
iRobot Coding-Google Play App
https://play.google.com/store/apps/details?id=com.rootrobotics.rootcoding&hl=ja&gl=US
iRobot Coding
https://code.irobot.com/
First, search for 'iRobot Coding' in the App Store and tap 'Get' to install the app.
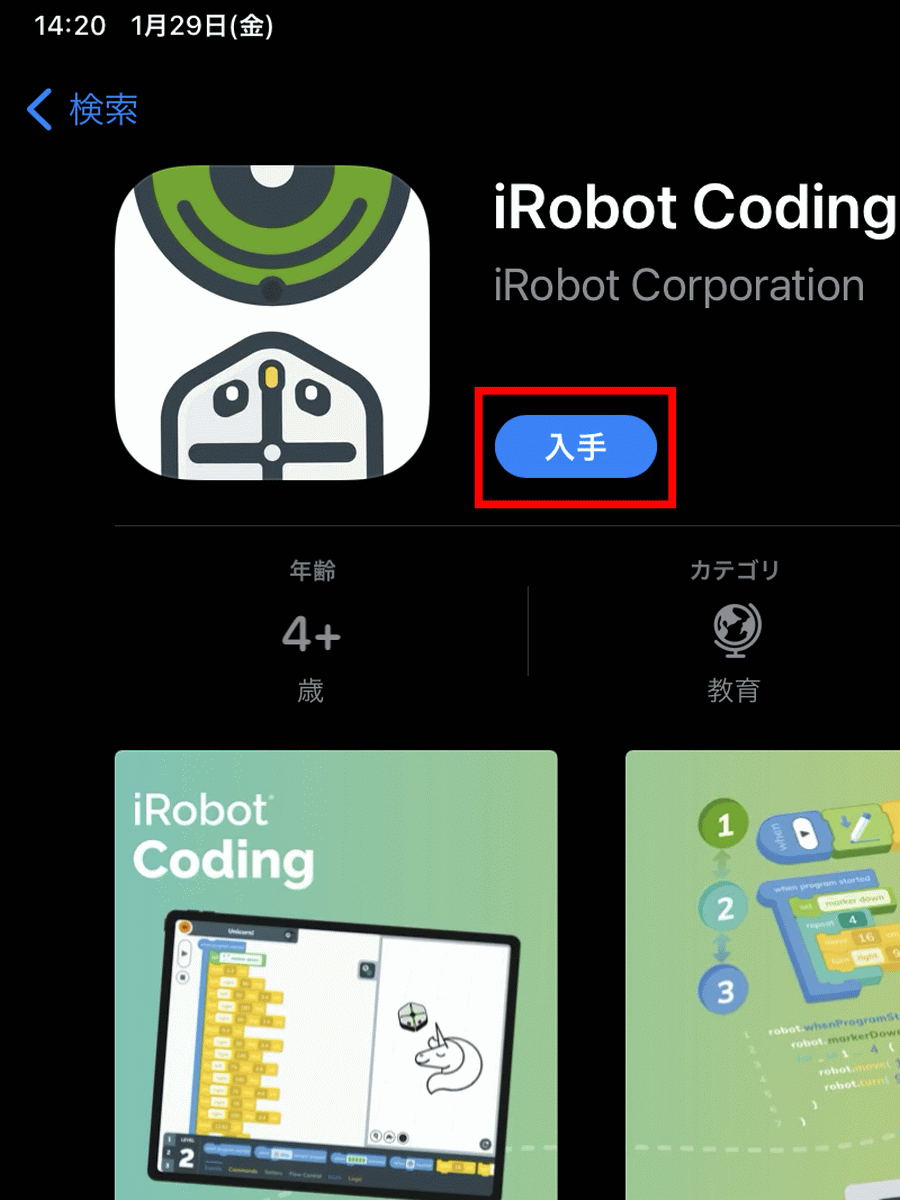
Tap 'Open' when the installation is complete.

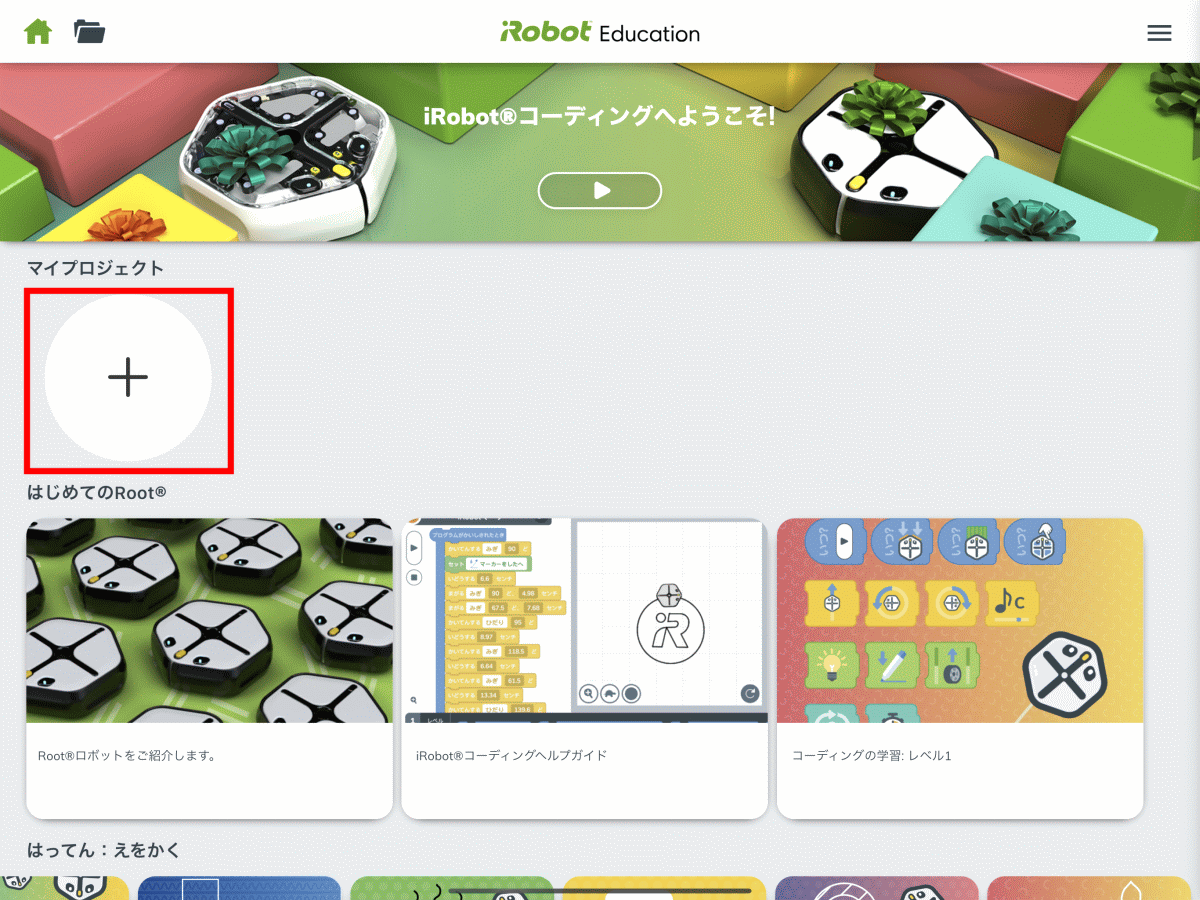
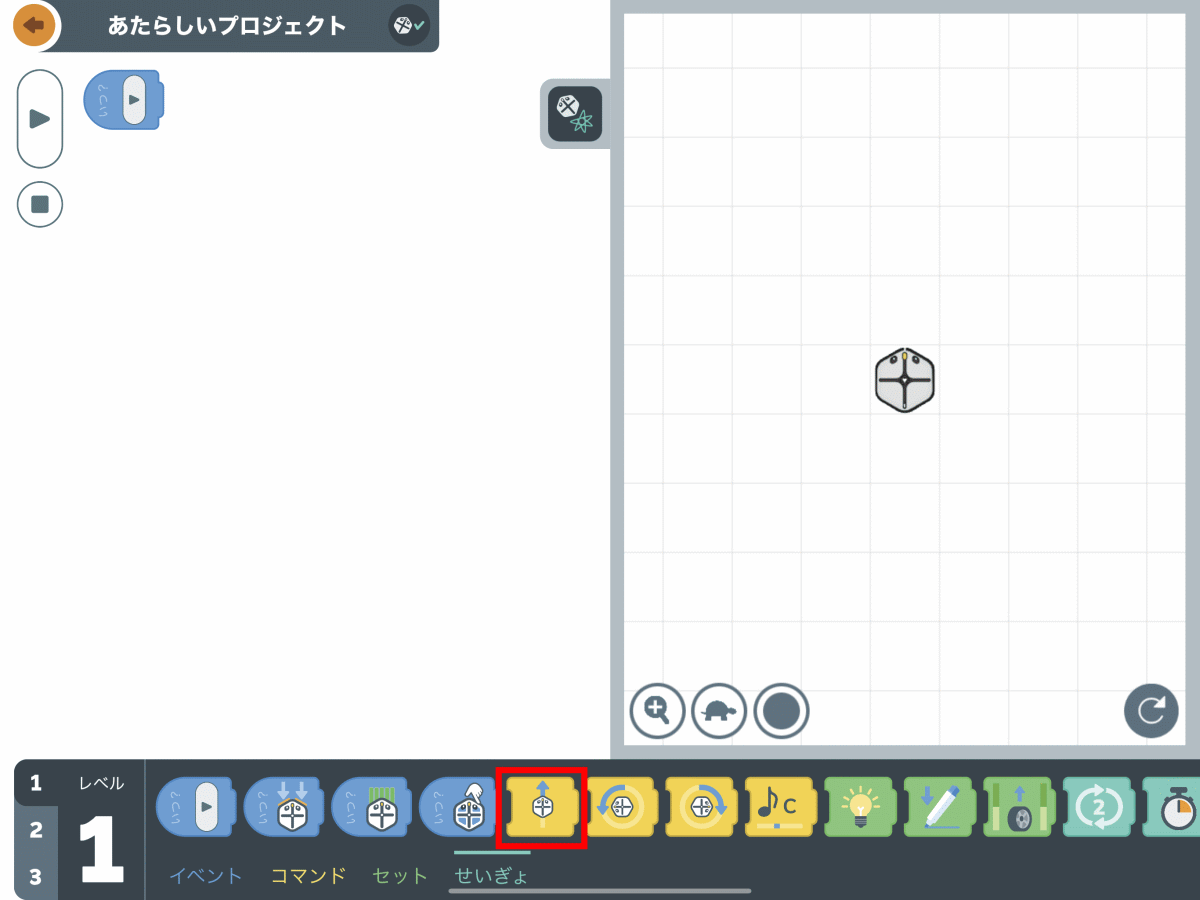
iRobot Coding has started. Tap the '+' button in the red frame to create a new project.
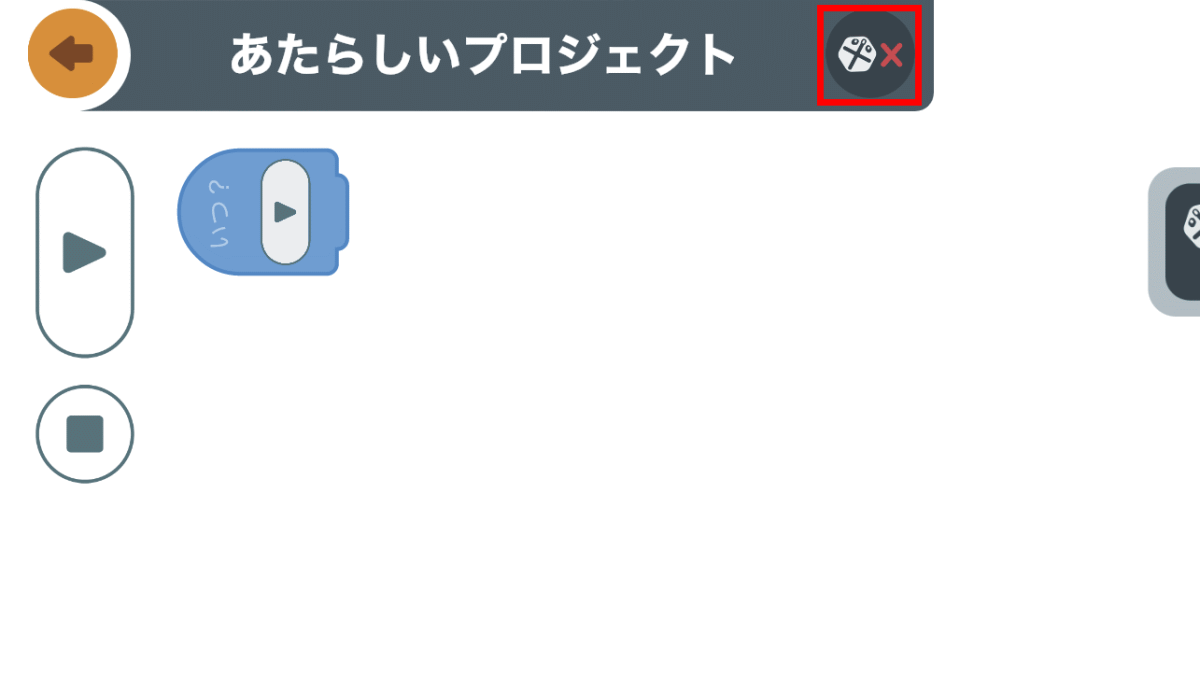
The programming screen is displayed. At this point, the connection between Root and the programming device has not been established yet ...

Tap the connection button in the red frame.
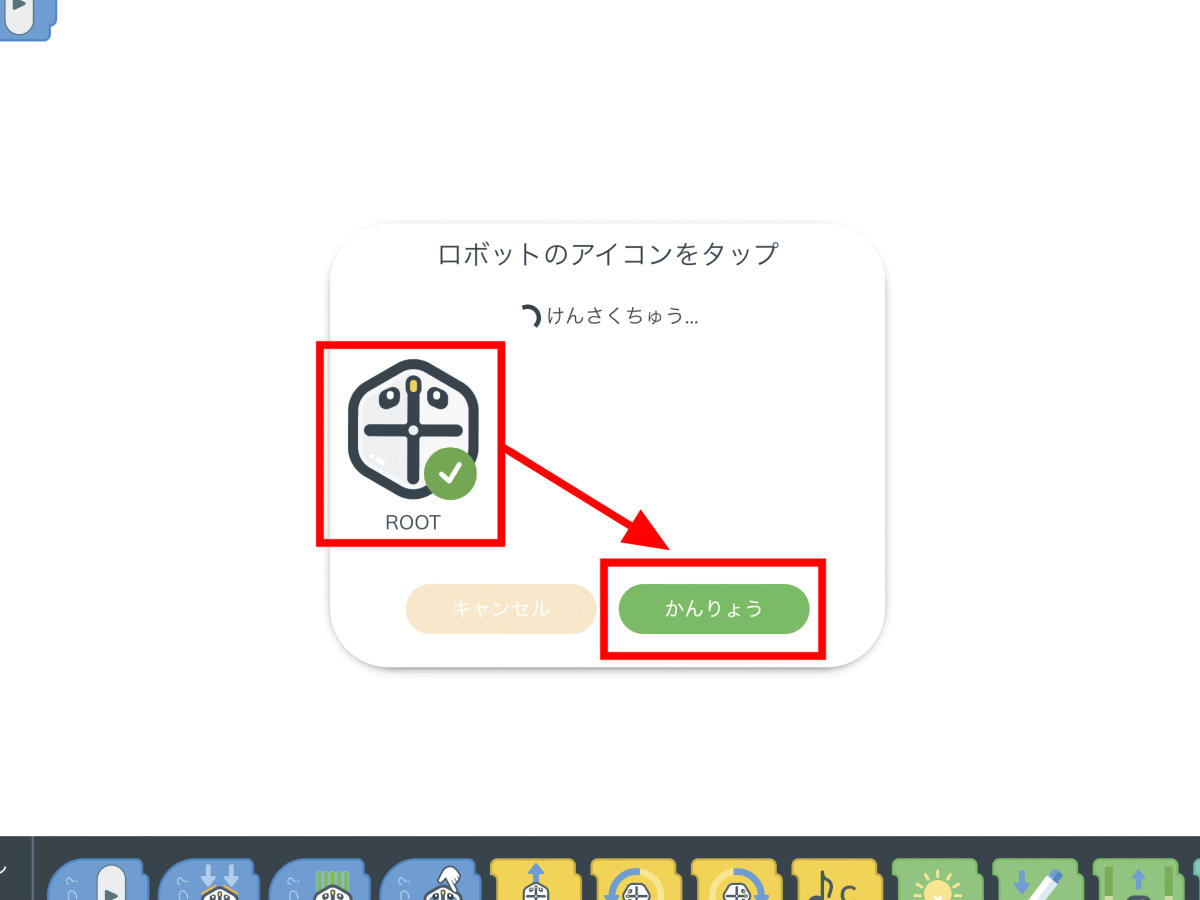
The connection between Root and the programming device is made with
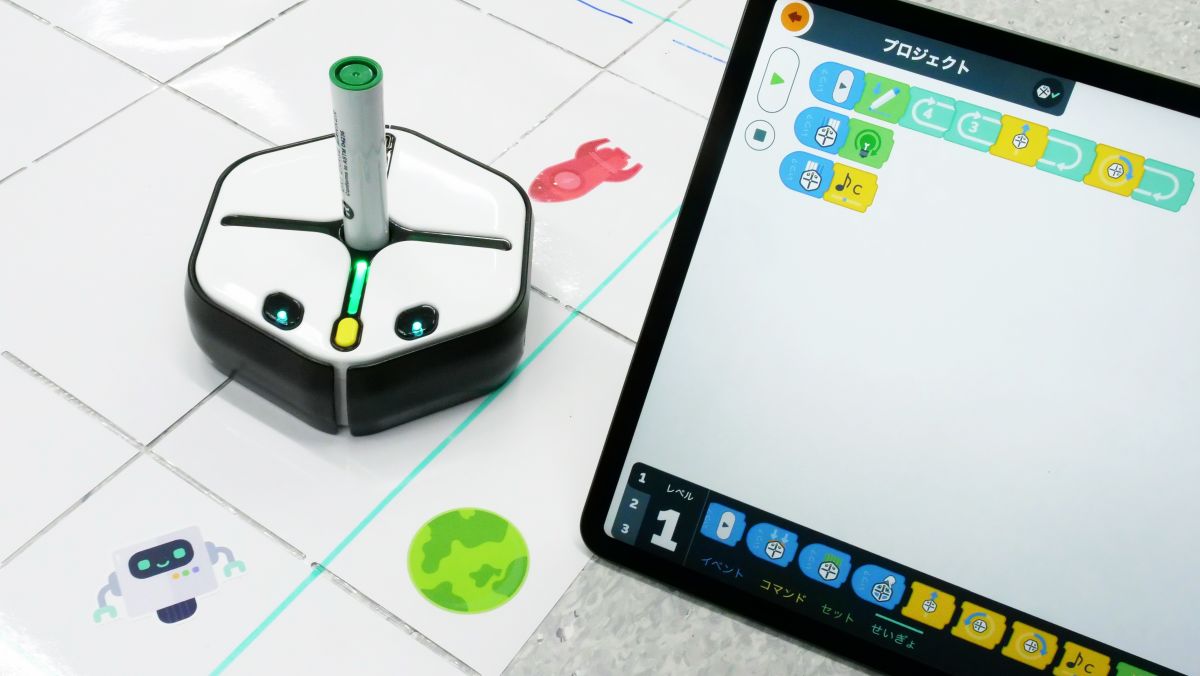
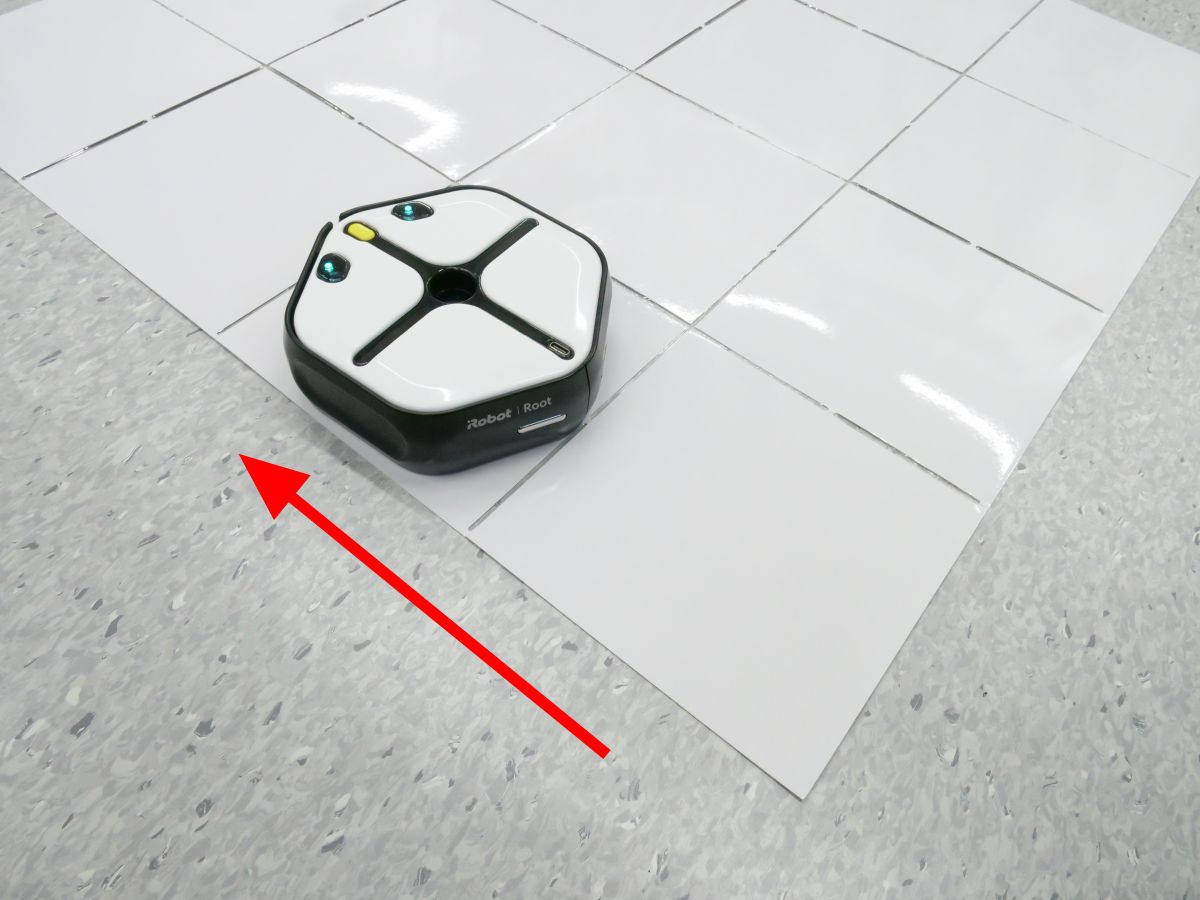
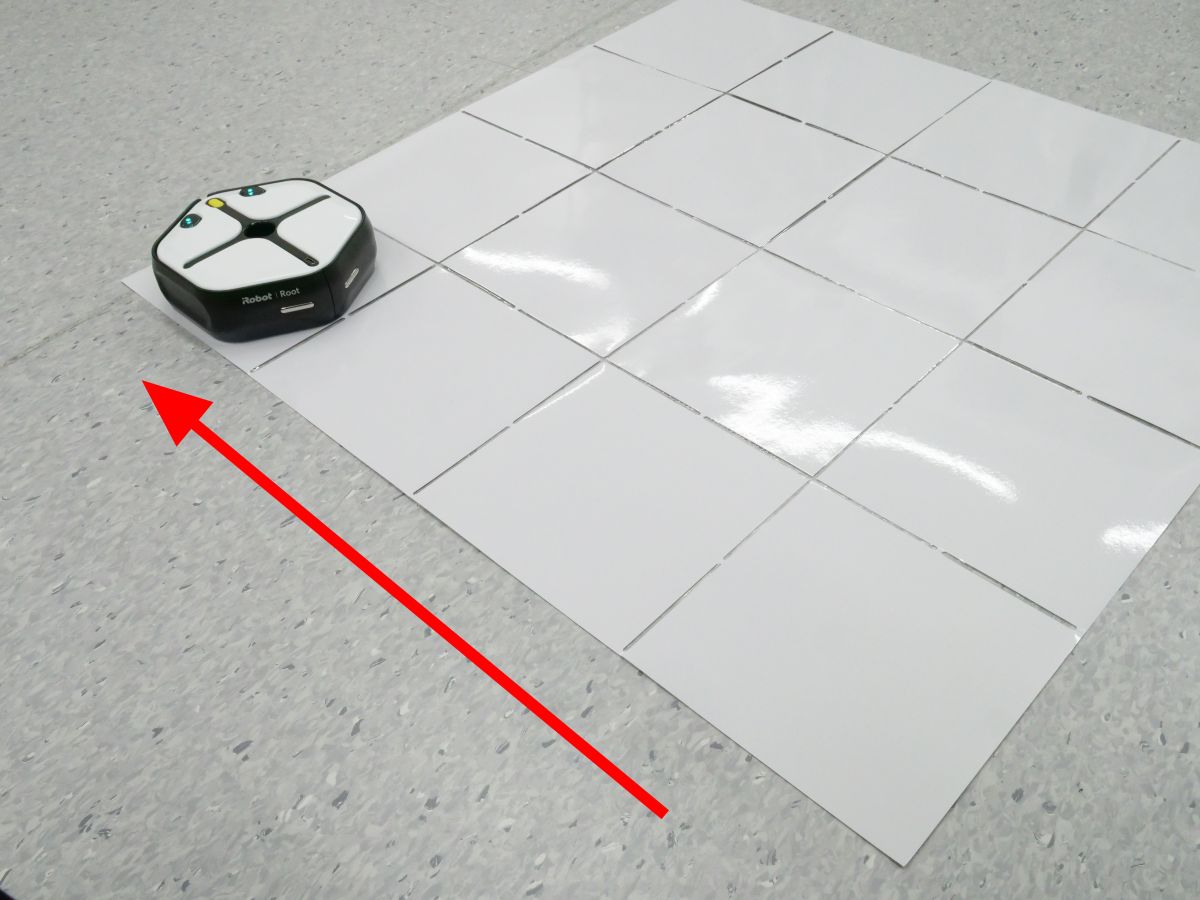
Root basically runs on the attached whiteboard. Unfold the foldable whiteboard and set up Root.
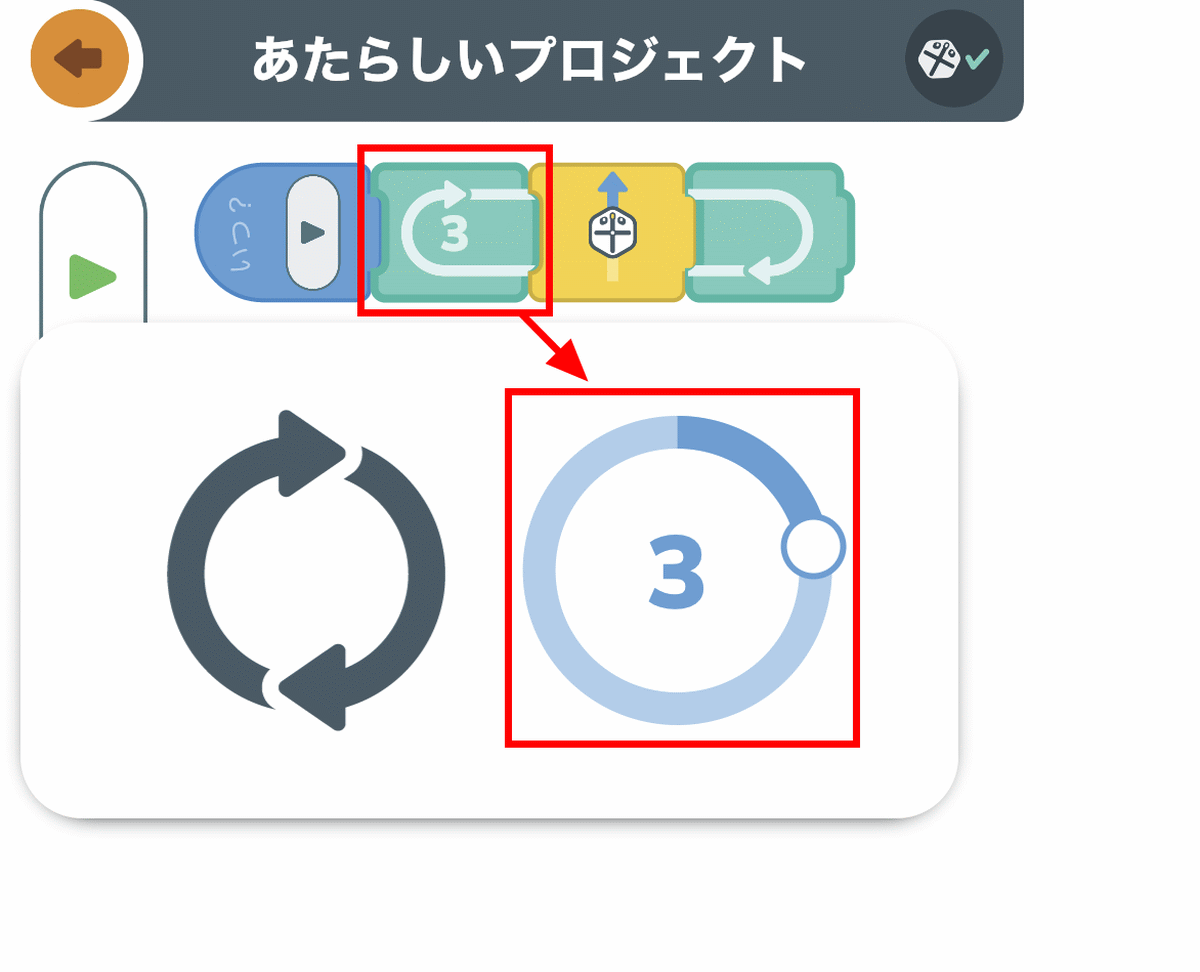
Program on the iRobot Coding programming screen. However, programming is very easy, just drag and drop the block corresponding to the operation of Root. For example, if you want to move Root forward by one square, grab the corresponding block ...
Bring it to the '+' part.
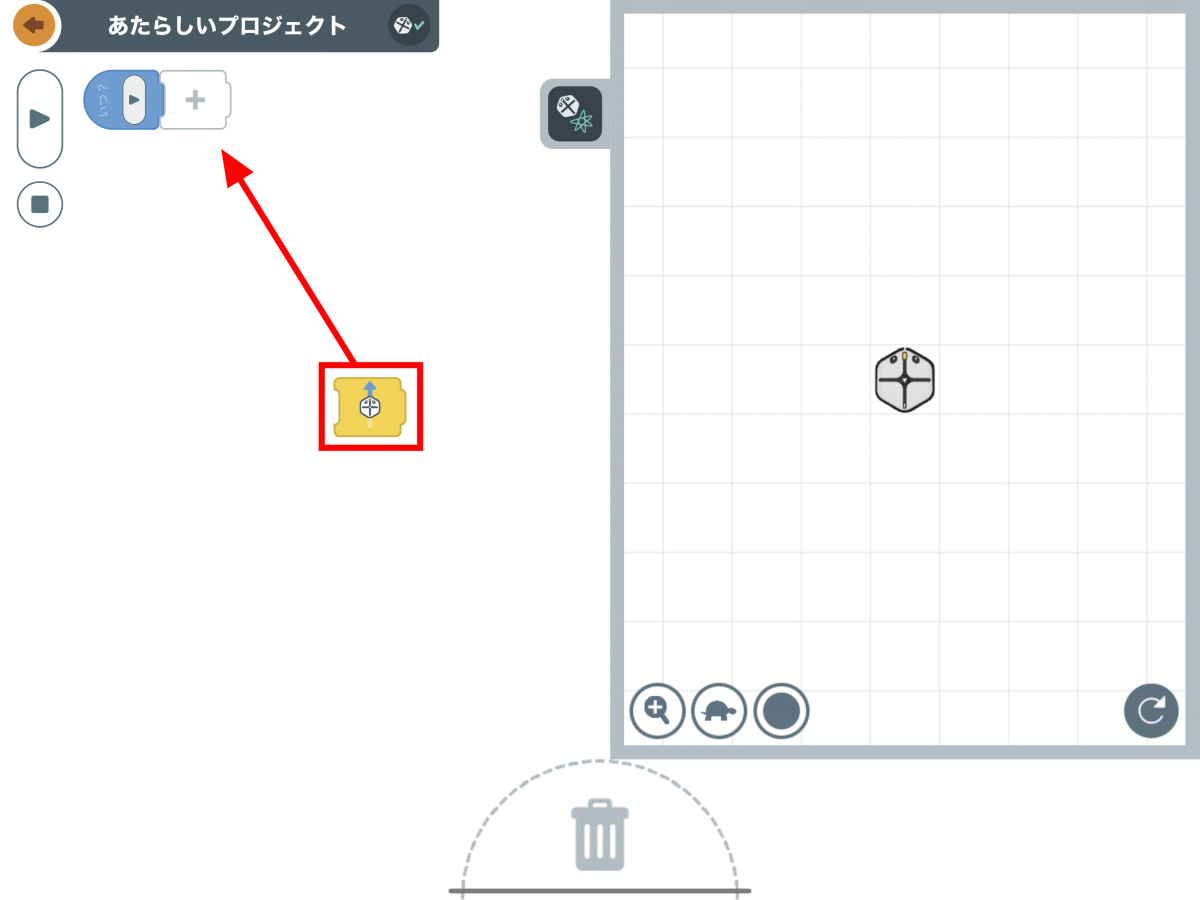
After that, tap the play button ...

Root advances one square.
If you connect 3 blocks that 'advance 1 square' earlier ...
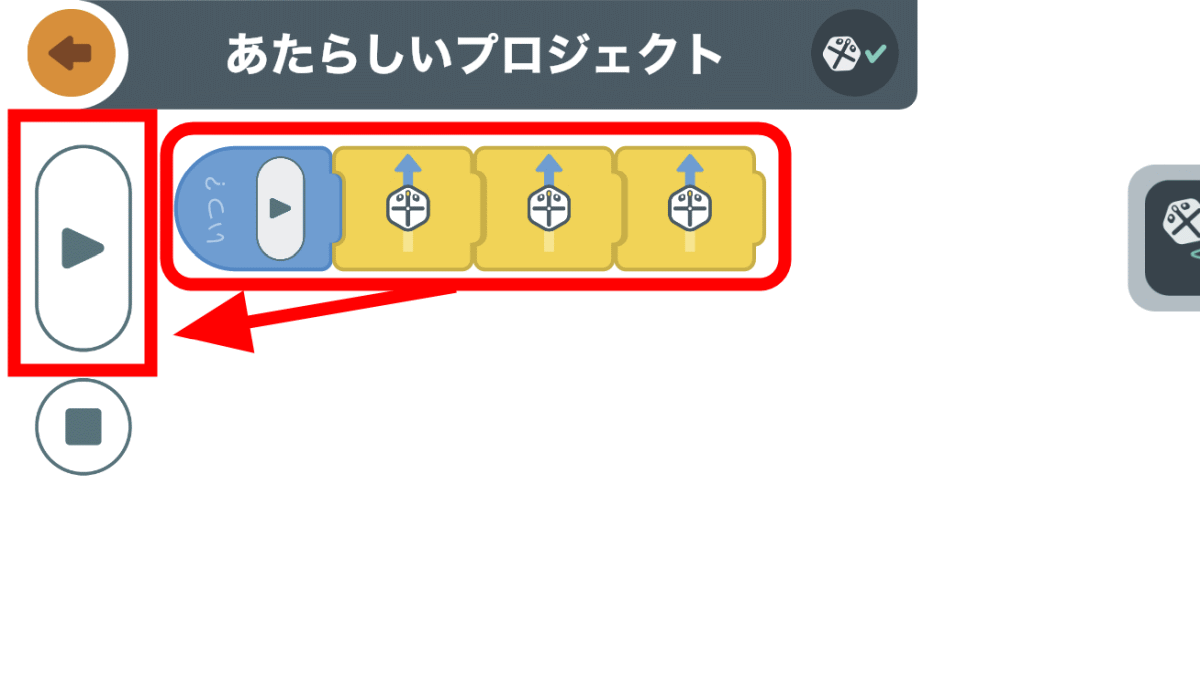
Root also moves 3 squares. The feature of Root is that you can easily program by combining blocks like this.
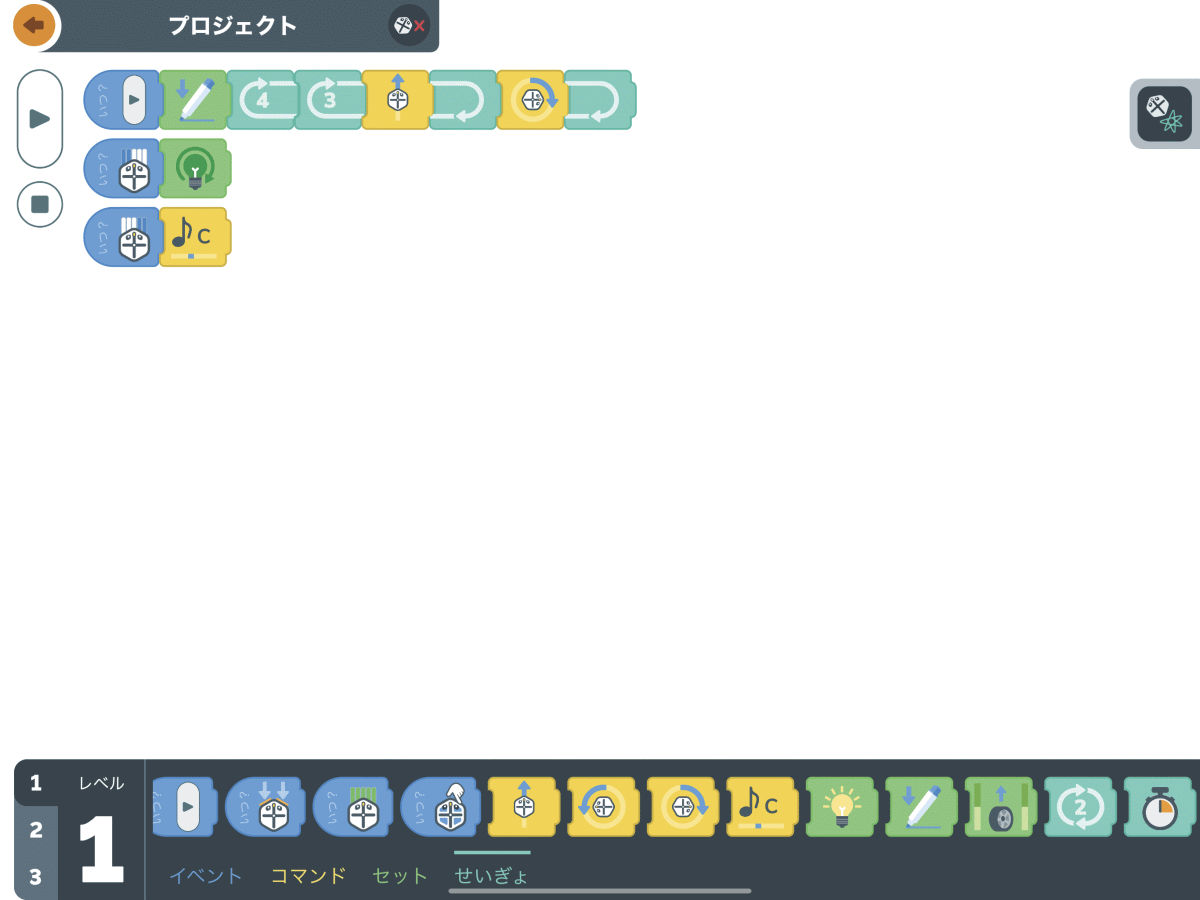
The types of blocks that can be used in Root and their operation contents are summarized as follows.
-Event : A block for Root to get a chance to do something
-Command : Block that operates Root
・ Set: Block that changes the state of Root
・ Seigyo: A block that controls the block itself
| type | icon | Description |
|---|---|---|
| Event |  | Execute by pressing the execute button. |
| Event |  | Executed when the bumper detects an obstacle. You can select whether to judge with the left or right bumper. 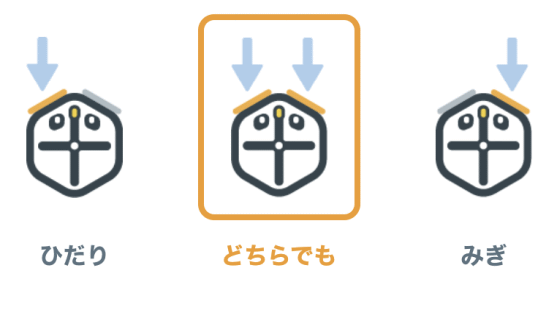 |
| Event |  | Executes when the color is detected by the light sensor. You can select the color and area to detect. 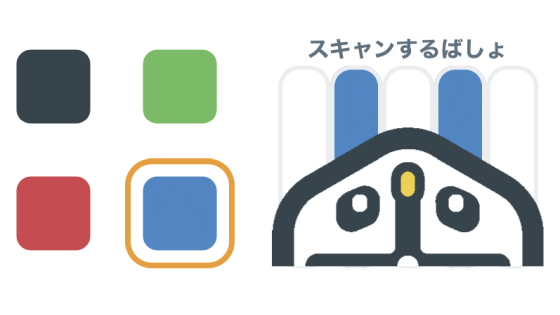 |
| Event |  | Executes when contact is detected by the touch sensor. You can choose which part of the sensor to enable.  |
| command |  | Go one square. |
| command |  | Turn to the left. |
| command | 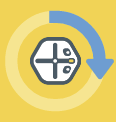 | Turn to the right. |
| command |  | Make a sound. You can select the sound to be played from the range of one octave. 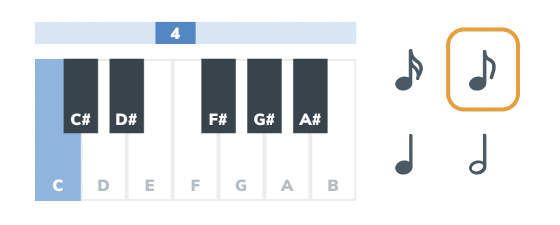 |
| set |  | Make the LED sensor emit light. You can select the color and pattern to emit light.  |
| set |  | You can draw a line with a marker or erase a line with an eraser. 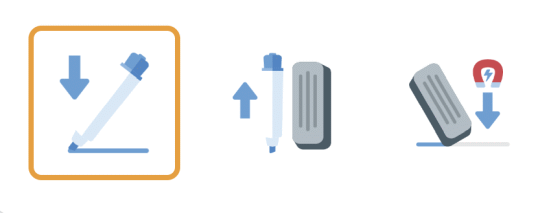 |
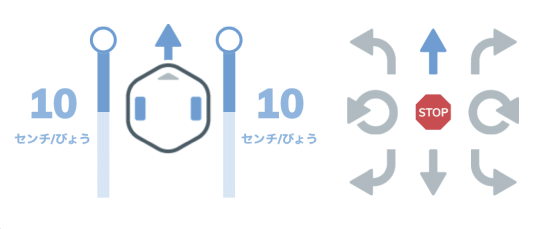
| set | 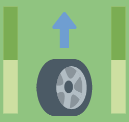 | You can specify the detailed behavior of the wheel.
|
| Seigyo | 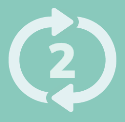 | Loop processing can be performed. 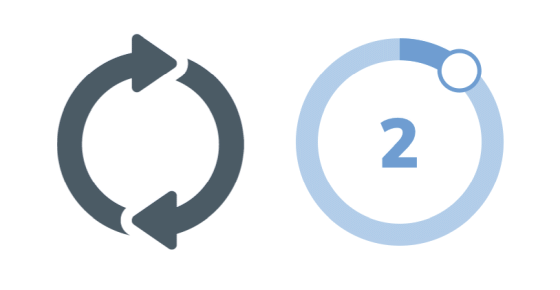 |
| Seigyo |  | Time-out processing can be performed.  |
Since you can use 'loop processing' that is often used in actual programming languages, you can get a feel for the actual programming through blocks.
By combining many blocks, it is possible to program complicated operations. The following is a program that 'draws a square and lights up while rotating the LED sensor when a blue line is detected on the left side, and makes a sound when a blue line is detected on the right side'.
Before actually executing programming with Root, first set a marker for Root.
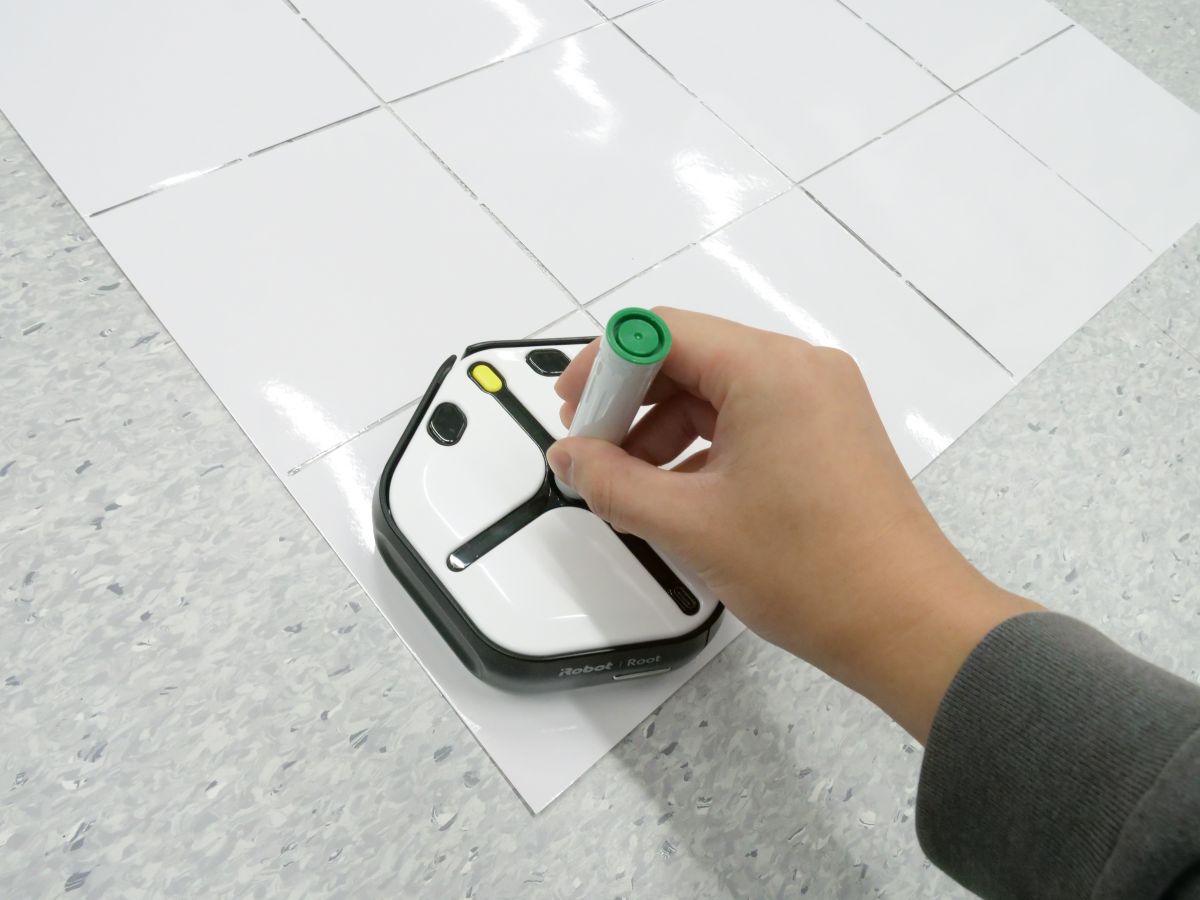
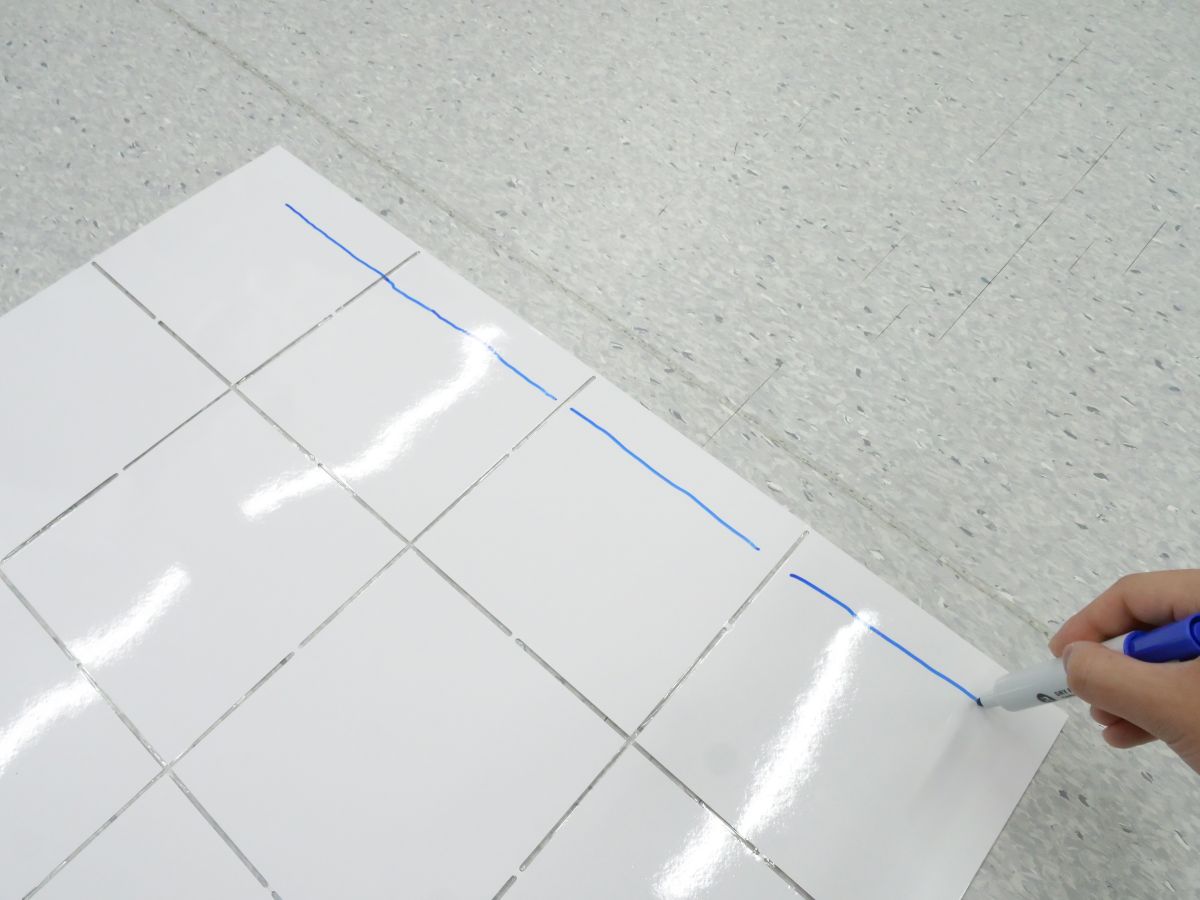
Draw a blue line on the whiteboard.
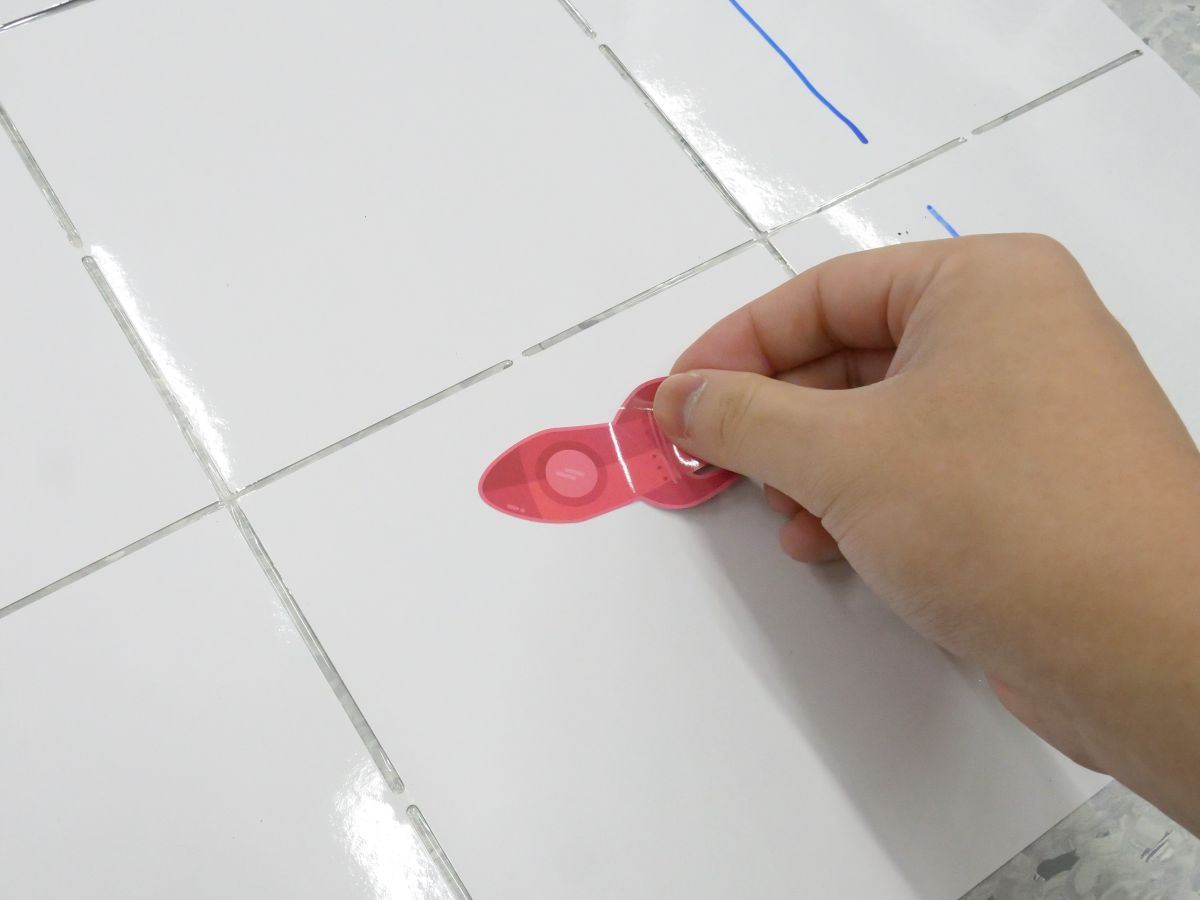
Since it's a big deal, the decoration sheet is perfect. Since the sheet itself is not sticky, it can be reattached many times.
I set the whiteboard like this.
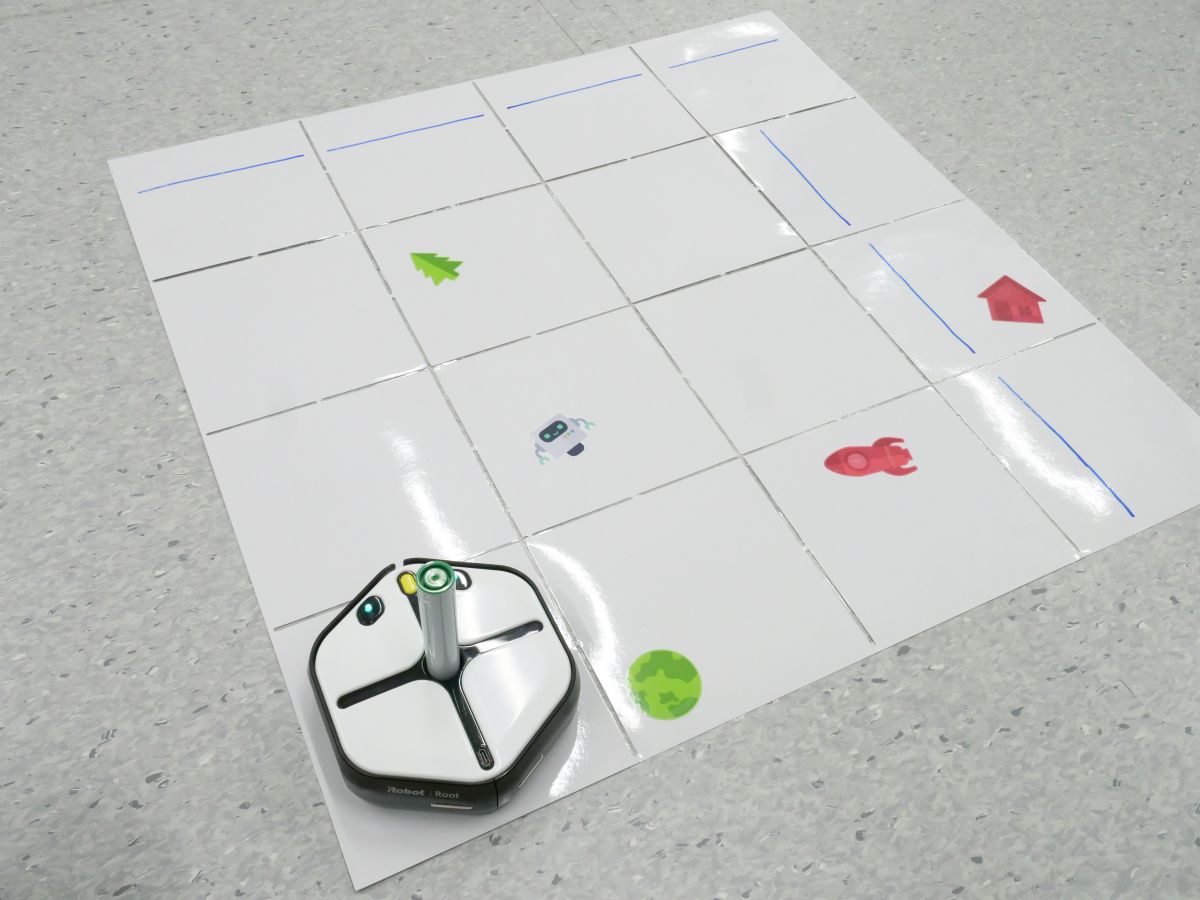
It looks like this when you actually move Root on the whiteboard.
Below is a movie shot in the form of tracking Root. In this movie, you can see how the light sensor is facing the turning direction when turning, and the LED sensor is shining while rotating.
The iRobot Root LED and light sensors work like this-YouTube
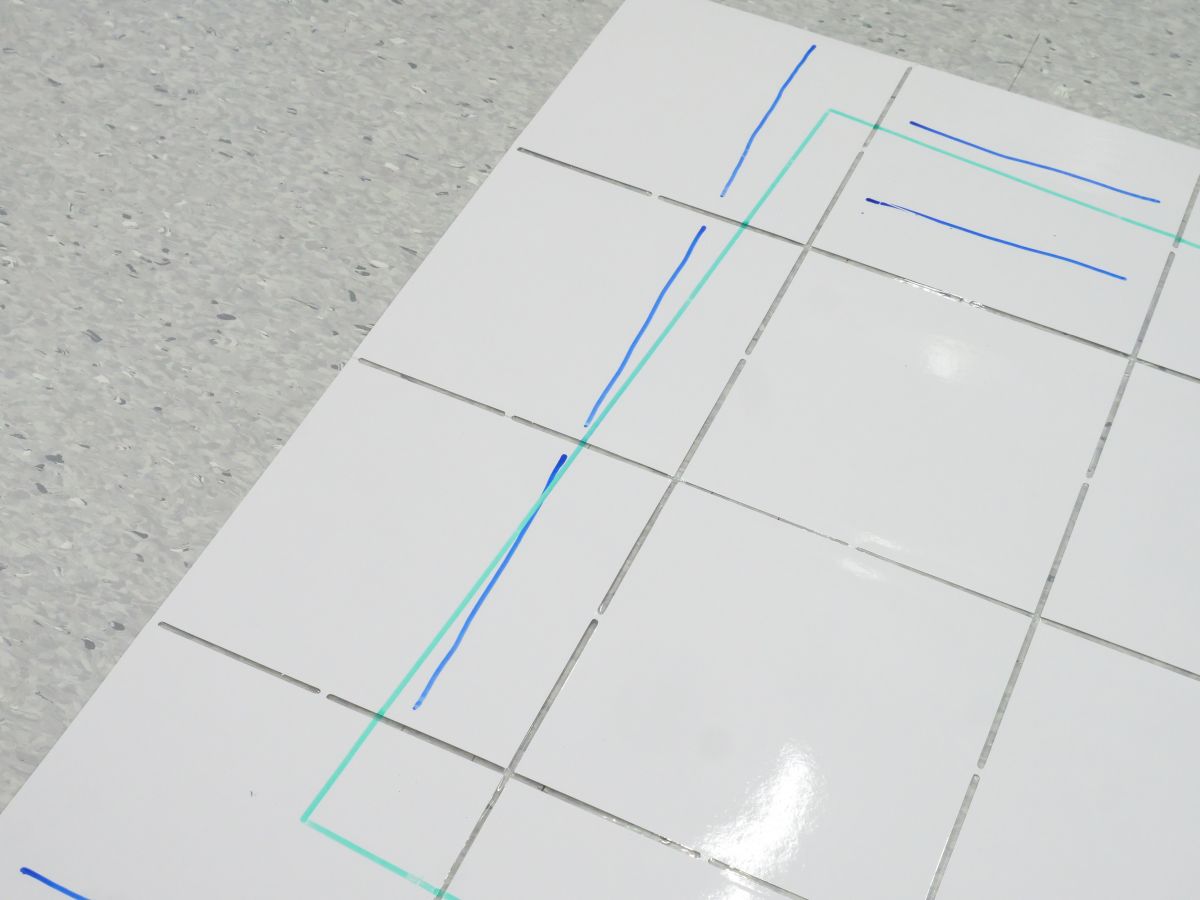
Actually, this shooting was not successful at one time, but it was finally successful after making several mistakes. If the creases on the whiteboard were raised even a little, the root would not go straight and bent as shown in the image. Also, if the 'initial position of the root' is deviated, the direction of travel will be deviated and the marker will be out of the reading range of the color sensor, so the initial position required severe adjustment.
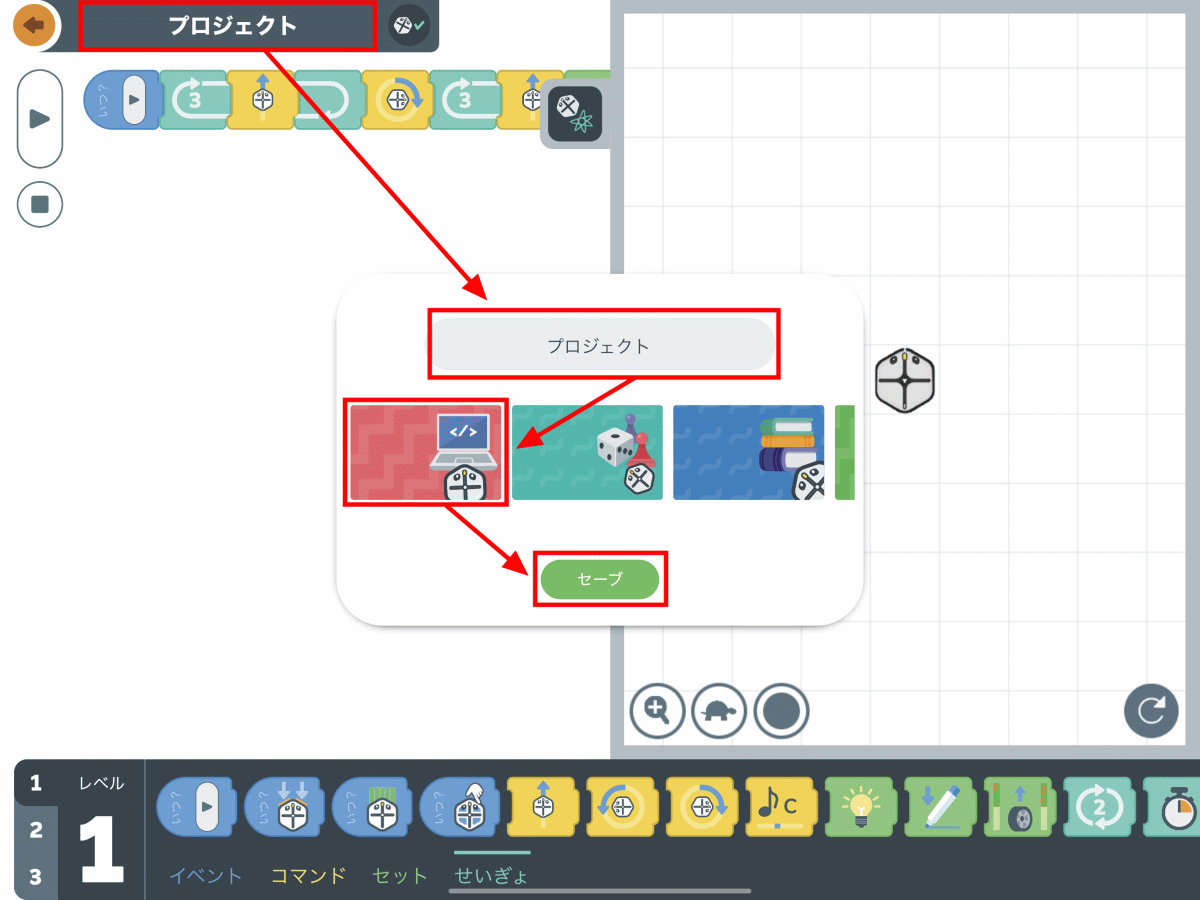
If you want to save the project you created, tap the project name in the upper left. Set the 'project name' and 'icon' in the popup and tap 'save'.
◆ Let's see a sample
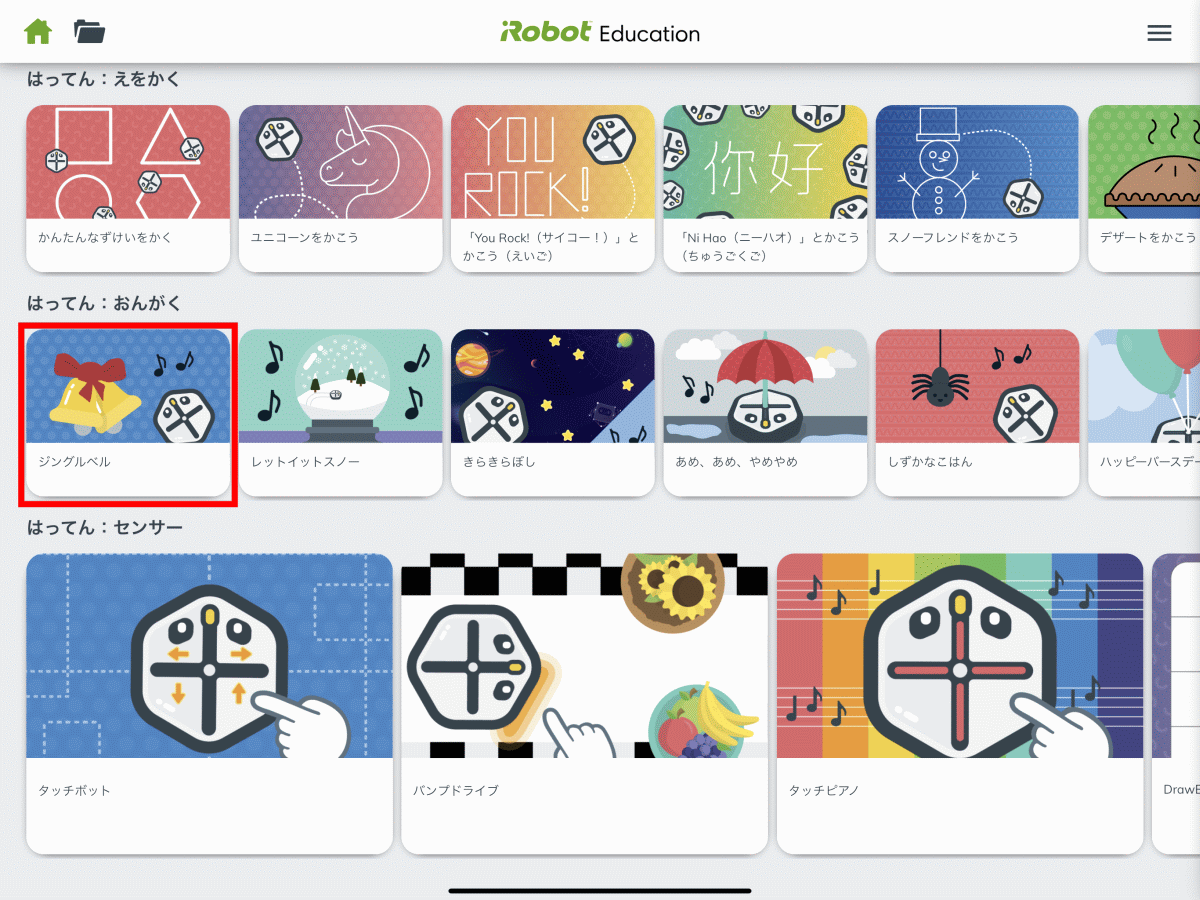
iRobot Coding has a wealth of sample projects that you can use as a reference, such as which sensor to use and how to use it. When I try tapping 'Jingle Bell' ...
A sample using a block that makes a sound is displayed.
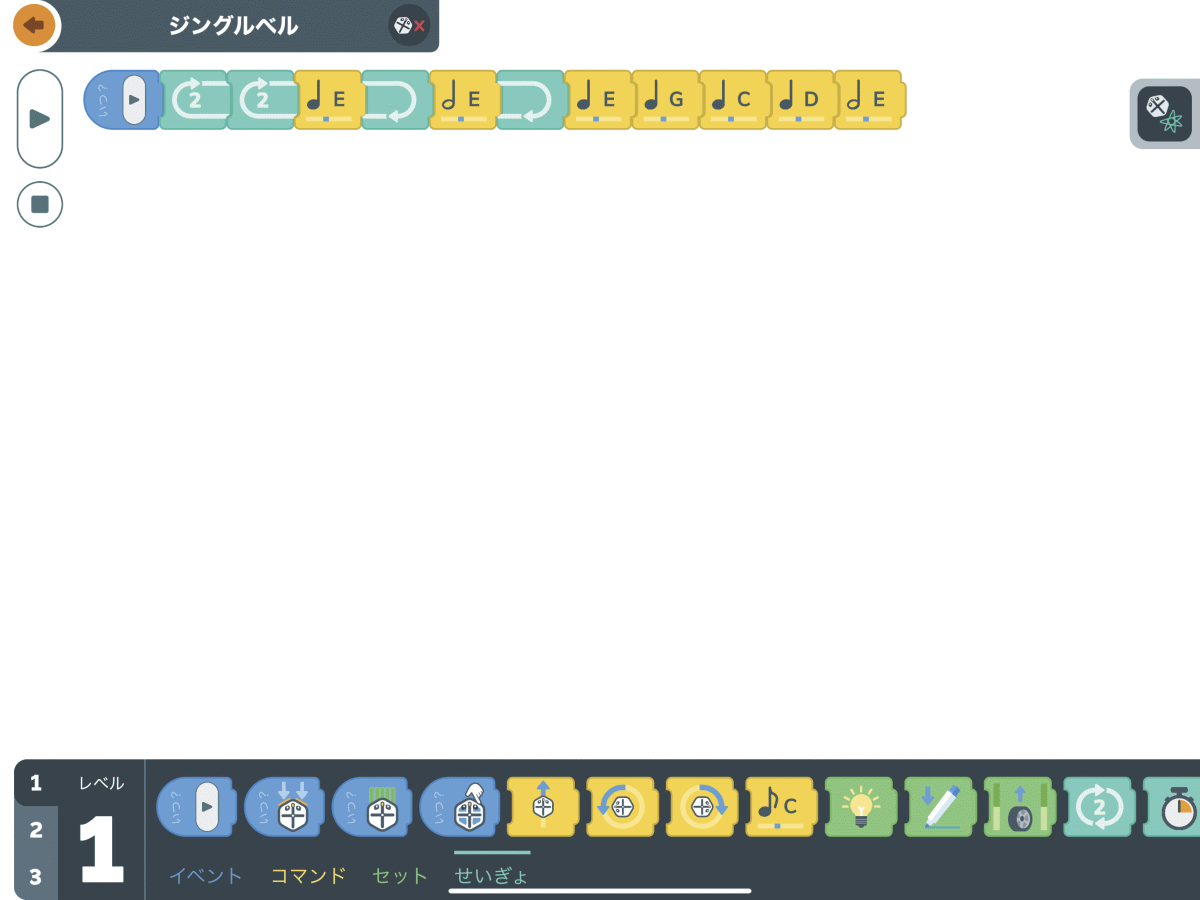
Below is a movie that actually executed the sample program and played Jingle Bell at Root.
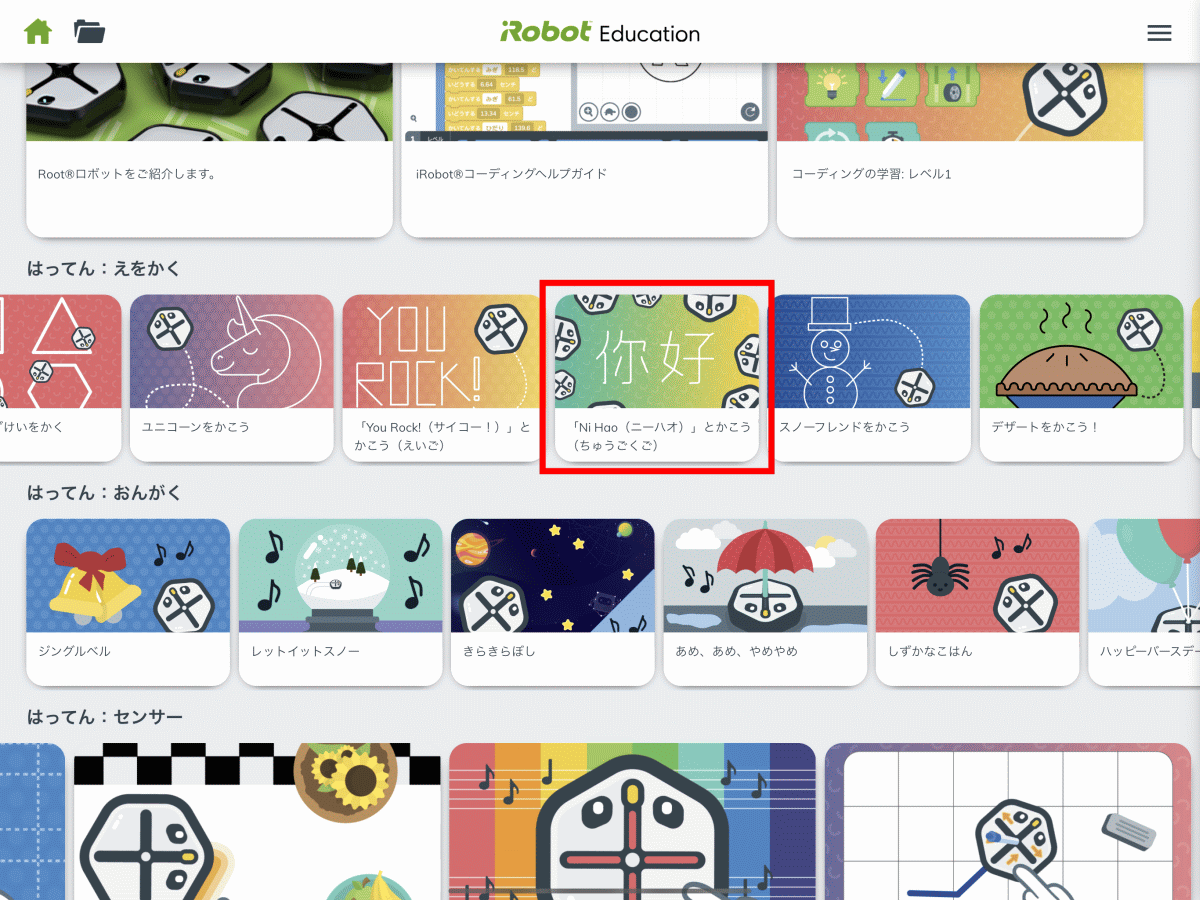
When you tap the sample that writes the letters 'Nihao' ...
Instead of a simple single row of blocks, I saw blocks with variables. Root has a function to program by level, and the block with variables is 'level 2'. From level 2, you can set variables using actual values, so you can control without being tied to one square on the whiteboard.
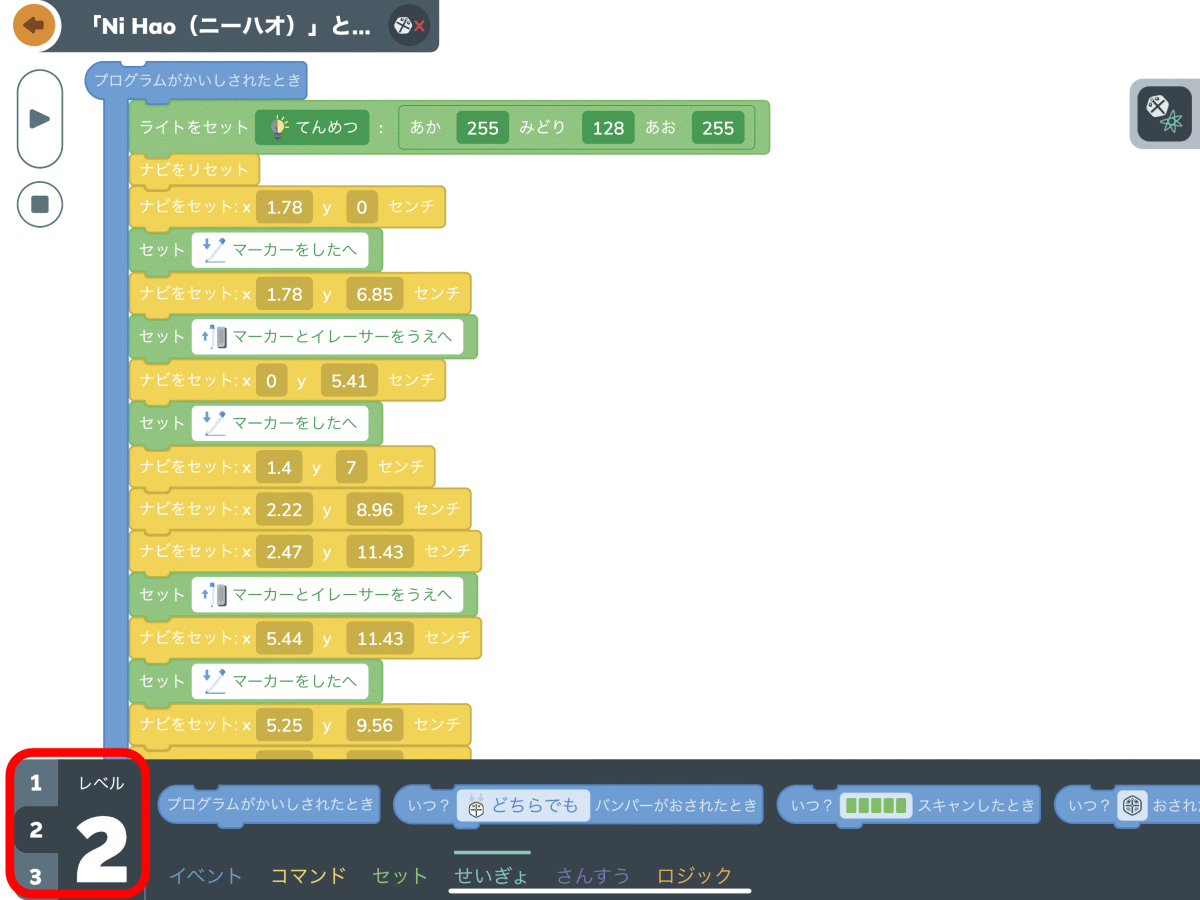
At 'Level 3', you can perform full-scale programming using the real programming language '

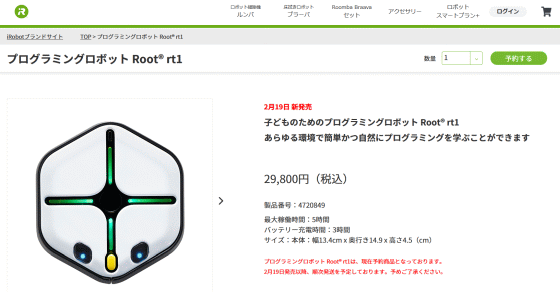
Root will be available on February 19, 2021 at the iRobot official store for 29,800 yen including tax.
Eye Robot Programming Robot Root rt1 [Official] | Eye Robot Official Online Store
Related Posts: