Review of the latest version of the classic benchmark test app 'Geekbench 5'
The latest version of 'Geekbench 5 ' has appeared in the standard 'Geekbench' benchmark test that measures the performance of smartphones and PCs. If you just do a benchmark test, you can use it for free, and it is said that you can measure the performance of the terminal more accurately than before, so immediately test the performance of the device using the iOS version, Android version, Windows version I tried to.
Geekbench 5 --Cross-Platform Benchmark
'Geekbench 5' on the App Store
https://apps.apple.com/jp/app/geekbench-5/id1435082259
Geekbench 5 --Google Play App
https://play.google.com/store/apps/details?id=com.primatelabs.geekbench5
◆ Table of contents
・ IOS version
・ Android version
・ Windows version
◆ iOS version
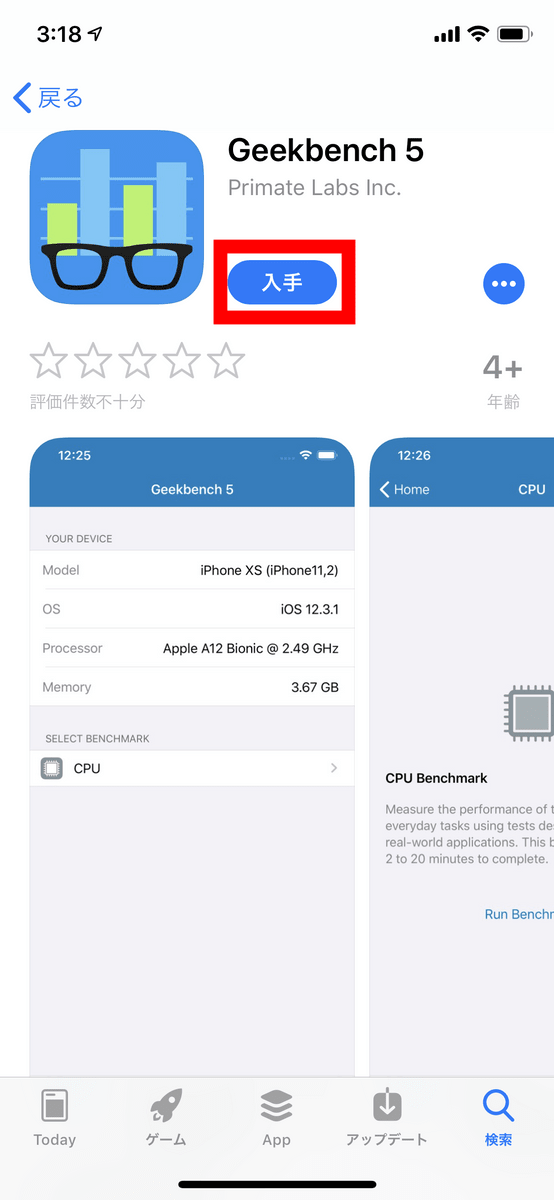
First, access the above URL and tap 'Get'. This time I will test the performance of iPhone XS.
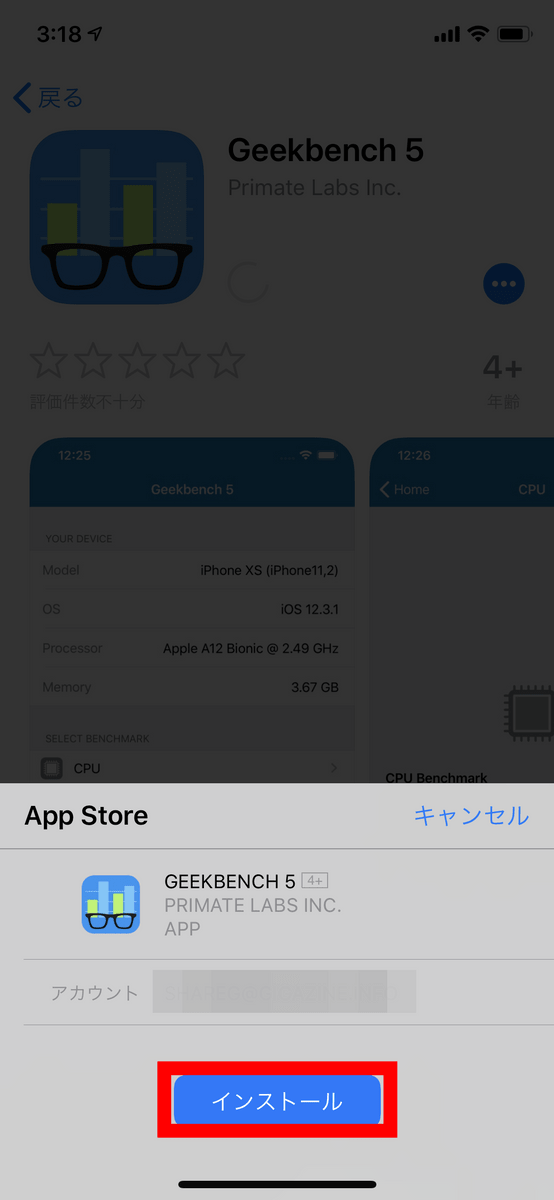
Tap 'Install'.
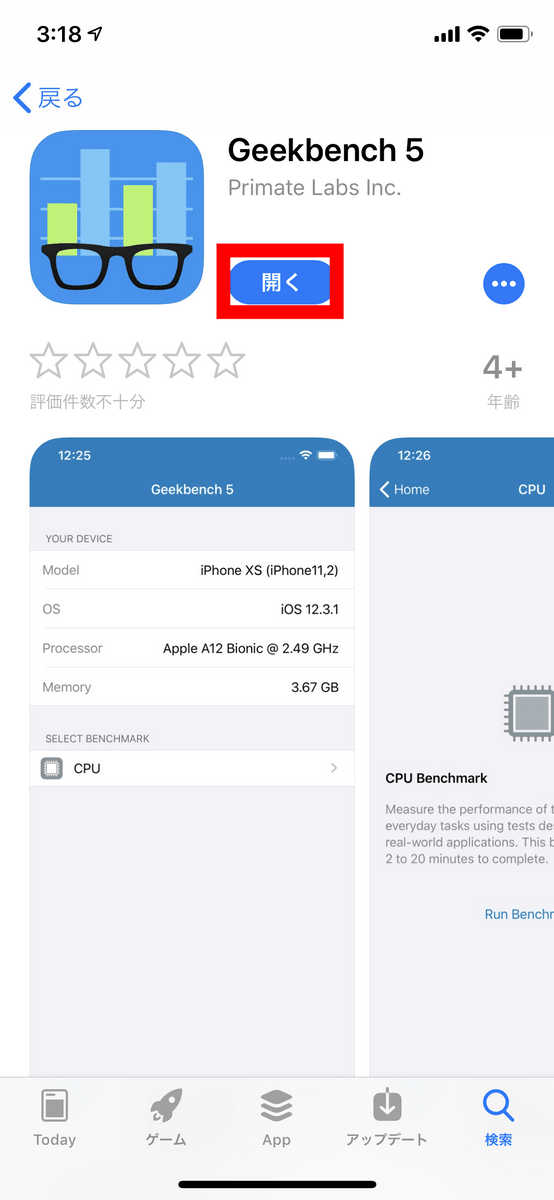
Tap 'Open' when the installation is complete.
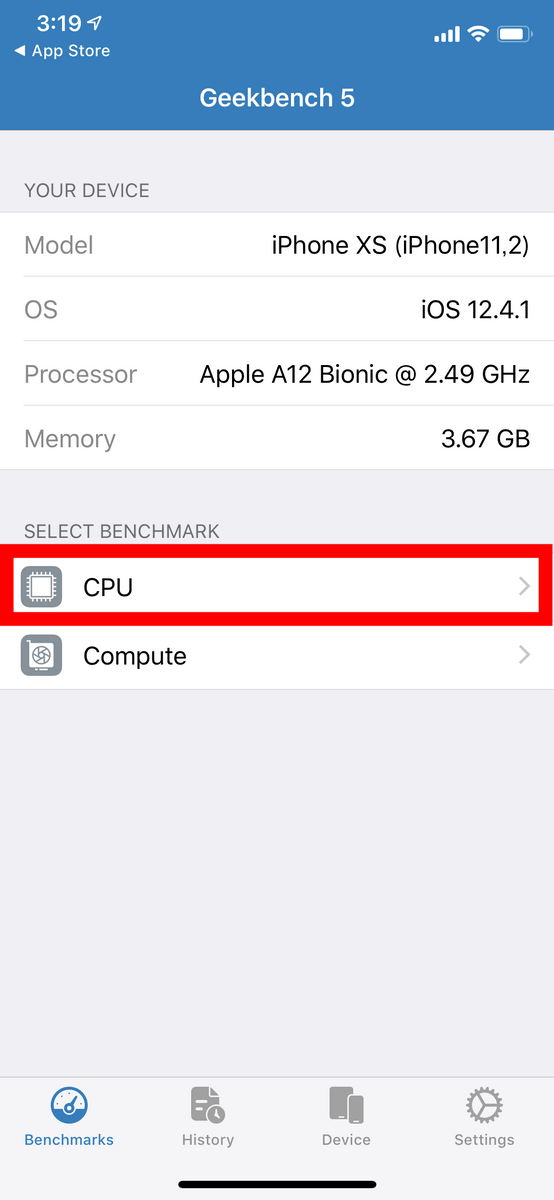
This is the home screen of Geekbench 5. Tap the CPU at once.
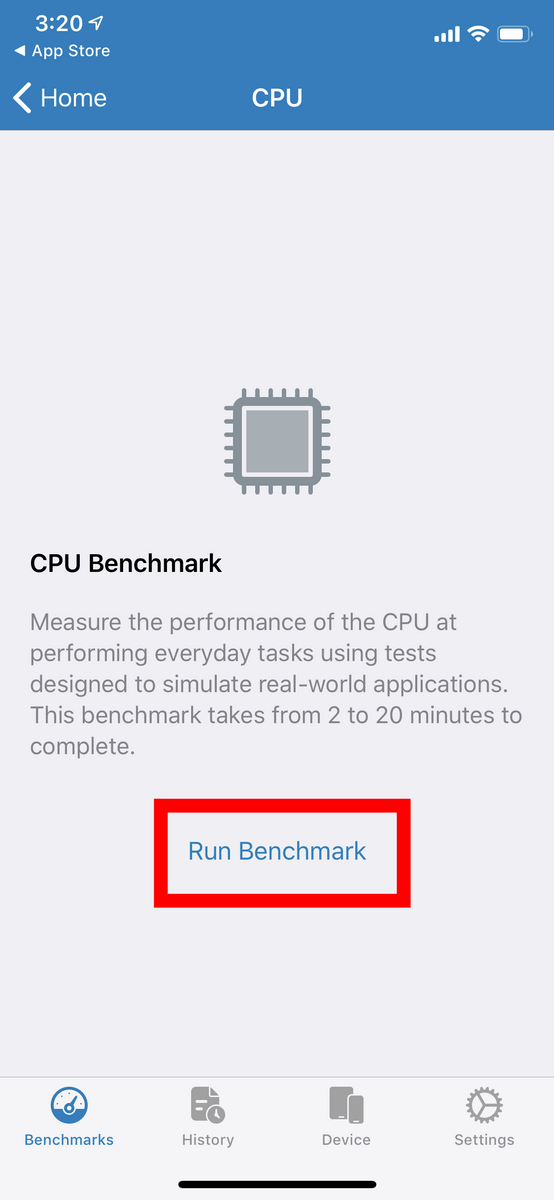
Tap 'Run Benchmark' to start the benchmark.
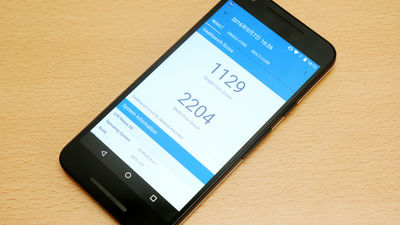
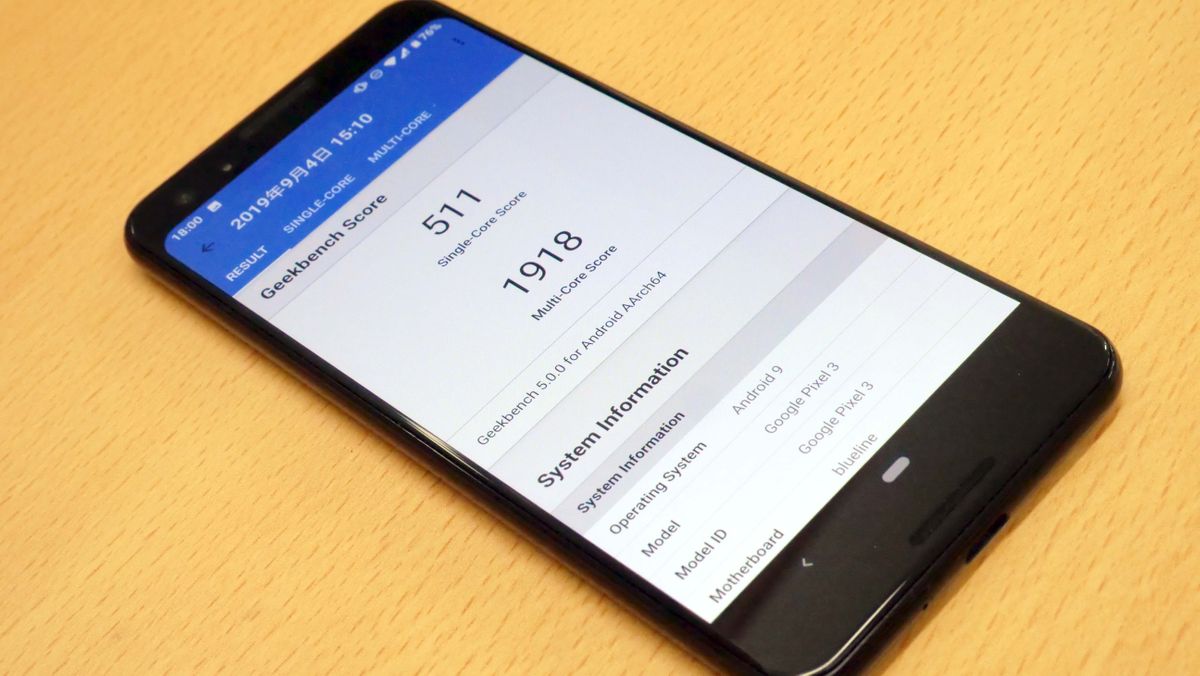
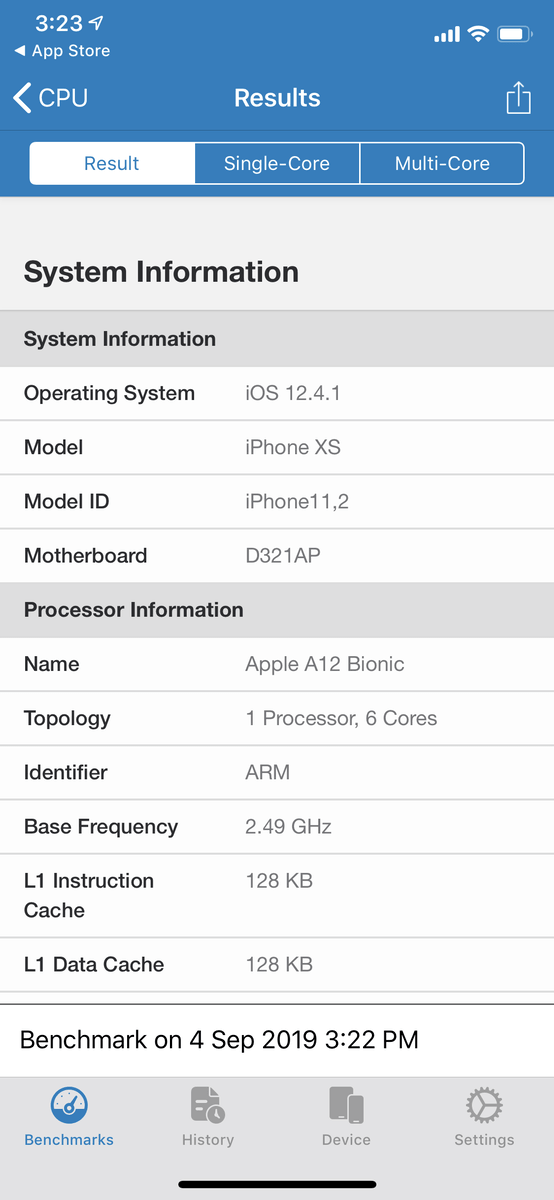
After waiting for about two and a half minutes, the CPU benchmark results were displayed separately for single-core and multi-core.

Scroll down to see more detailed results.
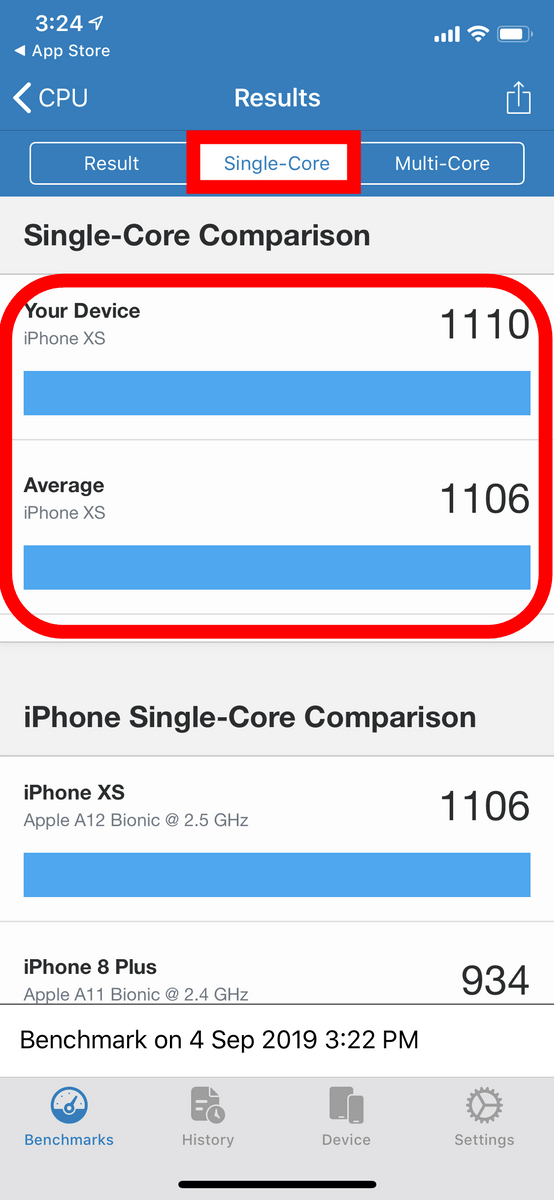
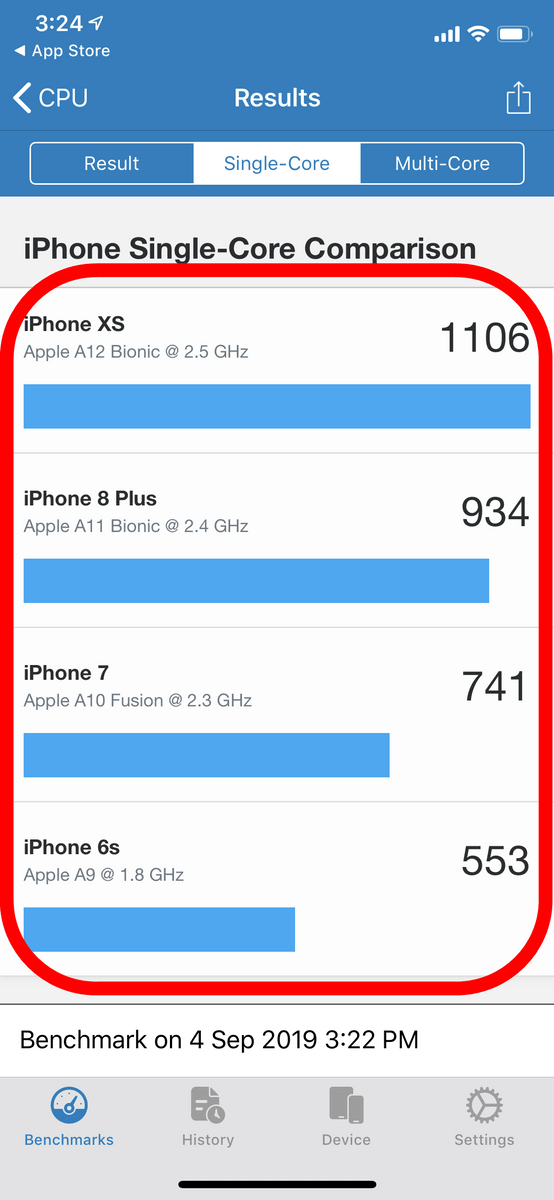
Swipe left or tap the Single-Core tab to compare this result with the average iPhone XS test result. The device at hand is a very average iPhone XS.
Scroll down to compare the performance of the iPhone XS with the performance of successive iPhones.
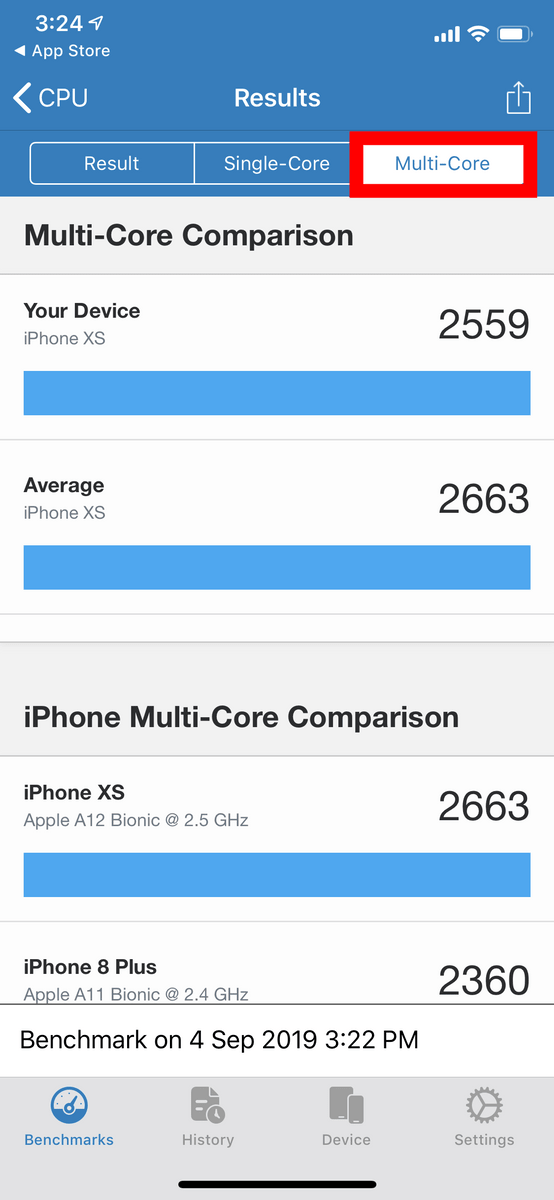
By swiping to the left or tapping the 'Multi-Core' tab, you can compare the benchmark results with multi-core with other iPhones as well as with 'Single-Core'. This result is slightly lower than average.
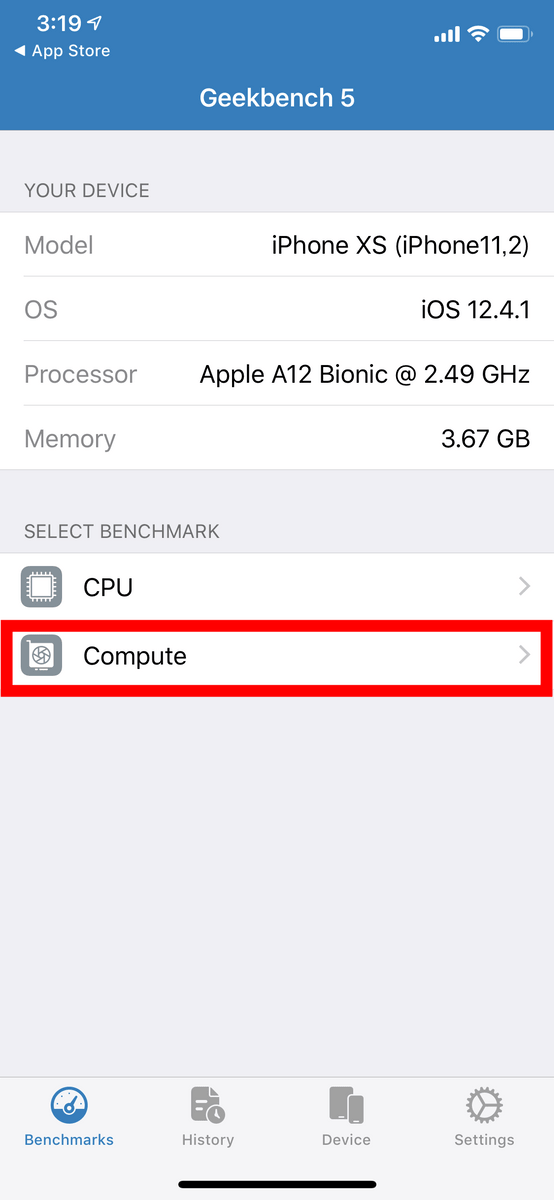
Next, tap 'Compute' from the top screen.
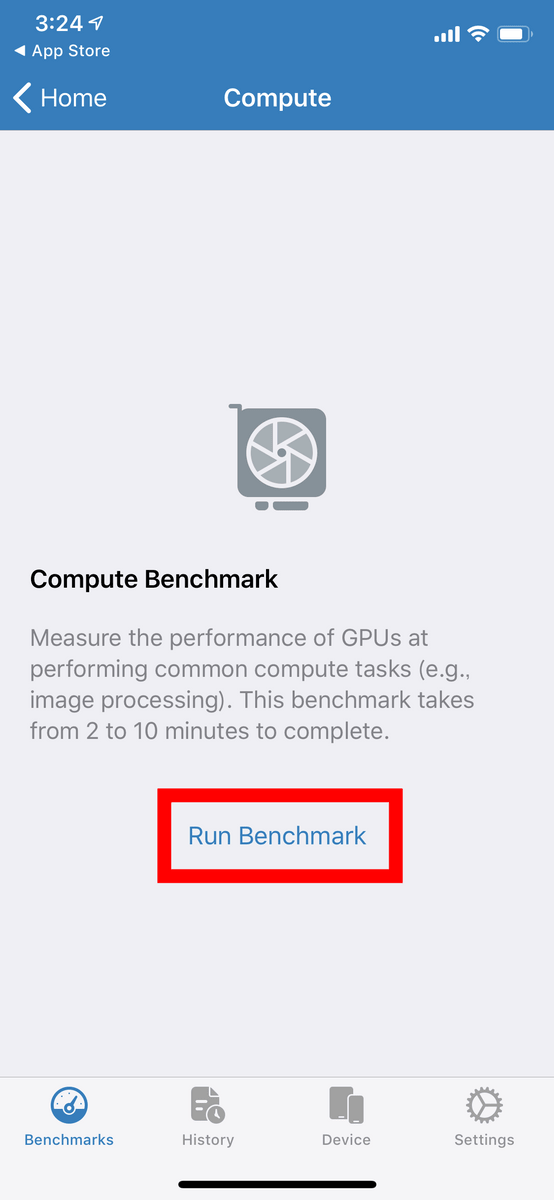
Tap 'Run Benchmark'.
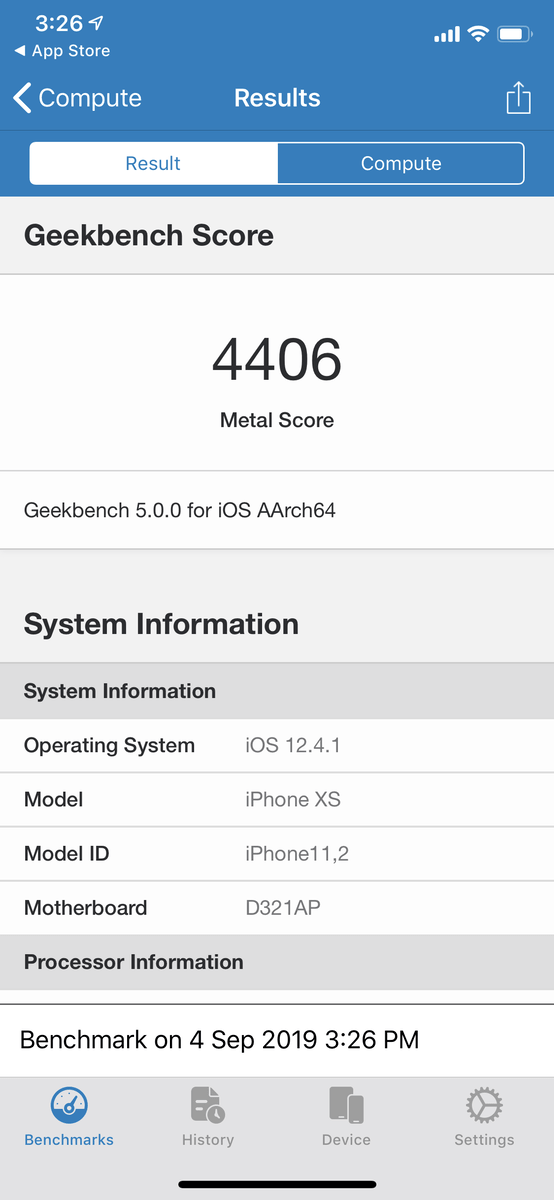
After a short wait, the overall device score was displayed.
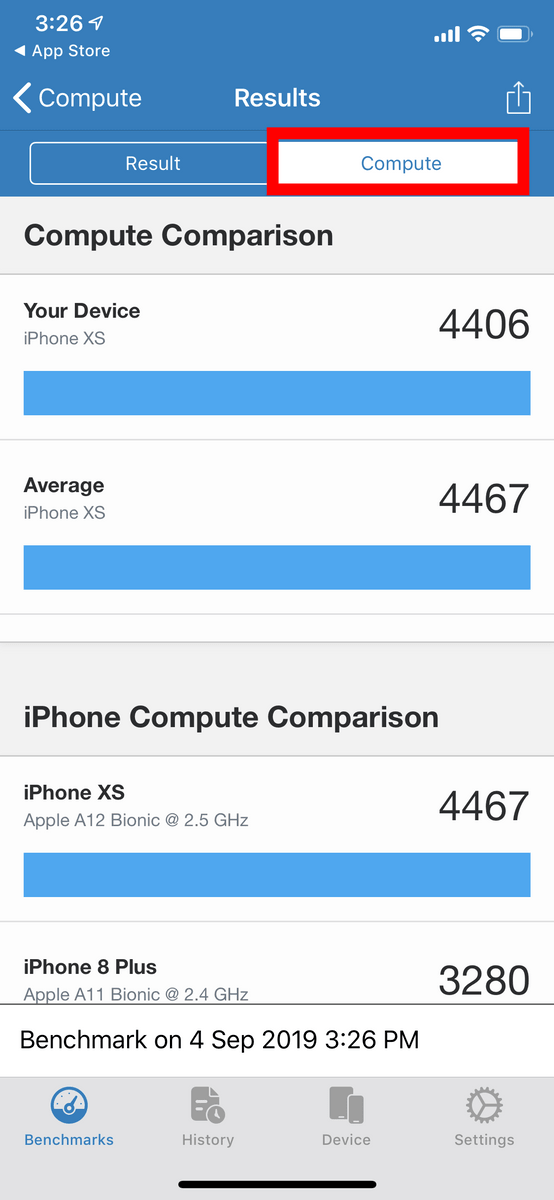
Swipe right or tap the Compute tab to see the overall device score compared to the scores of other devices.
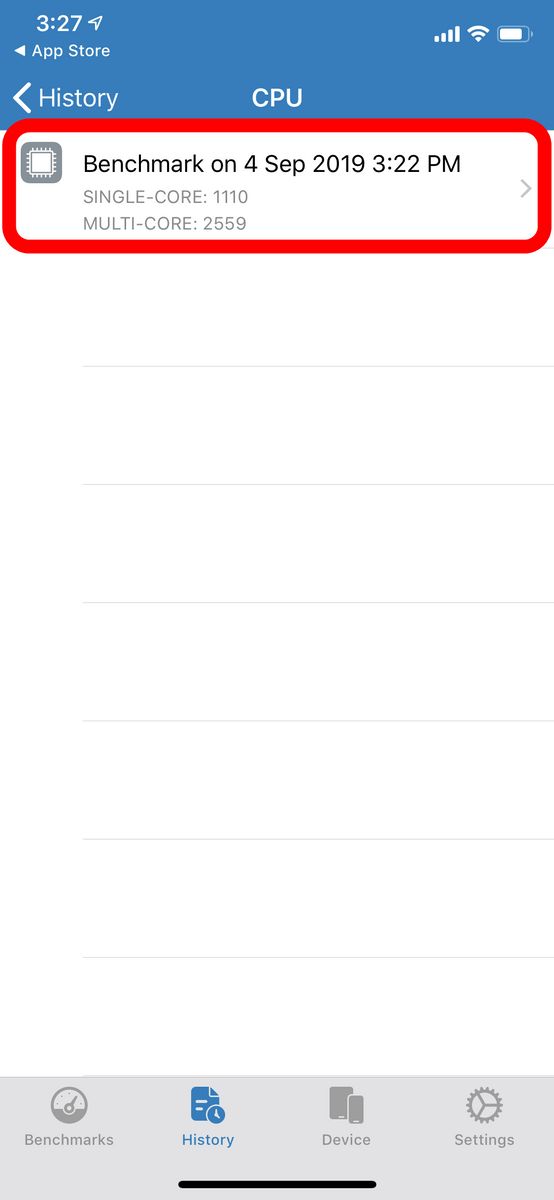
If you tap the 'History' tab below and then tap the CPU ...

You can see the history of benchmark results.
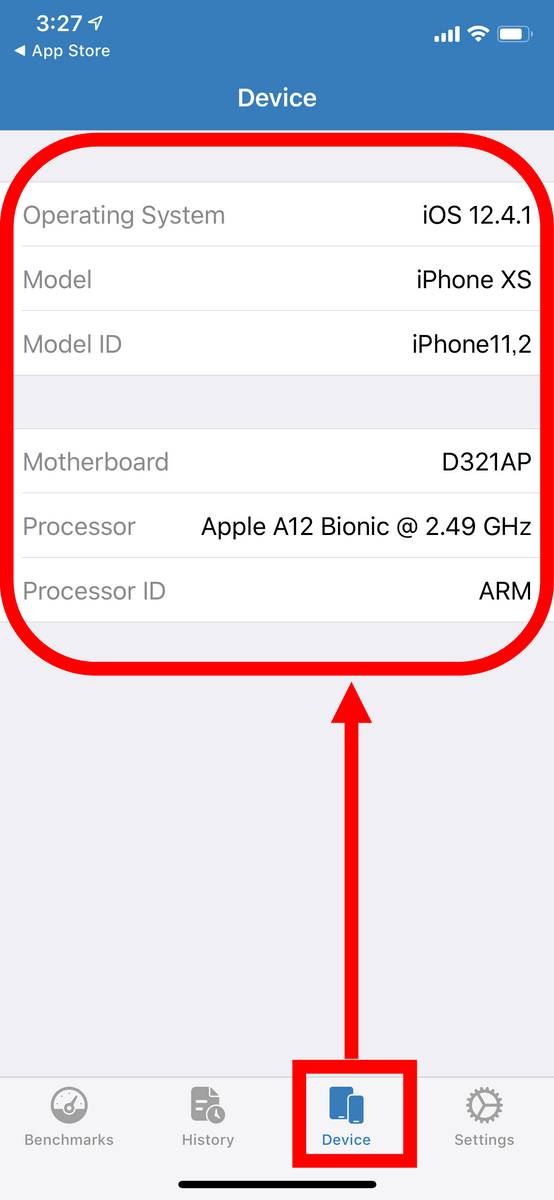
From the 'Device' tab, you can check the specifications of the device on which the app is installed.
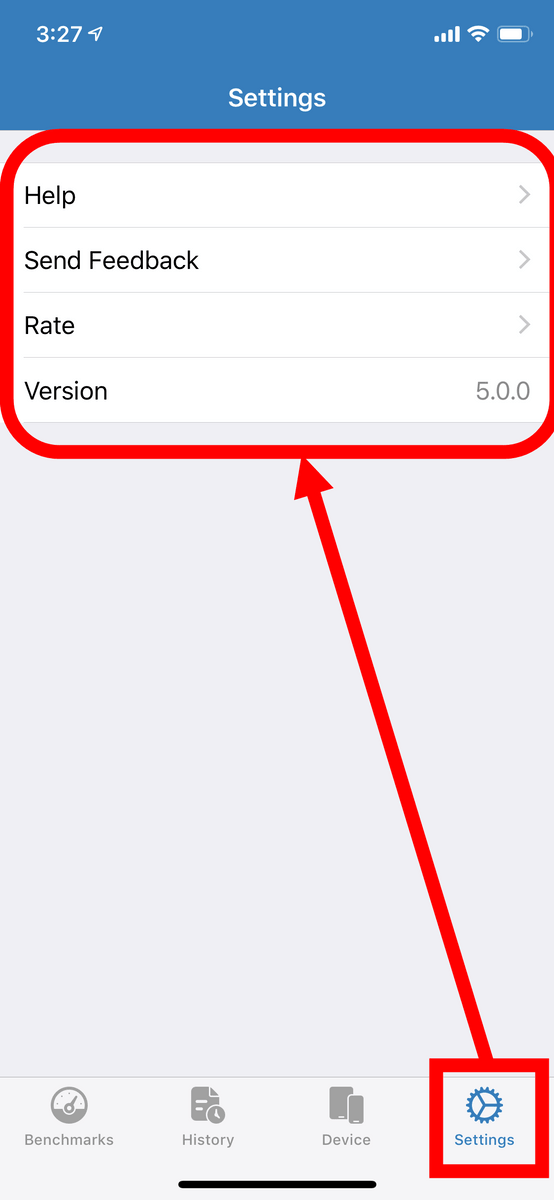
You can tap the 'Settings' tab to see help and send feedback and ratings.
◆ Android version
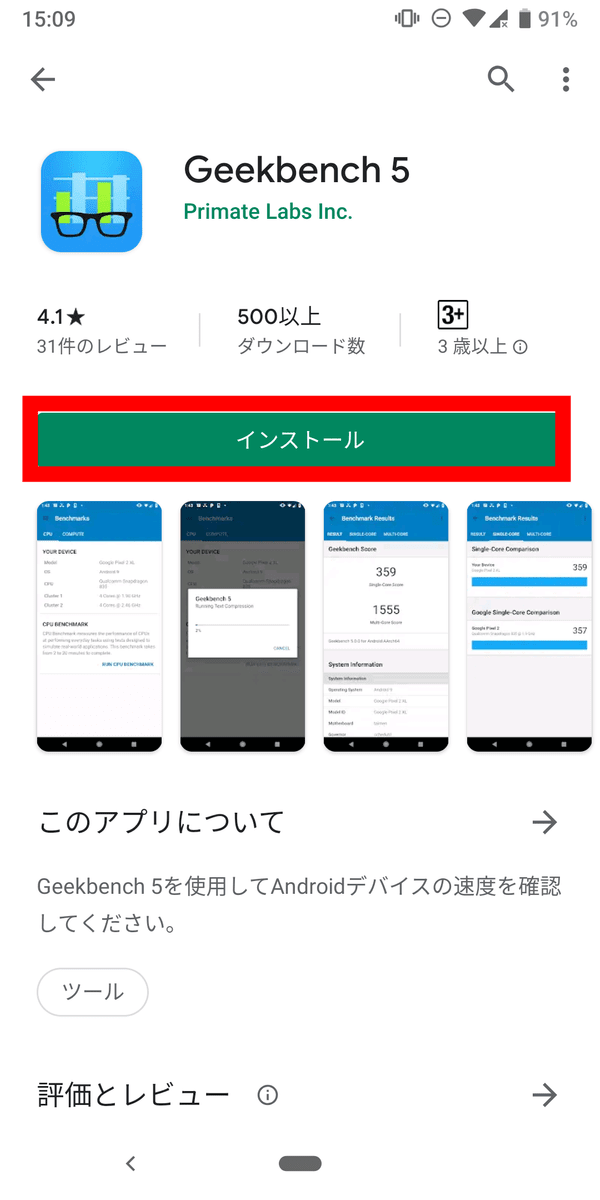
Now let's test the performance of Google Pixel 3. First, go to
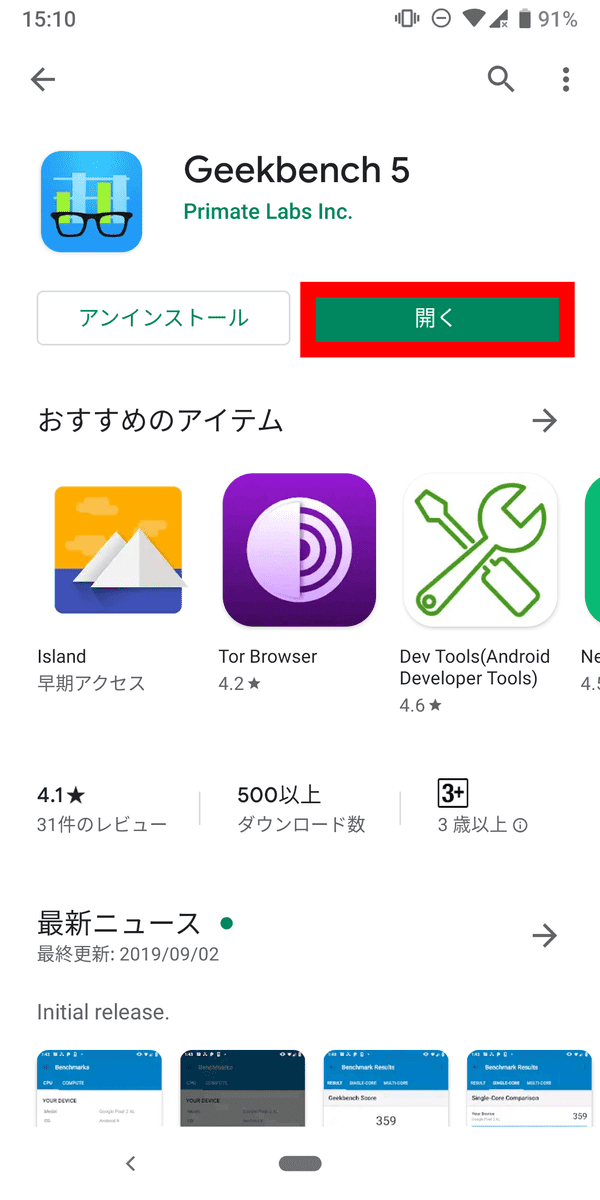
After installation, tap 'Open'.
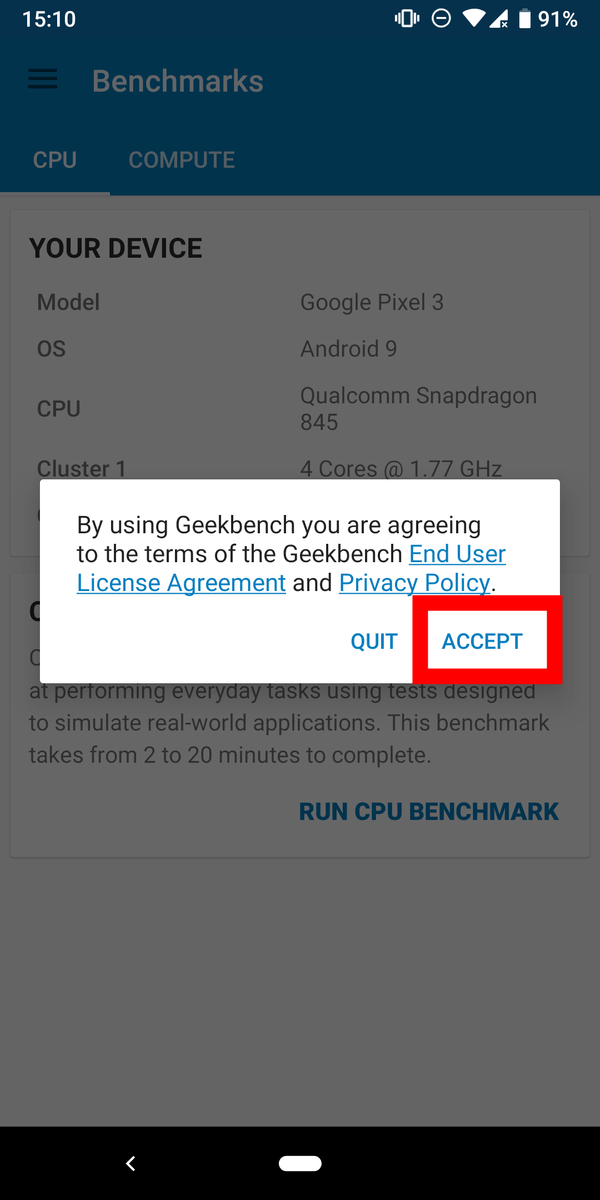
You will be asked to agree to the terms, so tap 'ACCEPT'.
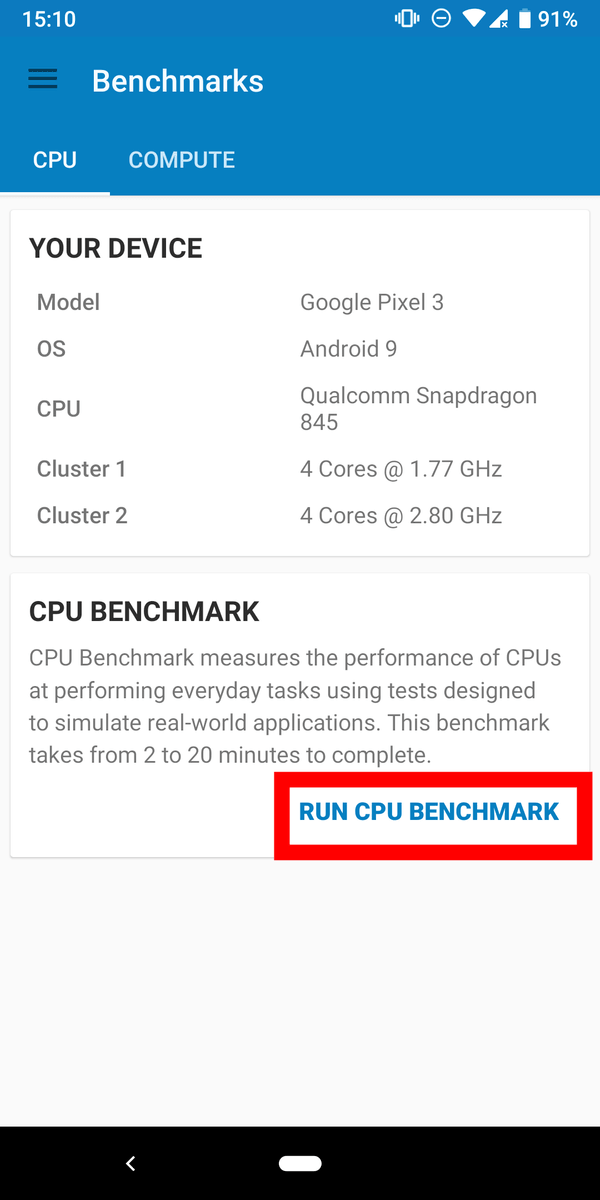
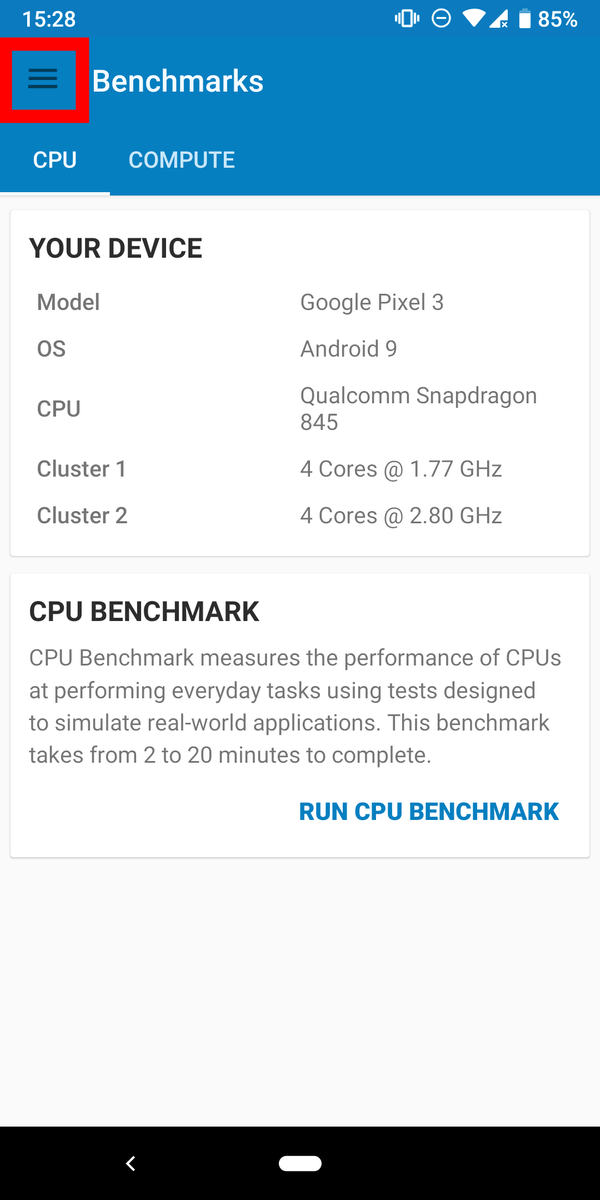
This is the top screen. Tap 'RUN CPU BENCHMARK' to test the CPU performance.
After waiting for about 3 minutes, the CPU benchmark results were displayed separately for single-core and multi-core.

Scroll down to see more detailed results.

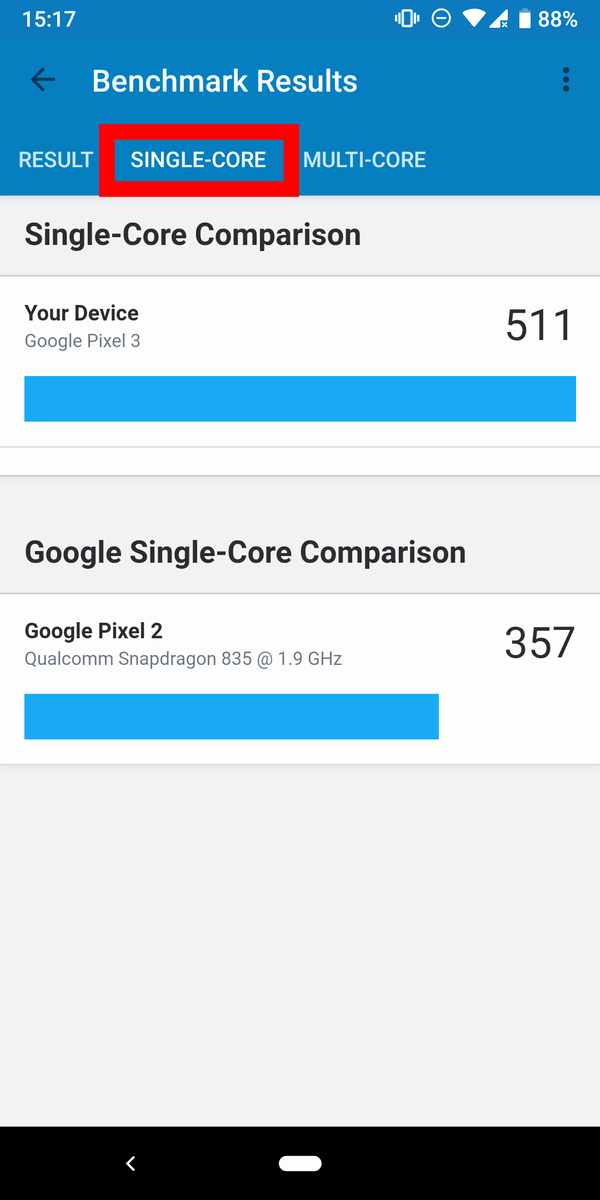
Swipe left or tap the 'Single-Core' tab to see the benchmark results for the Google Pixel 3 tested this time and the Google Pixel 2 tested in the past.
If you swipe further to the left or tap the 'Multi-Core' tab, you can see the benchmark results as in the case of 'Single-Core'. Also, tap the mark on the upper right ...
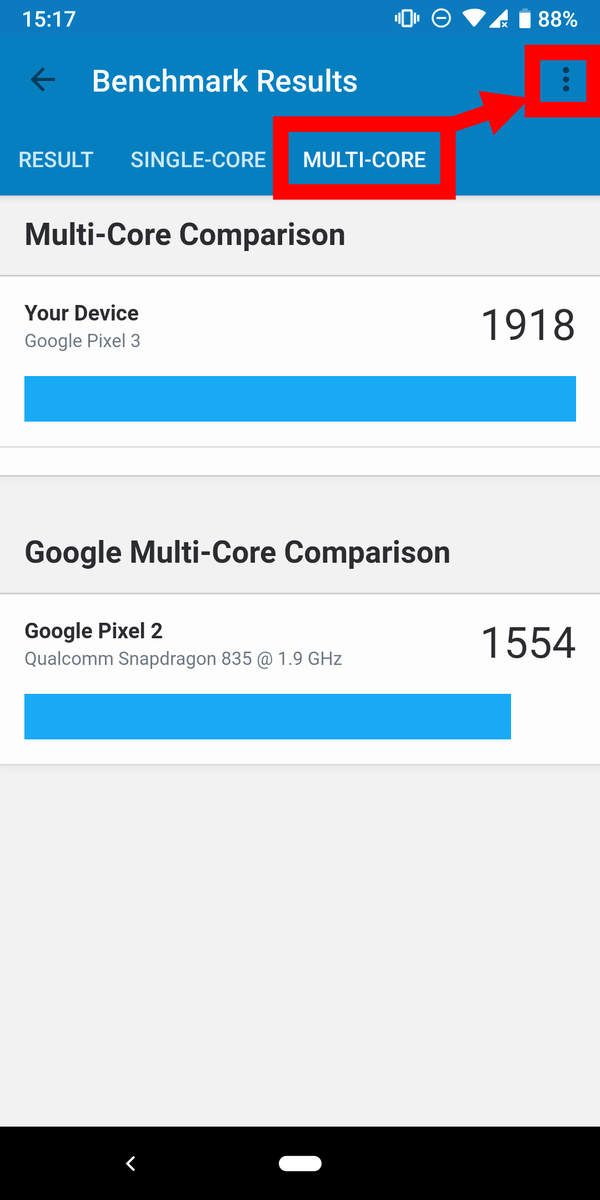
By tapping 'View Online', you can see the benchmark results automatically posted on the Geekbench site in your browser.

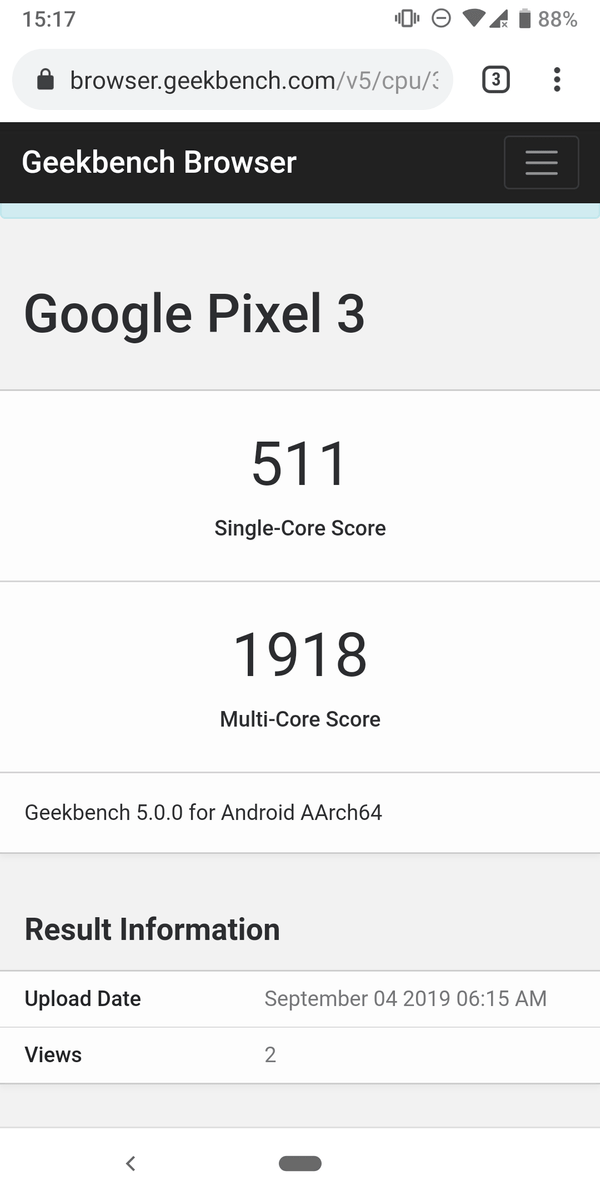
This is the benchmark result seen in the browser. The Android version can only be used while connected to the internet, and the benchmark results are automatically uploaded to Geekbench.
Next, since we will benchmark the terminal, tap the 'COMPUTE' tab from the top screen.

The API can be selected from
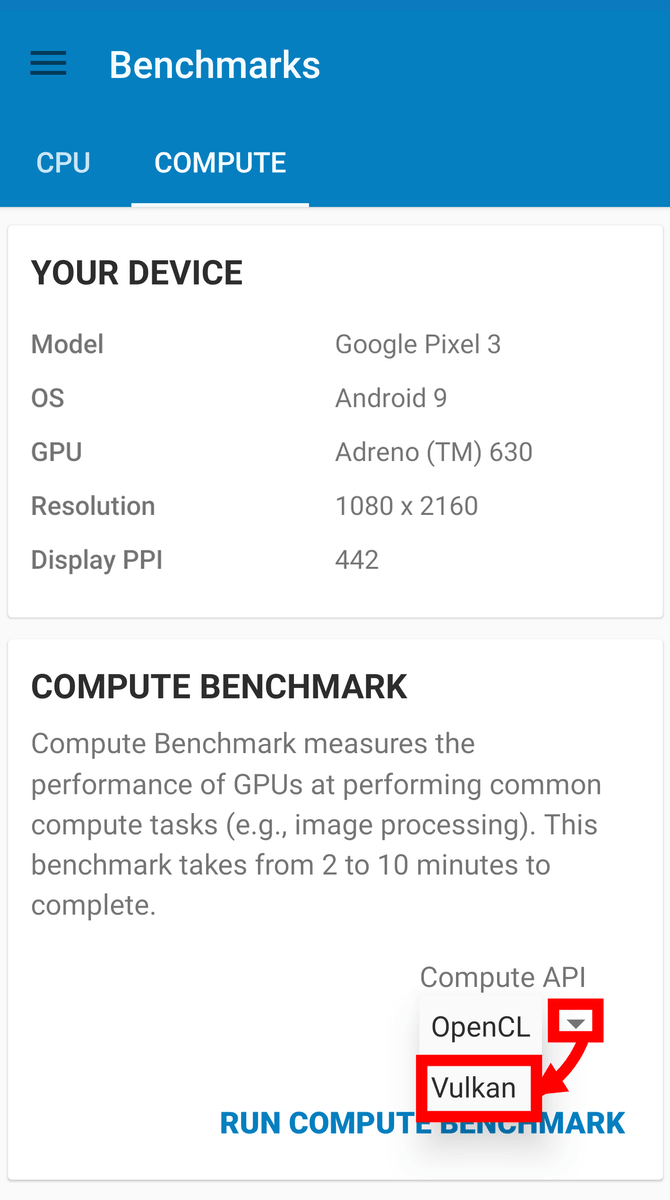
Tap 'RUN COMPUTE BENCH MARK' to start the benchmark.

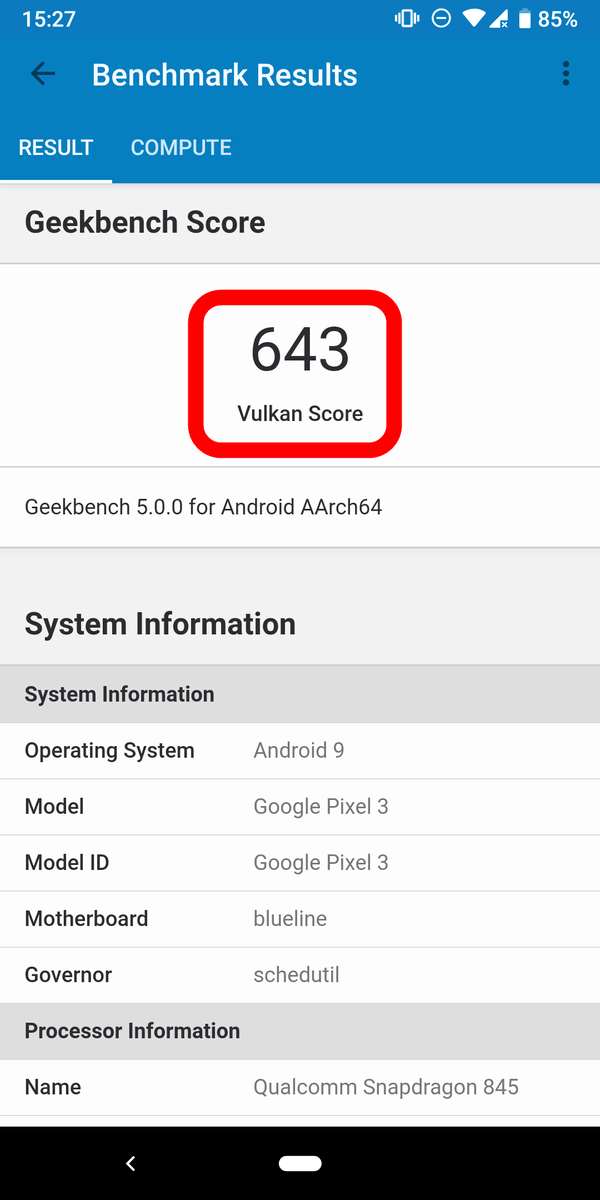
The result looks like this. Scroll down to see detailed benchmark results.
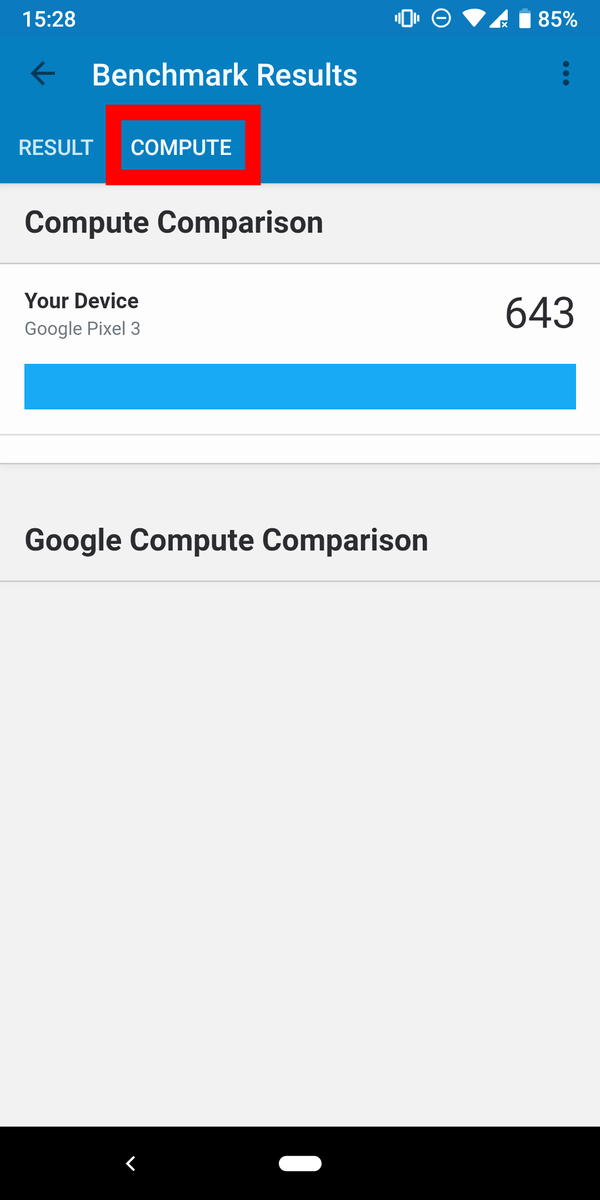
This is where I swiped left or tapped the 'COMPUTE' tab.
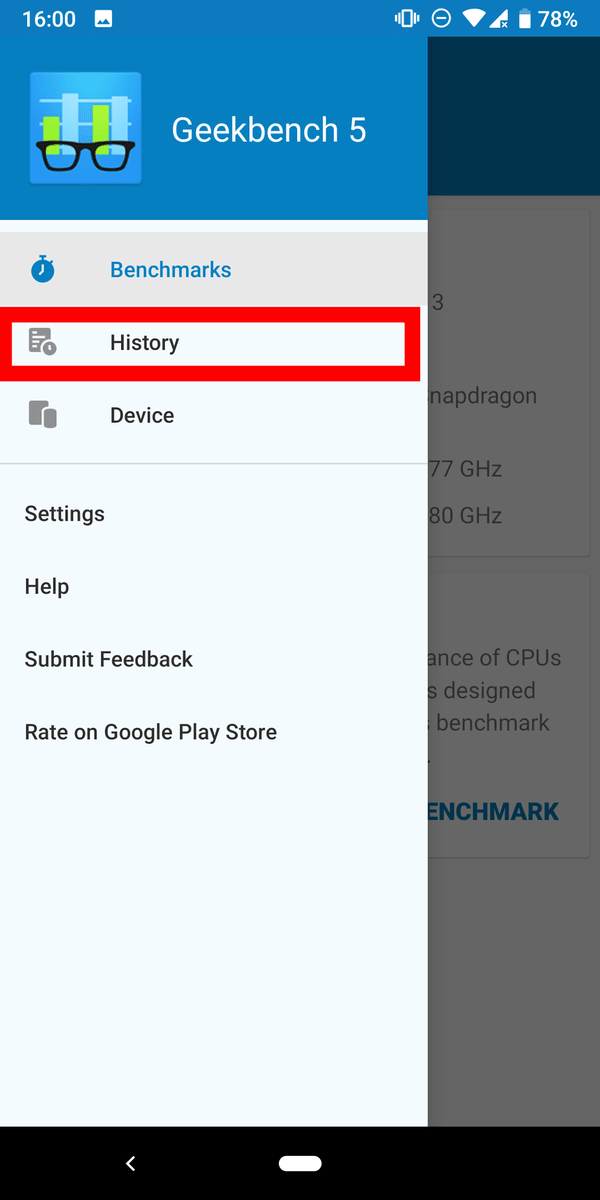
Tap the place surrounded by the red frame to display the menu ...
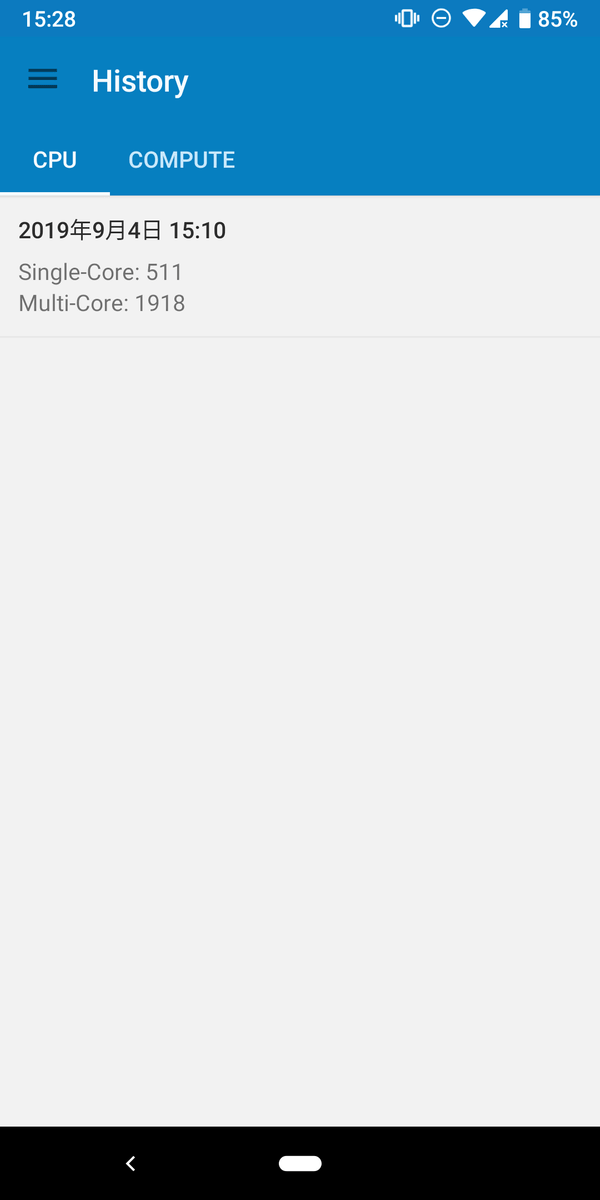
Tap 'History' to see the history of benchmark results.
The history of benchmark results is divided into 'CPU' and 'COMPUTE' like this.
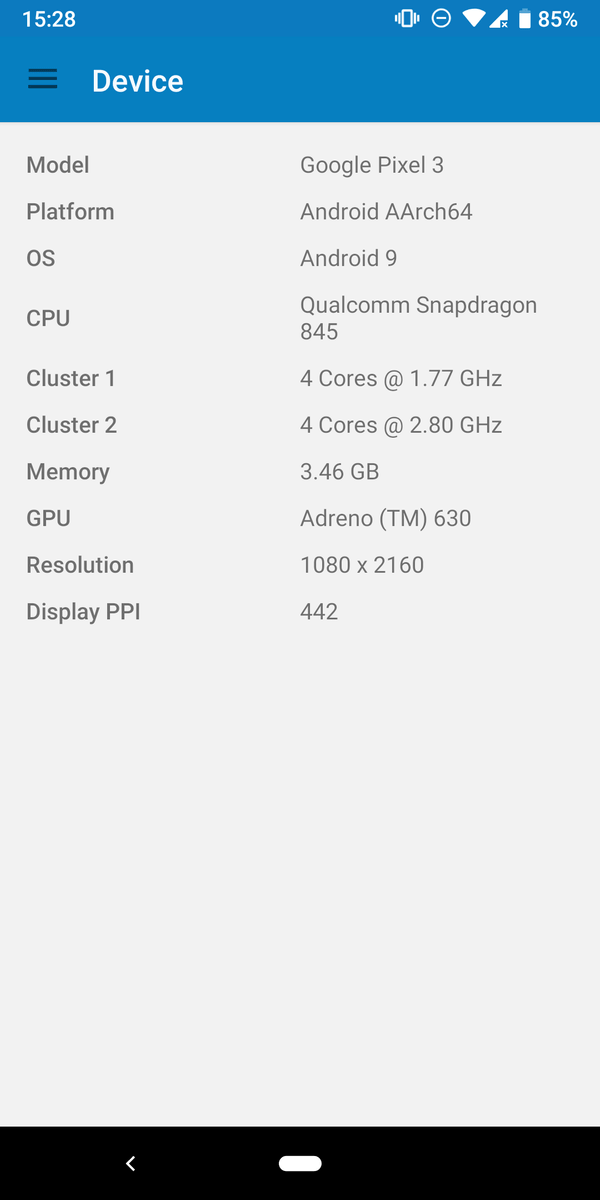
When you tap 'Device' from the menu ...
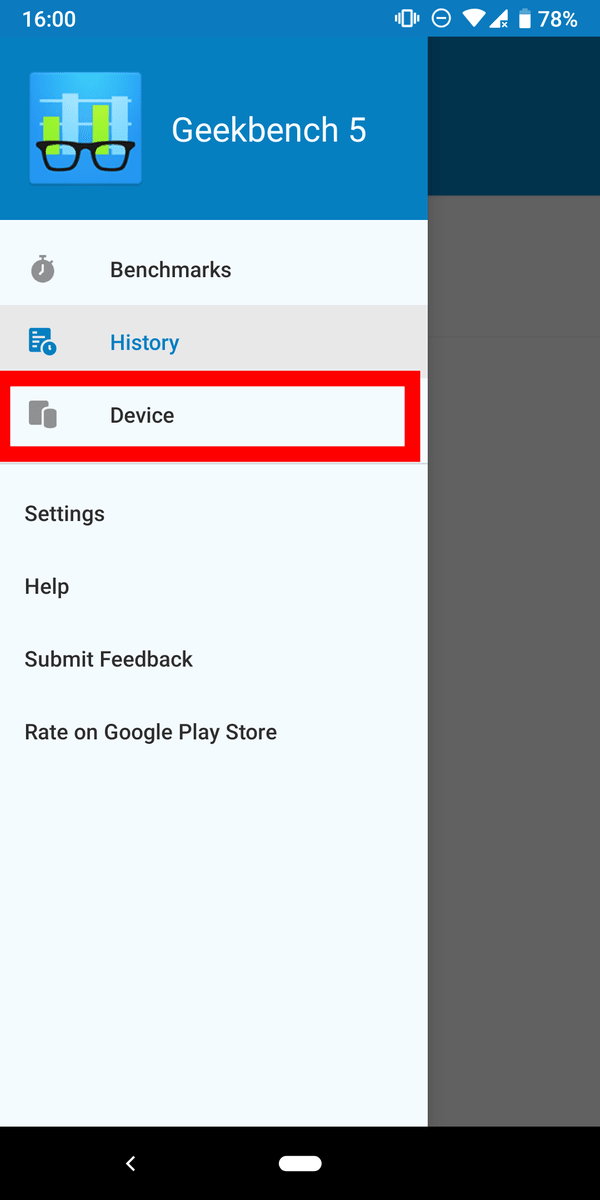
You can check the specifications of the terminal.
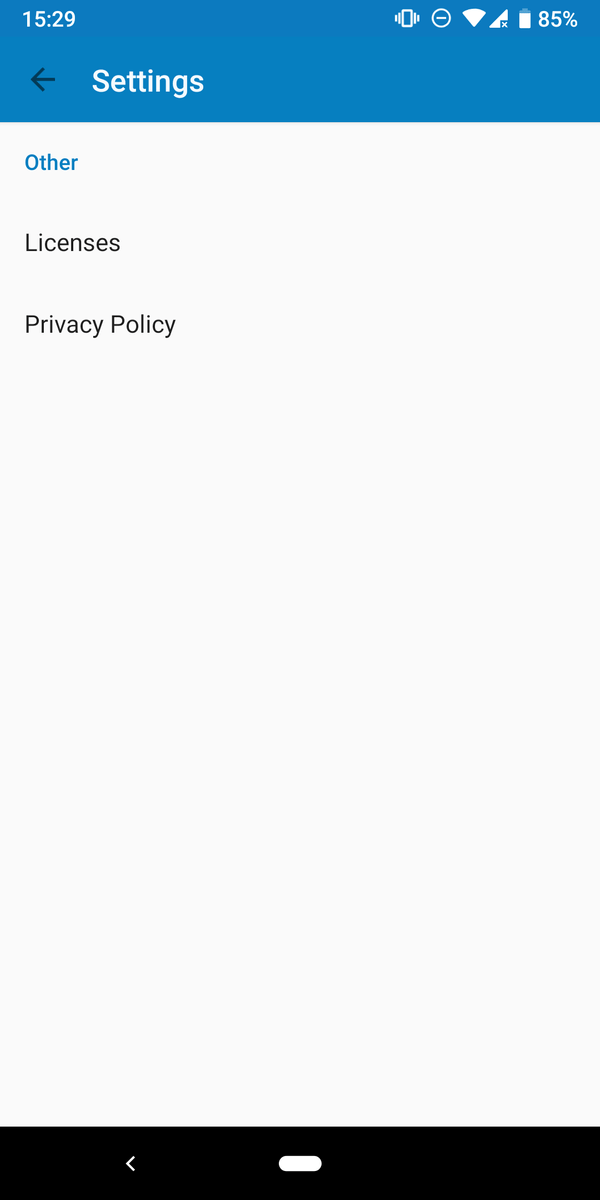
This is what I tried tapping 'Setting' from the menu. You can't change the settings, you can only check the license information and privacy policy.
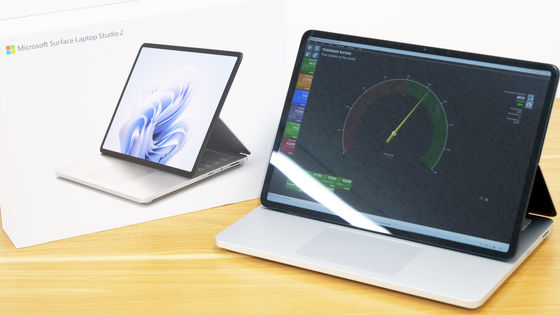
◆ Windows version
Next, I will try using the Windows version. First, go to the
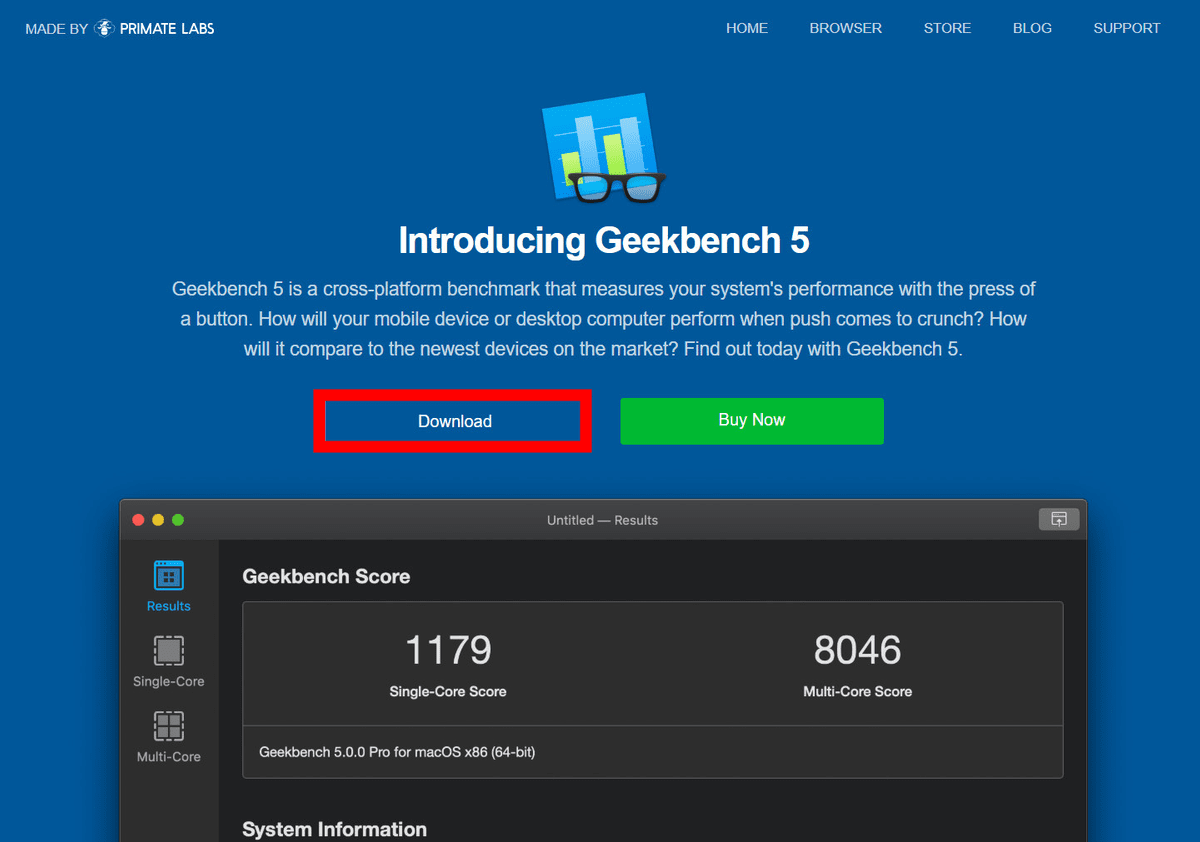
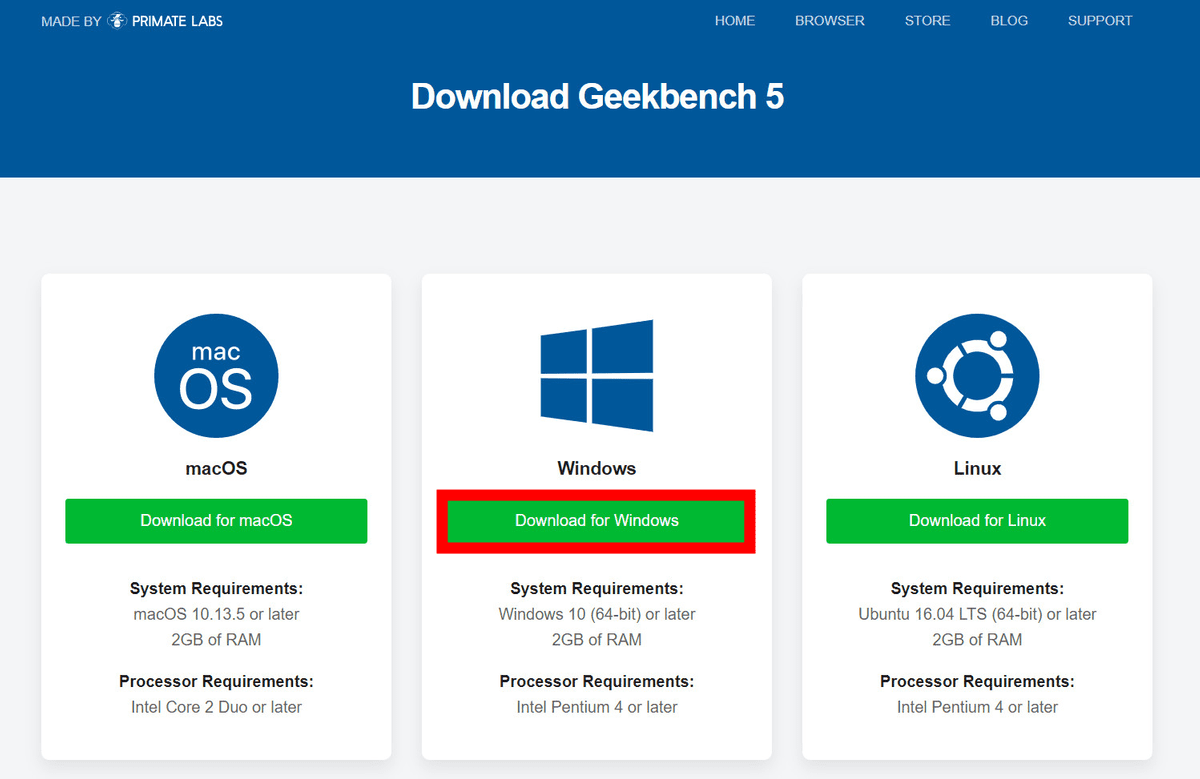
Then click Download Windows.
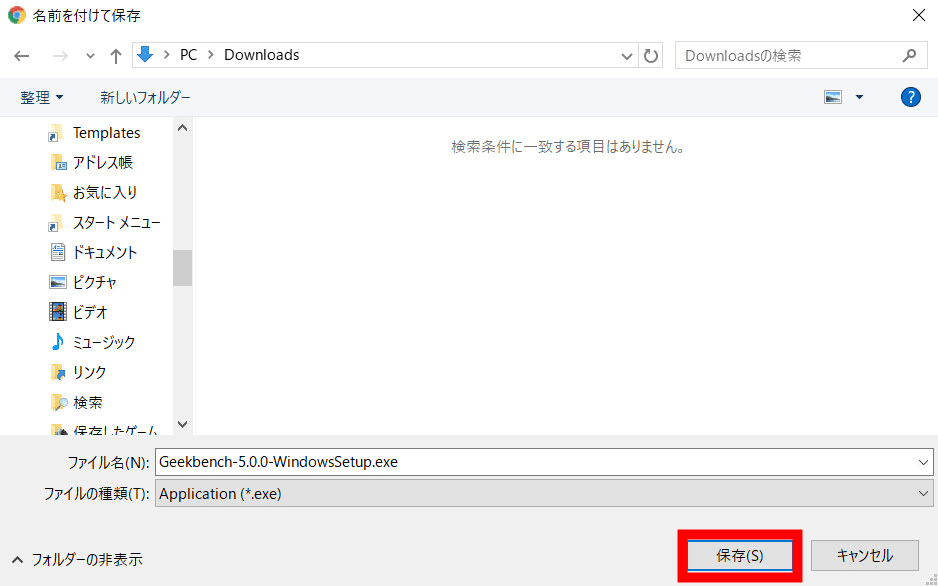
Download and save the installer to any location.
Launch the installer and click 'Next'.

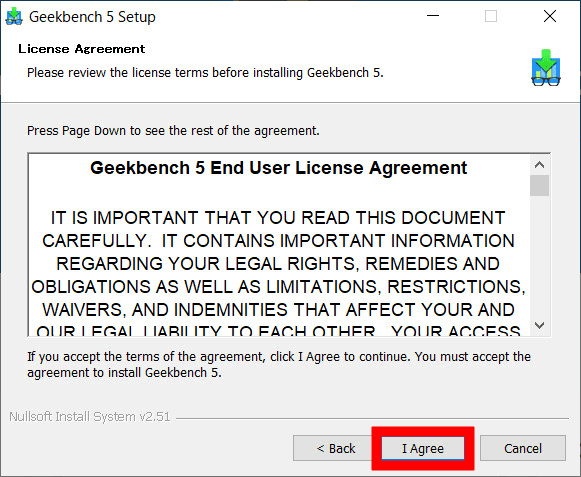
Check the terms and click 'I Agree'.
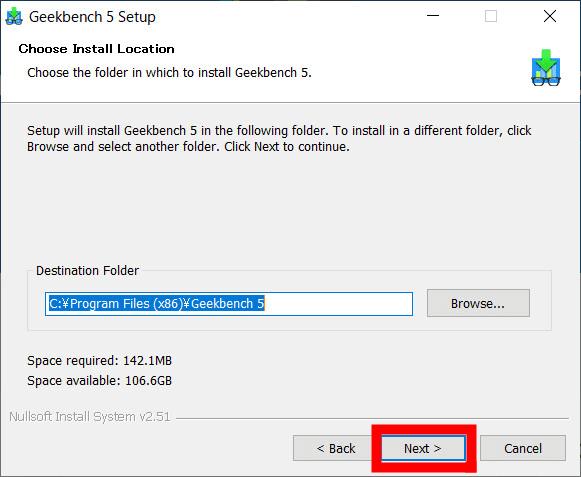
Specify the installation destination and click 'Next'.
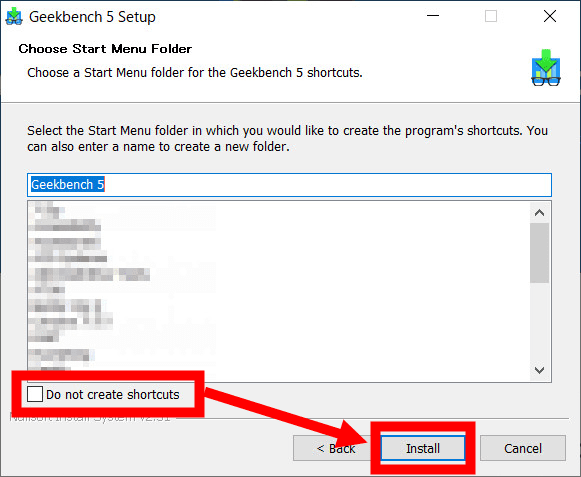
If you do not want to create a shortcut in the start menu, uncheck it and click 'Install'.
Click 'Finish' to complete the installation.

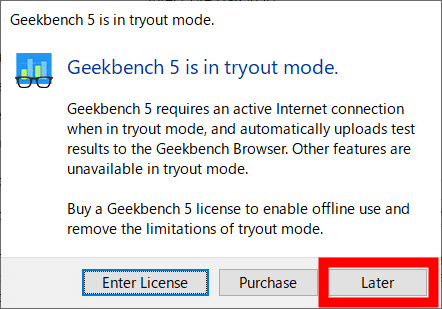
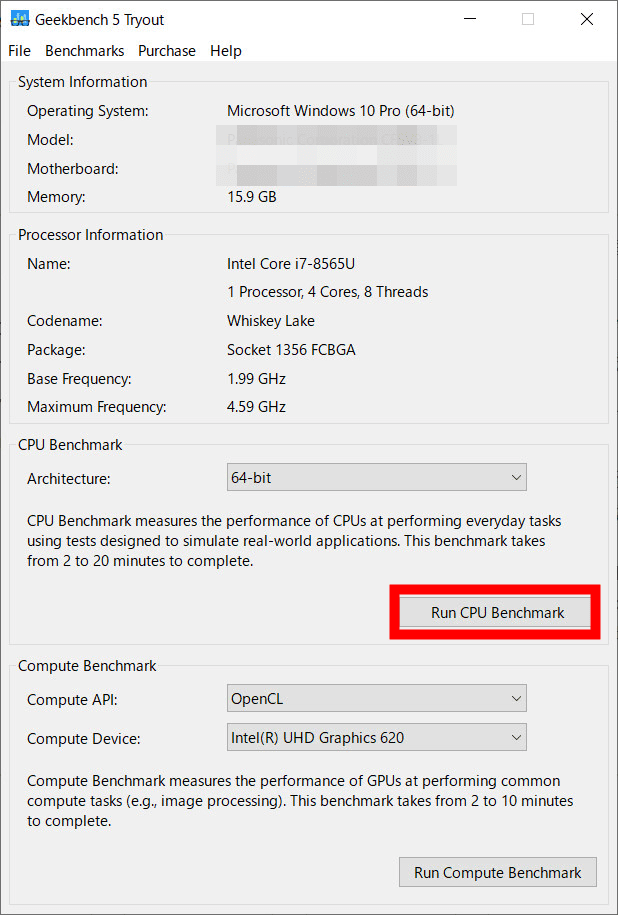
The Windows version of Geekbench 5 is paid software, but you can do it in 'trial mode' for benchmark tests only. Click 'Later'.
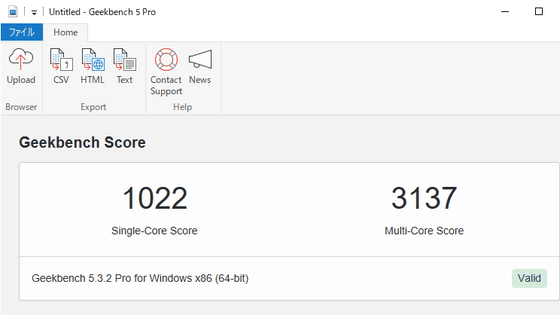
This is Geekbench 5 in trial mode. Click 'Run CPU Benchmark' to start the benchmark.
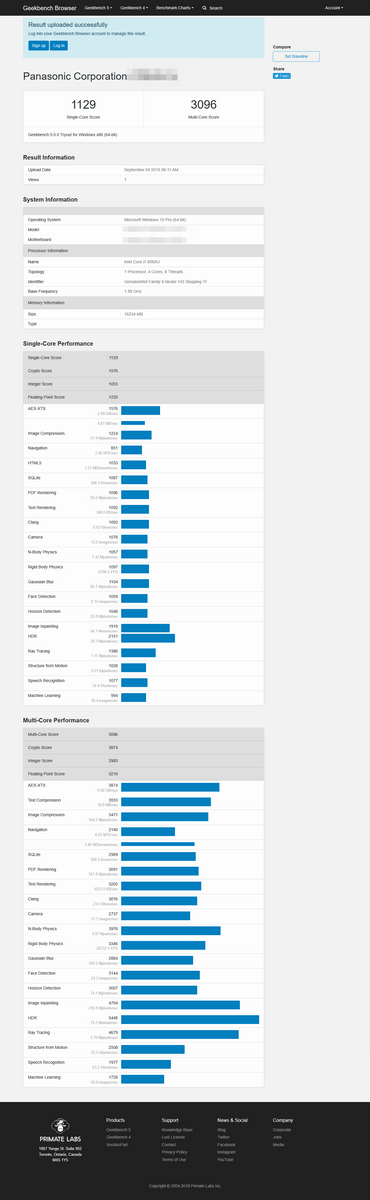
After about 3 minutes, the browser will start automatically and the benchmark results posted on the Geekbench site will be displayed.
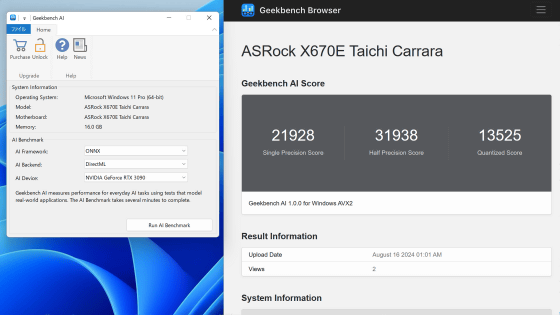
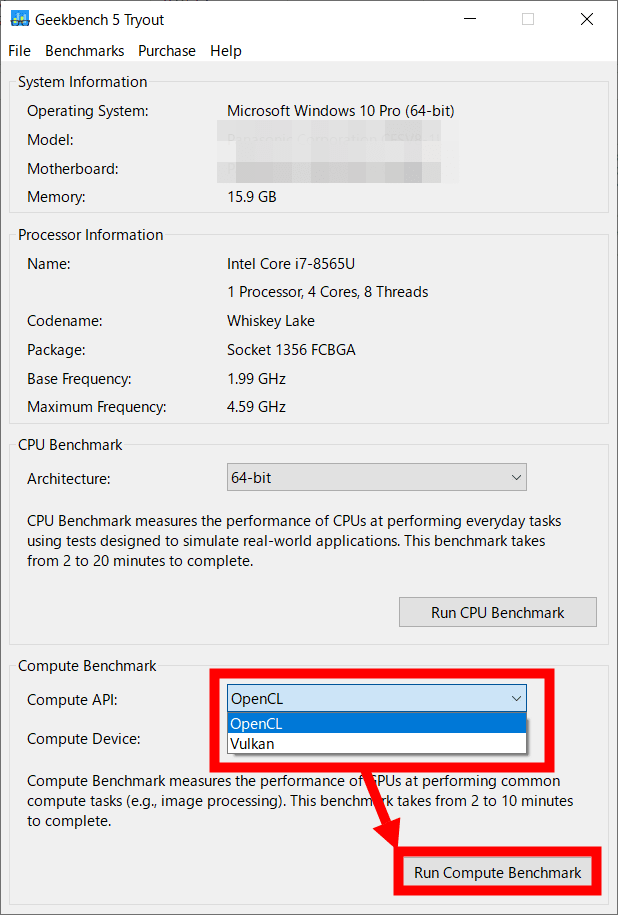
Next, let's test the performance of the entire PC. API can be selected from 'OpenCL' and 'Vulkan'. This time I chose OpenCL and clicked 'Run Compute Benchmark'.
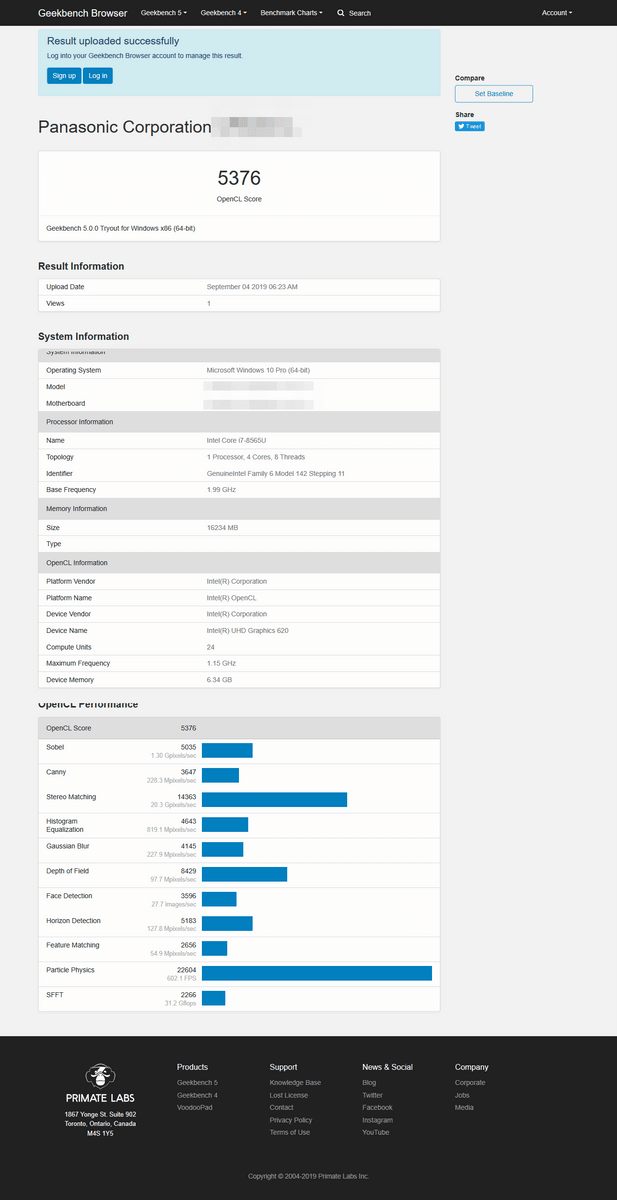
The result was like this.
Related Posts: