A betrayer who drills a hole in the case of 'Raspberry Pi 4' with an anxious heat and attaches a fan appears

The latest version of the ultra-compact and inexpensive single-board computer '
Jeff Geerling The Raspberry Pi 4 needs a fan, here's why and how you can add one |
https://www.jeffgeerling.com/blog/2019/raspberry-pi-4-needs-fan-heres-why-and-how-you-can-add-one
Launched on June 24, 2019, the 'Raspberry Pi 4' has been upgraded significantly from previous generation models, and supports 60 fps 4K movies and USB 3.0. However, it has been pointed out that the heat generation and the performance decrease accompanying it for some time, and the user has devised a device such as attaching a heat sink.
Review result that 'Raspberry Pi 4' can be improved with new firmware with concern about fever-GIGAZINE

However, there are no fans in the case of the official desktop kit , so no matter how much the heat sink is attached to the board, the heat can not be dissipated efficiently.
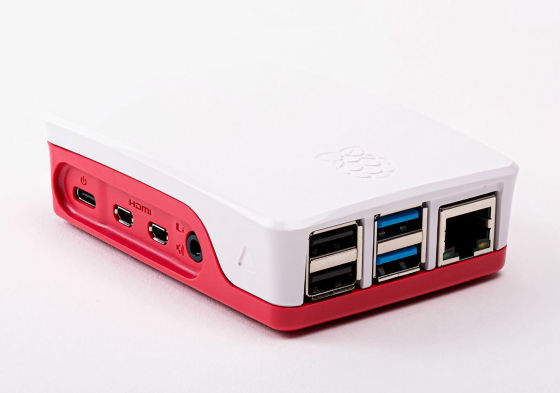
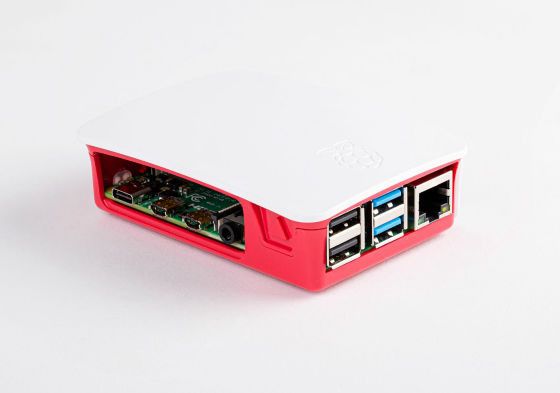
So, software developer and blogger Jeff Geerling decided to use a
Adding a fan to the Raspberry Pi 4 official case-YouTube
When Geerling measured the temperature of Raspberry Pi 4 in operation, it was a high temperature of about 84 degrees at the maximum.
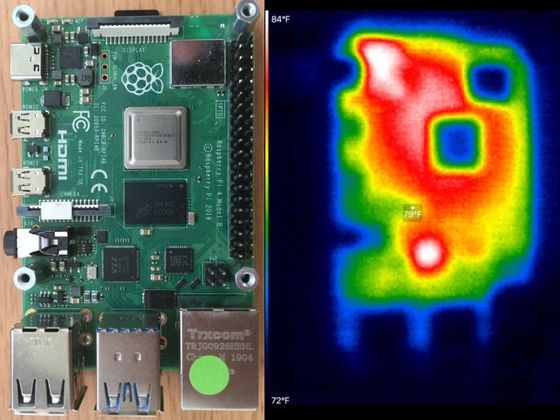
For this reason, 'It is about 5 to 10 minutes after turning on the power, throttling that suppresses heat generation has occurred by dropping the number of clocks of the CPU.'

So what Geerling took out was a
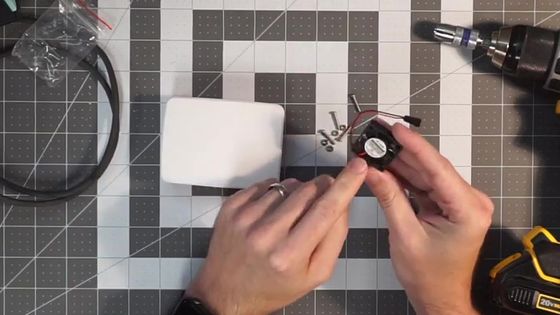
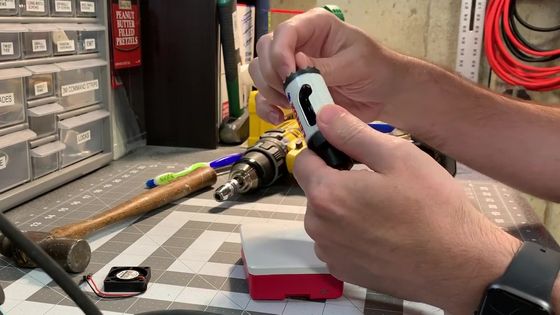
In order to prevent interference between the Raspberry Pi 4 and the fans, it is best to make a hole at a location slightly off the center of the case with no logo.
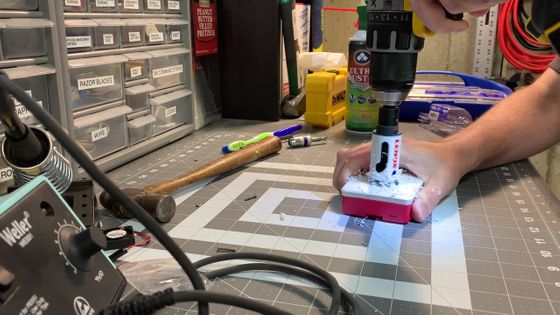
Geerling first attaches the hole saw to the

I started to make a hole in the case.
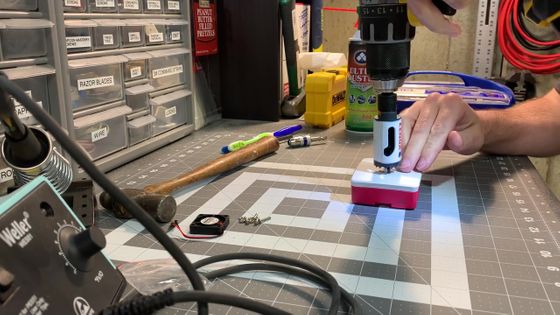
When the drill bit got into the case, the case turned violently and the lower half was blown away. From this experience, Geerling advises, 'Please turn the drill as slow as possible. The case will break or the plastic will melt.'
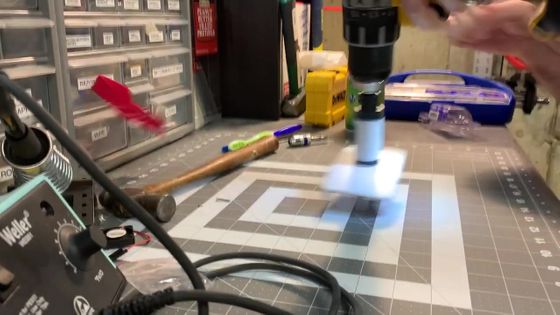
Even while being hit by an accident, I was able to make a hole smoothly.
Blow off scraps with duster ...
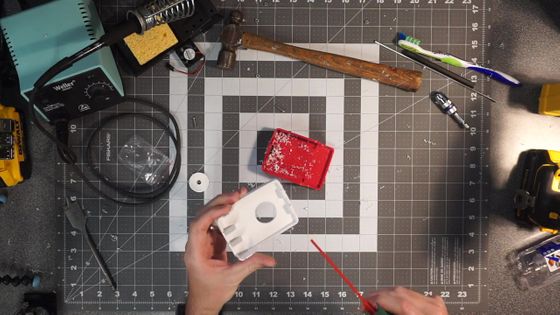
Smooth the cut with sandpaper.
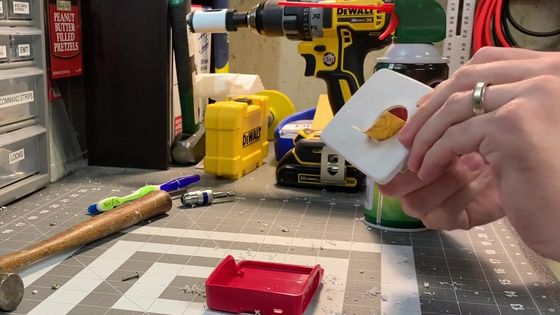
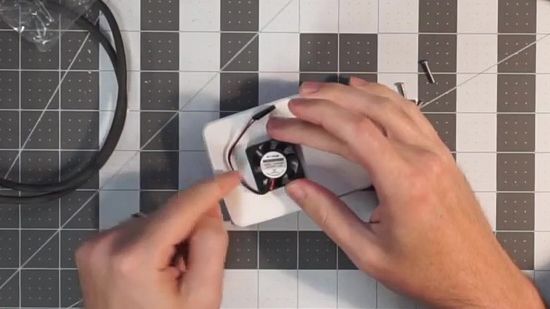
Then mark the screw holes with a pen while aligning the fan with the holes ...

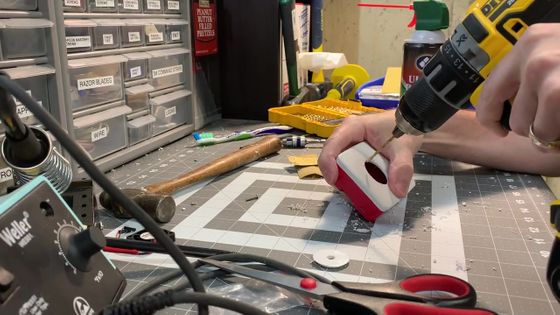
After that fasten the fan with a screw ...
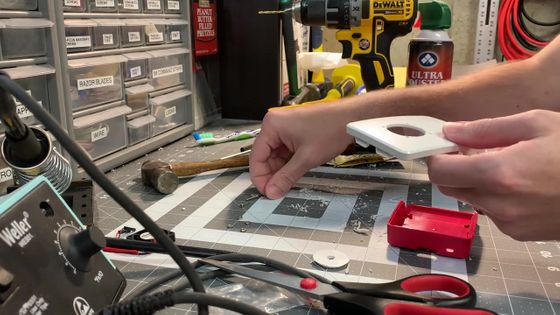
Connect the fan's power cord to the Raspberry Pi 4
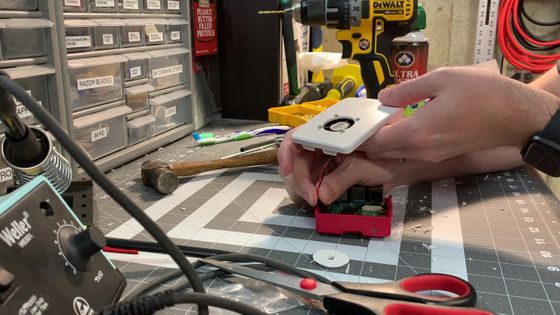
It feels like it's completed.

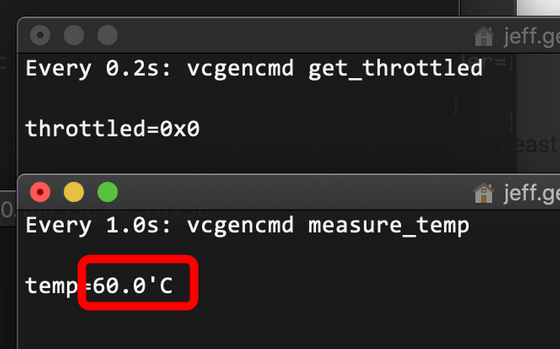
The temperature was measured by operating for about 1 hour after installing the fan, and the CPU temperature was 60 degrees. In this case, throttling does not occur, and it becomes possible to exhibit sufficient performance.
Geerling said, 'Aside from browsing Wikipedia, Raspberry Pi 4 fits into the official case when watching movies or playing games, and it turns into a small plastic oven,' concludes that fans are essential. If you can not install the fan yourself, we recommend that you procure a third-party case with the fan attached. The following cases are just an example, and there are many other cases when you investigate.

Related Posts:


