How to set the procedure for restoring files from "restoring previous version" by right click on Windows using DSM with NAS
SynologyThe new NAS "DS1517 +Snapshot of the shared folder created in "Add-on package"Snapshot Replication"And set it so that it can be restored by right-clicking from Windows Explorer without having to log in to DSM (DiskStation Manager) every time.
Immediate protection by snapshot technology | Synology Inc.
https://www.synology.com/ja-jp/dsm/feature/snapshot_replication
"DS1517 +"And the creation of shared folders by DSM, streaming playback and synchronization by smartphone can be confirmed in the following article.
Initial setting summary for introducing the strongest NAS · Synology's 5-bay upper model "DiskStation DS1517 +" - GIGAZINE


◆ Install "Snapshot Replication" on DSM and automatically take snapshot
A snapshot is a record of "the state at a certain point" of the data area stored on the storage. Since this snapshot keeps holding information at the time of recording, contents will not be changed even if the body data is rewritten until the snapshot itself is deleted. This time install Synology's NAS special add-on package called "Snapshot Replication" on DSM and set it so that snapshots can be automatically acquired from the target shared folder. According to the specification of DSM, snapshots of each shared folder acquired by "Snapshot Replication" can hold up to 1024 snapshots and 65536 total number of all folders can be held. Simply calculate, it is possible to create snapshots every 5 minutes for up to 64 folders for 3 and half days per folder. Longer intervals for taking snapshots can keep snapshots for a longer period of time.
First of all, just as before, enter the administrator name and password on the login screen and log in to DSM.

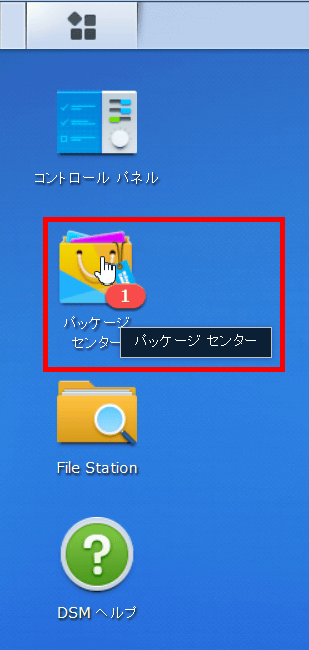
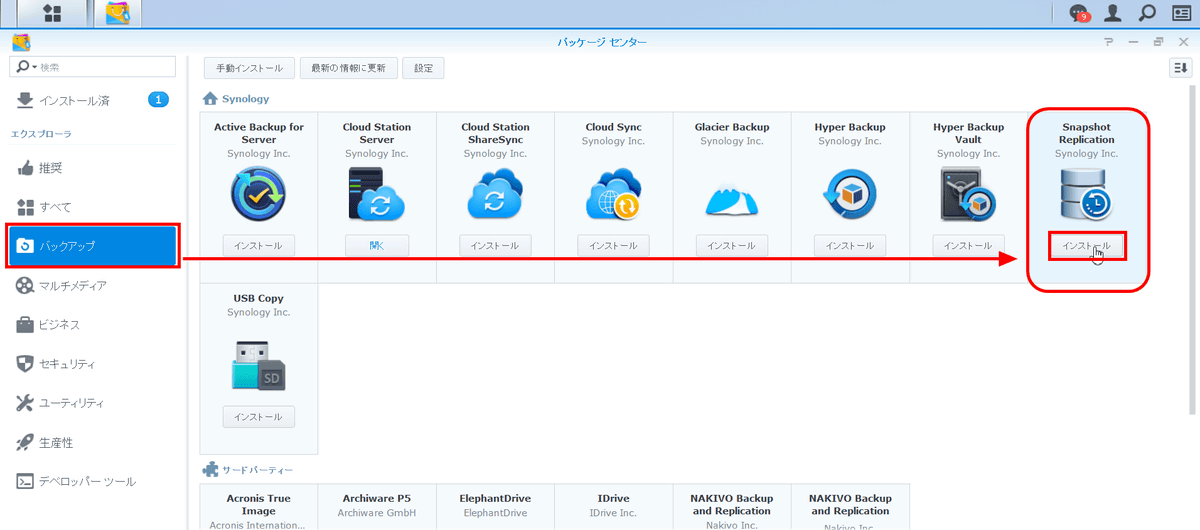
Click "Package Center" on the left side of the home screen to open it.
Select "Backup" item from the left menu and look for "Snapshot Replication" from the displayed add-on package. When you find it, click "Install" at the bottom of the icon.
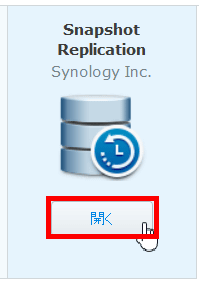
When installation is completed, click "Open".
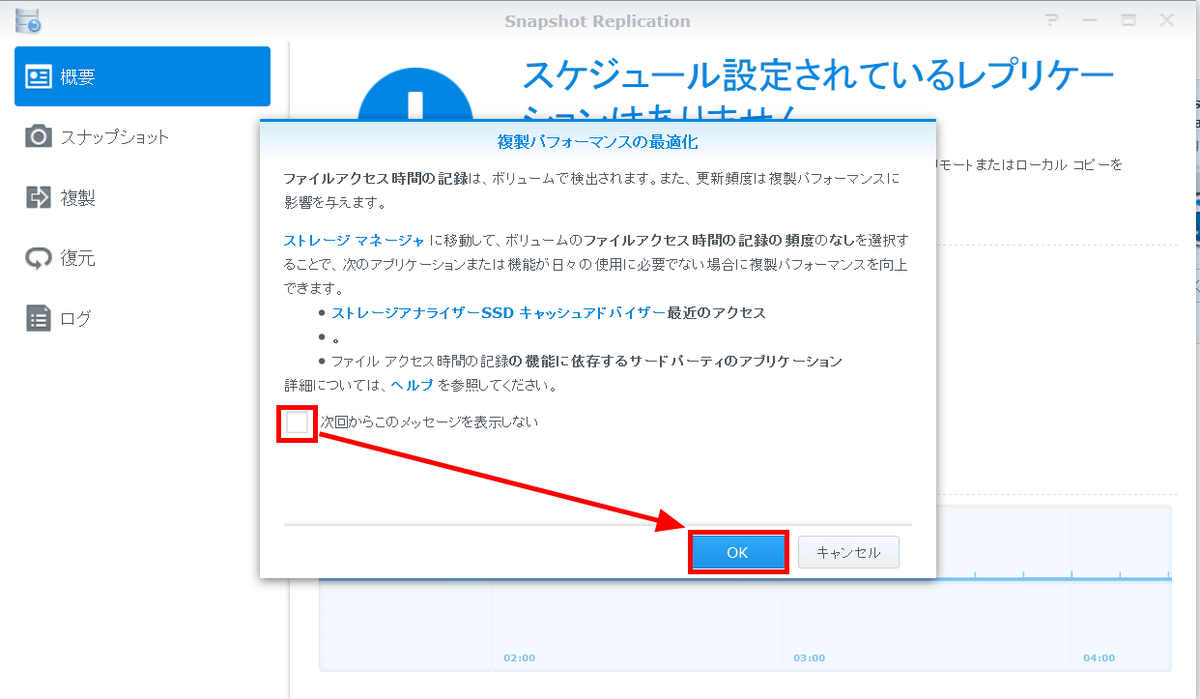
When "Snapshot Replication" opens, the pop-up "Optimize replication performance" is displayed for the first time. If it is not necessary, check "Do not display this message from next time" and click "OK".
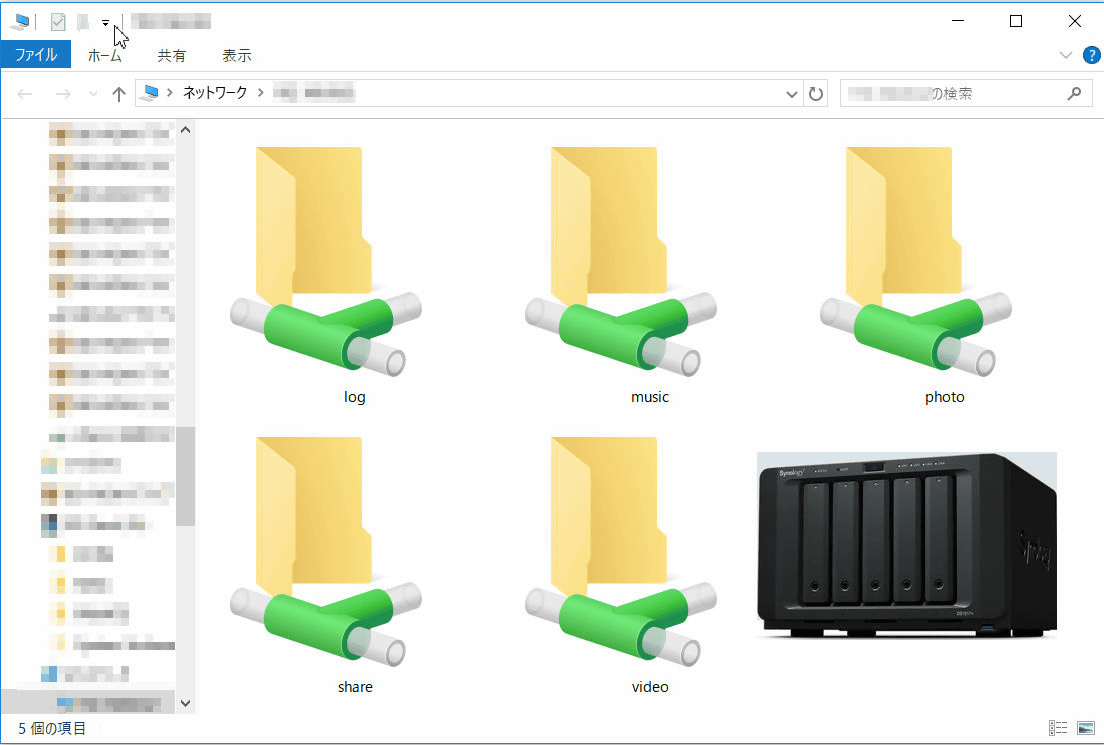
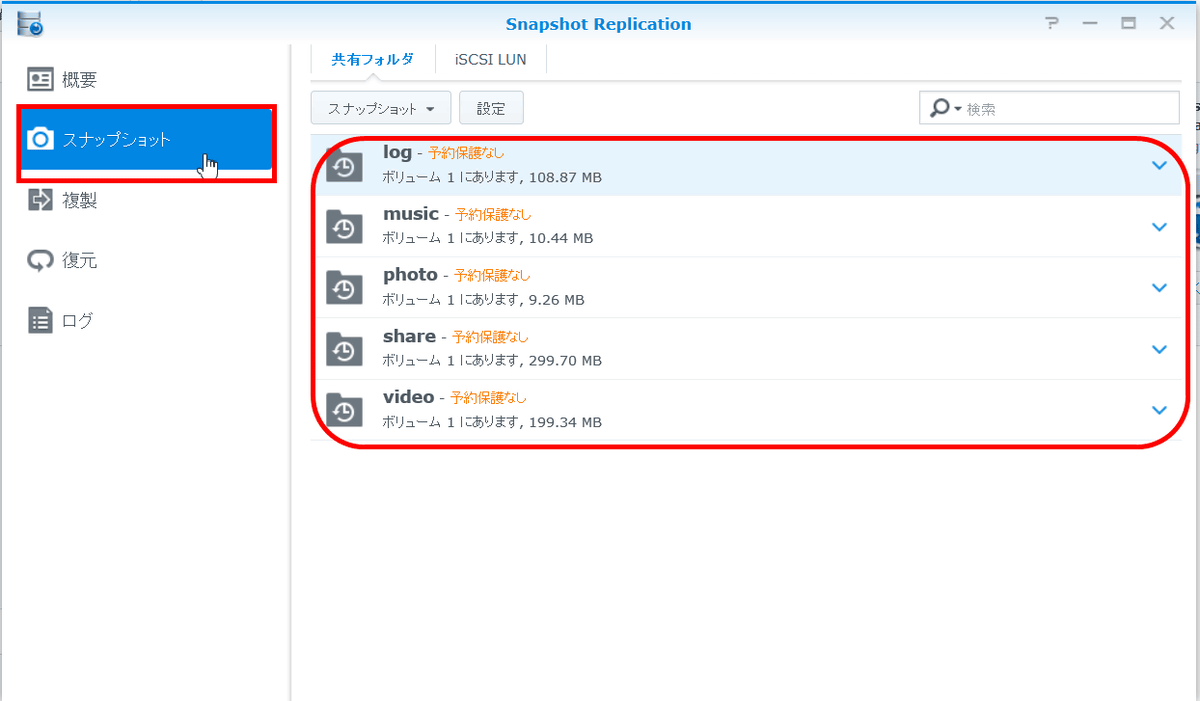
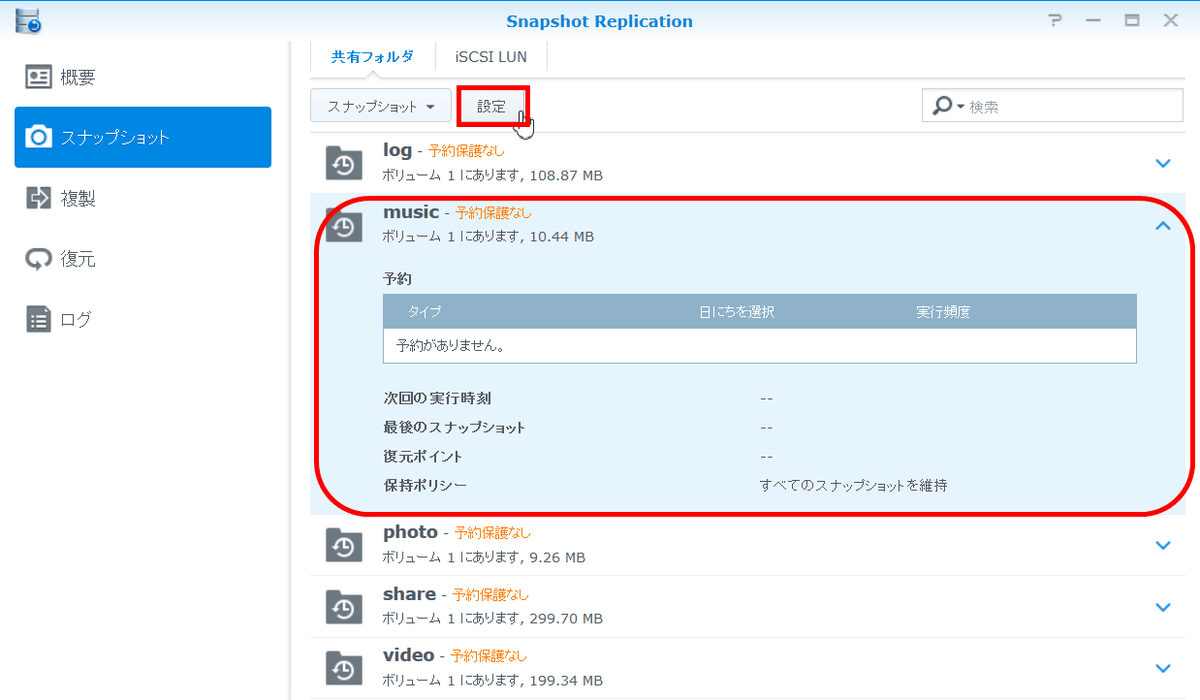
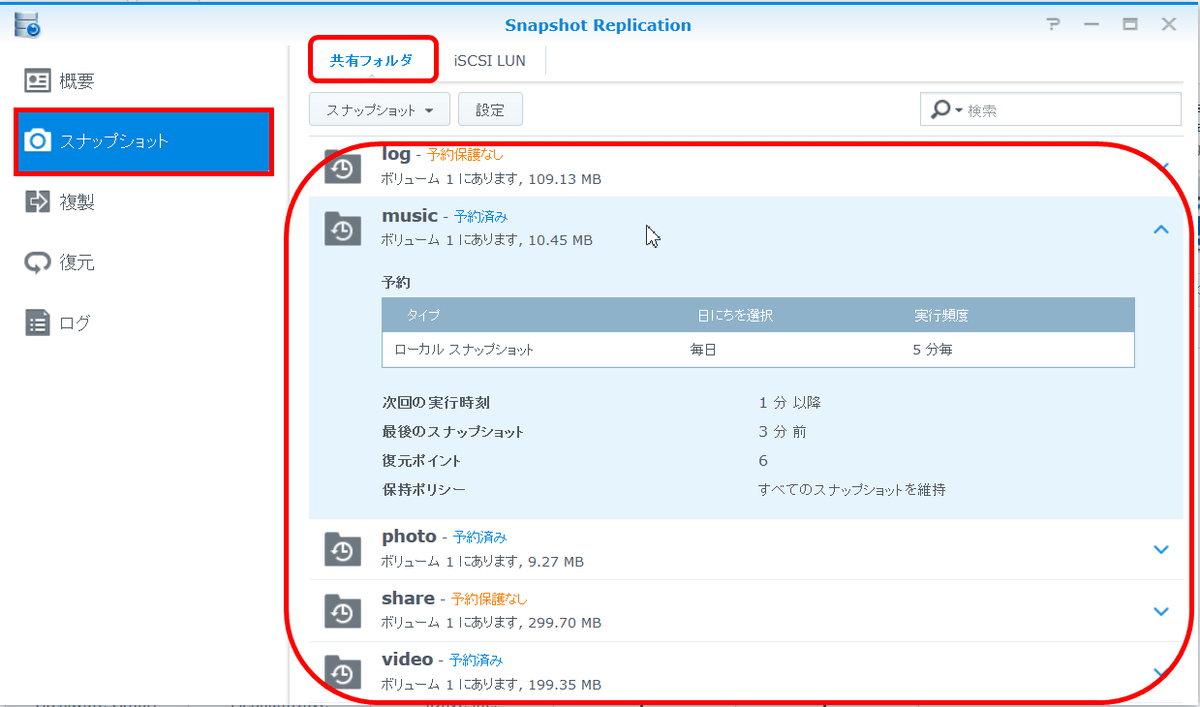
Click "Snapshot" from the menu on the left to open it. Then, the file system available in DSM "BtrfsShared folder created in "Sharing folder" is displayed. All folders have "no reserve protection" and status. The snapshot can be created with "Snapshot Replication" to be used this time by using the shared folder created with "Btrfs" or "LUN"Created as"iSCSILUN ", so be careful.
When you click on the "music" folder, the state of the snapshot is displayed. Click 'Settings' at the top here.
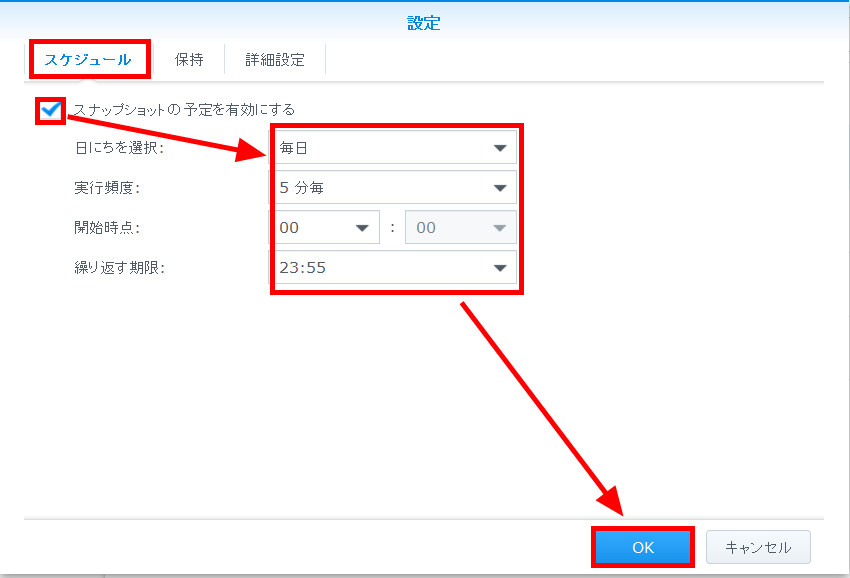
"Setting" is opened, and various settings related to the snapshot become possible. In this case, check "Enable snapshot schedule" and customize the interior surrounded by the red frame. For this time, set the item "Select day" as "Everyday", "Execution frequency" as "every 5 minutes", "Start time" as "00:00", "Repeat deadline" as "23:55". This allows you to keep recording snapshots constantly from the moment the day begins until the end.
With the tab open, click "Hold" at the top, check "Specify the number of final snapshots to keep", enter the maximum number of "1024" that can hold the snapshot and click "OK" click. This maximum number of snapshots to keep can be set to 1024 or less, but if the number of folders to record snapshots is 64 or less, they will not exceed the maximum maximum number held 65536, so the snapshot If the acquisition interval is short, it is safe to set it to 1024. If you check "Keep snapshot always", you will be unable to acquire new snapshots at the time the snapshot of 1024 is recorded, so be careful.

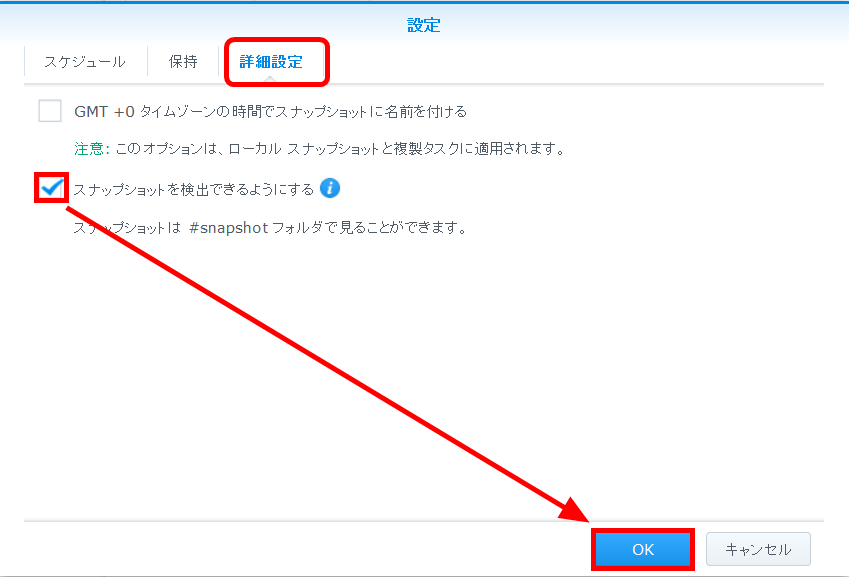
Finally, open "Advanced settings" and check "Make snapshot detectable". If you do not check this, you can not open snapshots recorded by NAS from Windows Explorer later. Do the same setting for shared folders you want to record other snapshots. In this time, in addition to "music", I set to record a snapshot to "photo" and "video" folders as well.
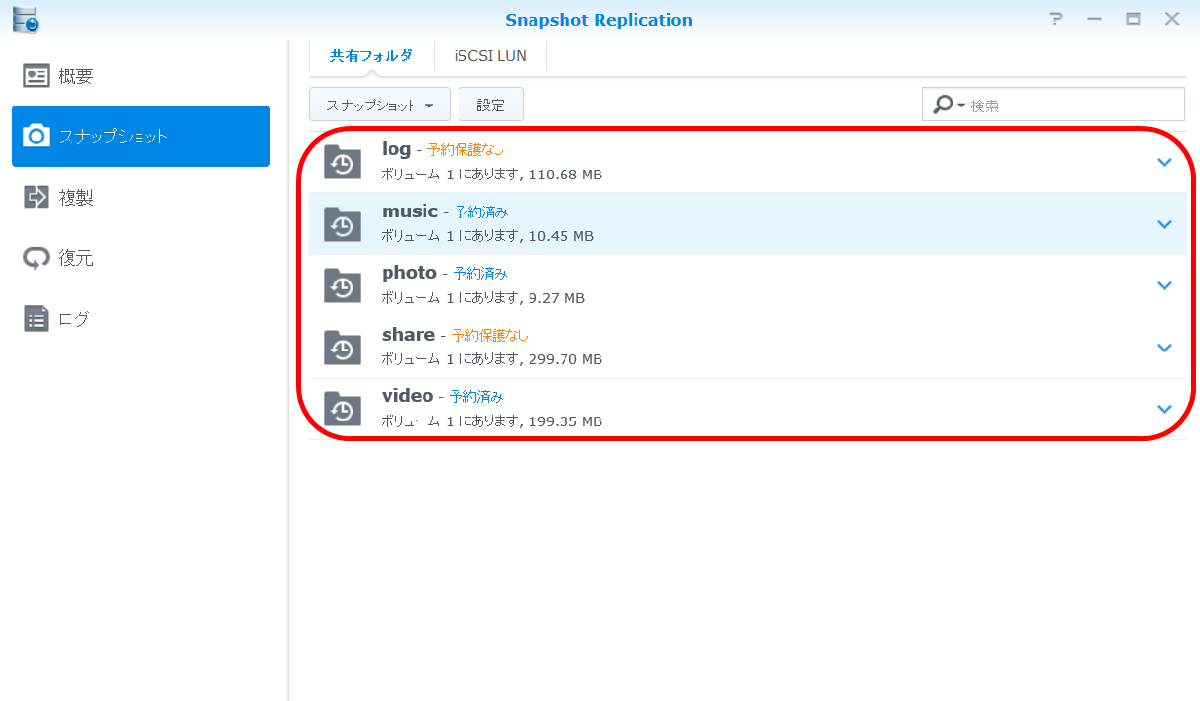
When you return to the previous screen, there is a change in the item of "snapshot", and the one that was "without reservation protection" is "reserved".
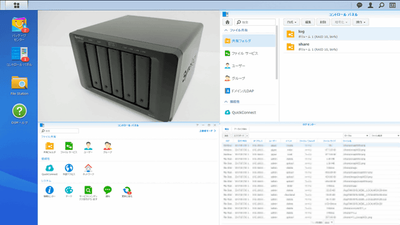
Let's open "File Station" from DSM's home here.

Then, a folder called "# snapshot" was created in the "music" folder.

Open snapshot replication again after waiting for 5 minutes or more and observing the time when the snapshot was recorded. Then, information about the snapshot that is currently set to be acquired is displayed. This completes the setting on the DSM.
◆ Restore previous version from snapshot of shared folder by right click from Windows Explorer
You can restore the snapshot from Windows Explorer without having to log in to the DSM to restore the information in the shared folder. Shared folders are not used by one person alone, but mostly by multiple people. Therefore, there is a possibility that "Someone else edited the file you were editing at the same time, someone else saved overwritten and your edited file disappeared" may occur. In this case, since the file has not been deleted, there is no data left in the "Trash" folder. It is this snapshot that is useful in that situation. If you restore the folder before someone overwrites it, you can safely rescue your data. In this time, rewrite the contents of the folder set so as to acquire the snapshot earlier, and check whether it can actually be restored from Windows explorer.
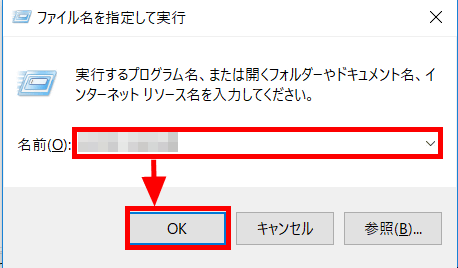
First, display "Execute with file name" dialog with "Windows key + R" and enter the local path of the shared folder created with "Ds1517 +". When accessing the local shared folder, you will be asked to authenticate ID and password the first time, so you can enter the ID and password of the general authority user or the ID and password of the administrator authority user.
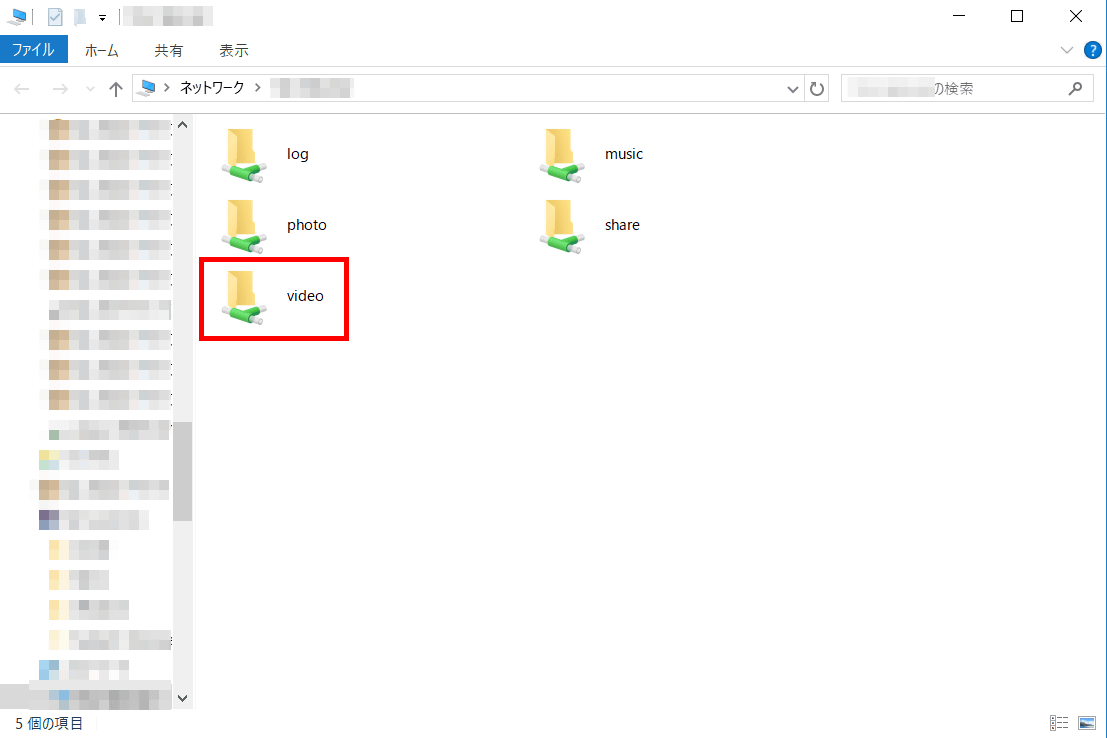
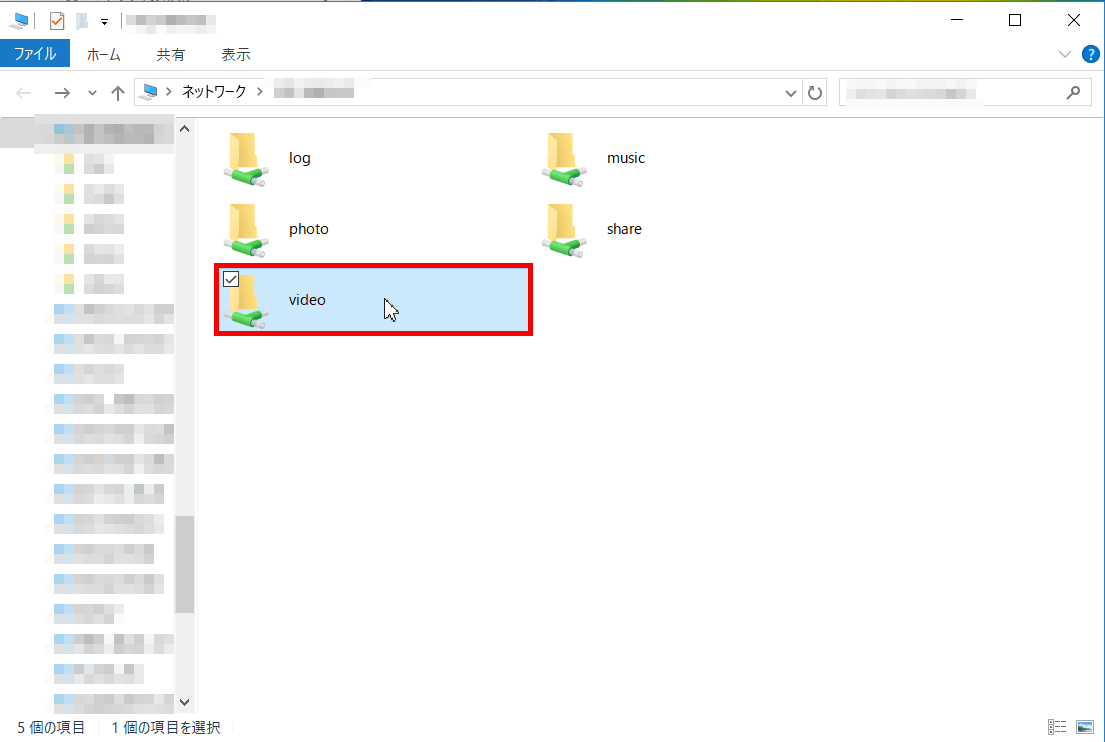
The shared folder has opened. Select "video" from the folders you have set to take snapshot earlier and open it.
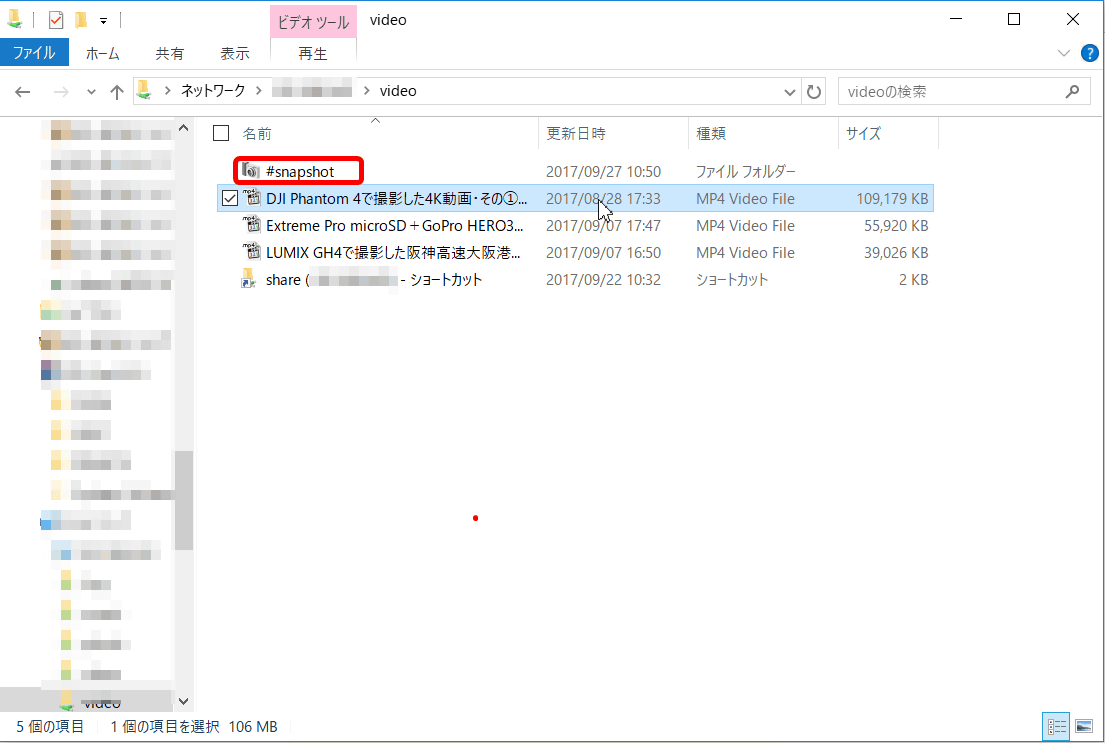
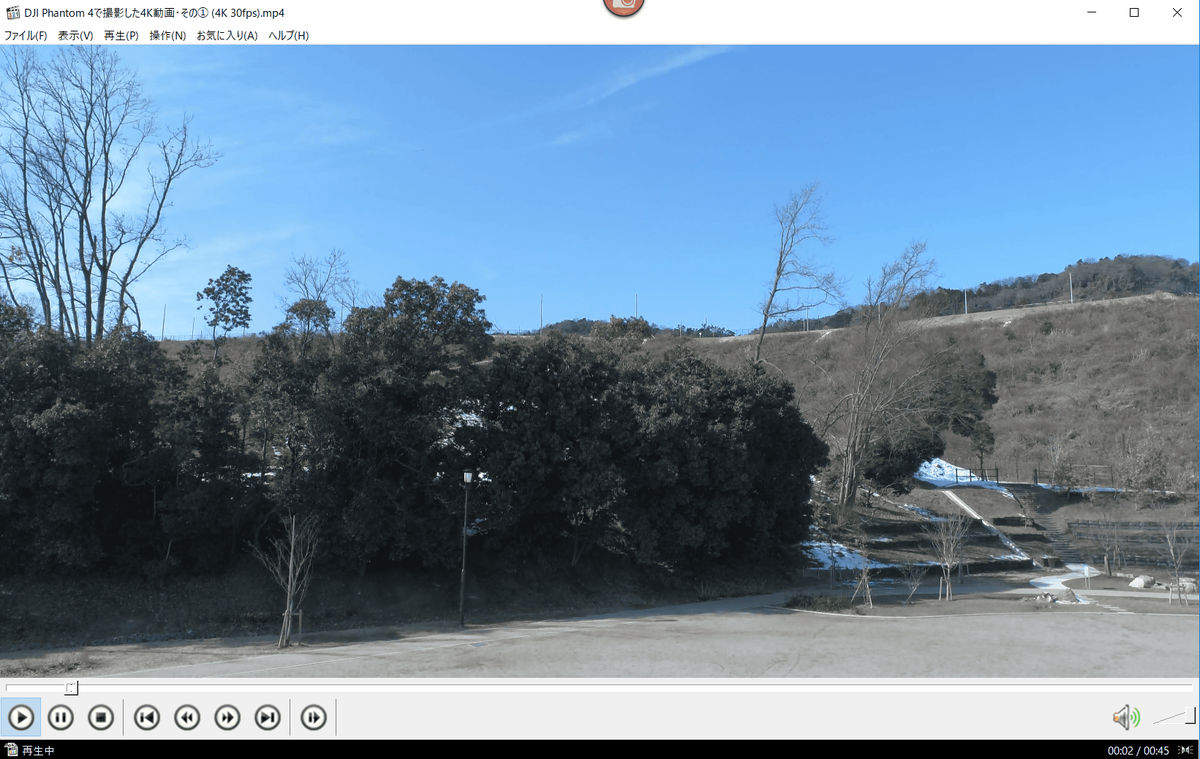
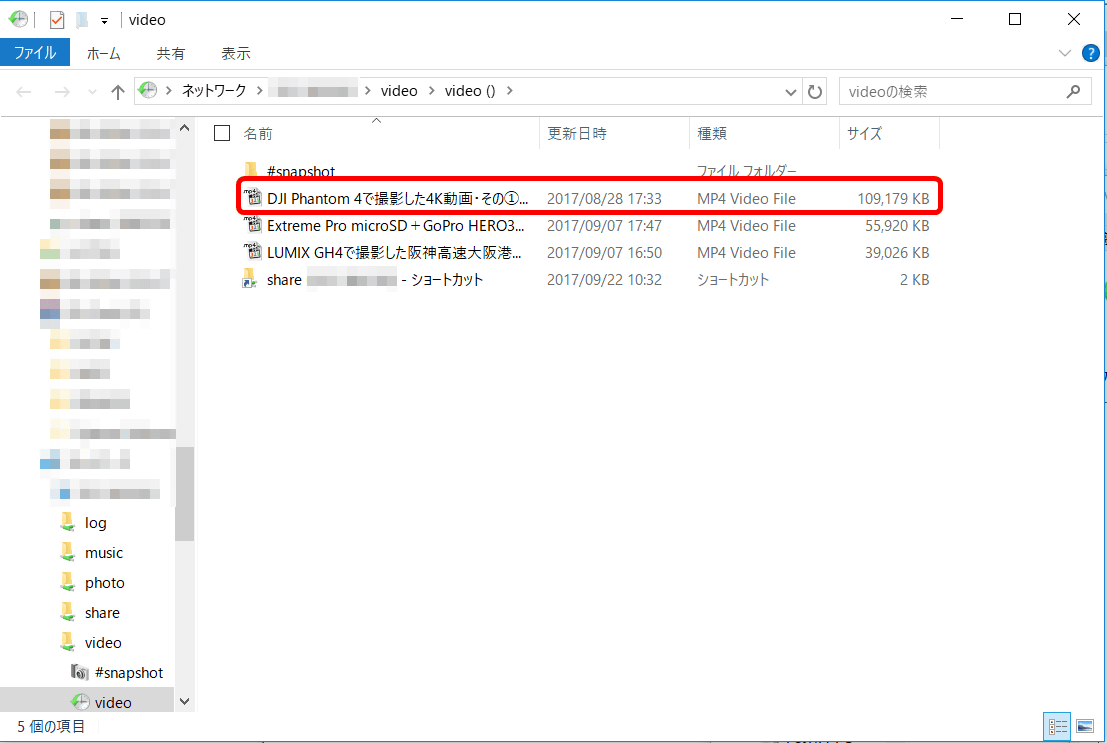
Confirm that "# snapshot" exists in the folder. With this, you can delete the movie in the folder without worrying about it. This time we will rewrite this aerial shooting movie by Drone "4K movie taken with DJI Phantom 4 · ① (4K 30fps) .mp4".
When I tried to play it, the aerial shooting video was played.
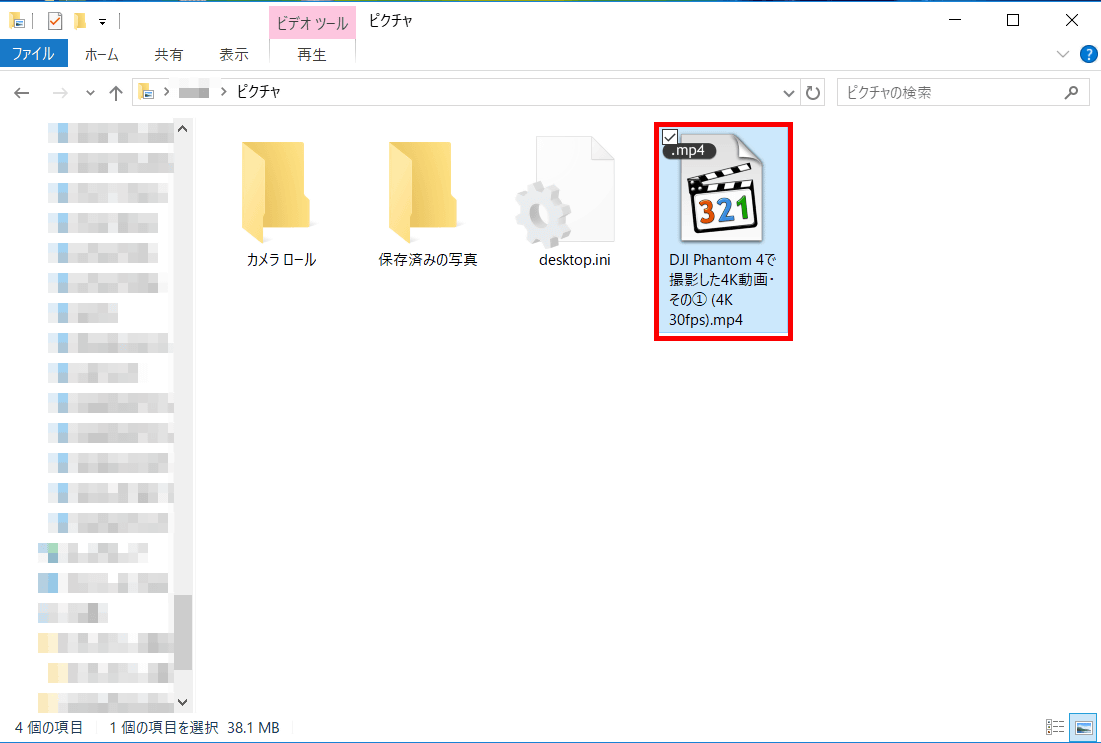
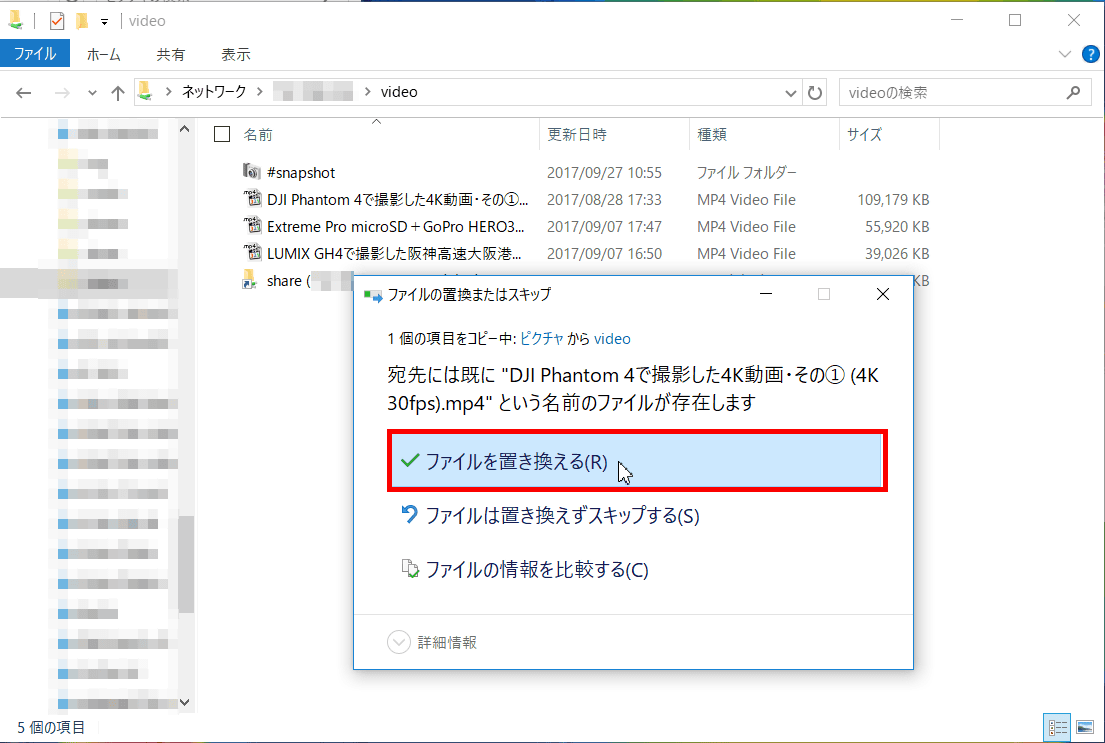
Then, I will immediately move the video with the same name as this file to the shared folder and replace the file. The movie "4K movie shot with DJI Phantom 4 in ___ Picture" · ① (4K 30 fps) .mp 4 "in the" Pictures "folder is the same as the previous video, but when you actually play it ...
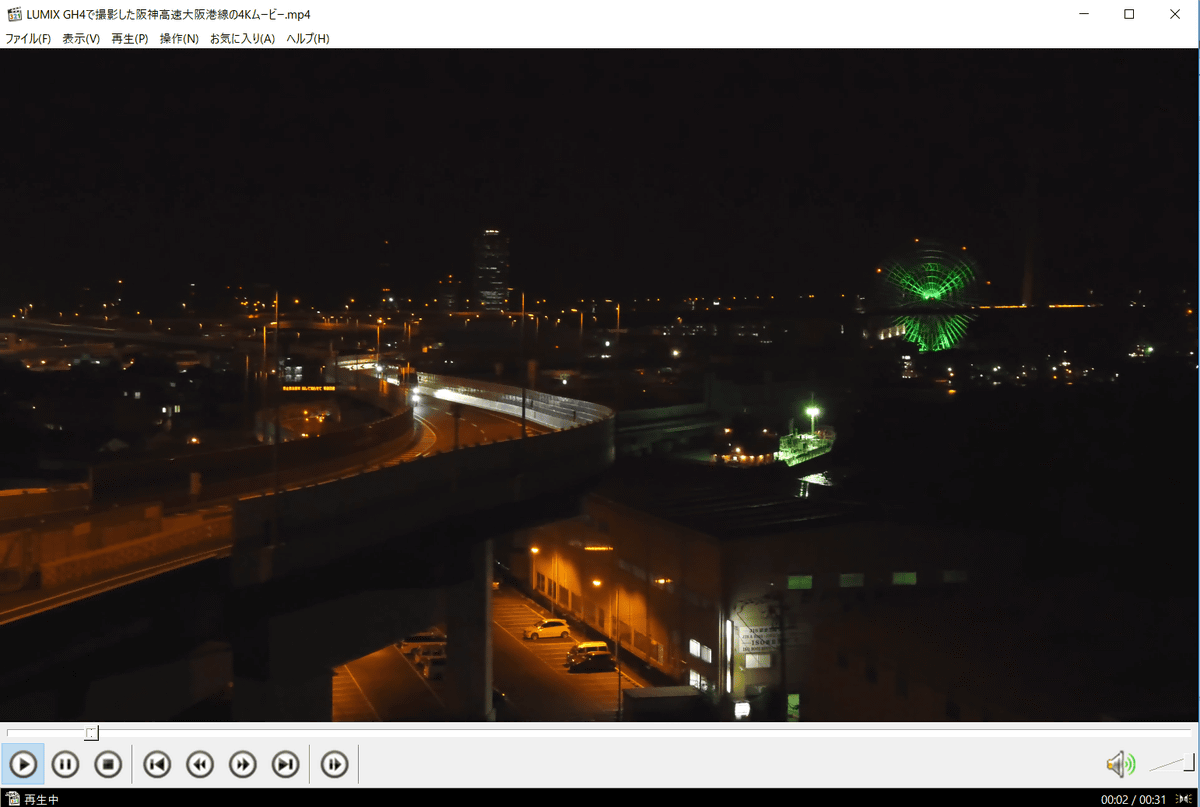
A night view video was played. Actually, this is the one that changed the name of the movie "4 K movie. Mp 4 of the Hanshin Express high-speed Osaka harbor line taken with LUMIX GH 4" which was in the "video" folder earlier.
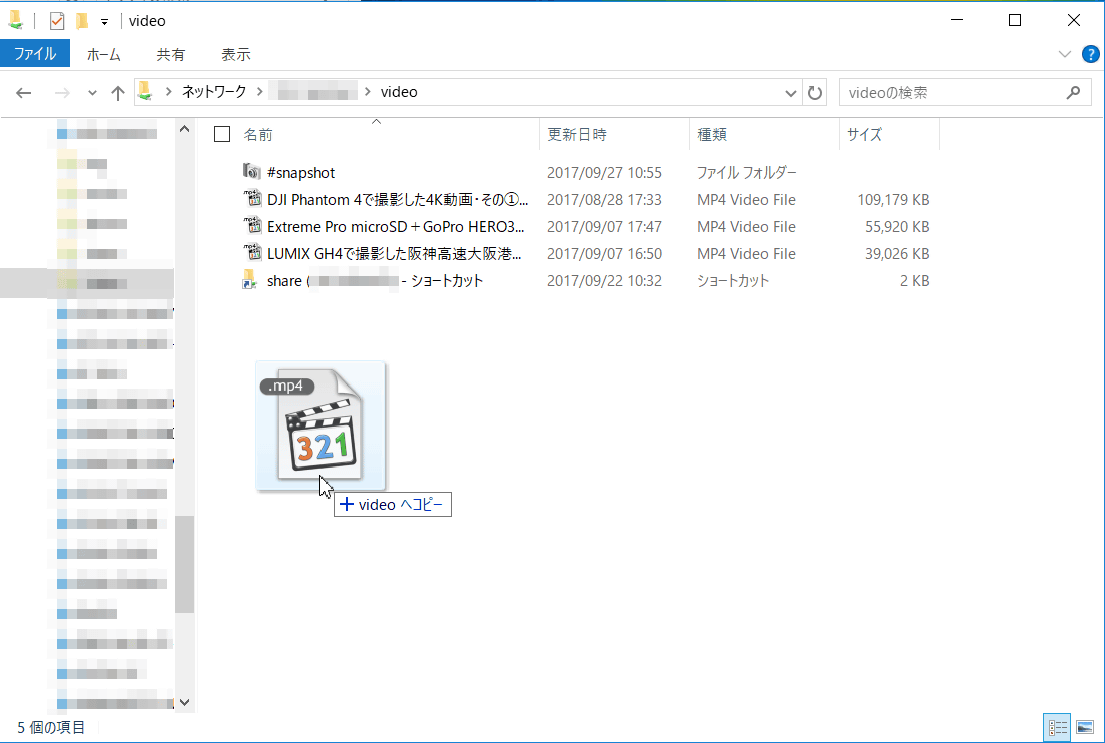
Copy this video from "Pictures" folder to "video" folder.
Select "Replace file (R)".
The file has been replaced. When checking the file size on the right end, "4K movie taken with DJI Phantom 4 · The file size of ① (4K 30fps) .mp4" is the same as "4K movie of mp4 of Hanshin Express Osaka harbor line taken with LUMIX GH4" You can see that it is.
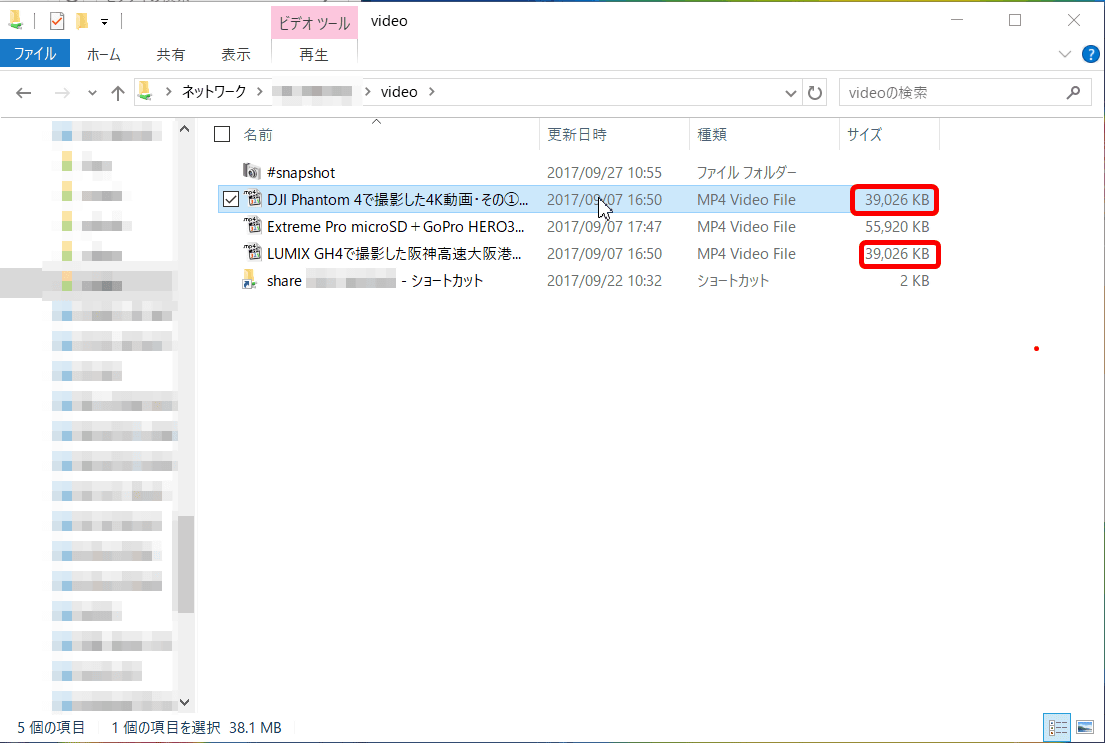
When I tried to play it, a night view video was played. This is beautiful with this, but if you want to play the aerial shoot movie, you do not need night view movies to be played.
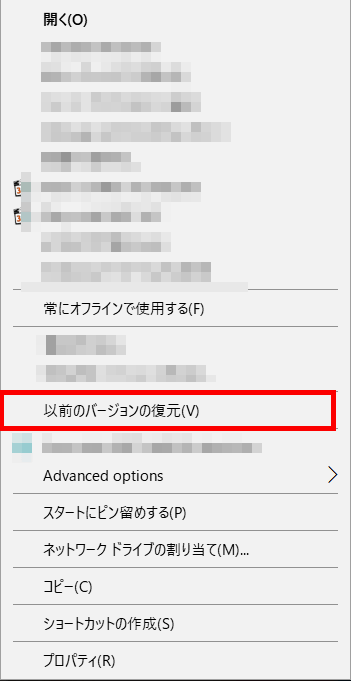
Return to the top of the shared folder and right click on the "video" folder.
Then the menu opens, so select "Restore previous version (V)".
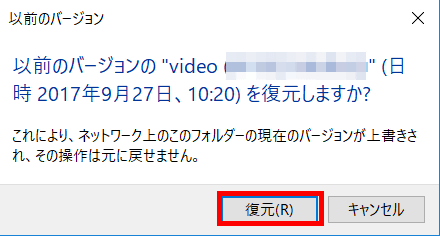
Since "previous version" opens from the property, select the snapshot before the file was overwritten and click "open" to check the contents of the snapshot.
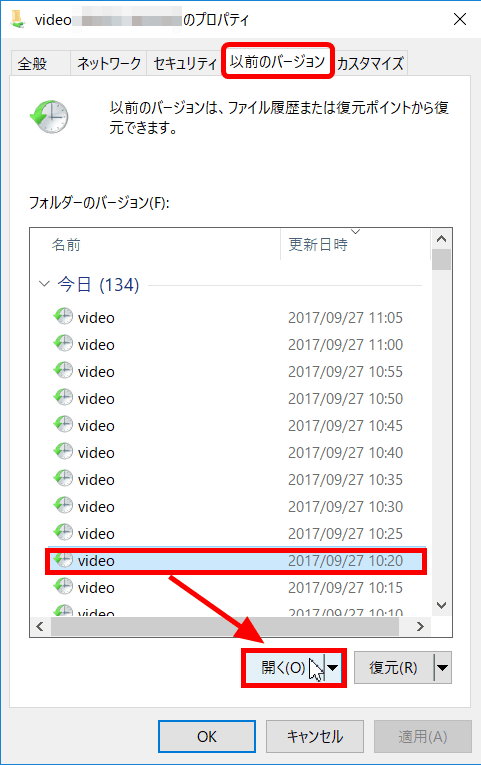
"Confirm that the file size of the 4K movie taken with DJI Phantom 4 - its (1) (4K 30 fps). Mp 4" is the same as the movie before rewriting. It is ok if you restore this.
Go back to the previous screen and click "Restore (R)".
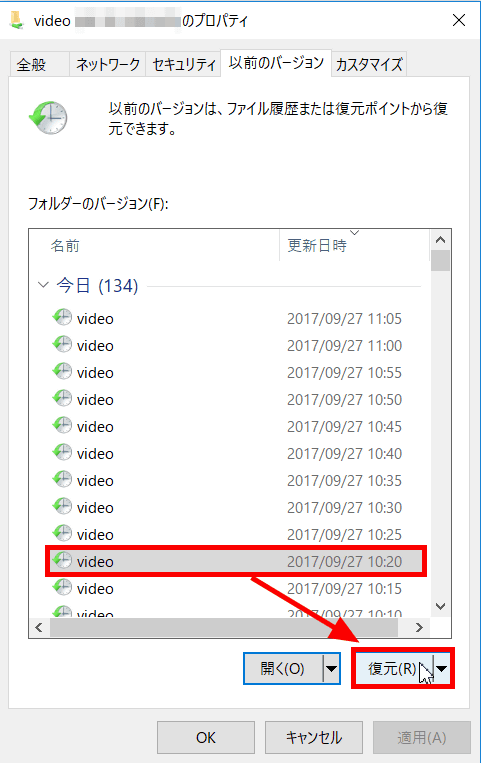
Since confirmation screen appears, click "Restore (R)".
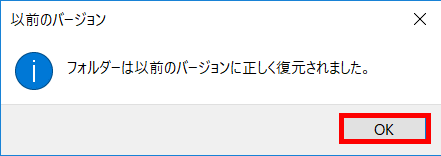
The message "Folder successfully restored to previous version" is displayed.
Open "video" from the shared folder.

"I found 4K movie taken with DJI Phantom 4 · ① (4K 30fps) .mp4". The file size is restored.
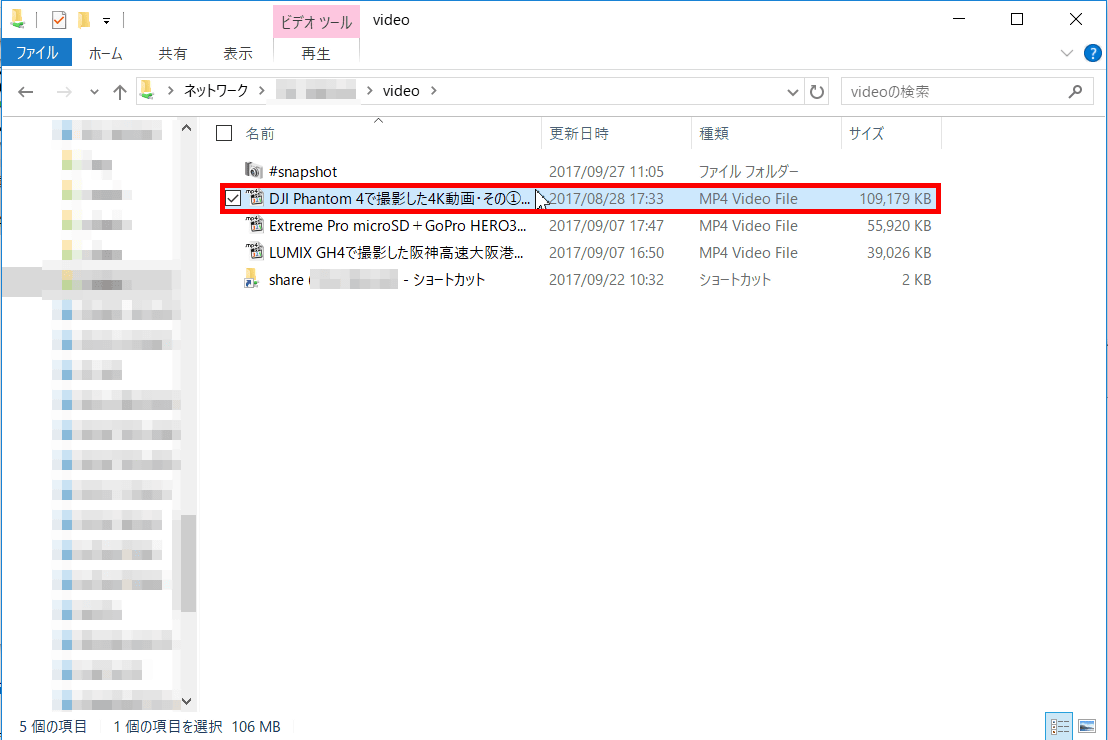
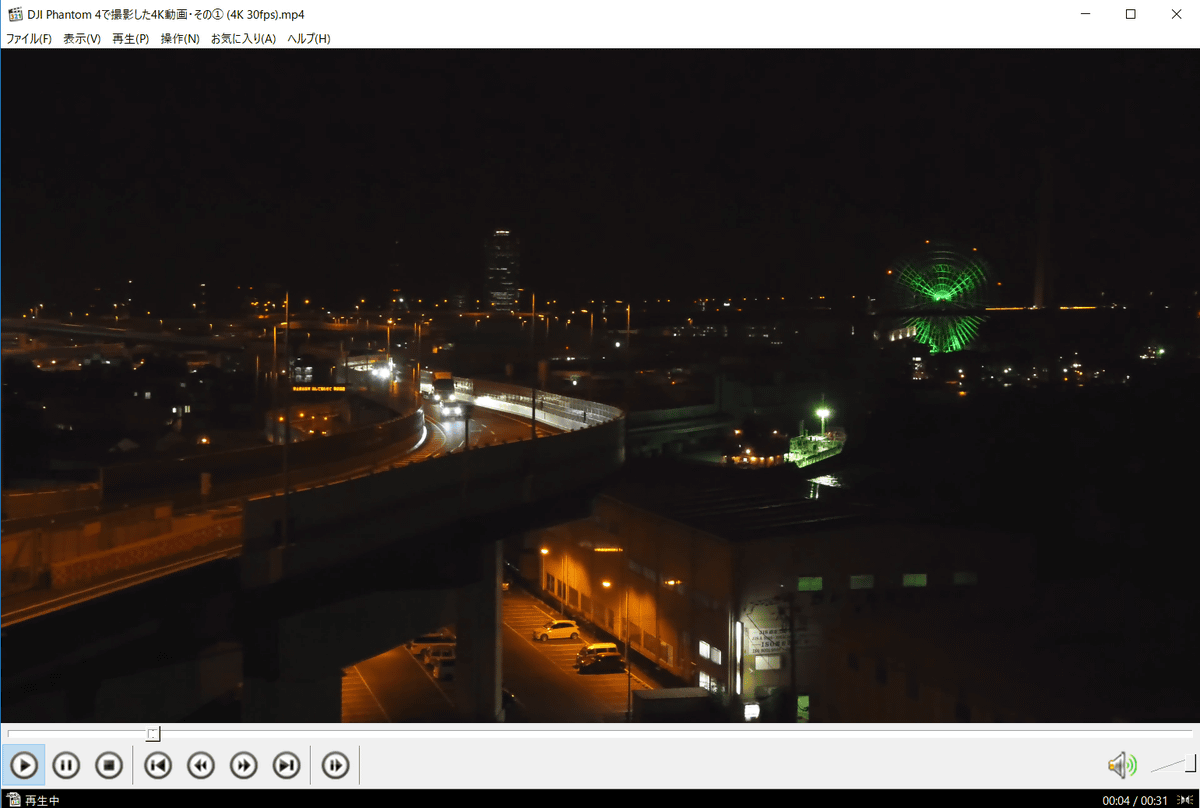
When clicking and playing it, the aerial shooting video was played firmly.
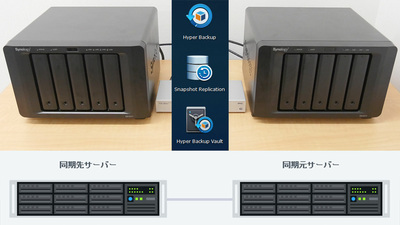
That is the summary of DSM to take snapshot of shared folder every 5 minutes and restore it by right click from Windows Explorer. After finishing the first setting, you can automatically record the snapshot and restore it without going into DSM, so it is very convenient when rewriting data frequently or rewriting a lot of data. In the next article, we plan to synchronize "DS 1517 +" we have set up so far with another "DS 1517 +" via the Internet.
· Continued
Synology DSM synchronized two NAS via LAN & Internet to try backup & failover & recovery - GIGAZINE
Related Posts: