I tried using "LiveShell X" which enabled simultaneous live delivery of up to 3 services with full HD live delivery with PC less
"LiveShell" series is capable of delivering live broadcasts over long periods of time with only the body, camera, network without using a PC. From September 6, 2016, it is possible to deliver full HD live of up to 1080 / 60p and simultaneous live delivery of up to 3 services, support image compression standard "H.265", so that even a single unit can record Also became "LiveShell X"Has appeared, so I actually tried using it.
LiveShell X - Cerevo
http://static-shell.cerevo.com/x/ja/product.html
You can check how LiveShell X is using simultaneous live streaming using Ustream, YouTube Live, and SHOWROOM distribution services from the following. Moreover, there is a mismatch in the movie due to the time lag at the distribution start time and the delay.
Streaming simultaneously with three delivery services - YouTube
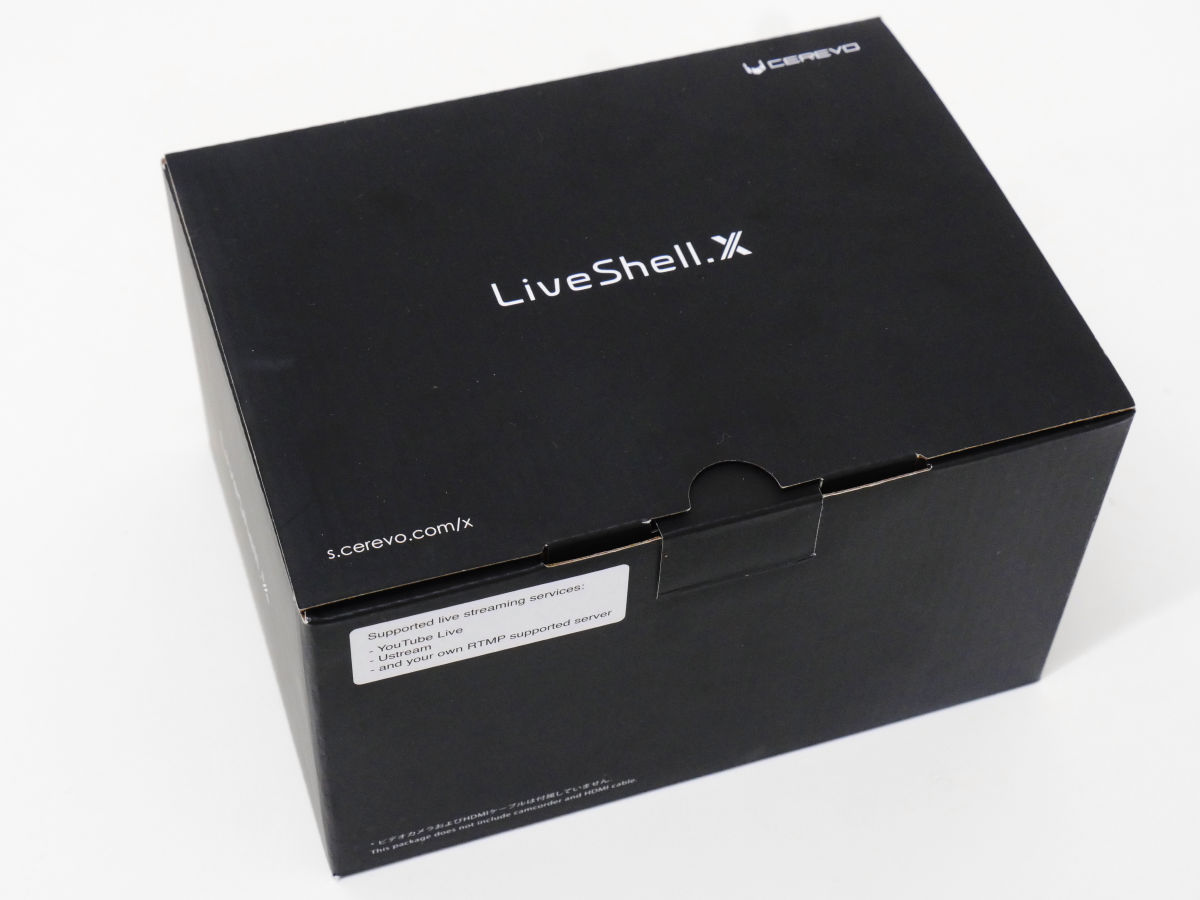
This is the LiveShell X package.
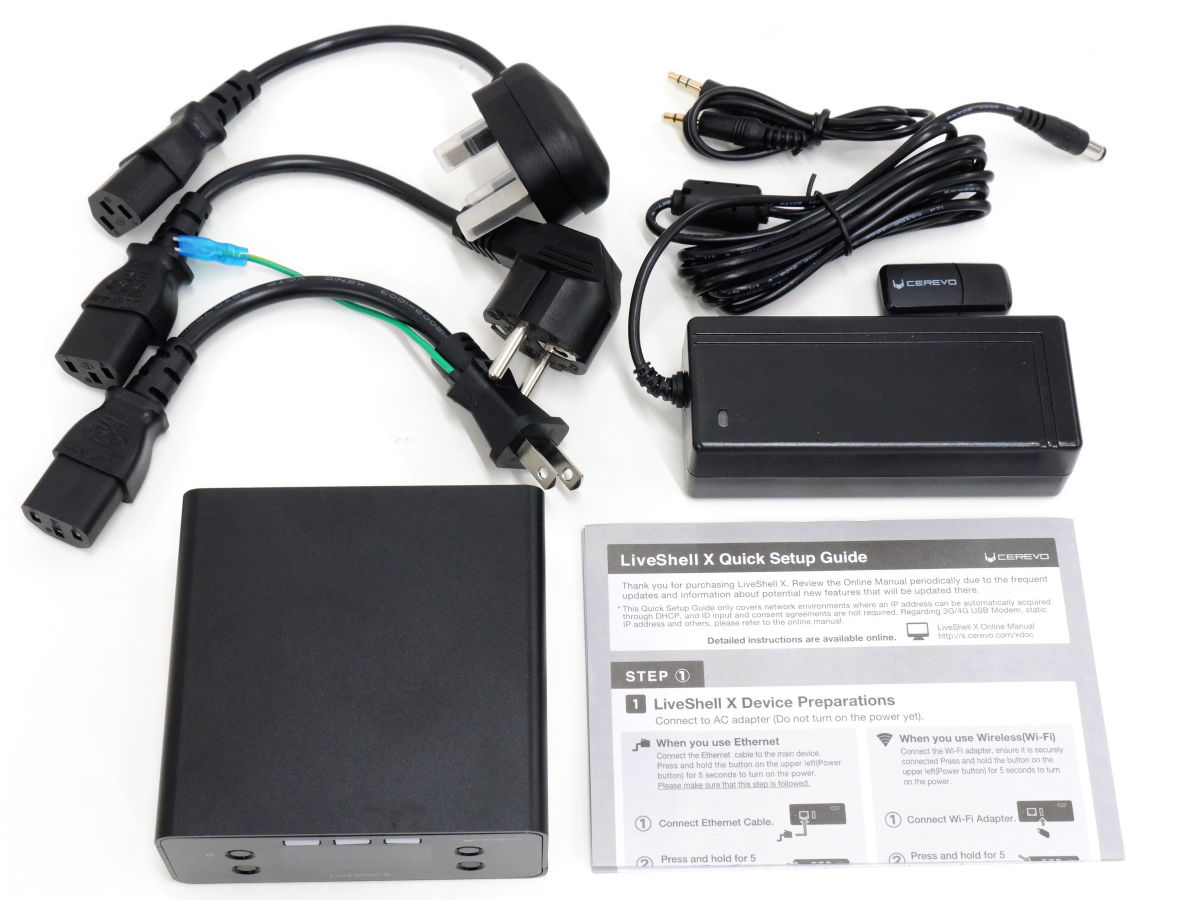
Some included a dedicated AC adapter (cable A / C type / BF type one each), LiveShell X main unit, wireless LAN adapter, setting cable, LiveShell X quick setup guide.
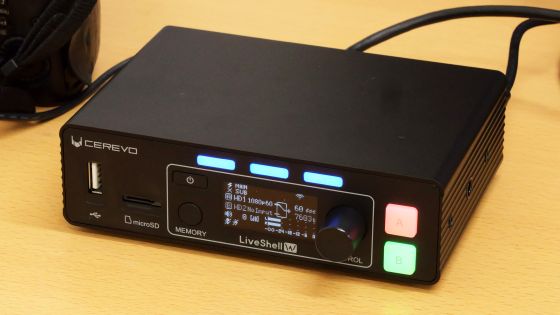
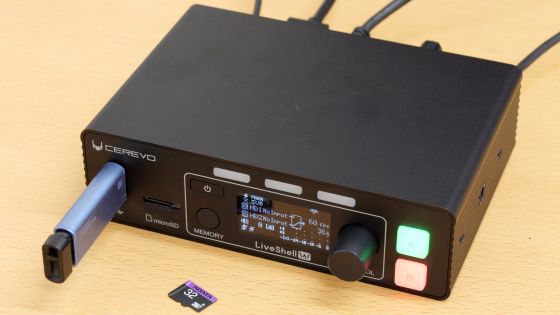
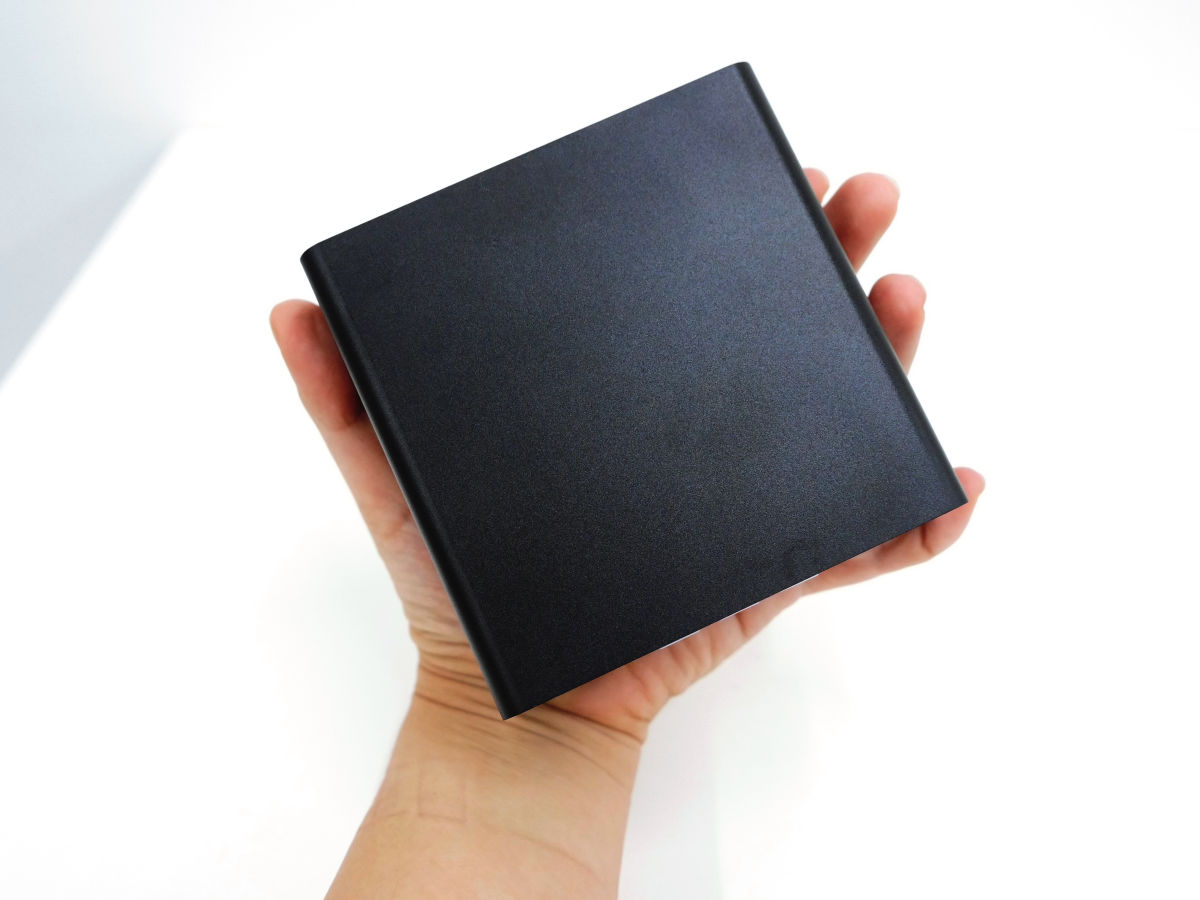
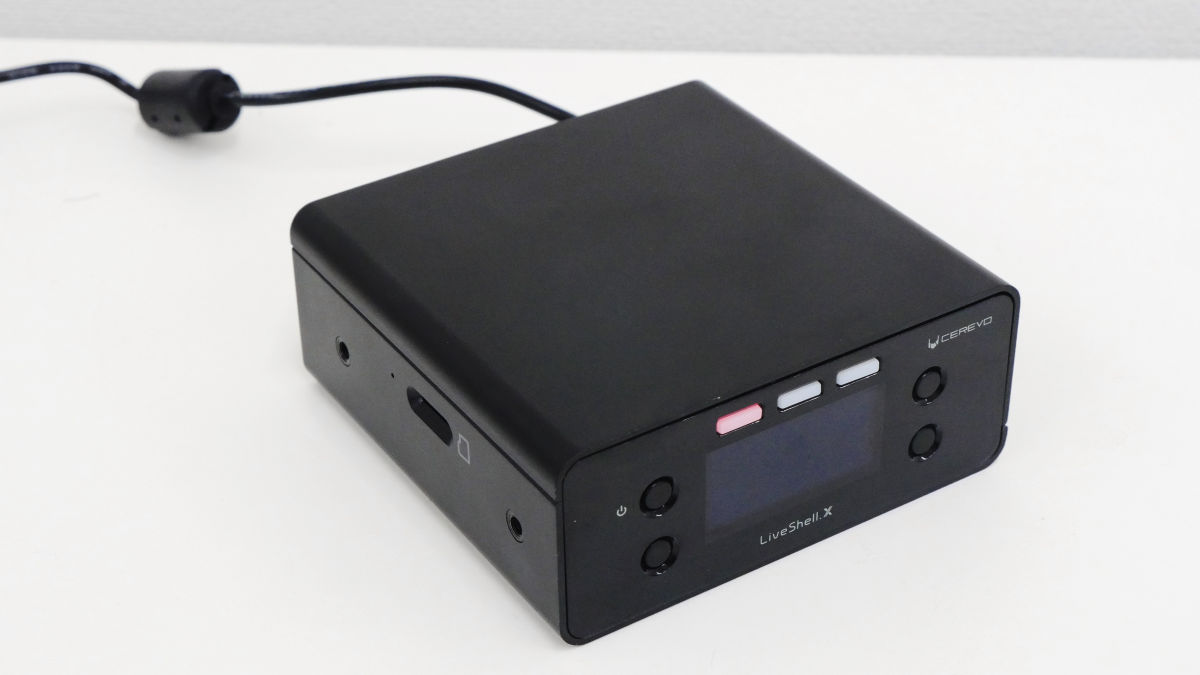
The size of LiveShell X itself is 102 × 42 × 100 mm, even women can hold lightly with one hand.
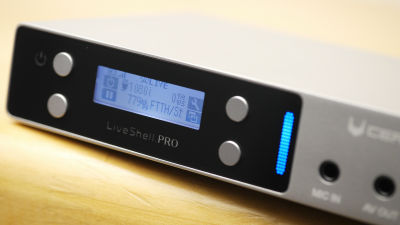
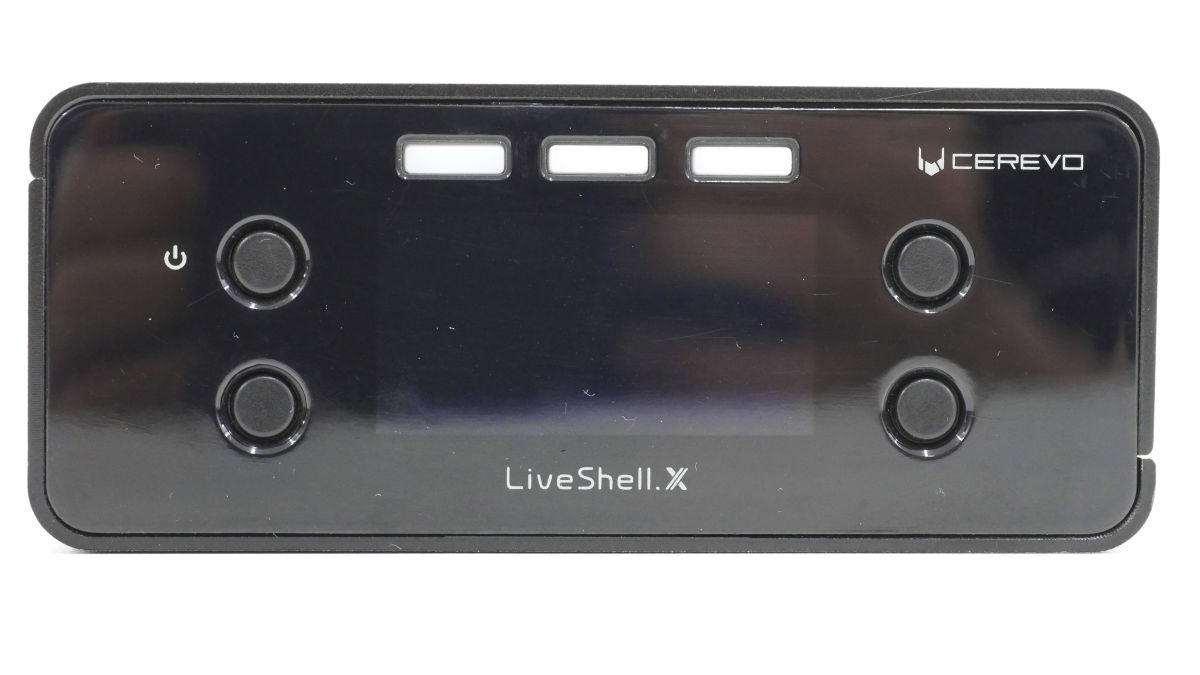
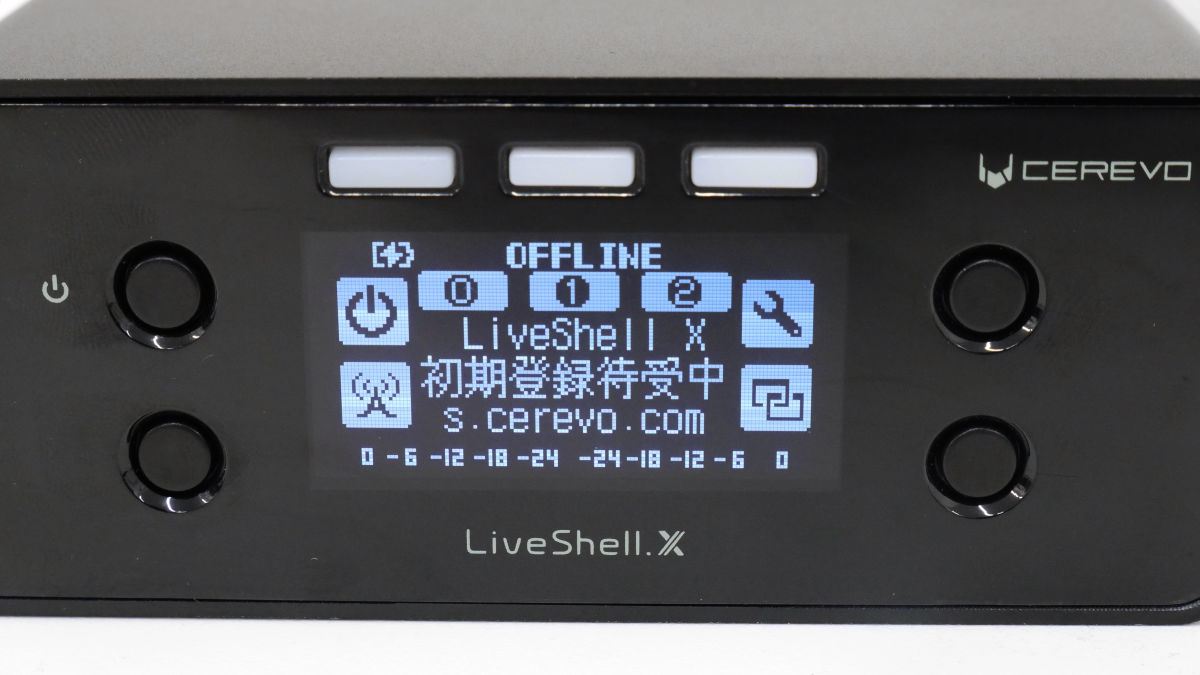
There are three power buttons on the front upper left, three distribution button indicators on the top, and there is an OLED display in the middle.
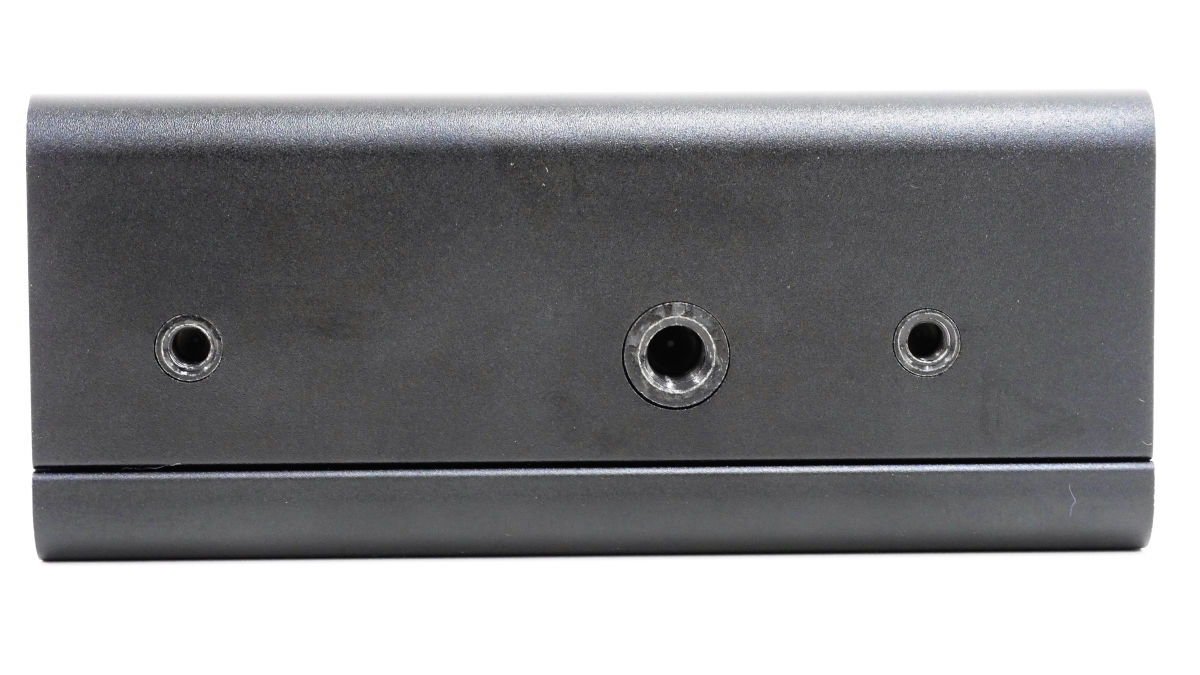
On the right side are two M4 nuts and one tripod screw hole.
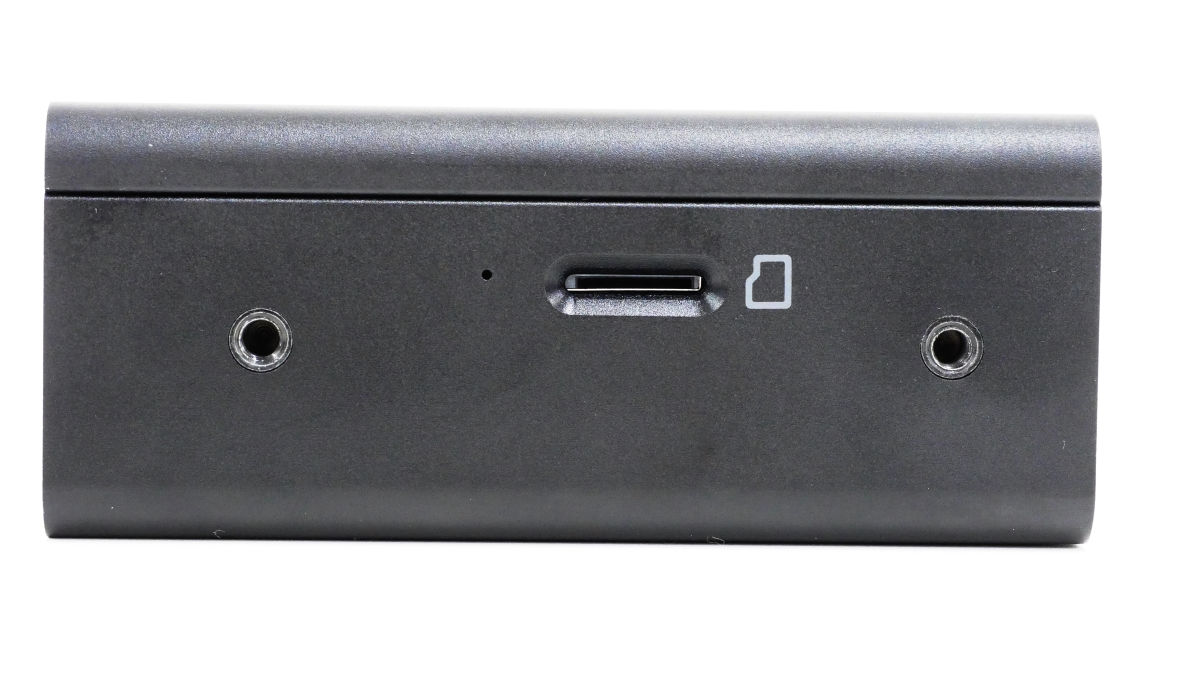
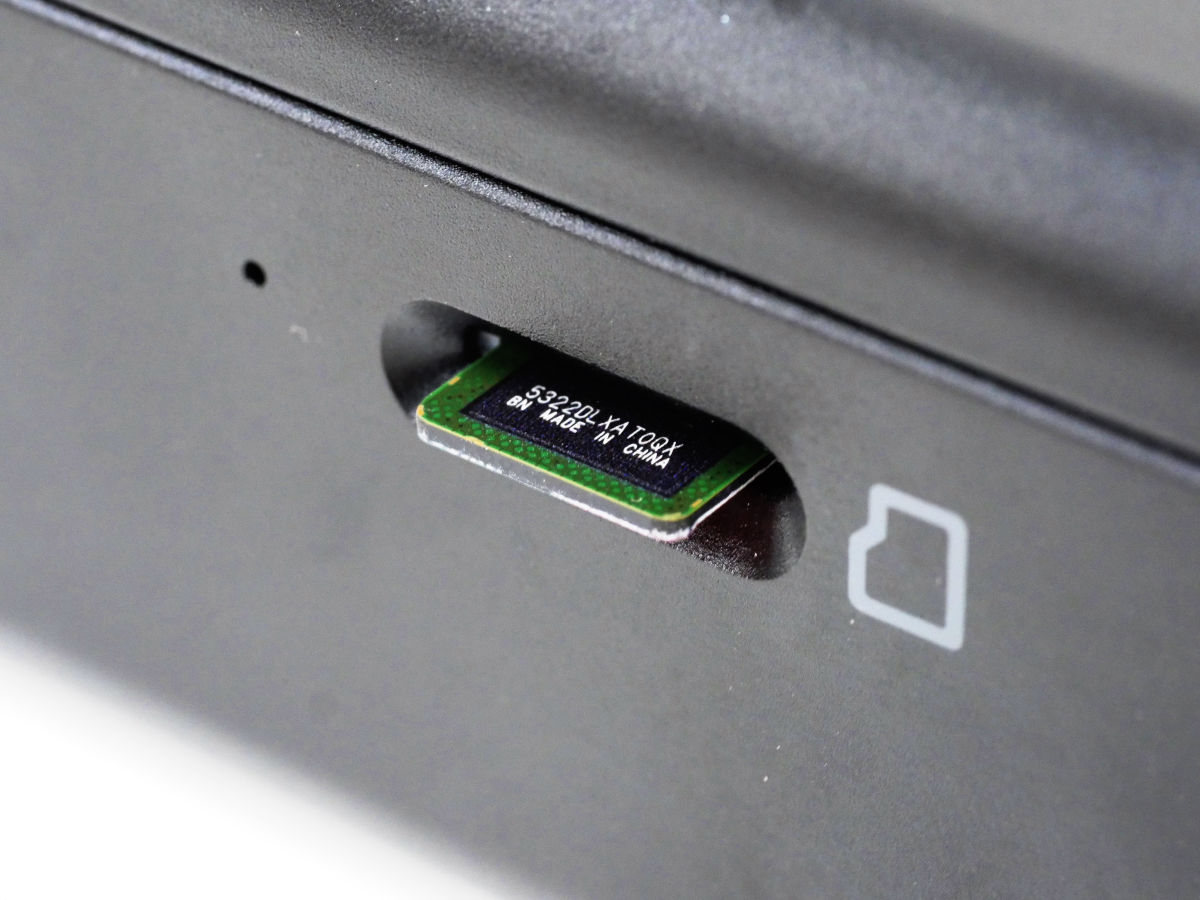
There are two M4 nuts and a microSD card slot on the left side.
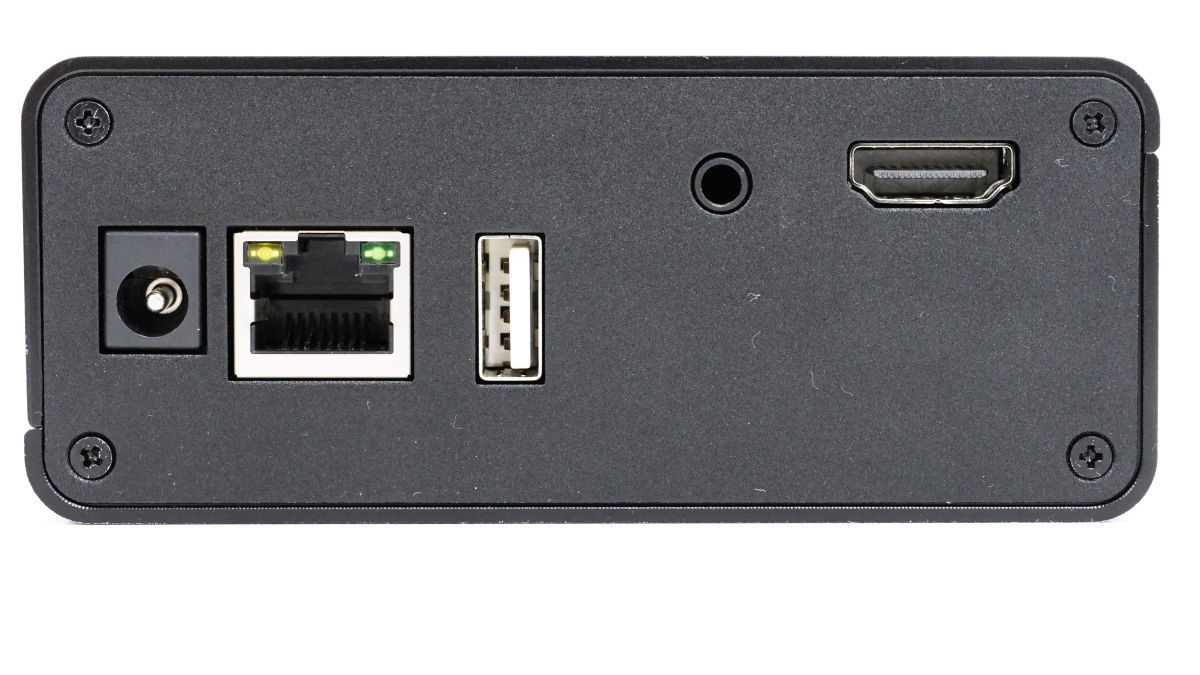
On the back, power supply, wired LAN port, Wi-Fi USB adapter port, 3.5 mm stereo jack, HDMI port.
There was a 1 / 4-20 UNC tripod nut on the back.

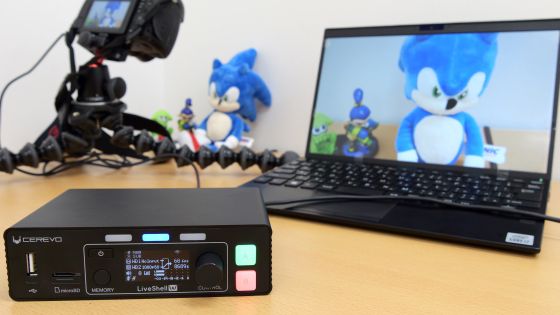
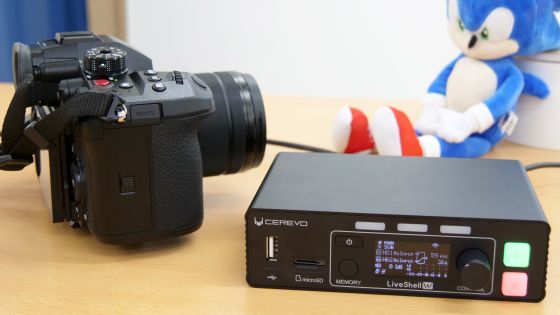
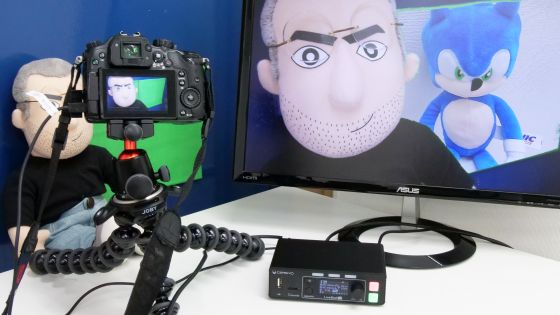
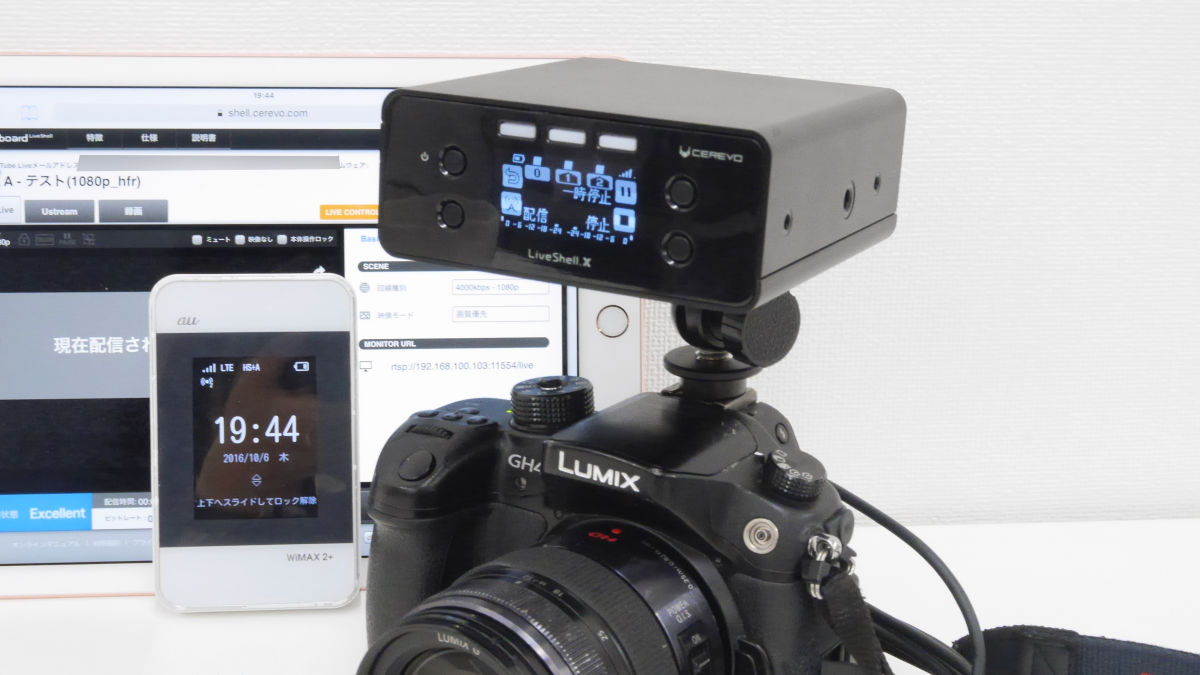
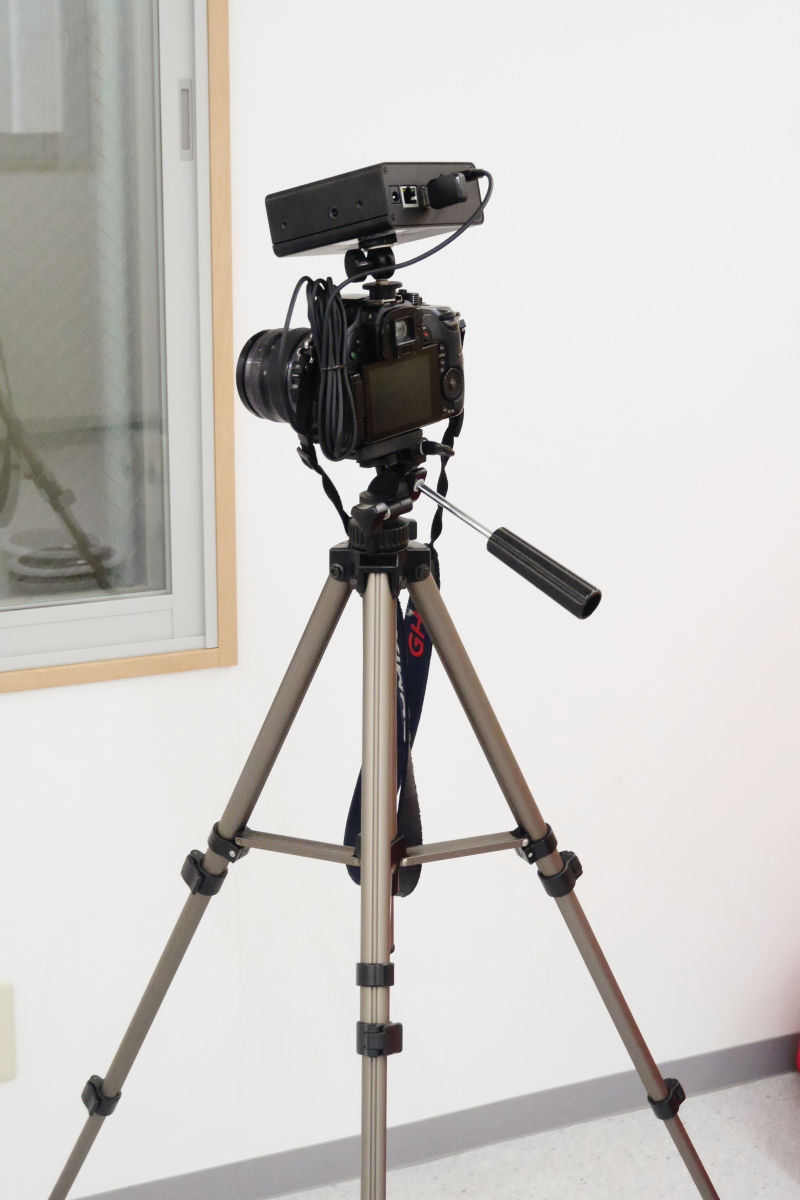
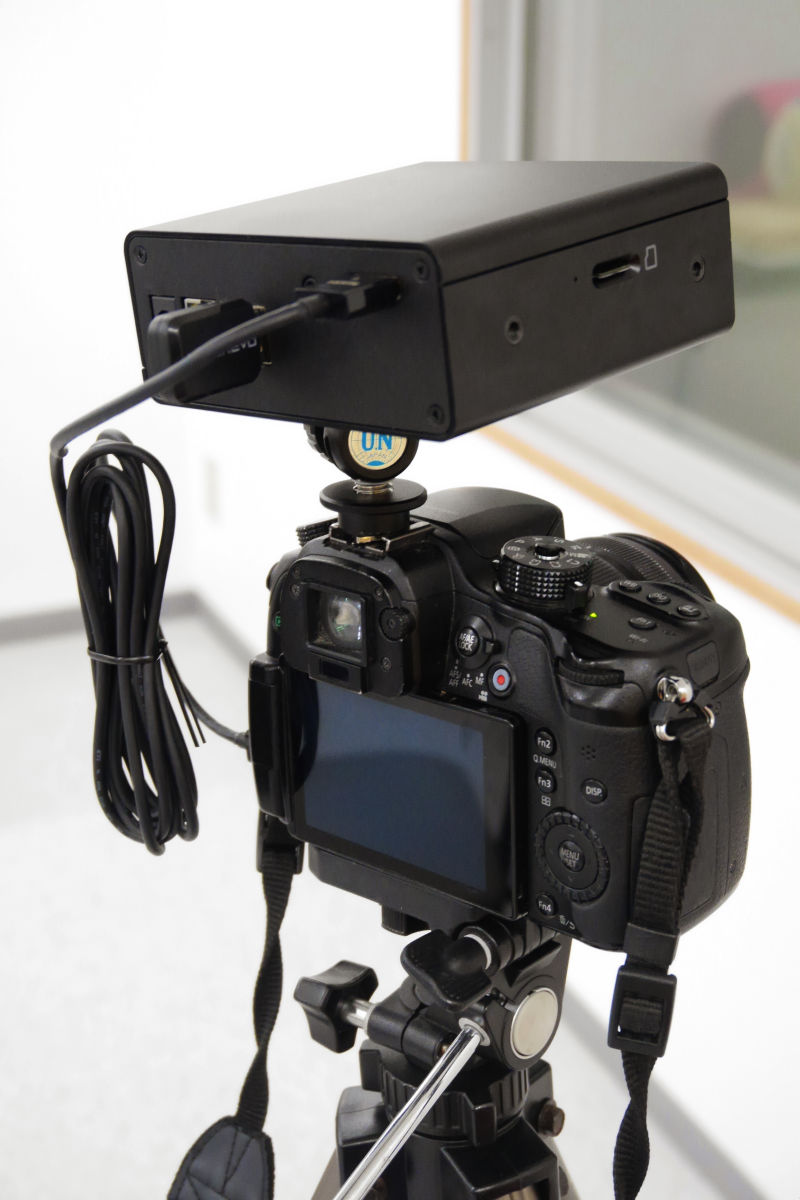
By having a tripod hole, using a hot shoe adapter etc.LUMIX GH 4I tried connecting it. If you connect LiveShell X and GH 4 with HDMI cable and connect LiveShell X with router, it can deliver like this. Dashboard can be operated from smartphone or tablet, so it can be delivered easily without PC.
Moreover, although it was not in LiveShell so far, LiveShell X is a nice place to store data directly because the main microSD port is attached.
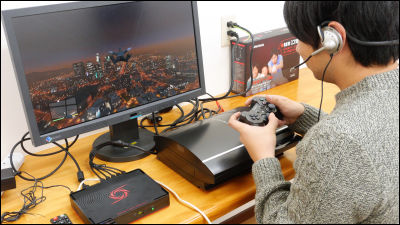
So, first of all connect the main body with an outlet. In case of full charge it is possible to drive for 6 hours only with the main body.
Insert the wireless LAN adapter into the main unit ......

Turn on the power.

Firstly, the language selection screen appears, so select your favorite language. Operation is performed with three physical buttons except the power button.

If you select Japanese, if it says "Initial registration waiting" for about 1 minute, the setting made with the button of LiveShell X itself ends.
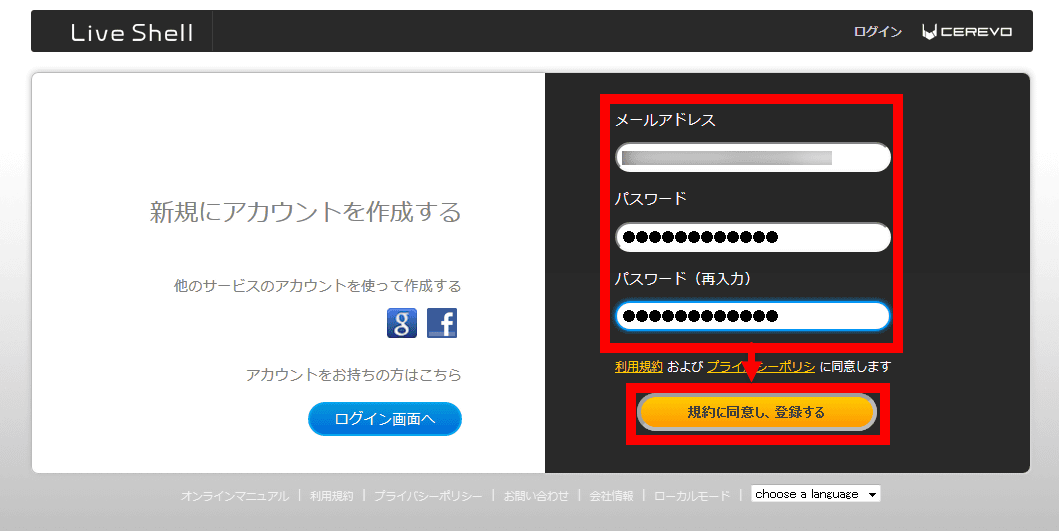
Next, LiveShell X on your tablet or PCDashboardIf you want to create a new account, enter your e-mail address and password and press "Accept Terms and Register". How to set up and operateLiveShell manualAs it is written in detail, let's move forward while looking at the manual. This time it is set by tablet.
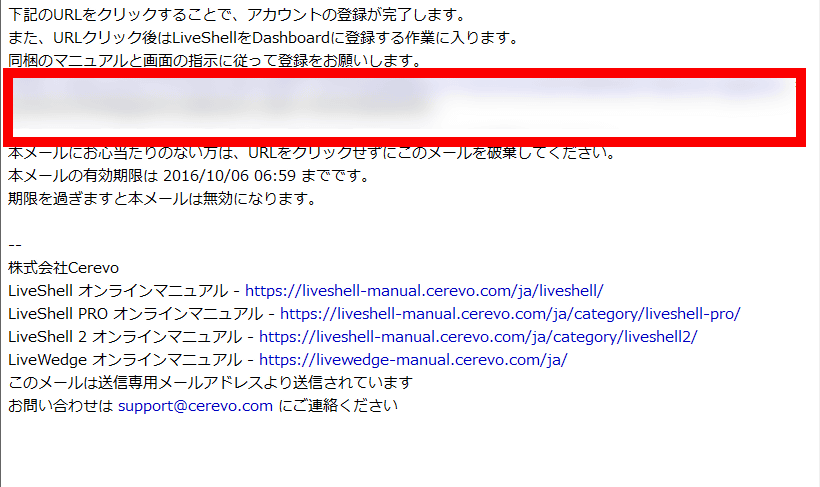
Then, the following e-mail will be delivered to the registered e-mail address, so tap the stated URL.
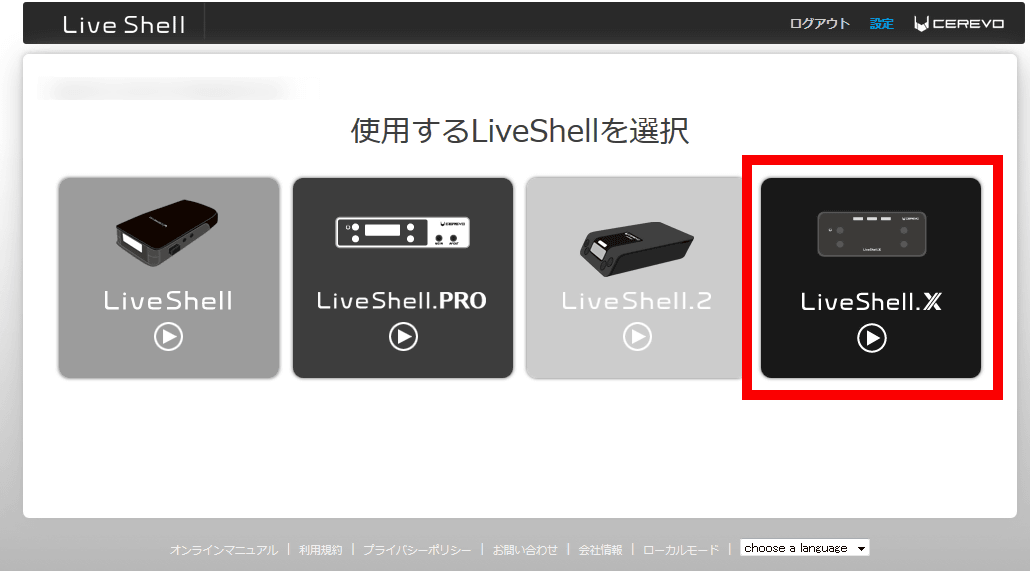
Select "LiveShell X" on the far right.
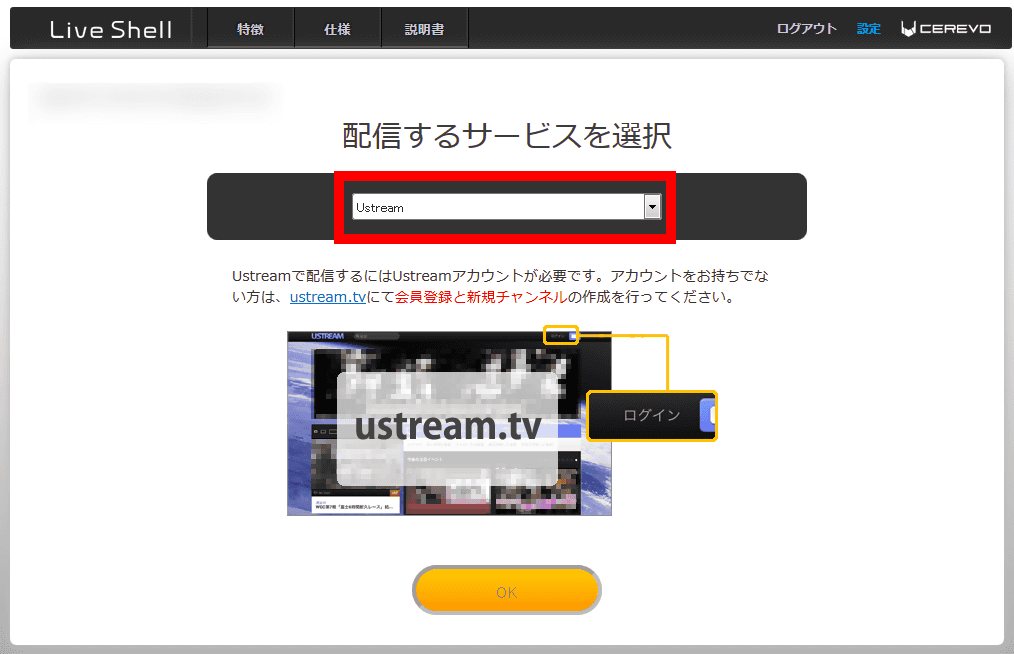
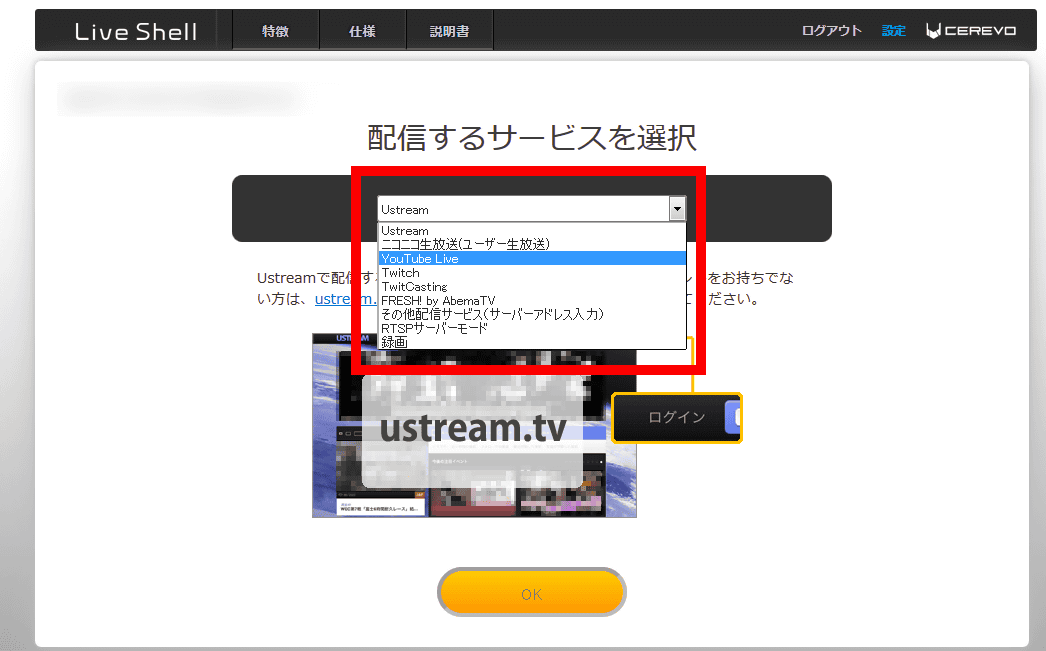
We will select the service to deliver. When pull down menu is displayed ......
Ustream, Nico Nico live broadcast (user live broadcast), YouTube Live, Twitch, TwitCasting, FRESH! By AbemaTV, other distribution service (server address input), RTSP mode, recording appeared.
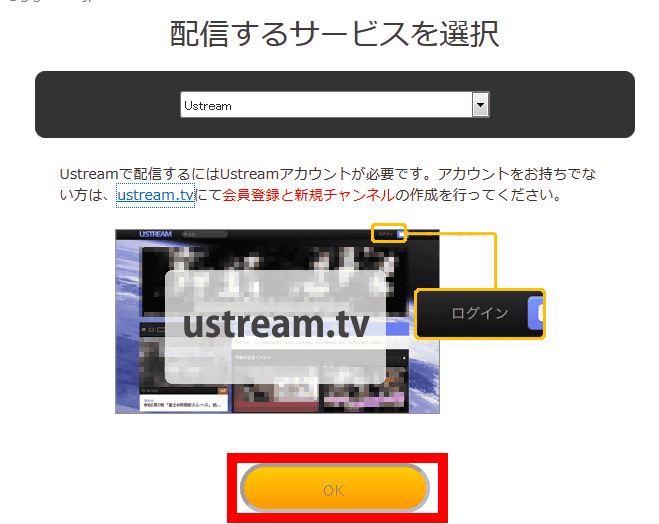
Select Ustream this time and tap "OK".
Enter the e-mail address or user name registered in Ustream and the password, and tap "OK".

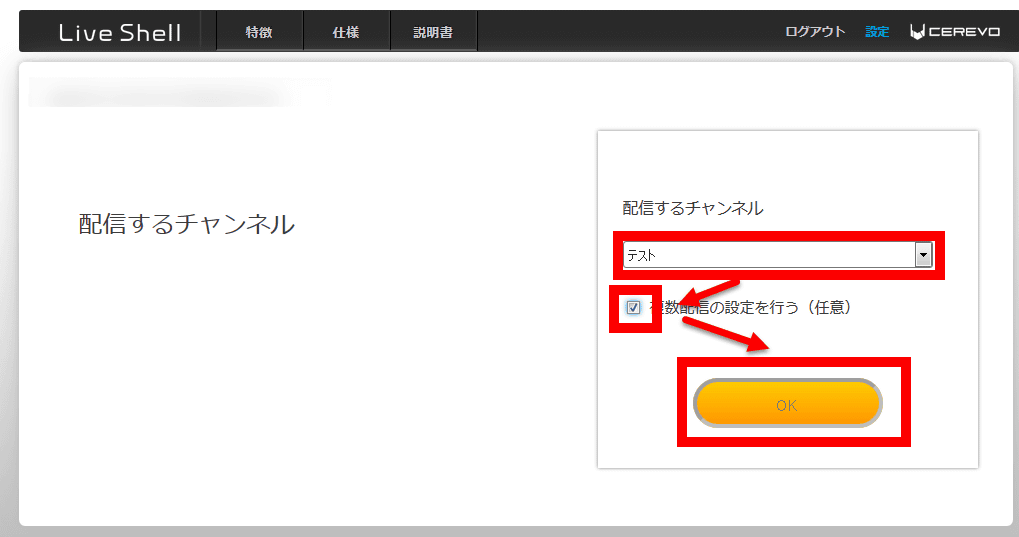
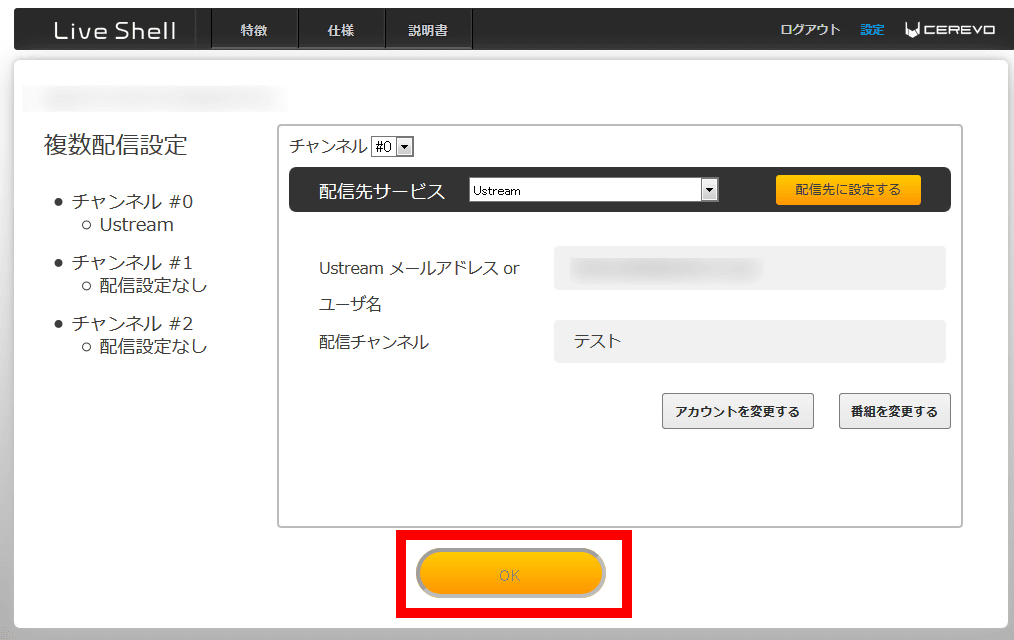
Tick the channel you want to distribute and optionally check the "Make multiple settings" checkbox and tap "OK".
Then tap "OK".
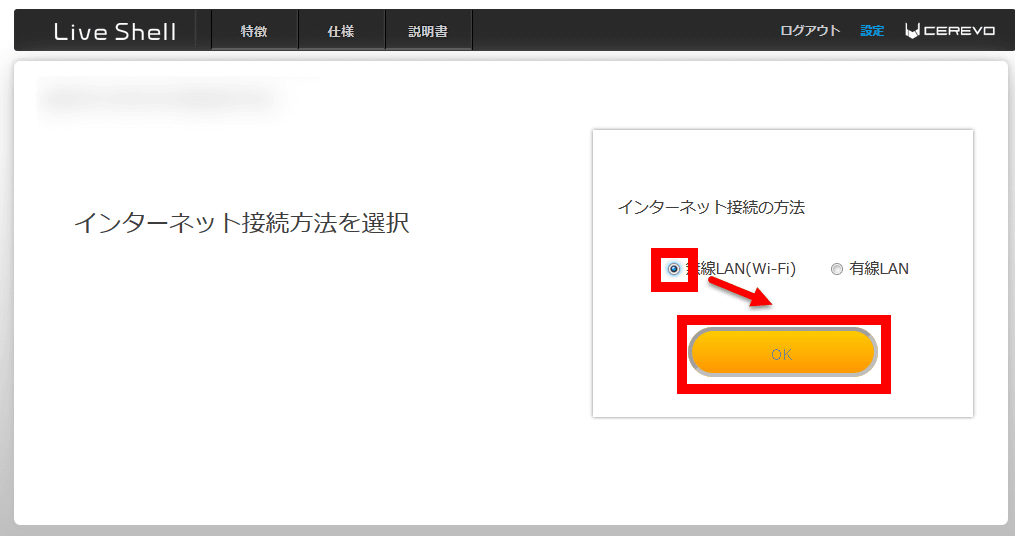
Select the Internet connection method. I chose wireless LAN this time.
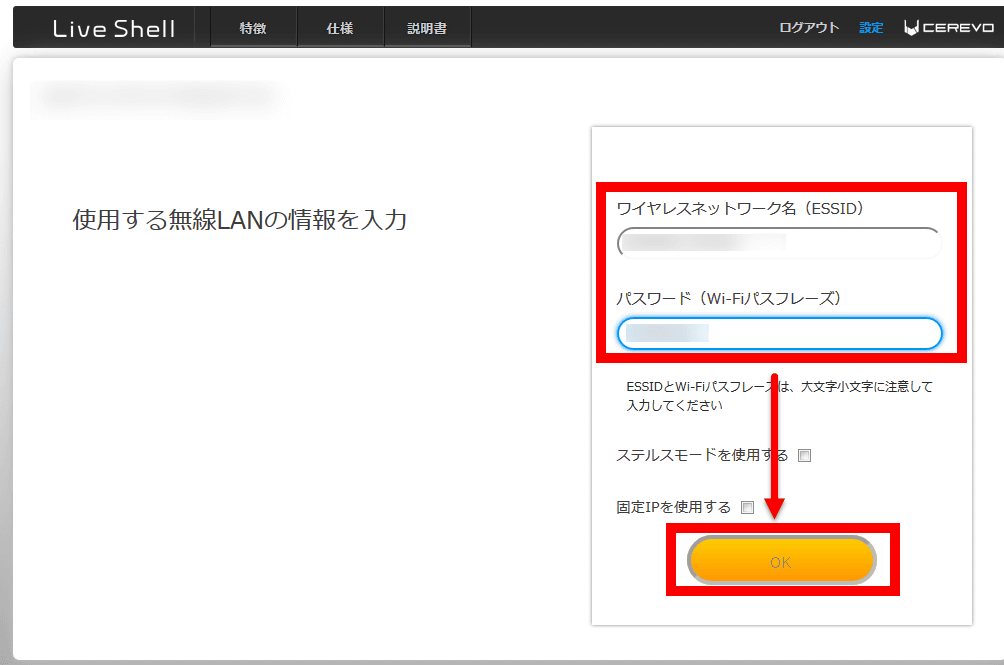
After entering the wireless network name and password of the router to be used, tap "OK".
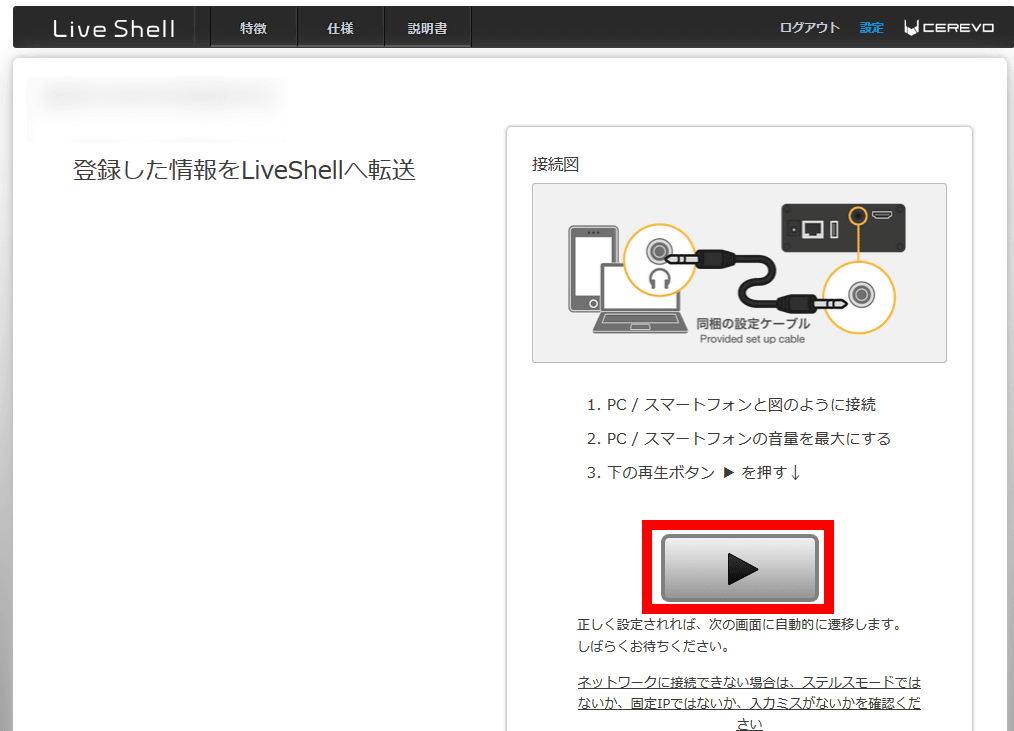
Since it moves to the screen like the following, after connecting with the smartphone, tablet and PC with the attached setting cable, when maximizing the volume and pressing play button, connection is made.
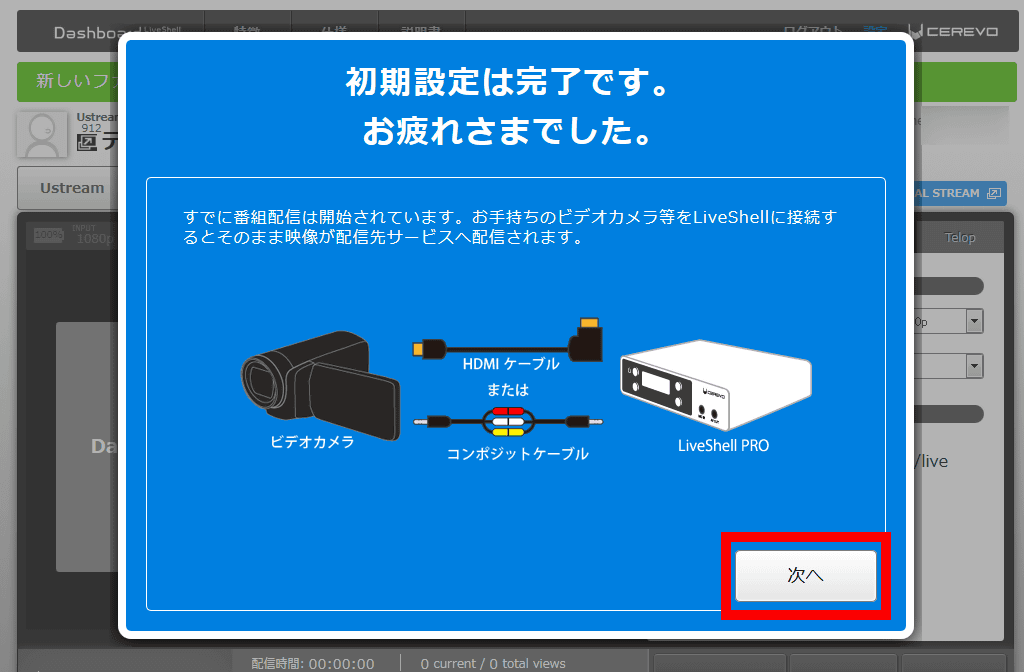
Upon successful completion of the connection, the screen shifted to the following screen. Press "Next" to start the tutorial ...
Ultimately the following dashboard will appear. Streaming is displayed on the left side of the dashboard, and the control panel is displayed on the right side. A mechanism to select line type and video mode from here.
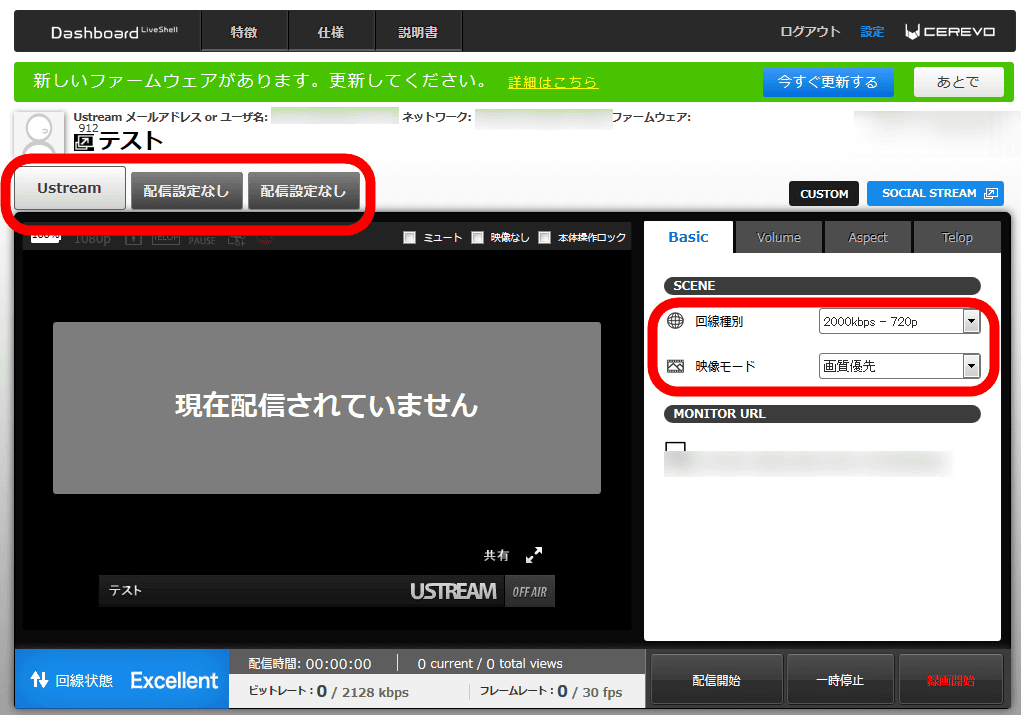
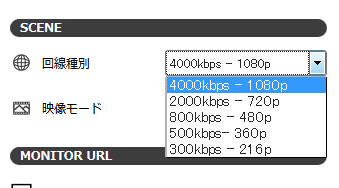
By displaying the pull-down menu of the line type, it was possible to select the resolution of the streaming distribution in the range from 216 p to 1080 p with such a feeling.
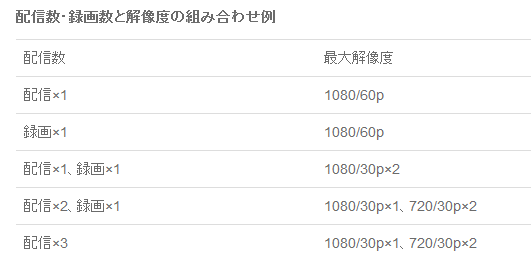
Note that examples of combinations of number of deliveries, number of recorded images and resolution are as follows. It becomes 1080 / 60p when only one distribution is done, and it becomes "1080 / 30p × 1,720 / 30p × 2" if it is "distribution × 2, recording × 1", for example.
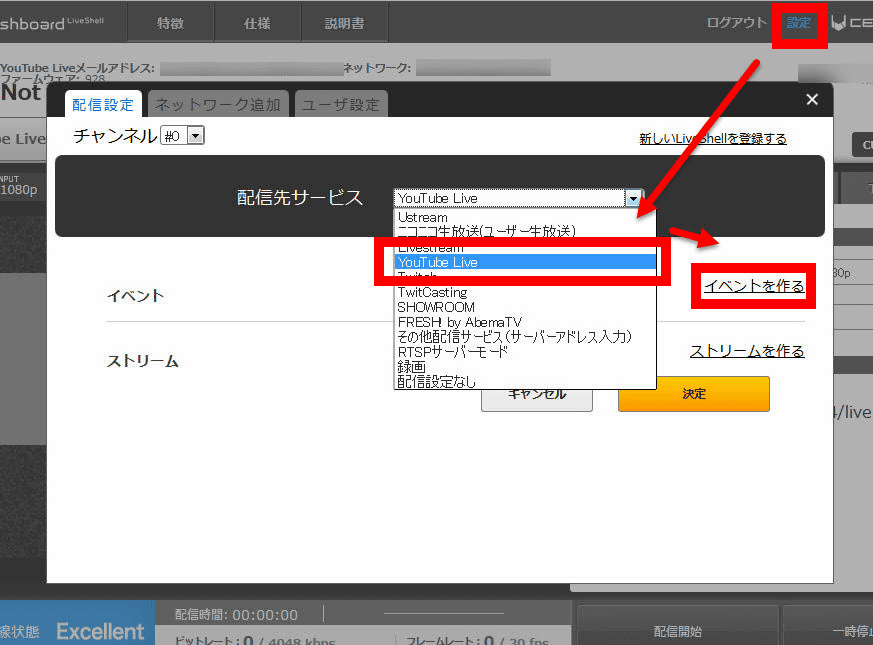
To set up distribution service for three channels, tap the tab of each channel ......
Tap "Settings" in the upper right. Then we have the following delivery settings, so we will choose the delivery service from the pull-down menu. For the second streaming service, select YouTube Live and press "Create event". At this time, if you set the dashboard account to something other than Gmail, authentication will be required in the alert dialog.
After setting the title · description · start time · end time · time zone · public setting etc ......

Tap "Save".

Likewise, create a stream and check the two check boxes and press "Decide".

Note that this LiveShell X can be distributed simultaneously to different accounts of the same distribution service, not just different distribution services. However, because there is only one Google account that you can stick with the dashboard, when using the second YouTube Live account,Make settings on YouTube rather than dashboardit is necessary.
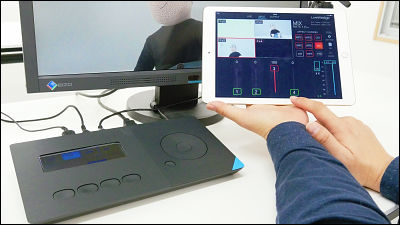
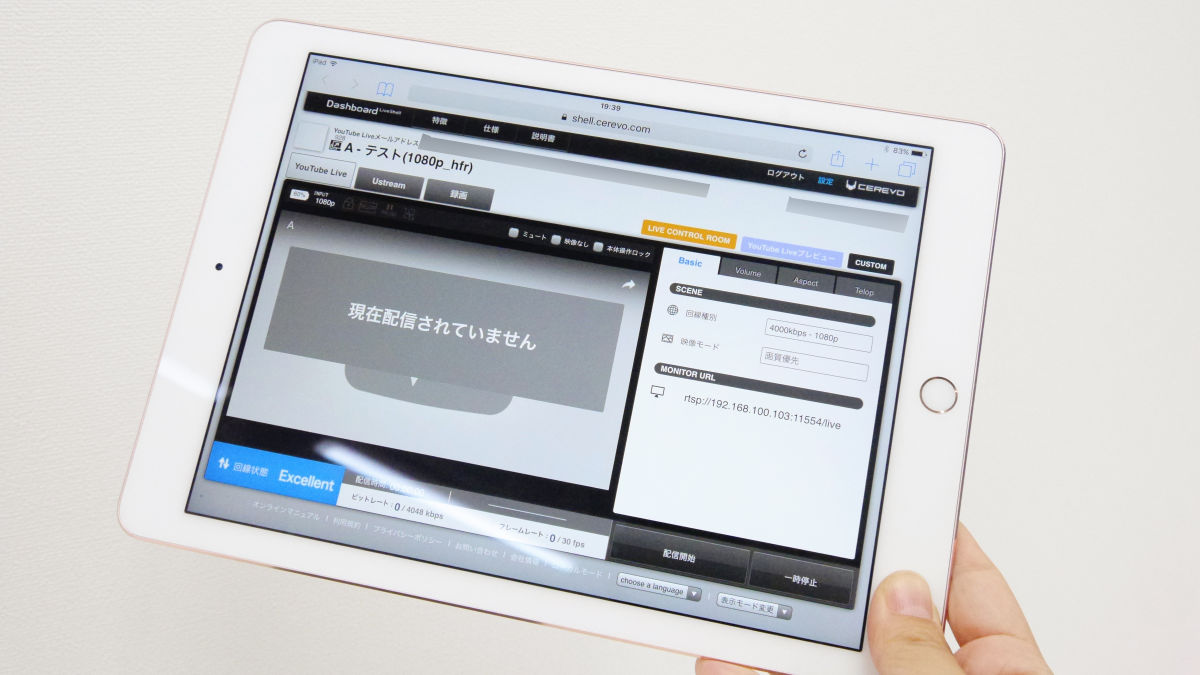
Looking at the dashboard on a tablet is like this.
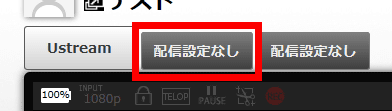
Streaming delivery can also be operated from the dashboard, but it is also possible from the main body. Since the delivery destination set earlier has been assigned to the three distribution button indicators, first press the 0 channel indicator set for YouTube Live.
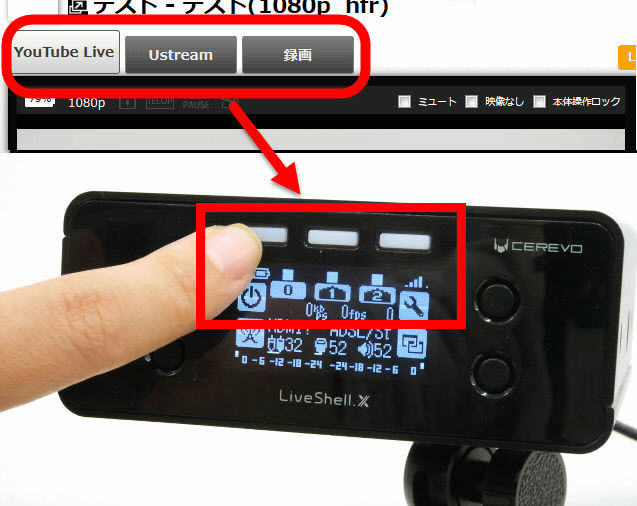
Pressing the physical button next to the radio tower mark ... ...
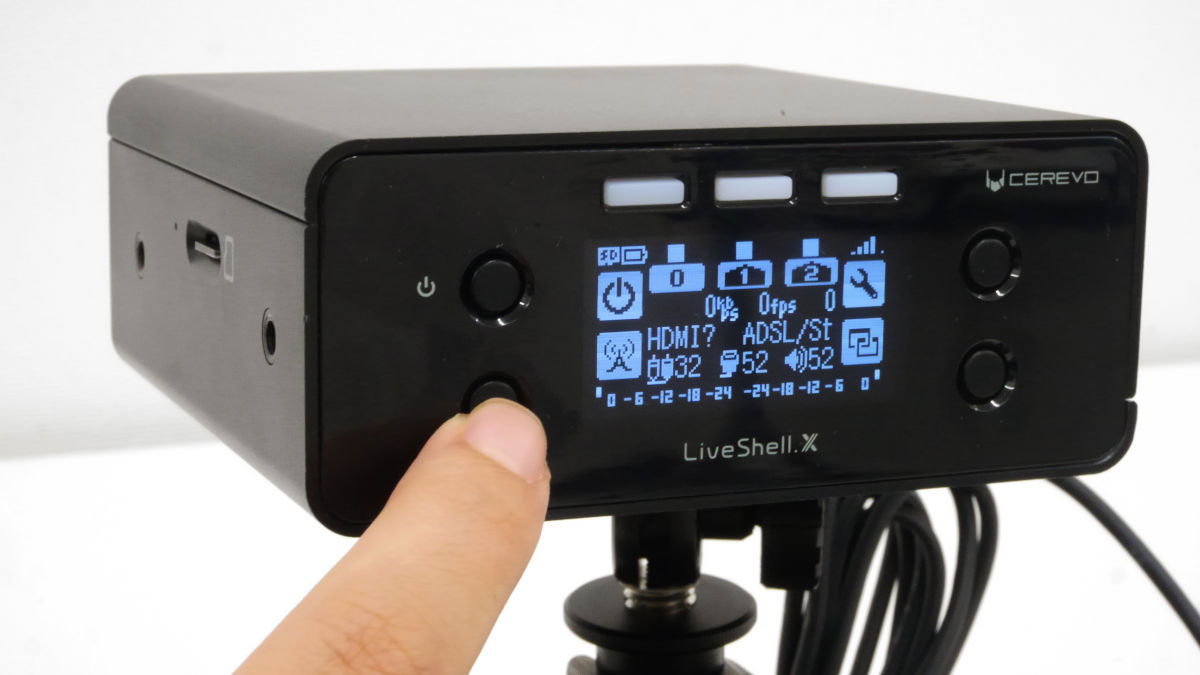
A radio tower arrived above the 0 channel. A sign that this is being delivered.

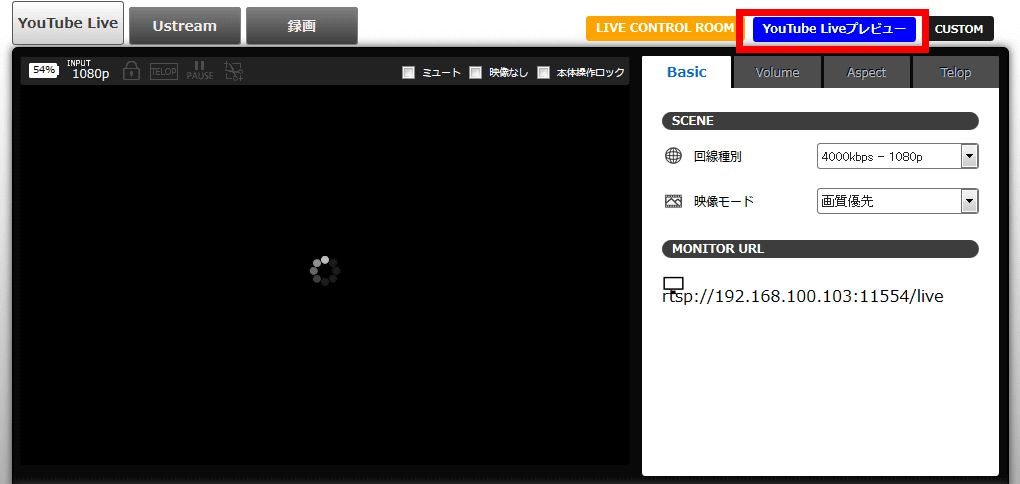
When delivery started, I looked at the dashboard of YouTube Live and it looks like the following. Tap 'YouTube Live preview' in the upper right ... ...
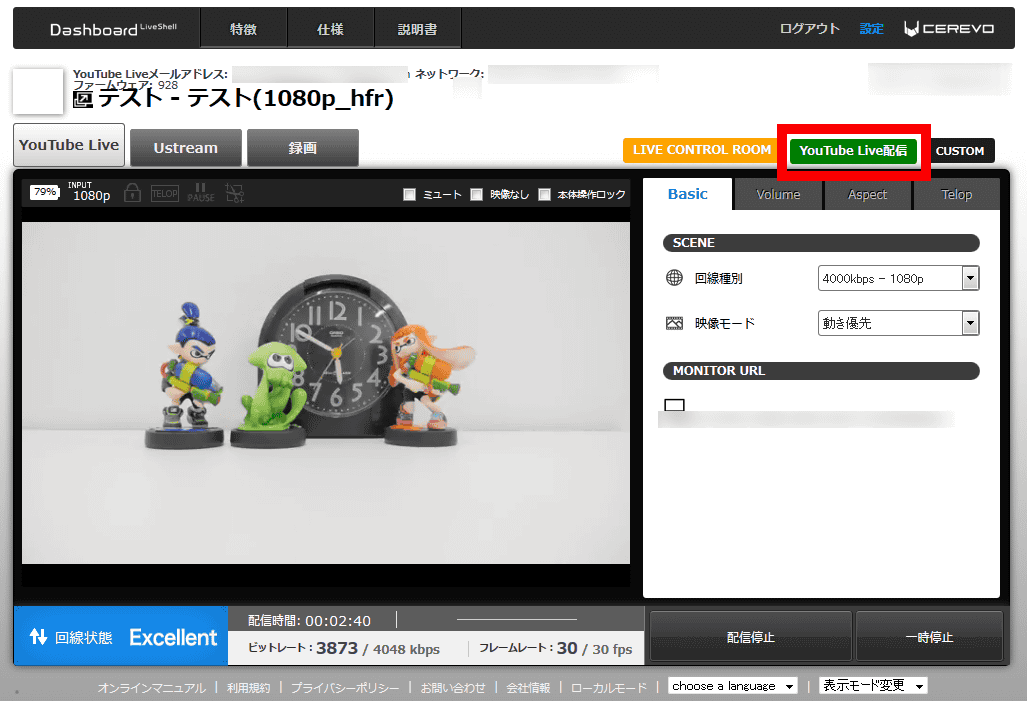
Then, press "Distribute YouTube Live". Distribution starts with this.
So, it looks like this was actually delivered by three distribution services, Ustream, YouTube, and SHOWROOM at the same time. In some cases, distribution needs to be done one by one, so there is a time lag between the three.
Streaming simultaneously with three delivery services - YouTube
The captured movies of 1080 / 60p delivered to YouTube Live are as follows.
Movie delivered with "LiveShell X" looks something like this - YouTube
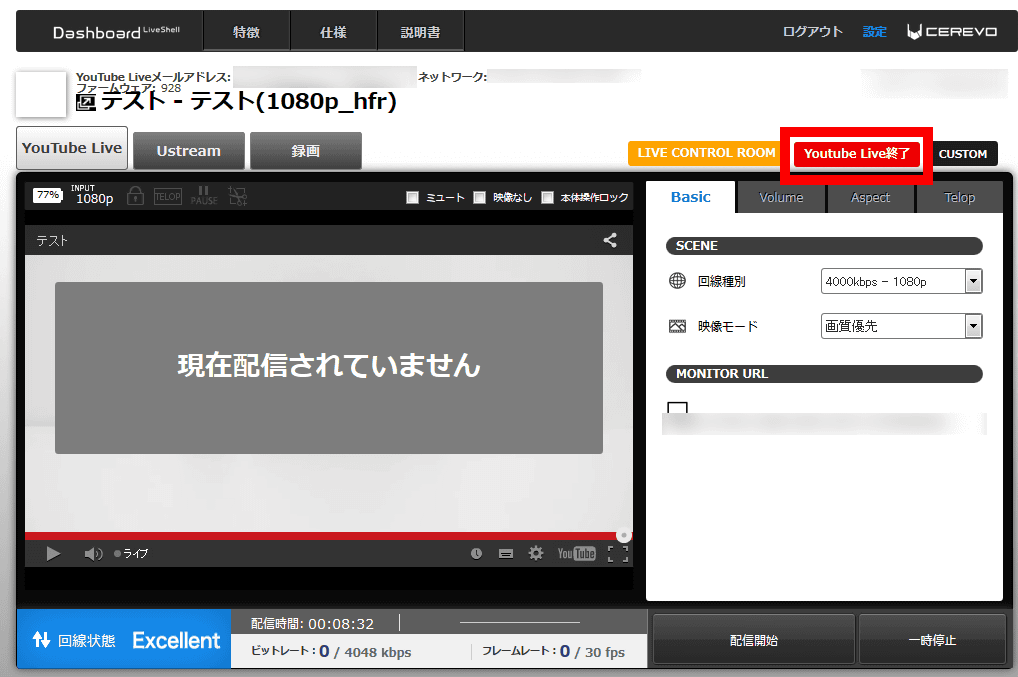
Once delivery is completed you can press 'End YouTube Live'.
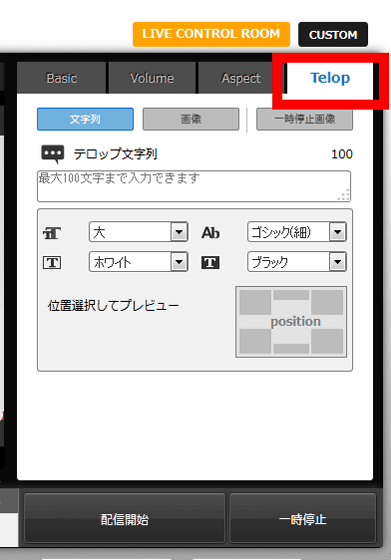
Tickers can also be inserted from the dashboard. LiveShell X now allows transparent PNG images to be added to the movie, so I actually tried it. Open the tab of "Telop" on the control panel ......
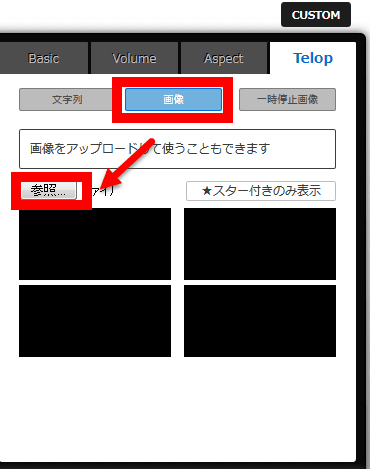
Upload the image saved on the terminal from Image → Browse.
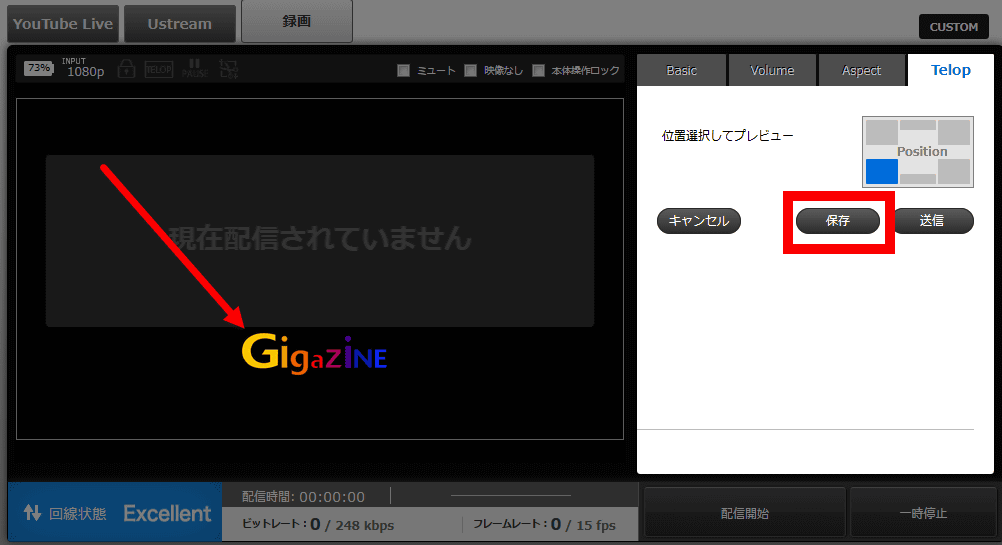
When uploaded, images are displayed on the streaming screen ......

Drag and place the image in the place you like, and click "Save" to complete.
You can check the movies with embedded transparent PNG images from the following.
I tried to embed a transparent image in 'LiveShell X' - YouTube
Incidentally,Cerevo official storeLiveShell X at Tax is 69,800 yen.
Related Posts: