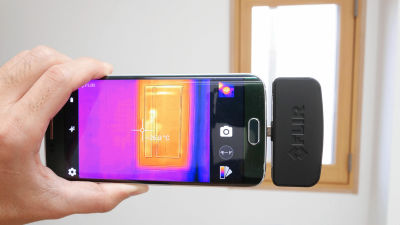
I just shoot a smartphone with "FLIR ONE" which makes it a thermo camera
In case of converting iPhone 5 to infrared thermography "FLIR ONE"FLIR (Freer) is newFLIR ONE"Is appearing. Although the name is the same as the previous model, a device called "Micro-USB terminal · Android terminal compatible model" which appeared on all iOS with Lightning terminal was arrived at the editorial department So, I shoot a variety of things on my hand with a smile and a FLIR ONE.
FLIR ONE
http://www.flir.jp/flirone/content/?id=62912
◆ Images and images that can be taken with FLIR ONE
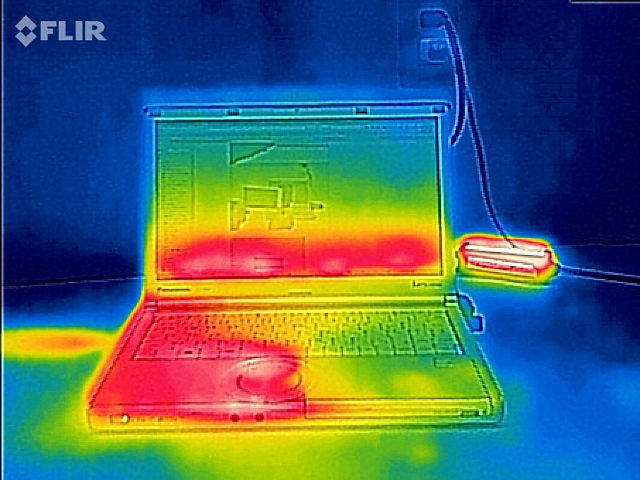
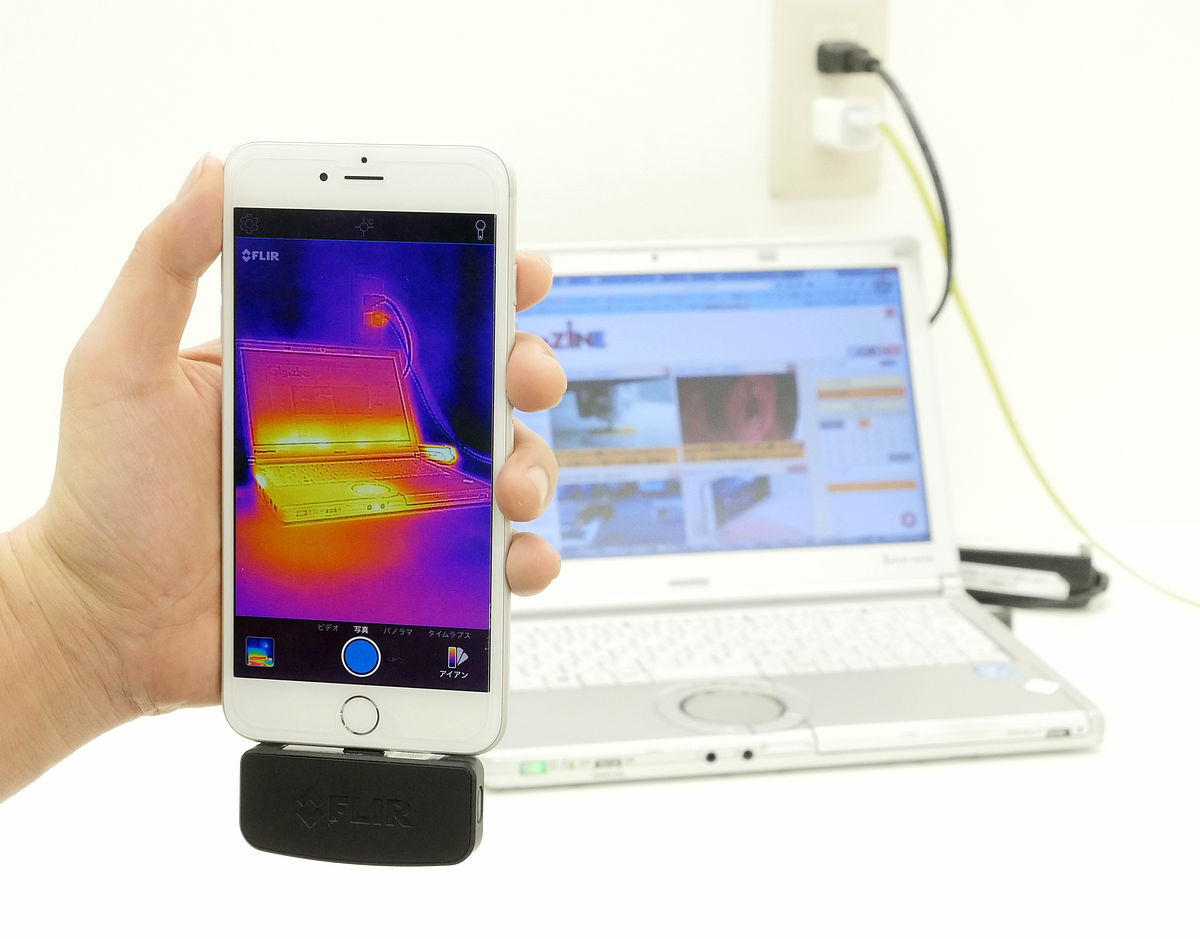
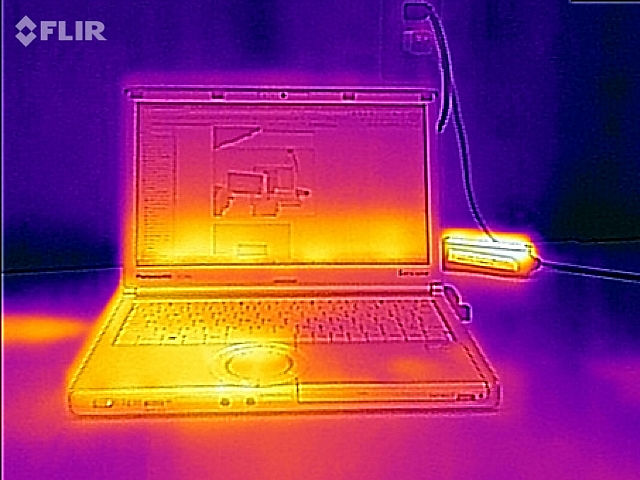
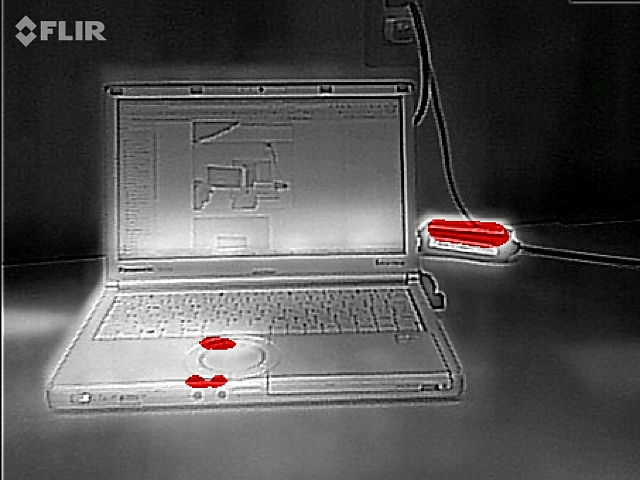
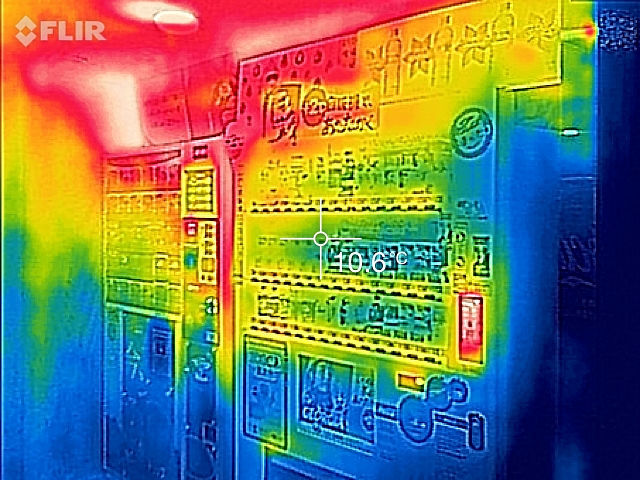
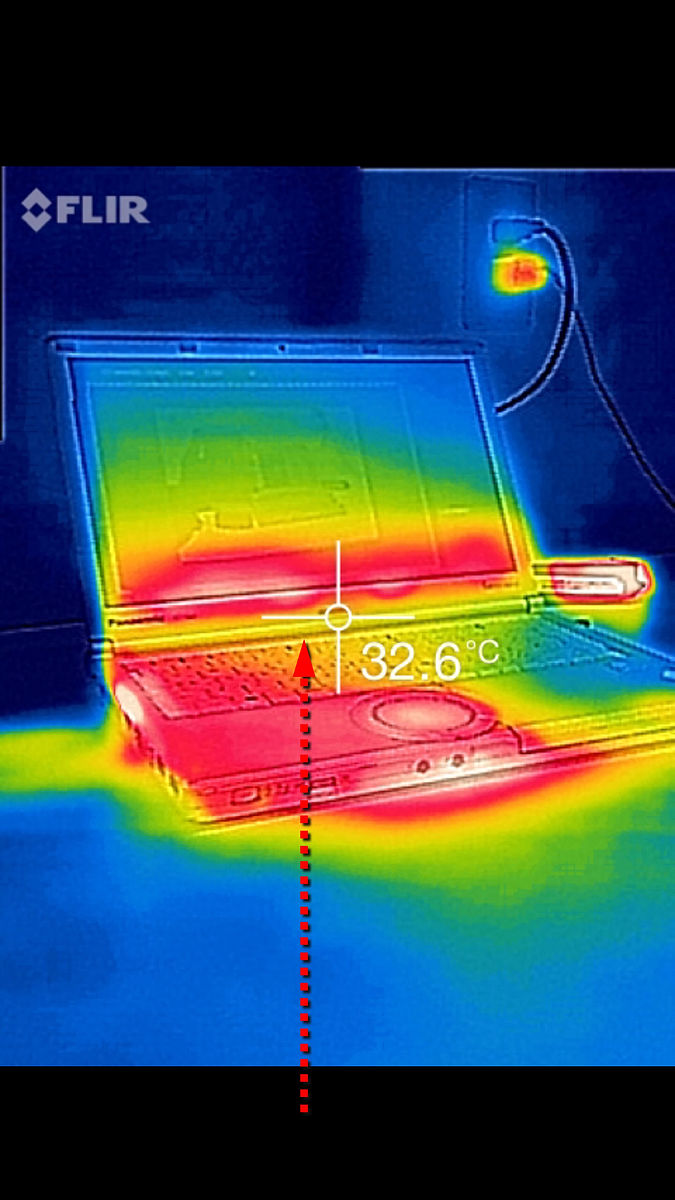
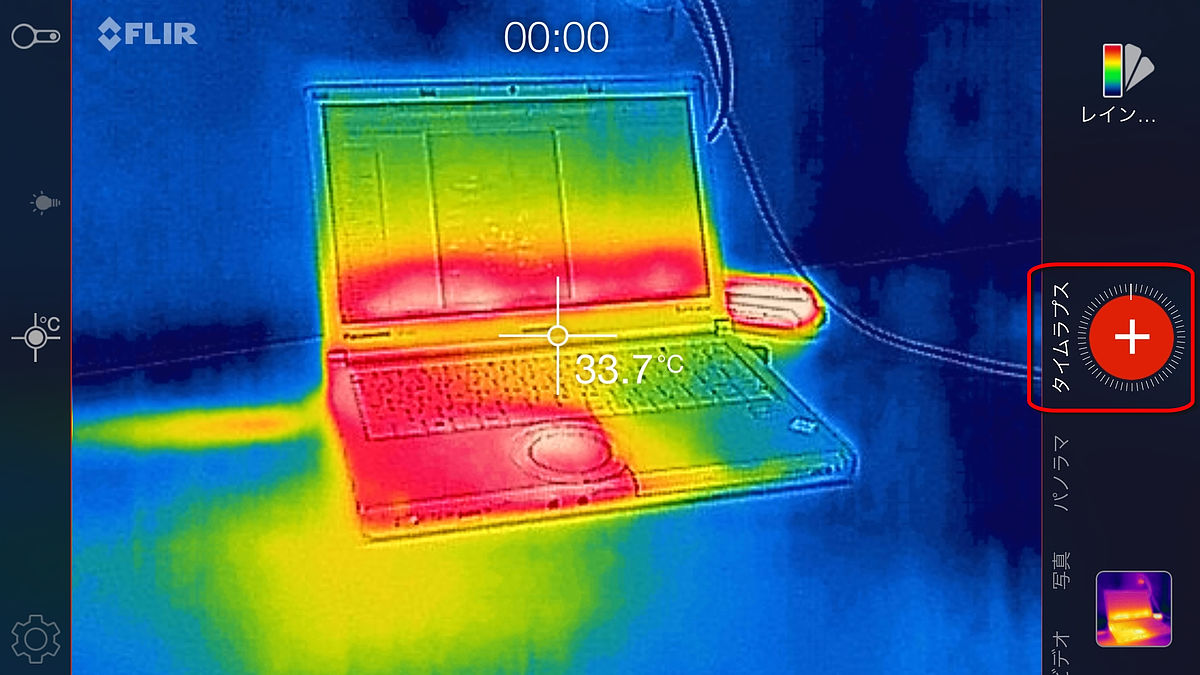
The image shot with FLIR ONE + iPhone 6 Plus is this. It is easy to understand that the left part of the main body with the processor and the heat sink, the lower part of the display, and the AC adapter are particularly heated, with the picture taken of the notebook PC. More closely, it is also interesting that the top plate of the desk heated by the heat from the heat dissipation port on the left side of the main unit turns red.
It is also one of the major features of FLIR ONE that you can shoot movies without changing the thermography screen.
I took a picture of the station terminal in the thermography screen with "FLIR ONE" - YouTube
◆ FLIR ONE photo review
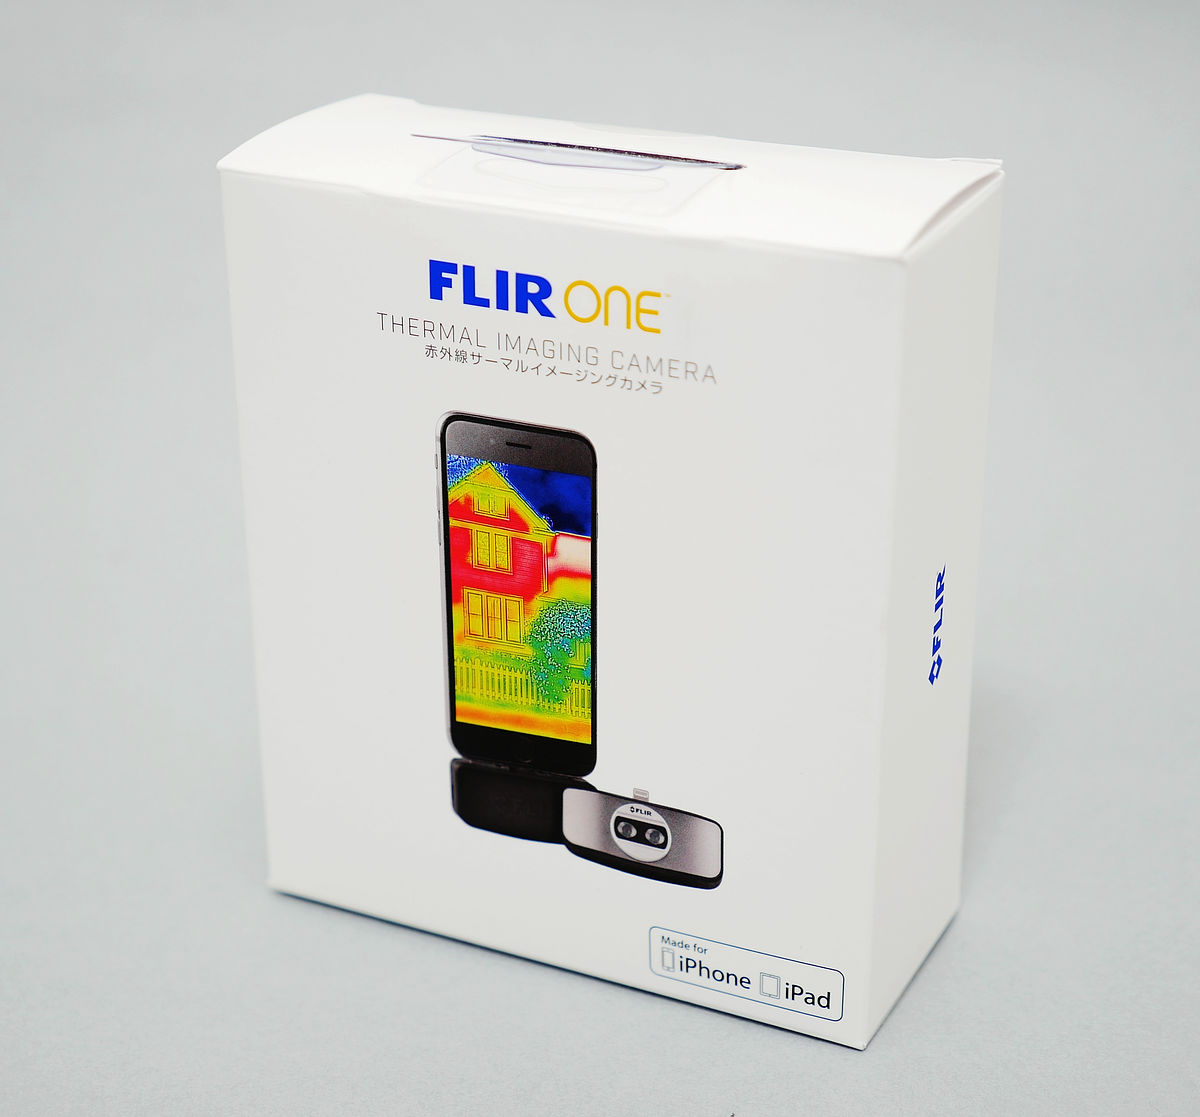
FLIR ONE purchased at the Apple store arrived.Rugged case of FLIR ONE for iPhone 5/5Unlike, it is packed in a general paper box. The package is the letter "infrared thermal imaging camera".
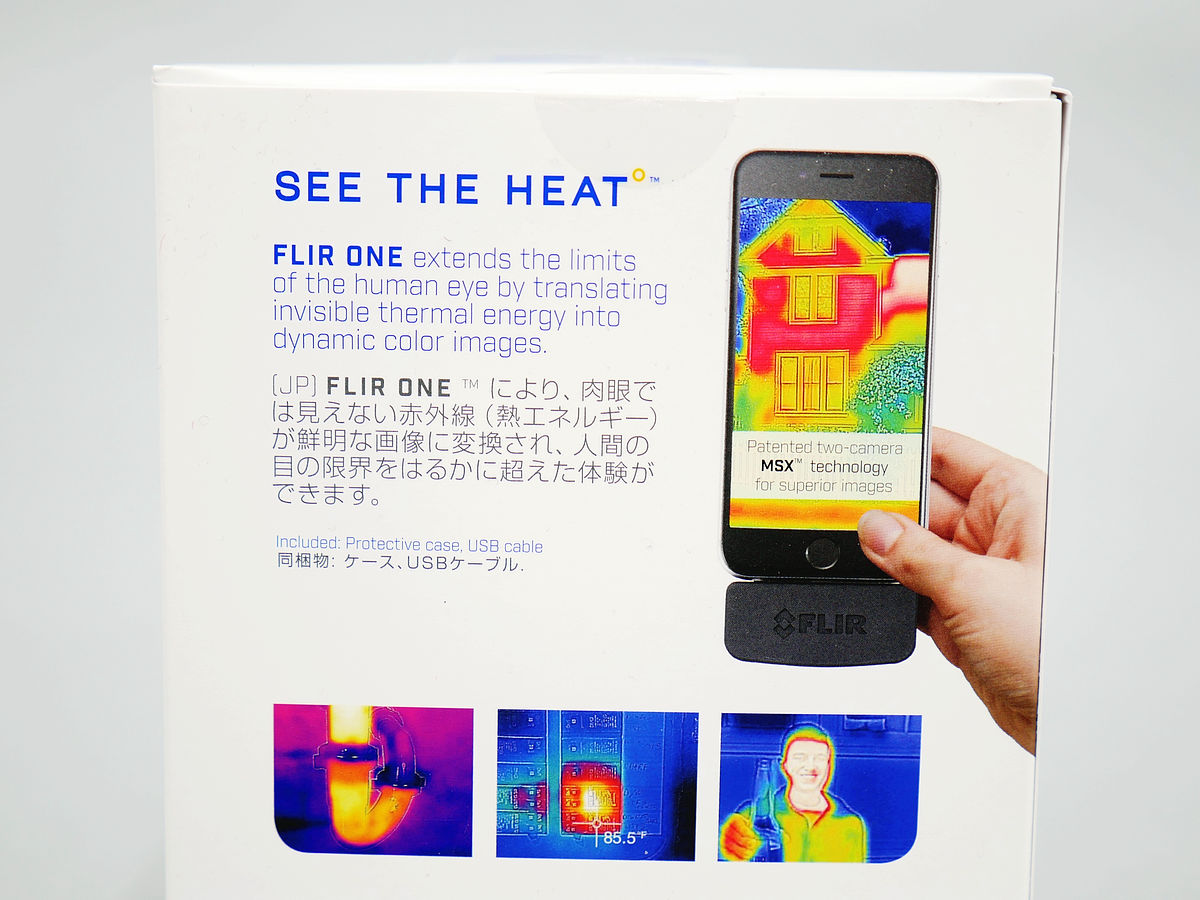
On the back, "With FLIR ONE, infrared light (heat energy) that can not be seen with the naked eye is transformed into a clear image, and experience that far exceeds the limits of human eyes", the characteristics of FLIR ONE are written It is.
When removing the paper box, a solid inner box appeared from inside.

When opening the lid, FLIR ONE and a black carrying case came out from inside.
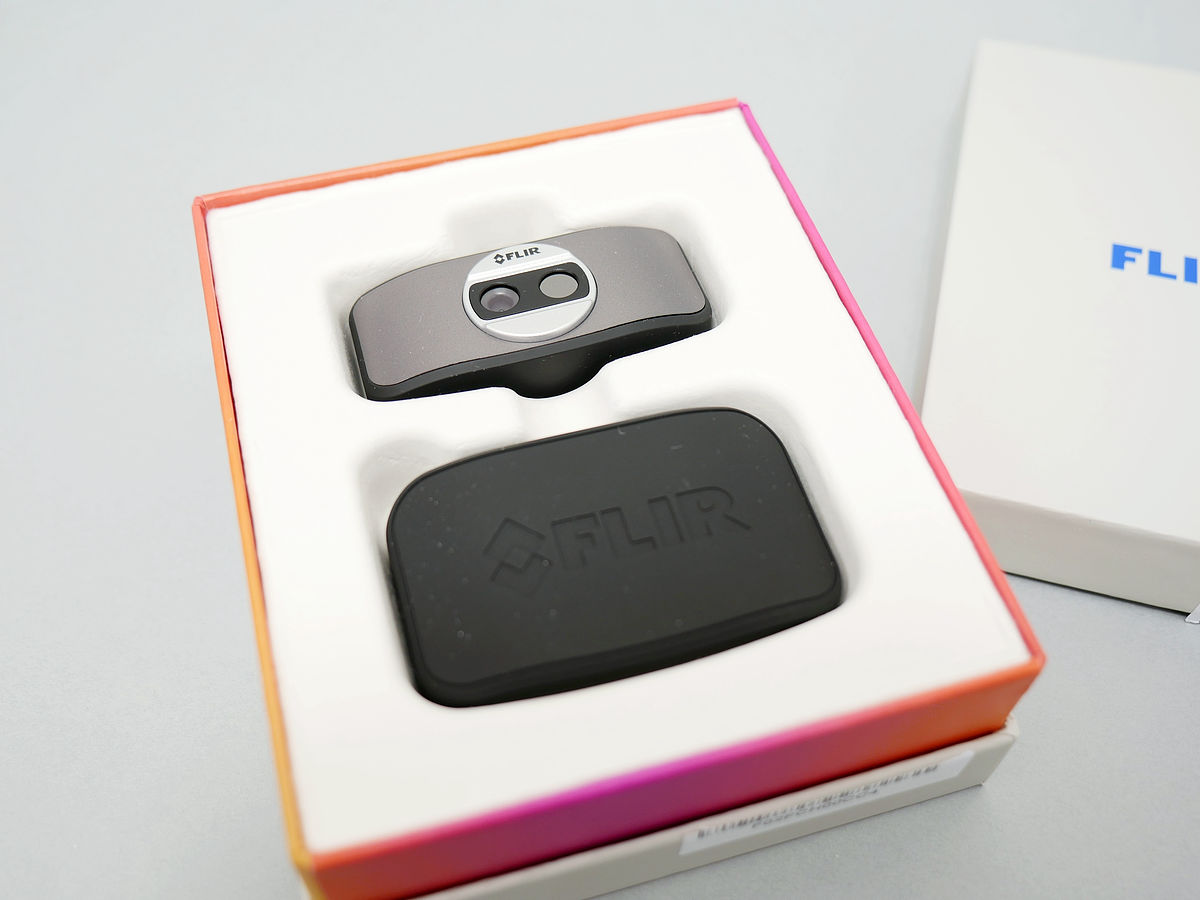
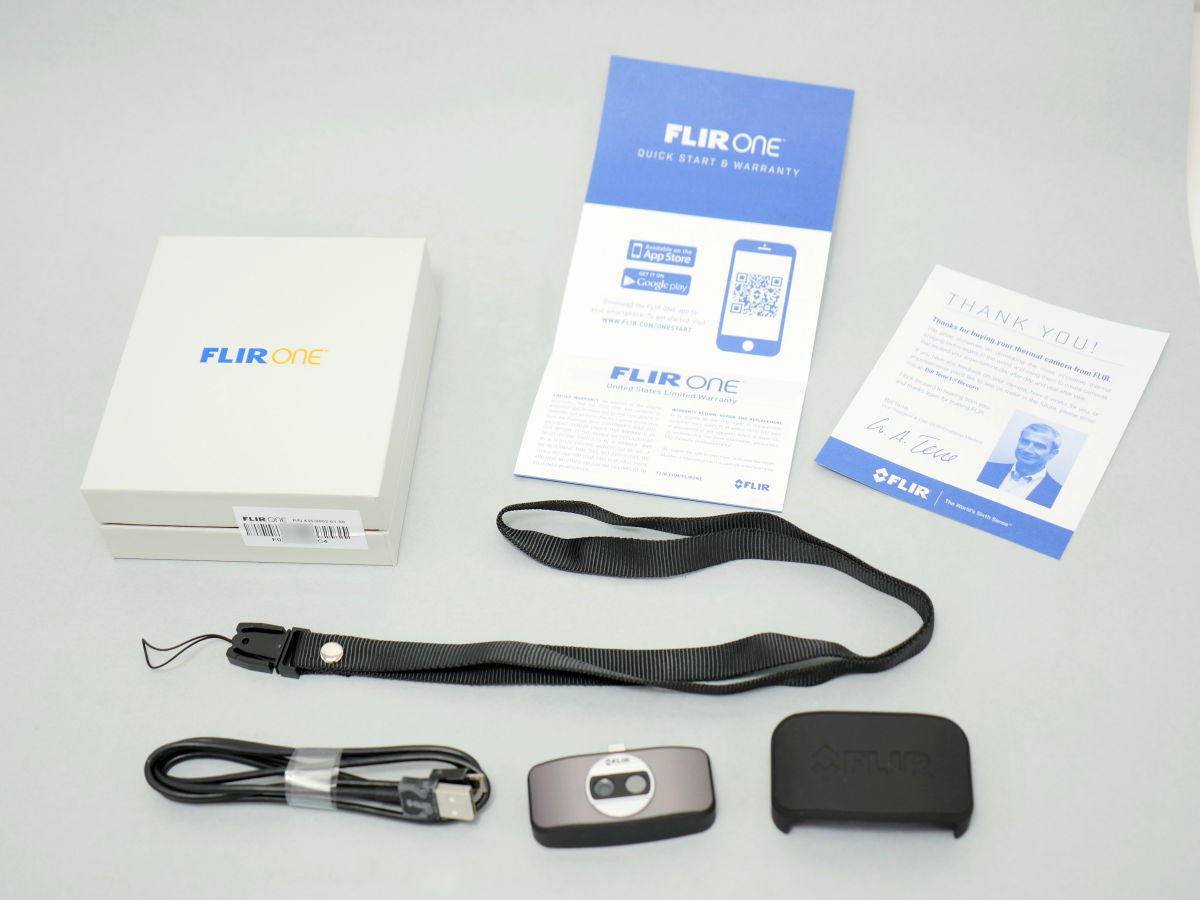
The contents are like this. It can fly to the FLIR ONE quick start page QR code and guarantee paper, a message card from FLIR, a strap attached to the carrying case, a micro-USB cable and FLIR ONE body, and a carrying case.
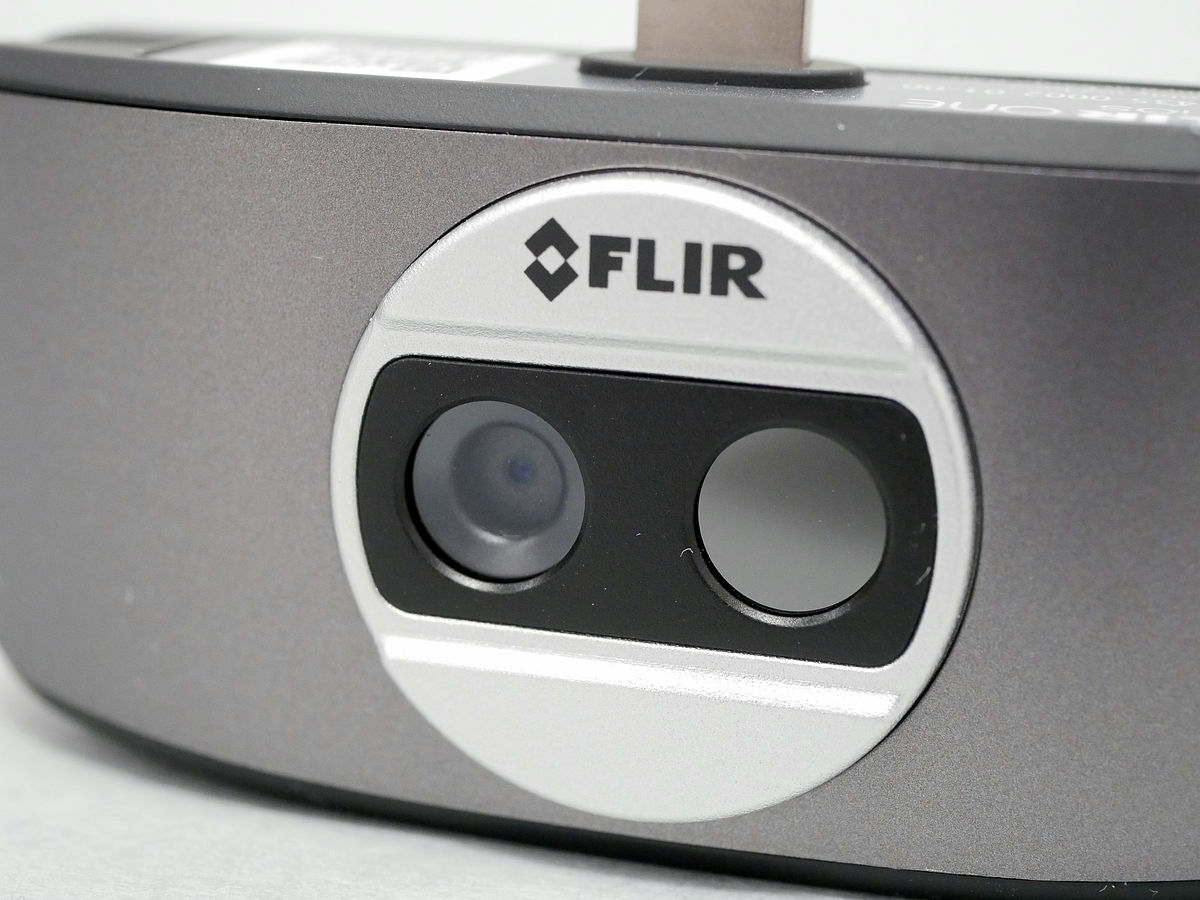
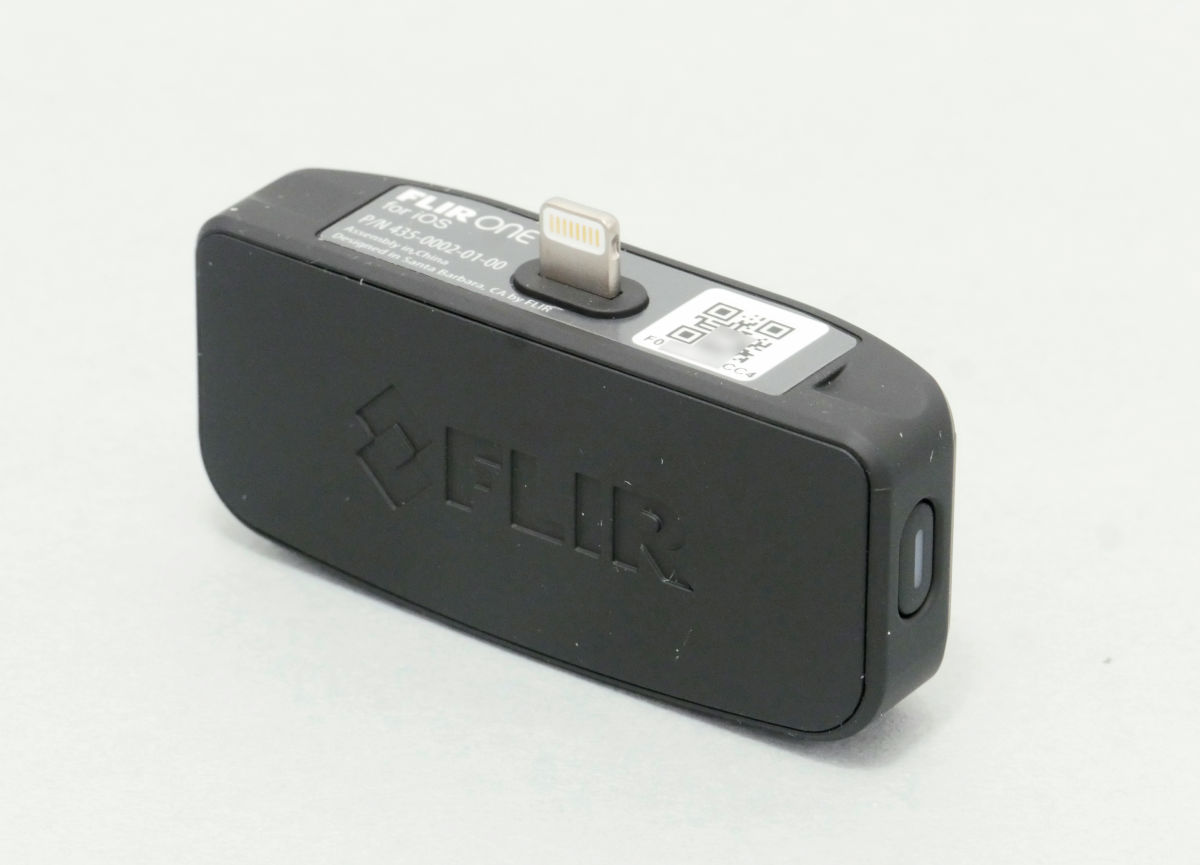
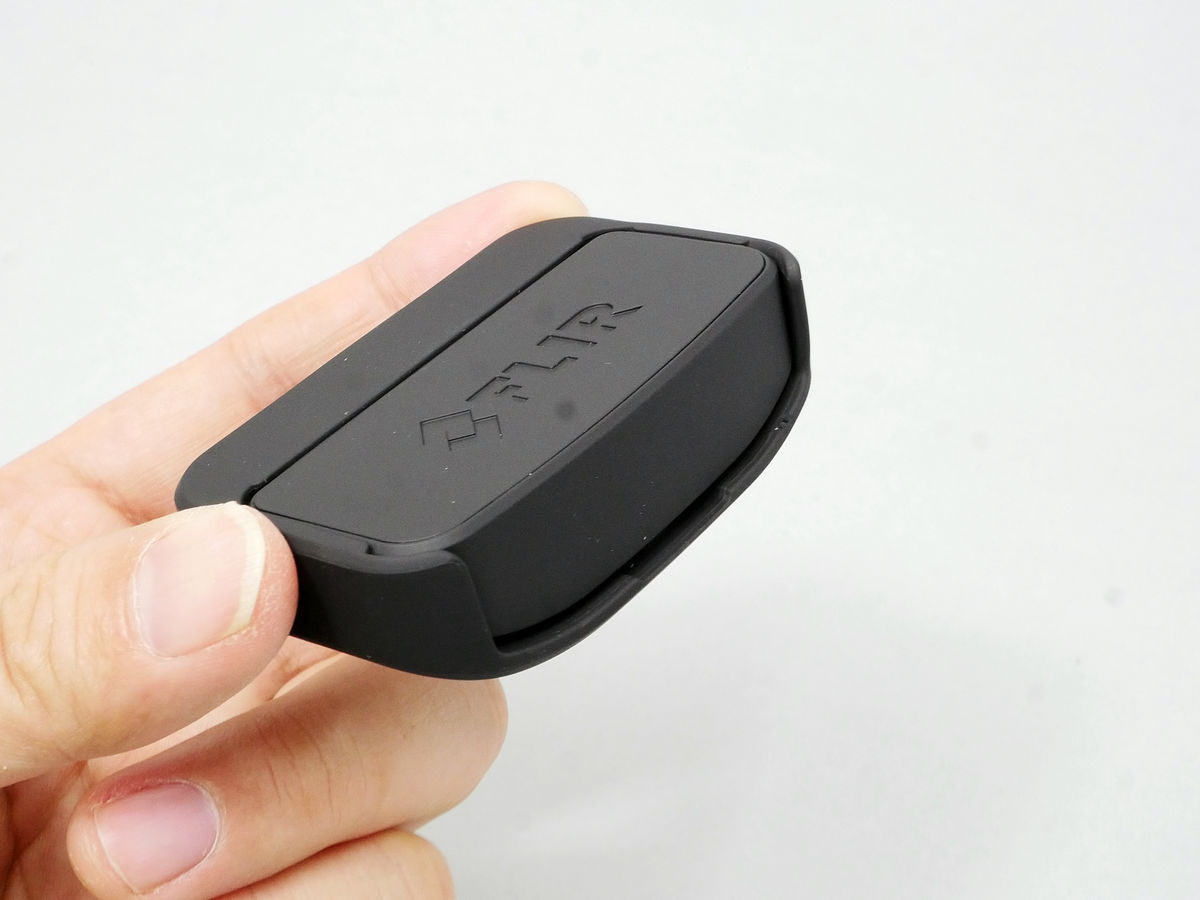
The body of FLIR ONE is Kore. Two sensors are equipped on the lightly curved front. The lightning terminal for the iOS terminal protrudes from the top.
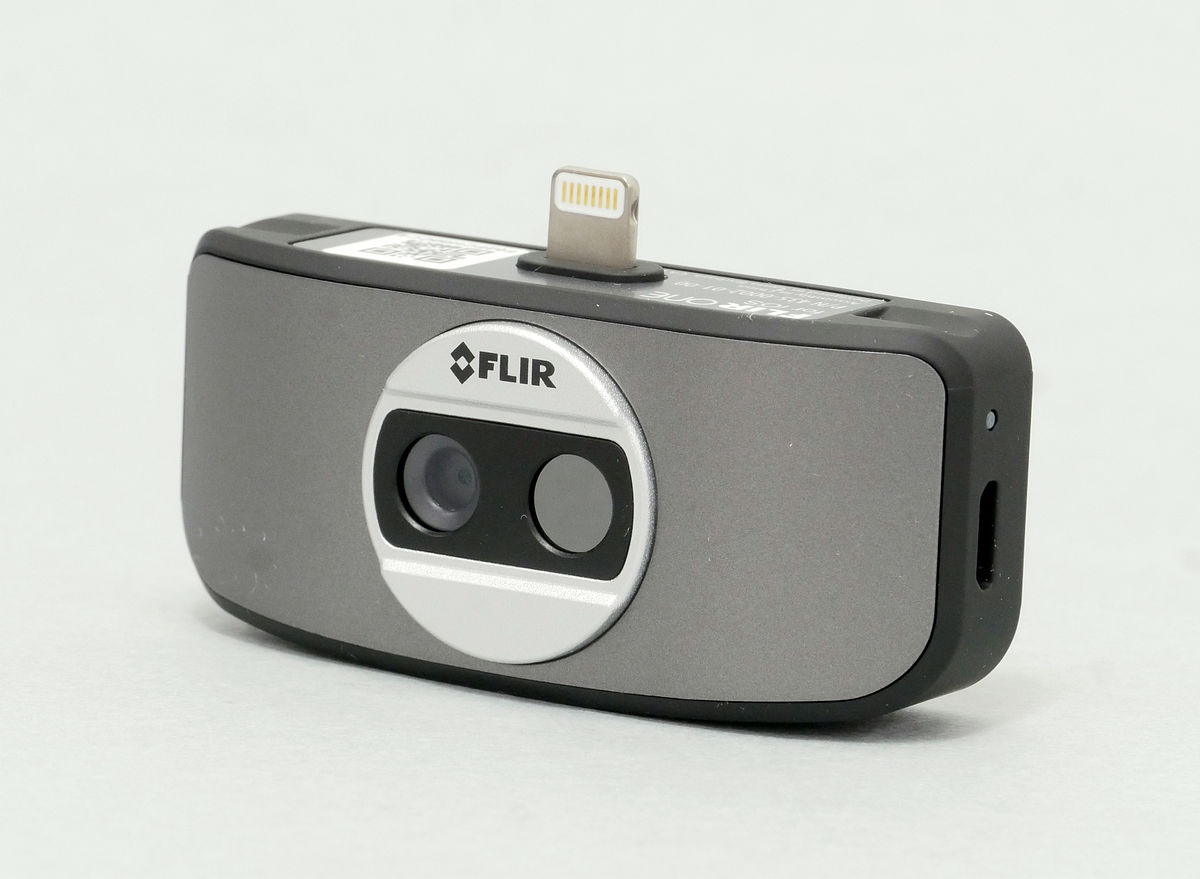
Two sensors side by side are the cameras for taking pictures. The other is an infrared sensor which senses the temperature, and information obtained by these two sensors is synthesized on the screen of the smartphone and displayed.
The character "FLIR" is engraved on the back. Although the battery is built in, it is designed so that you can not open the cover.
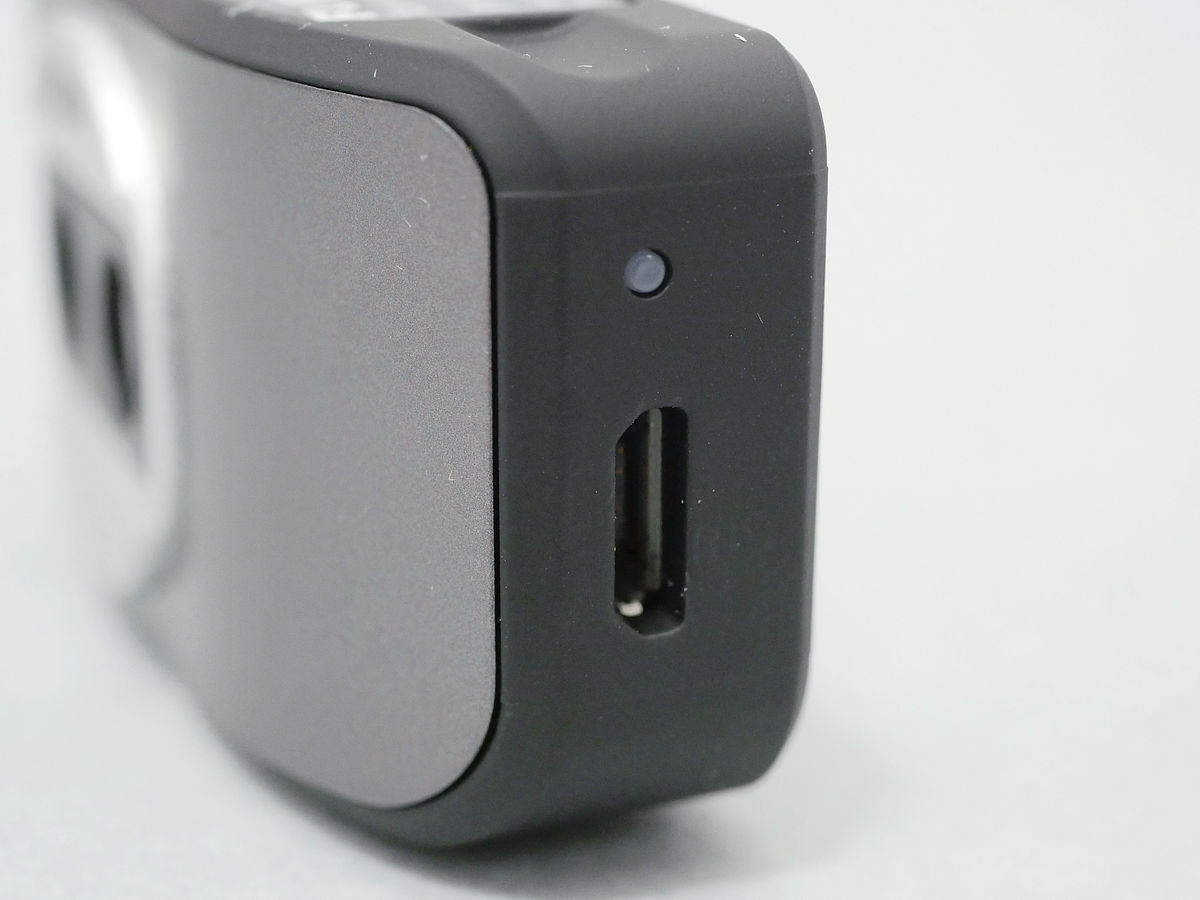
On the right side of the side is a Micro - USB terminal for charging
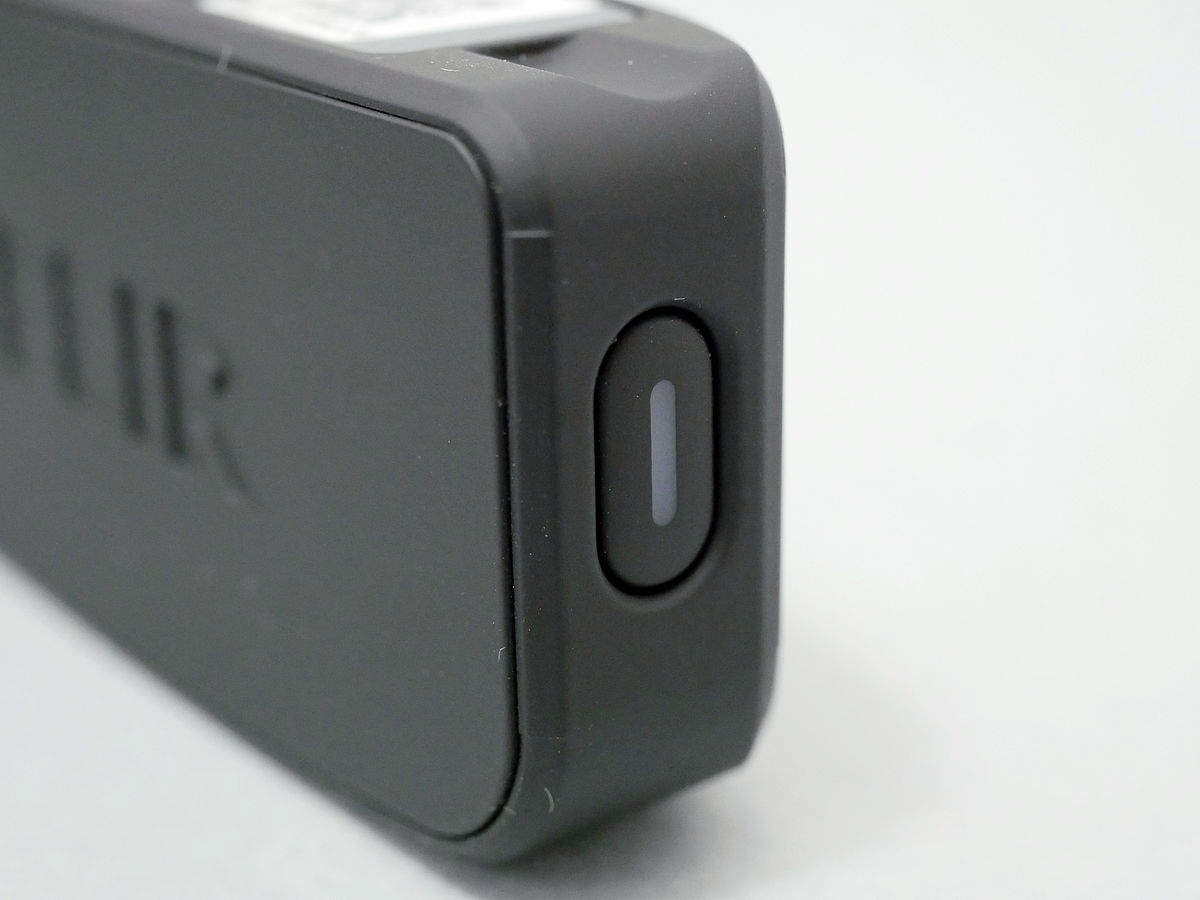
There is a power button on the opposite side
Inside of the attached carrying case, there is a dent so that the Lightning terminal fits ... ...
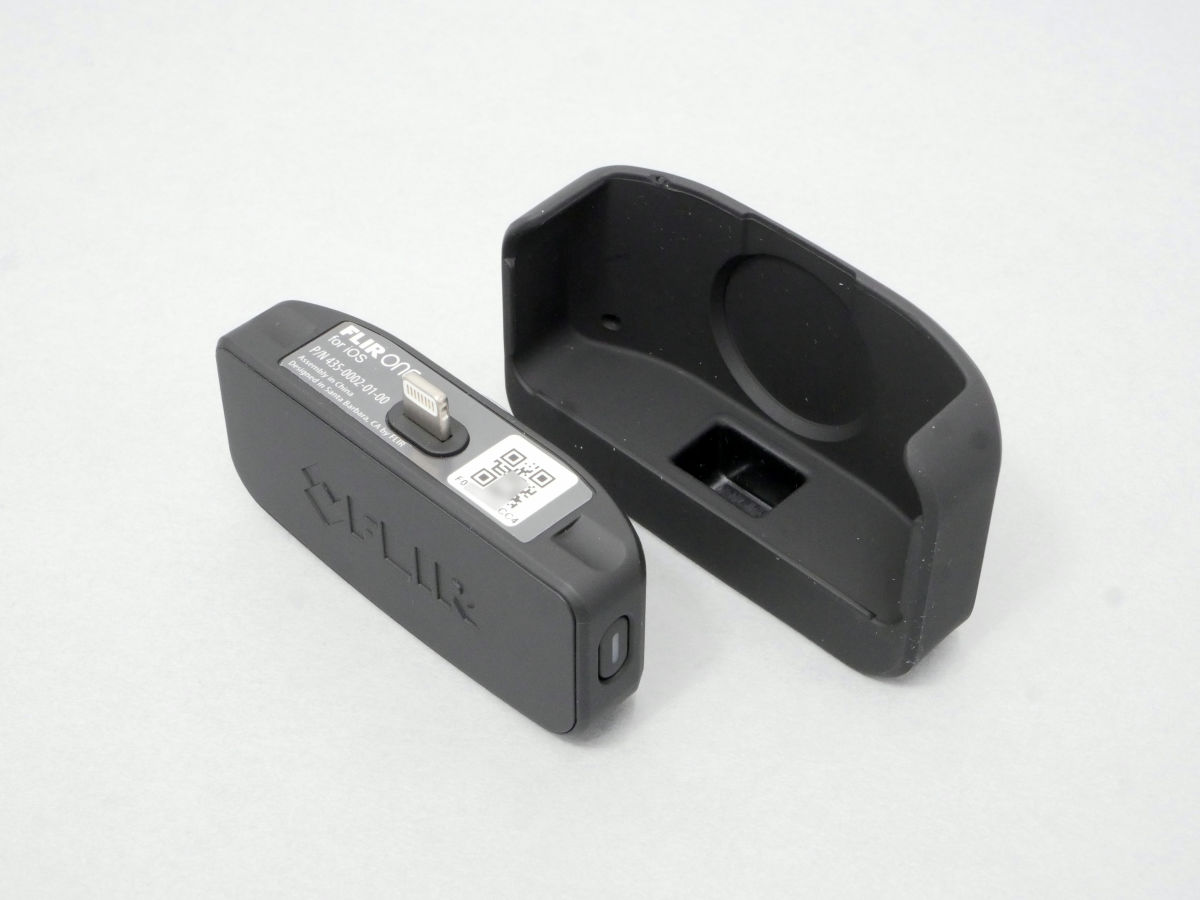
It is possible to store with spot like this.
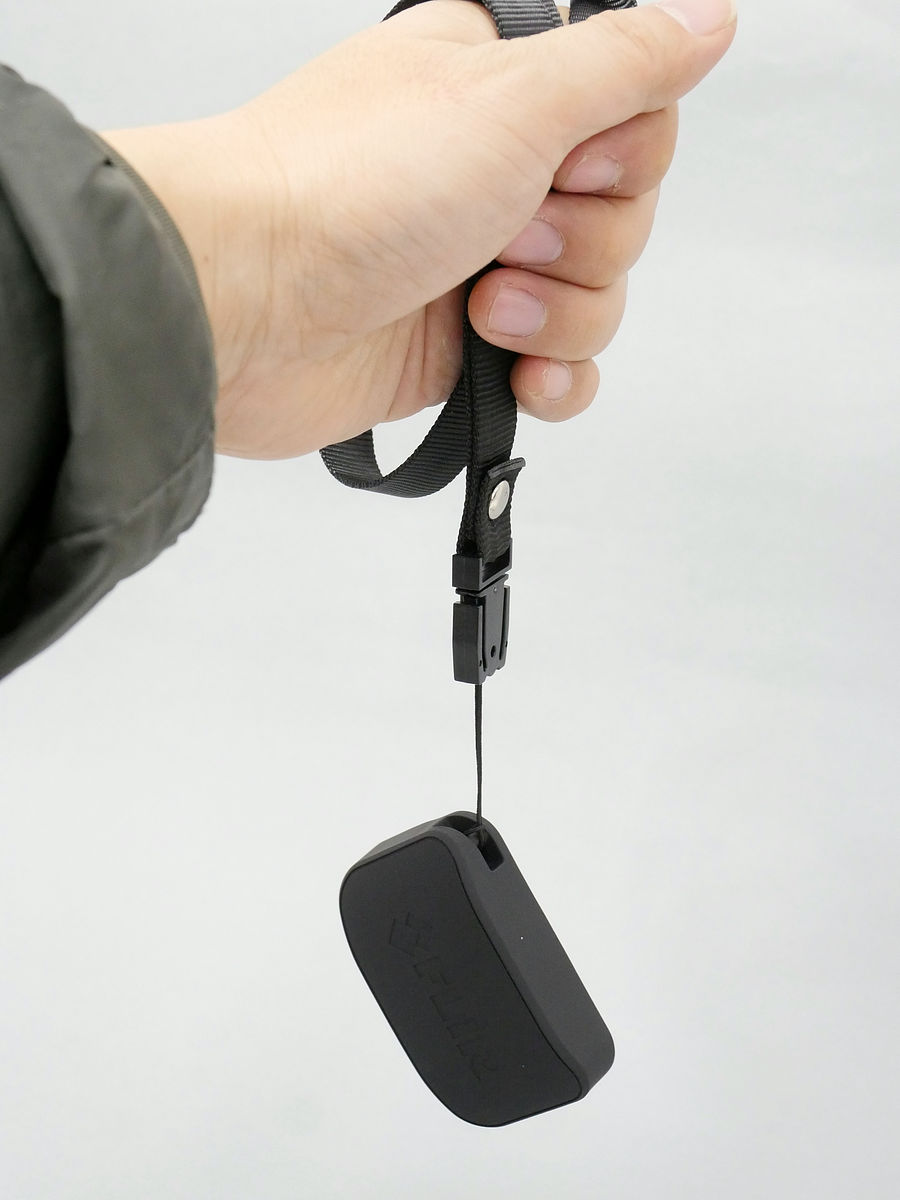
There is a hole for the strap, so you can carry in this way. I was a little worried that FLIR ONE would not fall, but it seems to fit in case and case, so I do not worry about falling unless you receive a proper shock.
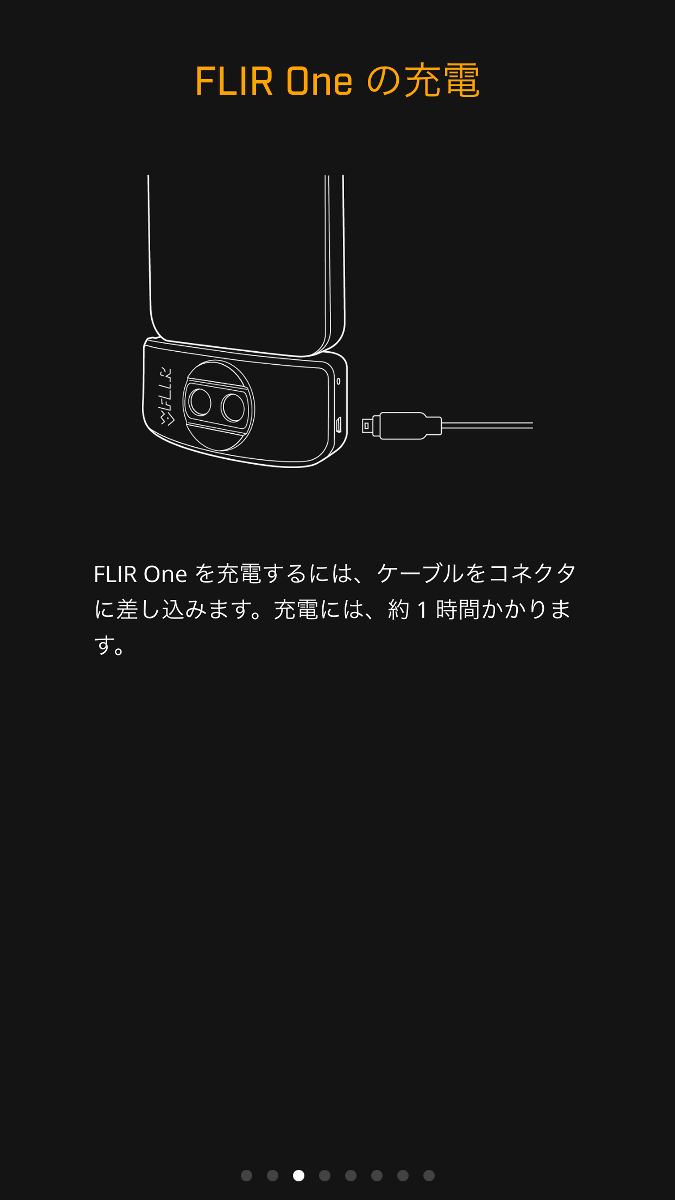
Charge the built-in battery before using it. The charging time depends on the capacity of the power supply side, but if it charges for about 1 hour it will be fully charged. While charging, the green lamp next to the terminal blinks, when it is fully charged it will light up to let you know the completion.

◆ Install application
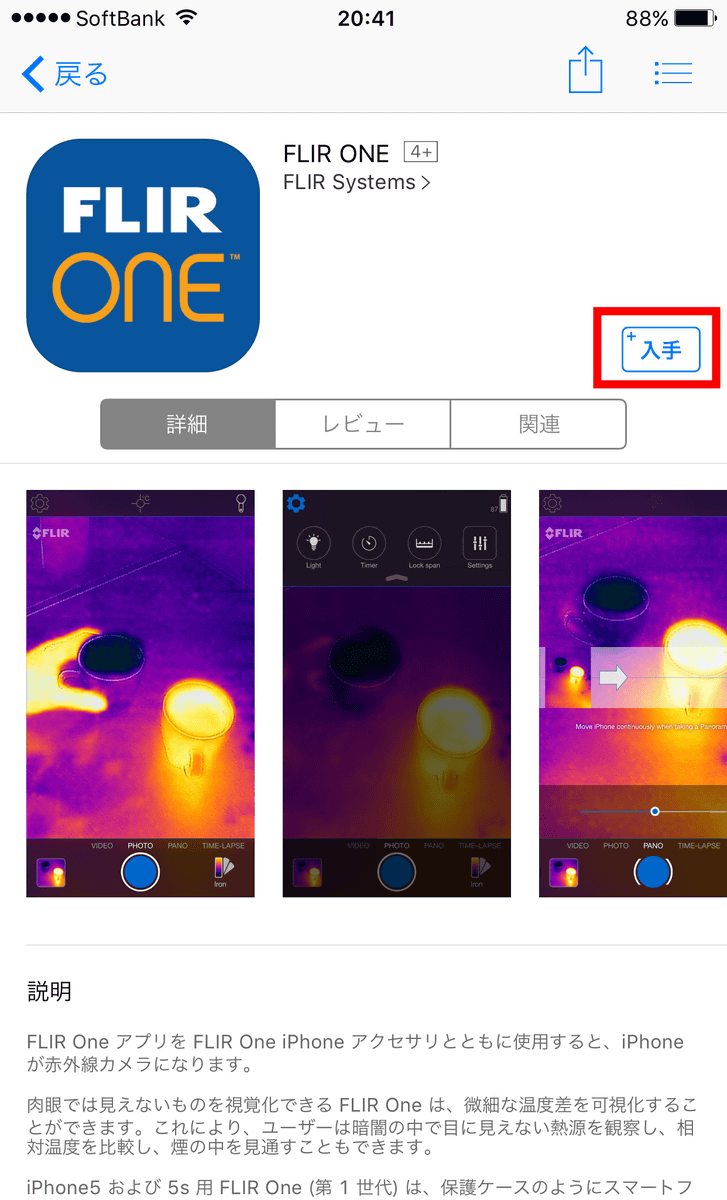
While charging the main unit, you can connect the application "FLIR ONE"Has been installed. The applicationIOS versionWhenAndroidIt is available so you can use it on most smartphones. This time I installed it on iPhone 6 Plus. Access the App Store from the terminal and tap "Get".
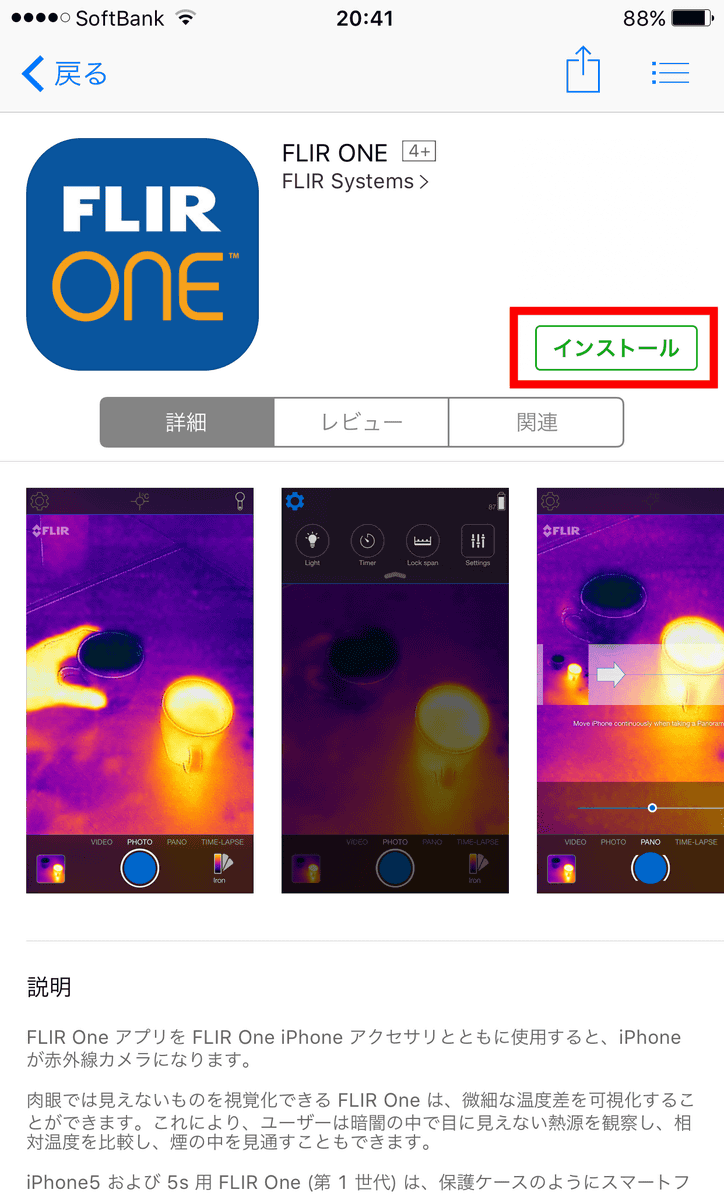
Tap "Install"
When installation is completed, tap "Open" to start the application

On the screen at the time of starting the application, "Please connect the camera and turn it on" is displayed and you are asked to connect FLIR ONE.
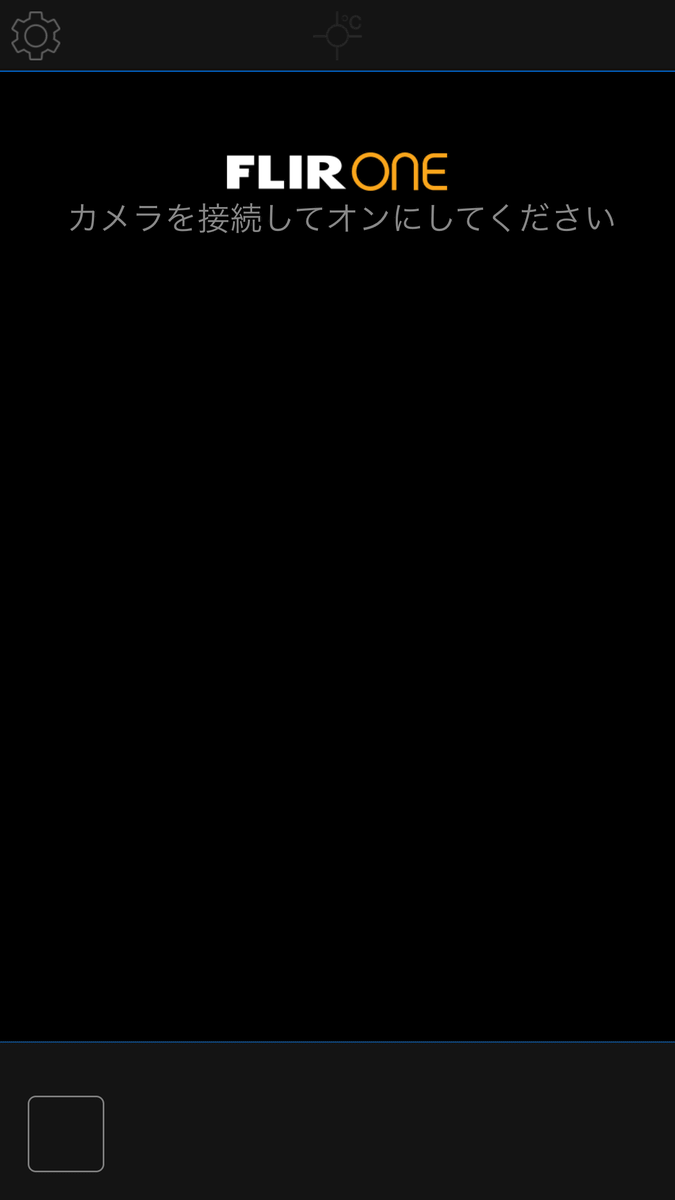
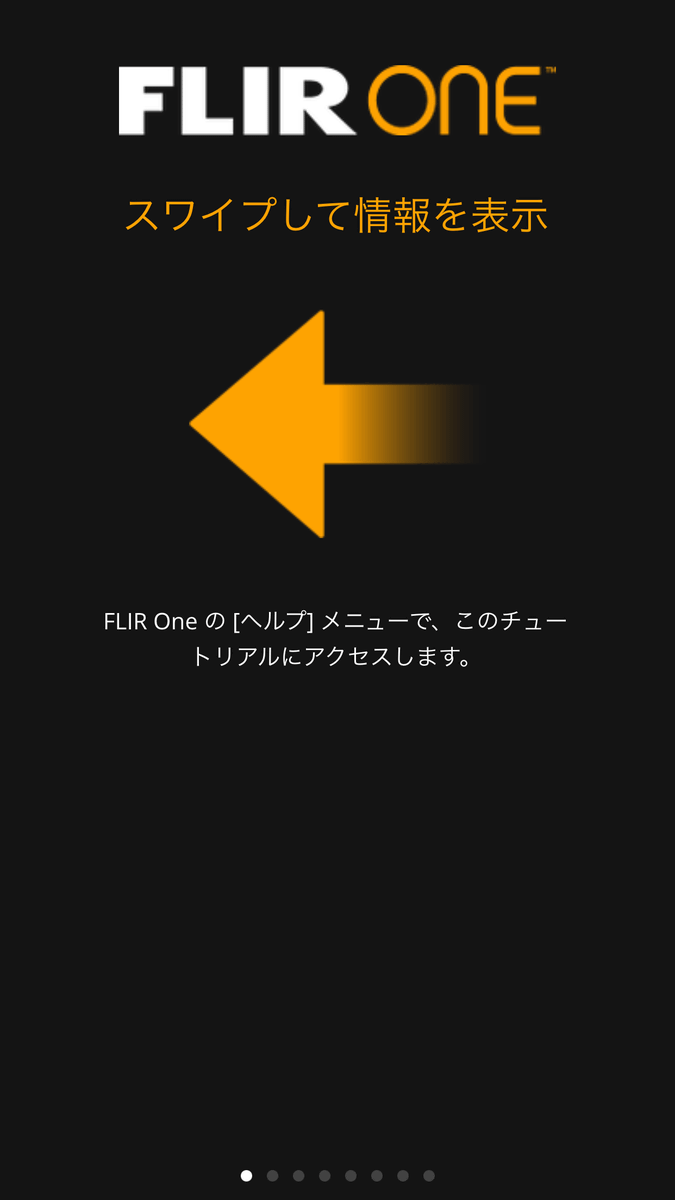
It is okay if you connect FLIR ONE if you have done it, but you can also look at the tutorial so you should look through it.
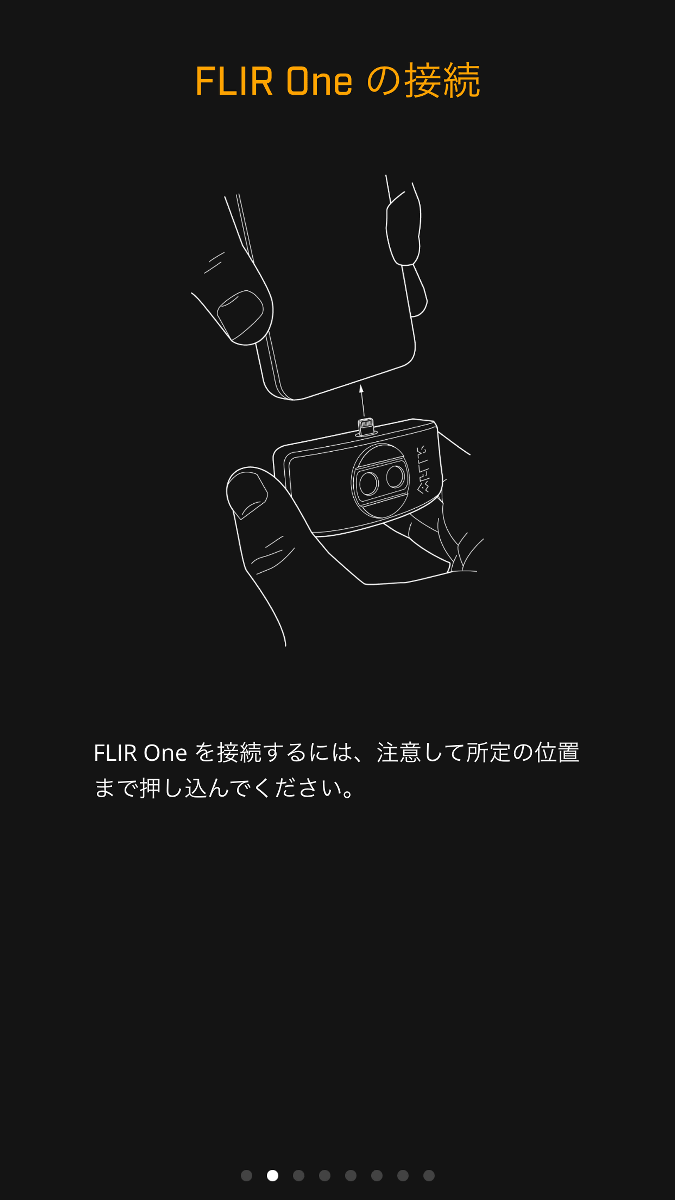
Just connect the lightning terminal to the main unit for connection with iPhone OK
As mentioned earlier, charging is only by inserting the Micro-USB cable, but it looks OK even when it is attached to the iPhone. The operation time with full charge is about 45 minutes, but it is also possible to take a long time because it is also compatible with shooting while charging. However, it is important to note that the iPhone is not powered.
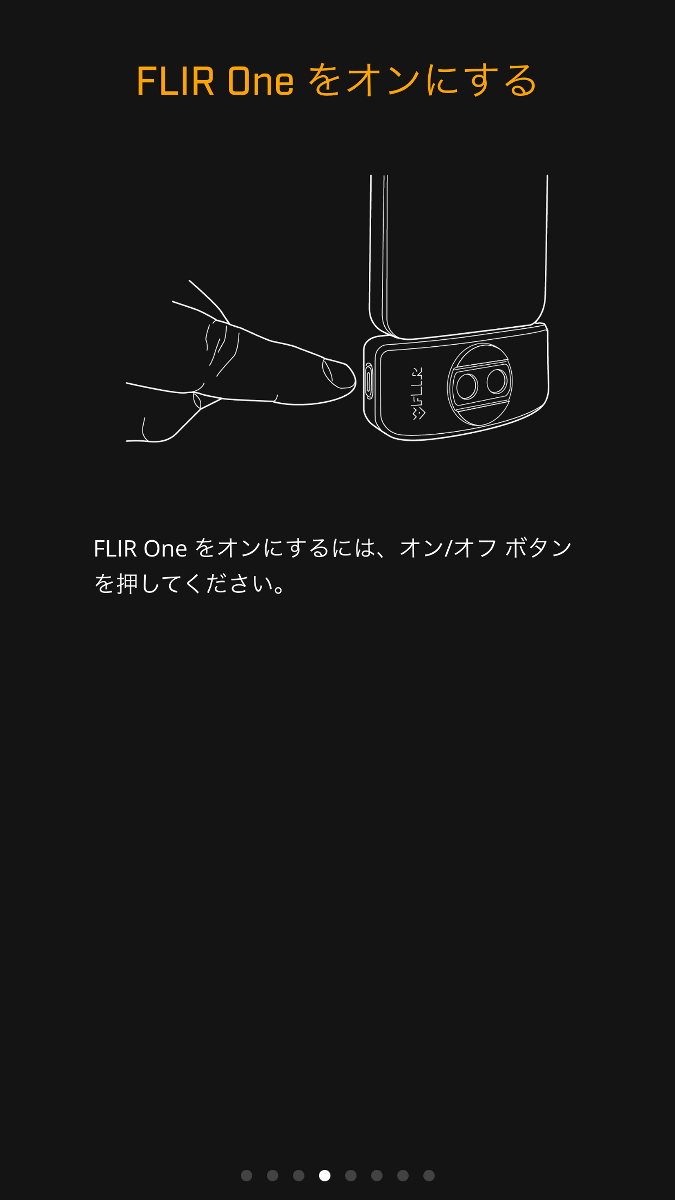
Before starting to use, you need to press the power button to turn on the power supply
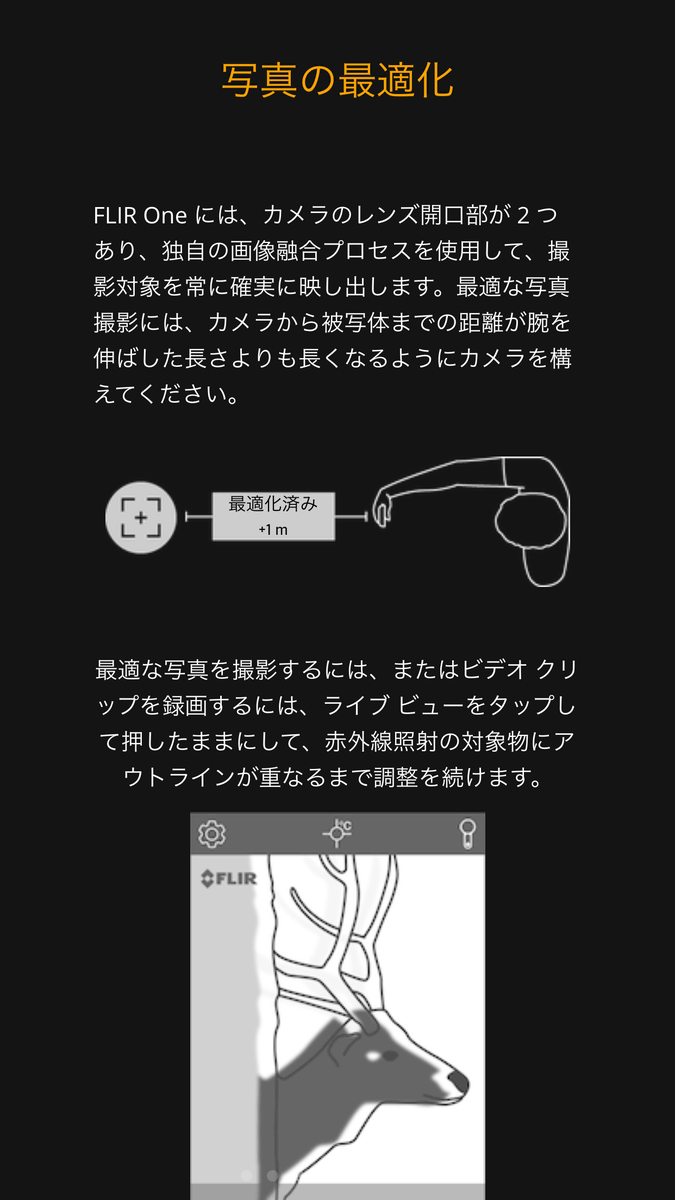
The part of "Optimization of photos" is somewhat important. FLIR ONE has two types of cameras, optimized for the case of shooting from a position more than 1 meter away. However, it is also possible to adjust to a closer distance by using the slider that appears by pressing and holding the screen long.
◆ I installed FLIR ONE on a smartphone and tried using it
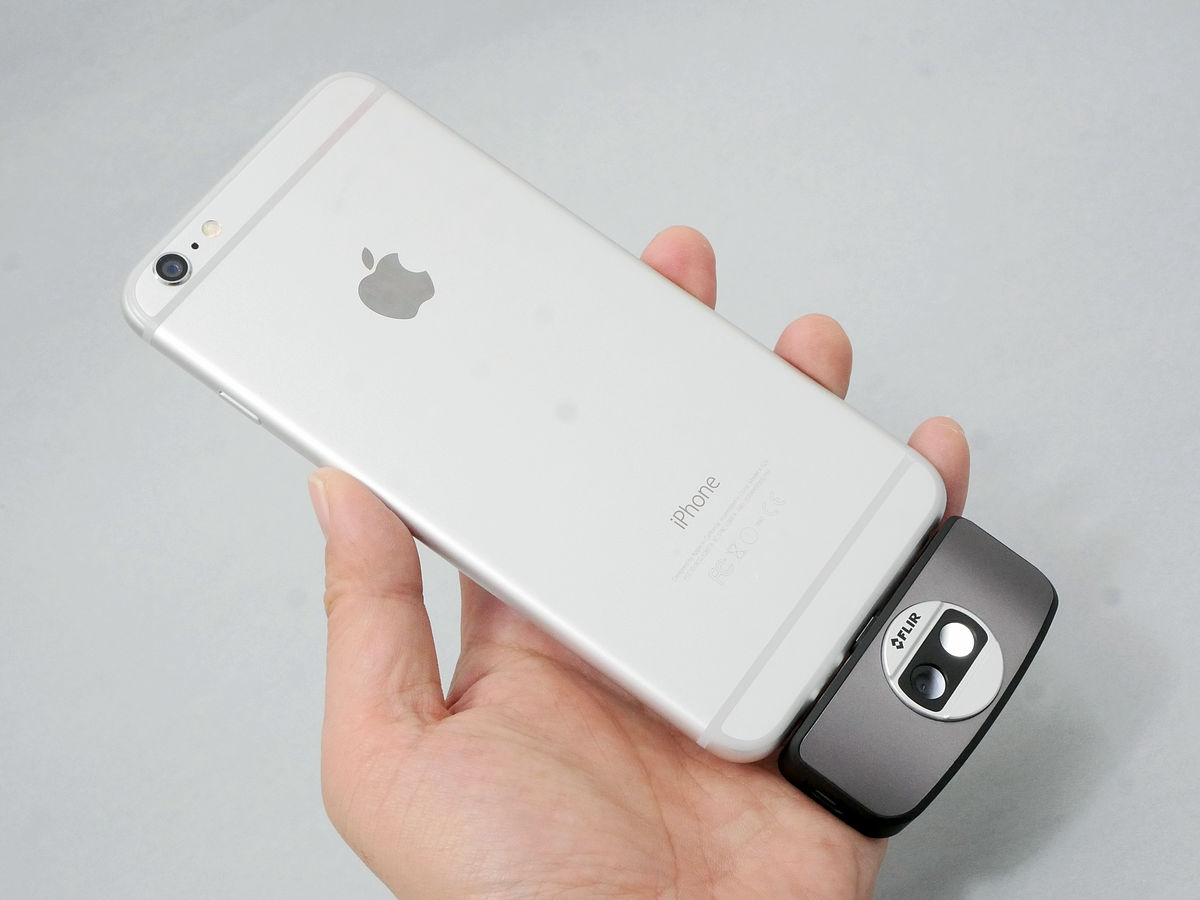
When charging the body of FLIR ONE which is fully charged, it feels like this. IPhone 6 Plus is slightly smaller than the width of the main body,IPhone 6 / 6s without "Plus" has almost the same width size. Also, if it is in a thin iPhone case it can be mounted as it is, depending on the type it seems necessary to remove it from the case and install it.
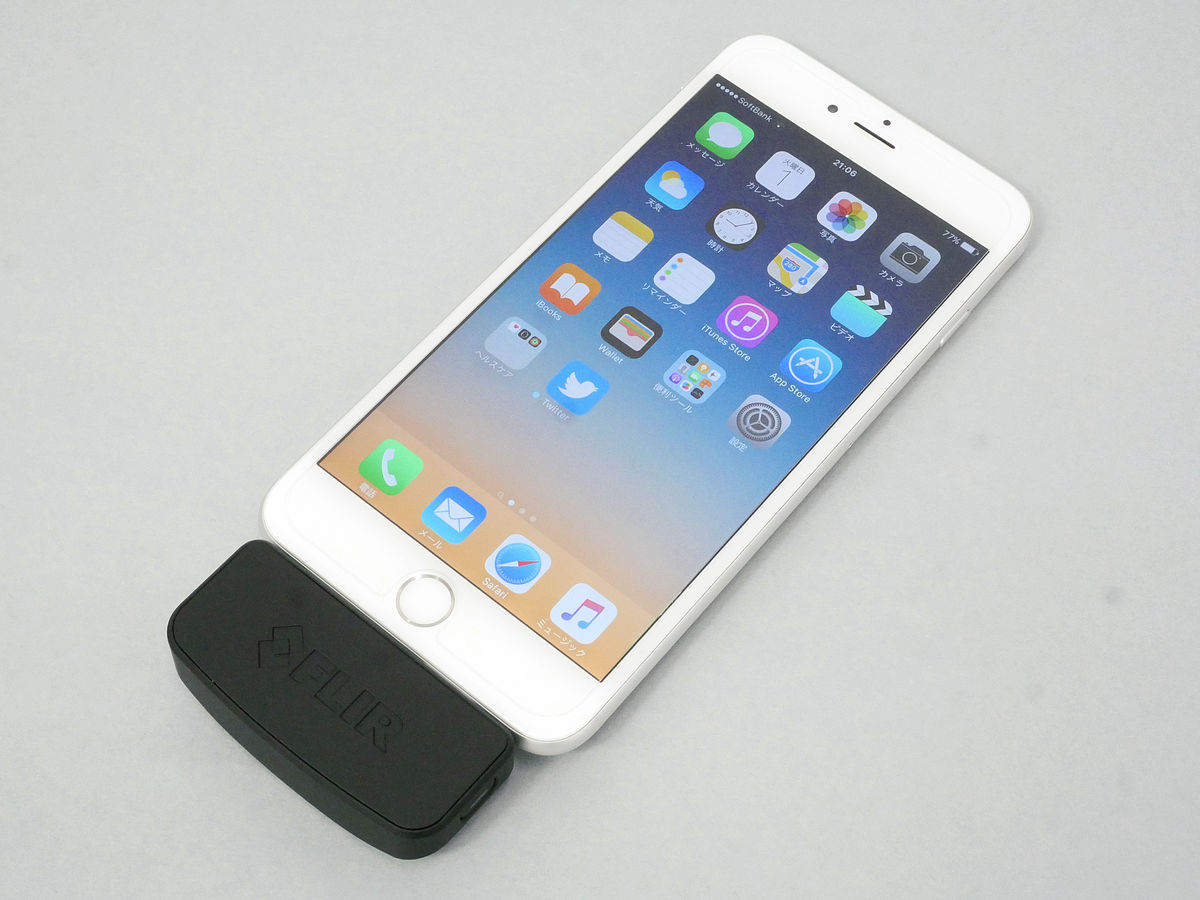
The state from the display side looks like this. In the case of the Lightning terminal for both front and back sides, it works even if the camera sensor is oriented toward you, but it seems that it can not be used except for measuring the temperature of your own face.
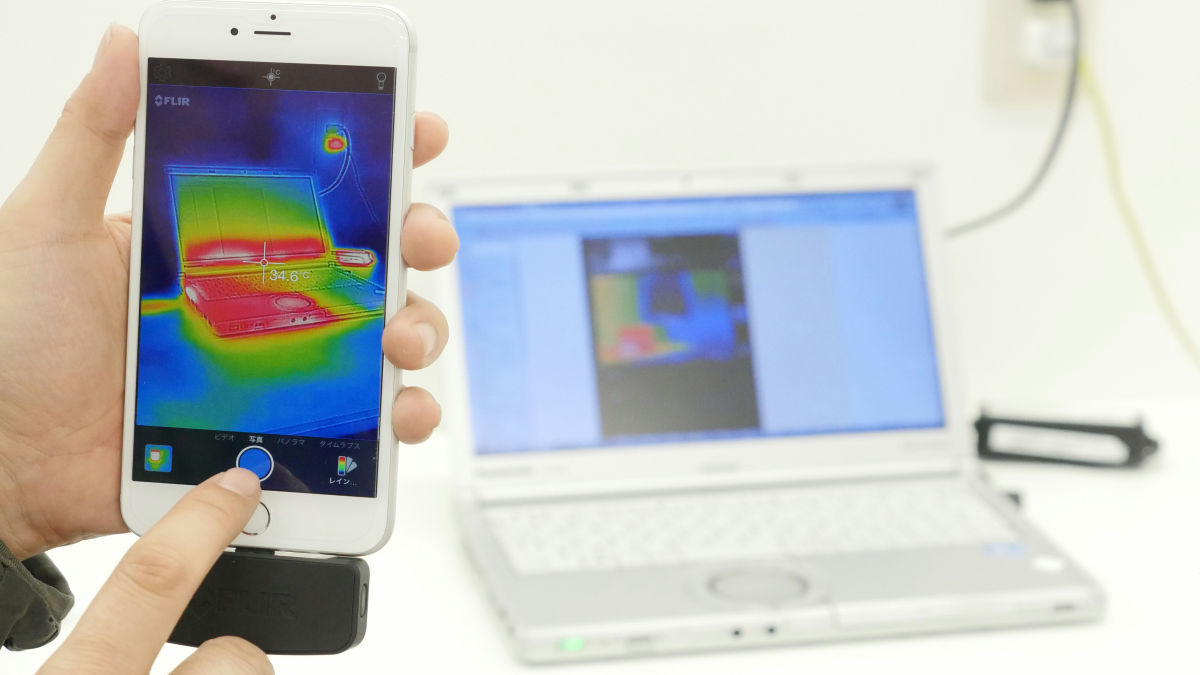
Turn on the power of the FLIR ONE unit, and after a few seconds the thermography screen is displayed on the screen of the smartphone. Looking toward the notebook PC, it looks like this.
By tapping the round shutter icon at the bottom of the screen, it is possible to save the screen being displayed on the terminal as an image.
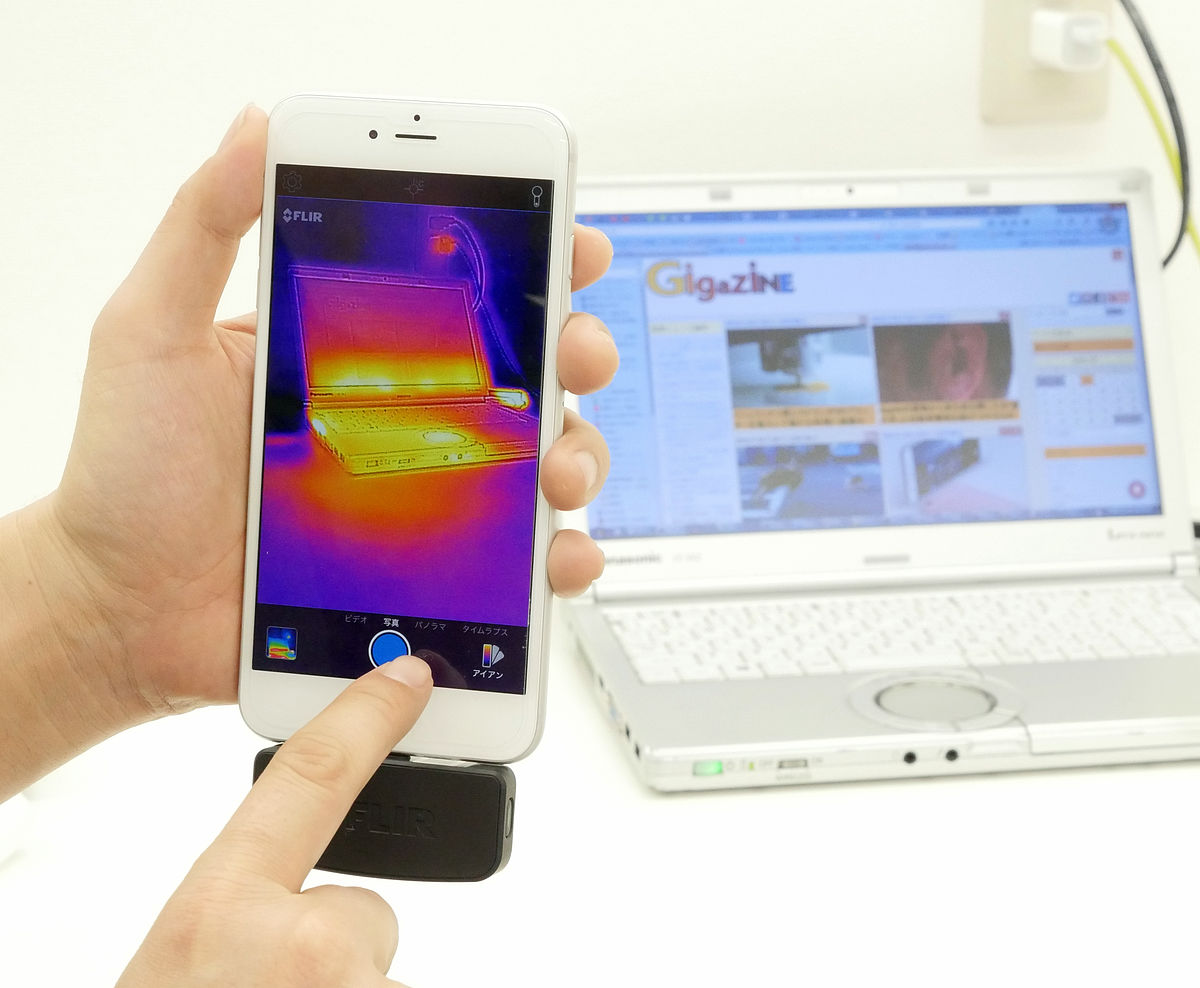
At this time, one point I should be careful. When I have a terminal I take it like the following picture, but in this way I will cover the FLIR ONE camera / sensor with my palm.
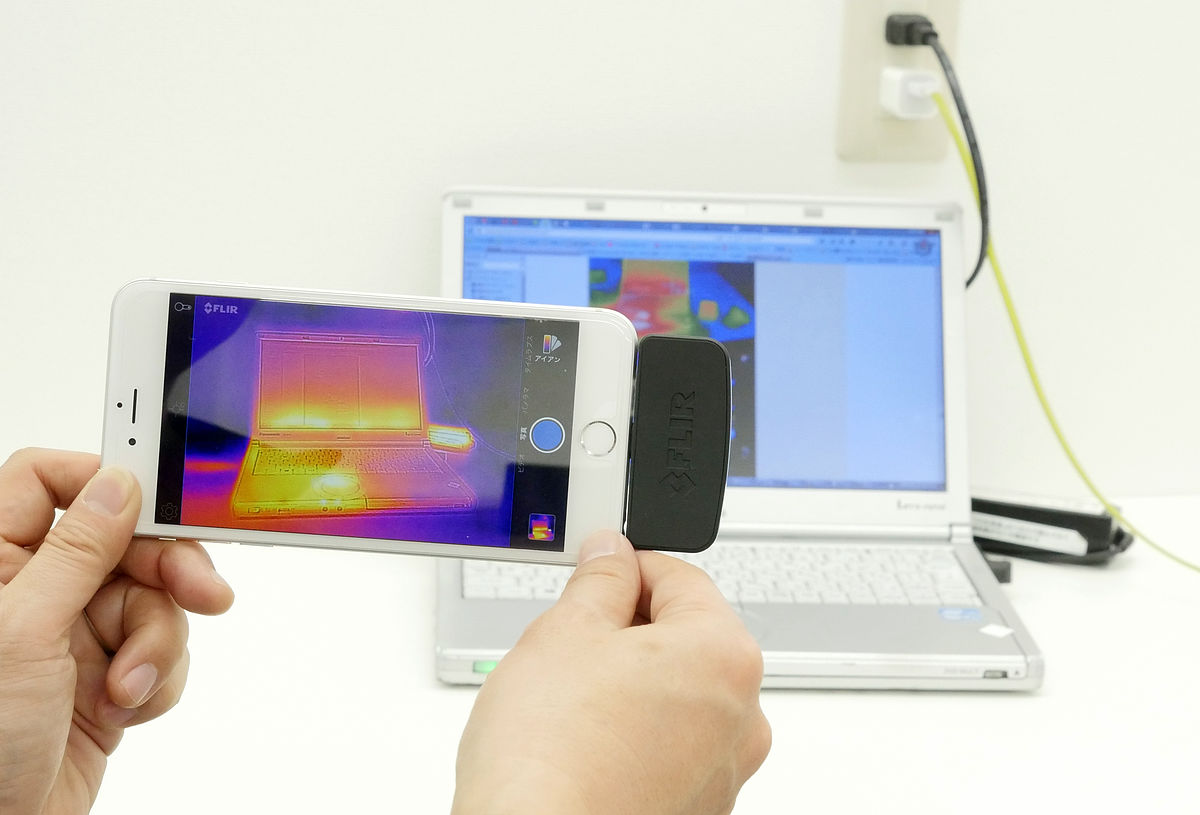
In order to prevent this situation, it is also ant to use in the horizontal screen in this way. Unless you are in very good condition, you should not cover the sensor by hand.
The actual screen display looks something like this. The thermography screen is displayed in the center of the screen, operation icons are displayed on the left side of the screen, and the shooting mode, color palette switching menu, and shutter and image library icons are displayed on the right side.
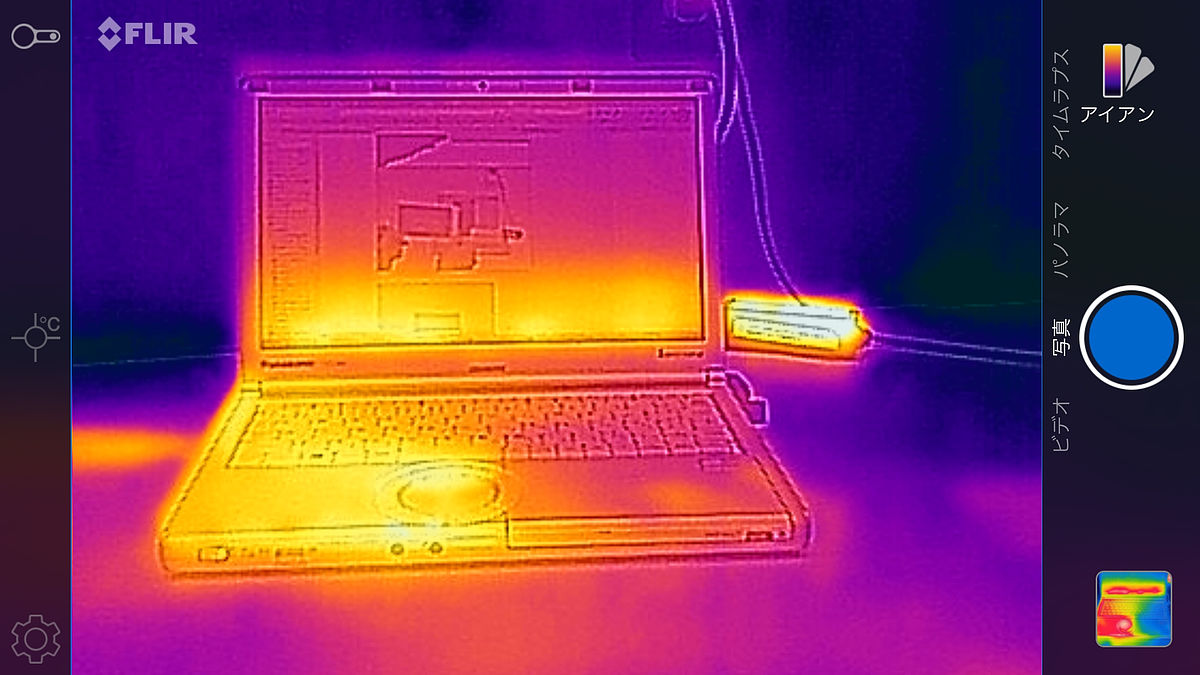
Pressing the shutter saves the following screen on the terminal. Since it is a general jpg image, it can be easily processed and used by sending it by e-mail or transferring it to PC by cable.
Tap the icon in the upper right of the screen to switch the color palette for temperature display.
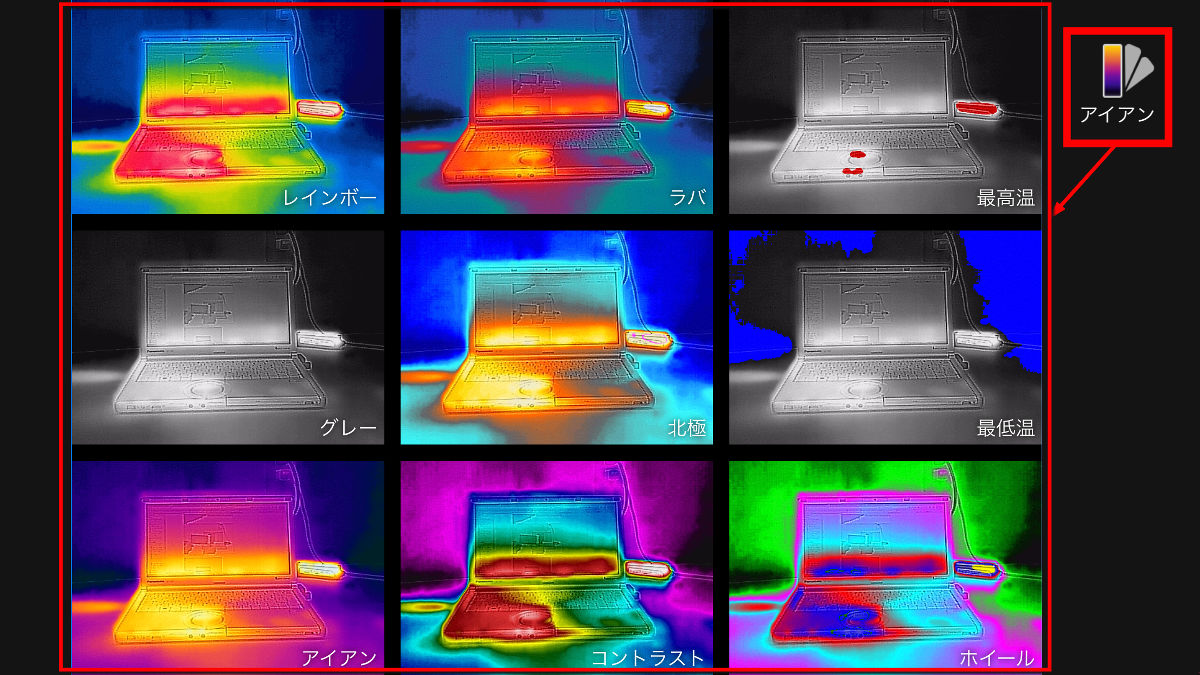
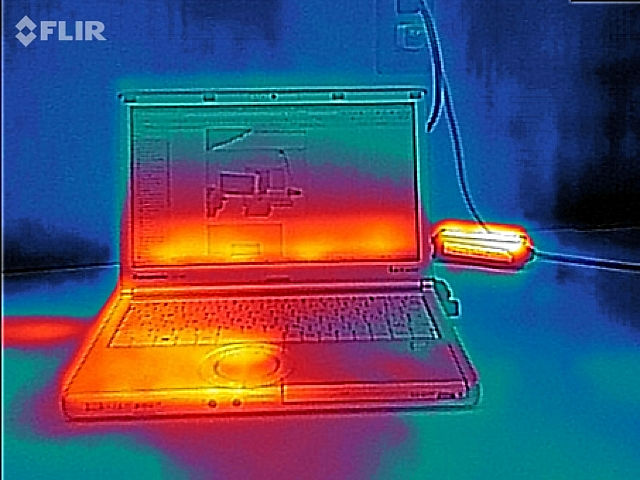
"Rainbow" is a mode in which the cold part is displayed in black to blue, the hot part is displayed in red to white, and the middle part is displayed in yellow to green. The relationship between appearance impression and temperature seems to be most clear.
"Mule" is a pattern that displays with only the blue series and the red series without the intermediate color green. It may be an image like red lava (lava).
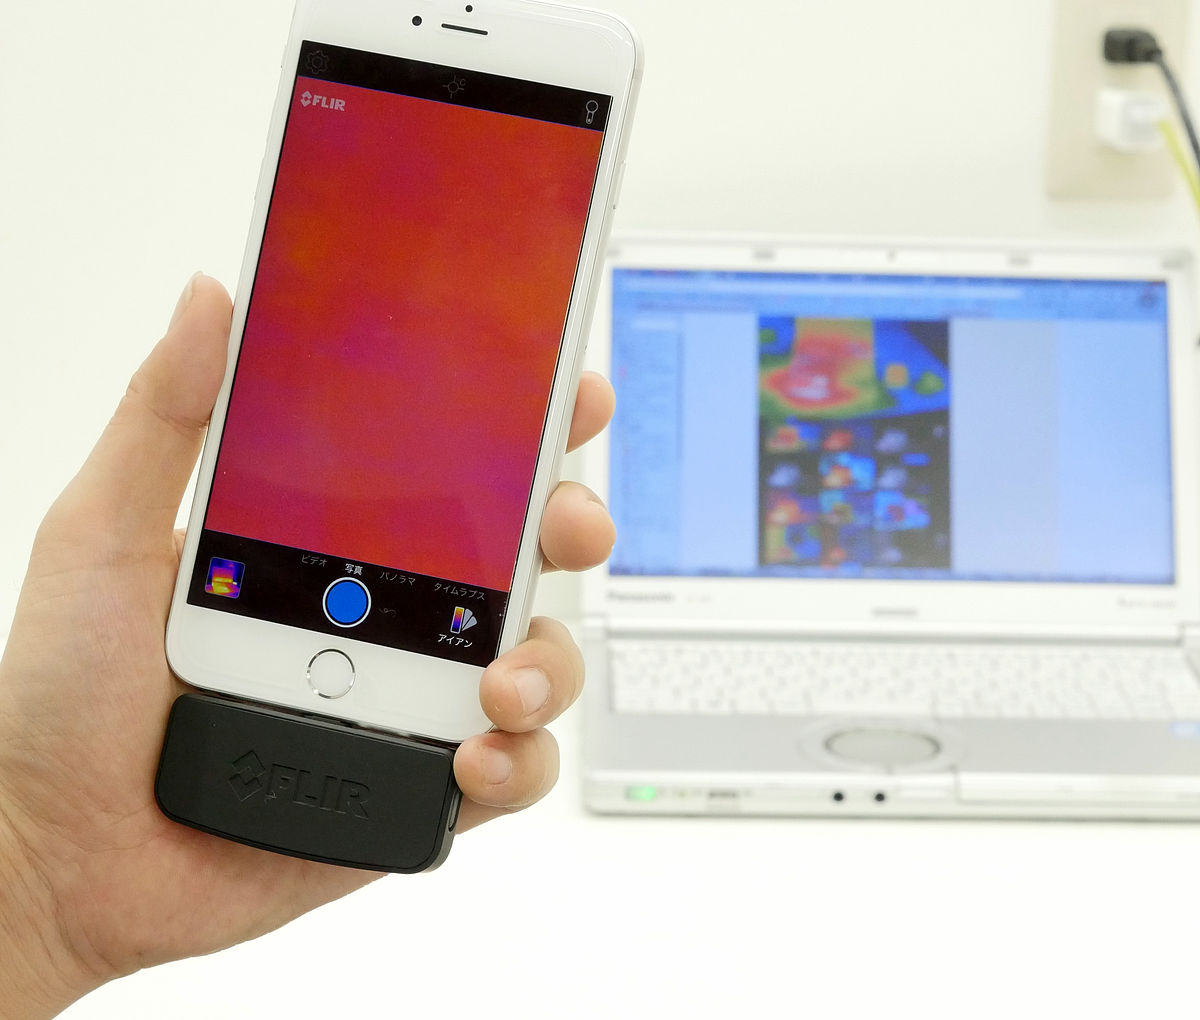
"Highest temperature" is a mode in which only the area with the highest temperature is displayed in red.
The "lowest temperature" is the opposite, and it is the mode which displays only the lowest temperature area in blue.

The icon on the upper left of the screen is a "tuning" icon for calibrating by operating the mechanical shutter built into the FLIR ONE's main body. Especially when you want to measure neat temperature, it is better to tap it once.
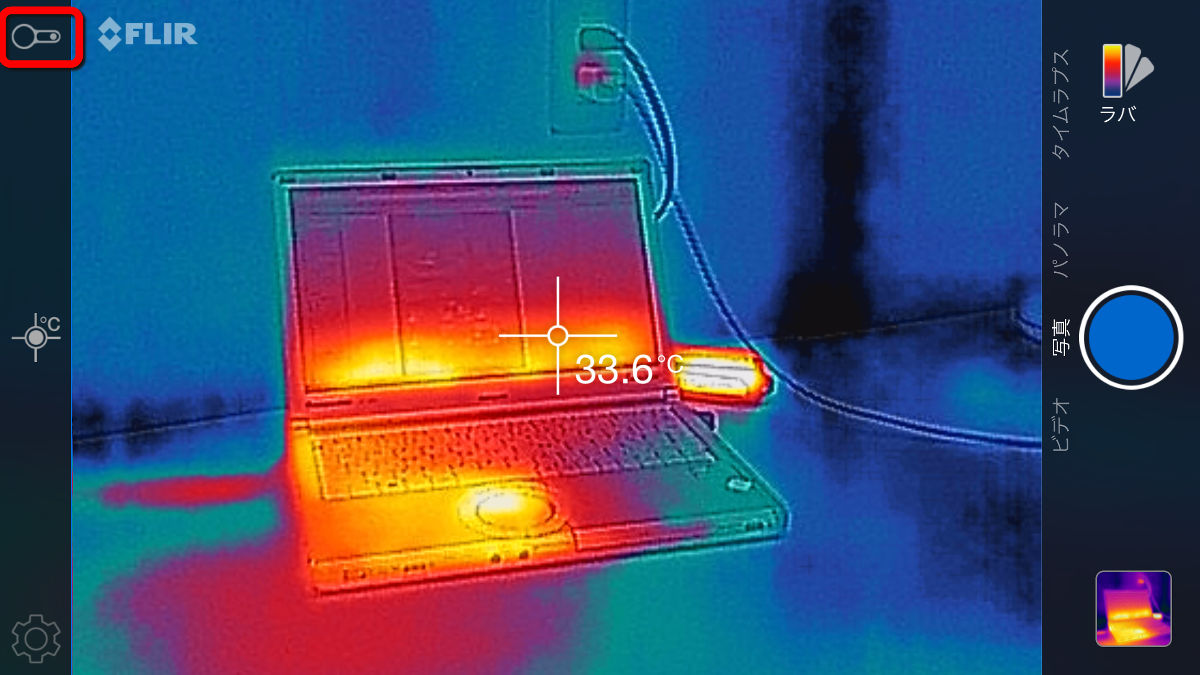
The cross icon is the "spot meter" icon. When you tap, the temperature of the center part of the cross displayed in the center of the screen will be displayed as a number. The temperature indication corresponds to both Mr. Se and Mr. Ka.

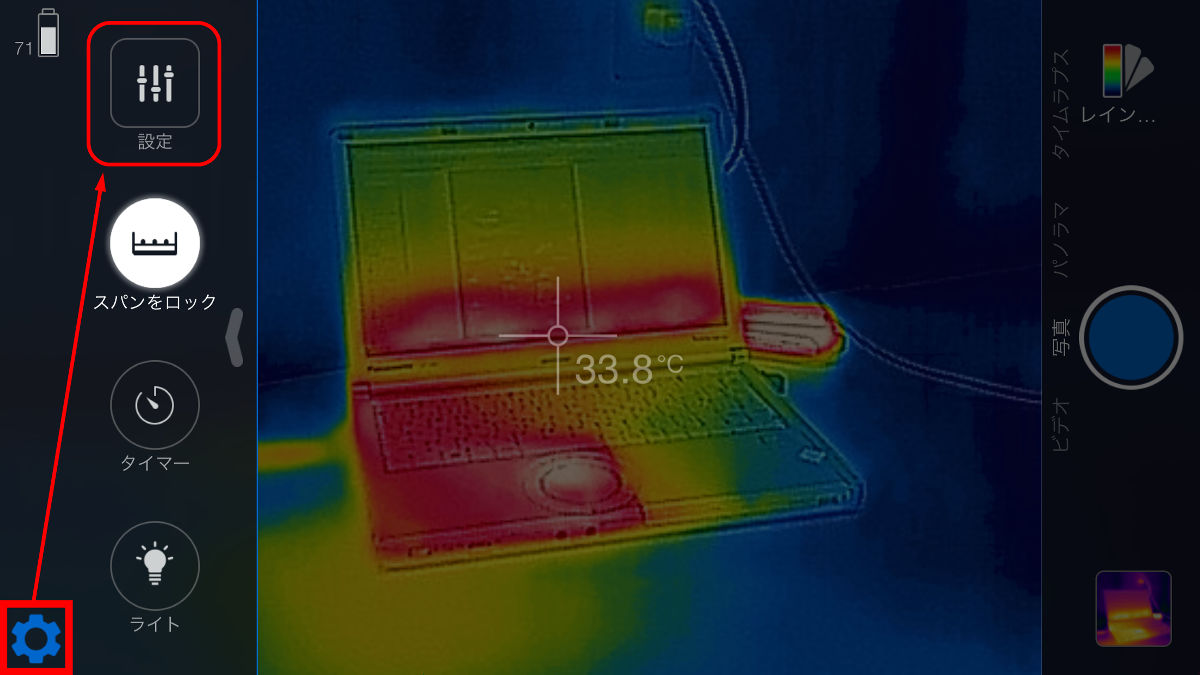
Tap the gear icon to display the setting menu. At the top "setting", it is possible to set up the FLIR ONE application.
Perform "tuning" automatically, "emissivity" (described later) to switch according to the surface condition of the object, "save position" to attach GPS data to the image, "draw the image to the library of the terminal" "save to the photo" It is possible to set "Automatic Calibration (Automatic Calibration)", "Temperature Unit" to switch between Mr. Se and Mr. Ka.
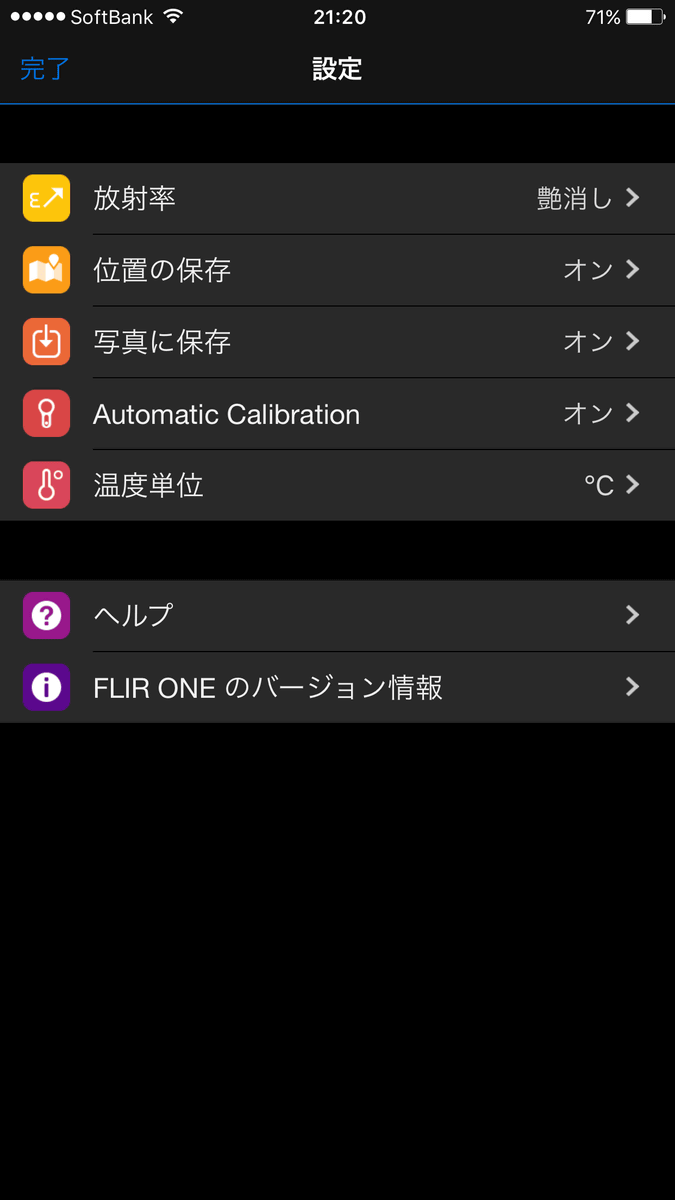
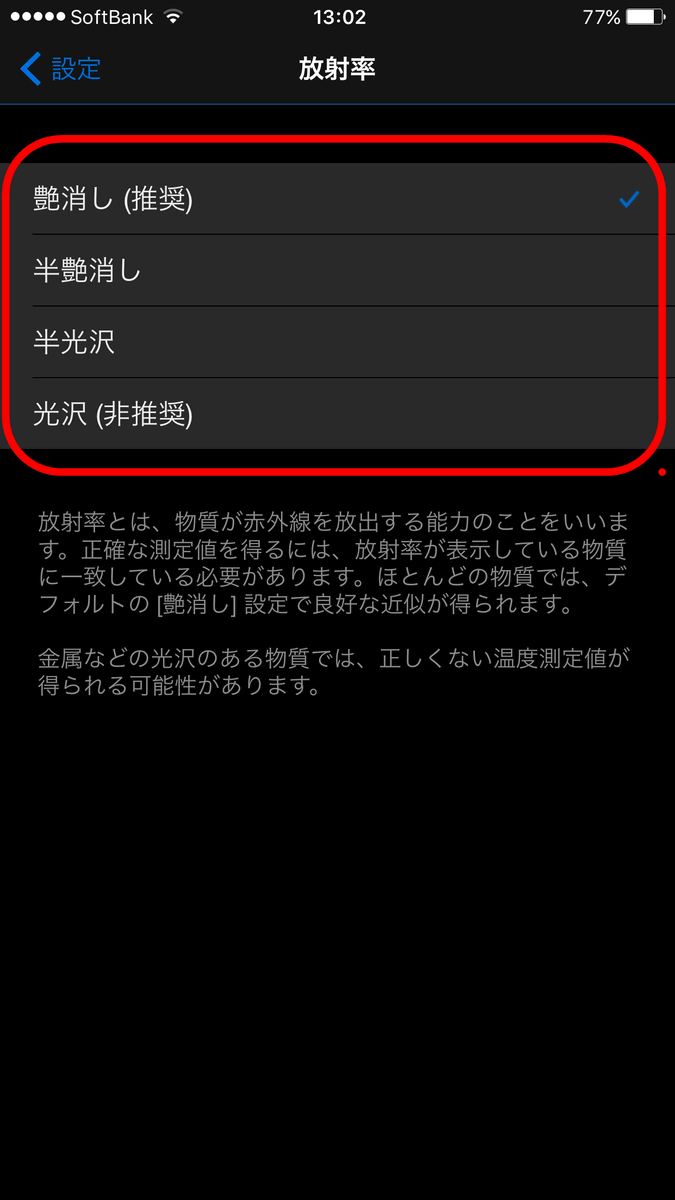
"Emissivity" is a function to decide what kind of objects are being measured. This is a function to correct the state change of the infrared ray by the degree of light reflection on the surface. "Matte" is recommended, but it is possible to choose from four types of "half-matte", "semi-gloss", "gloss". It seems to be good if you turn on the mode such as metal such as "glossy" on the surface shiny.
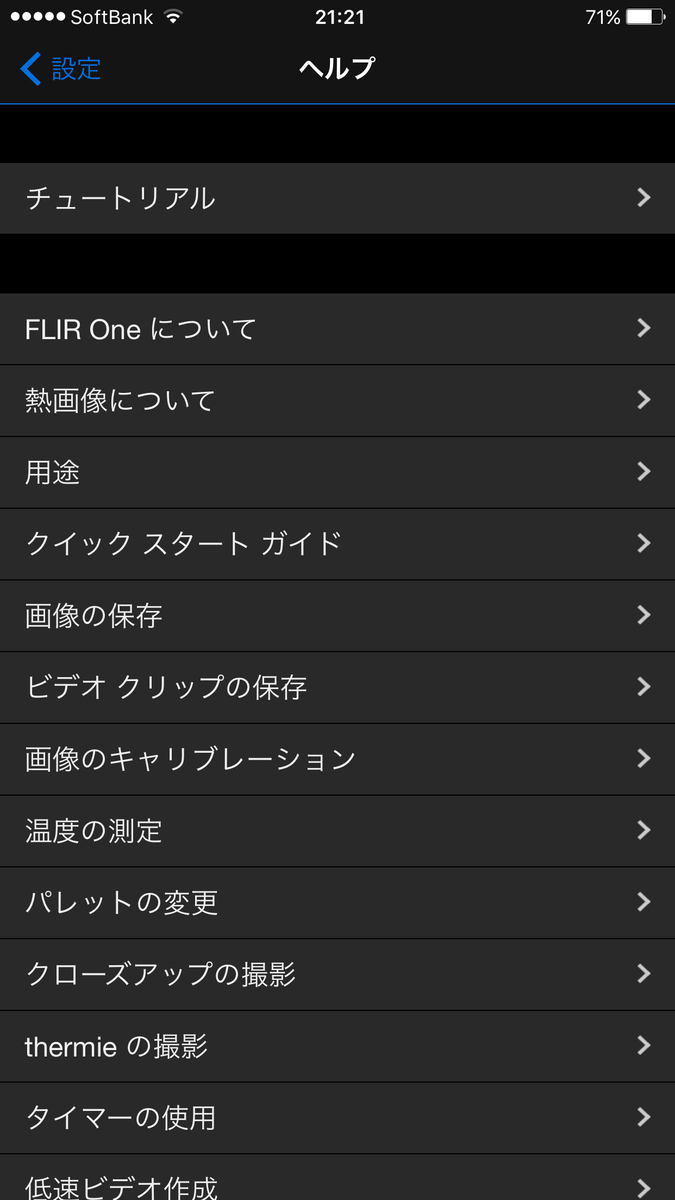
"Help" contains the usage and usage of FLIR ONE, so if you do not know how to use FLIR ONE for now, you can check it here.
You will return to the setting menu. "Lock span" is for fixing the color of the color palette with temperature. It is useful if you want to determine the reference point and want to check the temperature difference with that in color.

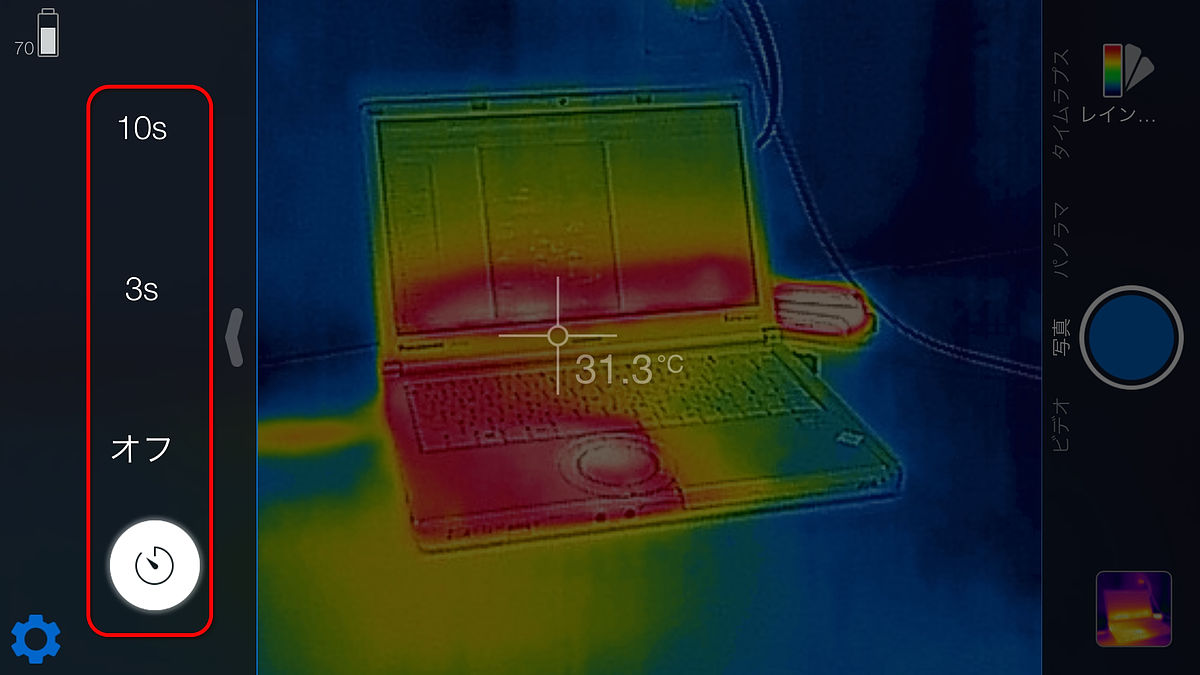
"Timer" is a mode in which literally timer shooting is possible. You can choose between 10 seconds and 3 seconds, then off.
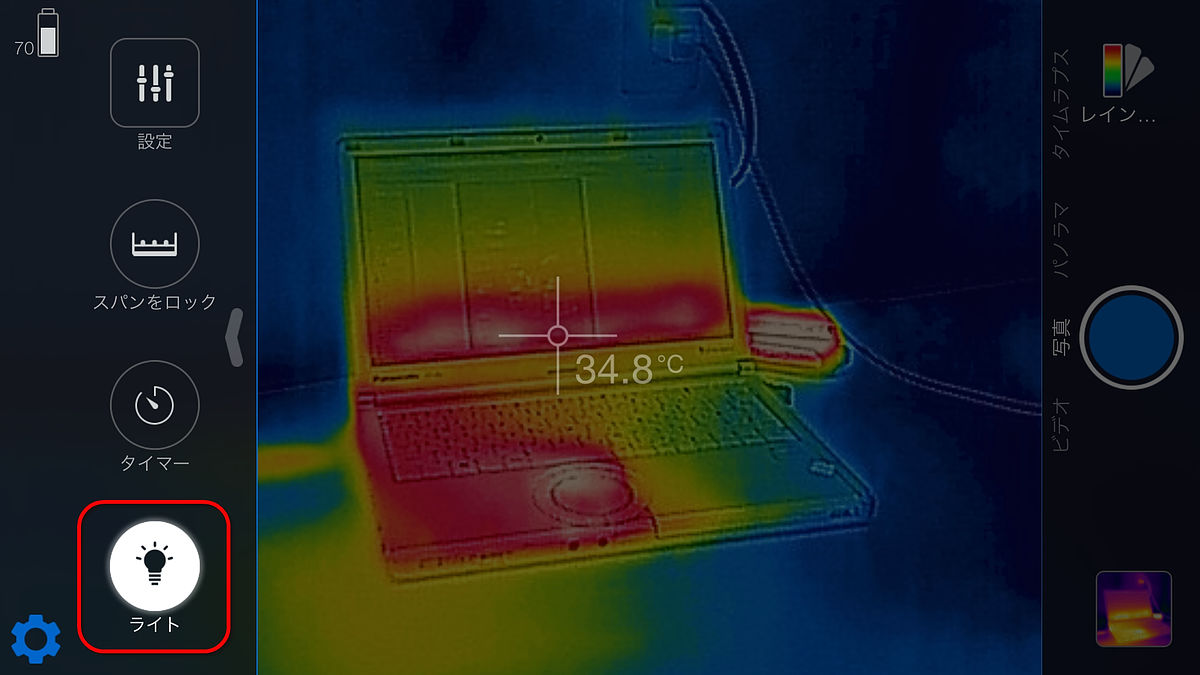
"Light" is an icon that lights the LED light of the iPhone. By lighting in a dark place etc., the contrast of the image rises and it is easy to confirm.
◆ Shooting mode Various photographs
Swipe up and down on the right side of the screen to switch the shooting mode. "Photo" set by default is a mode to save the screen literally as a picture. For example, the temperature of vending machines installed outdoors ... ...
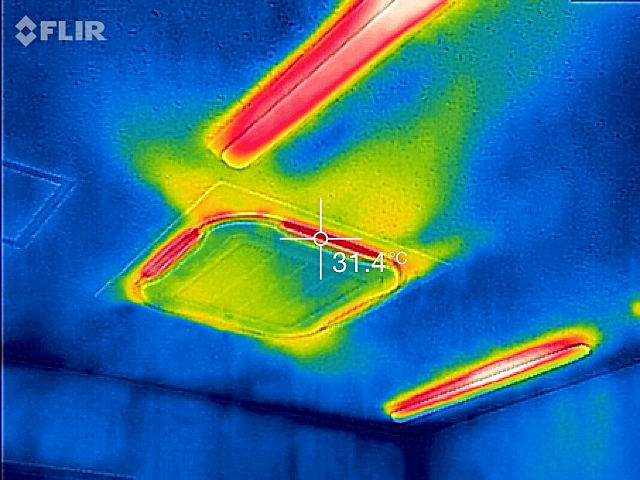
Temperature of outlet of air conditioner
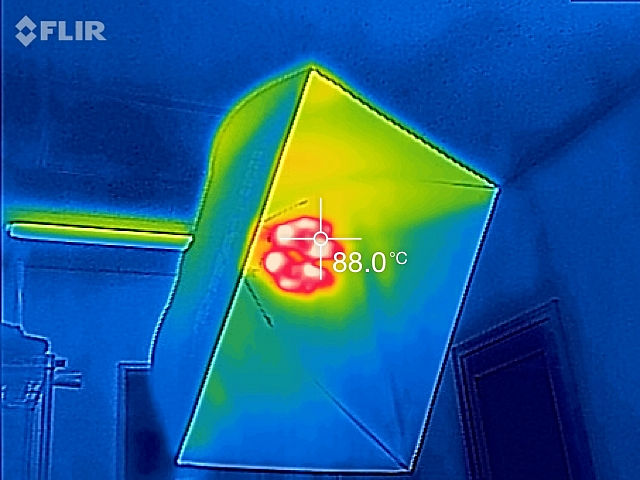
I measured the lighting for shooting, it is 88 degrees how much. I thought that it was embarrassing and it was really hot, so I understood well that FLIR ONE is correct.
It seems that it is possible to measure the temperature up to 120 degrees. When the camera is turned to the fire of the gas stove, "> 120 ° C (120 ° C or more)" is displayed.

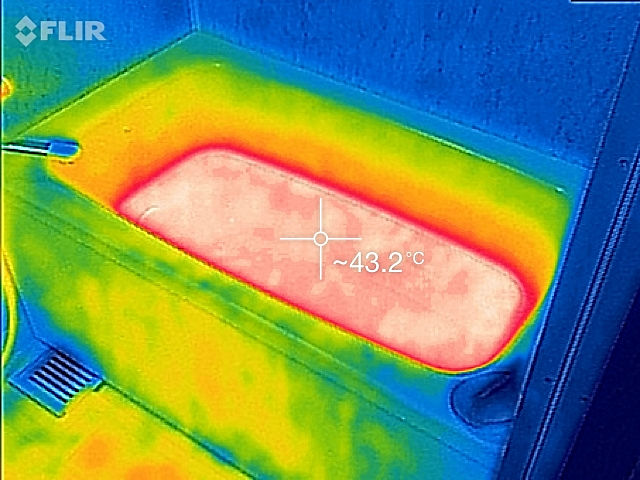
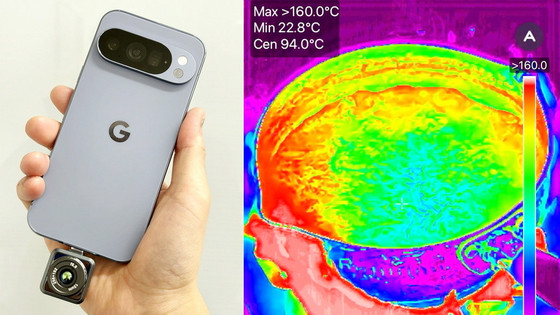
FLIR ONE can also measure the temperature of hot water. It seems like it can be used to find the bath around.
A function that can be confirmed using an actual image is fun in images. Swipe the screen from the bottom like this with the image being displayed ......
The actual image appeared from the bottom of the thermography screen. When saving data, it seems that two images are saved, so you can check the part you care about with the actual image.
◆ Shooting mode Various · Video
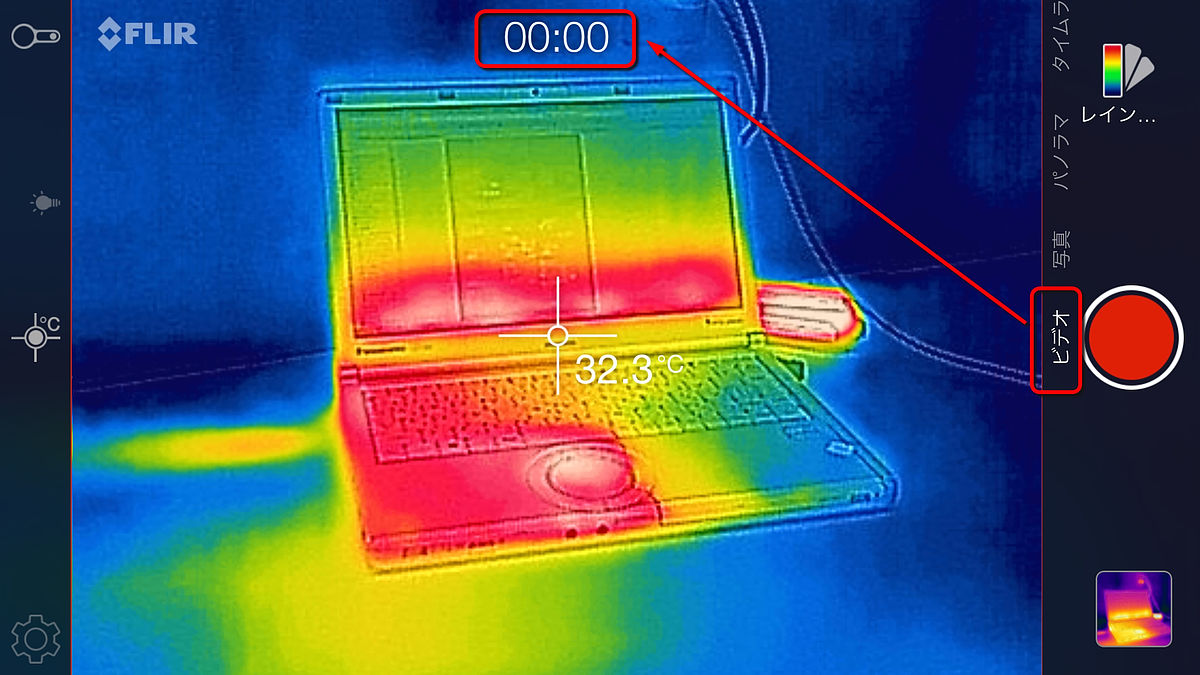
"Video" can capture images on the thermography screen. A time counter will be displayed at the top of the screen.
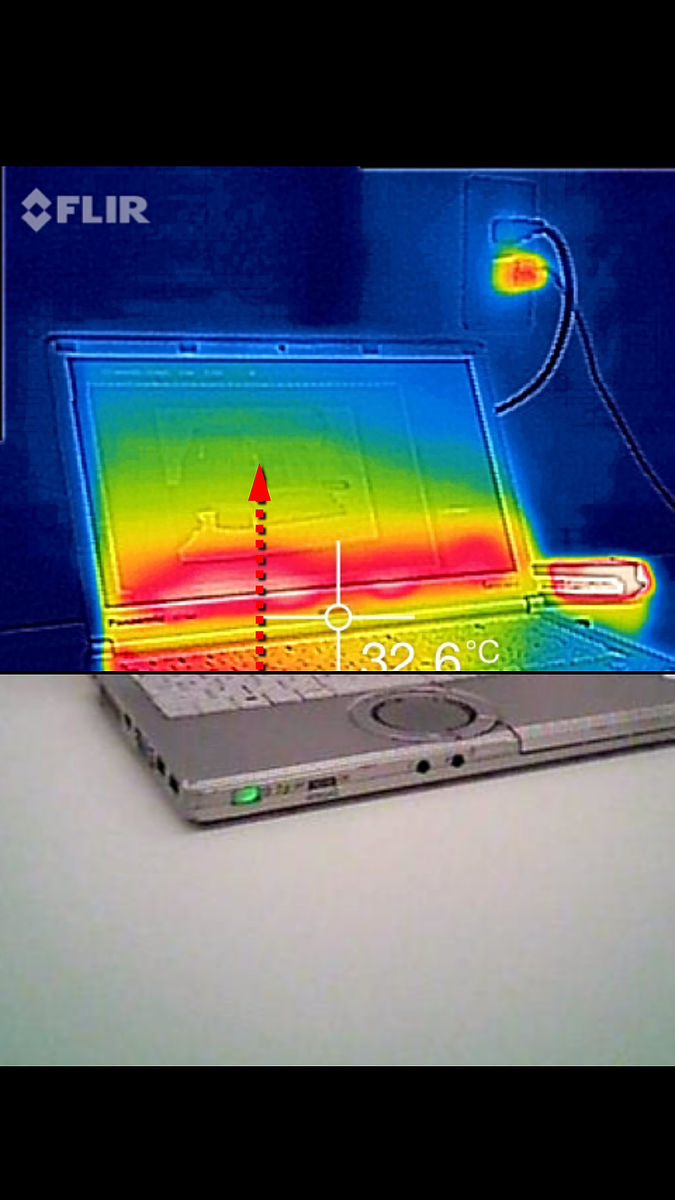
The picture which I actually shot is kore. You can see that the image of the infrared camera is synthesized with the camera image of the visible light.
I took a picture of the station terminal in the thermography screen with "FLIR ONE" - YouTube
When I shoot a car running on the road, it became like this. The day of shooting was a very cold day, so the temperature of the road surface is very low.
I took a thermography for a car running on a road with "FLIR ONE" - YouTube
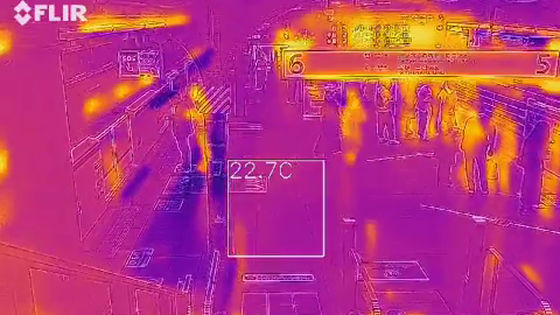
It is like this when taking a picture of people traveling around the station. You can see the second half of the movie, but you can not measure the temperature across the part shielded by the glass. This is because infrared rays are obstructed by the glass, the infrared sensor recognizes it as "low temperature", because it synthesizes and displays the wrong temperature only for the visible light camera.
I took a thermography of the state of the city with "FLIR ONE" - YouTube
◆ Shooting mode Various · Panorama
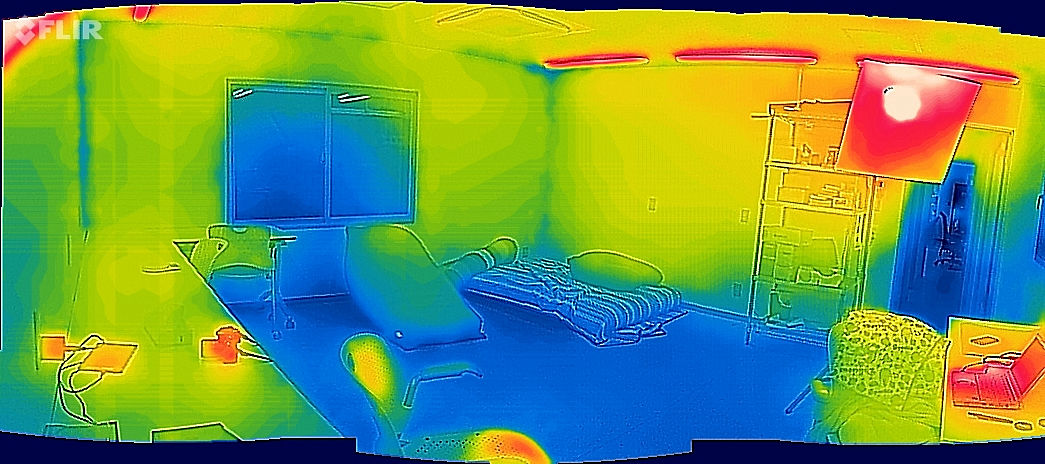
"Panorama" mode is a mode in which wide panoramic images can be taken by swinging the terminal to the right or left. Hold the terminal vertically and shoot while aligning the arrows on the center line with the same way as regular iPhone.

The captured image looks something like this. By shooting the whole room, it seems to be able to visualize where the heat is gathered, especially where it is getting cold.
◆ Shooting mode Various · Time lapse
"Time lapse" can also take time lapse movies on the same thermography screen. It is also possible to freely set the shooting interval and the number of frames per second to some extent.
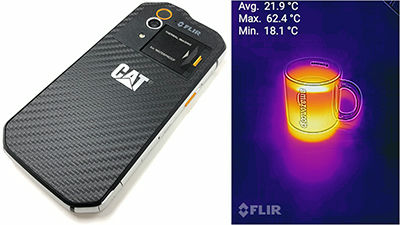
The time lapse image which I actually made is a kore. It is a movie that shortened the mug cup containing hot water slowly to cool down over an hour to 30 seconds. Sometimes it looks like the screen flickers, but this is because the above calibration is included. Since "span" is locked during shooting, you can see pure color change (= temperature change).
I made a time lapse image of the thermography screen using "FLIR ONE" - YouTube
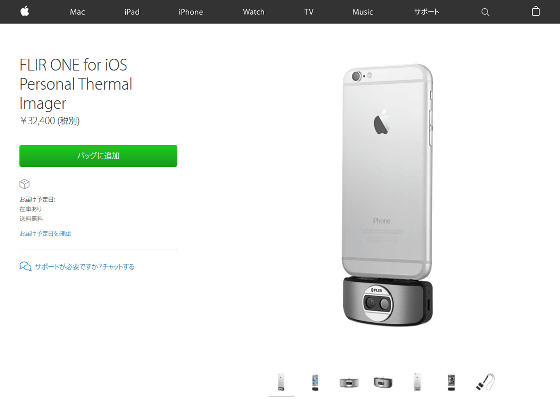
In this way, FLIR ONE was a device that turns into a thermograph that smartphones can easily use. FLIR ONEOfficial online shopAlthough it is possible to purchase it, it may be slightly higher than the price is $ 249.99 (about 28,600 yen). Instead, there is a way to purchase at Apple 's online store in Japan, and here it is sold for 32,200 yen.
FLIR ONE for iOS Personal Thermal Imager - Apple (Japan)
In addition, it is also possible to purchase at Amazon. Both the iOS version and the Android version were sold at 3,4992 yen.
Amazon.co.jp: 【Domestic Genuine】 FLIR ONE for iOS Infrared Camera Thermography Camera Lightning Connected iPhone, iPad, iOS Device - Gun Metal 435-0002-08-00: Home Appliances · Camera

Related Posts:


in Video, Hardware, Software, Smartphone, Review, Posted by darkhorse_log