This work was done in graphic design before Photoshop appeared
Speaking of Photoshop, it is now an indispensable tool for photography and processing and designing a site, and it is no exaggeration to say now that it is impossible to talk about design work without this. Before such Photoshop was born, the movie that explains how to design it was "Before there was Photoshop"is.
Before there was Photoshop | graphic design tools | Photoshop 25th anniversary - YouTube
This movie was produced celebrating the 25th anniversary of the birth of Photoshop.

In the era when 30 years ago Photoshop did not exist, the way of design was totally different from modern, taking analogue and physical method.
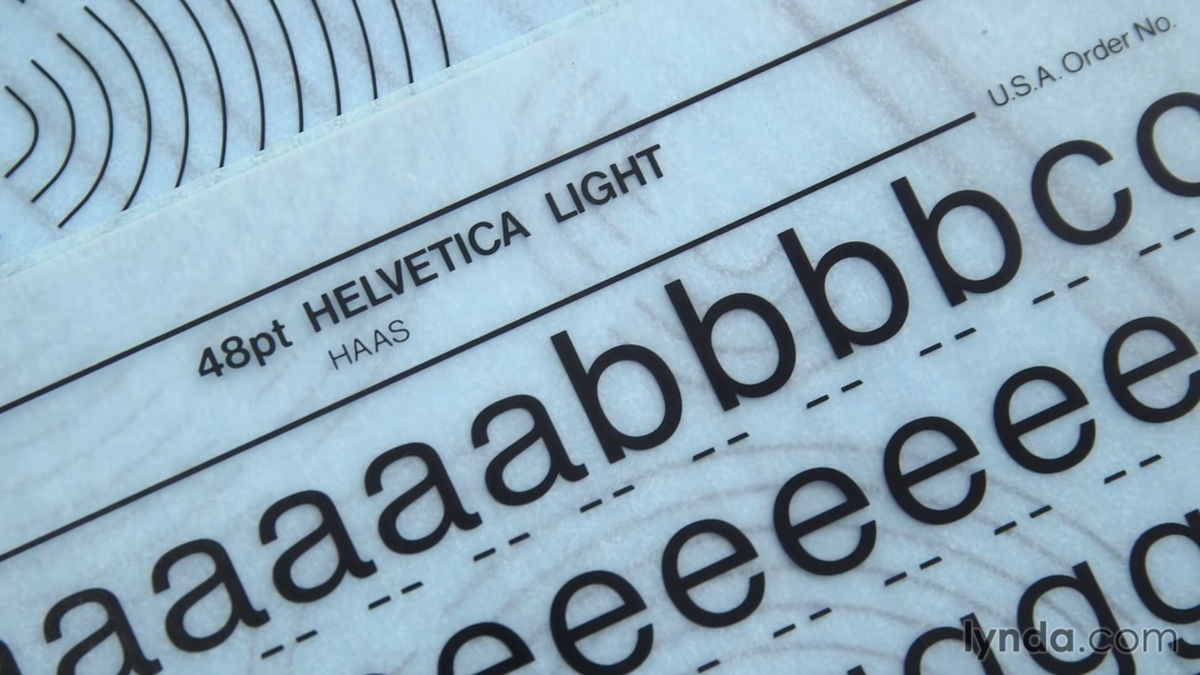
Even children in teens knew "What is helvetica?",TypefaceI also understood the design terms such as.
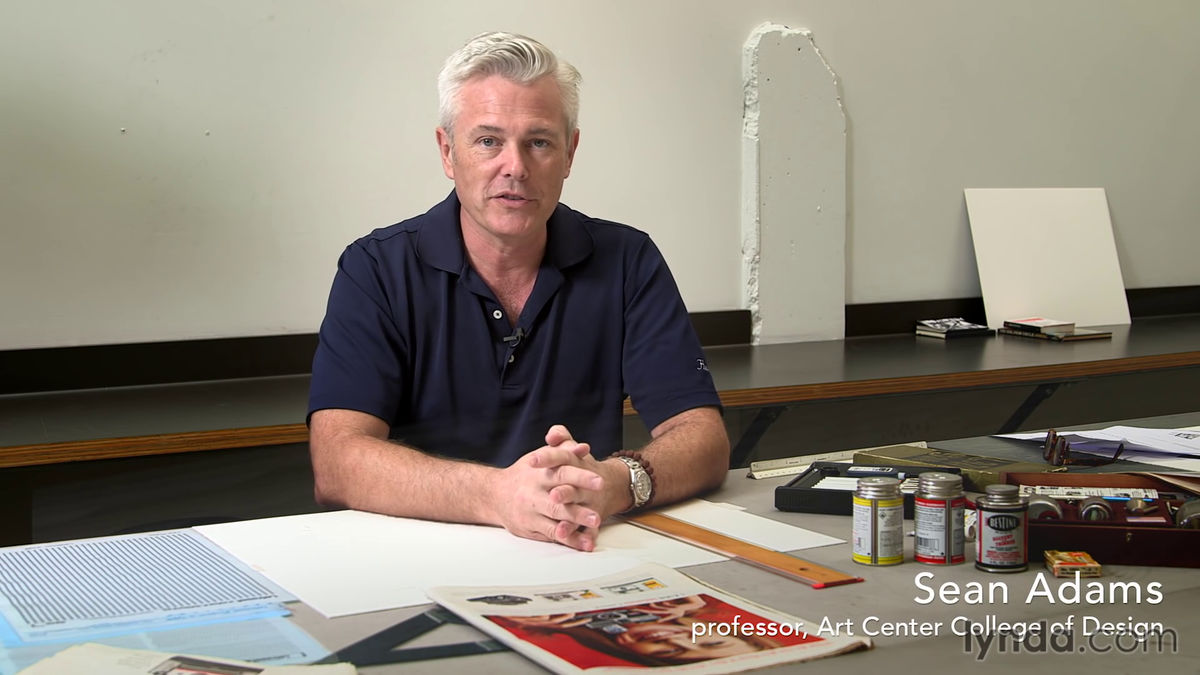
"However, there were only a few workers working on the site of the design, few people knew how to actually design," said the art college in the USAArt Center · College of DesignSean Adams who is a professor at.
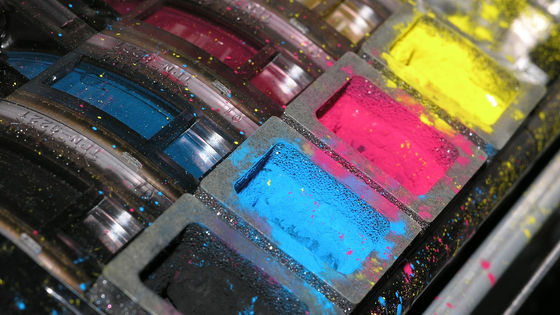
In the analog design method, we use the following tools.
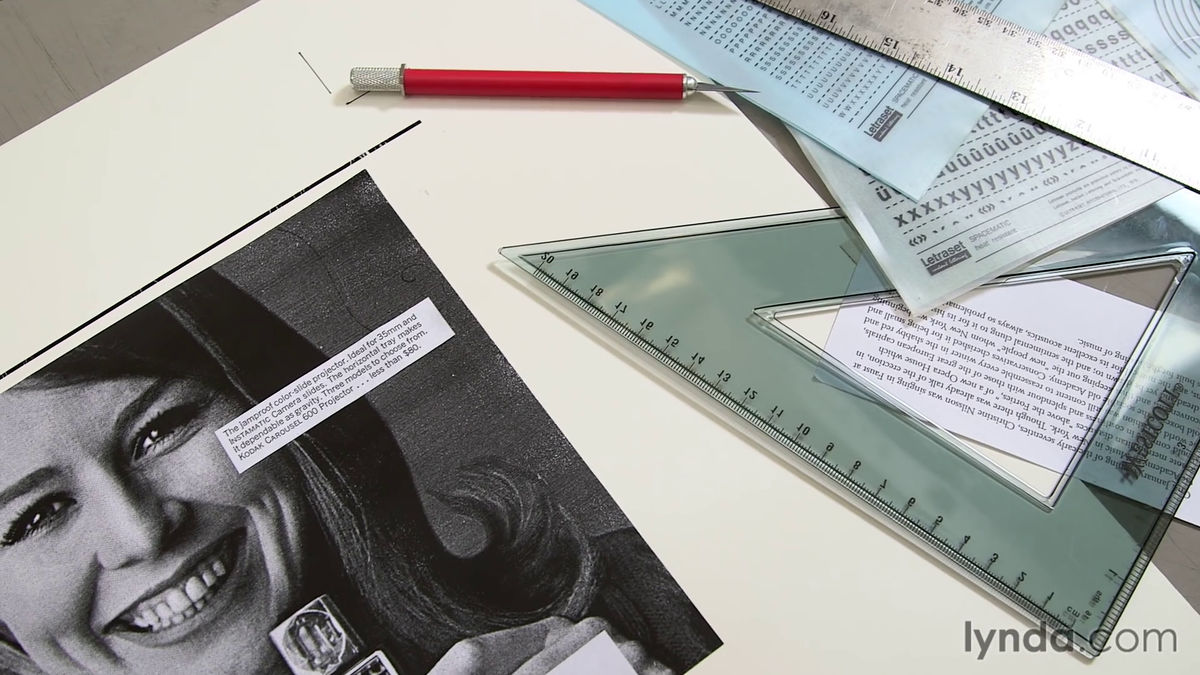
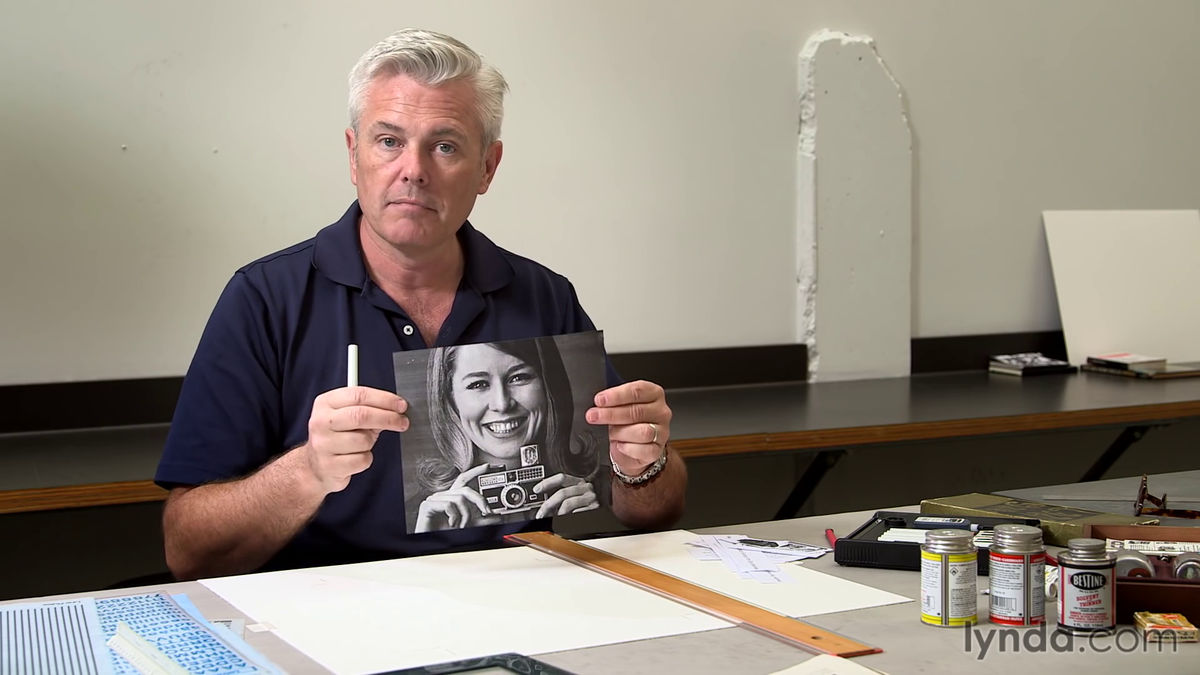
Using this leaflet as an example, I will show you how to do the analog design in the past.
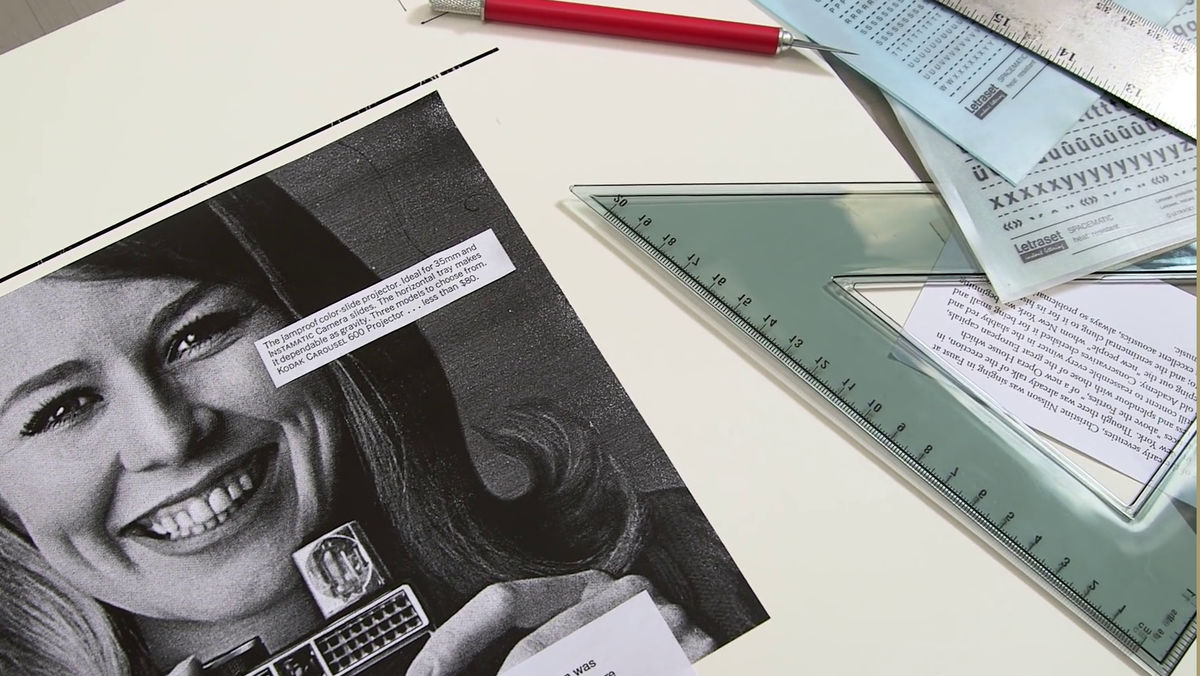
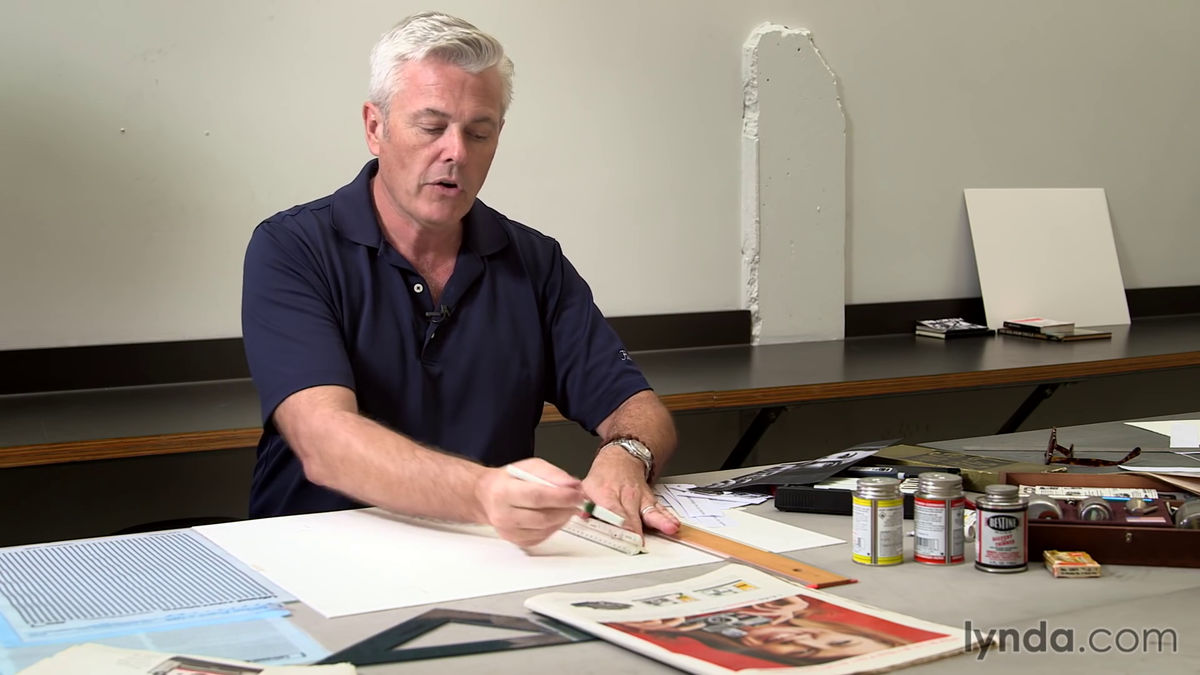
First of all, after thinking about the arrangement of photos and rough images of design, measure the size of the photo with a ruler ......

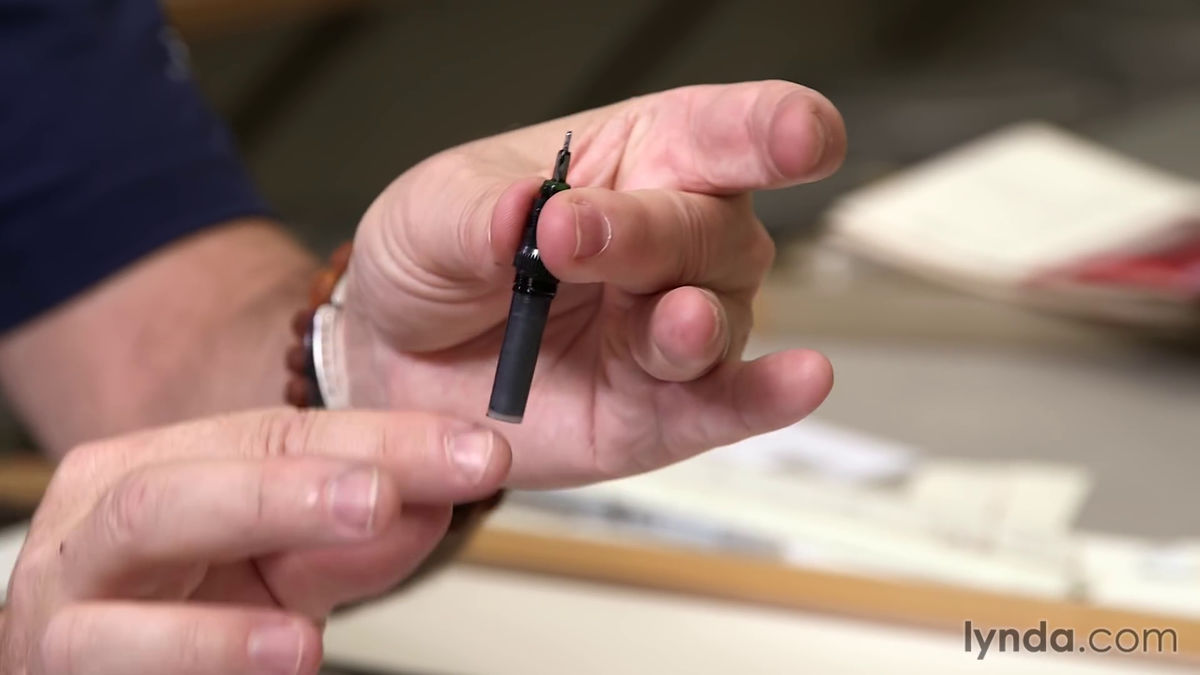
Drafting penI will draw lines on the paper using. In the buttocks of the drawing pen, figures representing the thickness of the pen axis are written, it seems that different pen thicknesses were used separately for each purpose.
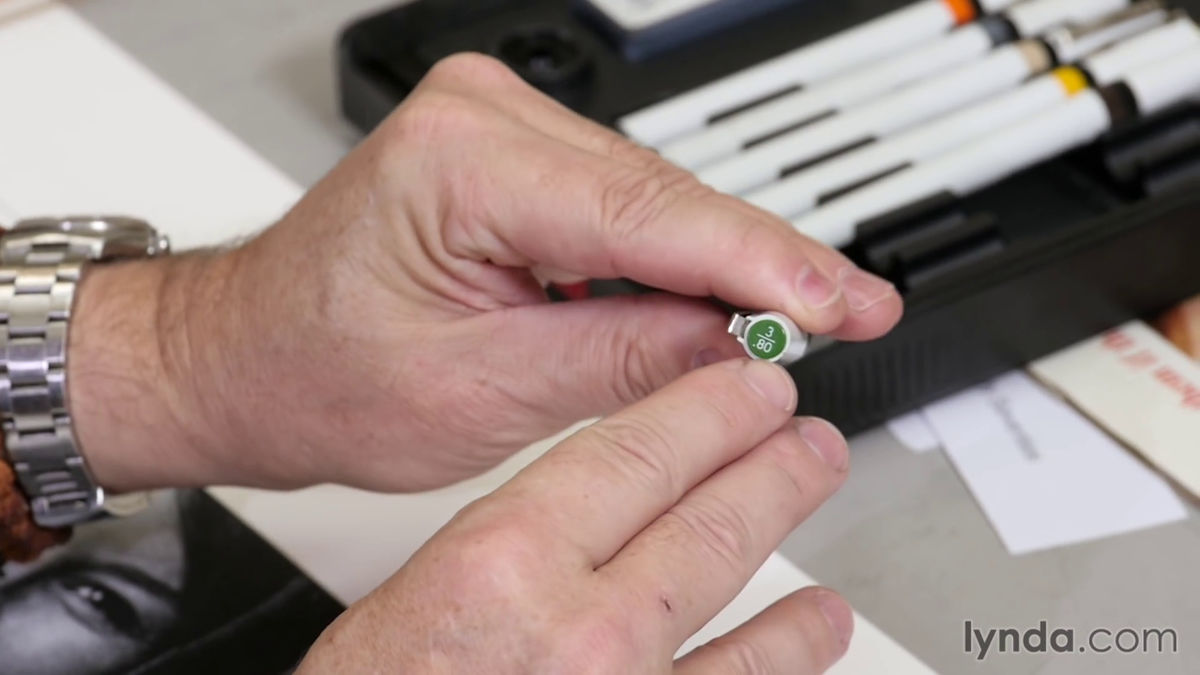
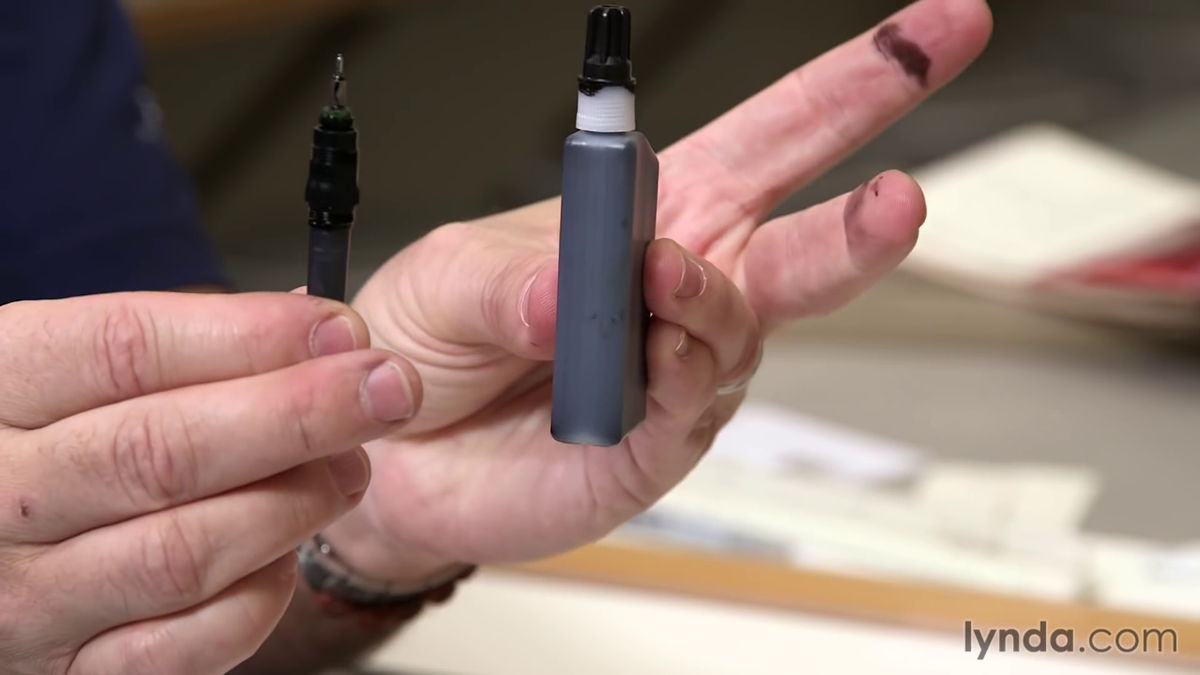
Because the drafting pen is an ink replenishment type, turn the pen shaft when ink becomes low ... ....
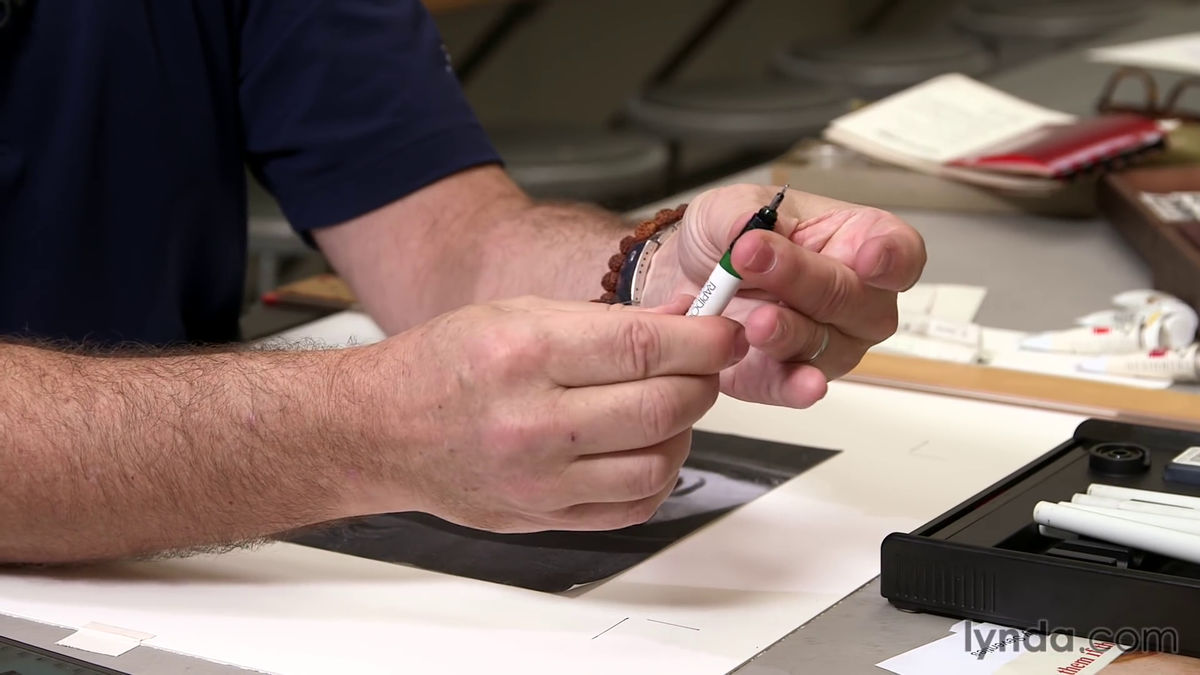
Remove the ink cartridge.
And it was supposed to replenish the ink from the ink bottle to the cartridge and used it.
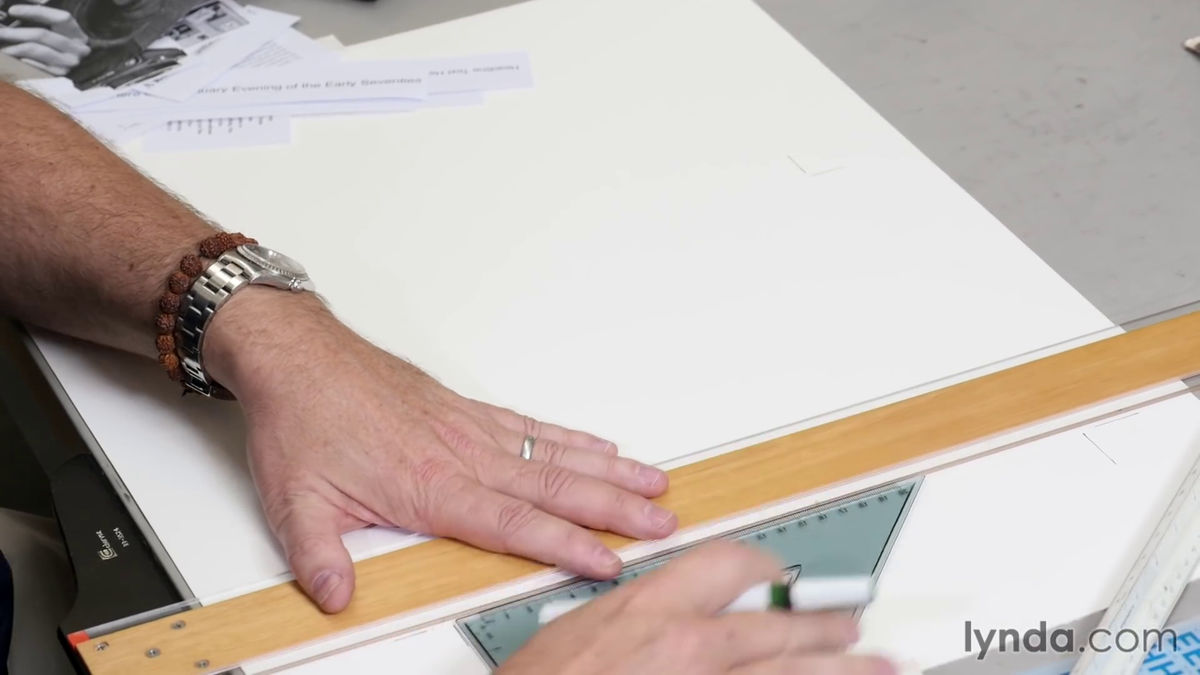
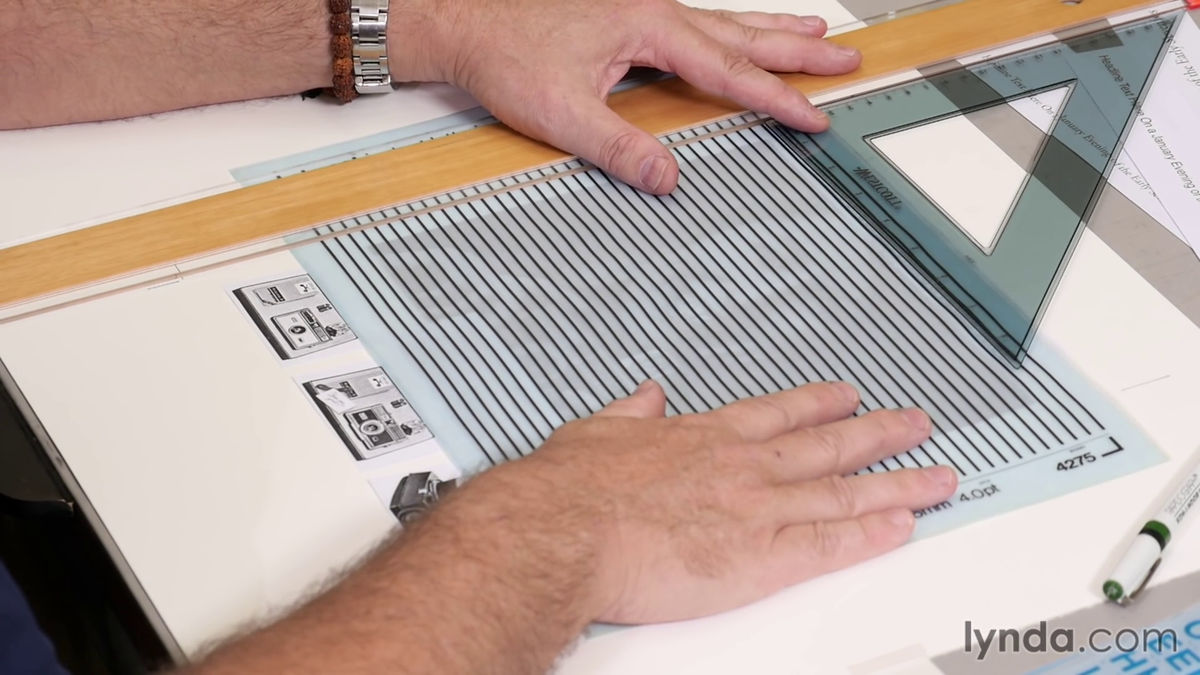
When drawing a line, I use a T ruler and a triangle ruler, and first draw a square frame on huge paper.
In Photoshop, it is possible to create "New Canvas with Screen Ratio 16: 9" with several clicks, but in analog work it is not easy to take a right angle or adjust the opposite side length.
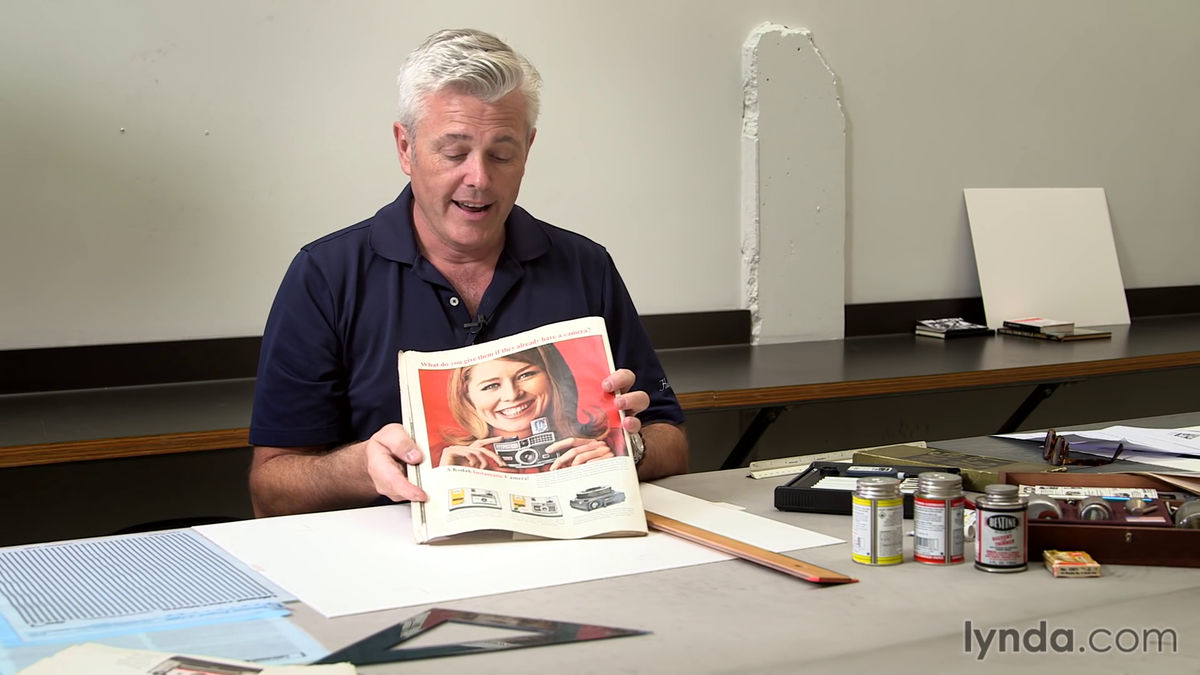
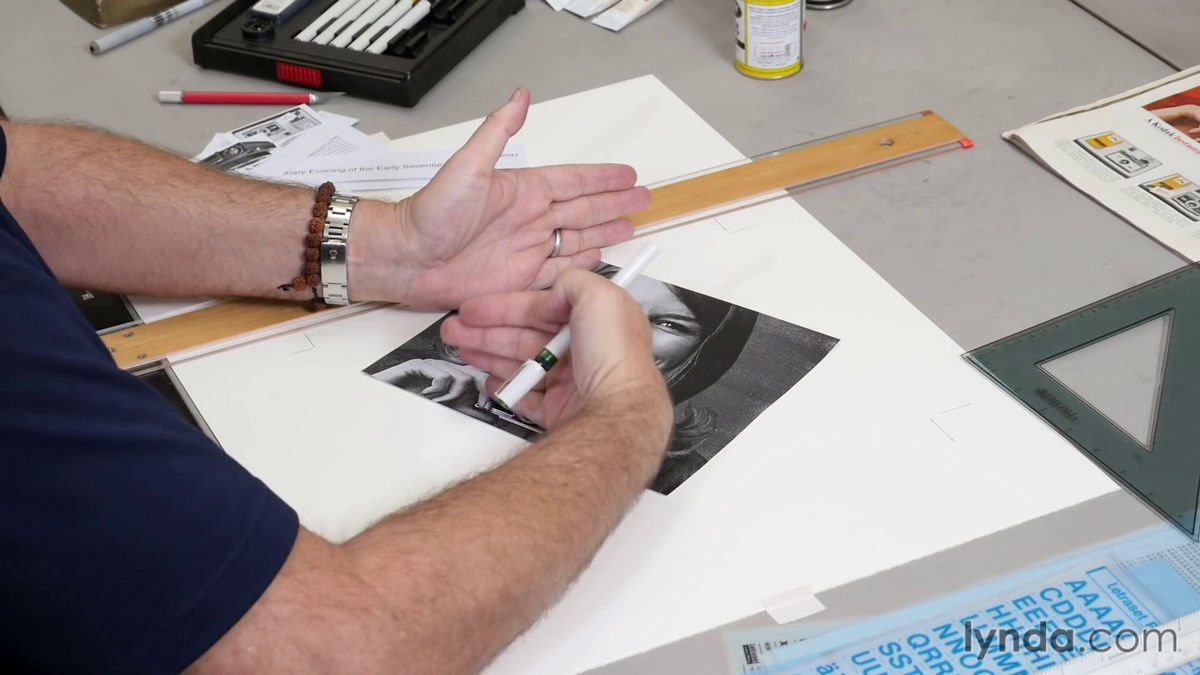
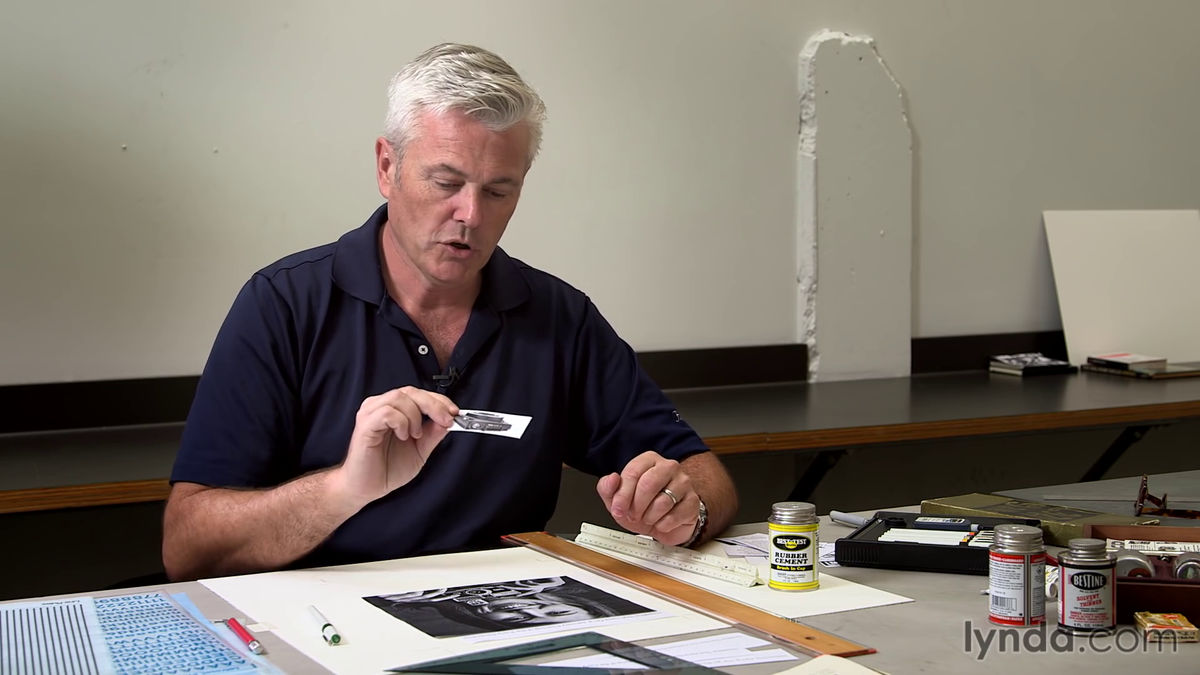
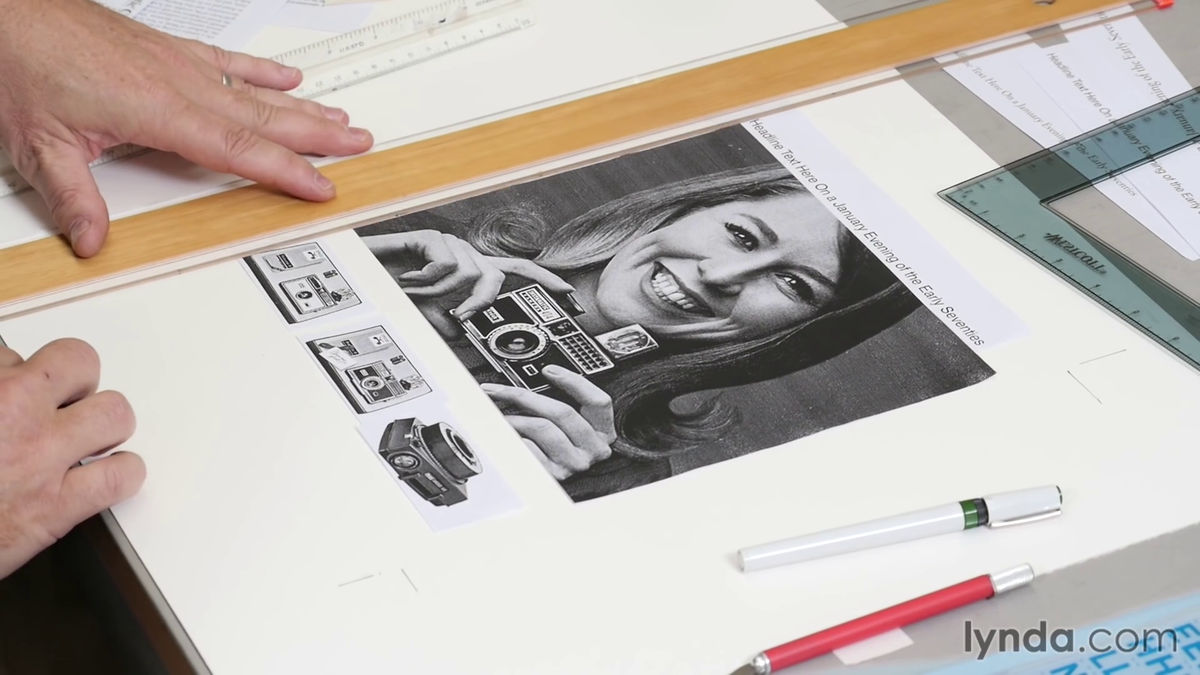
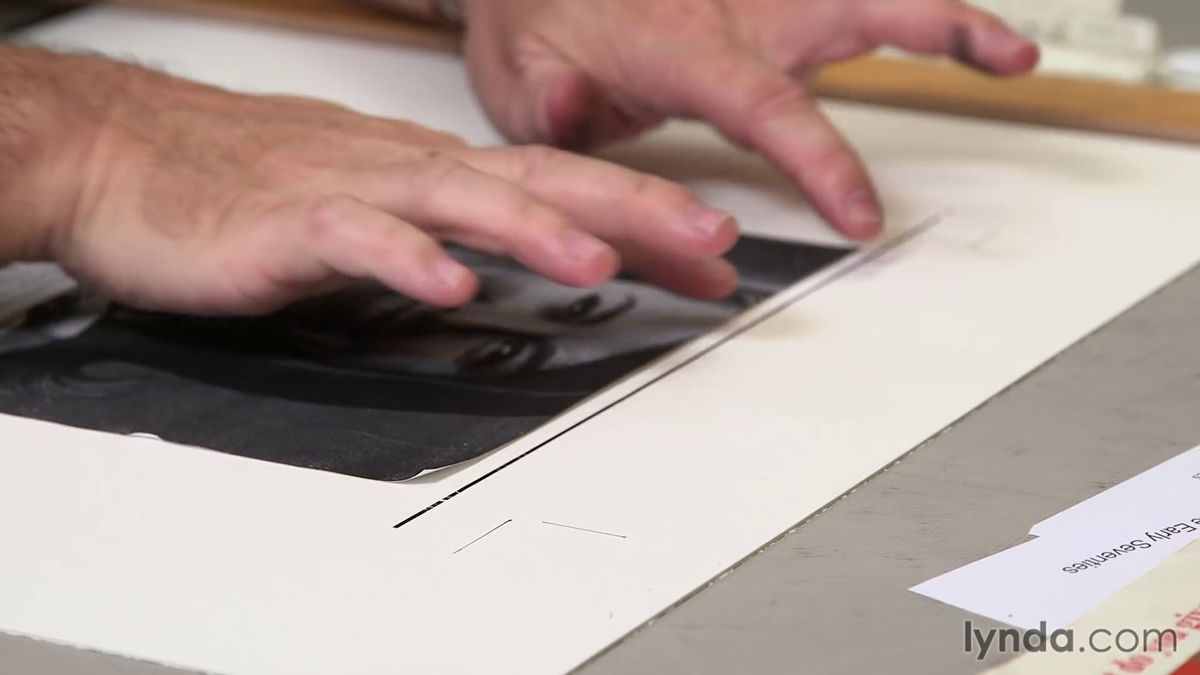
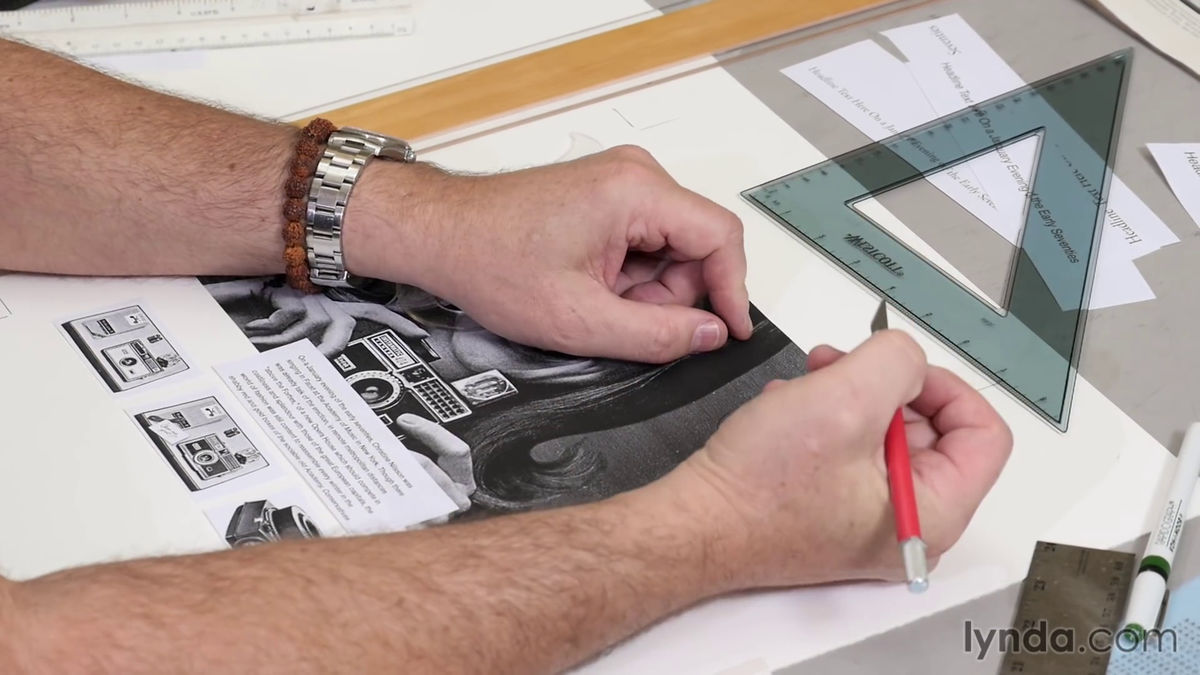
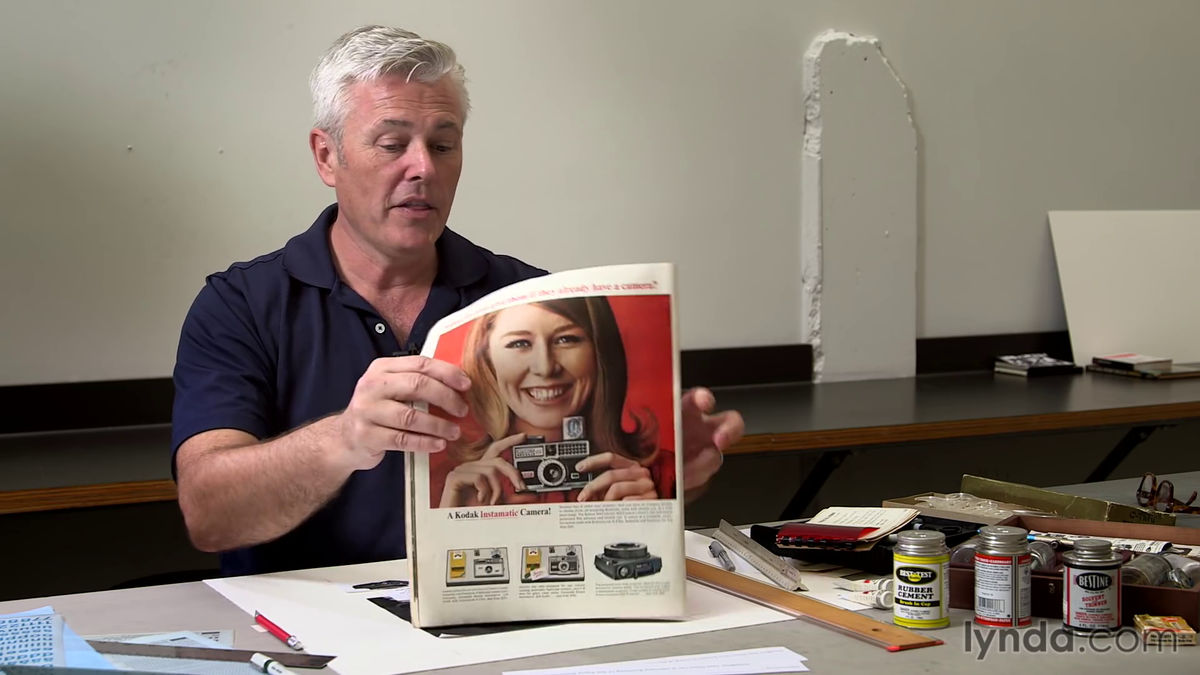
When the canvas is ready, take out a black and white copy of the photograph ordered by the photographer and place it on the paper based on the rough design.
When cropping a photo, the "crop button" installed in Photoshop does not exist in reality, so it is necessary to actually cut out the photo using a ruler and a cutter.
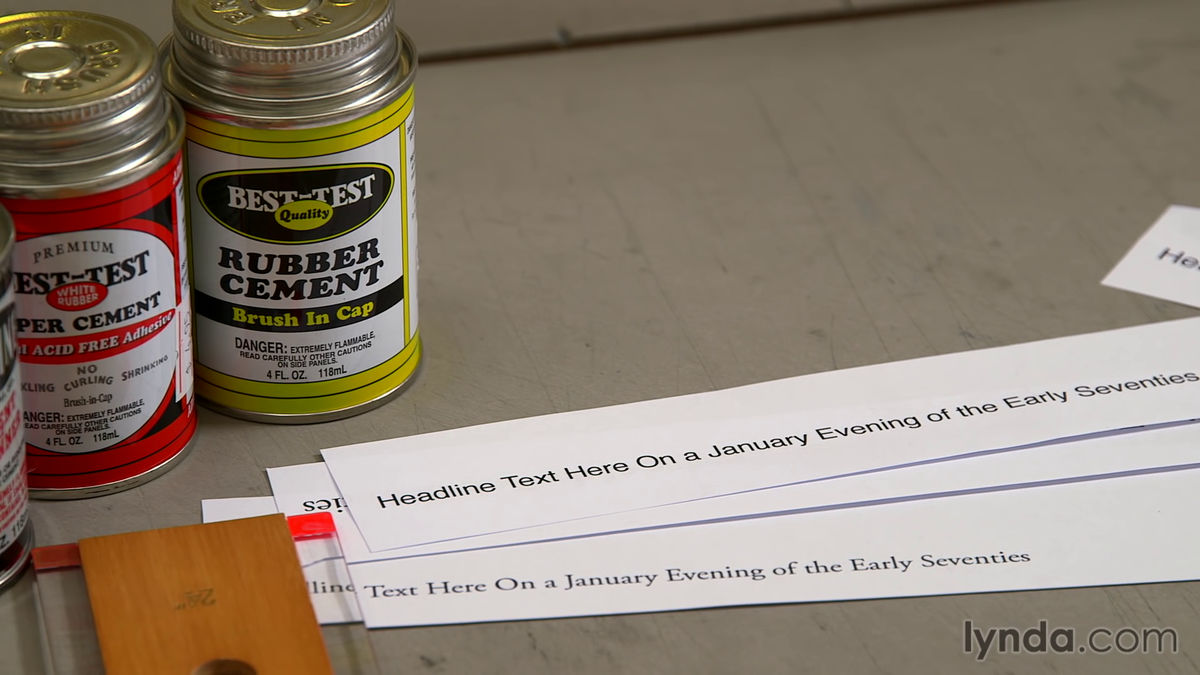
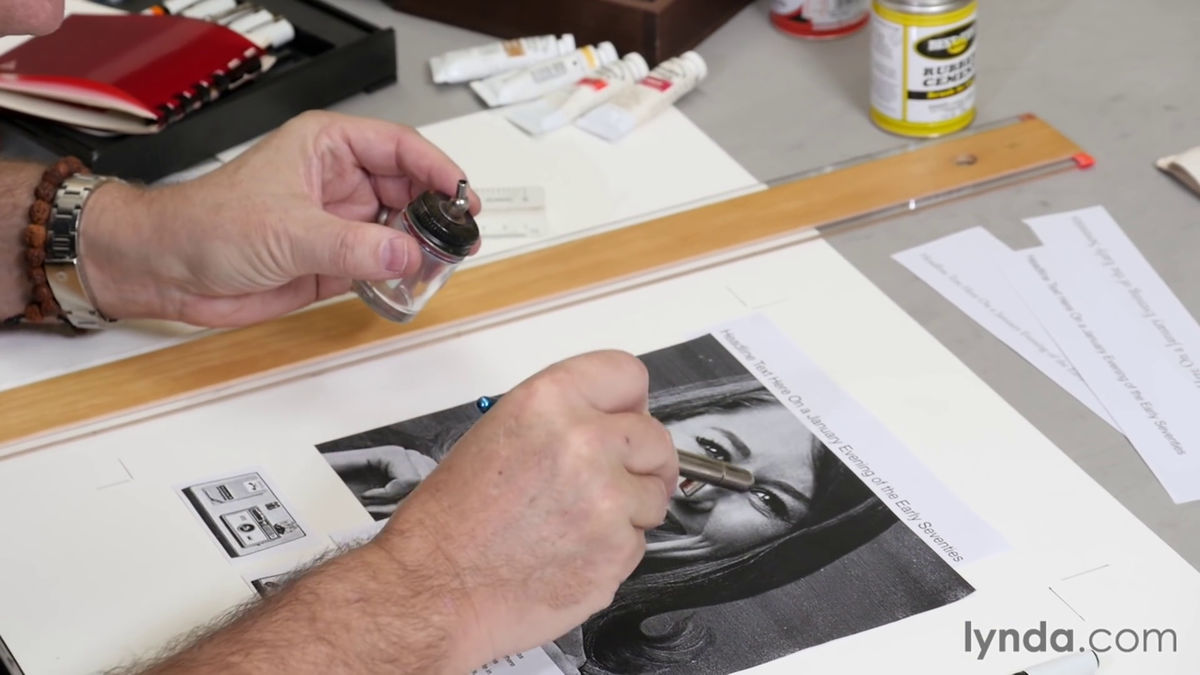
To paste a photo on paper, use rubber glue in a can.
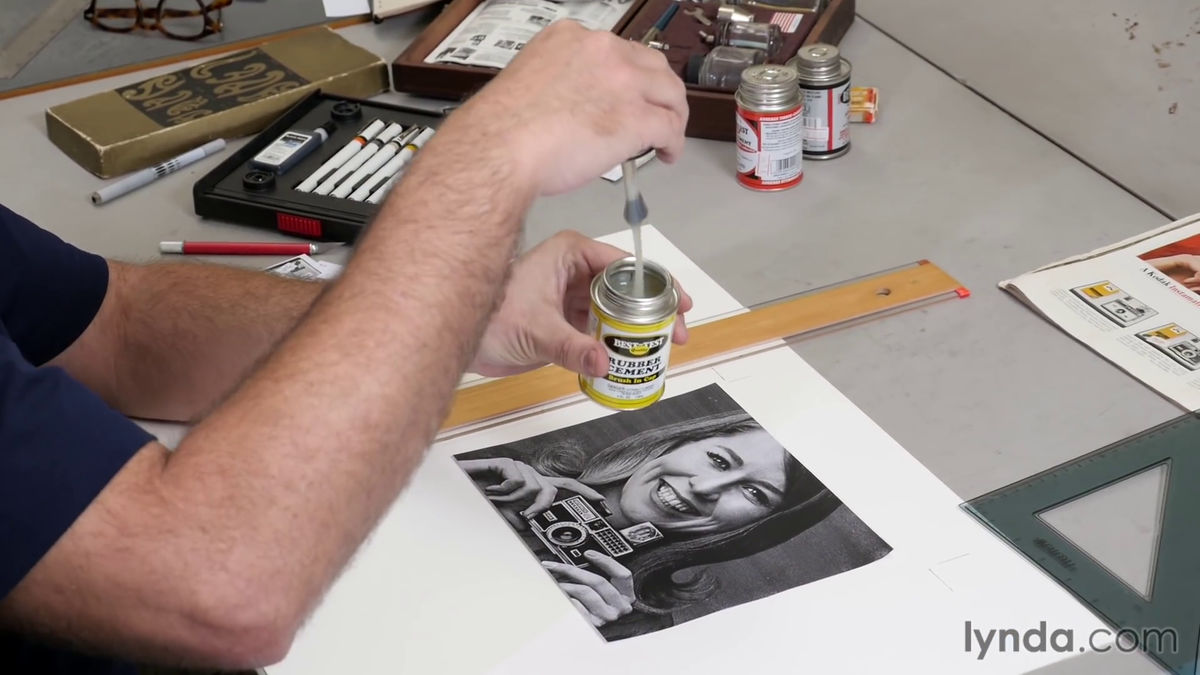
I paint the paste on the back of the photo using brush, but the amount of paste is OK only a little.
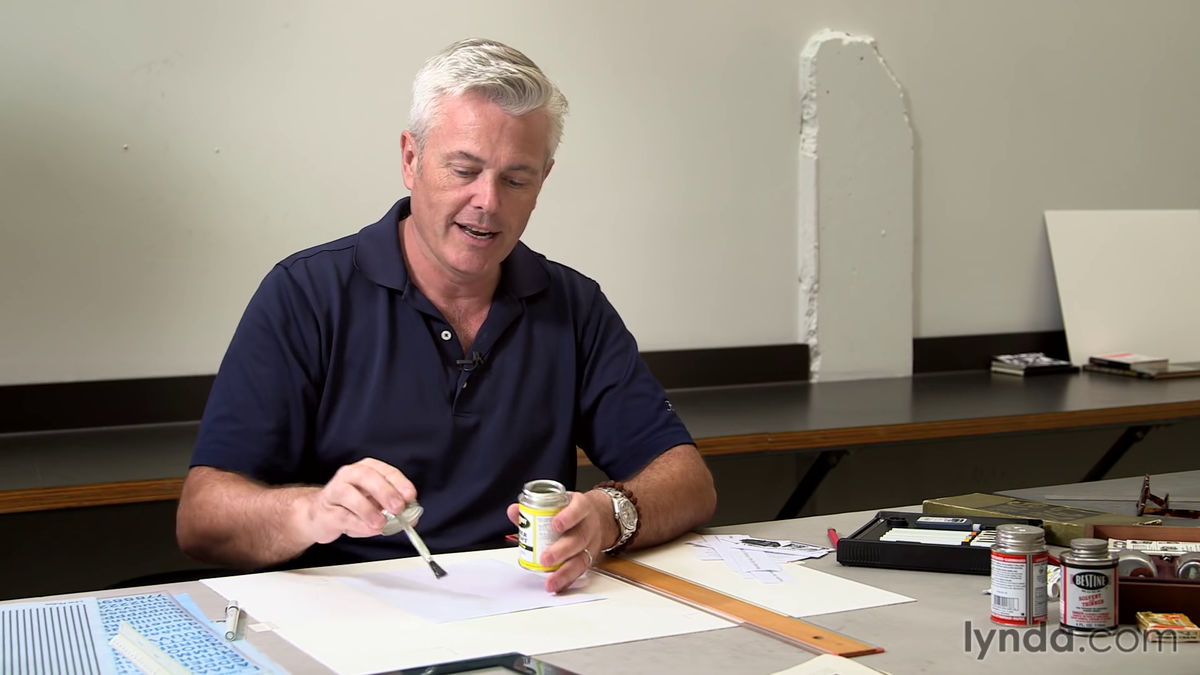
That way, even if you paste a photo on paper ... ...
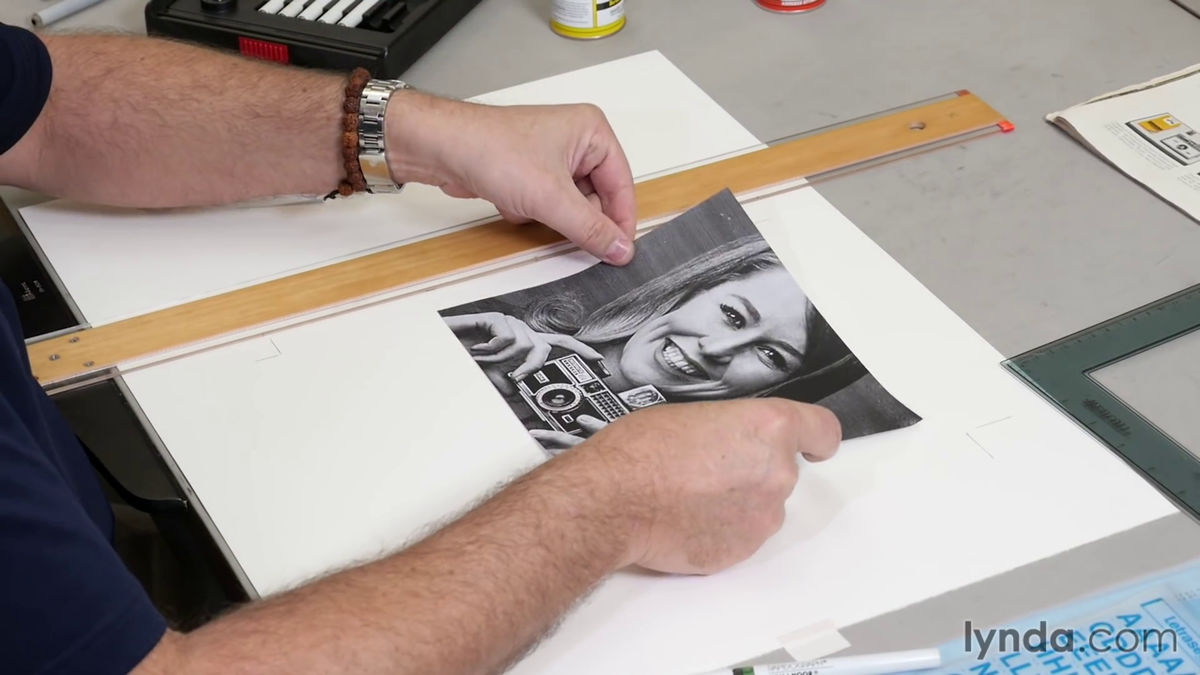
You can easily peel off and adjust the position. "This is the behavior of" Undo "," Adams said.
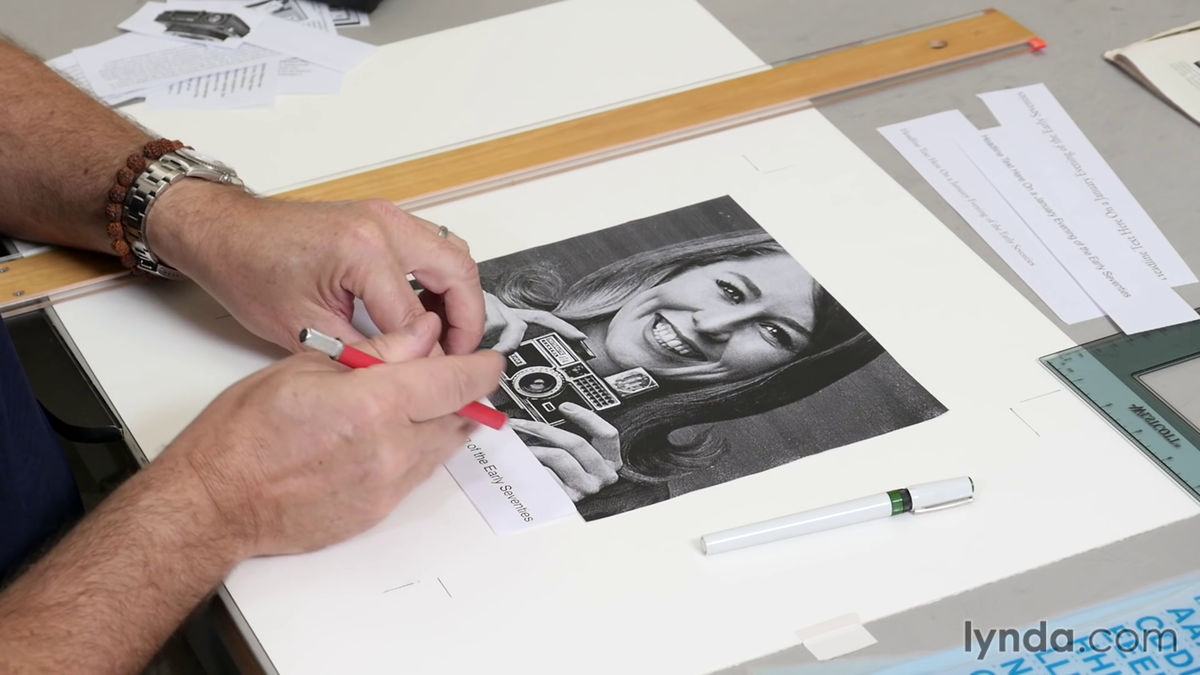
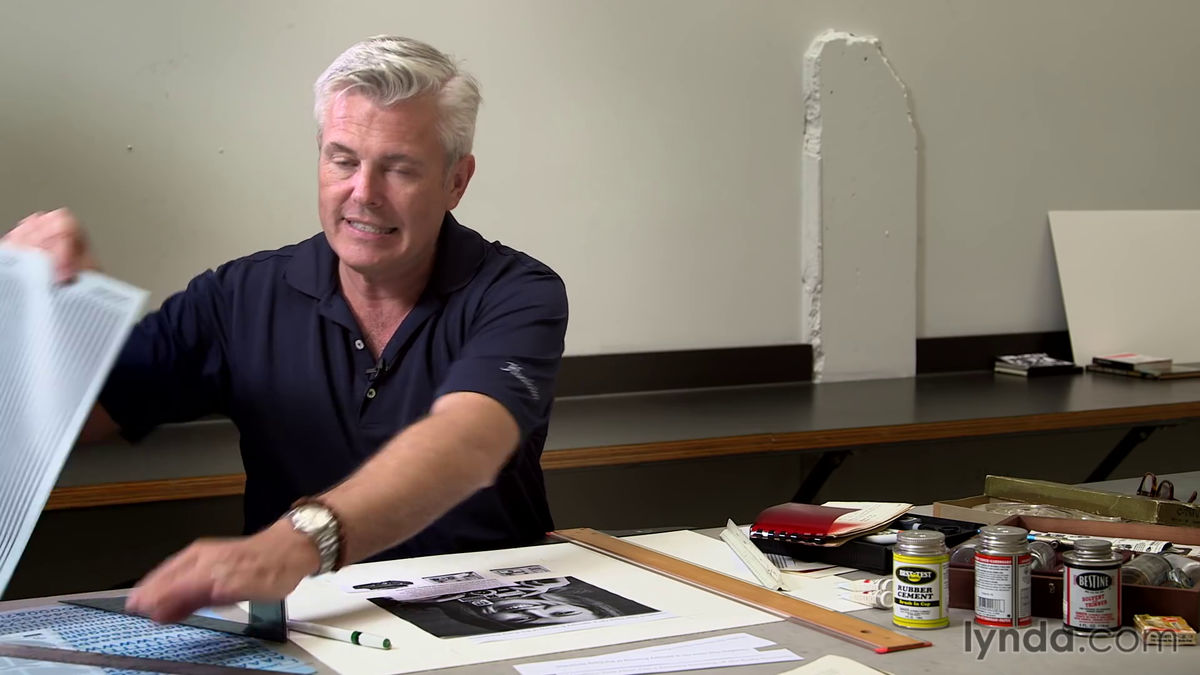
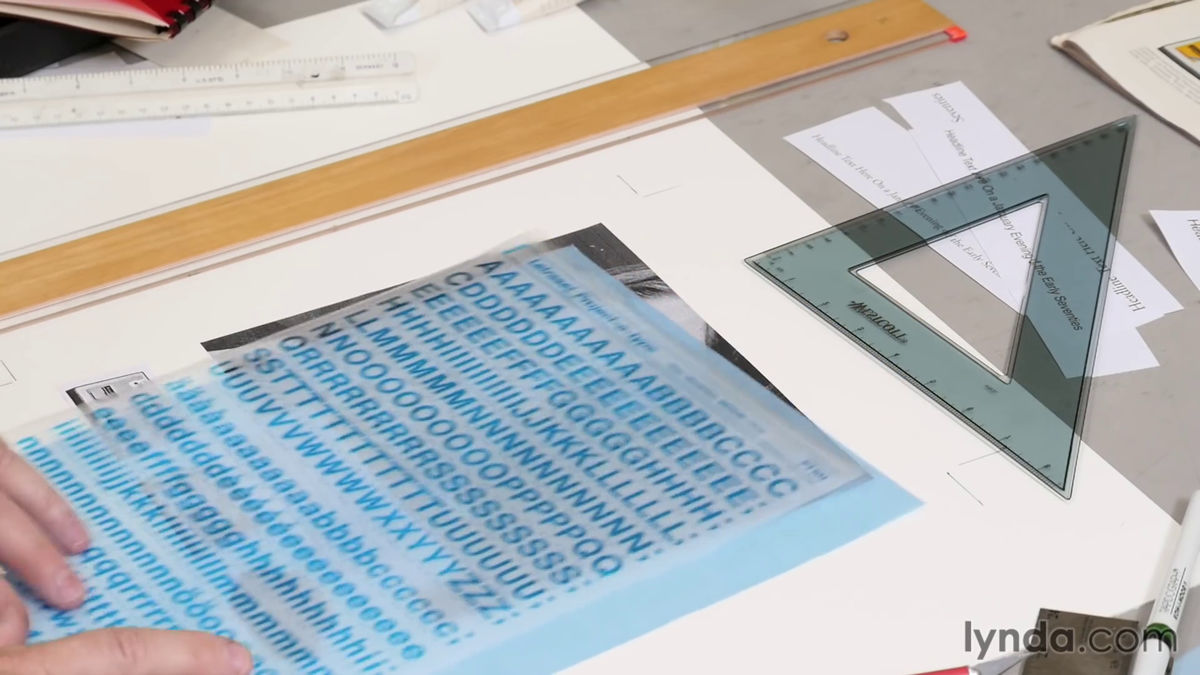
Next let's arrange the letters. If it is designed on PC, you can change font type and size at any time while you are typing characters, but in analog work you send the manuscript to a special typesetting craftsman and " Please launch it with "Please ask the manuscript to be asked. And a paper typed from a typesetting craftworker is sent back, but it takes about 24 hours for a series of interactions with typesetters, so to find quickly the shape of the letter that matches the design, dozens of He said that he ordered the font pattern.
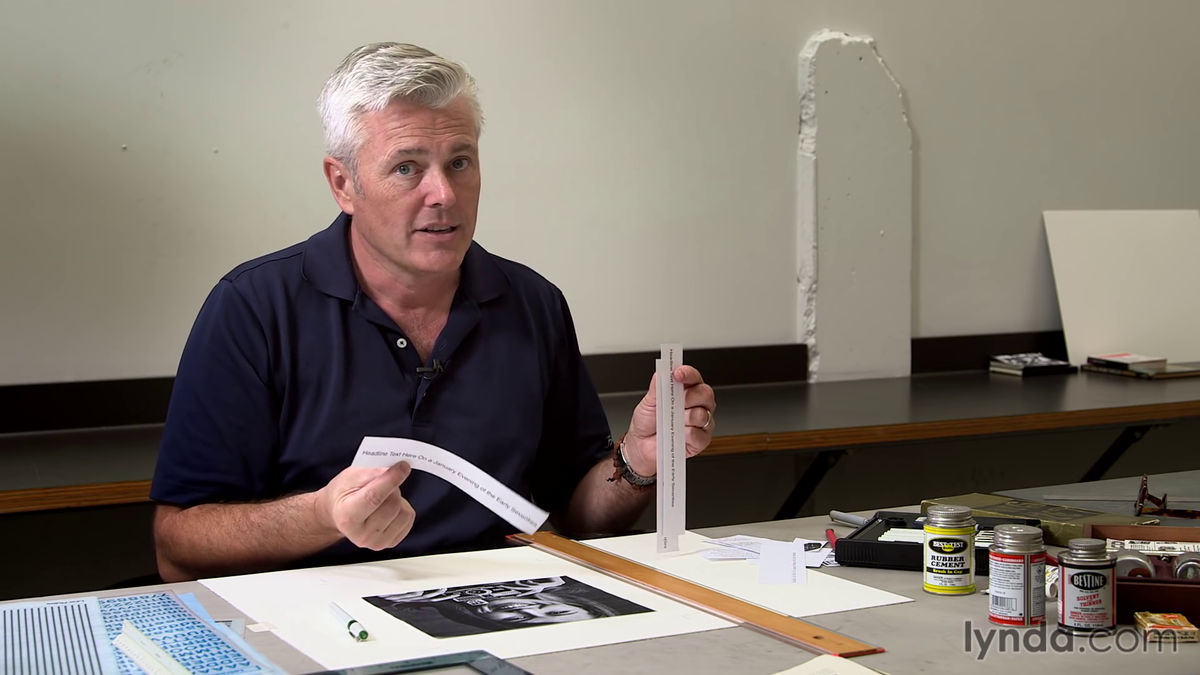
If you do not like the placement of letters, it seems that there was also a case where the manuscript sent back from the typesetter cut off with a cutter and adjust the position.
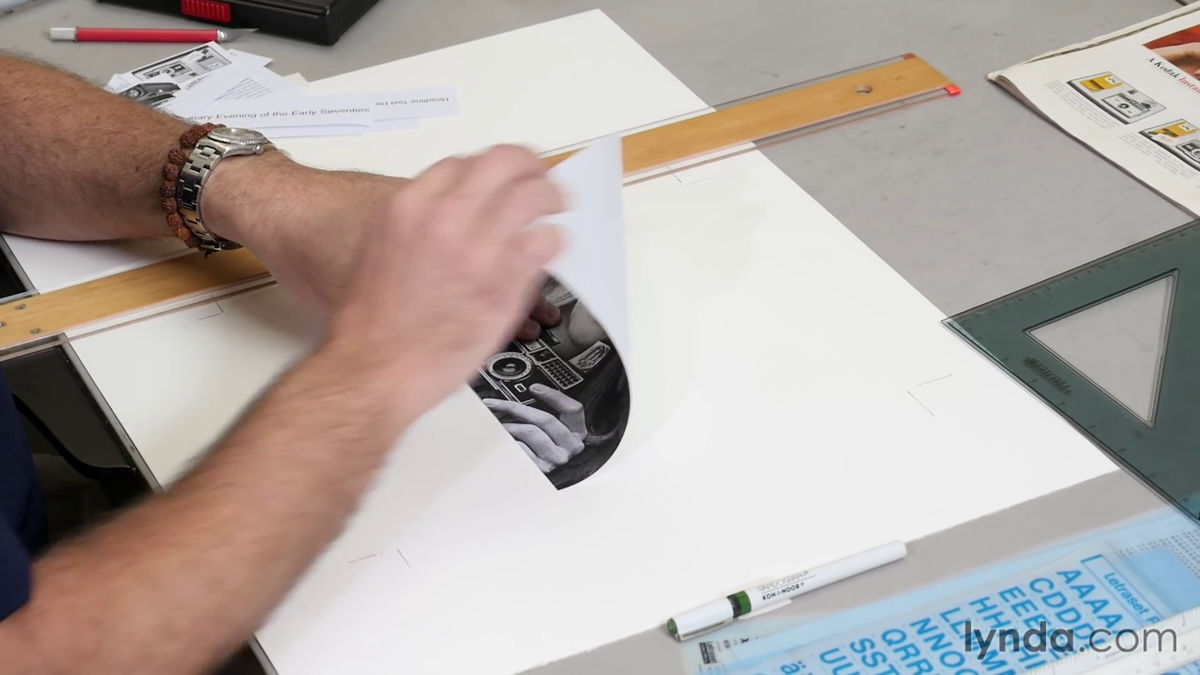
Next, I will place sub-photos other than the main image, but because the background behind the subject is attached ......
I use red film to cut only the image. When masking an image with Photoshop, semitransparent red overlaps outside the selection area because it follows this red film.
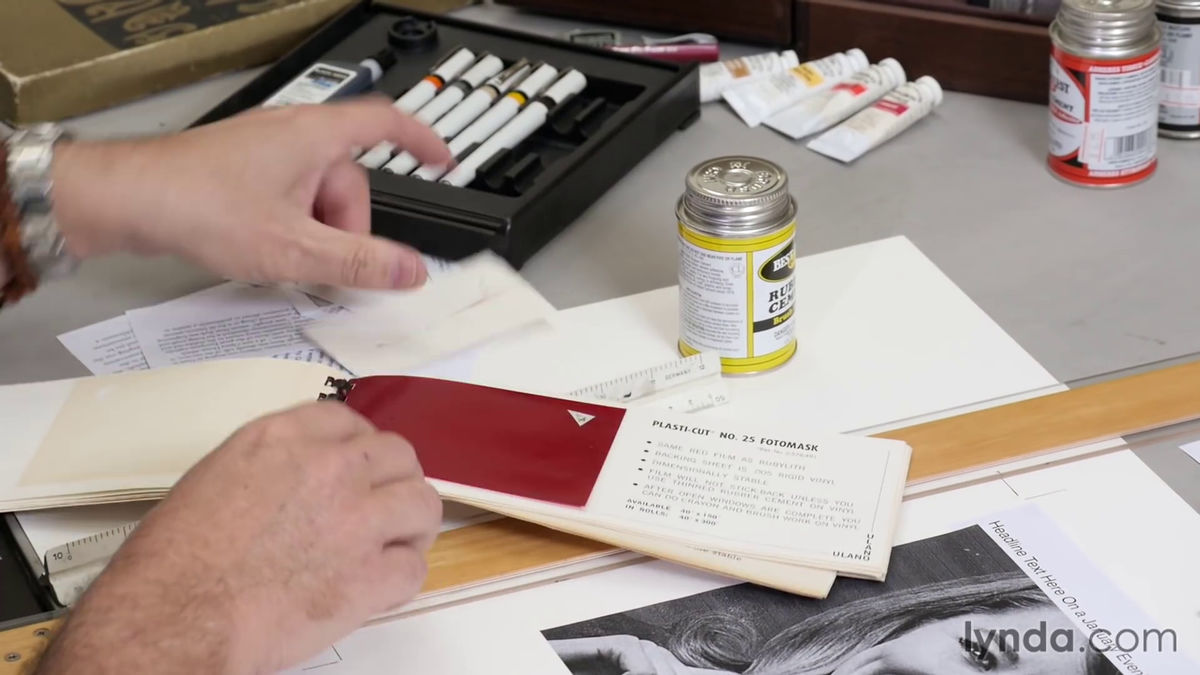
Put the film on top of the photo and cut the white part of the photo with a cutter from the top of the film.
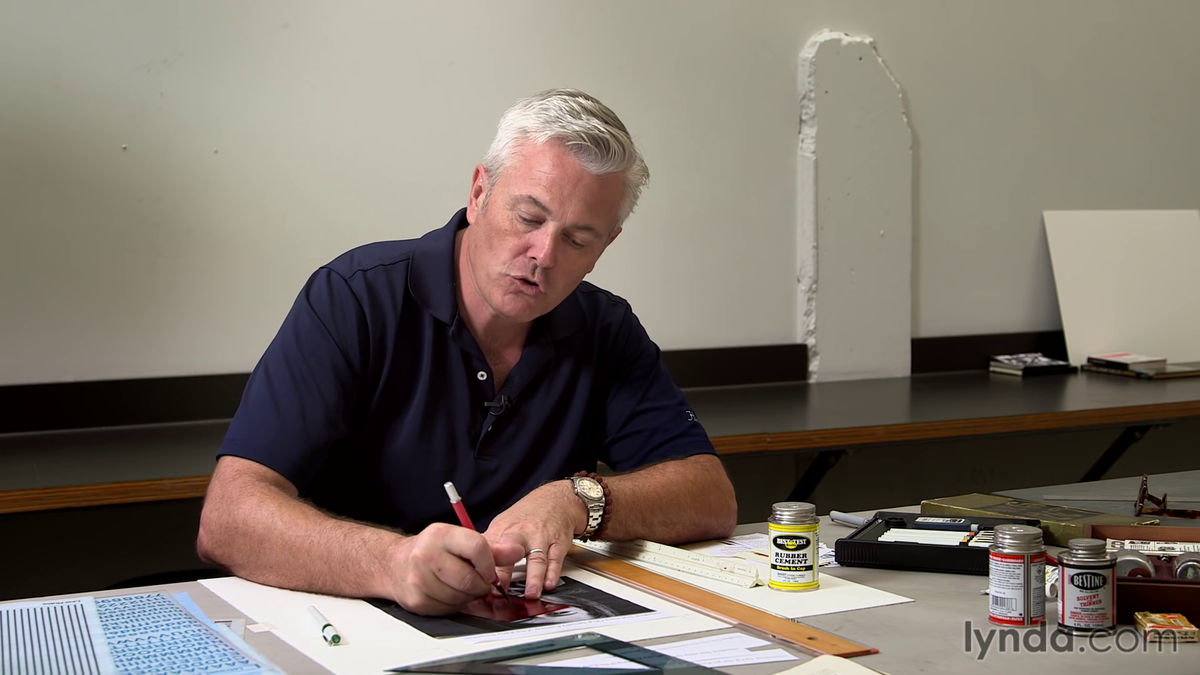
Then I will place the cut picture at the bottom of the main image. The photograph sent from the photographer was copied in black and white to suppress the budget, so it seems that it was necessary to arrange while imagining the original color of the photograph.
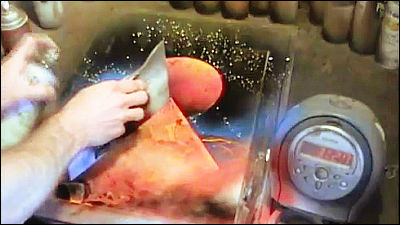
When the convincing design is completed, I will show the manuscript to my boss and client, but when I do not like the design, I heard that the photo and the original film were processed by airbrush. The photo processing using the airbrush was quite expensive.
When it says to the client that "I want you to add an underline to the bottom of a letter", I do not have time to order again from a typesetter so I will transfer the line to paper with a transfer type film.
If the film is stacked on the original and the line is from the top ......
You can transfer lines to the original.
Even if there is a request that "I do not like the font of the headline, I want you to change it", you can change the design in a short time without using the transfer type film to place the manuscript to the typesetter.
If you are told that "I want the outline of the picture to be a curve"Cloud-shaped rulerProcess photo with crispy using.
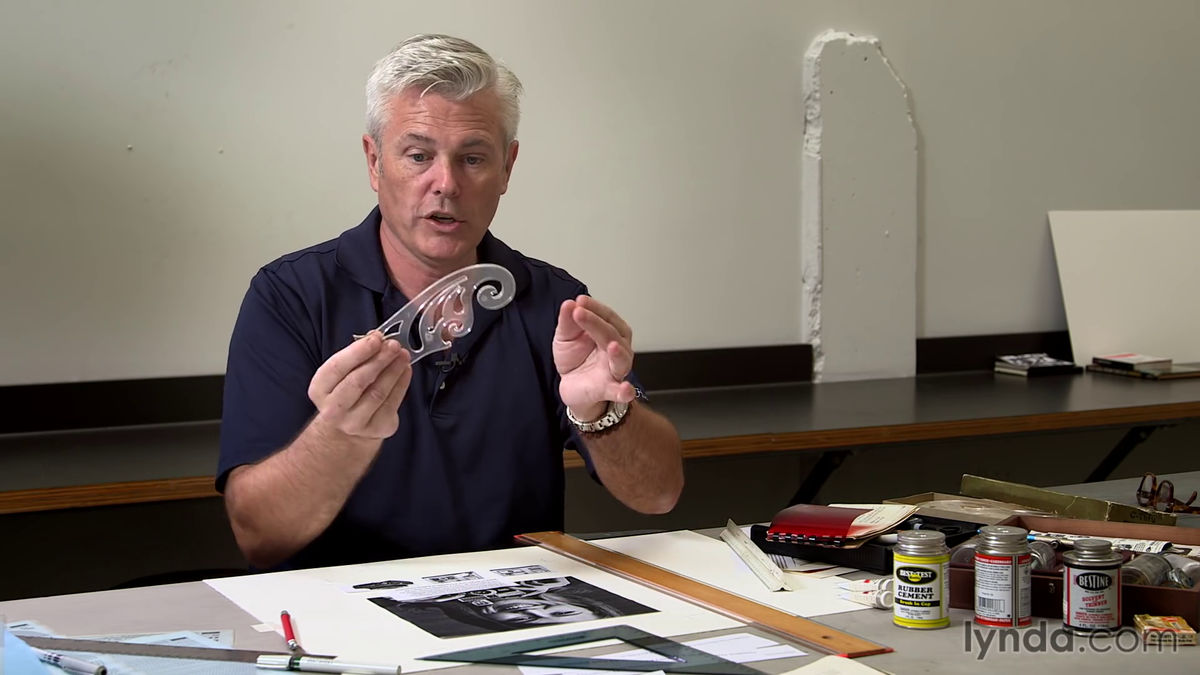
Draw a beautiful curve with a cloud-shaped ruler and a drawing pen, and cut out the photo with a cutter.
When the final draft of the design is completed, hand out the manuscript to another artisan, ask the photographs and letters to color, send the manuscript to the printing shop and turn it to print, it is completed. Since there is no backup of the design picture, if you get wet or lost in the middle of carrying the manuscript, you will have to redo these tasks from the beginning, and considerable expertise at the design site Was sought after. Adams says, "Anyone can use a tool such as Photoshop to design a modern one better."
Related Posts: