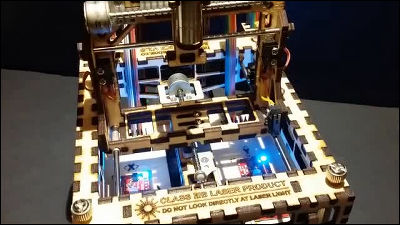
A self-made laser processing kit "Emblazer" that can easily cut paper or engrave an image on a tree
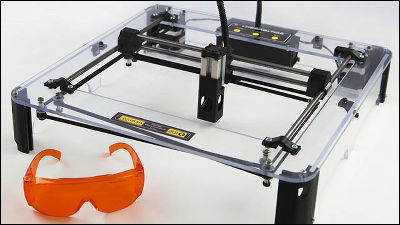
A self-made laser processing kit that can precisely laser cut paper or laser engrave photographs and illustrations on wood and acrylicEmblazer(Former name "LazerBlade")Finally arrived at the GIGAZINE editorial department after 11 months from the end of the Kickstarter project. I tried it really easy to assemble and laser processable.
Home - Darkly Labs
https://darklylabs.com/
In addition, you can see what kind of hardware LazerBlade is in the following article.
A self-made laser processing kit that can easily cut wood, paper, plastic and engrave · "LazerBlade" - GIGAZINE
◆ opening
LazerBlade arrived in a big box of 60 cm square.
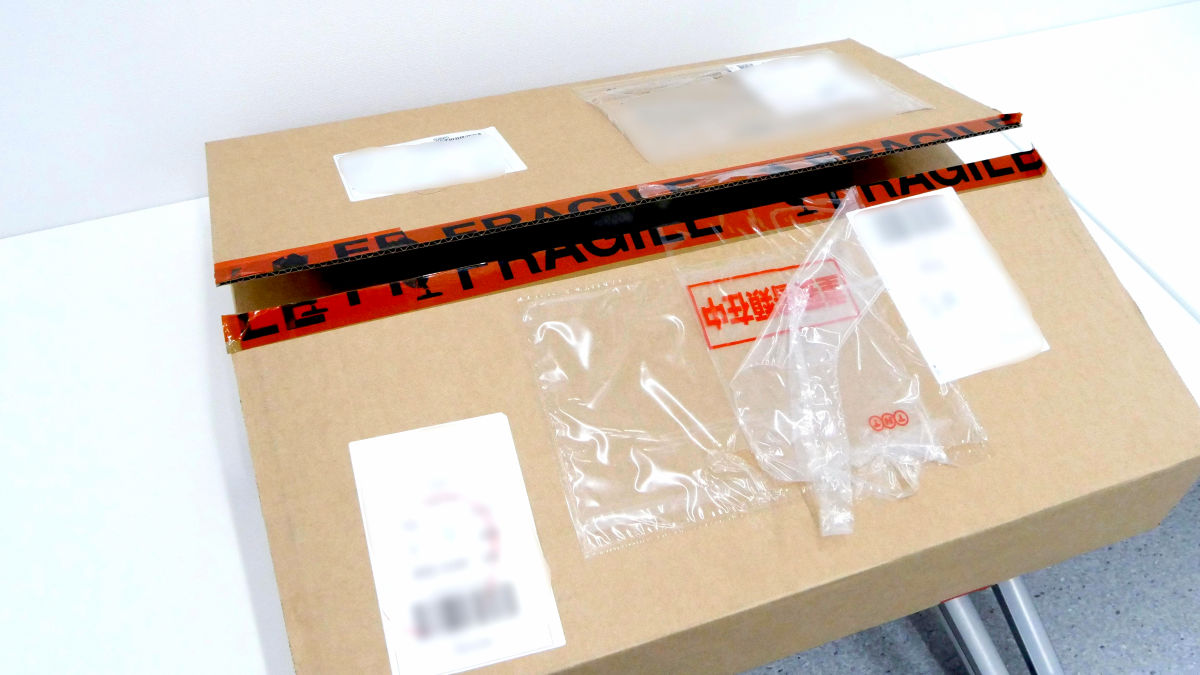
Cushioning materials are crowded in the box.
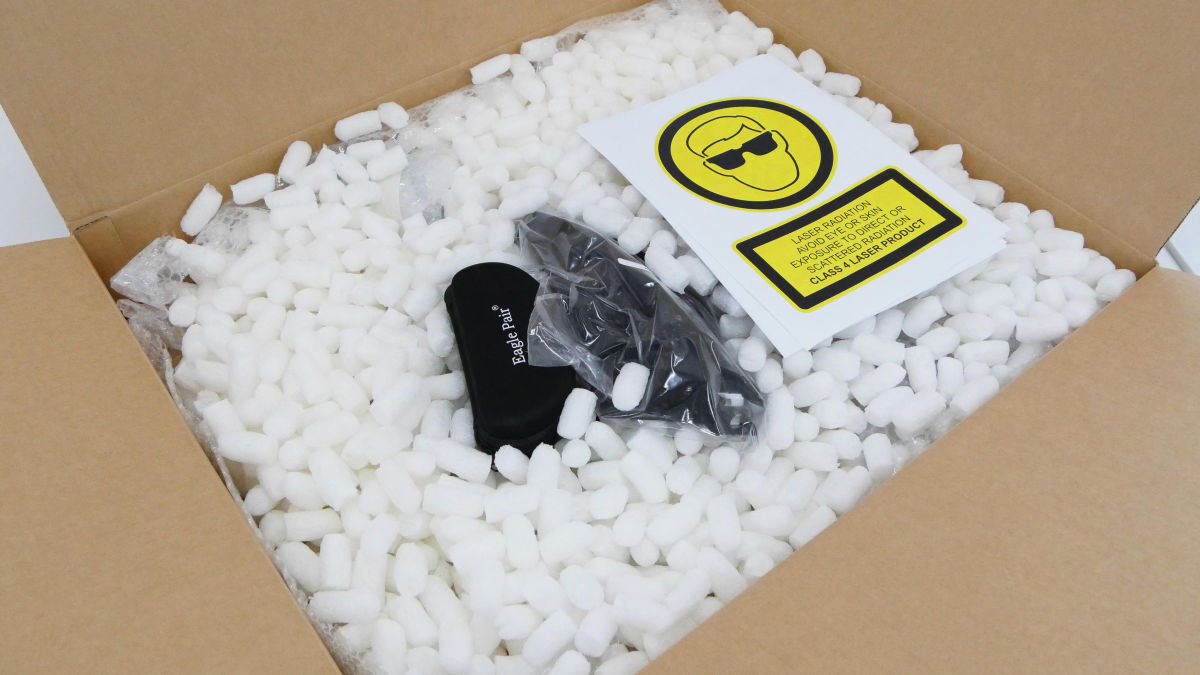
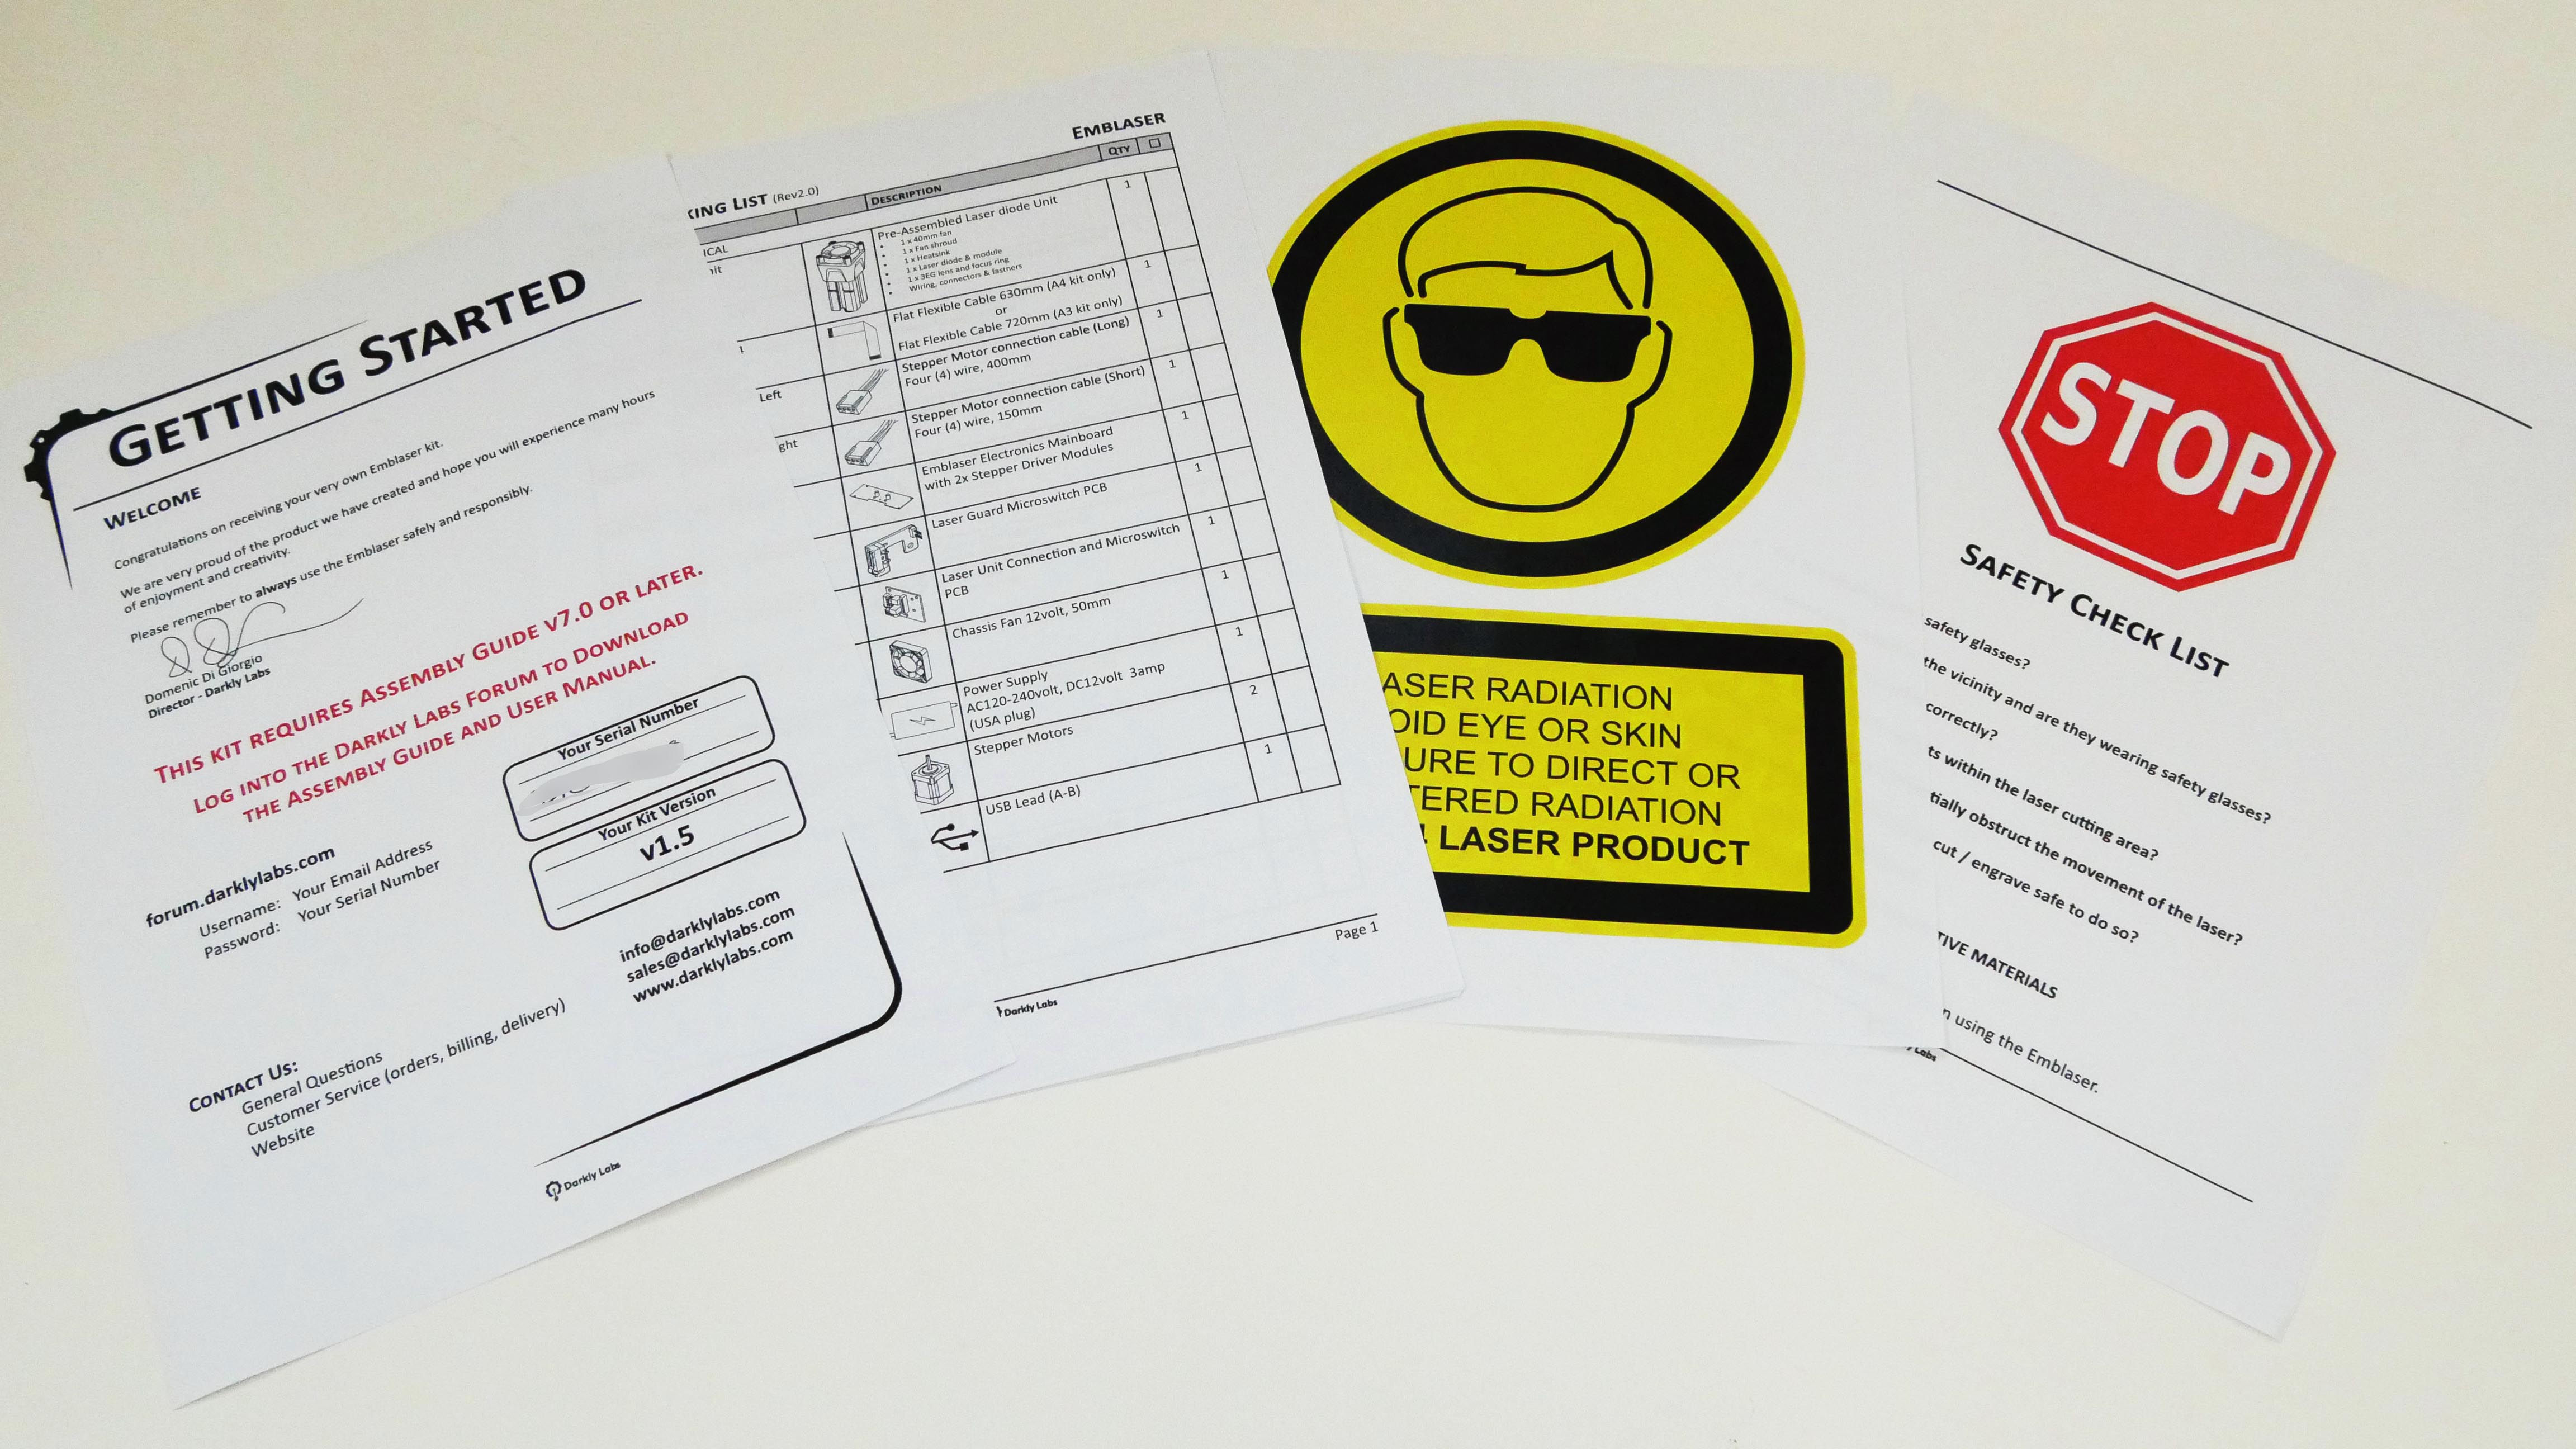
Official siteA start guide and parts checklist etc for downloading the assembly guide at the site were included.
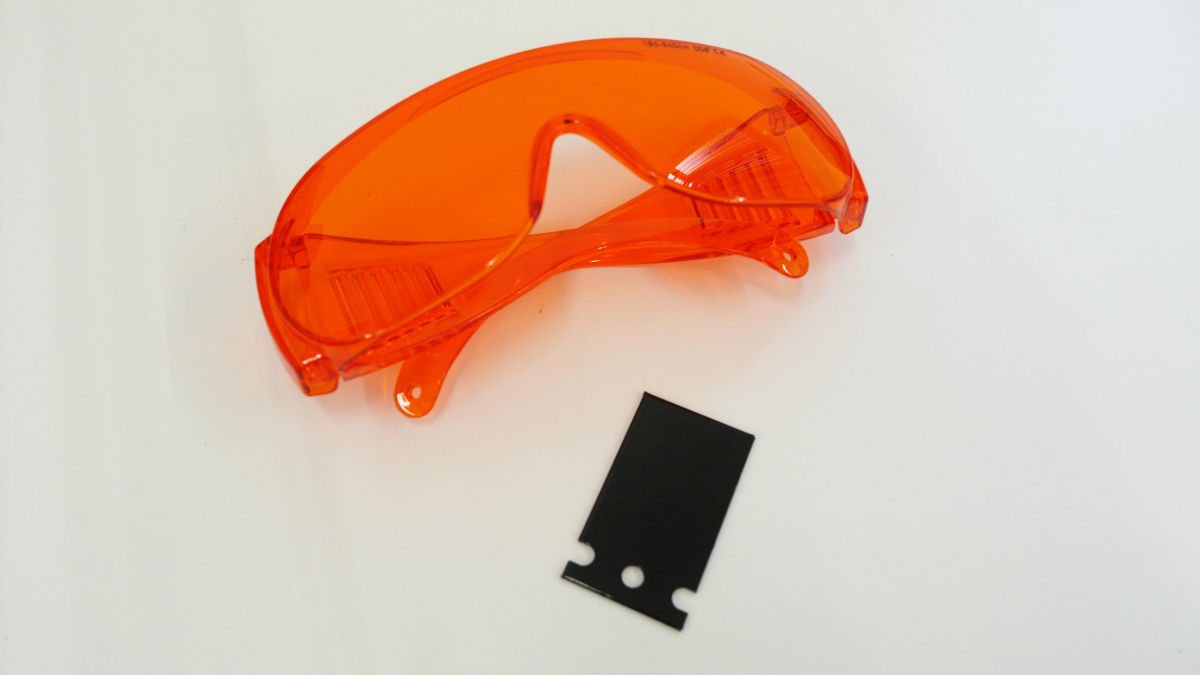
In this glasses case ......
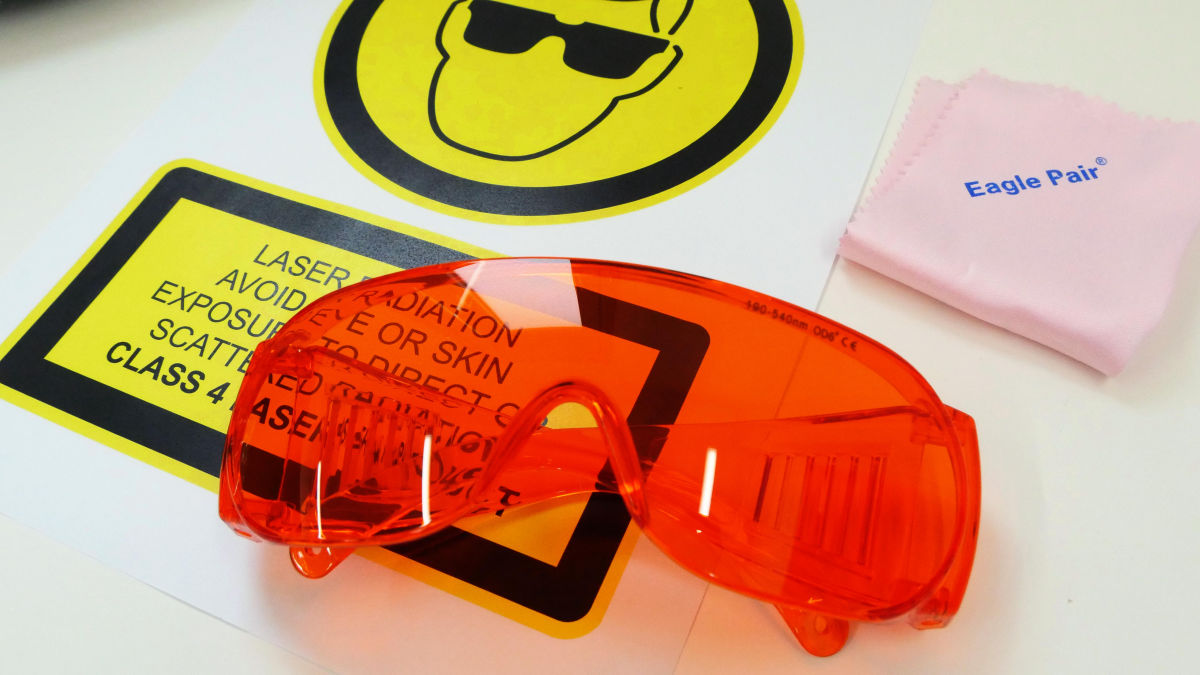
Orange eyewear. It is necessary to wear this eyewear during laser processing work to protect your eyes from laser.
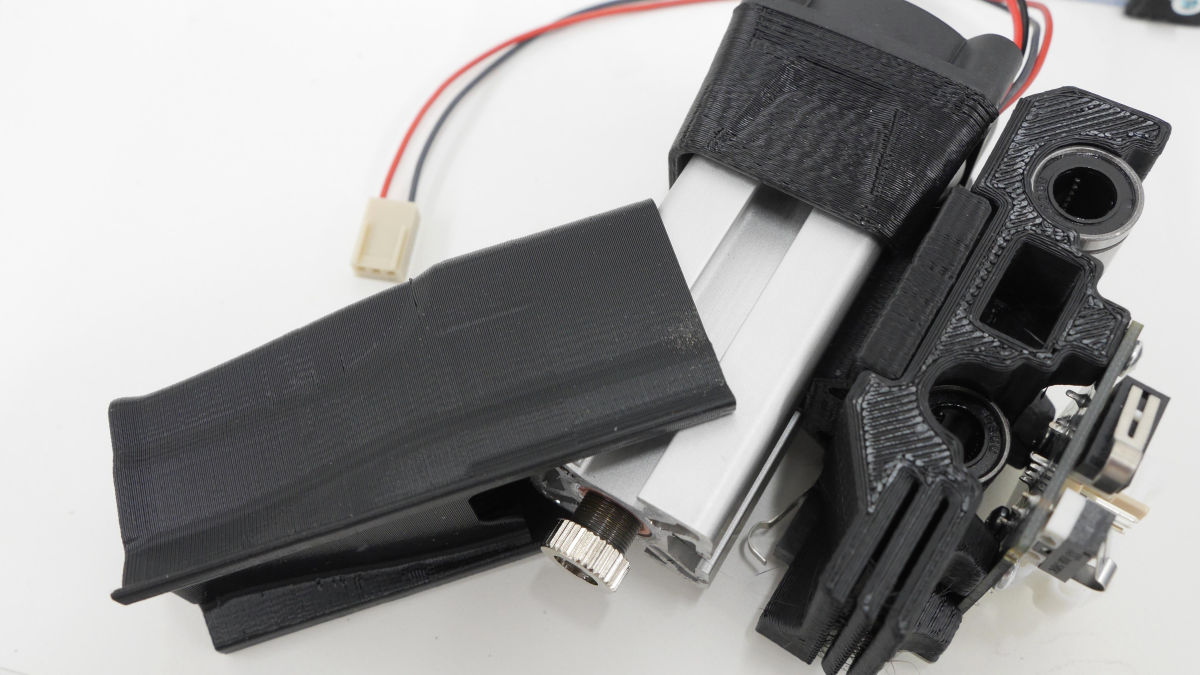
Taking out all the contents of the box looks like this. When assembling these parts, a DIY laser processing machine will be completed.
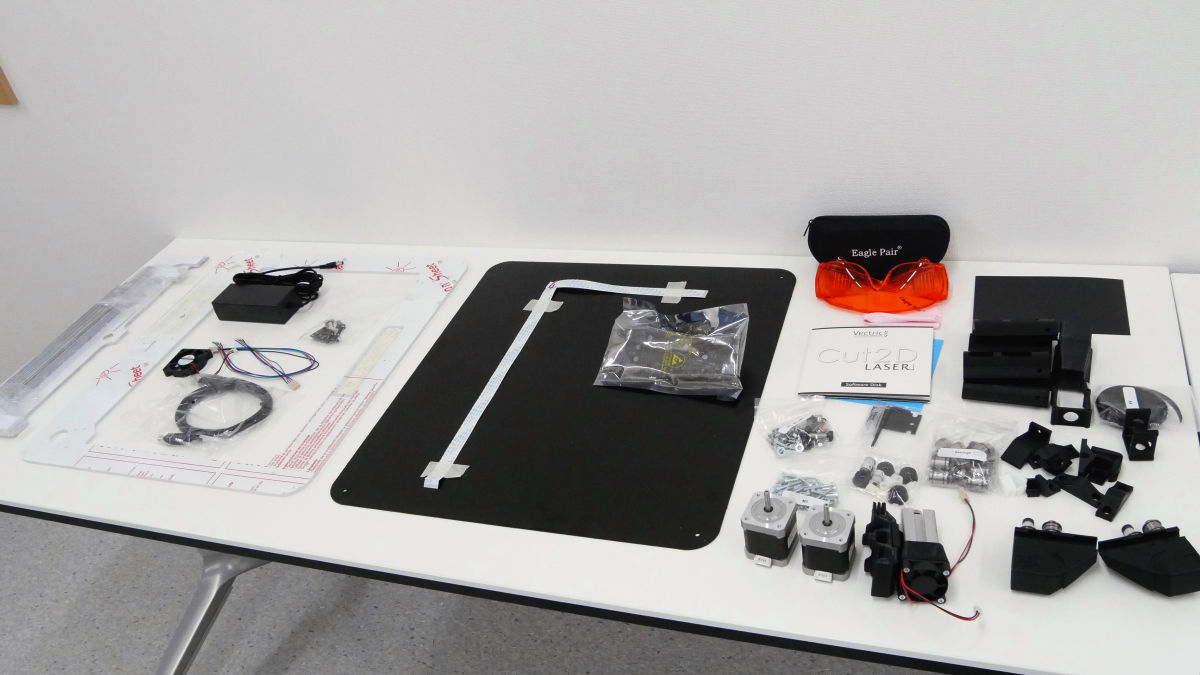
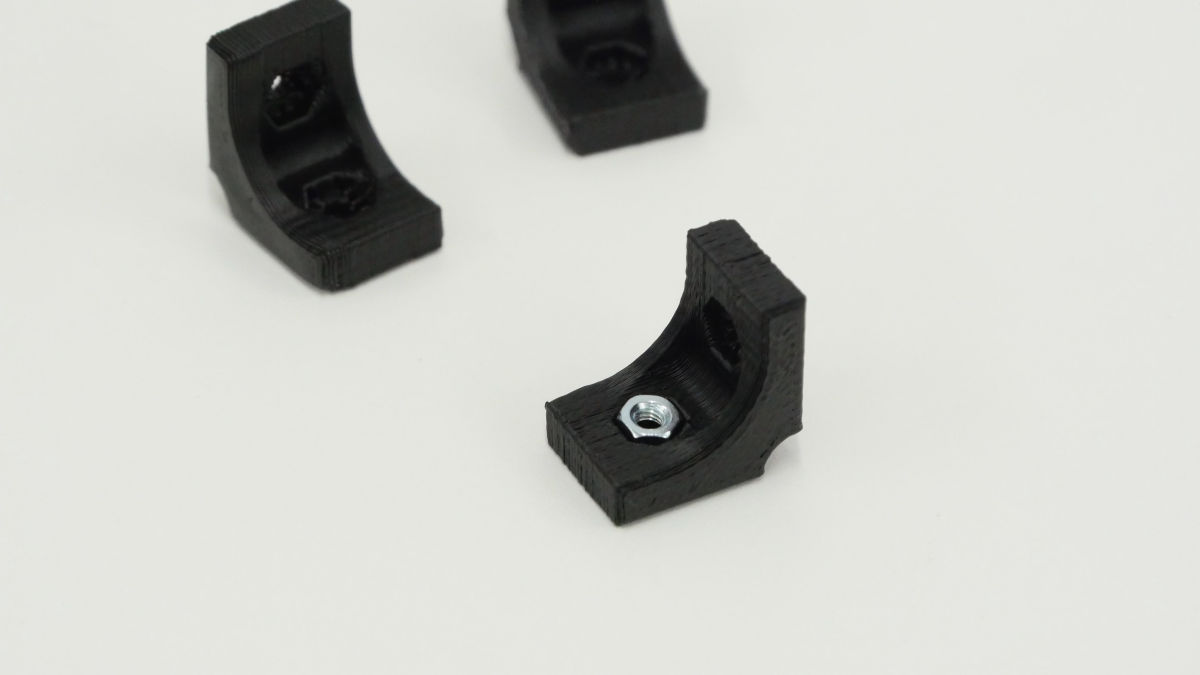
A number of parts that do not know how to build up.
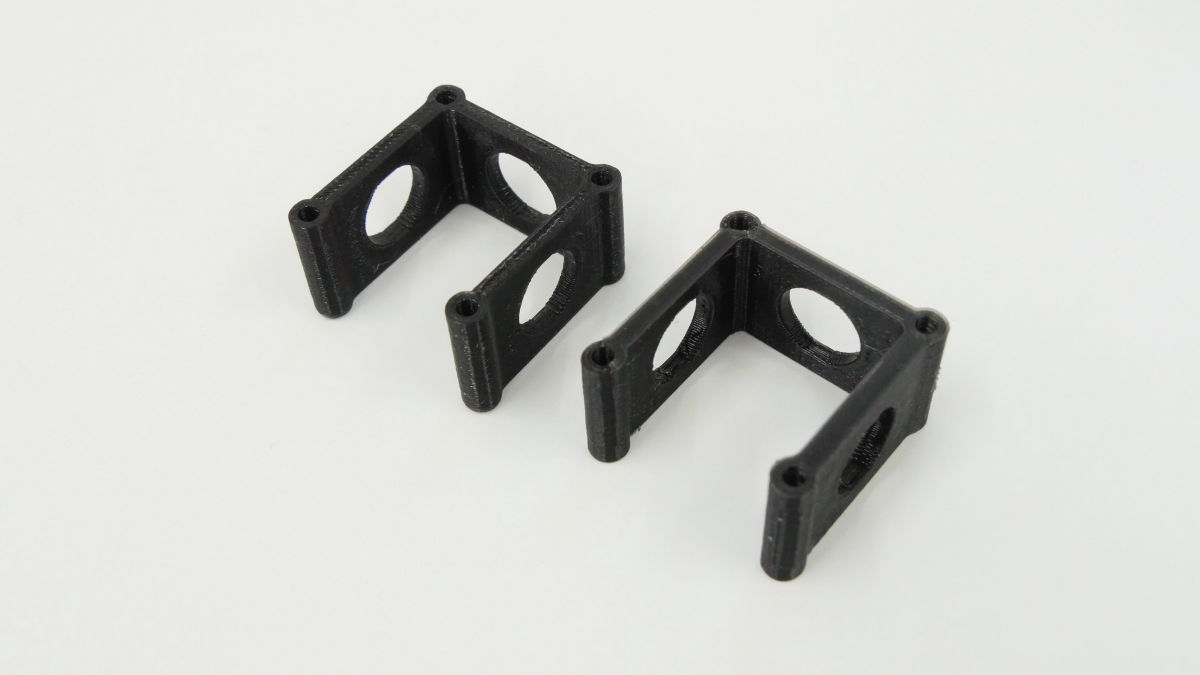
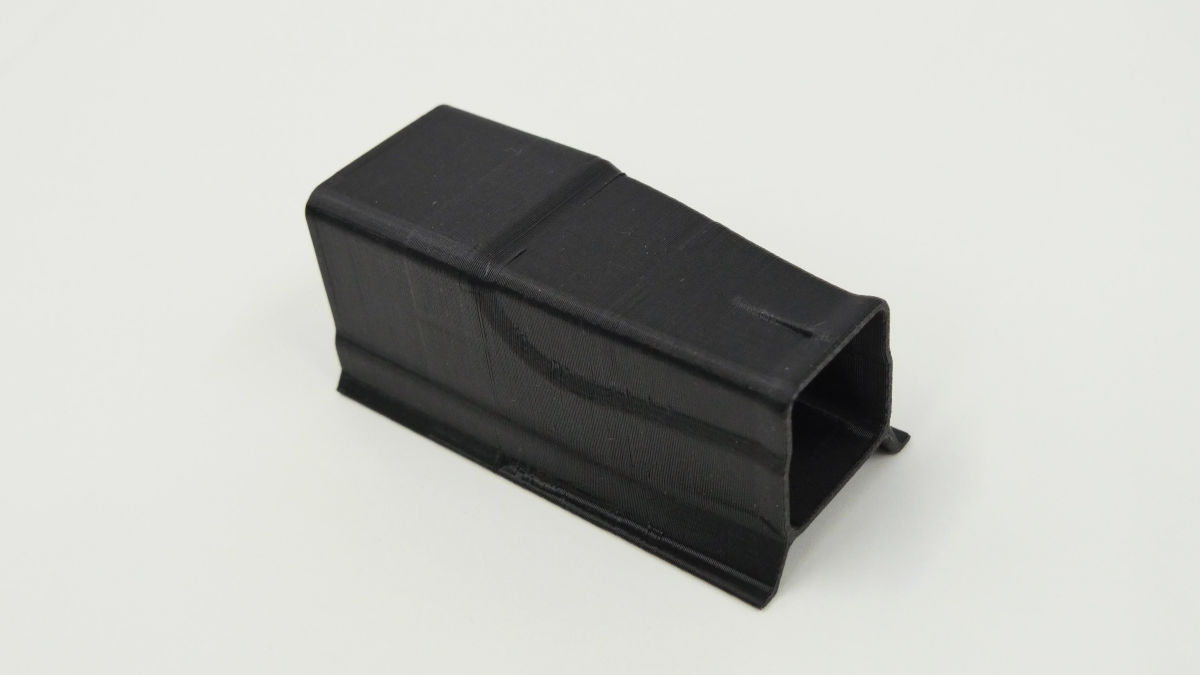
Because it is made up of innumerable "layers", it seems that it is outputted by 3D printer.
With two motors ......
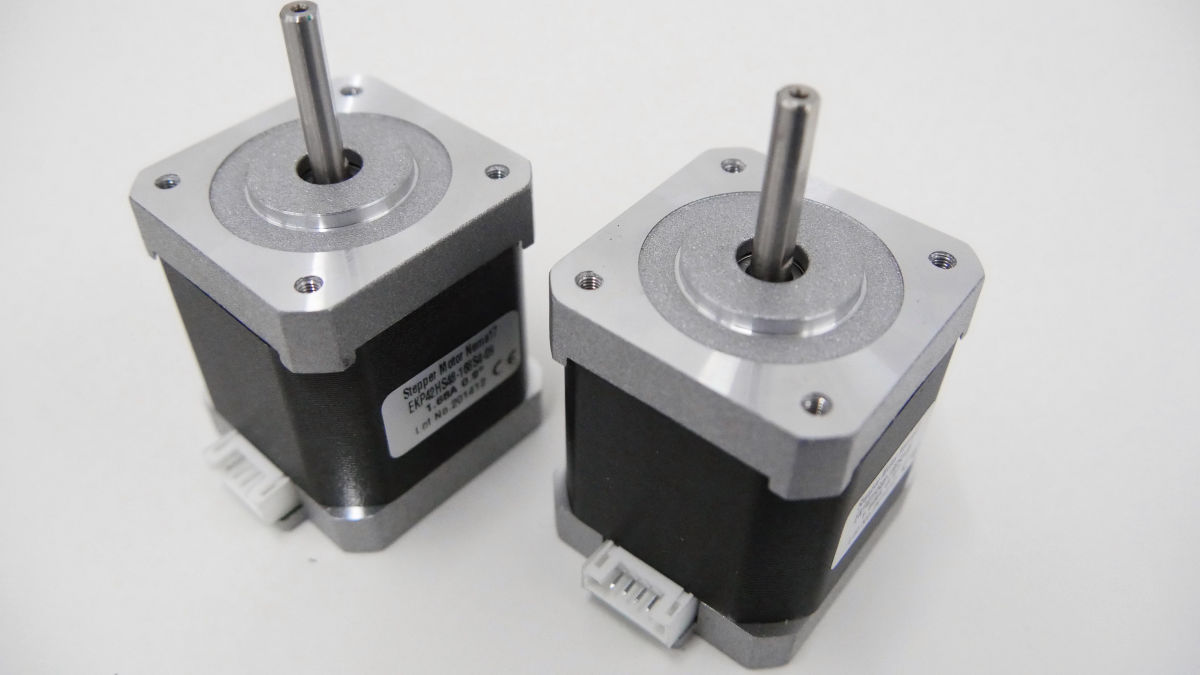
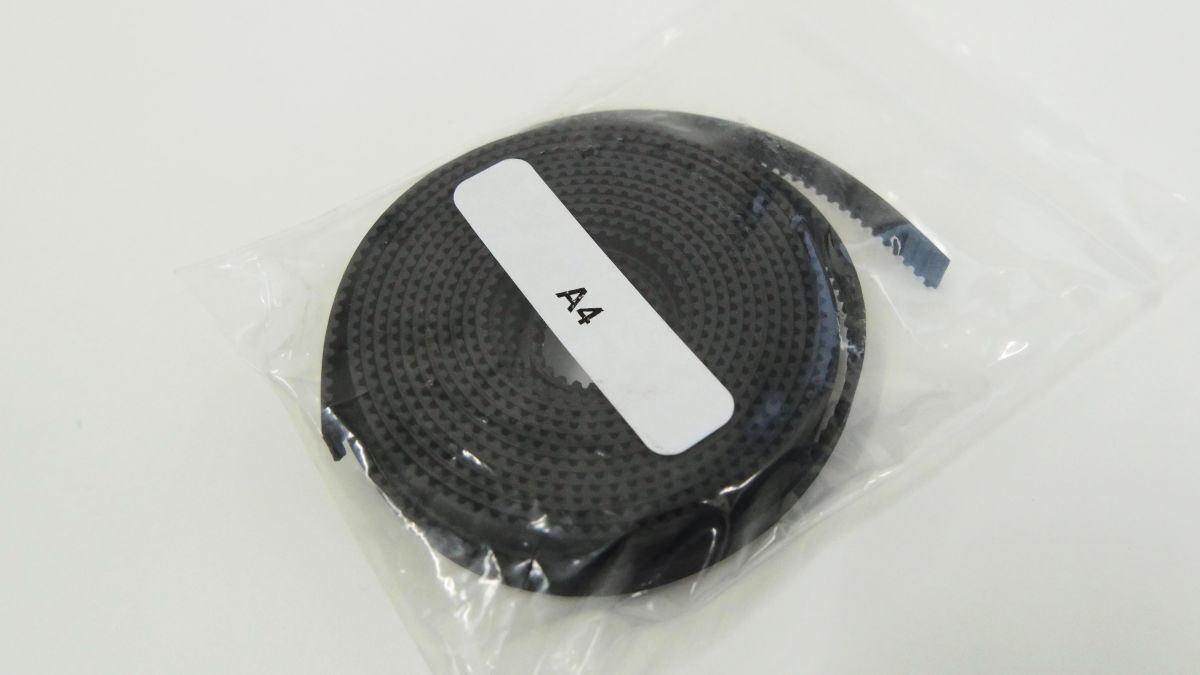
I drive with a belt.
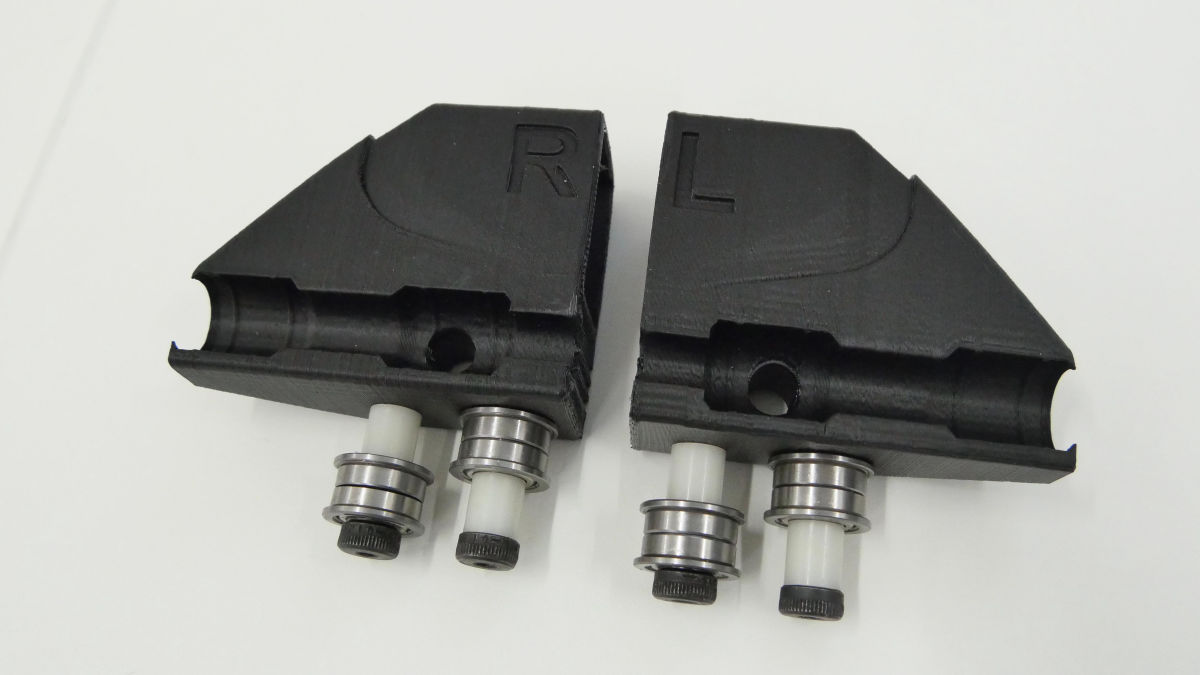
Some parts have bearings already installed.
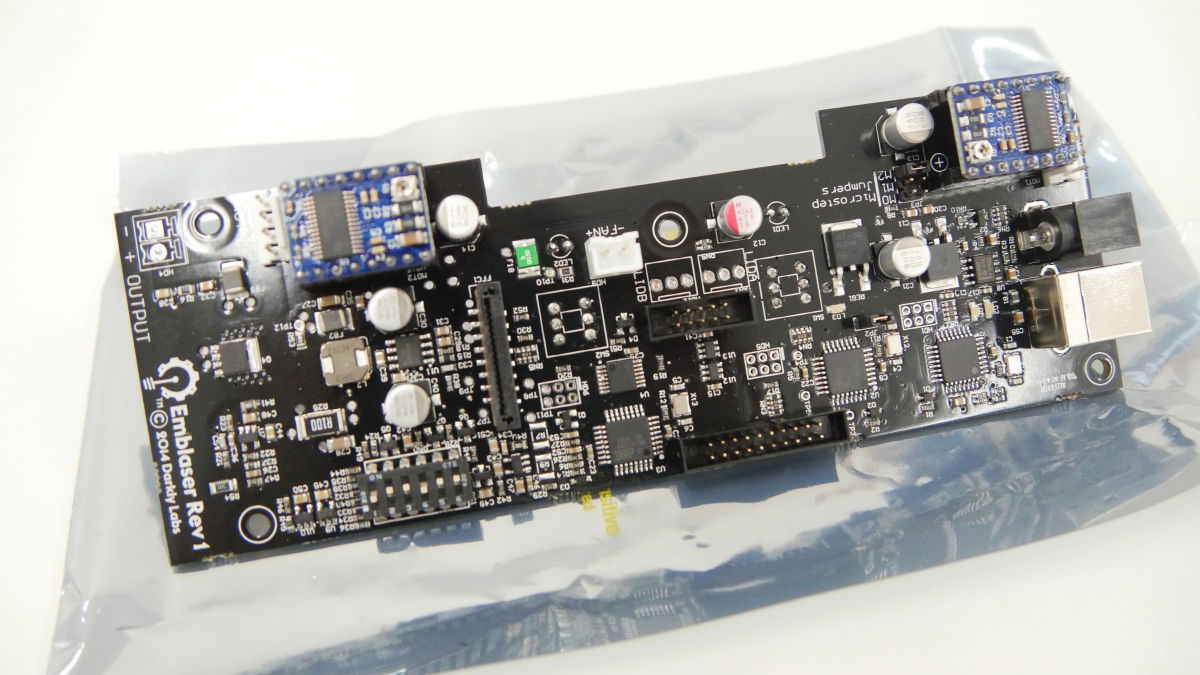
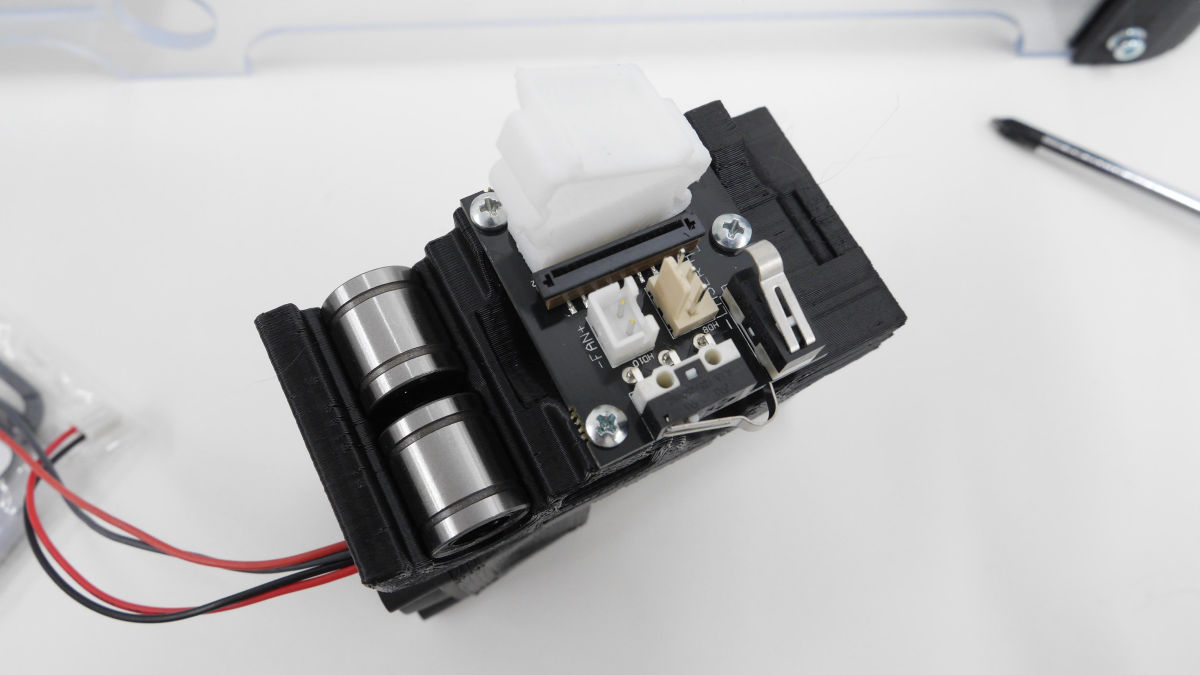
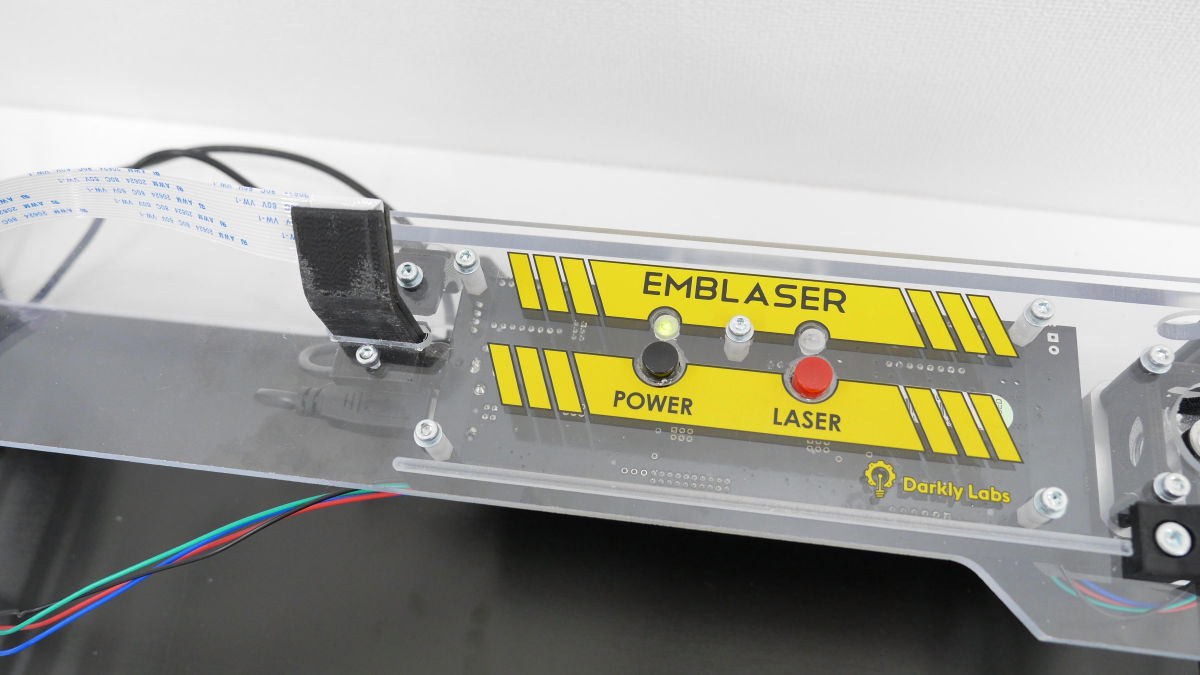
The main board looks something like this.
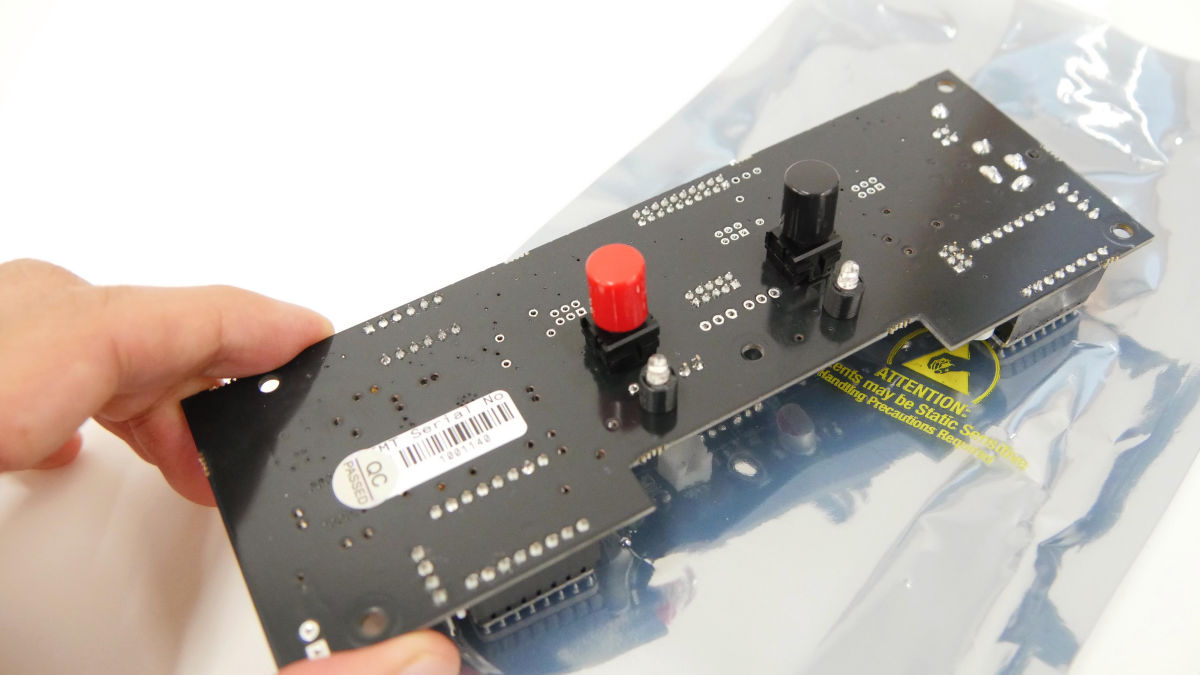
There are two red and black buttons on the back side.
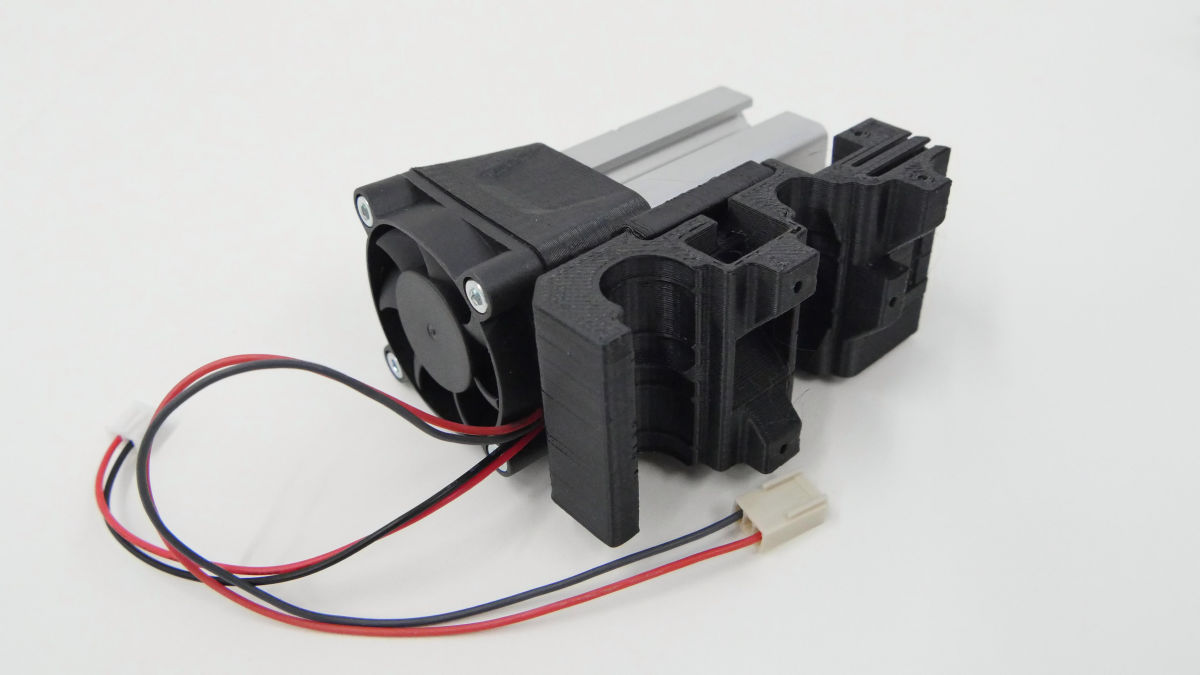
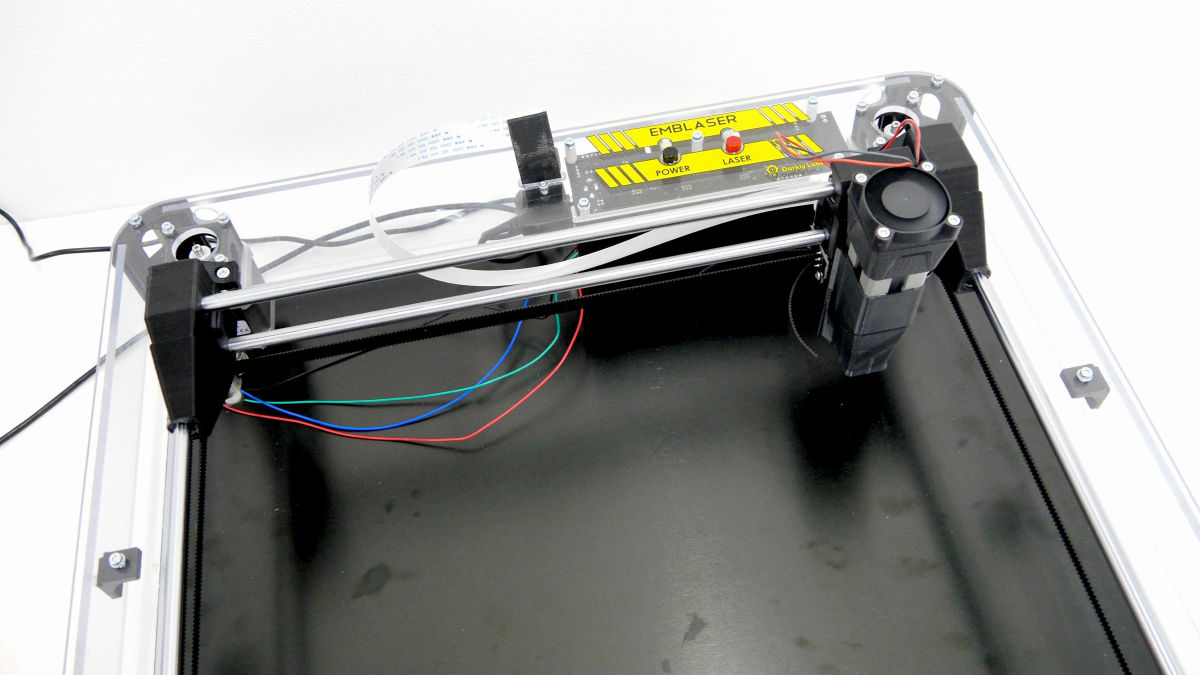
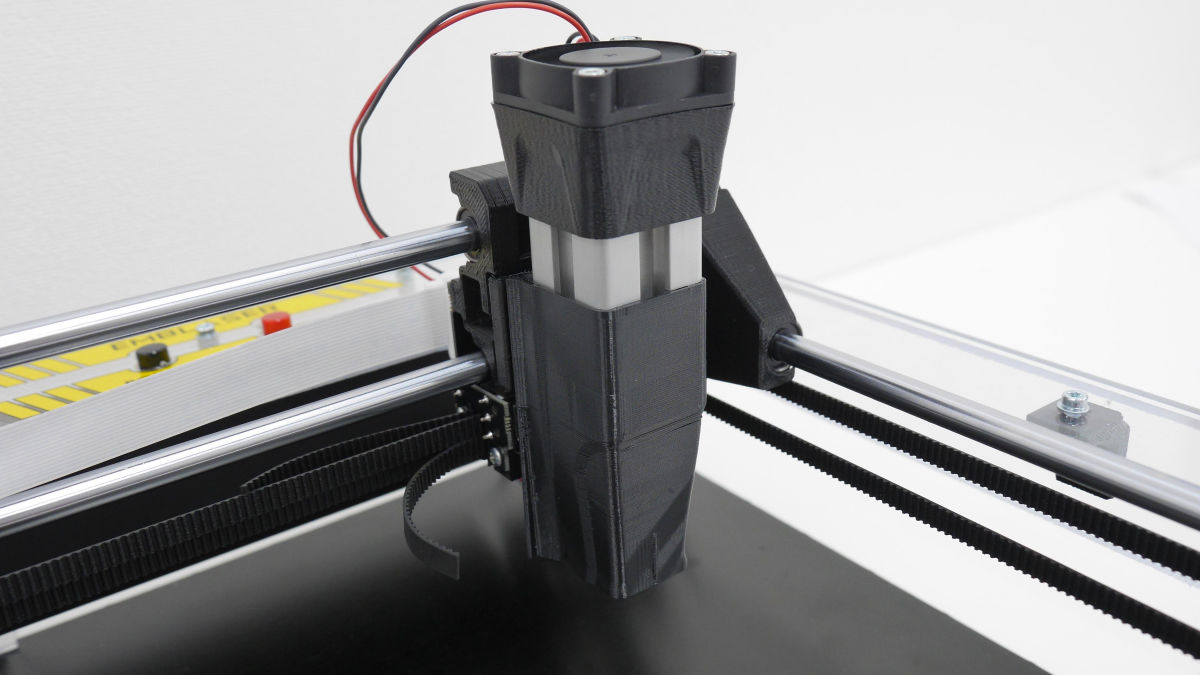
Parts equipped with fans are laser units.
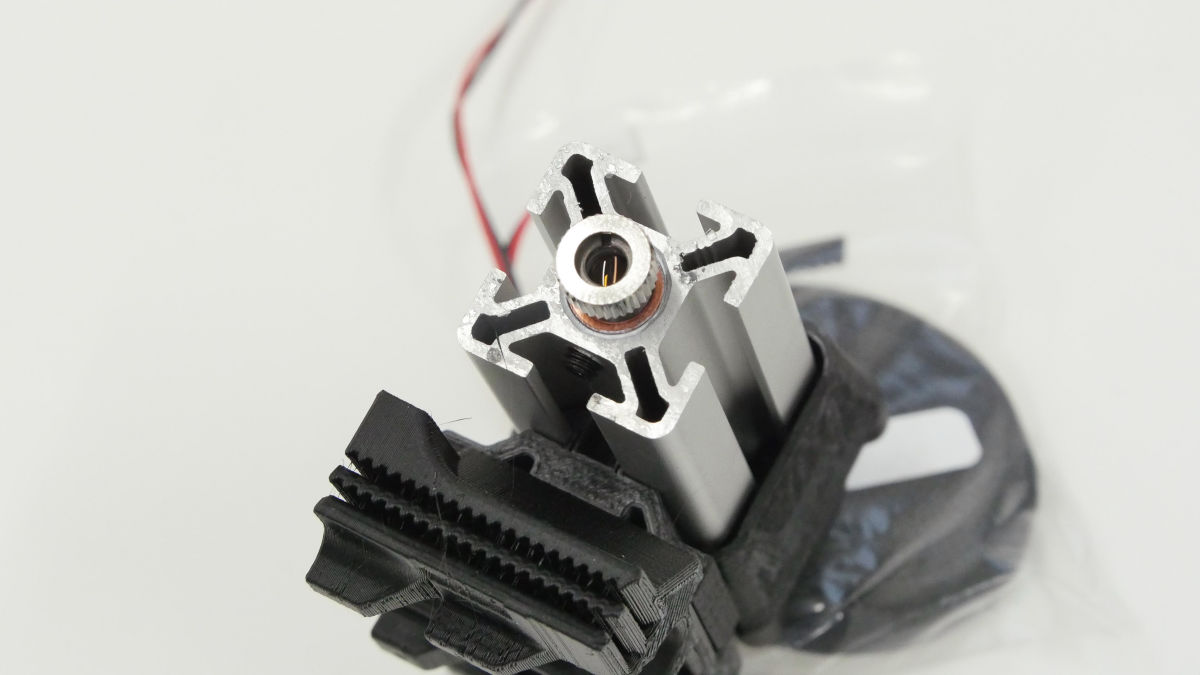
It seems that the laser is irradiated from the central lens.
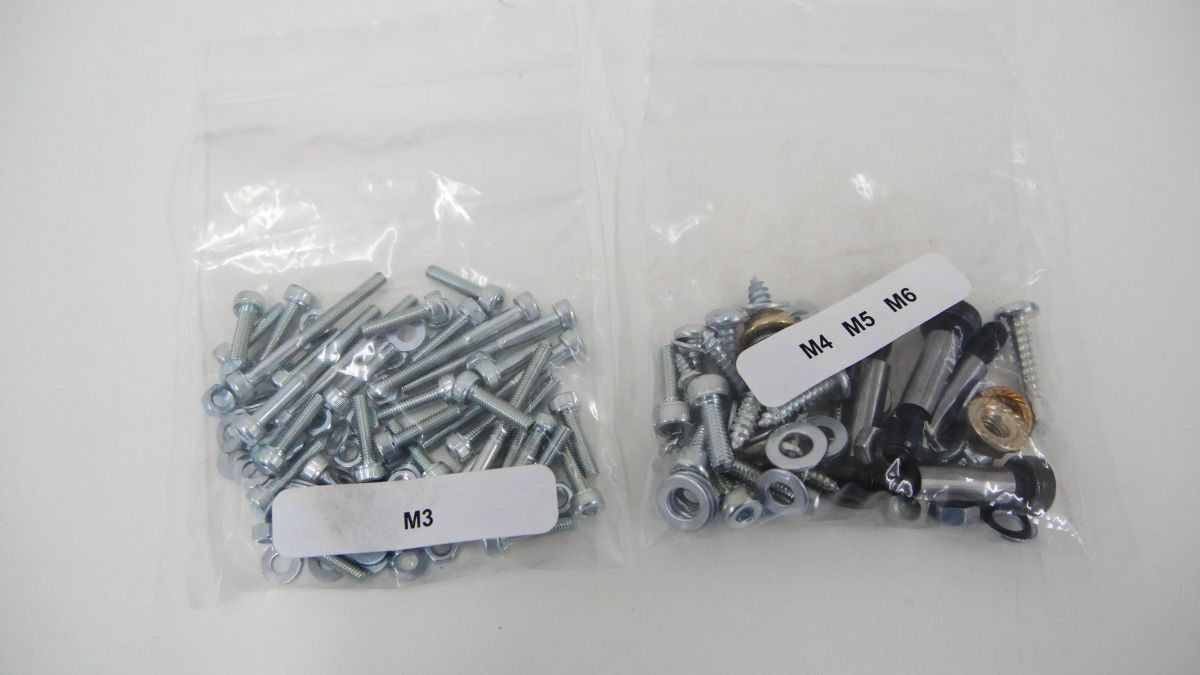
Large amounts of screws.
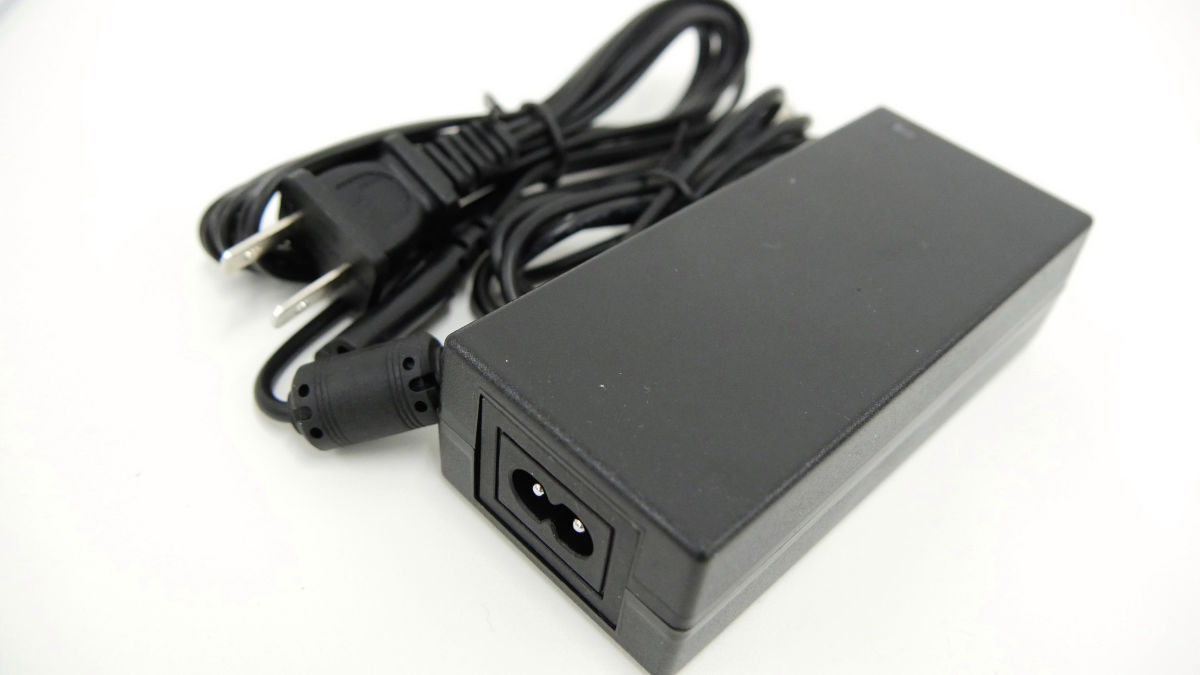
The AC adapter is 36W.
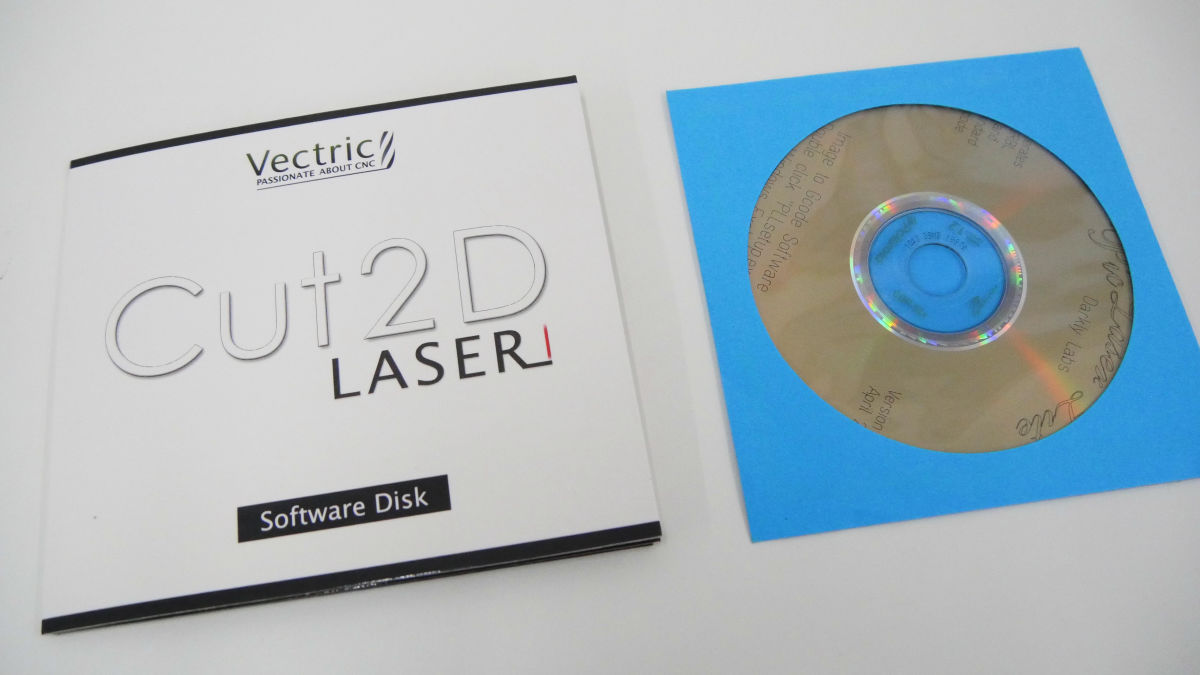
As Kickstarter's capital contribution bonus, software for laser cutting "Cut 2 D Laser" and "PicLaser Lite" were attached.
◆ Assembly
First of all, from the task of attaching "legs" to the acrylic panel on the top.
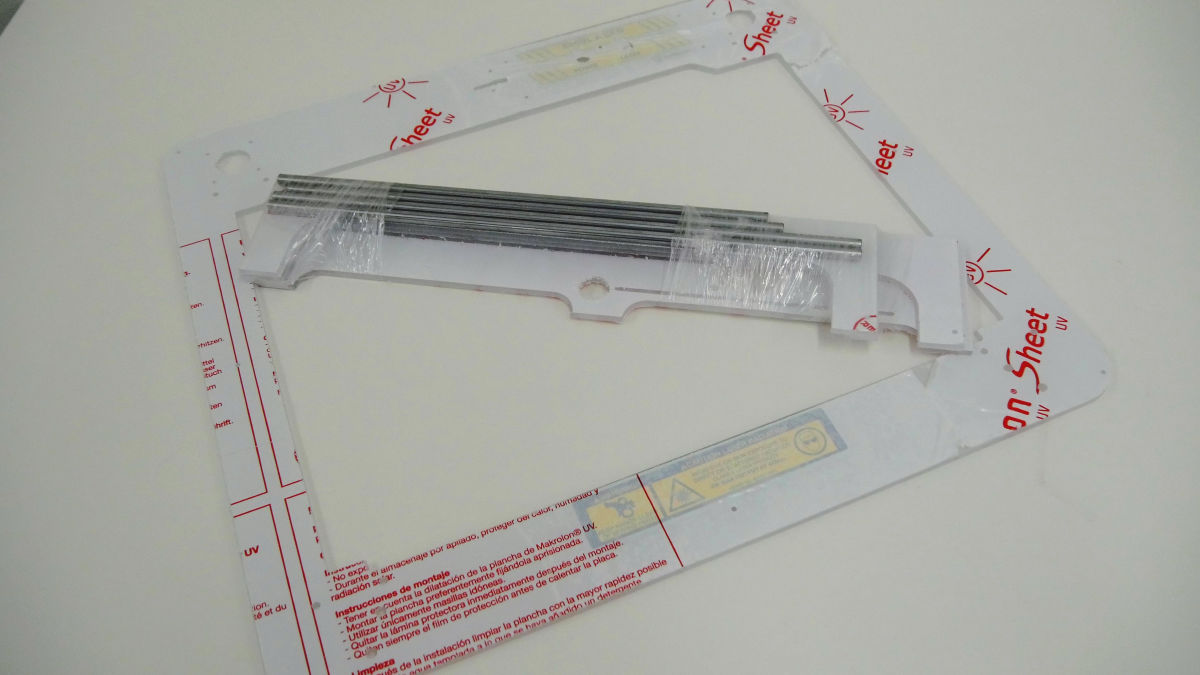
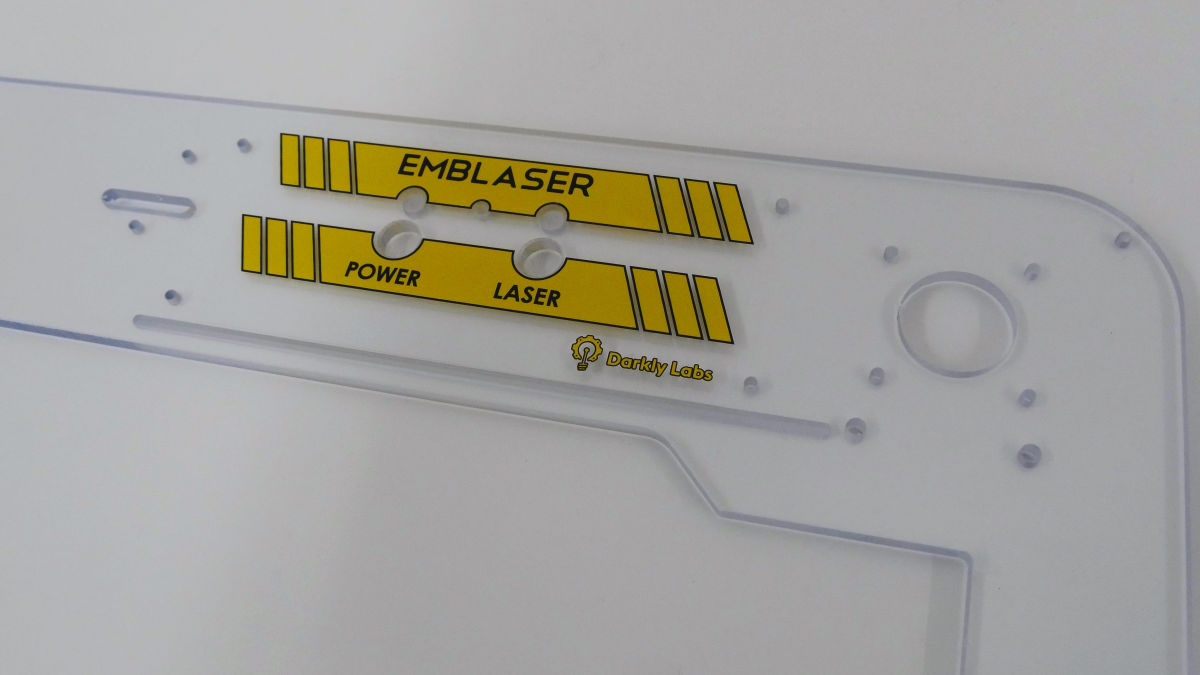
Peel off the protective sheet of the acrylic panel.
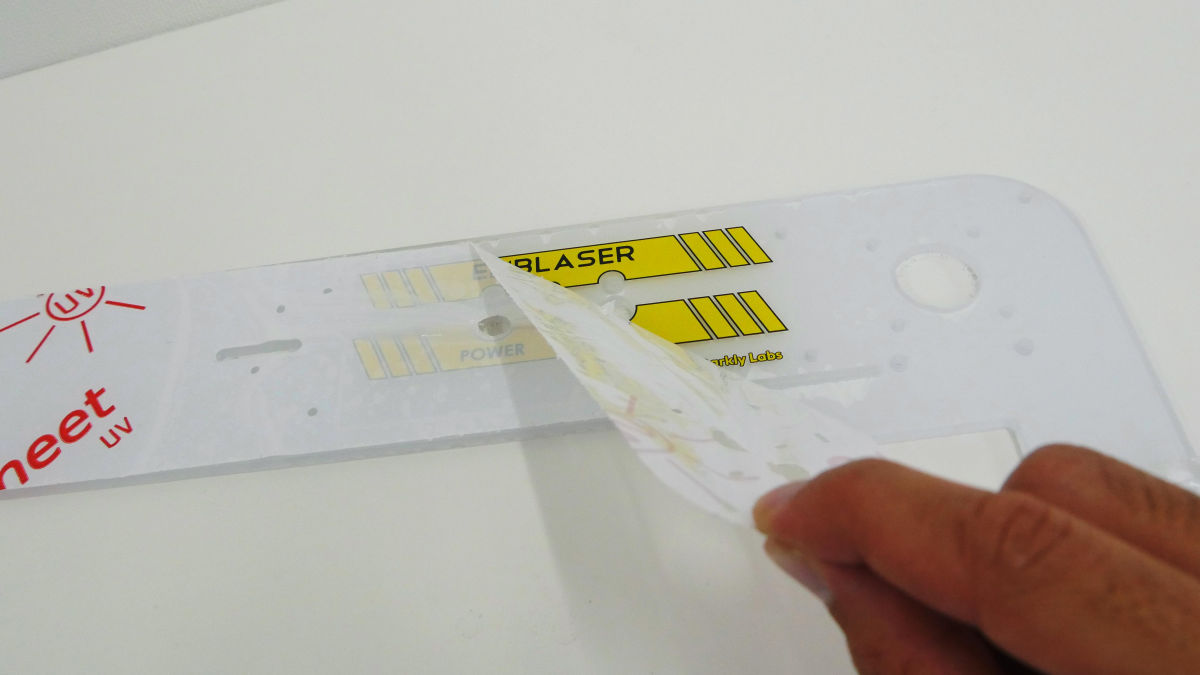
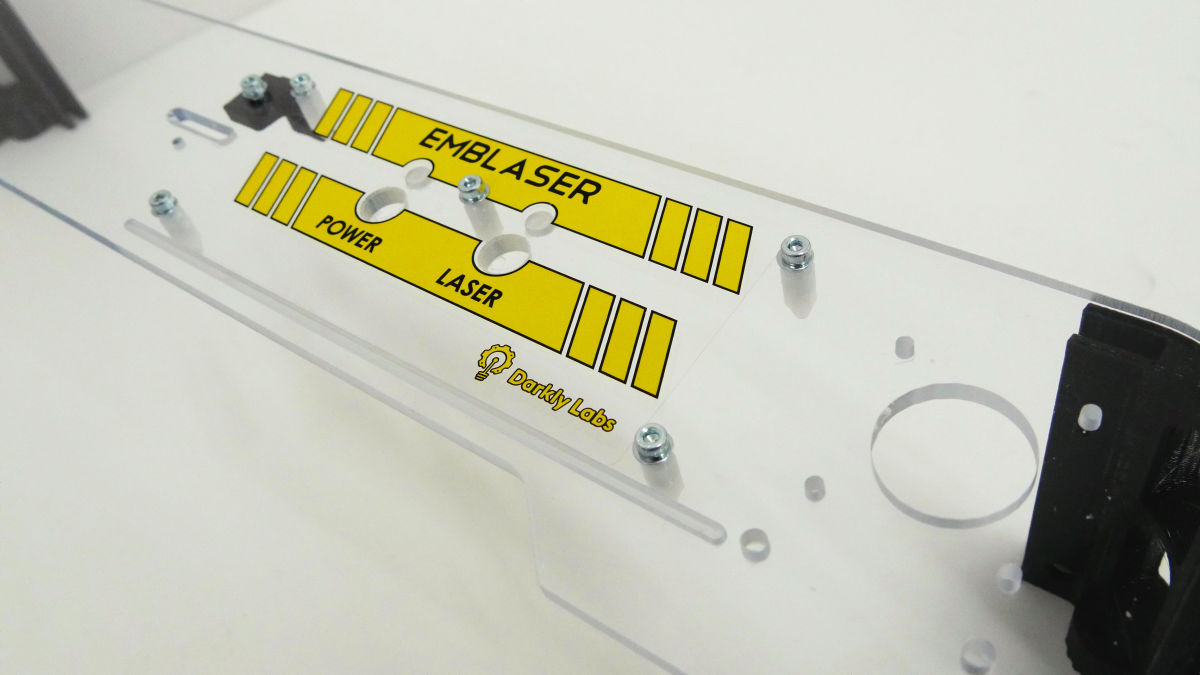
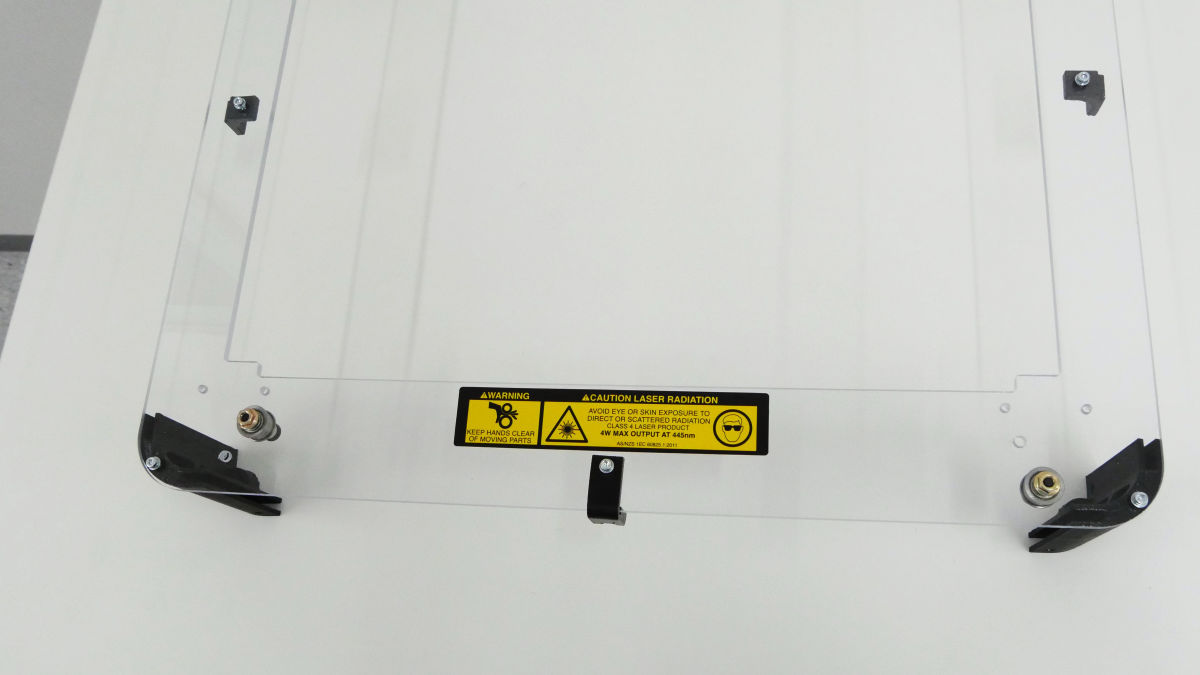
A seal was already pasted on the transparent acrylic panel. It seems that LazerBlade has been renamed to "Emblaser".
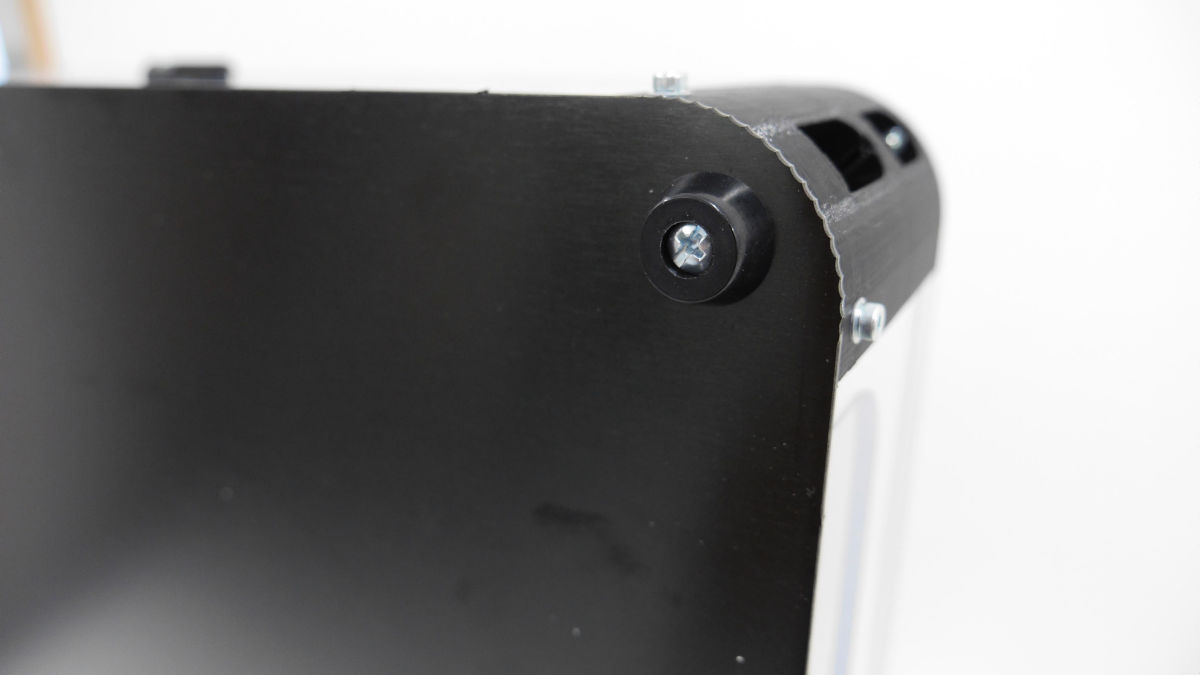
Fix the legs to the four corners with screws.
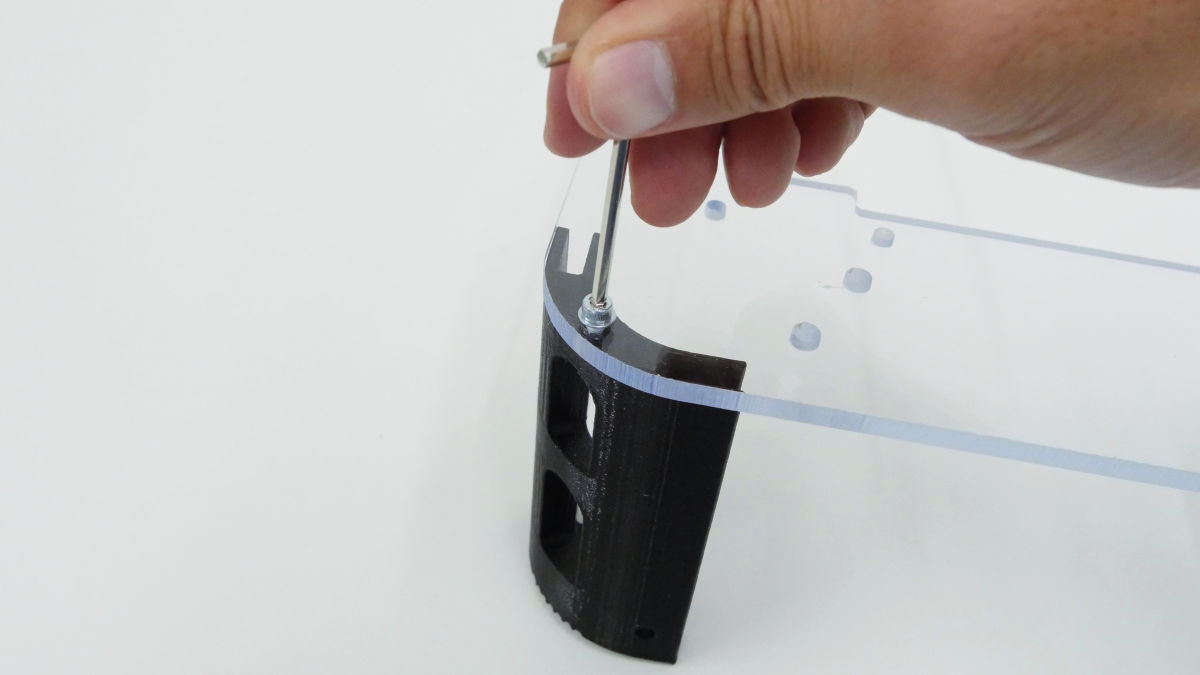
The legs were fitted.
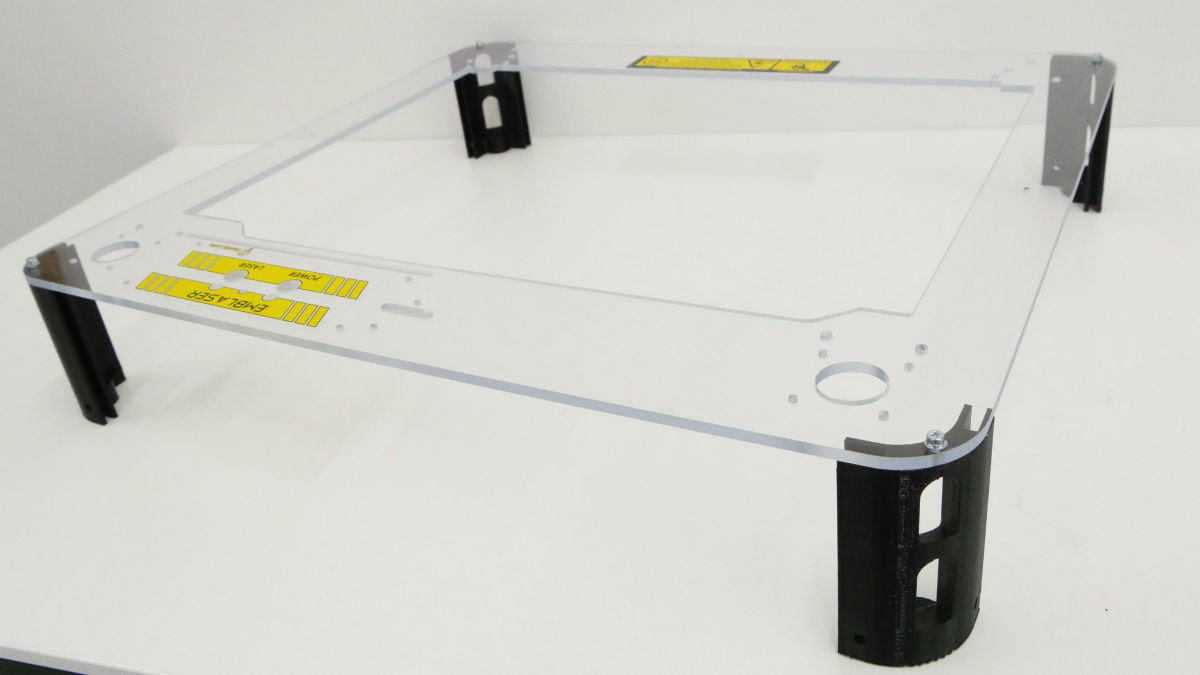
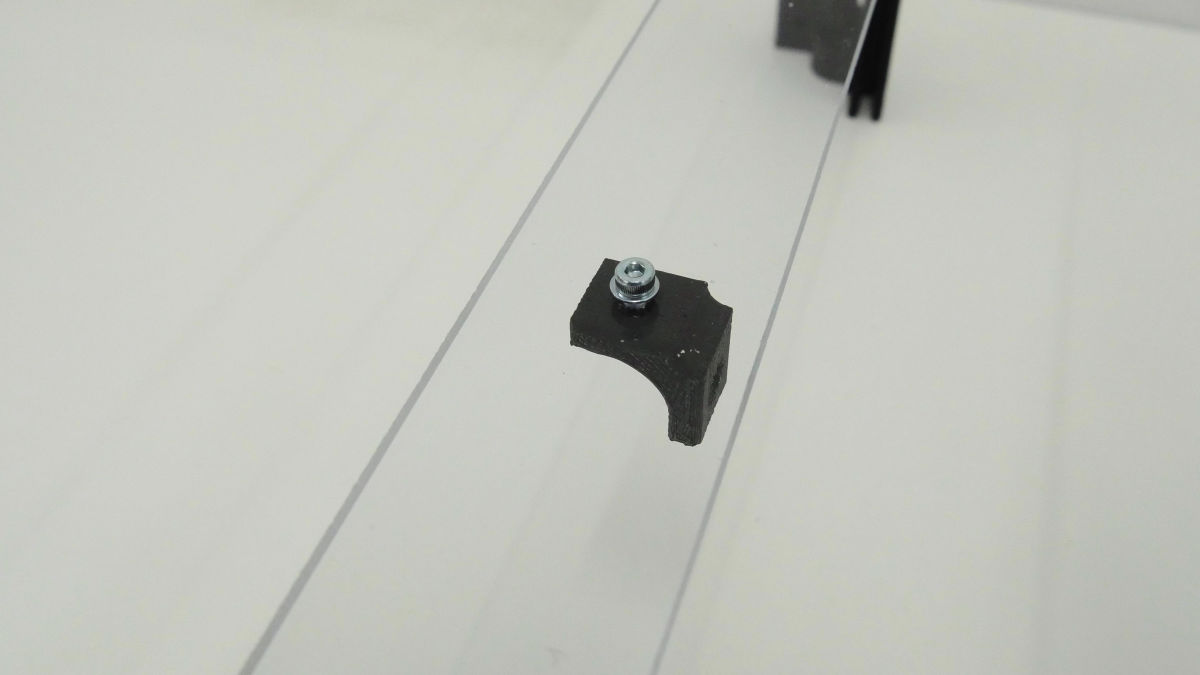
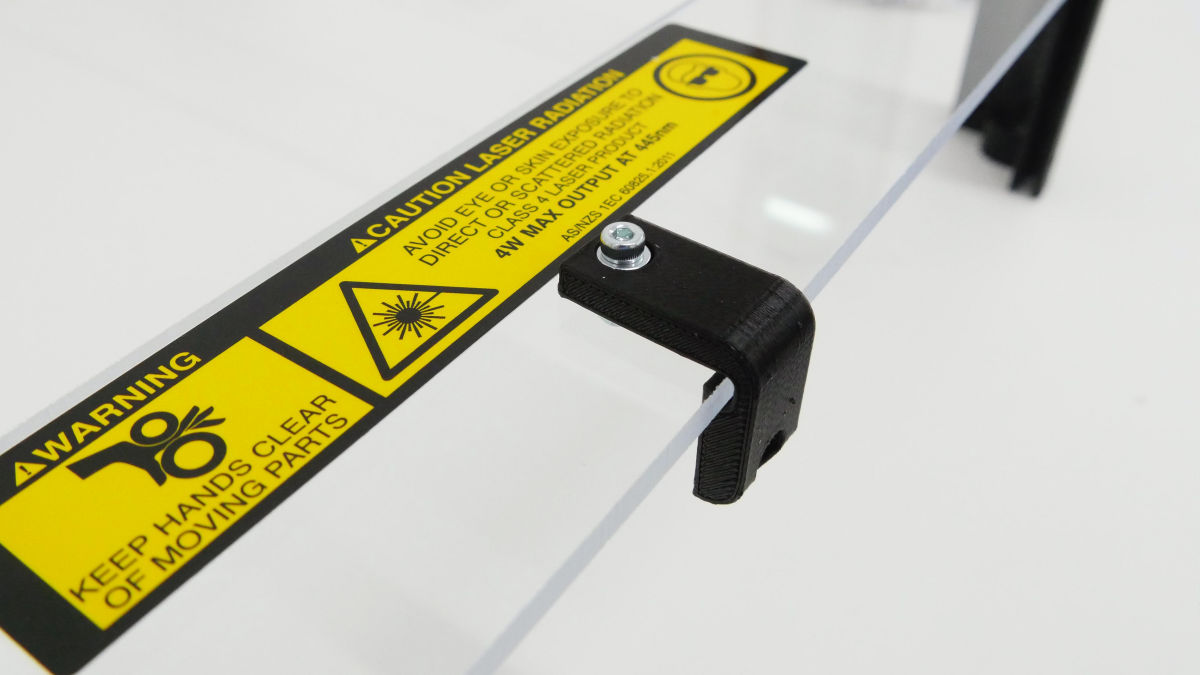
Prepare the stay for attaching the side acrylic panel.
Fix it to the acrylic panel on the top.
"Geta" for attaching the main board is attached from the back side to five places.
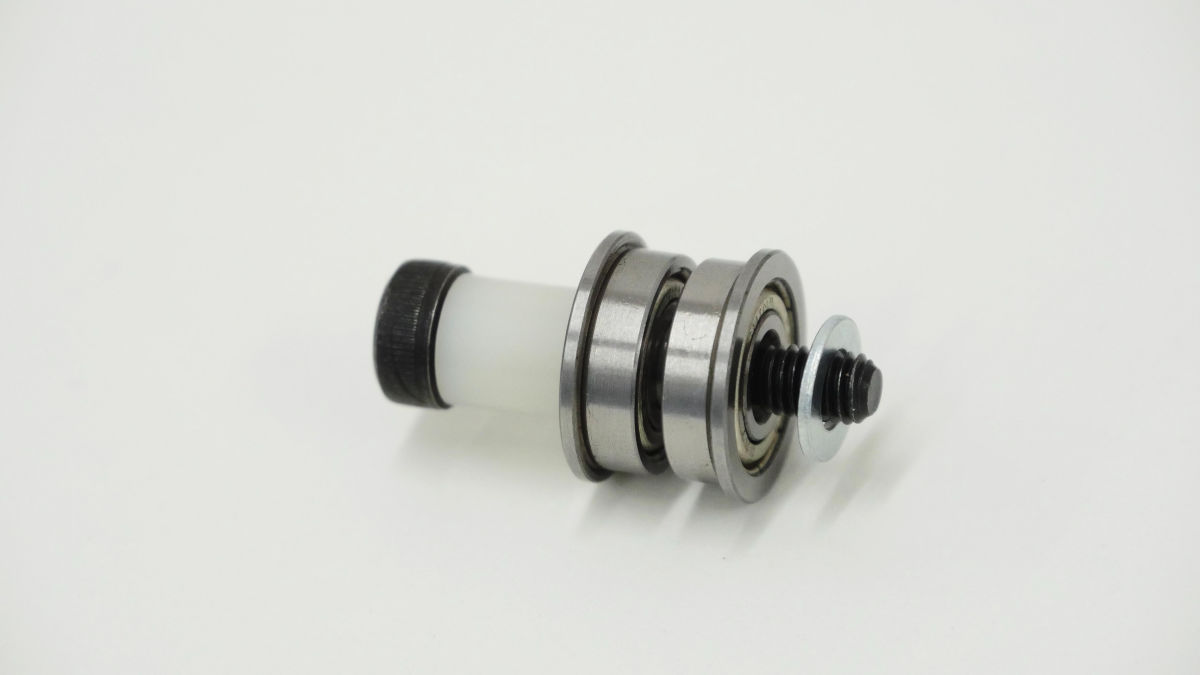
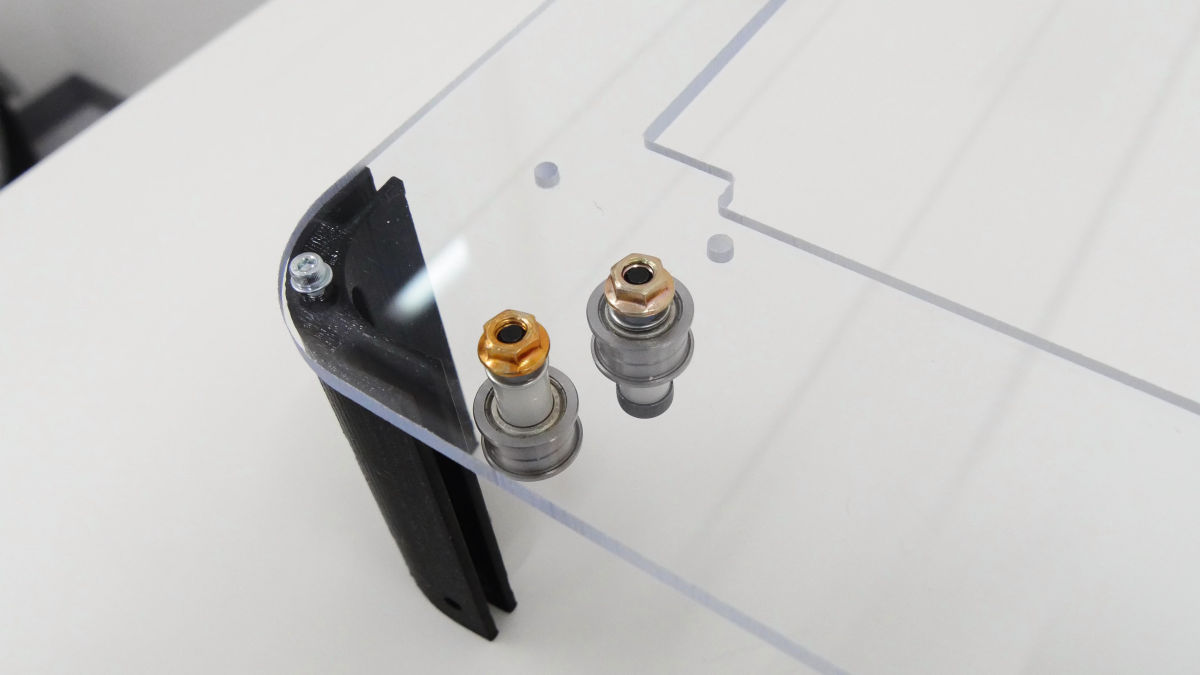
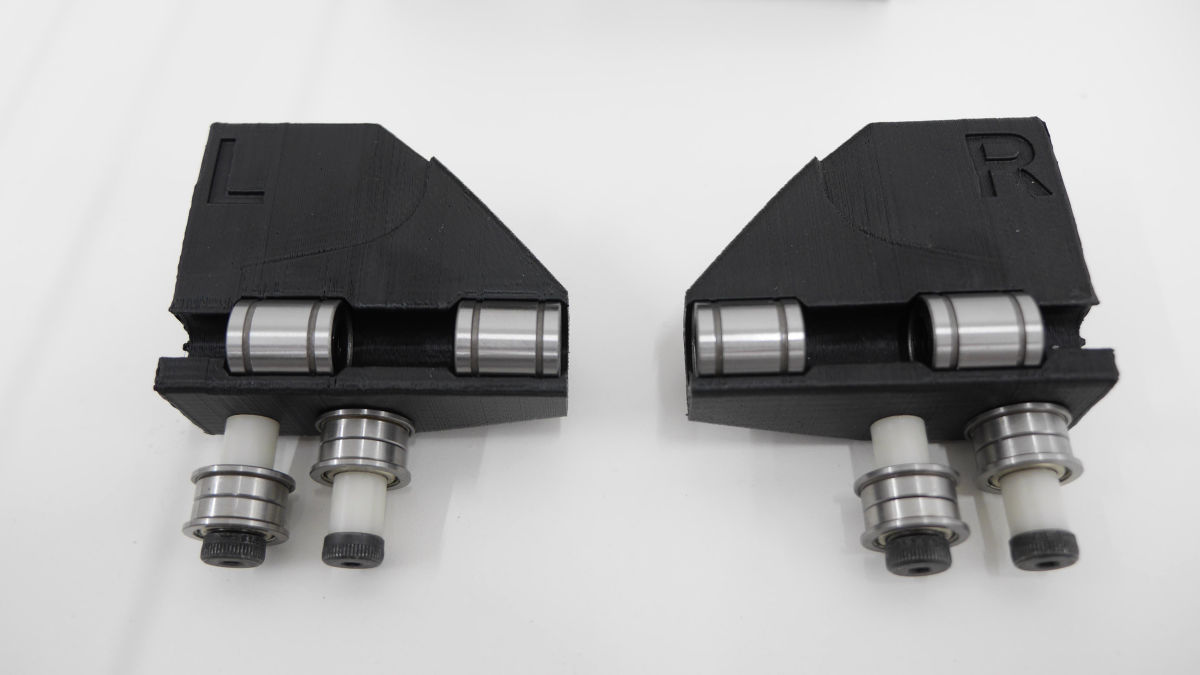
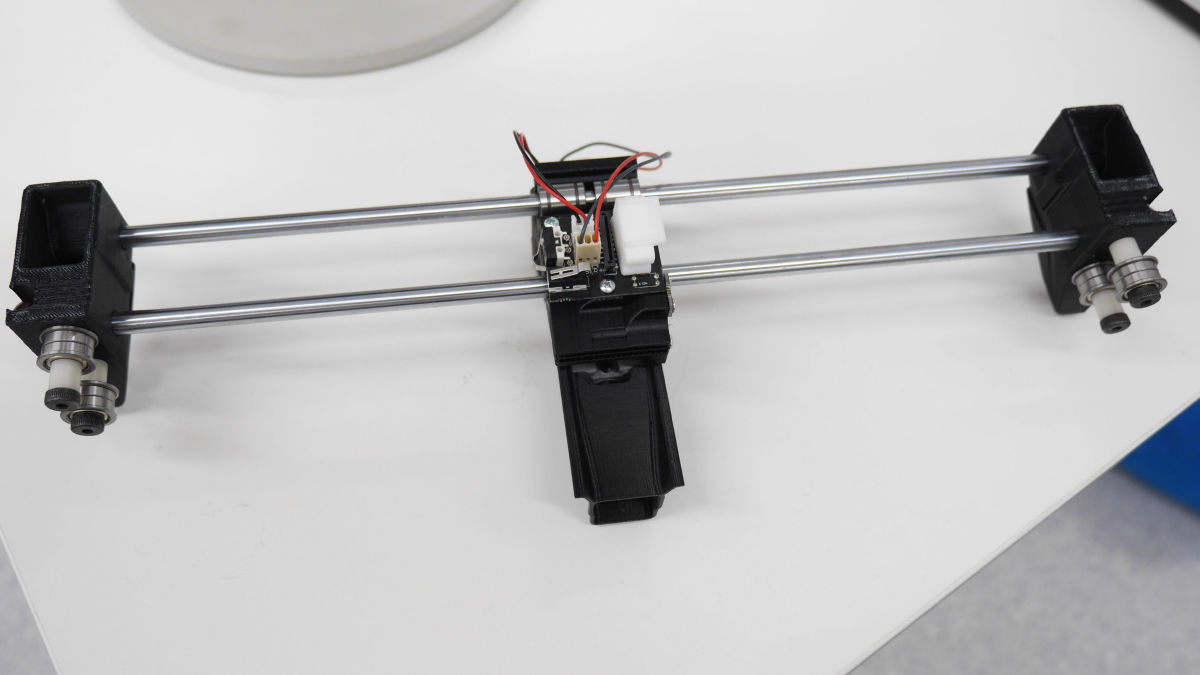
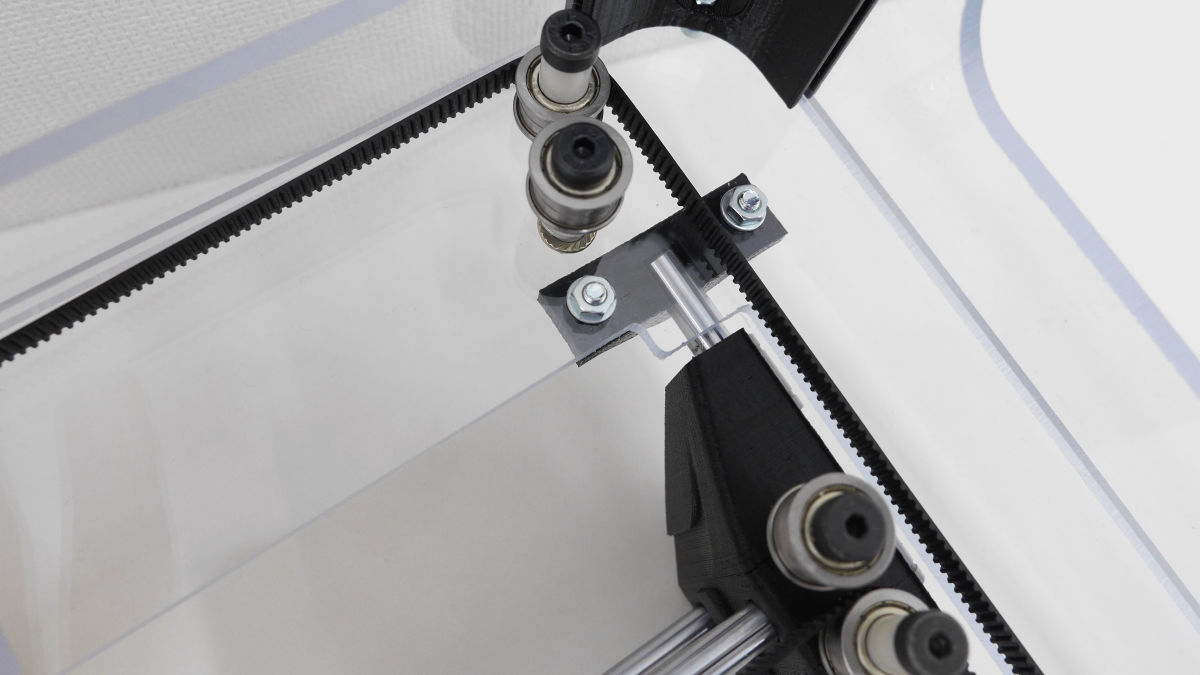
Attach a bearing to the shaft through the belt ... ...
Two, install it on the top.
Change the location of the bearings ......

Two more are installed.
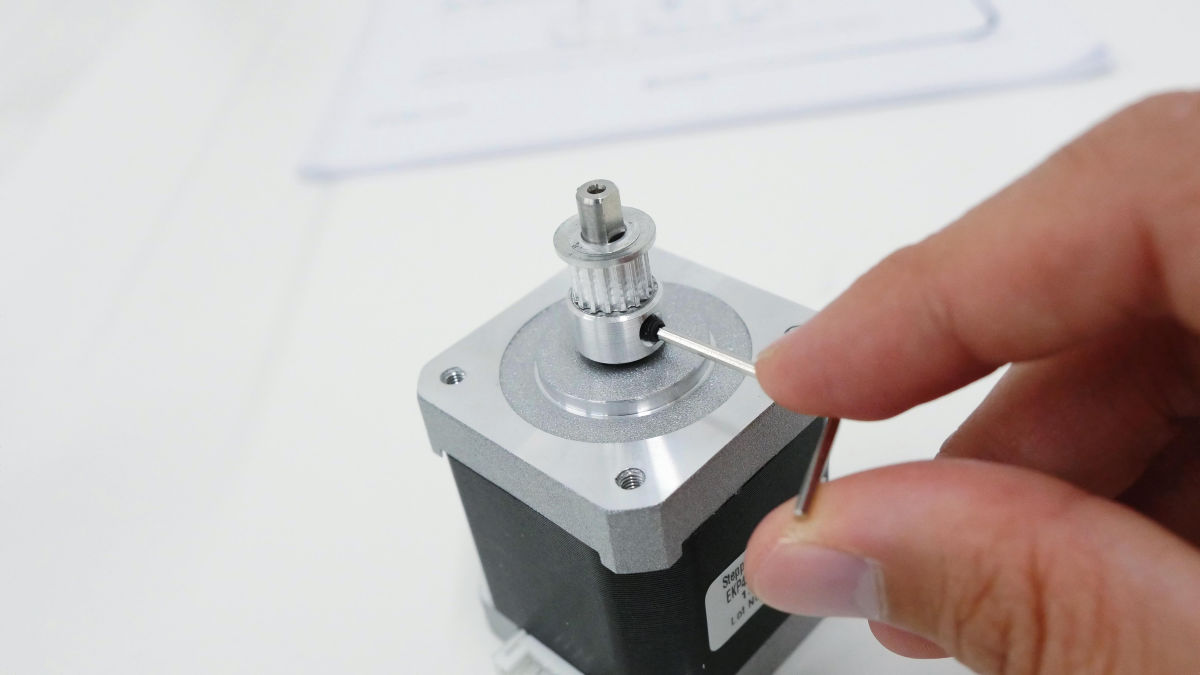
Next, put the gear for the belt on the shaft of the motor ... ...
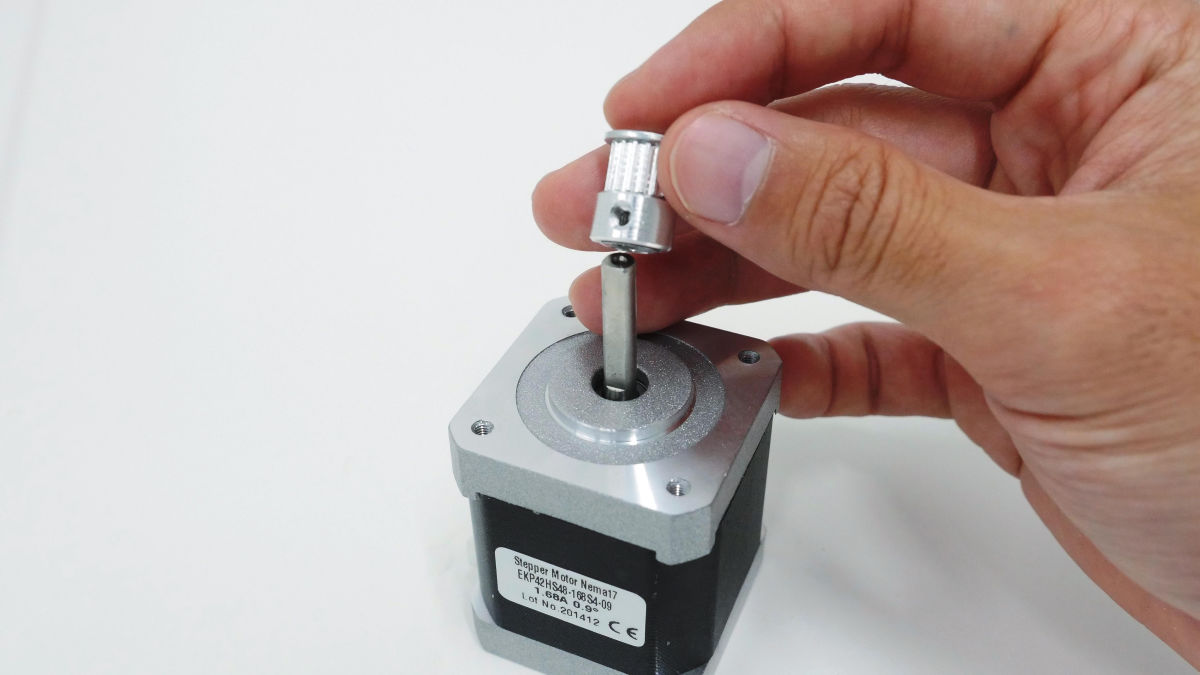
Firmly fixed.
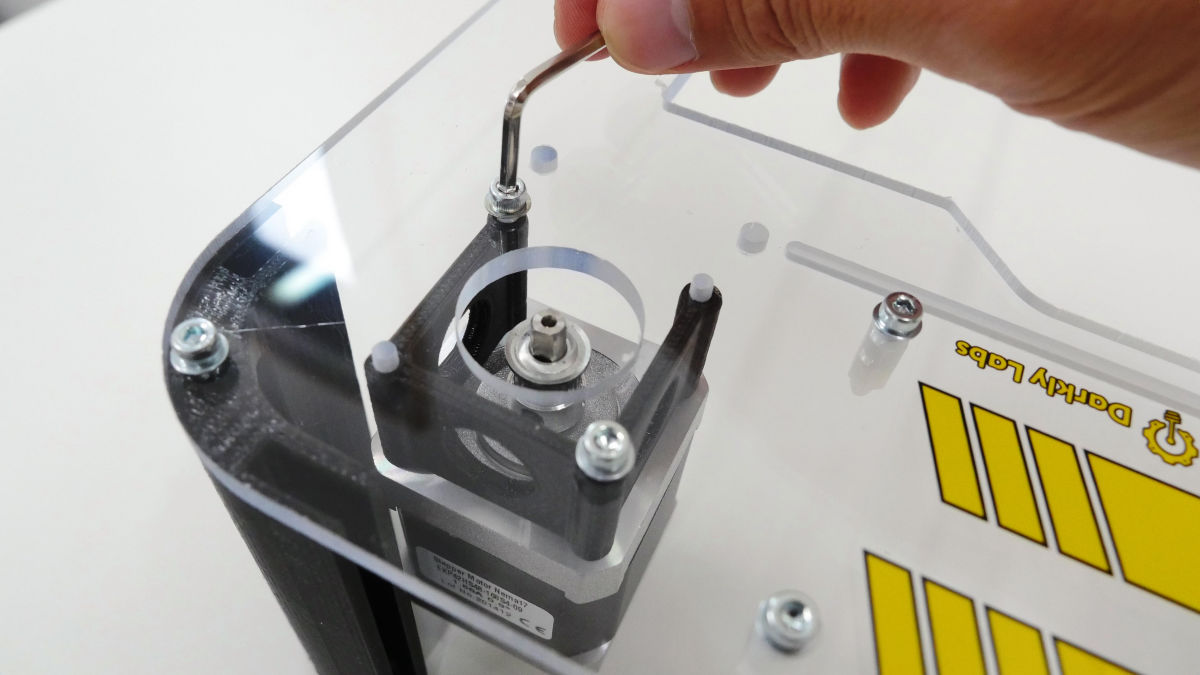
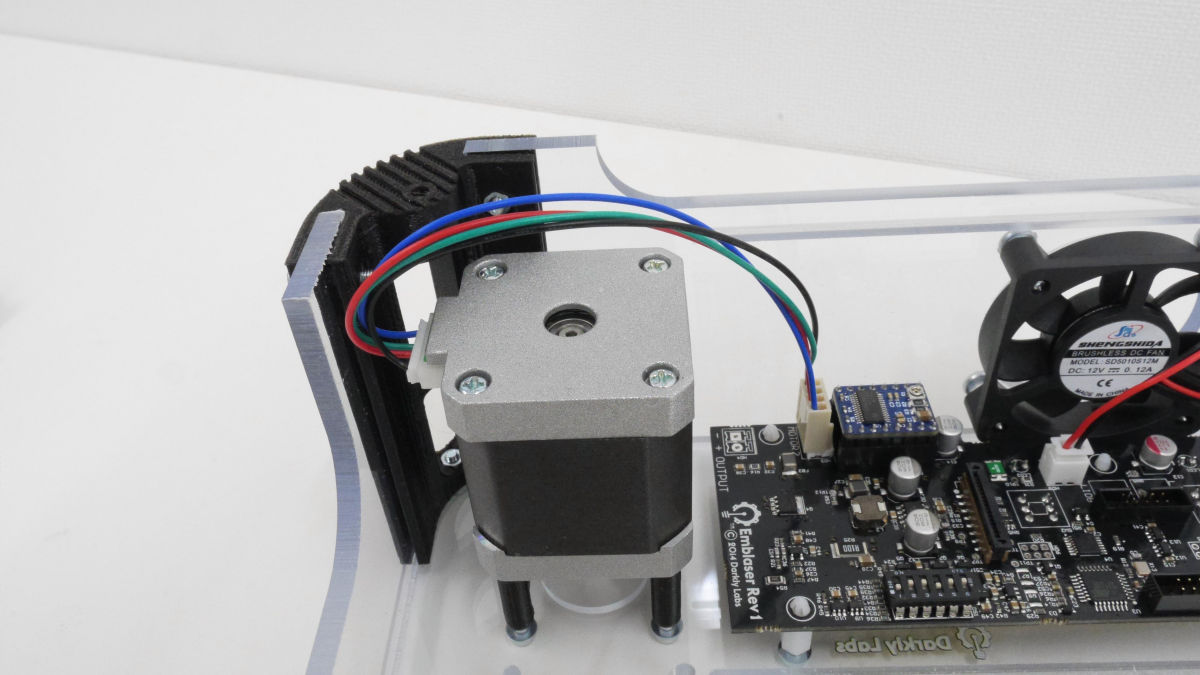
Attach the motor to the top surface.
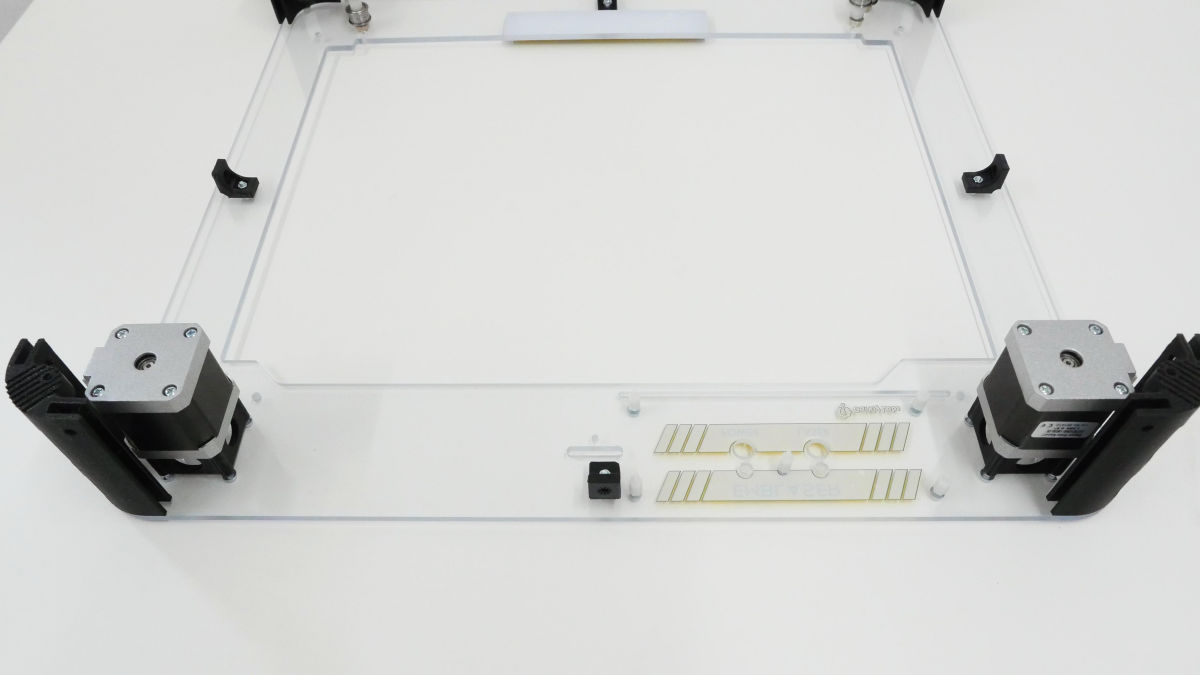
I will turn it over so that the top surface will be at the bottom here.
Next, the fan is attached to the acrylic panel for the side of the fan where the hole is empty.
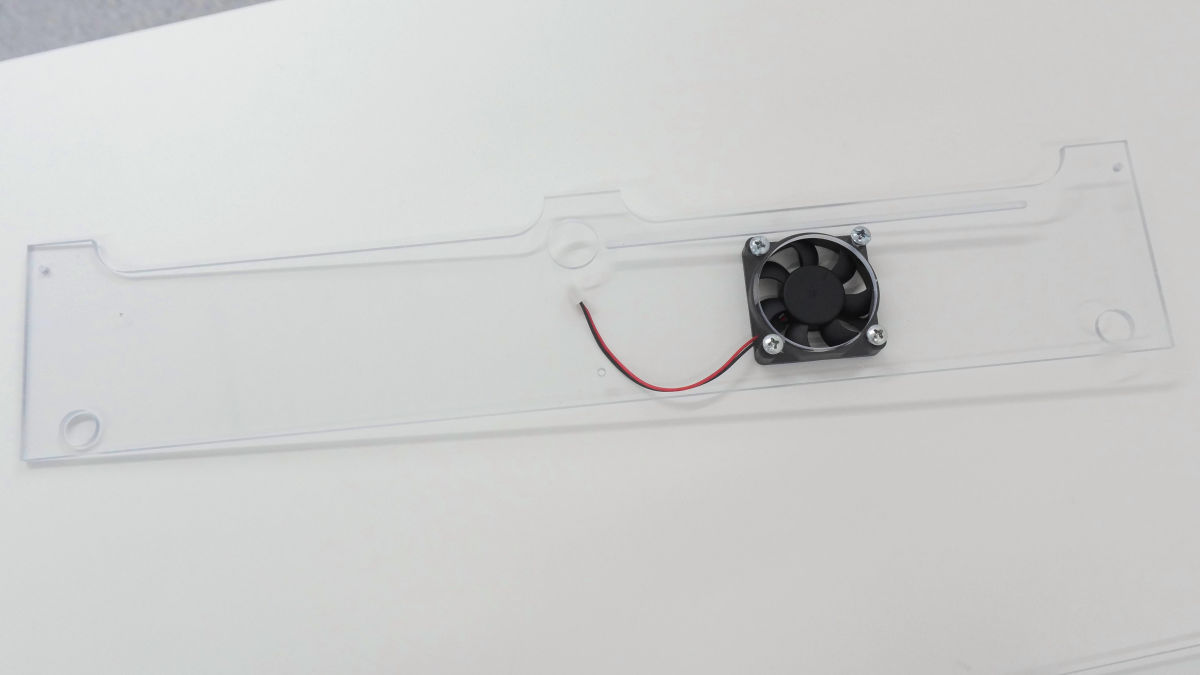
On the side where the main board is mounted, an acrylic panel with a fan is installed. In addition, the fan was mounted so that the wind was sent from the outside to the inside.
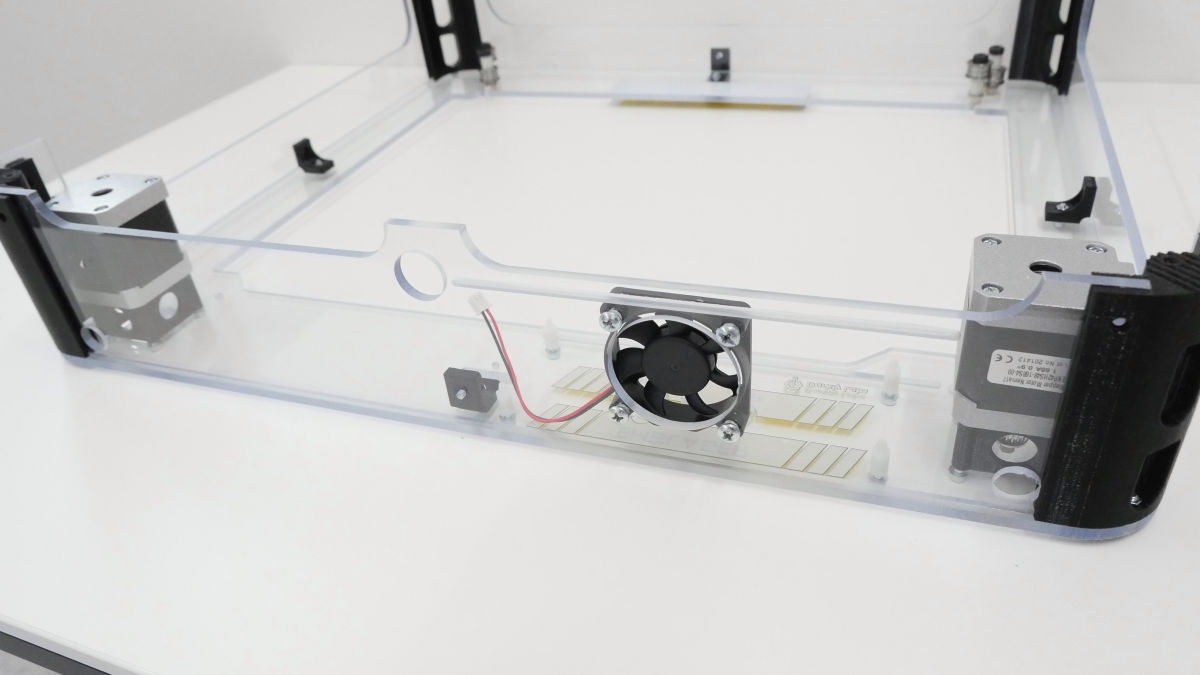
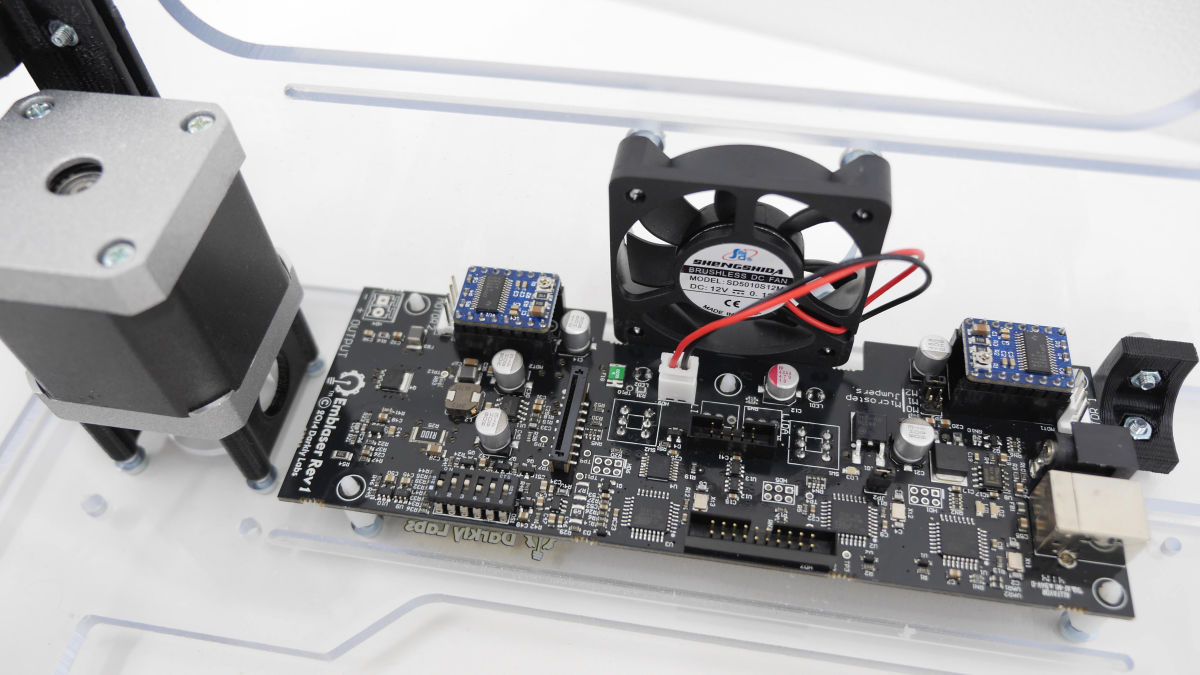
Next, I attached the main board.
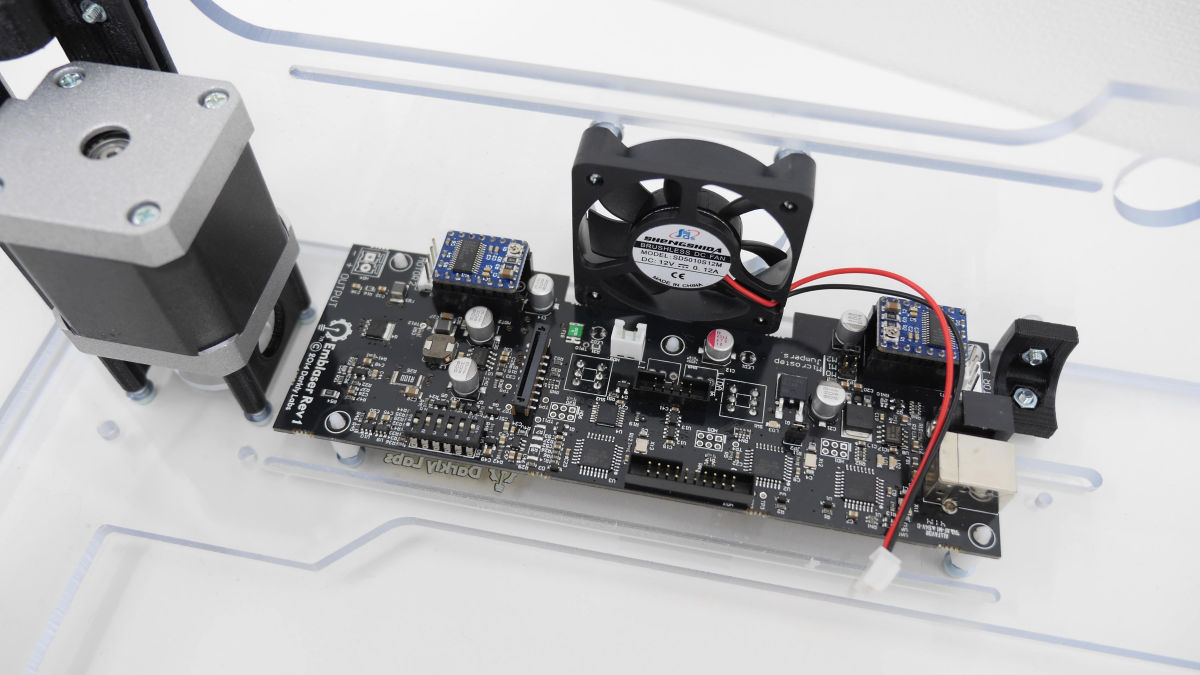
Connect the fan connector to the main board.
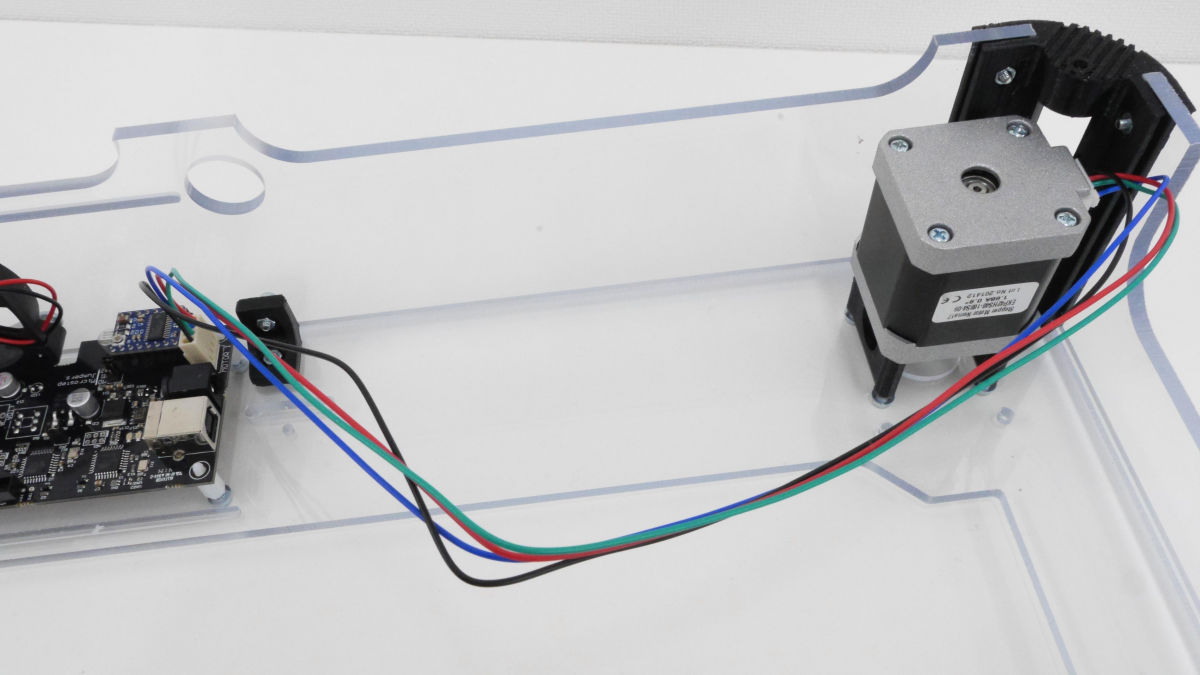
Prepare the code for the motor of two lengths ... ...
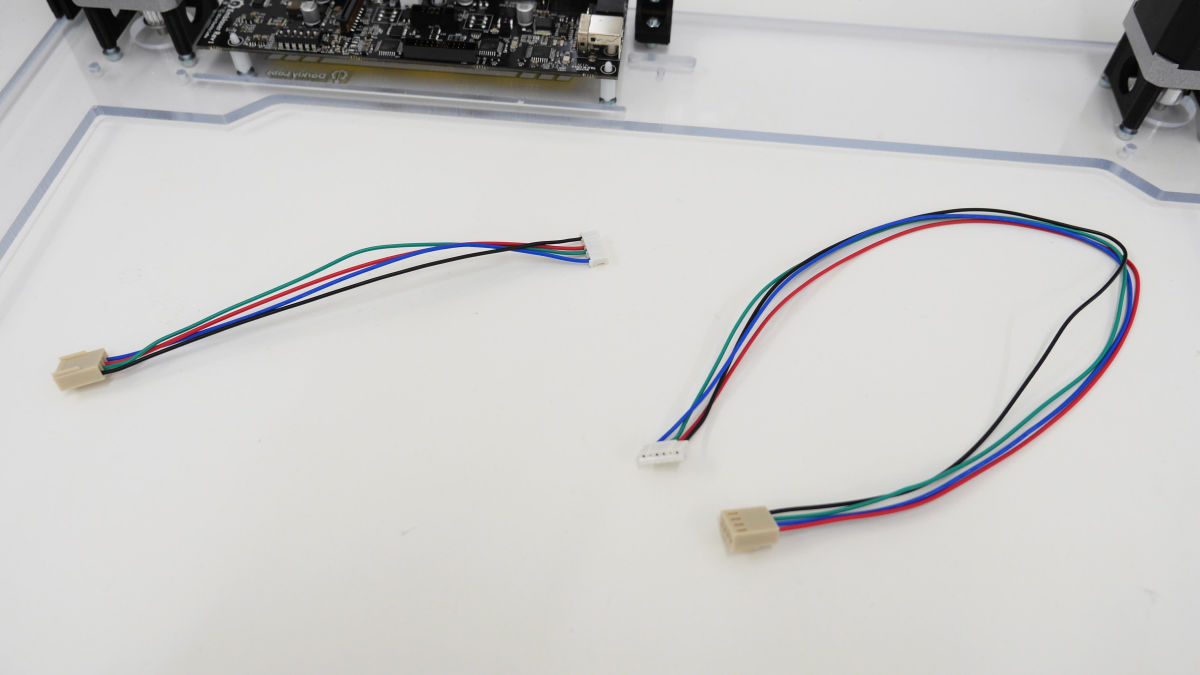
Connect each motor to the main board.
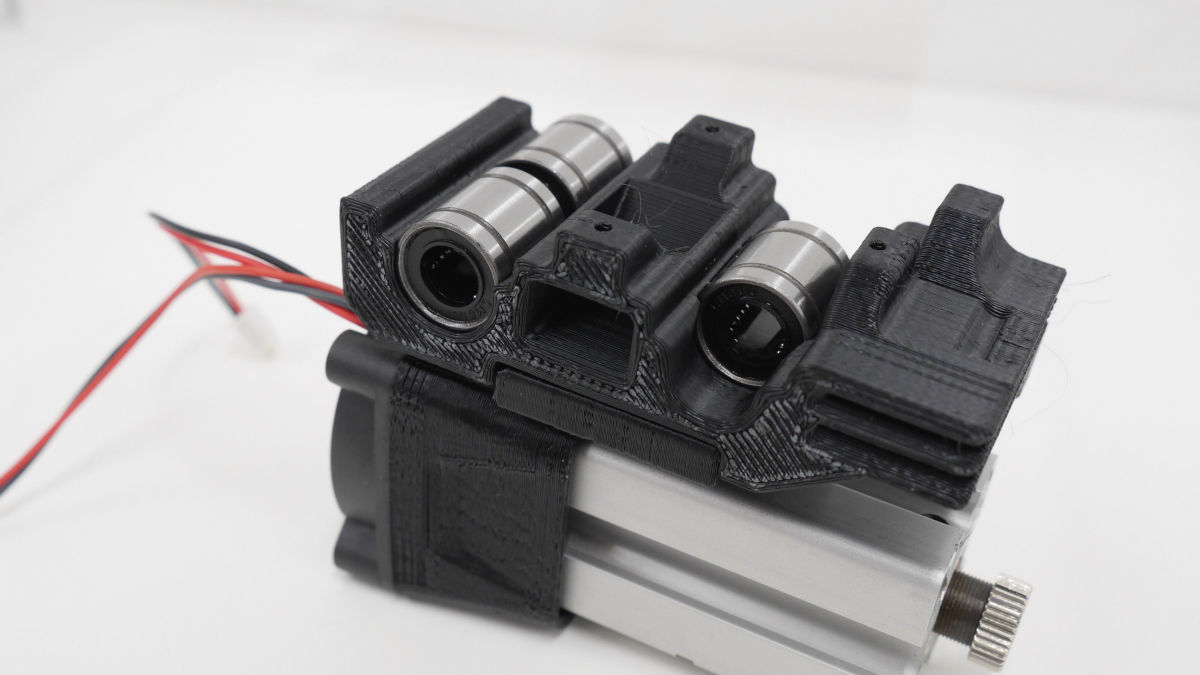
Next, three bearings are installed in the recess of the back of the laser unit. Fit in until it snaps into the groove.
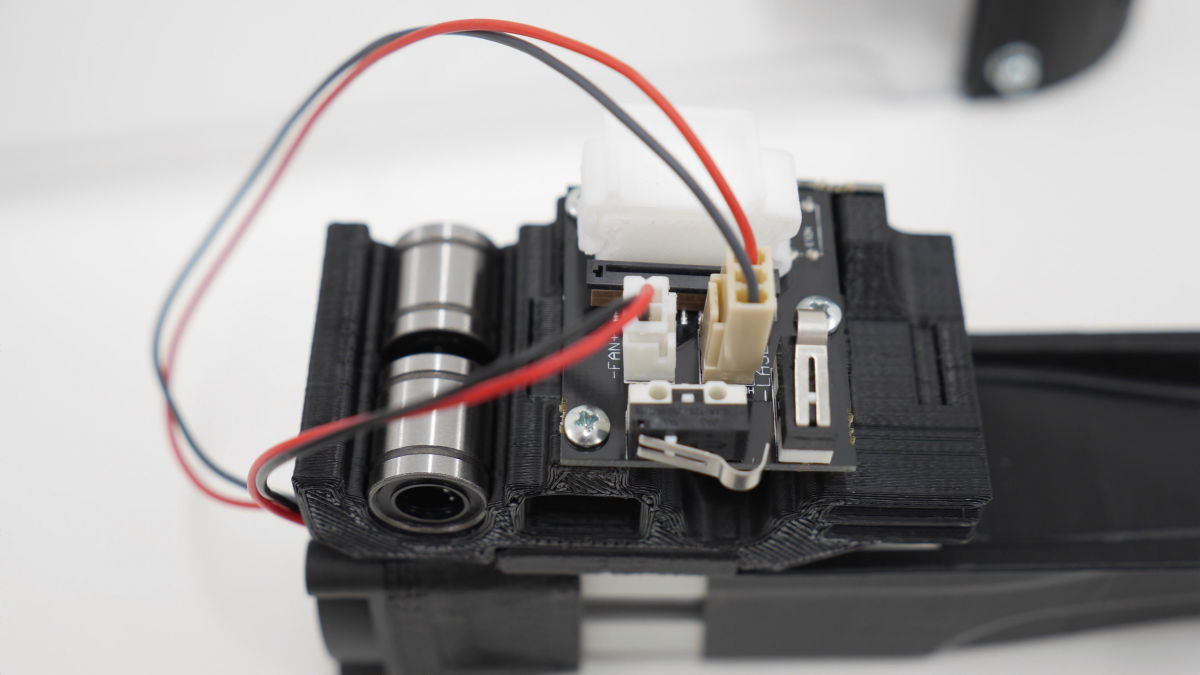
Assemble the switch part of the laser ......
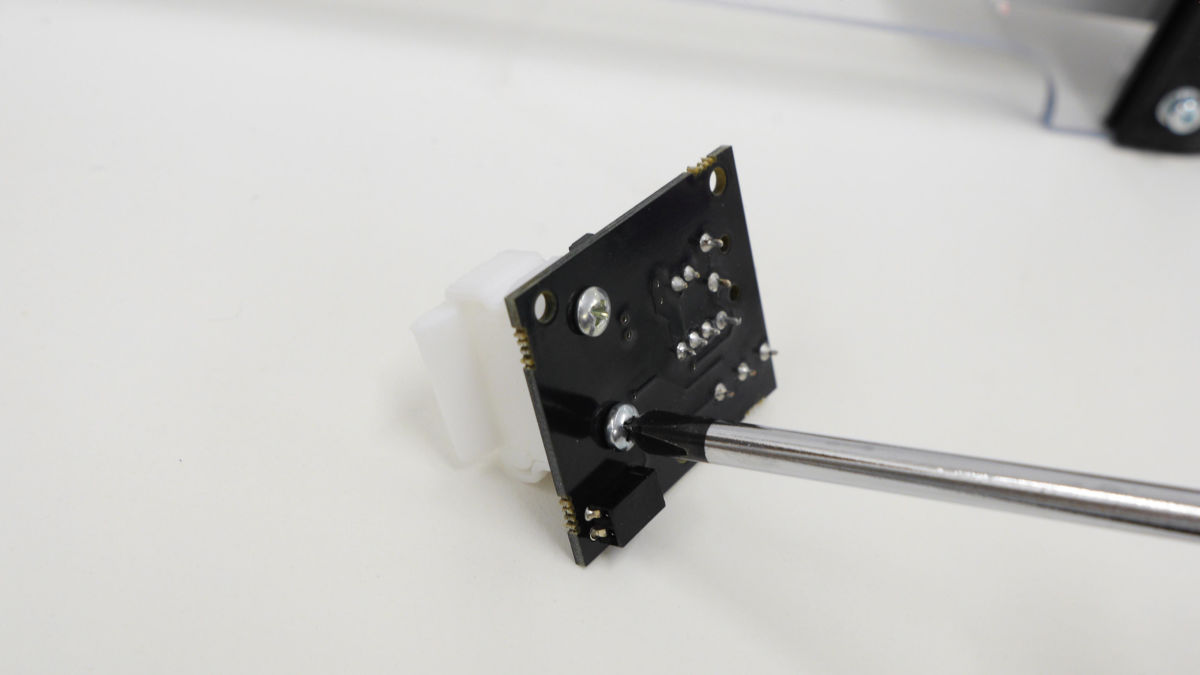
It is installed in the laser unit.
Align the metal terminal with the hole and attach another switch part ... ...
Secure with screws.
Slide the protective cover obliquely downward ... ...
Attached to the laser.
Connect the fan cable.
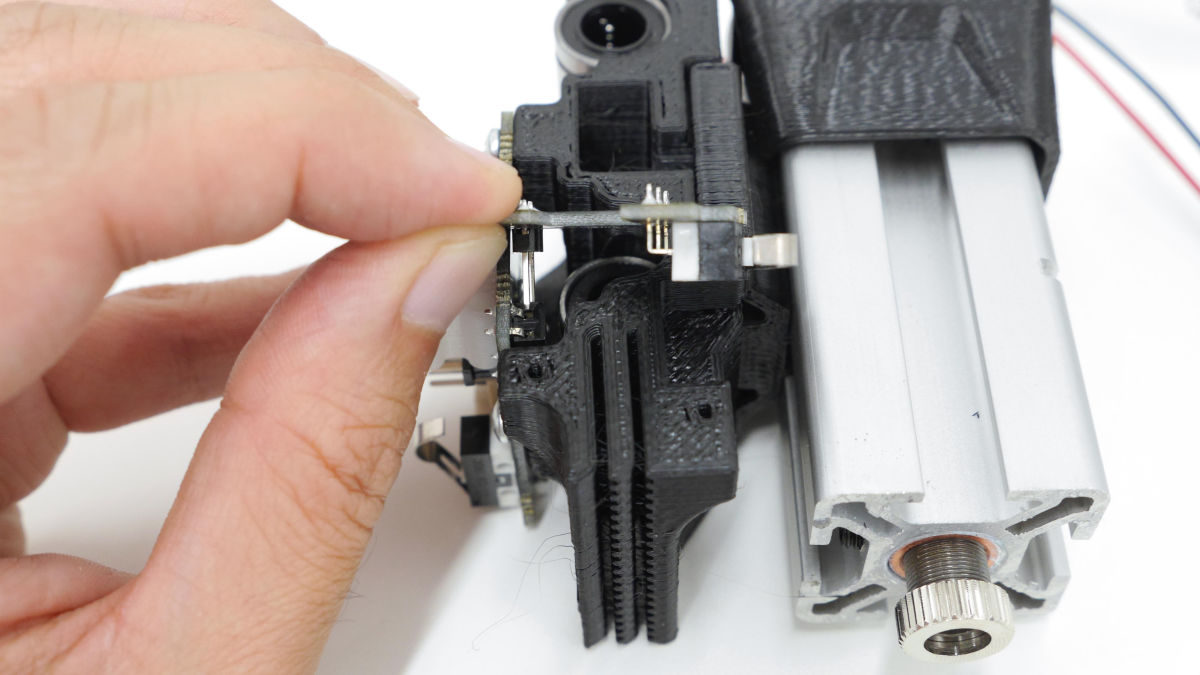
Two bearings are attached to the part to which the metal bar is attached.
Fit the metal rod in the two holes ... ...
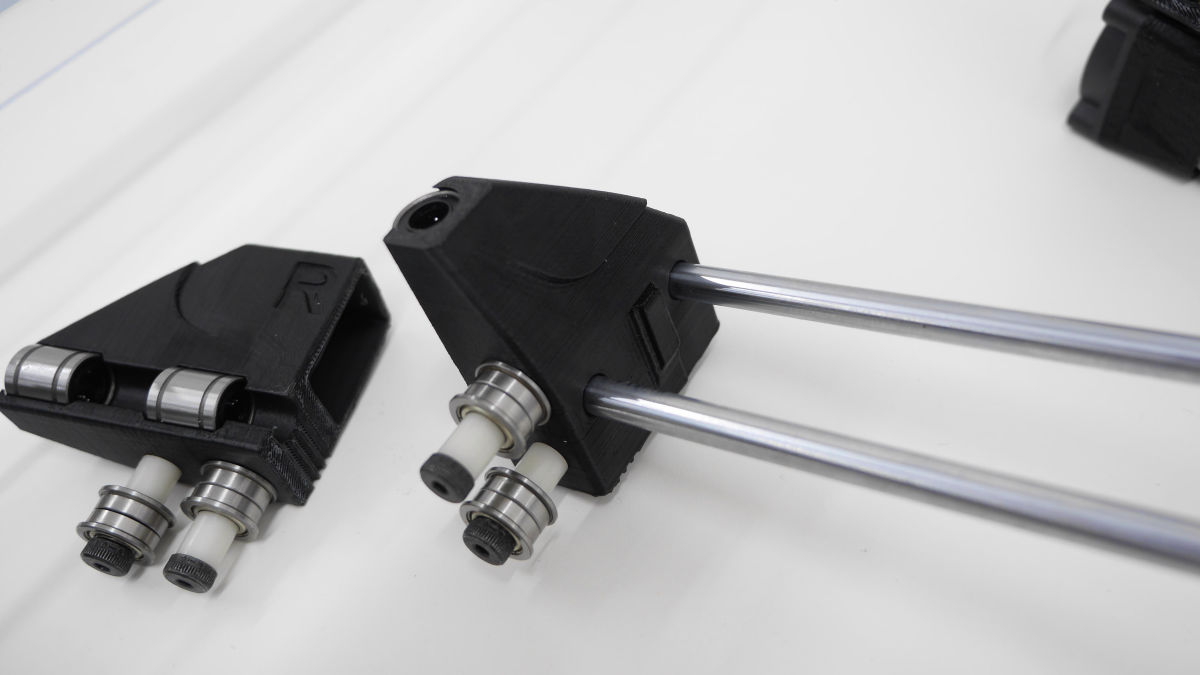
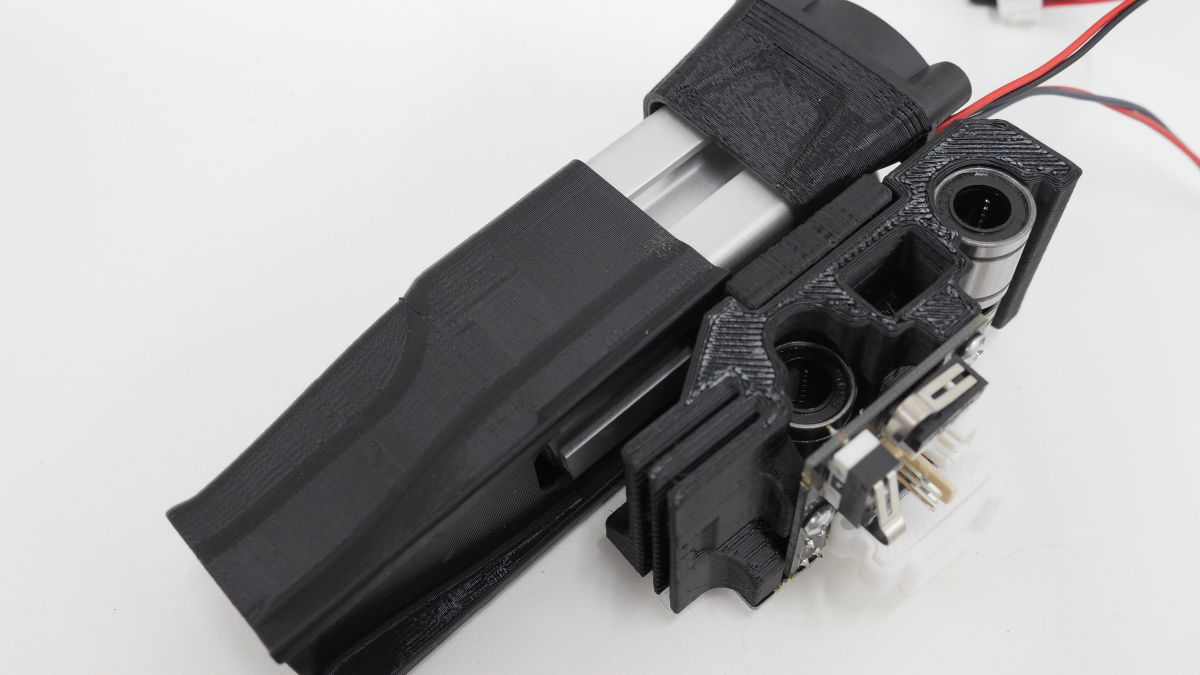
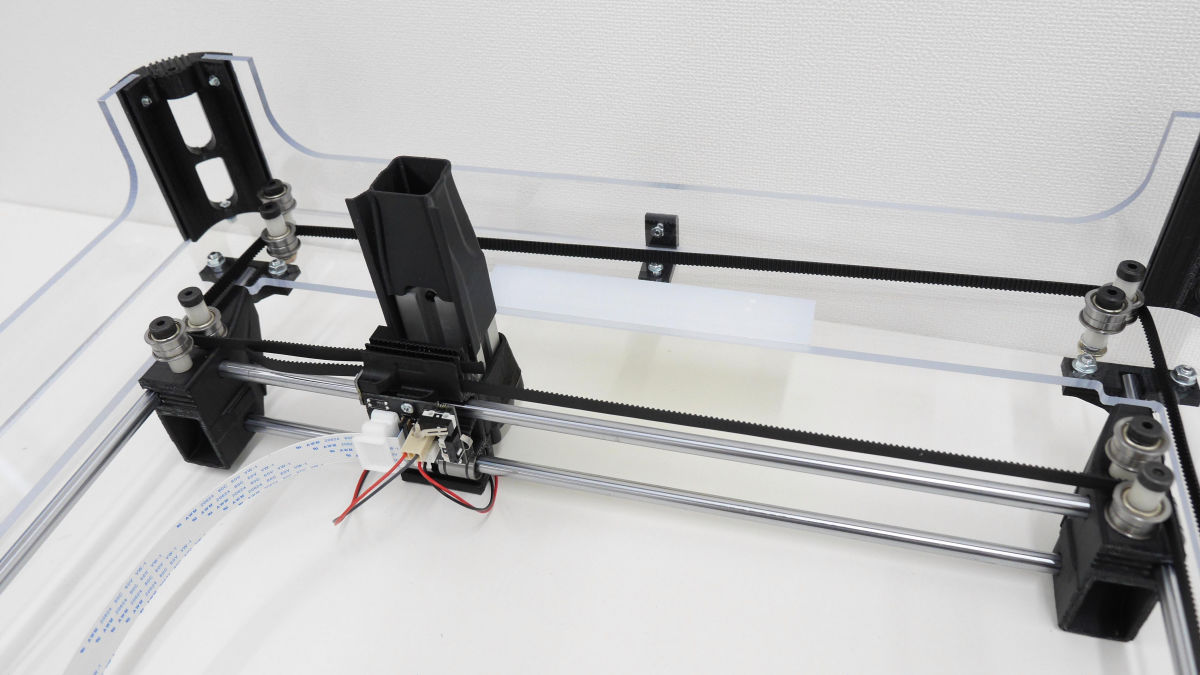
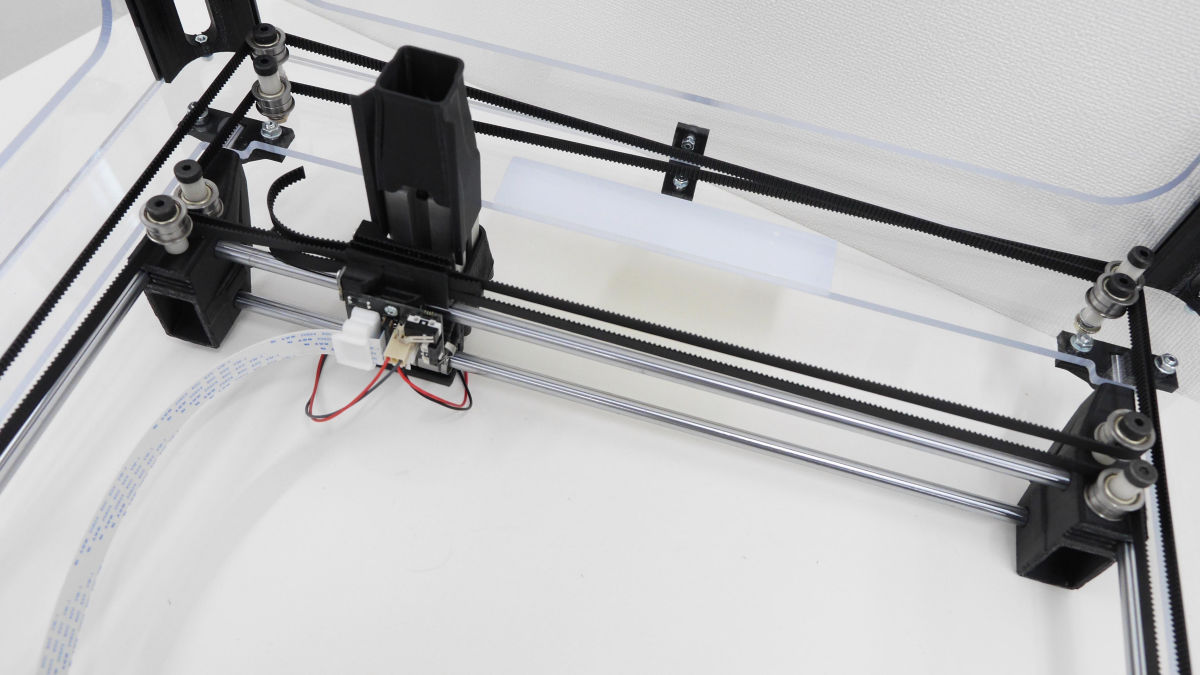
Put the laser unit through the rod and assemble it.
If you pass the metal bar also in the vertical direction ......
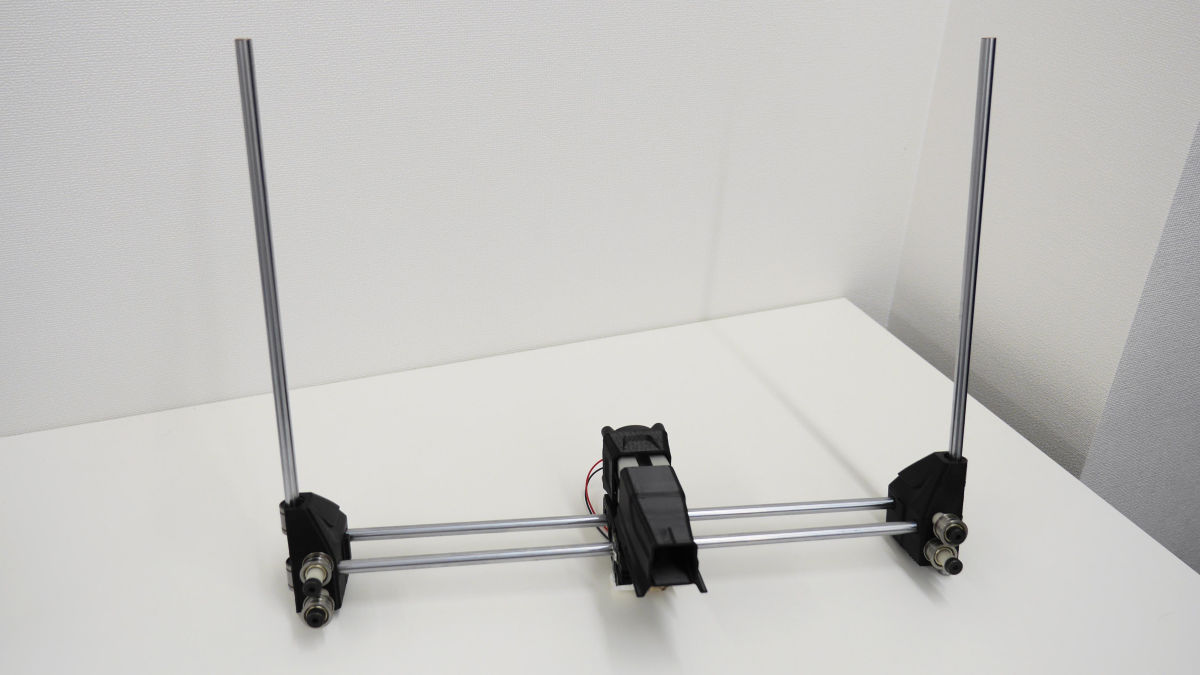
Place it temporarily on top of the acrylic panel ......
Firmly fixed.
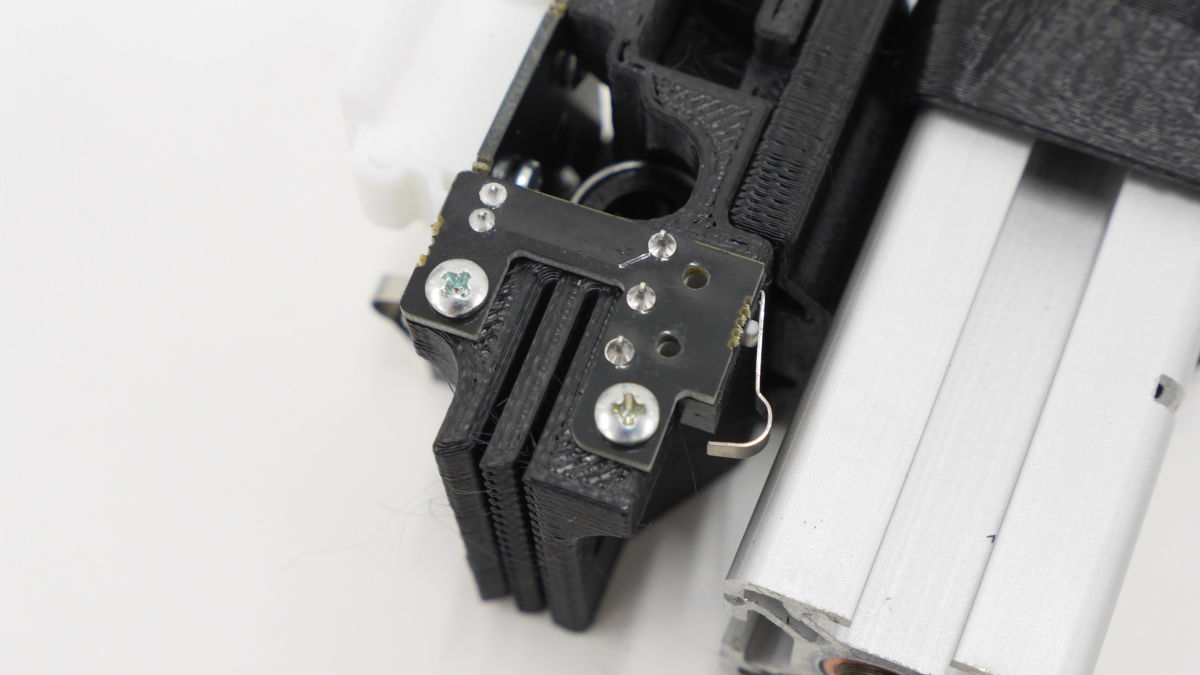
Pass the shorter side of the flat cable folded into an L into the hole next to the switch from above ... ...
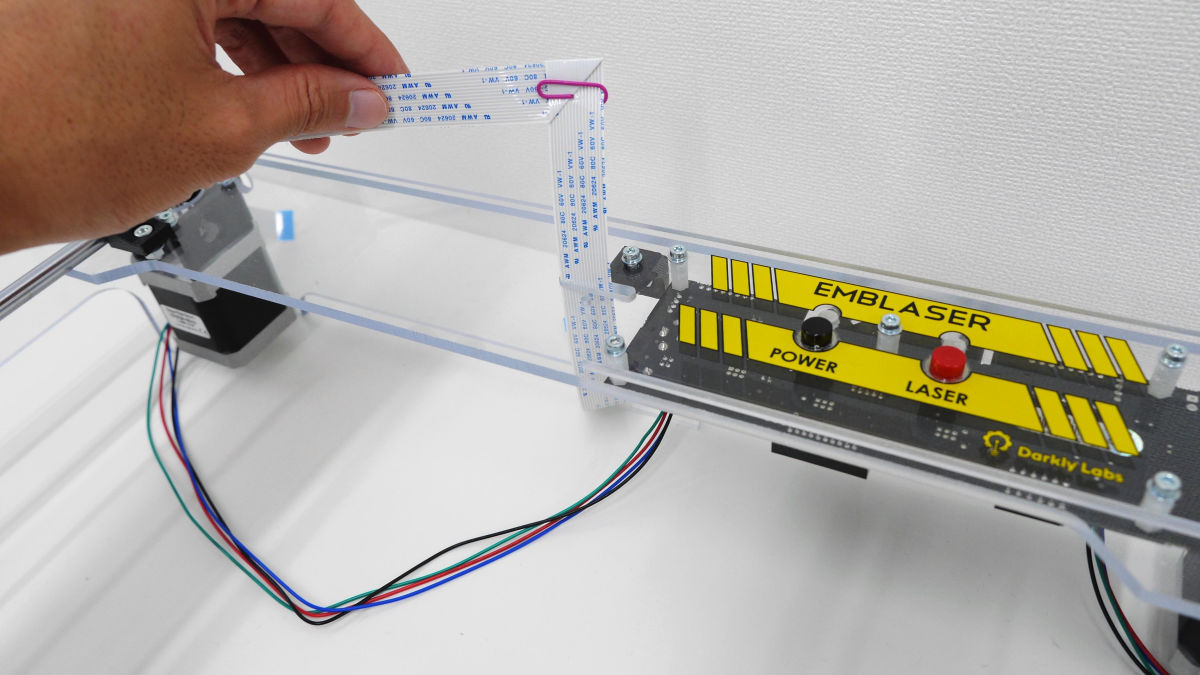
Fit the holder.
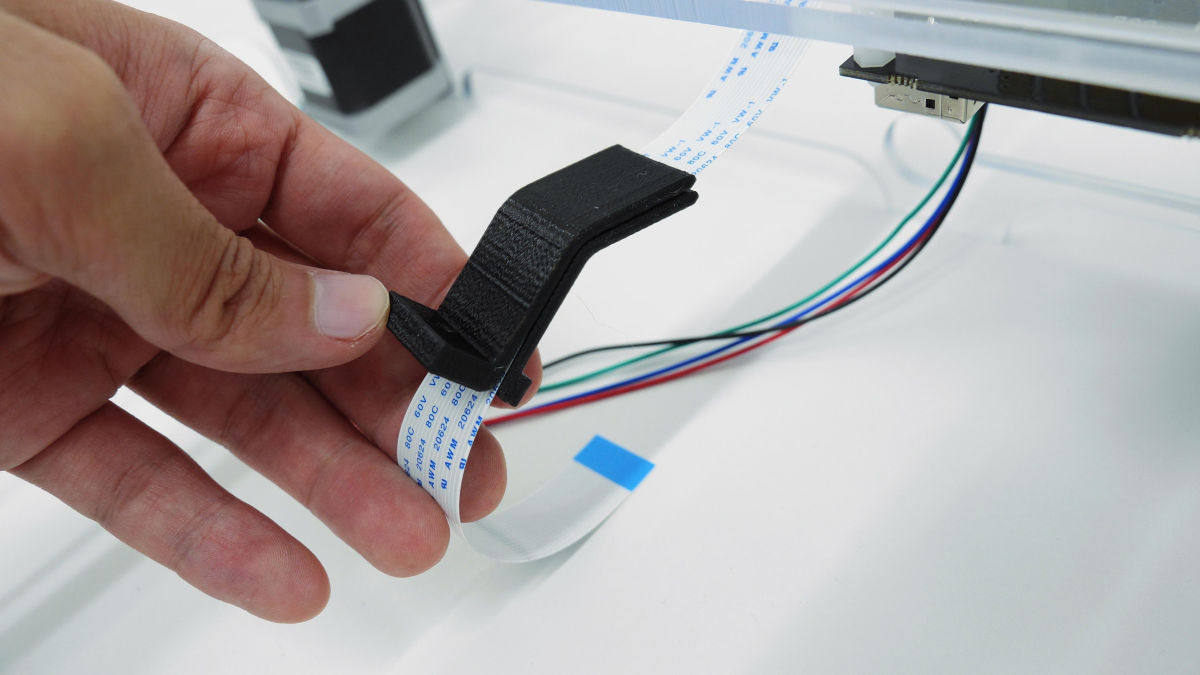
As I attempted to pass the holder from the bottom, I gave up being too narrow.

Where the holder scraped and scraped off with a file ......
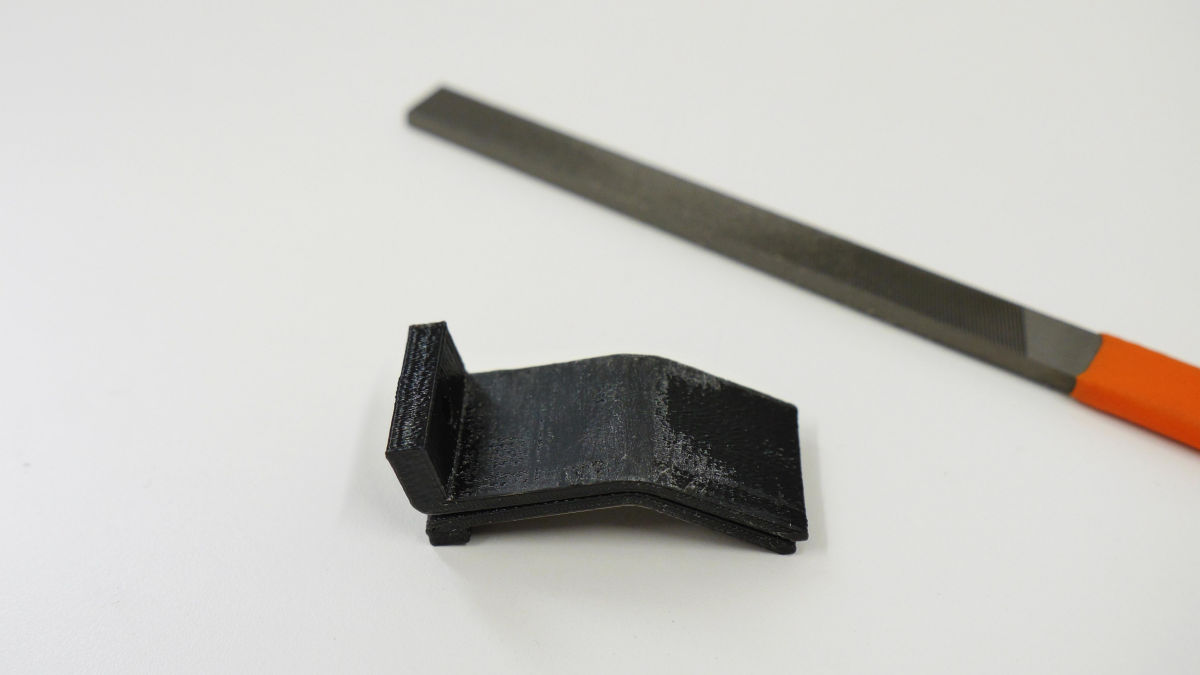
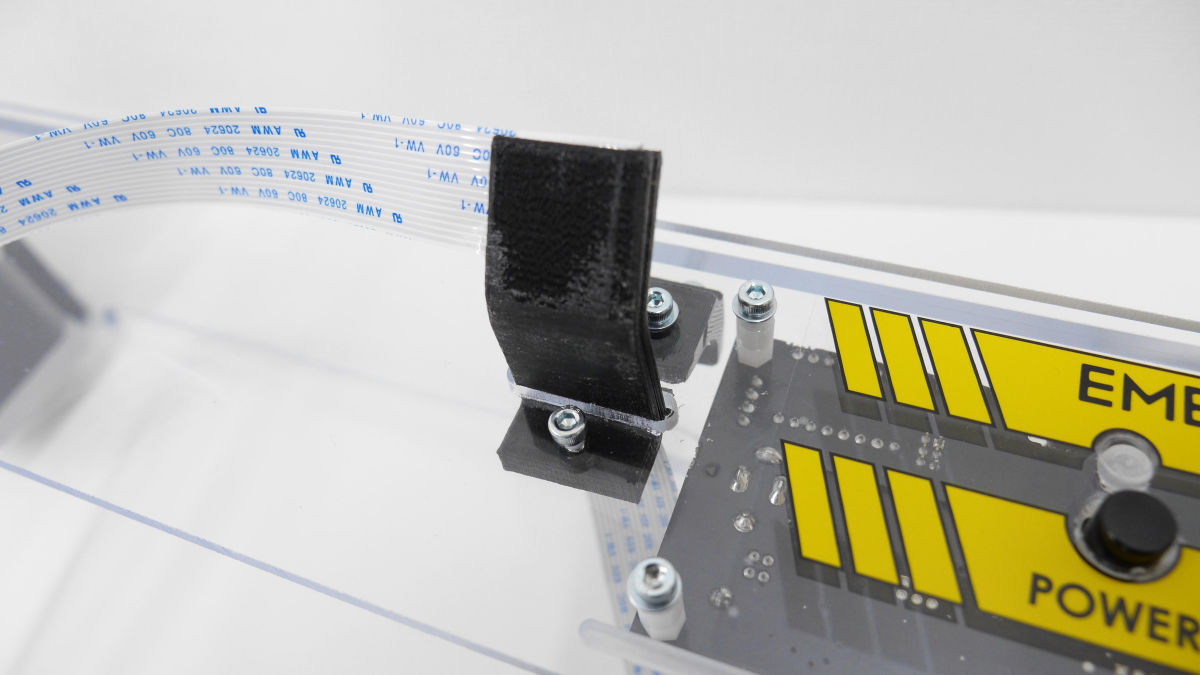
Successfully passed through. Fix the holder with screws.
The flat cable is attached to the main board.
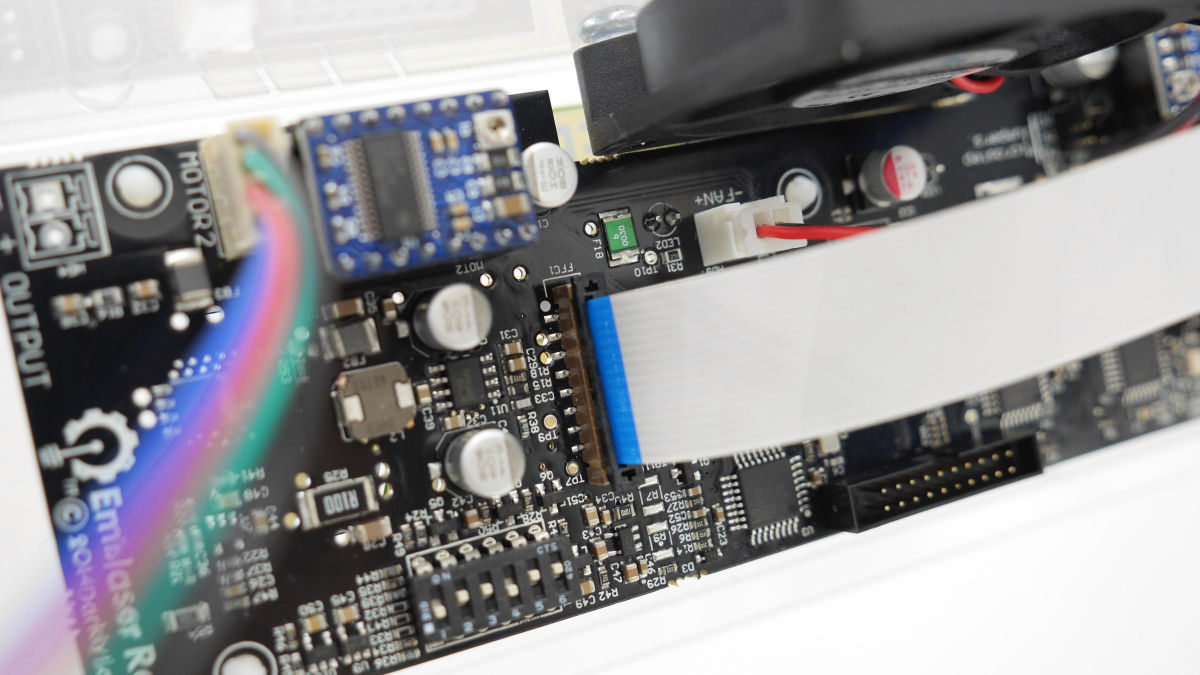
Also connect with the laser unit.

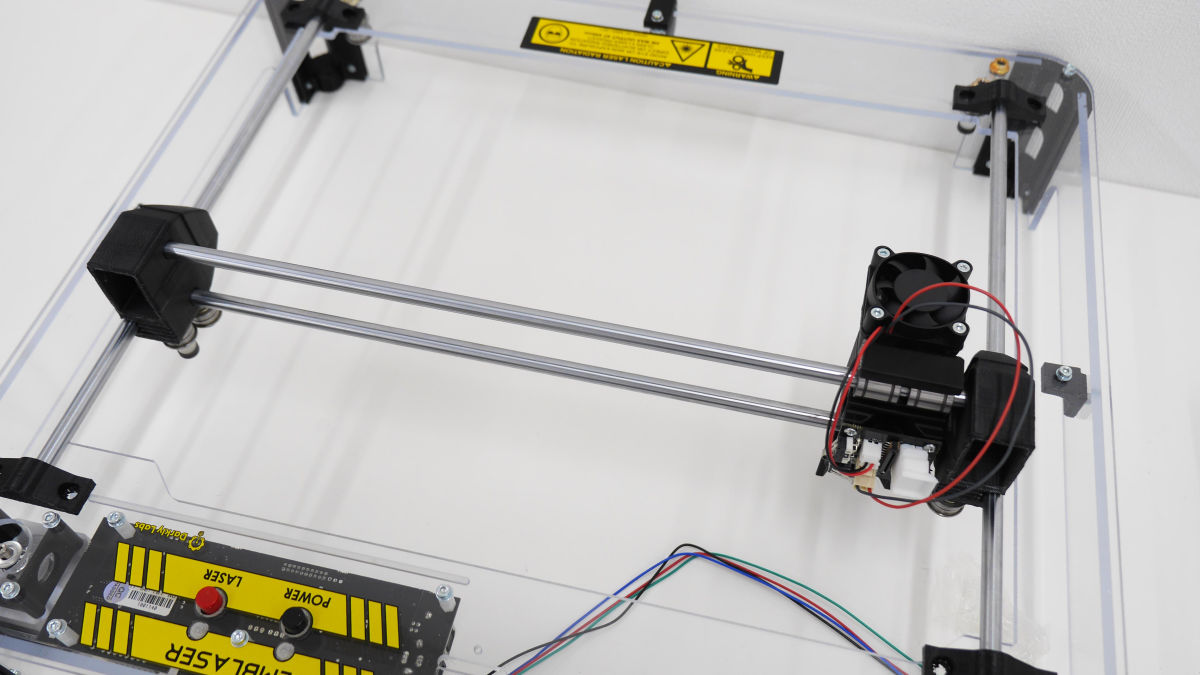
Flip Emblazer ... ...
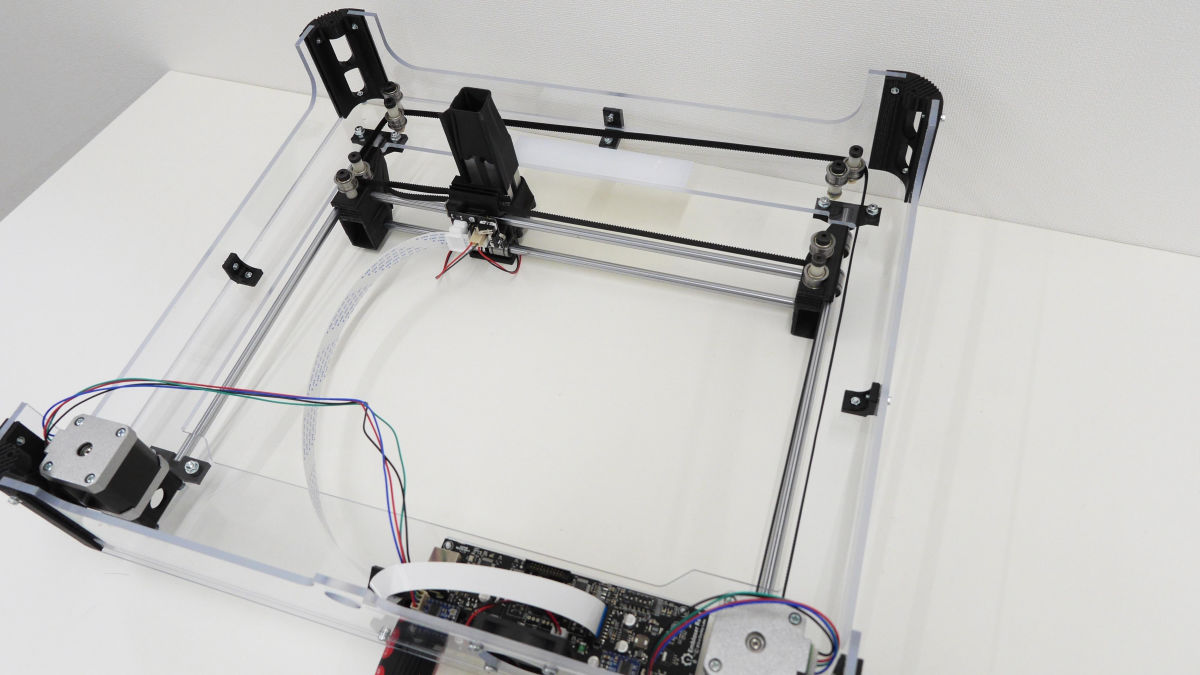
Put the belt in place.
Belt tension is roughly about 5 mm clearance in the red frame part.
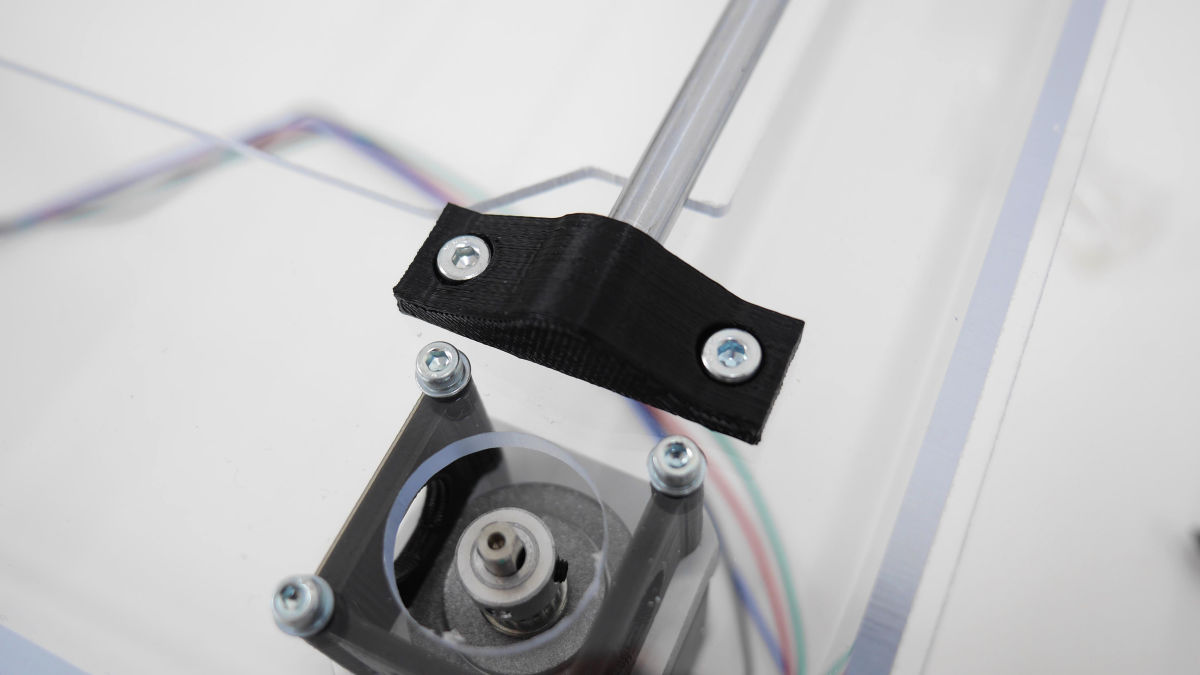
If another type of belt is also stretched ......
Fixed with a stopper so that the belt does not come off.

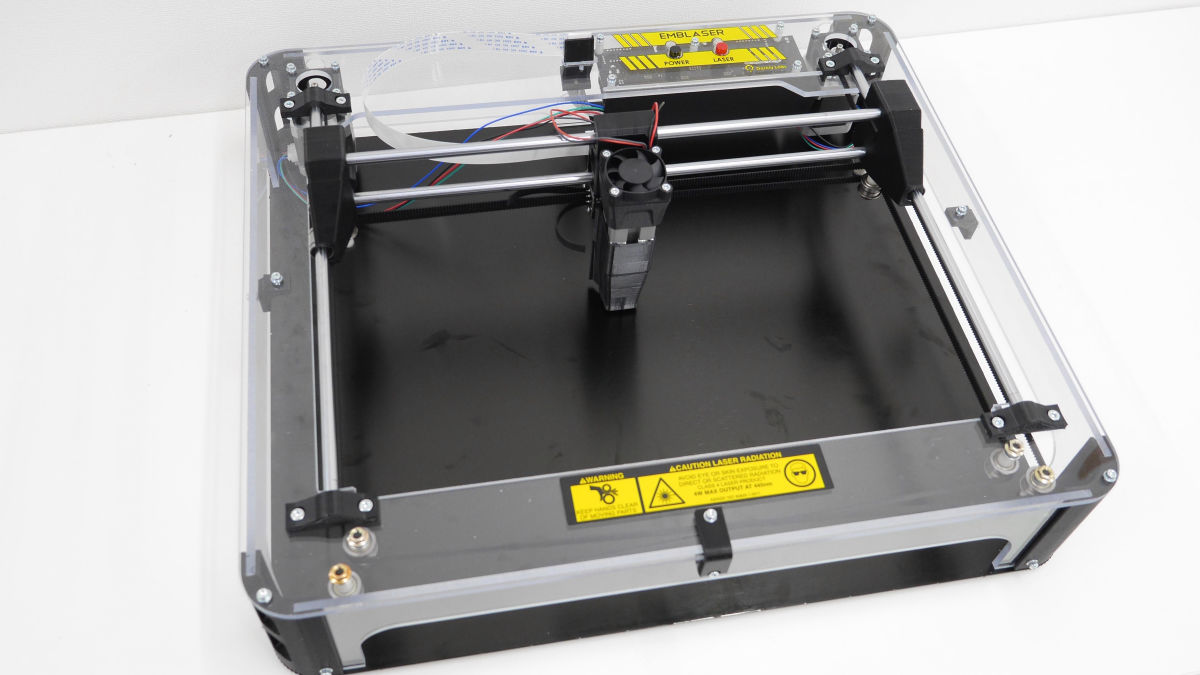
Finally, with rubber feet attached to the metal bottom plate and fixed with screws ......
done. In addition, manuals are wrong type of screws in places, so we had to assemble while looking at actual parts.
◆ Software installation
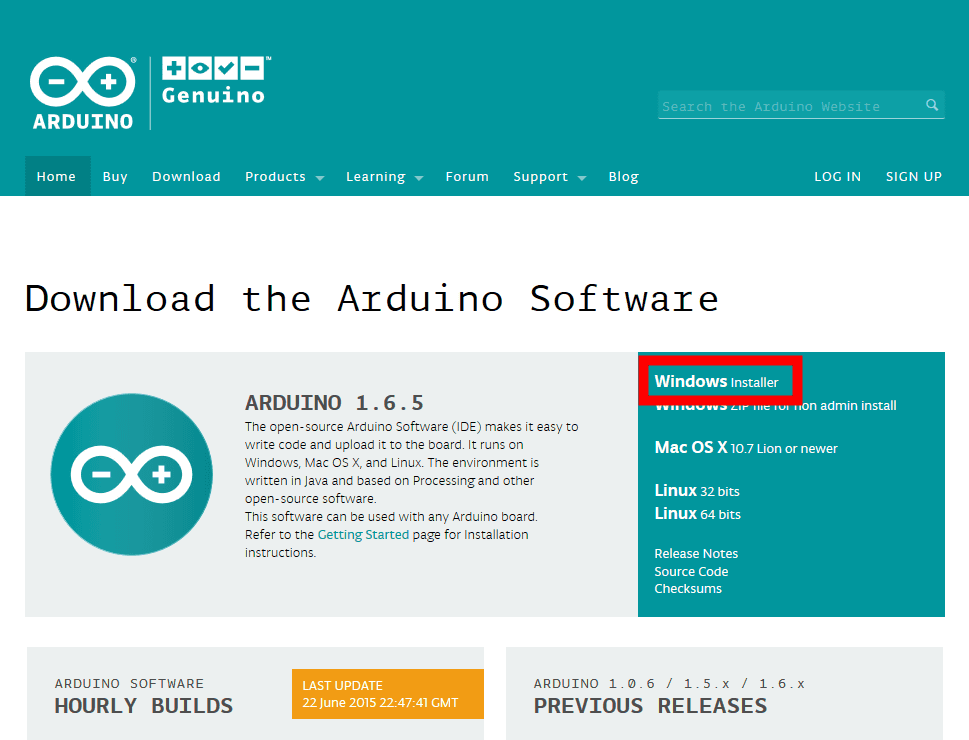
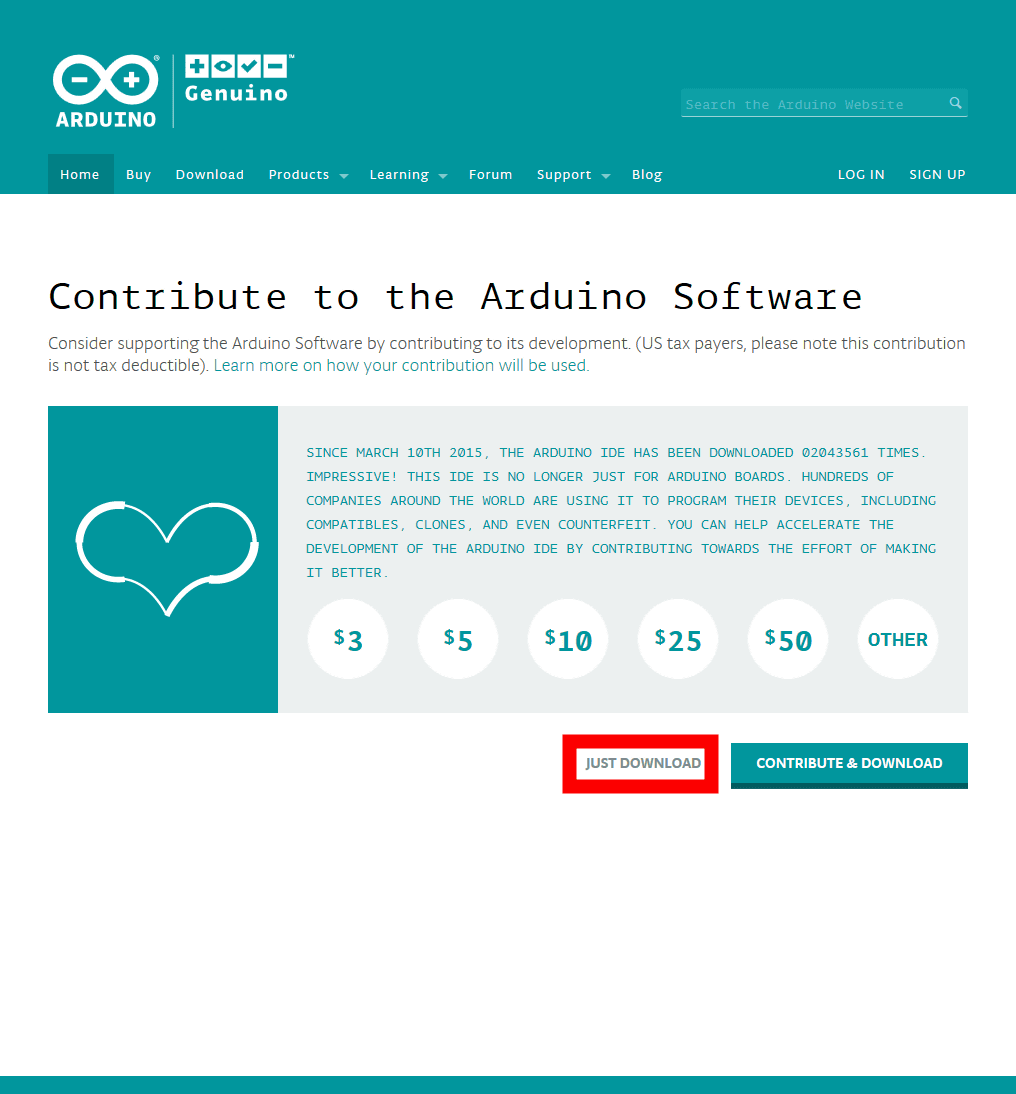
First install Arduino's IDE on your PC.
Arduino - Software
https://www.arduino.cc/en/main/software
I download the file that fits the OS from the above site. Since this time it is used on Windows PC, click "Windows Installer".
Click "JUST DOWNLOAD".
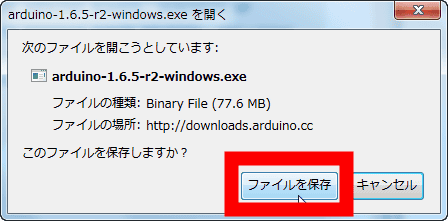
Click "Save File" and save the installer to your desktop or other place.
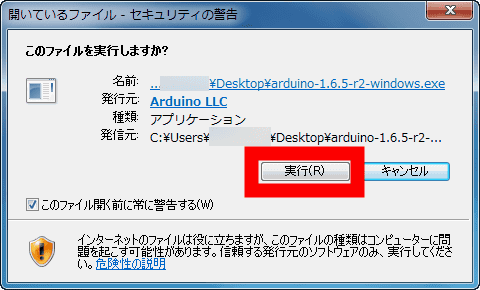
Run the saved installer and click "execute".
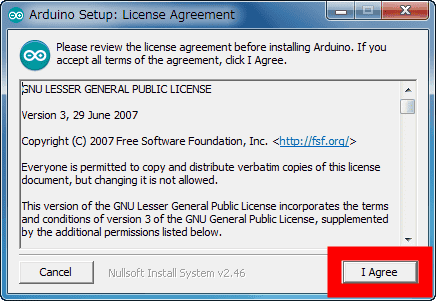
Click "I Agree".
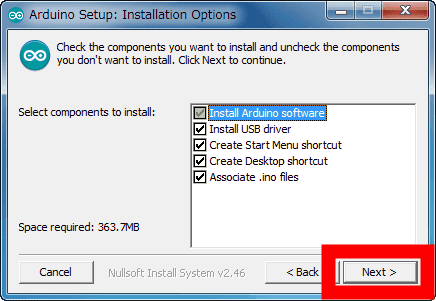
Click "Next".
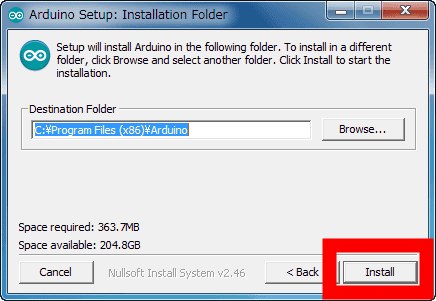
Click "Install".
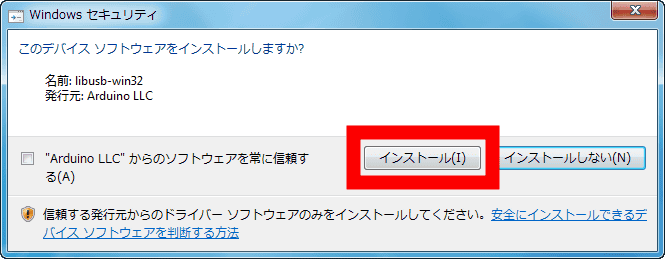
Click "Install".

Click "Install".
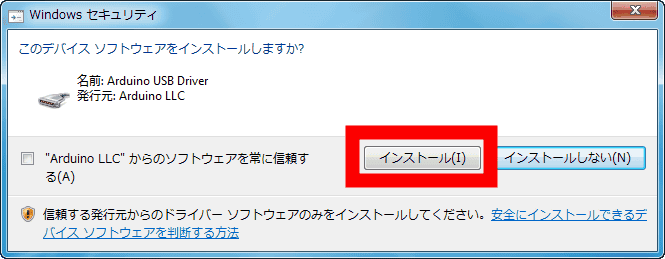
Click "Install".
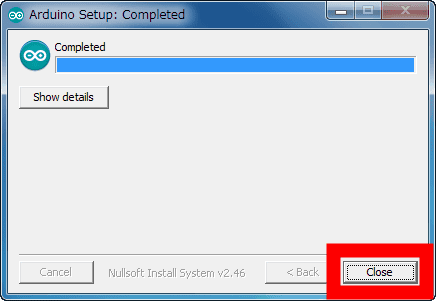
When installation is completed, click "Close".
Next, install the latest Java.
Download Free Java Software
http://java.com/en/download/
Click "Free Java Download" on the above site.

Click "Agree and Start Free Download".

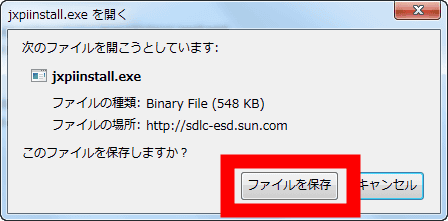
Click "Save File" to save the installer.
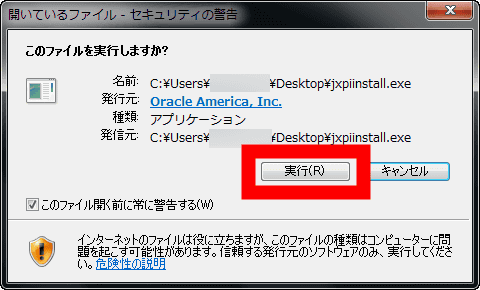
Run the saved installer and click "execute".
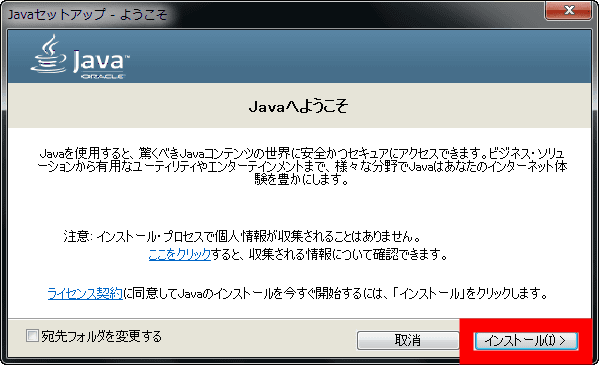
Click "Install".
When installation is completed, click "Close".

· Universal G-code Sender
Next, install "Universal G-code Sender" of software which laser cutting and carving with Emblaser.
Winder / Universal-G-Code-Sender · GitHub
https://github.com/winder/universal-g-code-sender
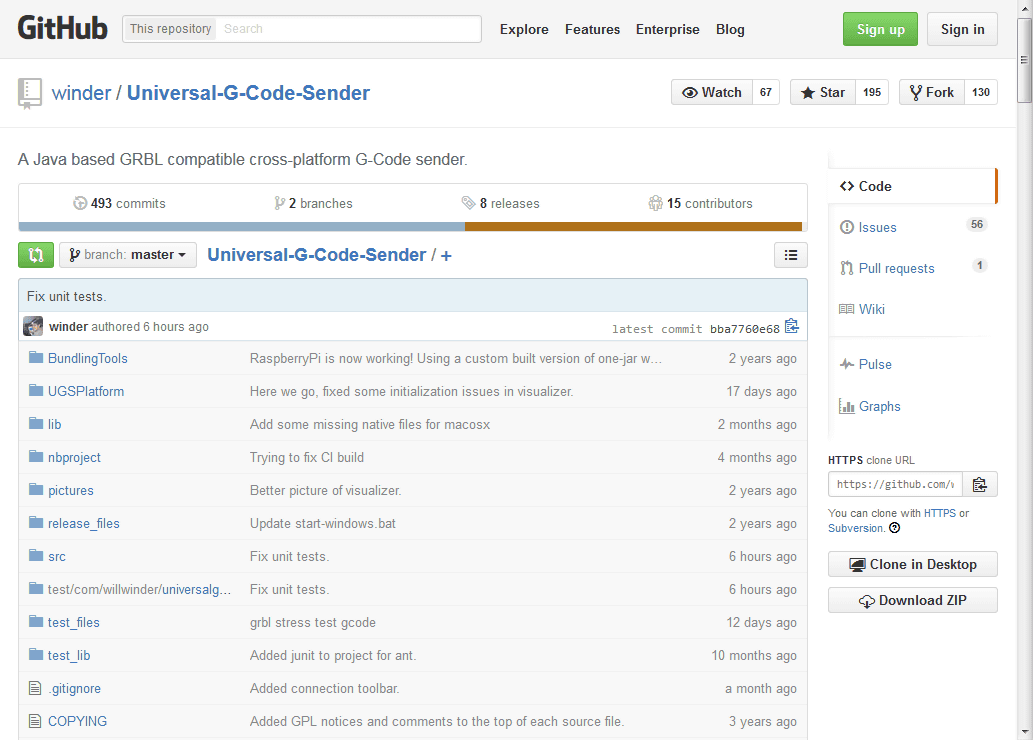
Click "1.0.8" of "Downloads" on the above site.

Click "OK" to save the ZIP file. The saved ZIP file is "ExplzhExtract it with "etc."
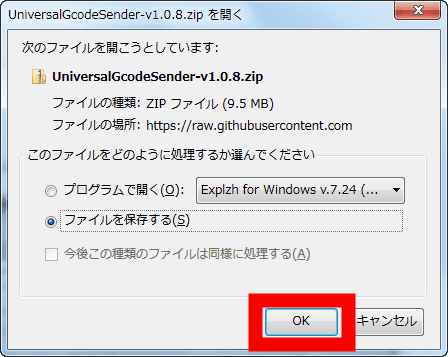
When you execute "UniversalG - codeSender.jar" in the unzipped folder, the Universal G - code Sender starts up.
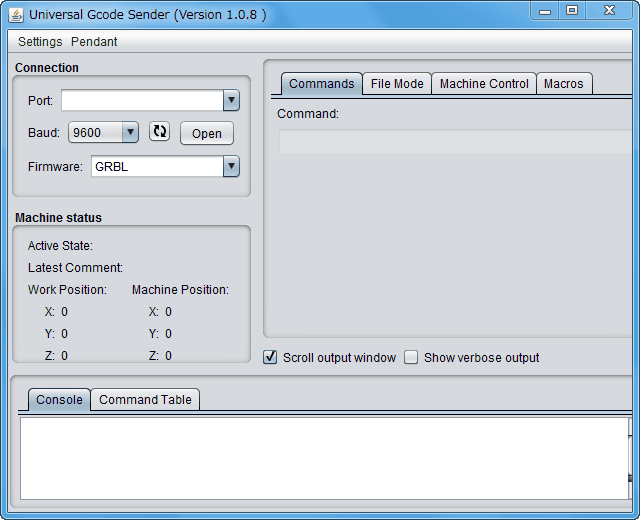
◆ Initial setting
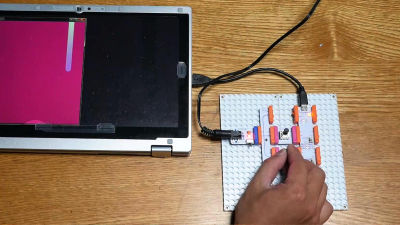
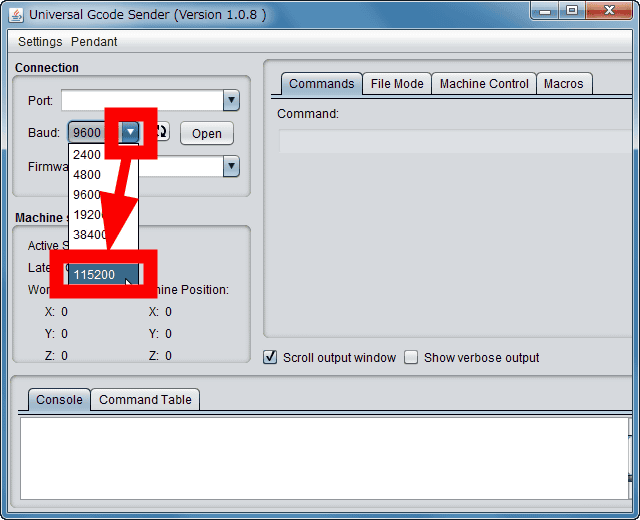
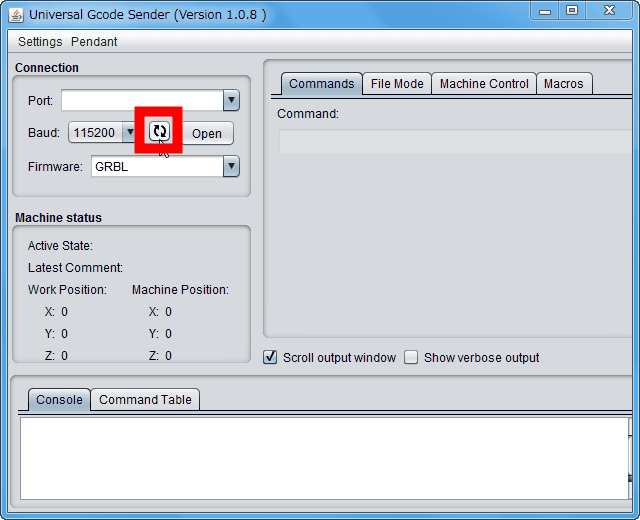
Select "115200" from the pull-down menu next to "Baud" on the main screen of Universal G-code Sender.
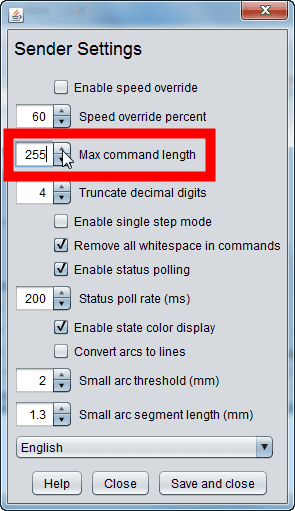
Click "Settings" → "Sender Settings".
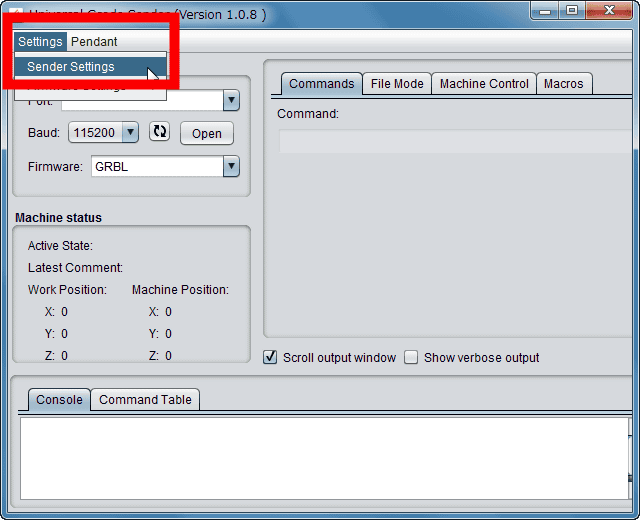
Setting "Max command length" to "255" is completed.
With the Universal G-code Sender running, the power jack and the USB port on the Emblaser main board ... ...
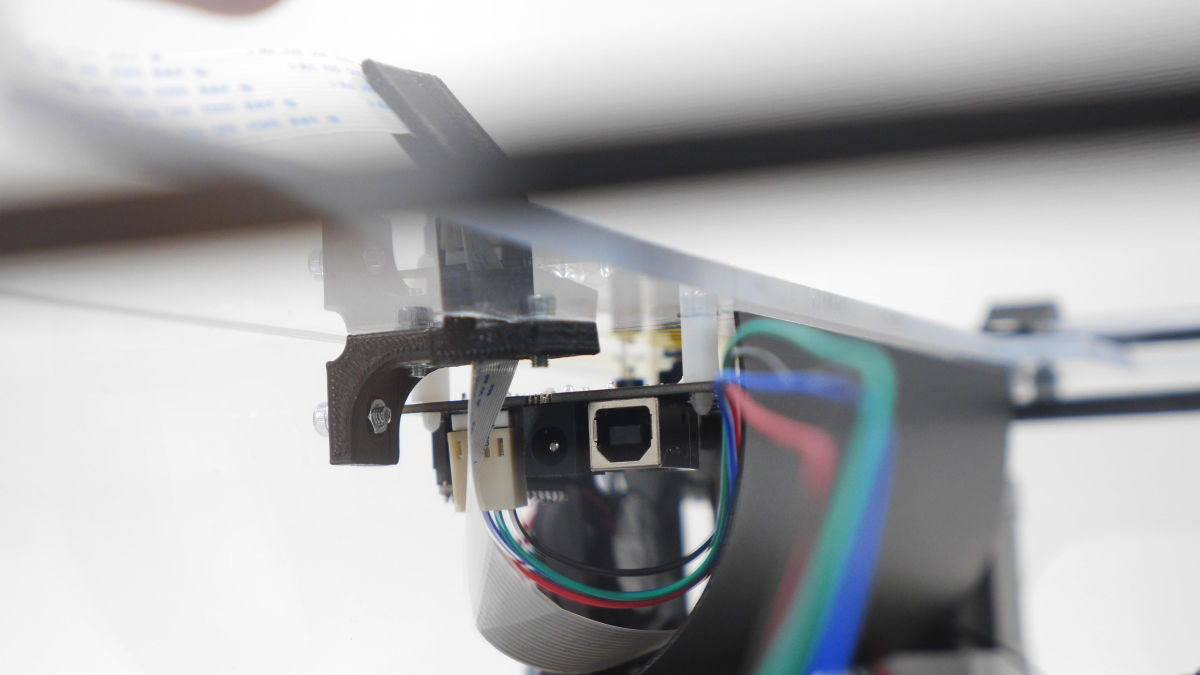
Connect the AC adapter and USB cable respectively.

Connect to PC with USB cable.
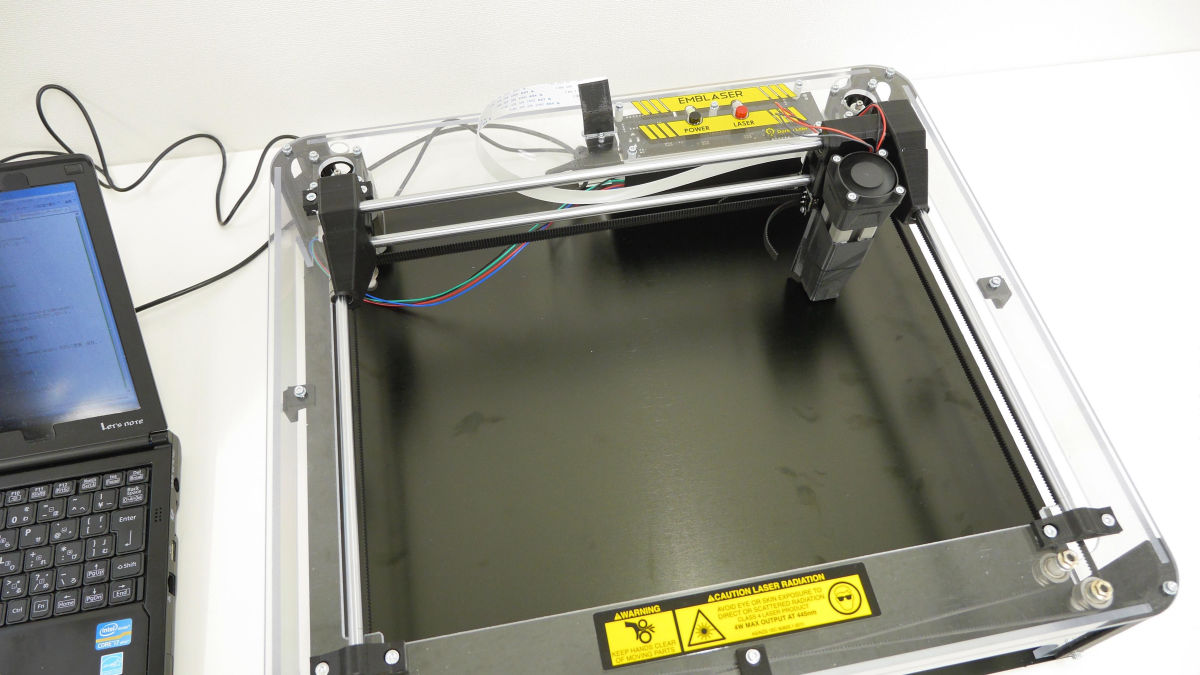
Now turn on Emblaser's "POWER" button.
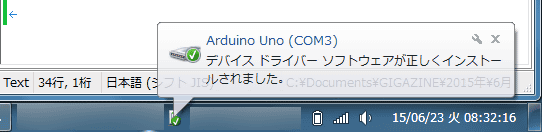
OK if the driver is installed automatically.
Next, click the "Update" button on the left of the "Open" button of the Universal G-code Sender.
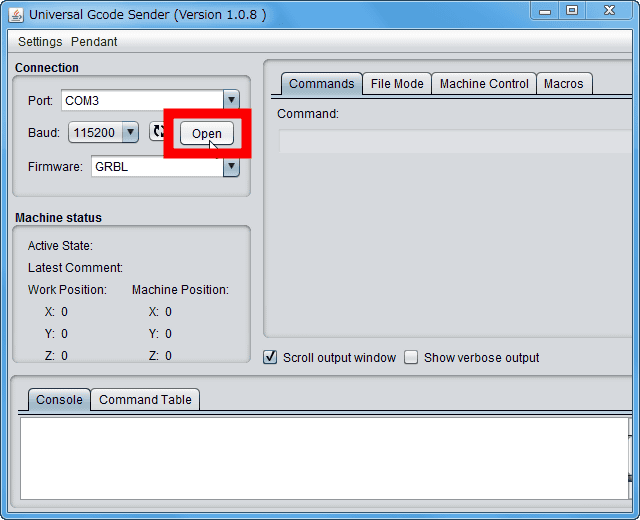
"Port" has been changed to "COM 3".

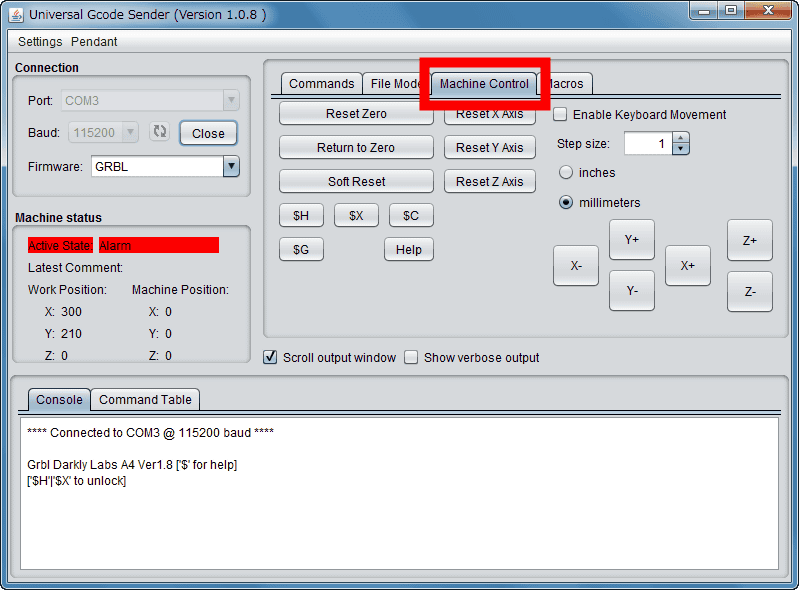
Click "Open".
A red warning is displayed in "Machine status".

Click the "Machine Control" tab.
Click the "$ H" button.
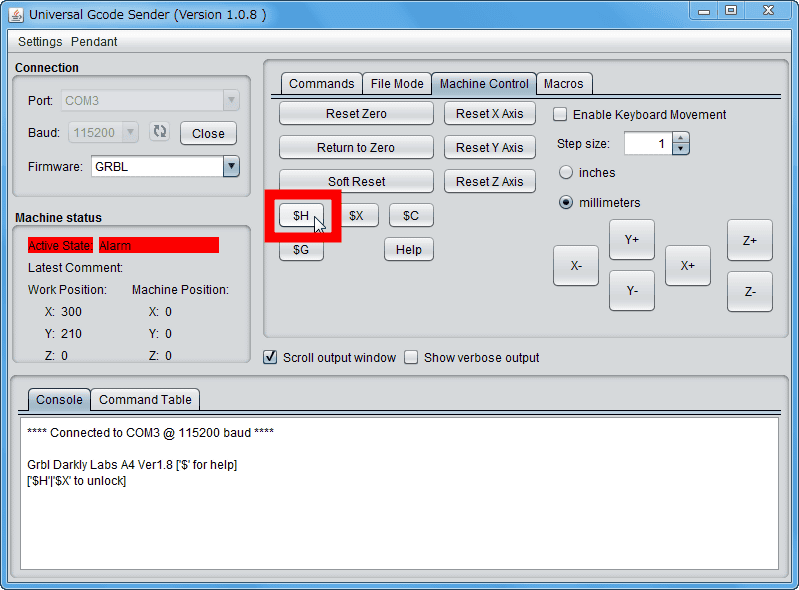
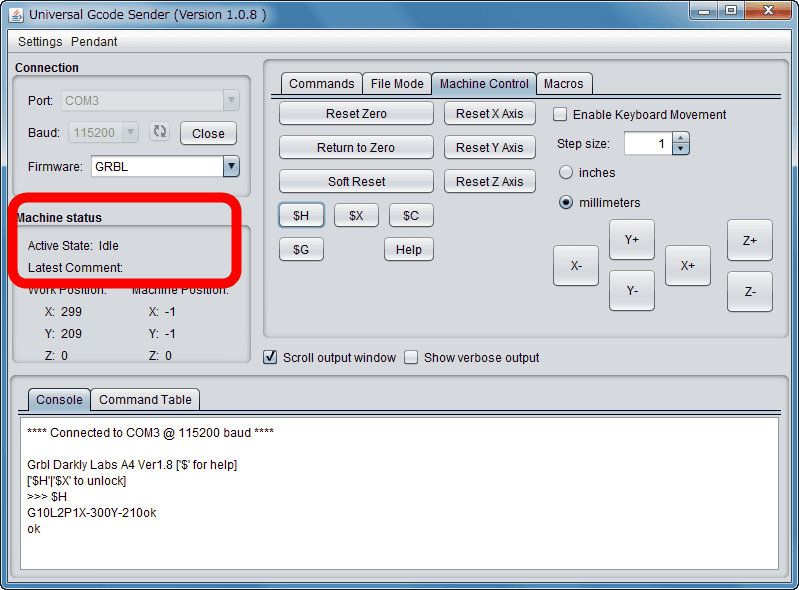
Then the Emblaser's laser moved to the upper right home position.
The warning in "Machine status" has disappeared when it comes to home position. You are now ready to cut and grab your sculpture.
◆ Laser focusing
If you are using Emblaser for the first time or you have not used it for a long time, you need to adjust the laser. In addition, work must be carried out by always attaching the attached eyewear.
Remove the protective cover of the laser unit.
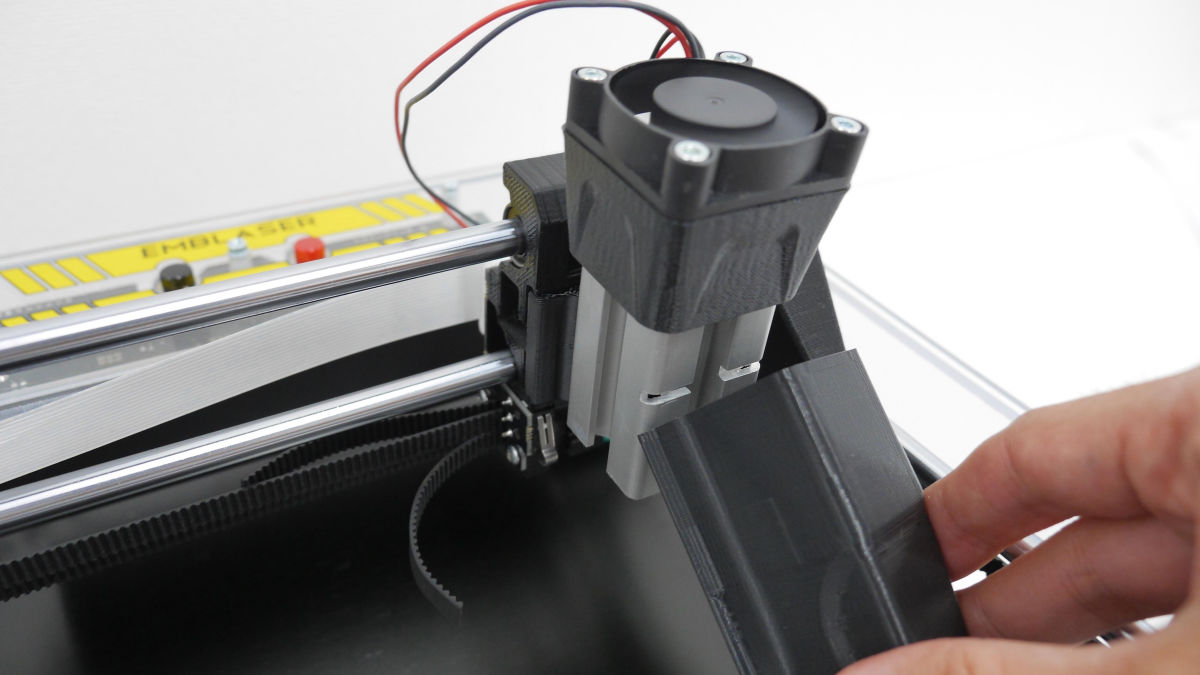
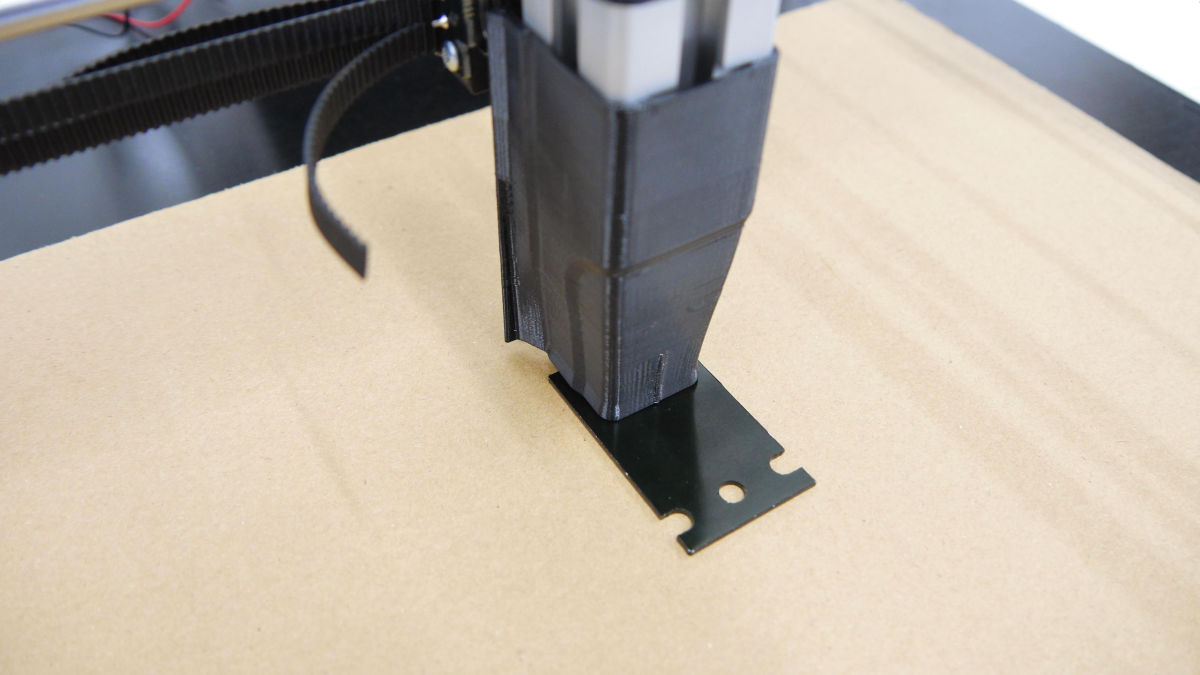
With the attached plate upright, push down until the laser unit hits the plate.

Next, the plate is beneath the laser ...
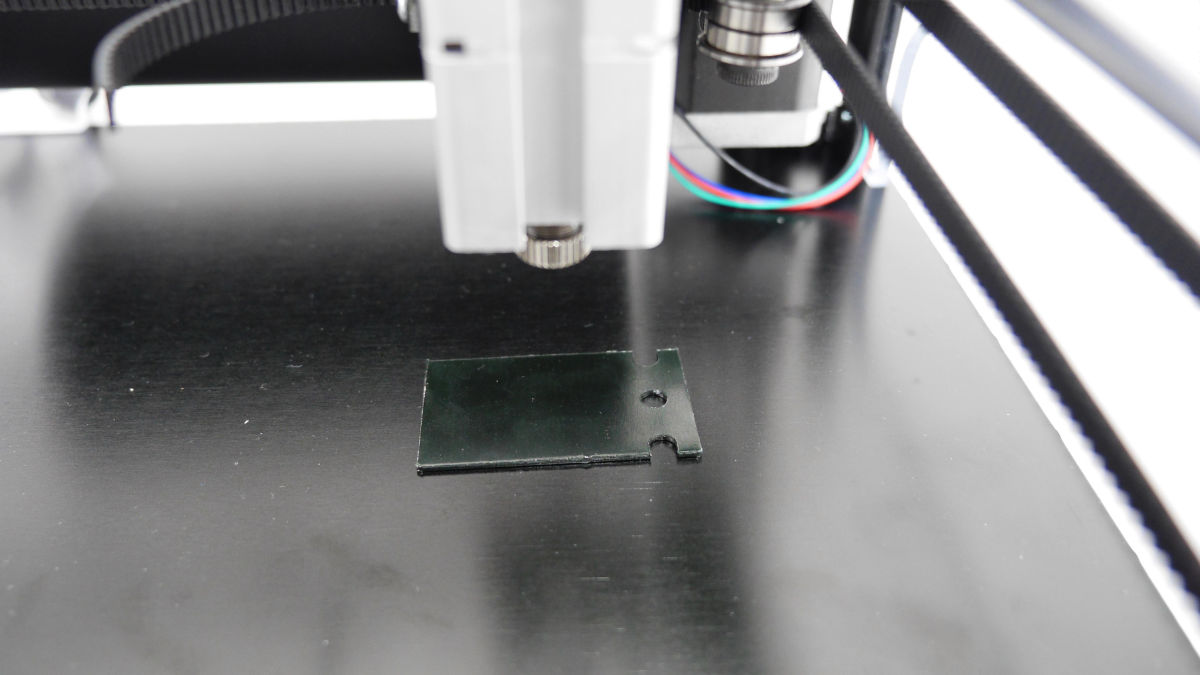
Long press the "LASER" button to irradiate the laser.
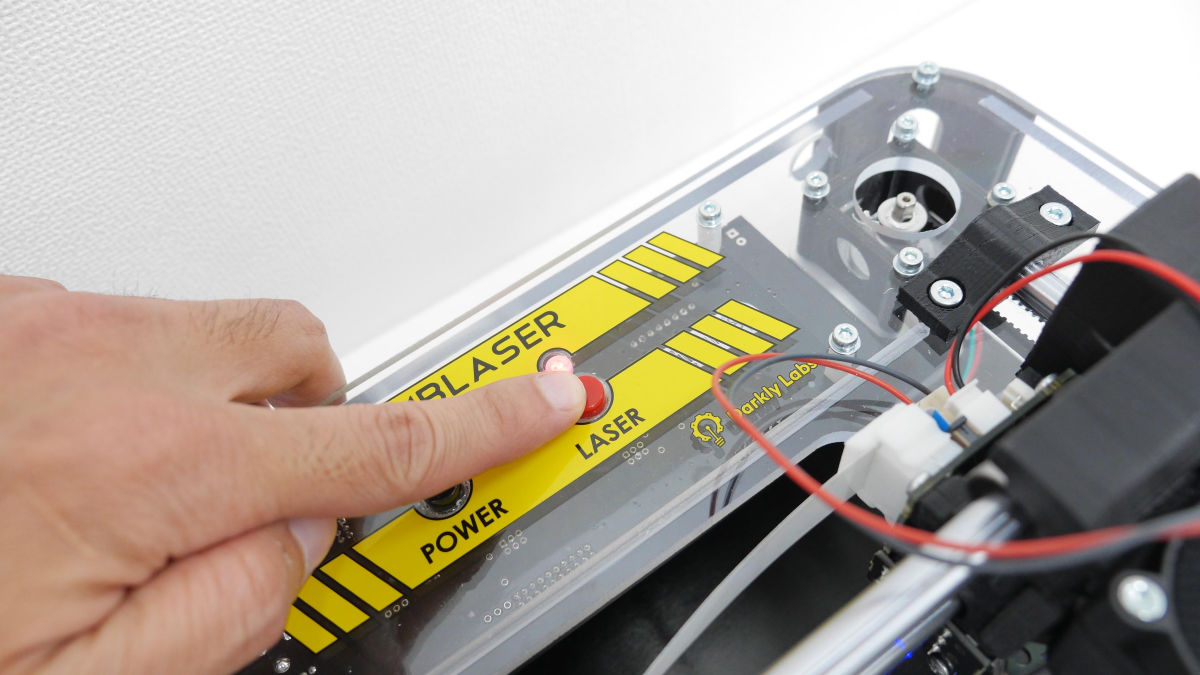
Since the laser is irradiated with such feeling while long pressing the button ......
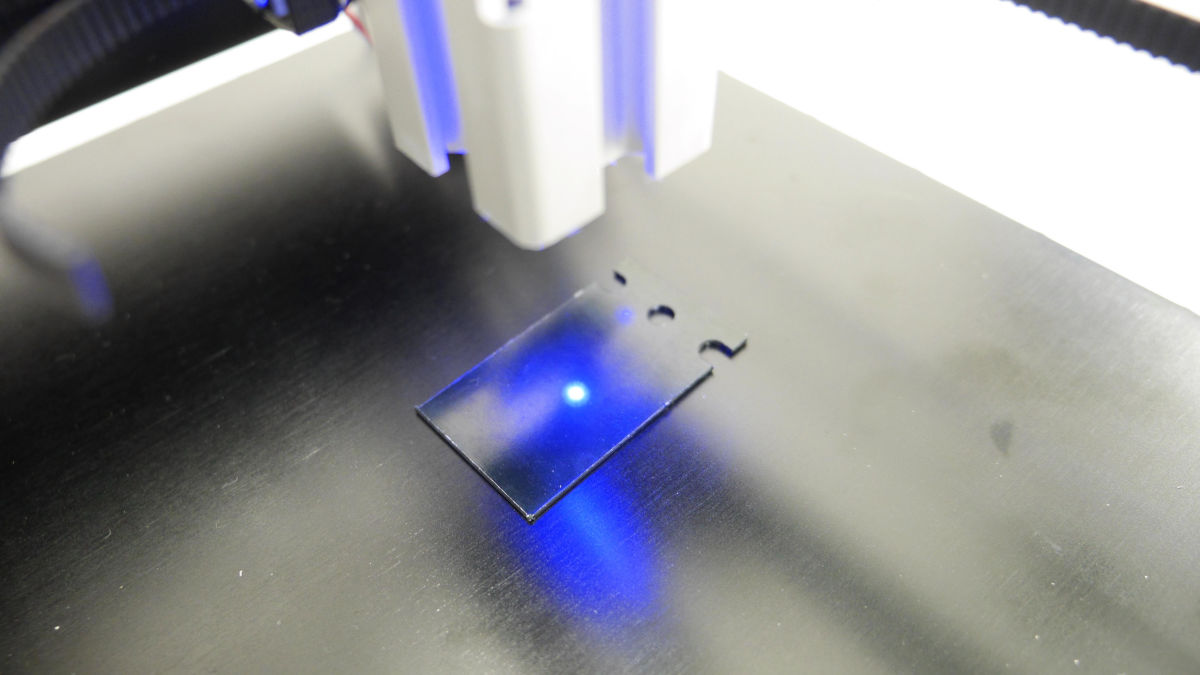
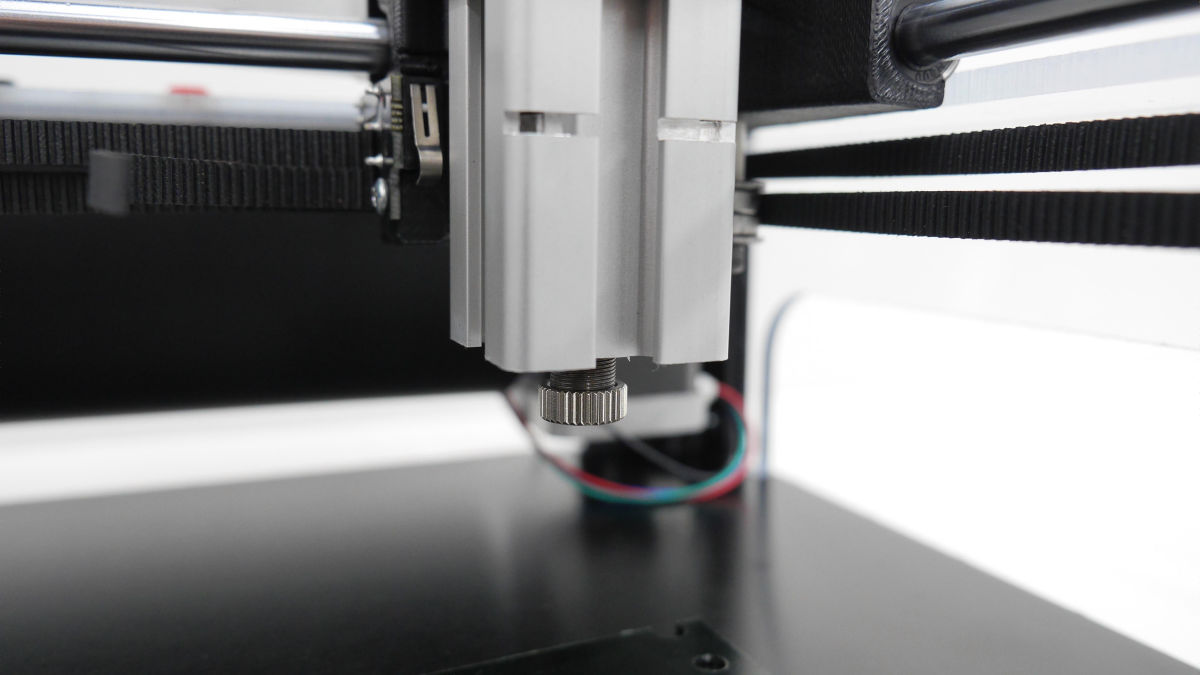
If you turn the screw in the laser irradiation part and find the place where the laser size becomes the smallest OK.
After adjusting the laser, attach the protective cover and all preparation is completed.
◆ I tried laser processing
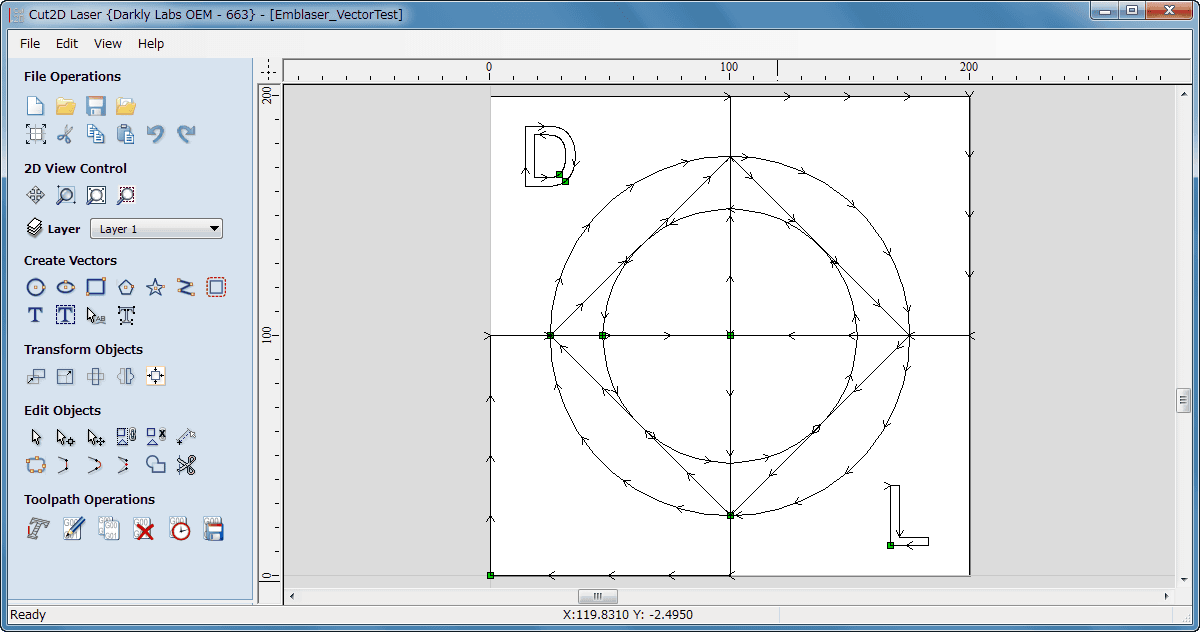
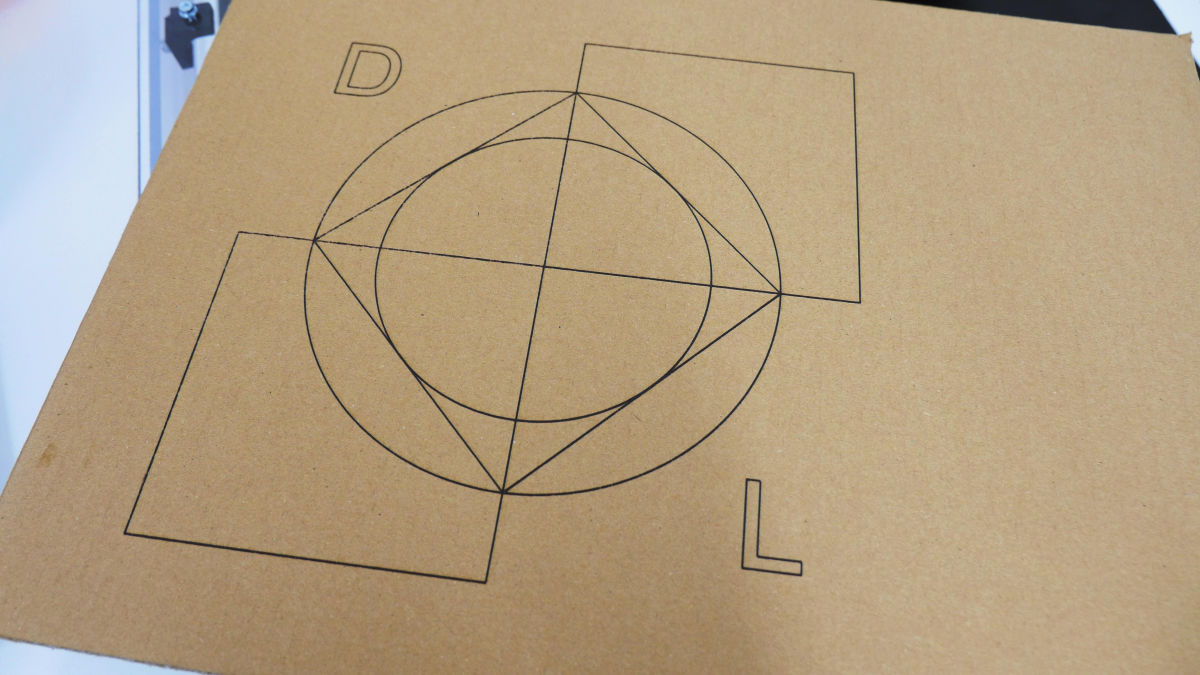
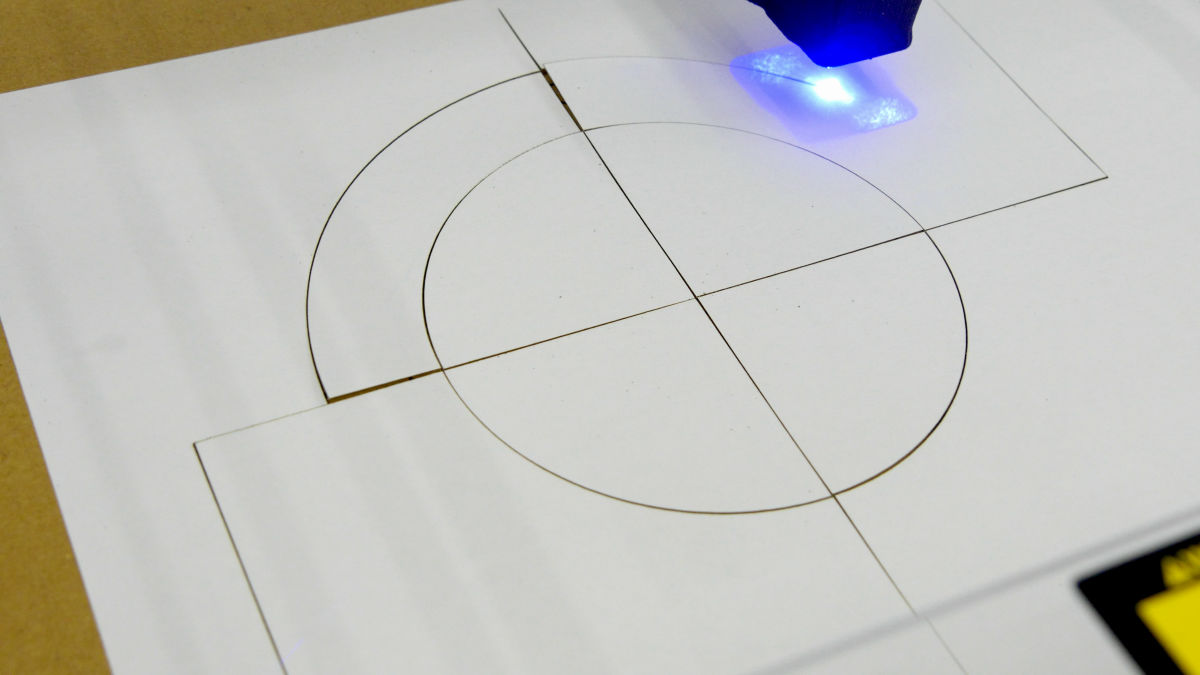
First of all,Cut 2D LaserLet's cut the figure of the street of the path (Directions) made with ". The figure to cut is this sample containing circles, squares and letters.
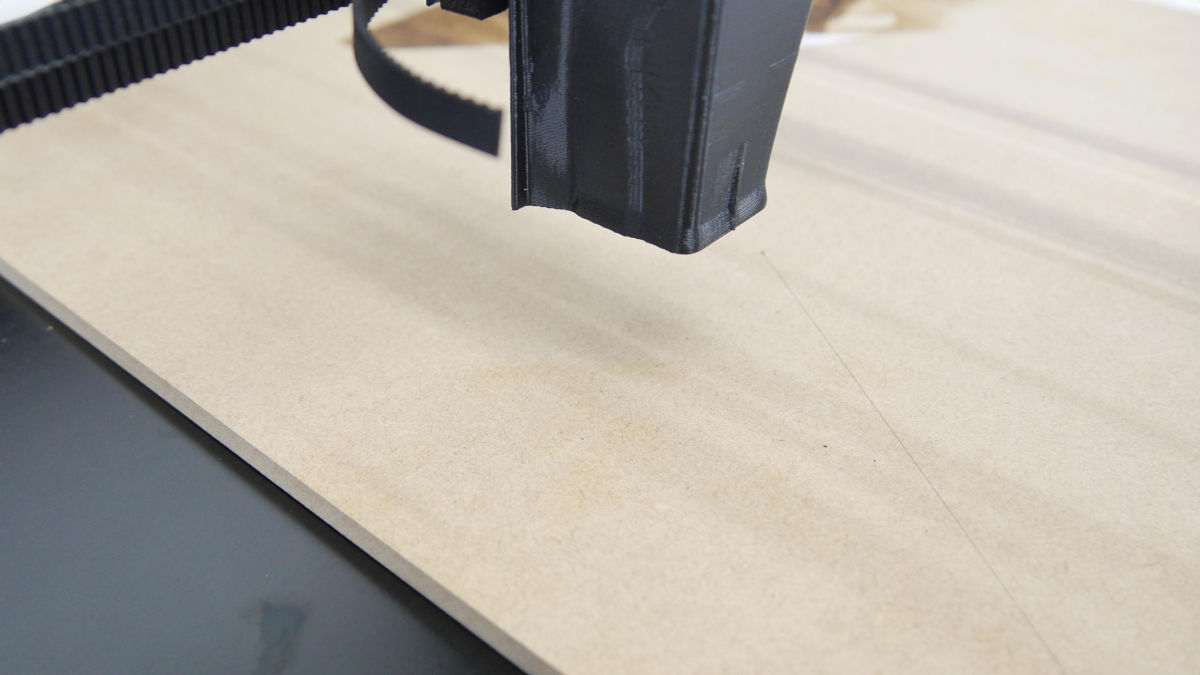
First, place the plate attached to the cardboard you want to cut, push the laser unit down and bring it into contact, and pull out the plate. This completes positioning of the laser.
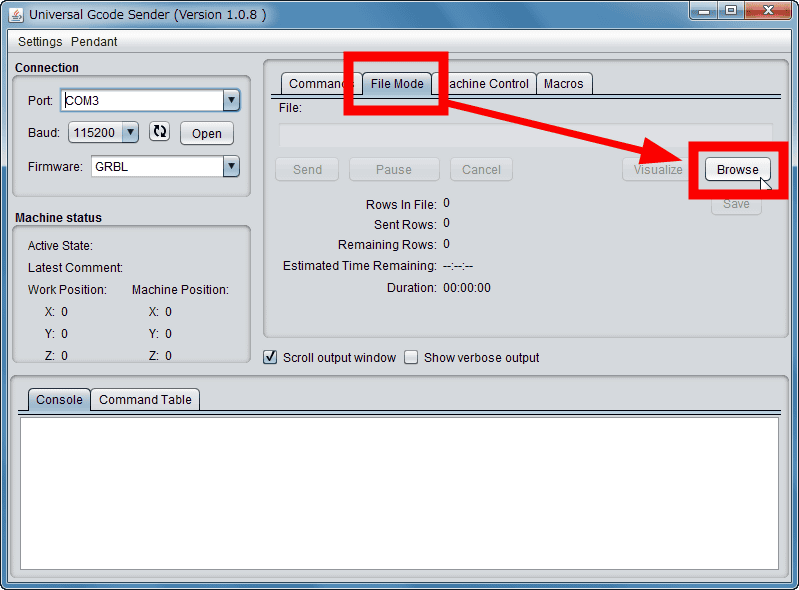
Next, turn on the Emblazer, activate the Universal G-code Sender, and move the laser to the home position. When you can confirm that you are in the home position, click "File Mode" → "Browse".
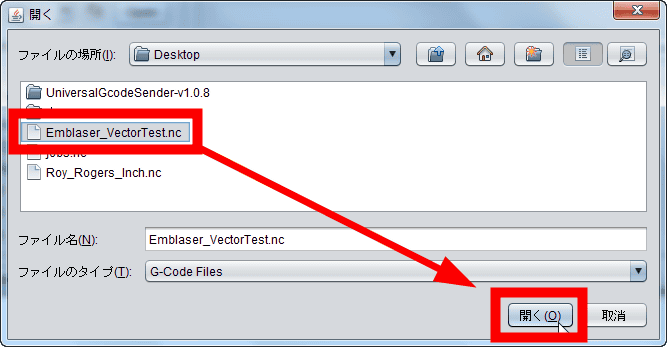
Select the sample file and click "Open".
Insert the laser of Emblazer and click the "Send" button, laser cutting will start.

You can check the state of laser cutting with the following movie.
How to draw a cut line on cardboard with my own laser processing machine "Emblazer" - YouTube
A line of laser processing entered into the corrugated paper with such a feeling. However, the surface is not cut (cut) but "burnt". Furthermore, with A4 copy paper it did not even burn.
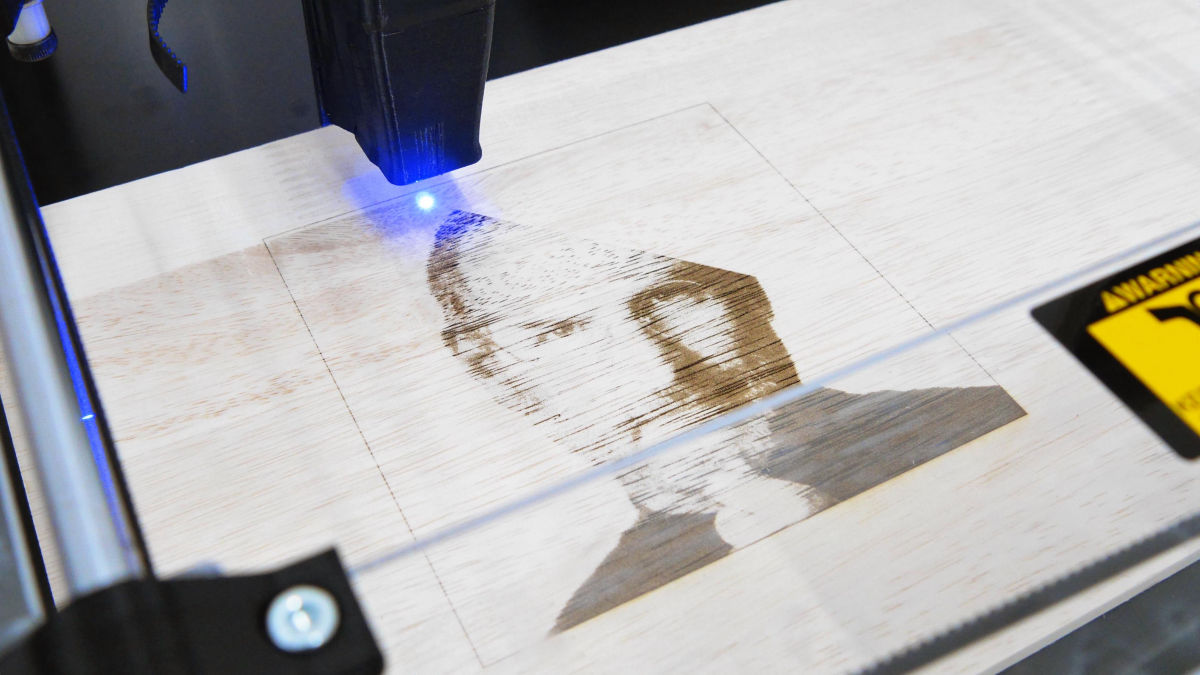
next,MDFI challenge to try engraving processing with laser.
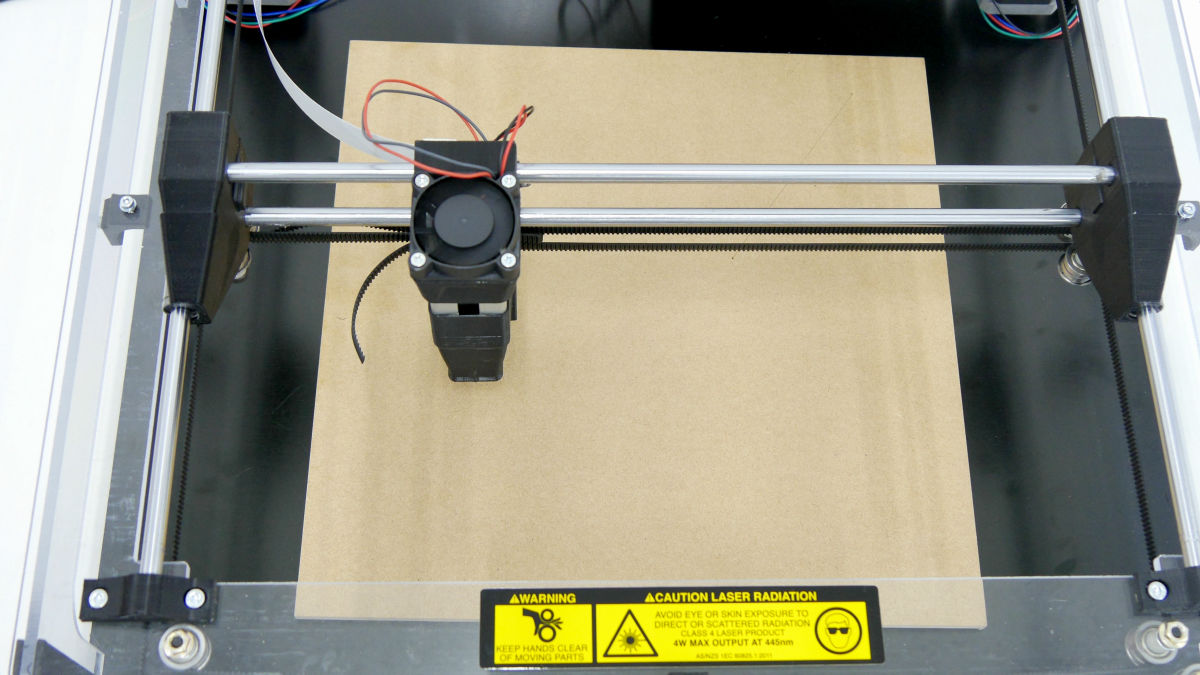
The sample to be engraved selected the following images that were on the official website.
Useful Cutting / Engraving Files - Darkly Labs Forum
http://forum.darklylabs.com/index.php?p=/discussion/128/useful-cutting-engraving-files#latest
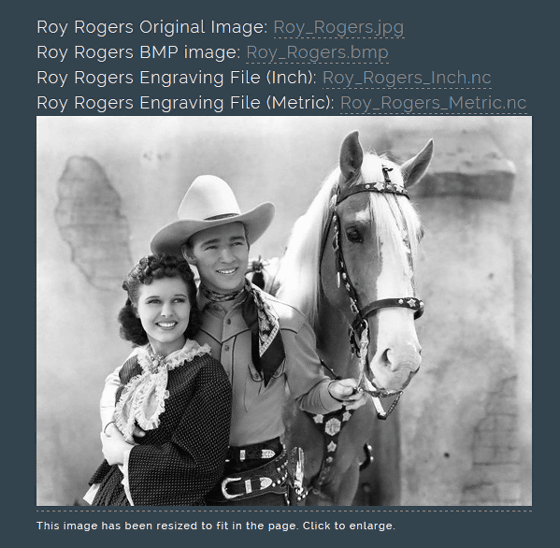
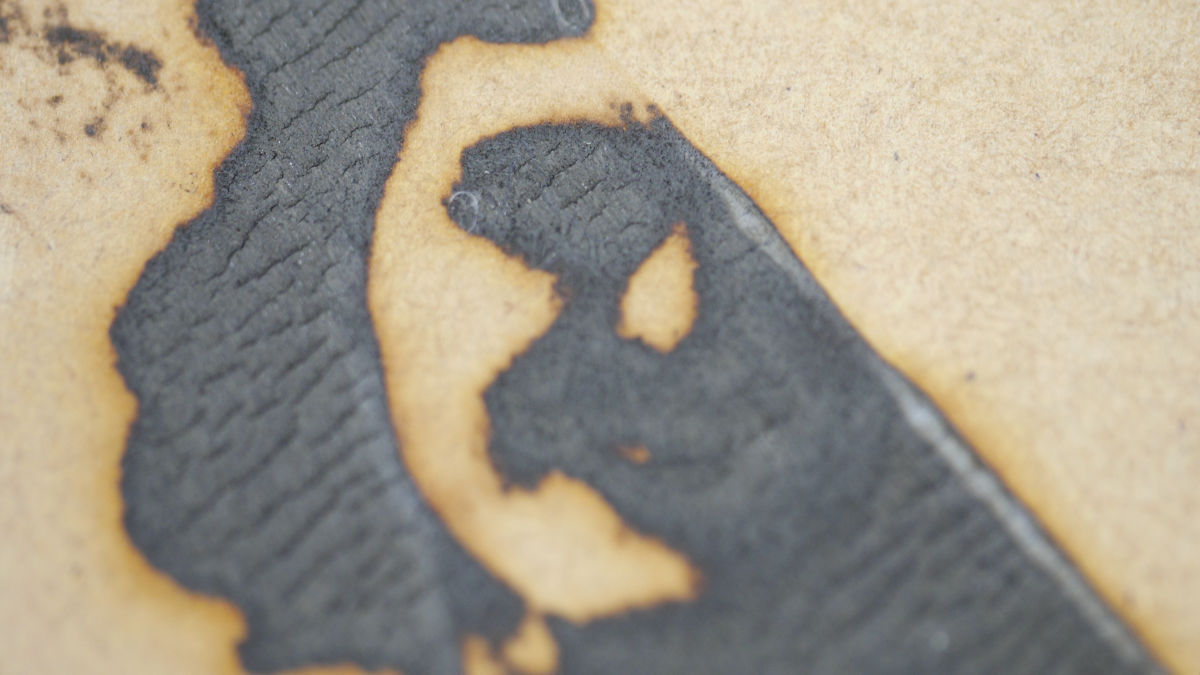
Clearly failed as a result of laser engraving "Roy Rogers Engraving File (Inch)" on the above site.
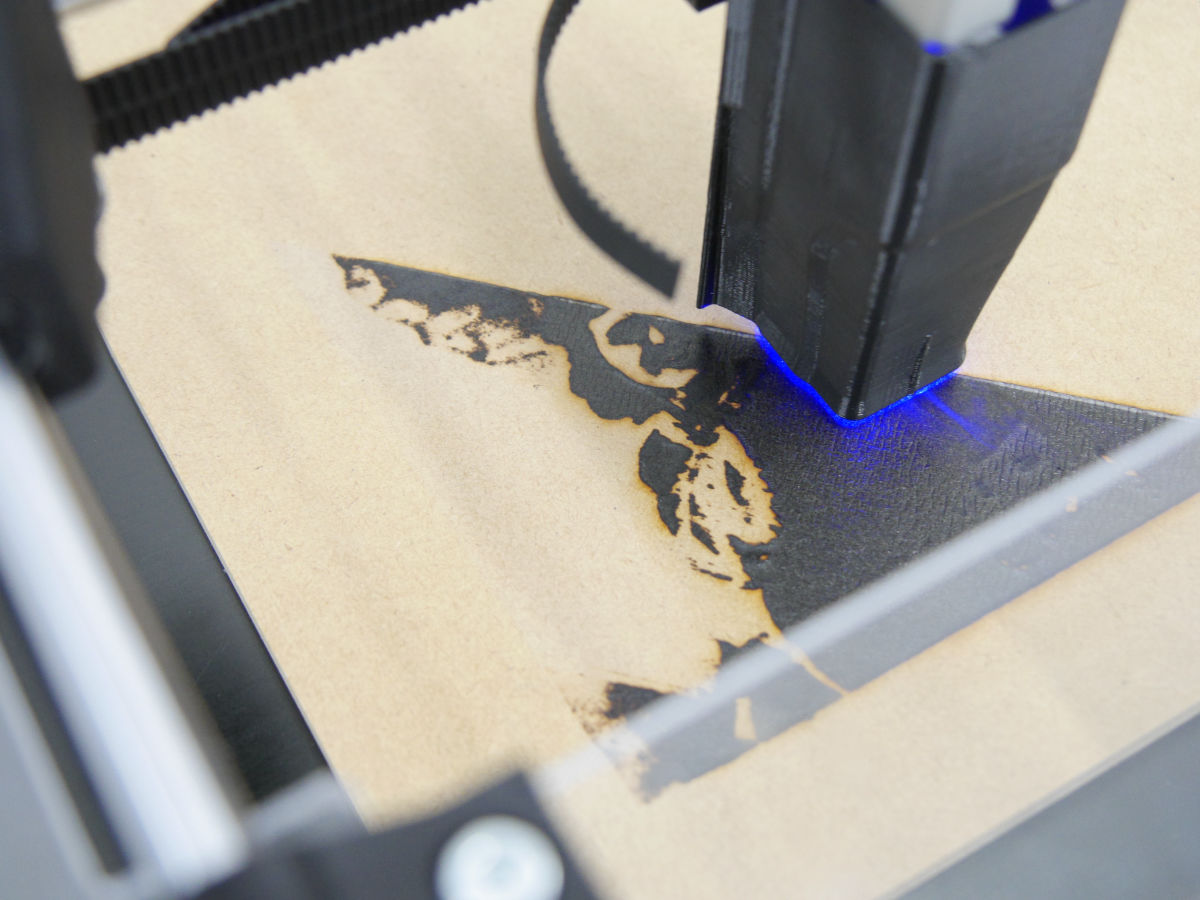
The MDF has completely burned.
After trial and error, setting the position of the laser unit to a considerably high place ...
I found out that I can carve it well.
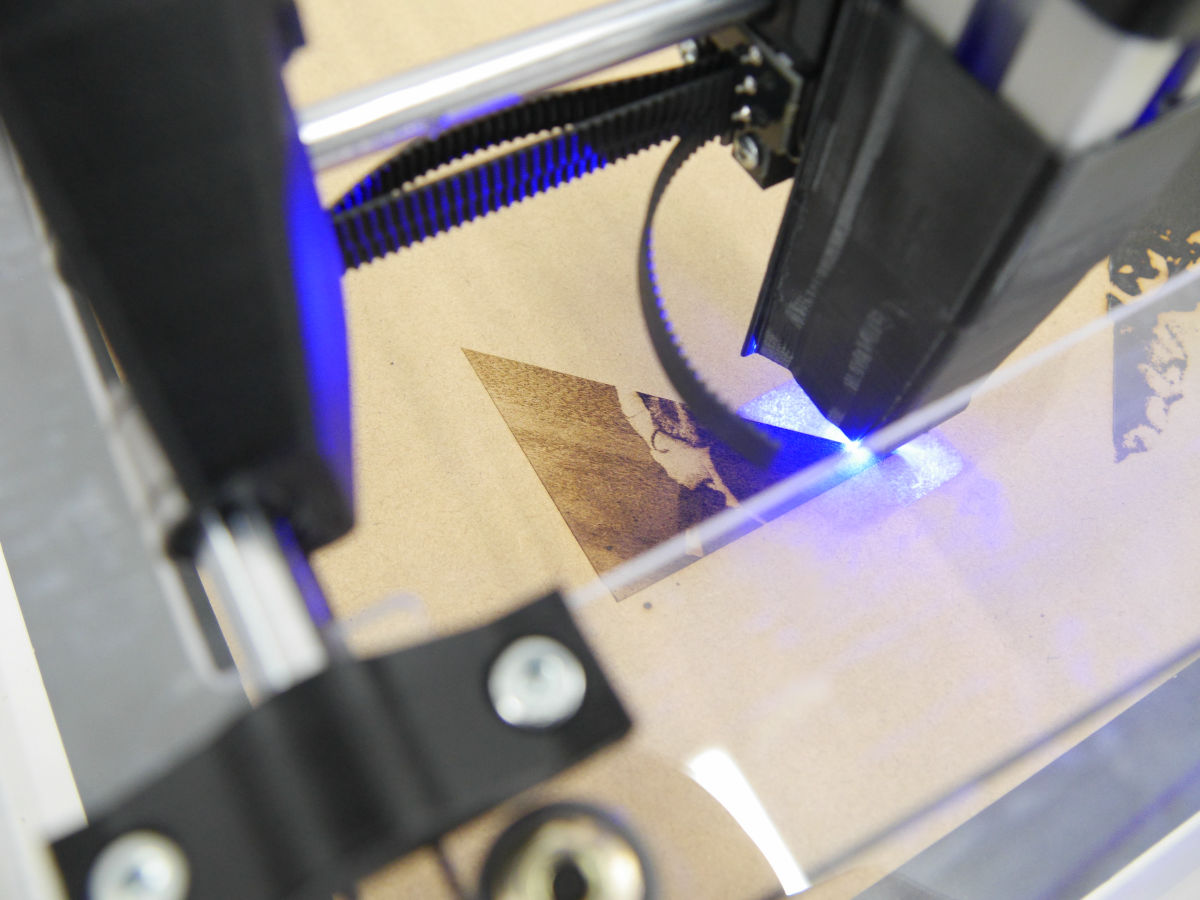
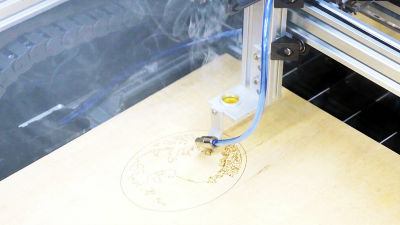
When grabbing MDF with laser, it looks like this.
How to grave with your own laser processing kit "Emblazer" - YouTube
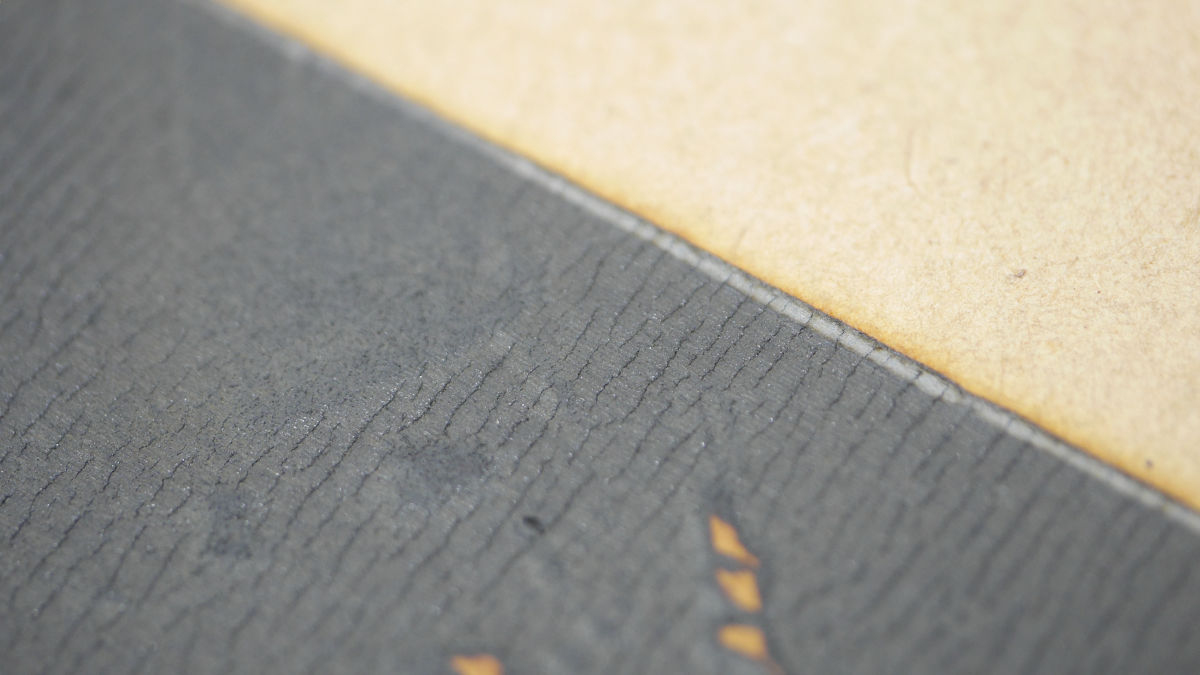
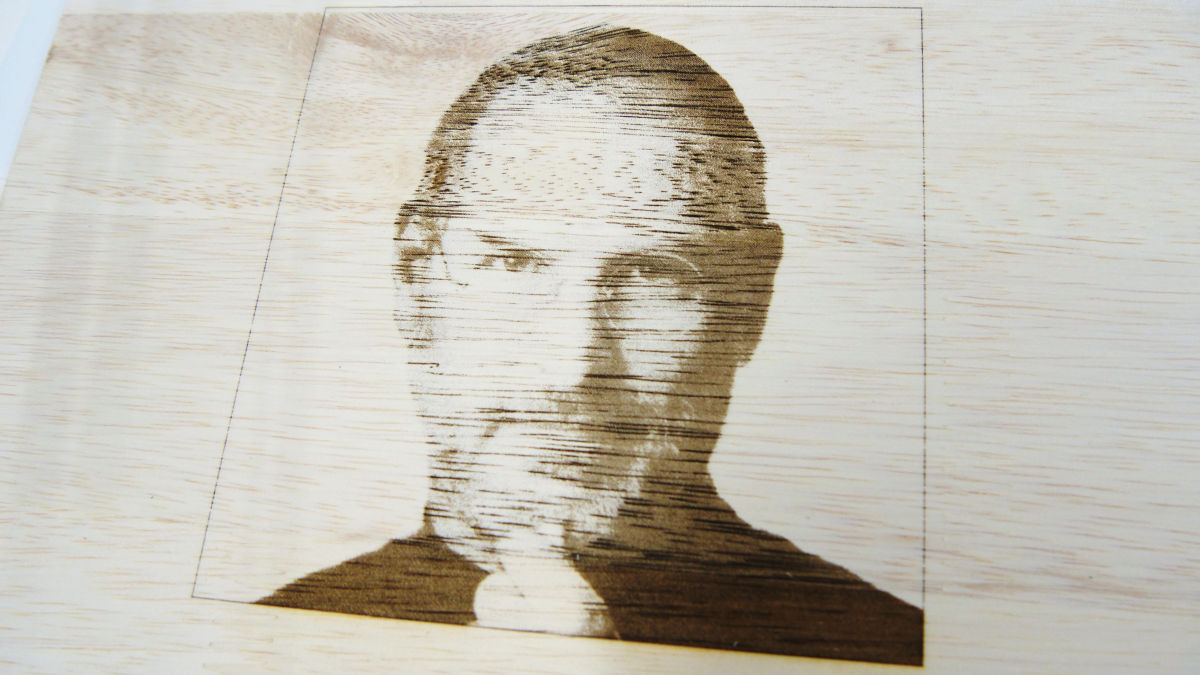
Successfully reproducing sample photos with laser processing.
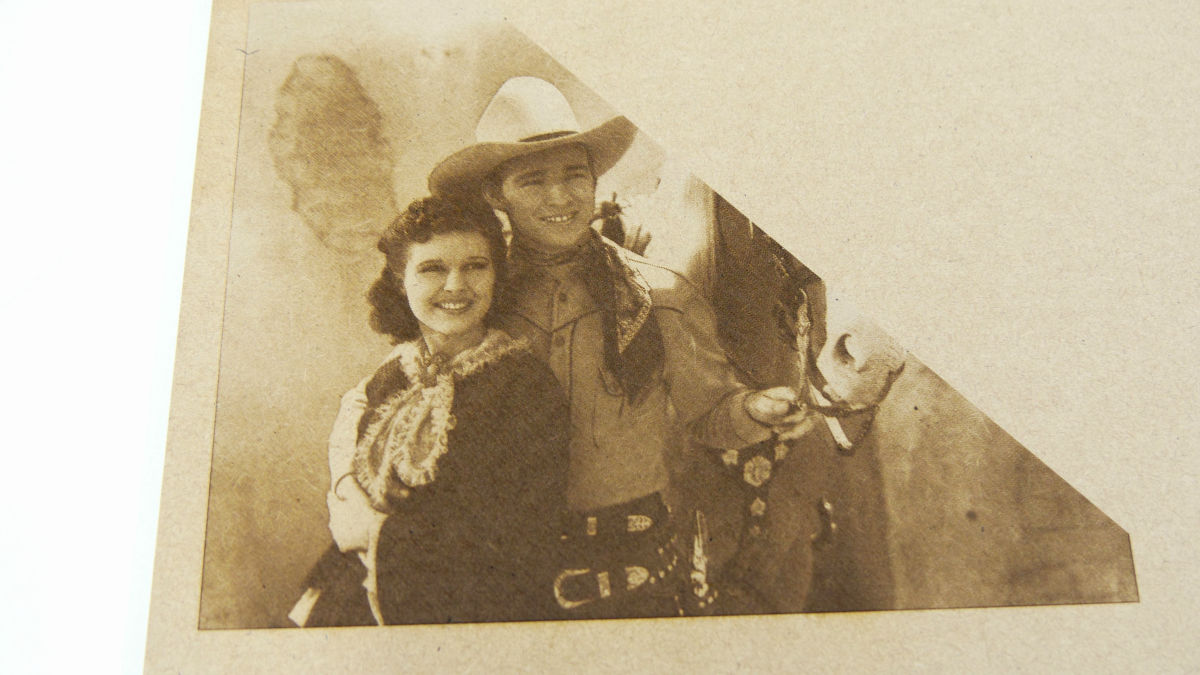
The expression of a woman has been reproduced spectacularly.

Denki is a mistake with the failed work earlier. Apparently, it is better to keep the distance between the laser unit and the workpiece as much as 2 centimeters, as it is difficult to approach the laser unit as it is in the manual.
In addition, if we set a distance of about 2 centimeters, we were able to cut easily even copy sheets that failed earlier.
When we succeeded in laser processing, I will challenge graving by creating a G-code file from the image.
PicLaser-Lite (download) - Darkly Labs
https://darklylabs.com/product/software-sample/
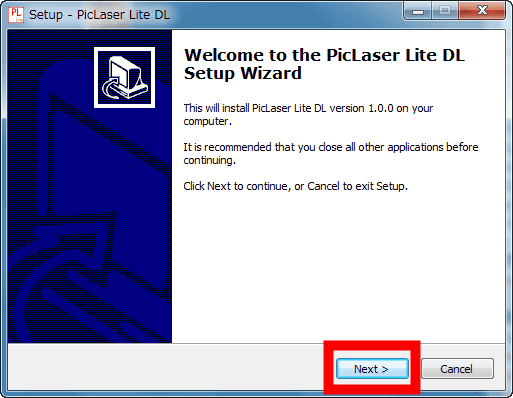
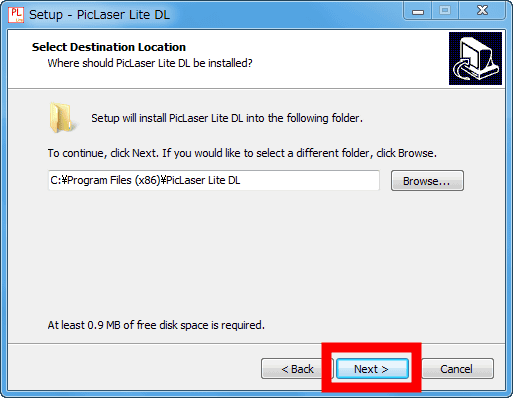
Download the installer of the software "PicLaser Lite" that can generate G-code file from the above site from the site, click on "Next" after running it.
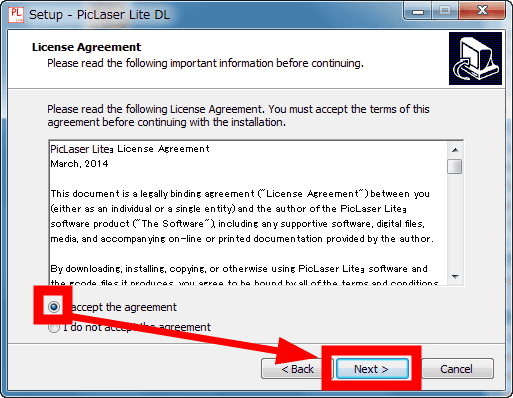
Please check "I accept the agreement" and click "Next".
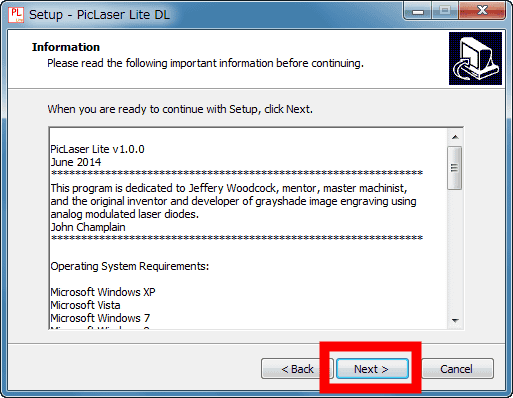
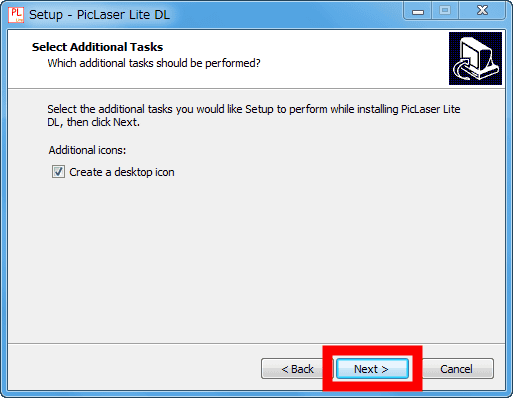
Click "Next".
Click "Next".
Click "Next".
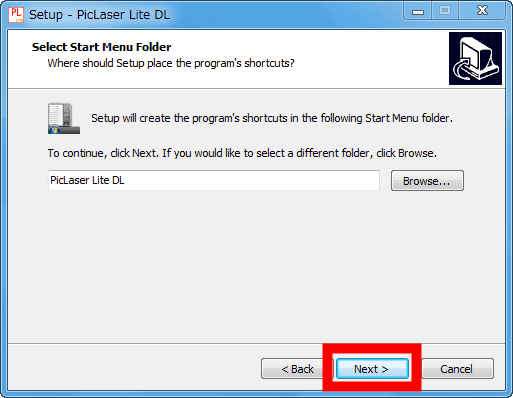
Click "Next".
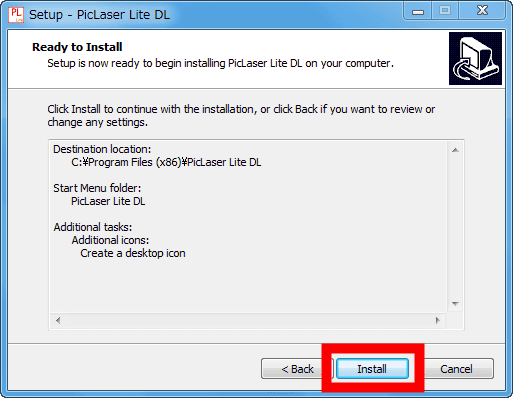
Click "Install" to install.
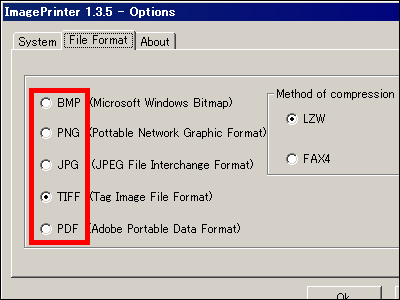
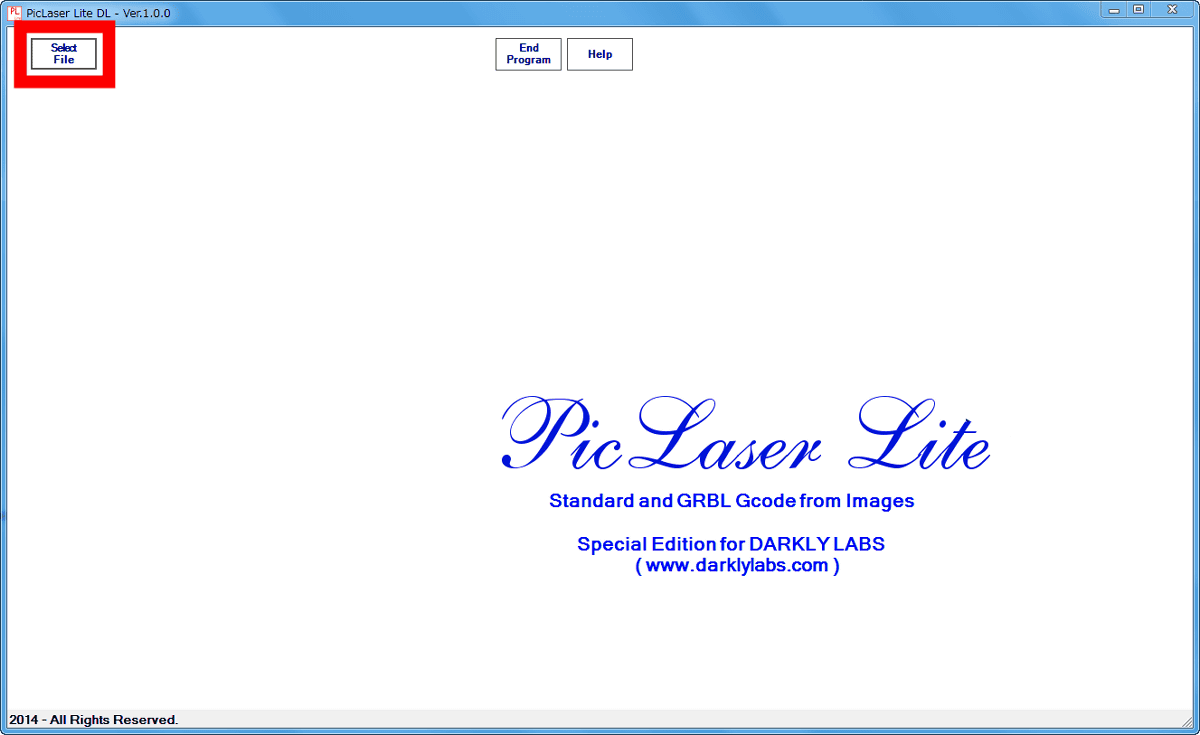
When you start PicLaser Lite, click "Select File" in the upper left. PicLaser Lite can only read BMP files.
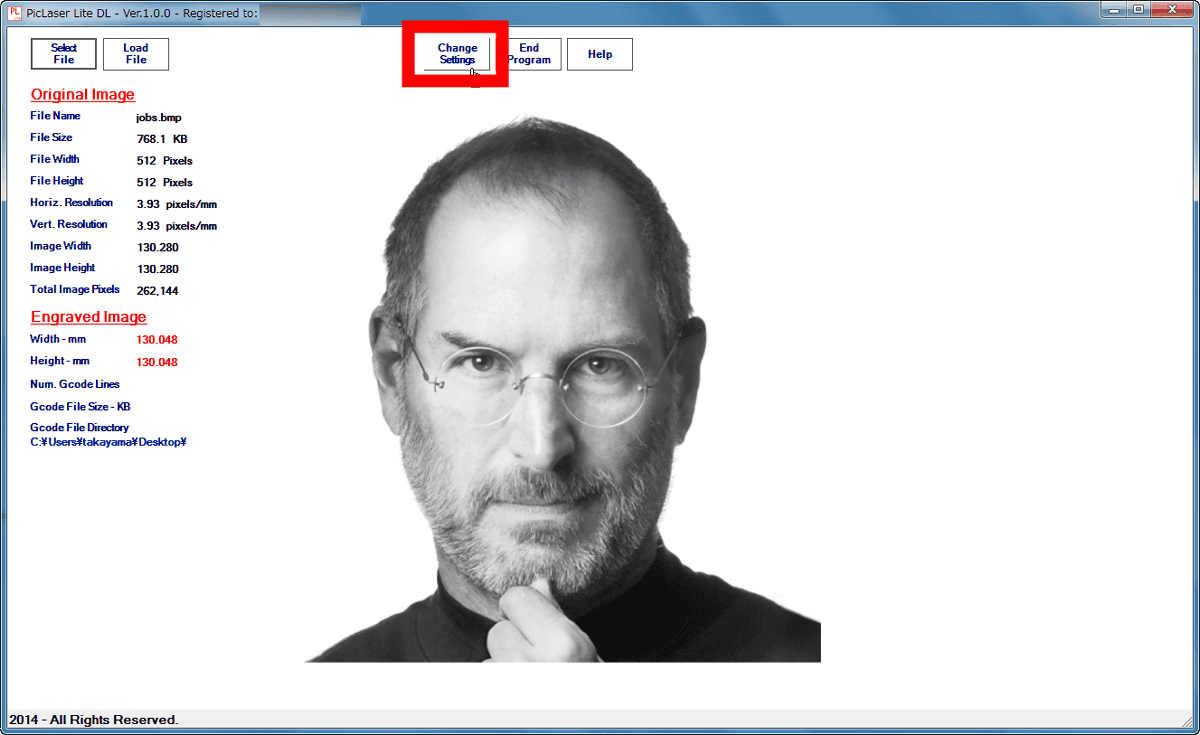
After specifying the BMP file you want to mark with the laser, click "Change settings".
You can change various settings such as resolution, depth to be engraved with laser, scanning method, file save place and so on.
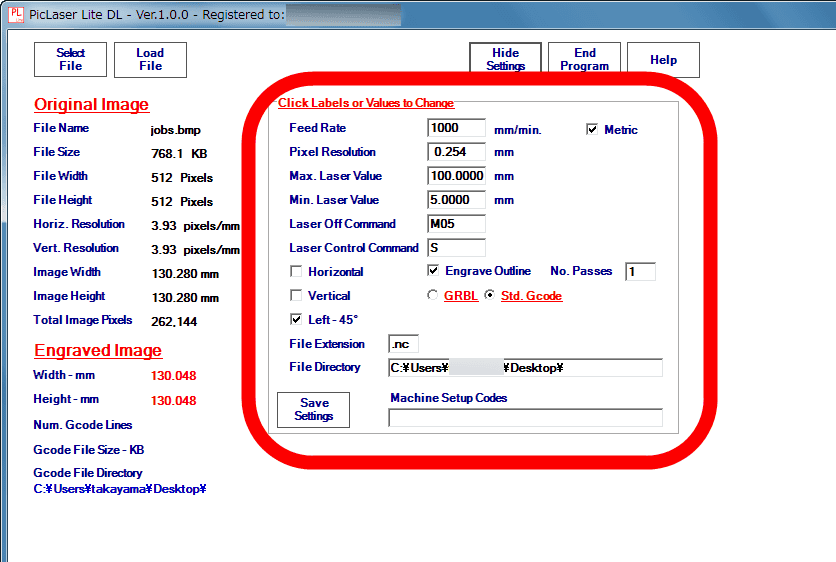
When setting is completed, click "Load File".

Click "Make G-code".

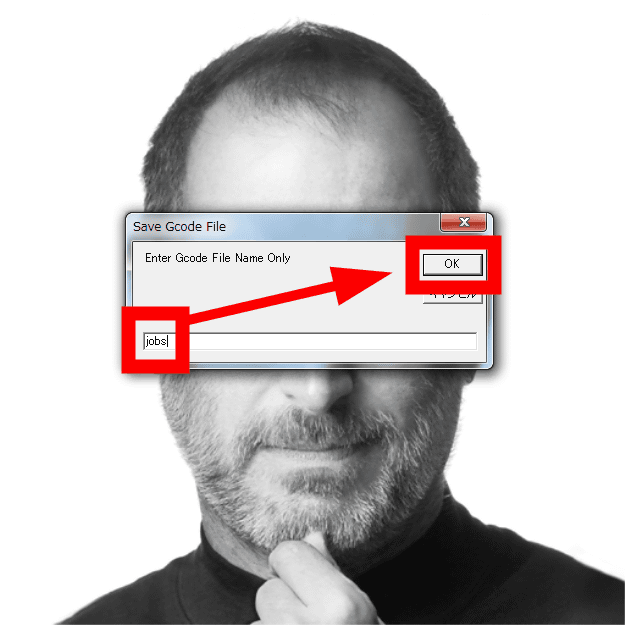
Click "Save G-code".

When you enter the file name and click "OK", a G-code file with the extension ".nc" is generated.
When the generated G - code file was loaded into the Universal G - code Sender, I successfully carved the image.
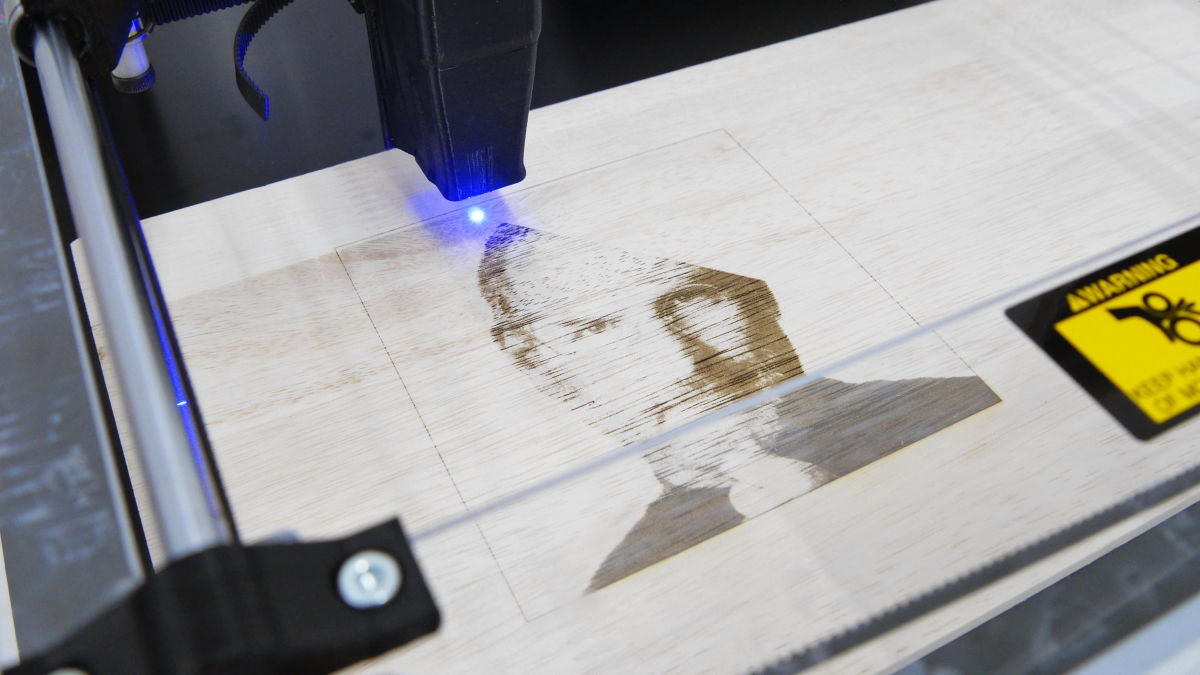
Processing is completed in about 3 hours. The indentation of the plate is darker grayed, and it is possible to perform laser processing making full use of the texture of the wood.
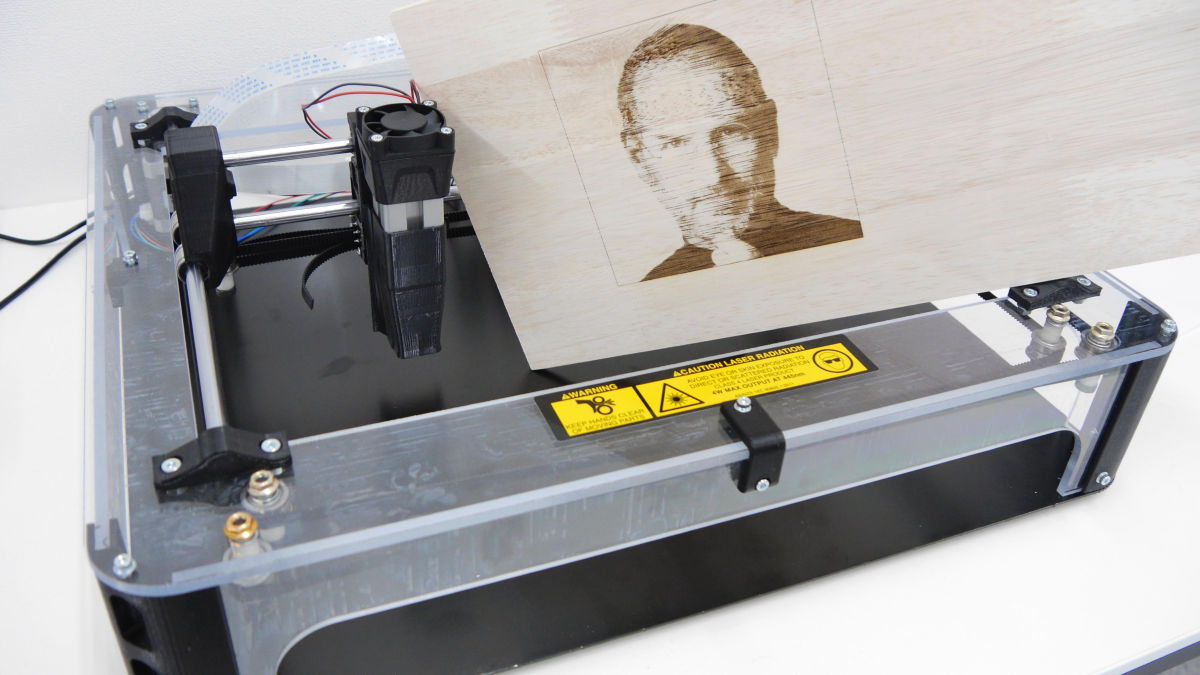
Emblazer, once assembled, was hardware capable of easily laser-cutting and laser-grabbing figures and images using special software.
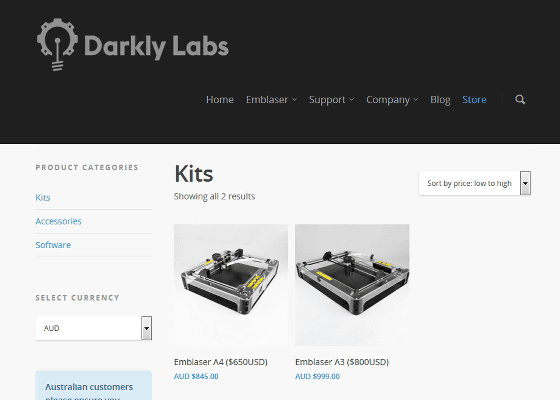
The laser processing kit Emblazer has an A4 type version of $ 650 (about 80,000 yen) and an A3 type version of $ 800 (about 90,000 yen).
Kits Archives - Darkly Labs
https://darklylabs.com/product-category/kits/
Related Posts: