To burn a factory image on Nexus 5 and install Android 5.0 Lollipop

Google will use the latest Android OS "Android 5.0 LollipopWe are publishing the OTA distribution for the Nexus series. Since it will be delivered sequentially, it is unknown when it will be possible to update on my terminal, but since Google has released a factory image of Android 5.0 Lollipop, I use the developer tool to actually create a factory image I summarized the method of baking to Nexus 5.
Factory Images for Nexus Devices - Android? Google Developers
https://developers.google.com/android/nexus/images
Android SDK | Android Developers
https://developer.android.com/sdk/index.html#download
◆ PC settings
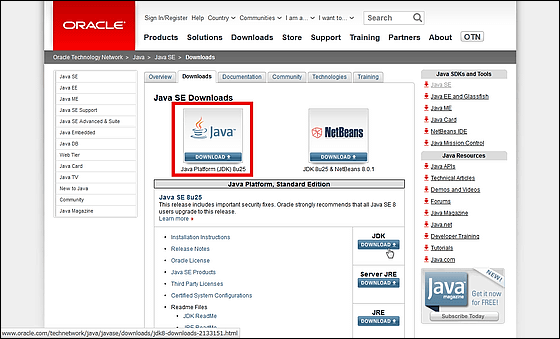
In order to download JDK, "Java SE - Downloads | Oracle Technology Network"And click" Java's "DOWNLOAD".
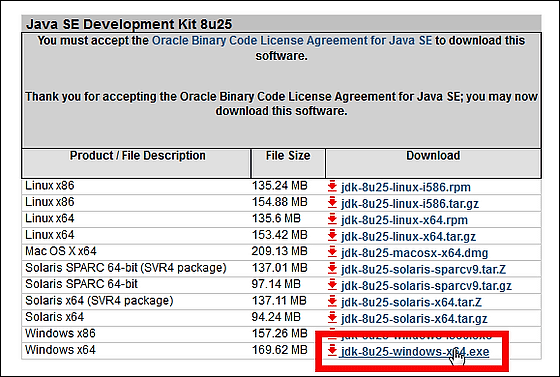
Check "Accept License Agreement" in the item "Java SE Development Kit 8u25".
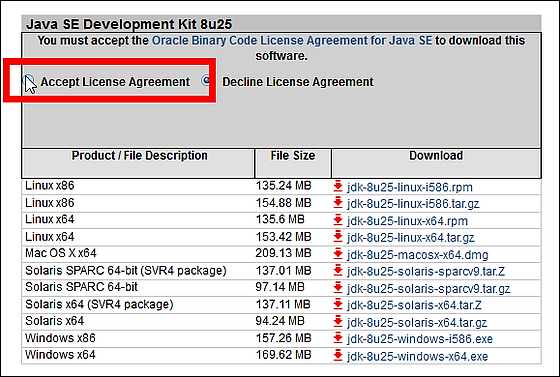
Download the target OS file. Since the machine at hand is Windows 7 (64 bit version), it downloads to "jdk - 8u25 - windows - x64.exe" for Windows x64.
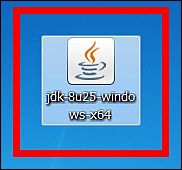
Launch the downloaded installer.
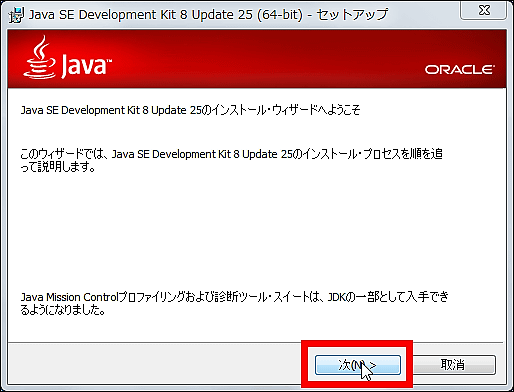
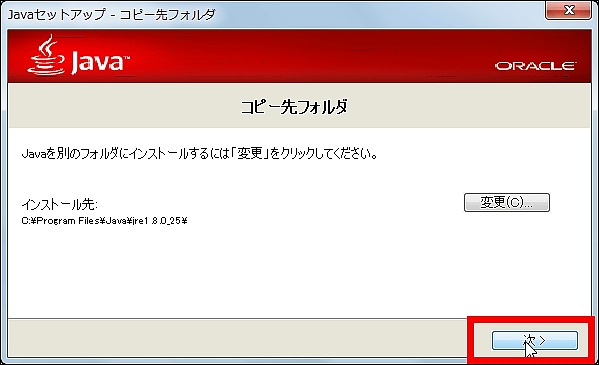
Click "Next".
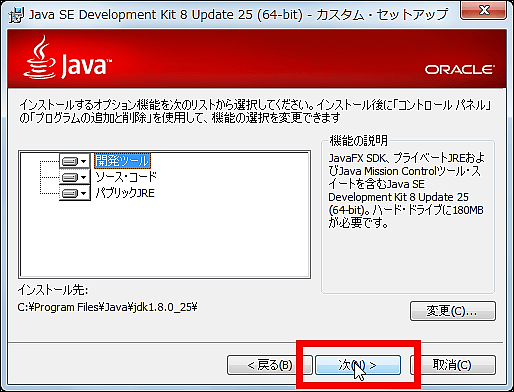
Click "Next".
Click "Next".
JDK download is completed with "close".
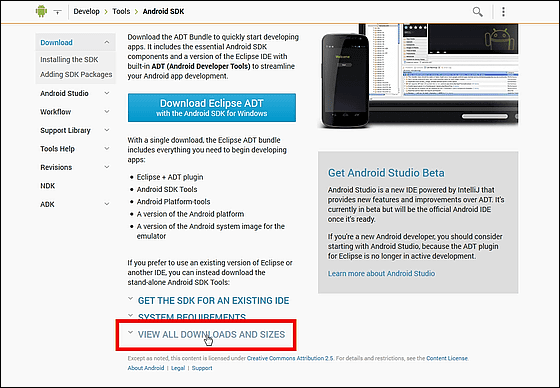
Then download Android SDK (Android application development kit) essential for burning the factory image.Android SDK | Android DevelopersAccess "VIEW ALL DOWNLOADS AND SIZES".
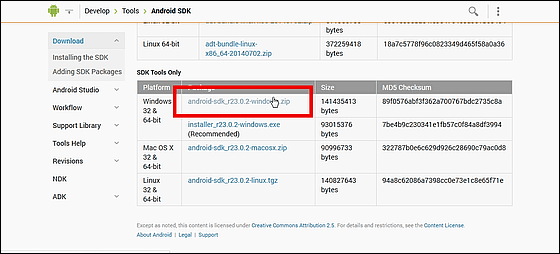
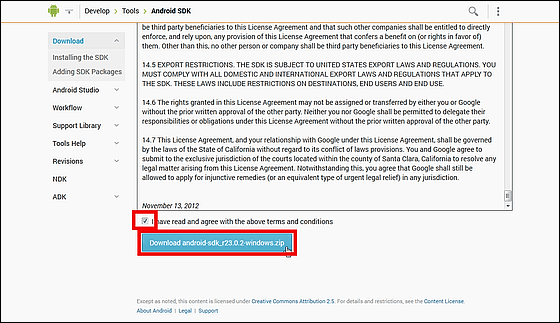
Click "android-sdk_r23.0.2-windows.zip" for Windows 32 & 64bit.
Check the check box and click "Download android-sdk_r23.0.2-windows.zip".
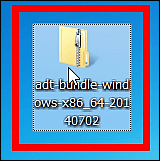
Unzip the downloaded zip file. You can decompress with C drive instead of desktop.
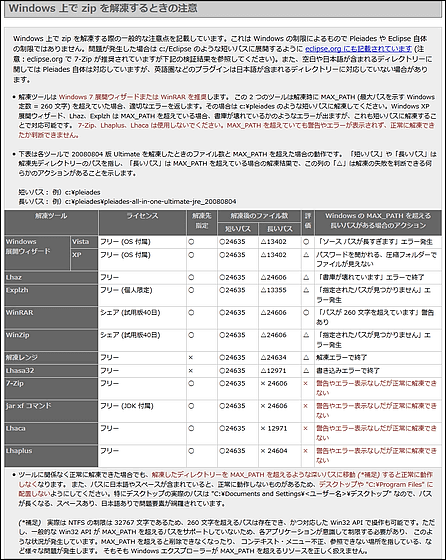
Depending on the software to be decompressed, the execution file may be completed without error messages without error messages. Included in SDKEclipse pluginAccording to the explanation page of ", do not use 7-Zip, Lhaplus, Lhaca, even if it exceeds MAX_PATH, warnings and errors are not displayed and it is impossible to judge whether it was able to decompress normally." You can tell if WinRAR, Lhaz, Explzh have failed.
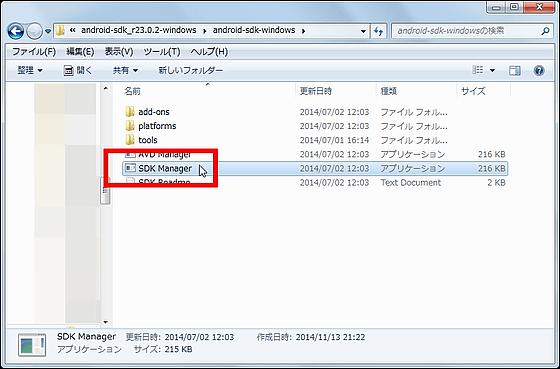
After unpacking, start "SDK Manager.exe".
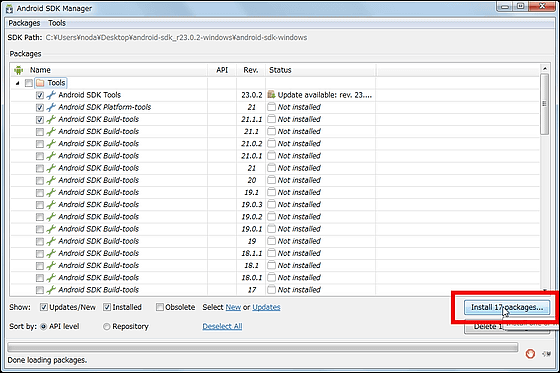
You can download the necessary tools. Click "Install 17 packages ...".
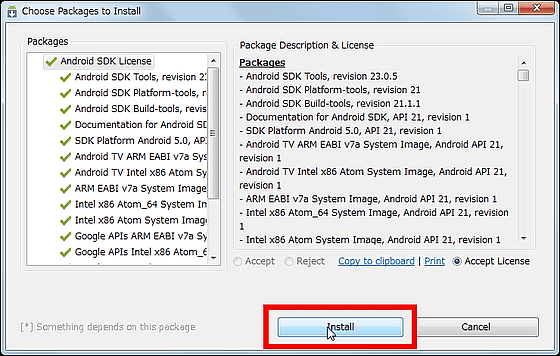
Click "Install" to start installation of the tool package. Depending on the machine's specifications, it takes around 30 minutes.
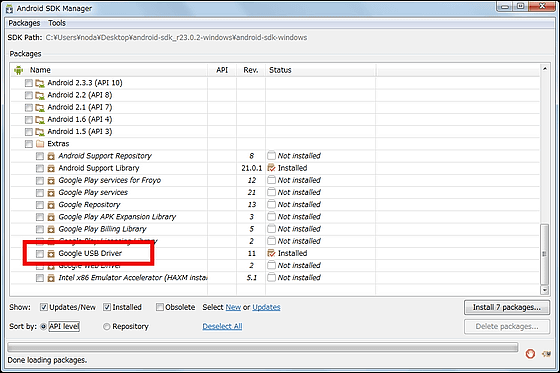
Although installation sometimes stops on the way, if "Google USB Driver" is installed for the time being, it is OK even if it does not proceed.
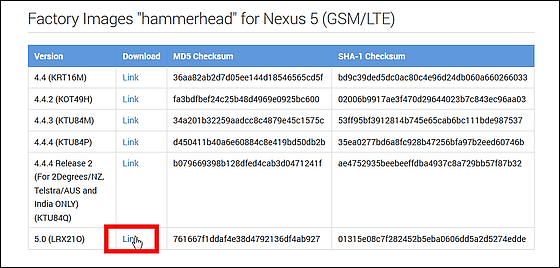
Next, download the factory image of the target device. This time it is Nexus 5, so "Factory Images for Nexus Devices - AndroidClick "Link" on the right of "5.0 (LRX 210)" from the list of Nexus 5 of "
Unzip the downloaded file. Software corresponding to decompression of TAR file is necessary.
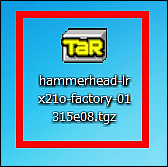
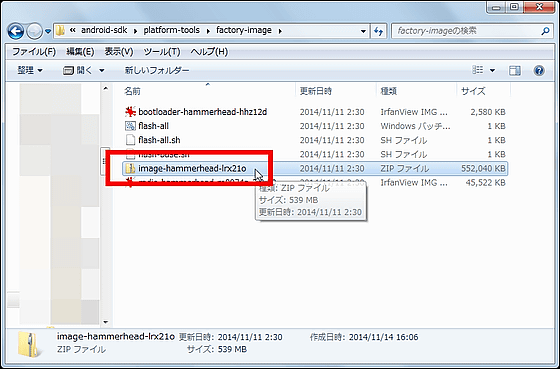
After decompressing, further unzip the "image - hammerhead - Irx 21 o" ZIP file inside.
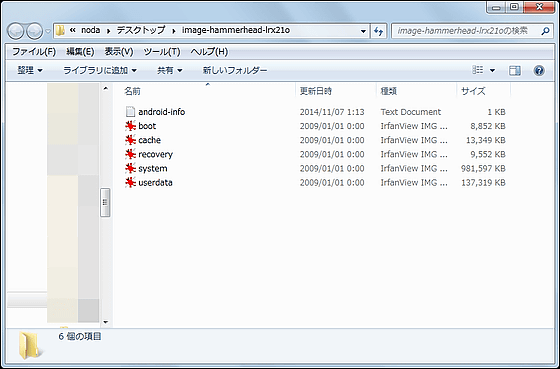
Confirm that "boot" and "system" are present, and it is completed.
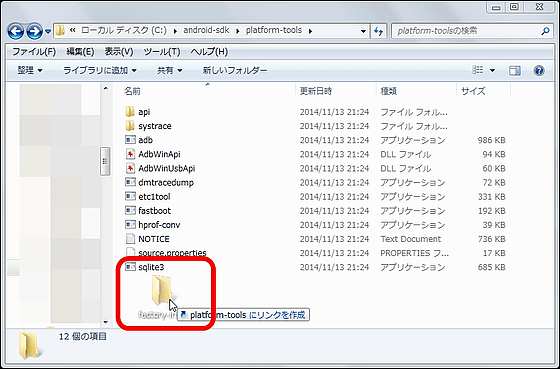
Although it is not necessary, it is convenient to put the folder of the factory image that you unpacked into the "platform-tools" directory of the SDK folder. Even if you rename the folder briefly to "factory-image" etc. for ease of understanding, the folder name is OK.
◆ Bake the factory image
When you are ready, connect your Nexus 5 and your PC with a USB cable.
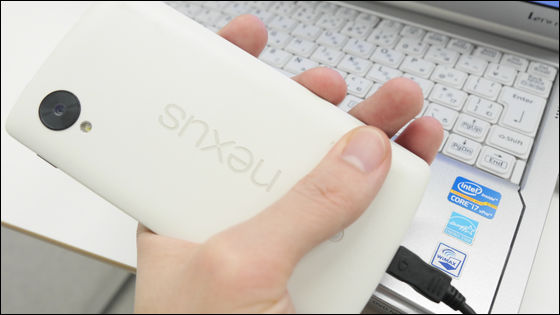
Incidentally,After burning the factory image, please execute it after returning to the factory shipment state, deleting all data, there is a possibility that the maker guarantee may be lost.If you back up, you can finally restore from the original data.
Once the driver is installed automatically, turn off the power supply once. When the power is turned off, press and hold the Nexus 5 power button and volume down key at the same time to start up in Fastboot mode. Then the following droid's screen will be displayed.
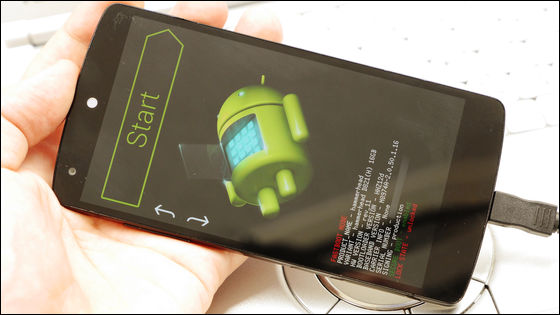
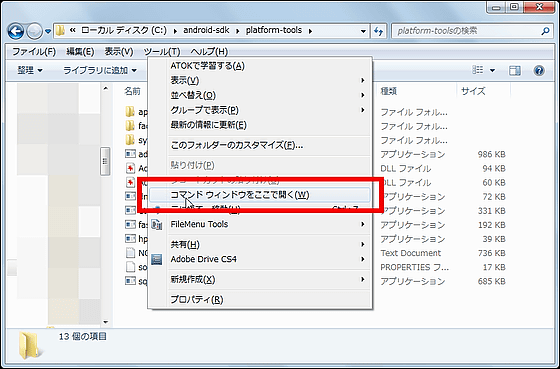
Next, if the "LOCK STATE" item on the Nexus 5 screen is "LOCKED", you need to change it to "UNLOCKED". Right-click while holding down the Shift key in an empty place of "platform-tools" folder where fastboot.exe is installed and click "Open command window here".
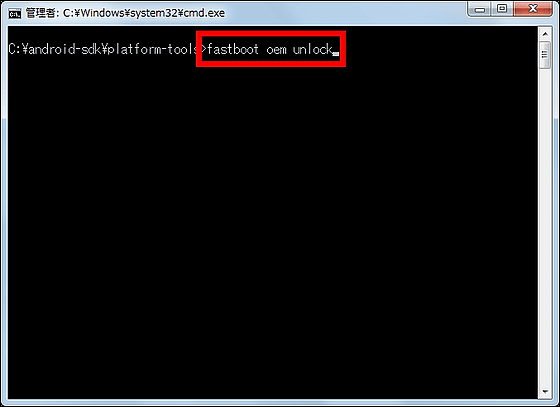
When the command prompt opens, enter "fastboot oem unlock" as it is. When the confirmation dialog appears, if the LOCK STATE of Nexus 5 switches to "UNLOCKED" OK.
Next time will finally burn the factory image to the OS. As before, in the "platform-tools" folder, hold down the Shift key and right click to launch the command prompt.

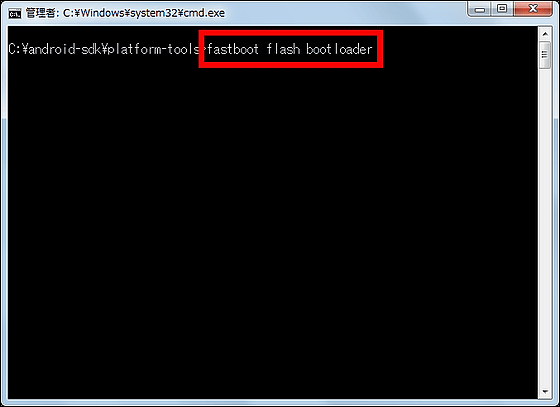
Simply type "fastboot flash bootloader" and leave a space. Be careful not to push the Enter key yet.
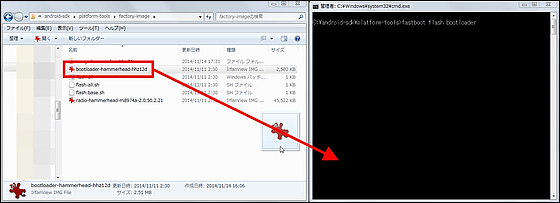
Drag "bootloader-hammmerhead-hhz12d" in the folder of the factory image that was first decompressed and drop it in the command prompt.
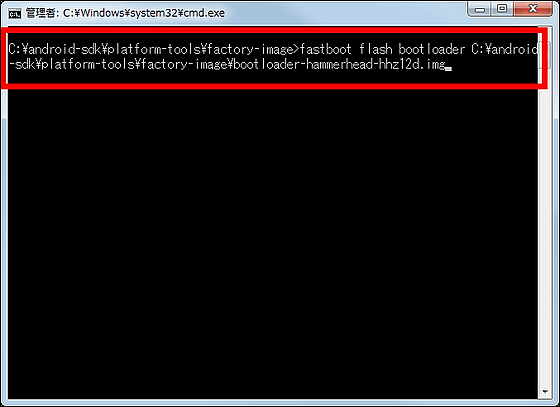
Then commands are entered with such feeling, so execute with enter key.
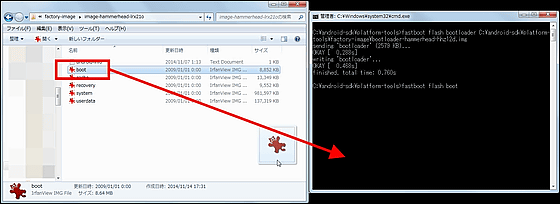
Next, enter "fastboot flash boot" in the same command prompt screen.
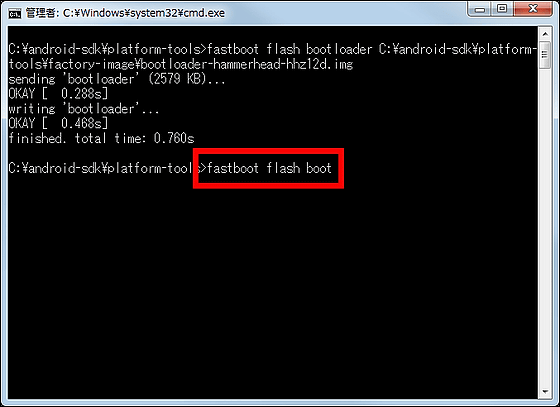
Drag and drop the "boot" file in the folder of the second decompressed factory image in the same way and execute it in the enter.
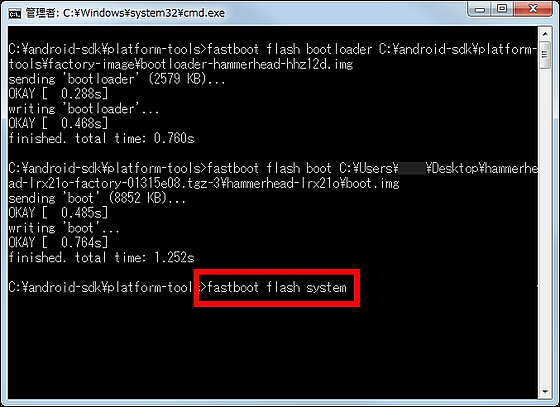
Then enter 'fastboot flash system' ...
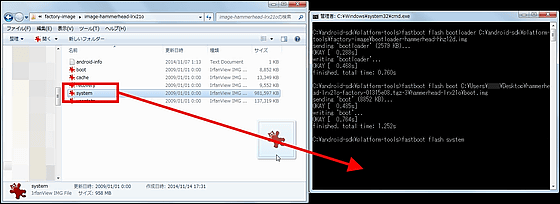
Drag and drop "system" file in the same folder as "boot" file. Because system file has large capacity, it may take about 5 minutes to finish baking.
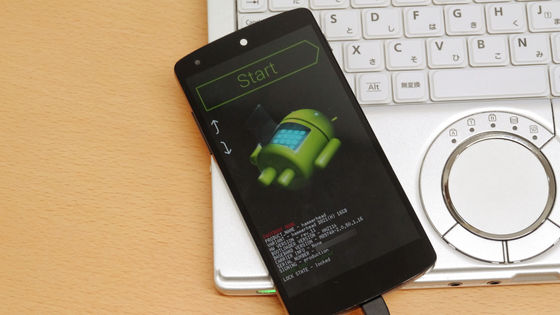
When the burning of the factory image is completed, confirm that "Start" is displayed at the top of the screen of Nexus 5, then push the power button. If another character is displayed, you can switch the menu by pressing the volume button several times.
It will take about 10 minutes for the process to start Nexus 5 with Android 5.0 Lollipop to finish.
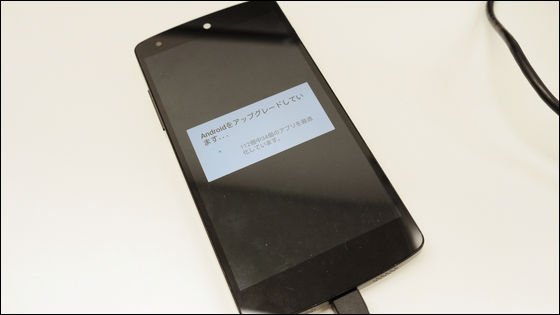
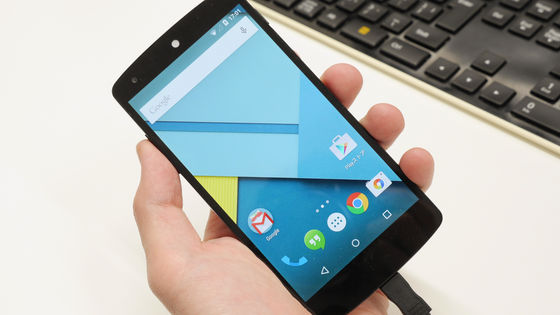
When processing is completed, the power turns on automatically and Nexus 5 starts up. Since the animation during startup is different from usual, the tension goes up. As it is factory shipped, you may be asked for various initial settings, but when you finally opened the top page, a new interface different from usual was displayed!
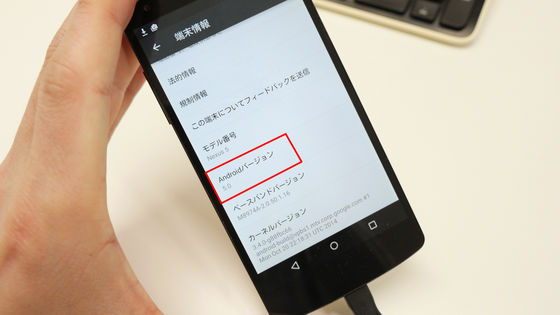
Looking at the version of Android, you can see that it is 5.0.
Furthermore, what you can do with Android 5.0 Lollipop can be confirmed in the following Nexus 9 review article.
Report on trying various new features and changes of "Android 5.0 Lollipop" on Nexus 9 - GIGAZINE

Related Posts:

