I tried using the tool "Android Things Console" which can manage the software of IoT terminal
Console software that can manage applications built on OS for AndoT "Android Things"Android Things ConsoleHas been released from Google. Since IoT terminal application can be reflected on terminal and software can be updated with OTA, I tried "management of IoT terminal" with Raspberry Pi on IoT terminal.
◆ Android SDK Platform Tools
In order to use the ADB command, first download and install "Android SDK Platform Tools".
SDK Platform Tools Release Notes | Android Studio
https://developer.android.com/studio/releases/platform-tools.html
Click the file corresponding to the OS from the above site.
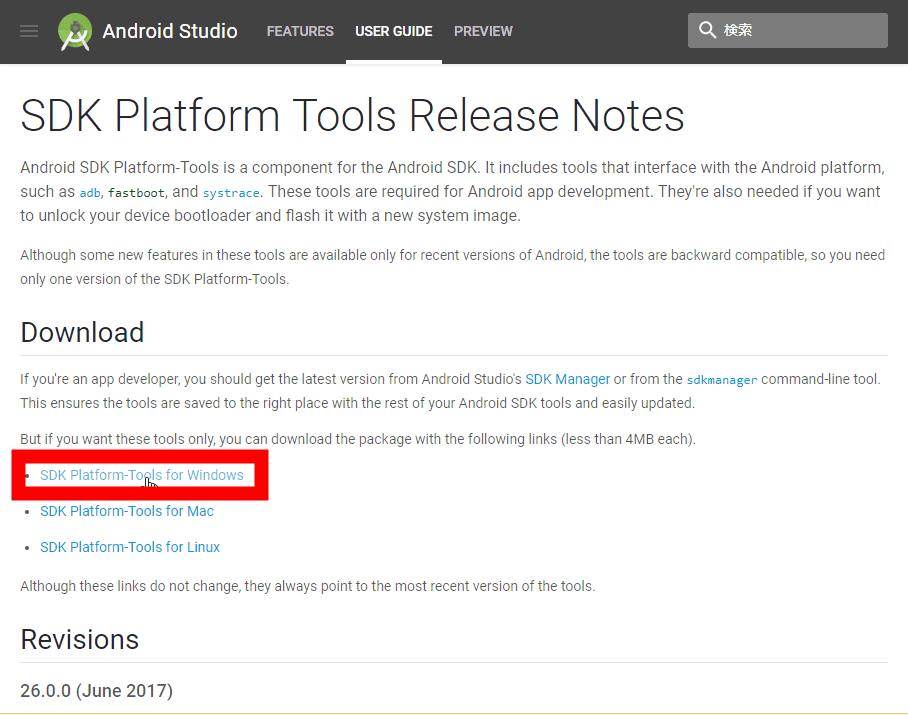
Check "I have read and agree with the above terms and conditions.", Click "DOWNLOAD SDK PLATFORM - TOOLS FOR WINDOWS", save the ZIP file in an arbitrary place such as the desktop,ExplzhExtract with such as. Execute the EXE file in the unzipped folder.

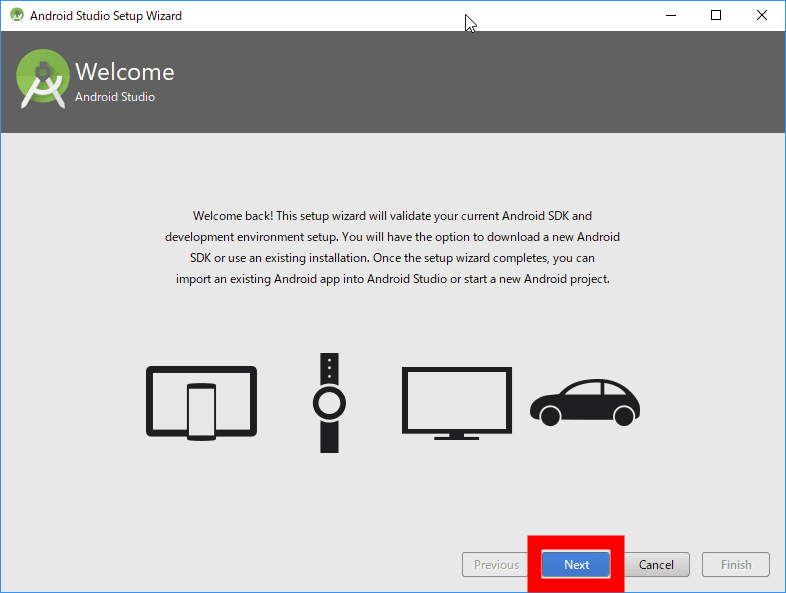
Click "Next".
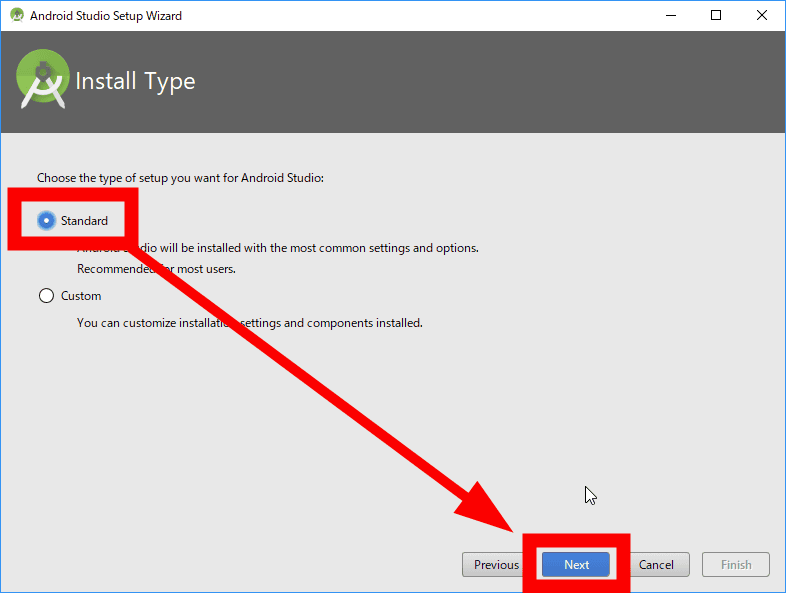
Select "Standard" and click "Next".
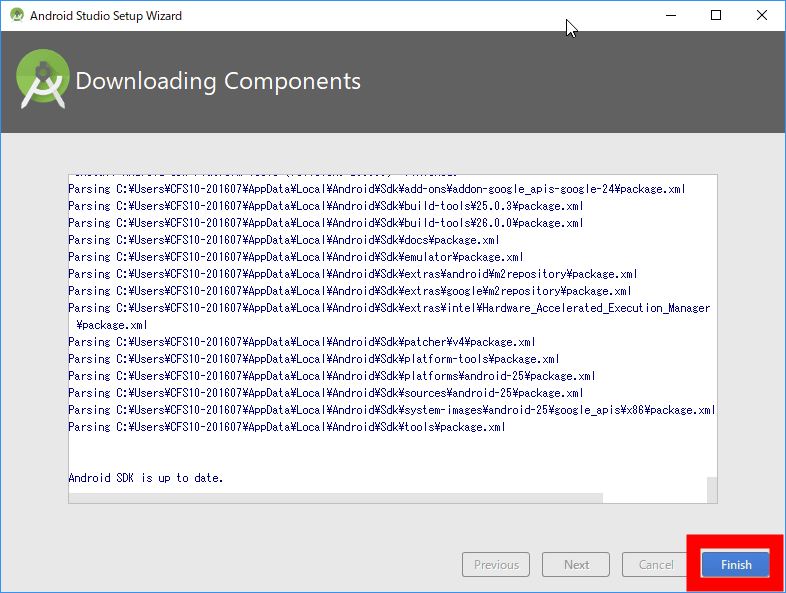
When the component installation is completed, click "Finish".
◆ I tried using Android Things Console
Operate the Android Things Console from the browser. This time using Google Chrome, do the various operations of Android Things Console from the following page.
Android Things Console
https://partner.android.com/things/console/
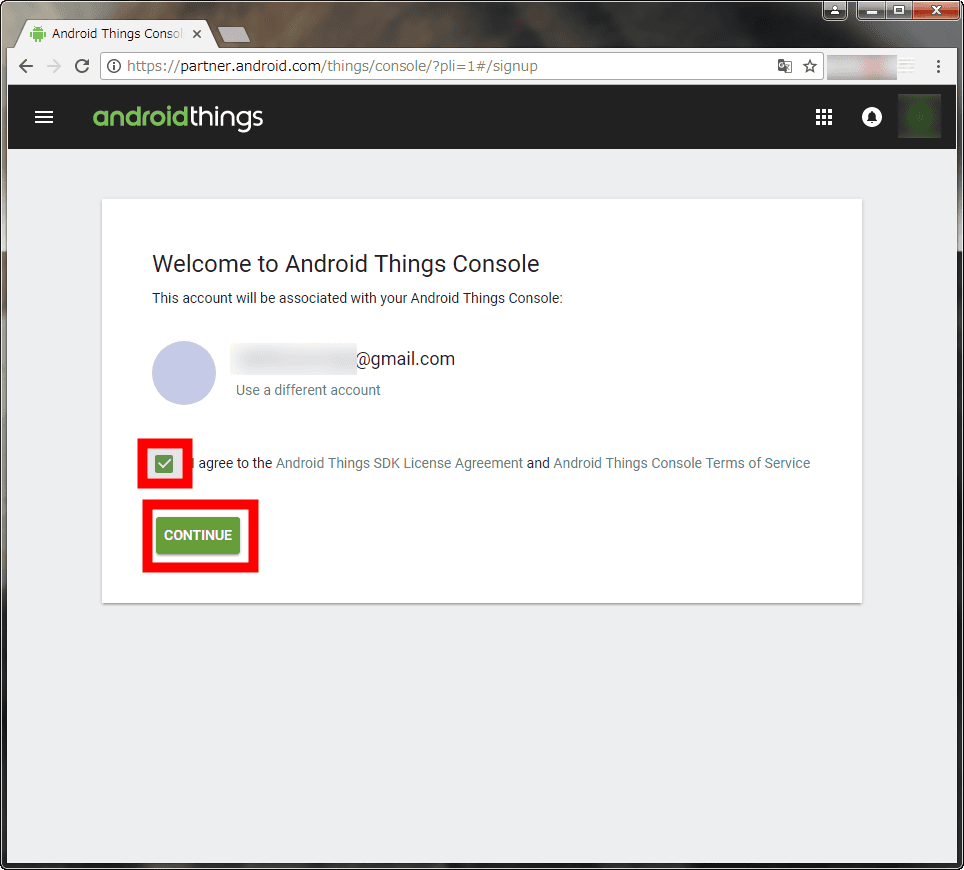
Please access the above page, check "I agree to the Android Things SDK License Agreement and Android Things Console Terms of Service" and click "Continue".
· Add product
Click "CREATE A PRODUCT".
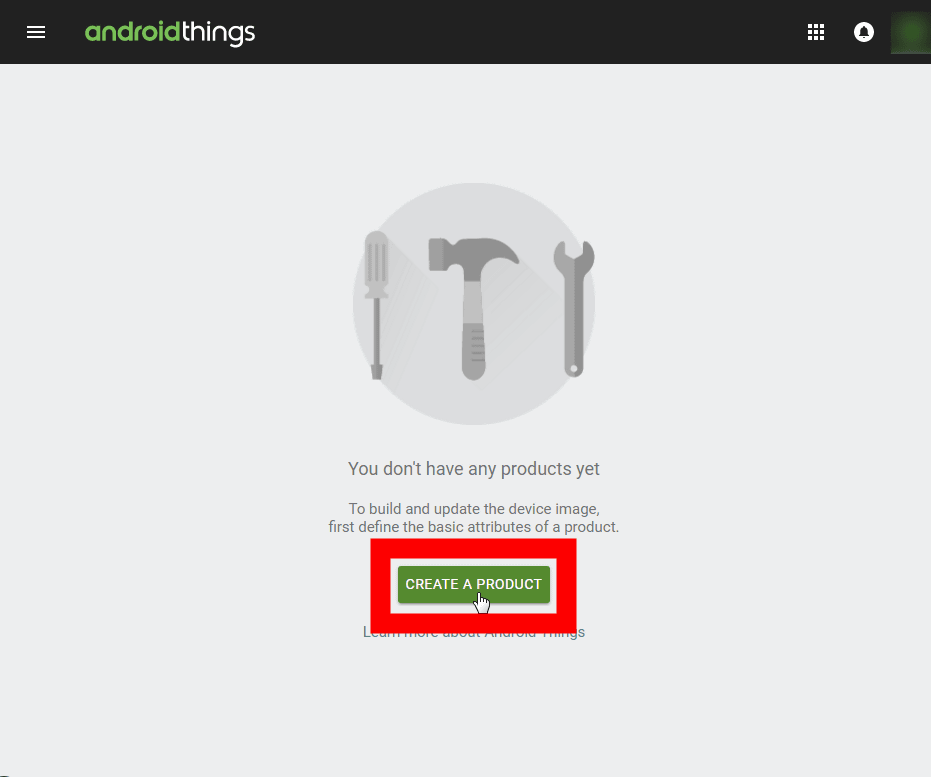
The "Create new product" popup will be launched. It is OK if you input and save the information of the IoT terminal you want to manage. Already "Google Play Services" is checked and the partition size is also entered as "32 MB", but you can change it as you like.

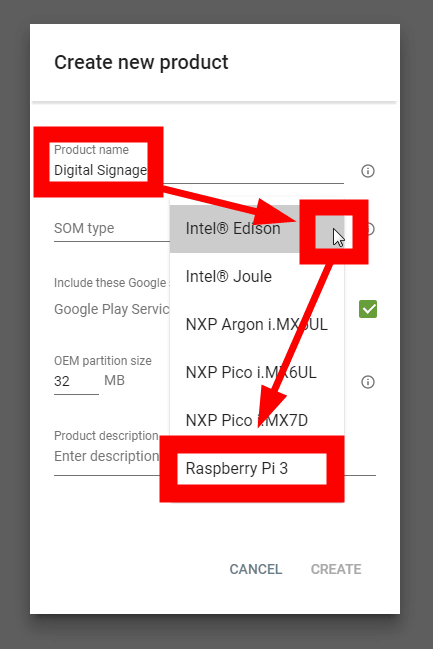
Fill in the appropriate "Product name" and click on "SOM type", it will select the registered IoT terminal from the pulldown display. This time, I chose "Raspberry Pi 3".
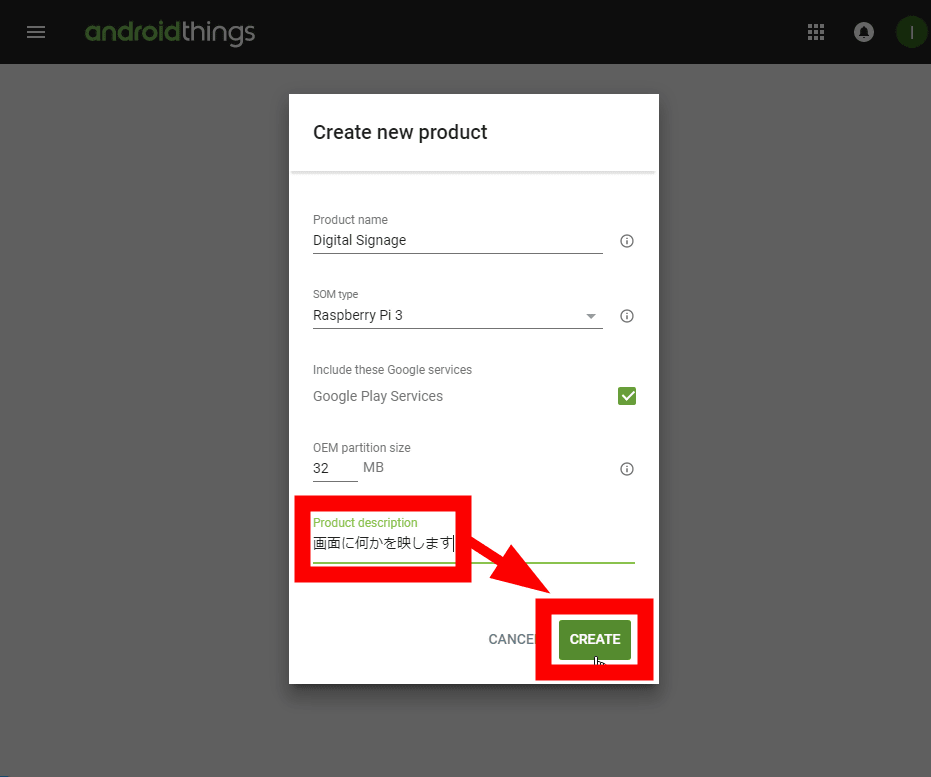
After entering a note about the terminal in "Product descriptino", click "CREATE". You can now add new products.
Click the "FACTORY IMAGES" tab.
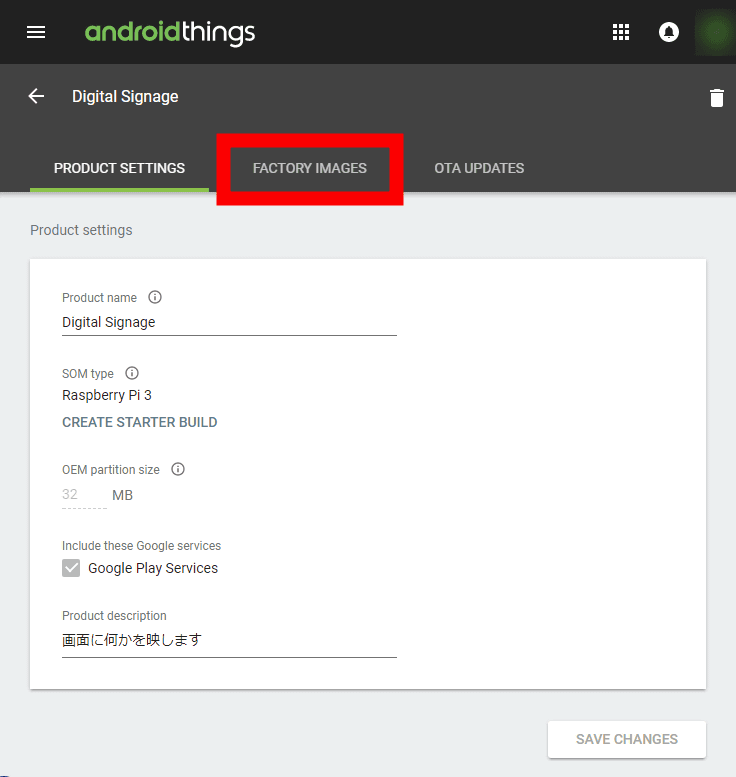
In the initial state, "Empty bundle" and "latest Android Things" are chosen.
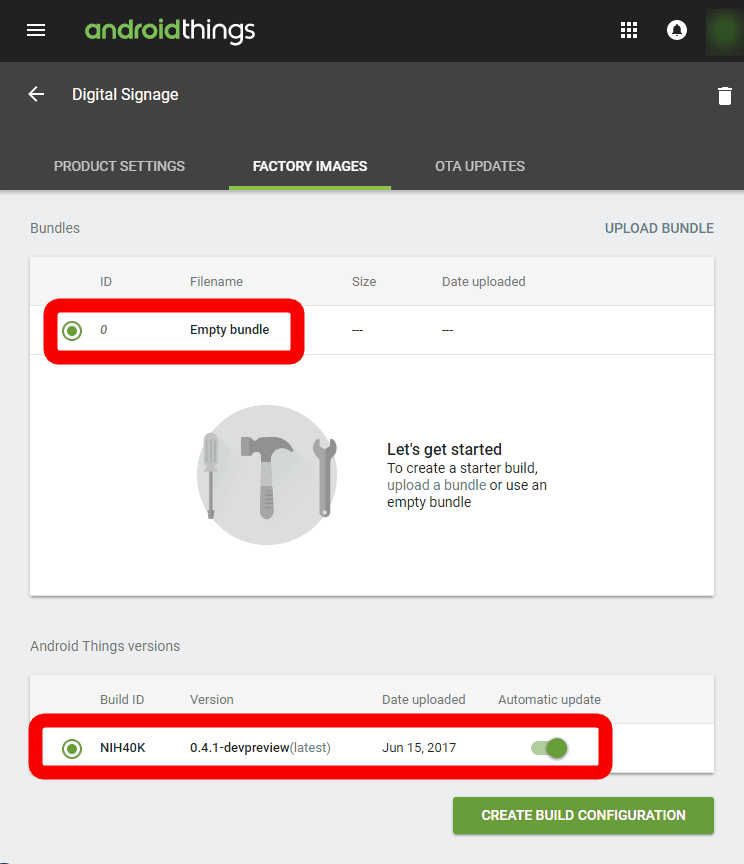
As we start with empty state, click "CREATE BUILD CONFIGURATION" as it is.

Since the build appears in the Build configuration list, click "Download build" to download it. The img file in the downloaded ZIP file is called "Win32 Disk ImagerCopy it to the storage (microSD card) using software such as ".

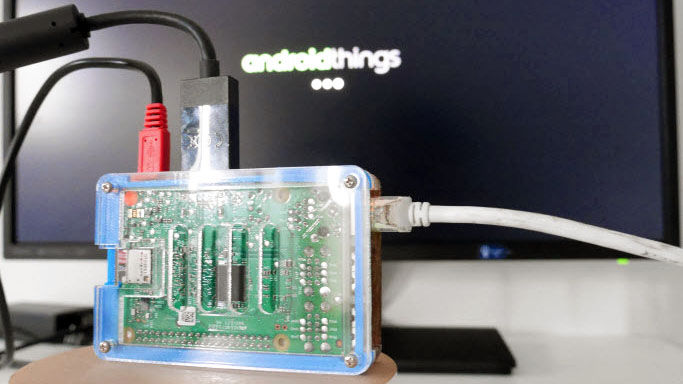
When wired LAN cable is inserted in Raspberry Pi, when inserting microSD card and starting it ... ....
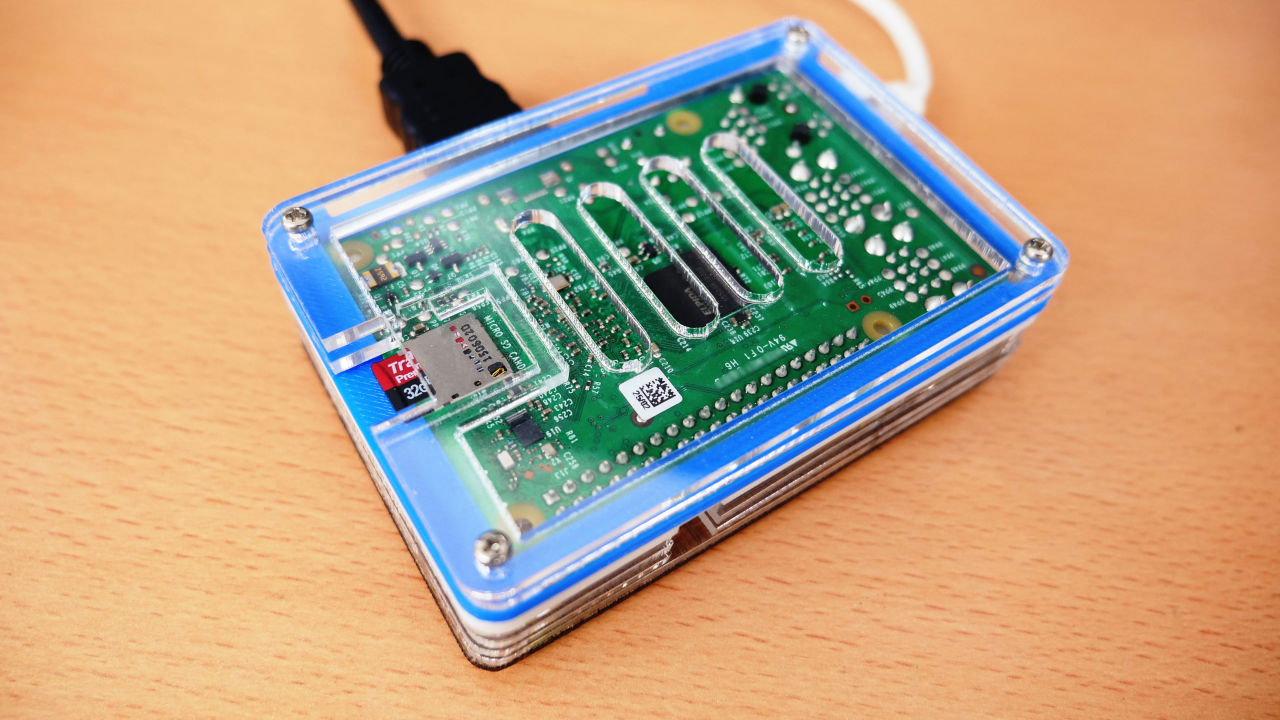
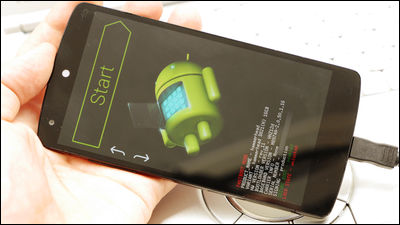
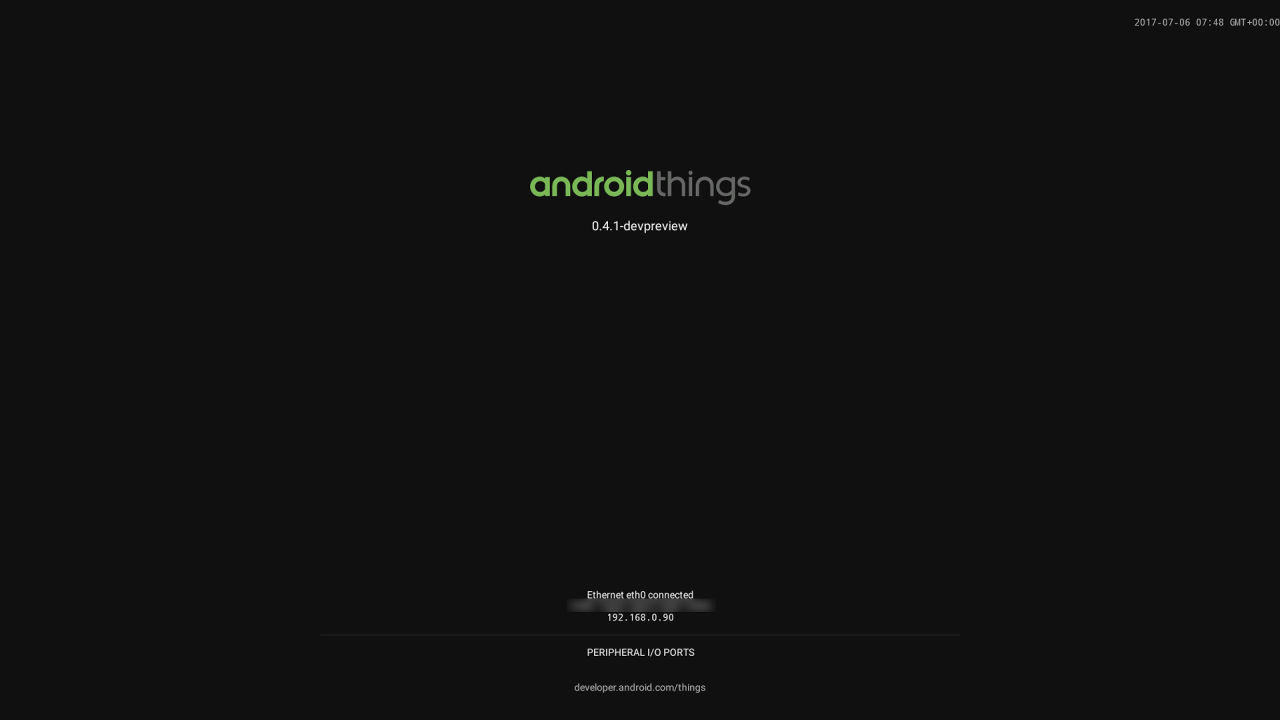
"Android Things" logo was displayed.
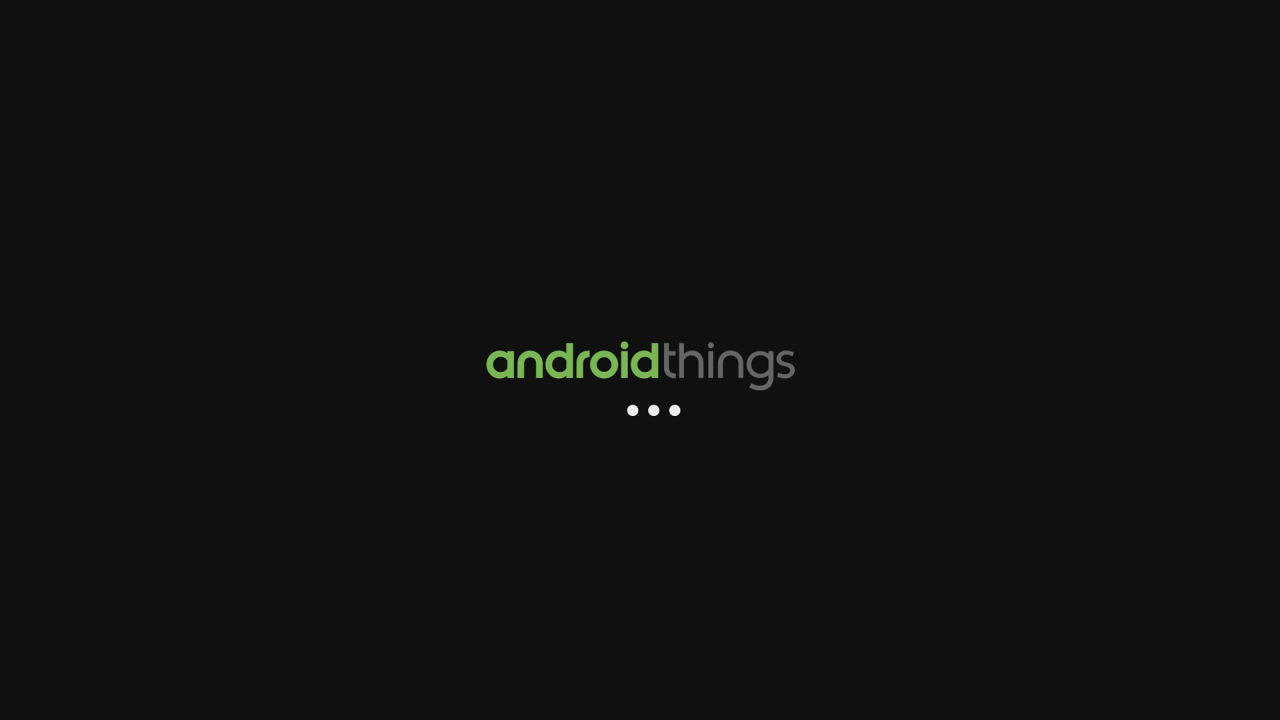
After starting up, the IP address of the terminal is displayed at the bottom of the screen, so make a note.

· SDK Platform Tools settings
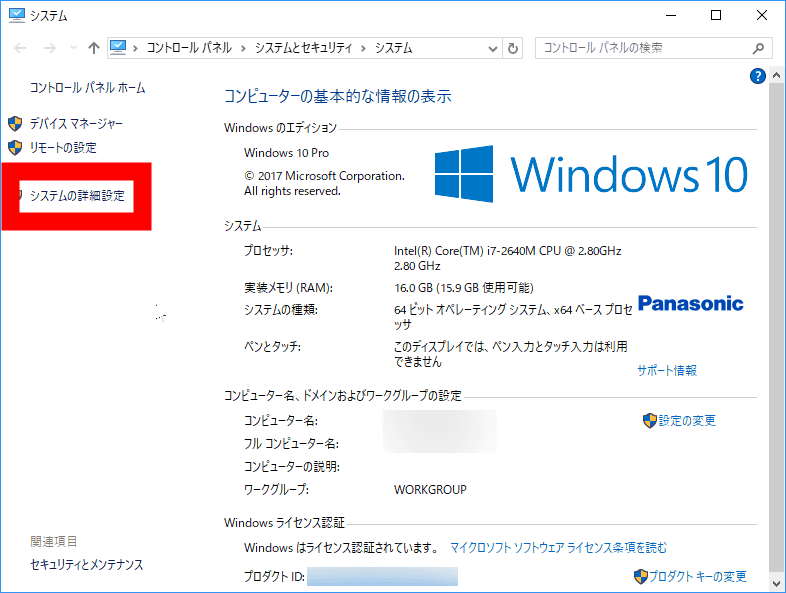
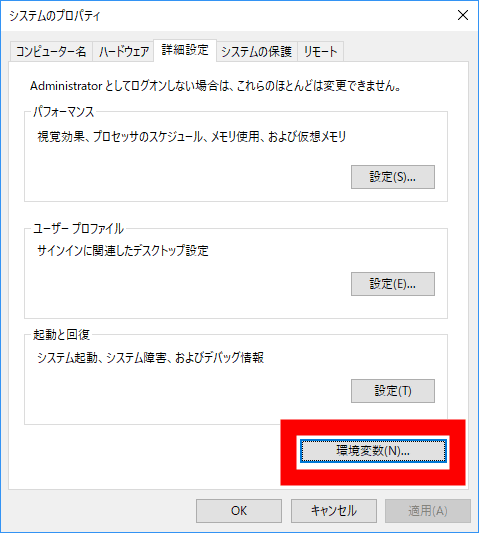
Before entering the ADB command in SDK Platform Tools, let's go through Path. Click "System" → "System Information" → "Advanced System Settings".
Click "Environment Variables".
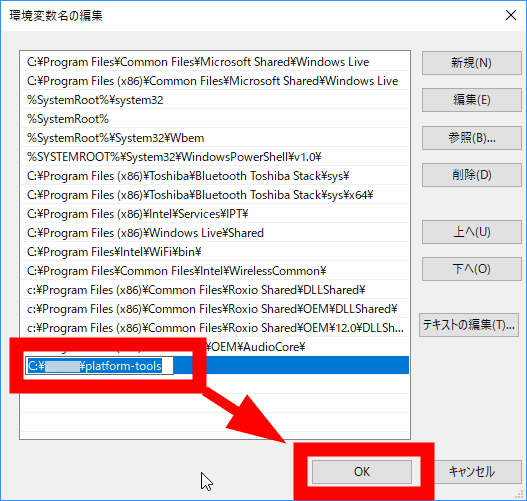
Click "New".

Add the address of the folder with "adb.exe" and click "OK".
You can connect to the terminal by starting the command prompt and entering "adb connect (IP address)". To shut it down, just enter 'adb shell reboot -p'.
· Release of APK file
In order to release (distribute) the APK file, prepare "Yellow ○ moving program (testapp.apk)" in advance and compile it as uncompressed ZIP file "testapp.zip".
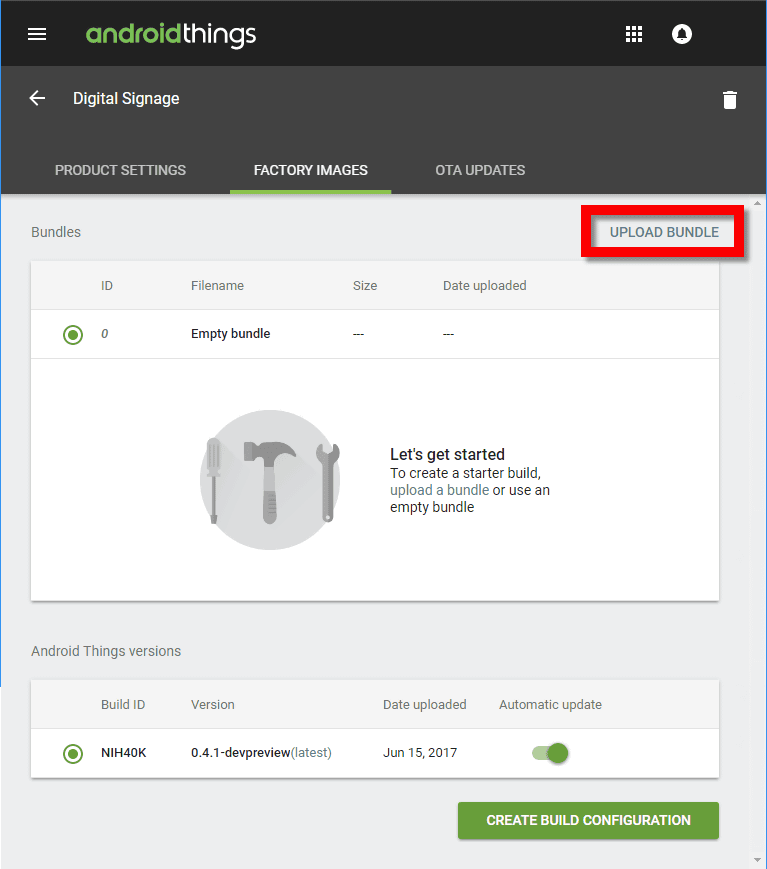
In the Android Things Console, click "UPLOAD BUNDLE".
Click the "folder" icon.
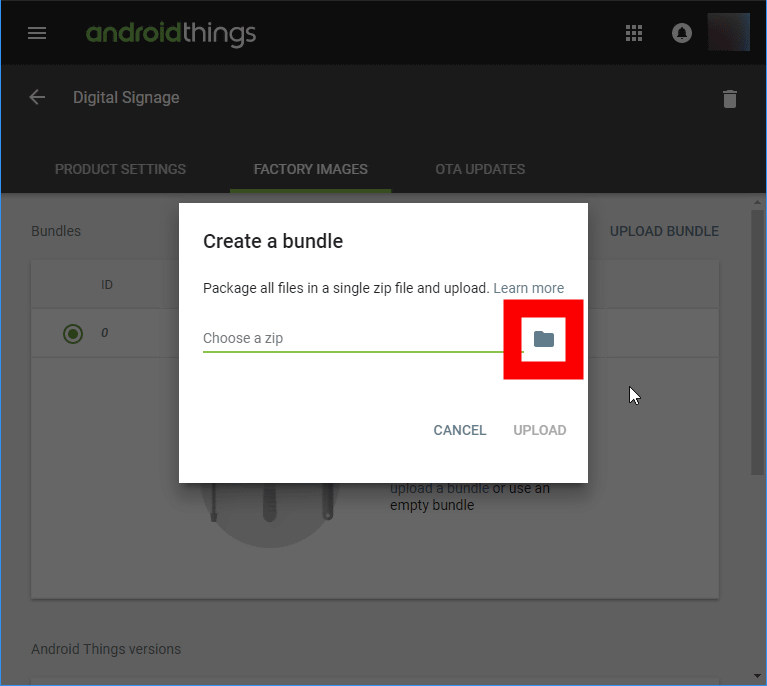
Specify the "testapp.zip" file and click "UPLOAD". .

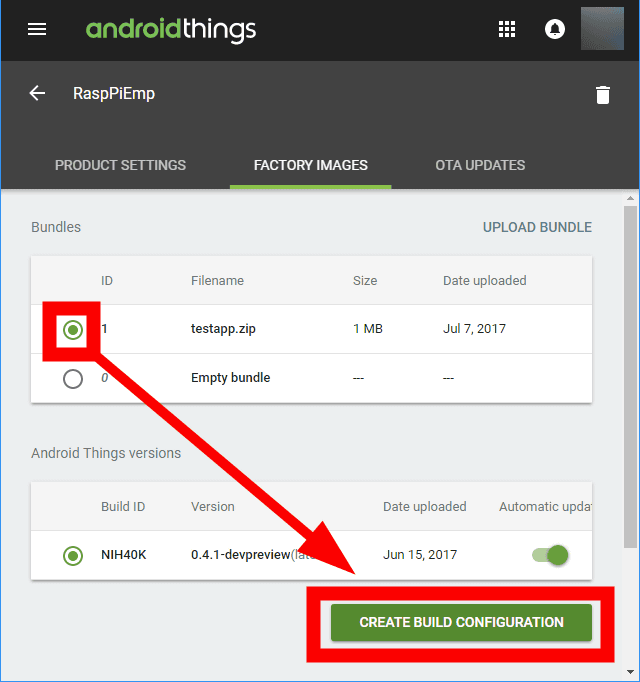
Make sure "testapp.zip" is selected in "Bundles" on the "FACTORY IMAGES" tab and click "CREATE BUILD CONFIGURATION".
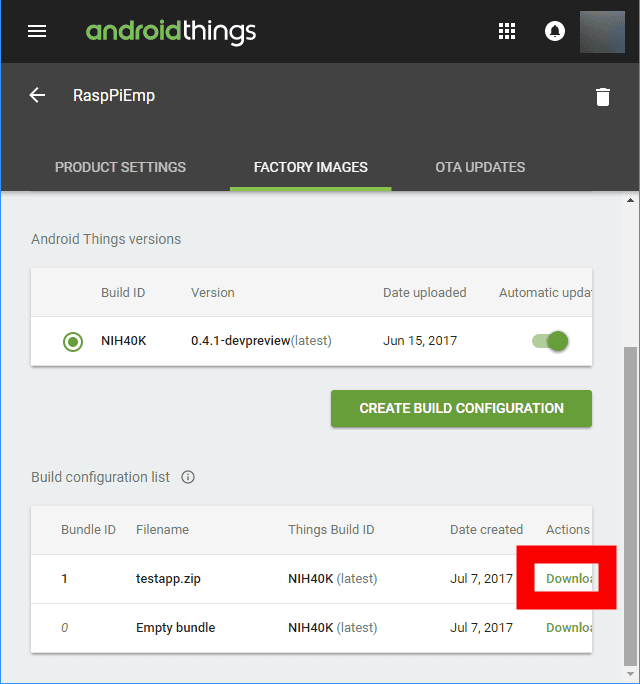
Click "download build" that appeared in "Build list" and download the img file.
As before, when saving img file to microSD card and starting it, testapp was executed as shown in the following movie.
I tried launching an APK file built with Android Things Console - YouTube
· OTA update
In Android Things Console, software can be updated with OTA.
Click the "OTA UPDATES" tab of Android Things Console → "testapp.zip" → "PUSH TO DEVICES".
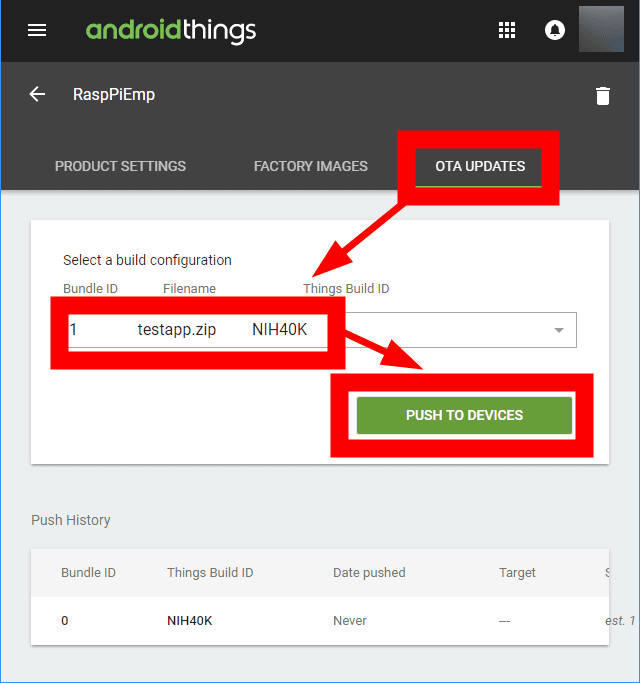
Ready if "Push History" appears.

If you mount the empty Android Things image and start it up OK. After that I only have to wait until an update is done with OTA.
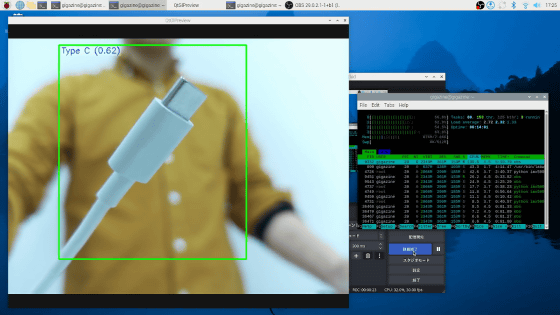
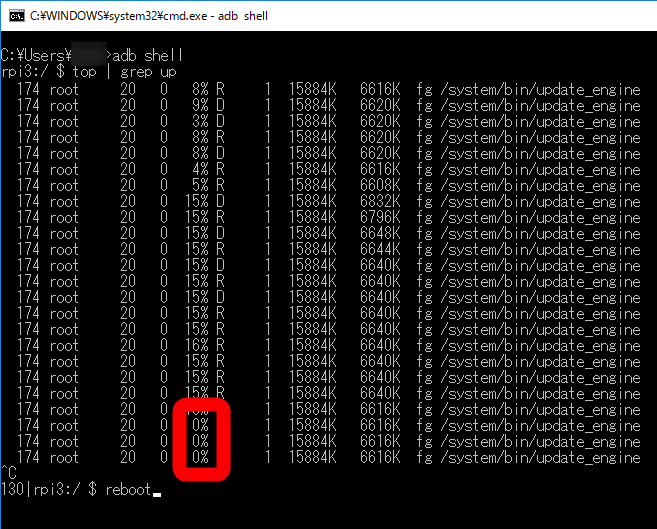
However, it is difficult to judge the timing of OTA from the terminal side. So, from the remote side, after connecting to "Shell" at the command prompt and observing the status of update_engine by entering "top | grep update_engine", since the CPU usage rate reached 0%, the OTA update I was able to judge that it was completed.
The time required for OTA update varies, and it says "Since update_engine is checked every 5 hours" in the help, it seems that there is no choice but to wait patiently for update work.
Related Posts: