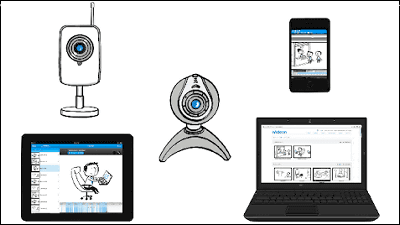
I tried using "Manything" which allows you to make iOS devices remotely free for free

Although remote cameras are very convenient to check the situation at home from a remote location, the setting is troublesome, the camera itself is expensive, and the hurdles are quite high to introduce. In such a case, a free application that transforms iOS terminals into remote cameras and can easily view and view them in the cloud "ManythingIt is convenient.
Manything | Monitor Anything with Manything
https://manything.com/index.html
◆Application installation
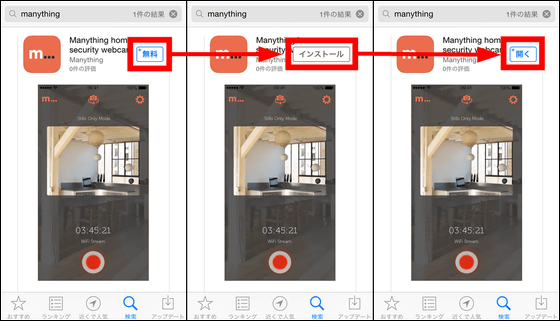
First, install a dedicated application on the iOS terminal you want to be a remote camera. App Store "Manything", And tap" Free "→" Install "→" Open ".
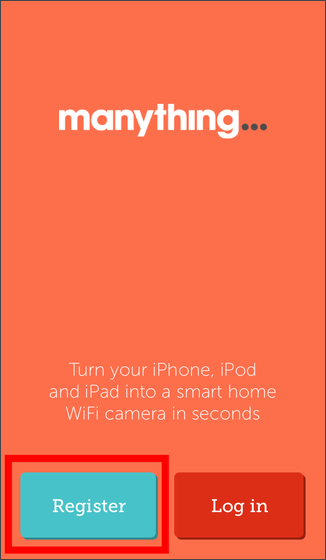
When Manything starts up, first create an account. Tap "Register".
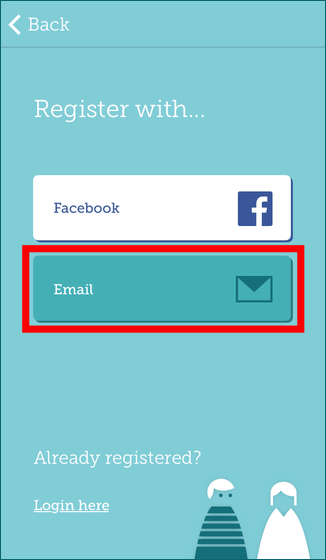
Manything allows you to register your account on Facebook or email. Since I use e-mail this time, tap "Email".
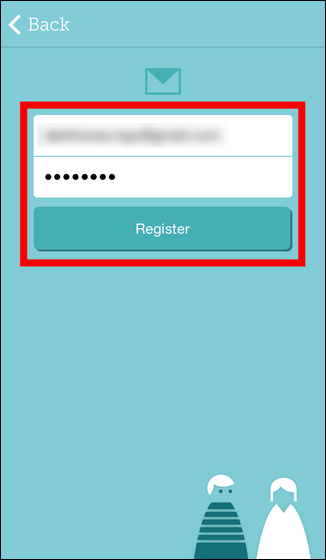
After entering your e-mail address and password you want to register, tap "Register" to complete account registration & login.
◆I tried using
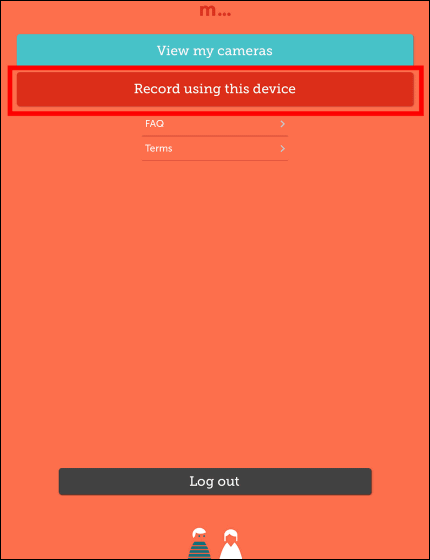
Try to make iPad Air a camera. After installing "Manything" on iPad Air, activate the application and tap "Record using this device".
Then, the rear camera starts automatically.
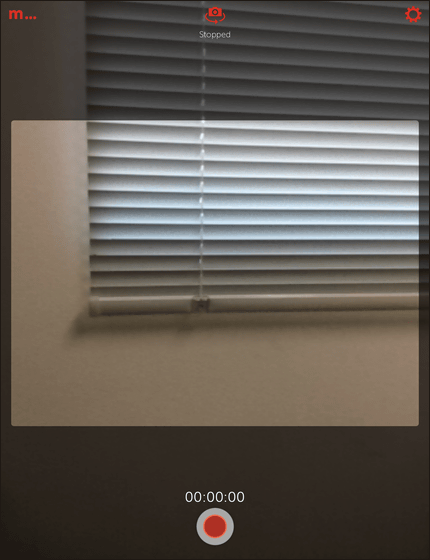
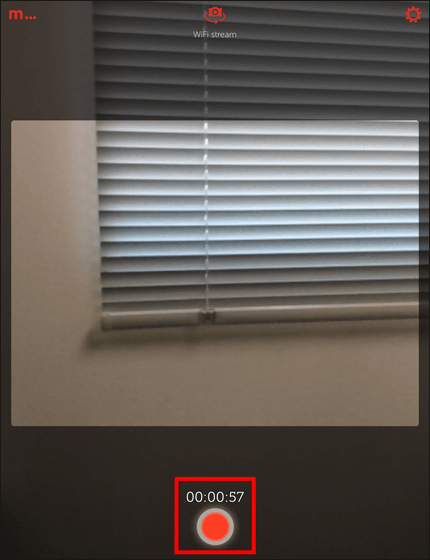
Tap on the red circle at the bottom of the screen and start counting time to start shooting.
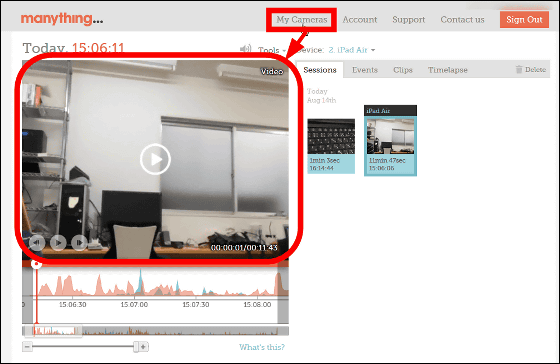
Manything's siteBy logging in to the registered account at "My Cameras" you can check the movie movie from a remote PC.
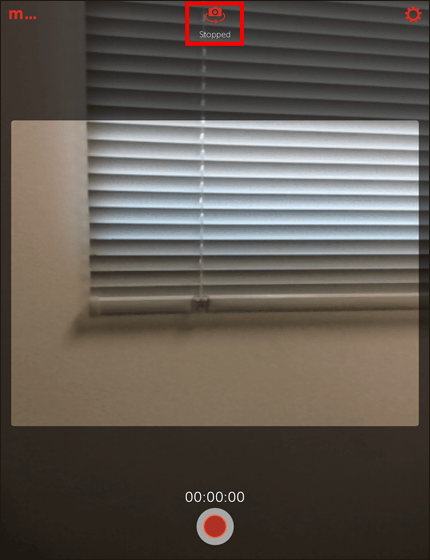
To switch the shooting camera to the front camera, tap "Stopped" at the top of the screen and it is OK.
You can check how to take iPad Air as a remote camera using Manything in the following movie.
I tried to make iPad Air a remote camera with Manything - YouTube
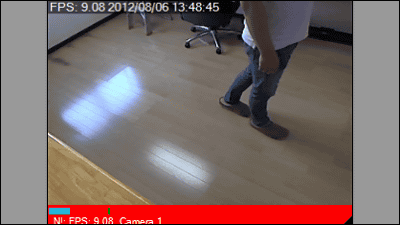
Although there was a little time lag, I was able to check the image of the front camera of iPad Air with PC browser.
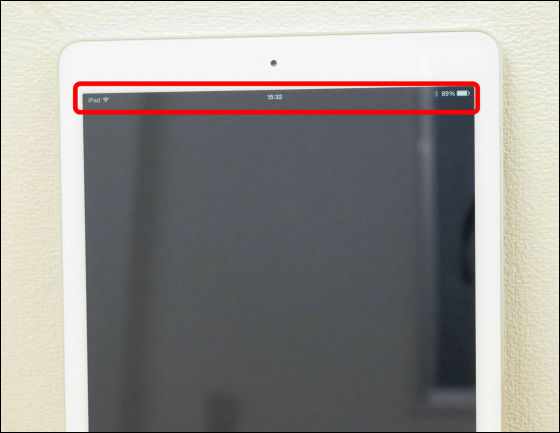
Although you can not shoot in the background in Manything, if you put it to sleep mode and black out the screen, you can shoot secretly with only a few notifications displayed at the top of the screen.
◆various settings
Tap "Settings" icon in the upper right ... ...
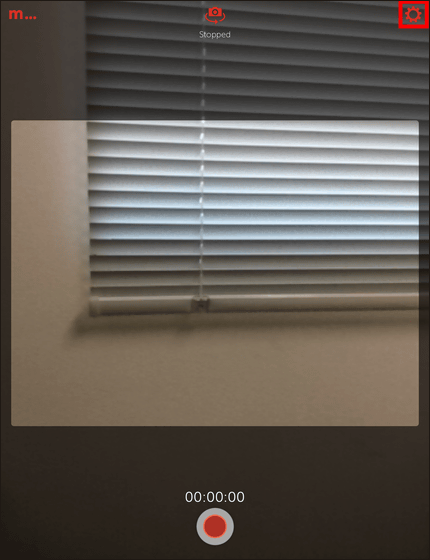
You can change various camera settings.
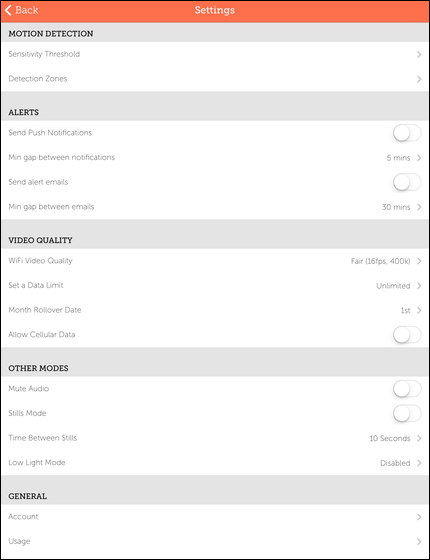
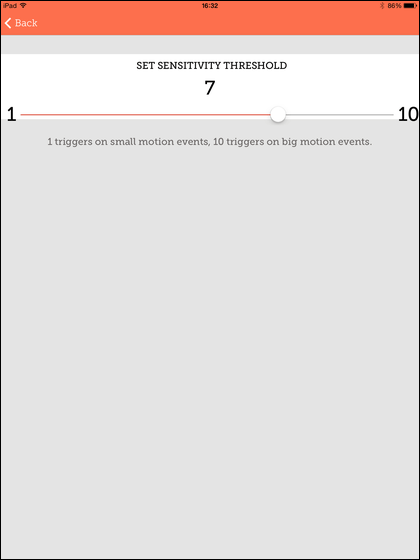
Many thing has a function to notify you when the camera detects "movement". Tap "Sensitivity Threshold" to change sensitivity of "motion".
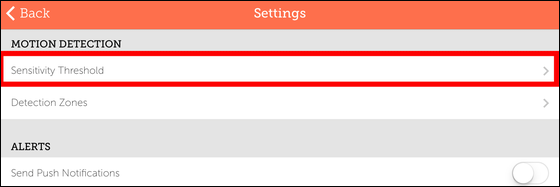
Sensitivity can be changed from "1" for sensitive movement to slight motion, to "10" for detecting only large motion.
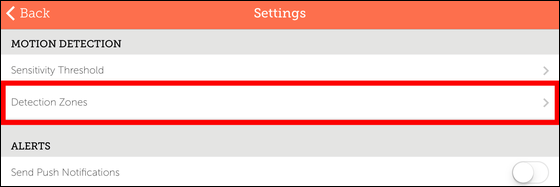
It is also possible to change the scope of capturing "movement". Tap "Detection Zones" ......
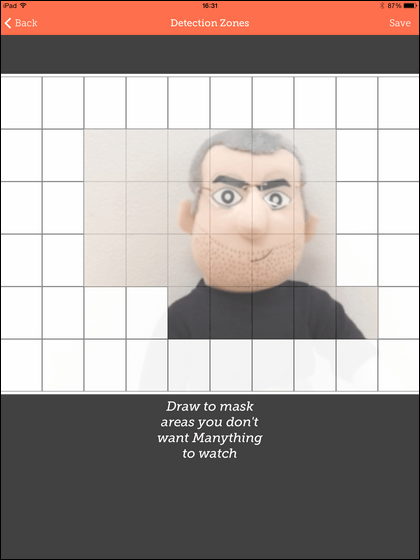
Since the camera starts up, leave only the range that you want to capture motion, and mask other parts with white tiles is OK.
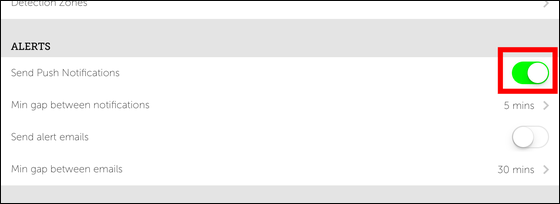
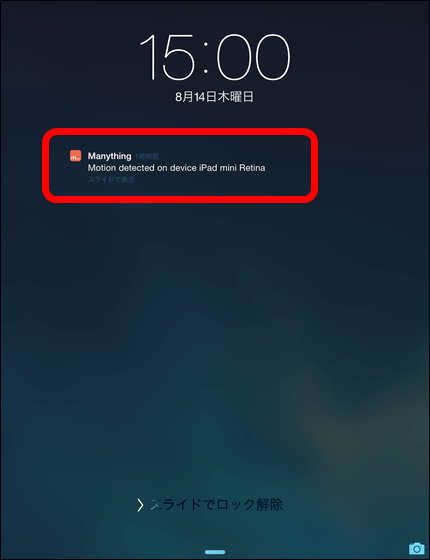
To display alerts on the terminal when capturing movement, you can turn "Send Push Notifications" ON.
When the camera detects movement, such an alert will be displayed.
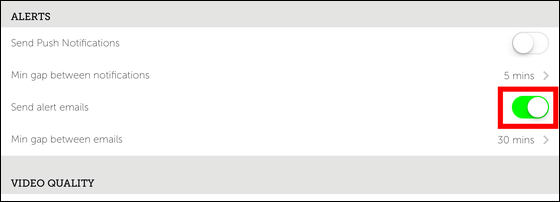
You can also inform you by email when you detect movement. If you turn on "Send alert emails" ...
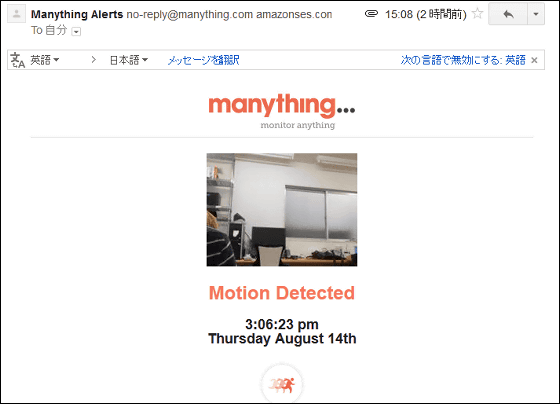
We will inform you that the movement has been detected to the email address you registered for the account.
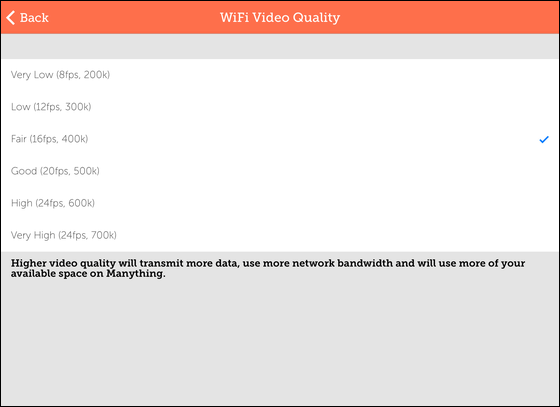
You can also change the quality of the movie you shoot. Tap "WiFi Video Quality" ......
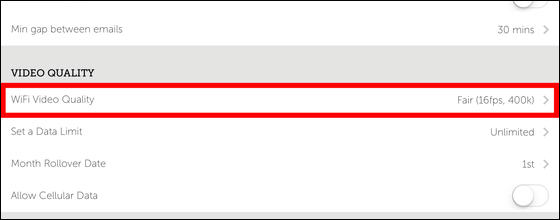
You can change from "Very Low" with poor image quality to "Very High" with high image quality. However, if the line conditions are not good, it is safe to keep the distance below "Fair" without dropping frames.
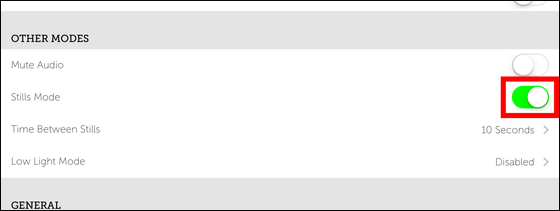
Also, if you set "Stills Mode" to ON, you can take pictures at regular intervals instead of movies.
◆Check the remote camera's movie from the iOS terminal
In Manything, it is also possible to check recorded movies of remote iOS terminals from iOS terminals that have installed the application "Manything" as well as from the PC browser.
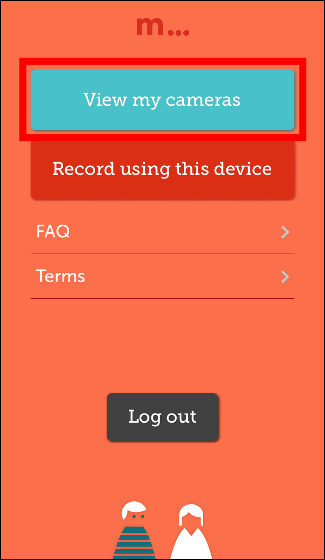
For example, to watch a movie on iPhone 5, start the application "Manything" and tap "View my cameras" ......
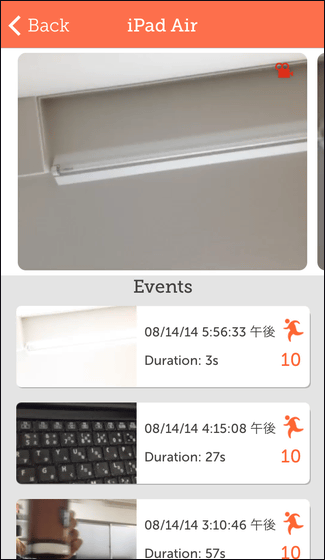
You can access the iOS terminal currently shooting via the cloud. It is also possible to shoot simultaneously with multiple iOS devices. Tap "LIVE iPad Air" to see the image of iPad Air.
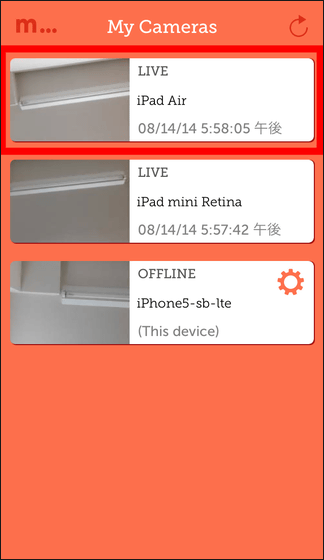
Then you can view the image currently being shot at the top of the screen. Also, if you already saved a recorded movie in the cloud you can also view it later.
◆Cooperation with IFTTT
In addition, ManythingIFTTTIn conjunction with, you can start shooting and stop shooting when a designated event occurs.
You can understand how to use IFTTT in one shot by looking at the following article.
I tried using IFTTT's iPhone application which can easily link 60 or more services automatically - GIGAZINE

Let's try creating a recipe "to start shooting when leaving a specific place" as a trial.
Activate IFTTT and tap the blue "+" icon on "Create a Recipe" screen.

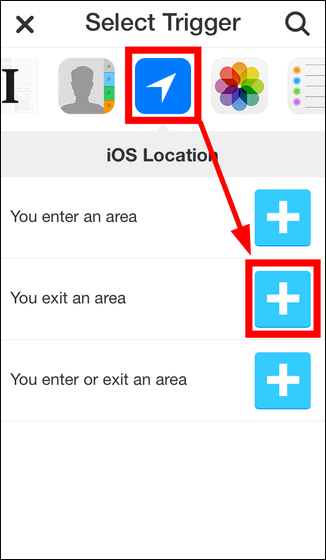
Select the "iOS Location" icon, then tap the "+" icon in "You exit an area".
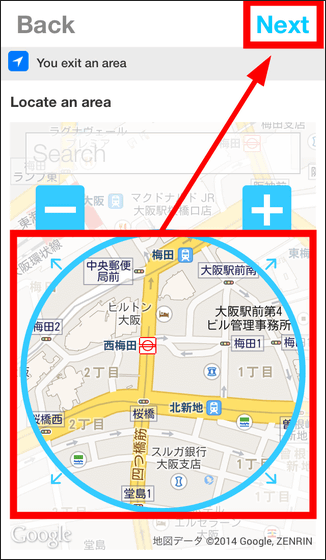
After specifying the location on the map, tap "Next".
Tap the red "+" icon.

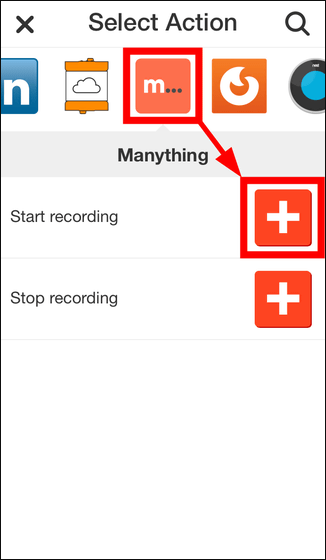
Select "Manything" icon, then tap "+" icon of "Start recording".
Tap "Continue".

Enter account information registered in Manything and tap "Sign in".

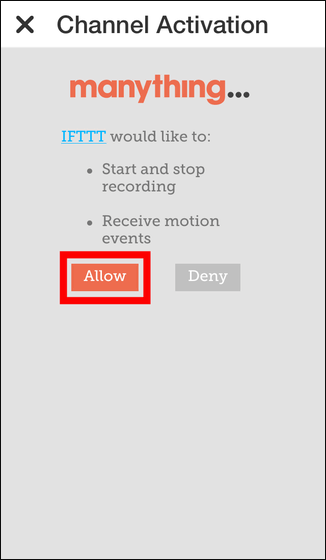
Tap "Allow".
Tap "Done".

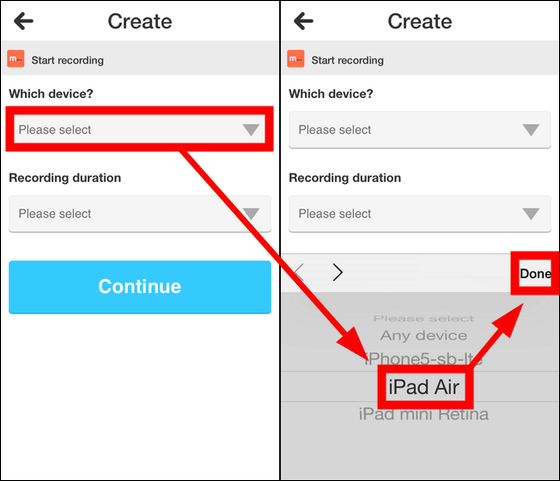
Select "iOS device (iPad Air here) you want to shoot with" Which device "and tap" Done ".
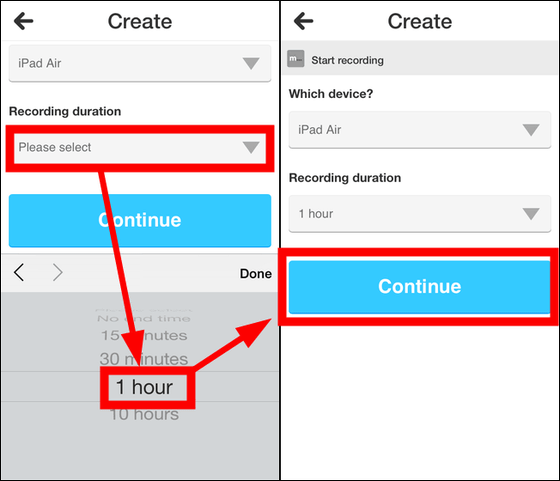
Select the time you want to shoot with "Recording duration" and tap "Continue".
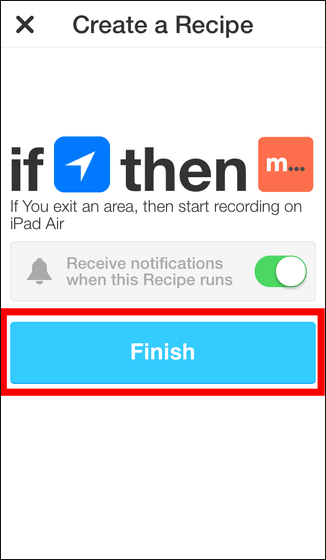
Tap "Finish" to complete recipe creation. If you start the Manything application of the specified iOS terminal beforehand, shooting of the movie starts when you are away from a specific place and you can watch the state of the camera from a remote place.
◆Summary
Using Manything, which makes it easy to transform an iOS terminal into a remote camera, you can make effective use of iOS devices that are not in use, for example by checking the state of your pet at home or replacing a security camera with a motion detection function .
In the free version of Manything, it takes 12 hours to store movies taken with one iOS terminal that can be used as a remote camera in the cloud, but the retention period for two iOS terminals with a monthly charge of $ 4.99 (about 510 yen) Up to five iOS devices can be upgraded to 30 days for 7 days with a monthly charge of $ 14.99 (about 1500 yen) in 7 days.

Related Posts:
in Video, Software, Smartphone, Review, Posted by darkhorse_log
