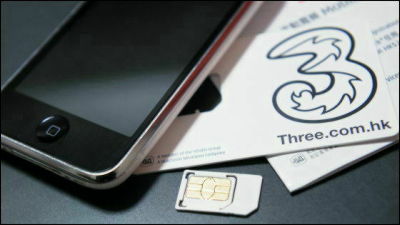
Since Japan's first SIM card vending machine was installed in Kansai, I went to buy it

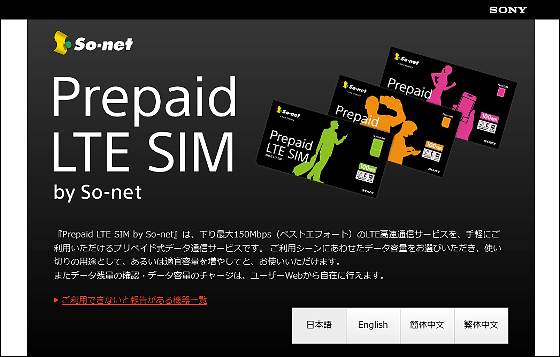
From April 22, 2014, So-net is a prepaid data communication service that allows easy use of LTE high-speed communication service with maximum downlink 150 Mbps (best effort)Prepaid LTE SIM by So-netWe started offering. In accordance with the start, the company set up a vending machine for SIM card, which is the first in Japan, at Kansai International Airport and started selling, so we decided to go to the site and buy it actually.
Prepaid LTE SIM | So-net
http://www.so-net.ne.jp/prepaid/index.html
So I arrived at Kansai International Airport. Prepaid LTE SIM vending machines were installed one by one in the Internet · telephone corner located in the 2 north and south of the 1st floor of the 1st Terminal Building. On the day I visited right after the service started at 10 o'clock, but I could not find the user yet.

The area around the tip of the two arrows shown in the floor plan is the installation point of the vending machine. You can see that the person who entered the country after getting off the international flight is the first place to arrive, in a sense that it is installed in the special seats.

First of all, as you can see from the fact that it was set up at the international airport, this service is mainly sold for people coming to Japan mainly from overseas. At overseas airports, SIM cards for travelers were easily sold, but in the past the same service was not very substantial in Japan.The number of foreign tourists visiting Japan exceeds 10 millionFor Japan that is going to welcome more people, it is indispensable to expand this kind of service.
Since it was installed at the front most of entering the corner, it was placed in a relatively conspicuous position, but if you do not know in advance that "SIM card vending machine is installed here" Atmosphere that it seems to be a little difficult to find.

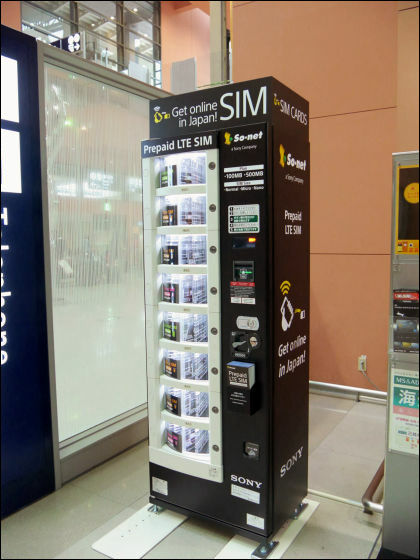
Full view of vending machine. The height is about 2 m and a little bigger. In case of a small woman etc, the top product may be difficult to remove.
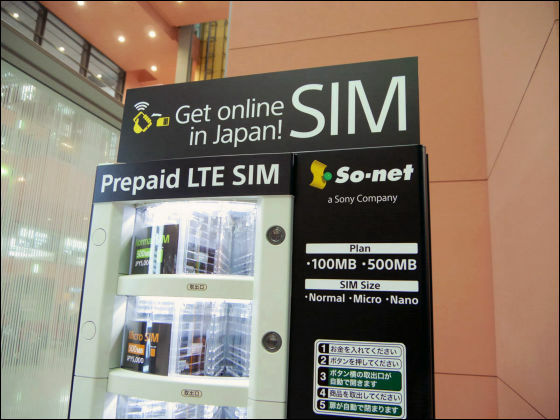
"Get online in Japan! (Let's connect to the net in Japan!") Next to the reassuring catch phrase was written "SIM" in a large letter and it was designed to make things sold here easy to understand It was.
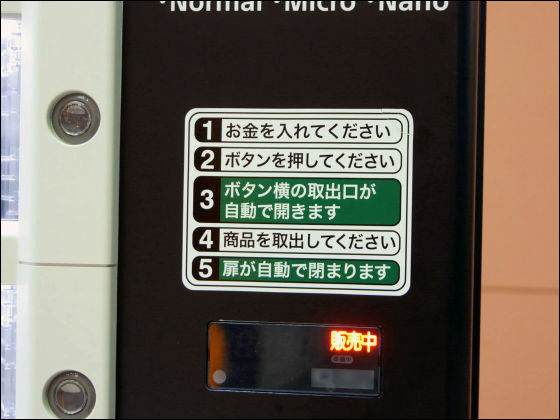
Above the bill insertion slot, the purchasing manual was described in Japanese. I feel that it was even better if there were accompanying stories in English and Chinese.
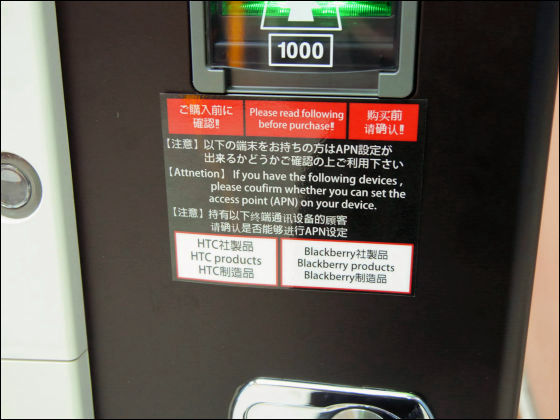
Below that, as a model that can not use this SIM cardHTC One,HTC butterflyandBlackBerryA notice stating each model was affixed. This is a kind design where both English and Chinese are written together.
The top row of the vending machine from the top to the 4th row was500 MB type(5000 yen) SIM card. Three sizes of standard SIM, Micro-SIM, Nano-SIM are available, so you can use it with any type of smartphone or information terminal. Is it due to the fact that the penetration rate of Android terminal is reflected because only Micro-SIM is in two levels?

From the fifth row to the bottom,100 MB type(3000 yen) SIM cards were on sale.

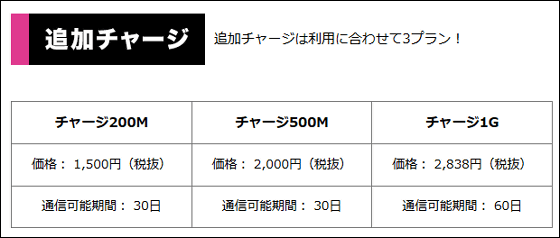
In addition, it is possible to charge additional when data capacity is exhausted. Three types of plan are prepared: 200 MB (1500 yen · tax excluded), 500 MB (2000 yen · tax excluded), 1 GB (2838 yen · tax excluded).
Let's buy one. Only banknotes of Japanese yen could be handled, credit cards could not be used. For those who arrive just after arriving in Japan, it is a place where you really want to make it possible to use cards.
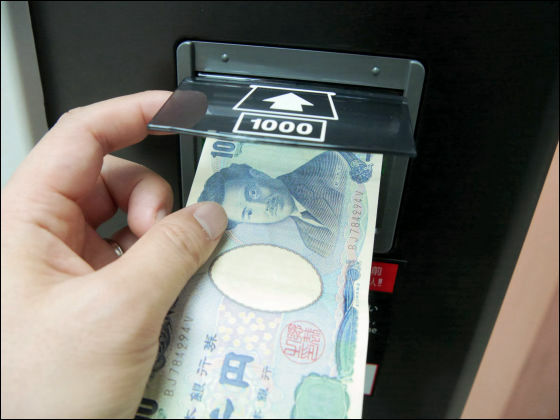
When you input the necessary amount of money, push the button beside the card you want a little.
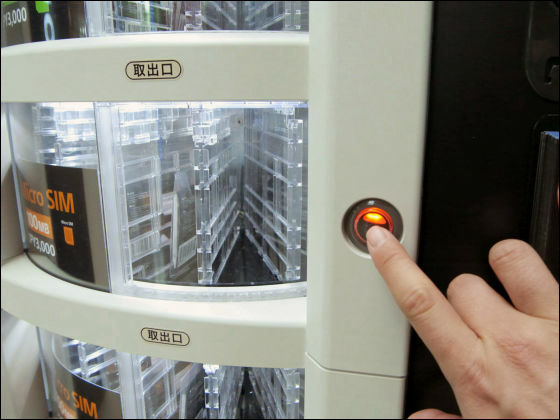
The cylindrical door opens about 5 cm, so you can now remove the card from the gap.
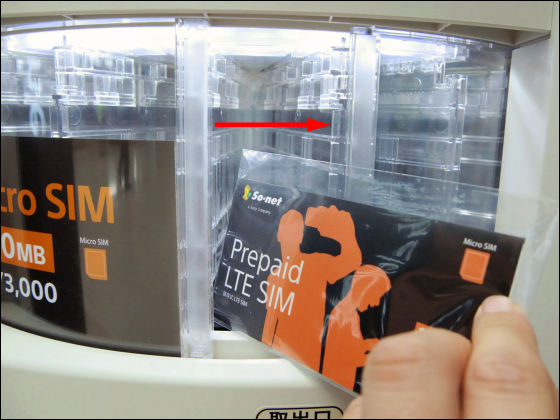
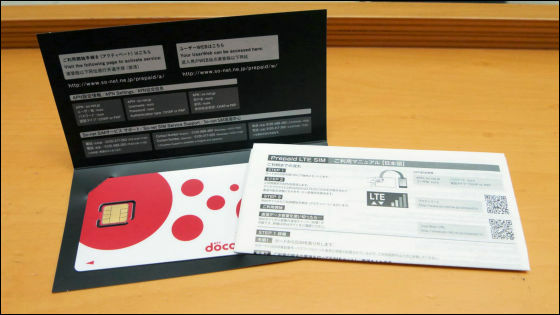
The package was a simple one folded cardboard into two, inside which was a SIM card set in the mount and an instruction manual.
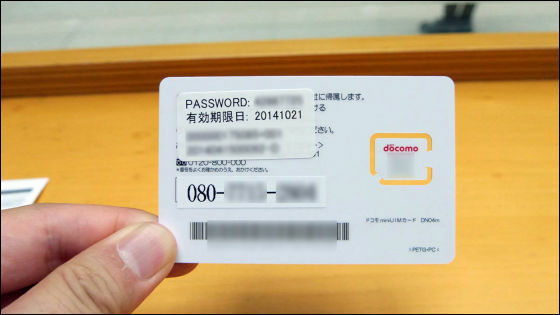
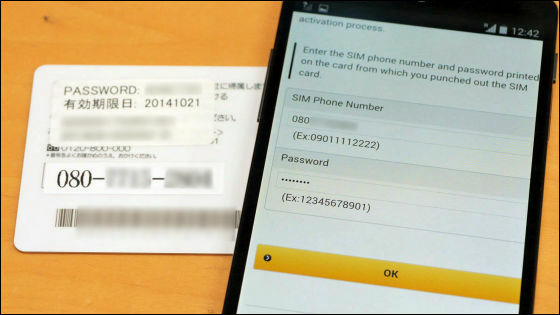
A small window is provided on the back side, so you can check the password, expiration date, card ID number, etc.
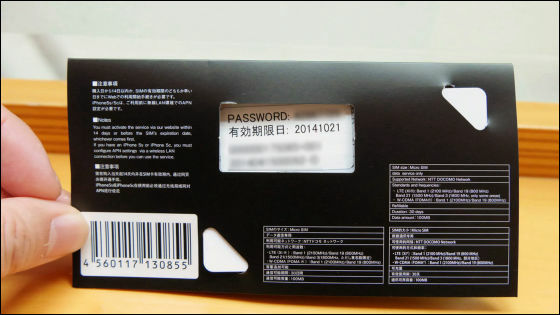
When removing the card, the phone number of the SIM card used for activating was stated on the back side. In addition, it is a type of SIM card that can not be called.
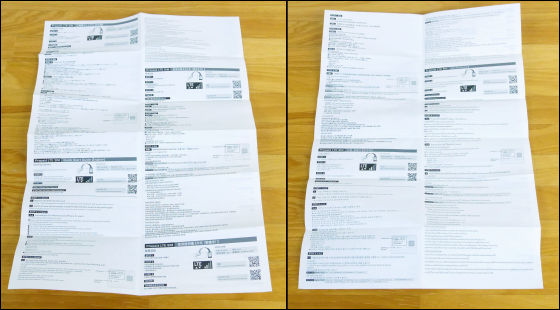
The enclosed manual is written in 6 languages including Japanese, English, Chinese (Simplified Chinese, Traditional Chinese), Korean and Thai, making it easier to use for those who came to Asia It is.
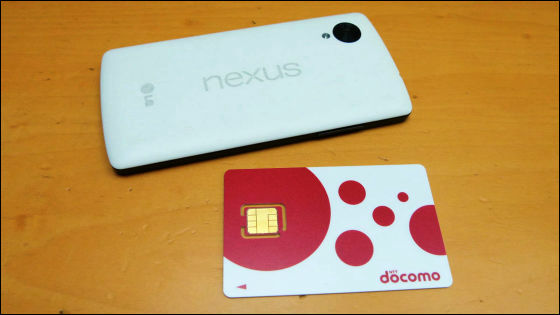
Because I was impatient, I tried to activate SIM as a feeling of those who came to Japan. This time, I will set it to Nexus 5 of the SIM free terminal that was in the editorial department.
Detach SIM card from mount ......
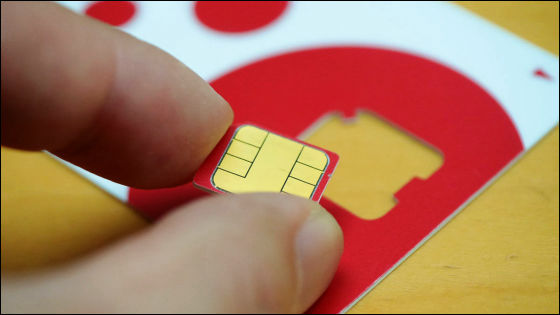
Slash in with crisp.
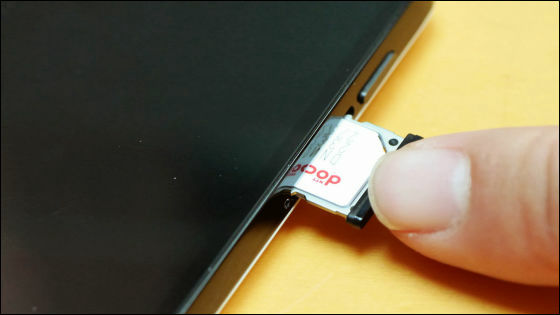
Then turn on the power. Up to here is nothing different from the usual way.

When the terminal power is turned on, select "Mobile network" → "Access point name" from "Other" in "Wireless & network" in "Settings".
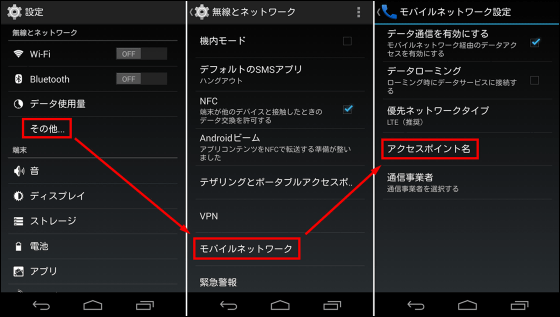
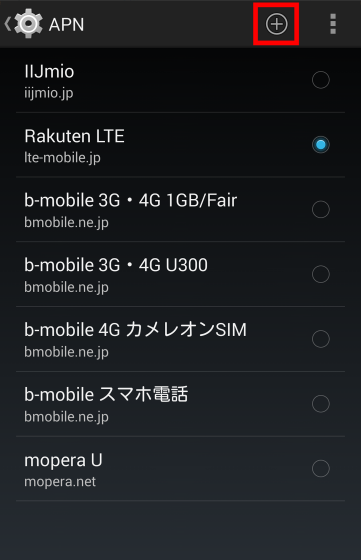
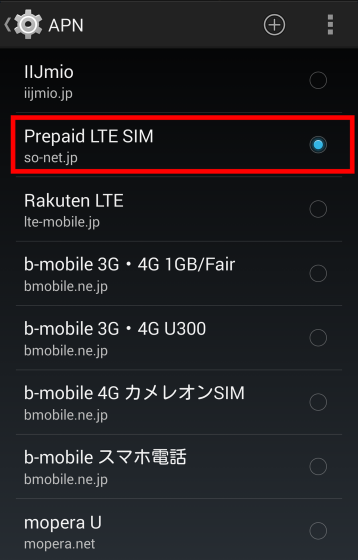
Although the available access points are displayed on the "APN" screen, the So-net access point has not been recognized yet at this point. Tap the "+" icon at the top right of the screen to proceed with the setting.
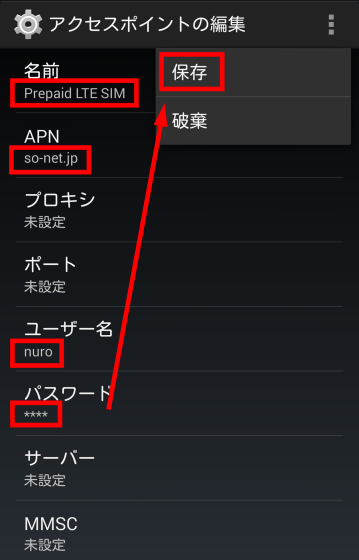
Enter the information described in the manual included in the package of the SIM card, and finally tap "Save" to complete the setting of the access point. "Name" was OK in my own easy thing.
You can connect to the network by selecting the set access point.
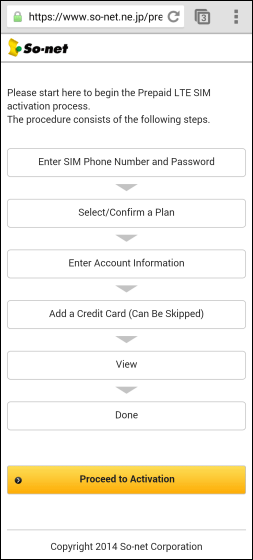
Activate the SIM card next. When launching the browser of the smartphone and connecting to the URL described in the manual, the flow of the procedure was displayed.
Enter the SIM card phone number and password ......
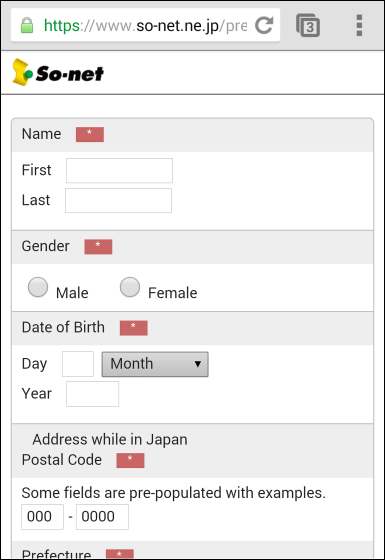
After reviewing the SIM card plan, enter your account information. I am going to input name, gender, date of birth etc., but I am a bit stuck in the item to put postal code and address. In the case of a person temporarily staying on a trip or the like, it is usual not to have an address in Japan, but in such a case it is OK if you include information such as hotel name to stay.
Although it is not essential, if you put in credit card information, you can smoothly perform the procedure when you run out of capacity and make additional charges.
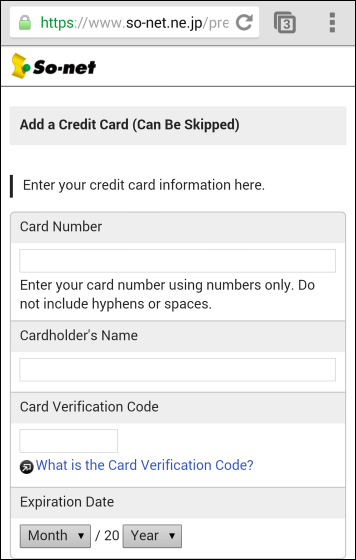
After confirming the item at the end, when you finish, the activation is completed.

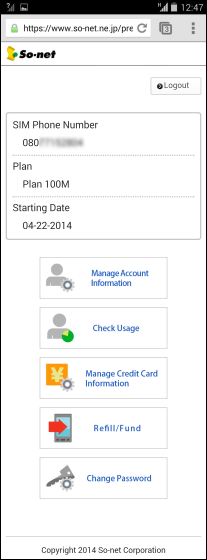
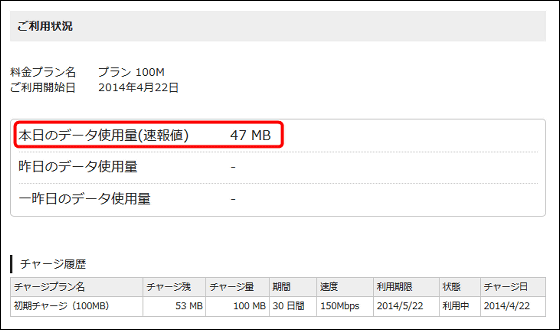
When activation is completed, you can use your own user page and you will be able to check the amount of used data on the screen.
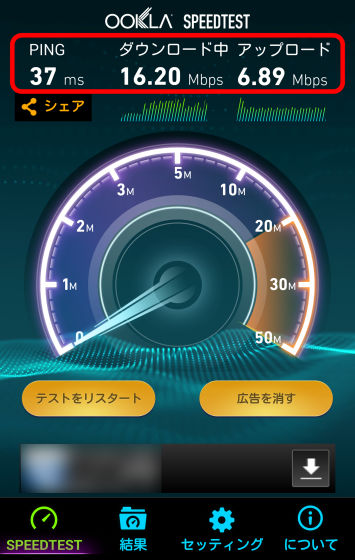
Where the net came to be connected, first check the condition of the line. Speed measurement application "Speedtest.netHere is the result of checking the line quality using ". Depending on the situation, it is the LTE line, as expected, that it is outputting a speed close to 20 Mbps at the downlink speed.
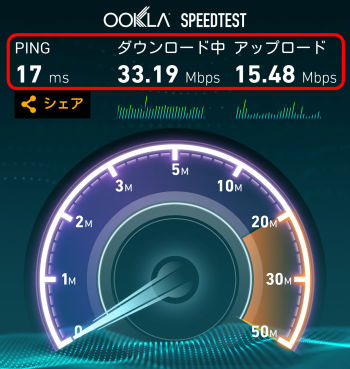
In addition, when I measured the speed of free Wi-Fi in Kansai, I got a speed of around 30 Mbps. You can see that the speed of Prepaid LTE SIM is comparable to that of Wi-Fi.
The usage situation after using the terminal for a while on the site is here. Depending on the actual usage, especially when you use Google Maps that you are likely to use on your trip, you may need to be careful as it may overwhelm as soon as the capacity is around 100 MB .
Starting with Kansai International Airport, this Prepaid LTE SIM will be handled also at mobile centers at Terminal 1 and Terminal 2 of Narita International Airport, New Chitose International Airport, etc. Also, it is supposed to be handled at "Akibao ~" stores and "BOOK OFF" Shinjuku West Exit Store, "Big West International (Ikebukuro)" and "Laox" Akihabara store.
Although the upper limit of communication data amount is 5000 yen with 500 MB and the setting of 3000 yen even with 100 MB it can not deny the feeling that it feels a little expensive, but still thinking of the sense of security that the net will be available soon after coming to Japan And for those who visit Japan, there are benefits to use, so it seems to be an important service for many people to visit Japan. However, even in overseas,Overseas Pake-hodai"Since the overseas roaming service like the flat-rate roaming service is popular, it may be necessary for the next one to become necessary for prepaid SIM to become more convenient.
Related Posts:
in Review, Web Service, Posted by darkhorse_log


