I tried using "Lumu" to transform a smartphone into a high-performance exposure meter

For digital cameras, it may be that many autopillars are taking pictures in auto mode as the camera calculates the aperture, shutter speed and sensitivity. However, when you want to take a picture with a little taste or use a silver salt single lens reflex camera, you need to manually set it. To such a manual school, it is easy to teach me the optimum shutter speed in addition to the exposure value and illuminance by "Lumu"is. If you install Lumu, smartphoneExposure meterIt is said to be transformed into, so I tried it immediately.
Lumu
http://ww.lu.mu/

◆Opening · Appearance check
"Lumu" arrived in a package of vinyl.
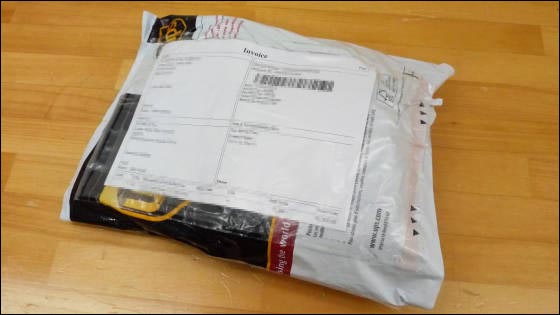
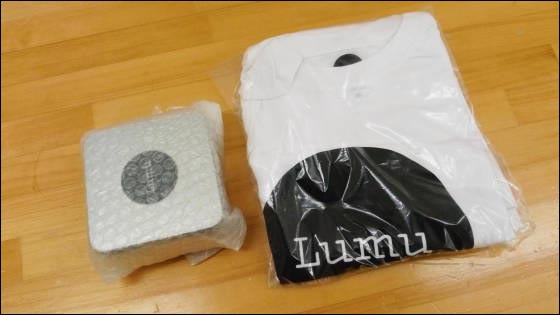
When you open the bags, aluminum boxes and T - shirts from inside.
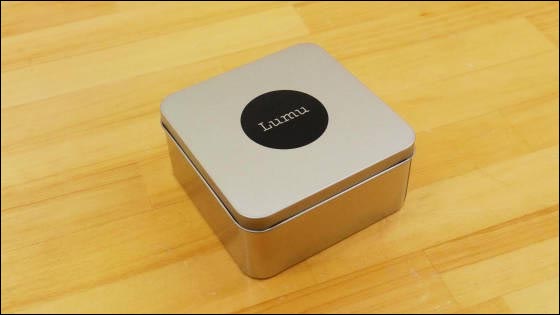
Aluminum "Lumu" logo. There is quite a sense of quality.
When opening the lid, a package of special leather case · neck strap · instruction book came out from inside.
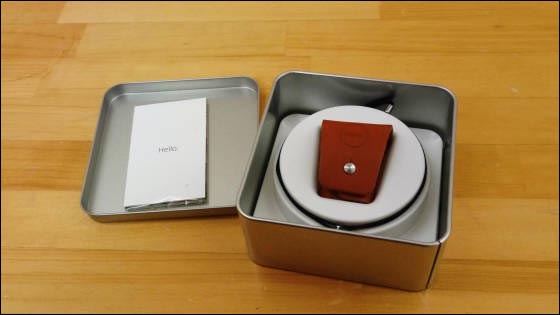
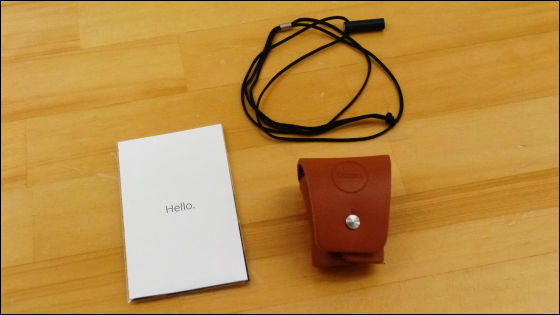
Take out contents from the box and spread out like this.
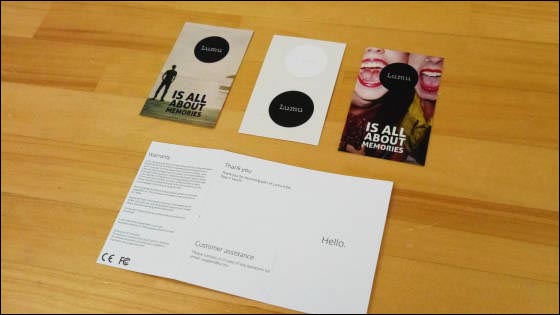
In addition, three types of stickers were included in the instructions.
Leather case looks like this. It seems to be conscious of being a little stylish item.
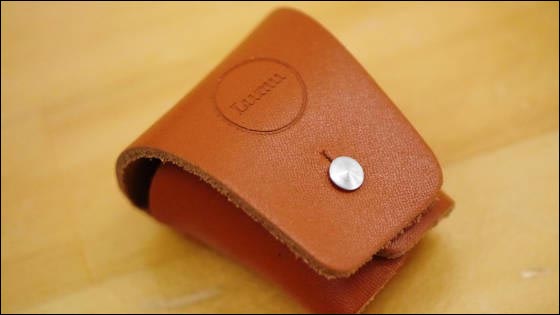
Inside is Lumu body. The size is perfect and it is hard to take out.
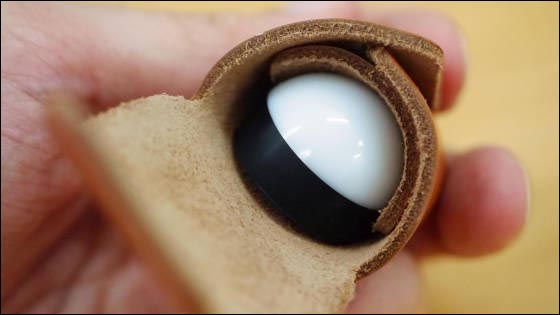
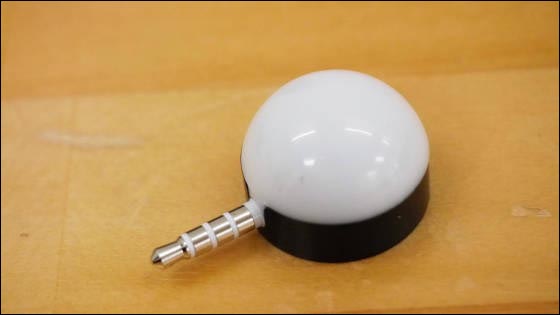
Lumu itself is very small and light, so it will not be a pain to carry around.
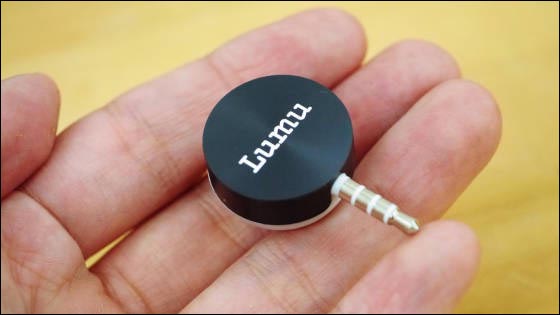
Lumu plugs into the earphone jack of the smartphone and uses it.
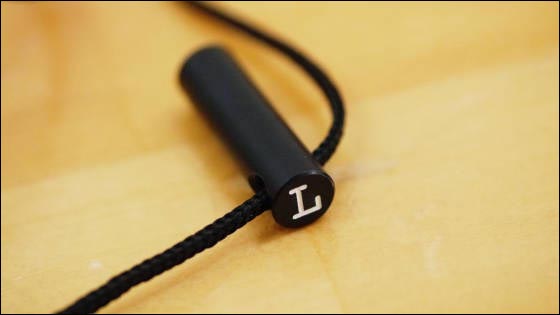
This is a special neck strap. An engraving of "L" on the head.
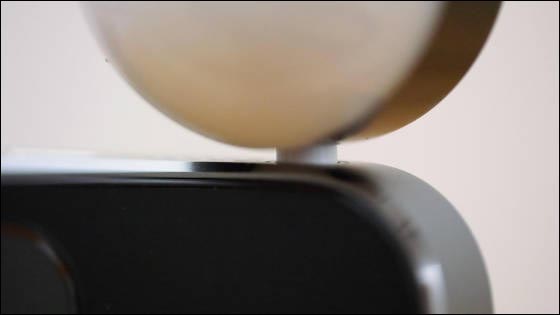
It is like this when Lumu is attached to the iPhone 5s.
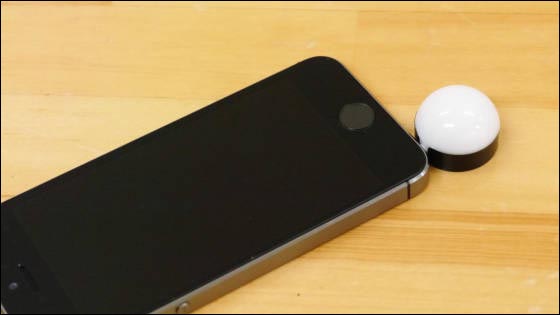
There is a little gap but this is the state where I stabbed it all the way back.
◆Application installation
Lumu's exclusive application is compatible with both iOS and Android. However, at the time of article writing, the Android application is not released.
Since this time it will be used with iPhone 5s, install the special application for iOS version. Install "Lumu" app which comes out by searching "Lumu" on the App Store.
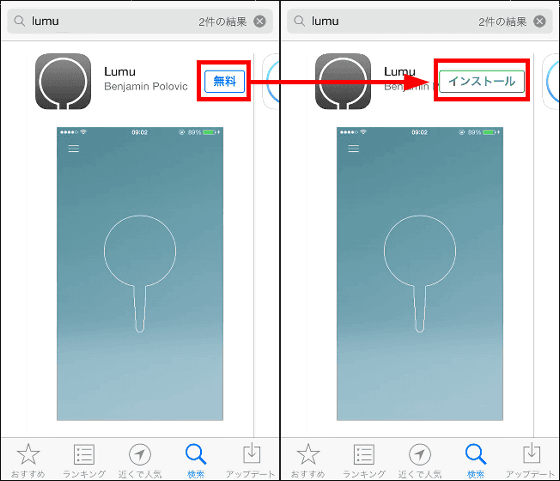
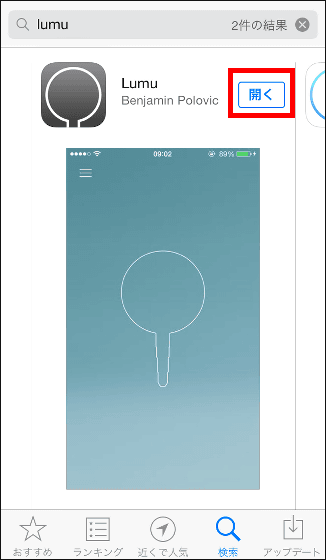
Tap "Open" to launch the application.
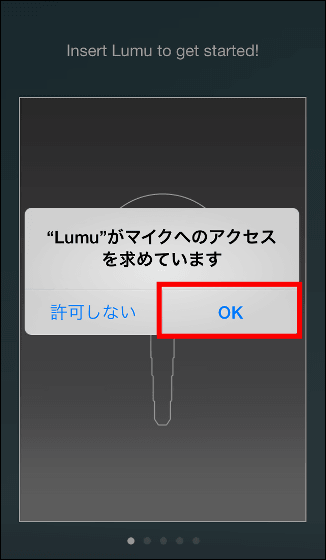
Tap "OK".
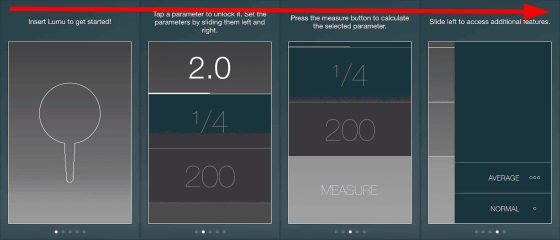
As the tutorial begins, I will swipe to the right in order.
Tap "Close".
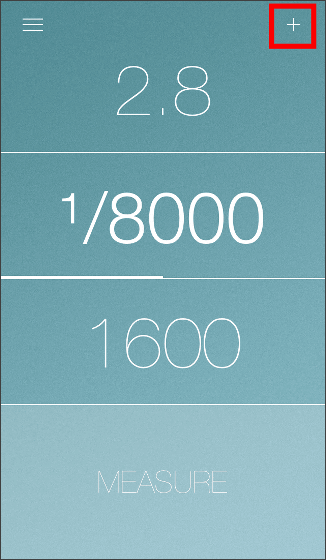
Here is the screen of "Lumu". Lumu manages data in units of "Film", so first register a new film. Tap the "+" button at the top right.
Tap "OK".
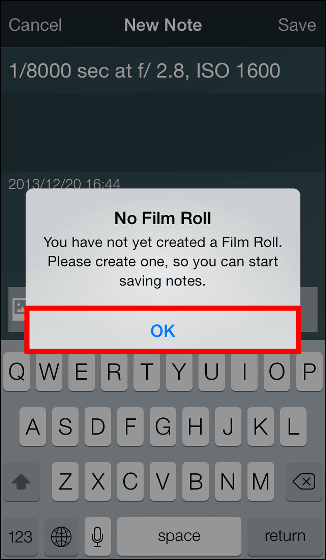
It changed to "New Film" screen.
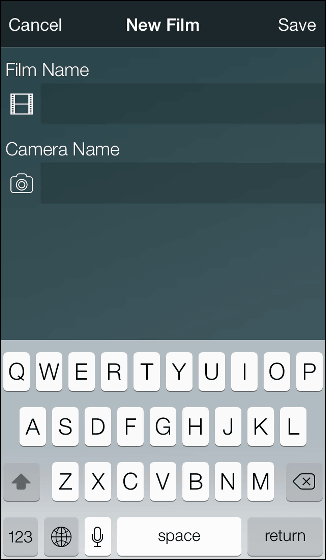
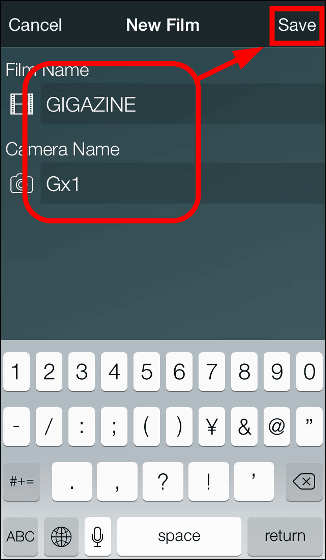
Enter the name of the film name / camera and tap "Save". The film is now registered.
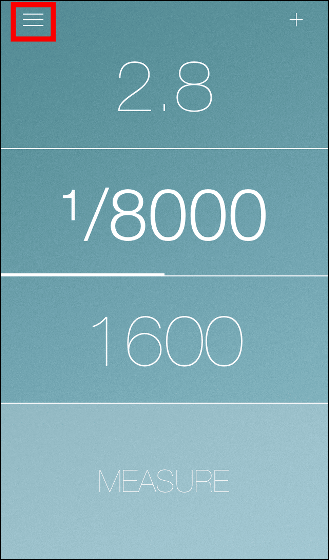
Then tap the "Options" button at the top left of the screen.
Tap "SETTINGS".
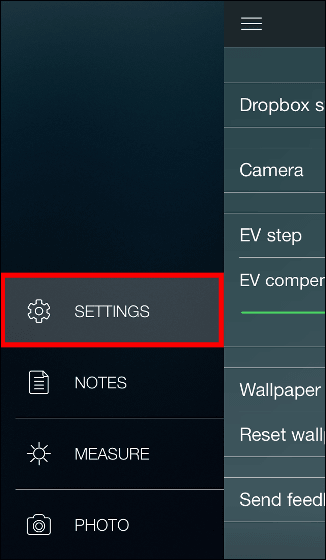
The setting screen will appear. The data recorded by Lumu isDropboxYou can save and sync to the cloud using.
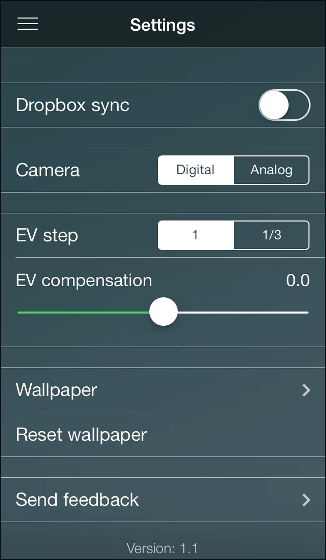
If you turn on the "Dropbox sync" button ... ...
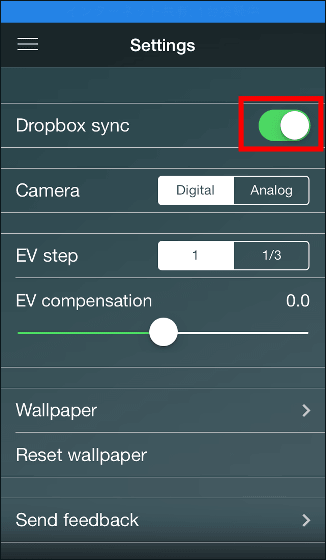
Since it becomes the login screen of Dropbox, if you have a Dropbox account, enter the ID and password and log in, the data recorded by Lumu will be saved in the folder of the drop box.

Next, tap "NOTES".
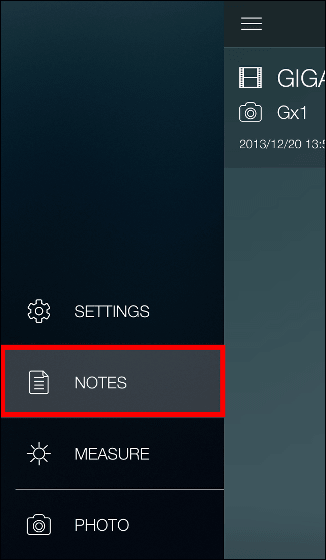
The film created earlier is displayed. Since you can create multiple films, you can manage data by date and time and camera.

Lumu can measure the exposure value and illuminance. Tap "MEASURE".
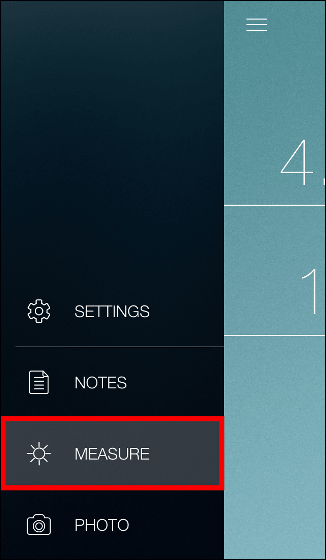
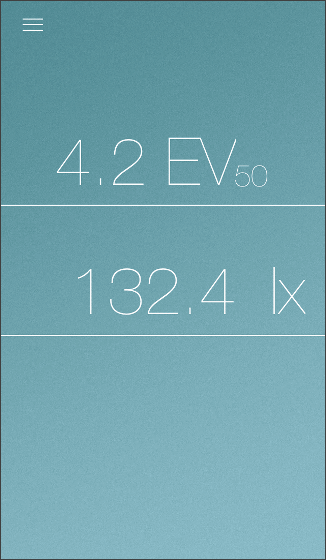
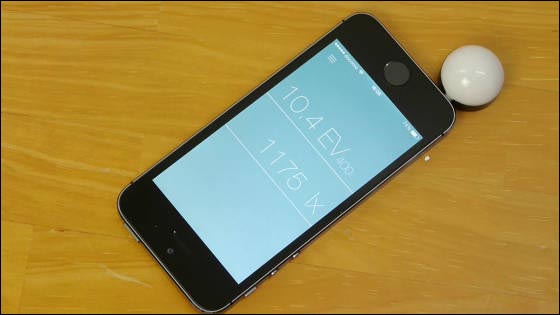
The above numbers are the exposure value (EV) and the lower numbers are illuminance (lx). These values change quickly in a timely manner according to the situation.
Finally, tap "PHOTO".
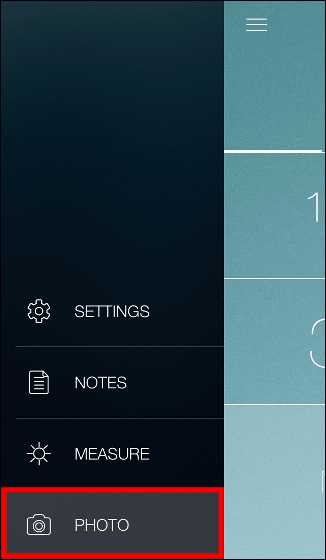
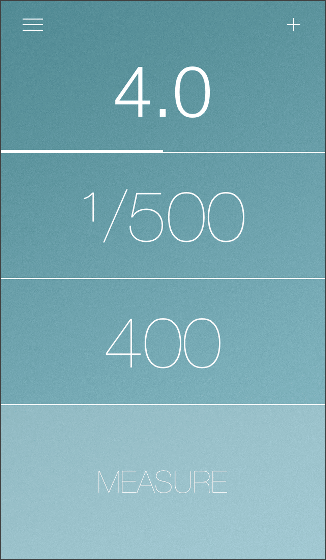
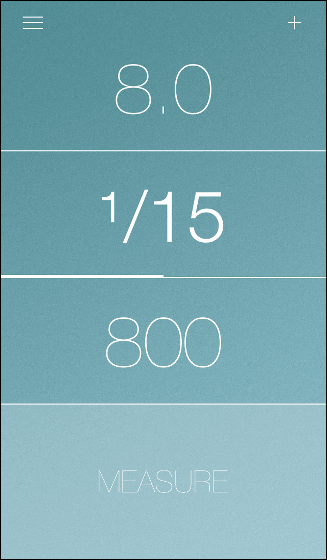
Then I will return to the previous screen. The number on the screen is from the top, the numerical value of aperture, shutter speed, ISO sensitivity, Lumu calculates the appropriate shutter speed by specifying the numerical aperture / ISO sensitivity value.
Actually using Lumu to measure proper shutter speed, exposure value / illuminance from this movie.
Appropriate shutter speed, exposure value and illuminance at "Lumu" are measured like this - YouTube
First, set the aperture value.
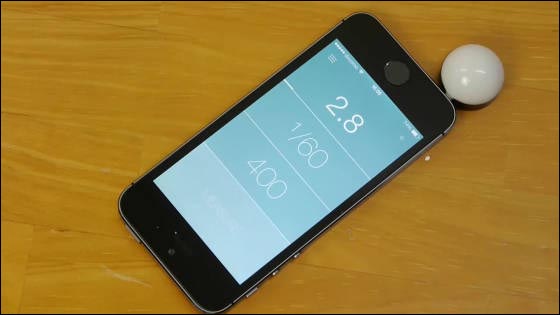
You can change the value by swiping left and right.
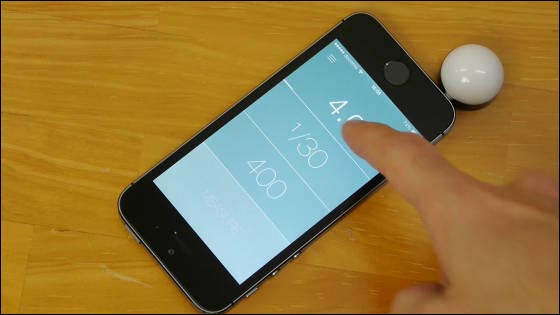
Once the aperture value is decided. Tap around the line in the middle of the screen ......
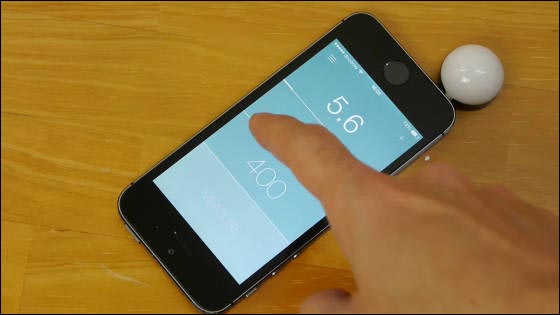
The shutter speed became bold. In this condition, ISO sensitivity can be changed.
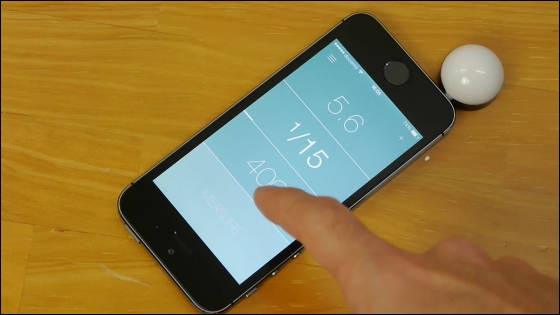
You can also change the ISO sensitivity by swiping left and right.
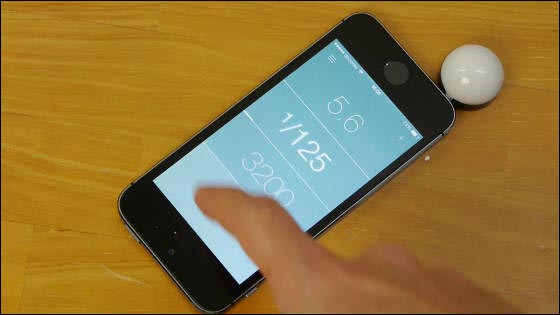
When ISO sensitivity is also decided, tap the light blue button written "MEASURE" below.
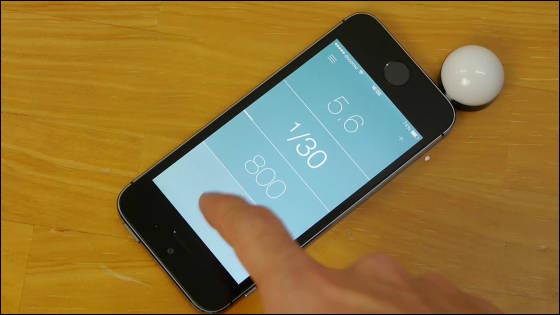
Then, the measurement result that the proper shutter speed is "1/125" is displayed.
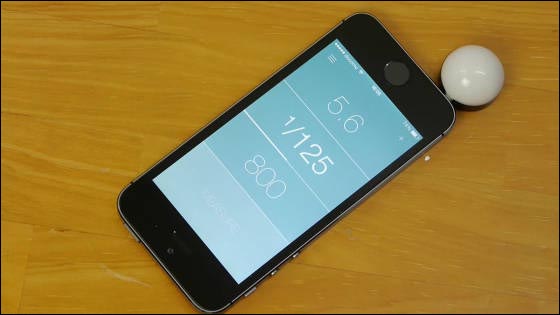
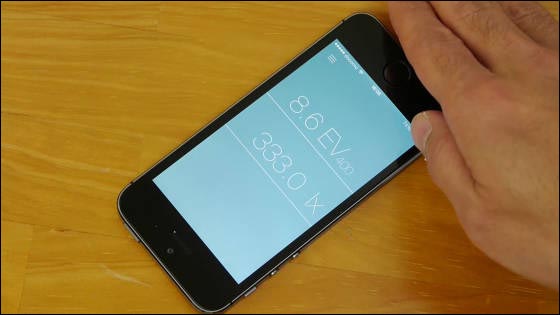
Measure with covering Lumu by hand and reducing brightness ... ....
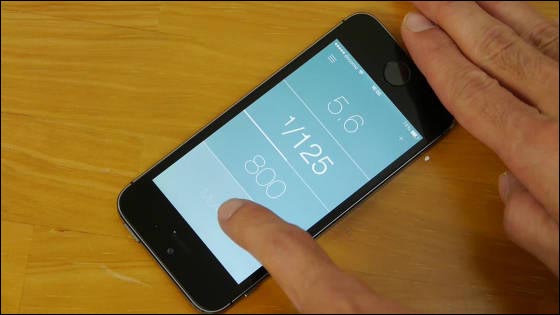
The proper shutter speed was "1/15", which was later than before.
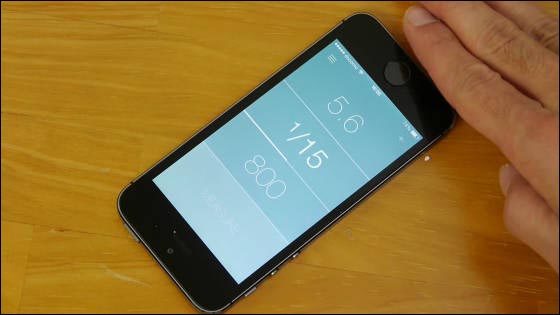
This is the screen during measurement of exposure value / illuminance.
When covering Lumu by hand, the value changes.
◆I took a picture
By shooting a photo with a different shutter speed, try to see how correct the proper shutter speed value measured by Lumu is. When specifying the aperture "8.0" and the ISO sensitivity "800" in the editorial department, the proper shutter speed measured with Lumu was measured as "1/15".
Comparing photos taken with changing the shutter speed is like this. The upper left is "1/8", the upper right is "1/10", the center is "1/15", the lower left is "1/30", and the lower right is "1/50". Certainly, "1/15" is the most natural lightness.

Lumu is able to measure the proper shutter speed with a simple operation. However, since general digital cameras automatically measure the shutter speed, it does not benefit so much, and it seems that scenes of use are likely to be limited mainly when you get lost in manual settings. However, for people who want to take a picture of the value of exposure calculated up to the exposure value or illuminance, Lumu, which is much lighter and more compact than the exposure meter, can be said to be a very reliable tool.
Lumu comes with a special leather case and a strap, and the price is 129 dollars (about 13,500 yen), it is scheduled to be on sale from January 2014, and it is currently under accepting reservation.
Related Posts:


