Adapter for SD card where you can see pictures etc. with iPhone and wireless LAN ad hoc connection "AirStash" review
Many people posting pictures to Twitter and フ ェ イ ス ブ ッ ク by using the iPhone are many, but something unexpectedly troublesome when trying to post images shot with a digital camera in the same sense. Once you take out the SD card from the camera, start up the PC, connect to the Internet, select files and upload, it is cumbersome compared to working with smartphones.
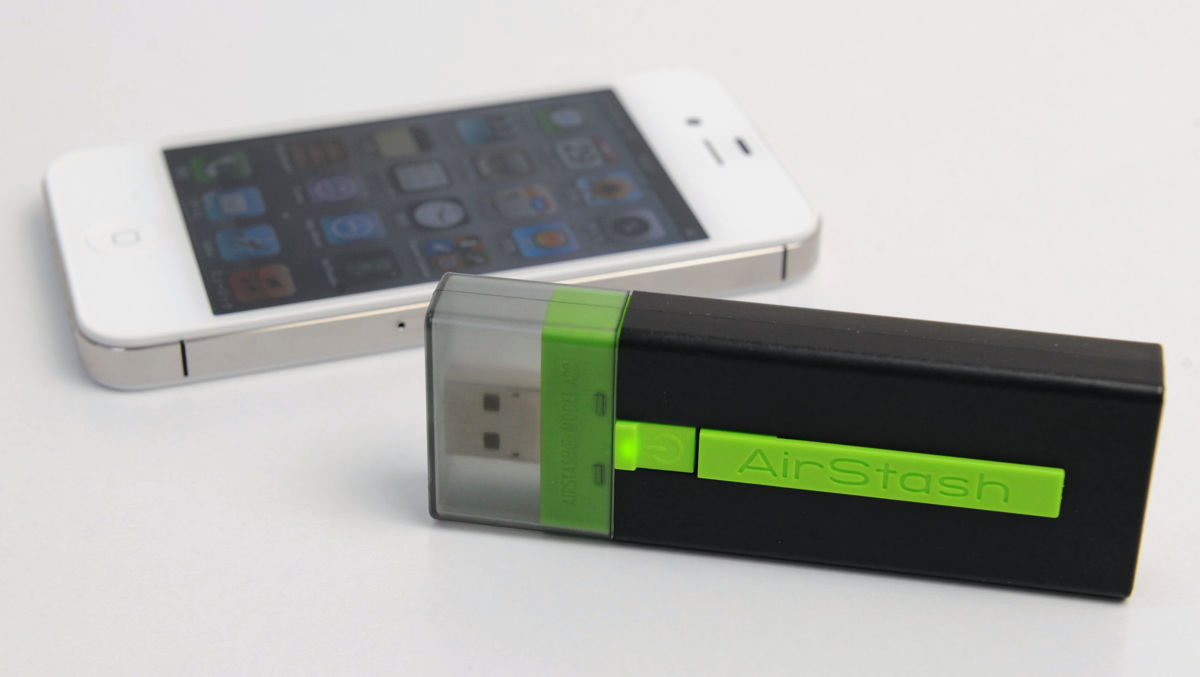
So, saving this kind of trouble will do the review this time "AirStash". It is a product that you can download data to iPhone connected wirelessly just by inserting the SD card taken out from the camera and post it to SNS etc and send it by e-mail.
So for the moment, please take a picture and check out the movie you are browsing on the iPhone with the following movie.
How to view pictures taken with a digital camera on iPhone via "AirStash" - YouTube
◆ Photo review
The package looks something like this.
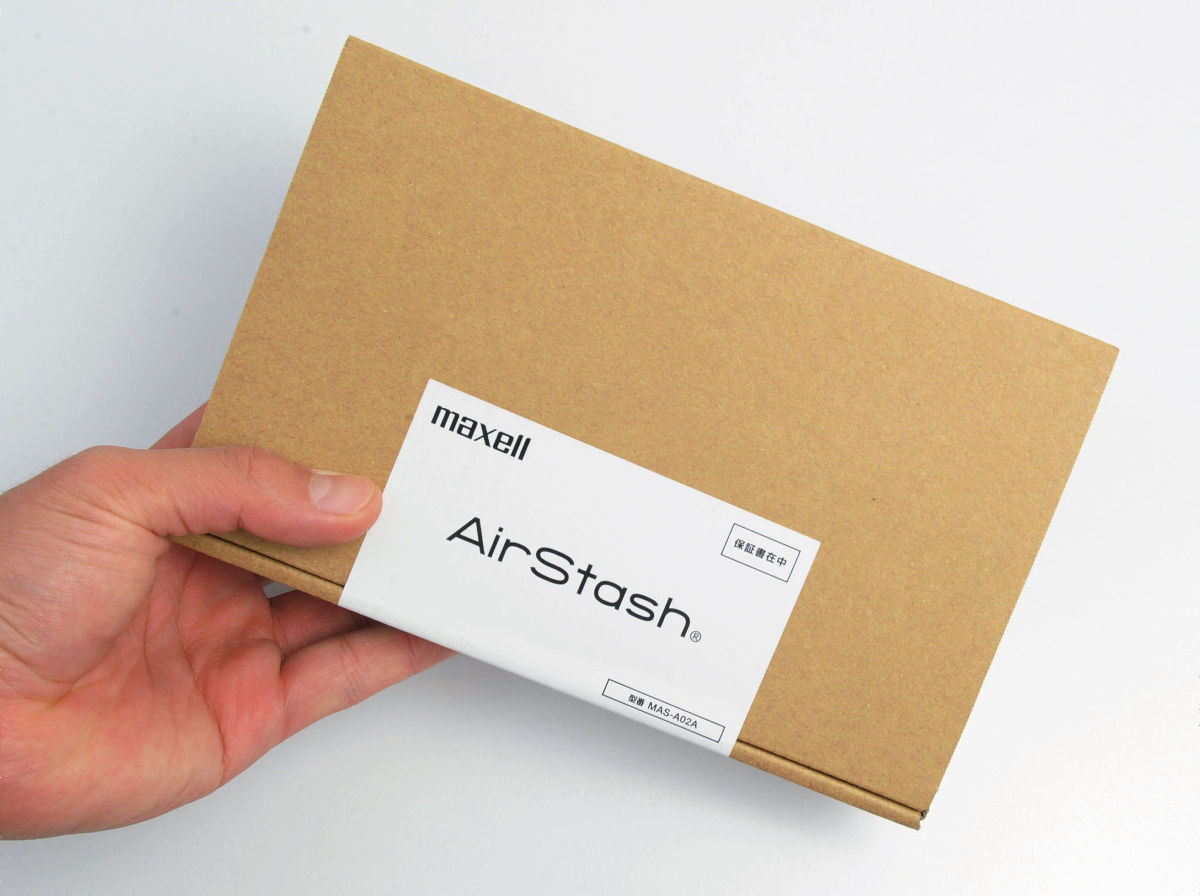
It is like this when opening aside.
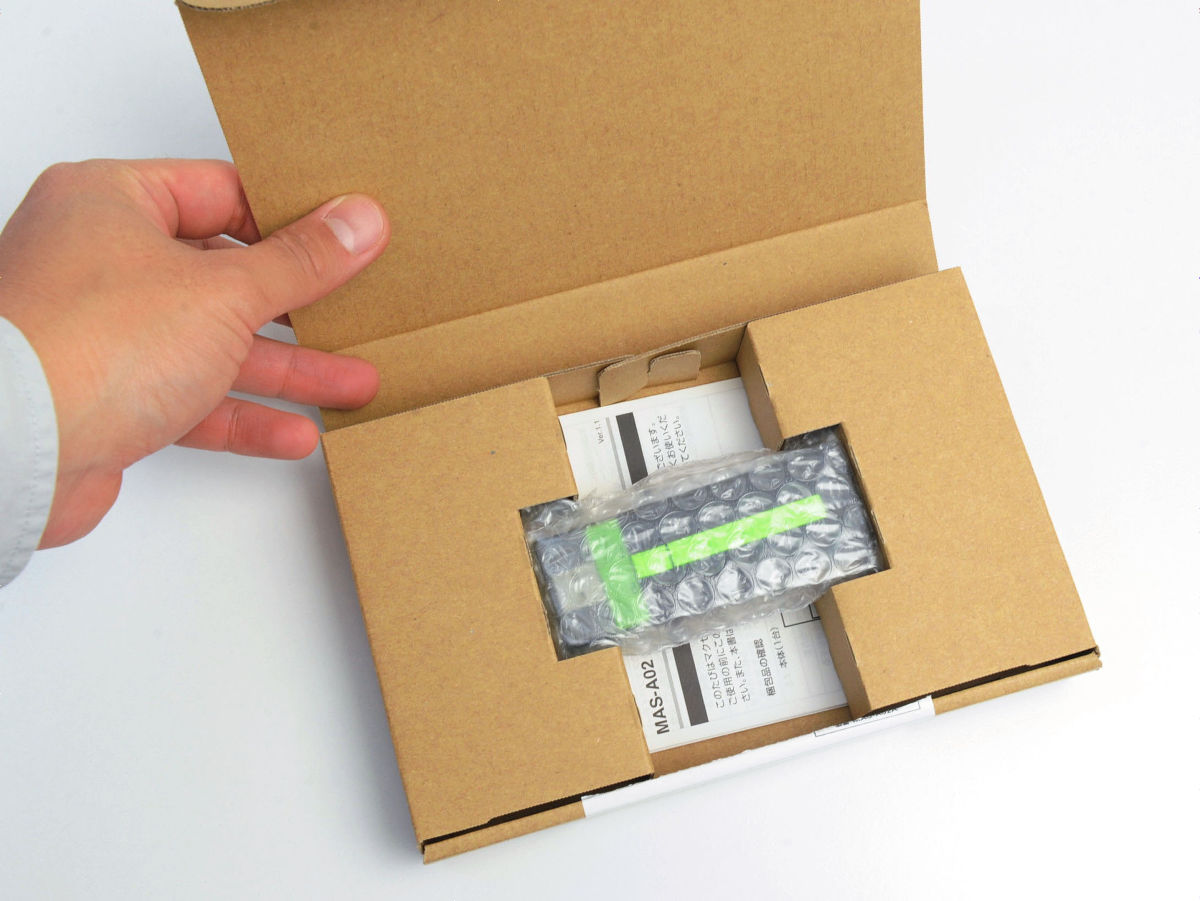
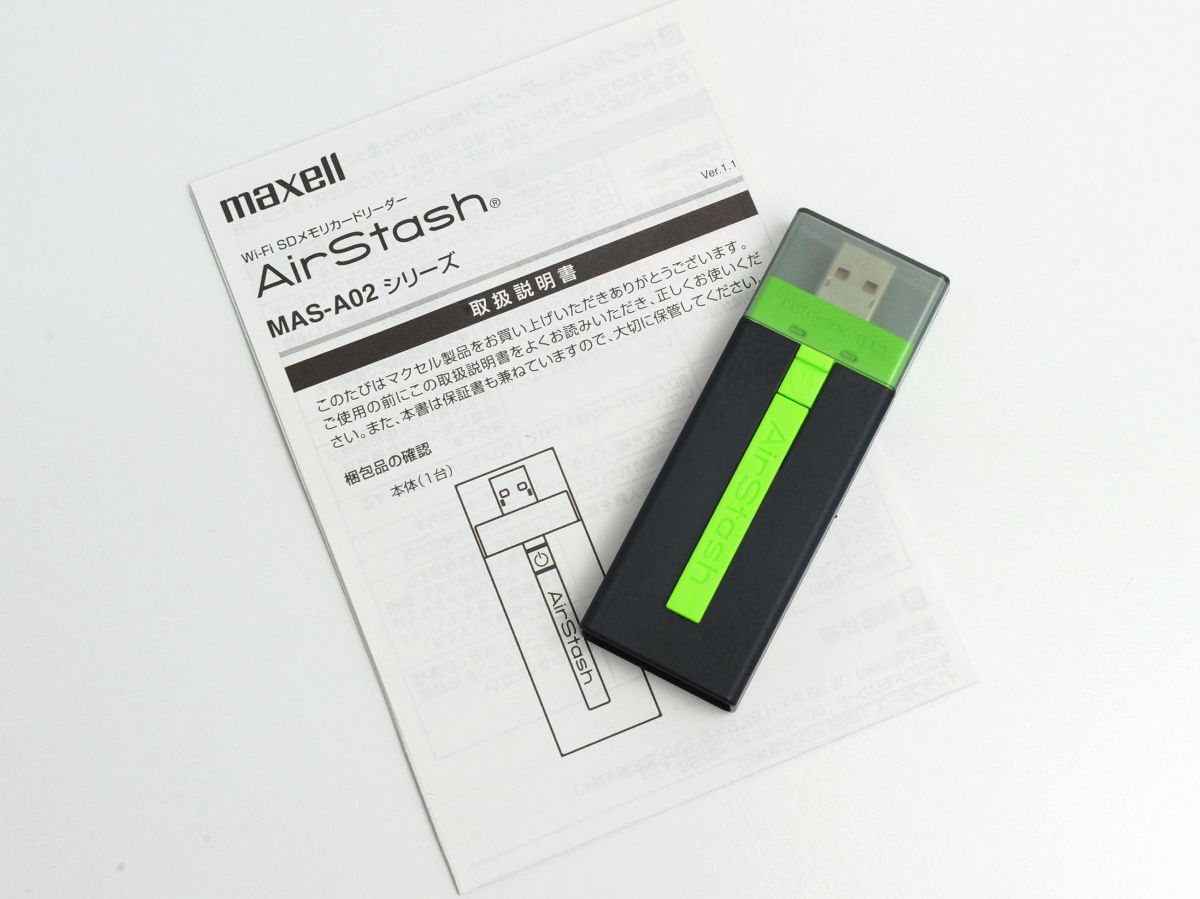
The contents are the main body and instructions.
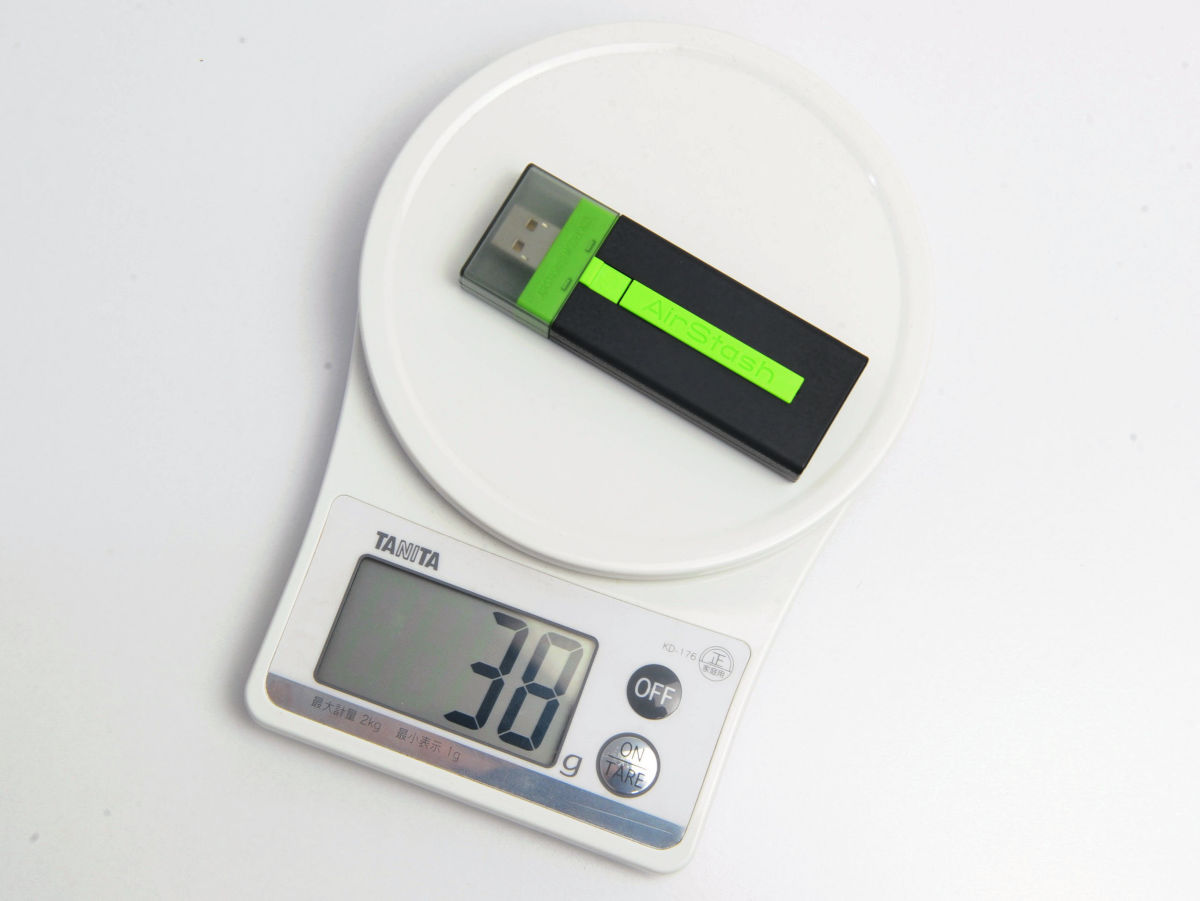
The measured weight is about 38 grams.
It is 92.5 in width × 33.2 mm in length, about a little longer than Frisk.
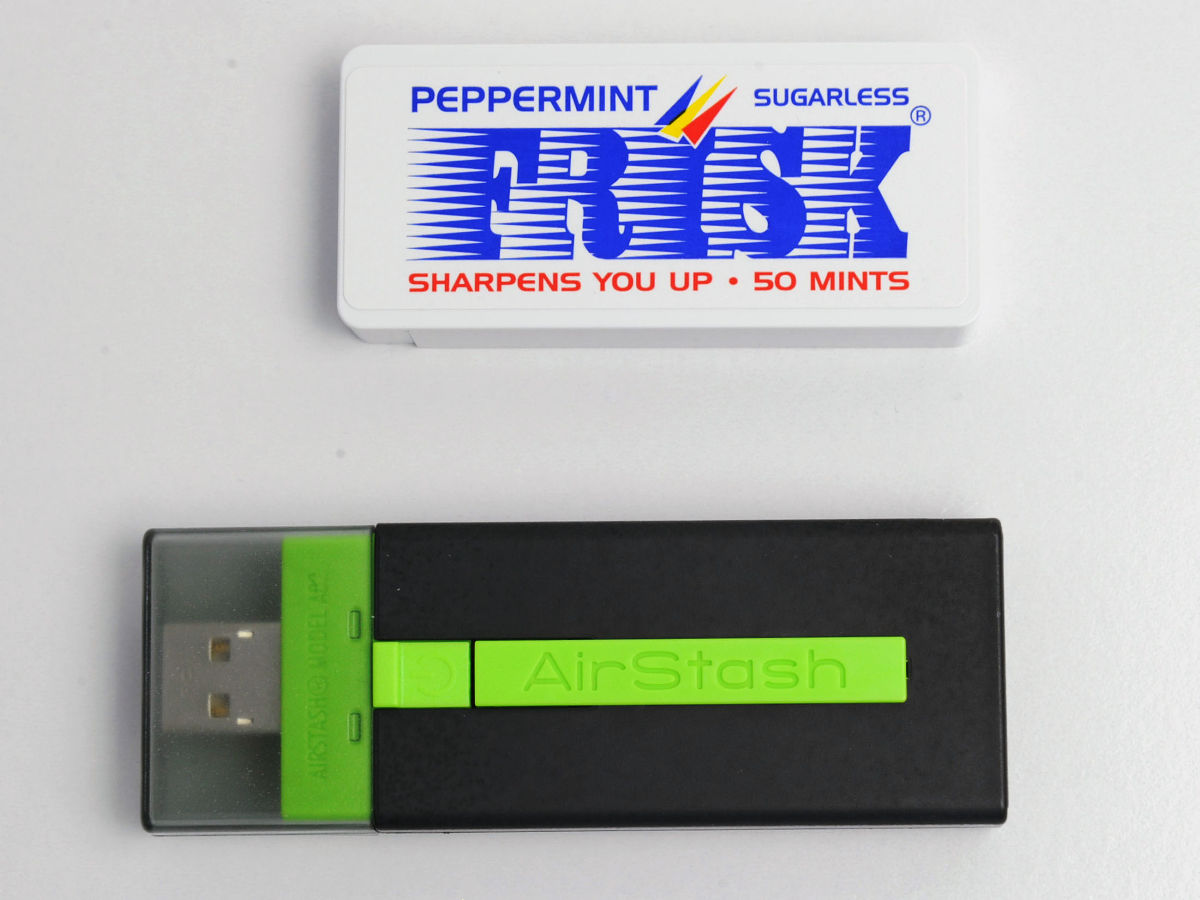
The thickness is 13 mm.
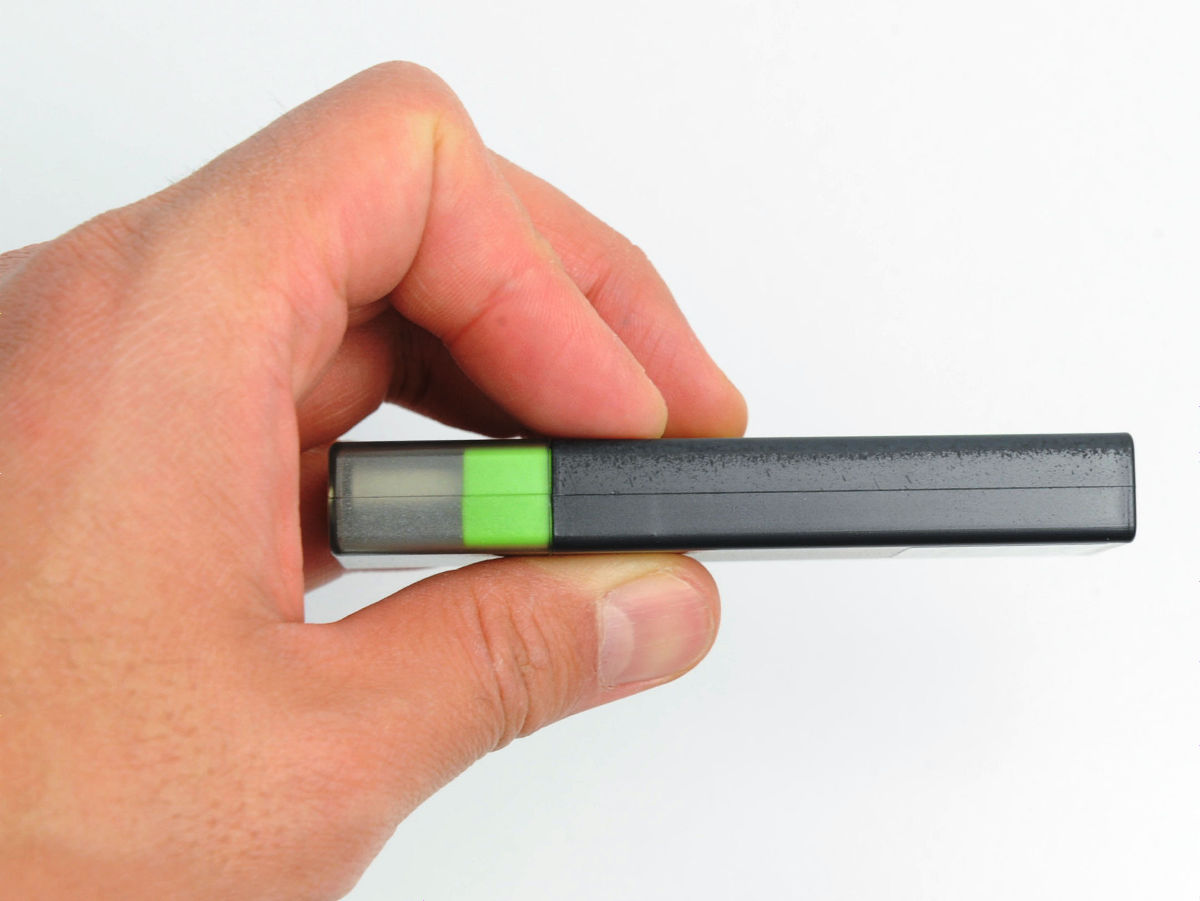
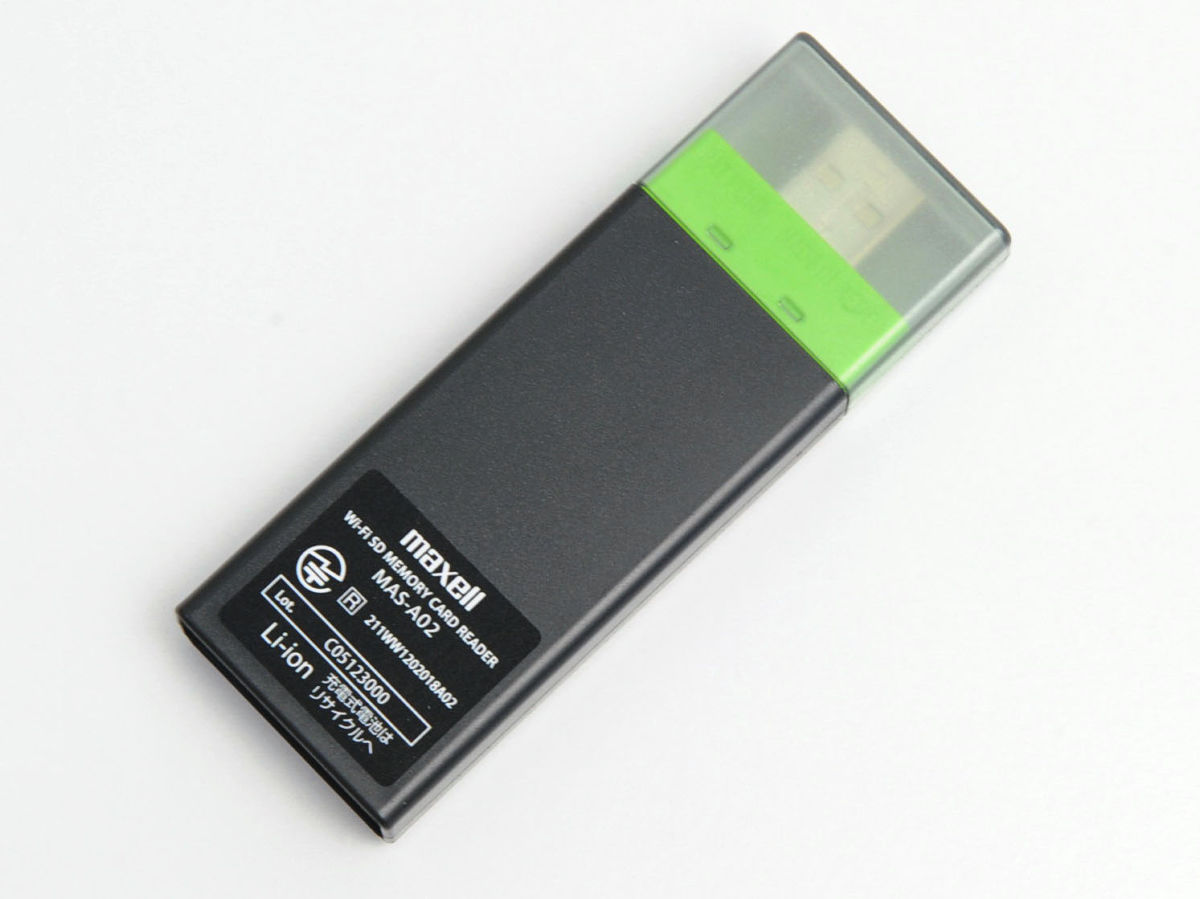
This side is like this.
There are SD and SDHC card slot in the back.
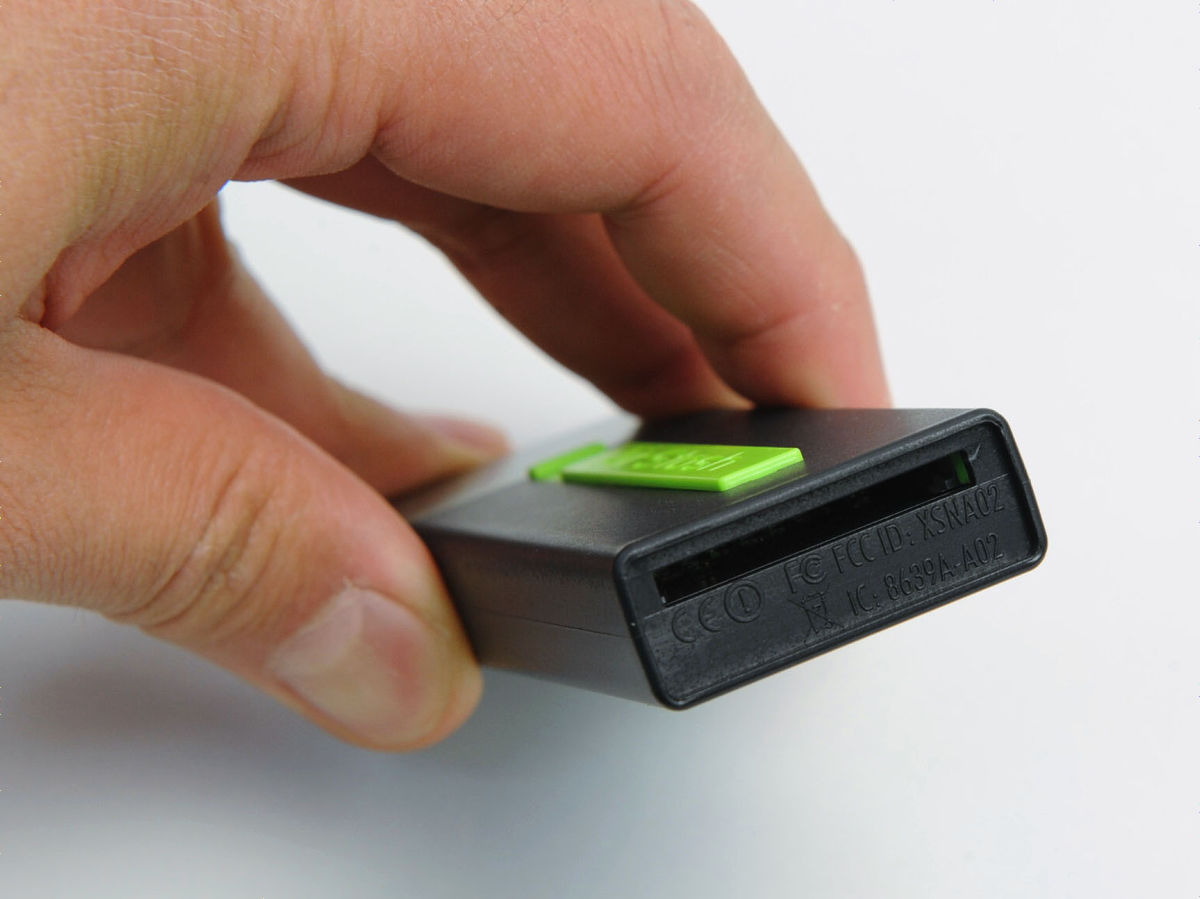
By inserting the SD card like this, you will be able to view and download the data inside from the iPhone.

The corresponding file format is as follows.
Documents: doc, docx, xls, xlsx, ppt, pptx, pdf, txt, rtf
Photo: jpg, tiff, gif
Videos: m4v, mp4, mov
Audio: AAC, MP3, MP3 VBR, Apple Lossless, AIFF, WAV
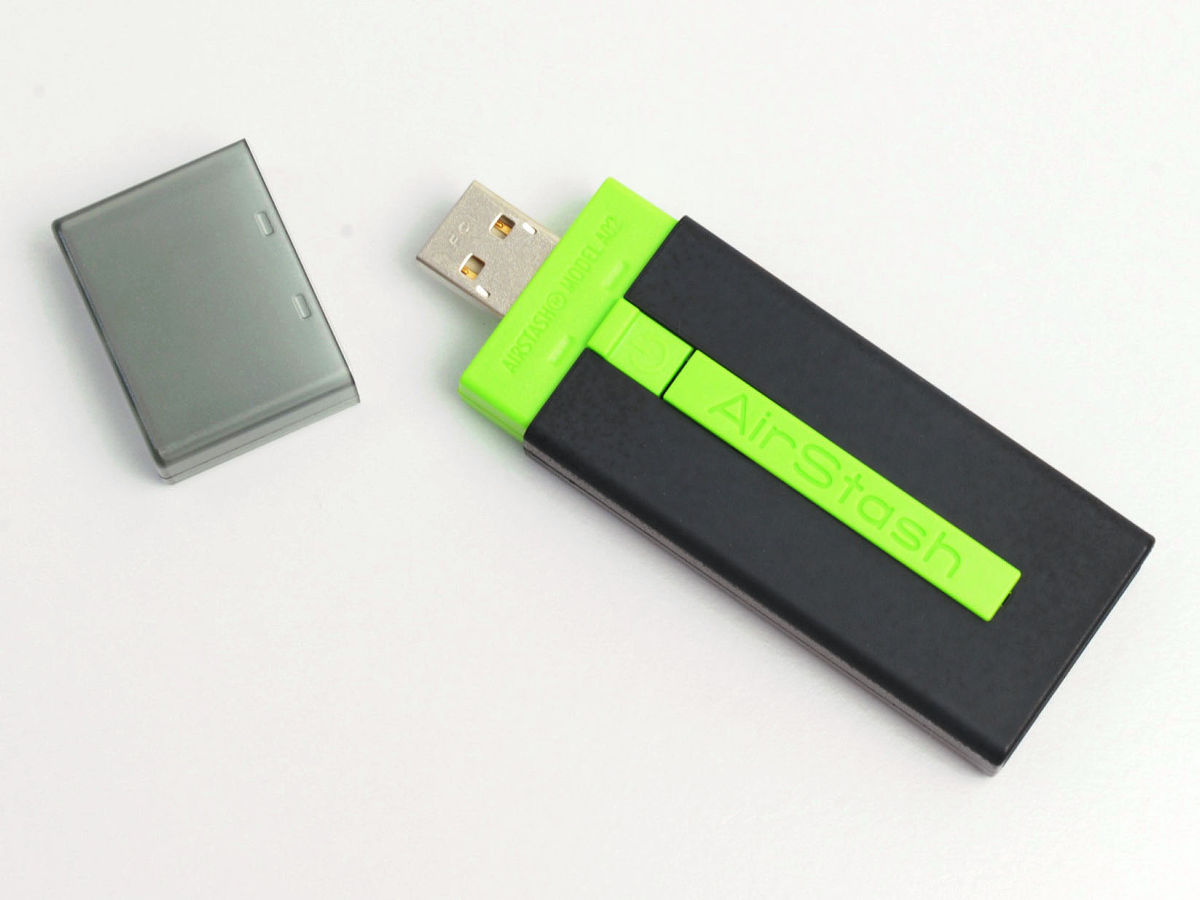
Since there is a USB terminal at the tip, you can connect it to PC and charge it or use it as SD card reader.
It looks like this during charging, as the orange light shines, energization can be confirmed. According to nominal data, it seems that you can use continuously for up to 7 hours with charging for about 2 hours.
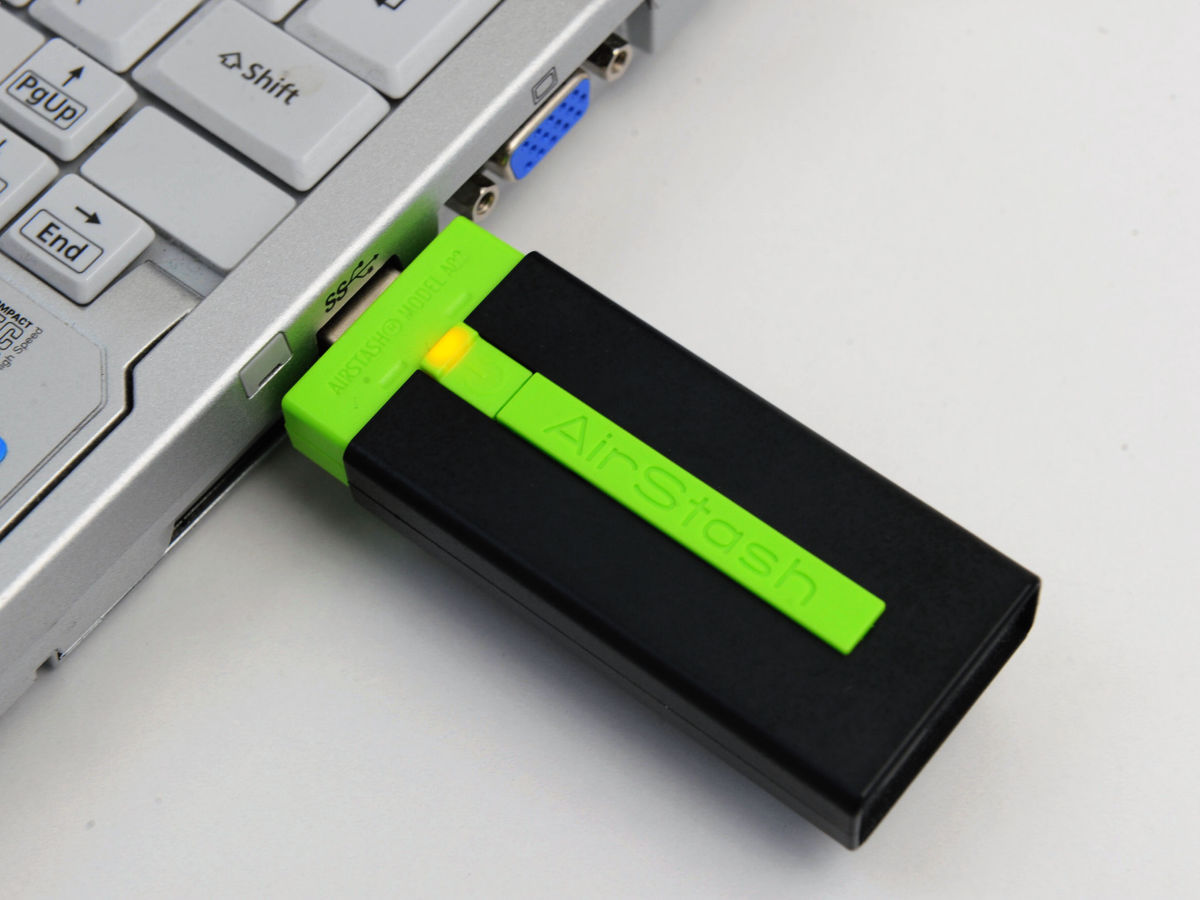
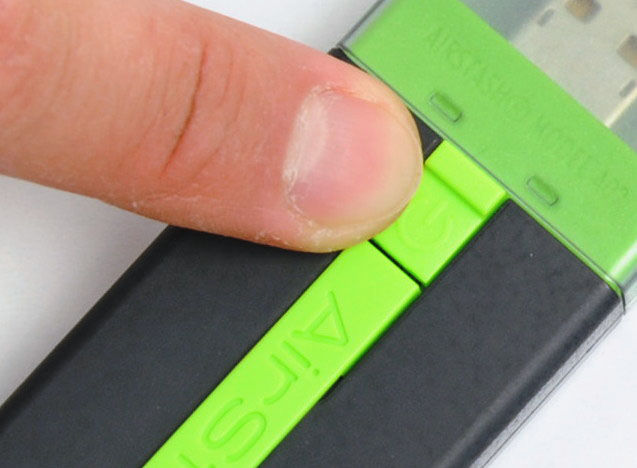
To start connecting to the iPhone, press and hold the power button at the base of the USB terminal.
◆ Install application
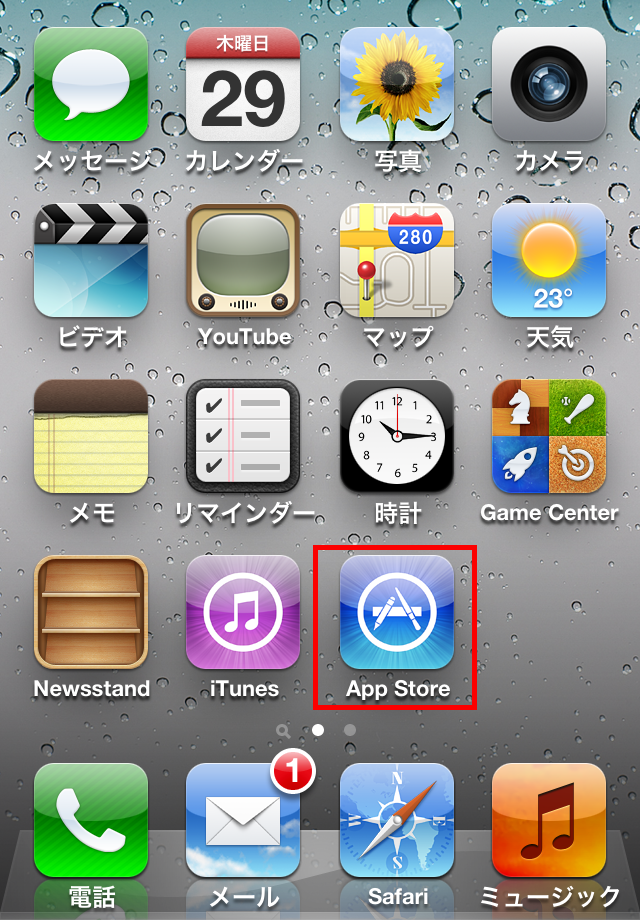
To connect from iPhone, you need to download special application.
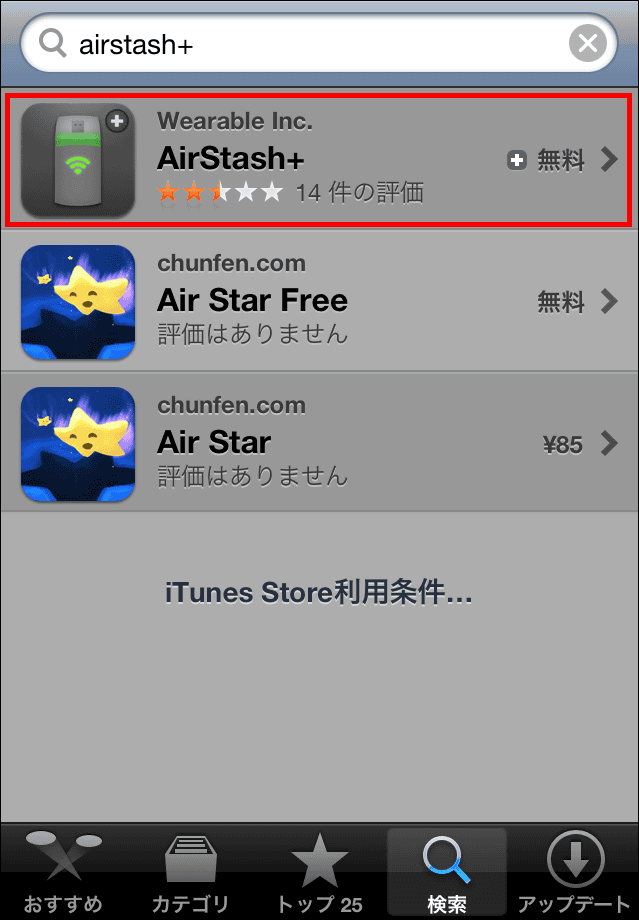
Tap on the App Store icon
Tap "airstash" and search for candidates that came out
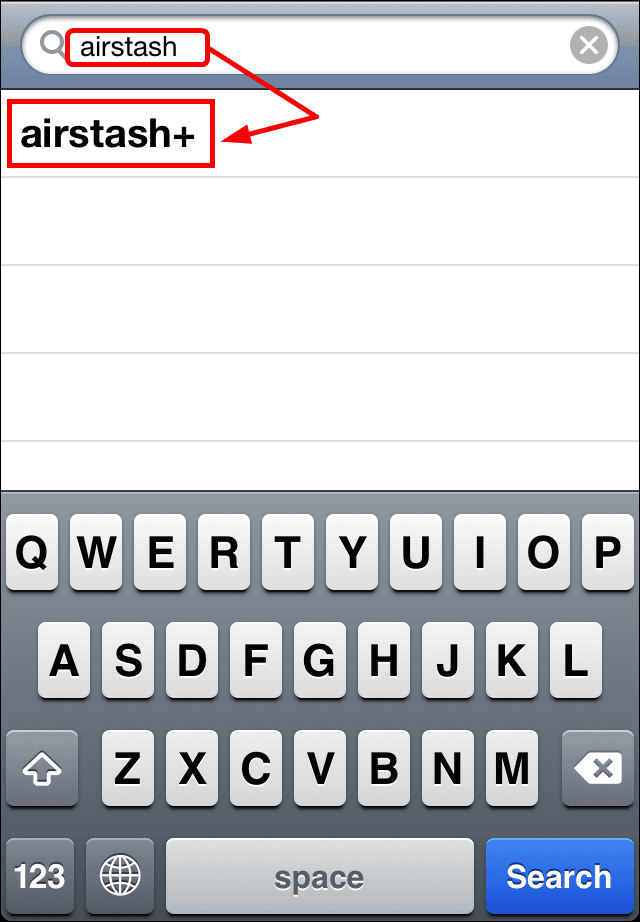
Tap "AirStash +"
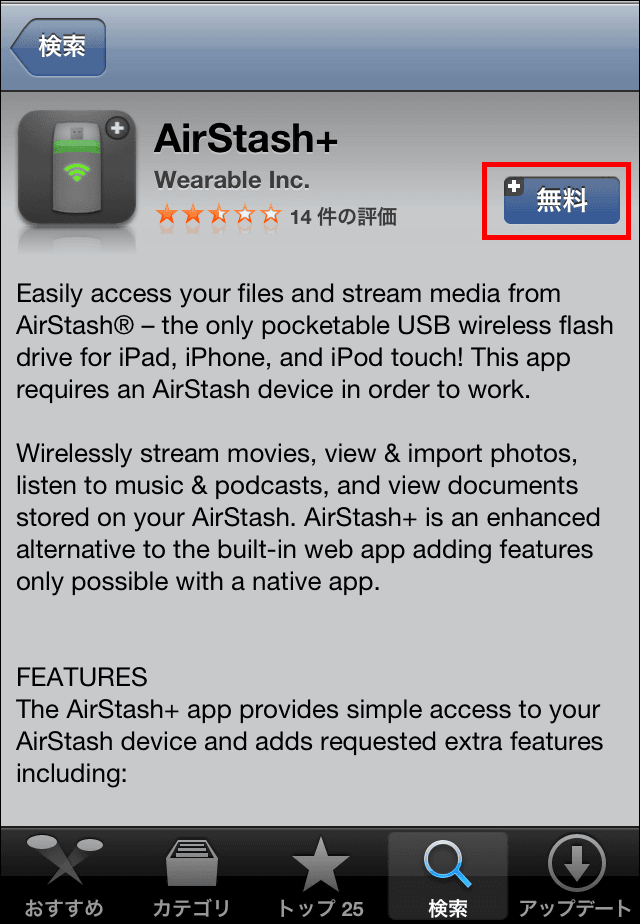
Tap "Free"
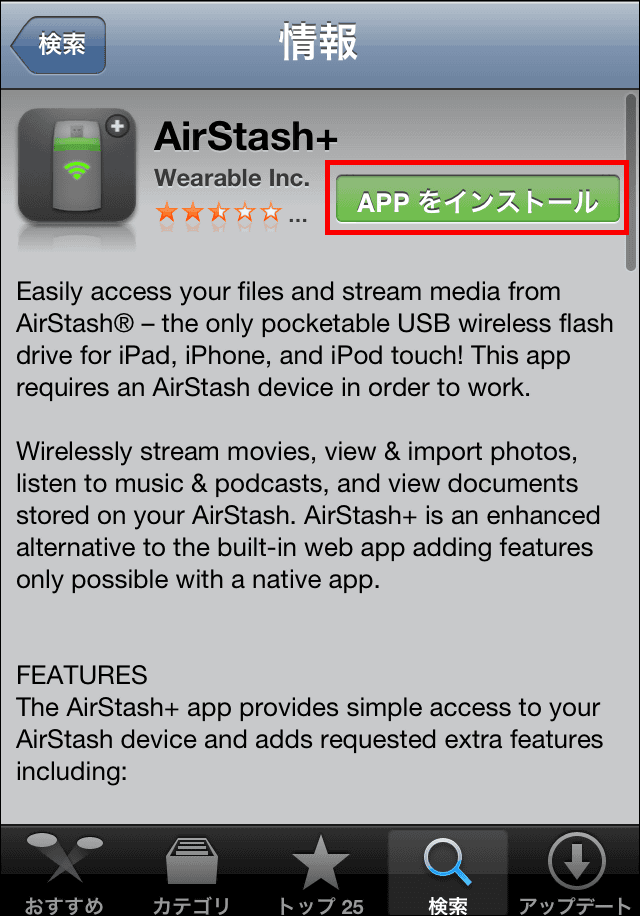
Tap "Install APP"
◆ Wireless LAN settings
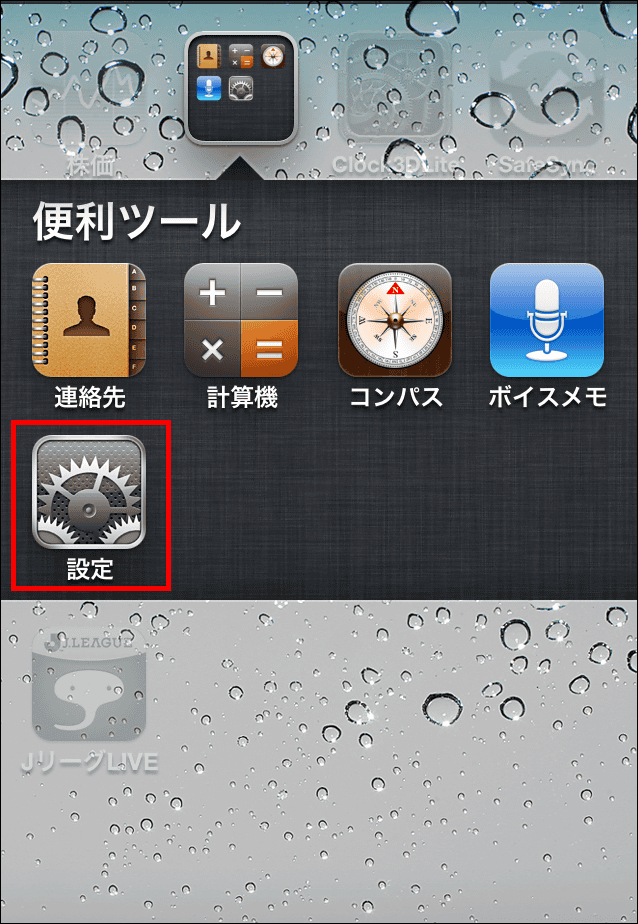
After installing the application, I will do the next step to recognize "AirStash" terminal from iPhone.
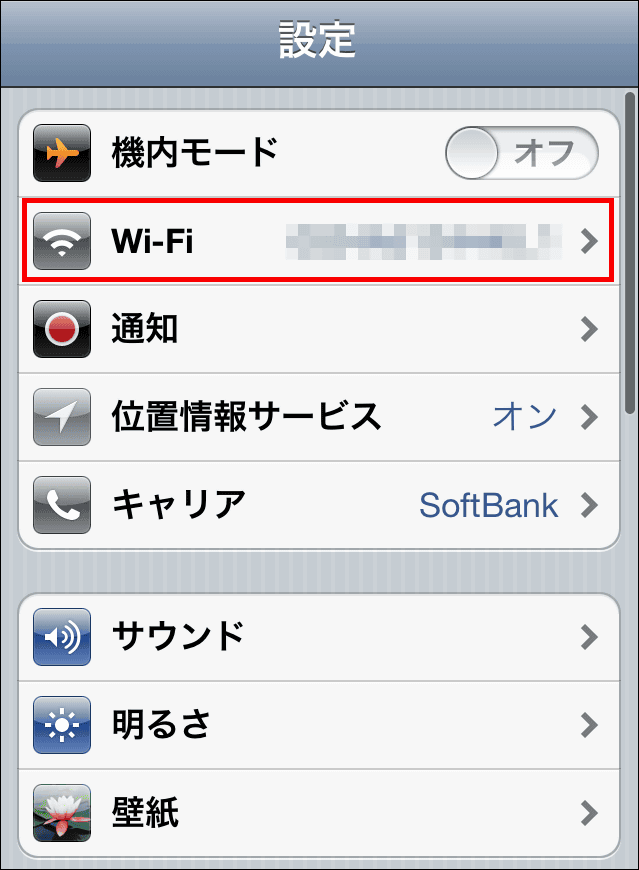
Tap 'Settings'
Tap "Wi-Fi"
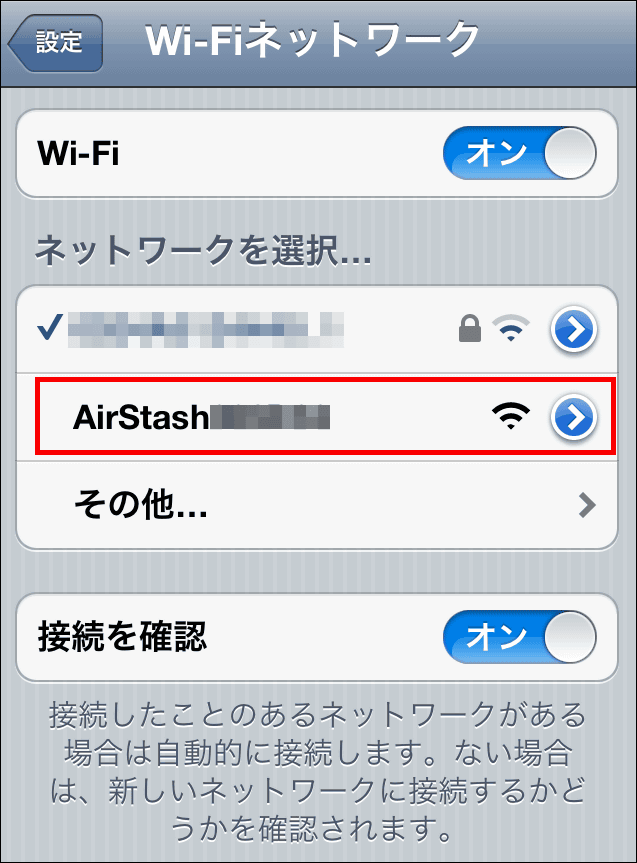
Tap on the connection starting from "AirStash" OK
◆ I actually used it
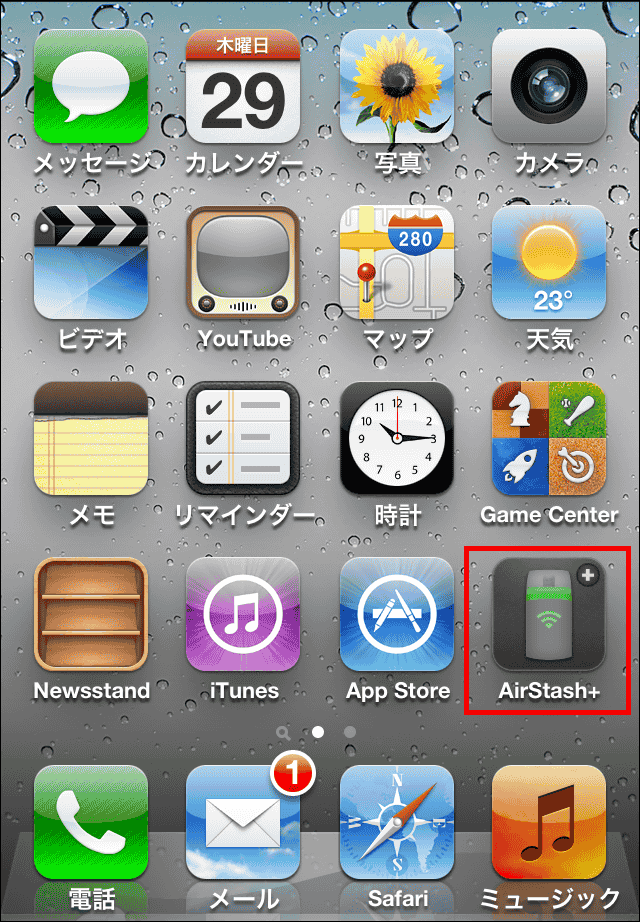
Tap "AirStash +" icon and start.
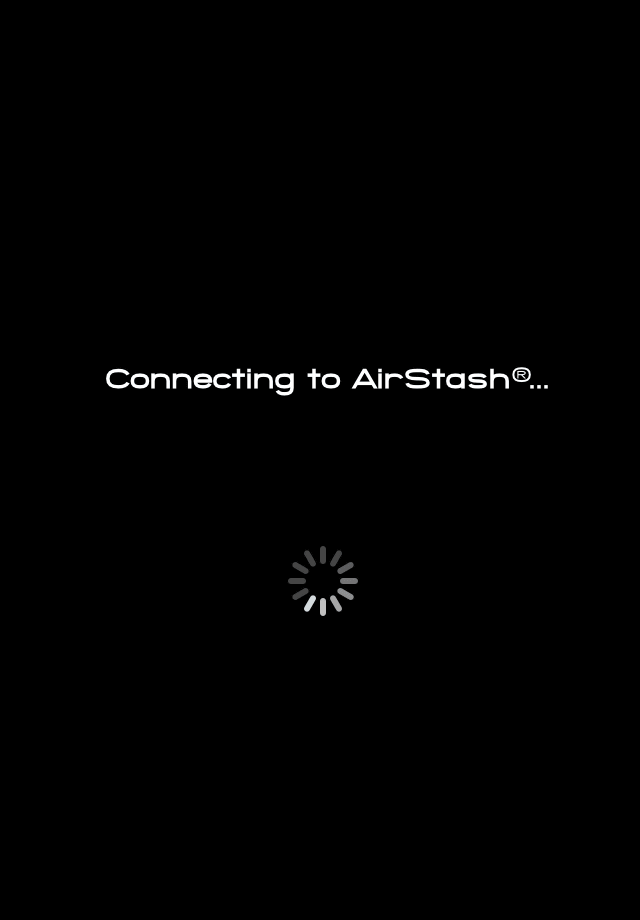
The following screen will be displayed and connection will start.
After that tap the item you want to view in the SD card.
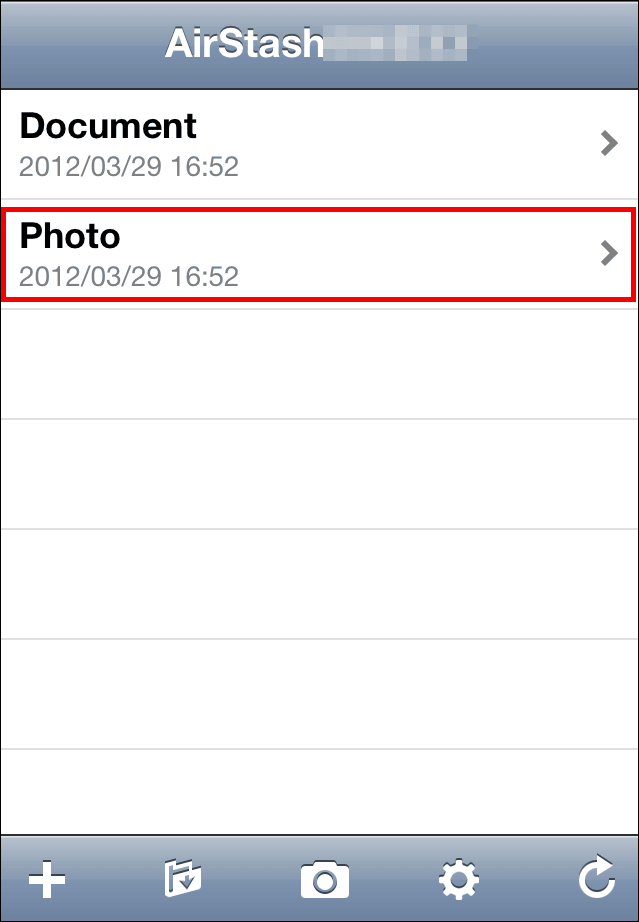
Since thumbnails are not displayed, look for the image you want to look for, depending on the file name.
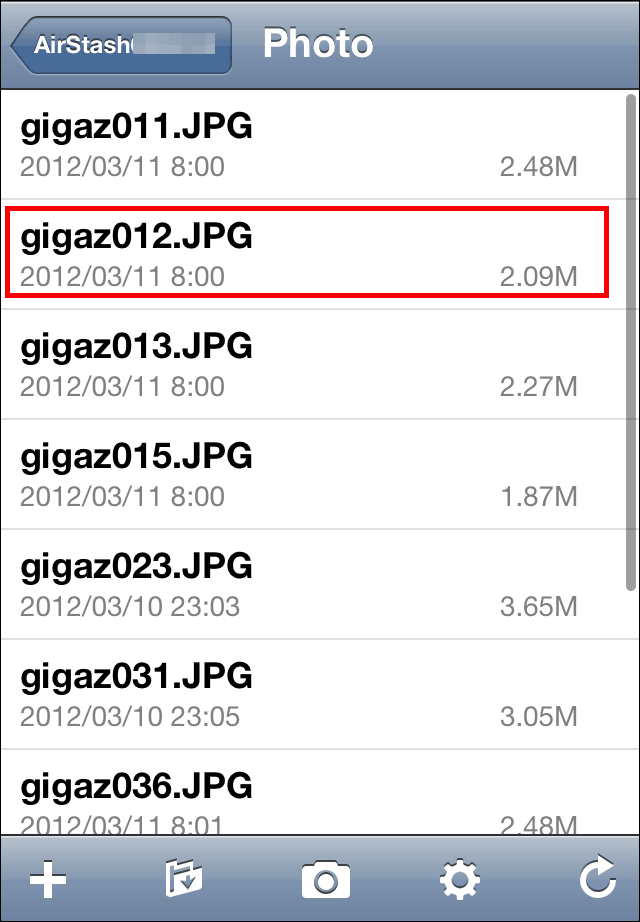
You can see the file as follows. You can also download images to iPhone's "Camera Roll" by tapping the "+" icon from here.

Since you can view images with the camera roll like this, when you tap the share mark ... ....
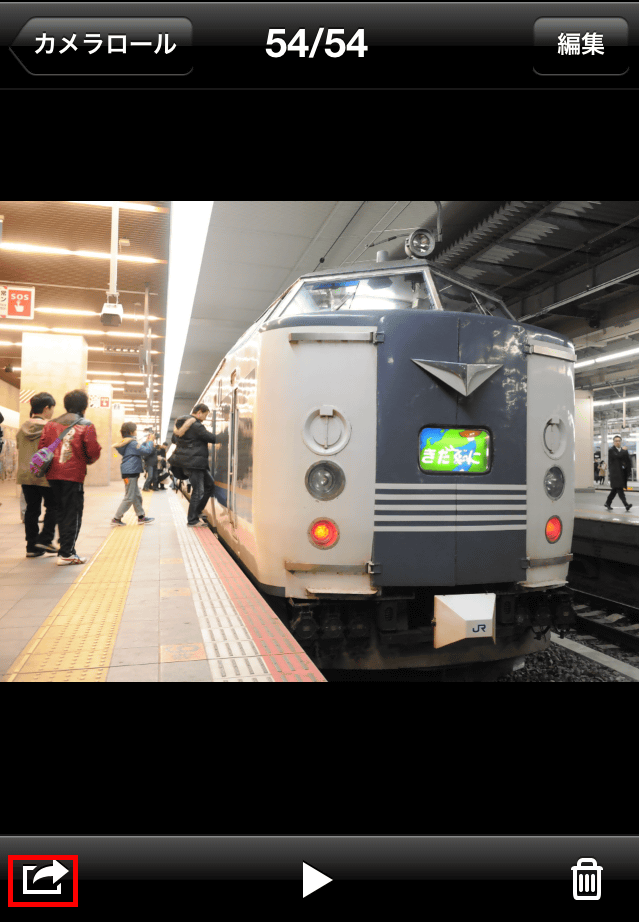
You can send it by e-mail or share it with "Twitter".

In addition, since it corresponds to display of MS "Word" file on iPhone, it can also browse as follows.

◆ How to set the password
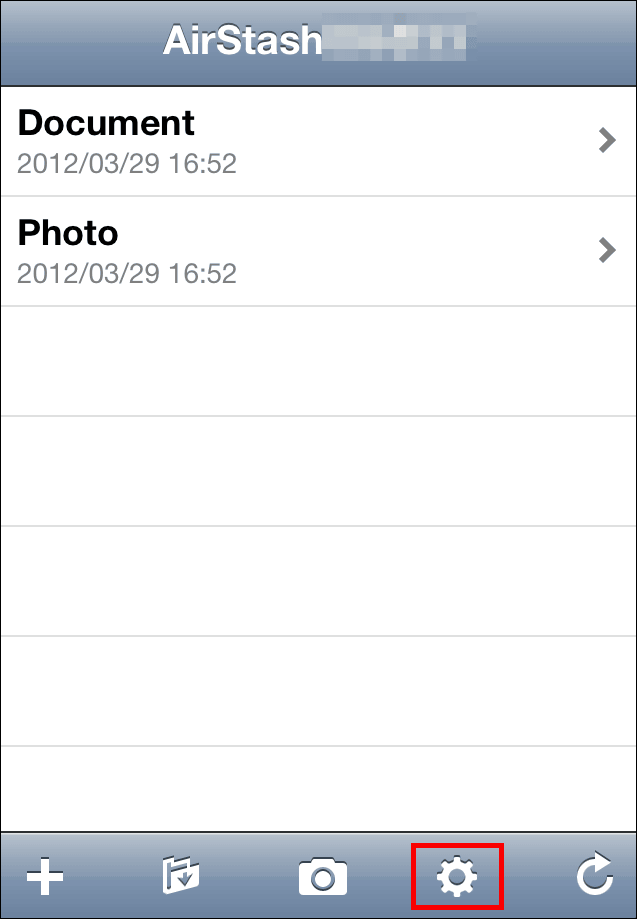
Since there is no password in the default state, the following settings are necessary when security is uneasy.
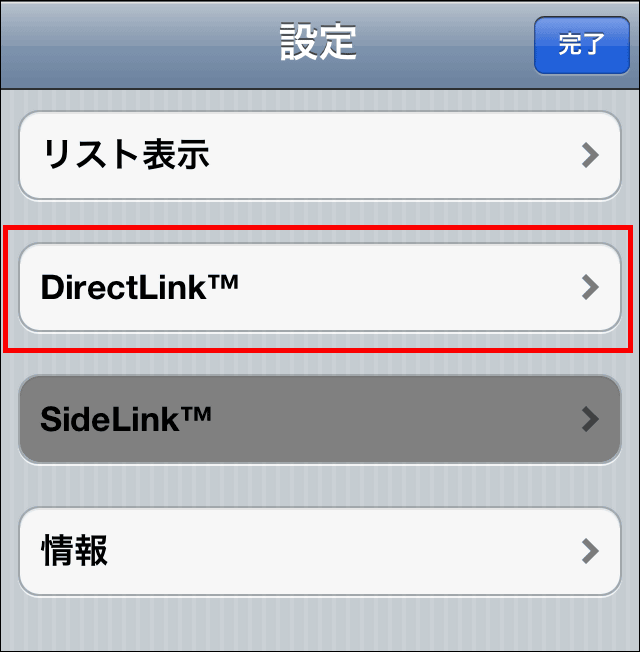
Tap the gear icon
Tap "DirectLink"
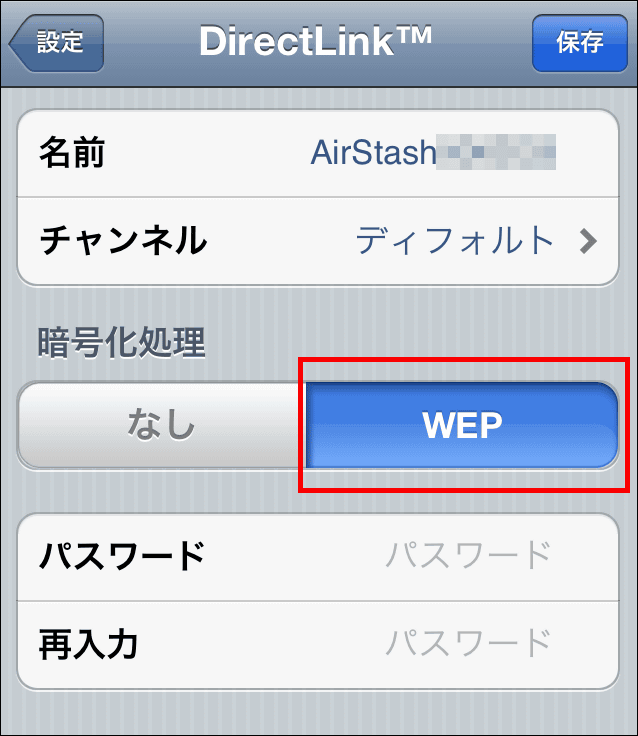
Tap "WEP"
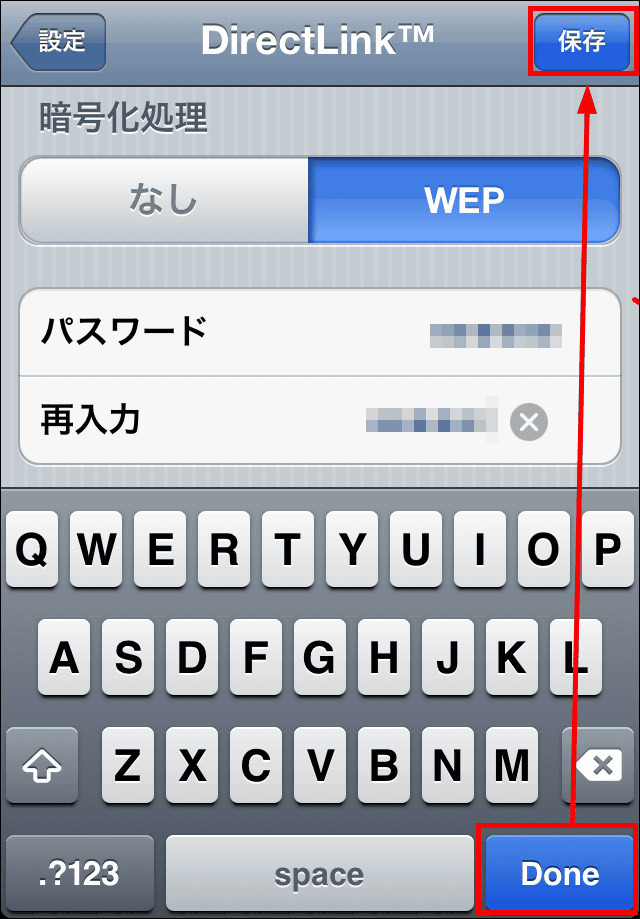
Enter an arbitrary password and tap Save and OK. When selecting Wi - Fi connection destination from next time, you will be prompted to enter this password, so you can restrict access from a third party.
Incidentally,Android apps will be released soonAnd that.
Check the image taken with a digital camera with "iPhone", quickly "twitter"Or"FacebookI'd like to contribute to ', a recommended gadget for those who like.
Related Posts: