"Lightscreen" free software that anyone can easily shoot and store large numbers of screenshots
It is a screenshot to save the desktop window etc. as an image, but it is convenient if you can master this. But Windows standard screenshot function is weak anyway, it is necessary to press the print screen key, start paint, paste, save, and repeat the process of ...... and endlessly shoot a lot of screen shots It is not suitable for doing.
What you can use is "Free Screen", a free software for screenshots that is being developed with this open source. It works on Windows. You can shoot only the required range, or save it in BMP · JPG · PNG format. Tricky shooting such as shooting by specifying a shortcut key, shooting with a delay of a specified number of seconds is also possible, from the shooting method that only pushes the button.
Download and install, how to use etc. from the following.
Lightscreen - Home Page
http://lightscreen.sourceforge.net/
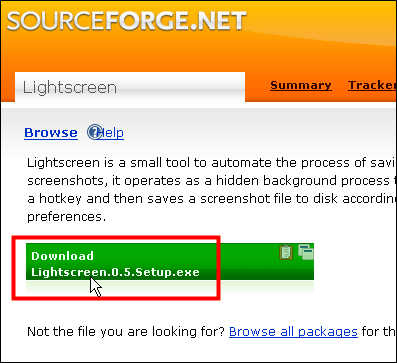
Go to the above official website and click the button with the version number written in the middle
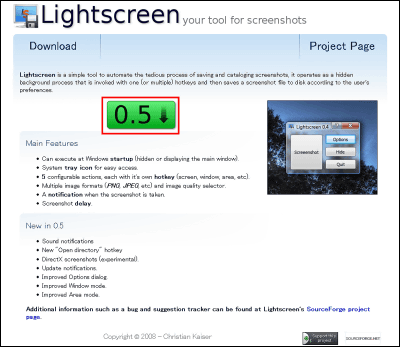
Click download button
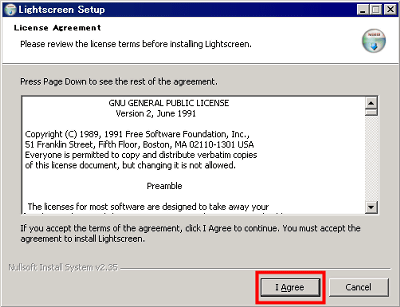
Click on the downloaded installer to start up

Click "I Agree"
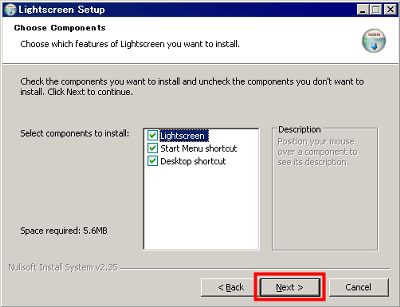
Click "Next"
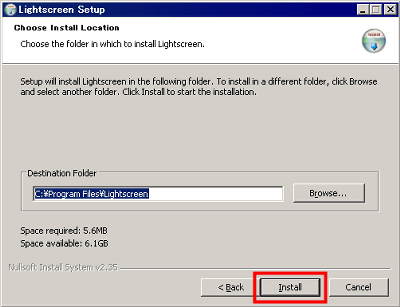
Click "Install"
Click "Close"
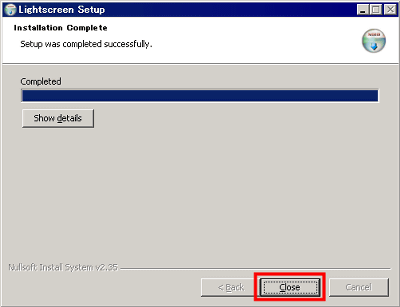
Icon will appear on the desktop so click it to start up

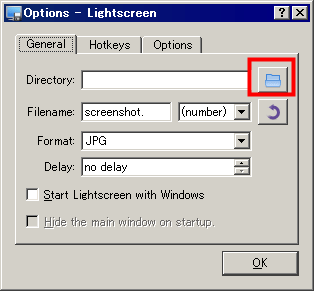
Firstly from the setting. Click the button in the upper right to specify where you want to save the captured image
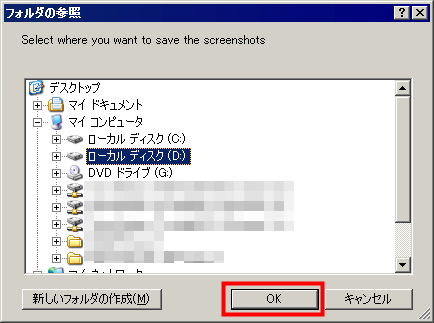
Select a suitable folder for storage and click "OK"
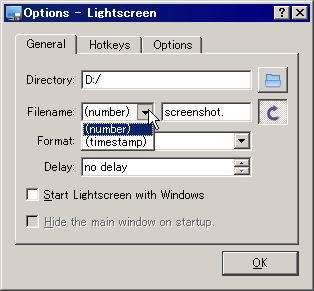
Next is the setting of the file name. It defaults to "screenshot." + "Number" + "extension". For example, it seems like "screenshot.1.jpeg" "screenshot.2.jpeg". If you choose "timestamp", it saves it like "screenshot.1232690597.jpeg" for example. Click the right end button to reverse the order.
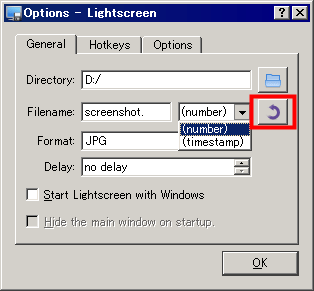
I will reverse it like this
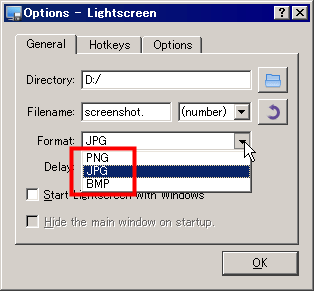
Next selection of preservation format. PNG recommends if you think about file size etc.
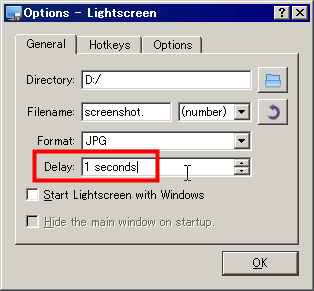
Next is the setting of the delay time. The default is to shoot at the moment the button is pressed, but it is also possible to shoot a few seconds later.
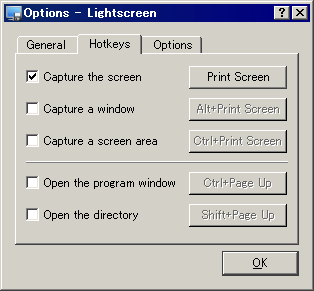
In addition, the so-called shortcut key can be set on the "Hotkeys" tab. For example, when the print screen key is pressed, the entire desktop is shot and saved, but you can set this key to another combination, assign shortcut keys to specific functions, and remove them. Depending on the software that you are resident, shortcut keys may overlap, so in that case you can change it here.
In the end, various options are available, such as "Options" tab. From top to bottom, you can select whether to display the icon in the task tray, whether to hide Lightscreen during shooting screenshots, whether to optimize when saving with PNG, or even in fullscreen mode with DirectX Whether or not to shoot, whether to issue a popup message from the task tray icon, whether to play a tone or not, and image quality designation when saving is performed.
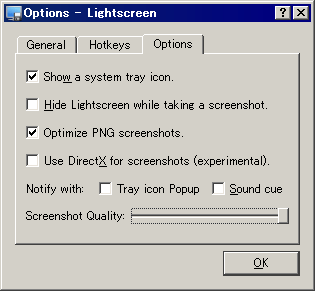
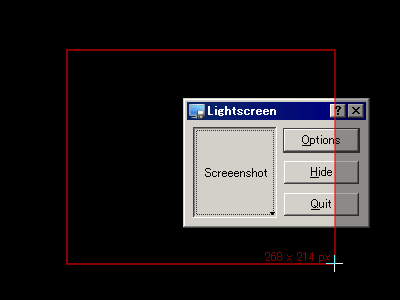
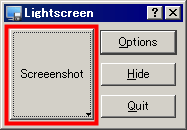
The main window is like this. To shoot a screenshot, click "Screenshot" on the left
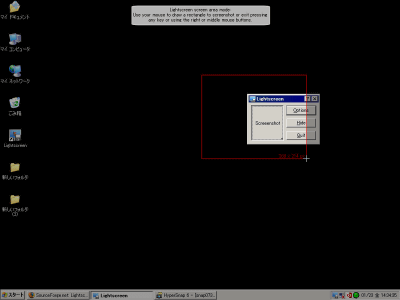
If it is "Screen" it is the whole desktop, if it is "Window" it is only the currently active window, if it is "Area" it will feel like specifying the shooting range with the mouse.
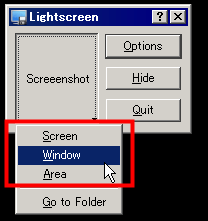
Choose 'Area'
Related Posts:
