'Commento++' allows you to place comments on pages quickly and with privacy in mind for free

If you want to add a comment function to your existing homepage, you can simply embed a tag to implement it.Commento ++ is an open source comment engine that has a variety of features, including Markdown support, anonymous comments, and OAuth login, and is free of ads and tracking.
souramoo/commentoplusplus: Commento with out of the box patches and updates to add useful features and fixes. Also with one-click deploy to Heroku so you can get up and running fast.
Commento++ is a fork project of the open source comment engine 'Commento,' similar to ' Comentario , an open source web comment engine that adds comment functionality to pages for free, can be self-hosted with Docker, ' and has useful features and fix patches applied.
◆Basic functions of the original Commento
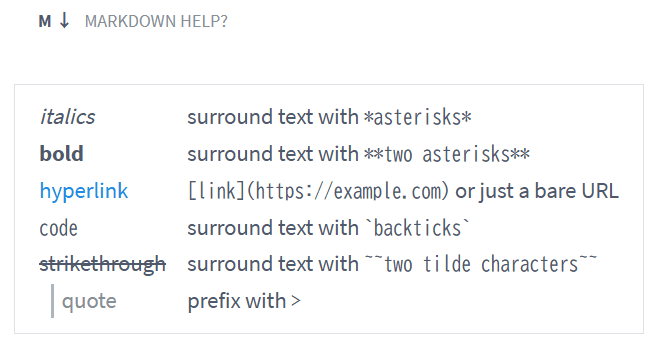
・Supports Markdown format
It supports formats such as headings, highlighting, and code blocks, and also allows you to embed links.
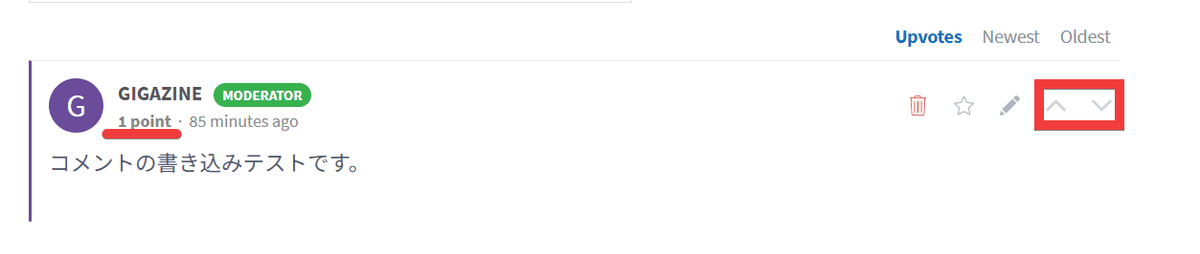
·vote
There is a plus and minus voting function, and the total score is displayed as points.
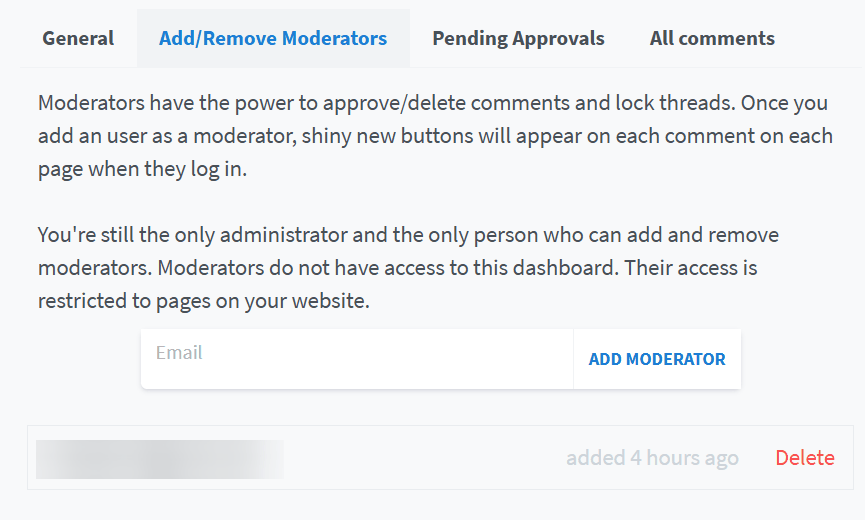
・Role management
Adding moderators gives them the ability to delete comments globally.
- No ads, no tracking
Designed to prioritize privacy and protect personal information.
◆Features added in Commento++
- Added authentication method
In addition to anonymous posting, custom authentication with
・Strengthened spam detection
Spam detection, which previously only included Akismet and APILayer SpamChecker , has now been expanded with the addition of the Perspective API , strengthening spam detection based on the content of comments.
・Automatic update of comments
Using WebSockets , new comments are displayed without reloading the page.
Comment timeouts and shadowbans
We have added a feature that allows you to ban specific posters from posting for a certain period of time, or to make posts visible to the poster but not to other users.
In addition, features that were not available in Commento have been added and minor corrections have been made.
◆How to build
This time, we will prepare Docker Desktop and Python on Windows 11 and build using the Git Bash prompt. Create a working folder for Commento++ and move there.
mkdir commentoplusplus && cd commentoplusplus
Create docker-compose.yml and write the following content:
 services:
 Comment:
 image: caroga/commentoplusplus:v1.8.7
 environment:
 COMMENTO_ORIGIN: 'http://127.0.0.1:8080'
 COMMENTO_PORT: '8080'
 COMMENTO_POSTGRES: 'postgres://username:password@db:5432/commento?sslmode=disable'
 #COMMENTO_FORBID_NEW_OWNERS: 'true' # enable this after your own registration
 COMMENTO_GZIP_STATIC: 'true'
 depends_on:
 -db
 Ports:
 - '8080:8080'

 db:
 image: postgres:12.5-alpine
 environment:
 POSTGRES_DB: 'commento'
 POSTGRES_USER: 'username'
 POSTGRES_PASSWORD: 'password'
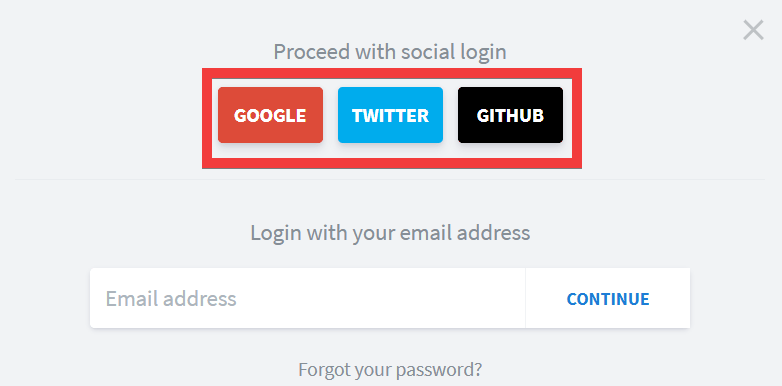
Once the container is running, access 'http://127.0.0.1:8080' in your browser and click 'Don't have an account yet? Sign up.' to create an administrator account.
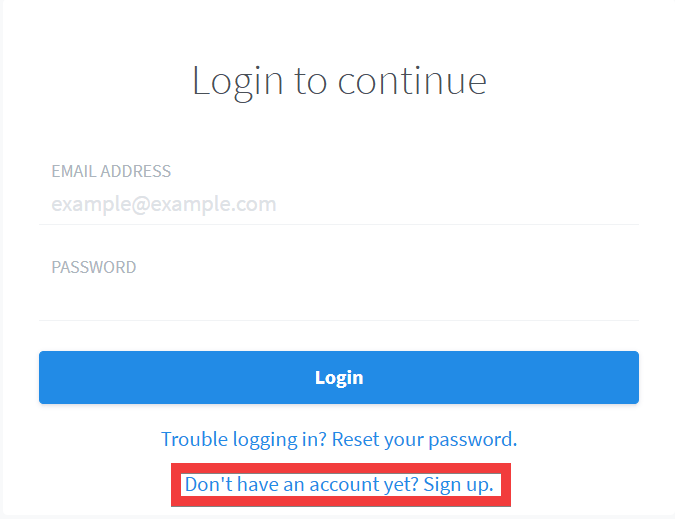
An account creation form will appear, so enter your email address in 'EMAIL ADDRESS,' your name in 'FULL NAME,' your password in 'PASSWORD' and 'CONFIRM PASSWORD,' and click 'Sign up.'

Once your account is created, the login screen will appear. Enter the email address and password you created earlier and click 'Login.'

The dashboard appears.
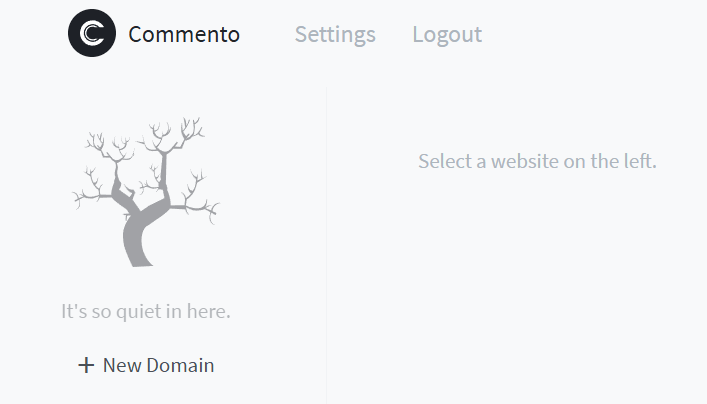
◆How to add a comment section
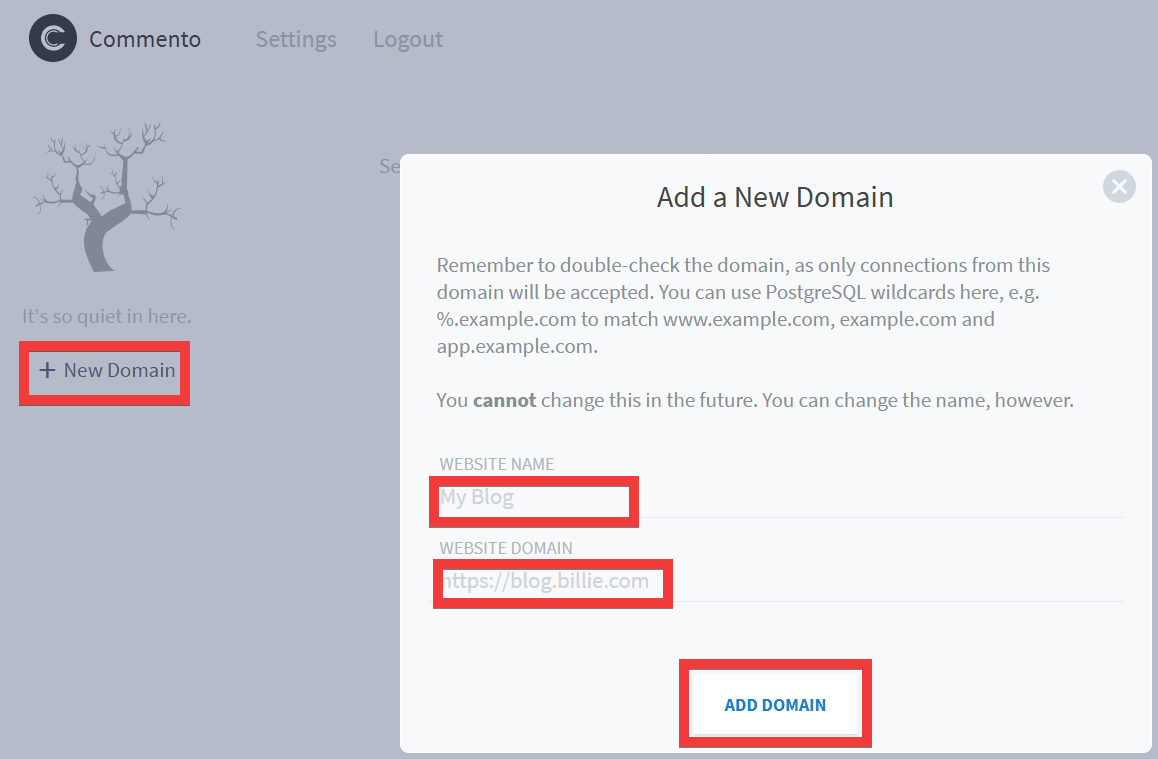
You need to register a domain for the test site, so click 'New Domain', enter the site name in 'WEBSITE NAME', the site domain in 'WEBSITE DOMAIN', and click 'ADD DOMAIN'.
Once registration is complete, you will be shown a code to embed the comment section, so copy it.
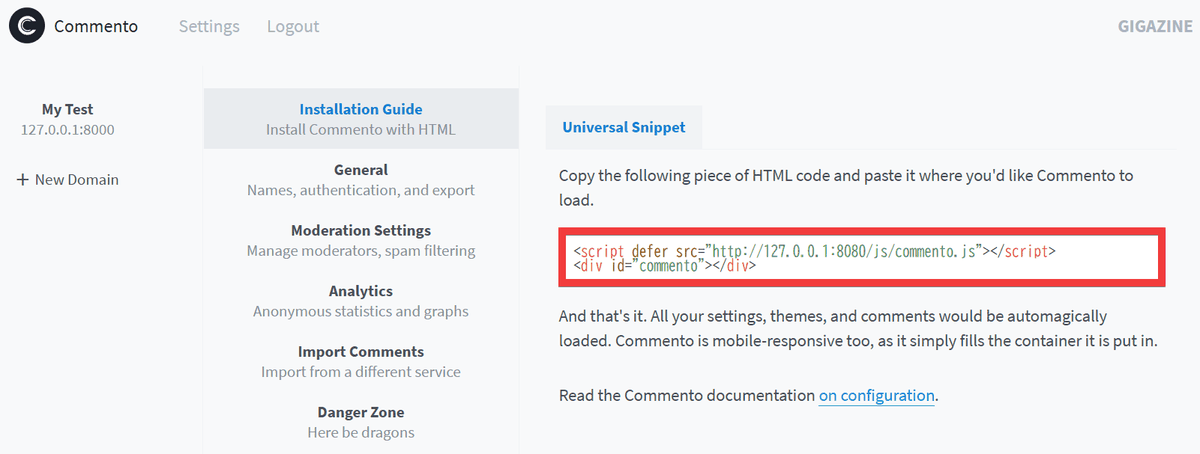
Next, create a test HTML file, insert the copied code where you want to insert the comment field, and save it.
 <script defer src='http://127.0.0.1:8080/js/commento.js'></script>
 <div id='commento'></div>
Start a local server in the folder where you created the HTML file.
python -m http.server 8000
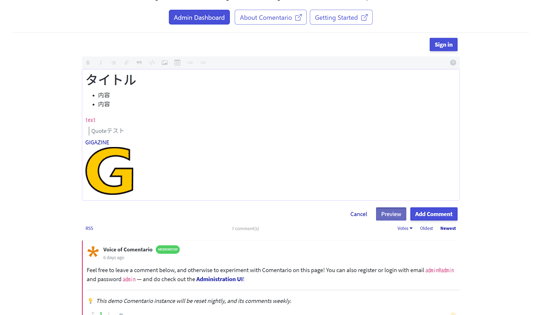
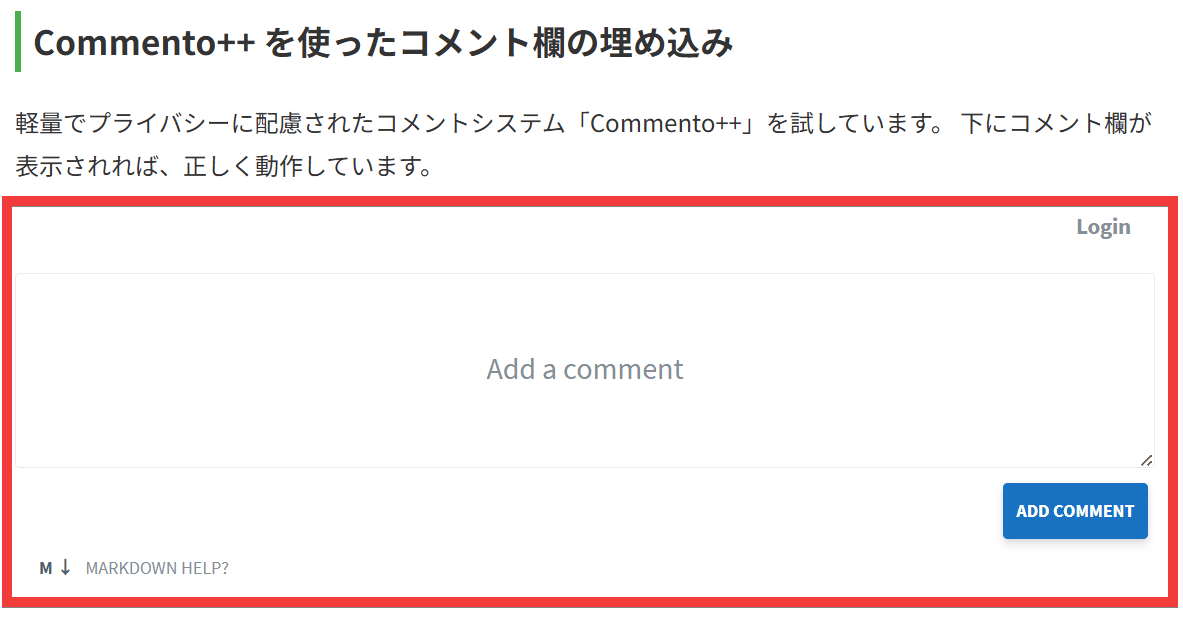
When I accessed the URL of the test page in my browser, the comment section added by Commento++ was displayed.
The official website also has a feature that allows you to deploy to Heroku and Railway with one click, so if you don't want to go through the hassle of setting up a server, you can use that to make setup even easier.
Related Posts: