Summary of installation steps for 'ComfyUI' that allows you to easily run image generation AI on your PC & steps to generate the first image
ComfyUI is an app that allows you to run image generation and video generation AI locally on your PC. It works with NVIDIA and various AI model developers to provide same-day support for new models and optimization for NVIDIA and AMD GPUs. As of this writing, it's a recommended first choice for anyone looking to get started with image and video generation. Until a few years ago, installation required command operations and complex node manipulation, but updates have made installation simple with just a few clicks and simplified the UI. Getting started with image generation is easy on a PC with a graphics card, such as a gaming PC, so we've compiled a guide to installation and your first generation steps to help you get started.
ComfyUI | Generate video, images, 3D, audio with AI
·table of contents
◆1: Installation procedure for the desktop version of ComfyUI
◆2: Procedure for generating images
◆1: Installation procedure for the desktop version of ComfyUI
ComfyUI is available in three versions: desktop, portable, and manual installation. This time, we will install the desktop version of ComfyUI, which is the easiest to install.
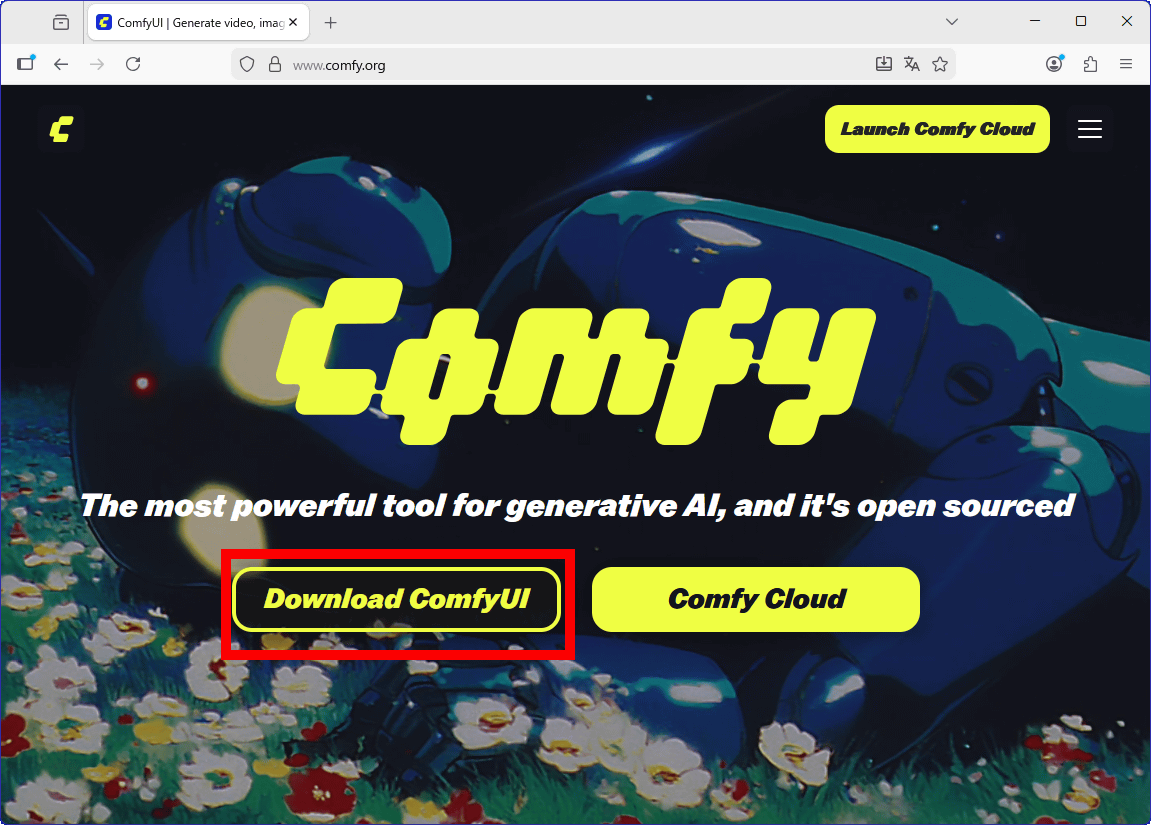
First, go to the official ComfyUI website and click 'Download ComfyUI.'
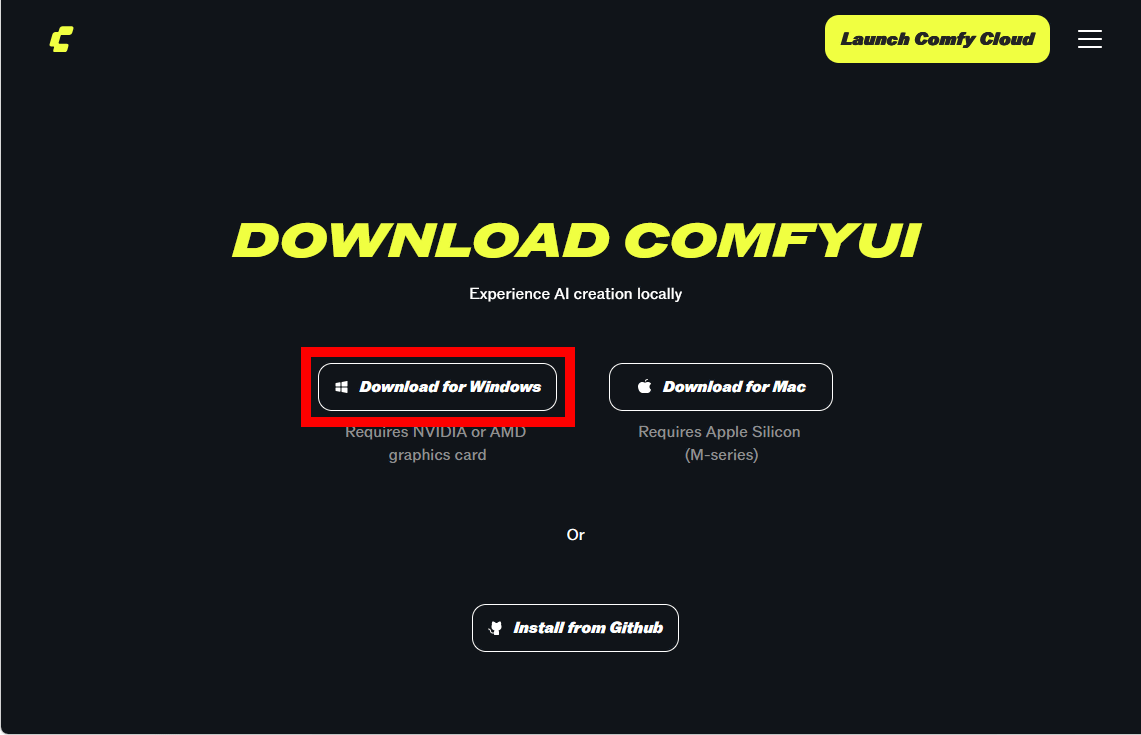
Click 'Download for Windows' to download the installer.
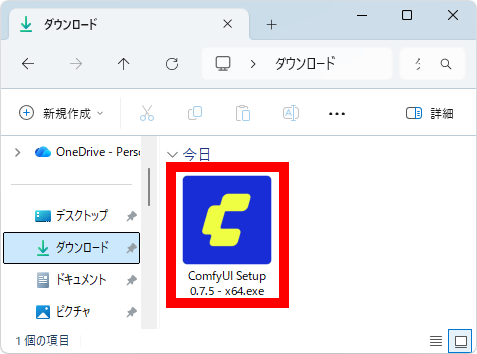
Once the download is complete, double-click the installer to launch it.
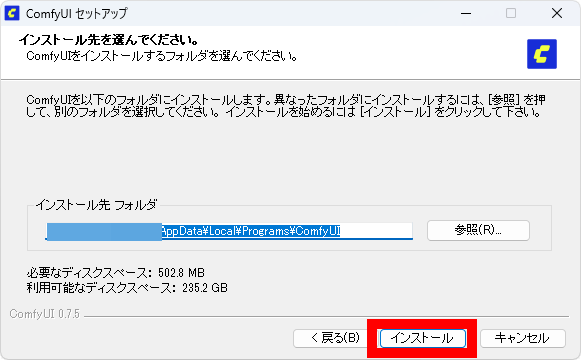
Click 'Install'.
Wait a few seconds.
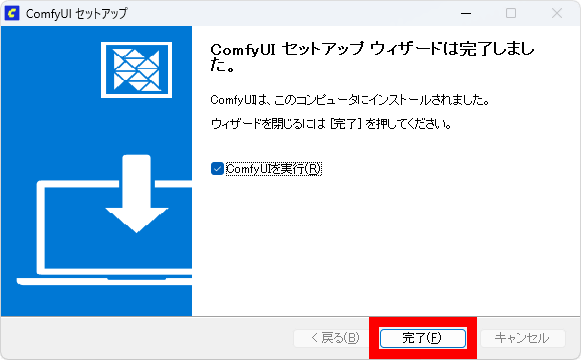
When the installation is complete, click 'Finish.'
ComfyUI will then launch and begin the setup.
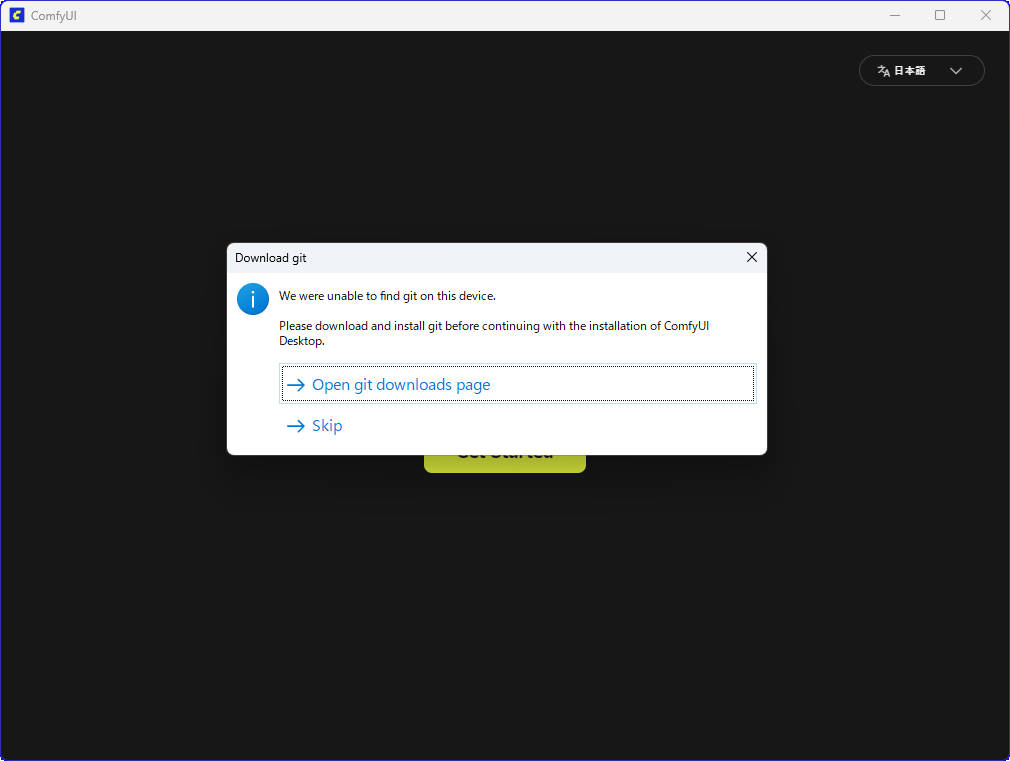
First, you will be asked to install the version control software Git on your PC, so click 'Open git downloads page'.

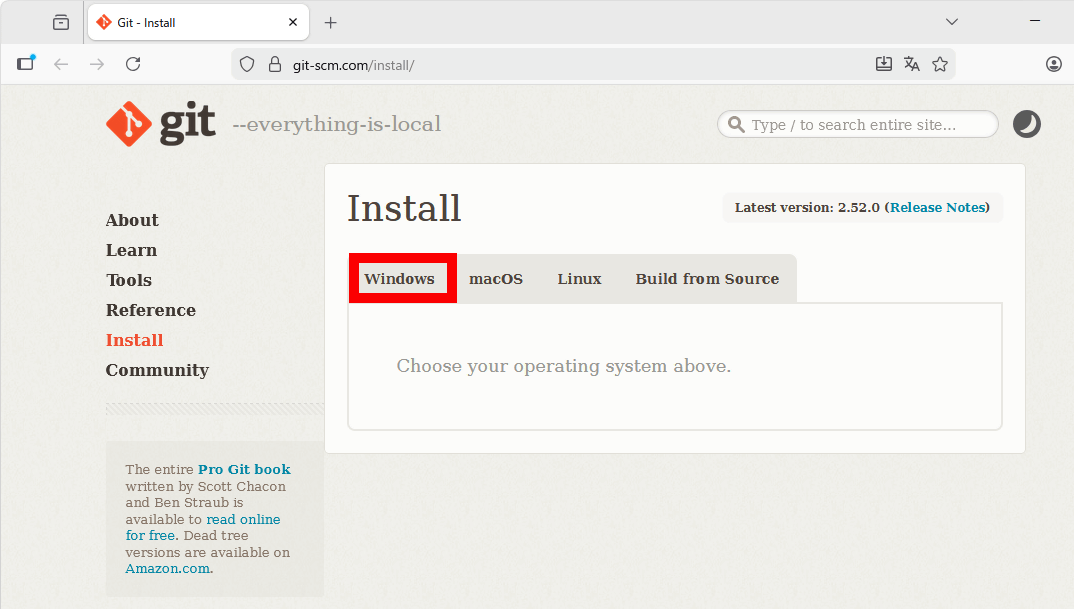
When the browser starts and the Git download page appears, click 'Windows.'
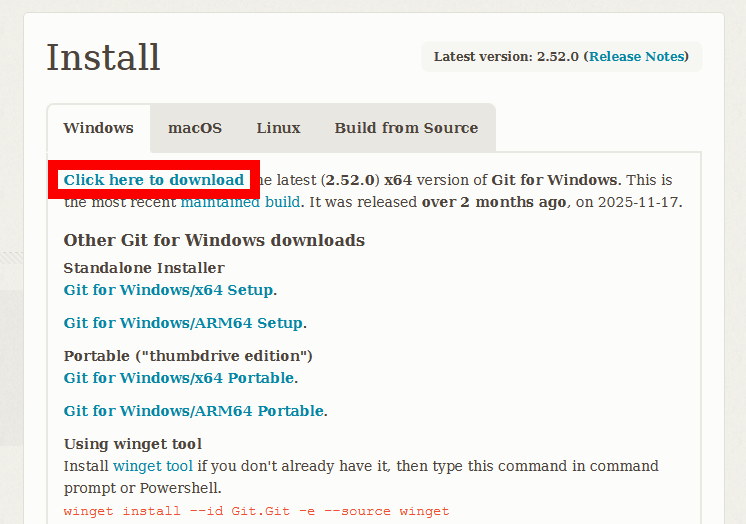
Click 'Click here to download' to download the installer.
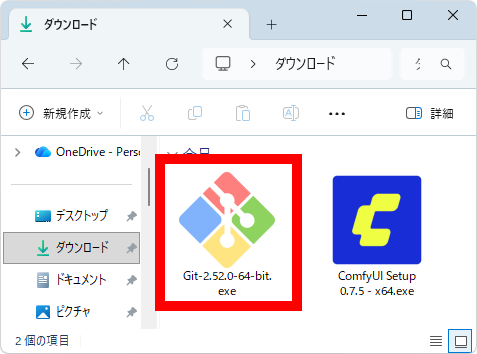
Double-click the downloaded Git installer to launch it.
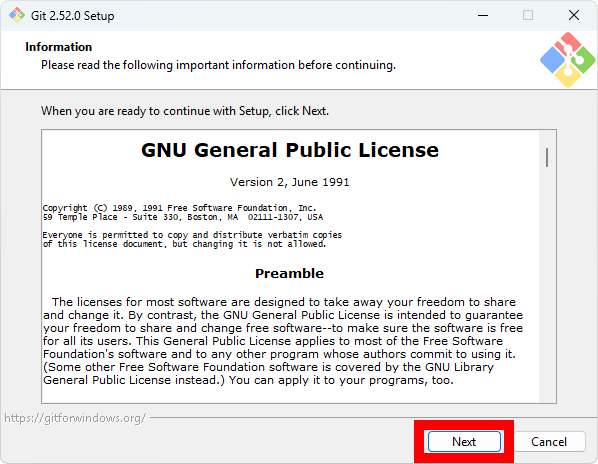
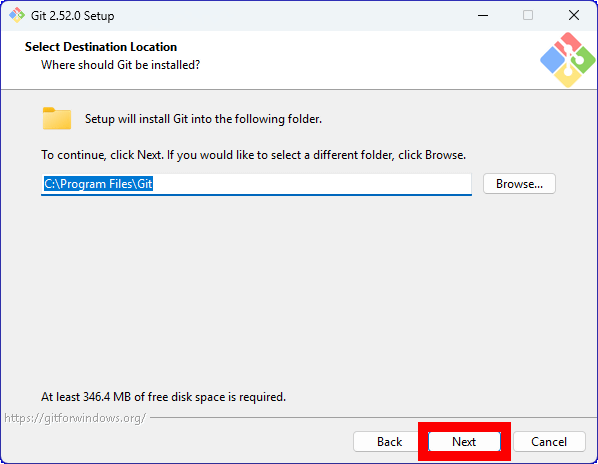
Read the license carefully and then click 'Next.'
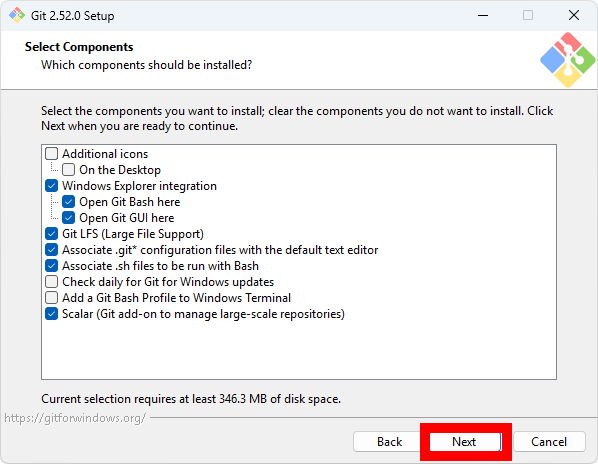
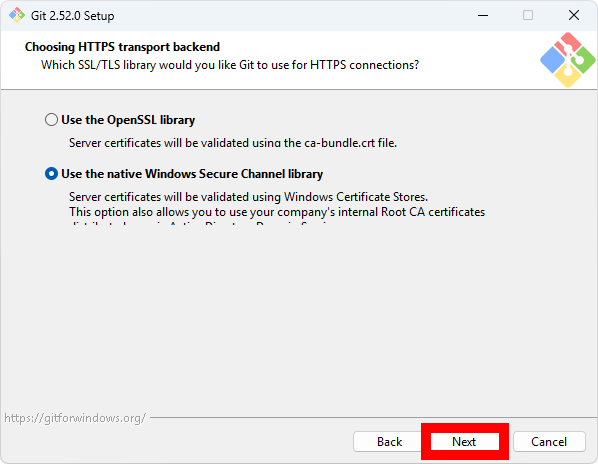
Basically, you can leave the settings as they are. Click 'Next'.
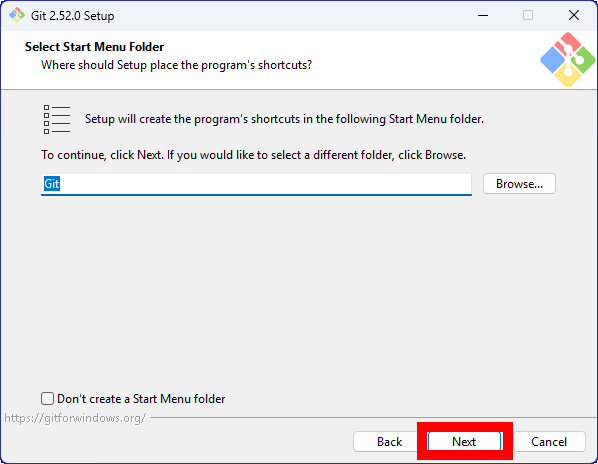
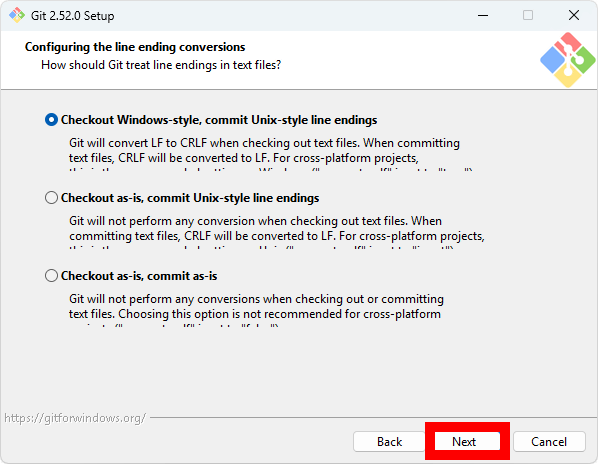
Click “Next”.
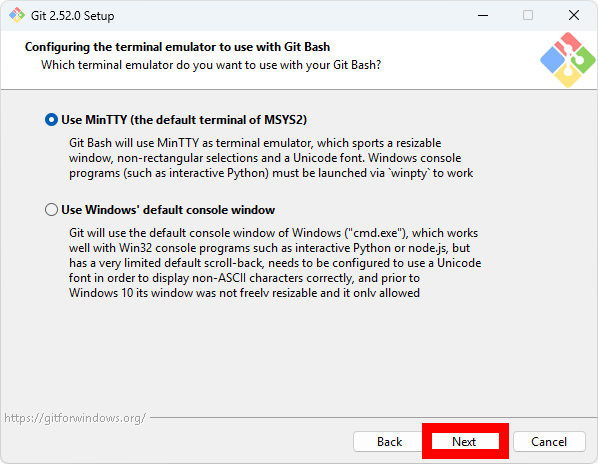
Click “Next”.
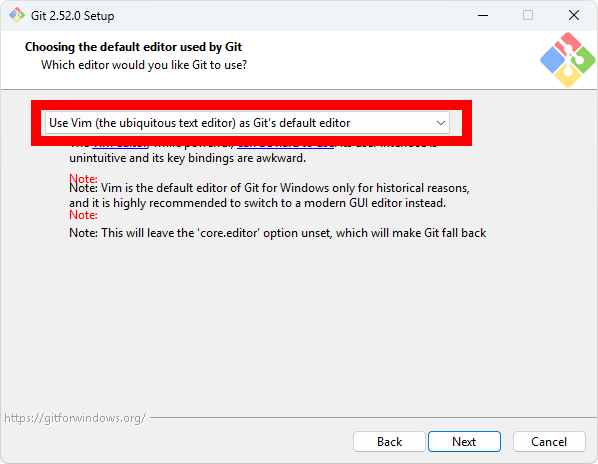
This screen is where you specify the editor to use to rewrite Git settings. By default, Vim is specified as the editor, so change it to the editor you use. First, click on the selection dialog box surrounded by a red frame.
A list of editors will be displayed, so select the one you want to use.
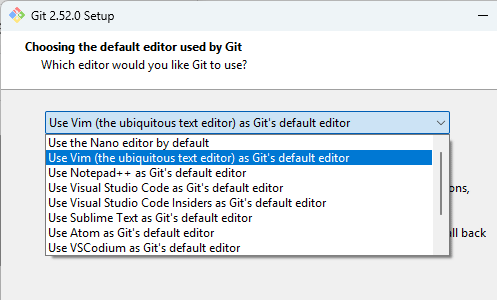
Since I want to use Notepad this time, I select “Use Notepad as Git’s default editor” and click Next.
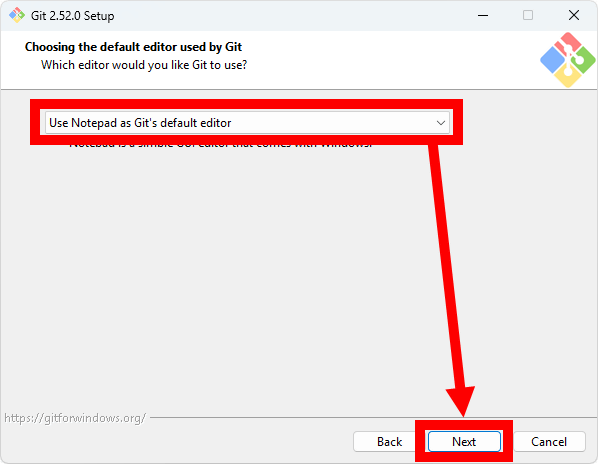
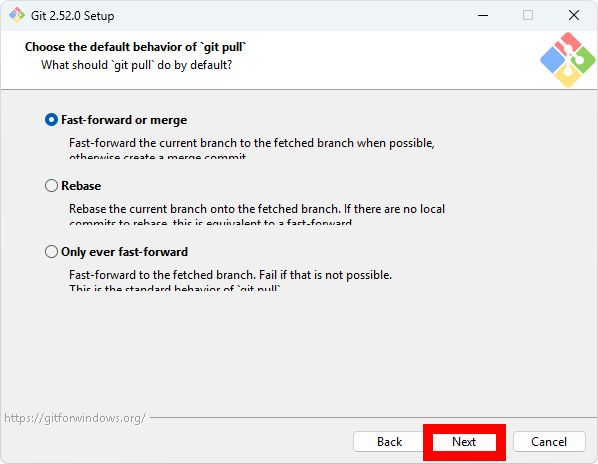
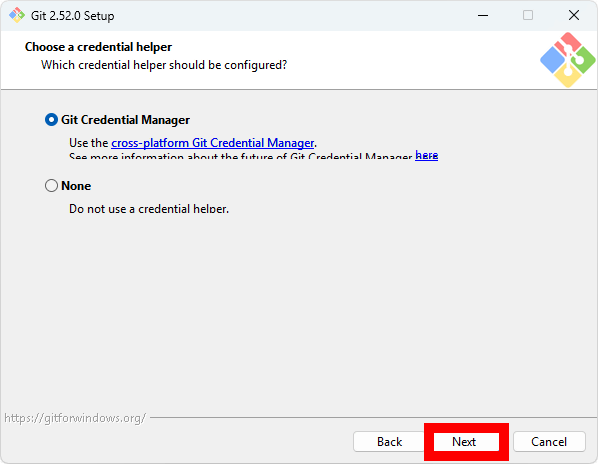
Click “Next”.
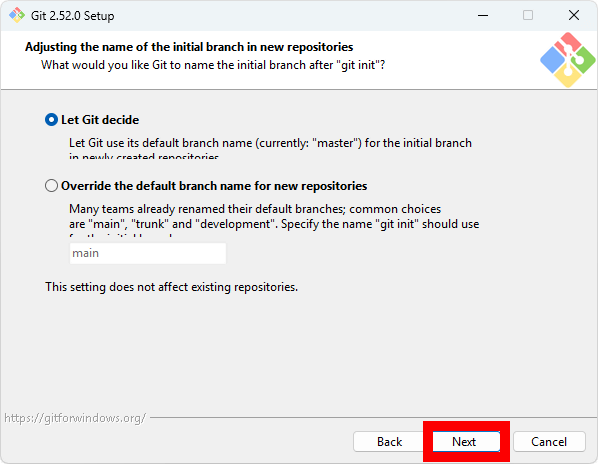
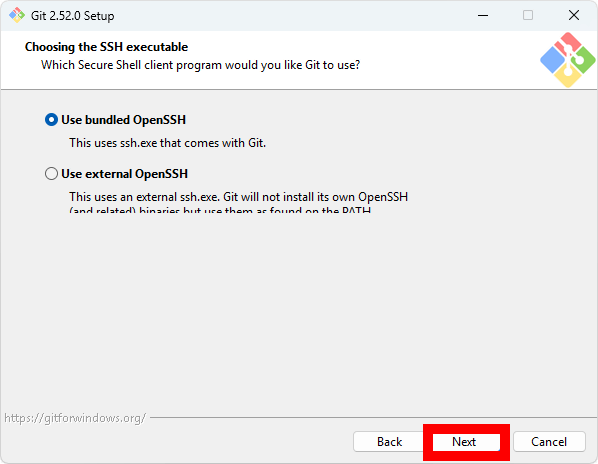
Click “Next”.

Click “Next”.
Click “Next”.
Click “Next”.
Click “Next”.
Click “Next”.
Click “Next”.
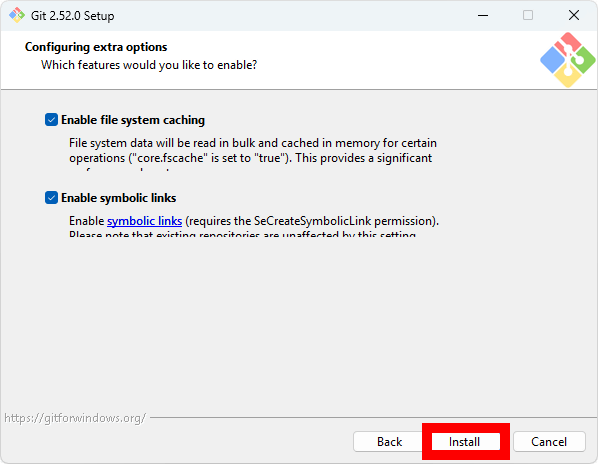
Click “Install”.
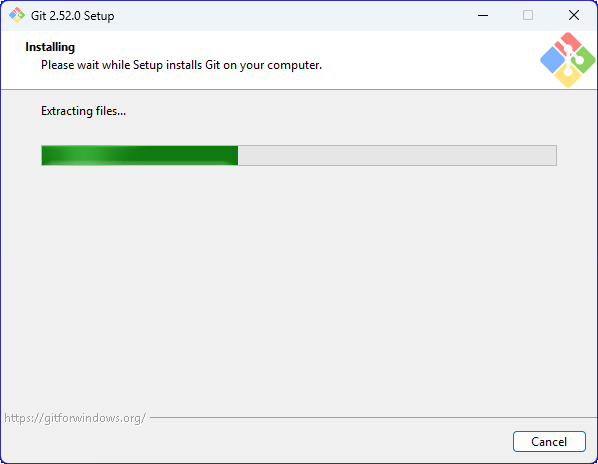
Please wait a while.
Once the installation is complete, uncheck 'View Release Notes' and click 'Finish.'

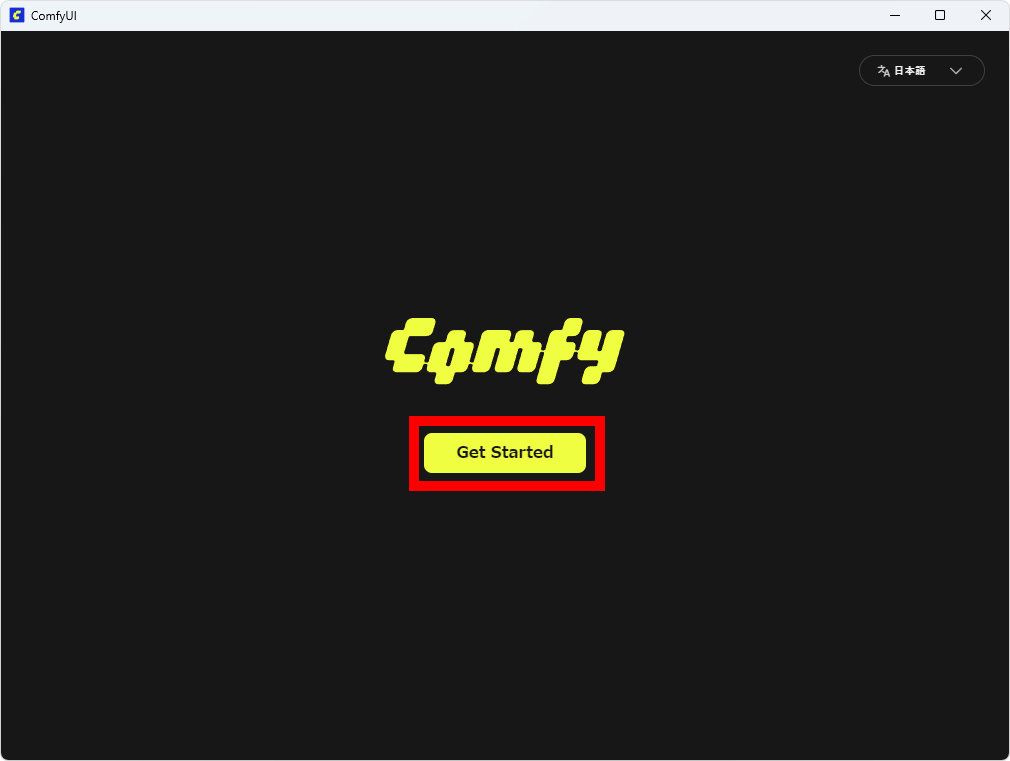
Once the Git installation is complete, return to the ComfyUI setup screen and click 'Get Started.'
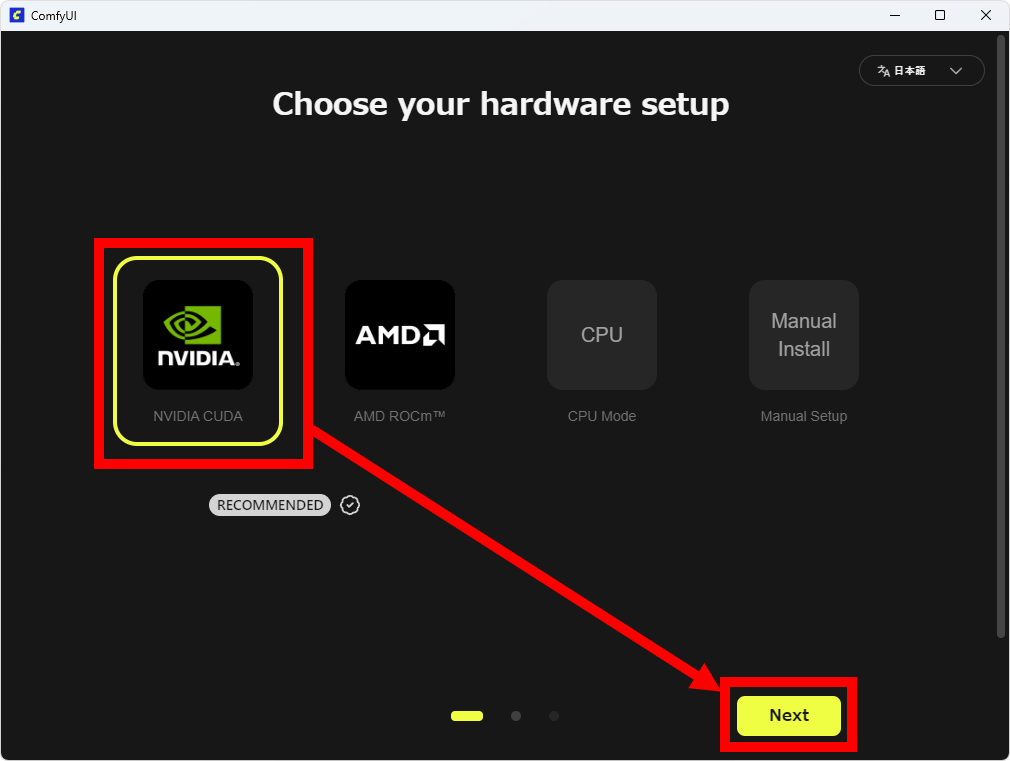
Select your hardware configuration. Since I'm installing on a PC equipped with an NVIDIA GeForce RTX 5070 Ti, I clicked 'NVIDIA CUDA' and then 'Next.' ComfyUI recommends an environment equipped with an NVIDIA or AMD GPU. At the time of writing, NVIDIA GPUs offer faster generation speeds, but AMD is also
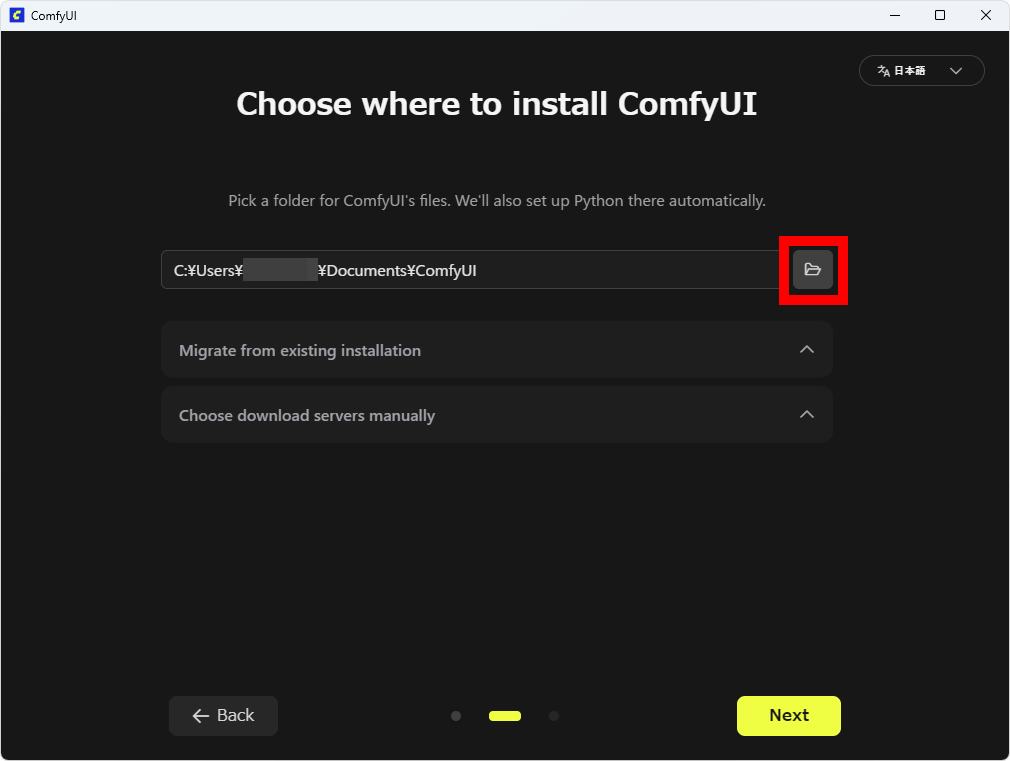
In the screen below, you can specify the folder where you want to save the AI models used in ComfyUI. By default, the folder is set to 'ComfyUI' directly under the Documents folder. If you want to specify a folder yourself, click the folder button on the right.
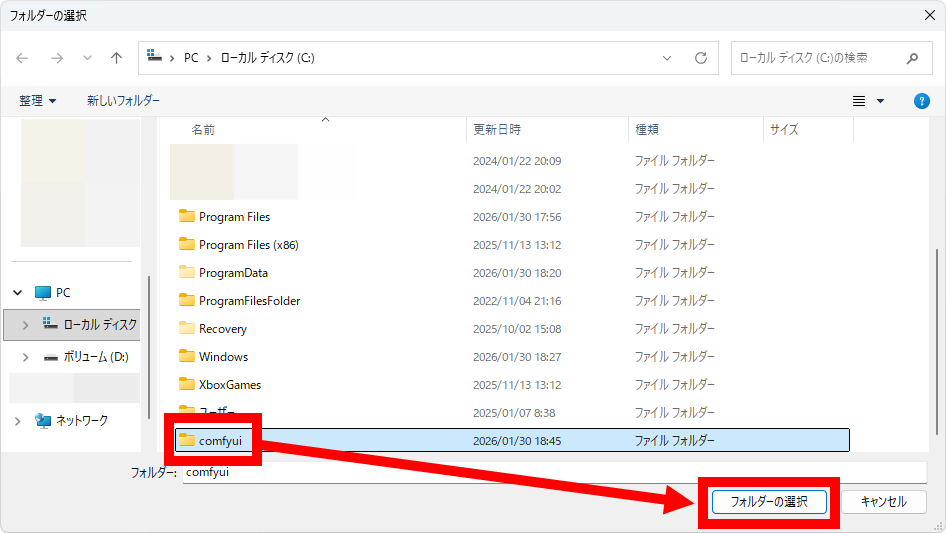
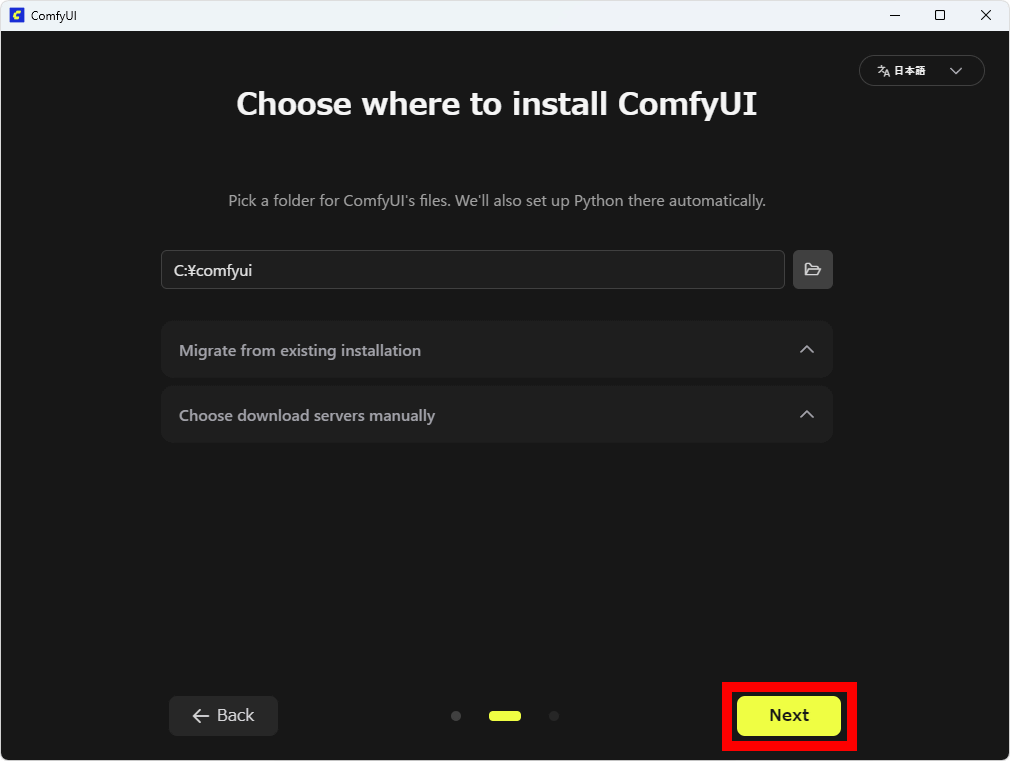
This time, I created a folder called 'comfyui' directly under the C drive and clicked 'Select Folder.'
Click “Next”.
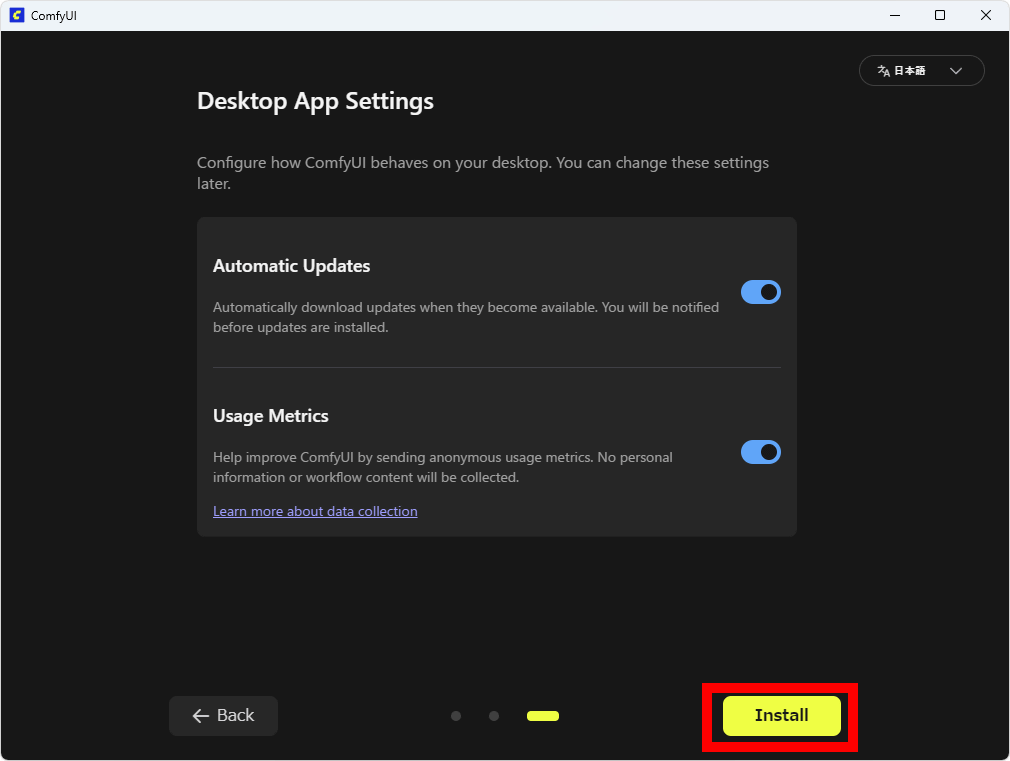
A screen will appear asking you to enable or disable automatic updates and data collection. Both are enabled by default, so I clicked 'Install' without changing anything.
Various settings will be configured automatically, so please wait for a while.
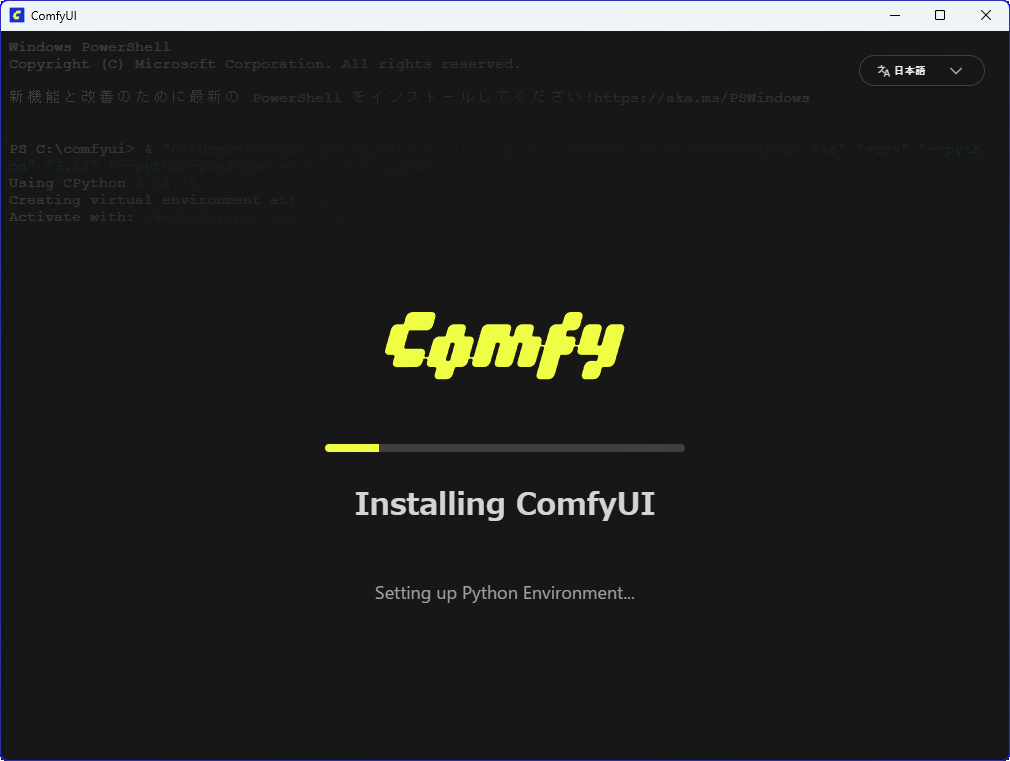
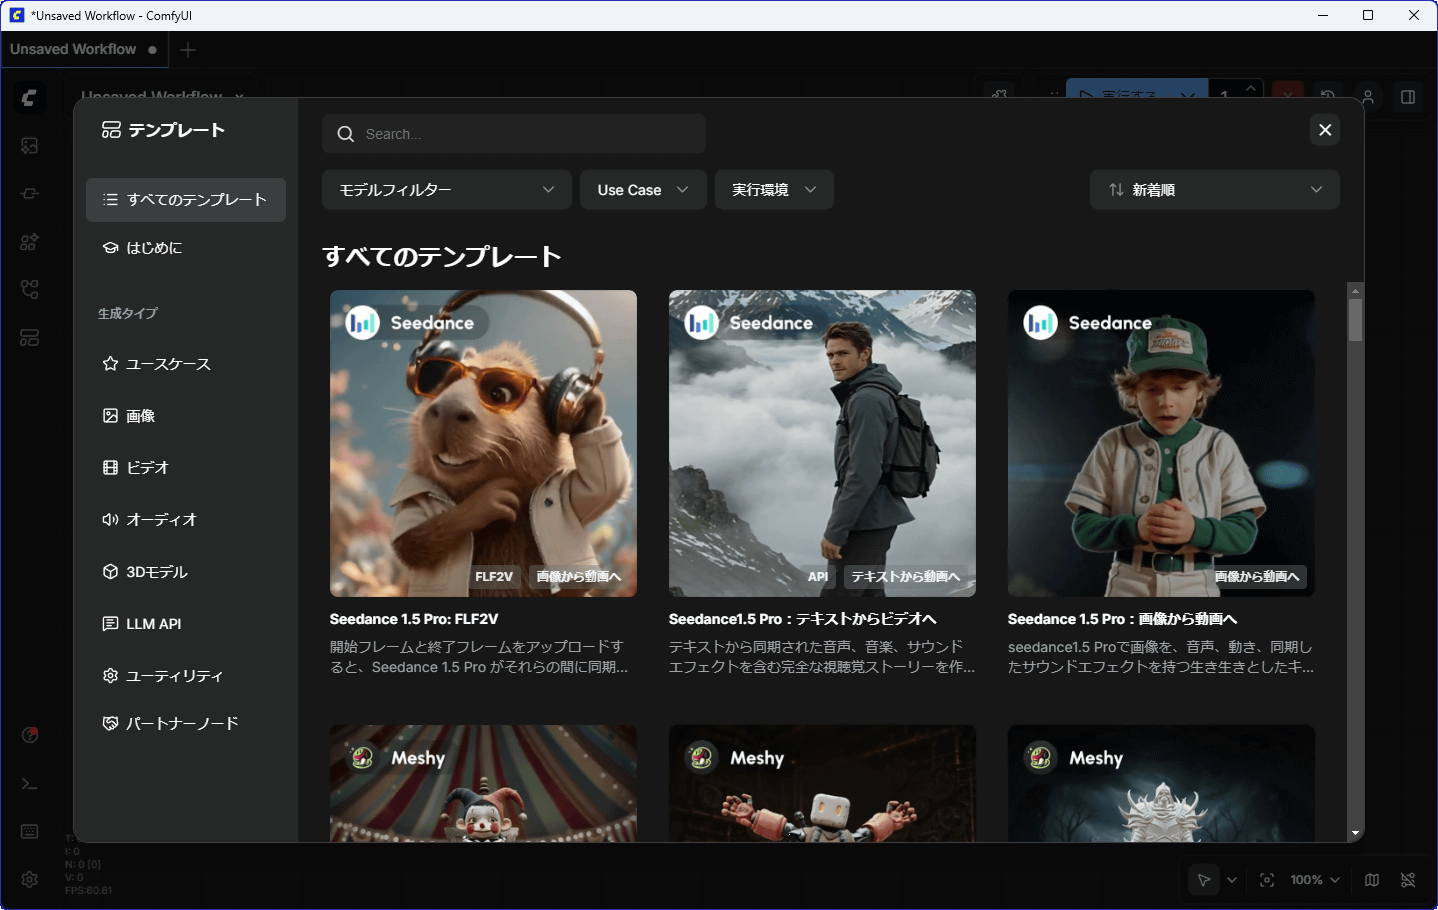
Once the template selection screen appears, ComfyUI installation and setup is complete.
◆2: Procedure for generating images
ComfyUI can load image generation models and video generation models and perform a wide variety of generation operations, and it can manage models and adjusted settings as 'workflows.' First, we will generate an image using a simple workflow called 'Generate images with
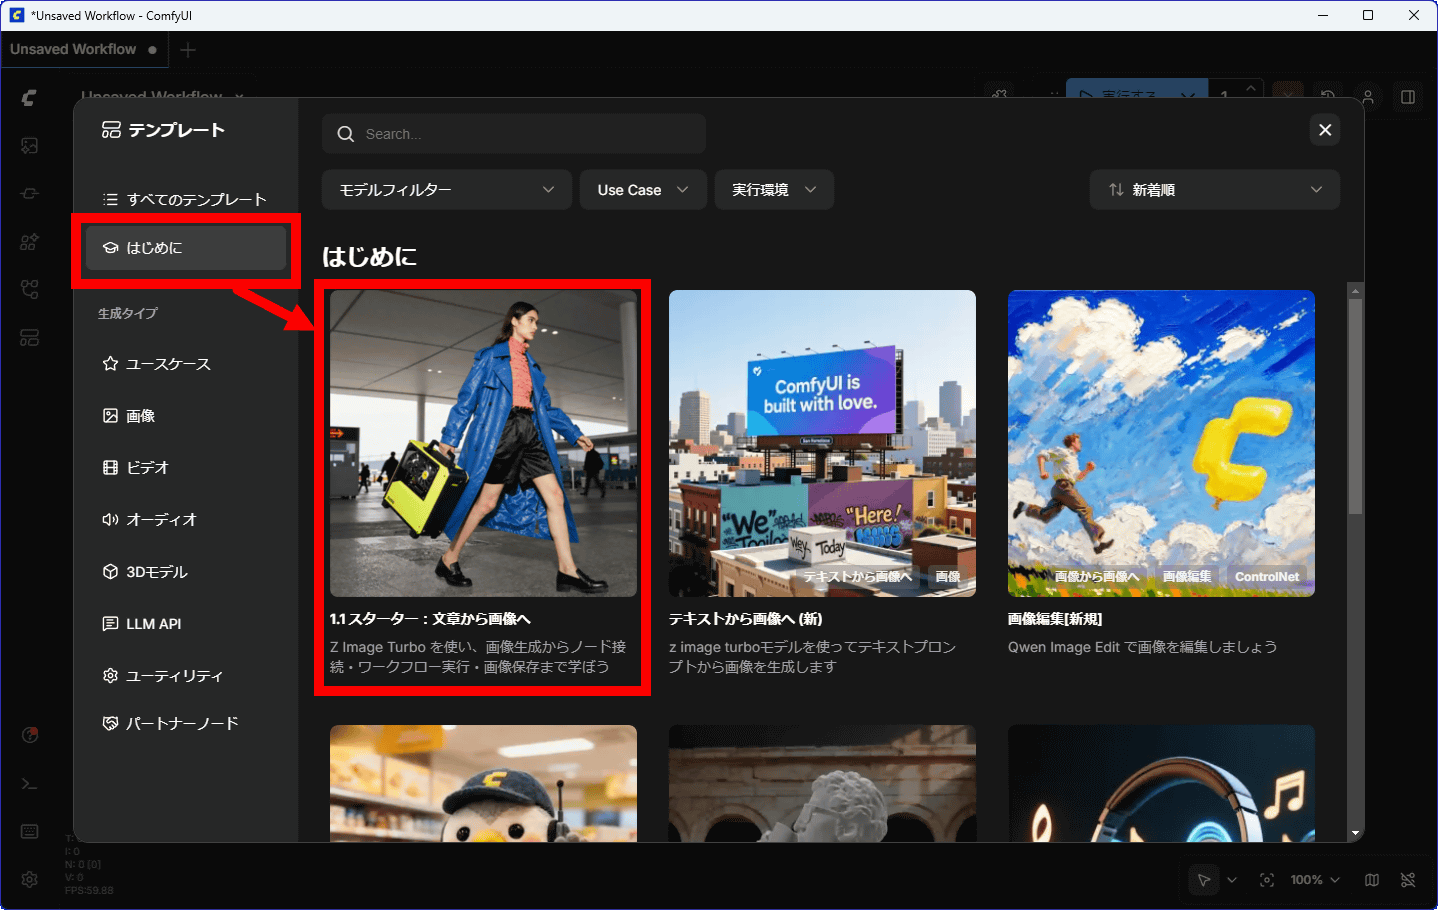
Click 'Get Started' on the left side of the template selection screen, then click '1.1 Starter: Text to Image.'
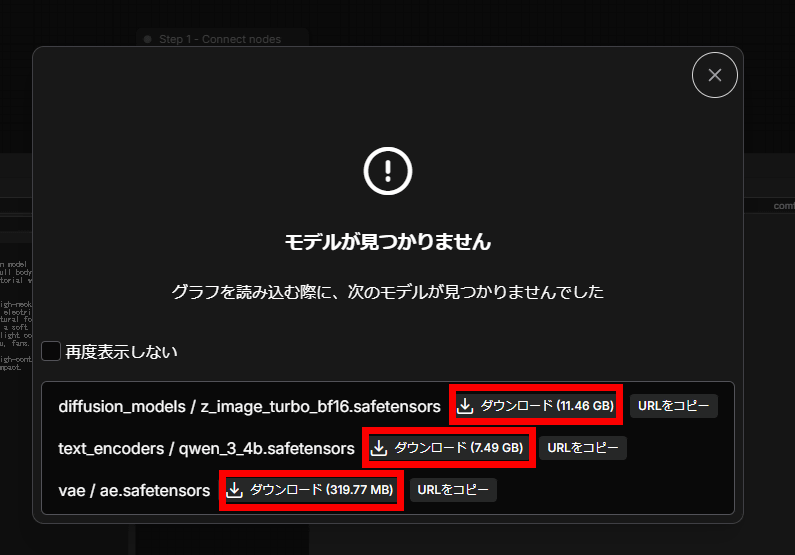
You will be presented with three models that need to be downloaded, so click 'Download' to download all three.
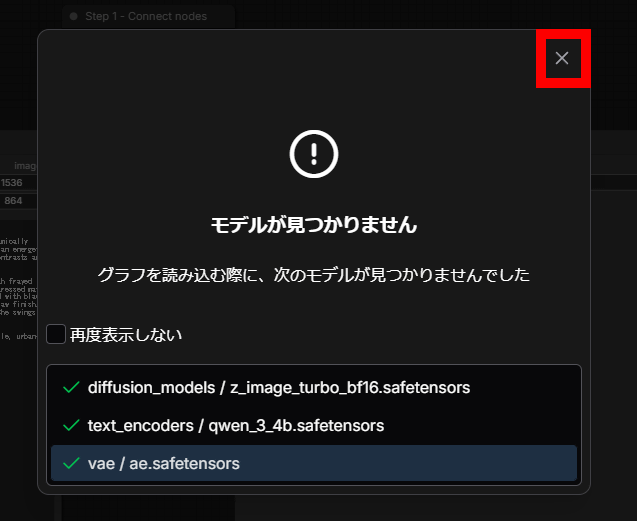
Once the download is complete, click the x in the upper right corner.
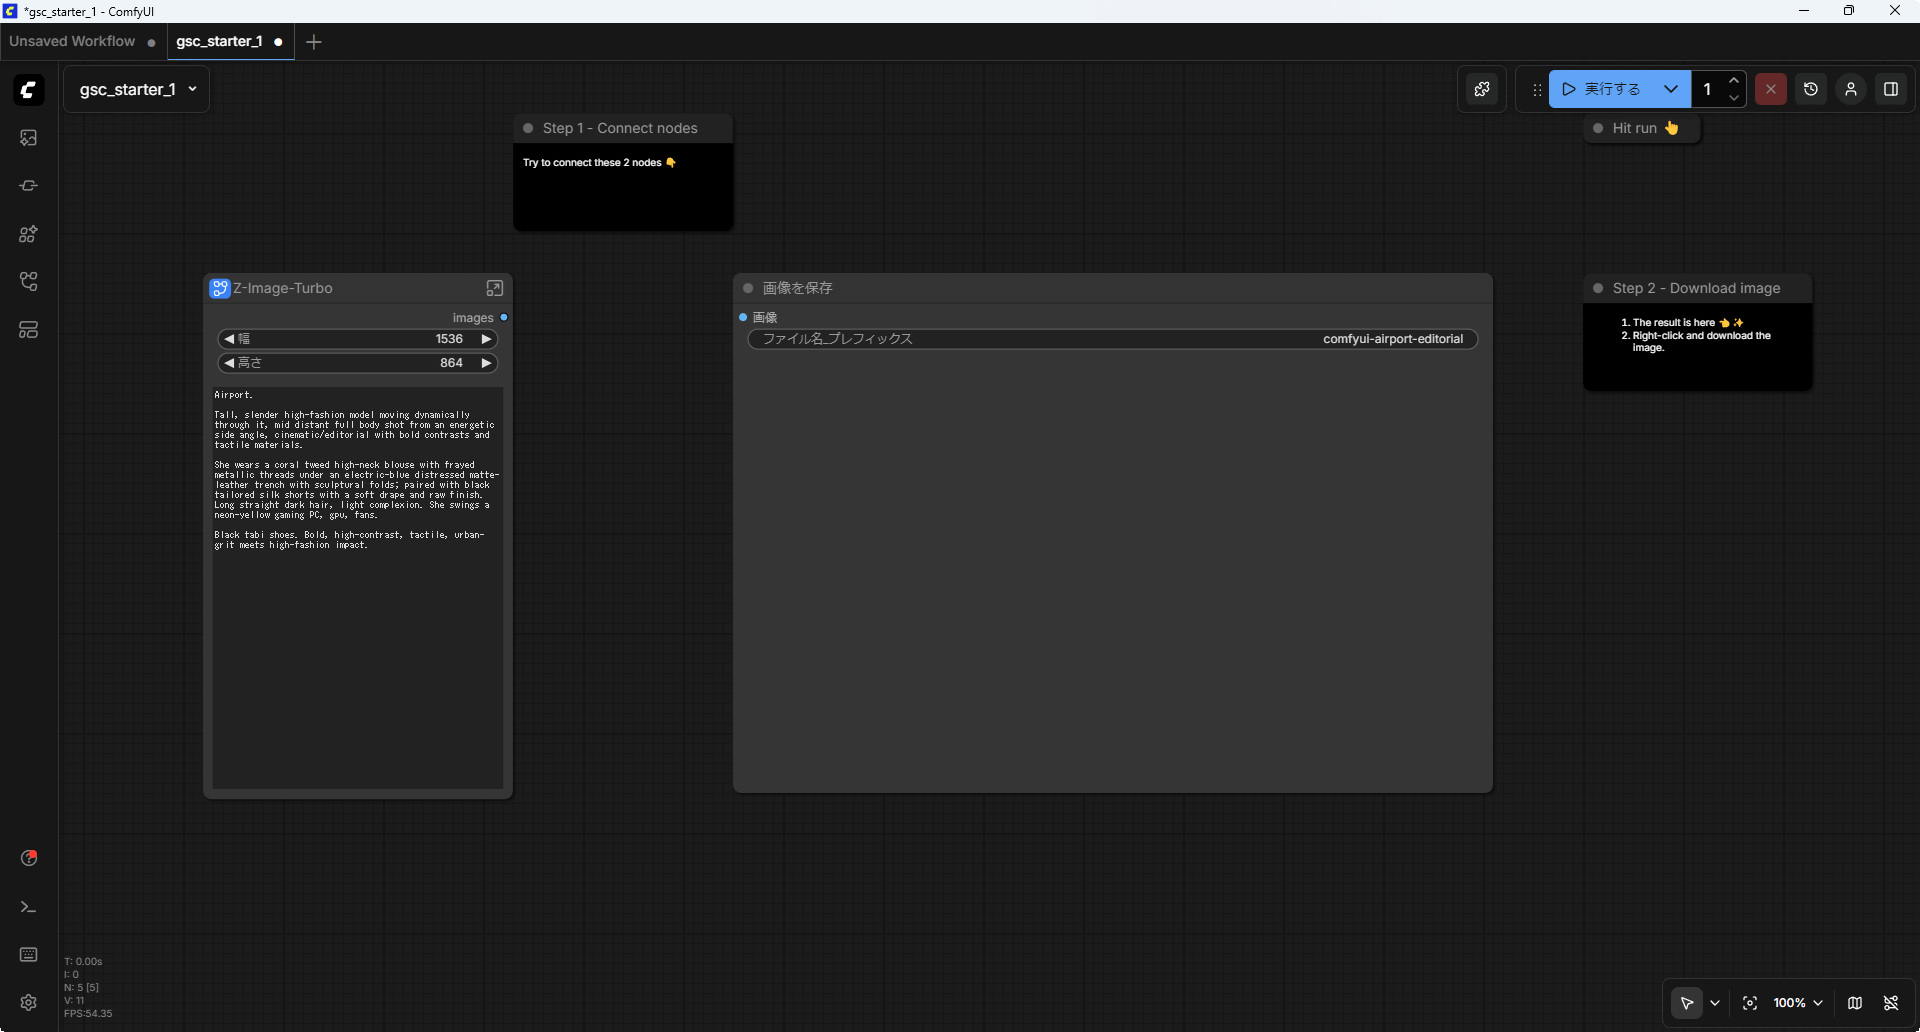
This is the workflow for generating images with Z-Image-Turbo. ComfyUI provides functions such as 'loading a model,' 'setting the resolution of the image to be generated,' and 'saving the image' as 'nodes.' The generation process is carried out by connecting these nodes to create a workflow. '1.1 Starter: From Text to Image' includes a 'node for specifying the resolution and prompt (description of the image) of the image you want to generate' and a 'node for saving the image,' allowing you to practice connecting nodes.
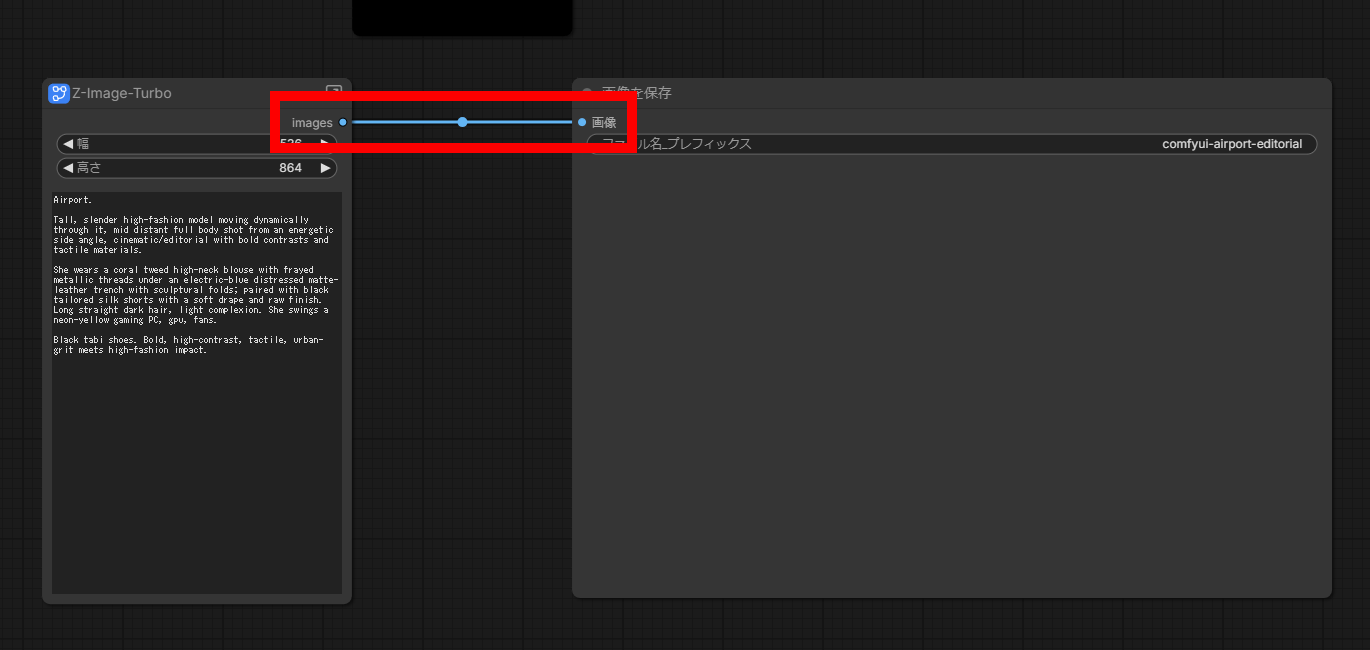
First, click and drag the dot labeled 'Images' on the left node. The line will extend as you drag.
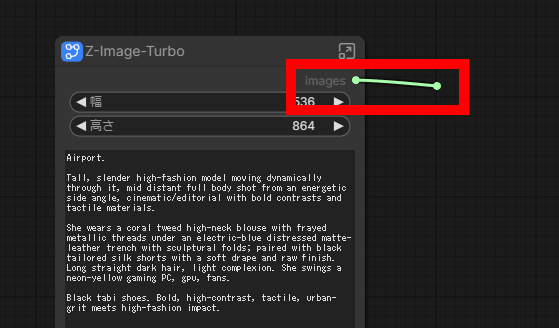
Just connect the line to the part of the node on the left that says 'Image'.
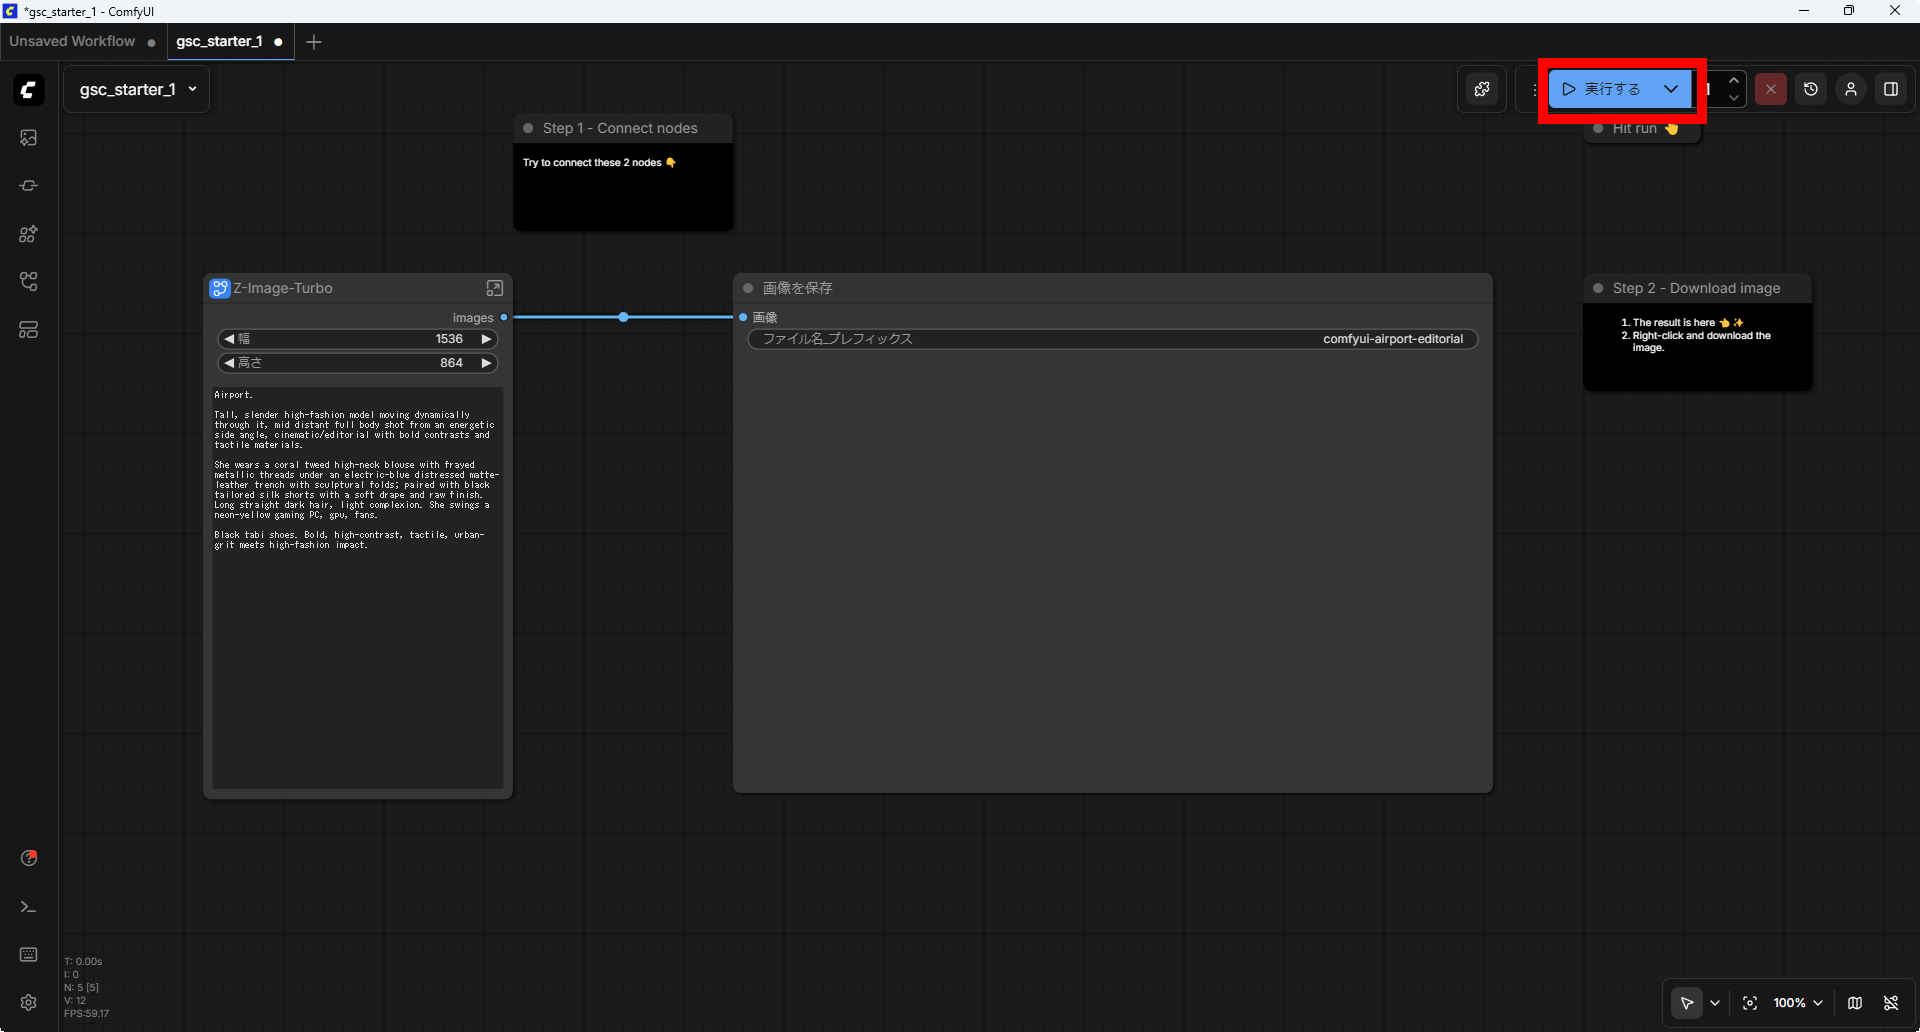
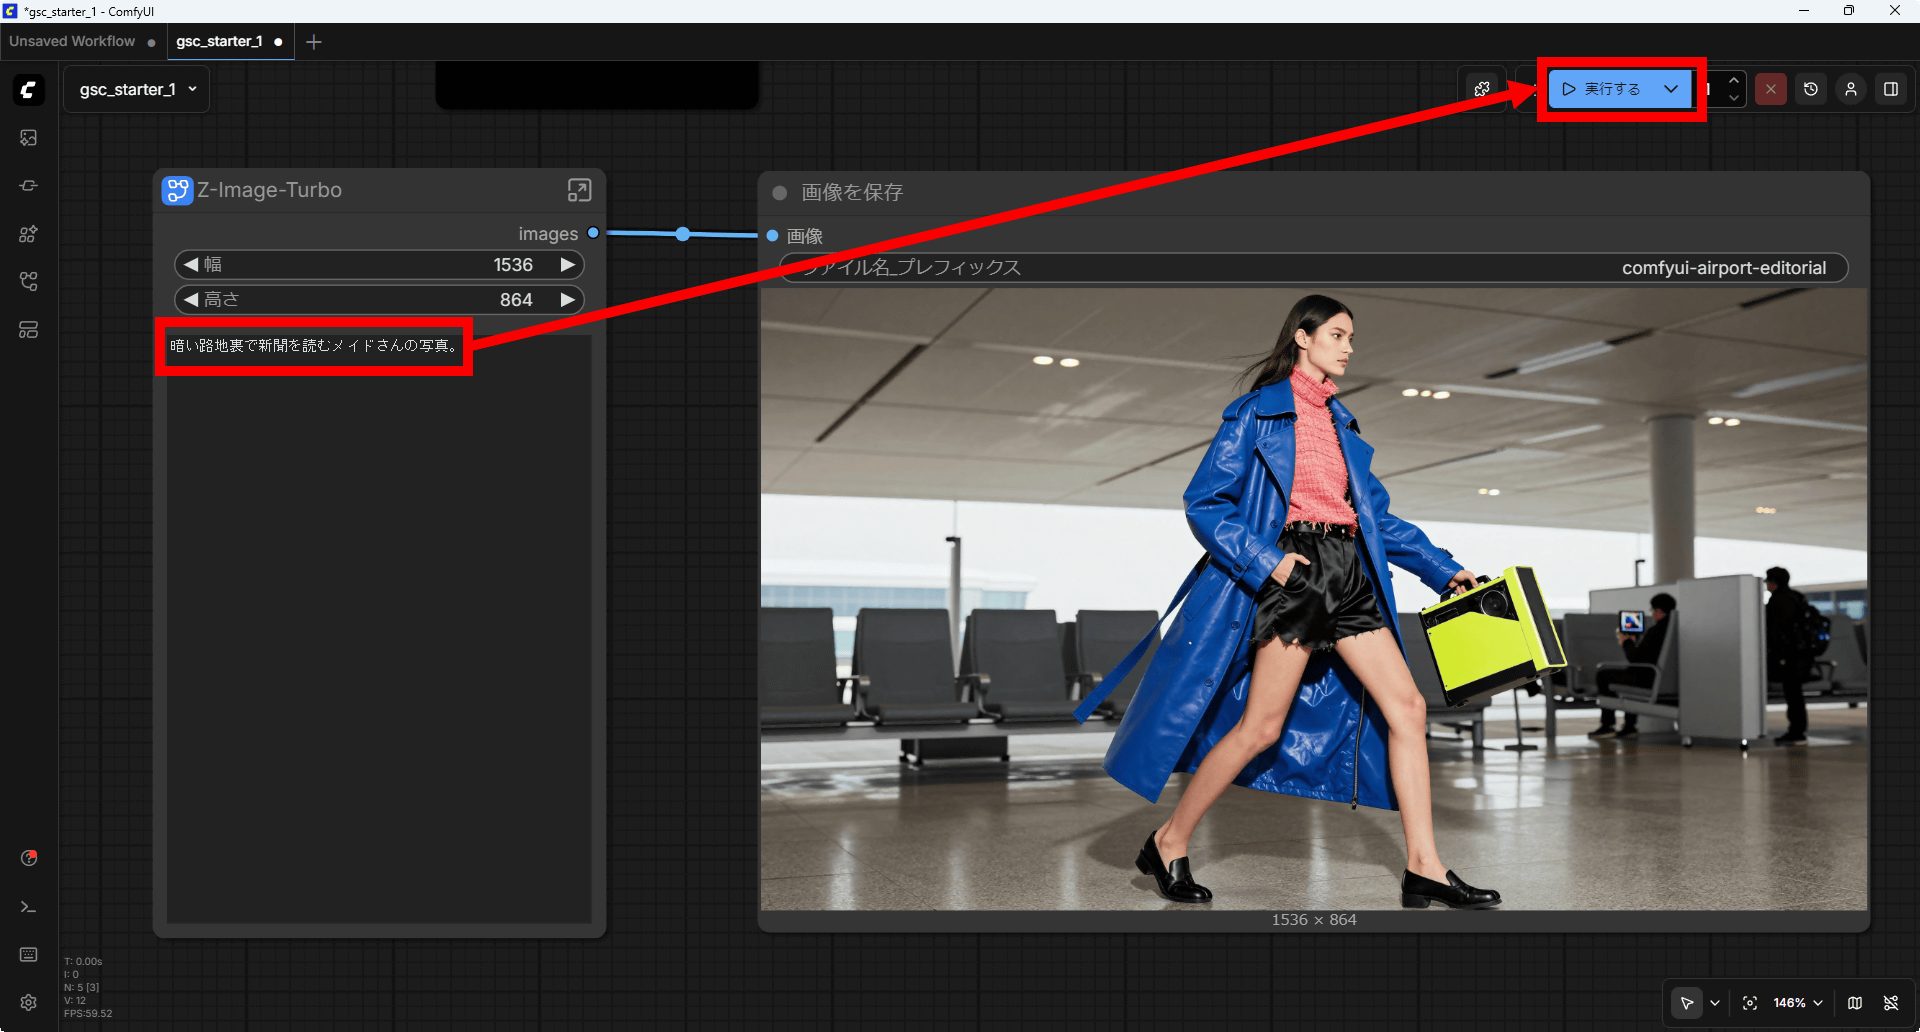
Once you have connected the nodes, click 'Run' in the upper right corner of the screen.
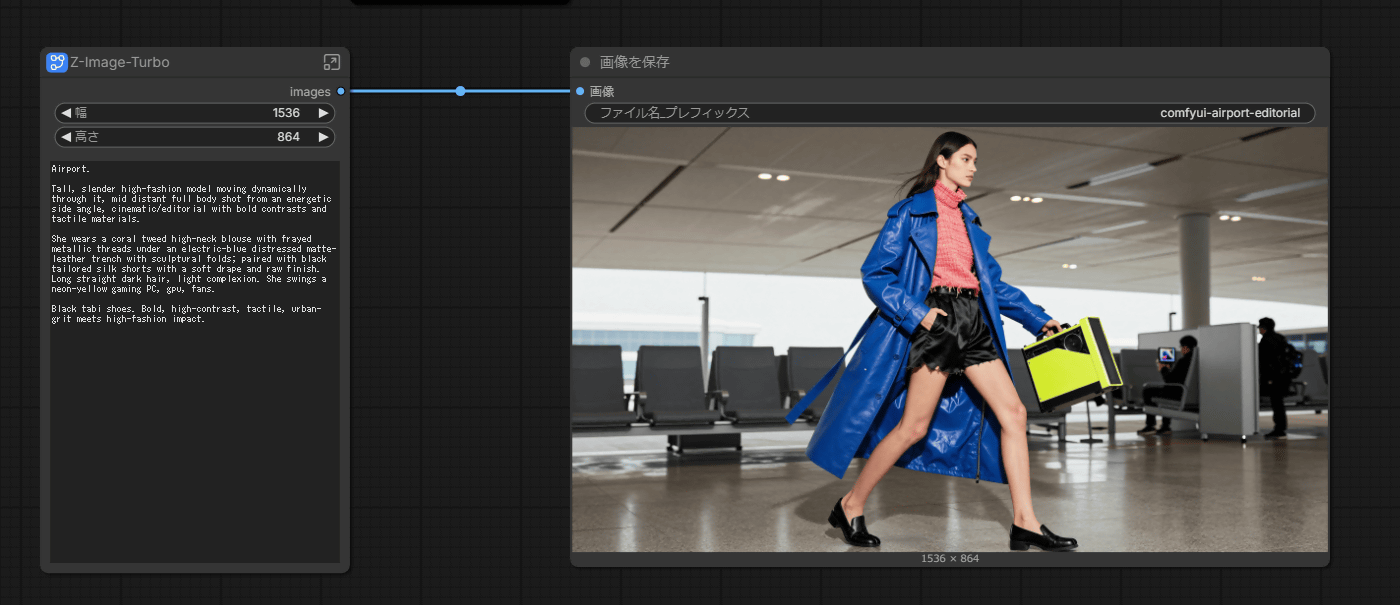
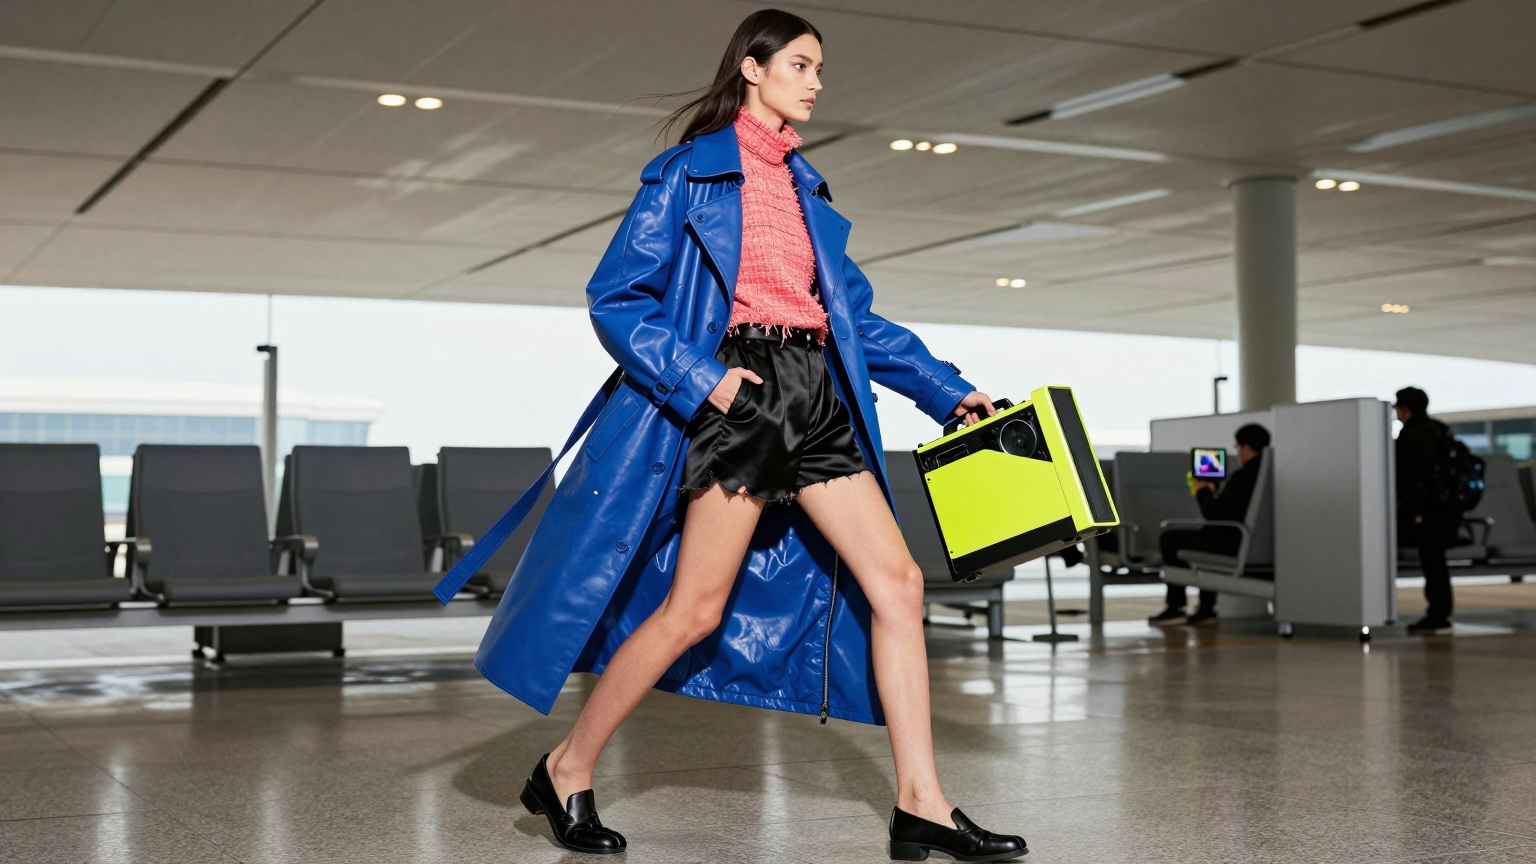
After waiting for a while, a 'real-life image of a woman walking through an airport' was generated and saved.
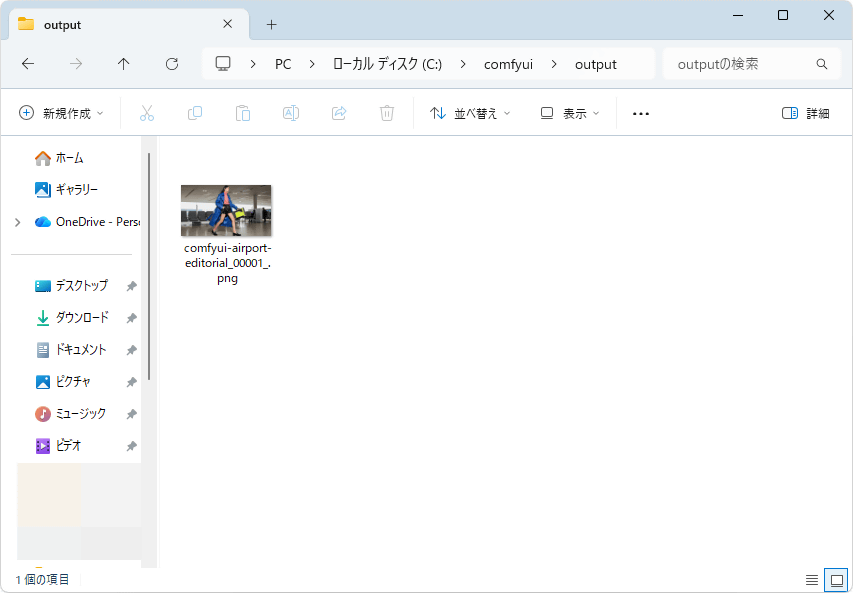
The images are saved in a folder called 'output' in the folder you specified during setup. If you set it up as described in this article, they will be saved in 'C:\comfyui\output'.
The generated image is below. Click to see the original image before it was reduced.
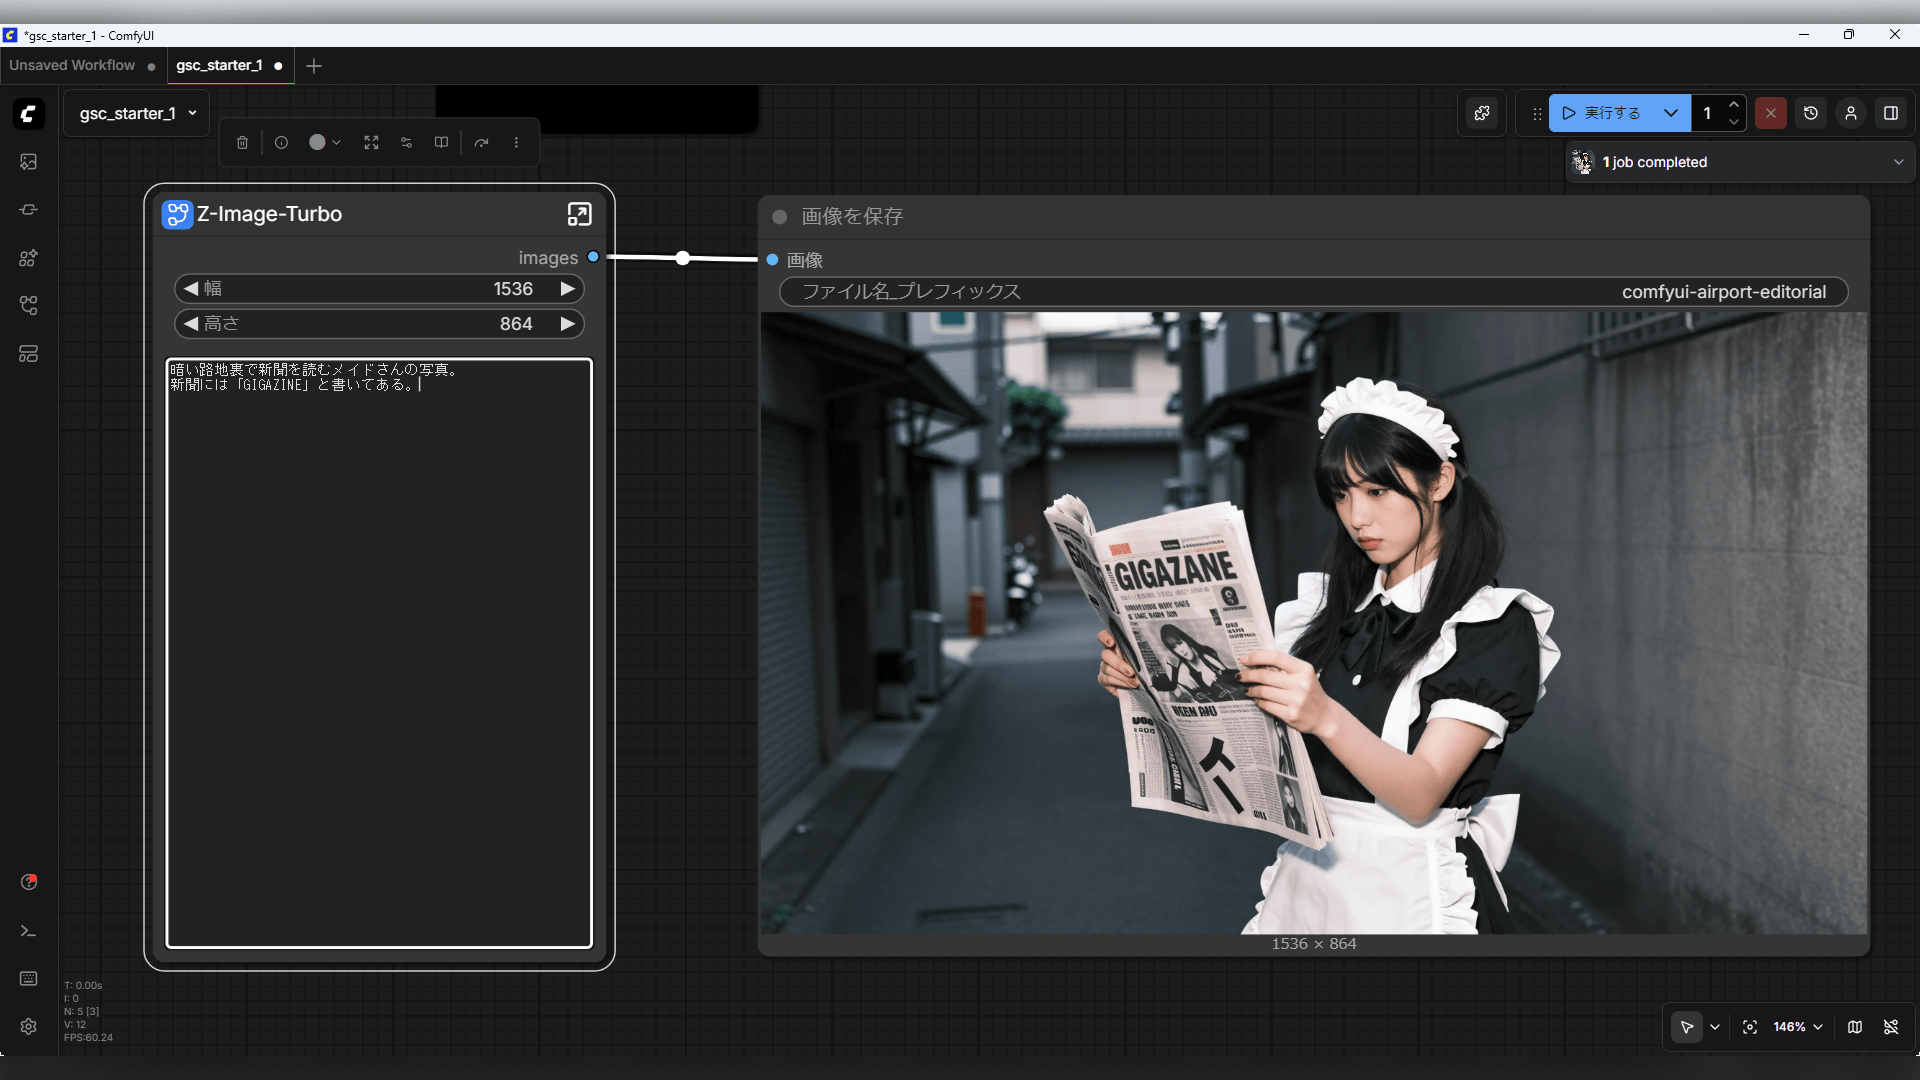
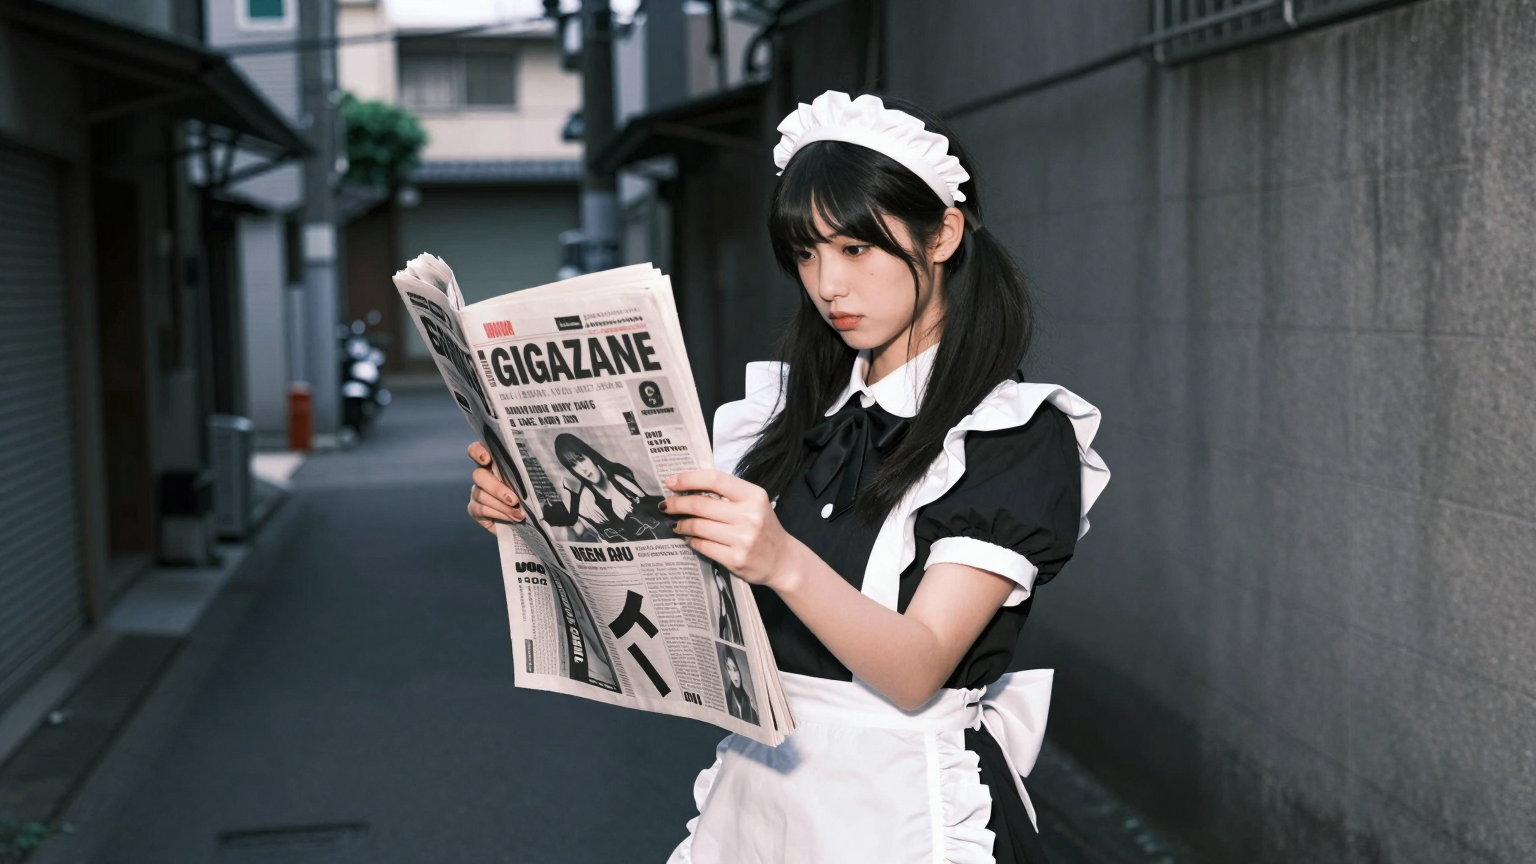
If you rewrite the prompt in the node on the left and click 'Run,' an image will be generated according to the prompt. Z-Image-Turbo supports Japanese to some extent, so I entered 'A photo of a maid reading a newspaper in a dark alley' and clicked 'Run.'
The image was generated in just a few seconds.
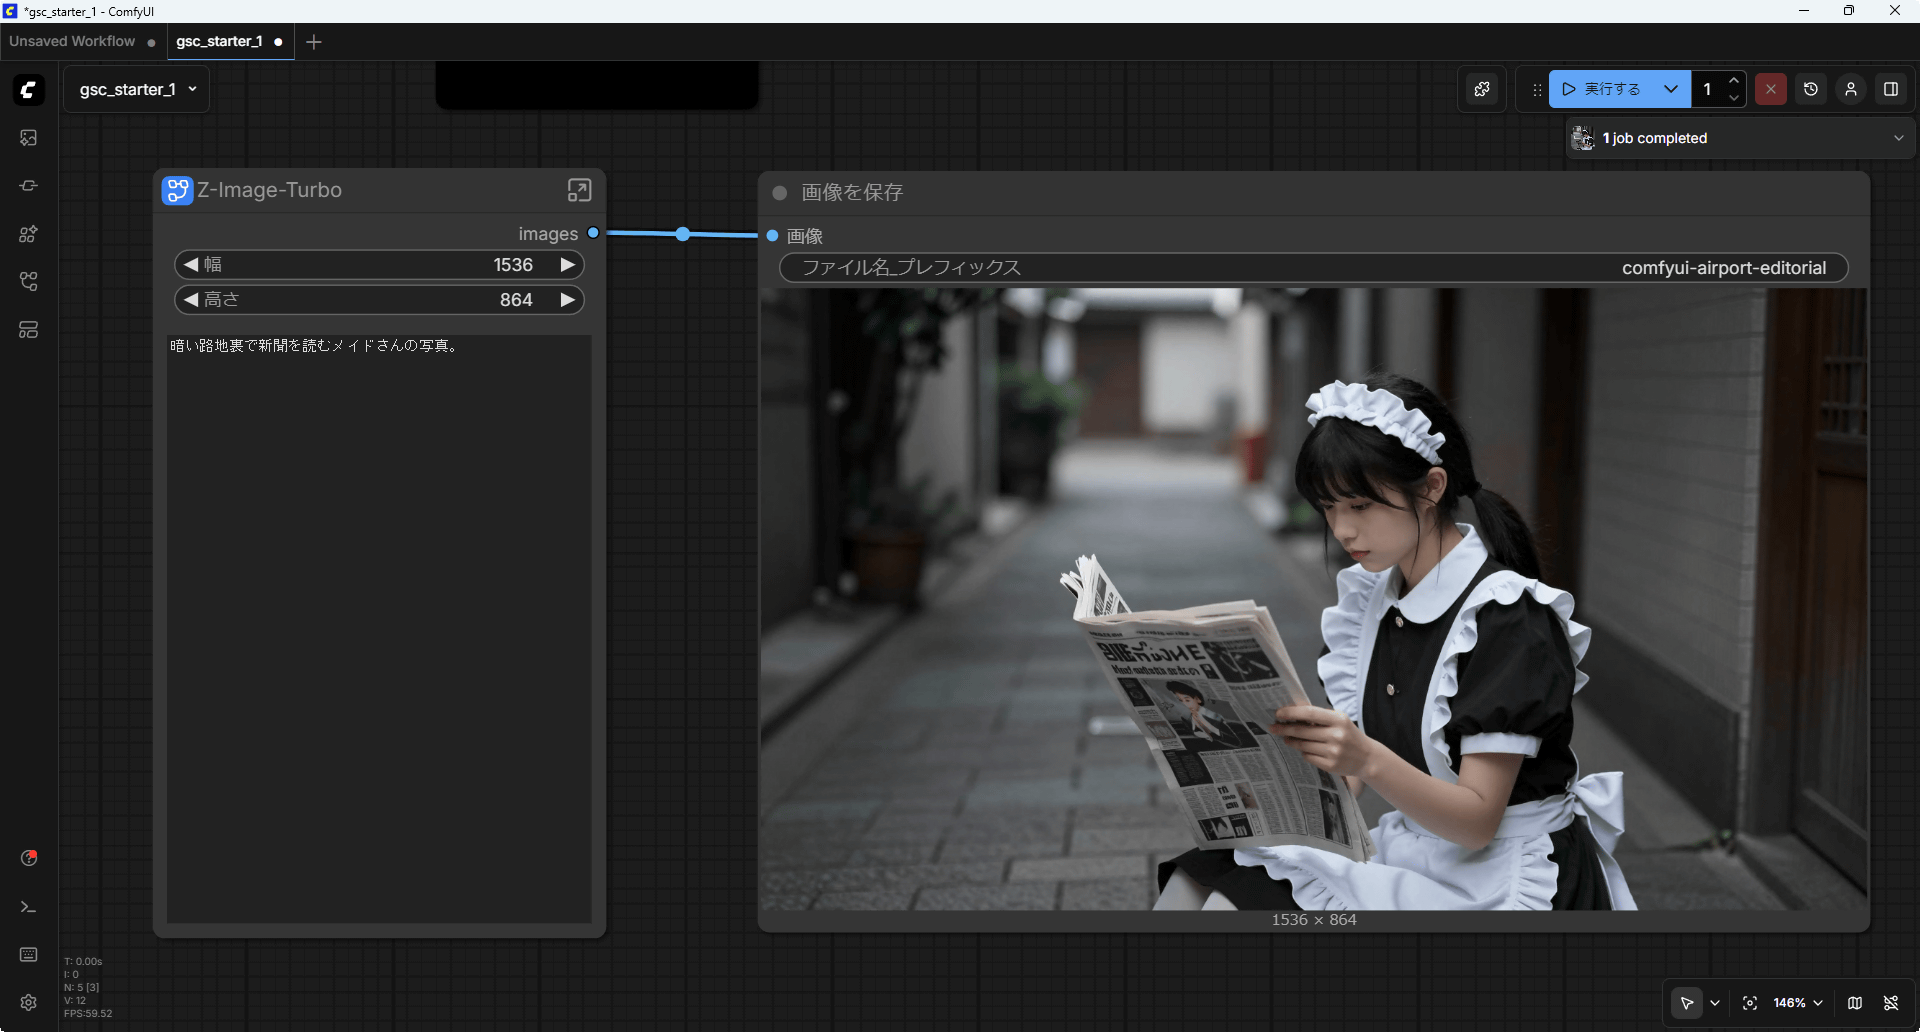
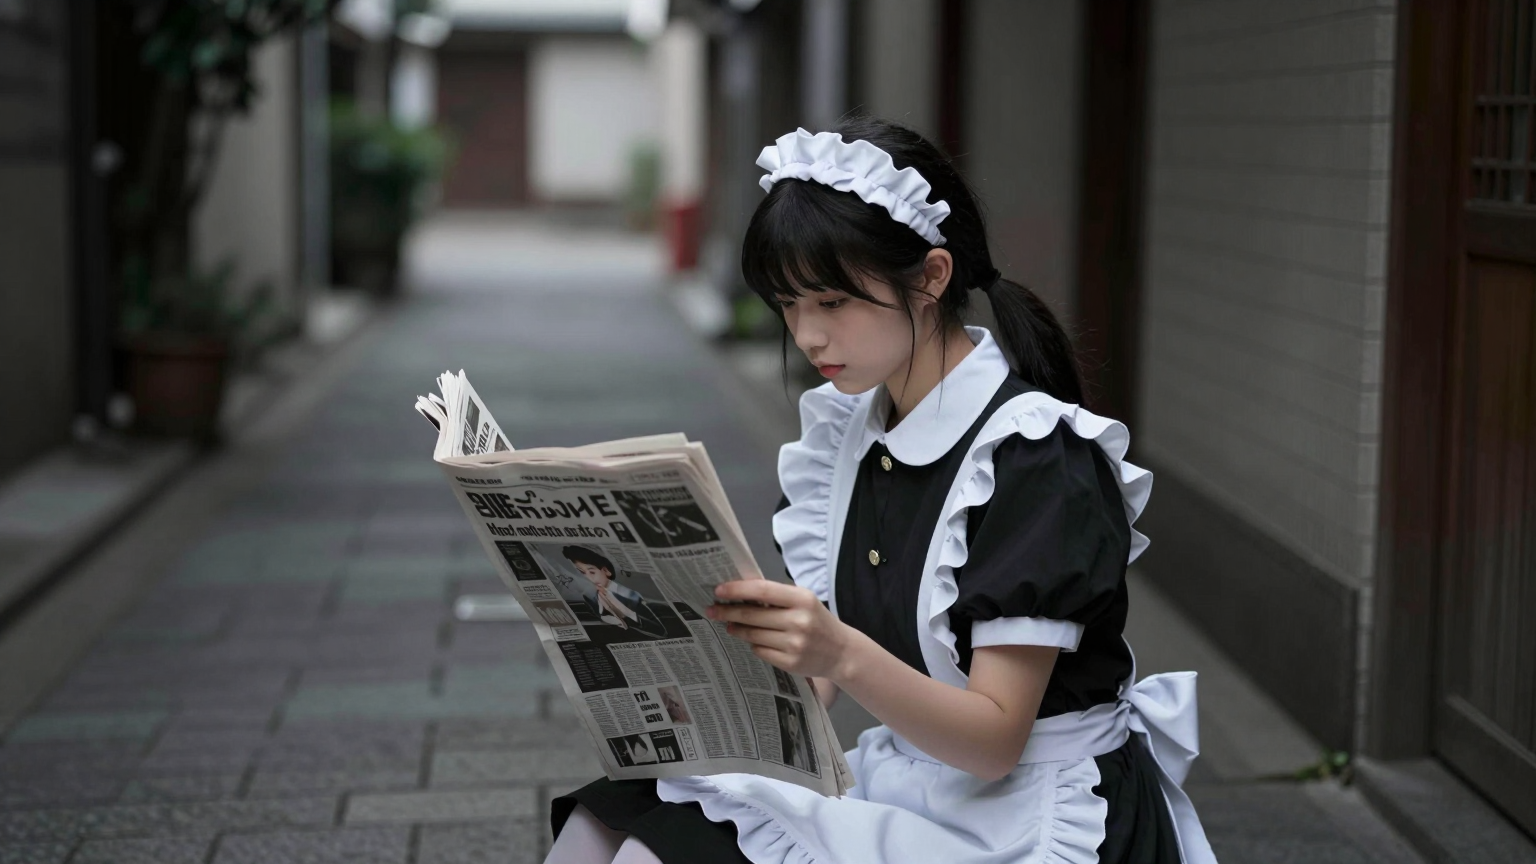
The generated image looks like this:
The prompt for 'A photo of a maid reading a newspaper in a dark alley. The newspaper says 'GIGAZINE'' looks like this. It ended up being 'GIGAZANE' instead of 'GIGAZINE,' but the quality is excellent.
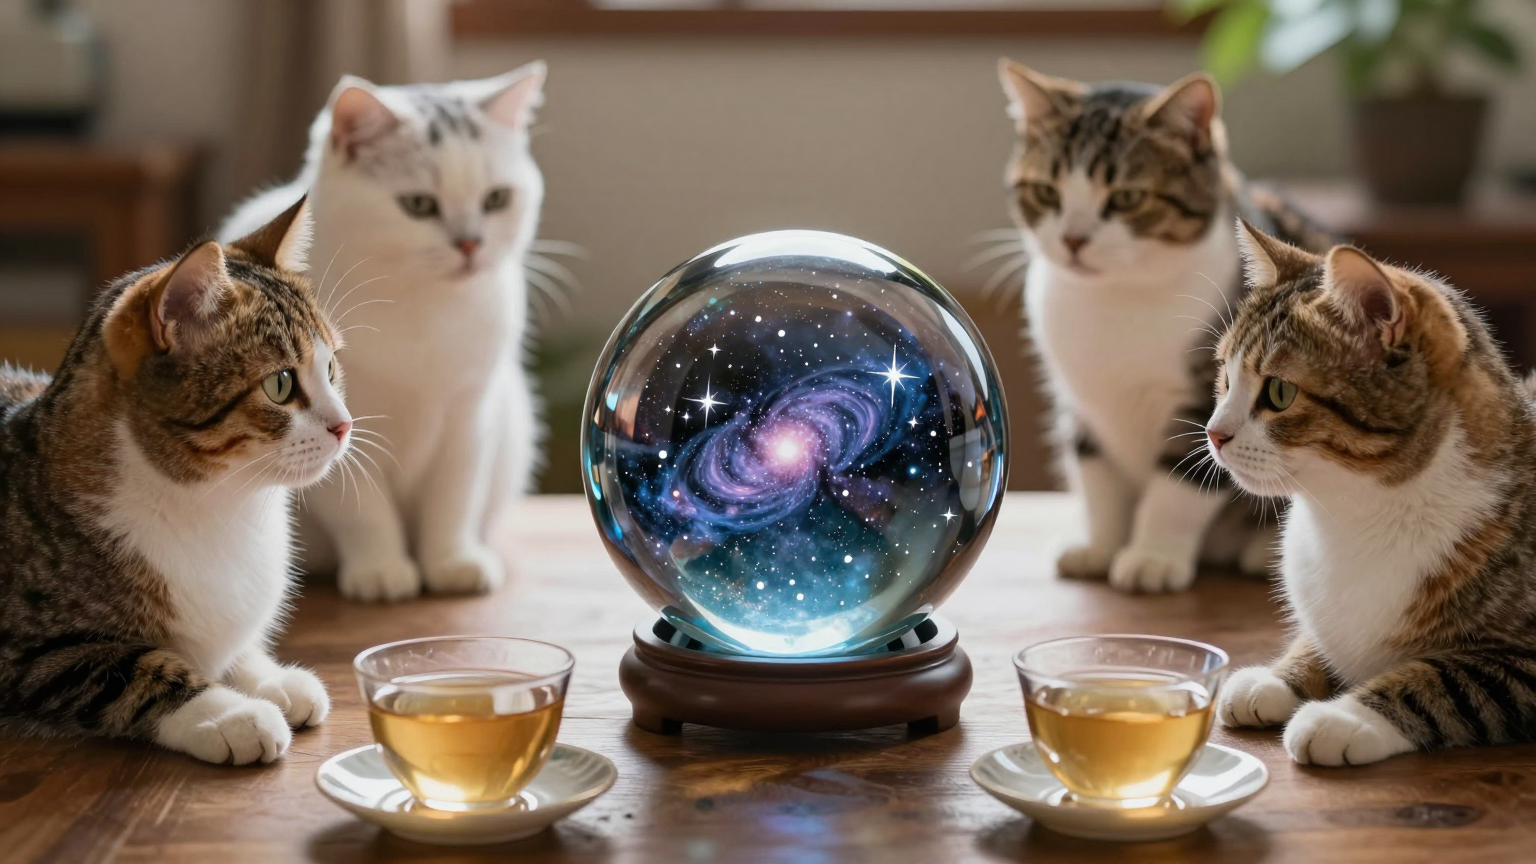
I also tried generating a prompt with 'A photo of cats having tea. There is a crystal ball on the table, and the stars in the universe are reflected in the crystal ball.'
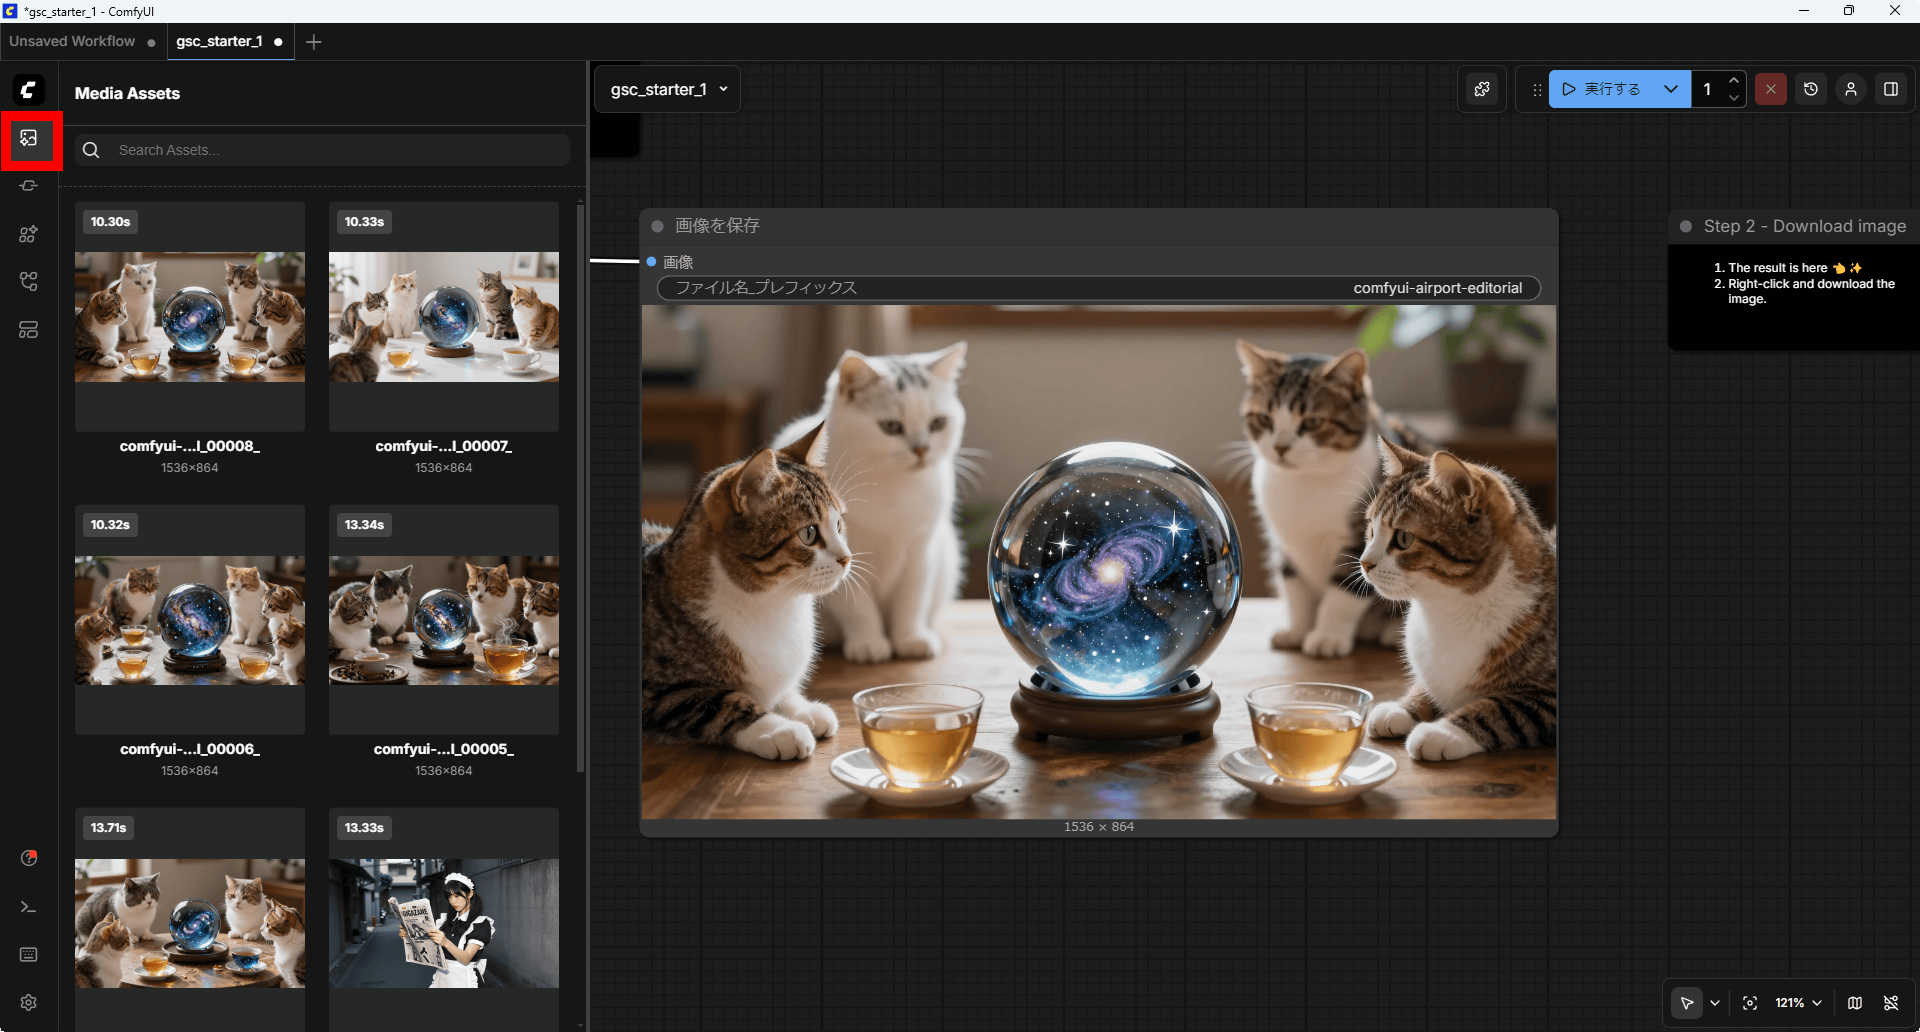
You can see a list of the generated images by tapping the red-framed button in the upper left corner of the screen. Each image also shows the time it took to generate.
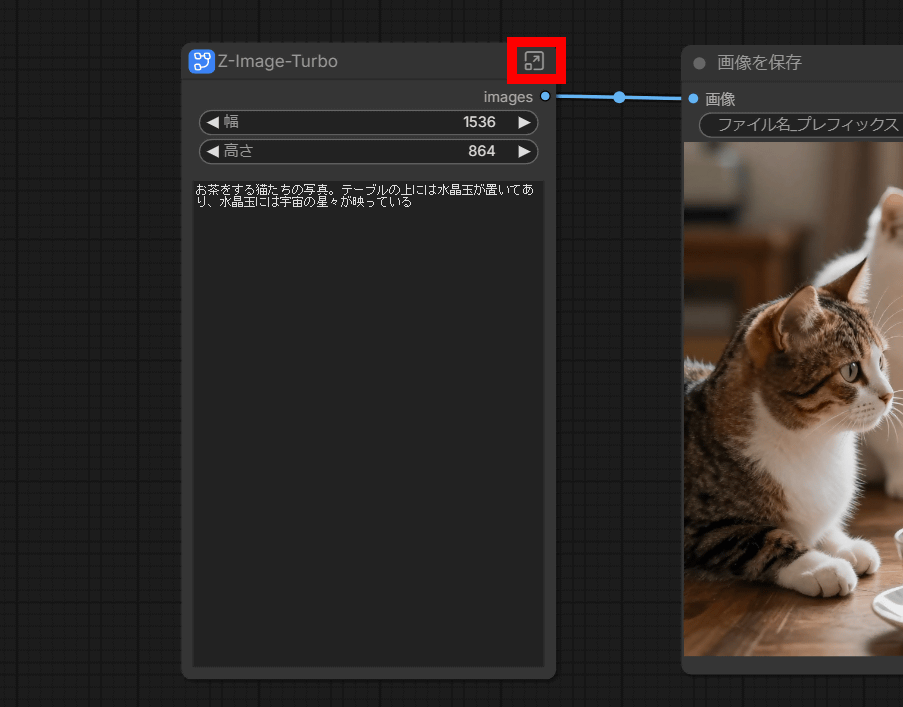
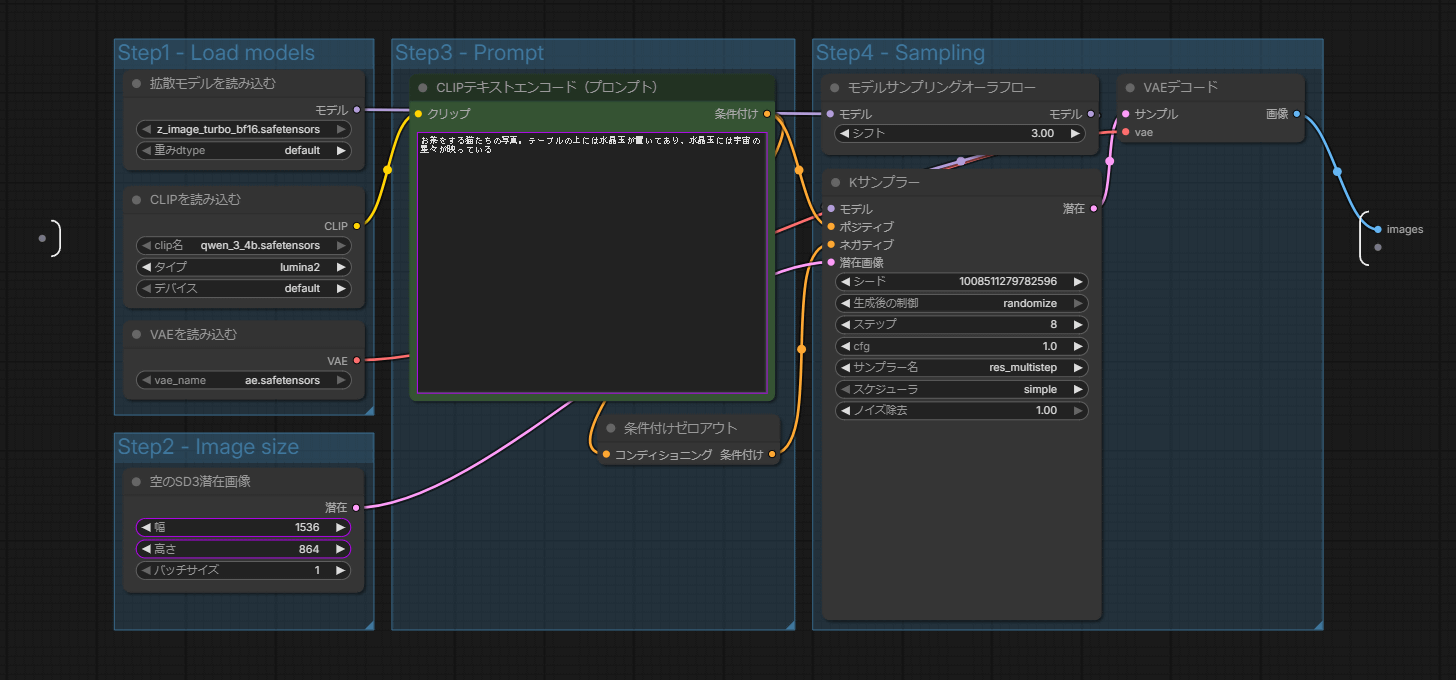
The 'node that specifies the resolution and prompt of the image you want to generate' is a collection of multiple nodes using a function called a subgraph. You can expand the subgraph by clicking the button in the upper right corner of the node.
This is the contents of the 'node that specifies the resolution and prompt of the image to be generated.' It contains many nodes, such as a 'node that loads the Z-Image-Turbo model,' a 'node that loads the visual language model that processes the prompt,' a 'node that specifies the image resolution,' a 'node that specifies the prompt,' a 'sampler node that specifies the seed value and number of generation steps,' and a 'node that decodes the latent image processed by the AI into an image for humans.' Detailed instructions on how to use each node can be found on the '
Models that can be used for image generation can be downloaded from services such as Civitai and SeaArt AI . There are a wide variety of models available, including models that are good at generating illustrations and models that are good at generating photo-realistic images. ComfyUI also has a feature that allows you to drag and drop an image generated by ComfyUI onto the screen and display the workflow used to generate that image. You can also use sample images of models distributed by Civitai in ComfyUI to refer to the workflow.
Related Posts: