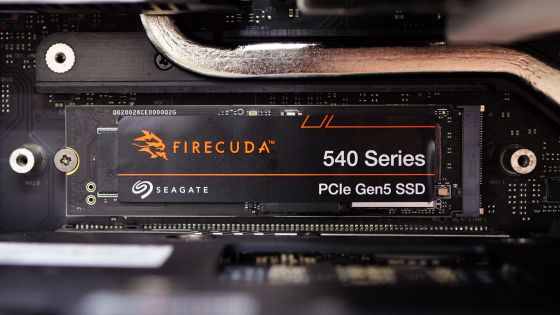
We checked the performance of Seagate's SSD 'FireCuda 530R SSD 2TB', which is equipped with a heat sink and can be used as an expansion storage for PS5, on PC and PS5
Many people have probably tried to play a new game on the PlayStation 5 (PS5), but had to delete other game data due to insufficient storage capacity. The FireCuda 530R SSD 2TB , released by Seagate on Friday, October 25, 2024, comes with a heat sink and is said to be suitable for expansion storage for the PS5, so we actually installed it on a PC and PS5 to test its performance.
Seagate FireCuda 530R SSD Heatsink | Seagate Japan
·table of contents
◆1: Opening
◆2: Verification of data transfer speed
◆3: Installation on PS5
◆4: Data transfer test and loading time check on PS5
◆1: Opening
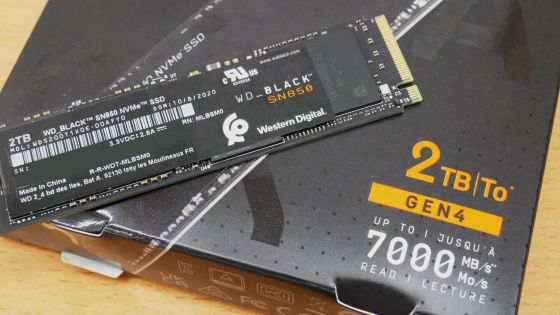
The FireCuda 530R SSD 2TB package looks like this.
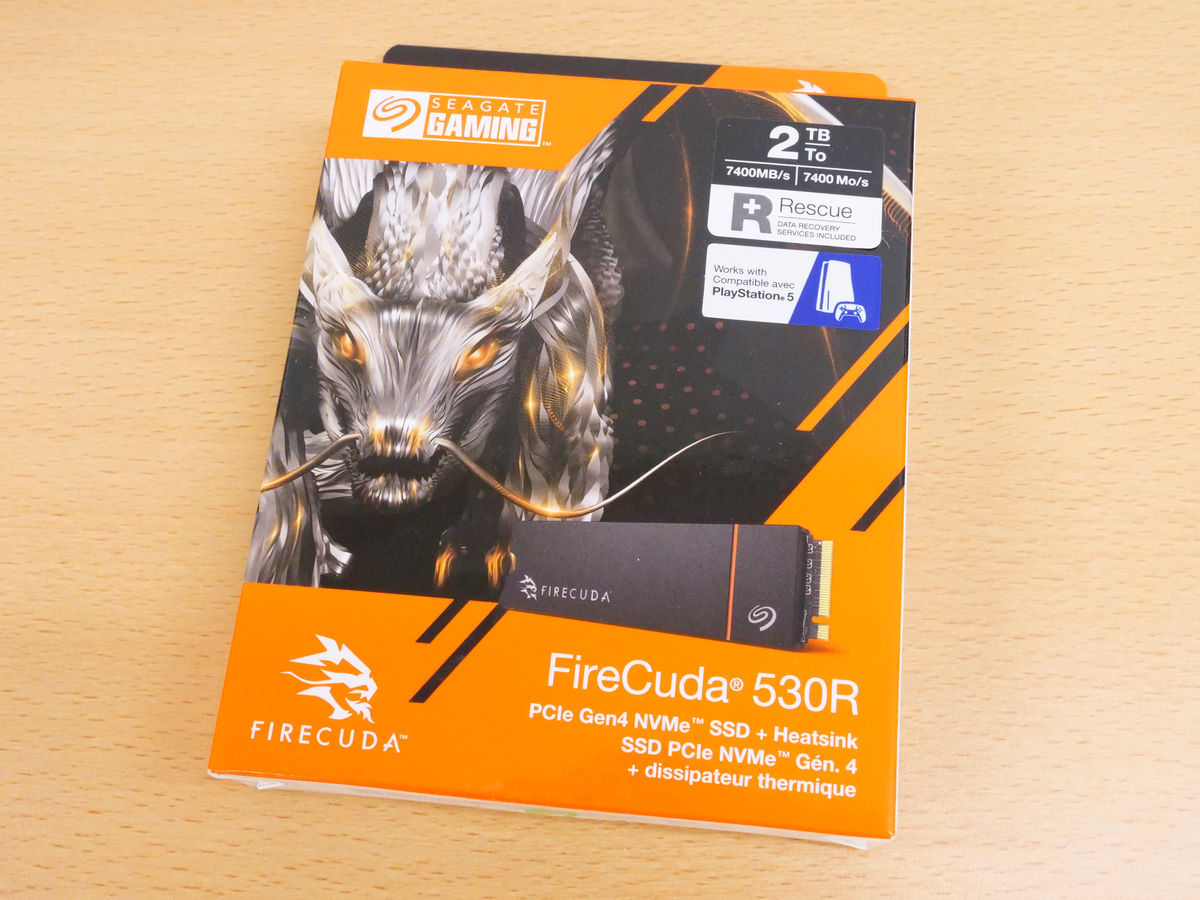
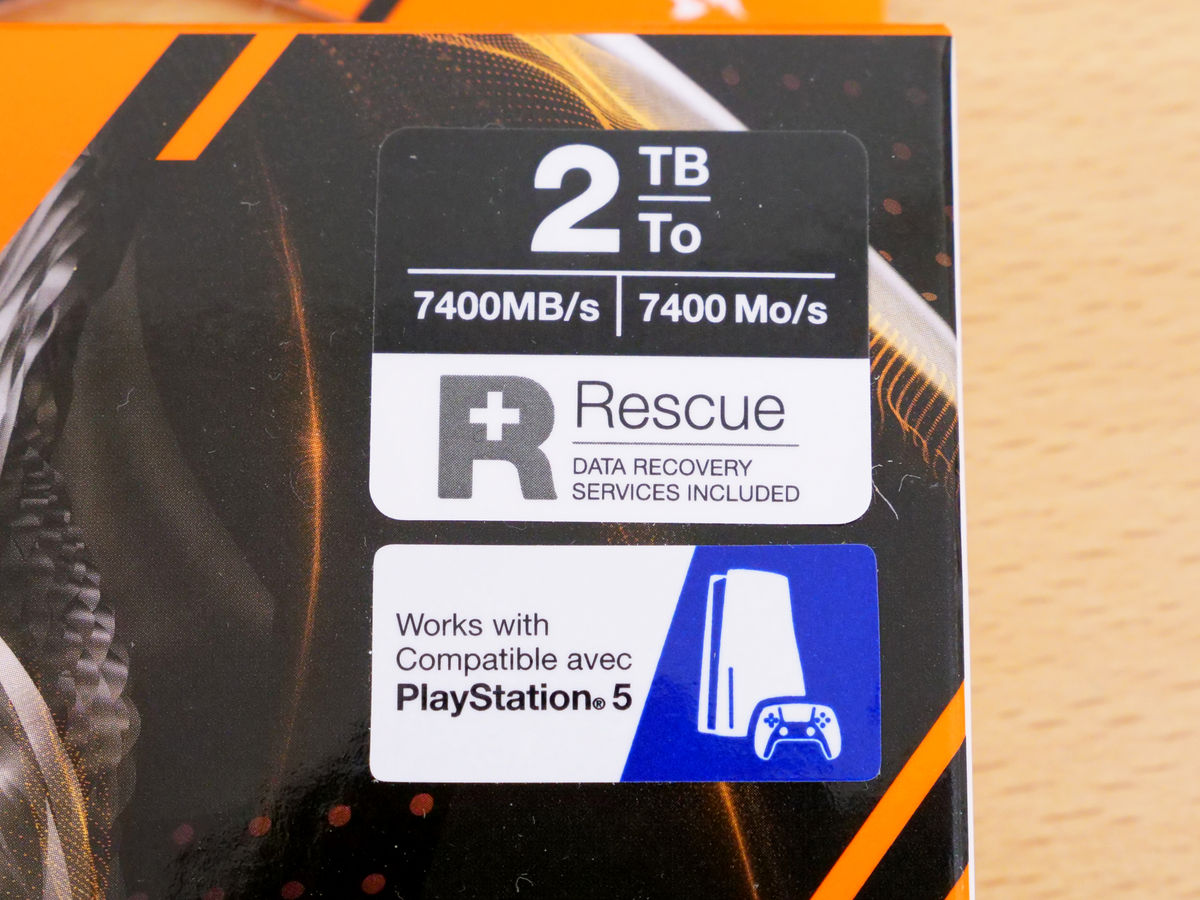
The packaging has a label advertising data transfer speeds of up to 7400MB/s and a label indicating that it is compatible with PS5.
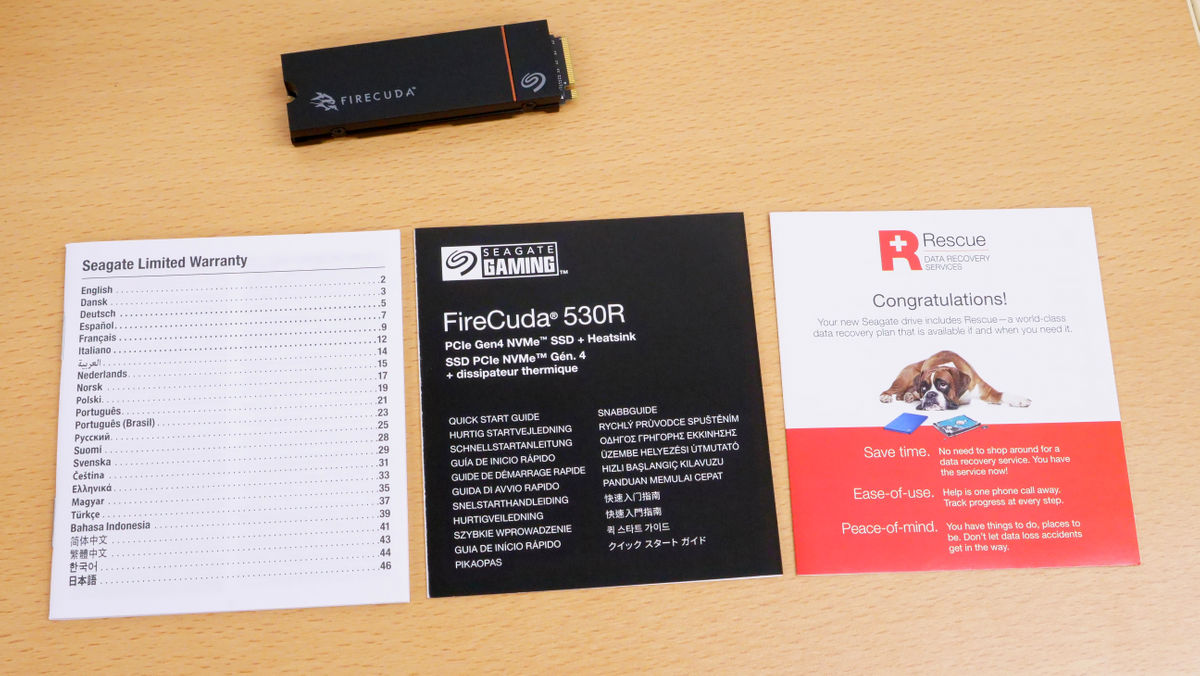
Inside the package was the FireCuda 530R SSD 2TB itself, an instruction manual, a quick start guide, and a guide to the data recovery software.
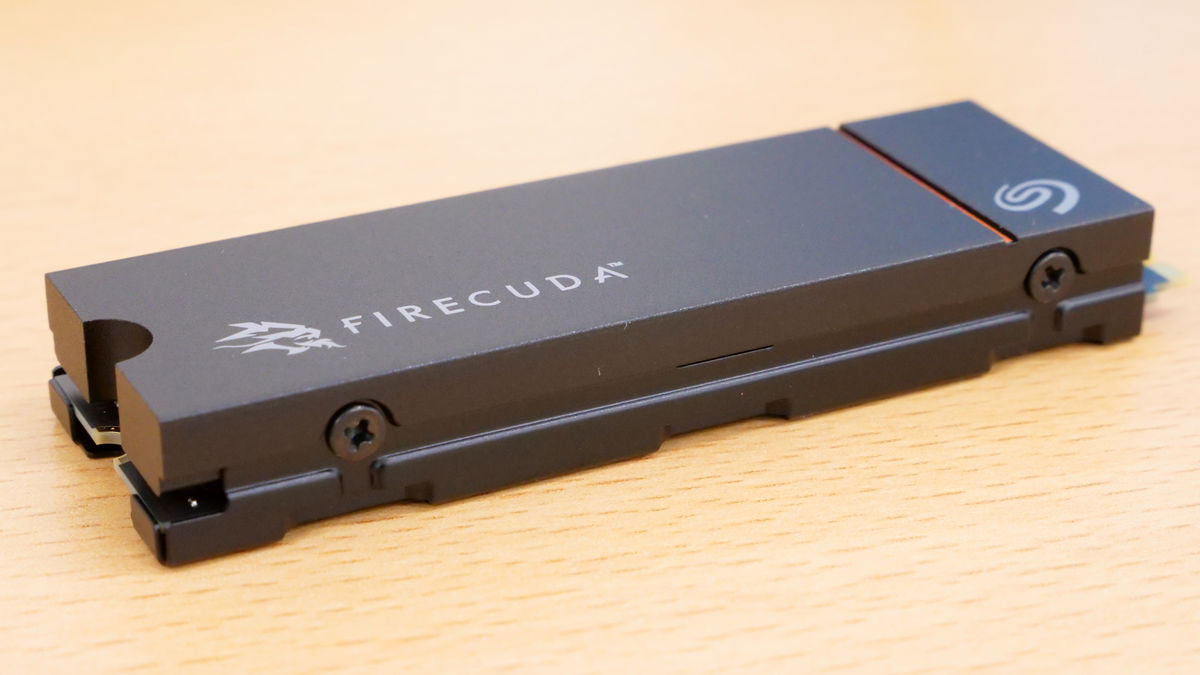
The FireCuda 530R SSD 2TB looks like this.
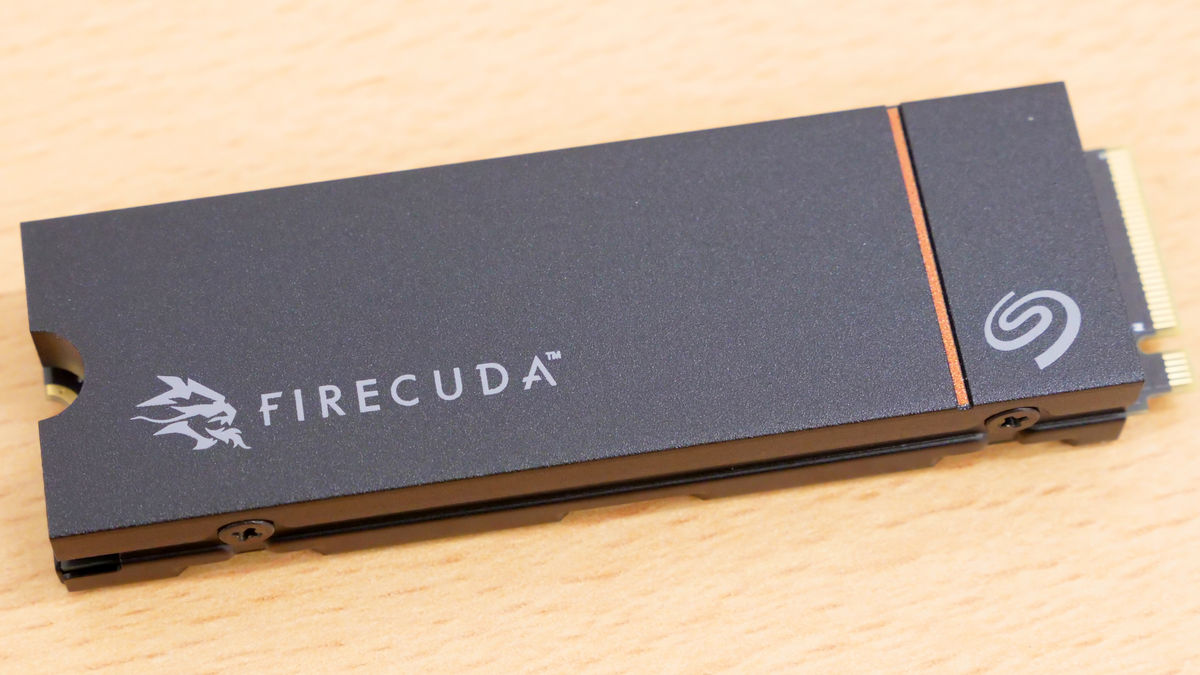
The heat sink is secured in place with screws.
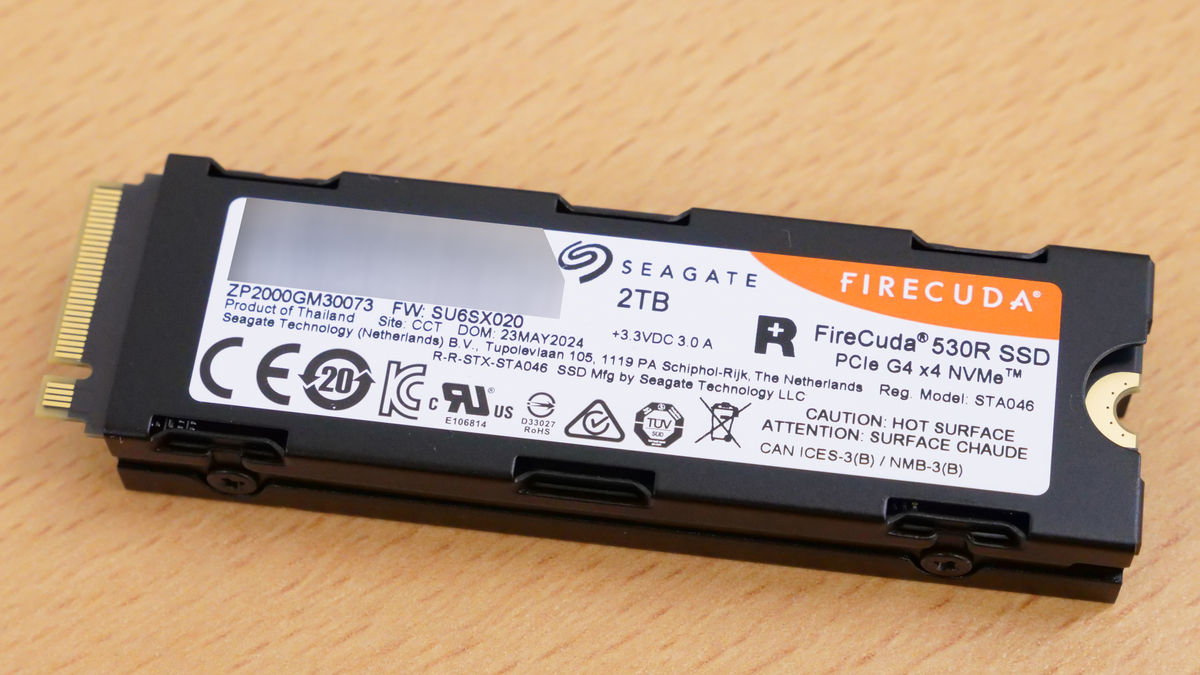
Various certification marks are printed on the back.
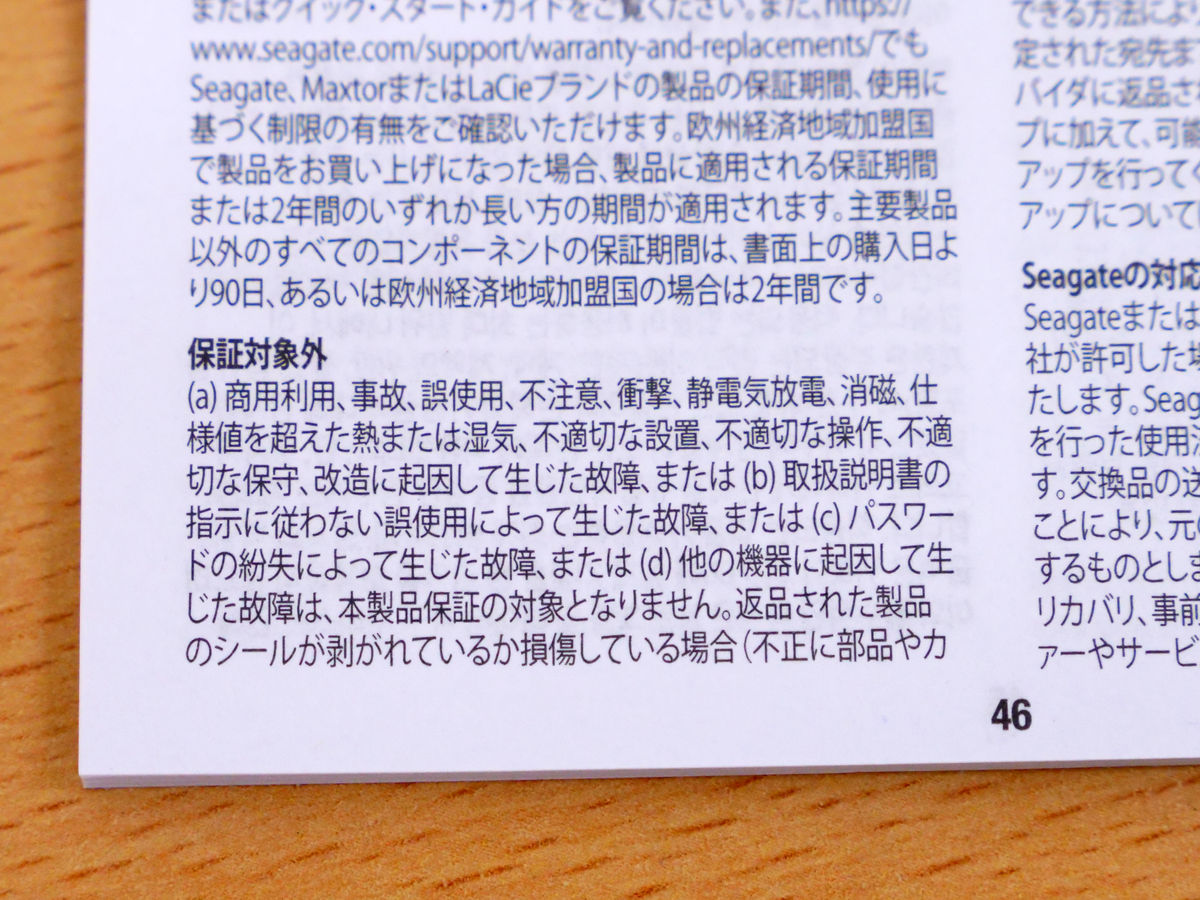
According to the warranty, removing the stickers or heat sink attached to the main unit will void the warranty.
◆2: Verification of data transfer speed
To test the performance of the FireCuda 530R SSD 2TB, we installed it on the PCIe 5.0 compatible motherboard '
The results of checking storage information with '
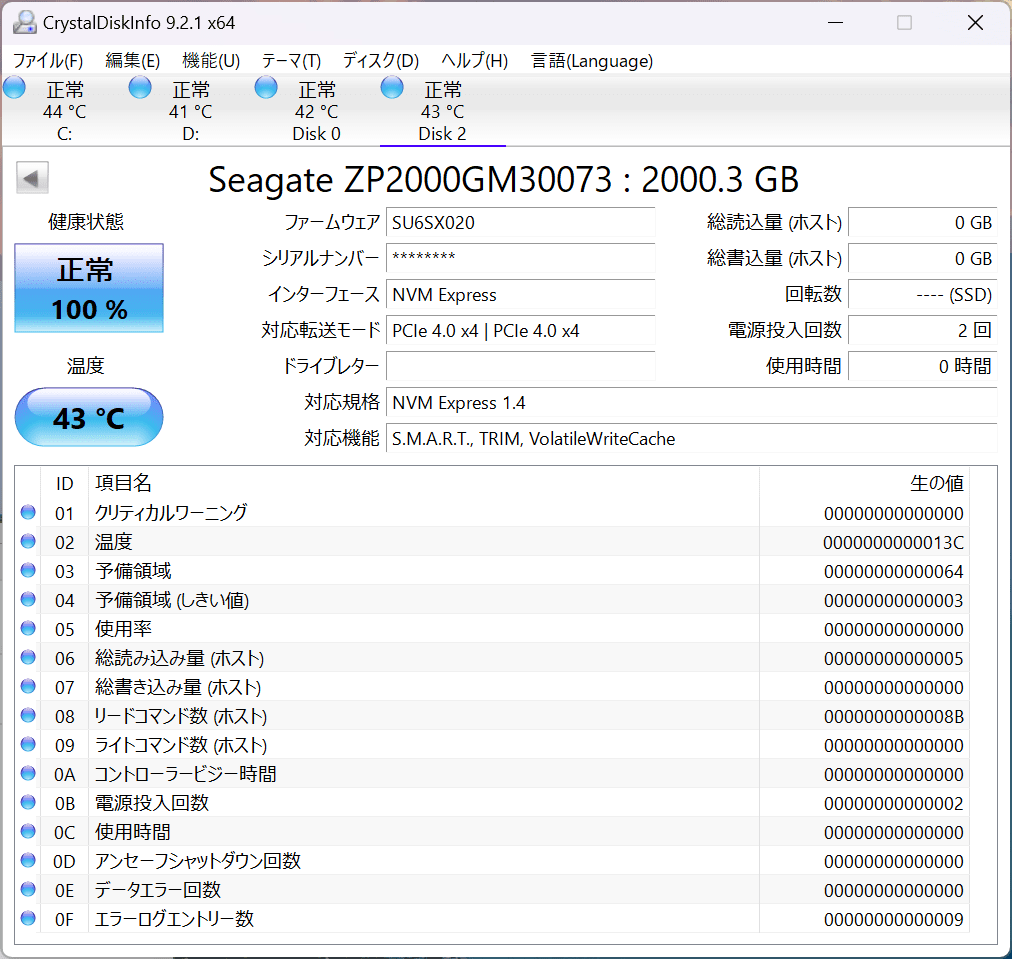
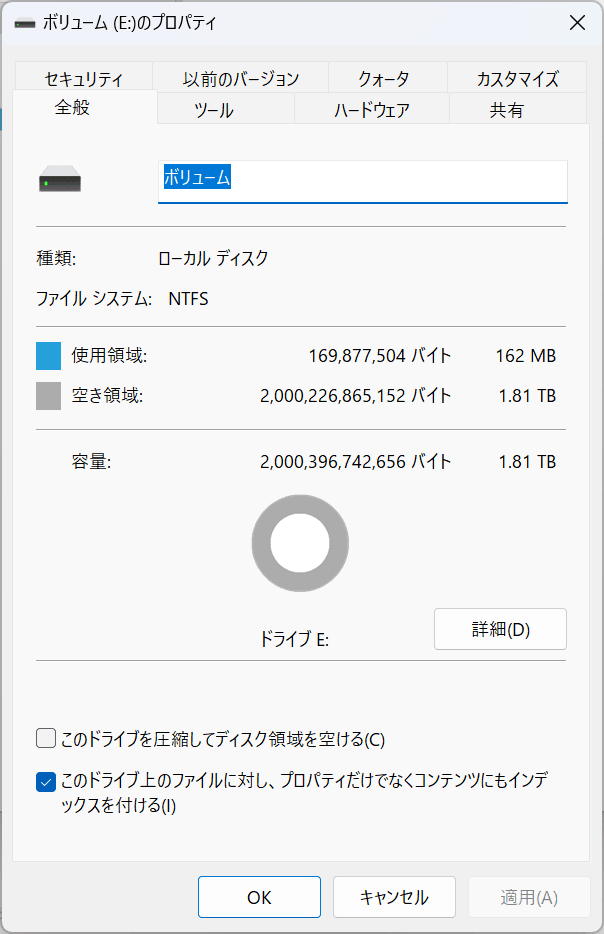
Immediately after formatting, the free space was 1.81TB.
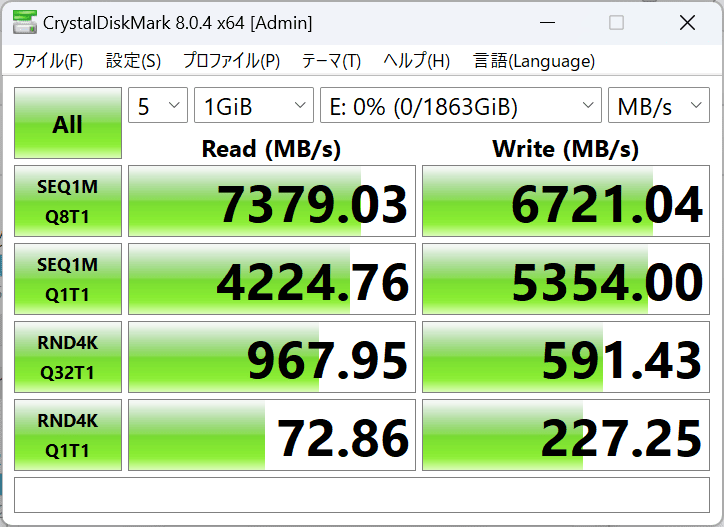
Next, we ran a benchmark using the standard storage benchmark software '
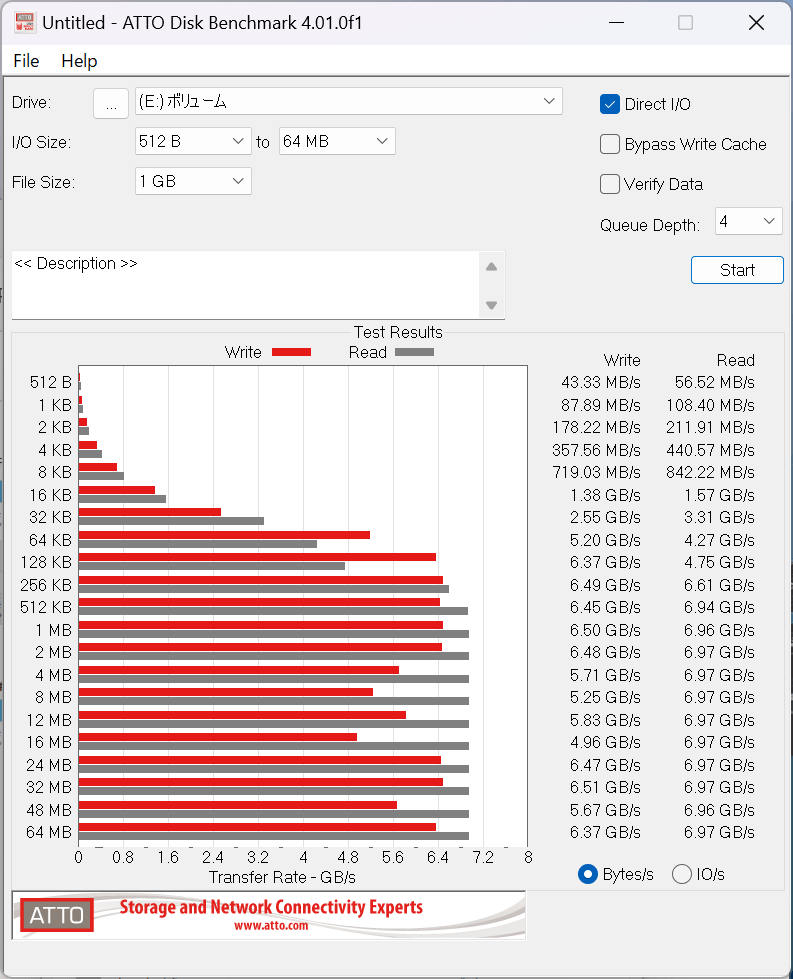
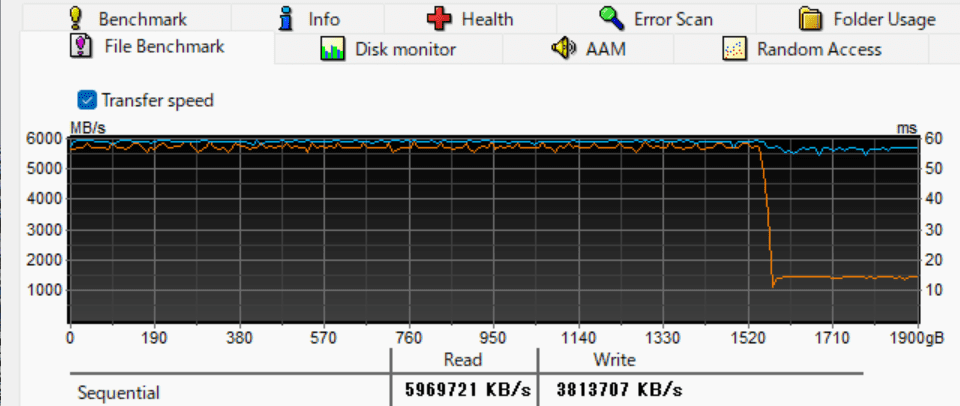
Below are the results of measuring data transfer performance for each block size using '
Below is the speed transition when writing a 1.9TB file using '
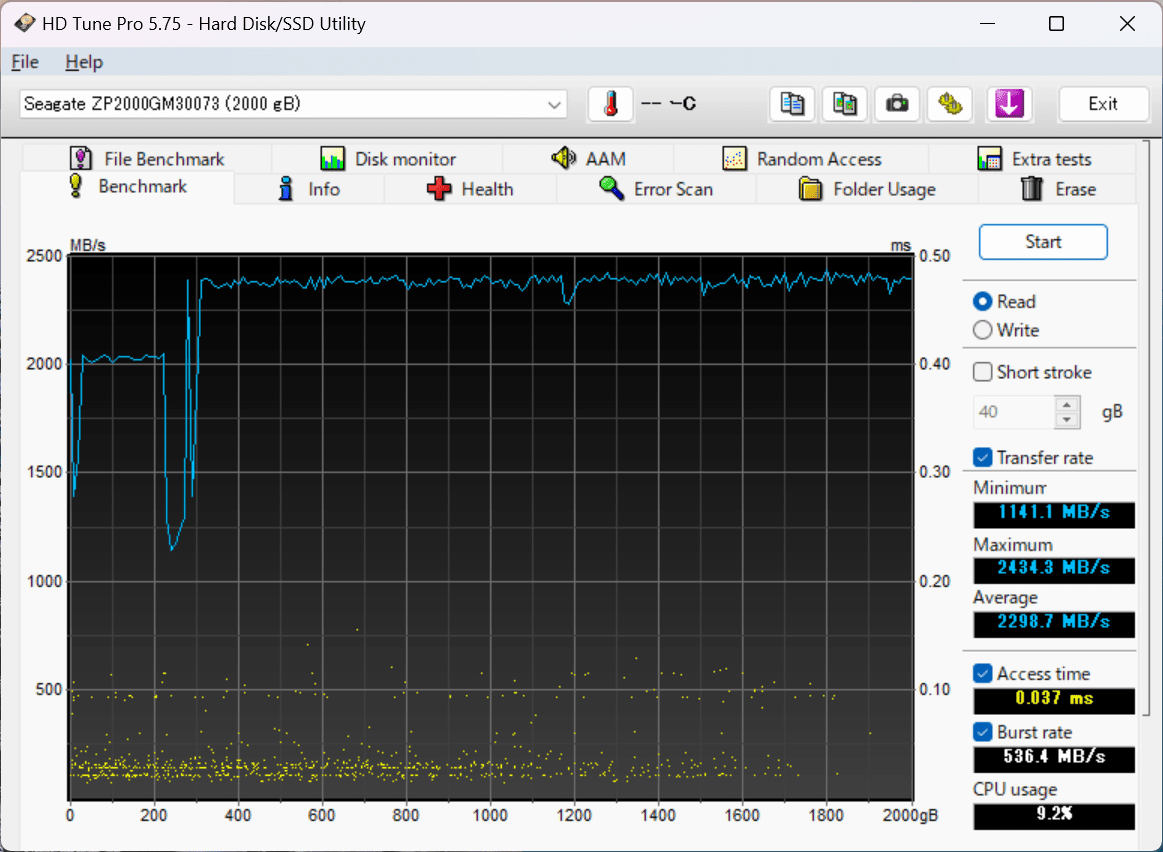
Next, we deleted the volume and measured the read and write speeds. The average read speed was 2298.7MB/s, but we can see that the read speed fluctuated significantly immediately after starting the measurement.
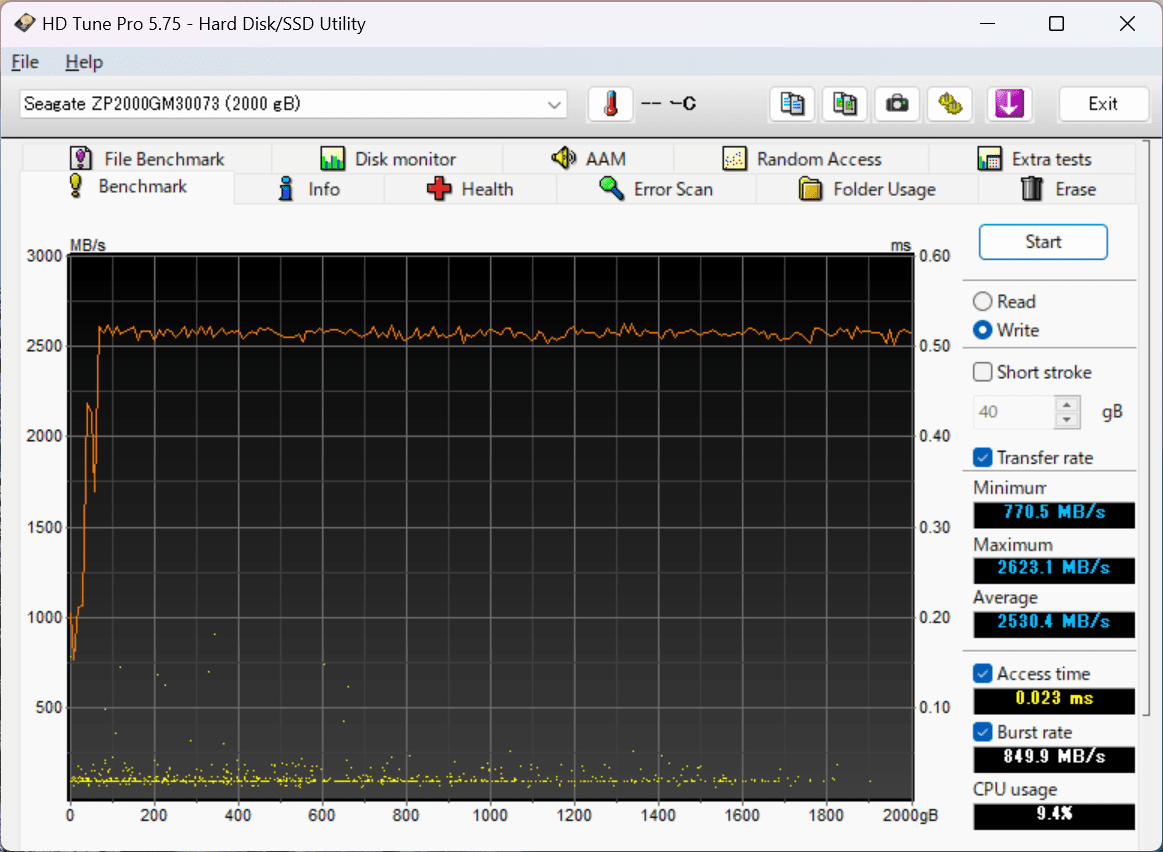
The average write speed was 2530.4MB/s.
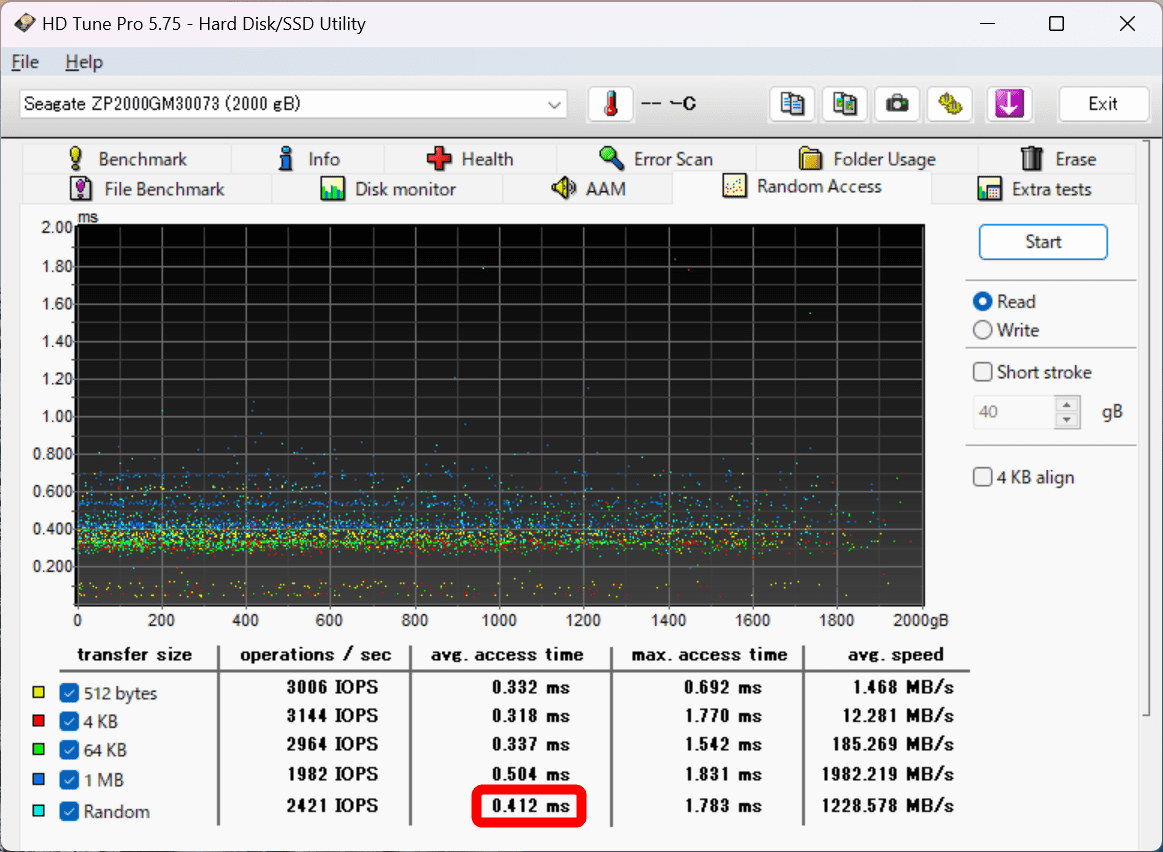
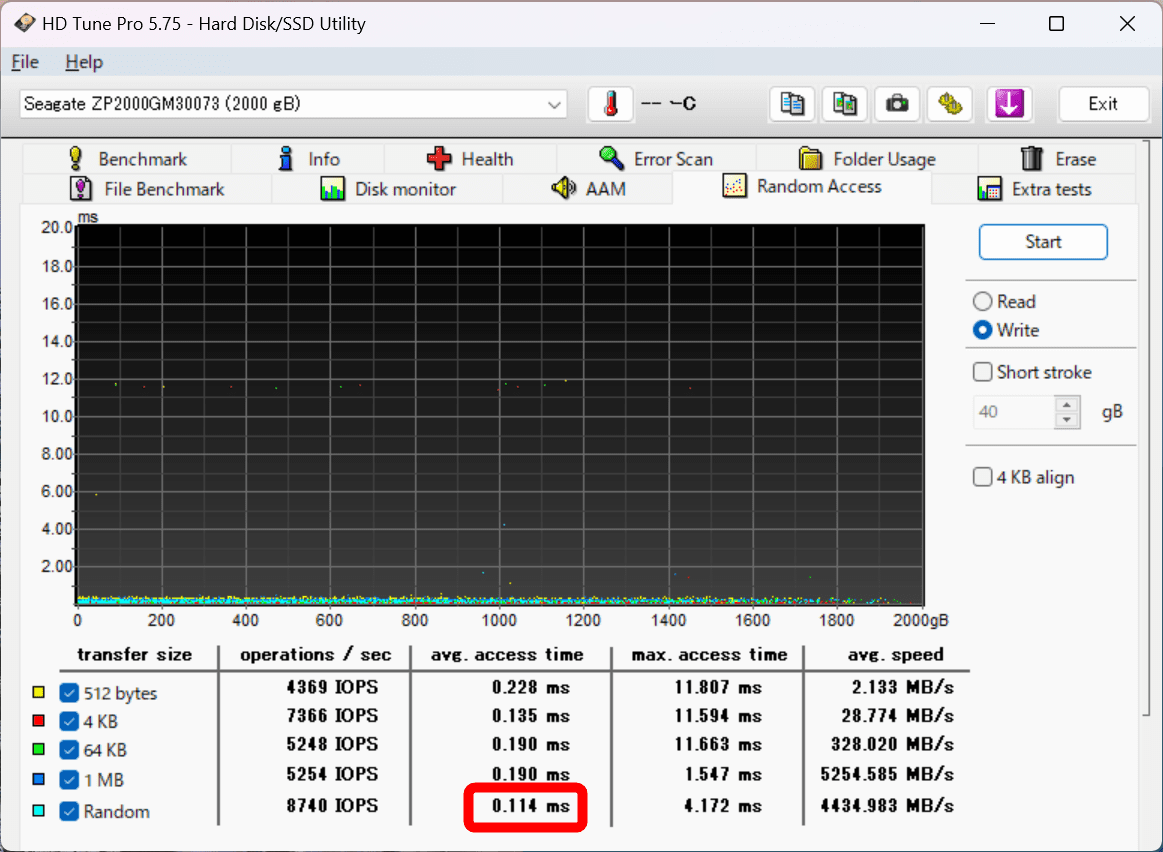
The results of measuring 'the number of operations per second,' 'the time from issuing a data transfer command to responding (access time),' and 'the performance variation for each storage area' when reading each area of the storage are as follows. The average access time is 0.412 milliseconds.
Write performance was as follows: average access time was 0.114 ms.
◆3: Installation on PS5
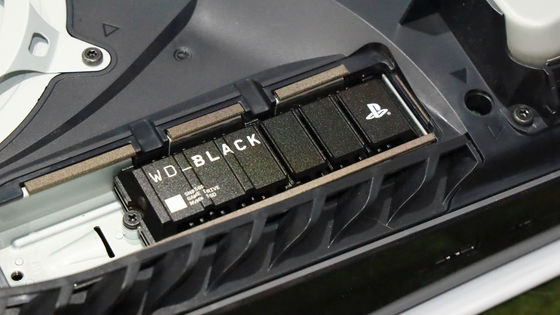
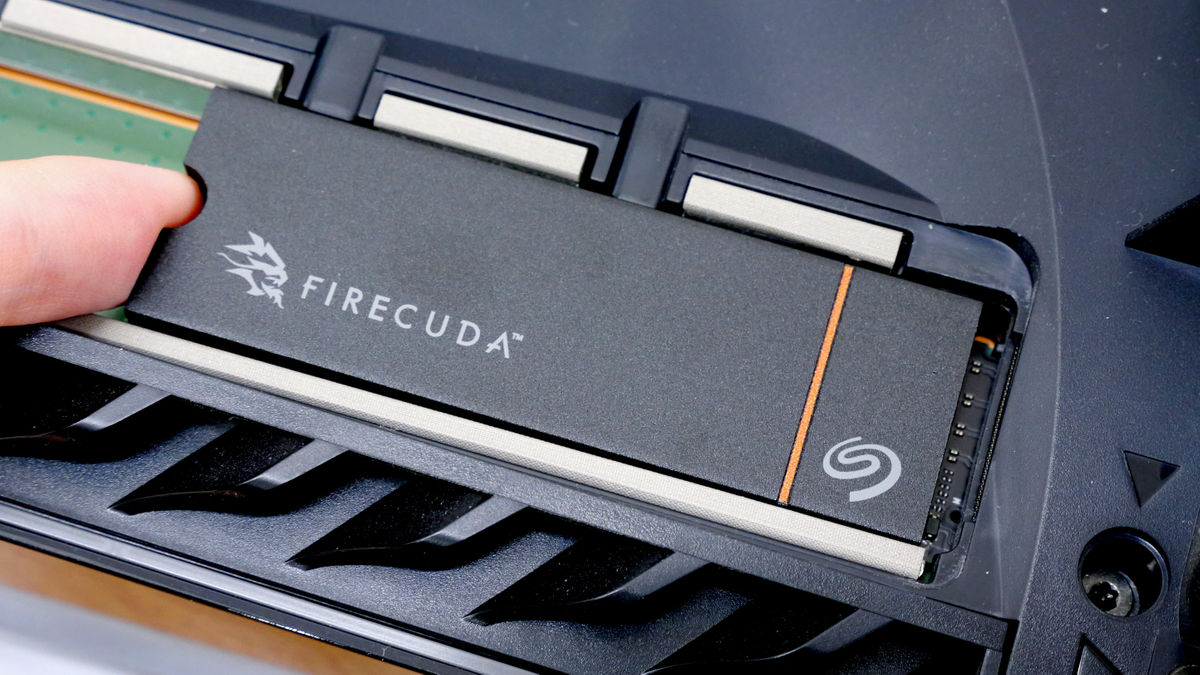
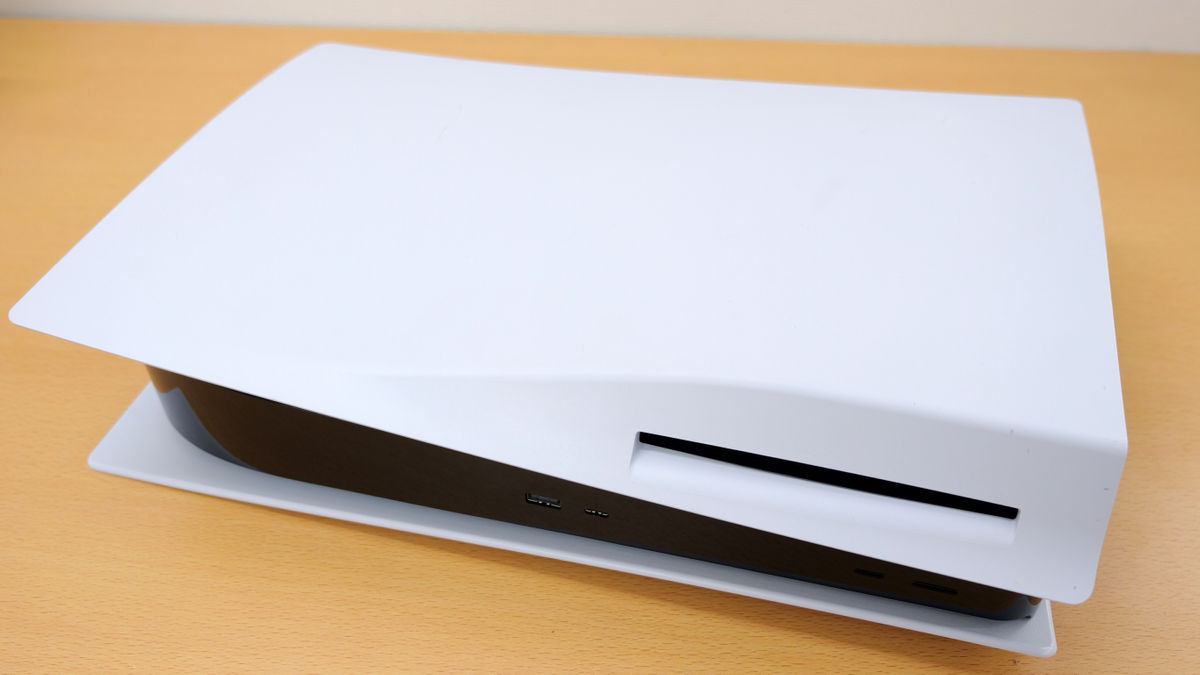
The FireCuda 530R SSD 2TB equipped with a heat sink can also be used as extended storage for the PS5. First, turn off the PS5, remove all cables, and lay the console horizontally so that the optical drive side (the right side when the PS5 is standing upright) is facing up.
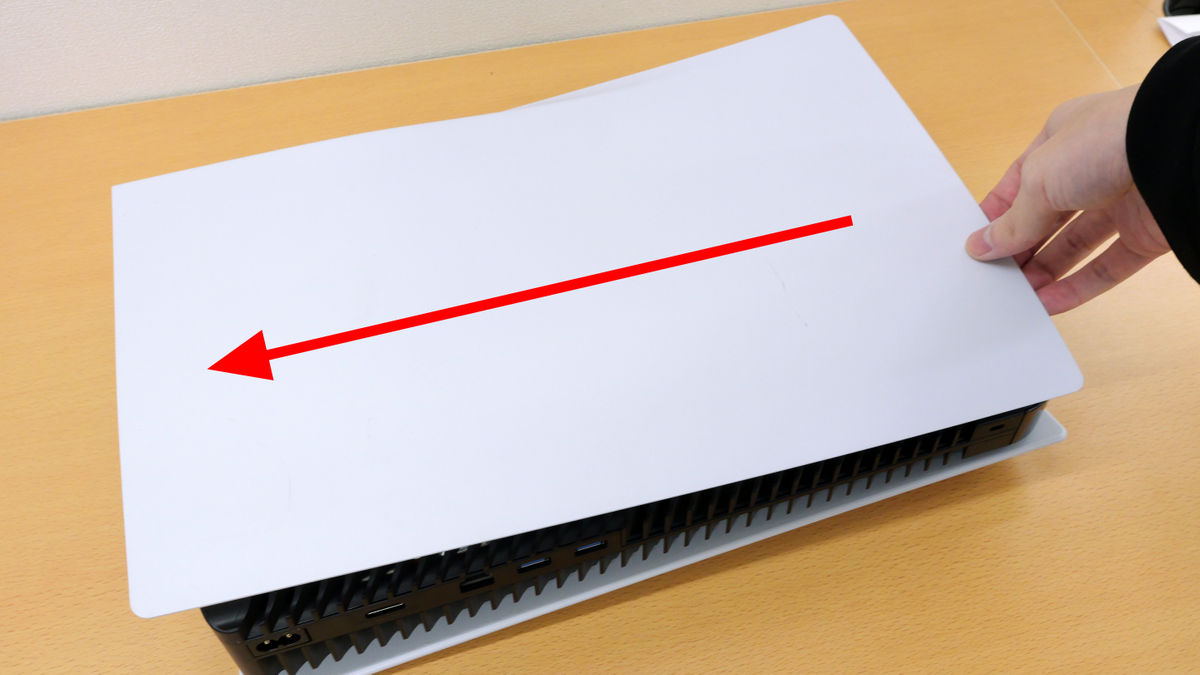
Next, while pulling upwards as if lifting the corner diagonally opposite the optical drive, slide the entire white plate on the side of the PS5 in the direction of the arrow (towards the bottom of the PS5).
The cooling fan (right) and optical drive (left) appeared like this.
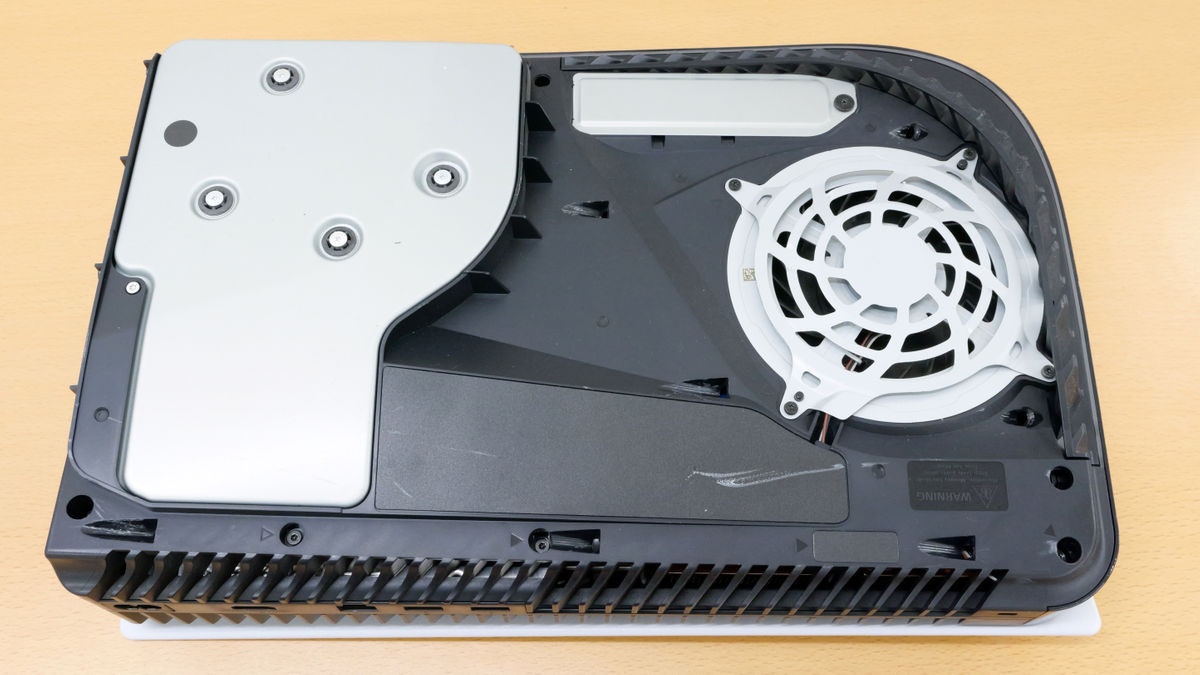
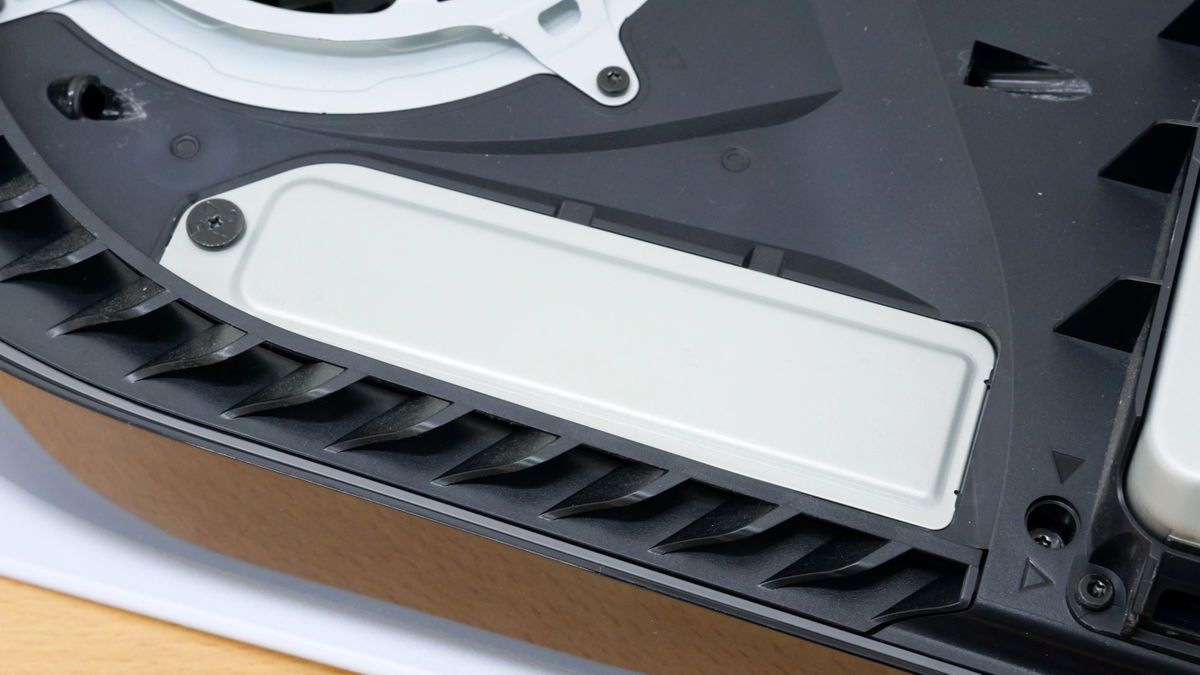
The silver strip next to the cooling fan contains an SSD slot for installing expansion storage.
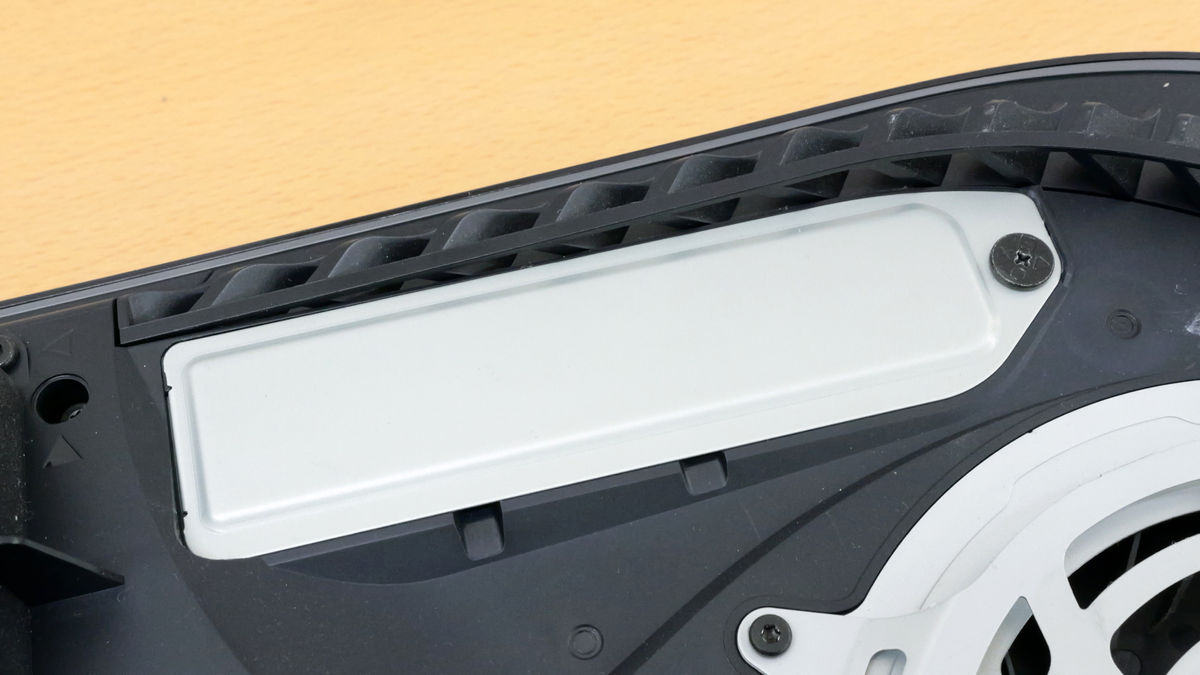
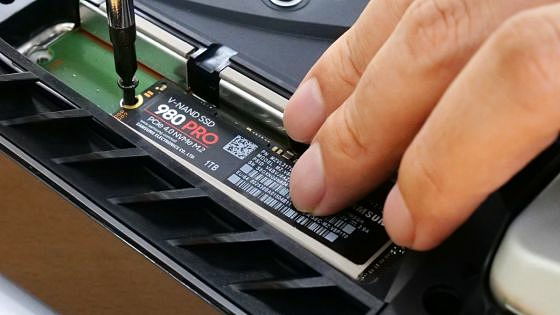
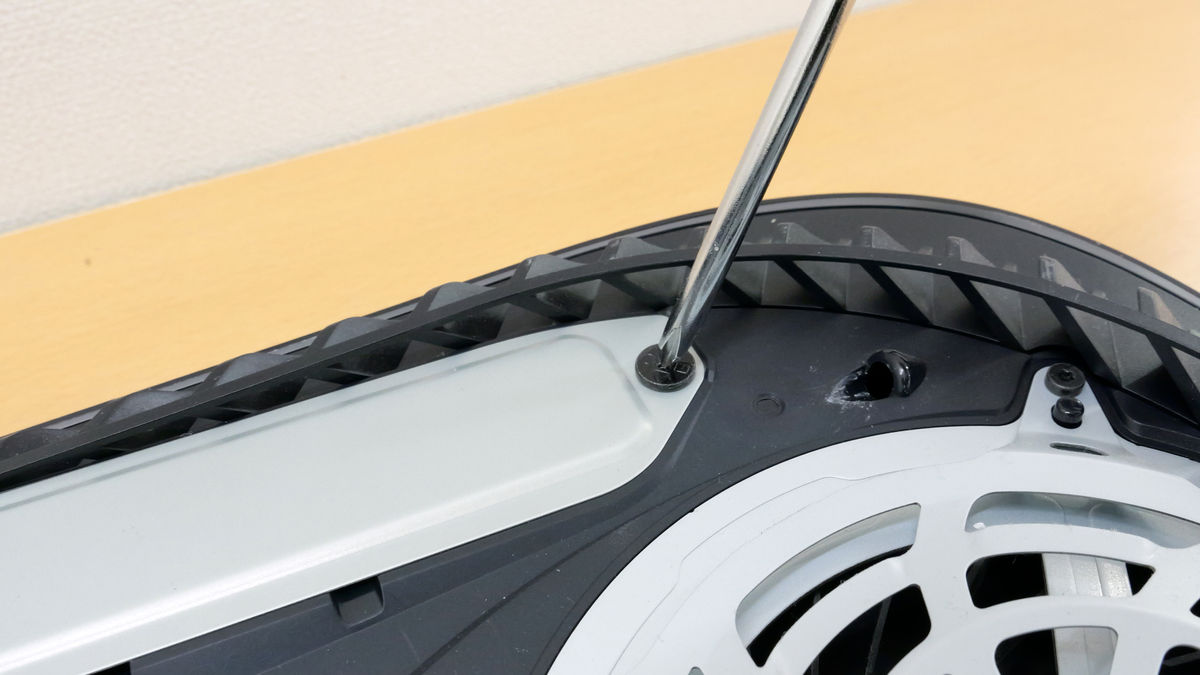
First, remove the screws with a Phillips screwdriver.
When you remove the plate it looks like this.
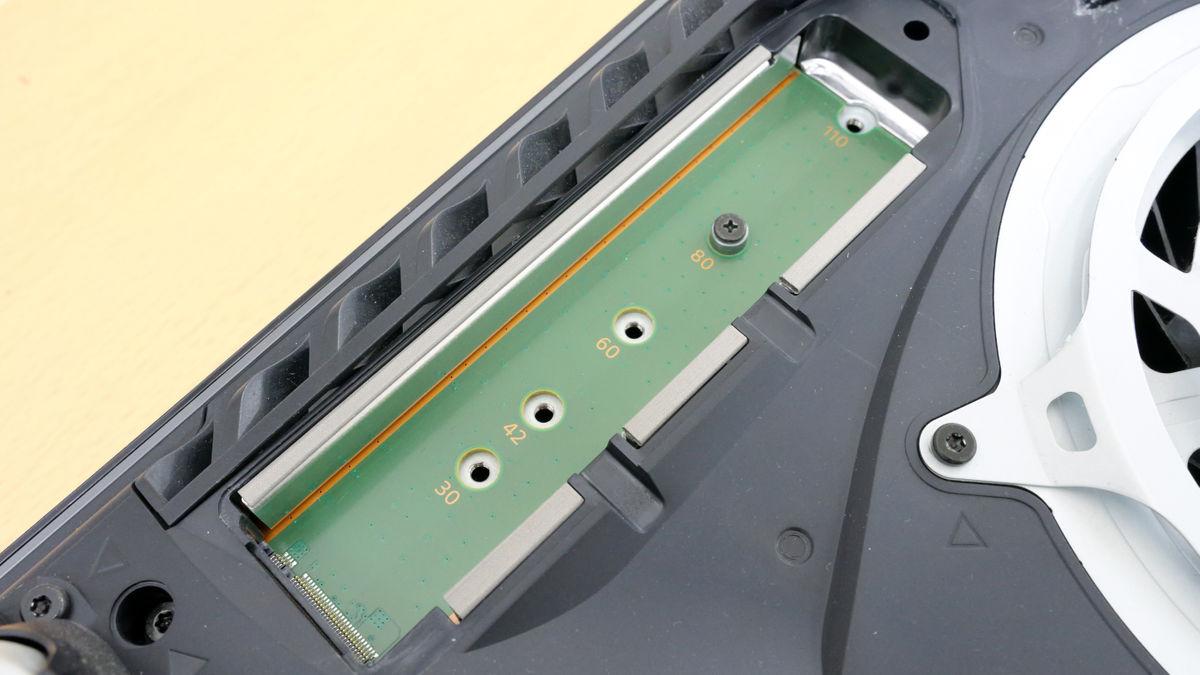
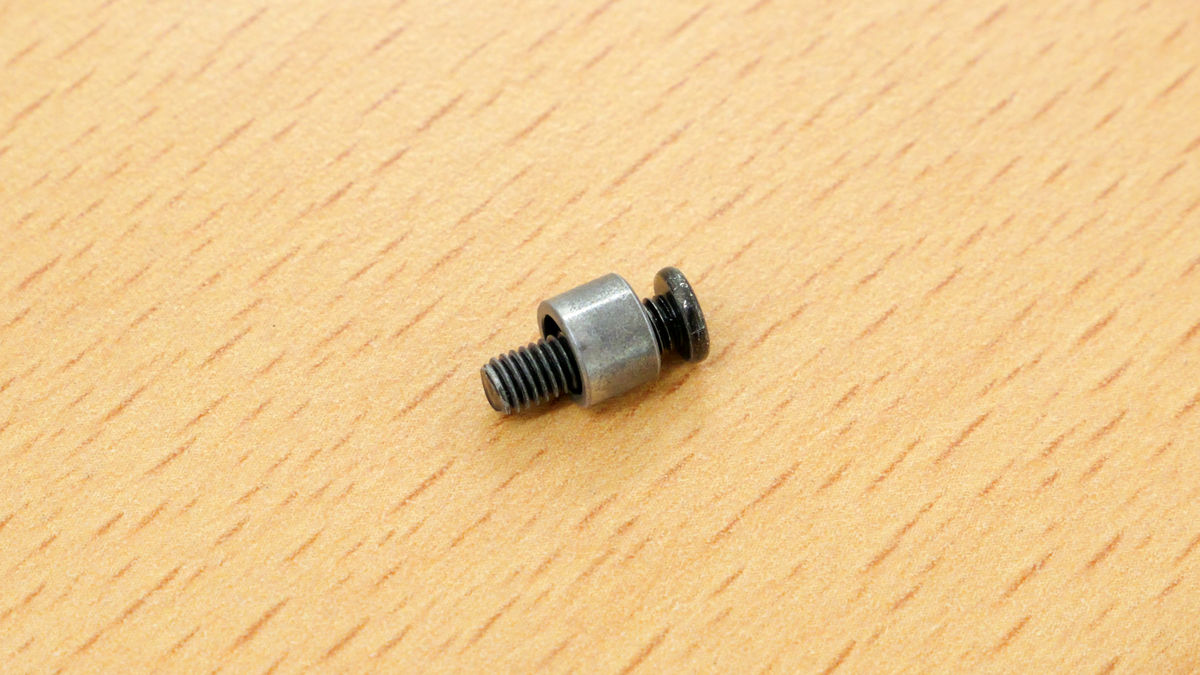
Remove the internal screws and spacers.
Below are the screws and spacers that were removed.
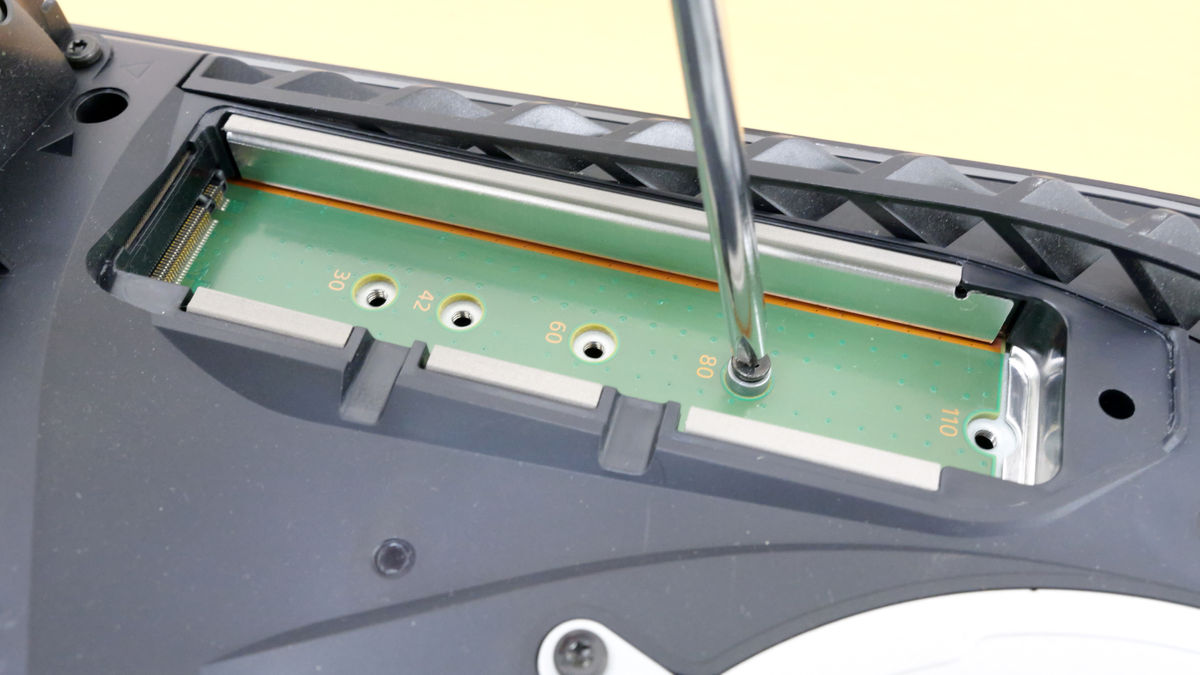
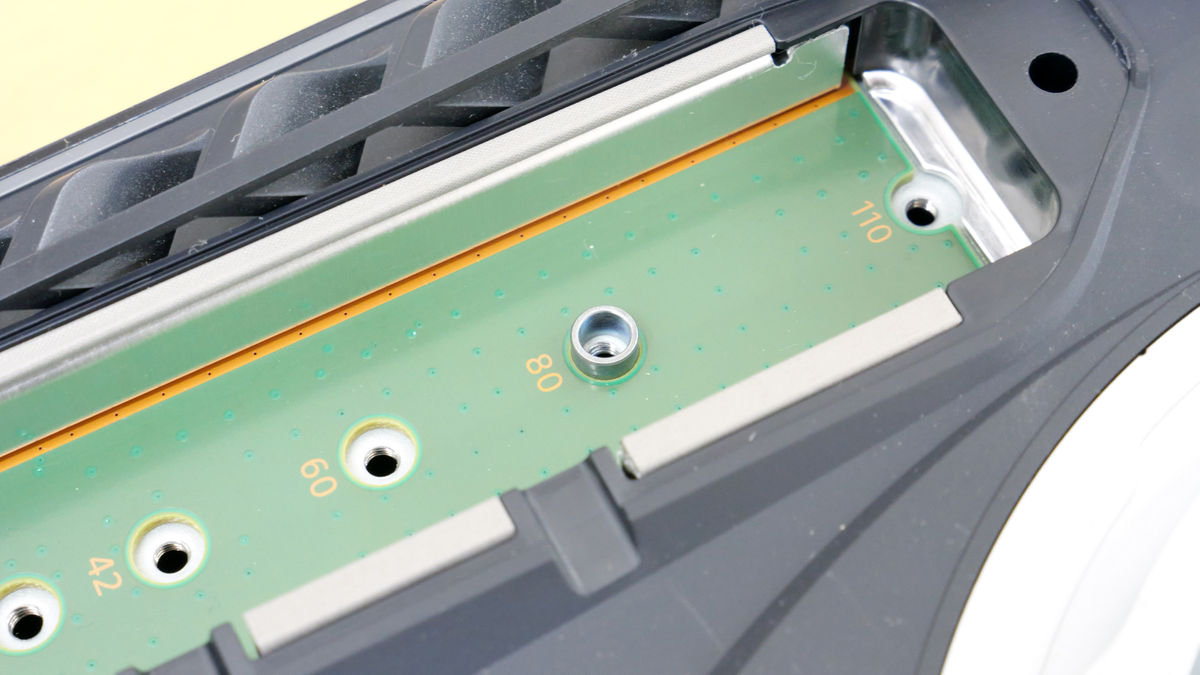
Set the spacer to the '80' position.
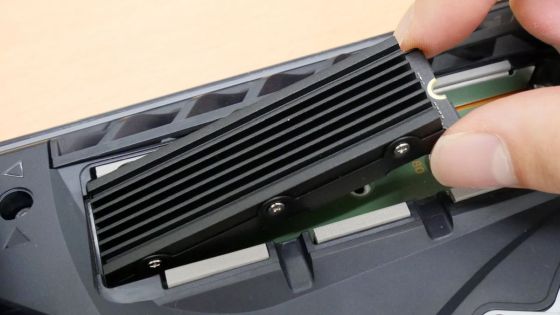
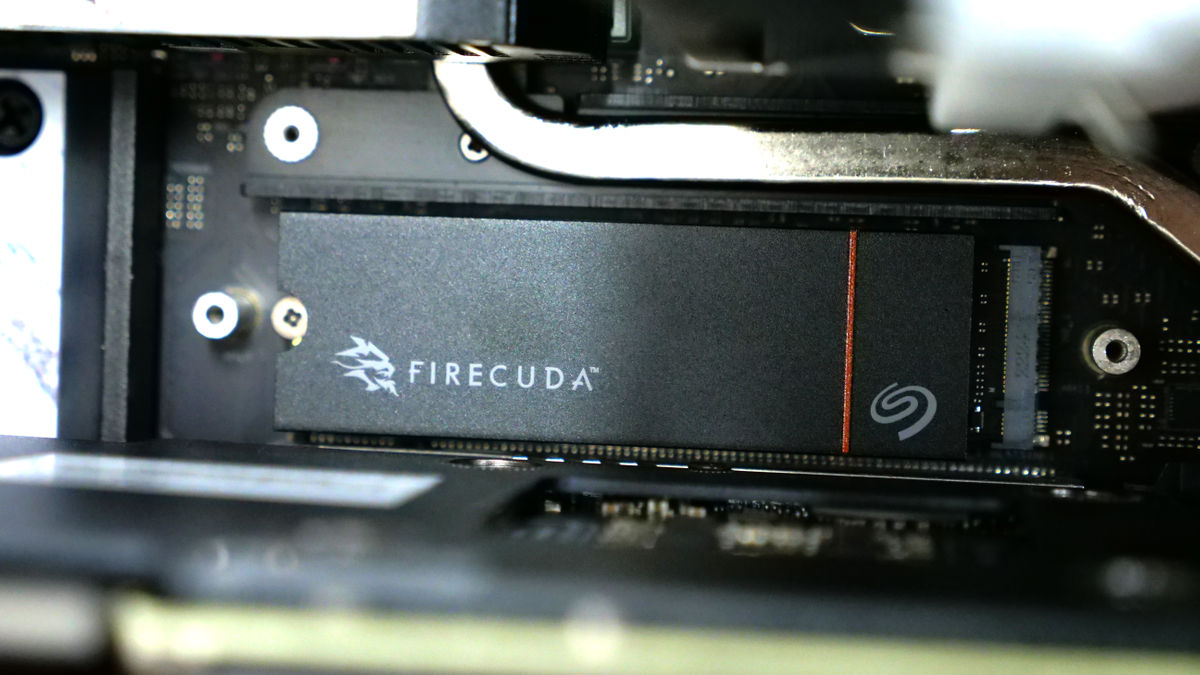
Insert the FireCuda 530R SSD 2TB.
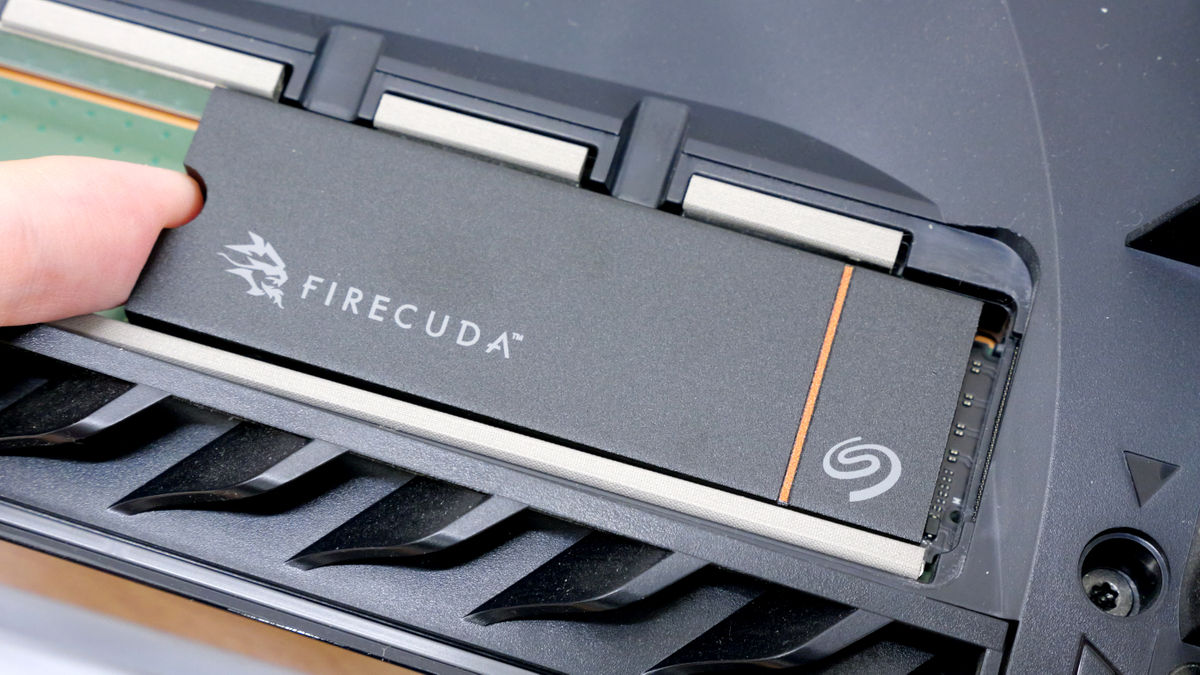
Just secure the SSD with the spacer using screws.
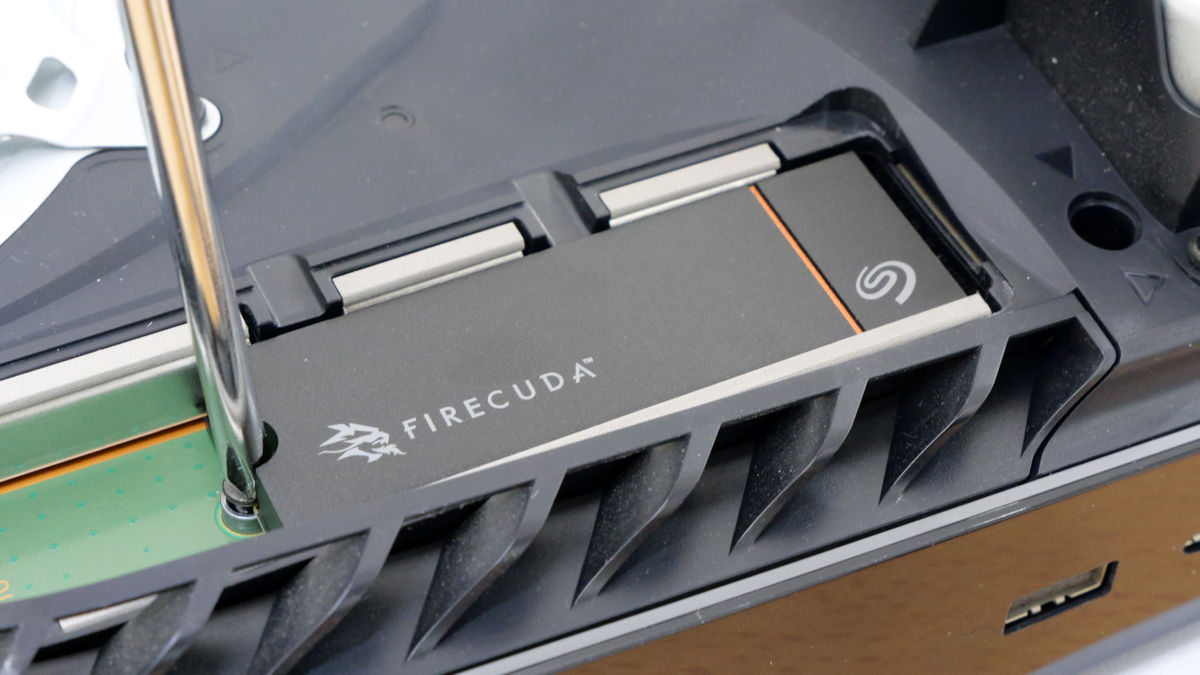
Then just follow the reverse procedure to secure the SSD slot plate and replace the white PS5 plate to complete the installation.
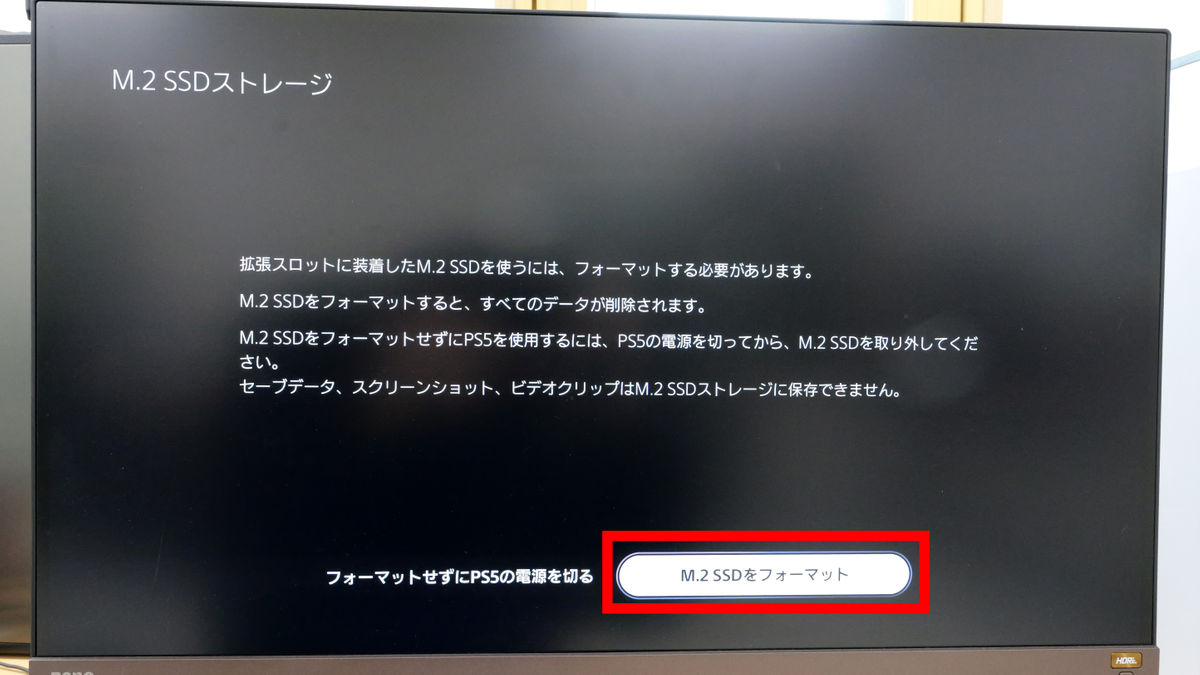
When you start up your PS5 after installing the FireCuda 530R 2TB SSD, the following notification screen will appear the first time you start it up. Select 'Format M.2 SSD.'
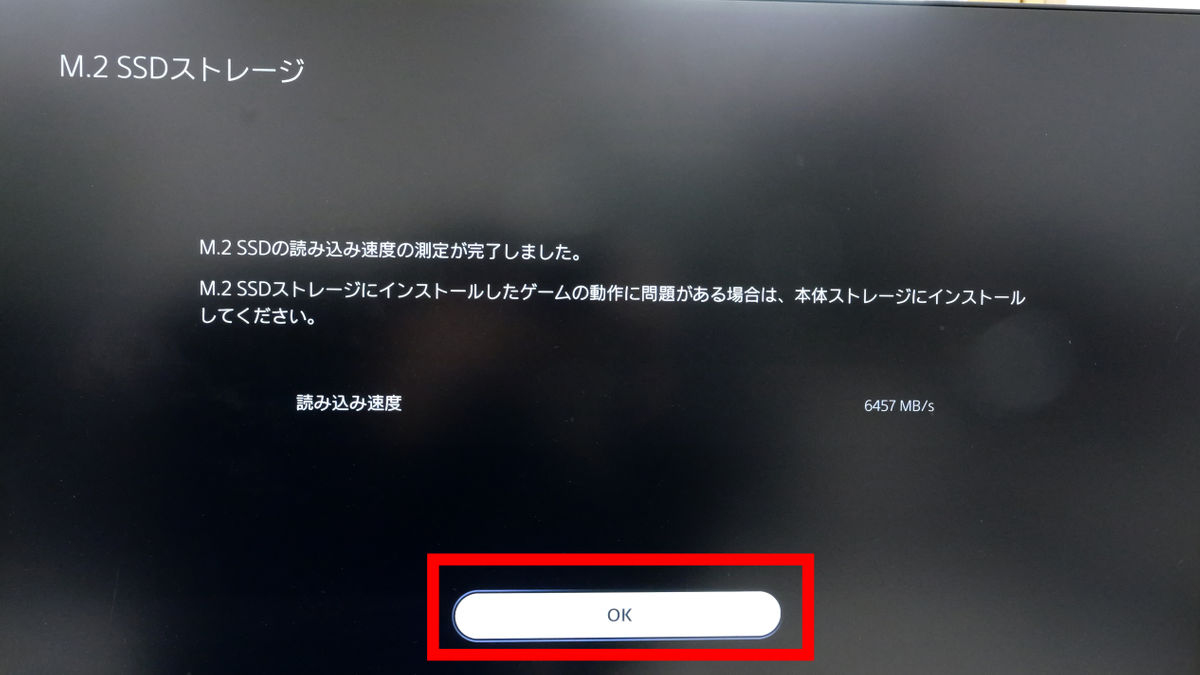
Then the reading speed measurement of the added SSD will start. The measurement will be completed in a few seconds. In this speed test, the reading speed of the FireCuda 530R SSD 2TB was displayed as '6457MB/s'. If you select 'OK', you can use the PS5 as usual.
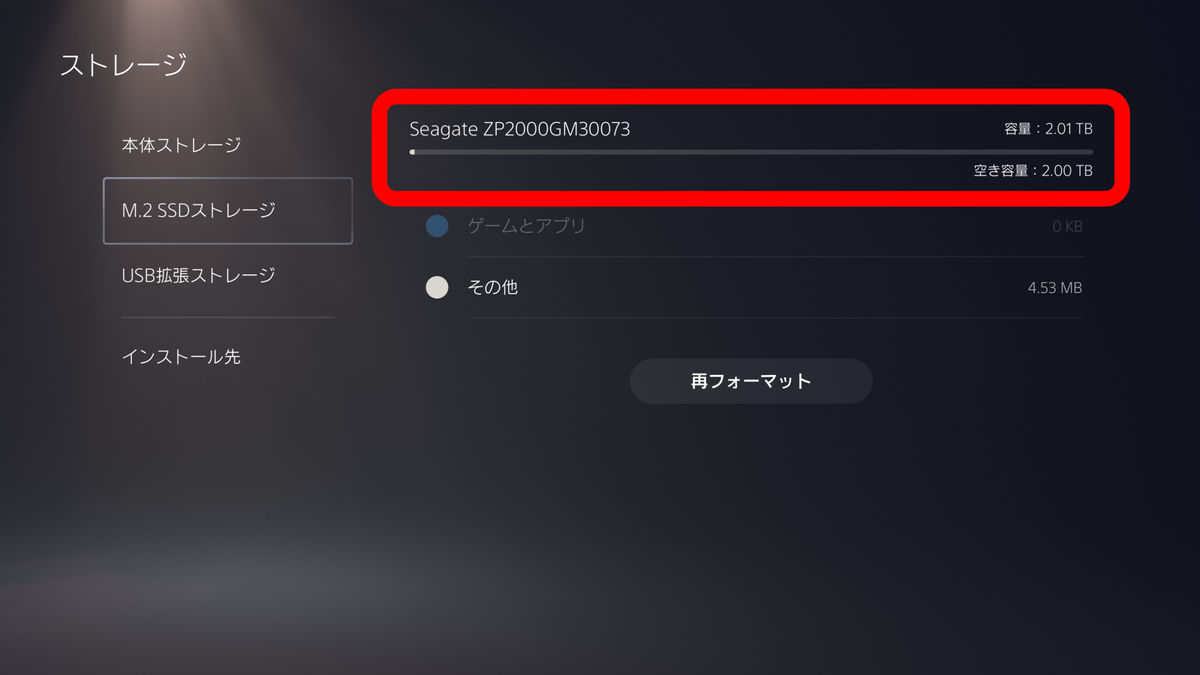
When I checked the PS5's storage, the FireCuda 530R SSD 2TB was correctly recognized as M.2 SSD storage in addition to the built-in SSD.
◆4: Data transfer test and loading time check on PS5
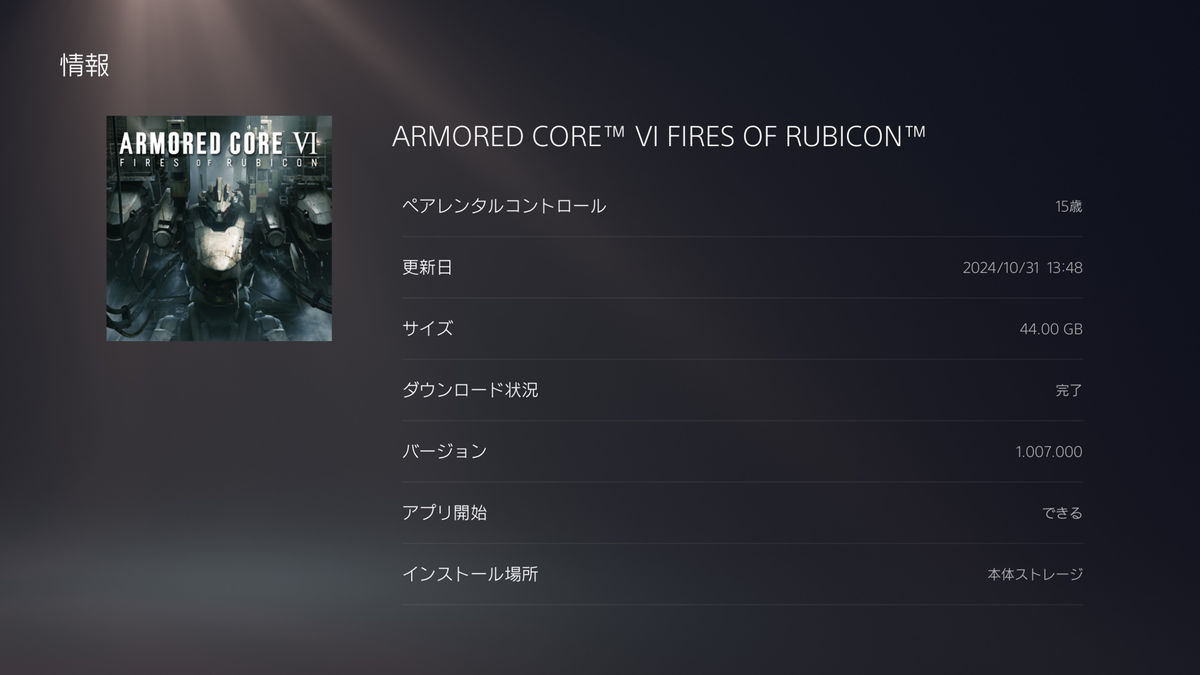
Next, I will move the game data to the FireCuda 530R SSD 2TB that I just installed. The game I will be moving this time is '
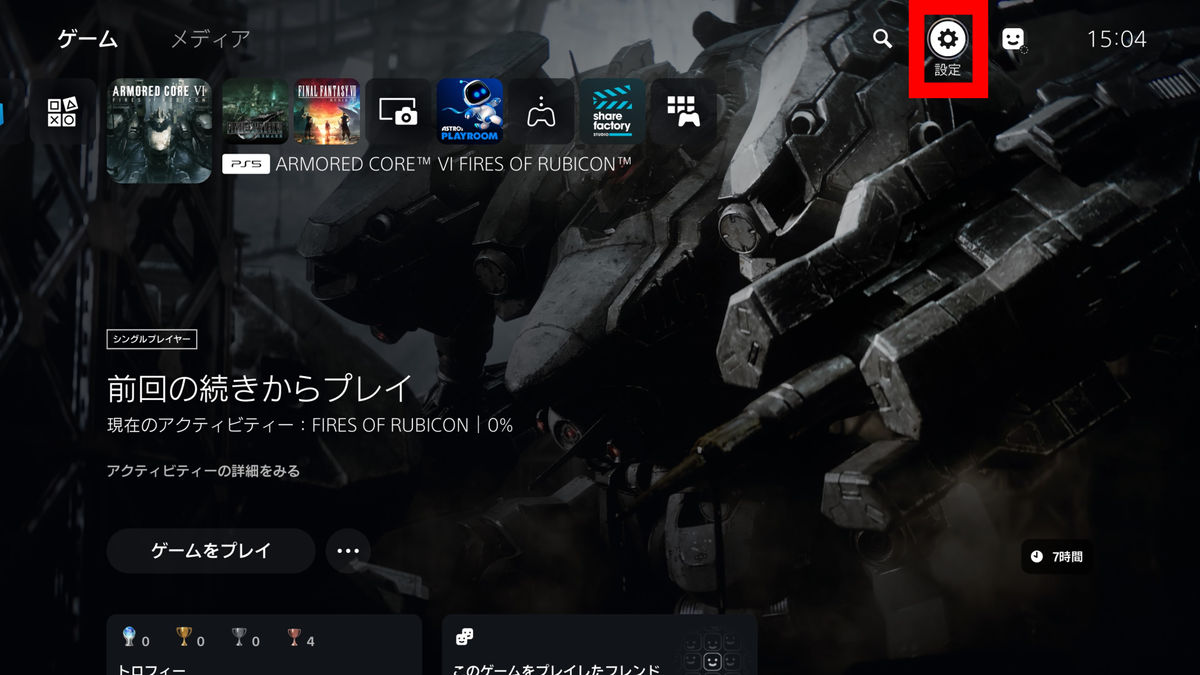
To transfer your data, go to Settings.
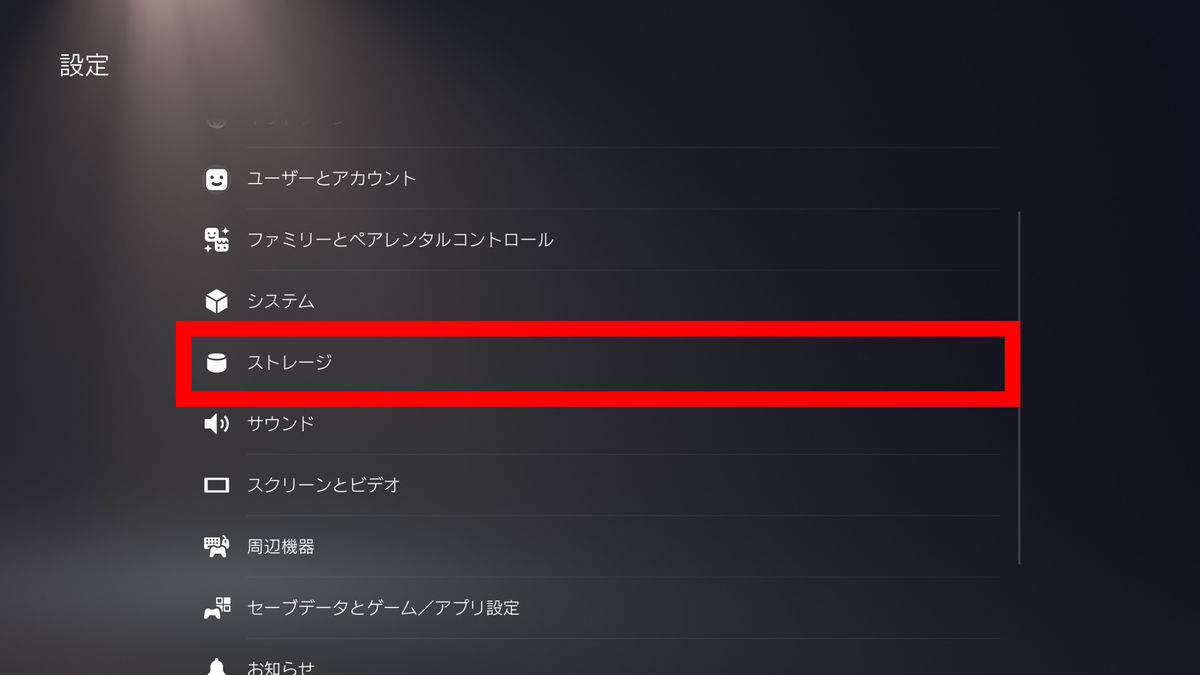
Select 'Storage'.
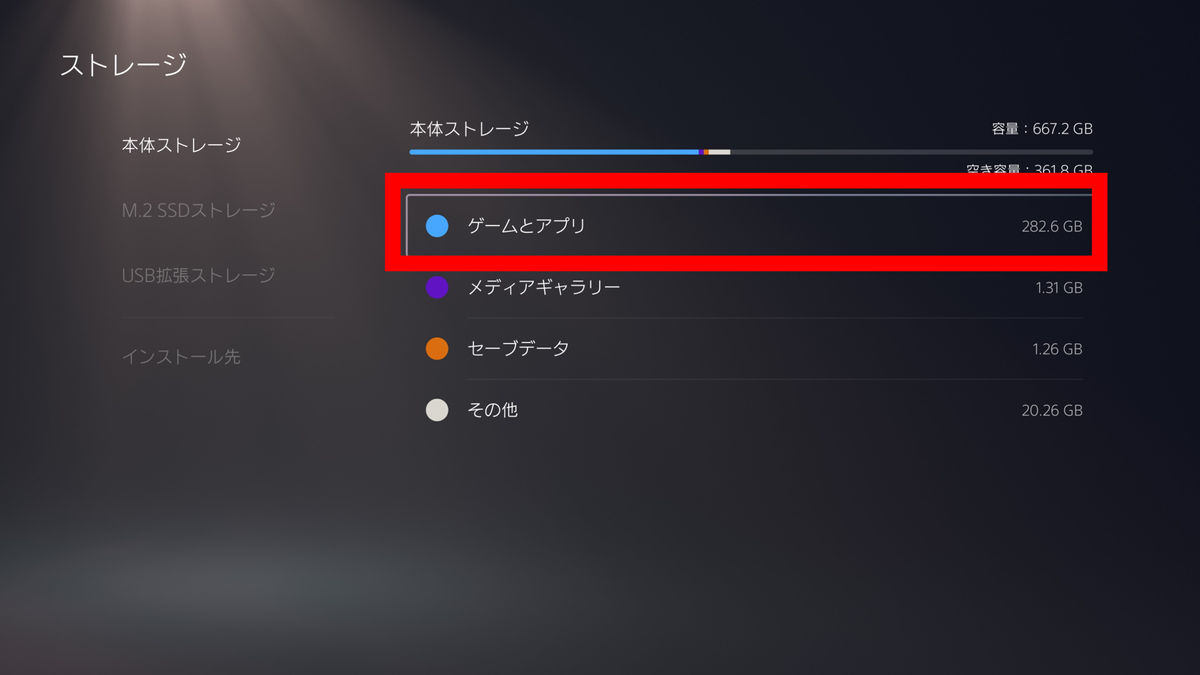
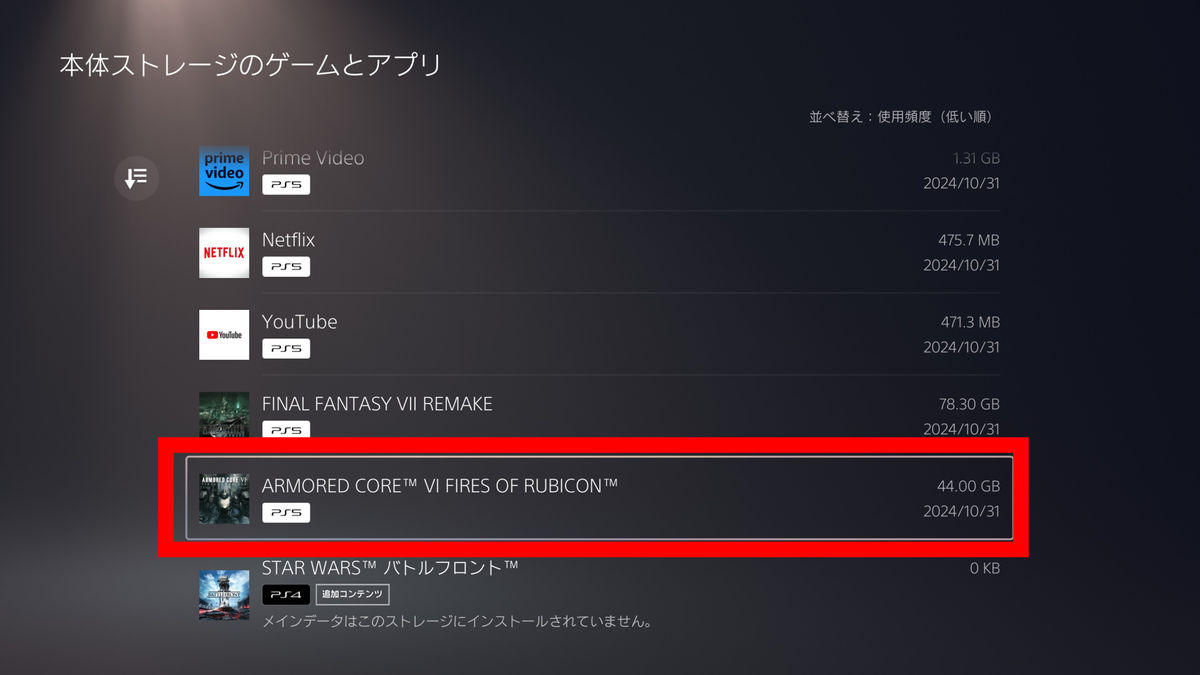
Select 'Games and Apps.'
Select the game data you want to move.
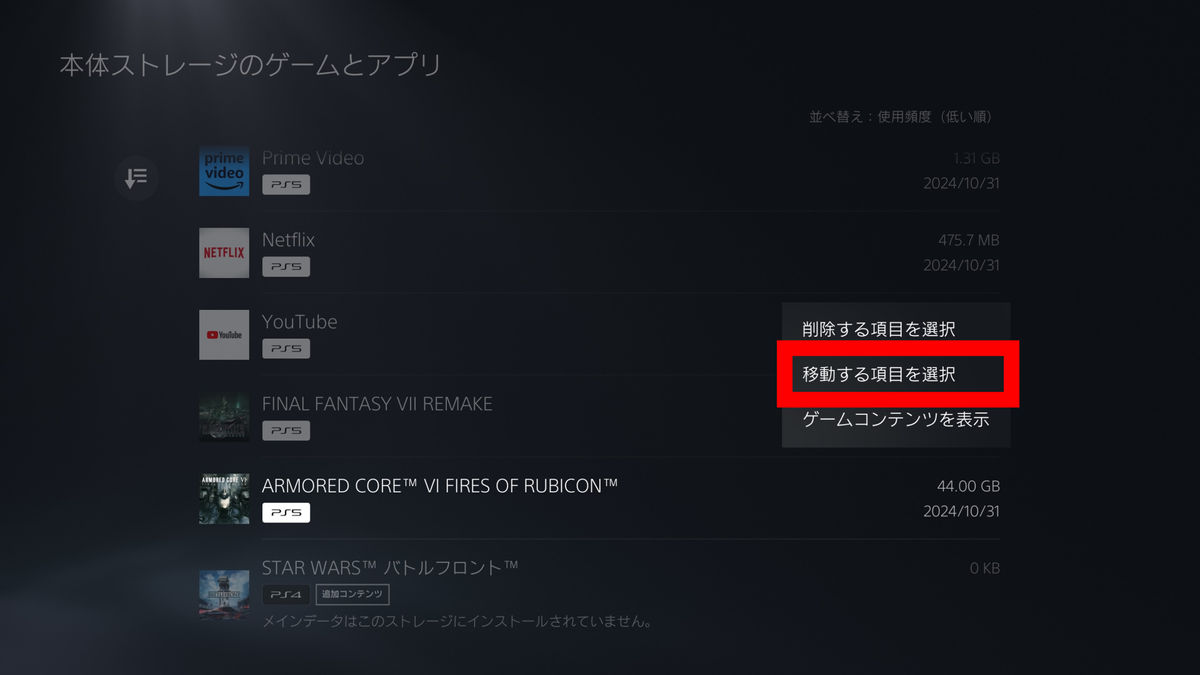
Select 'Select Items to Move'.
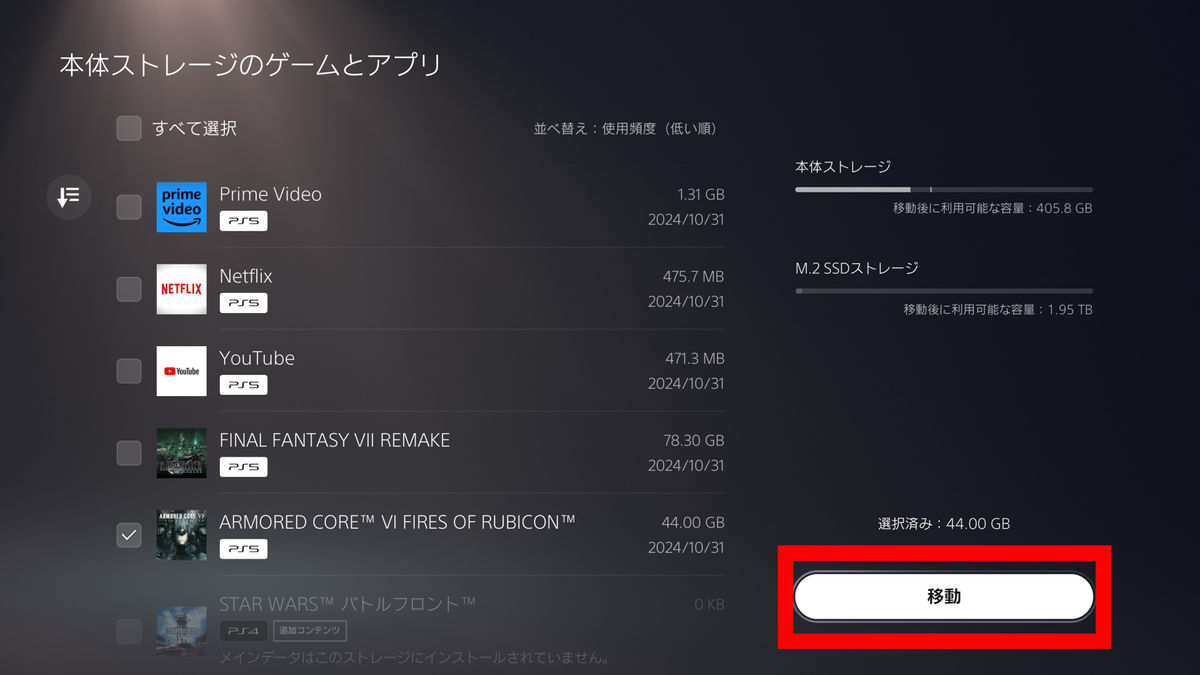
Select 'Move'.
Select “OK”.
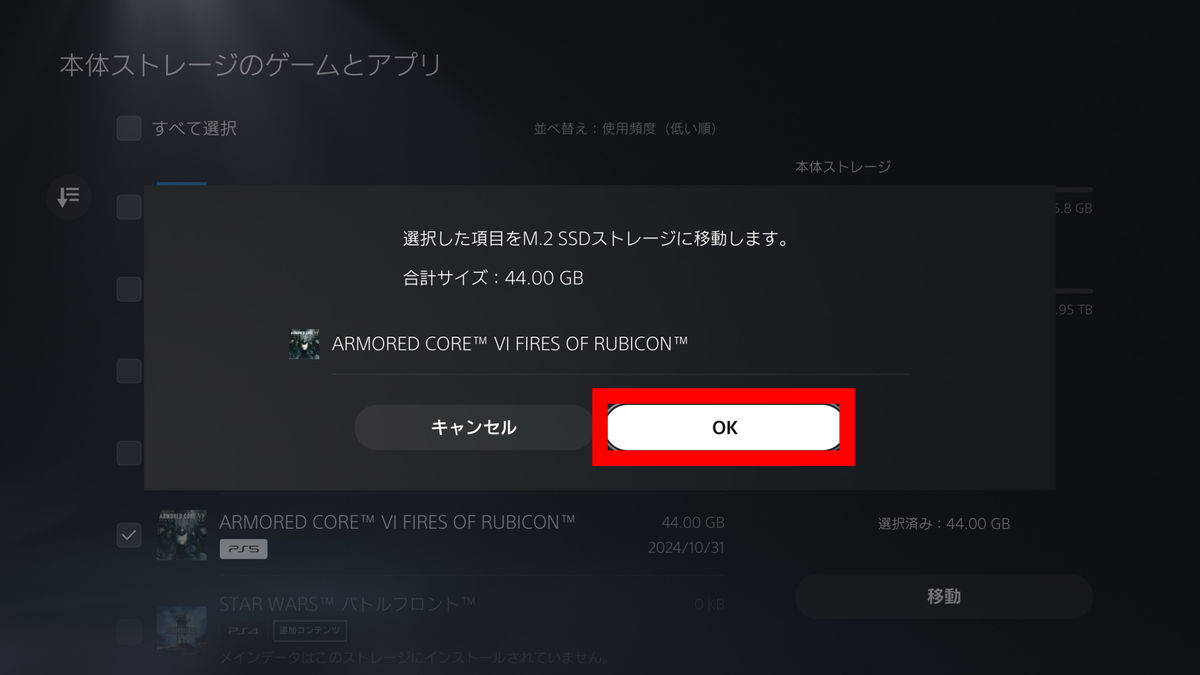
Then, data transfer from the PS5's built-in SSD to the FireCuda 530R SSD 2TB will begin. It took 20 seconds to transfer 43.956GB of data.
On the other hand, it took about three minutes to move game data from the 2TB FireCuda 530R SSD to the PS5's built-in SSD.
I tried transferring about 44GB of game data from Seagate's SSD 'FireCuda 530R SSD 2TB' to the built-in SSD of PS5 - YouTube
In addition, the following video shows the time it takes to load the game data and actually play the game after selecting 'YES' on the 'Are you sure you want to go on a mission?' screen with the game data of ARMORED CORE Ⅵ saved on the PS5's built-in SSD and the FireCuda 530R SSD 2TB. The FireCuda 530R SSD 2TB had a loading time about 1 second longer than the PS5's built-in SSD. The same results were obtained even when tested multiple times on the same PS5. Previously reviewed high-speed SSDs recorded loading times equivalent to the PS5's built-in SSD, so if you are concerned about long loading times, it is safe to choose another SSD.
Comparing the time it takes to play ARMORED CORE Ⅵ with the PS5's built-in SSD and Seagate's 'FireCuda 530R SSD 2TB' - YouTube
The FireCuda 530R SSD 2TB is sold on Amazon.co.jp and costs 41,212 yen including tax. The 1TB model is also sold on Amazon.co.jp. The price is 25,050 yen including tax.
Amazon | [Amazon.co.jp exclusive] Seagate FireCuda 530R M.2 internal SSD with heat sink [PS5 operation confirmed] 2TB PCIe Gen4 x4 Read speed 7400MB/s 5-year warranty + 6-month agency warranty Authorized dealer ZP2000GM3A073/EC | Seagate (SEAGATE) | Internal SSD mail order
Related Posts: