The inside of the 'smart light bulb' that allows you to control power, color, etc. from your smartphone etc. looks like this

The number of '
The anatomy of a smart bulb – Emil CHERICHES
https://cheriches.com/smart-home/2023-10-07-the-anatomy-of-a-smart-bulb.html

Mr. Cheriches said that seven smart light bulbs are installed in his home dining room. However, when trying to turn all the bulbs on and off, there was a lag between turning them on and off, and some bulbs did not work properly.
Cheriches was using a USB dongle to control the smart light bulb, and there was a considerable distance between the dongle and the light bulb, as well as a concrete wall, which may have been the cause of the problem. Therefore, Mr. Cheriches ordered a smart light bulb on AliExpress in order to modify it so that it could be controlled by Wi-Fi. Below is the smart bulb that arrived to Mr. Cheriches.

We will gradually disassemble the smart light bulb using a design knife.
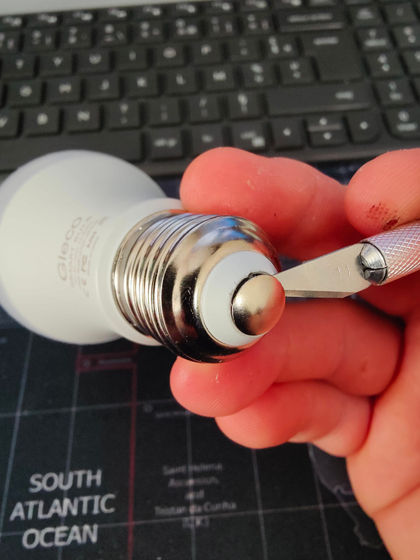
I removed the cap and part of the board was exposed.
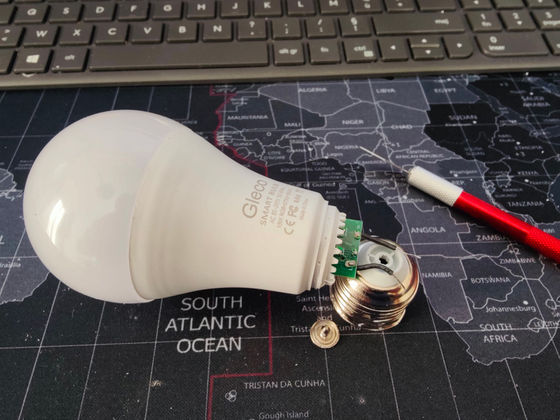
Cut out the glove part and disassemble it.
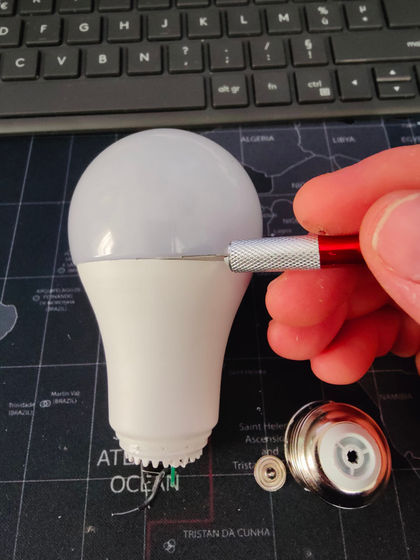
In the end, we succeeded in taking out only the board. Mr. Cheriches, who confirmed the board, said, ``This bulb is equipped with a BK7231N chip that operates on
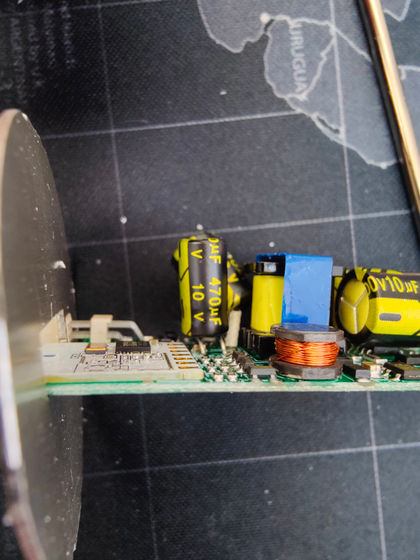
According to Mr. Cheriches, this time he will install open source firmware called `
To install the firmware, it is necessary to desolder unnecessary modules from the board mounted on the smart bulb. Cheriches carefully removed the solder from the seven contacts. After that, Mr. Cheriches soldered the cables to 'RX1', 'TX1', 'CEN', 'GND', and 'Vcc3V3' on the board.
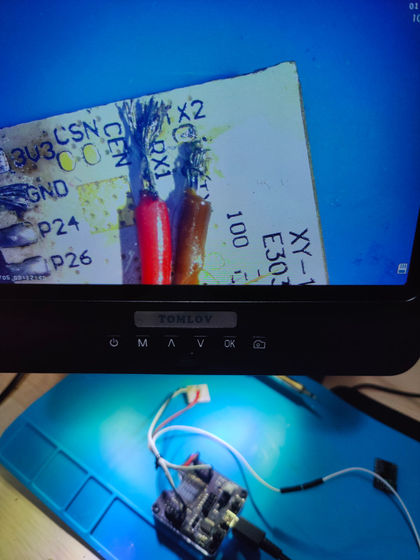
After soldering, connect it to your computer and format it. If the format is successful, a Wi-Fi network called 'OpenBK7231N' will be displayed on the device.

The firmware rewriting work is now complete. After that, reassemble the disassembled smart light bulb.
Connect to the computer again and access the main interface of the smart bulb. Set the pins required to switch the LED color. Mr. Cheriches explains, ``Set PWM number 3 on P6, PWM number 2 on P7, PWM number 1 on P8, PWM number 5 on P24, and PWM number 4 on P26.''

To Cheriches, ``It's certainly a great idea to modify smart light bulbs to be Wi-Fi compatible, but it takes time. 'It might be better to buy a smart light bulb that has been updated.' On the other hand, Mr. Cheriches said, ``Through this work, work such as soldering and compiling became a new hobby of mine that I can concentrate on and enjoy.Whether or not I buy a higher-performance light bulb depends on how I think.'' .
Related Posts:


