A movie that completely repairs the developer Mac mini equipped with the A12Z chip that was sold as scrap in China
dosdude1, who has published advanced remodeling movies of PCs and smartphones on YouTube, has released a movie showing how to revive a scrap board of a Mac mini for developers of the A12Z chip that he purchased from a Chinese vendor.
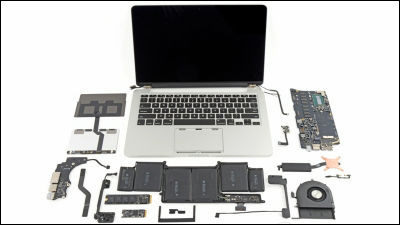
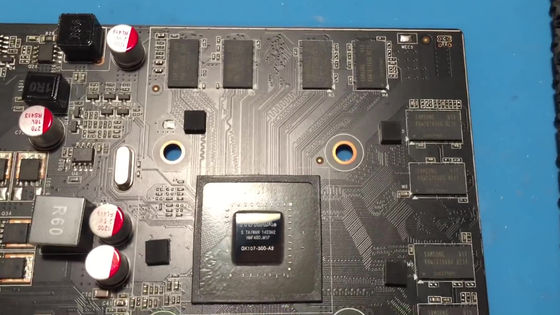
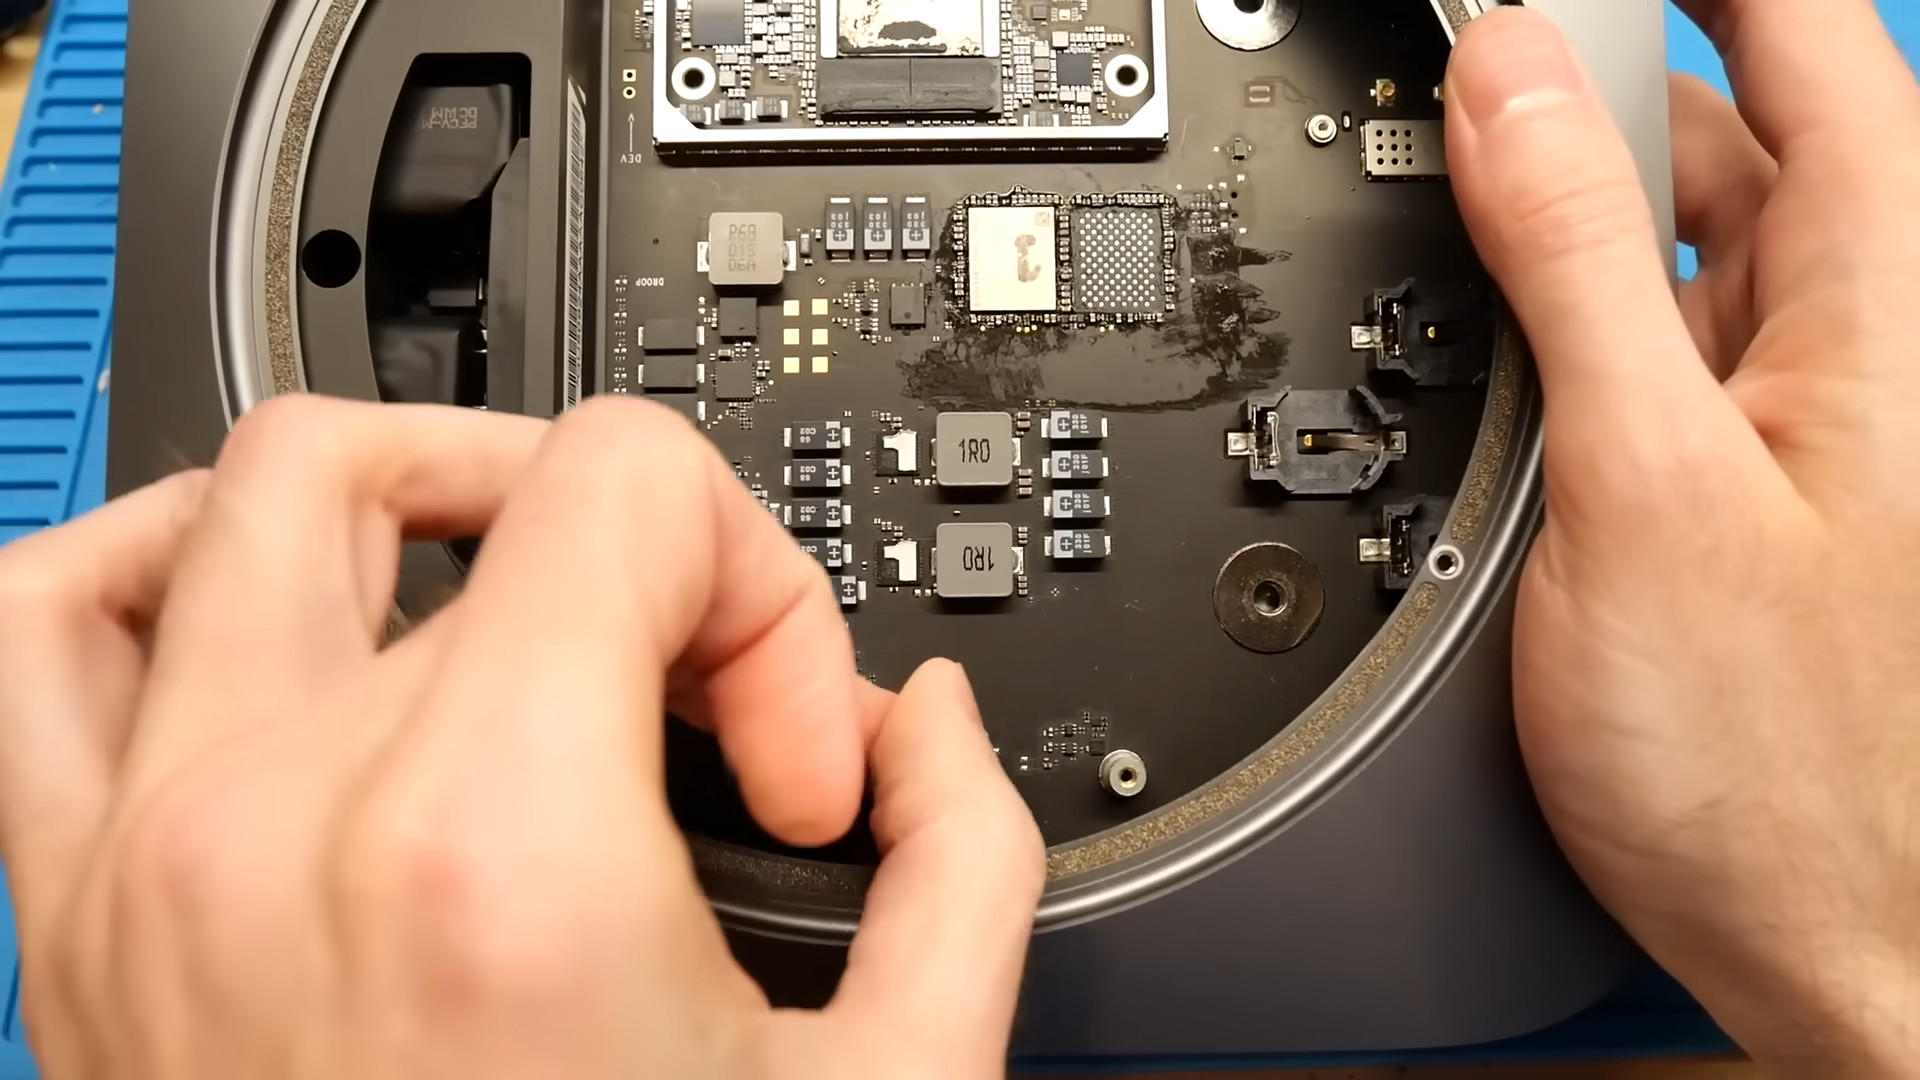
This is the board that dosdude1 purchased. In 2020, Apple announced its own proprietary processor, 'Apple Silicon,' and announced a transition from Intel Core processors. At the same time as this announcement, Apple delivered a Mac mini equipped with A12Z Bionic, 16GB RAM, 512GB SSD storage, a developer beta version of macOS Big Sur, and XCode to developers who participated in the Quick Start Program. This board was installed in that developer Mac mini.
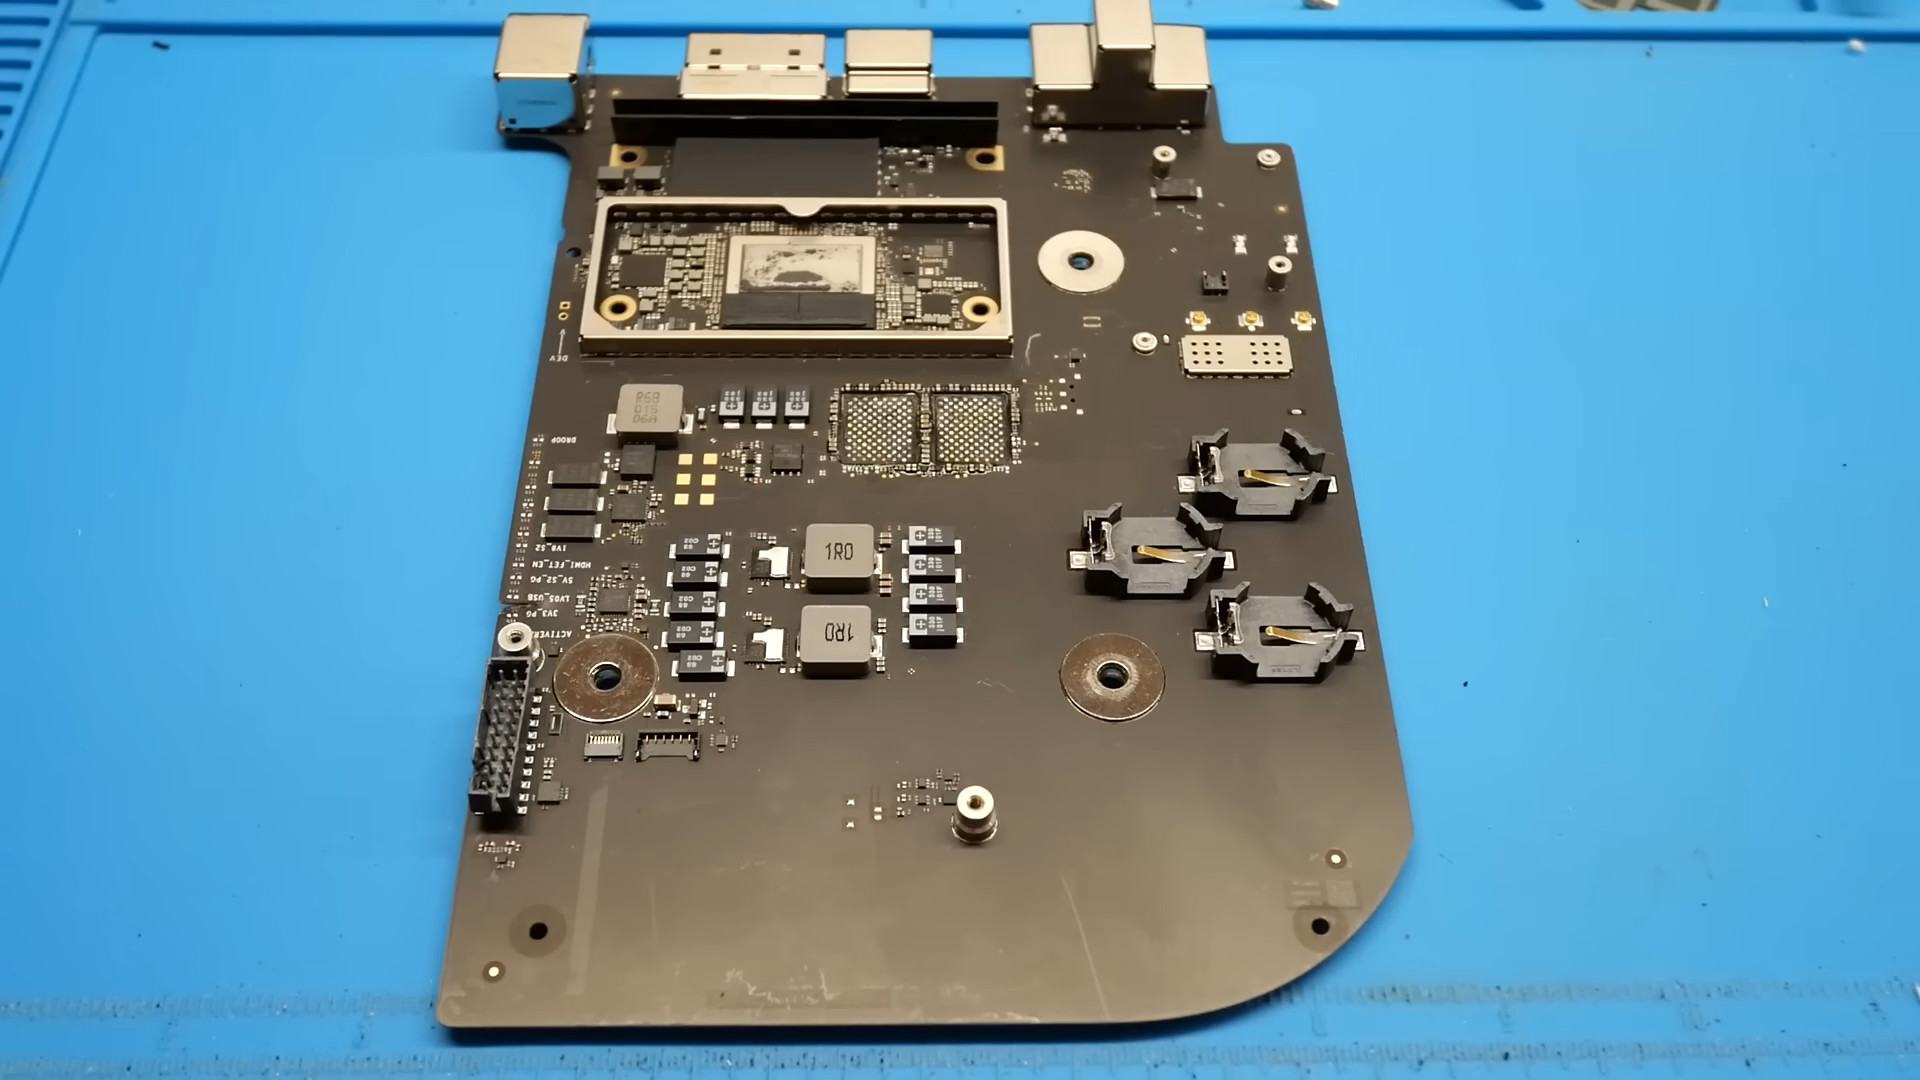
This circuit board was scrapped by Apple and resold by a Chinese dealer. There are cuts in parts of the board, but these cuts were made by Apple when it scrapped the board. The cuts have deformed the 8-12 layers of the board, and if you turn on the power in this state, it will cause a short circuit, making the board itself unusable.
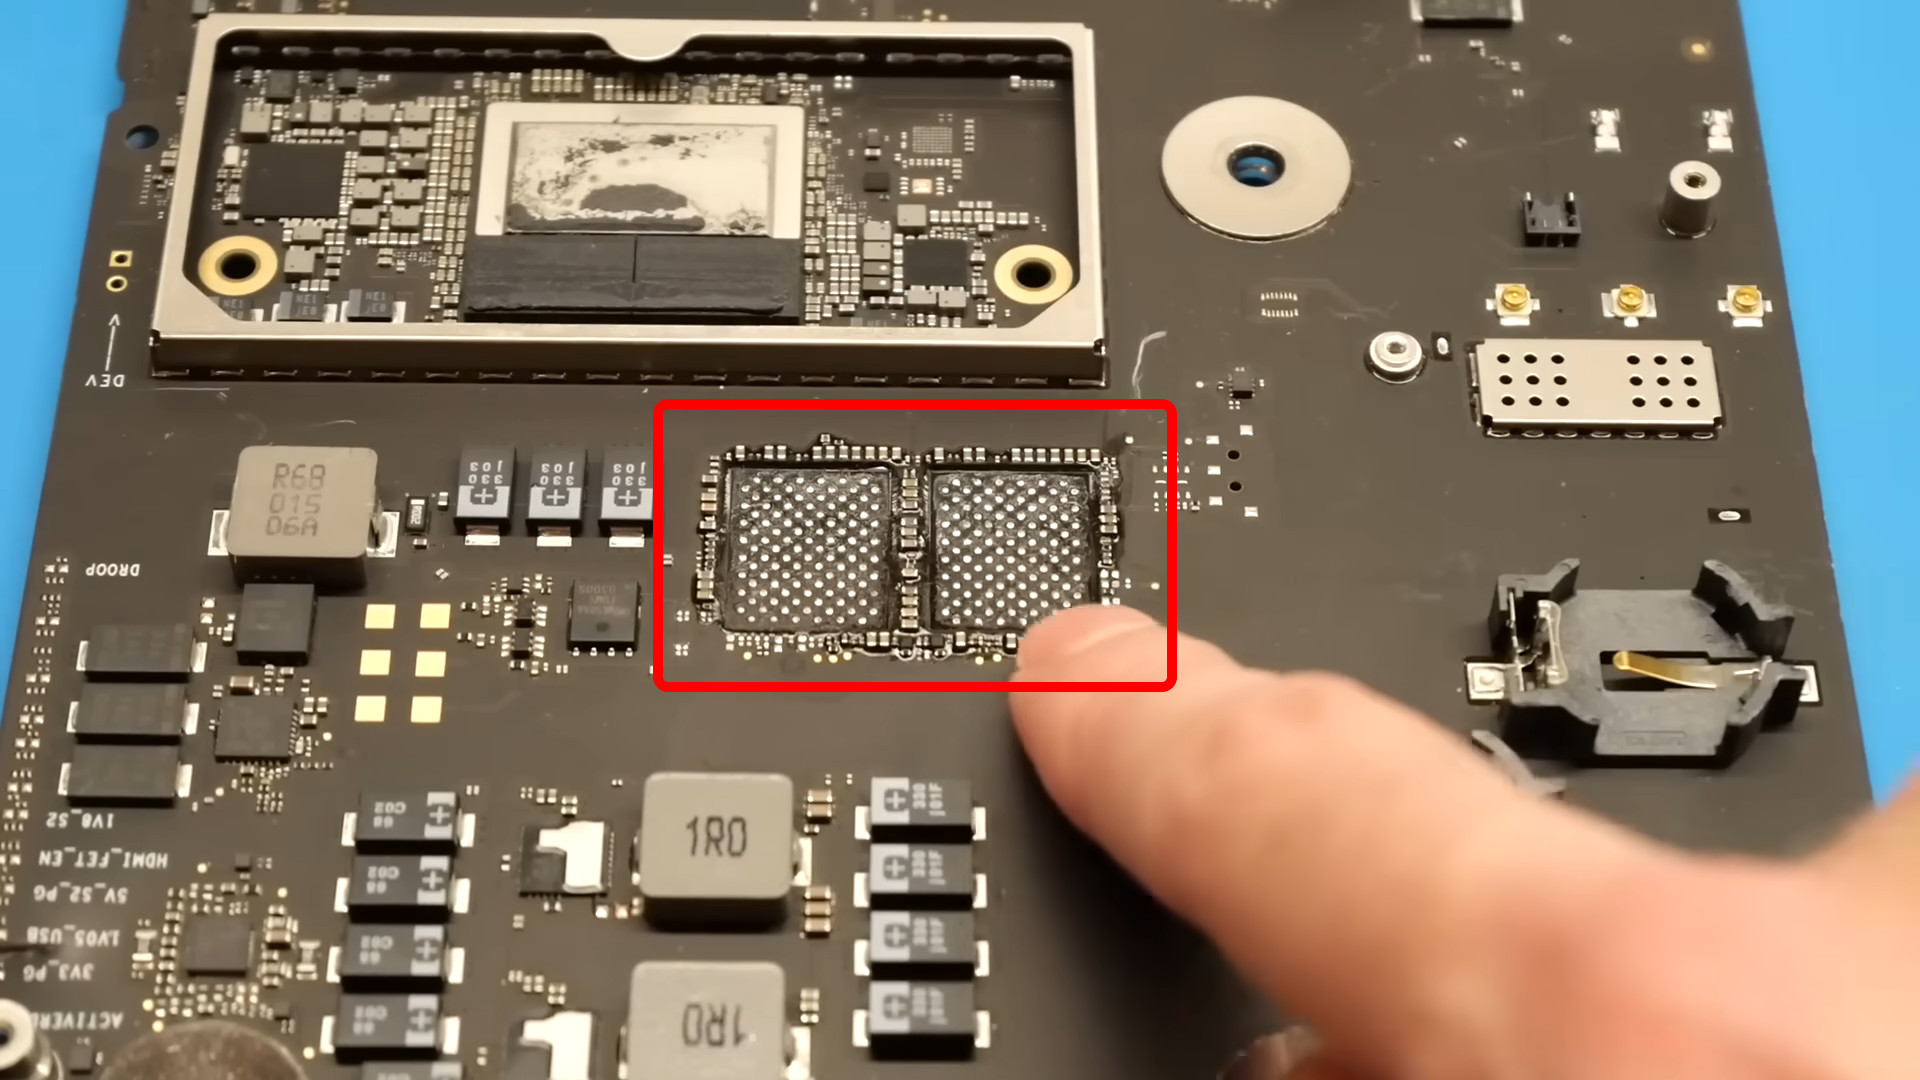
In addition, the soldered NAND flash memory storage has been removed. According to dosdude1, this was likely done by a Chinese contractor, and damage was also evident to the surrounding components, likely due to the work being done rather carelessly.
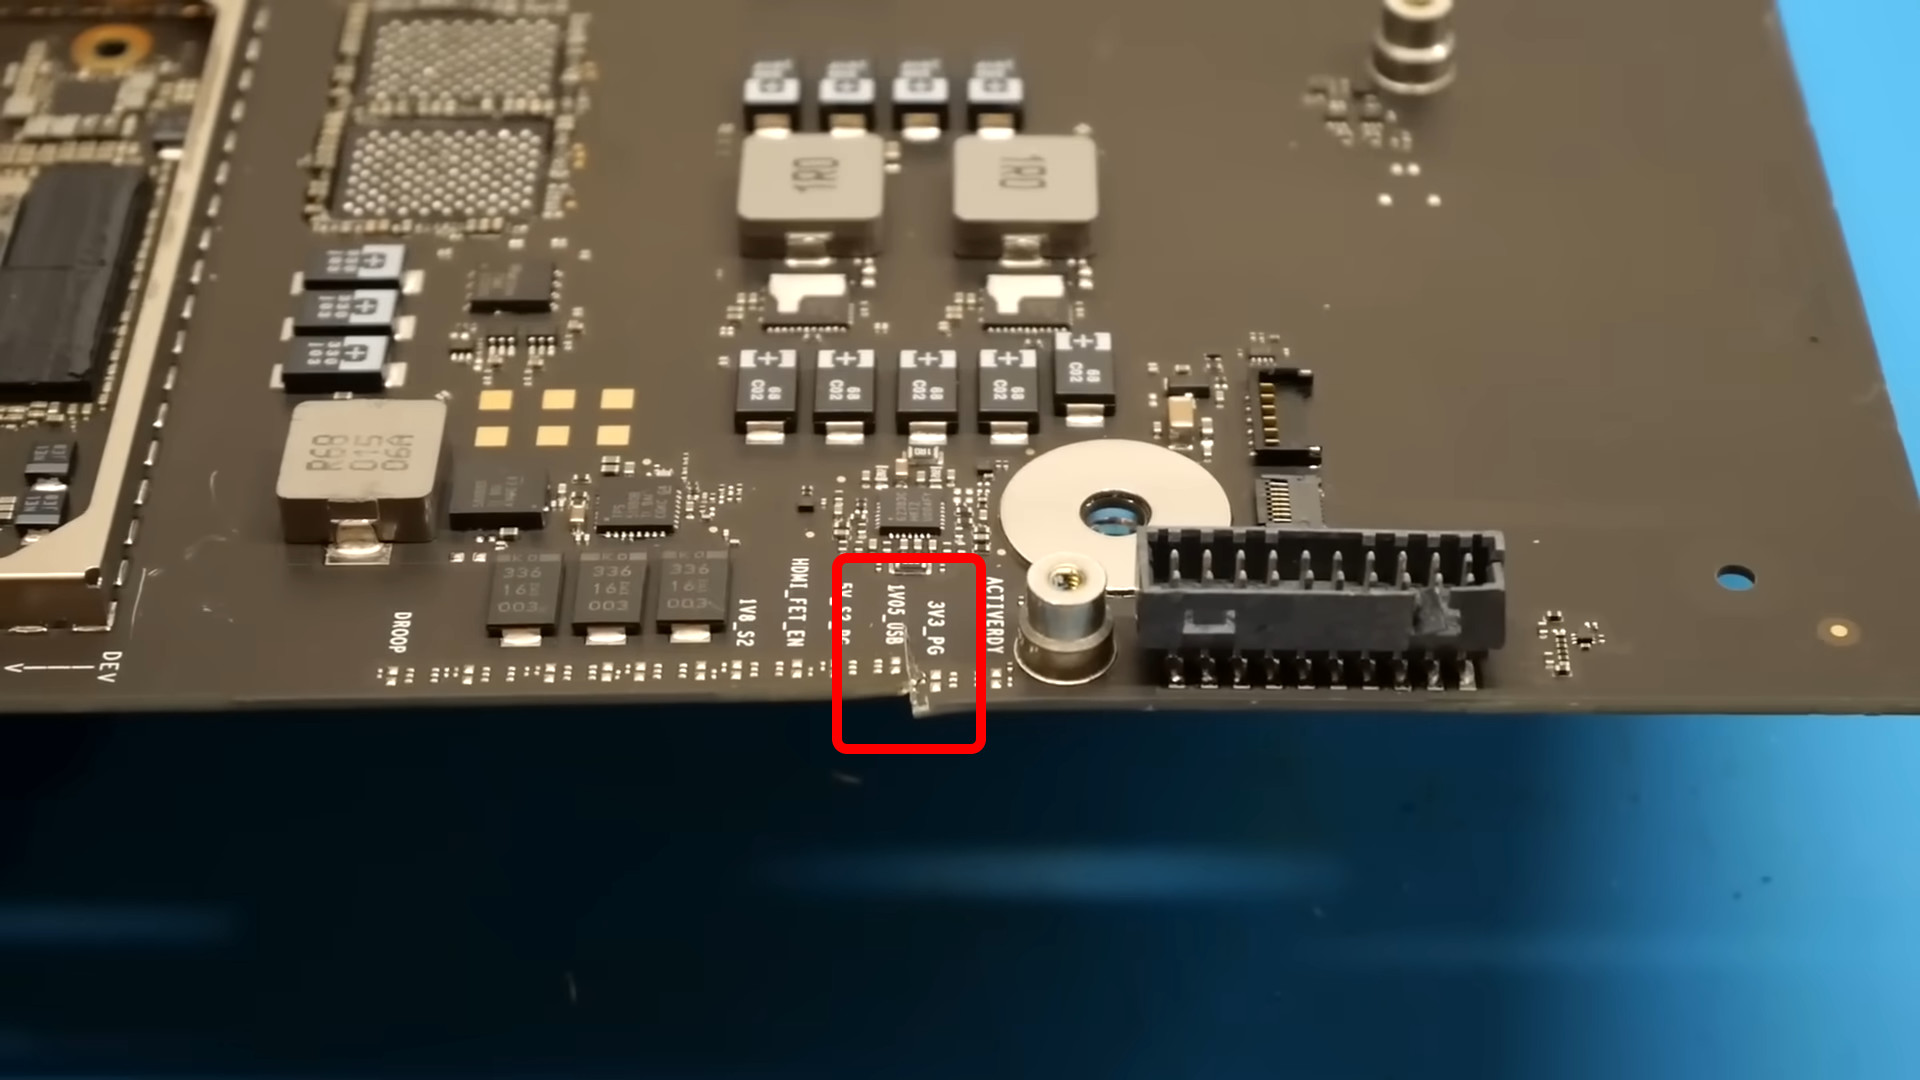
Before powering up the board to make it usable, I first inspected a nearby capacitor and found it to be completely shorted out.
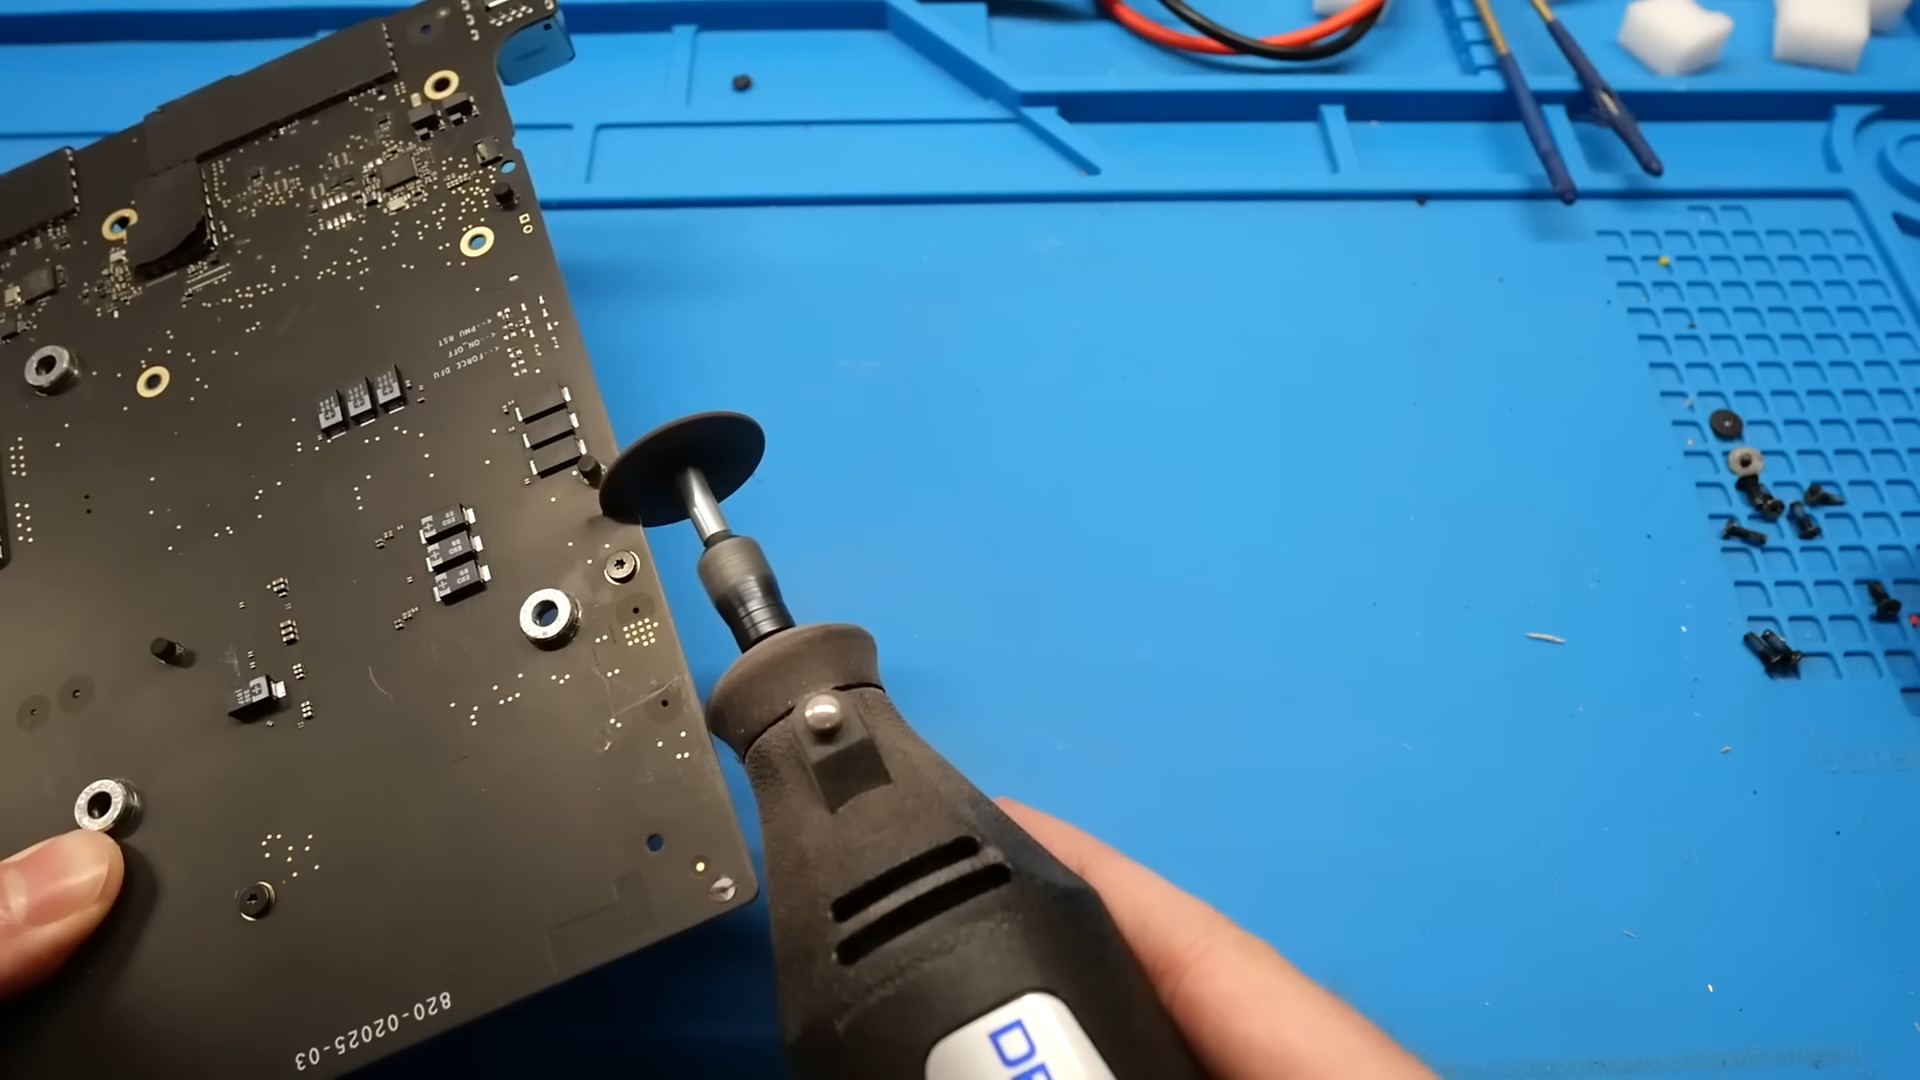
So we use a circular saw to cut away most of the deformed parts.
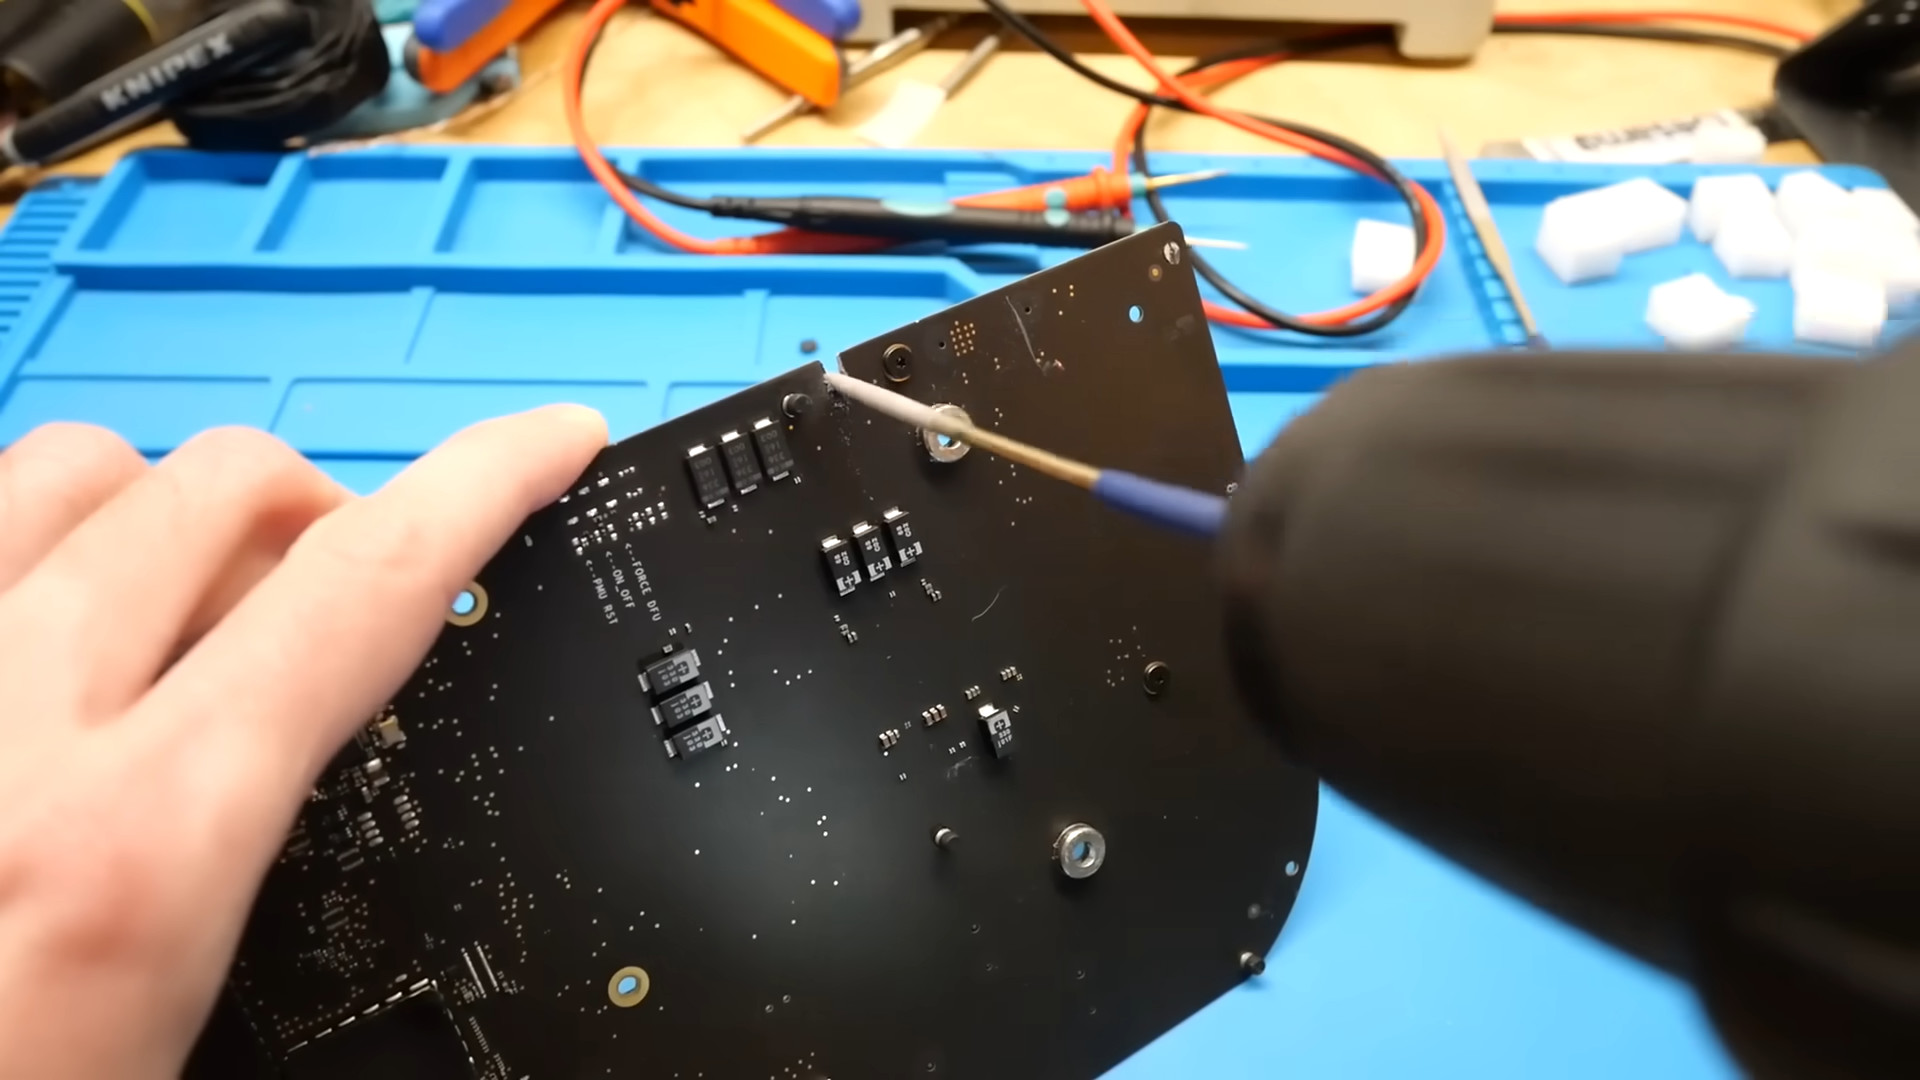
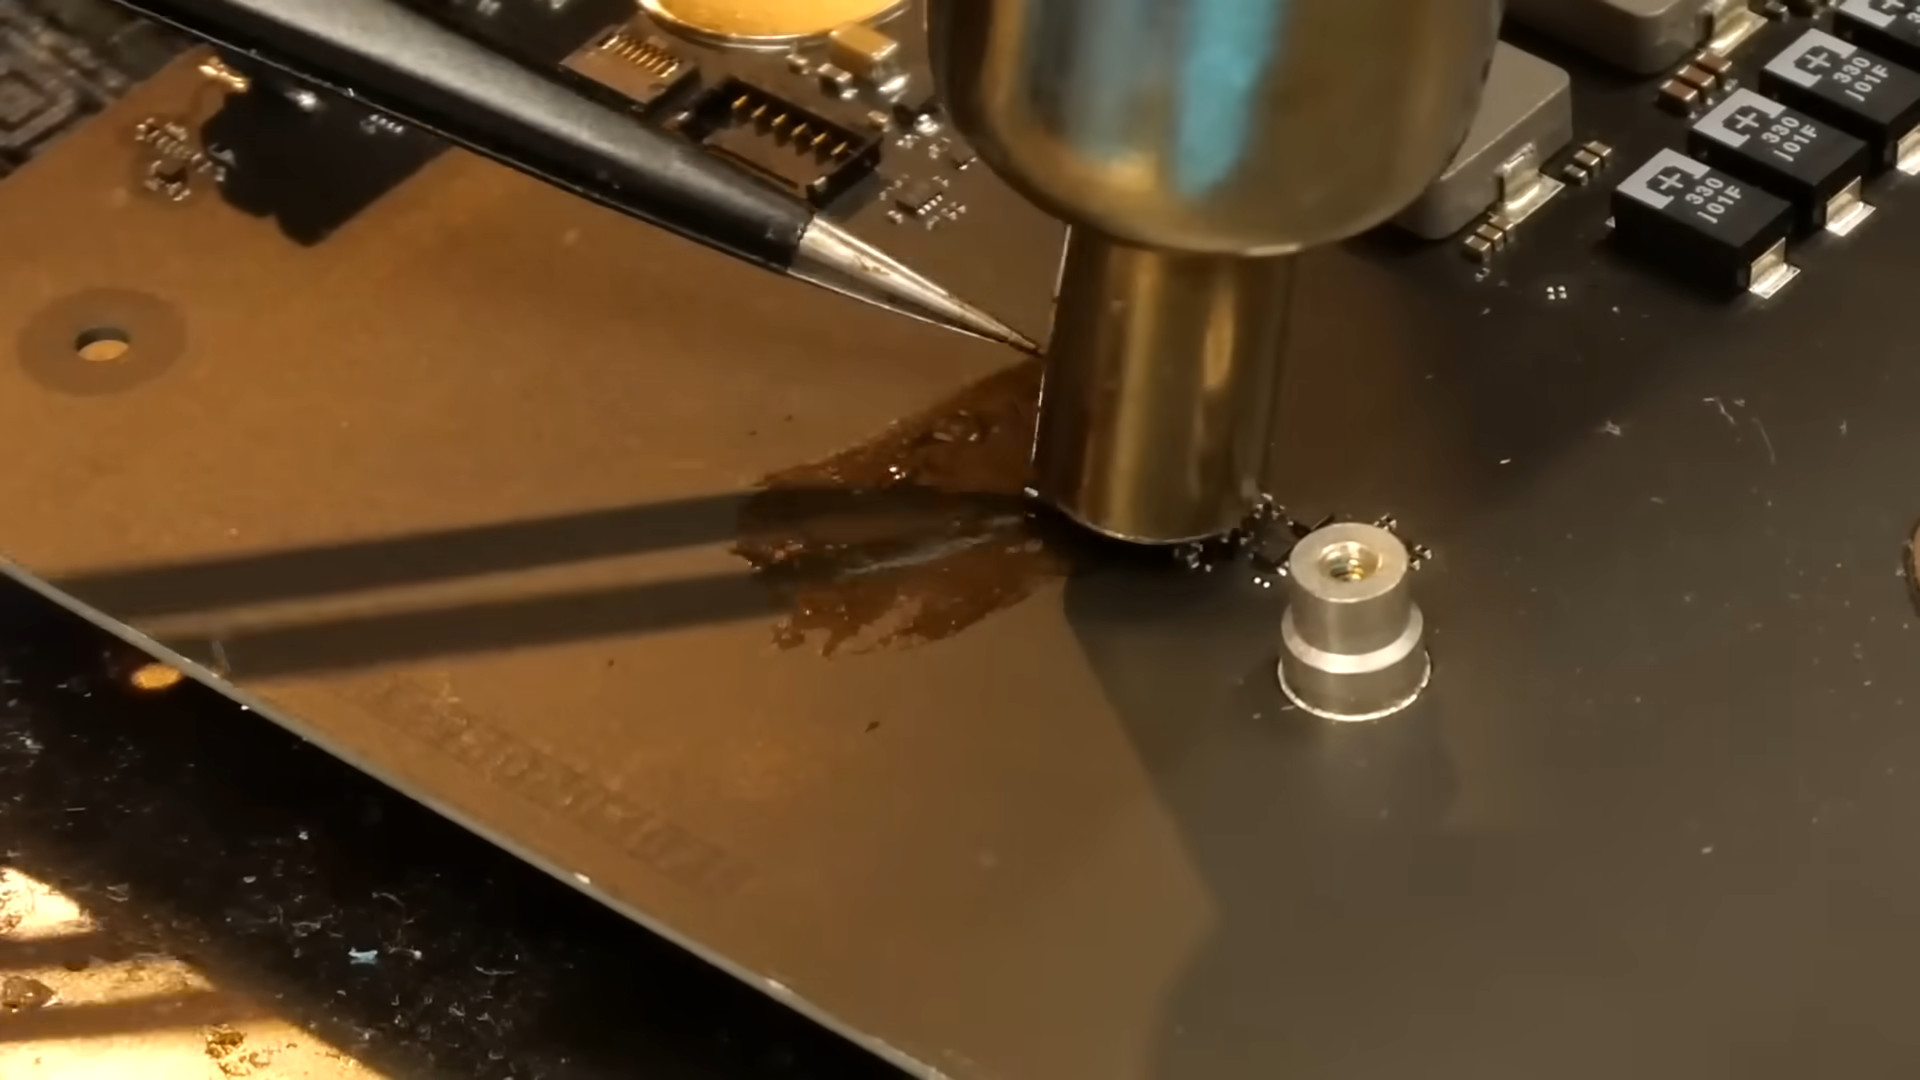
Next, attach a file to the electric screwdriver and file down the cut area.
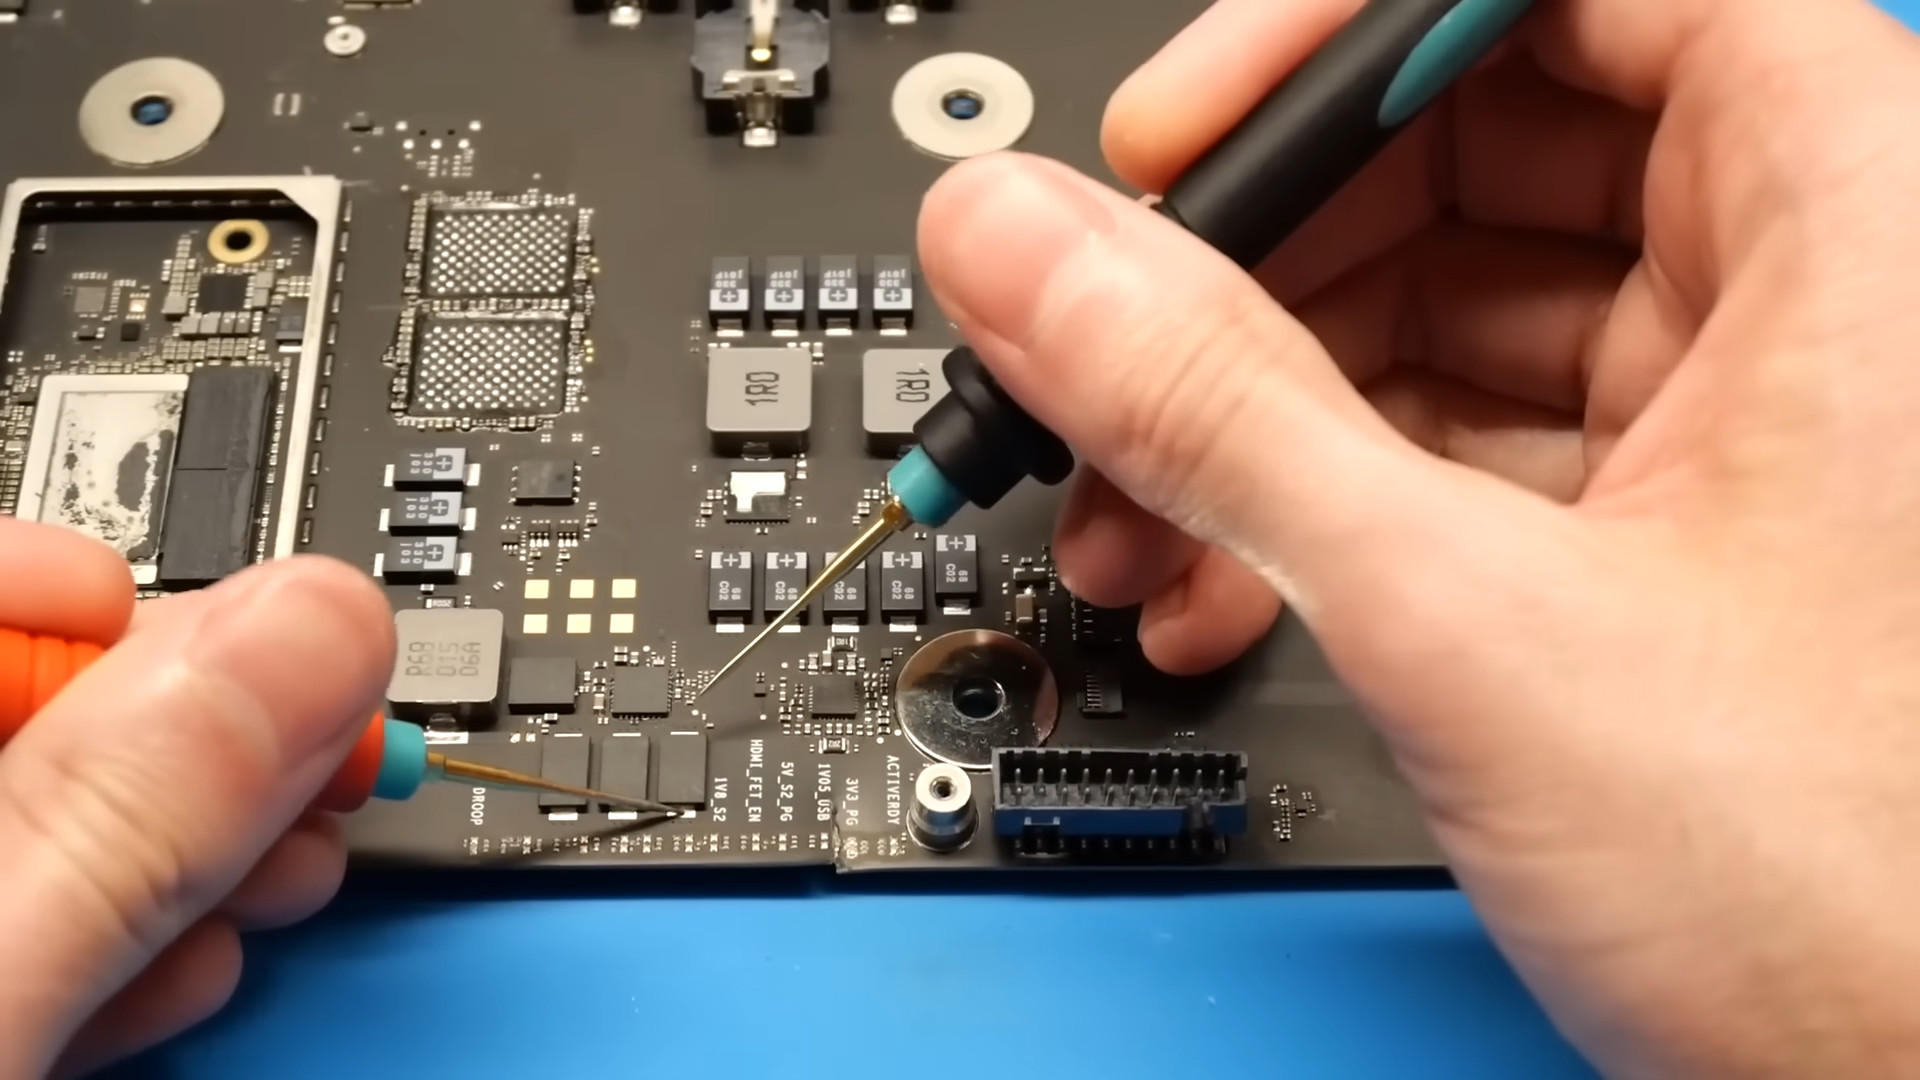
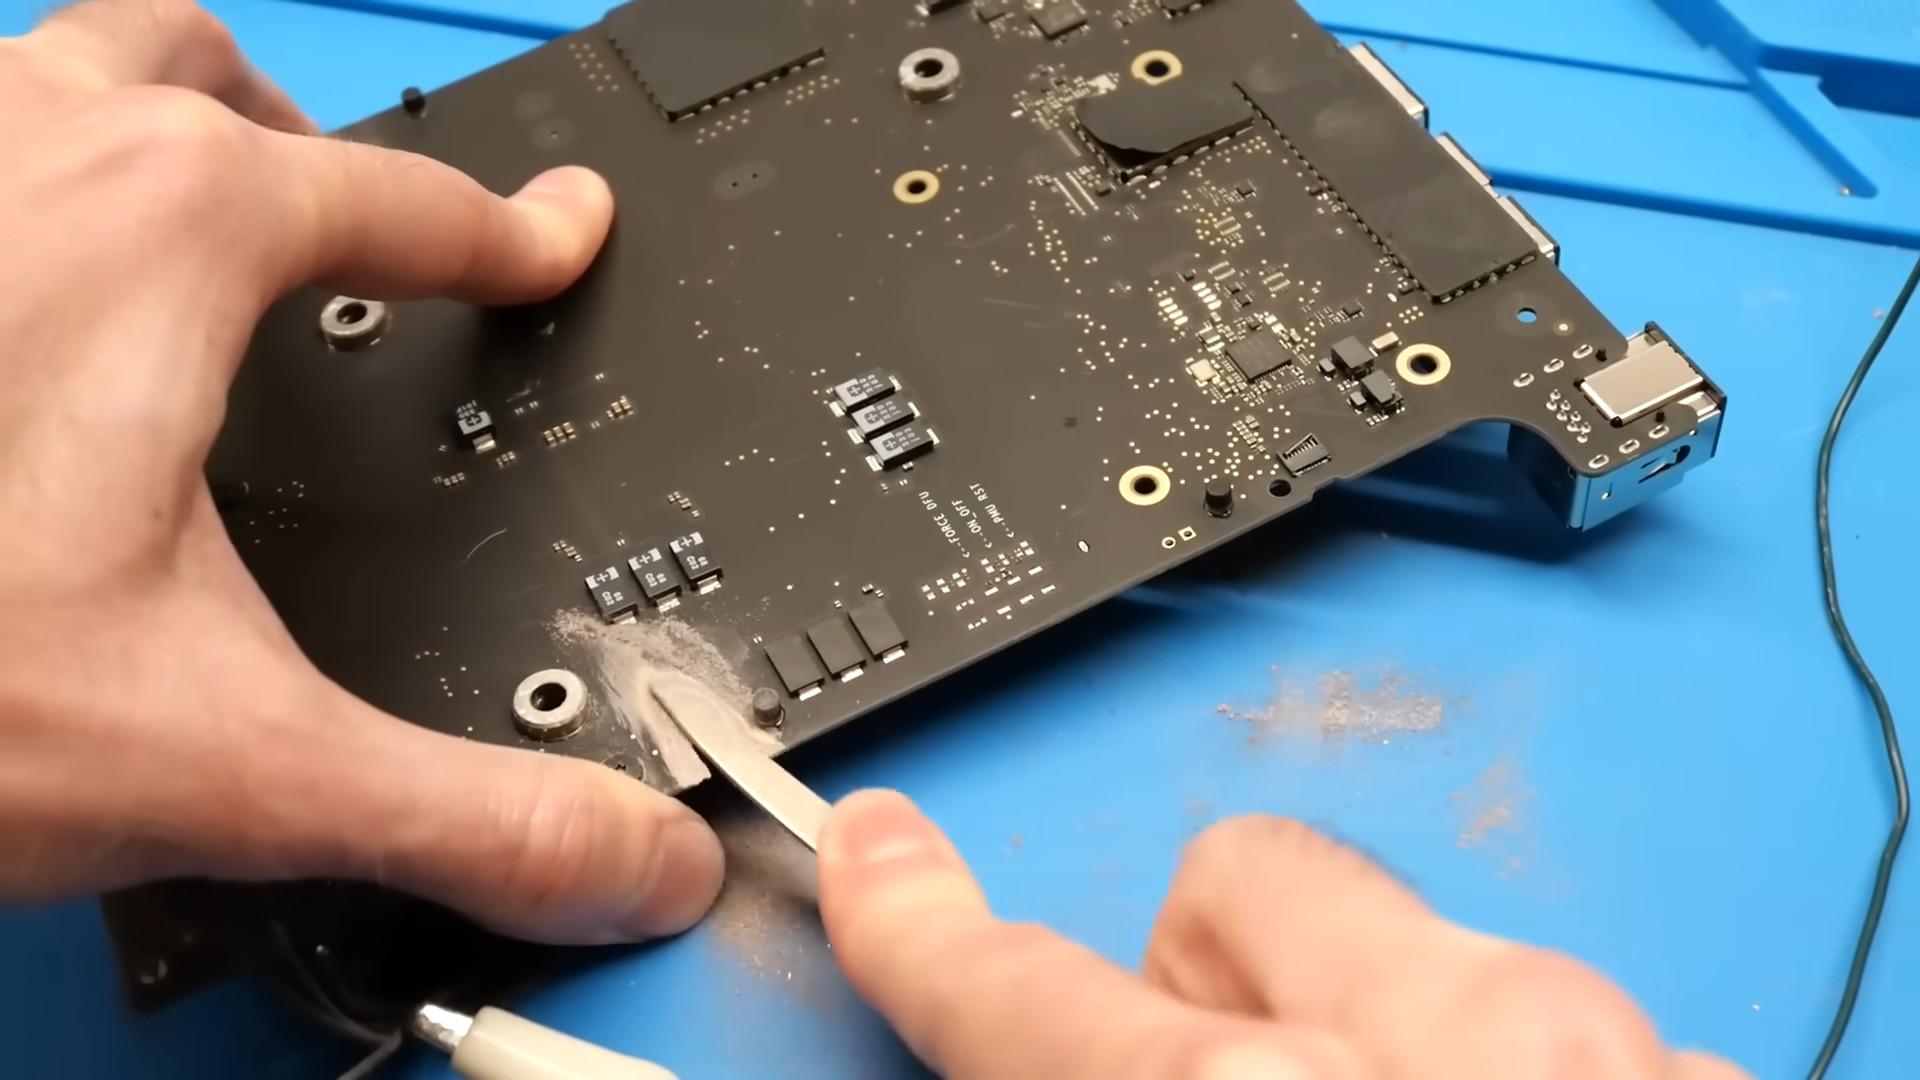
After removing any burrs from the cut-off area, file the surrounding area. By occasionally checking the electrical current as you process, you can prevent overlapping layers in the board from causing a short circuit.
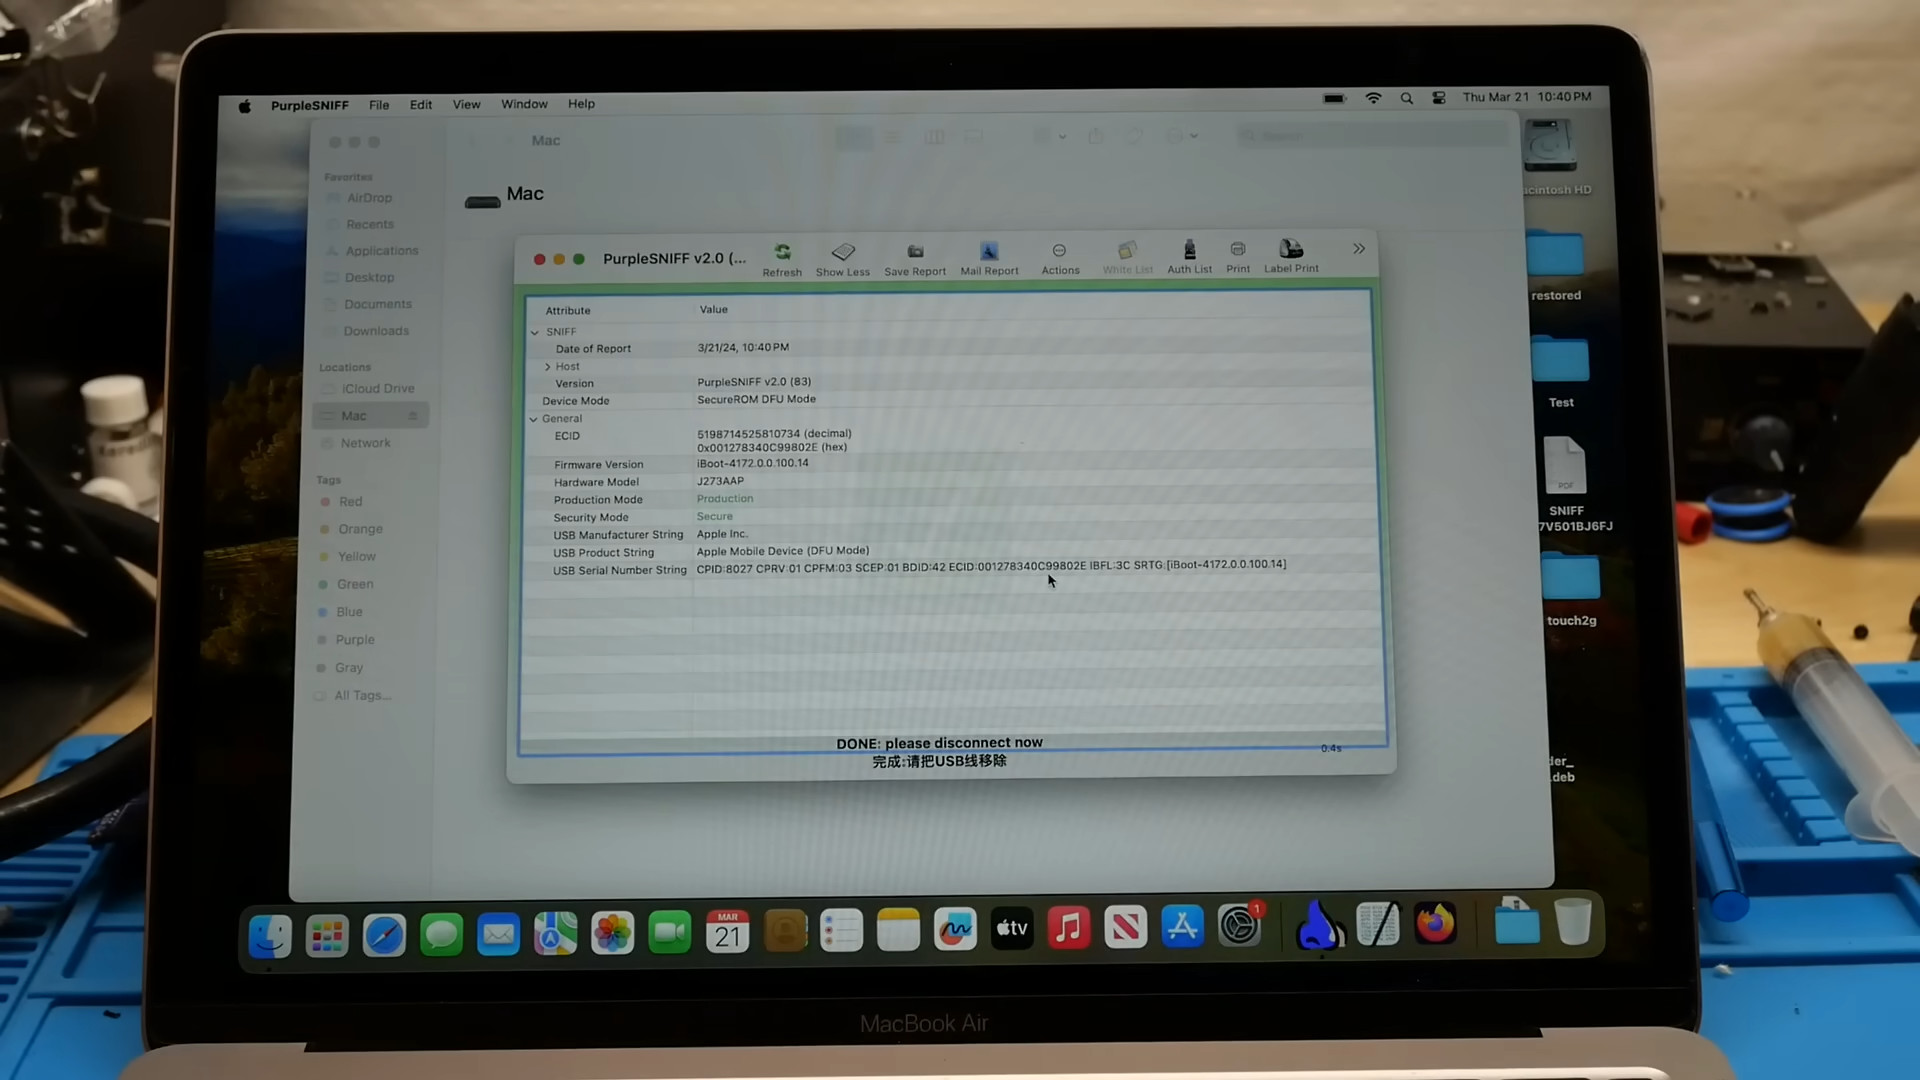
I immediately connected the power supply to the board and connected it to my MacBook with a USB-C cable to check it out. For some reason it was recognized as an iPhone in DFU mode, but it seemed to work fine for now.
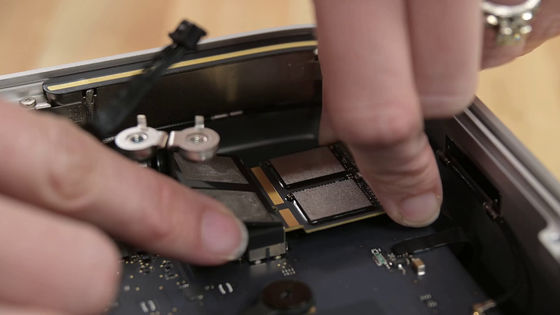
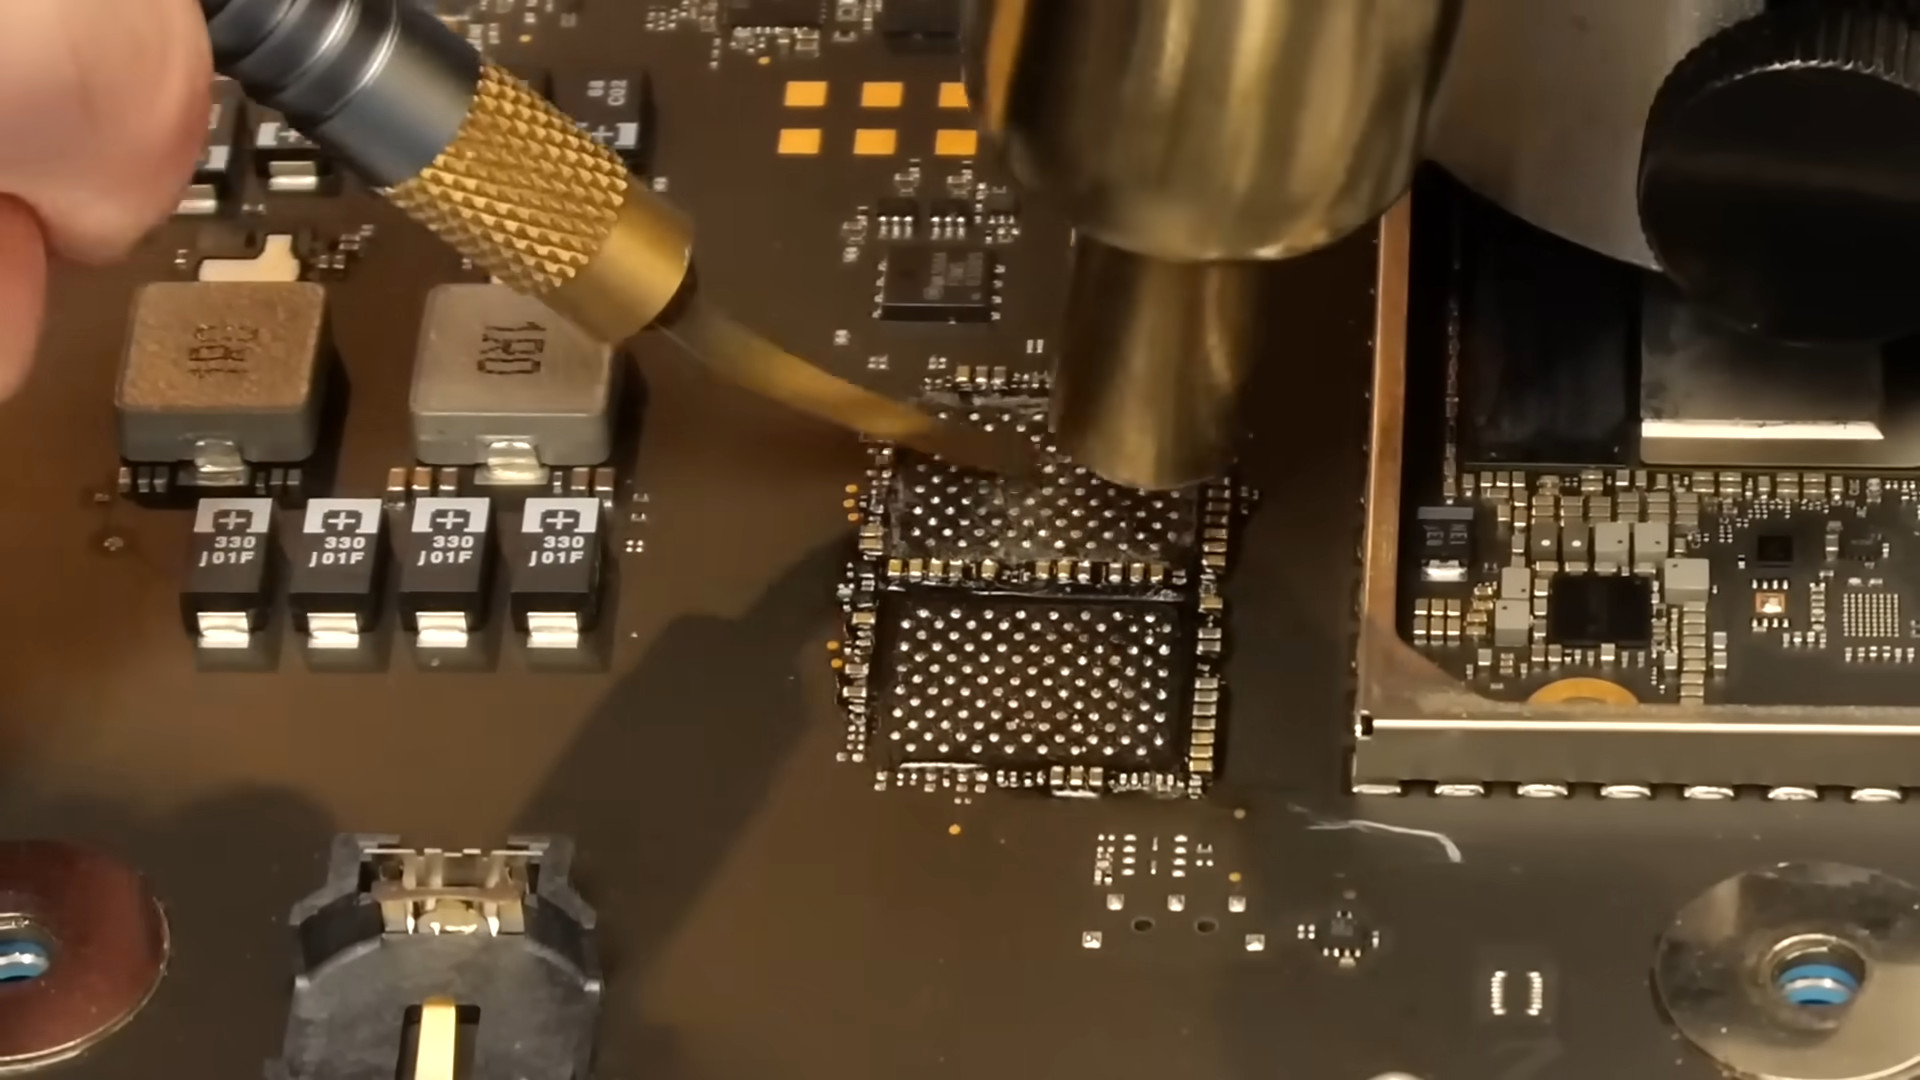
Now we need to install the NAND flash memory. First, we'll clean up any excess solder.
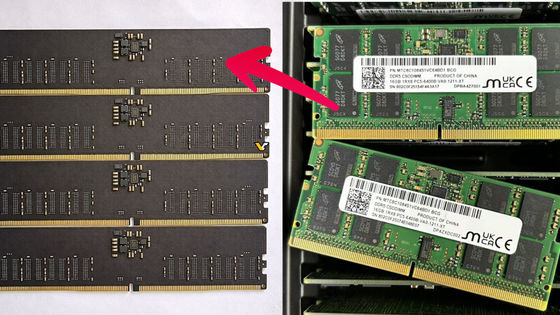
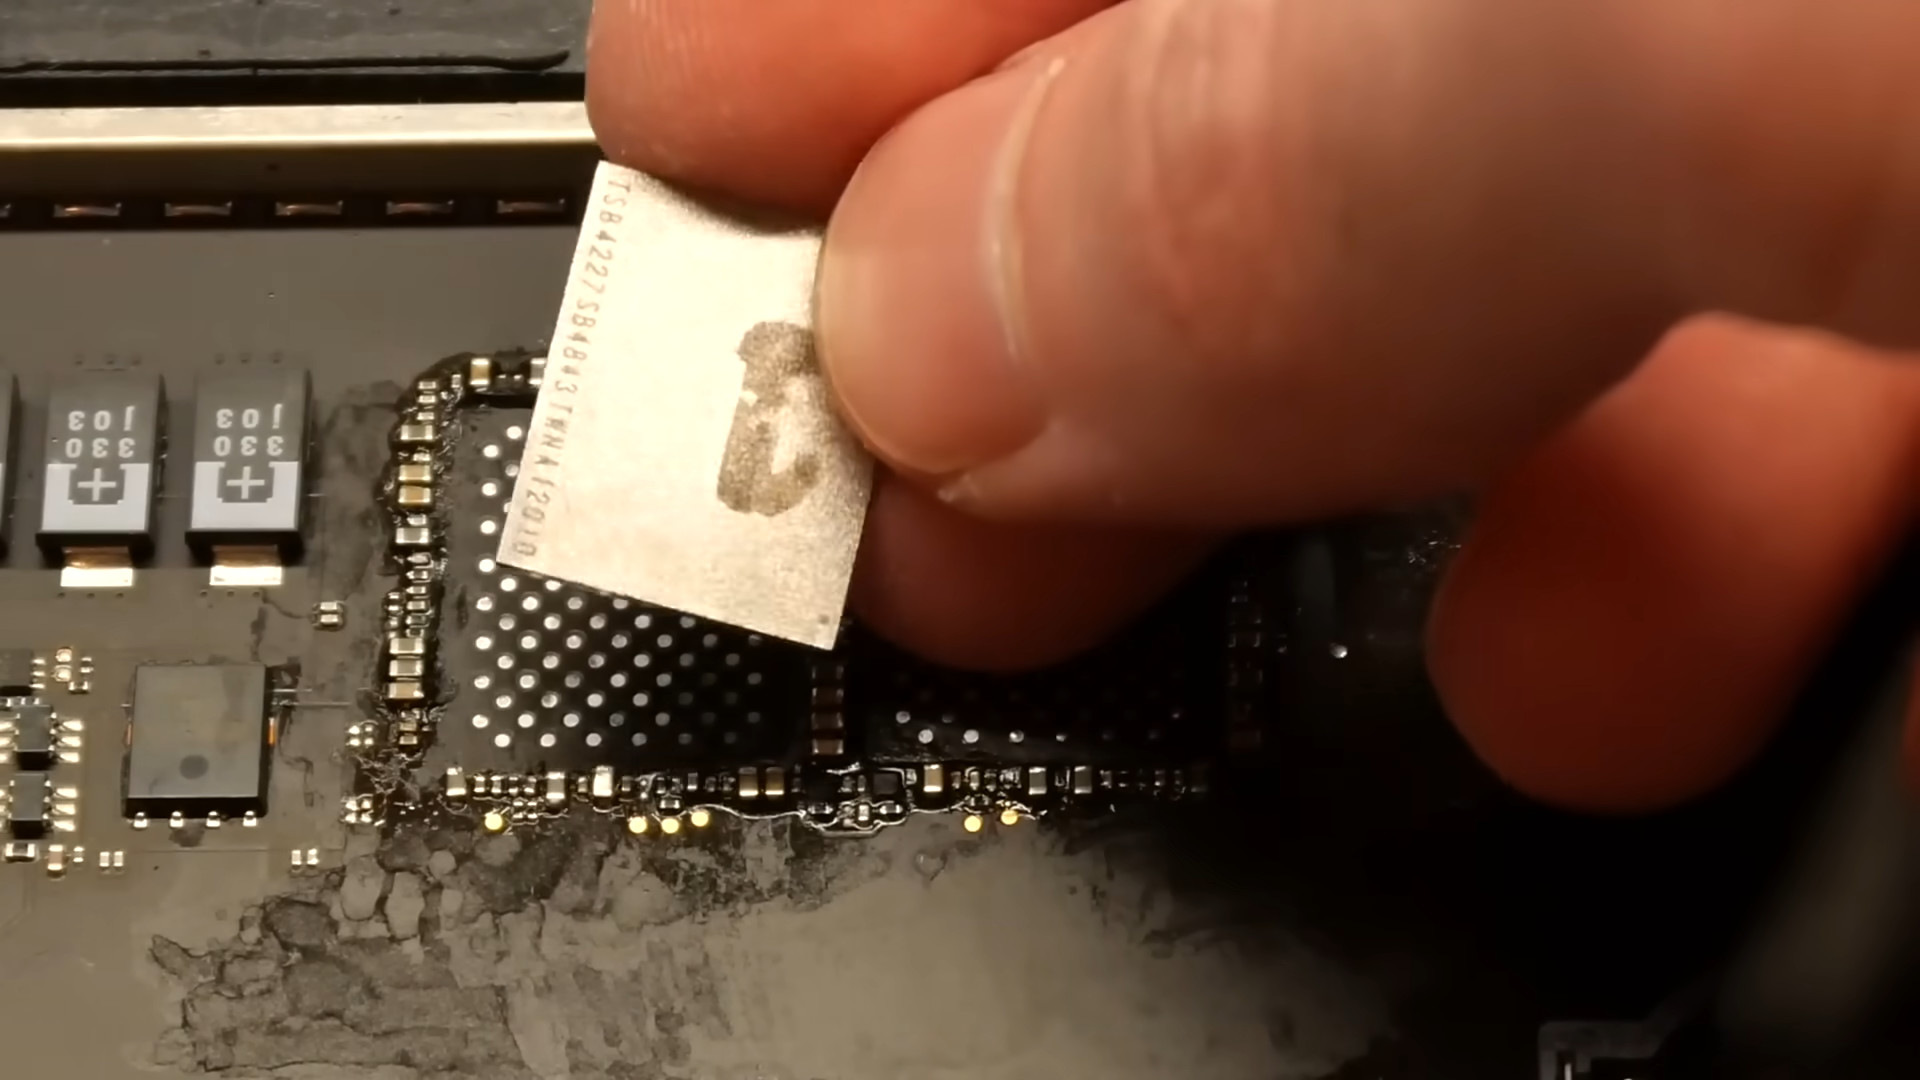
The peripheral parts are reused from other scrapped circuit boards. I borrowed 128GB of NAND flash memory from a 2020 model Intel-equipped MacBook Air.
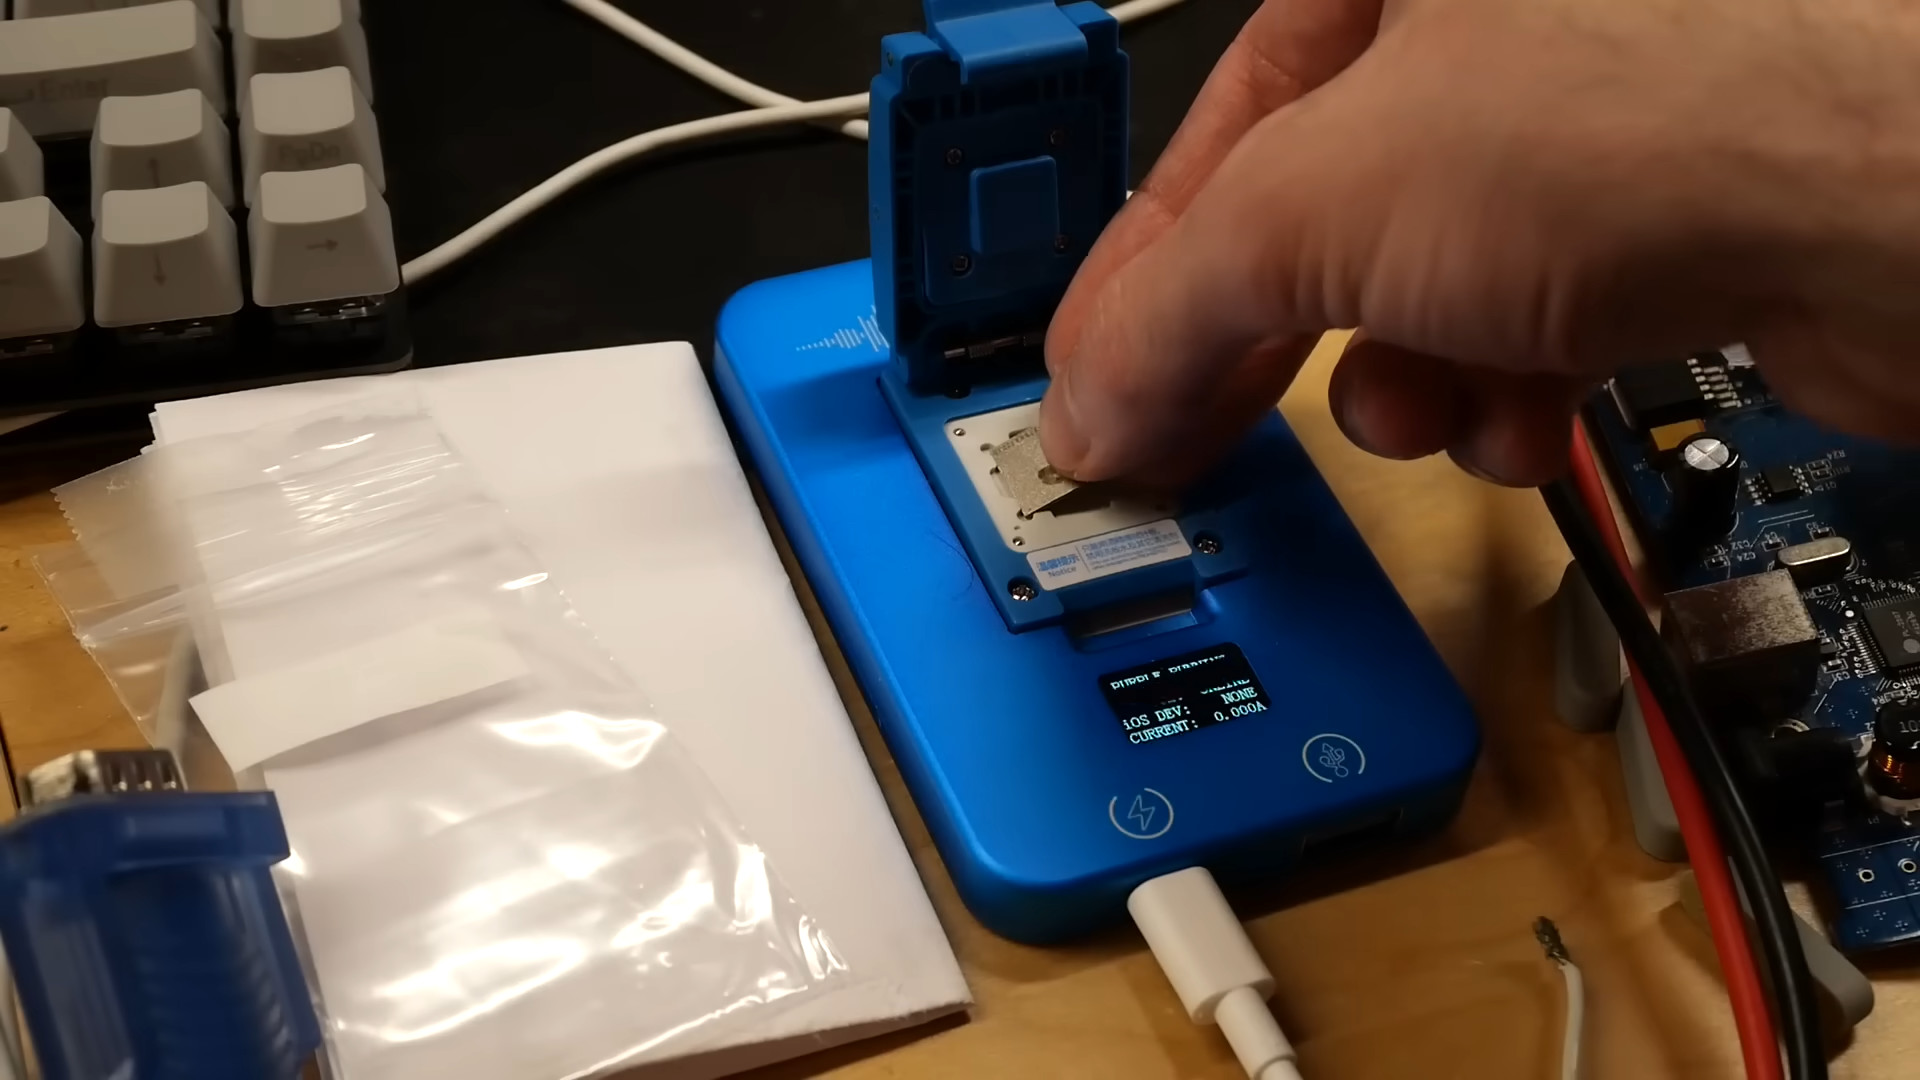
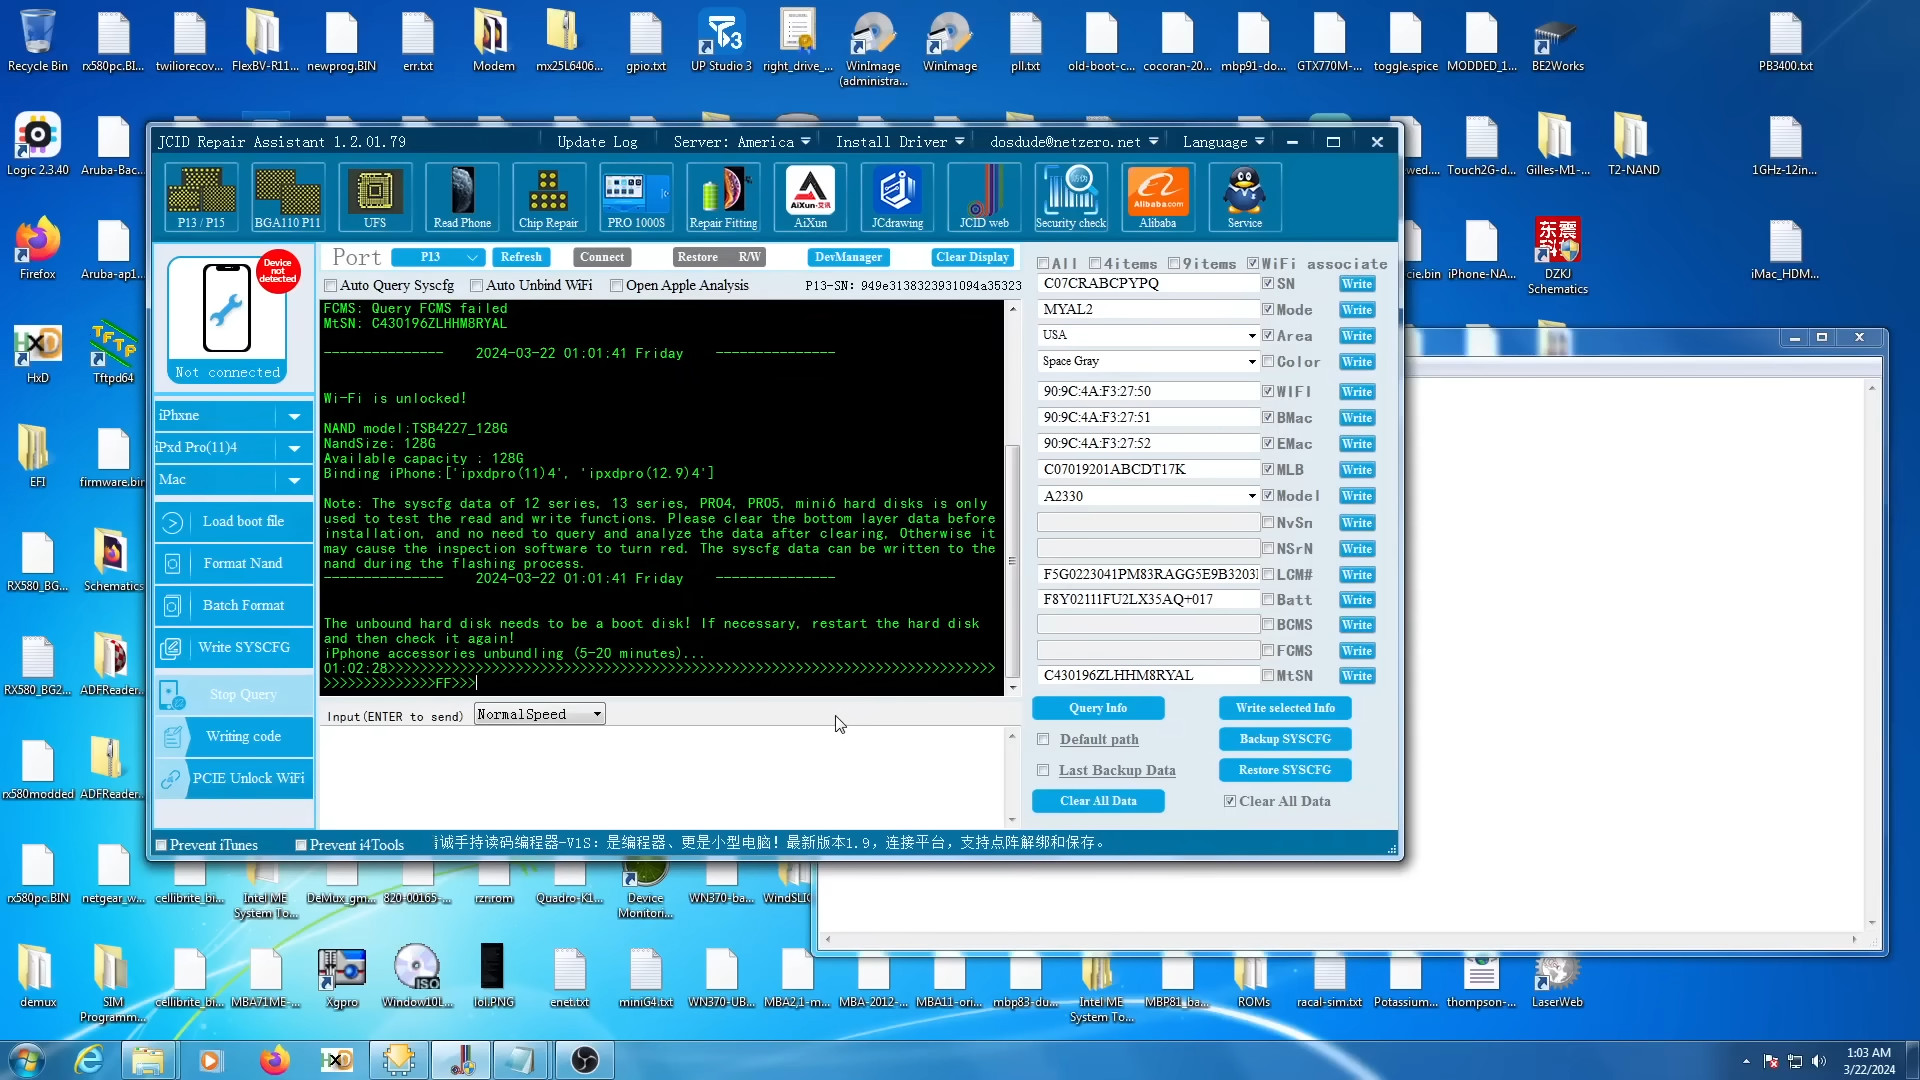
Use a writing device to format the NAND flash memory and write CIS information, such as the Mac mini's serial number.
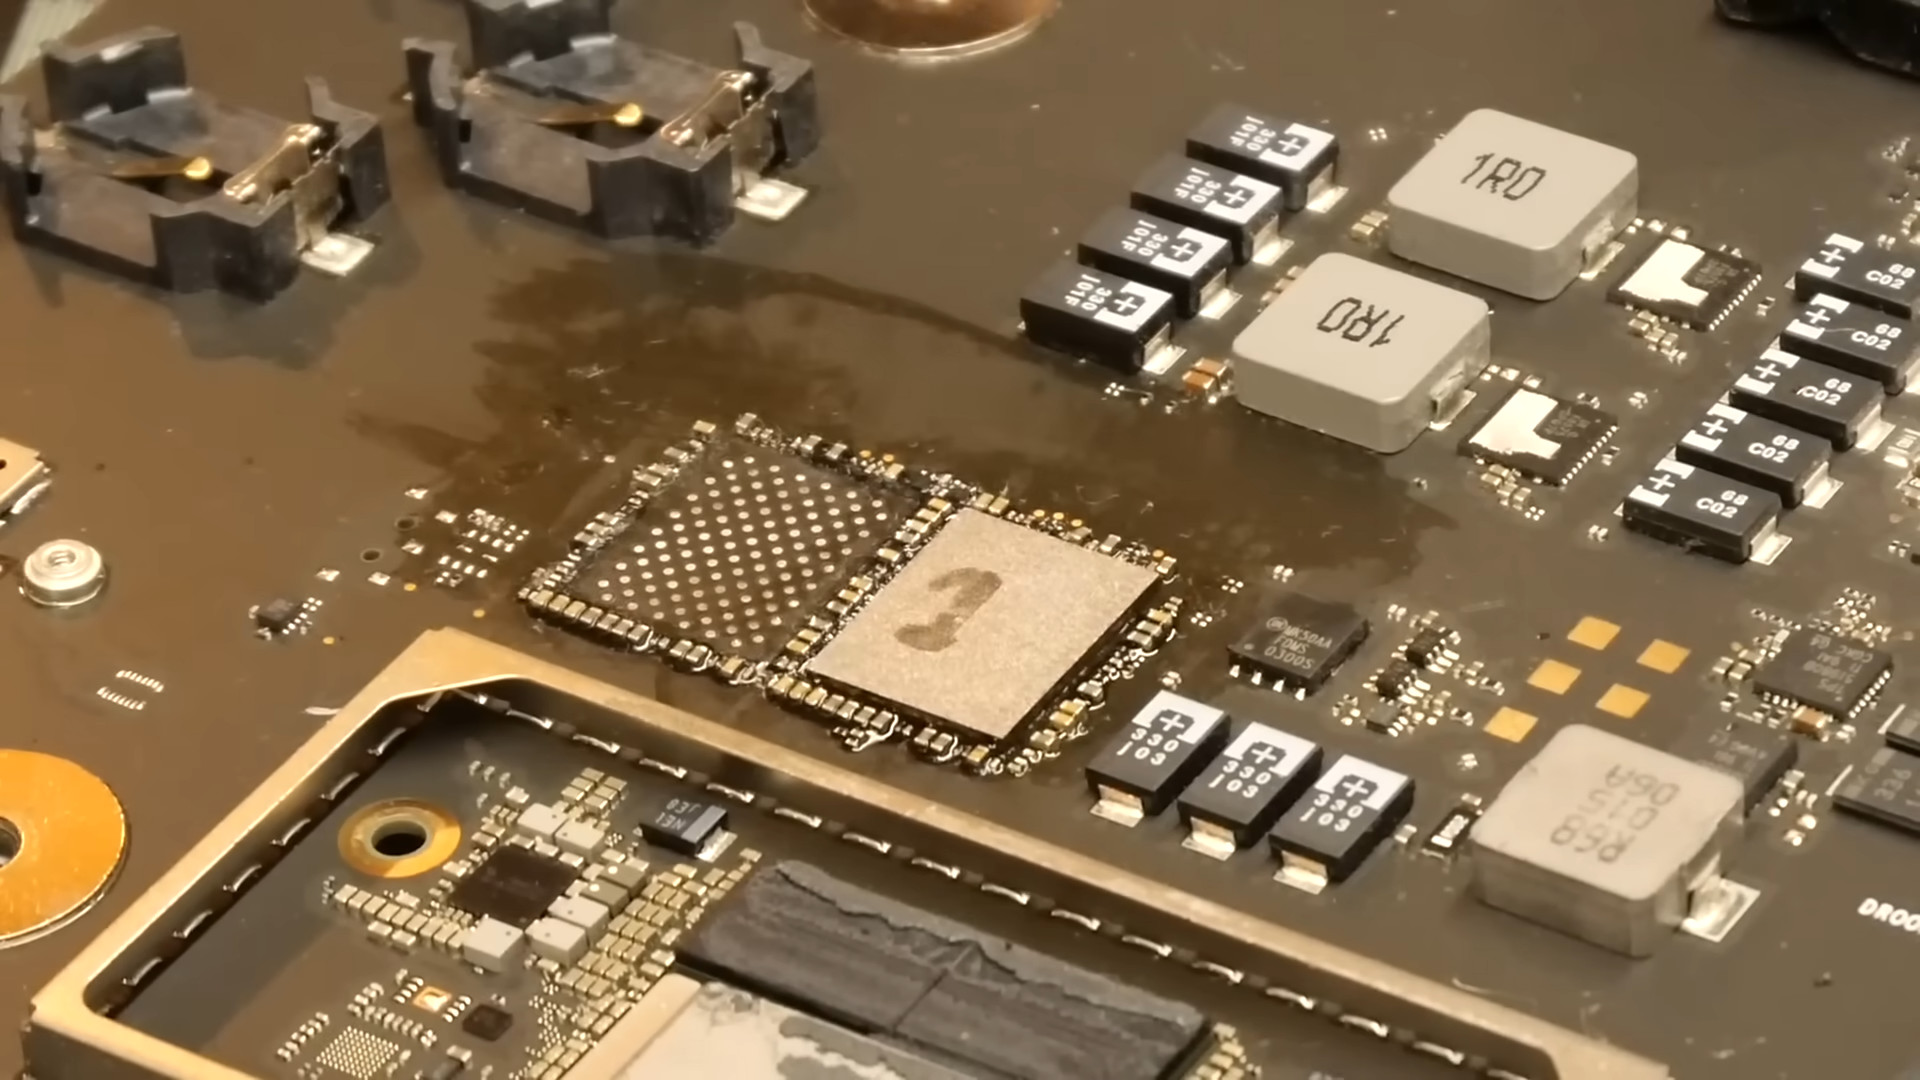
The NAND flash memory after writing is soldered to the board.
In this state, connect the Wi-Fi module and power supply, perform the restoration process, and then try booting up.

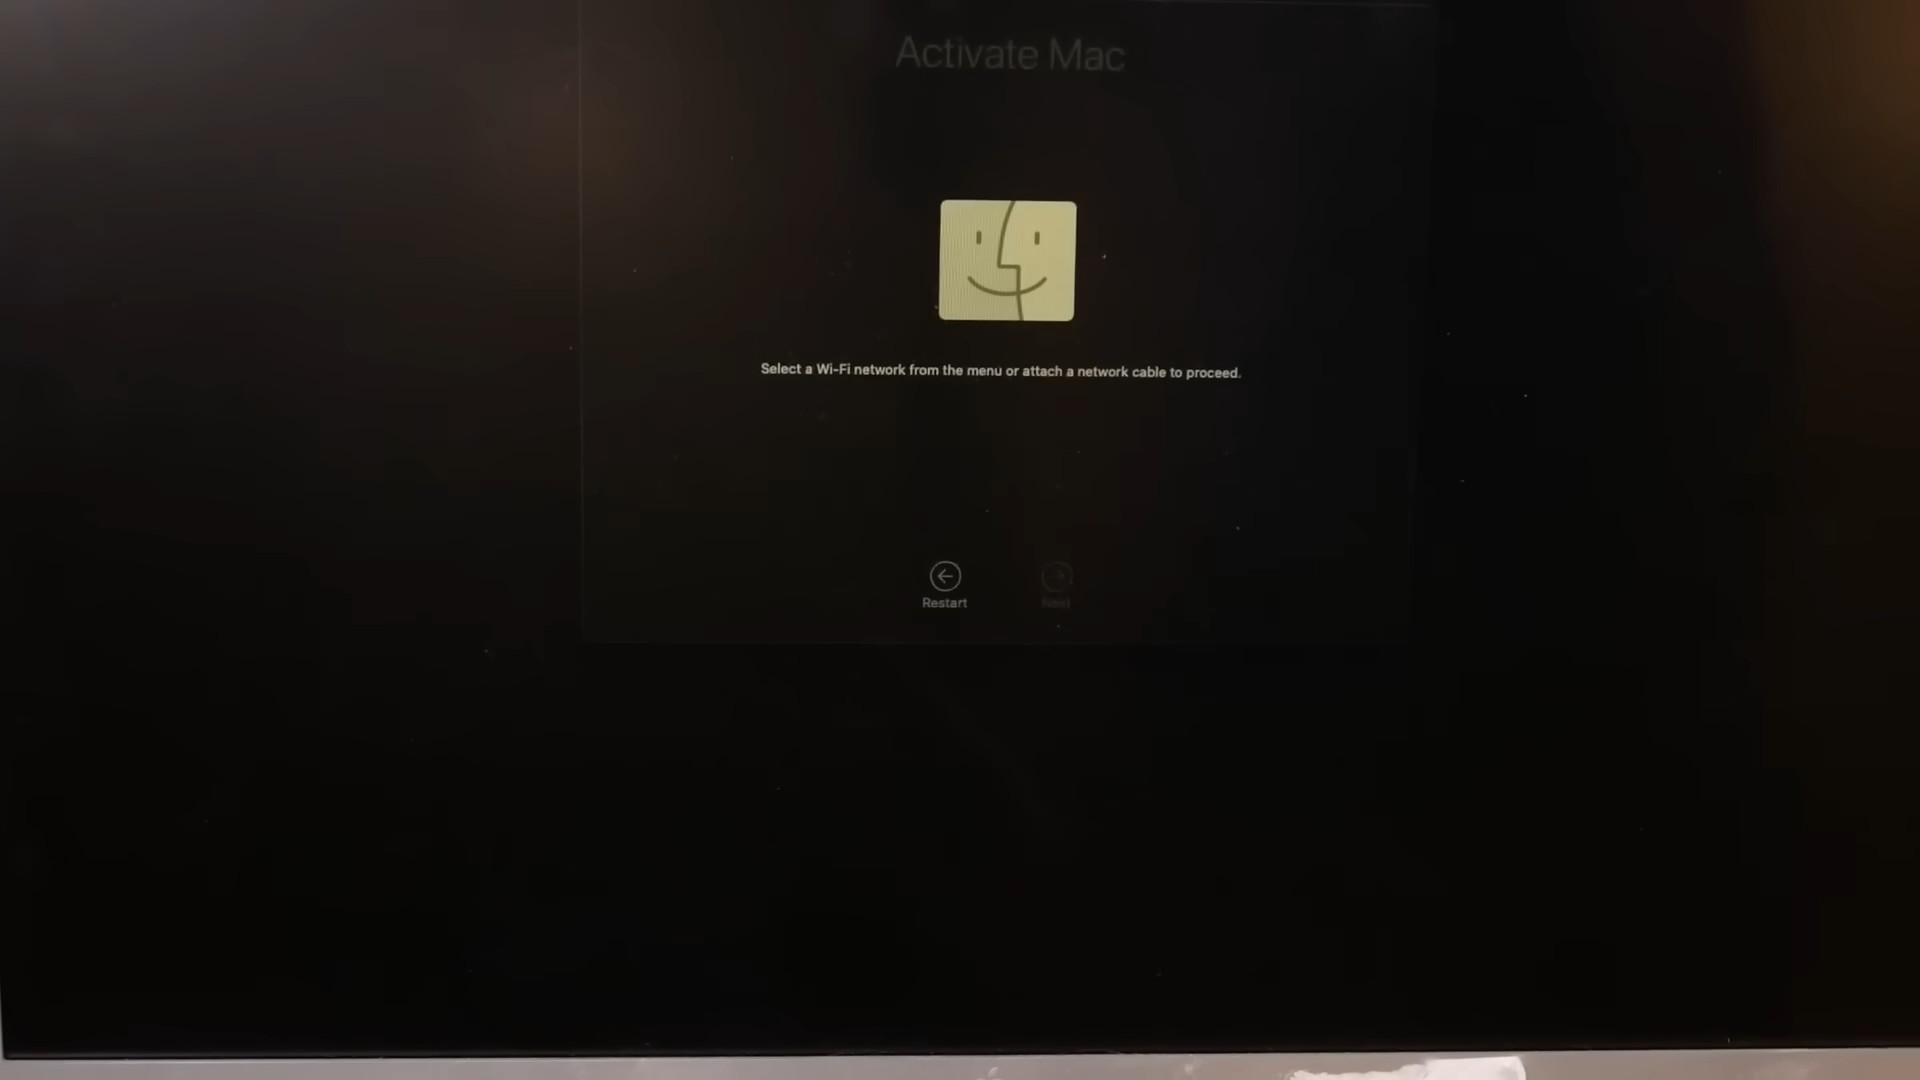
However, even if the boot itself is successful, the activation screen is displayed and the device repeatedly restarts. This is because there is a problem with the serial number and MAC address information registered in the NAND flash memory, so the Wi-Fi module cannot be accessed and communication with the server cannot be performed.
Therefore, the NAND flash memory is removed from the board and the writing device is used again to write the correct serial number and MAC address information.
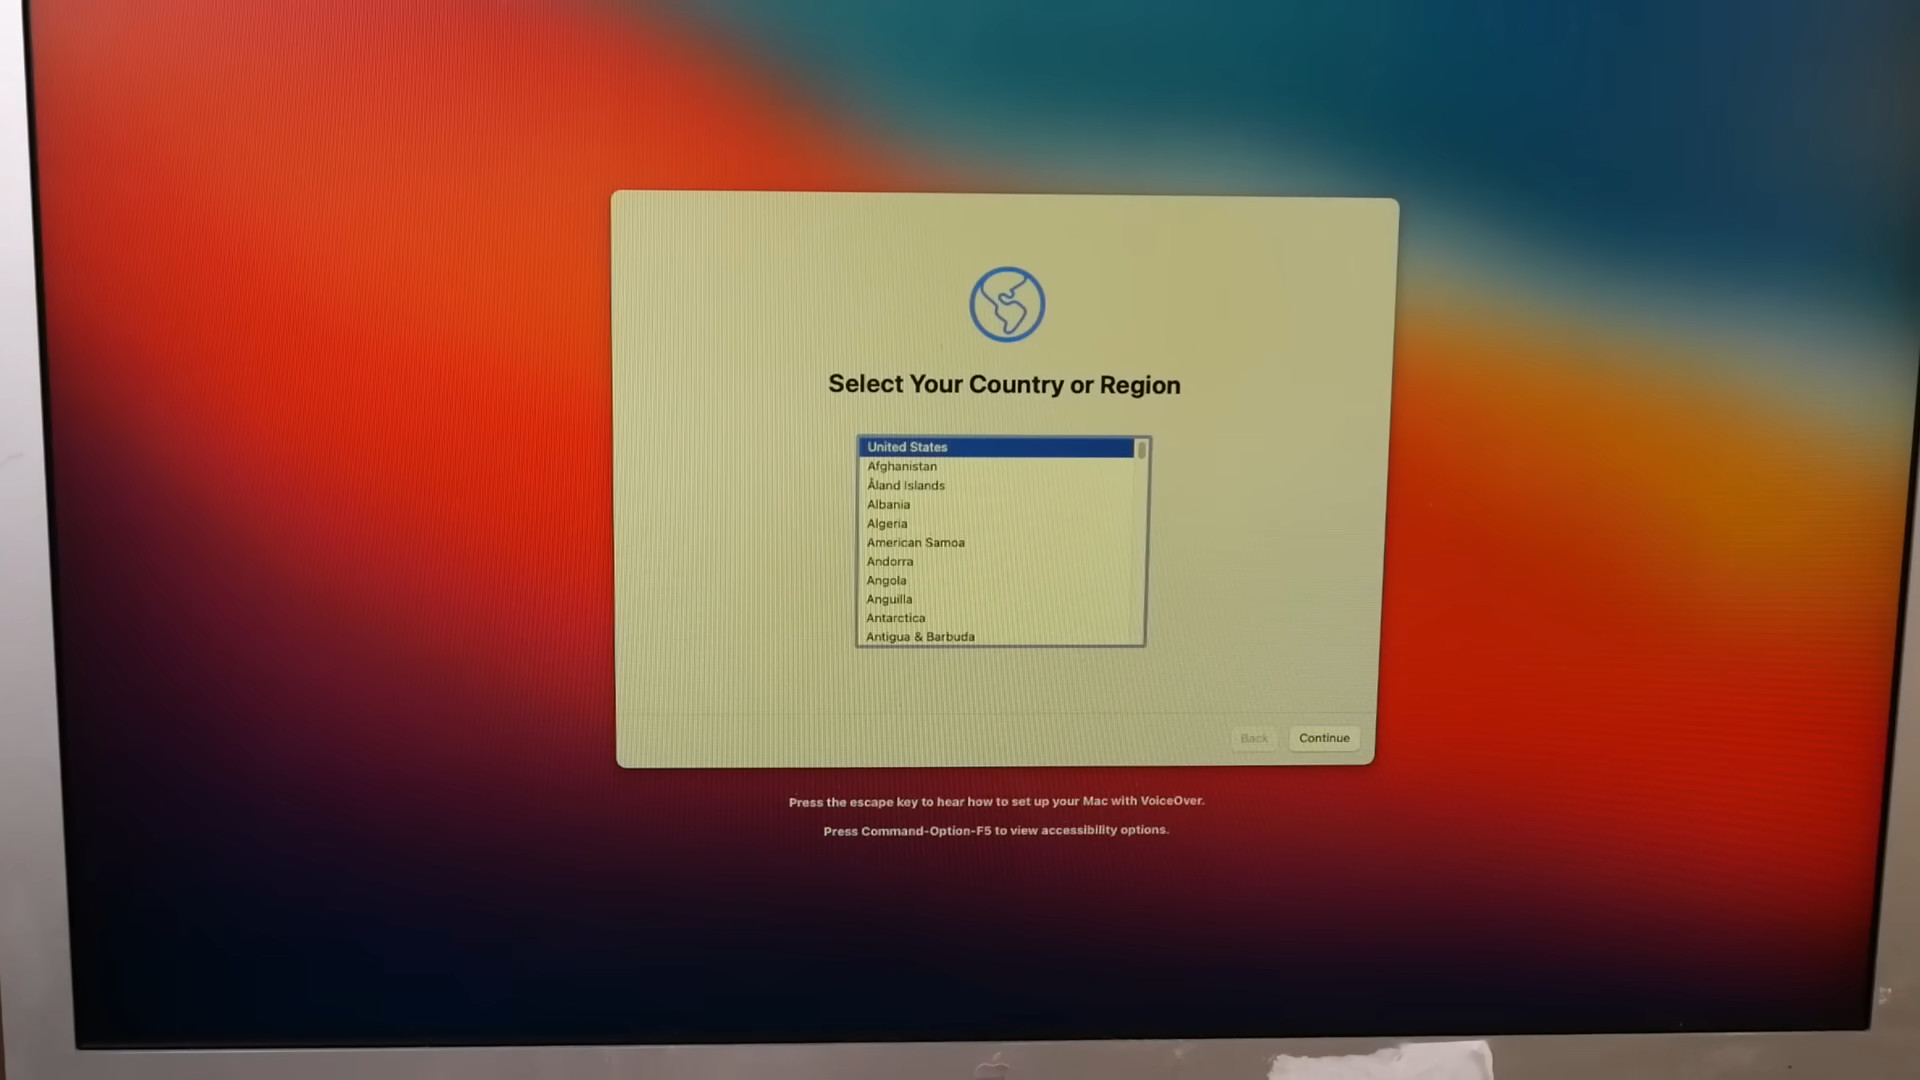
When I soldered the NAND flash memory to the board again and started it up, the macOS setup screen was displayed this time.
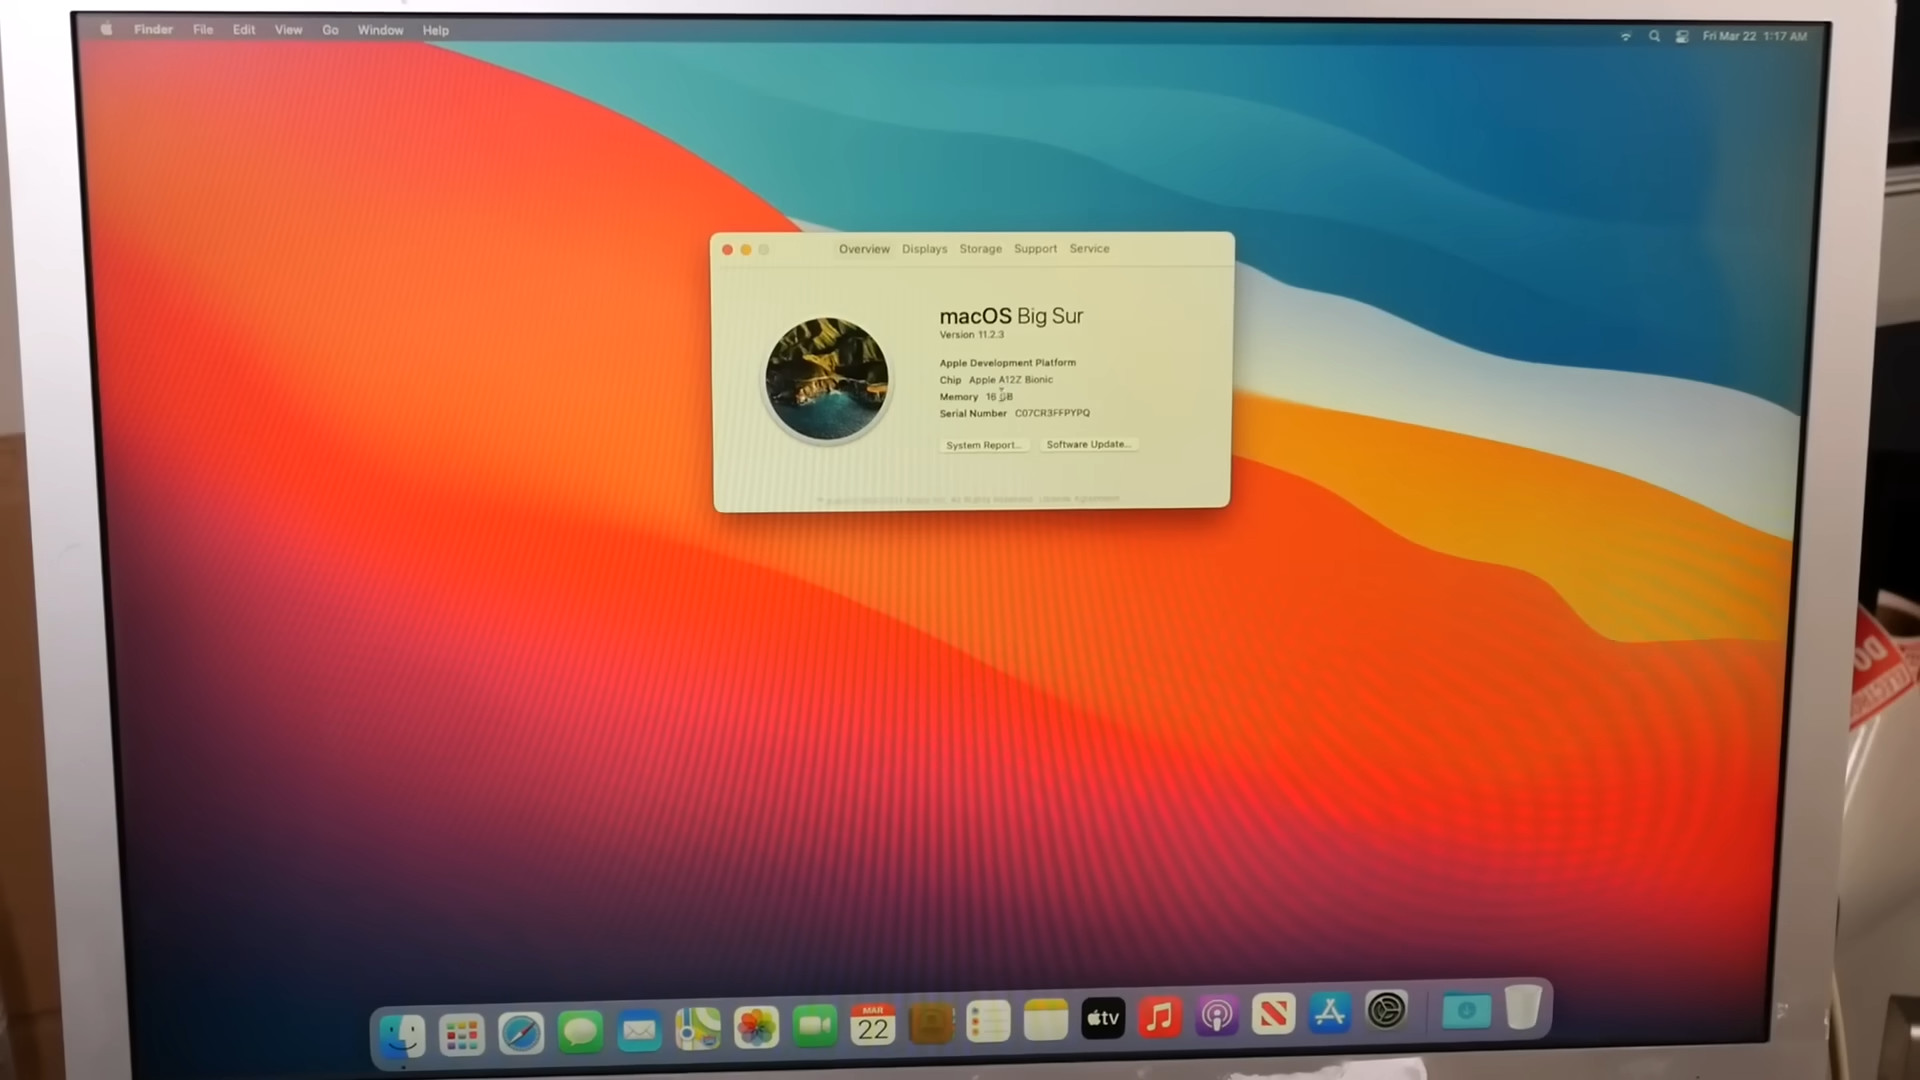
The OS is macOS Big Sur.
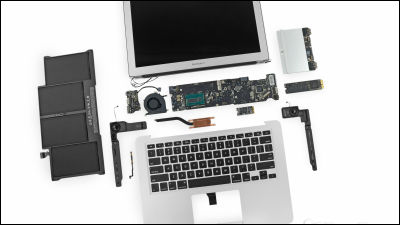
This board is attached to the bones of the 2018 model Mac mini.
Here, dosdude1 noticed that the 2018 Mac mini had an LED indicator to show whether the power was on or off. To enable this, he attached a socket to the board for connecting an LED.
Equipped with a heat dissipation cooler.
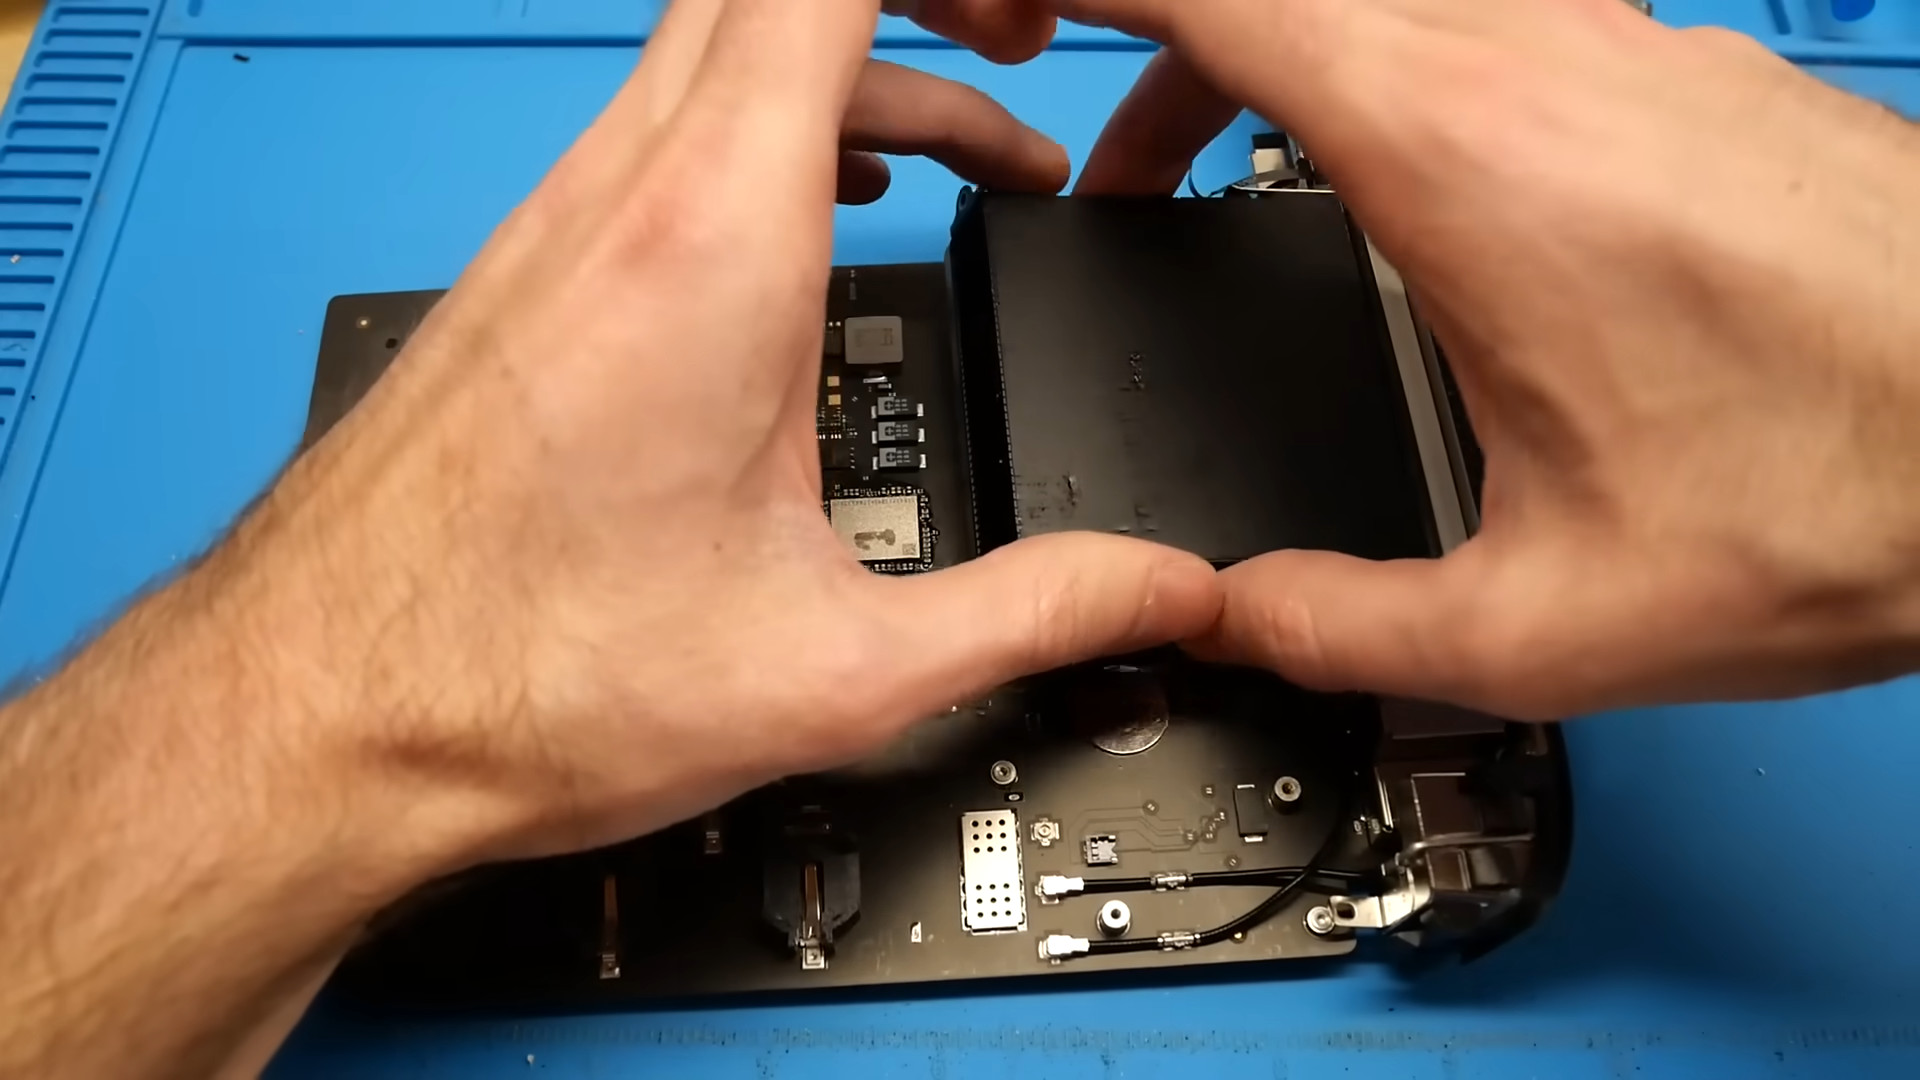
Also install the fan.
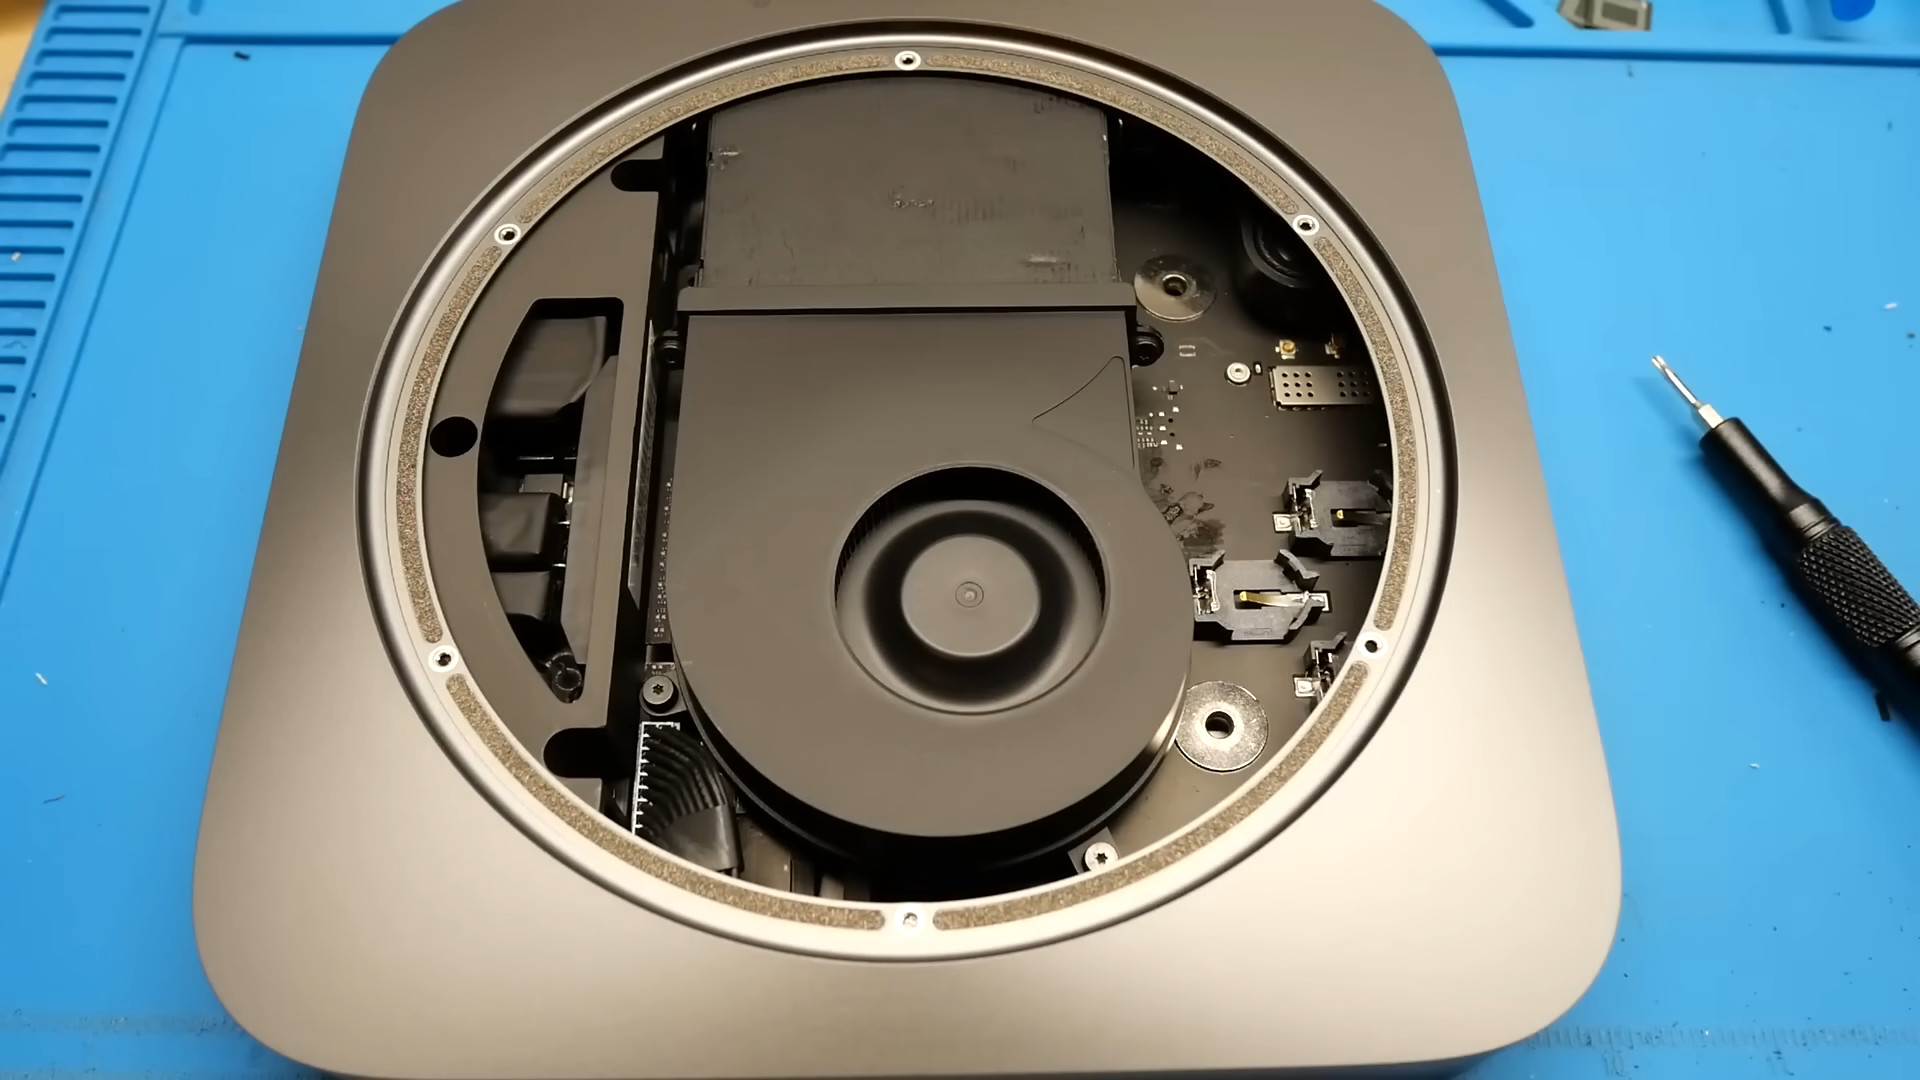
Once the back cover is closed, it's complete. Since the bones are from the 2018 model and the board is from the 2021 model, the screw holes don't match, but dosdude1 says that the I/O panel clips are enough to secure it in place, so it's not a problem.

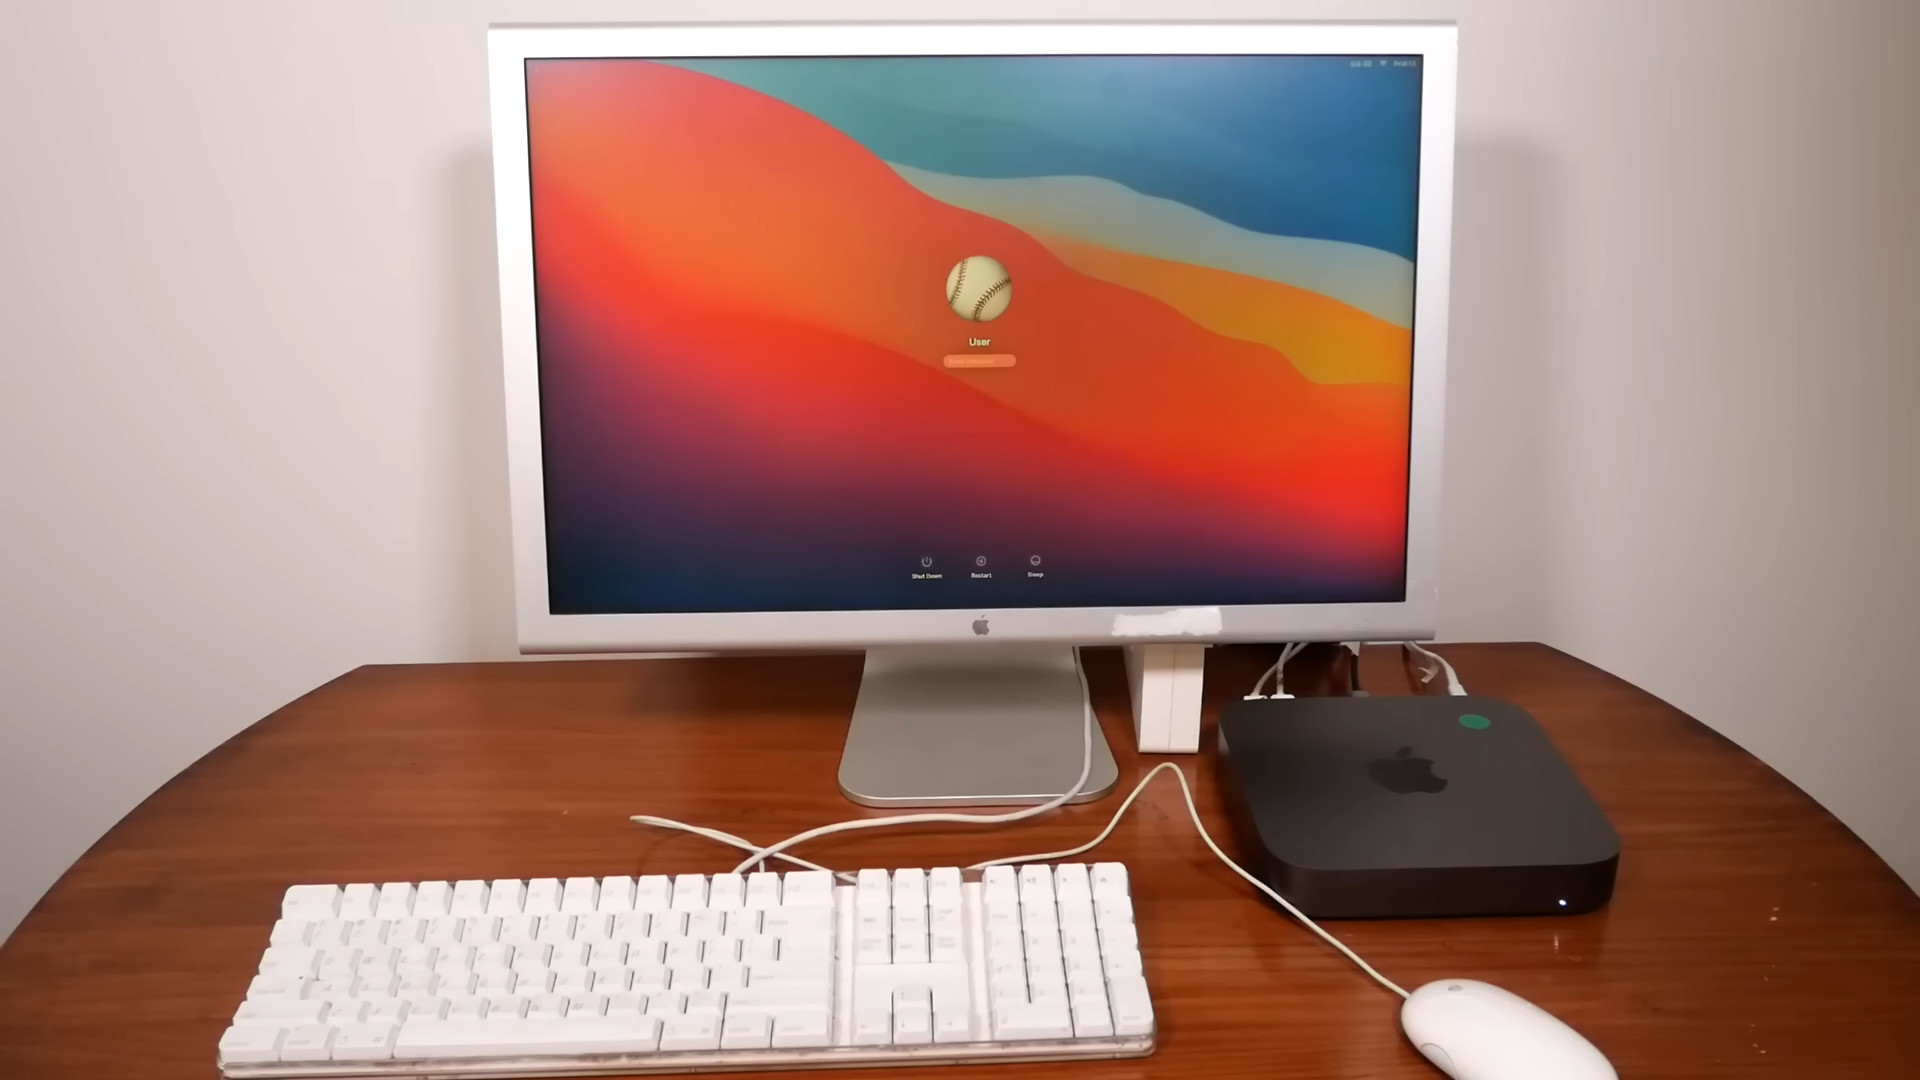
Once everything was put together and connected to the monitor, macOS started up and was ready to go.

Related Posts: