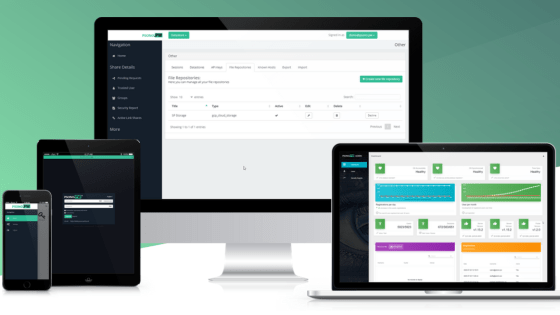
'Apache OpenMeetings' review with free video conferencing, calendars, messages and powerful permission management
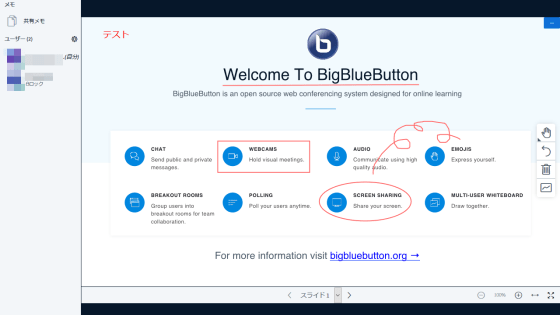
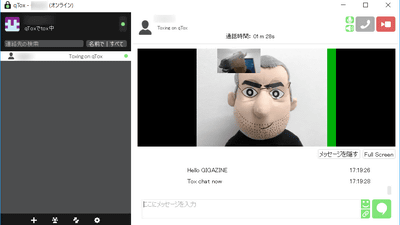
Free video conferencing systems include
Apache OpenMeetings Project – Home
https://openmeetings.apache.org/index.html
The latest version of OpenMeetings is 5.0.1 at the time of writing the article. Since the binary file and Docker image are open to the public, I will use the Docker image this time. You can build OpenMeetings in one shot by executing the following command in an environment where Docker can be used.
[code] docker run -it -p 5443: 5443 -p 8888: 8888 --name openmeetings -d apache / openmeetings: 5.0.1 [/ code]
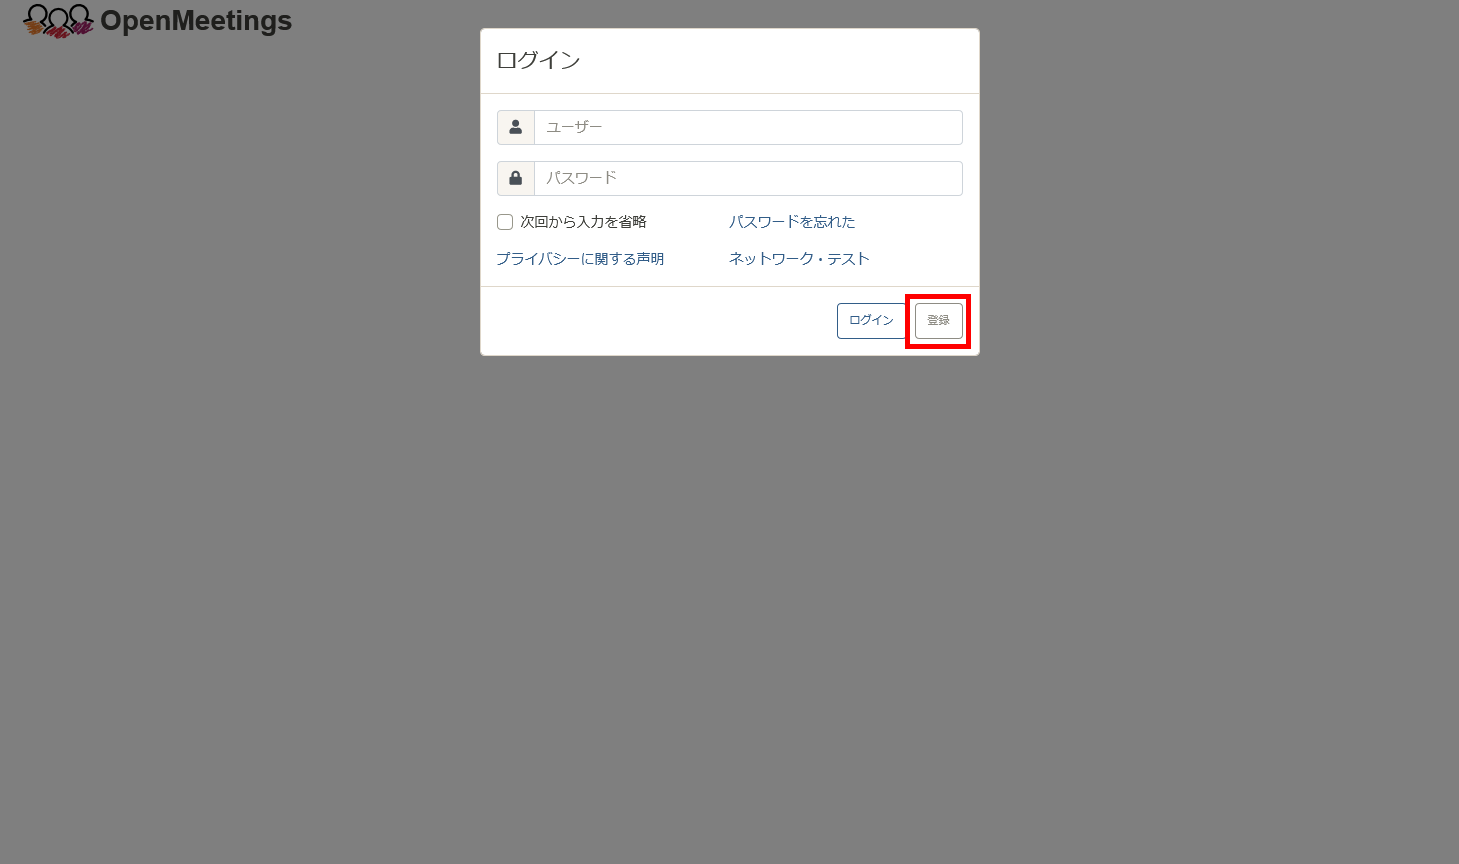
When I accessed 'https: // server IP address: 5443 / openmeetings' with a browser, the login screen was displayed. First, click 'Register' to create a user.
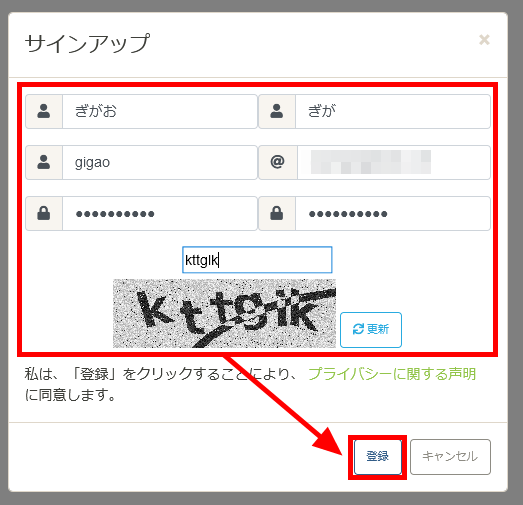
Enter your name, user ID, email address, and password, enter the capture string, and click 'Register'. You can now create an account in OpenMeetings.
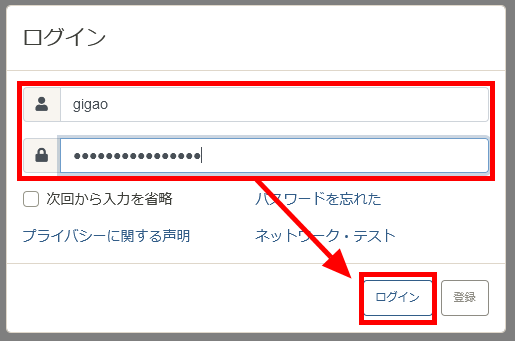
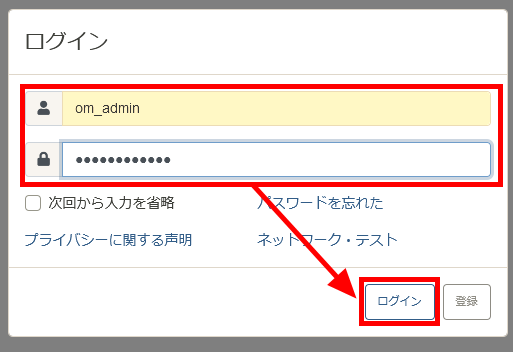
After registration, the login screen will appear, so enter the account ID and password you created earlier and click 'Login'.
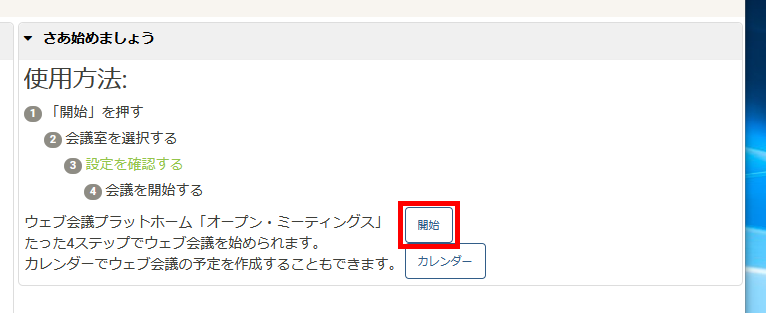
The OpenMeetings dashboard is displayed.

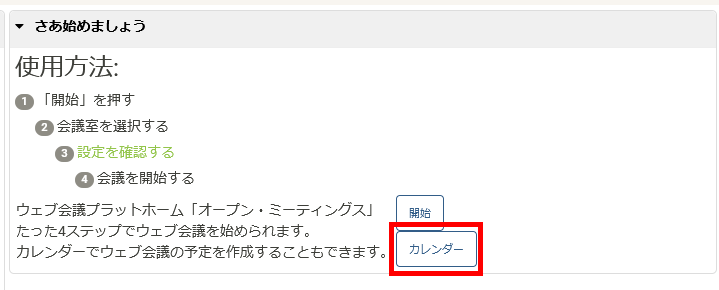
Follow the instructions in 'Let's get started' and click the 'Start' button to start the video conference.
OpenMeetings has the ability to set room types and admission restrictions, and some sample meeting rooms are available. This time, as an example, let's enter a conference room named 'Conference room with microphone option set'.
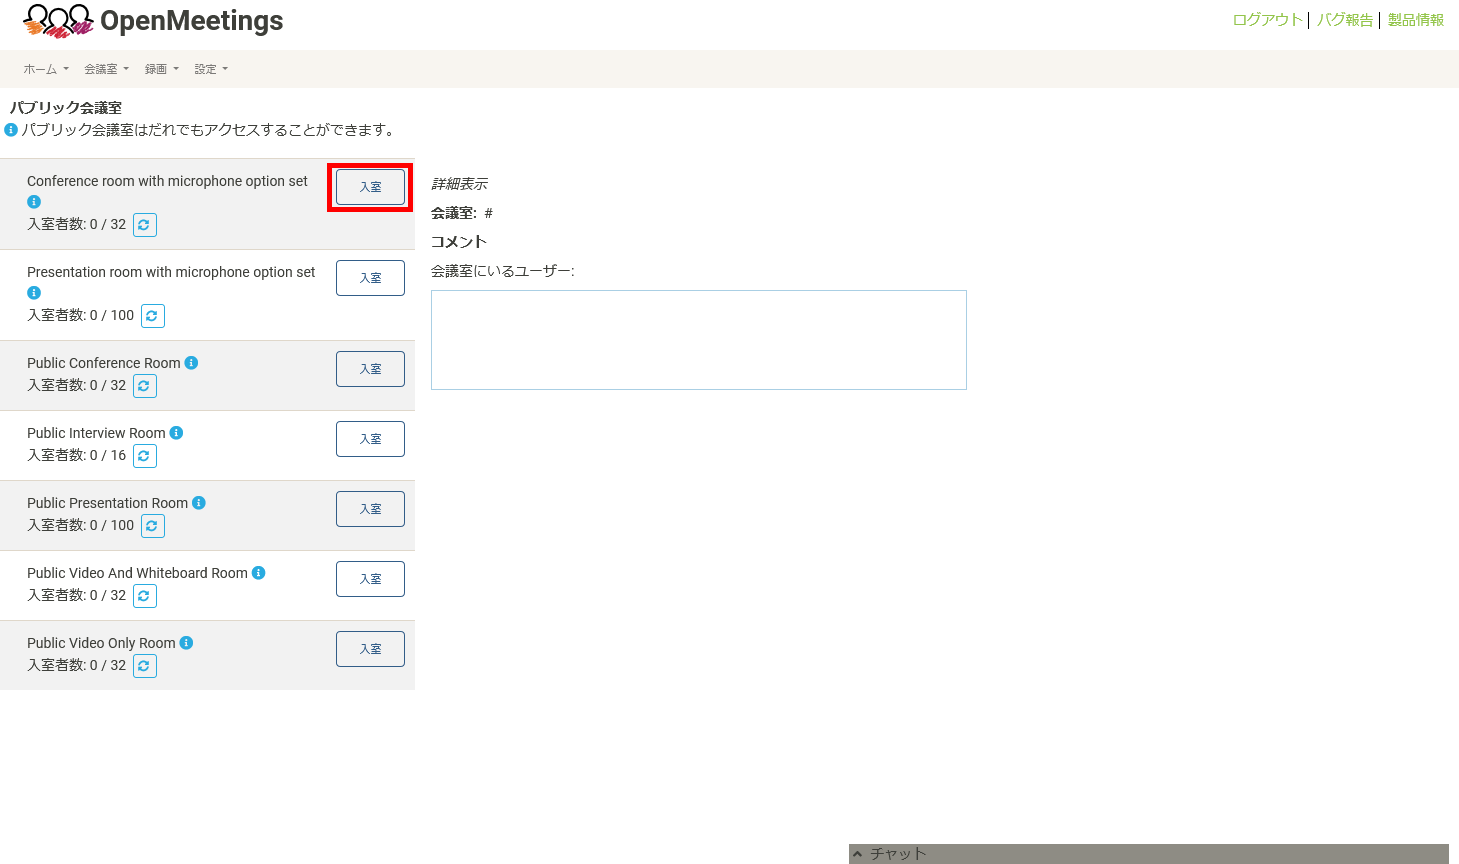
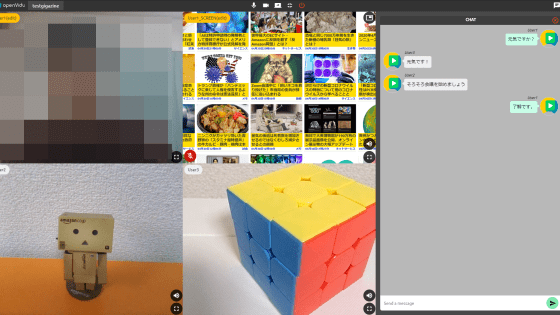
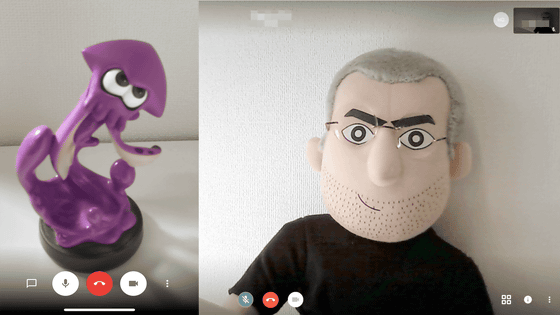
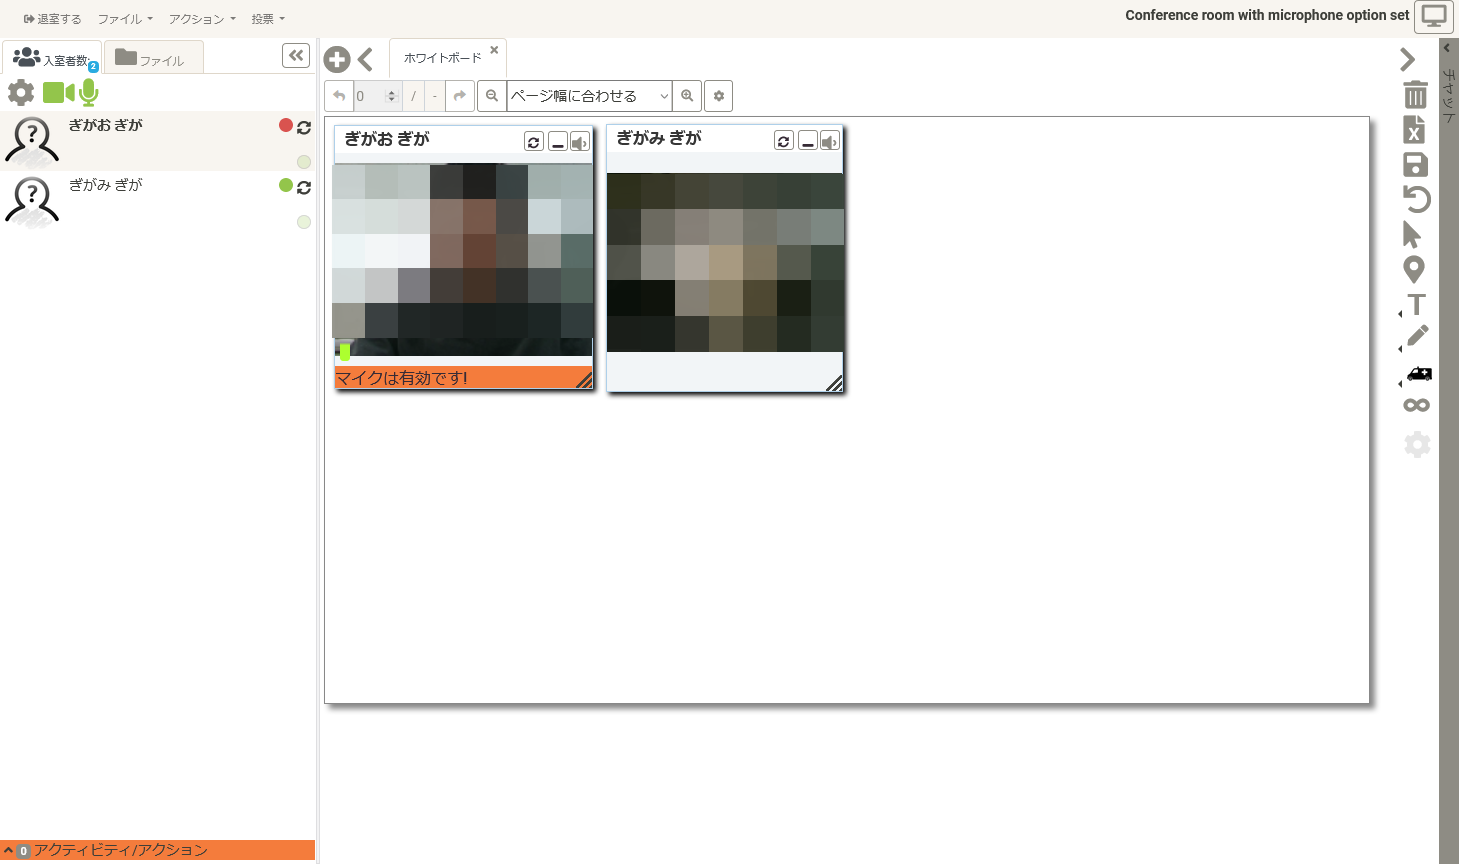
The screen after entering the conference room looks like this. A window is prepared for each user's camera, a list of users is arranged on the left side, a whiteboard used for information sharing is arranged in the center, and various tool buttons are arranged on the right side.
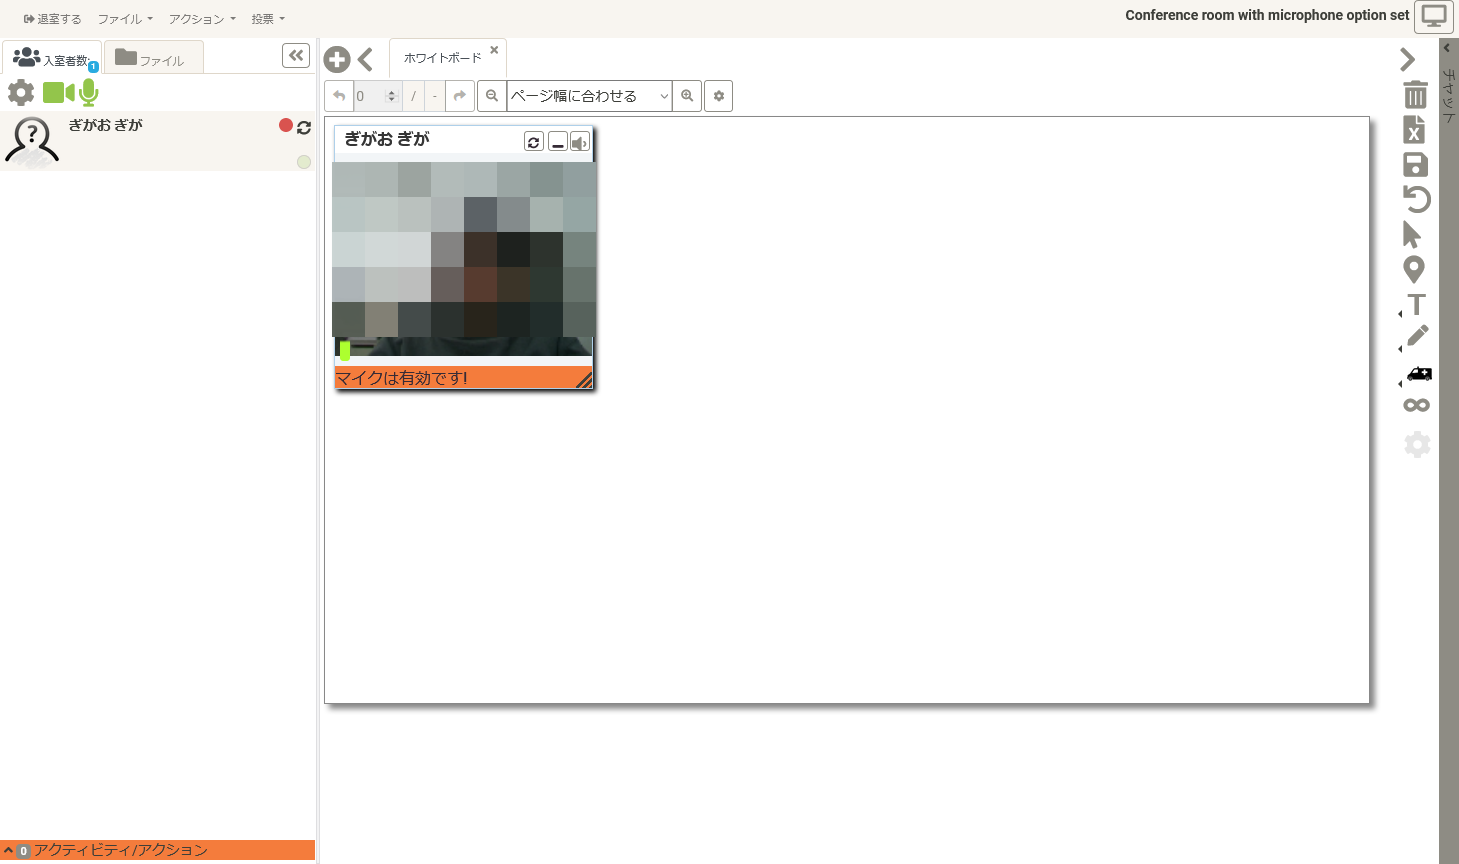
There are three main types of meeting rooms. The user's window is displayed in the 'Conference room'
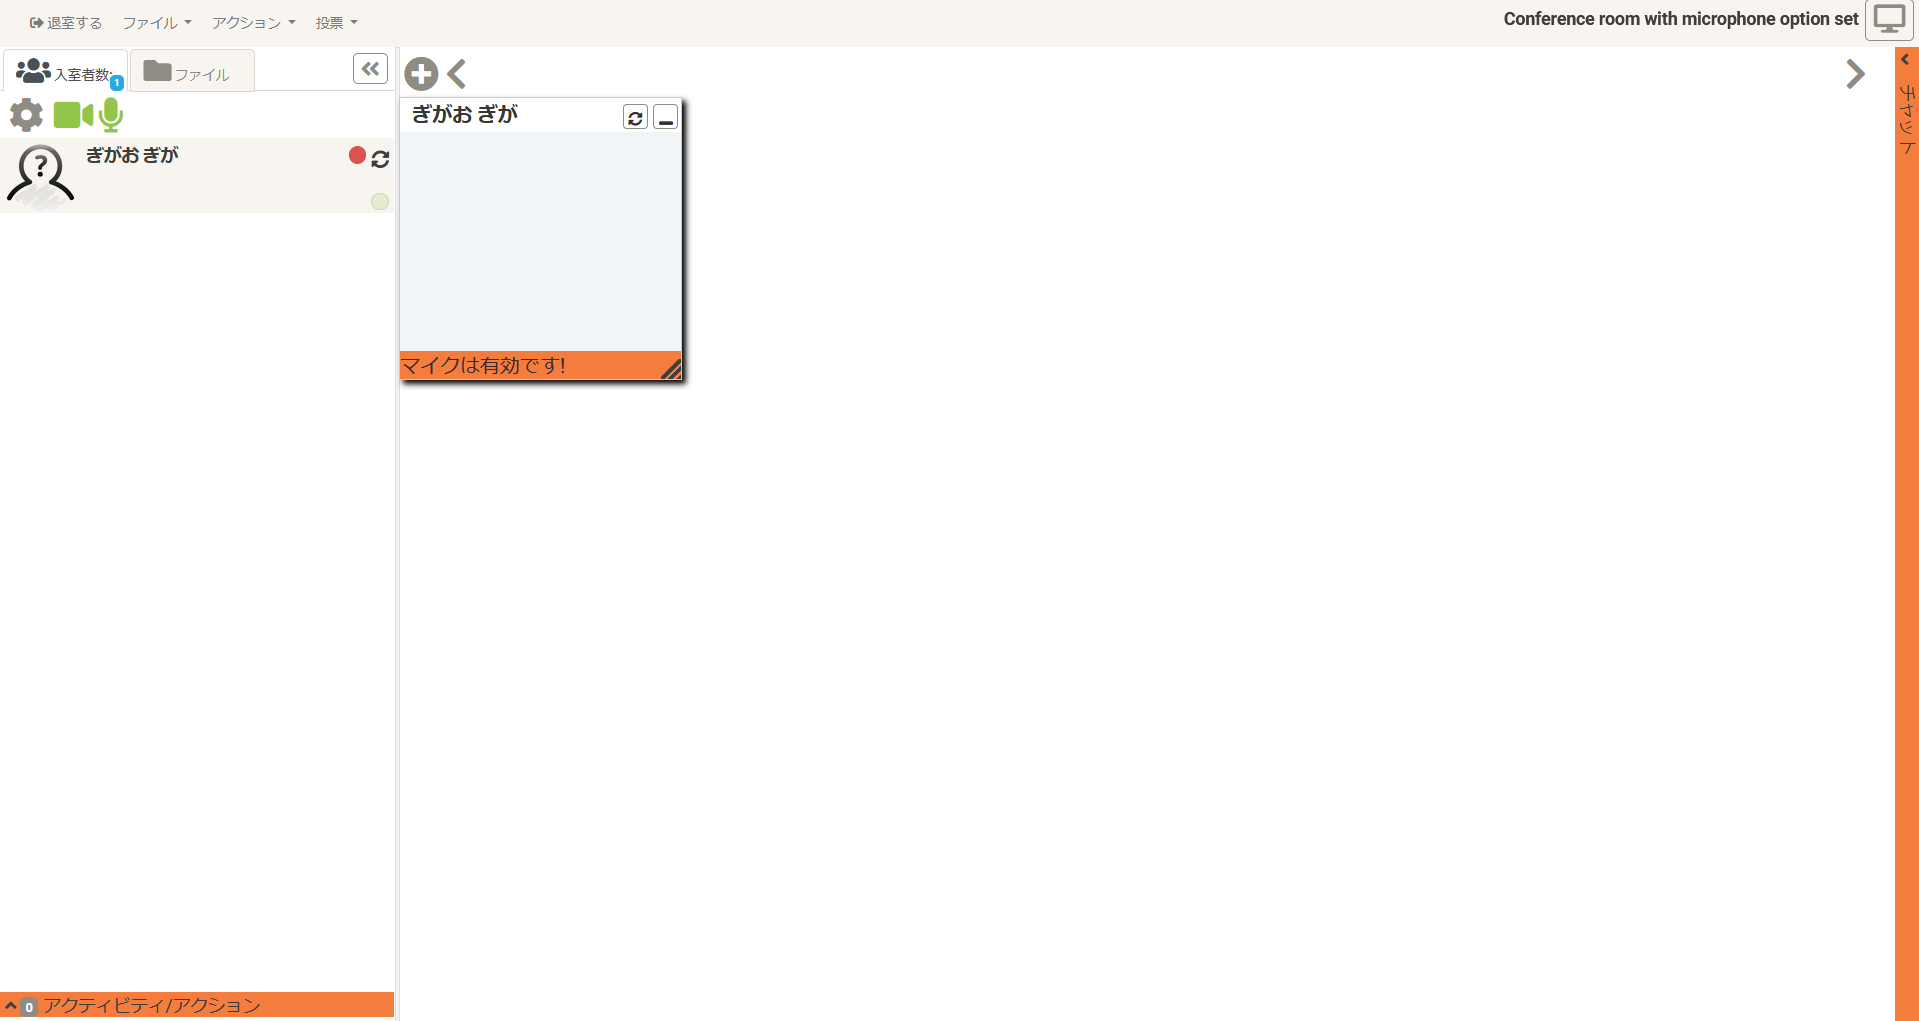
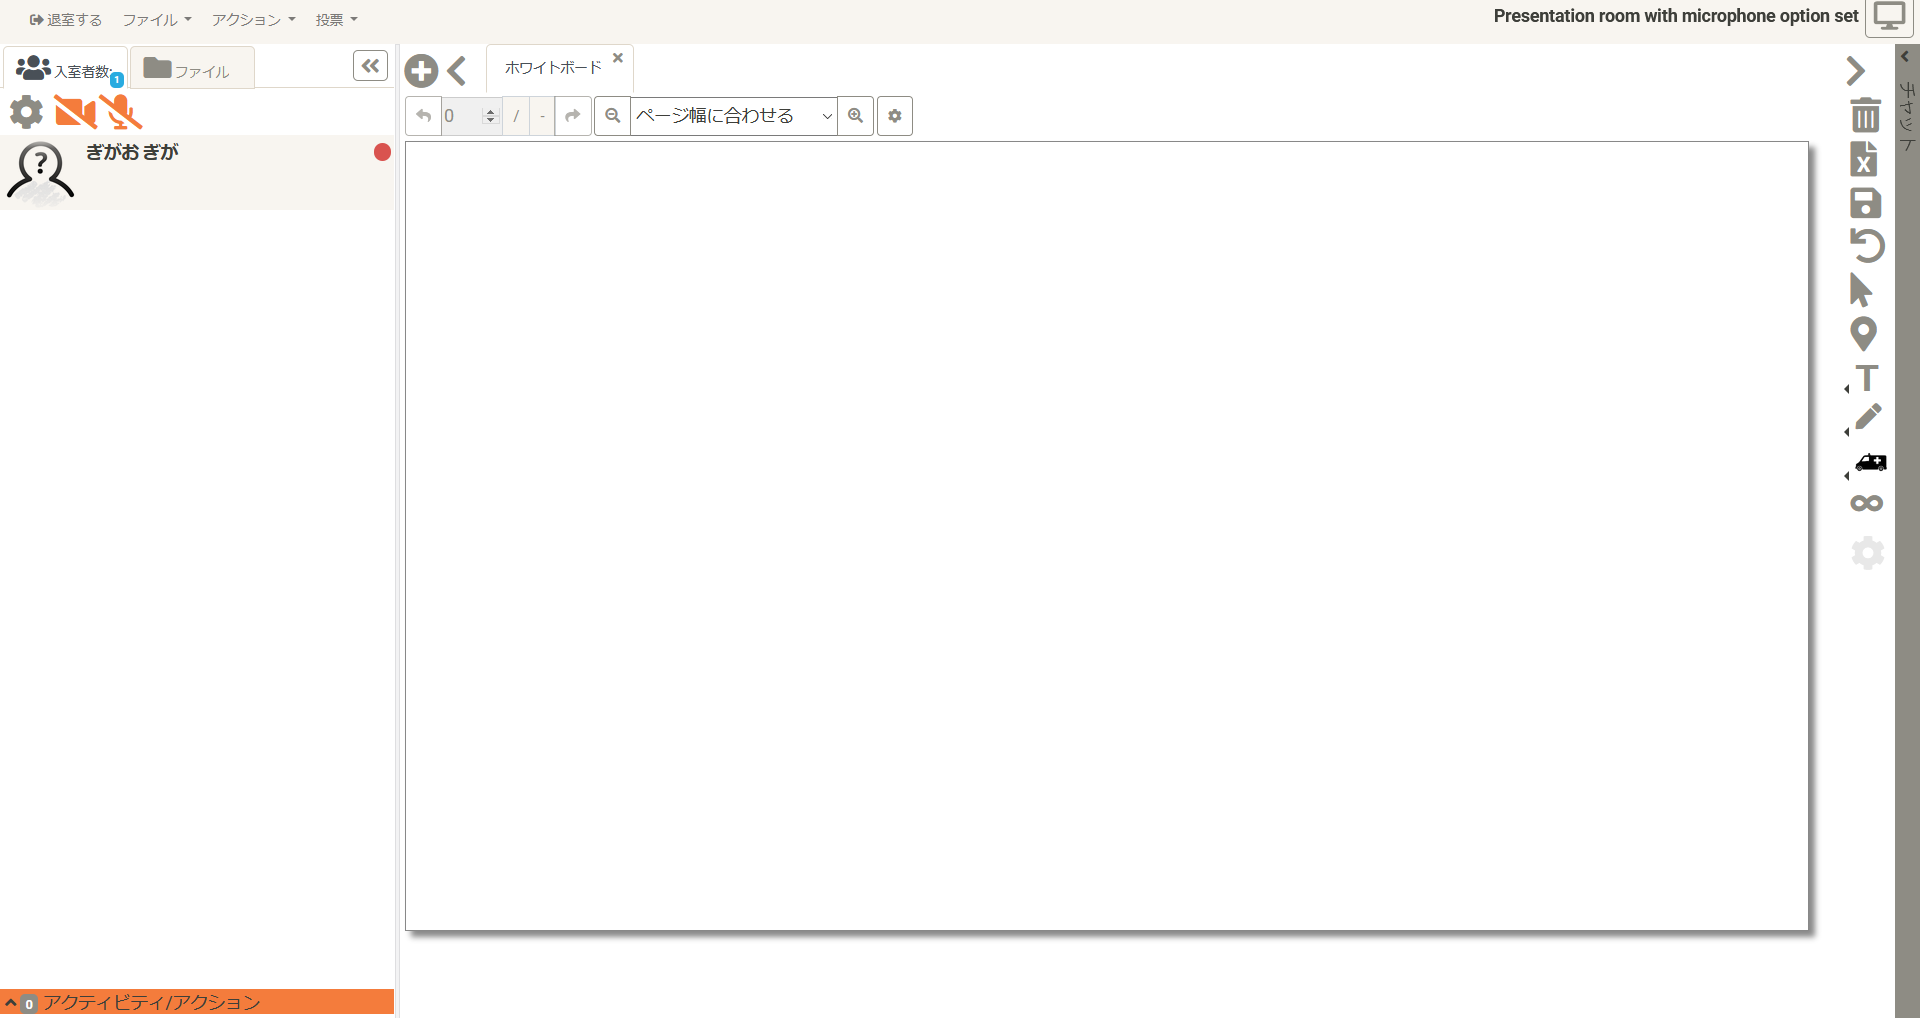
The 'Presentation room' has no windows and allows you to concentrate on the whiteboard.
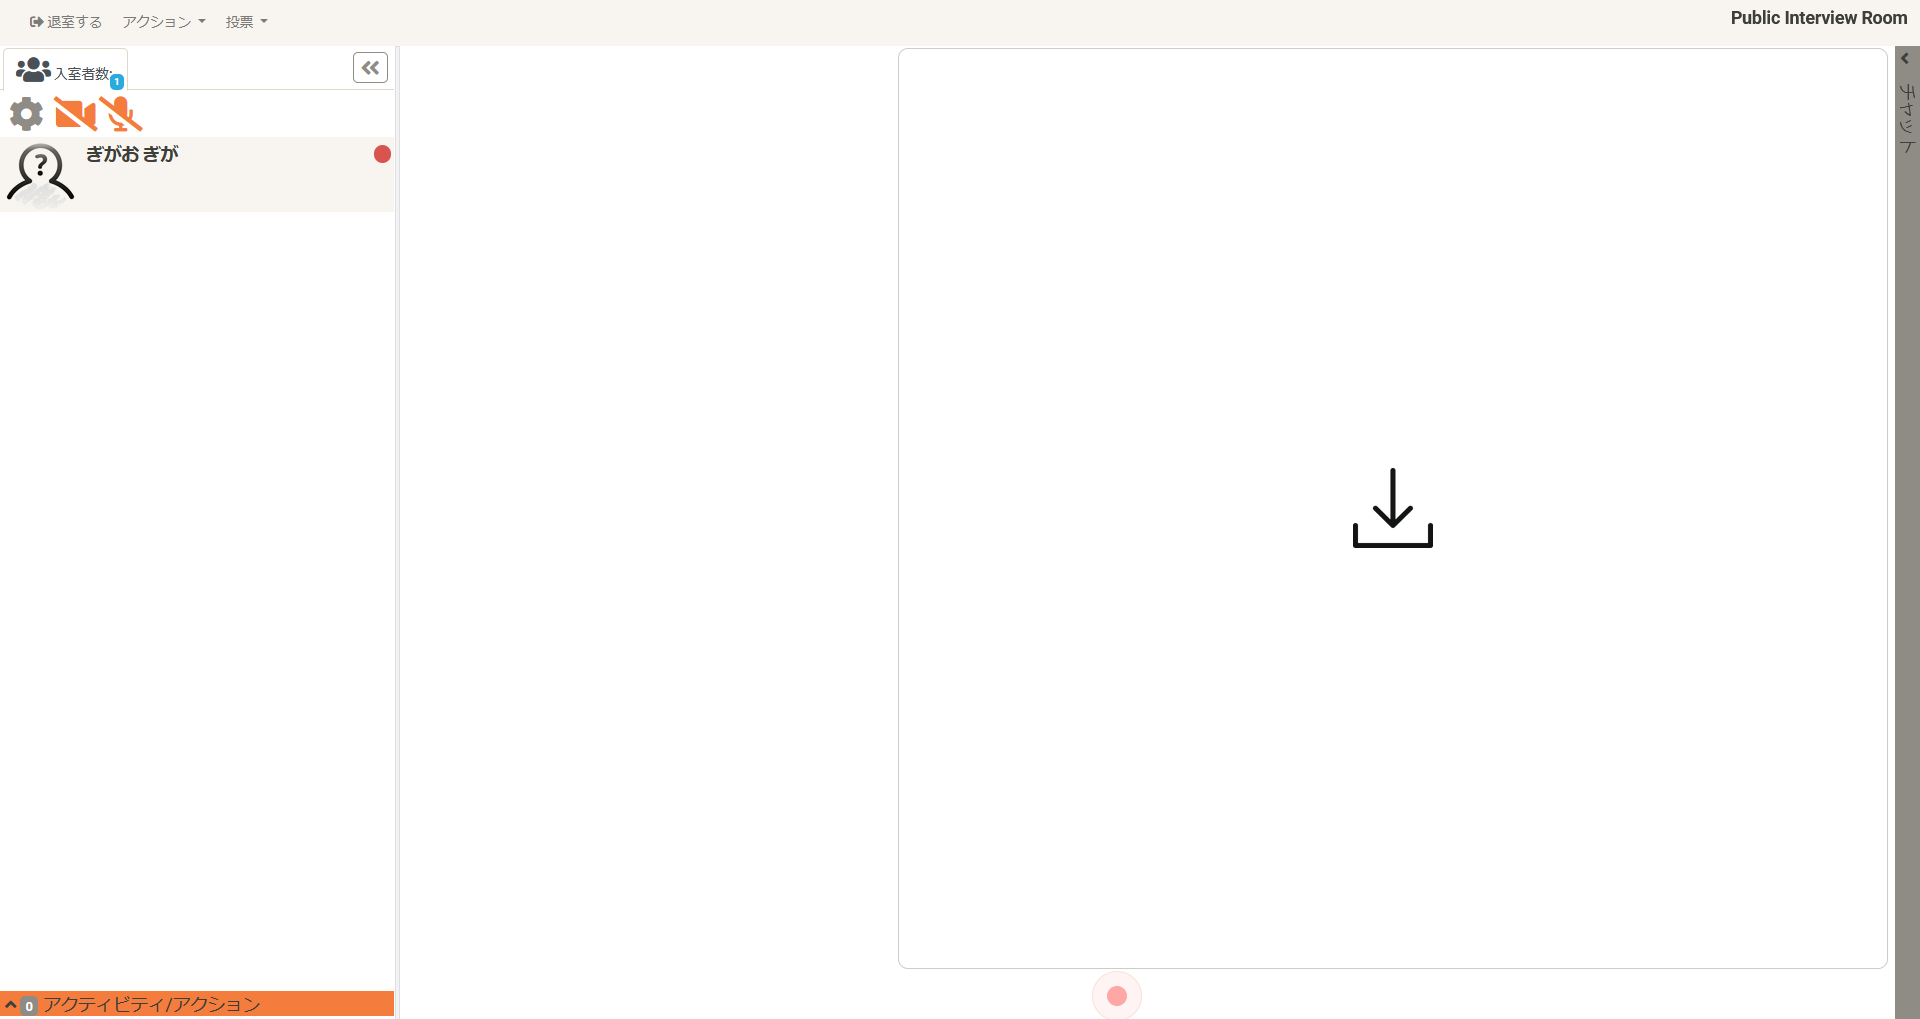
The 'Interview room' is a conference room used for one-on-one interviews. You can conduct an interview while displaying the manuscript etc. on the right side.
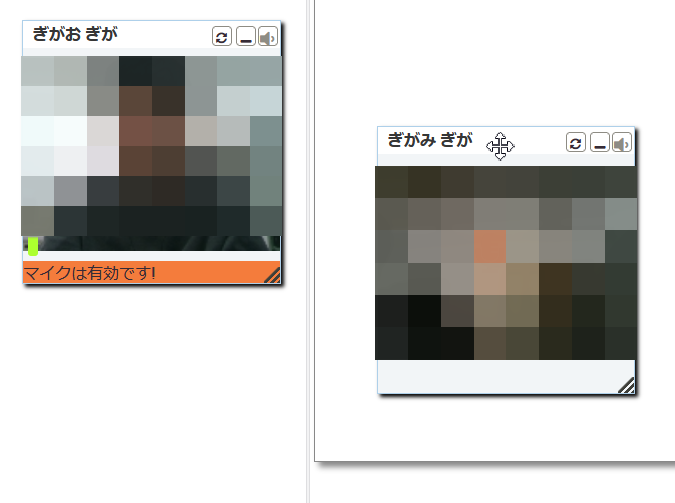
When other users enter the room, the user's window will be added.
You can drag and drop the window wherever you like and resize it.
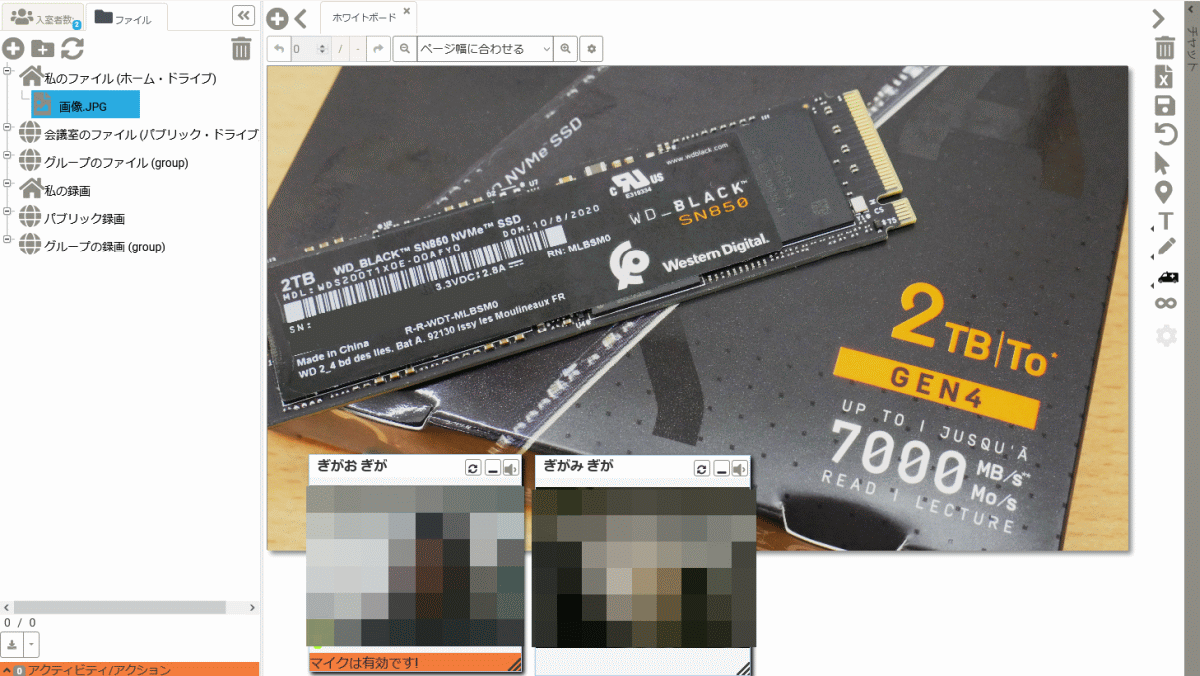
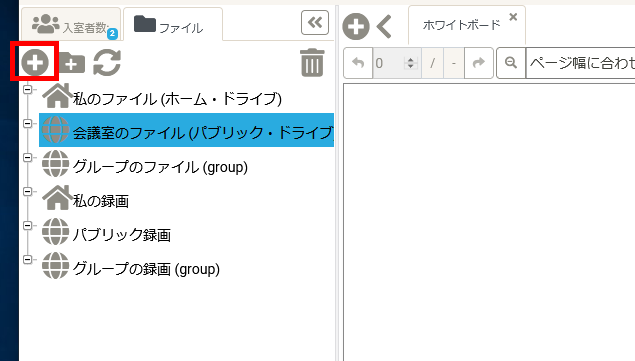
OpenMeetings has a storage feature that allows users to see which files are currently accessible by clicking File on the left. Initially I haven't uploaded the file to OpenMeetings, so I don't have any files to check.

Click the '+' button and try uploading the file.
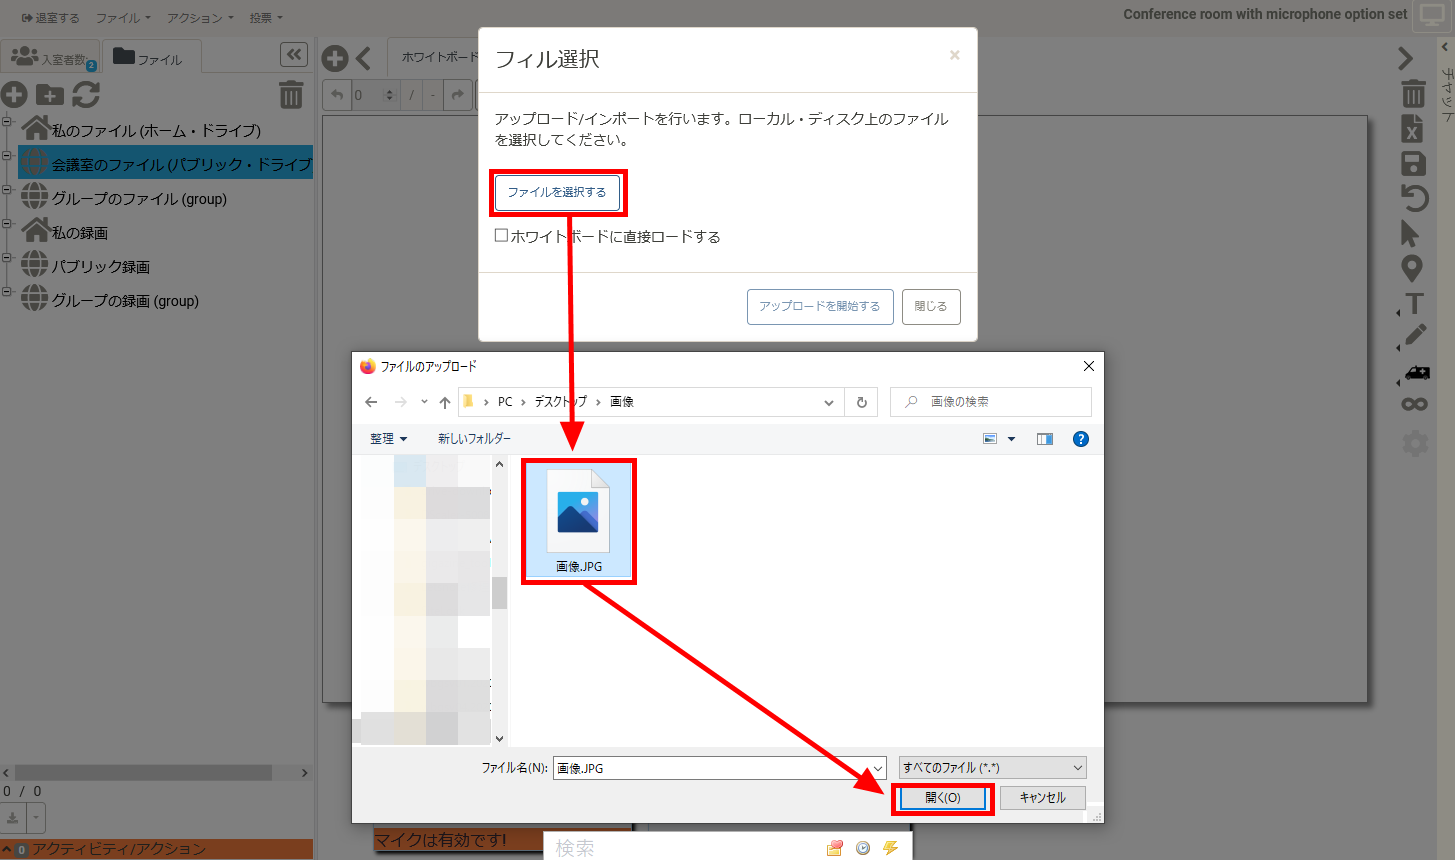
Click 'Select File', select the file you want to upload, and click 'Open'.
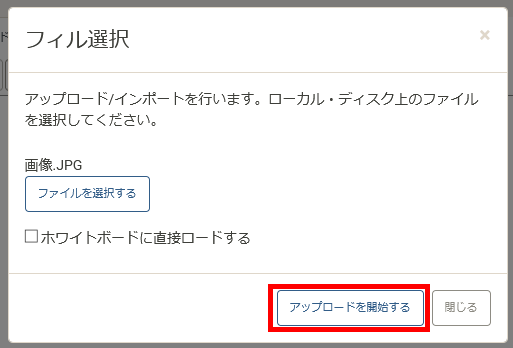
Click 'Start Upload' to upload the file.
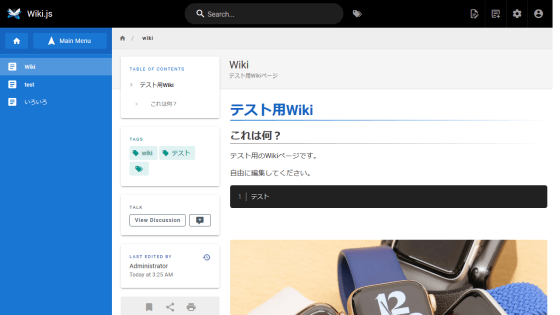
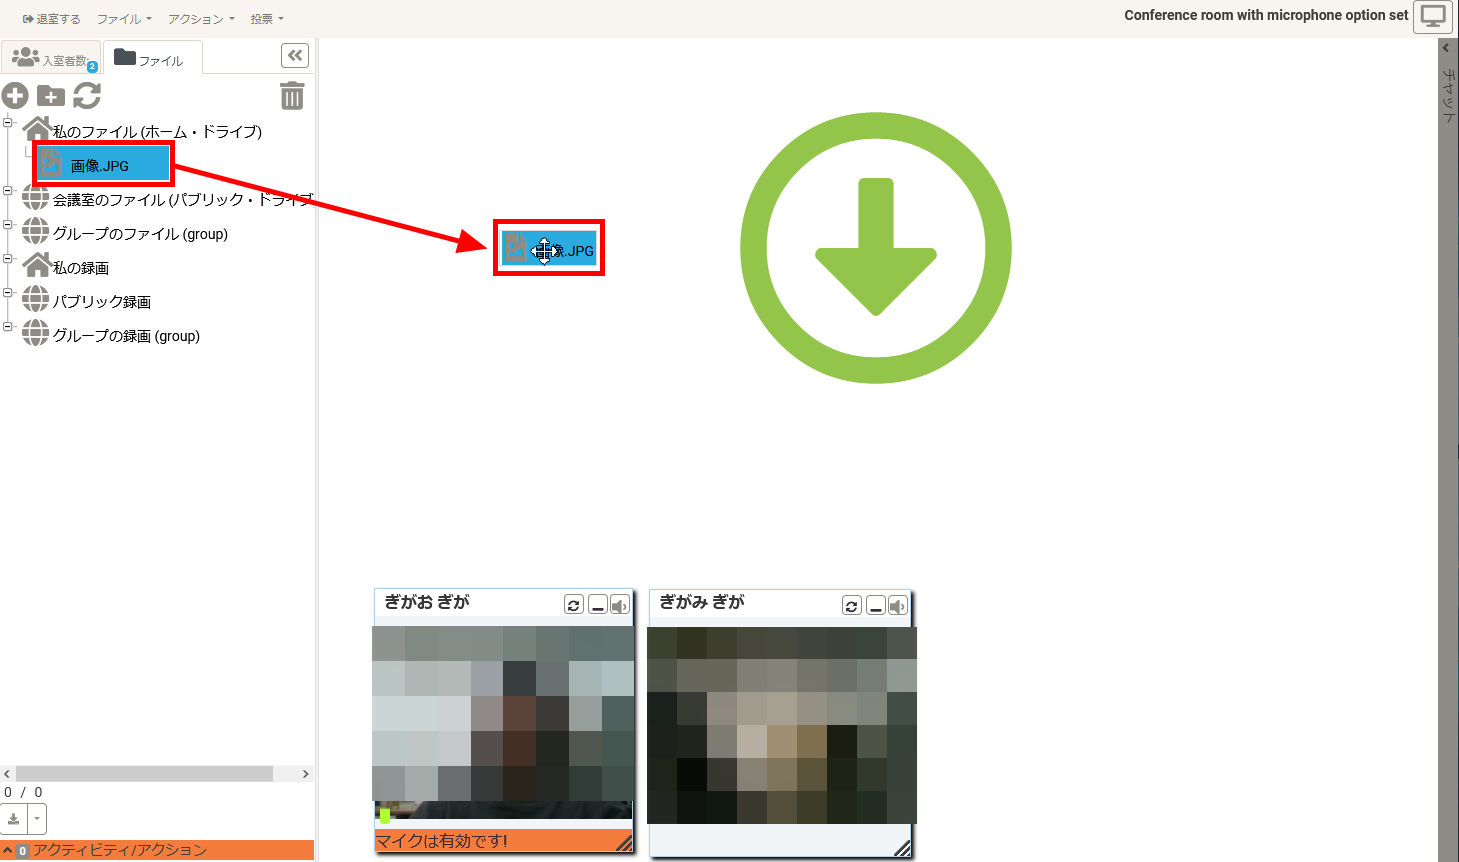
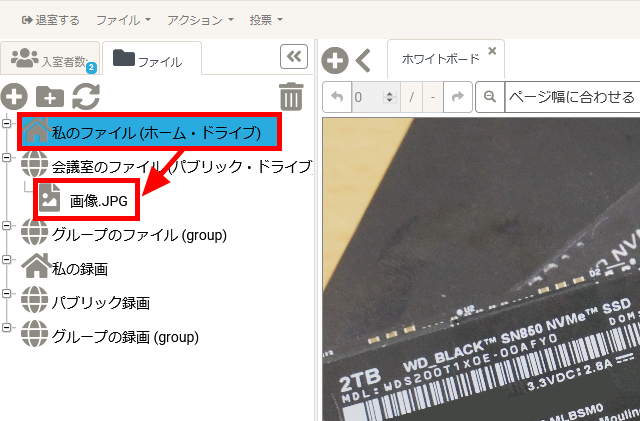
The uploaded file will be stored in 'My file (home drive)'. If you drag and drop the file to the whiteboard in the center of the screen ...
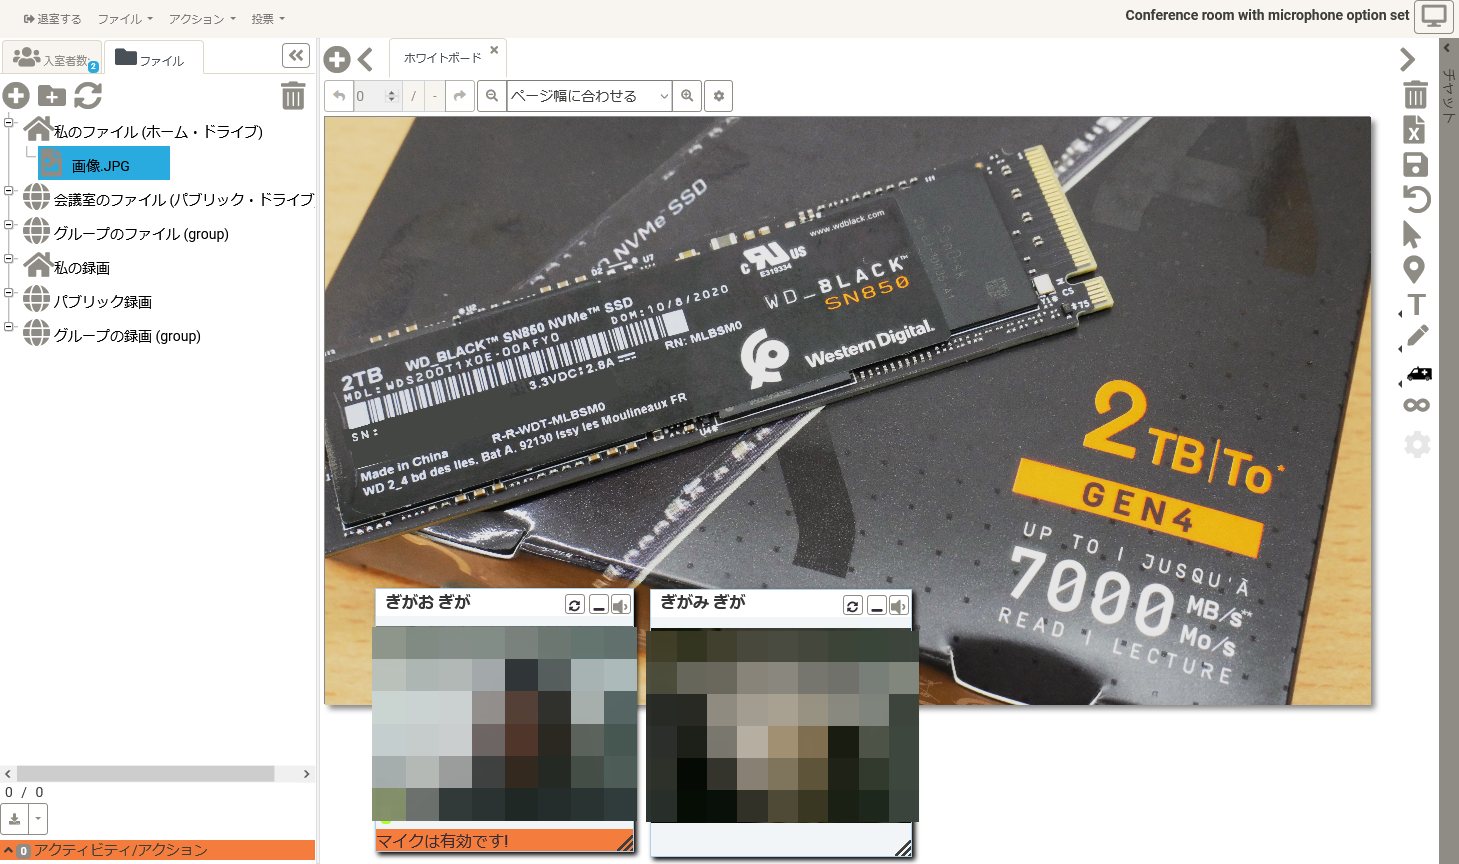
Like this, the contents of the uploaded file are displayed on the whiteboard.
If you want to share the file with users in the conference room or the same group, you can move the file stored in 'My file' to the sharing destination by dragging and dropping.
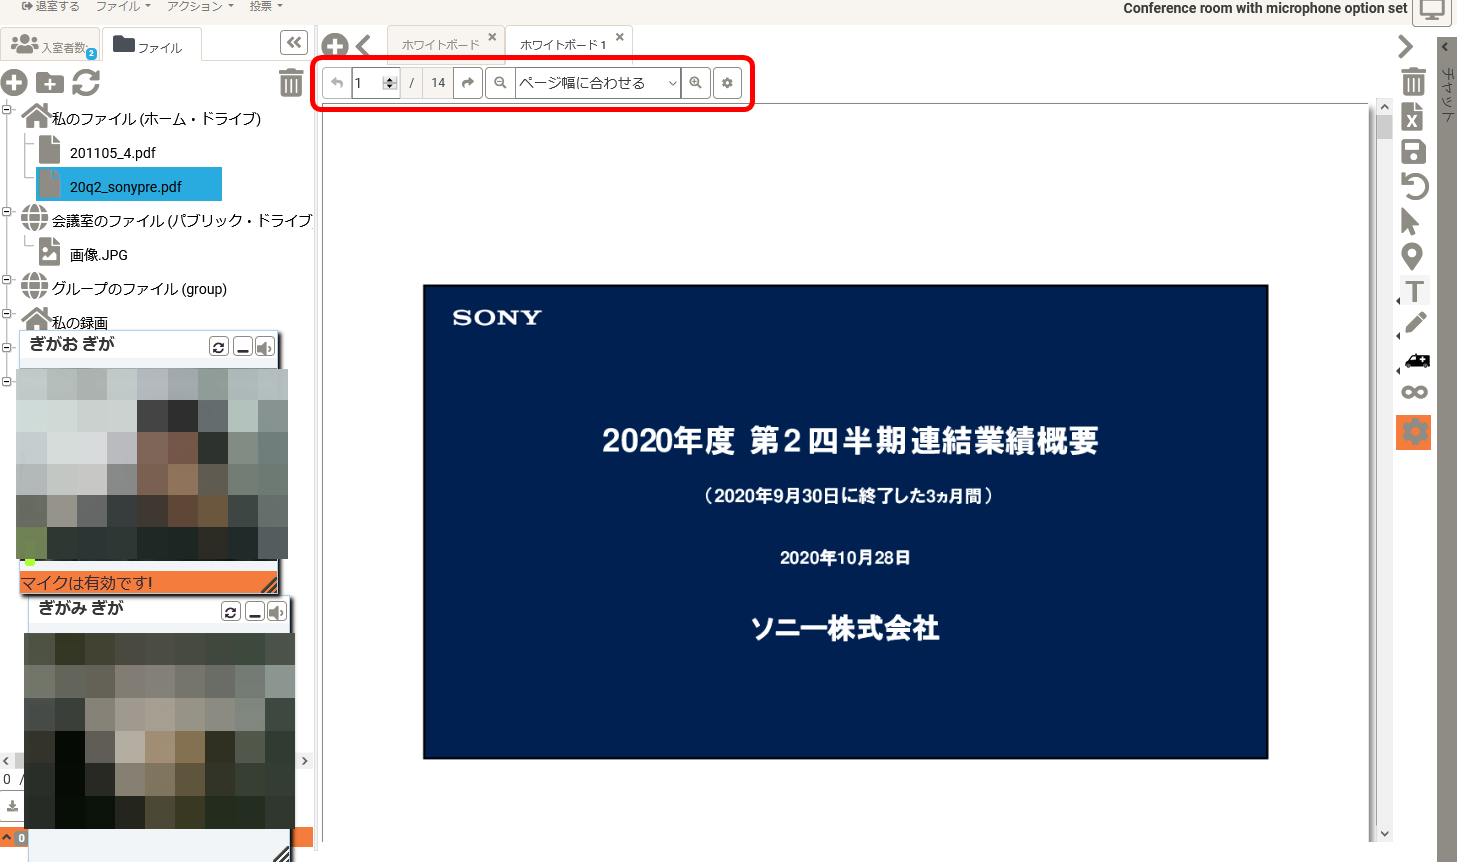
PDF and PPT files can be displayed page by page.
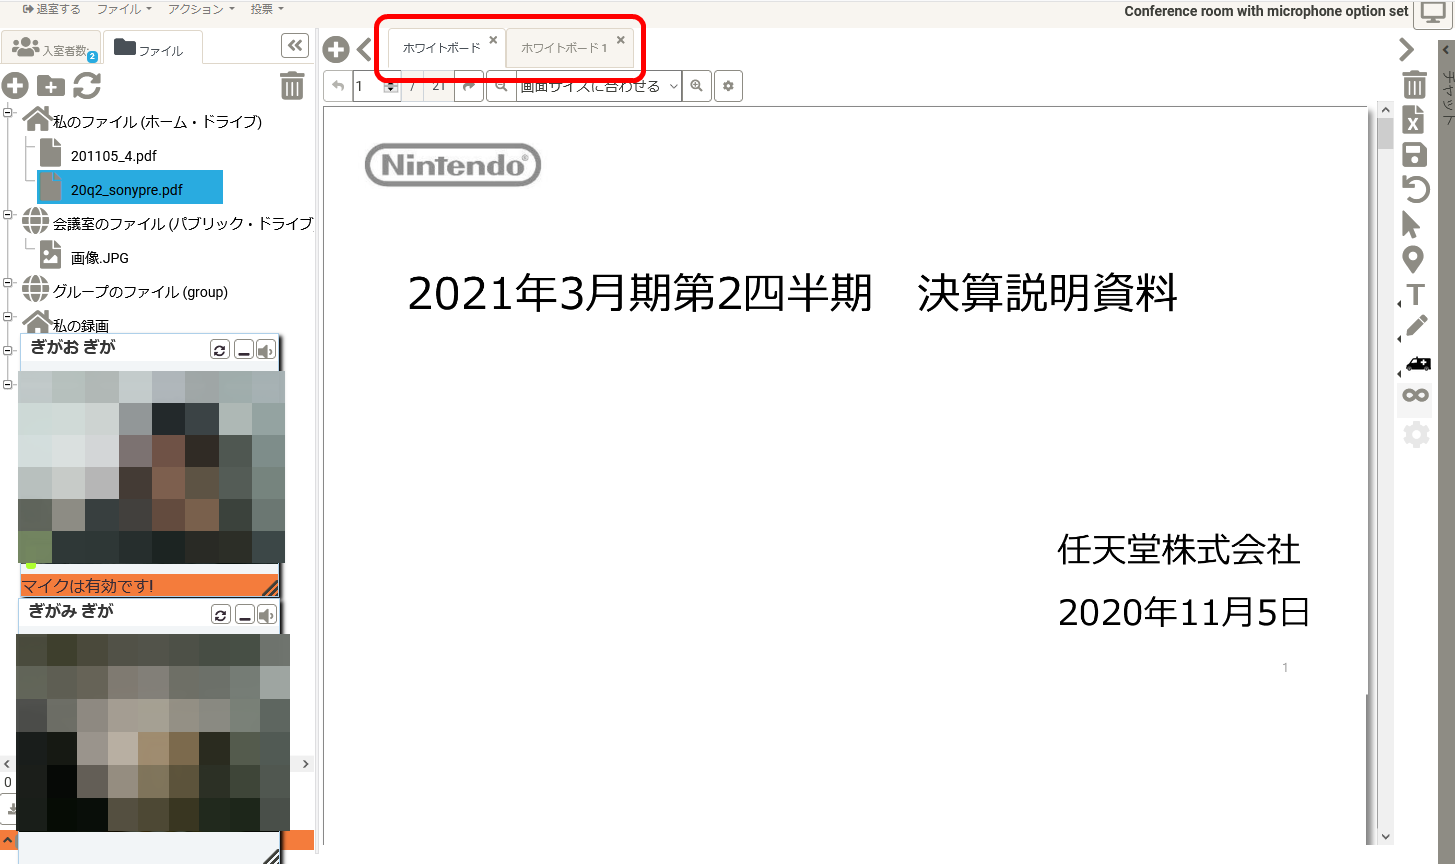
Whiteboards can be managed in tabs, so you can open multiple whiteboards and compare materials.
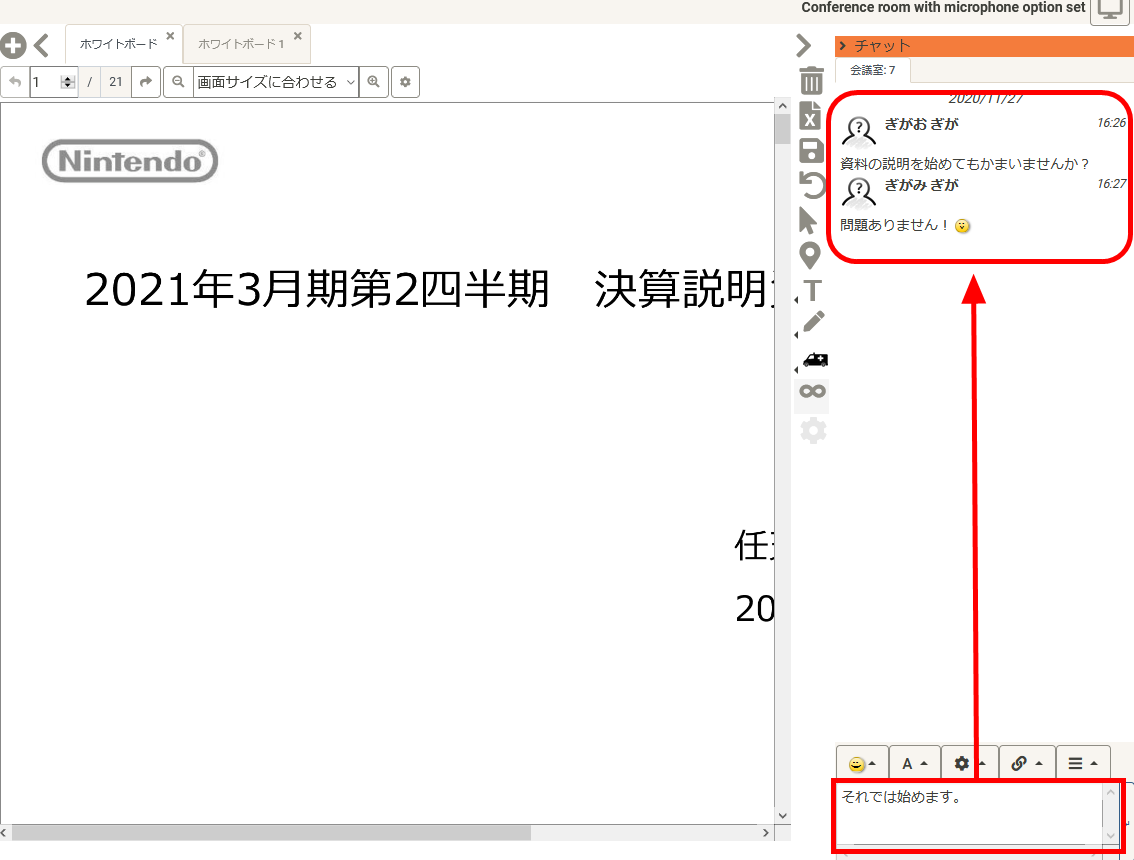
Users can chat with each other by opening 'Chat' on the far right.
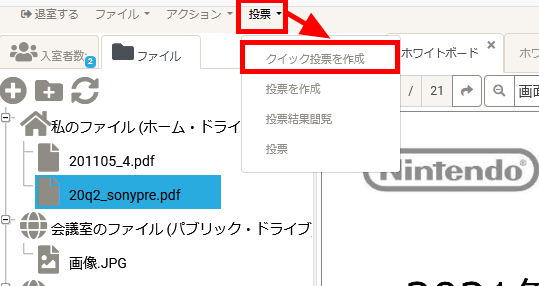
OpenMeetings also has a 'voting' feature. To create a simple vote, click 'Create Quick Vote' from 'Vote' in the top menu.
A small voting button appeared on the screen.
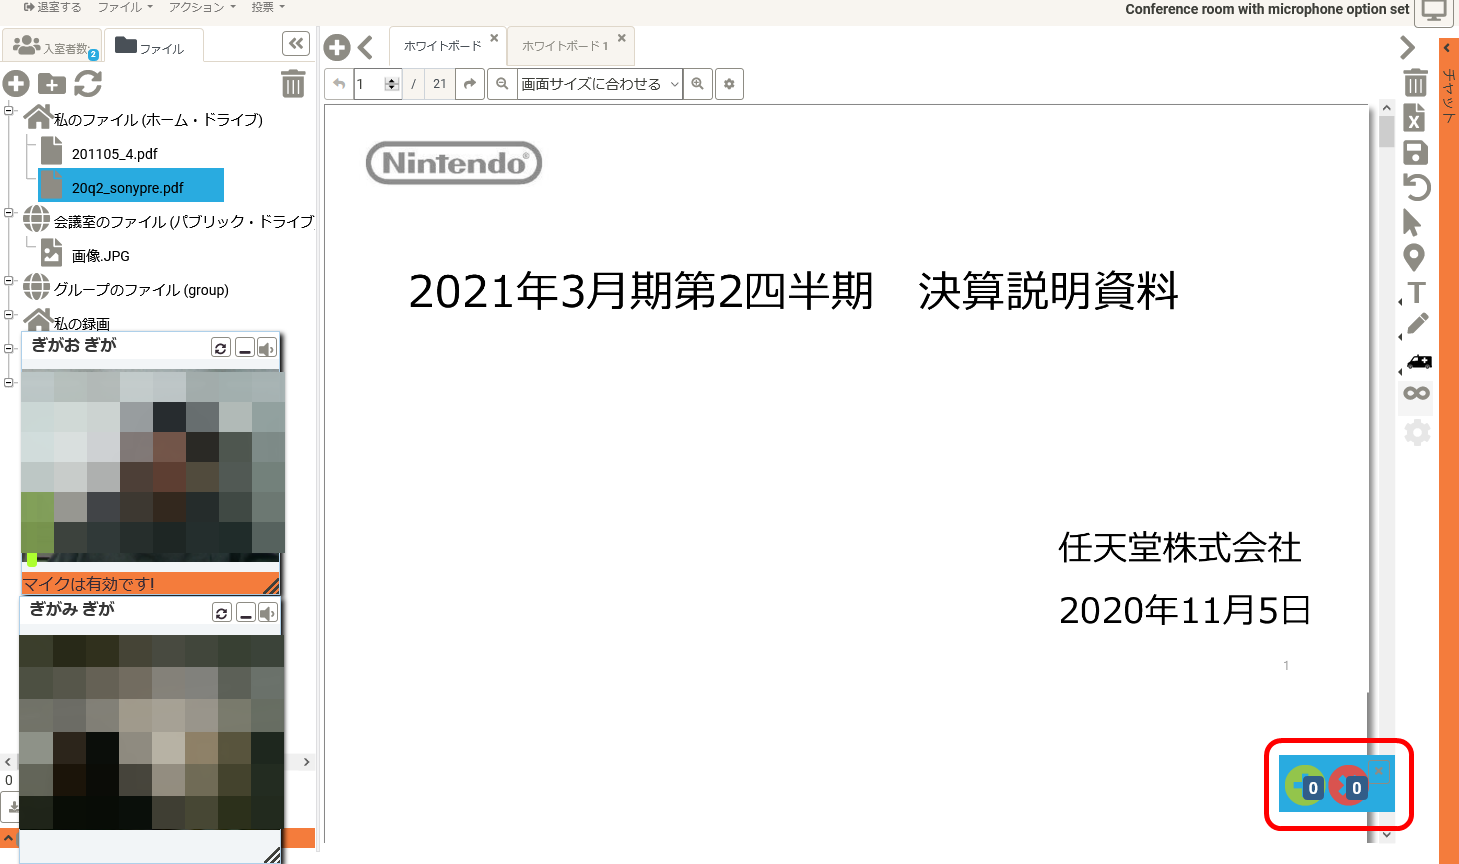
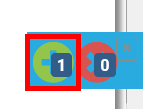
The green button is the positive button and the red button is the opposite button. When you click it, the number of votes will be counted.
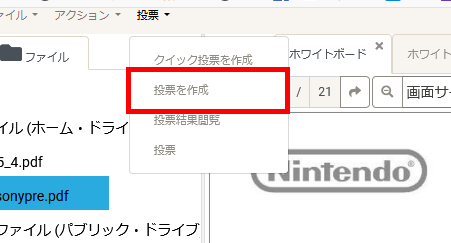
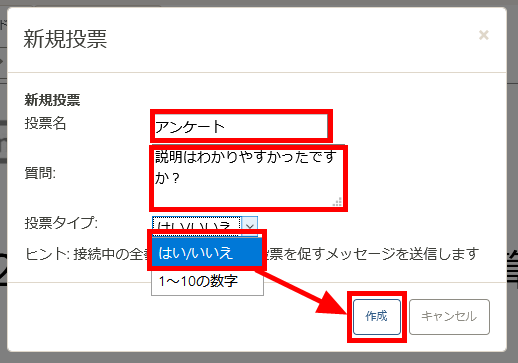
Click Create Vote if you would like to vote in more detail.
Set the vote name, question content, and options, and click 'Create'. You can choose the type of choice from 'Yes / No' or 'Numbers from 1 to 10', but 'Numbers from 1 to 10' cannot set the item name for the number, so it may be a little inconvenient. not.
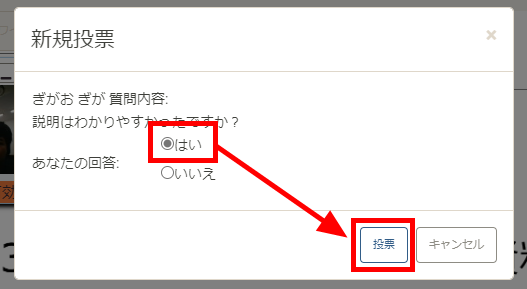
When you create a vote, a pop-up will appear prompting users in the meeting room to vote. Users can vote from this pop-up.
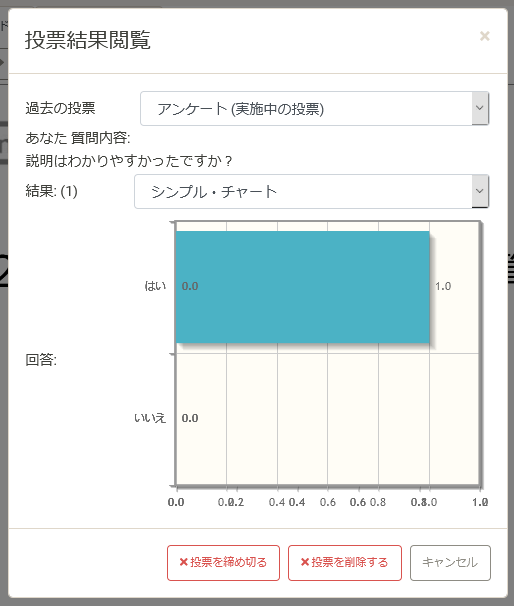
You can check the voting status in real time by selecting 'View Voting Results' from 'Vote'.
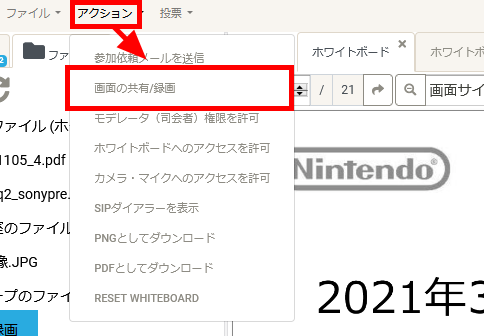
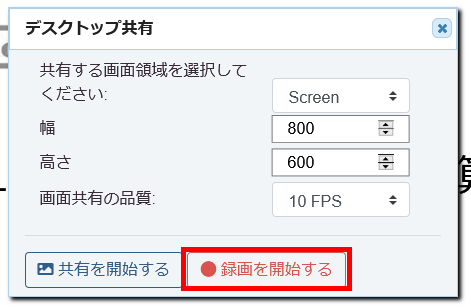
If you want to record and keep the contents of the video conference, go to 'Action'-'Screen Sharing / Recording'.
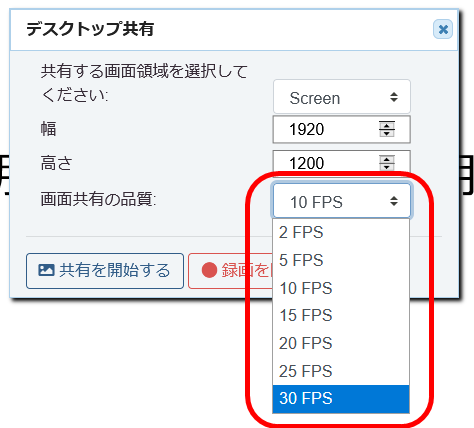
Set the area, width and height to record and click 'Start Recording'. If you want to share the screen instead of recording, select the number of FPS from 'Quality of screen sharing'.
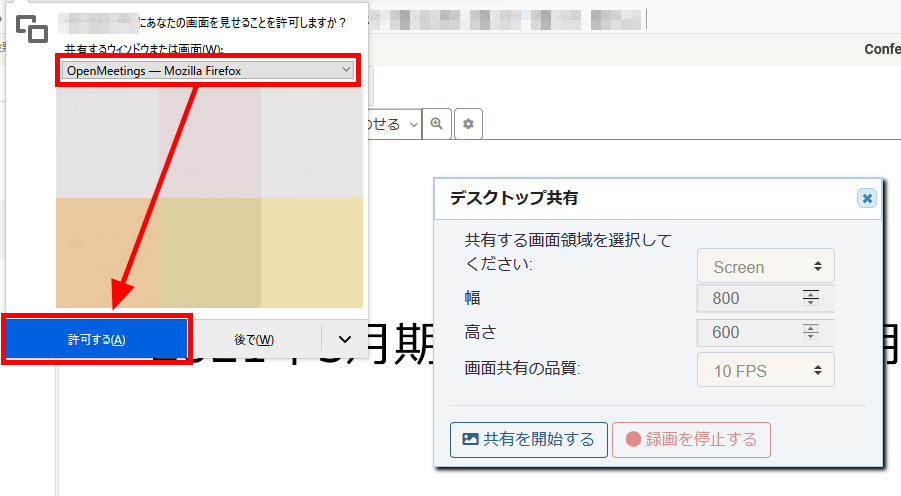
If you specify the screen on the browser side and allow recording, it's OK.
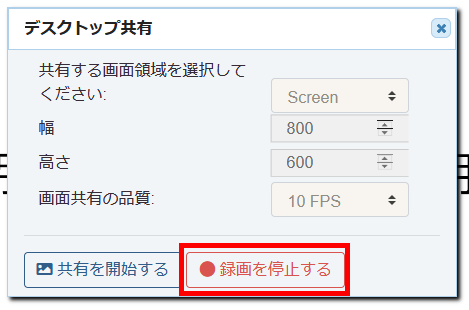
You can stop the recording by clicking 'Stop Recording'.
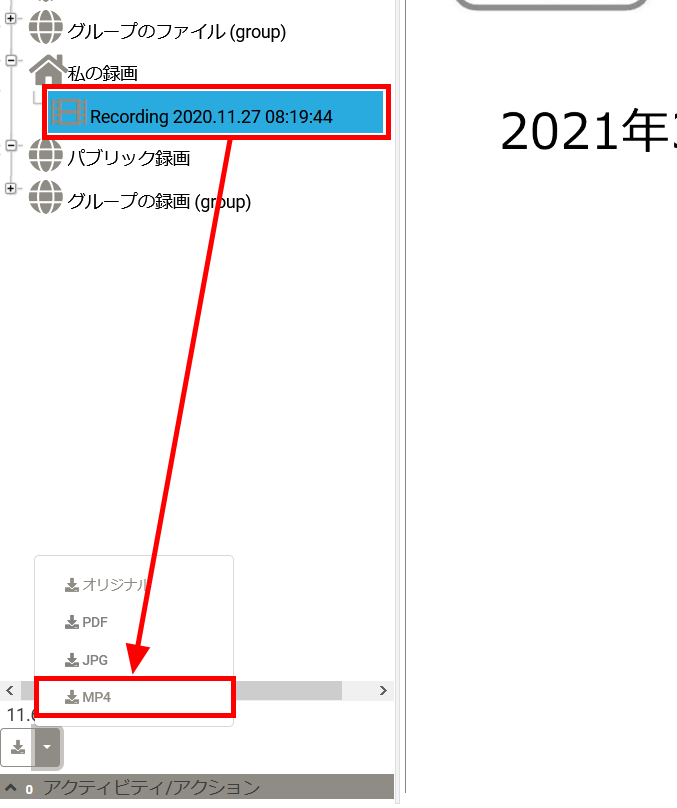
The recorded file is saved in 'My Recording'.
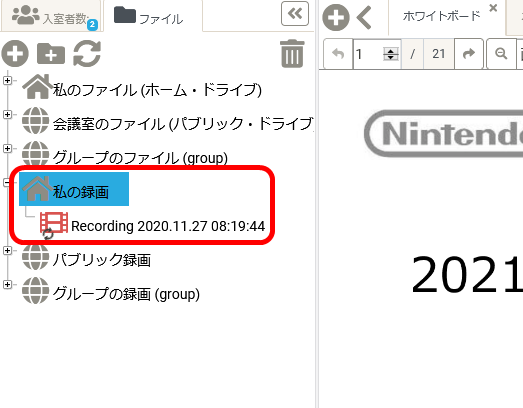
With the saved recording file specified, click the button at the bottom left and specify 'MP4' to download the recorded data as a video file. Other shared files can be downloaded in the same way.
We could not confirm the limit on the image quality and time that can be recorded. If you share your screen, you can lower the FPS to reduce the load on your network.
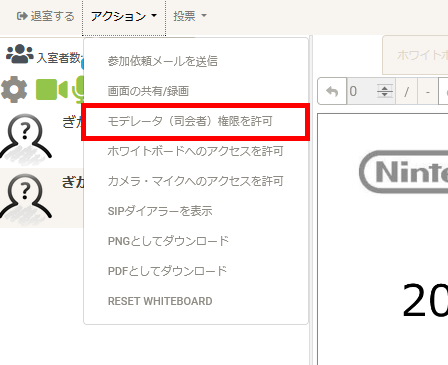
Users in the conference room can apply for 'moderator authority', 'whiteboard access authority', and 'camera / microphone access authority' from the administrator. For example, if you click 'Allow moderator authority' ...
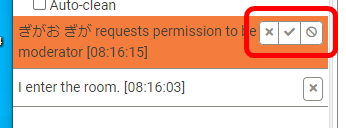
The application will be sent to the administrator who created the conference room. The administrator can control the user authority by selecting the application from 'Allow', 'Withdraw', and 'Prohibit application'.
The feature of OpenMeetings is that you can set permissions in detail for each user. Since the account registered from the login screen does not have administrator privileges, log in with the default administrator account 'om_admin' and password '1Q2w3e4r5t ^ y'.
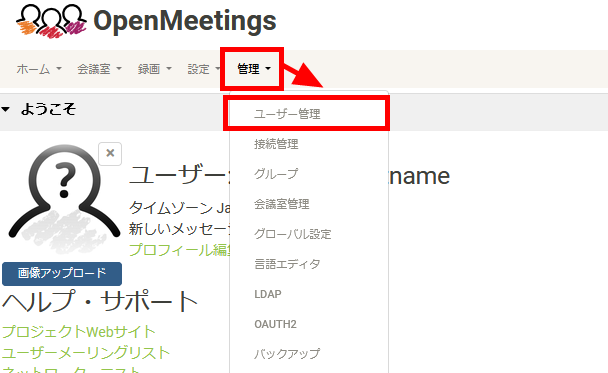
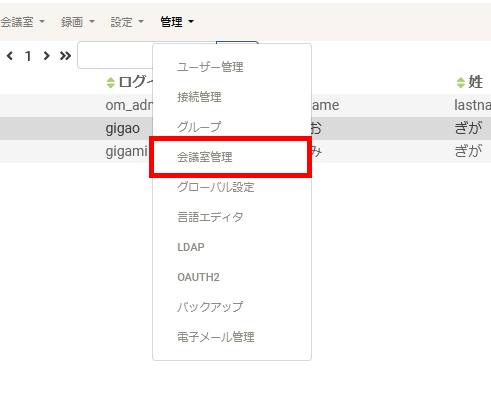
Go from 'Administration' to 'User Management', which is not displayed by normal users.
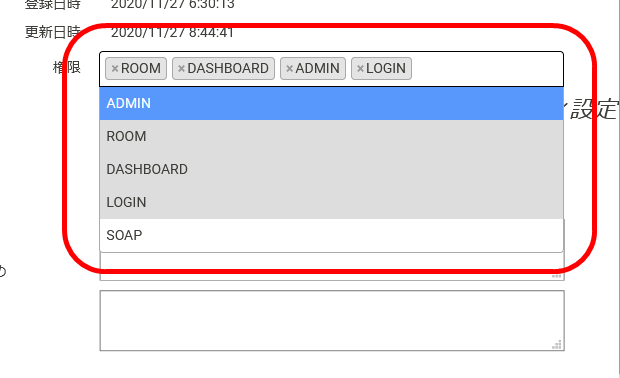
You can grant administrator privileges to users by selecting the user you want to grant privileges and entering 'ADMIN' in the privileges.
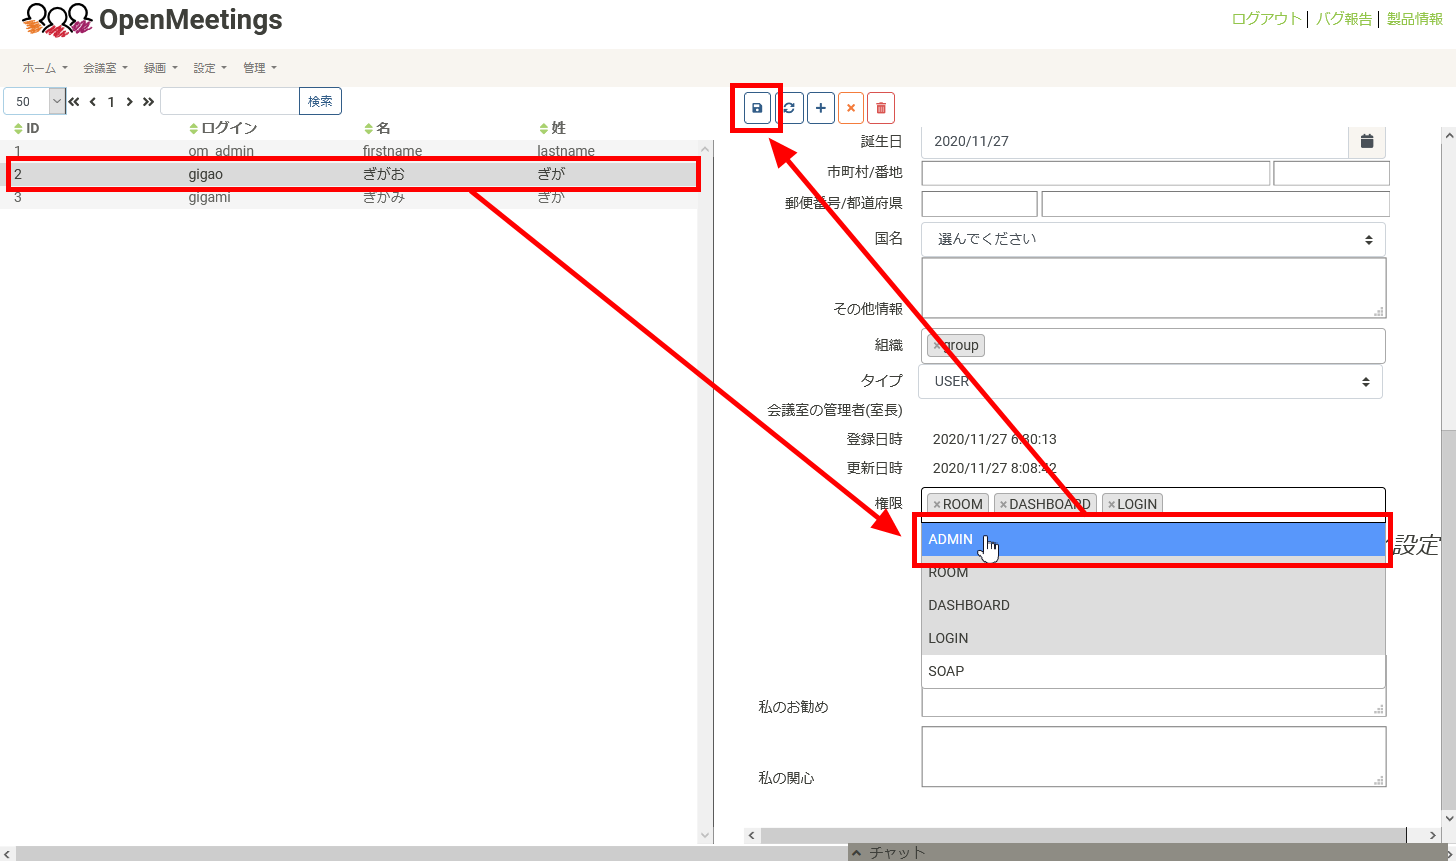
The permissions that can be set are 'ROOM (meeting room)', 'DASHBOARD (dashboard)', 'ADMIN (administrator authority)', 'LOGIN (login)', and 'SOAP (message)'.
In 'Meeting Room Management' of 'Management', it is possible to control the user's operation for each meeting room.
You can set the authority in detail for each conference room from the screen. Click '+' to create a new conference room.
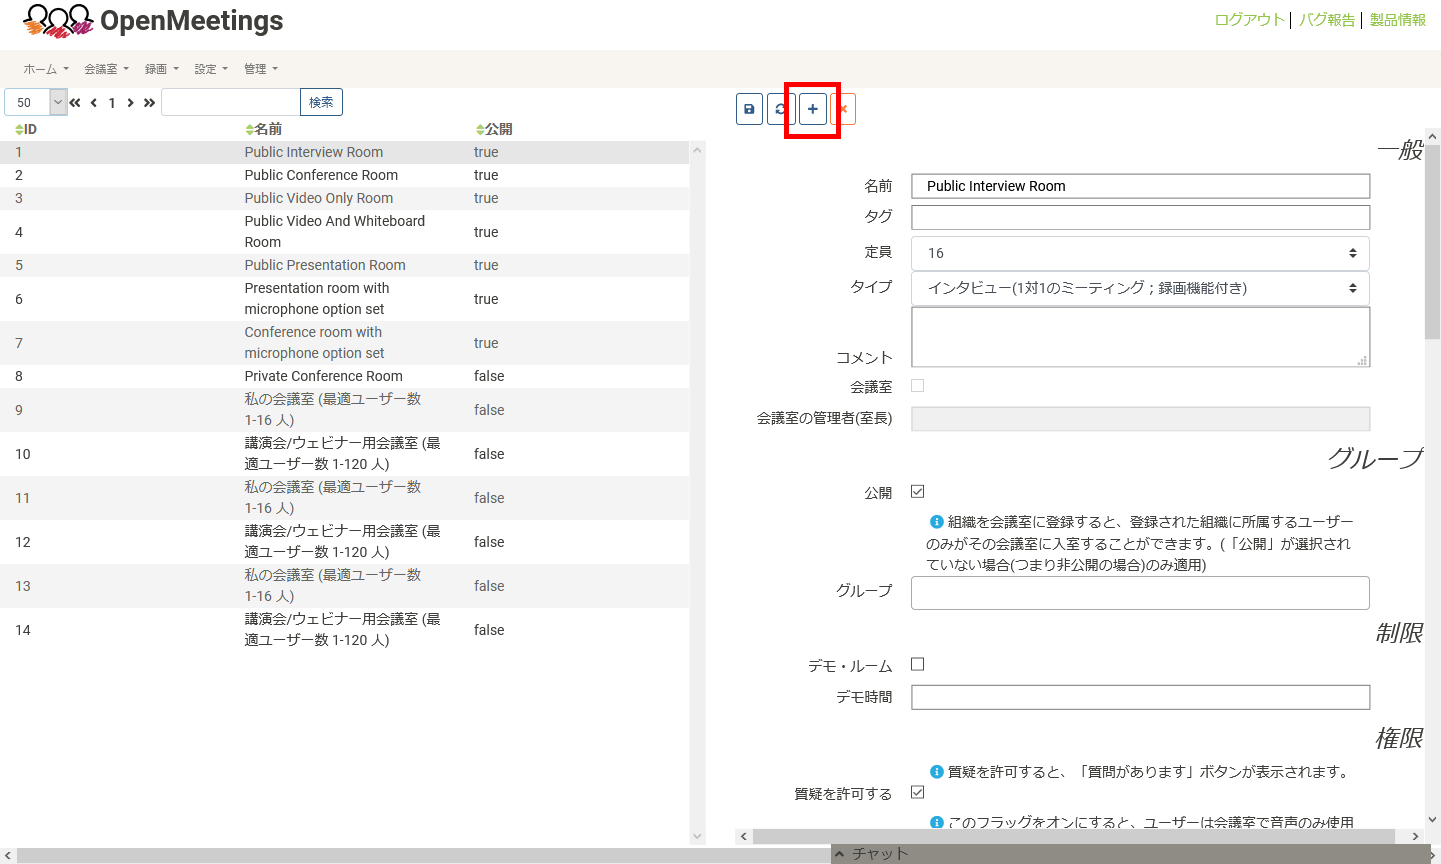
In General, you can set the room name, capacity, and room type. Any user can enter the conference room by turning on 'Publish' in 'Group'. Conversely, if you turn it off, you can limit the users who can enter the conference room.

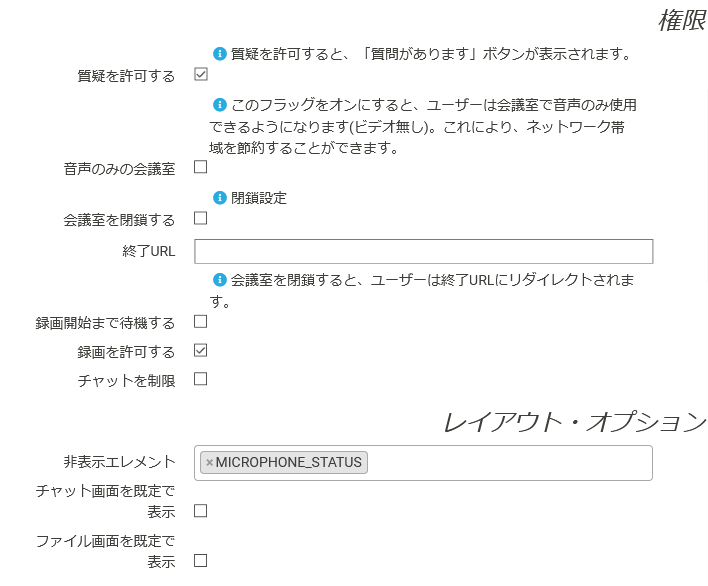
In 'Authority', you can set questions, recording, chat control, website URL to be displayed at the end, etc.
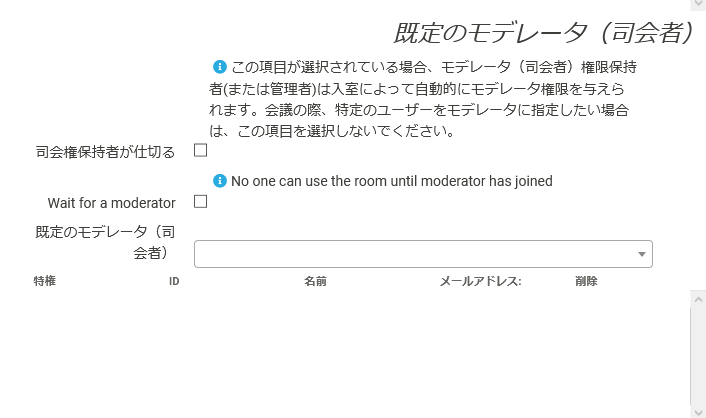
A 'moderator' is a user who can allow a user to apply for authority in a conference room in the same way as an administrator. By default, you need to ask the administrator for permission to promote the moderator, but you can specify the user who will be the moderator from the beginning in the conference room settings.
In addition to the video conferencing function, OpenMeetings has a calendar function. Click 'Calendar' from the dashboard.
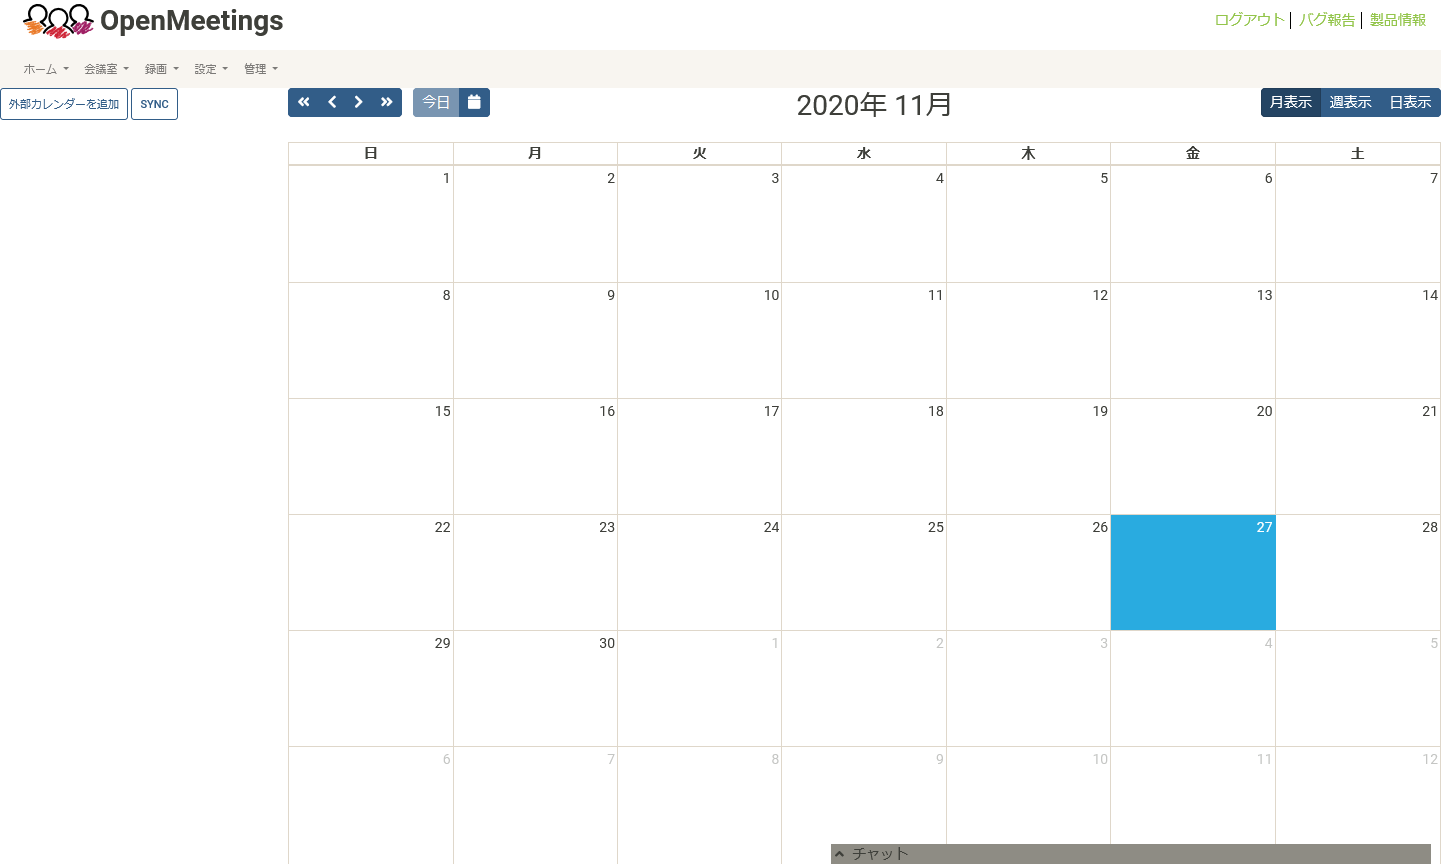
The calendar is displayed.
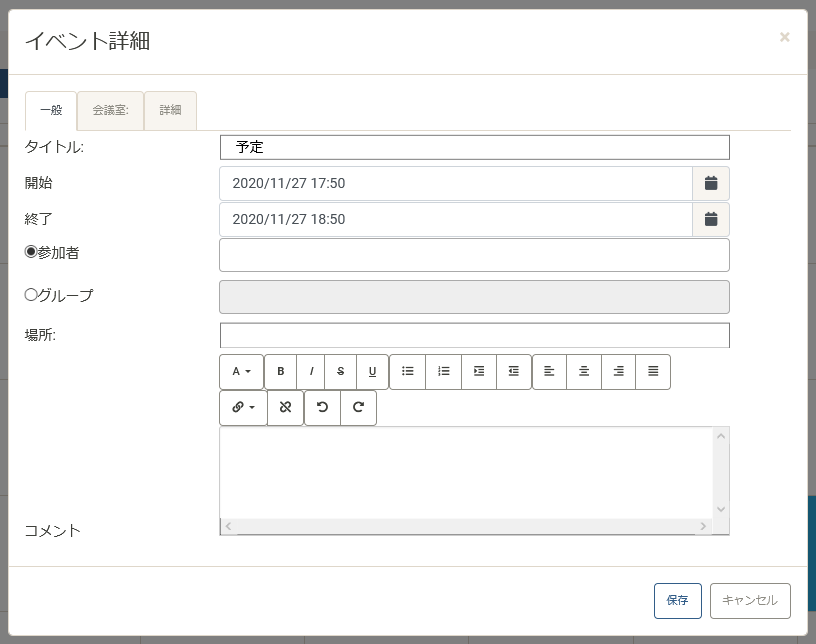
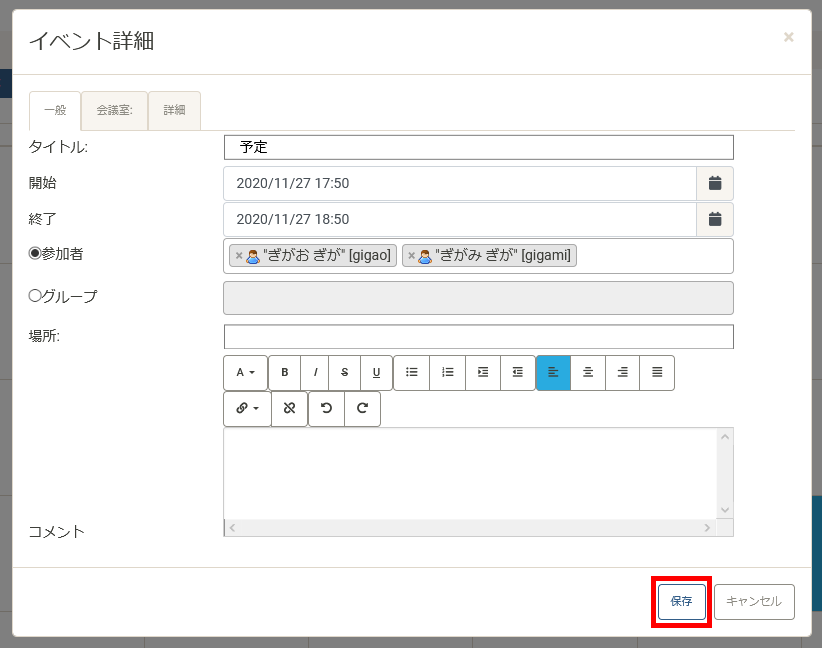
Click the date on the calendar to display the event creation screen. Enter the required information in the title, start / end date / time, participants, and comment fields.
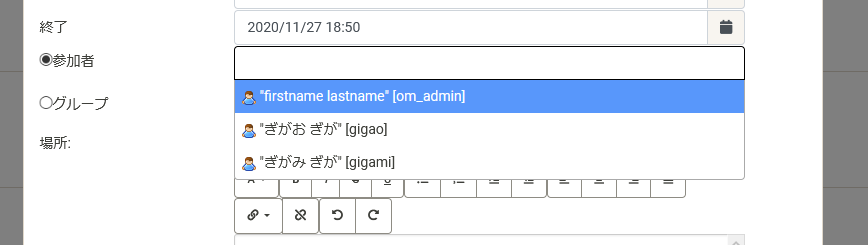
Participants can select users who are registered with OpenMeetings.
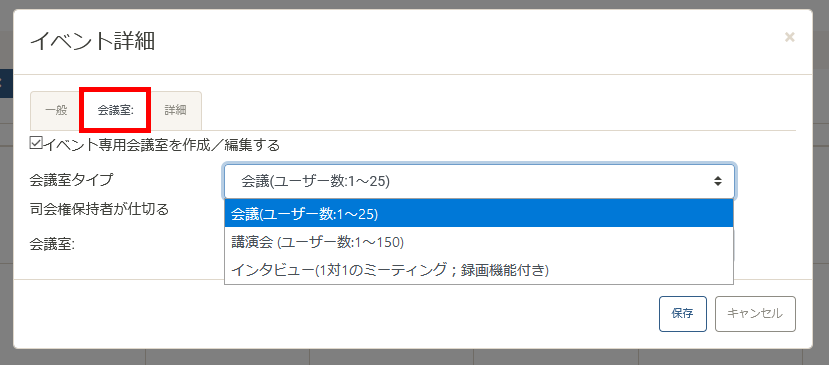
On the 'Meeting Room' tab, you can set the meeting room to be used for the event. You can set the type of conference room and so on.
After setting the event, click 'Save'.
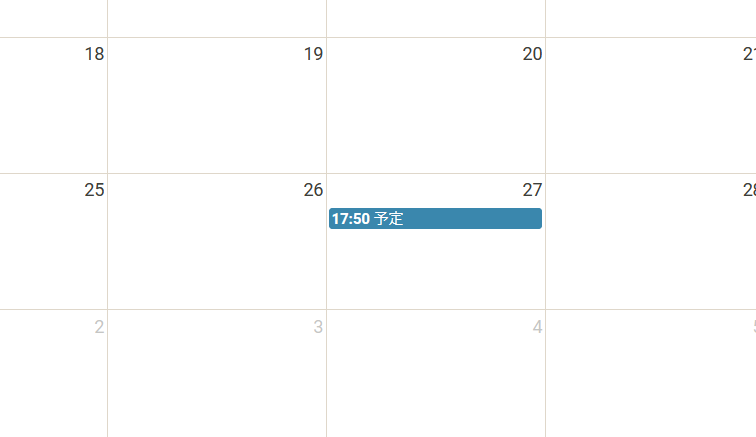
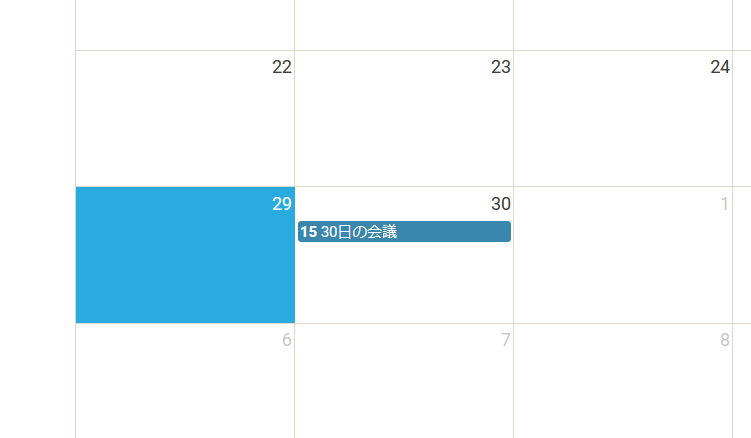
I was able to register the event.
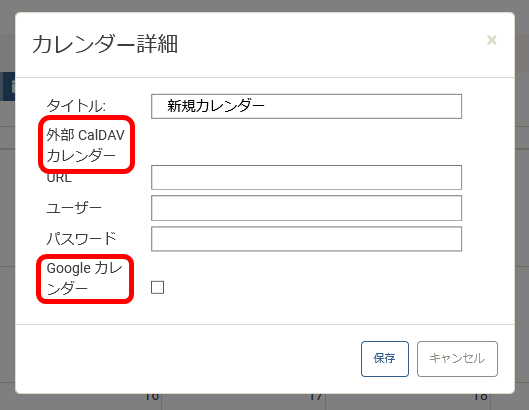
Click the 'Add External Calendar' button in the upper left ...
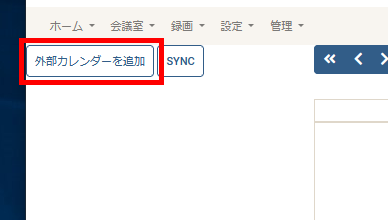
You can add calendars from CalDAV or Google Calendar.
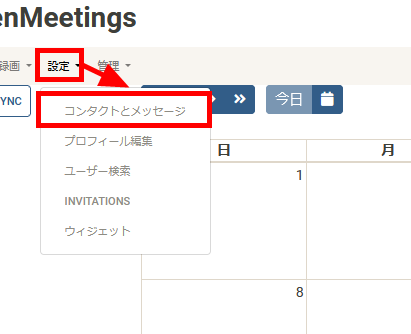
OpenMeetings has not only a calendar function but also a message function. To use it, click 'Contacts and Messages' from 'Settings'.
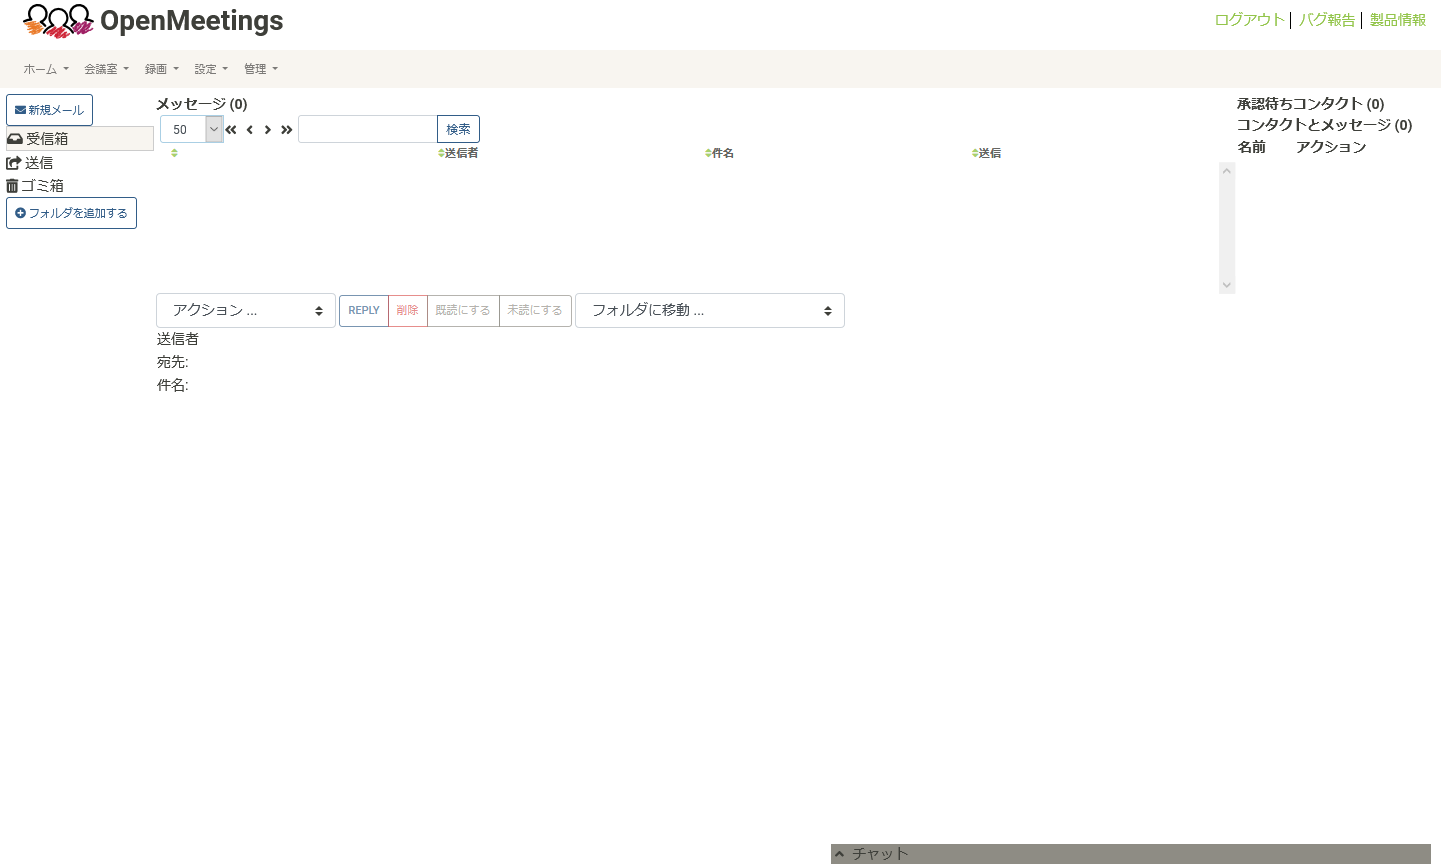
The message screen is displayed. Click the 'New Email' button to compose a new email.
Enter the address, subject, and body in the same way as email. In OpenMeetings, the conference reservation function is integrated with the mail function, and if you check 'Reserve a conference room', you can reserve a conference by specifying the date and time. 'Send' to send an email.

The email reception screen looks like this.
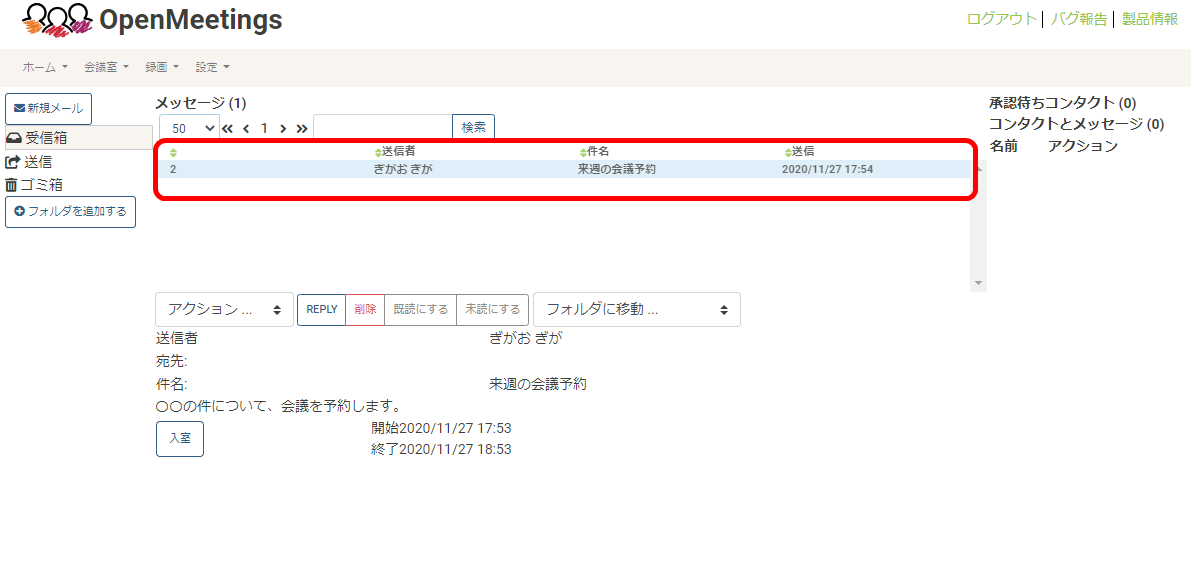
You can also see that the meeting is reserved on the calendar.
For meetings booked by message, the meeting details are displayed in the upper right.

OpenMeetings is a software that combines Microsoft Outlook and Microsoft Teams, with so many features that you wouldn't think it's free. Although there are some unfinished parts in the UI such as the message function stored in the 'Settings' tab, I felt that it was a very useful tool if used well.
Related Posts: