PC case 'SilverStone RM41-506' review for people who want to make their own rack mount type server
Many of the cases for self-made PCs are tower type, but there are also people who want to make rack-mounted servers. SilverStone's RM41-506 PC case is a
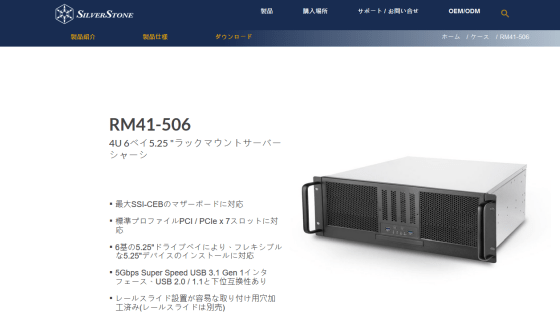
SilverStone RM41-506 Product Introduction
https://www.silverstonetek.com/product.php?pid=887&area=jp
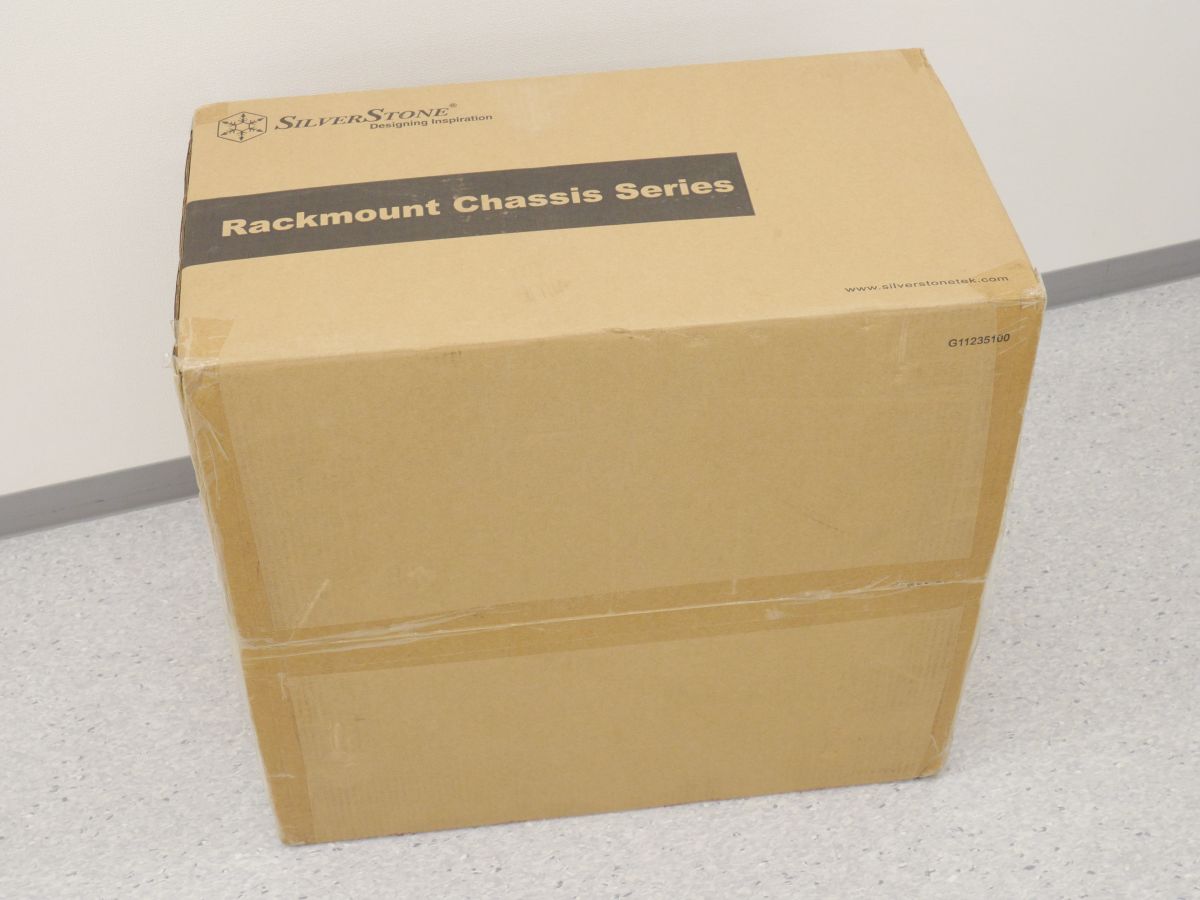
This time, I purchased RM41-506 at PC-IDEA for 24,800 yen including tax. The outer box of RM41-506 looks like this.
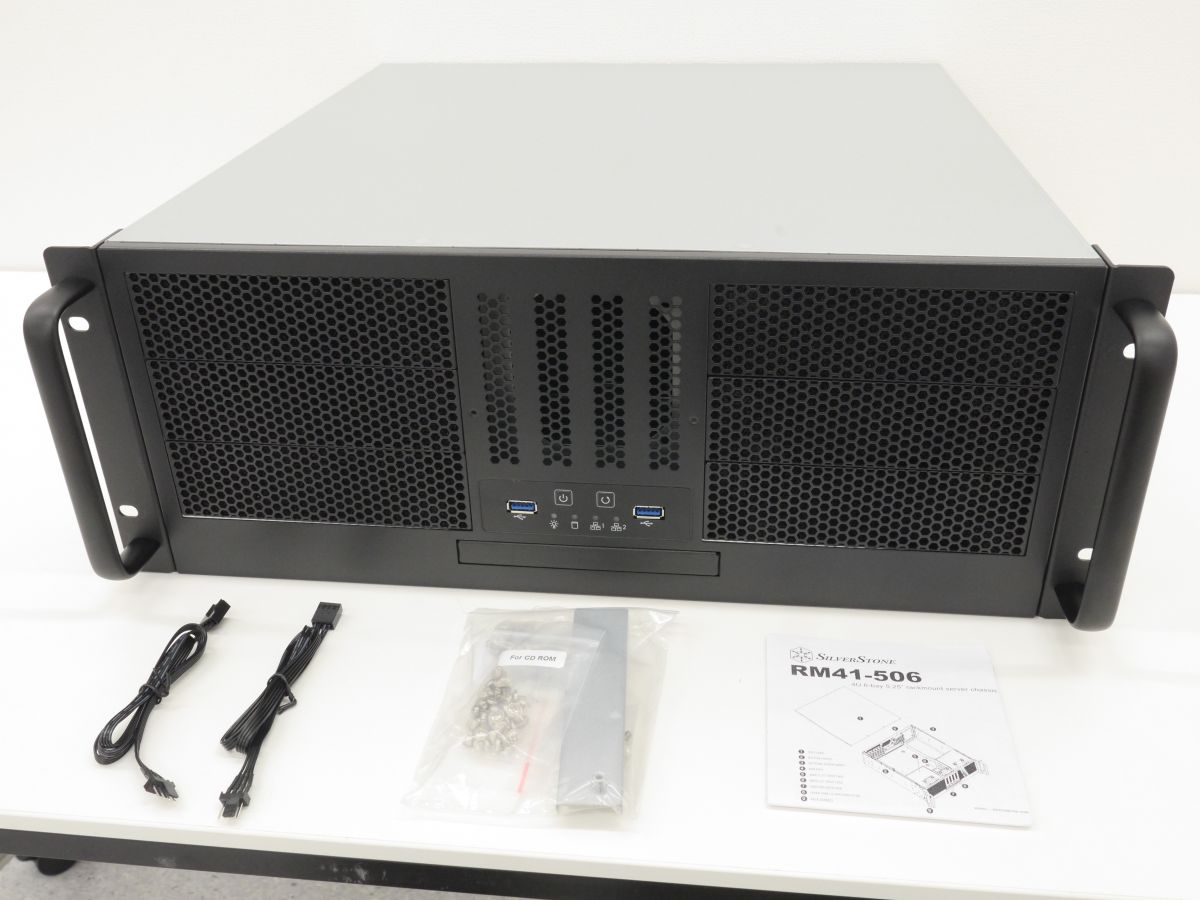
The contents are RM41-506 main body, fan extension cable, various fixing tools, instruction manual.
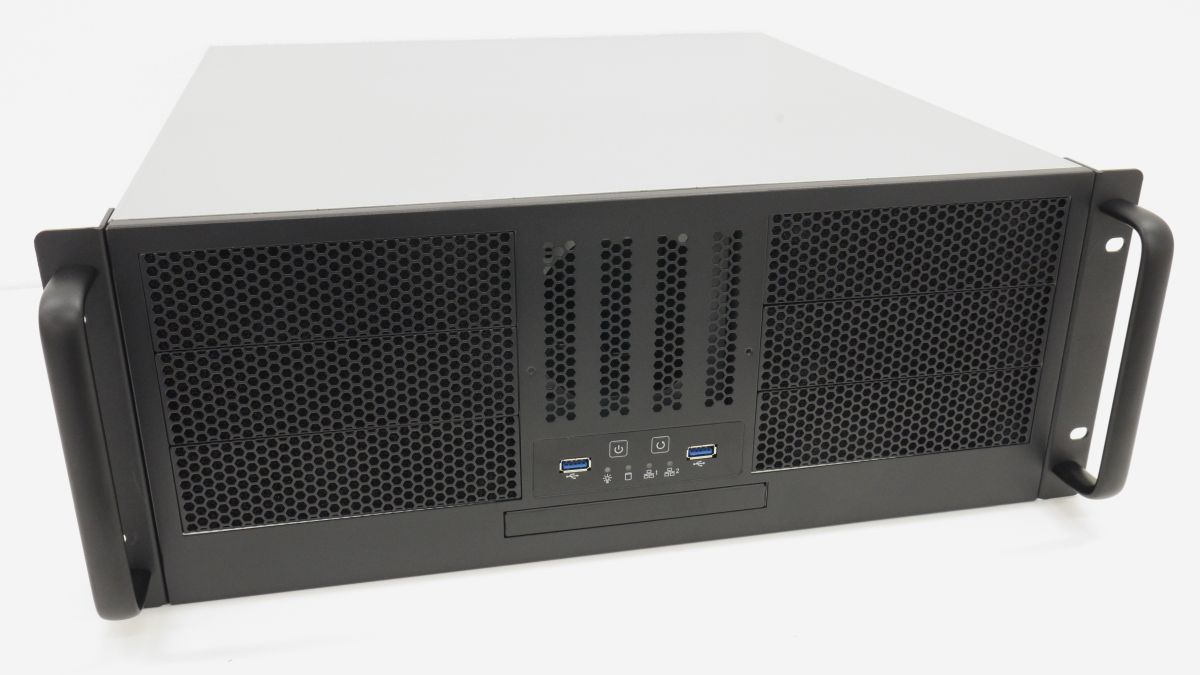
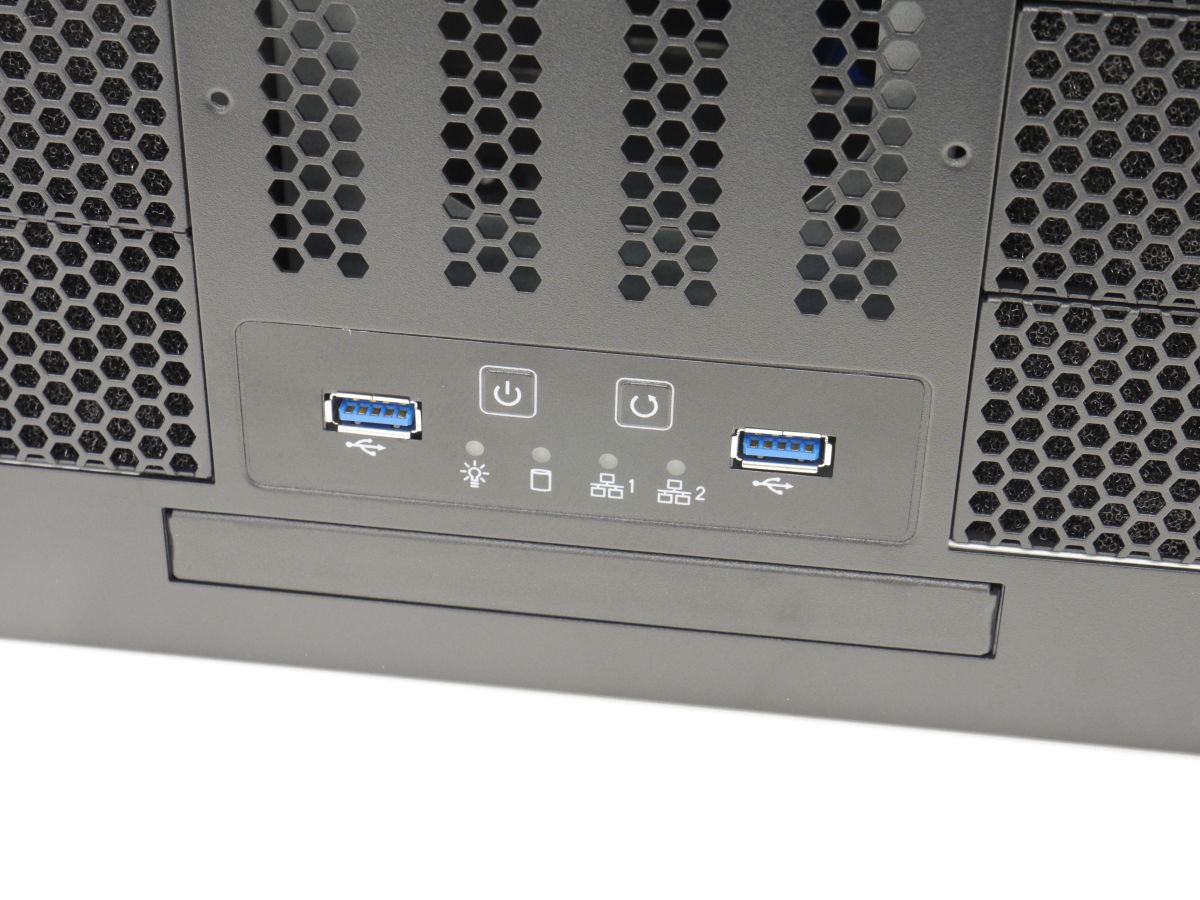
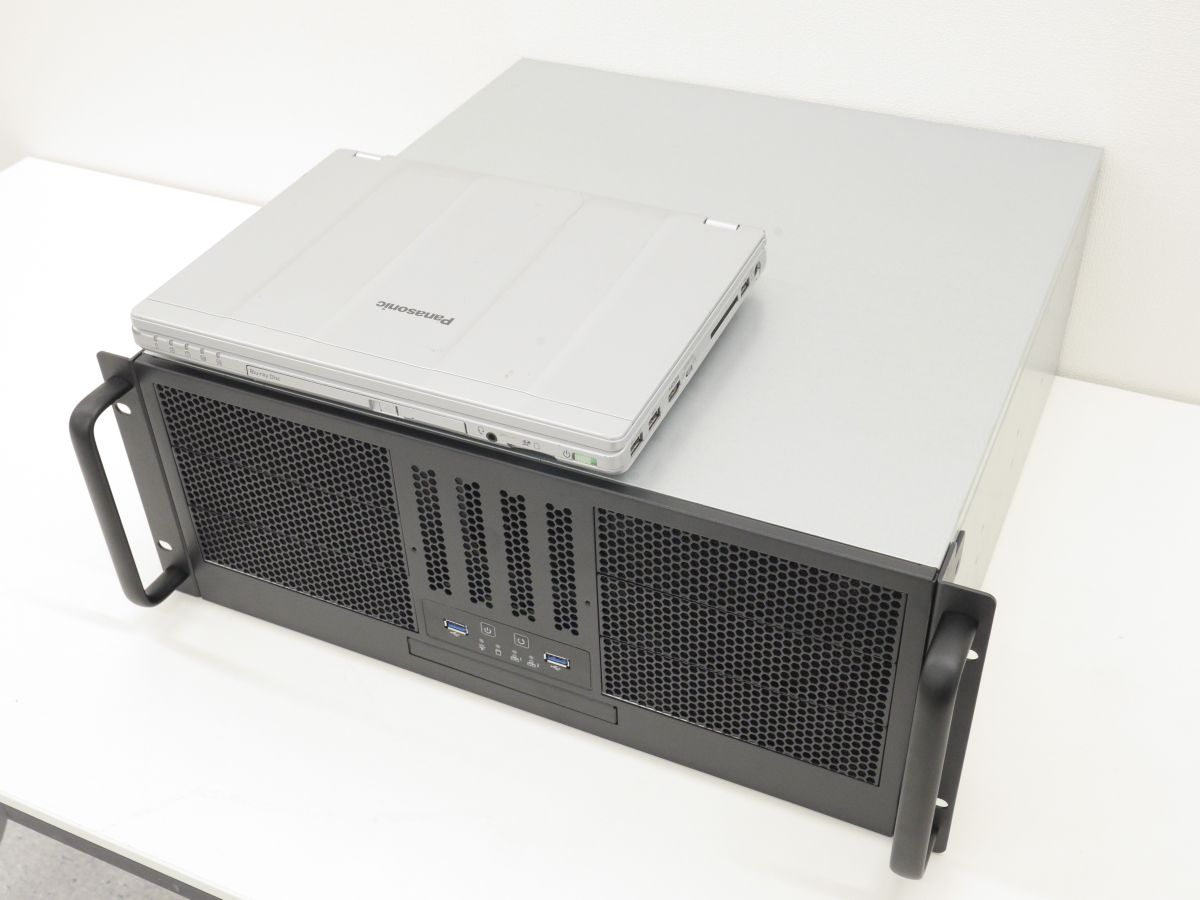
The front of RM41-506 is meshed for excellent breathability.

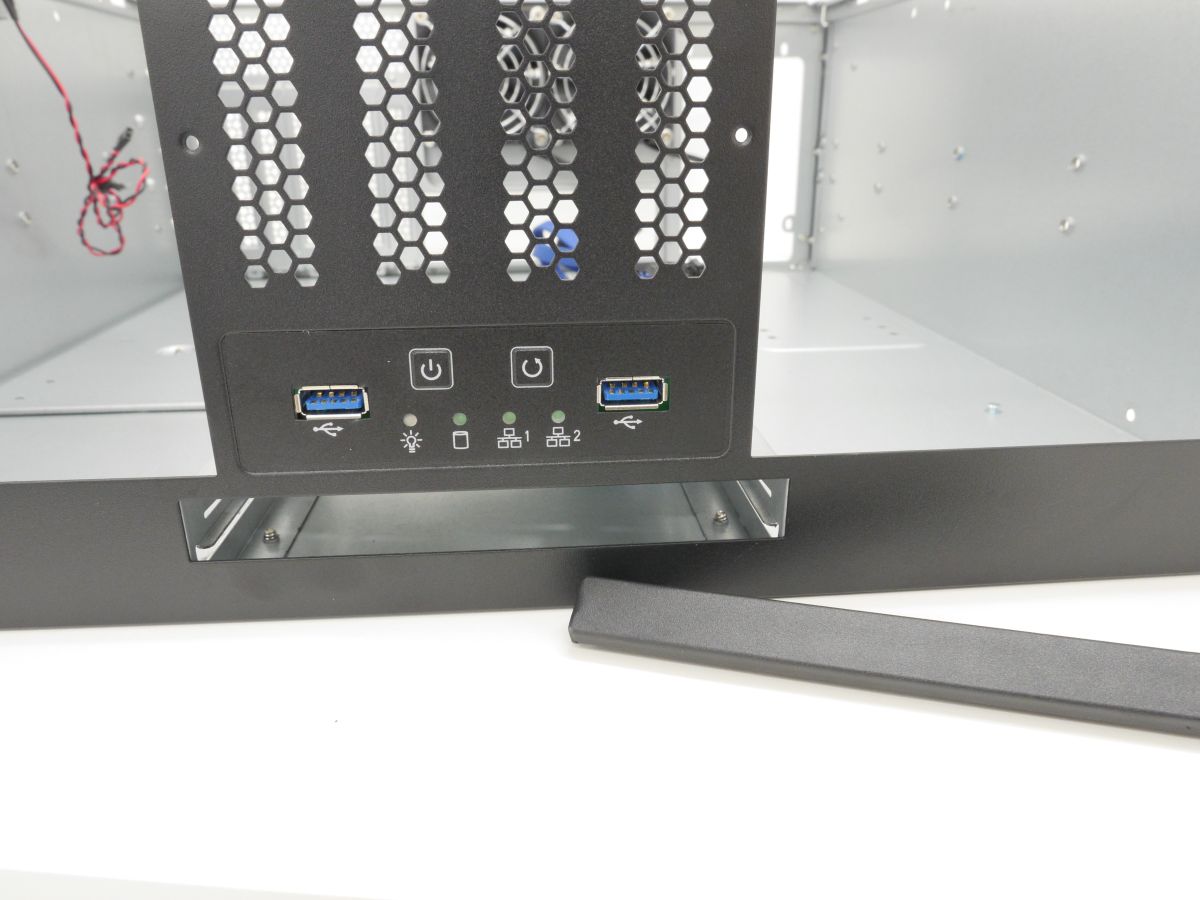
On the front side, in addition to the power button, reset button, and two USB ports, there are LEDs that indicate power, disk access, and LAN port link up.
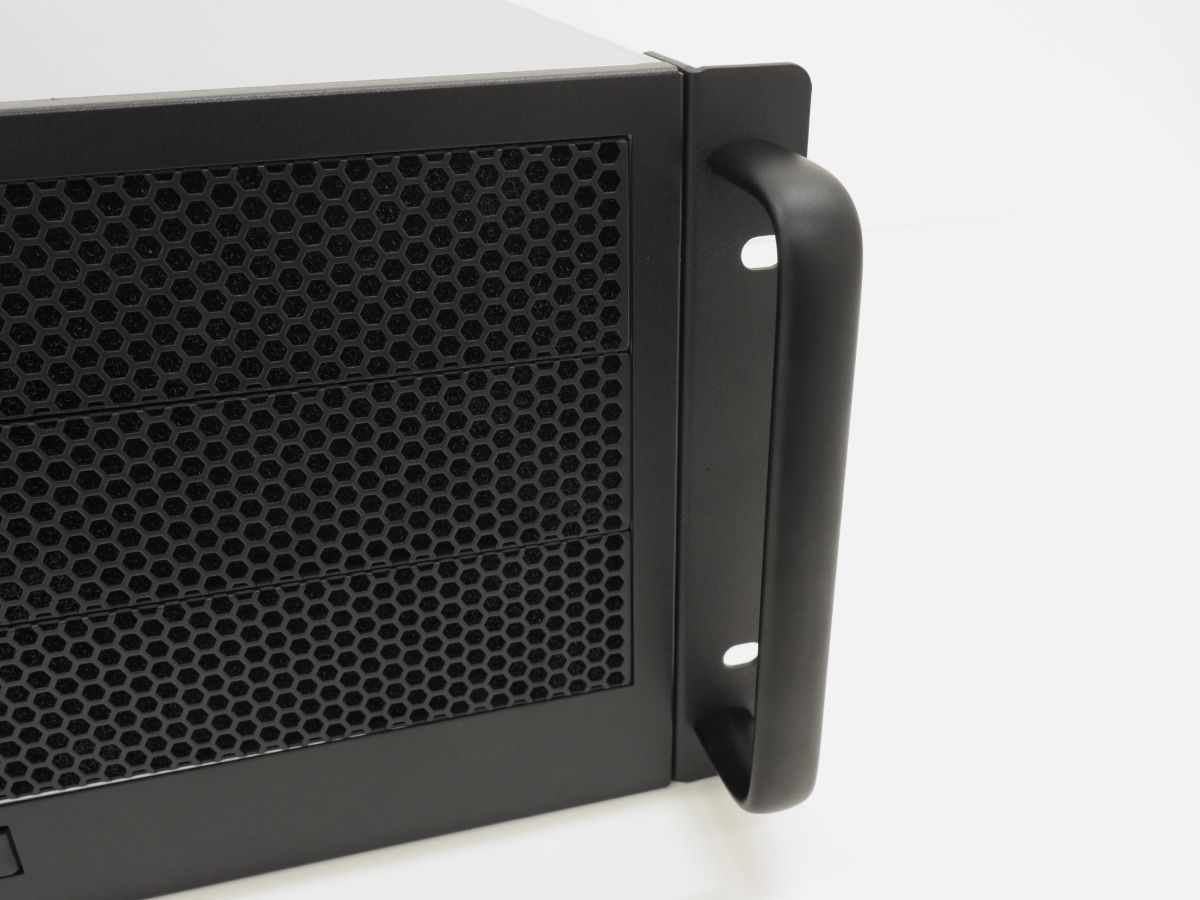
Like a rack mount type case, the front side has a handle when pulling out from the rack.
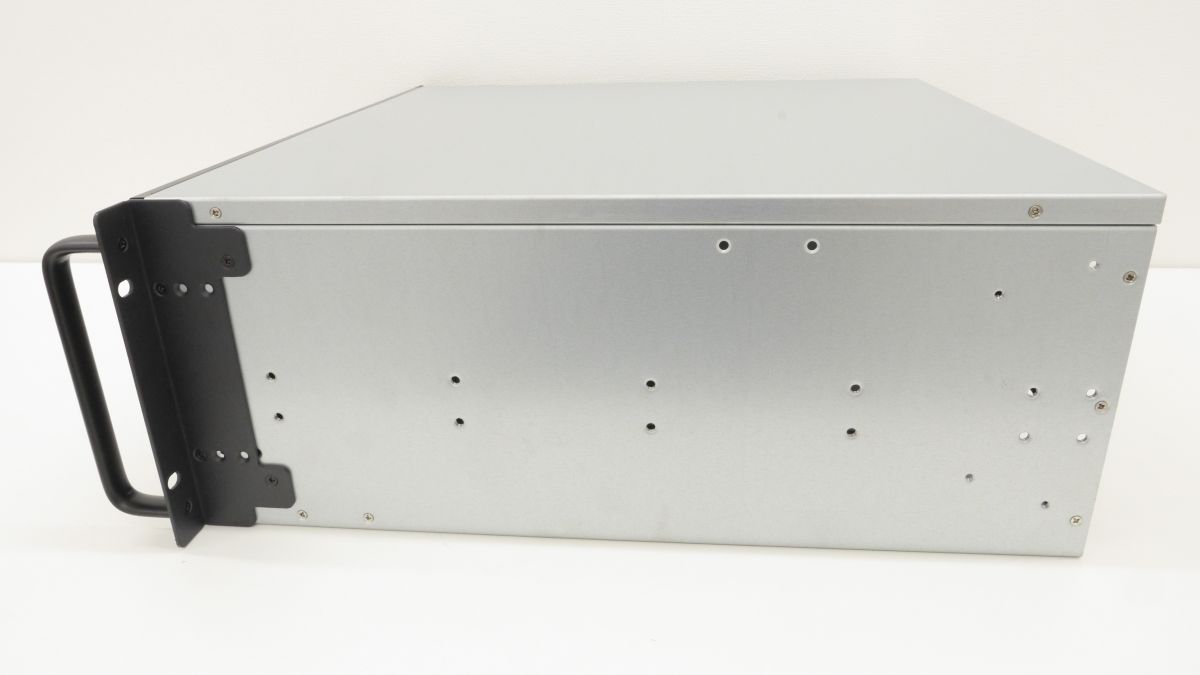
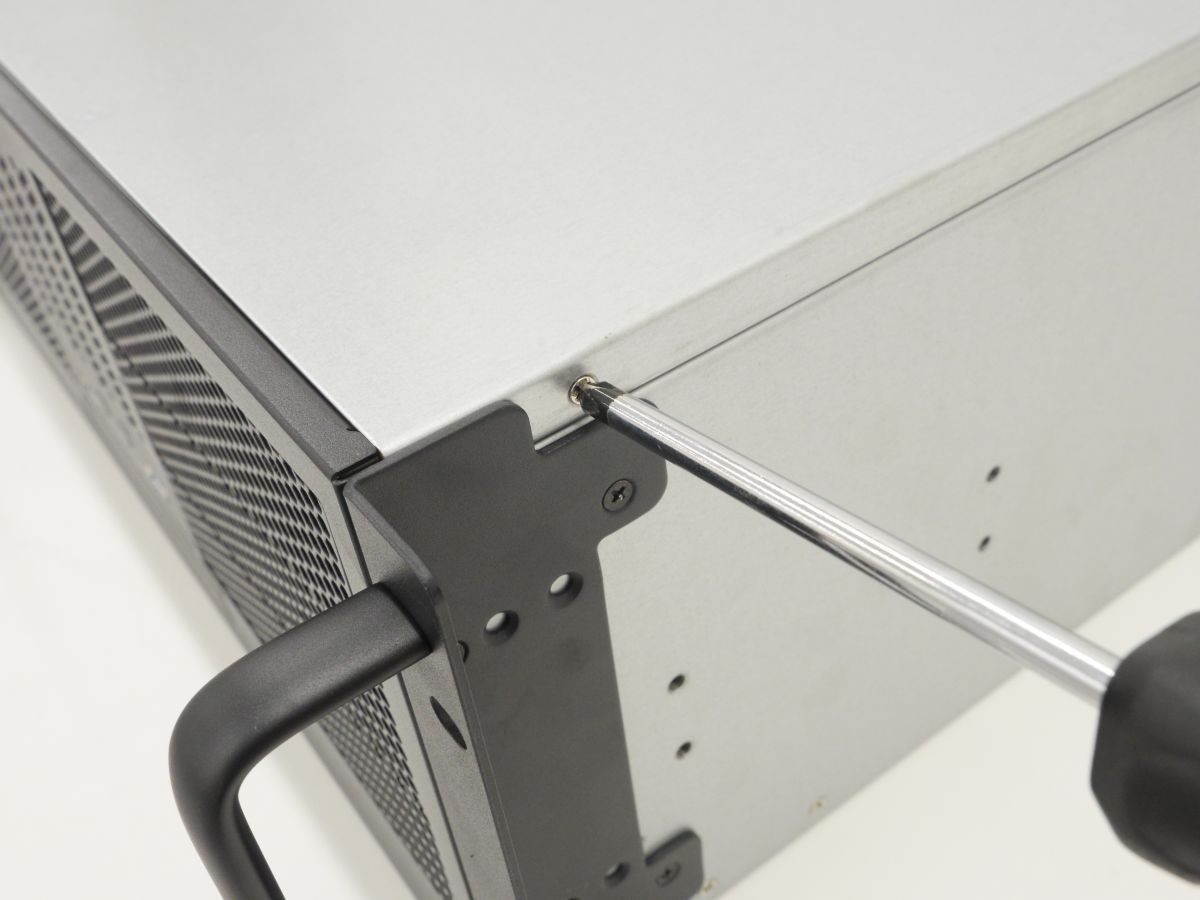
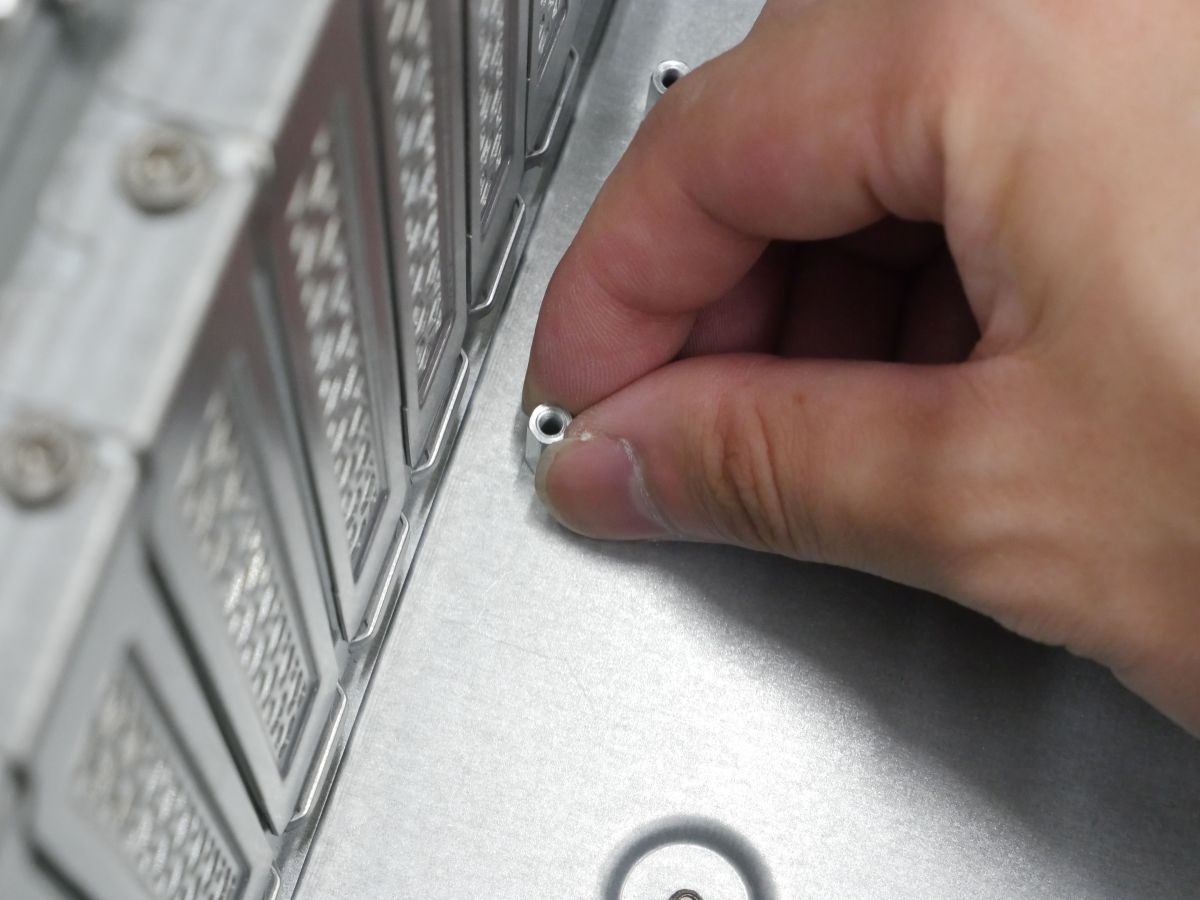
There are screw holes for fixing rails on the side.
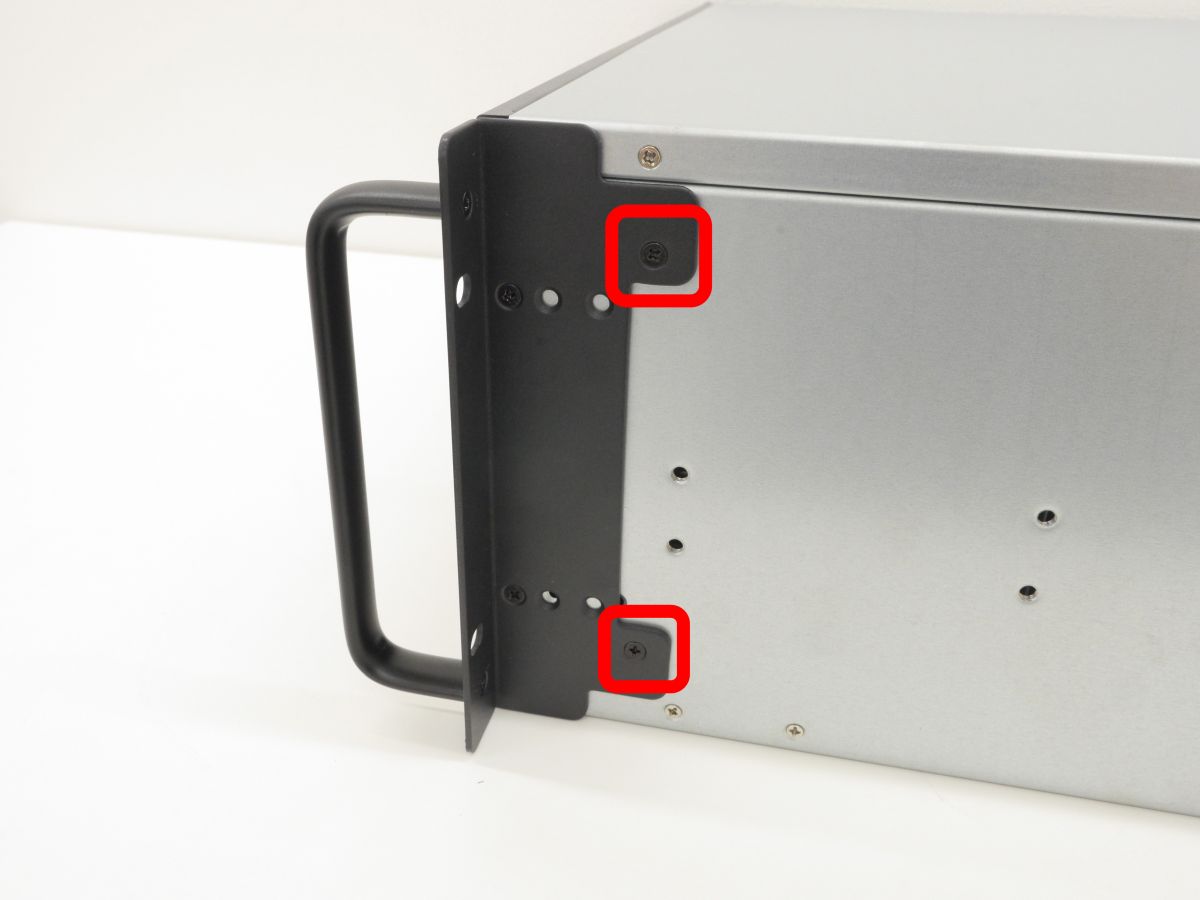
Since the handle is only screwed, it can be removed if you want to place it vertically.
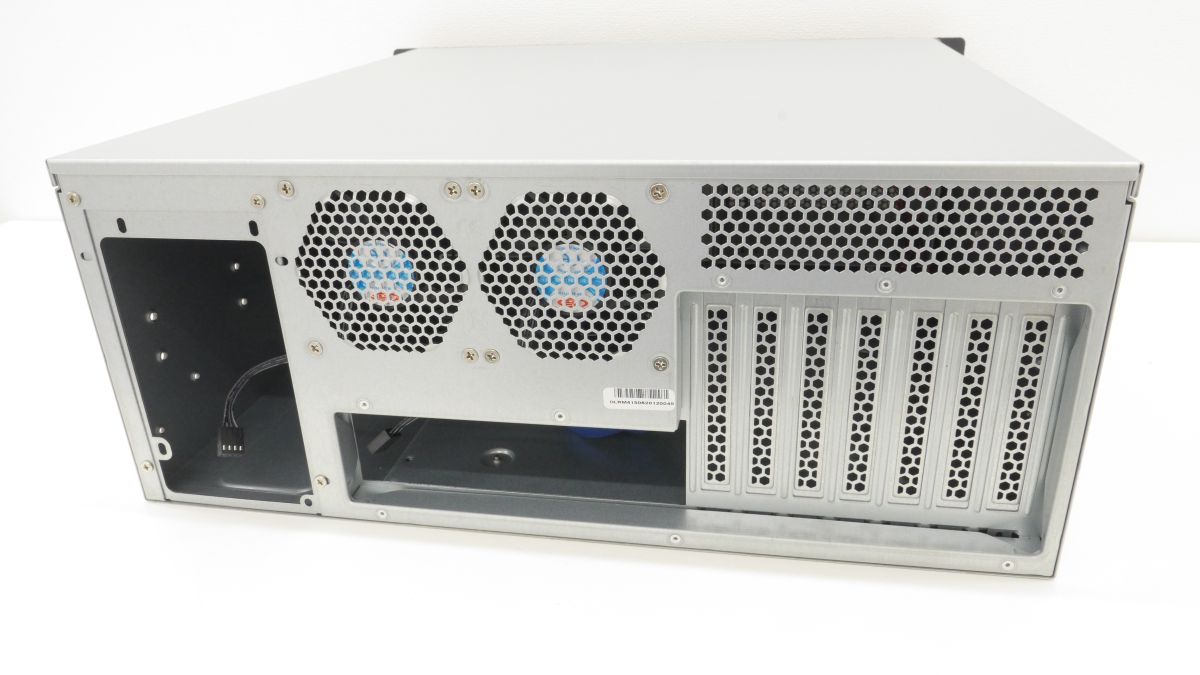
Since the back is also meshed, the airflow from the front to the back looks good.
The dimensions of the RM41-506 are 430 mm in width, 176 mm in height, and 446 mm in depth, and it looks like this when comparing the size with a notebook PC with a width of 283.5 mm × depth of 203.8 mm.
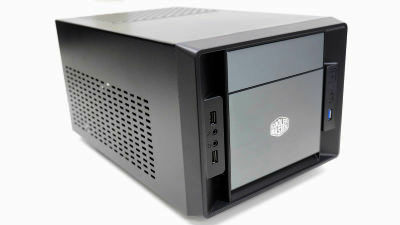
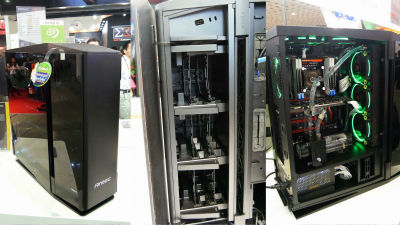
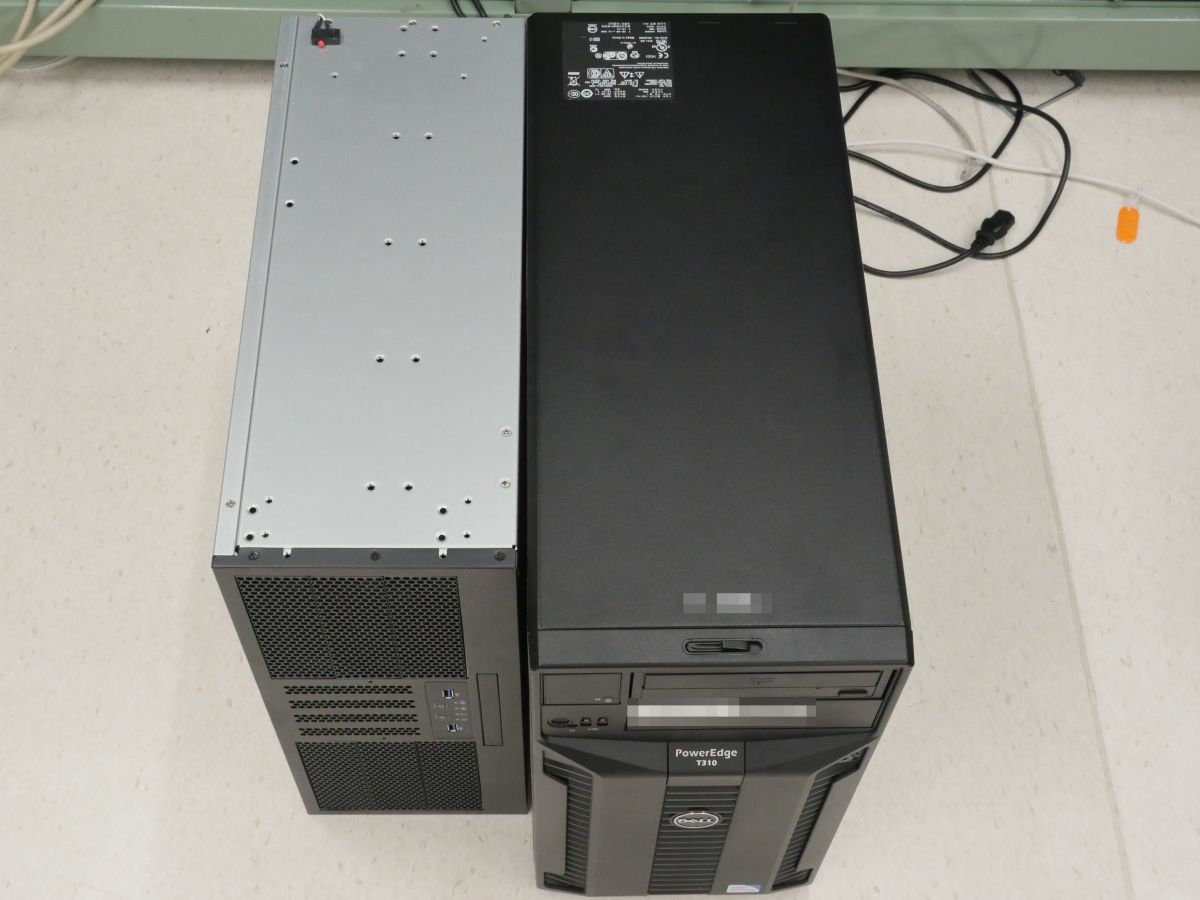
I also compared the size with the Dell PowerEdge T310 as a comparison with the general ATX compatible tower type case. Although it is a 4U rack case, it is more compact than a typical ATX-compatible tower case.
To remove the top plate, remove the screws that secure the top plate.
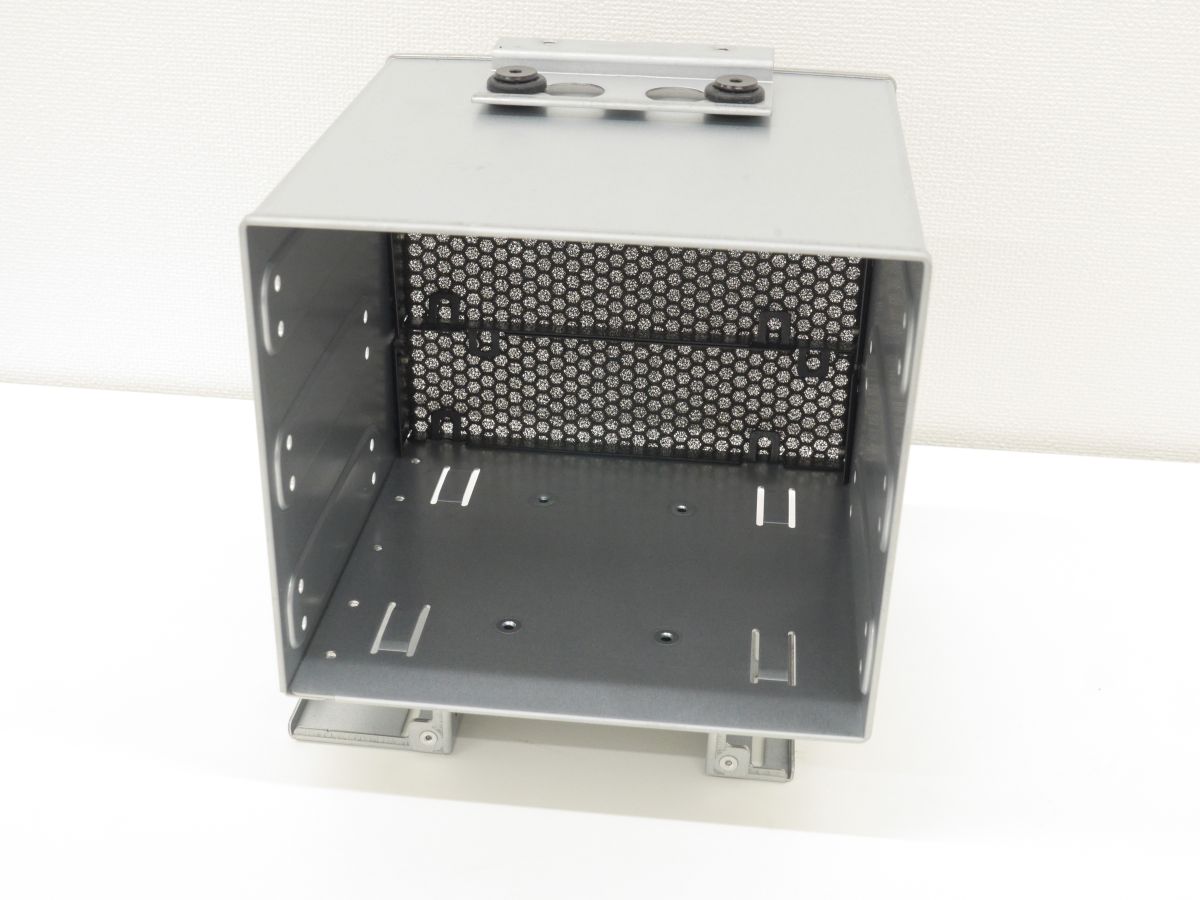
The inside of the case looks like this.
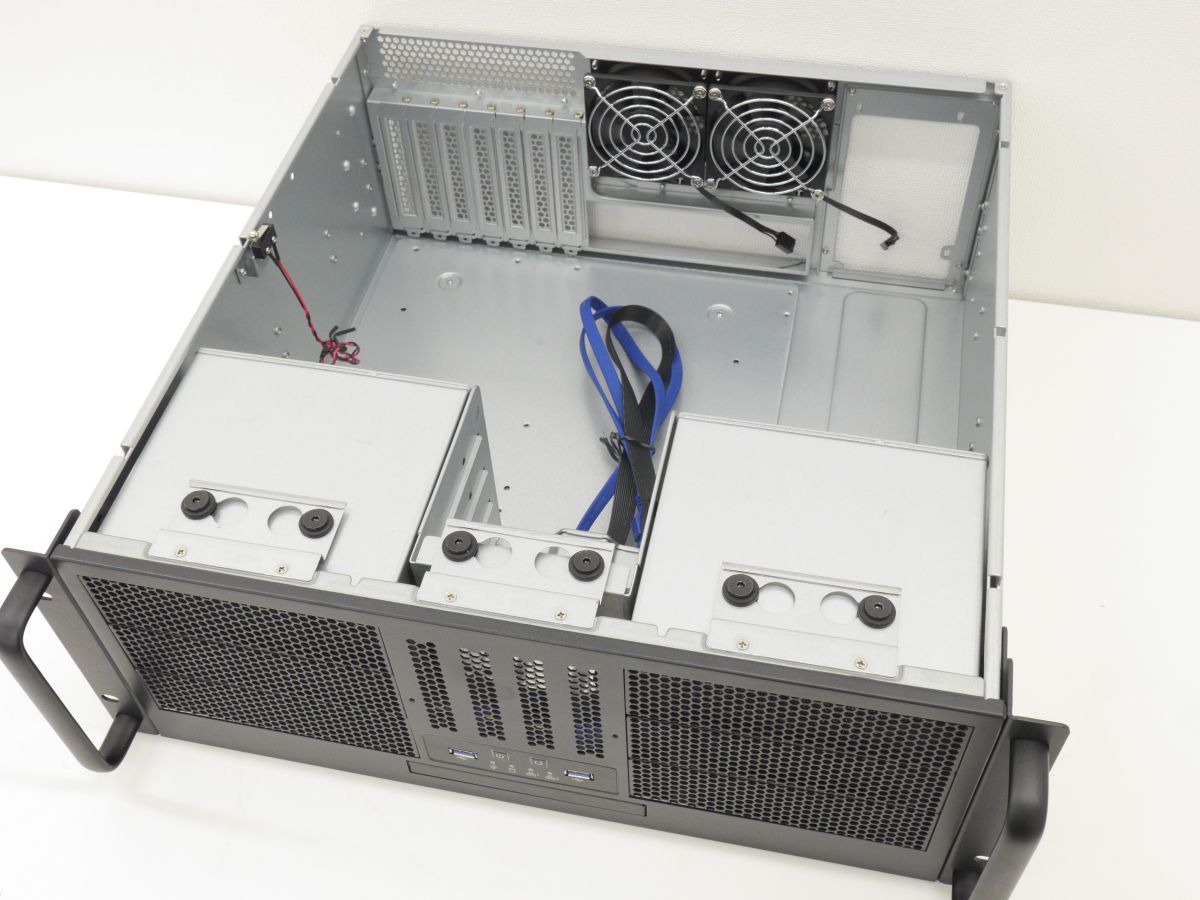
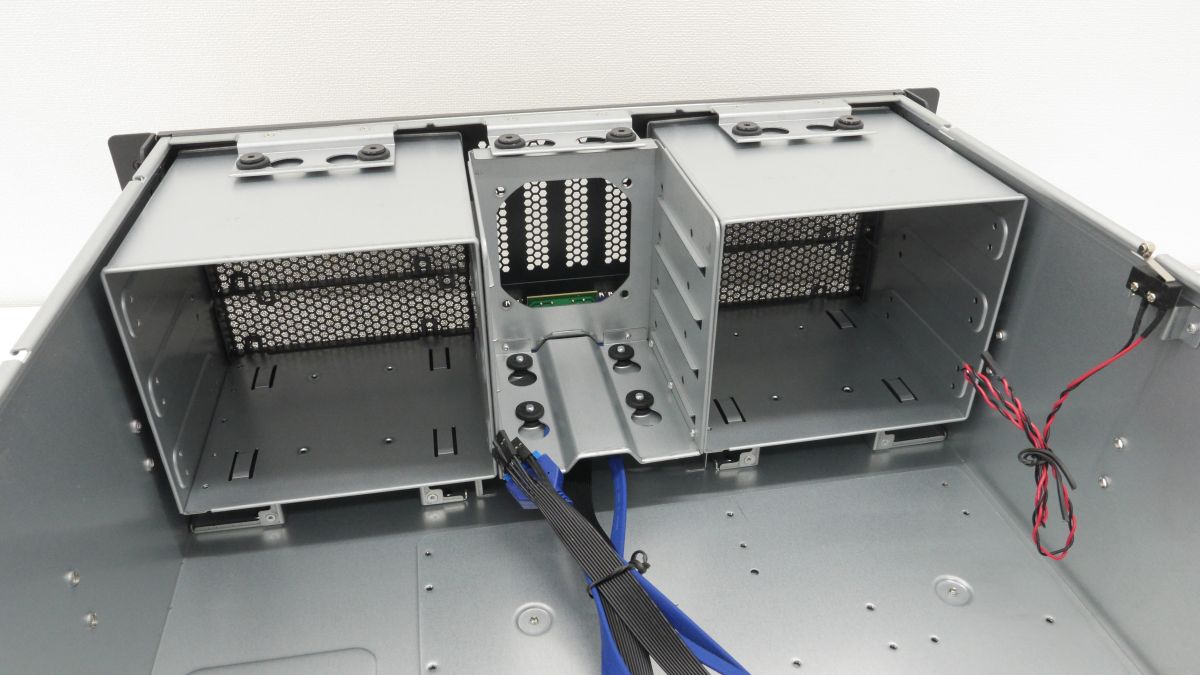
The front has two internal cases that can accommodate 5.25-inch drives on both sides, and one internal case that can accommodate 3.5-inch drives in the center.
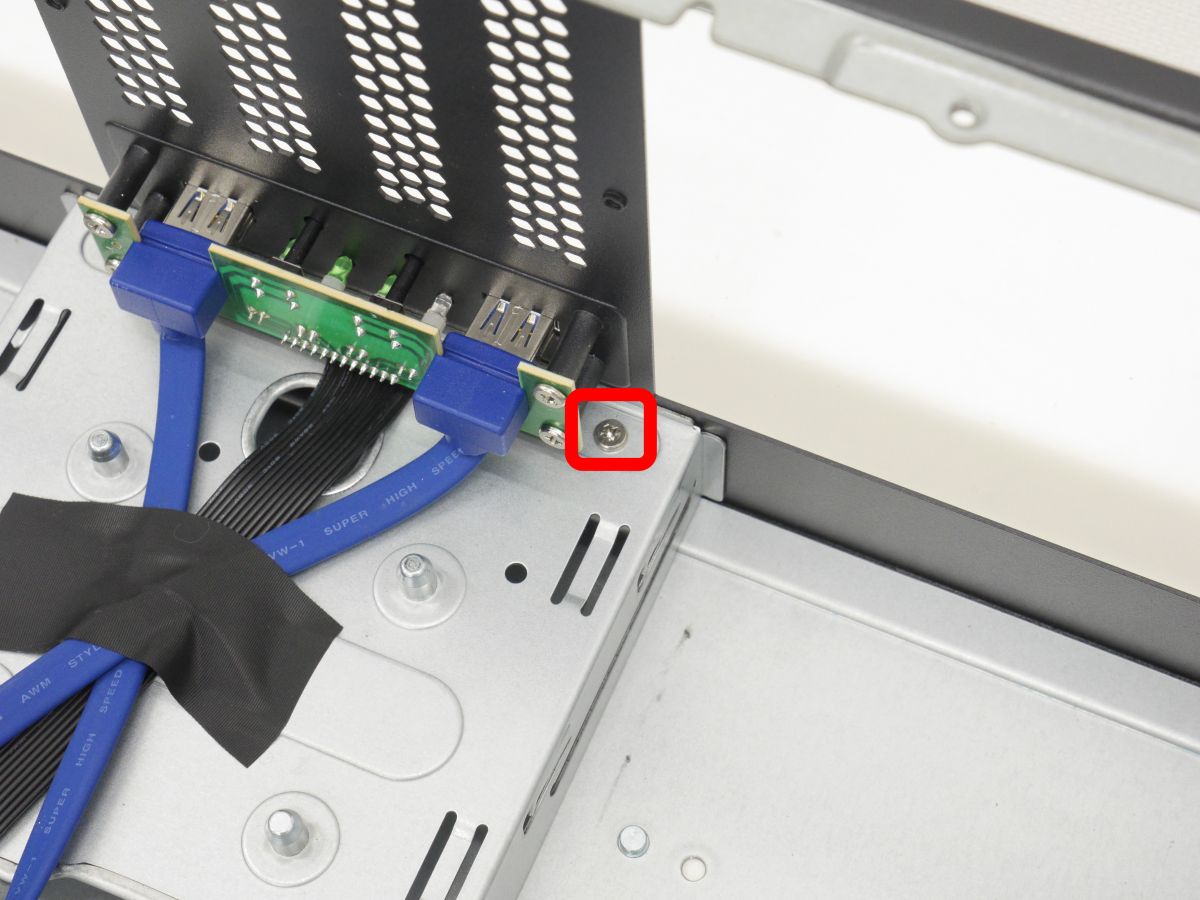
First, try removing the central case. The top screw must be removed for removal.
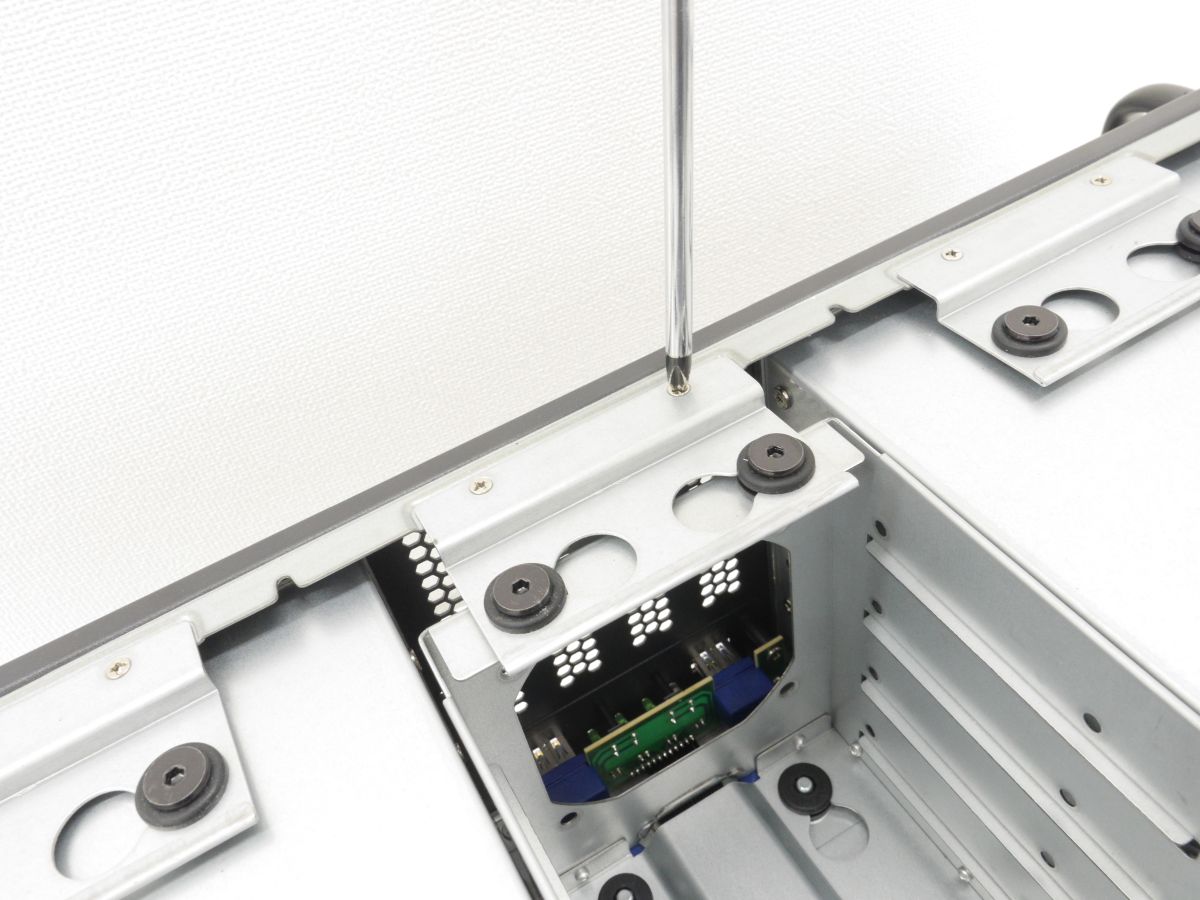
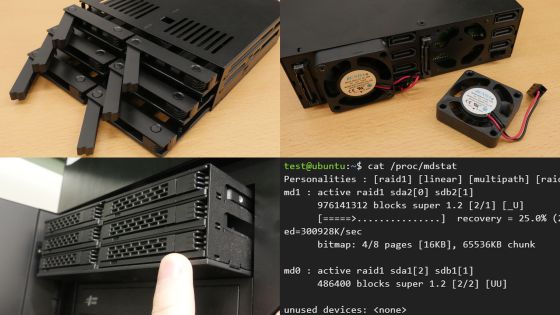
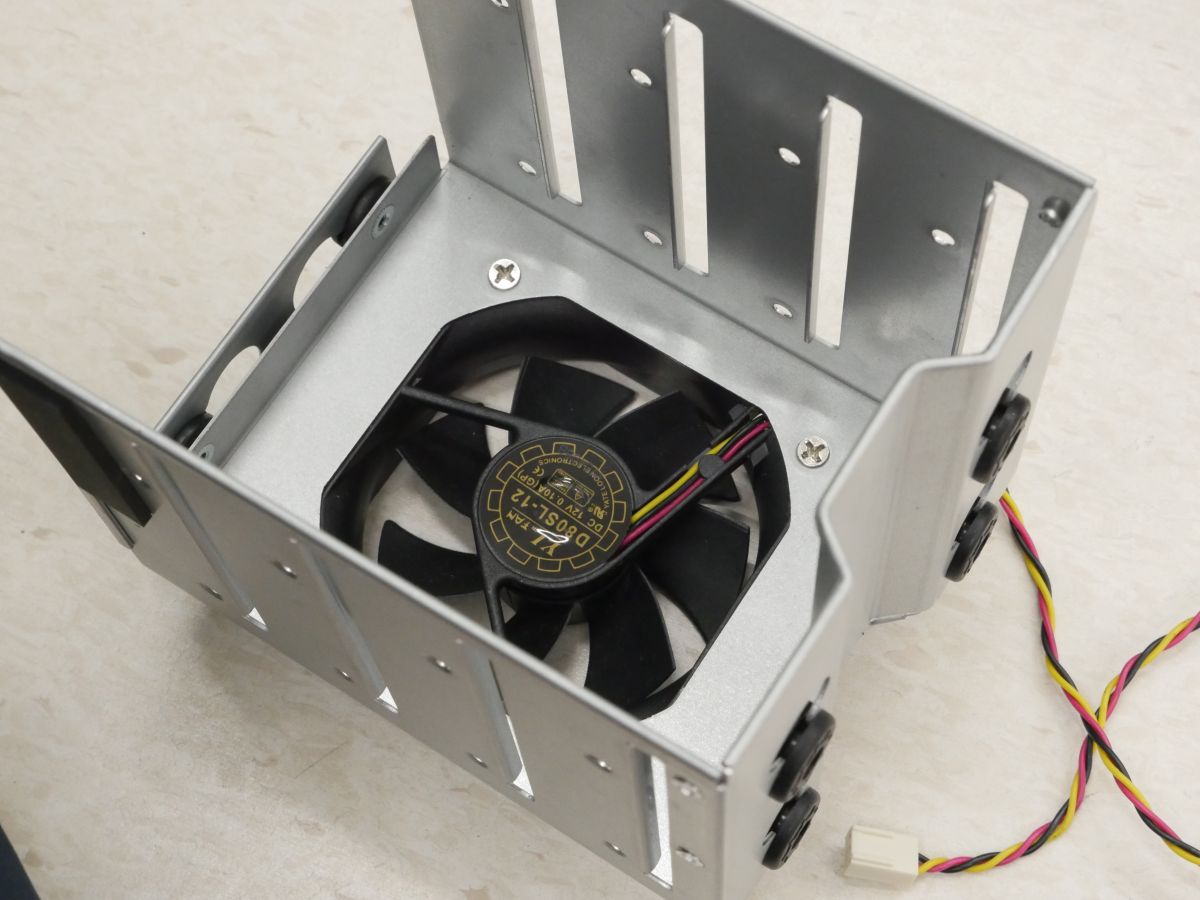
It was easily removed by removing the screws and lifting the case up. Four 3.5-inch drives can be installed in the central inner case.
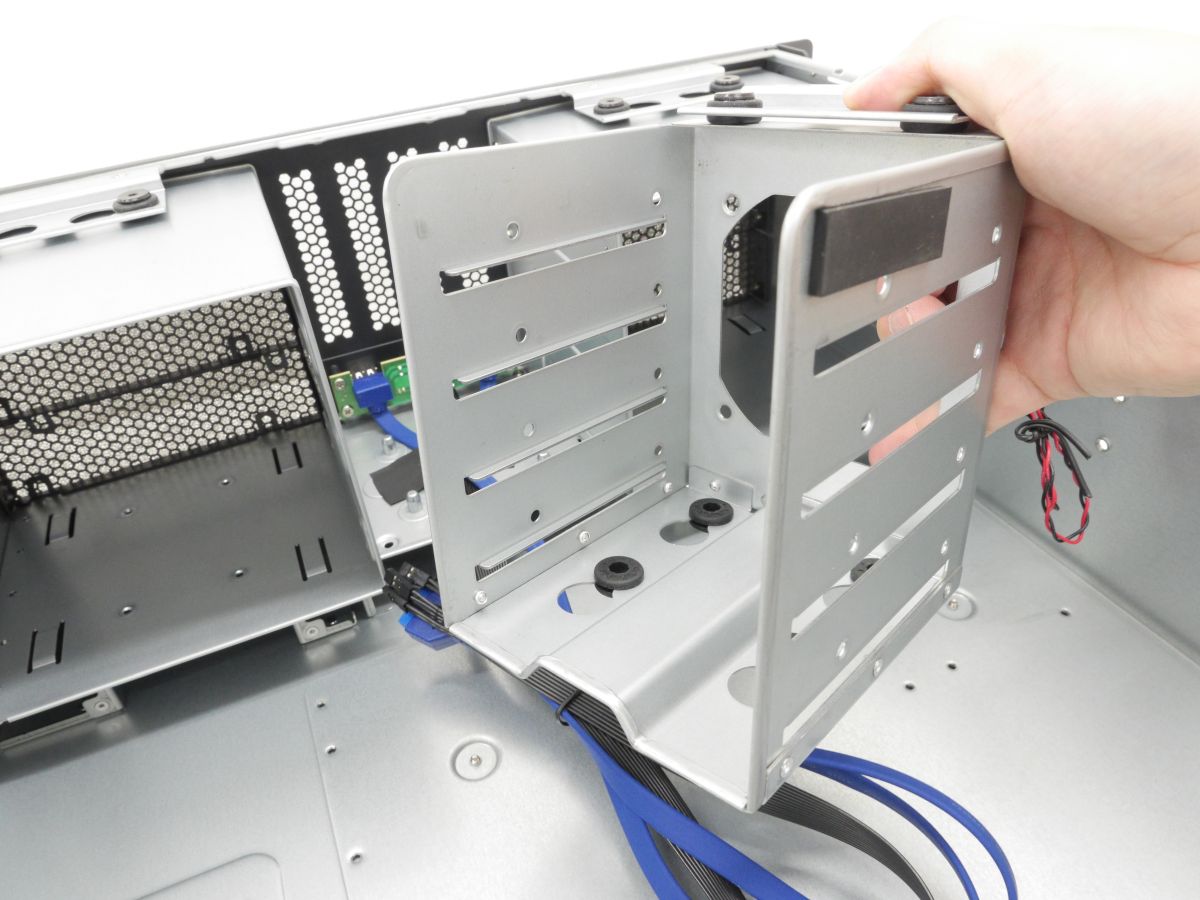
You can also fix a 5cm fan on the front side of the central inner case. Since the RM41-506 does not have a fan attached to the front, it seems good to install a fan in the center inner case considering the airflow.
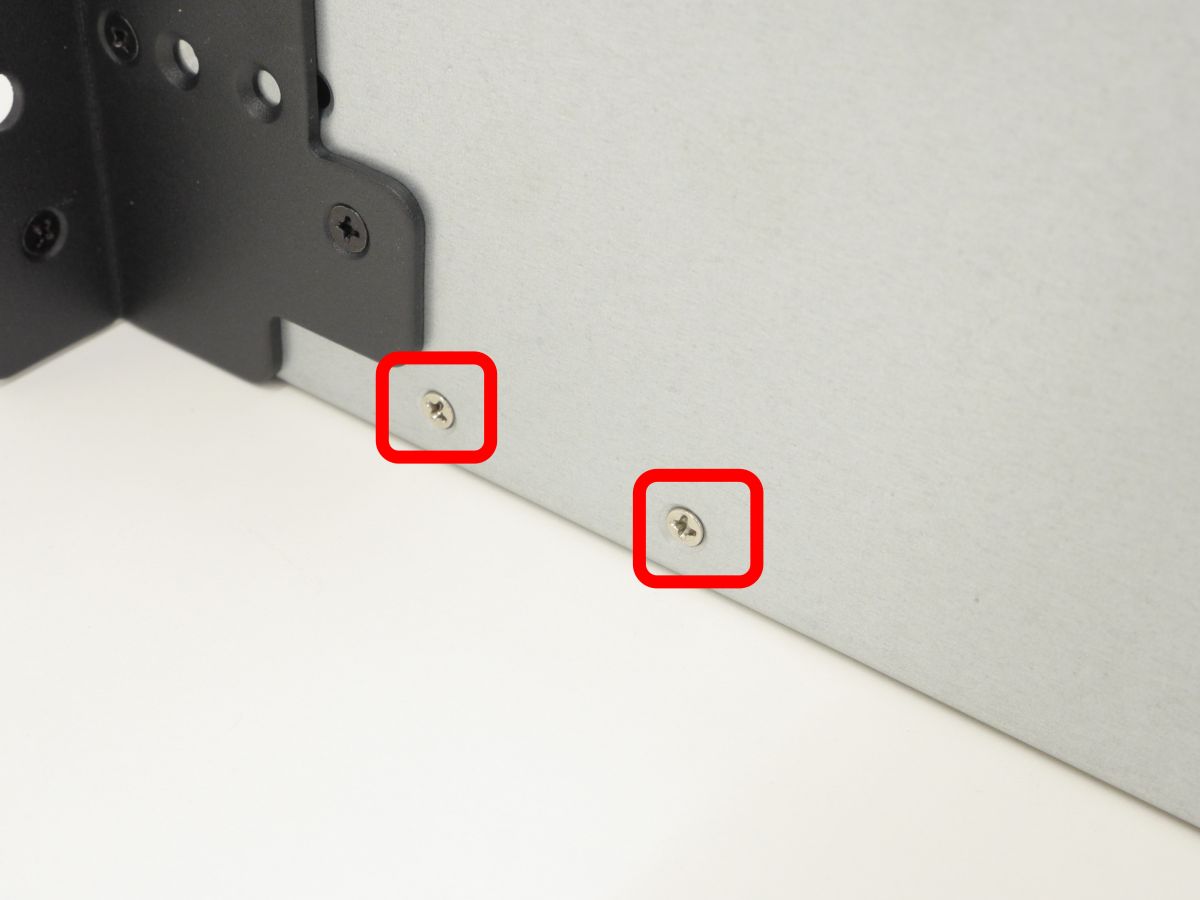
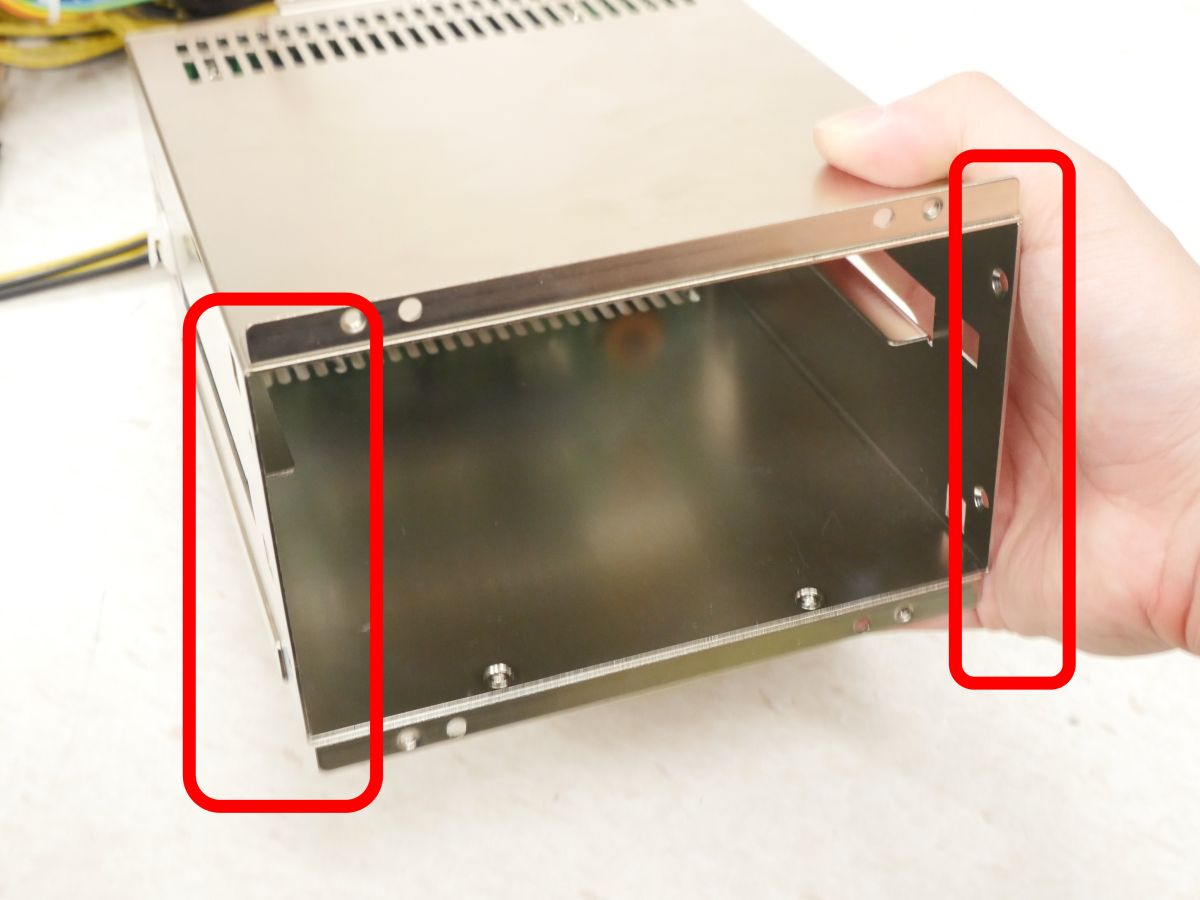
The inner cases on both sides are fixed with screws on the top as well as the sides.
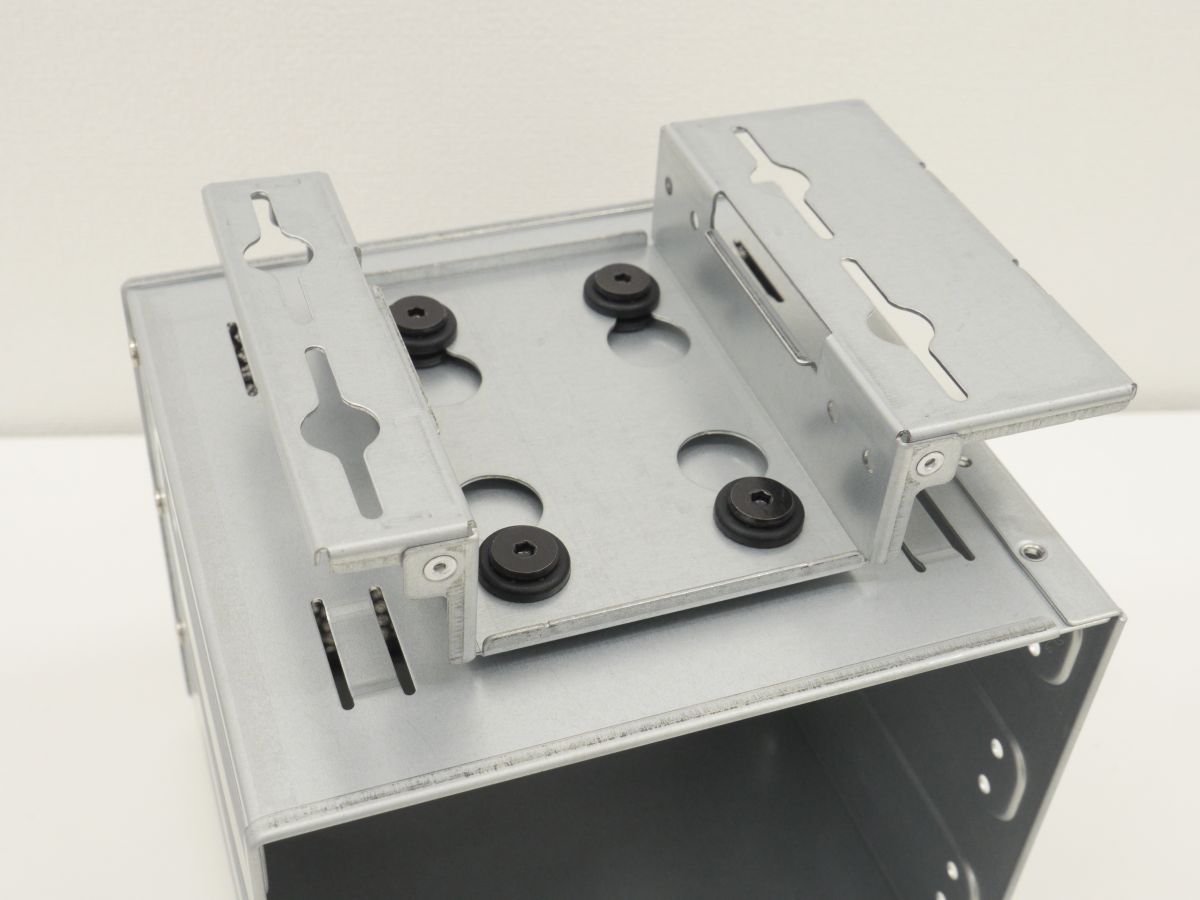
You can remove the inner case on both sides by removing all the fixing screws. You can install three 5.25-inch drives in this case.
Underneath the inner case on each side, there is also room for a single 2.5-inch drive.
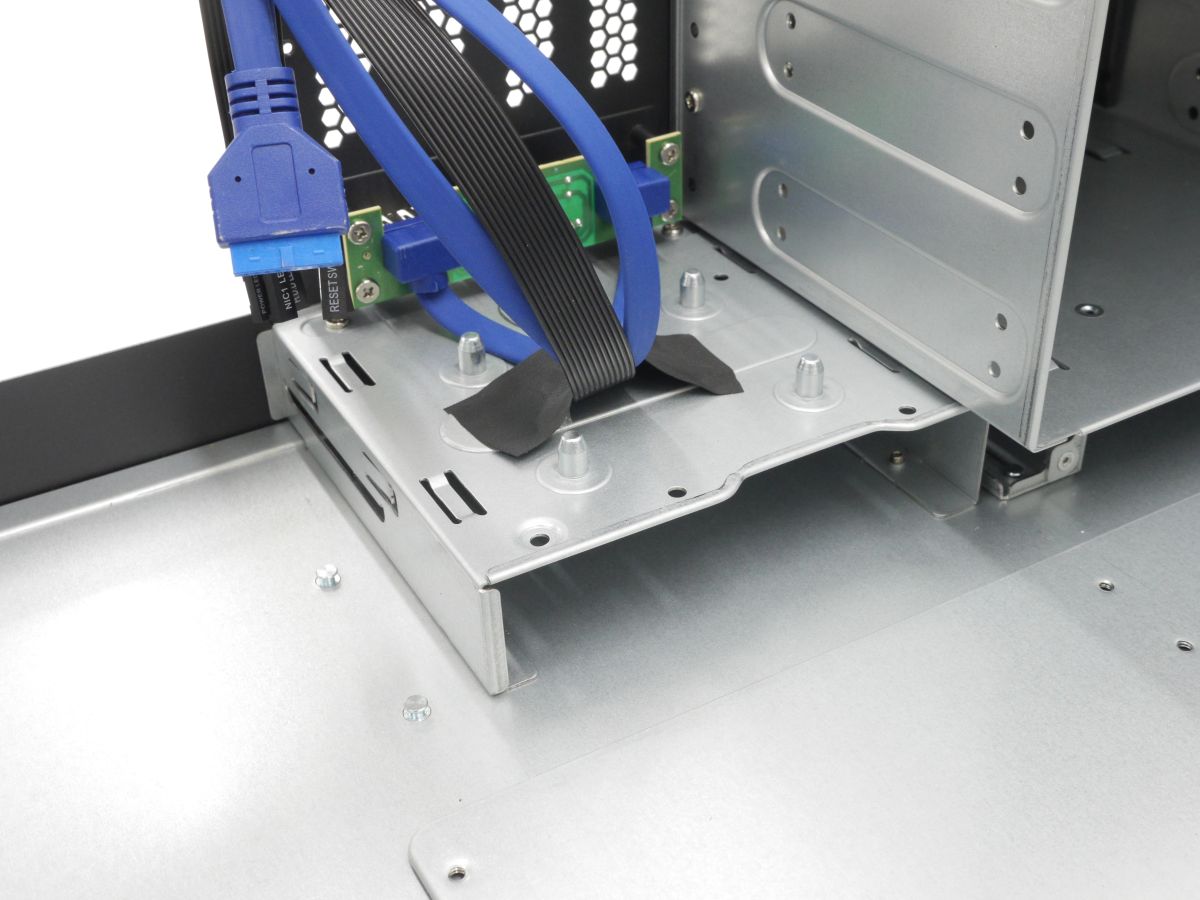
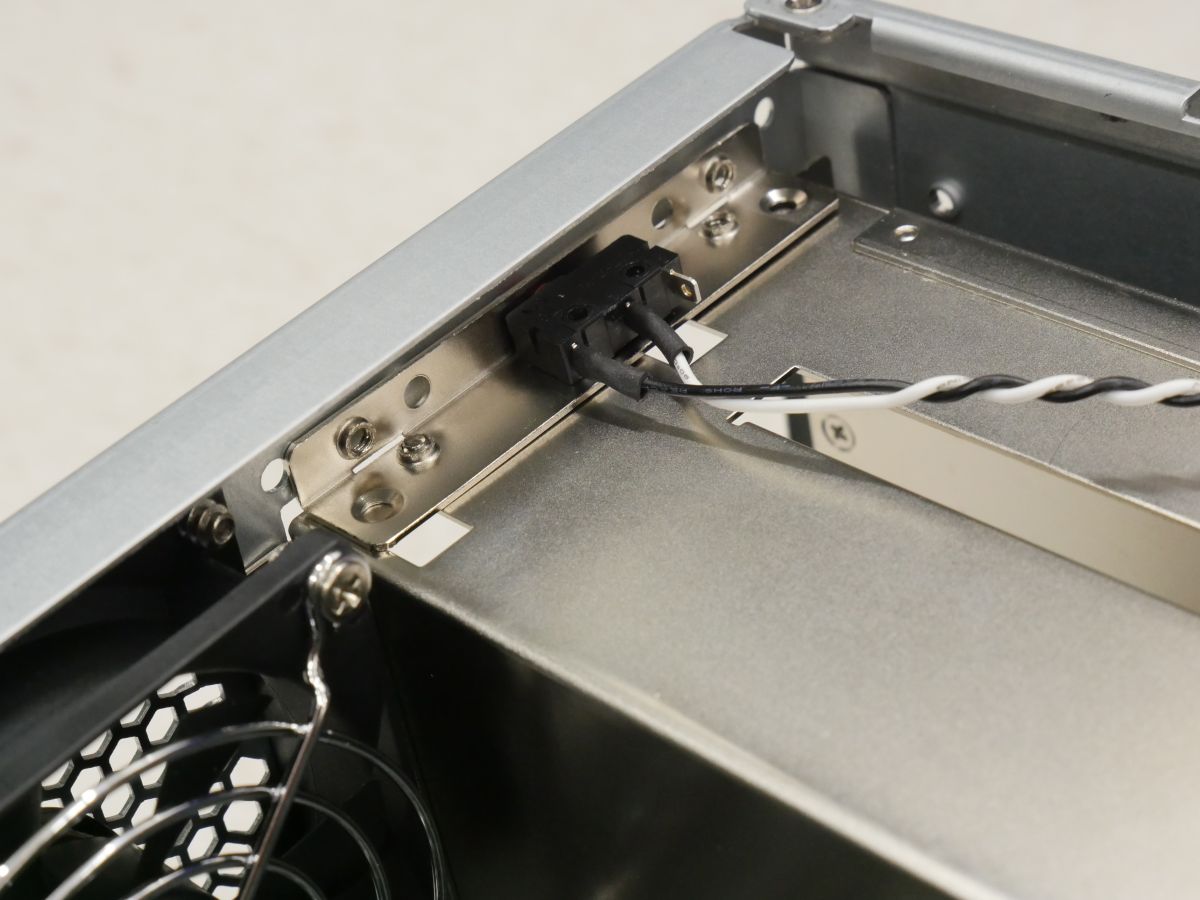
The cables for the front panel are grouped with black tape under the central inner case.
With a sensor that detects the opening and closing of the top plate.

There are two exhaust fans on the back.

To install a slim drive, remove the screw under the central inner case...
Remove the bracket from the front and insert it in the open space.
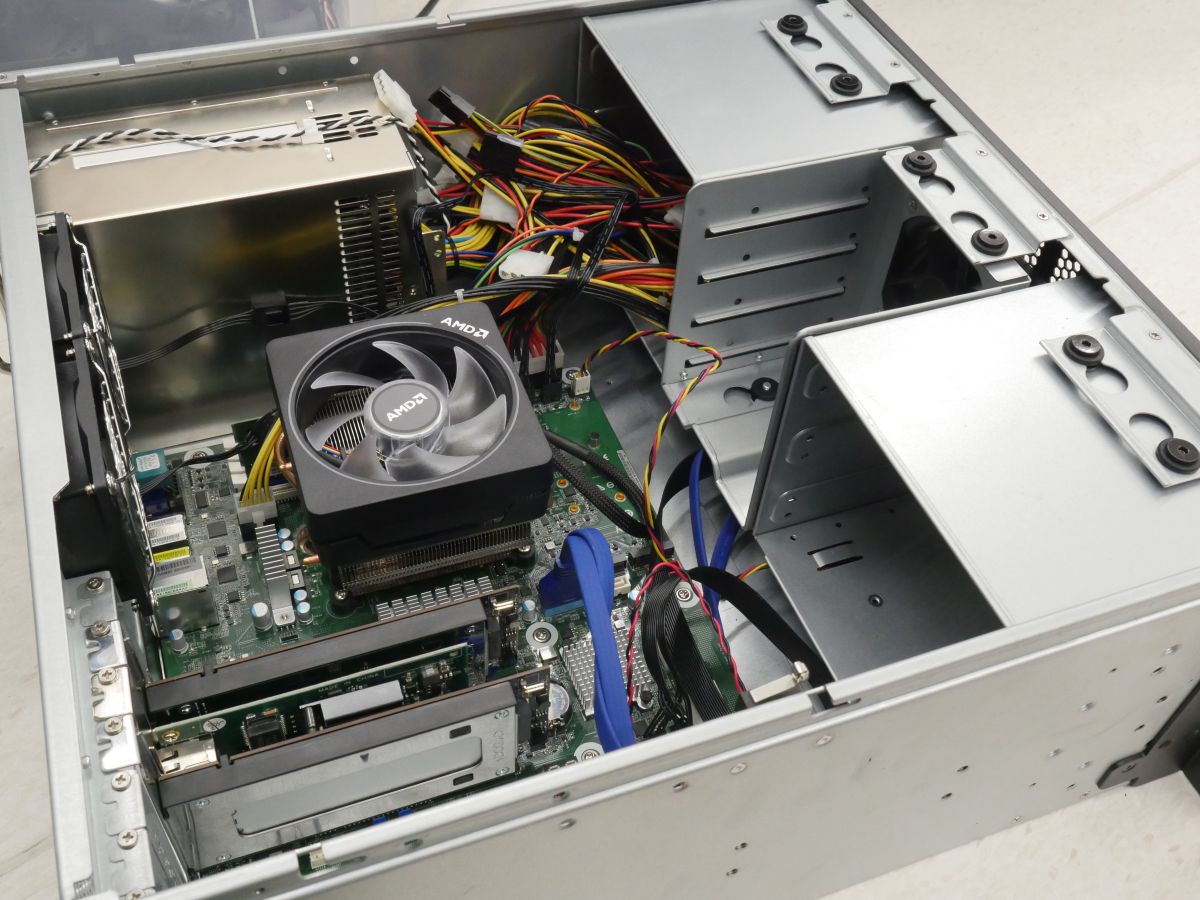
Now that I know the structure of the case, I decided to actually install the motherboard.

First, attach the screw that will be the pedestal for fixing the motherboard.
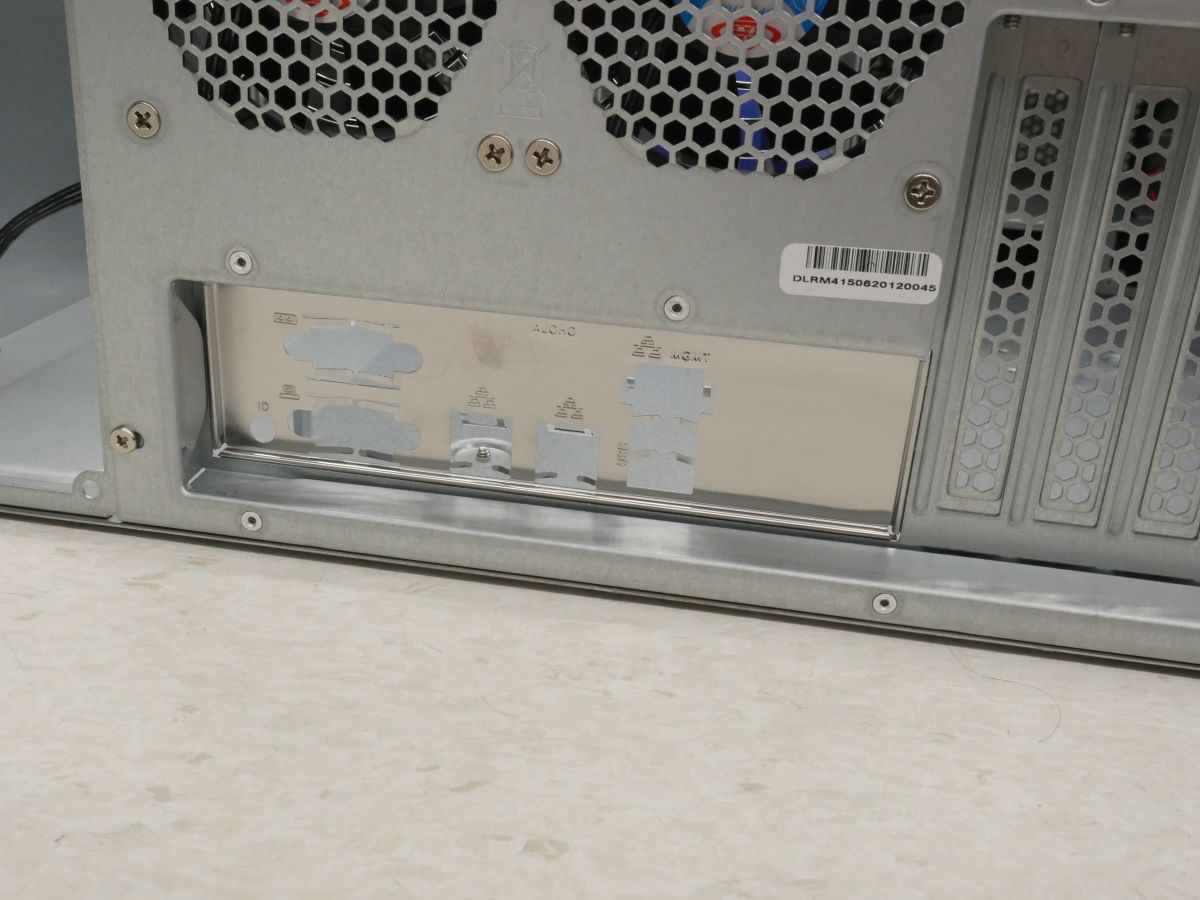
Don't forget to set the back panel of the motherboard...
Fix the motherboard with screws.

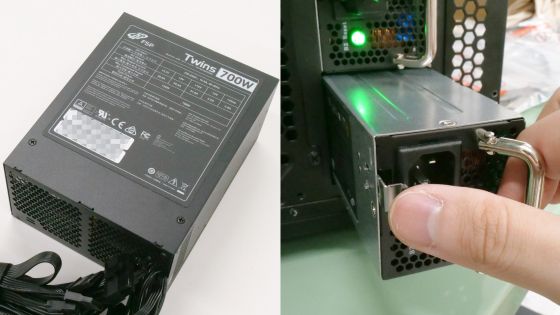
Secure the power supply with screws. It can be installed if it is an ATX power supply.
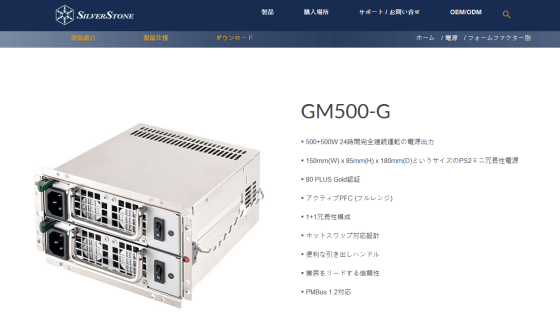
In addition, the RM41-506 can also install a 'GM series' power supply made by SilverStone that cannot be installed with a normal ATX power supply compatible case. This time I will attach 'GM500-G'.
SilverStone GM500-G Product Introduction
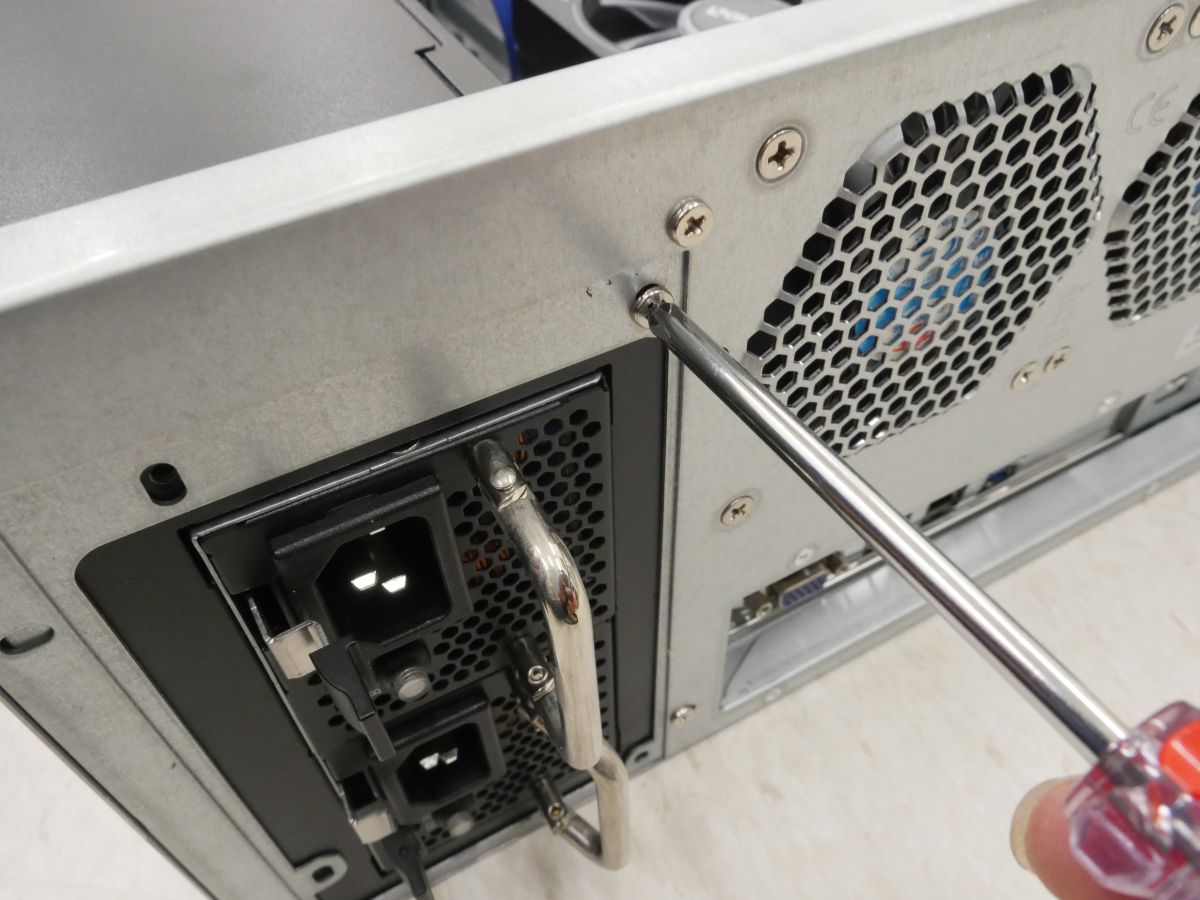
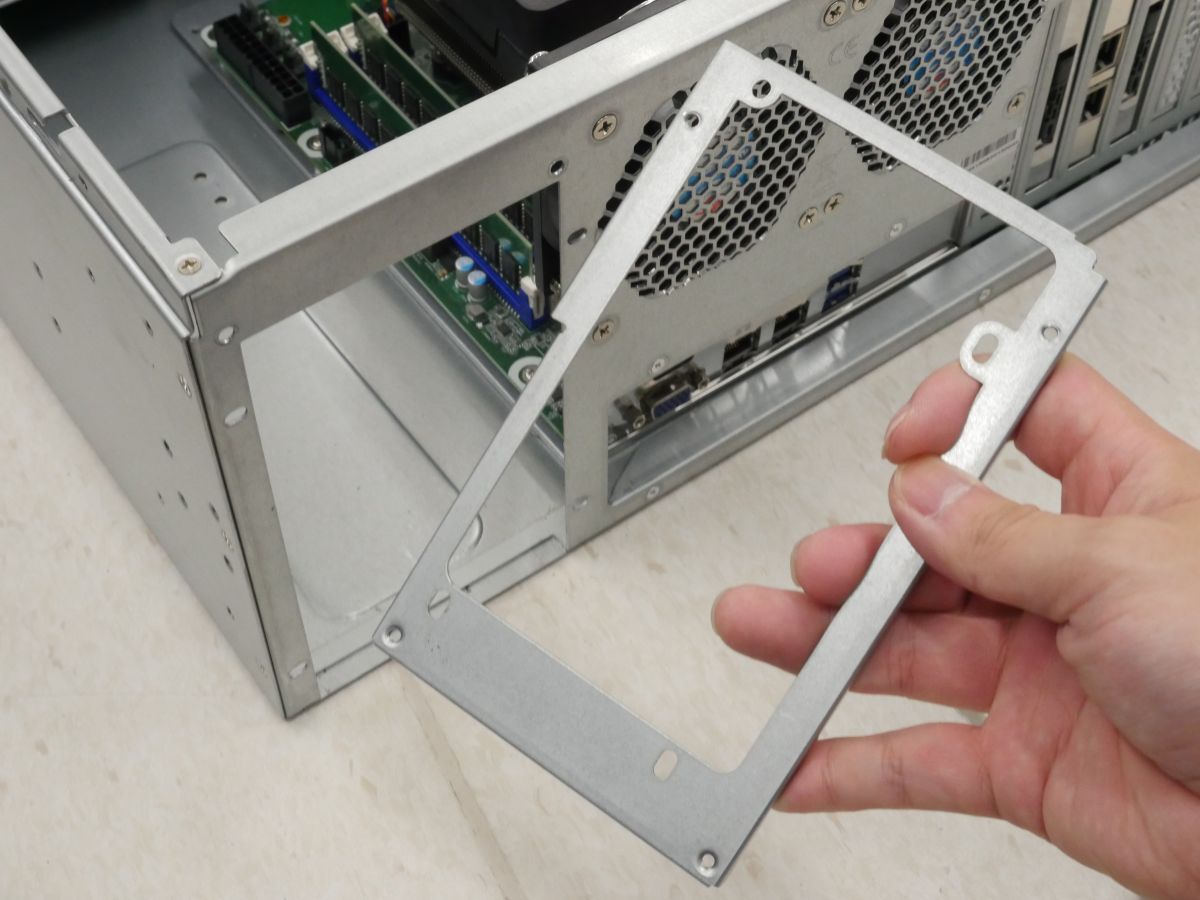
When installing the GM500-G, remove the metal fitting for attaching the ATX power supply.
If you try to attach the GM500-G as it is, the metal fittings and buttons will interfere.
Remove the metal fitting on the short side of GM500-G.
After that, it is OK if the screw holes are aligned and fixed. The button of GM500-G could be attached to the outside by sliding the cord into the gap of the case.

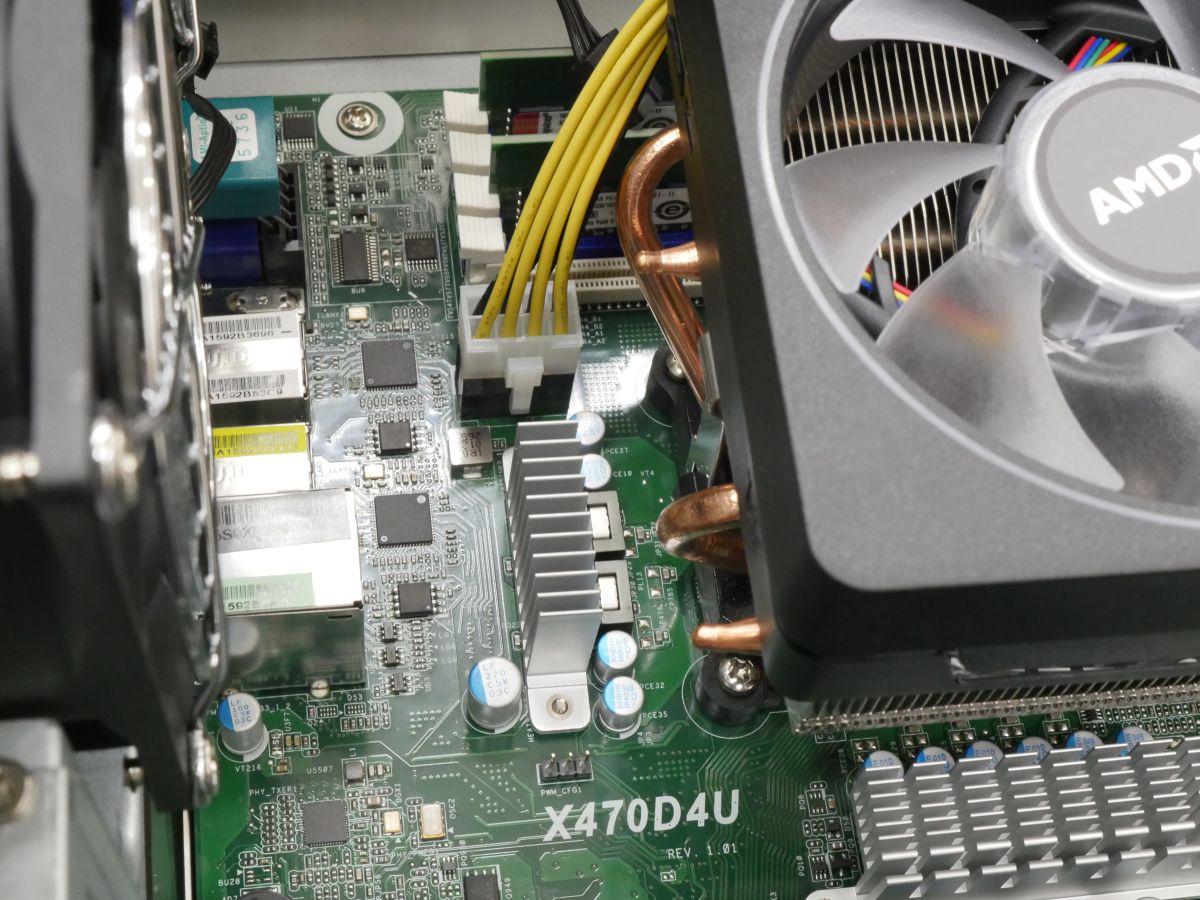
After that, connect various connectors to the motherboard.
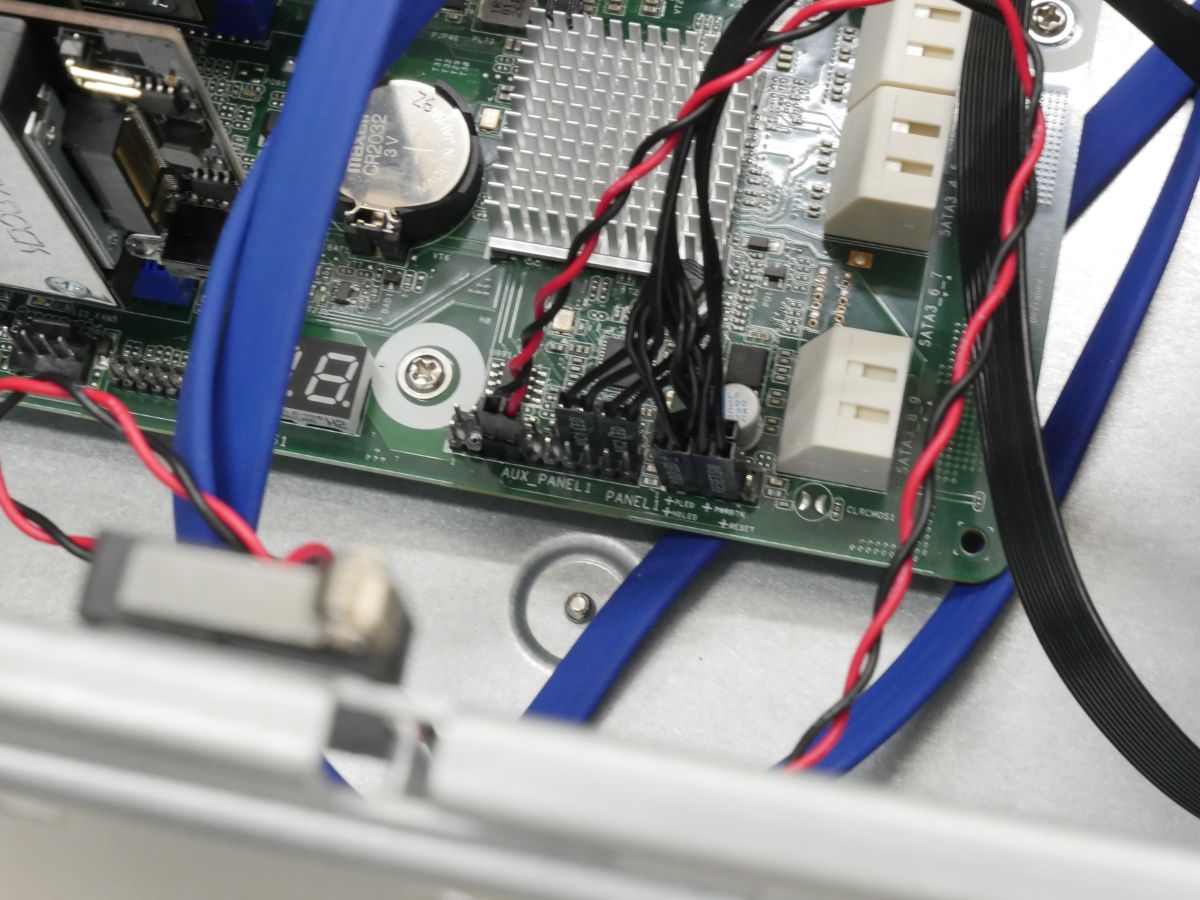
Due to the large number of LEDs on the front panel, connecting the panel pins is a bit complicated. Please note that the pin layout depends on the motherboard.
Install the NIC, etc. in the PCIe slot and complete all the installation work.
Connect the power cord and press the power button...
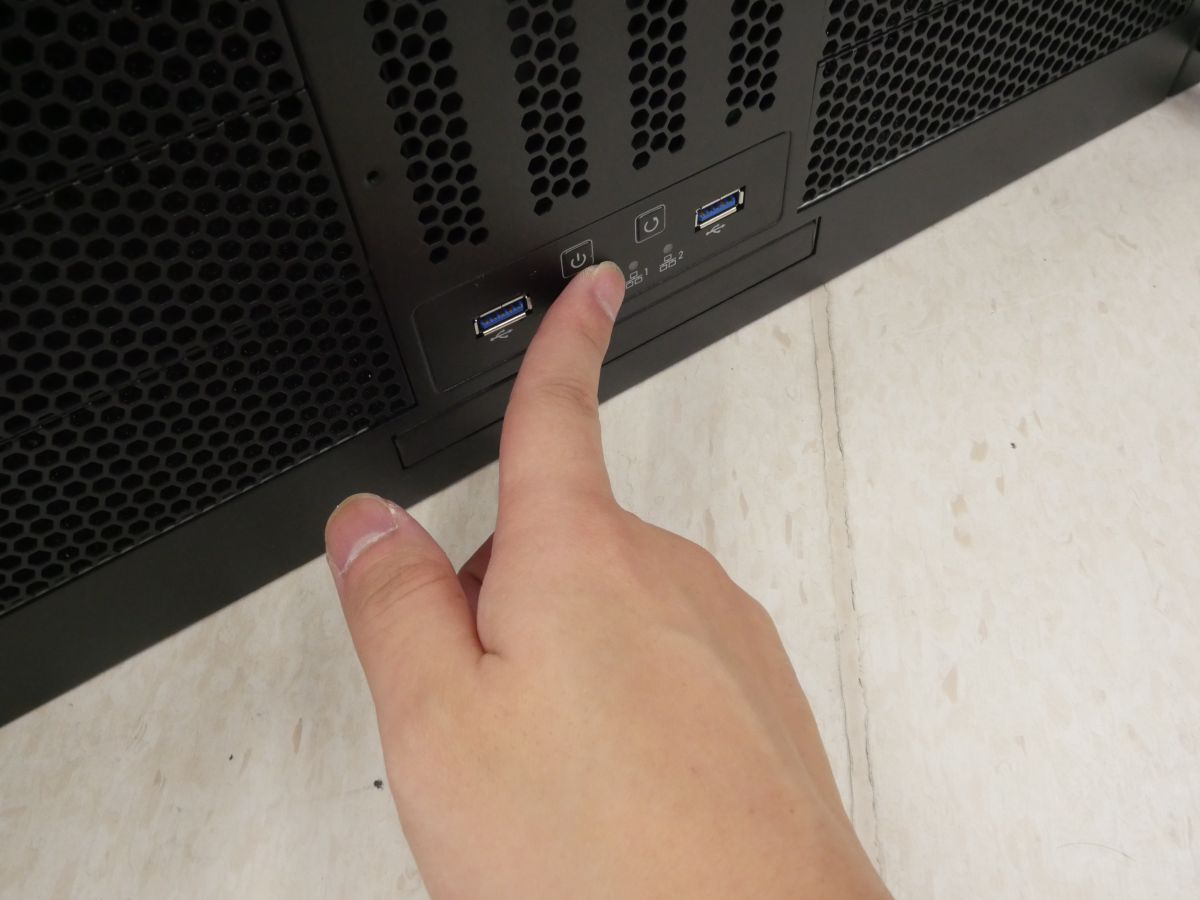
Successfully started. The LED also worked fine. The LED is also working properly.

It was operated for about a week, but there was no heat problem due to abnormal air flow. The RM41-506 was a valuable PC case that allows you to create your own horizontal rack server.
RM41-506 can also be purchased at the Amazon.co.jp marketplace, and the price is from 76,398 yen.
Amazon.co.jp: SilverStone Technology RM41-506 4U Rack Mount Server Case 5.25 inch 6 Bay USB 3.1 Gen 1 (SST-RM41-506): Computers & Peripherals

Related Posts: