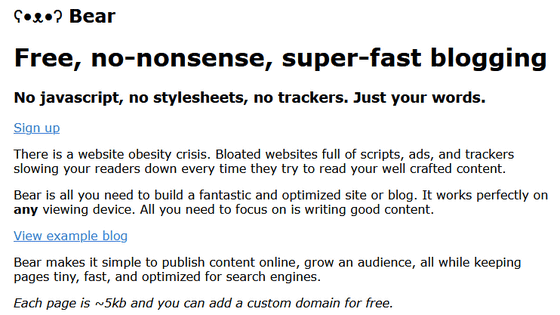
'Bear Blog', a lightweight blog service specialized for 'reading and writing' without any appearance settings
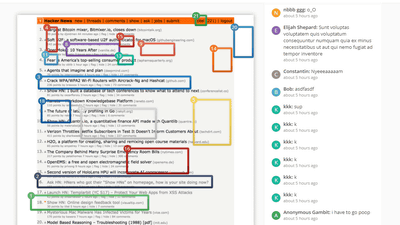
Web services these days are full of scripts, advertisements, trackers, etc., and the first thing to think about when reading the content is that the loading is slow first...Herman, a developer who thought that it was lightweight, was 'easy to write and read smoothly'. We have developed a minimalist blog 'Bear Blog'. You can't set a header image or background image for your blog, or change its appearance significantly, but you can use the HTML tag itself so a minimum description is possible, and you can also insert an image by using the img tag.
ʕ•ᴥ•ʔ Bear Blog
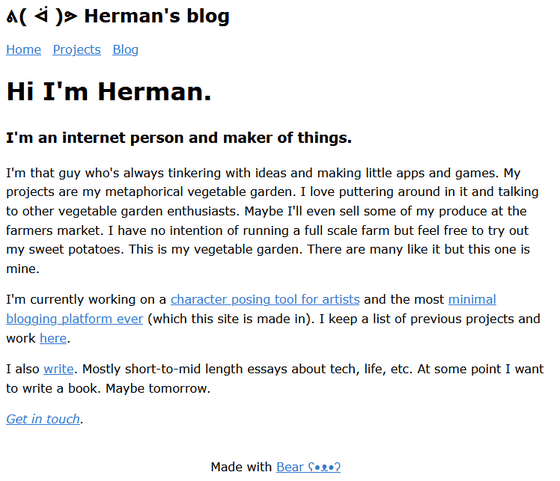
Herman's own blog is published as a sample. Anyway, it is only considered to send the content out to the world and read it, and it has the minimum functions of HTML such as 'Put a link from a character string', but loading is completed in an instant. Speaking of 'don't use giga',
ᕕ (ᐛ )ᕗ Herman's blog
https://herman.bearblog.dev/
◆How to register Bear Blog
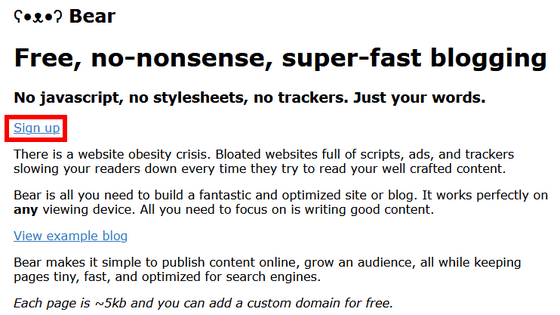
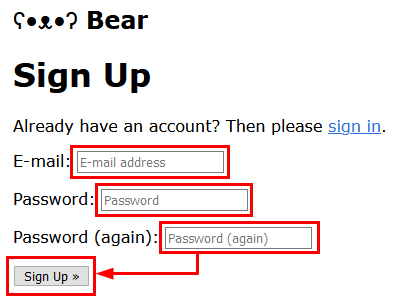
If you want to use it, click 'Sign up' on the official website.
After entering your email address, password, and password (for confirmation), click 'Sing up'.
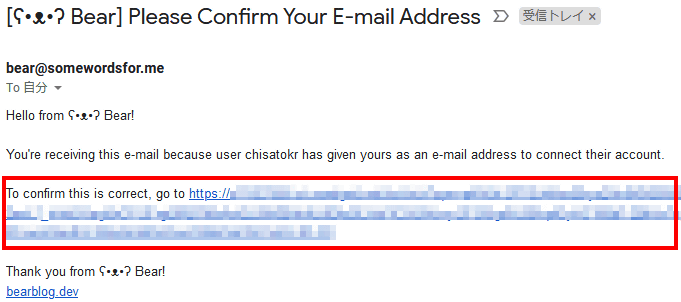
The email '[ʕ•ᴥ•ʔ Bear] Please Confirm Your E-mail Address' will be sent to the email address you registered earlier. Click the authentication URL in the text.
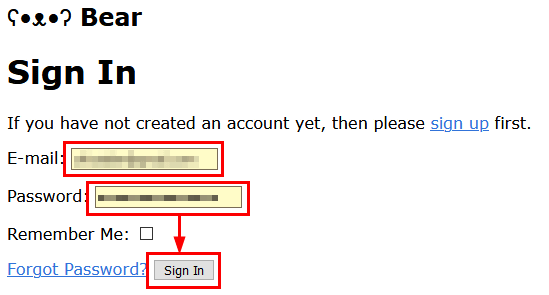
This will open the sign-in screen in your browser. Sign in to the service by registering, entering your email address and password and clicking 'Sign In'.
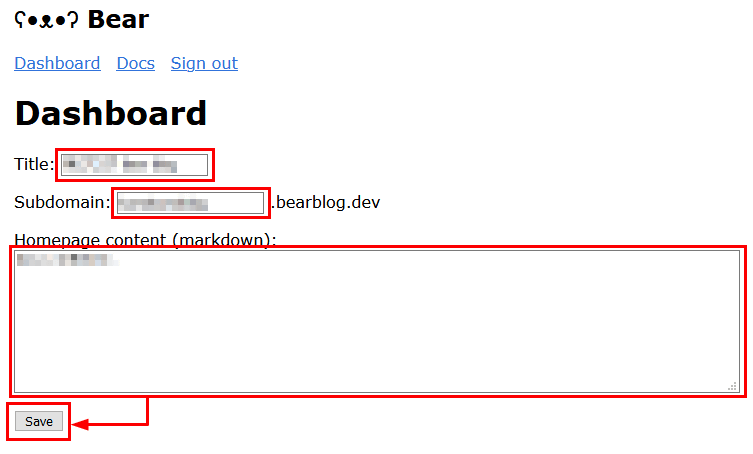
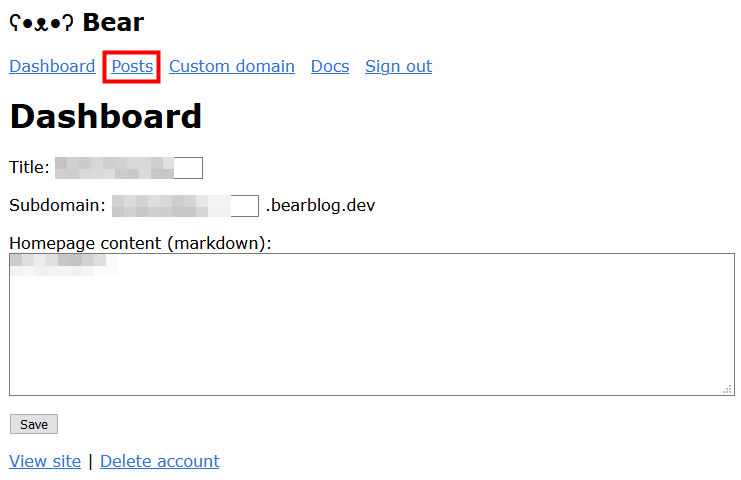
One more step is required to start using the blog. Enter the title of the blog in the Title field, the subdomain you want to use in '○○' of '○○.bearblog.dev' in the Sabdomain field, the content details in the Homepage content field, and click 'Save'. Blog titles and contents can be written in Japanese. Also, the domain name can be customized later.
◆Bear Blog dashboard
Once you sign in and set up your blog, you will be able to access your dashboard. When you are signed in, the link that was 'Sign Up' on the top page of the official website changes to 'Dashboard'.
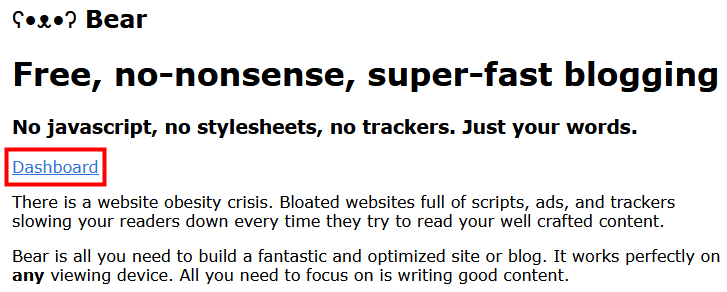
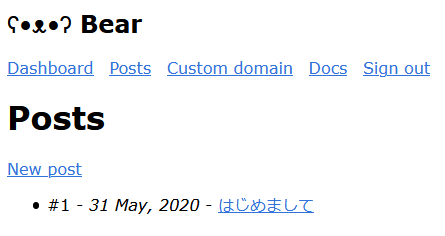
You can change the title of your blog on the dashboard at any time. To post a new article, click 'Posts' in the top menu.
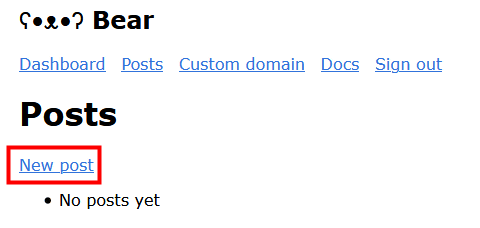
The article list page opens. Click 'New Post' to go to the article posting screen.
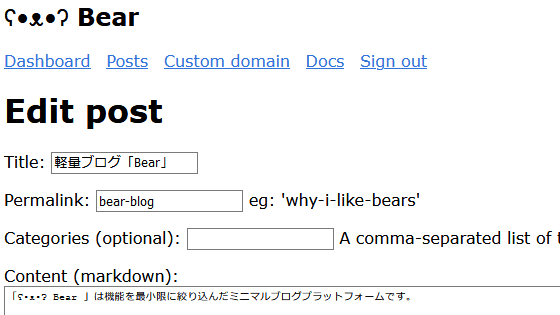
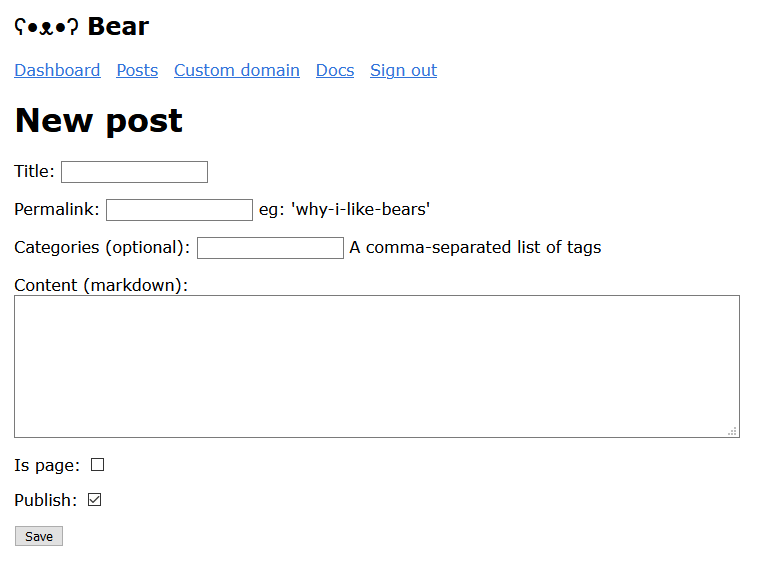
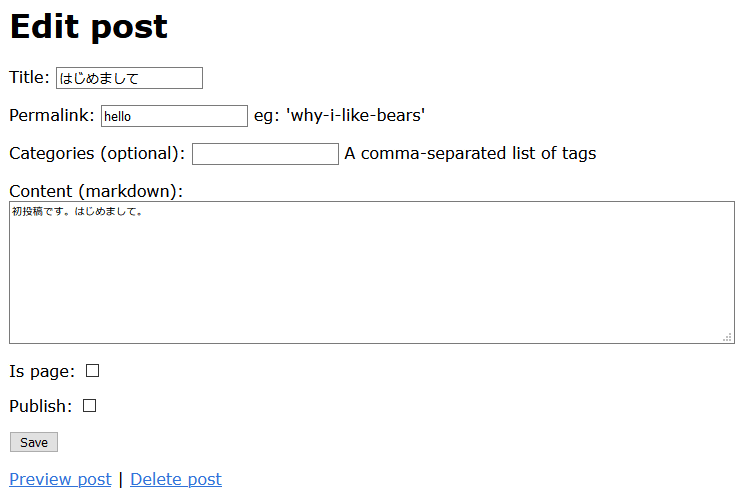
The posting screen looks something like this. Enter the title, permalink (URL for individual article link), content, check Publish and press 'Save' to publish the article. Please note that permalinks are useless in Japanese and must be composed of letters, numbers, underscores, and hyphens.
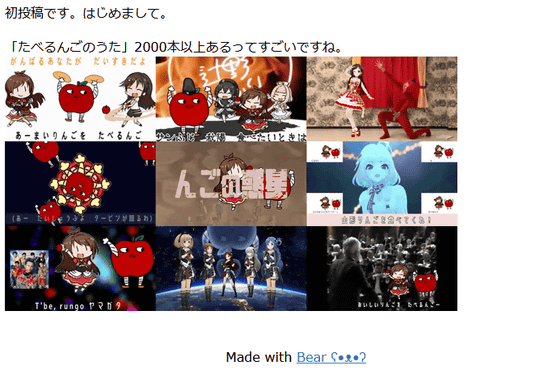
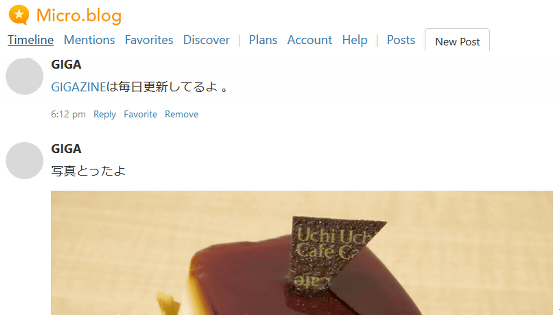
If you post successfully, the article will be displayed like this.

There is no decoration at all, but you can insert images in the article because you can use HTML tags.
The article list looks like this. Click each article in the article list……
The editing screen for individual articles opens, and you can change the title etc. at any time. To delete the article, click 'Delete post' at the bottom. Note that you can unpublish the article at any time by unchecking 'Publish' and saving, and you can publish it by checking 'Publish' again and saving.
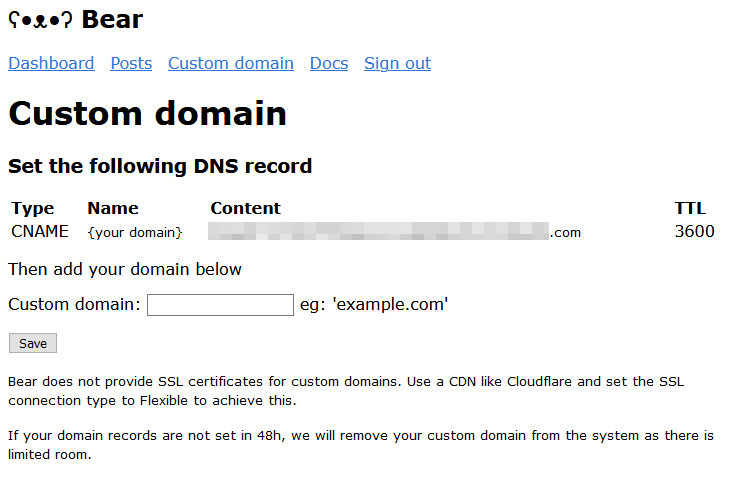
Click 'Custom Domain' on the dashboard...
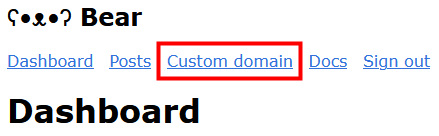
You can also set your own domain.
Related Posts:

in Web Service, Review, Posted by logc_nt