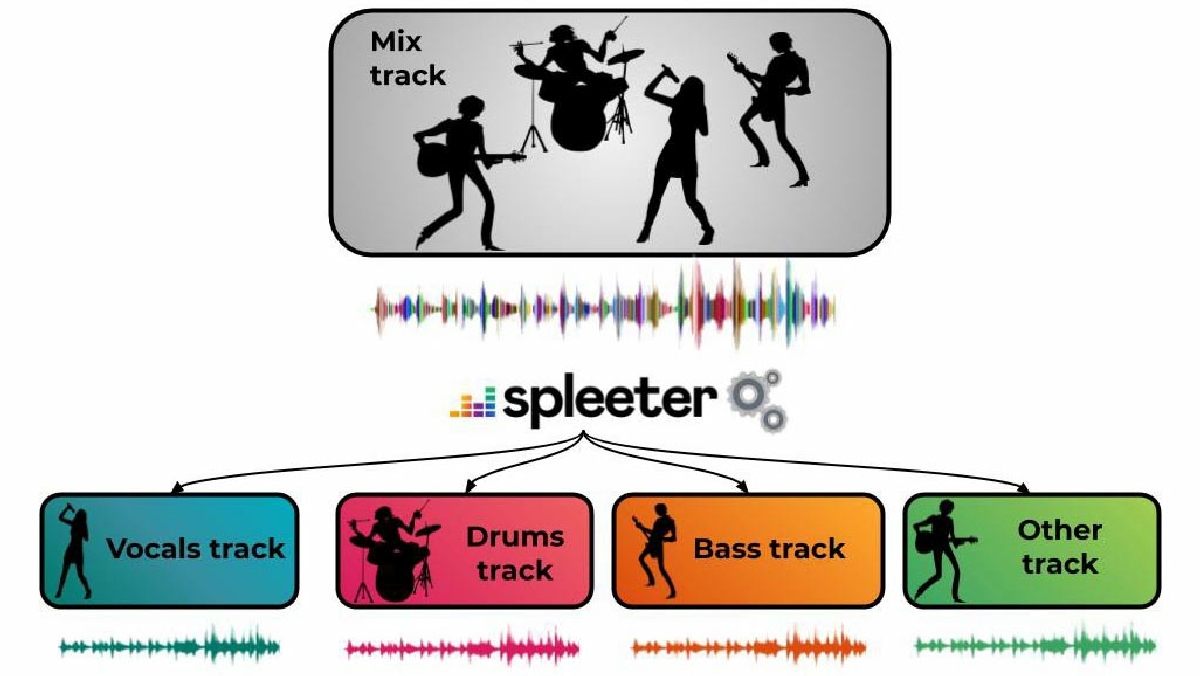
'Spleeter' that can individually extract vocal, drum, and bass sounds from music data
deezer/spleeter: Deezer source separation library including pretrained models.
https://github.com/deezer/spleeter
You can separate sample songs with spleeter by accessing the following URL.
spleeter.ipynb-Colaboratory
https://colab.research.google.com/github/deezer/spleeter/blob/master/spleeter.ipynb#scrollTo=dGL-k5xxoKbu
Mouse over [].
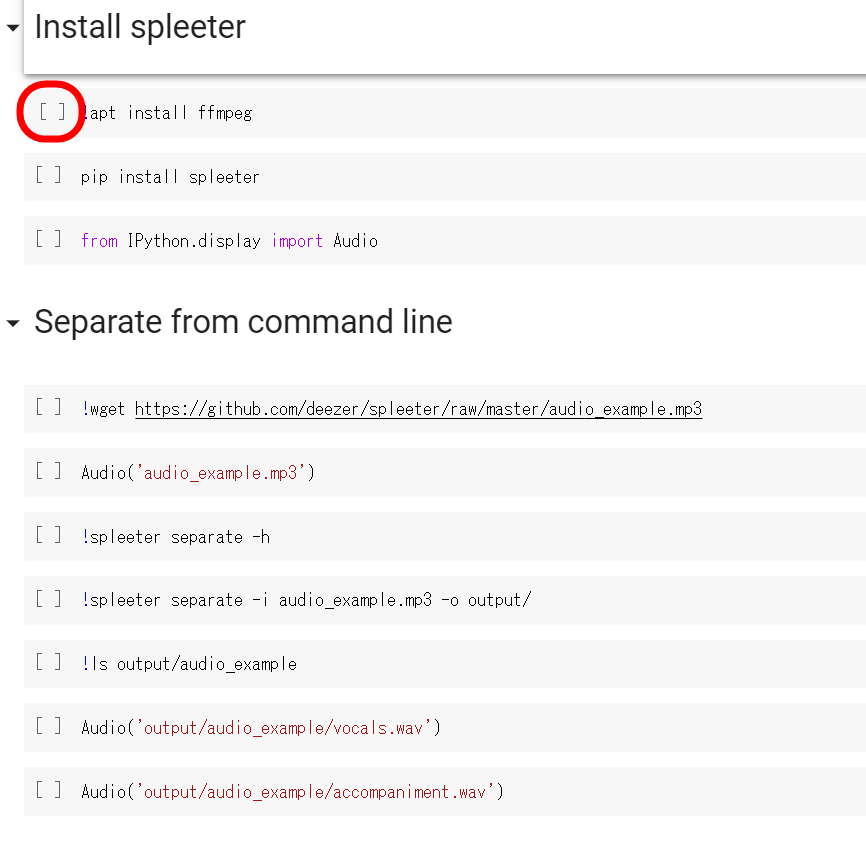
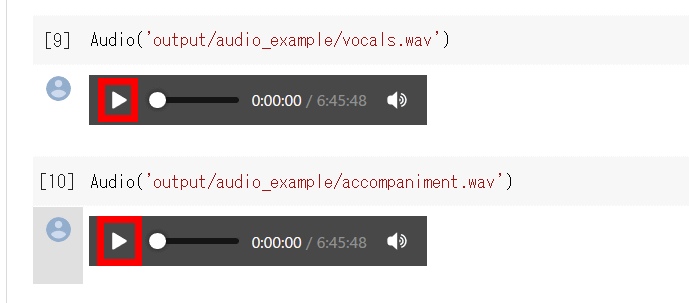
Since the play button is displayed, click the 10 commands in order from the top.

If all is executed, 'Audio('output/audio_example/vocals.wav')' plays the sound source that extracted only vocals, and 'Audio('output/audio_example/accompaniment.wav')' plays the sound source that extracted only musical instruments. can,
◆ Install Git
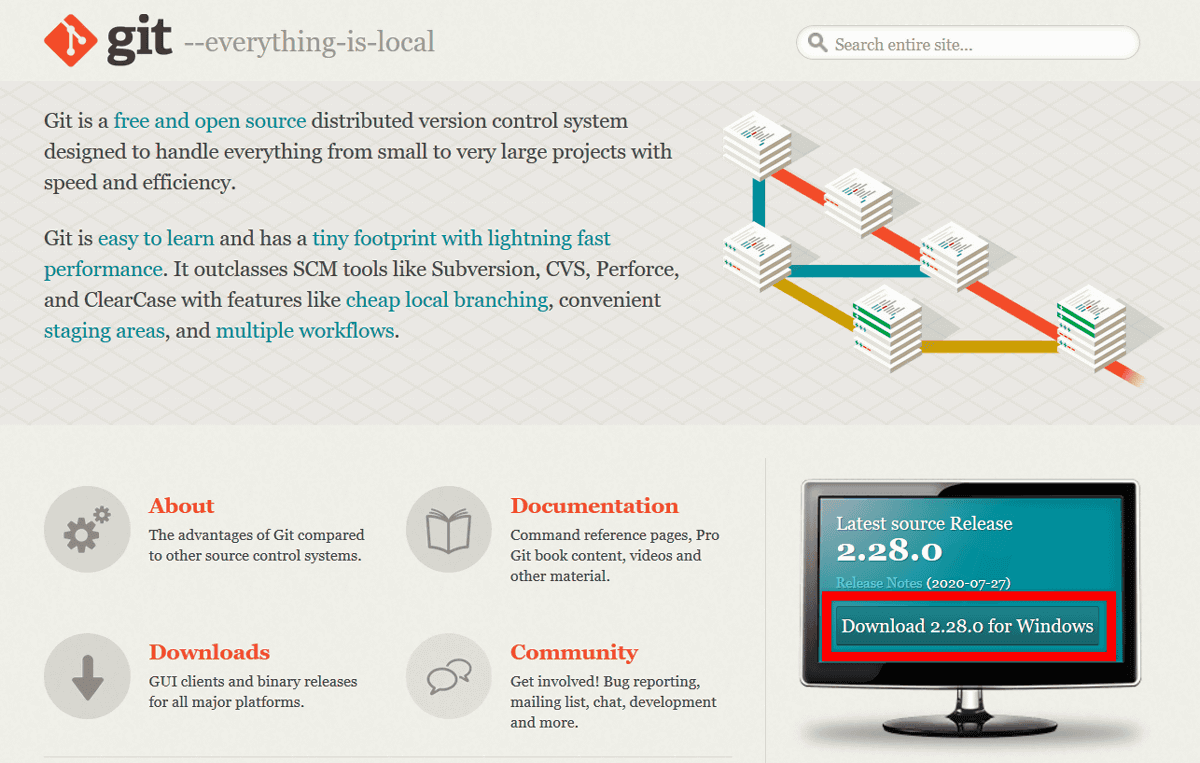
In order to run spleeter on your PC, you need to first install Git. Since I use spleeter on Windows this time, access the following website.
Git
Click Download X.XX.X for Windows. The 'X.XX.X' part differs depending on the version.
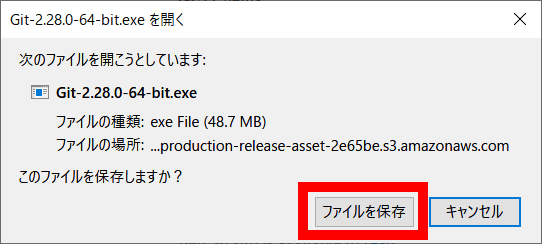
Click 'Save File'.
Double-click 'Git-2.28.0-64-bit.exe' to execute it.
Click 'Run'.

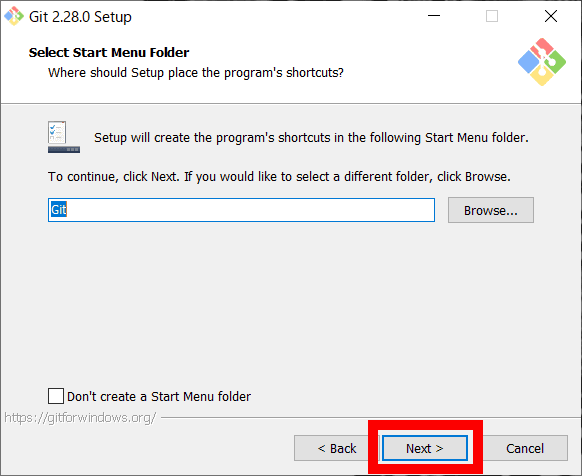
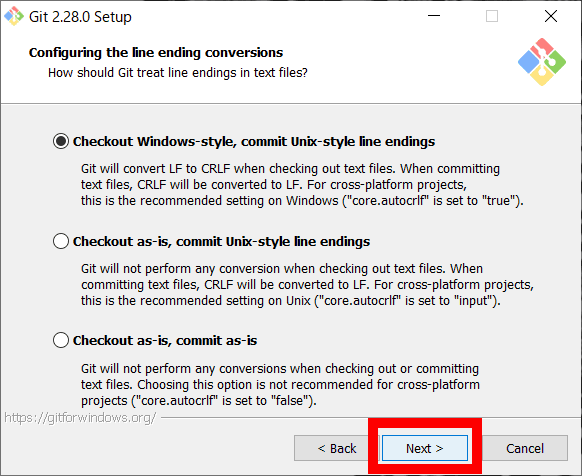
Click 'Next'.

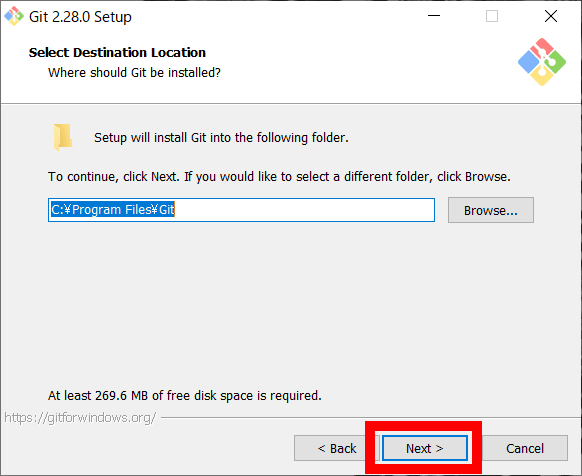
Select a location to save the file. If there is no need to change, just click “Next”.
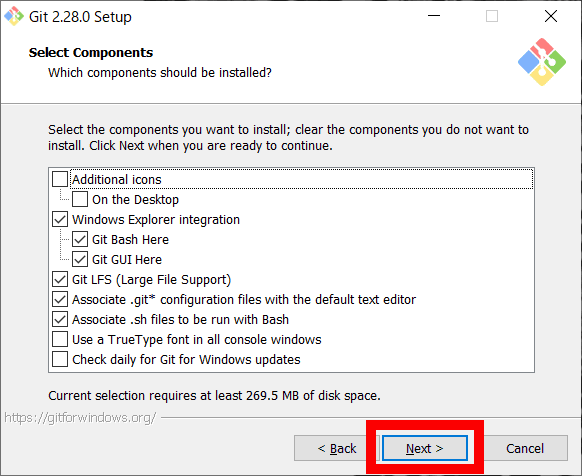
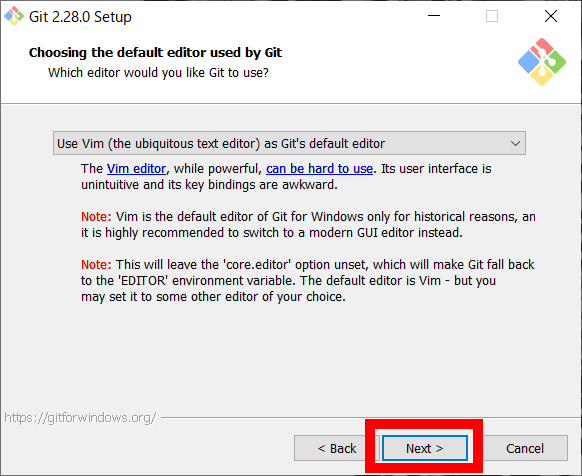
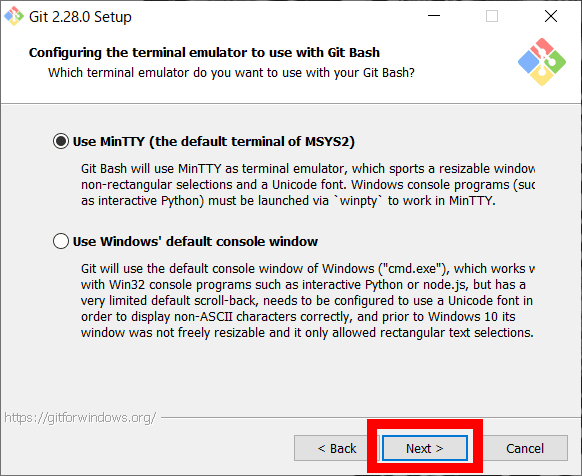
Click 'Next'.
Click 'Next'.
Click 'Next'.
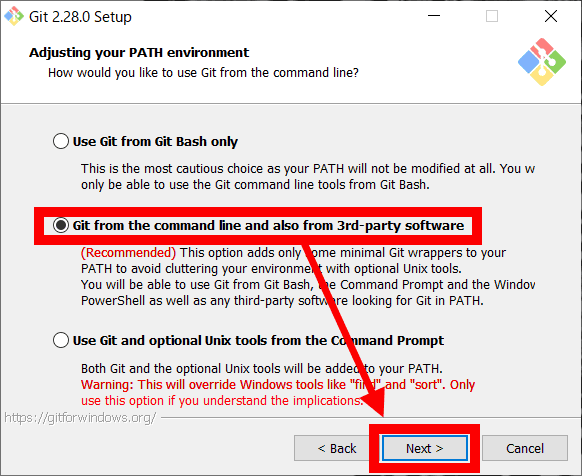
Select 'Git from the command line and also from 3rd-party software' and click 'Next'.
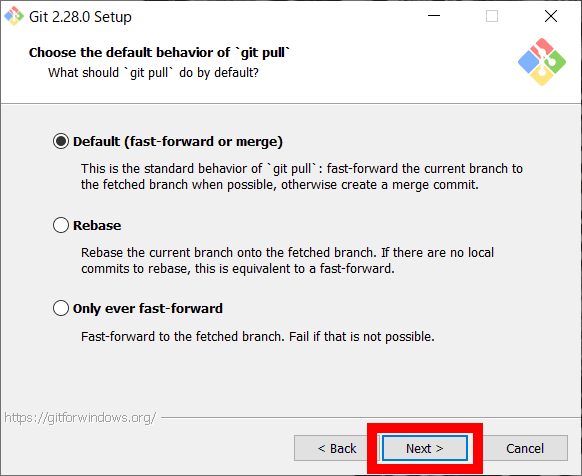
Click 'Next'.
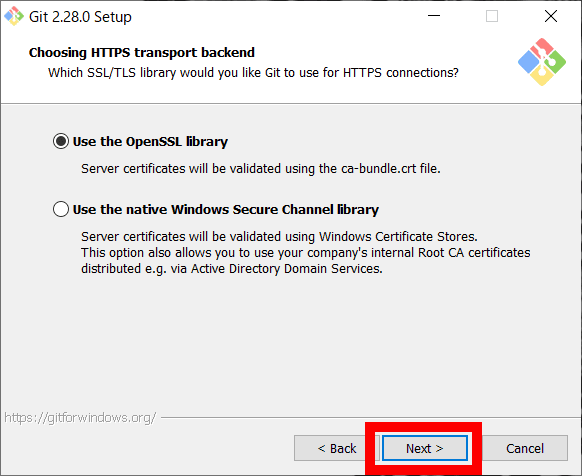
Click 'Next'.
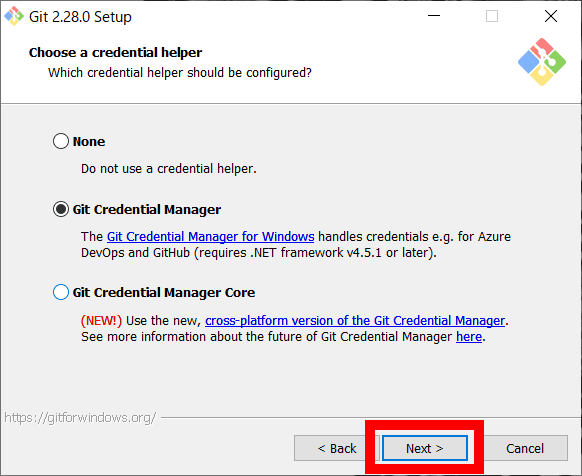
Click 'Next'.
Click 'Next'.
Click 'Next'.
Click 'Next'.

Click 'Next'.
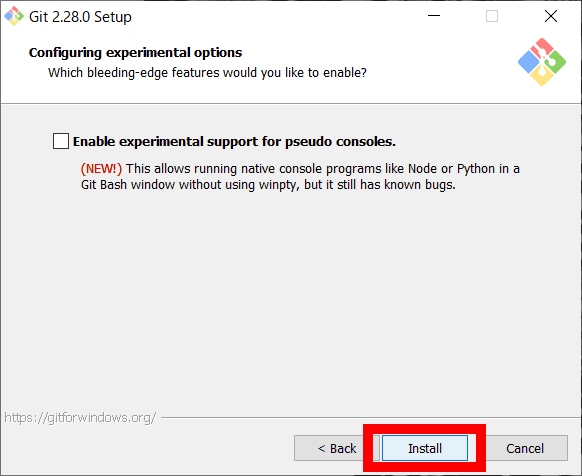
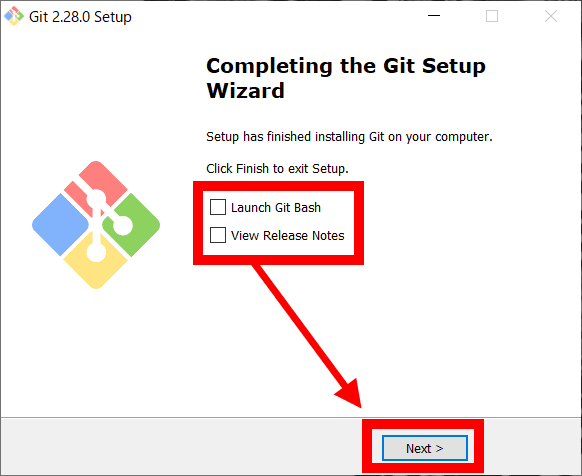
Both are unchecked and click 'Next' to complete.
◆ Installation of Conda
Next, access the following URL to install 'Conda'.
Conda — Conda documentation
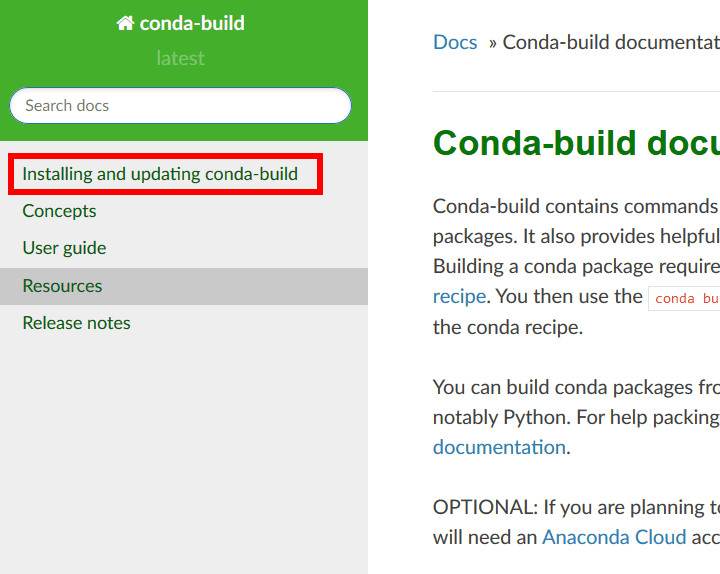
Click 'Conda-build'.

Click 'Installing and updating conda-build'.
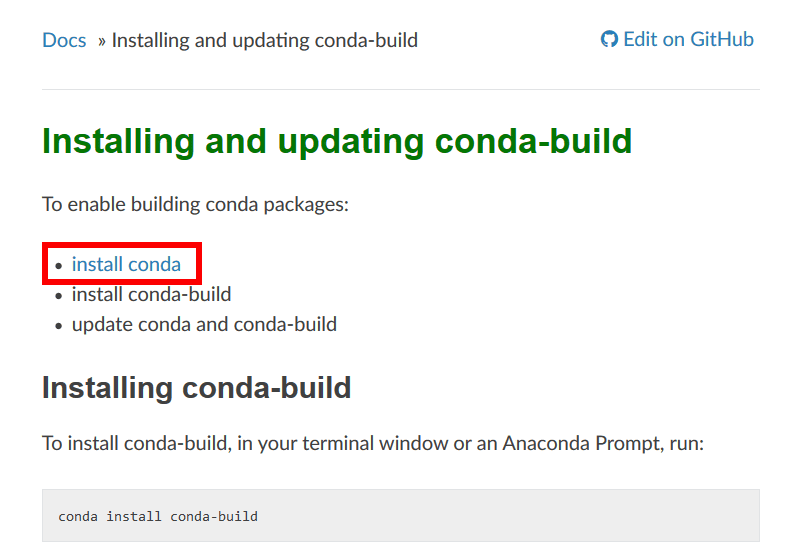
Click 'install conda'.
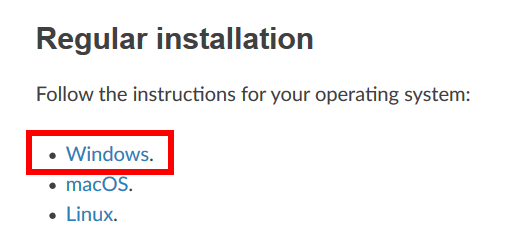
Click 'Windows.' to use spleeter on Windows this time.
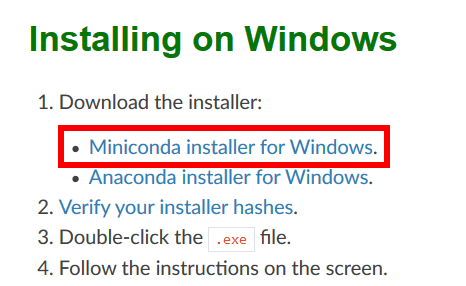
spleeter can be executed by both 'Anaconda' and 'Miniconda'. Since I use Miniconda this time, click 'Miniconda installer for Windows'.
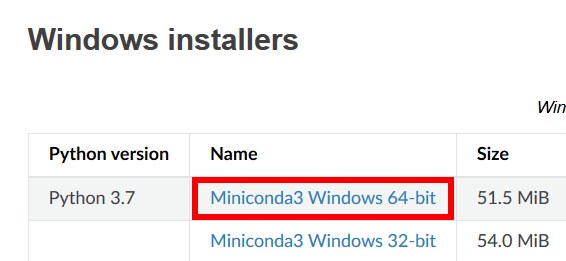
Select either the 64-bit version or the 32-bit version, and click according to the PC you are using. This time download the 64-bit version.
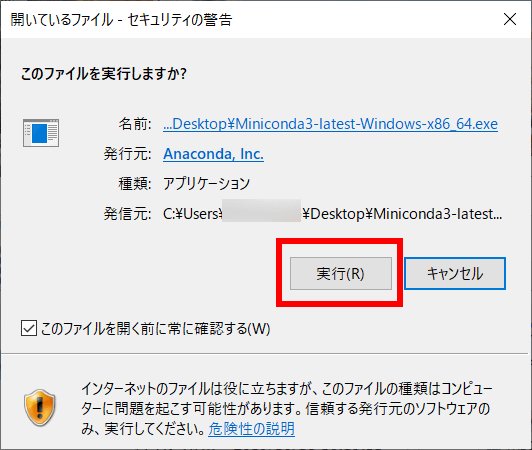
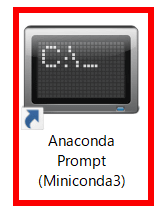
When you download Miniconda on your desktop, an icon like the image will be displayed, so click it to execute it.

Click 'Run'.
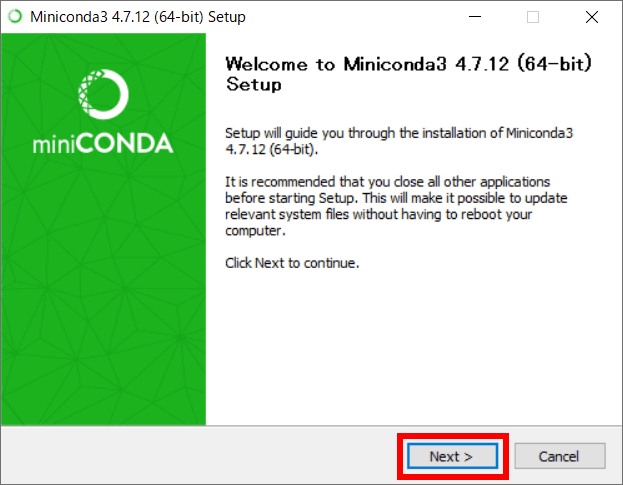
Click 'Next'.
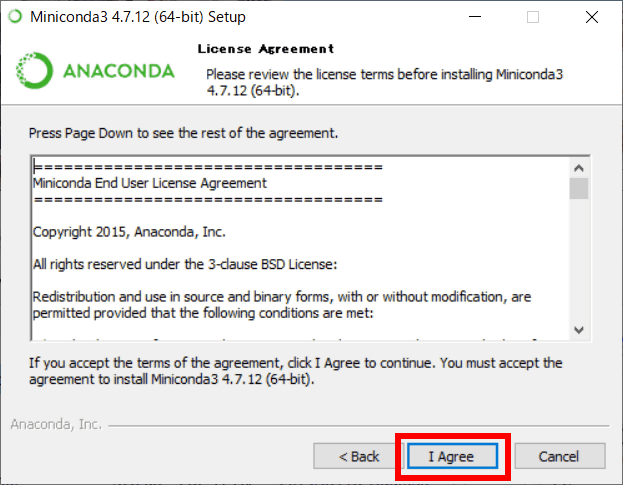
Click 'I Agree'.
Select the folder where you want to install Miniconda and click 'Next'.

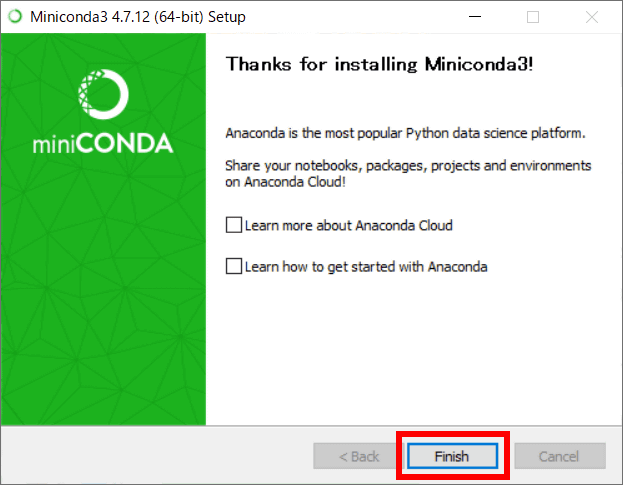
Click 'Finish' to complete the installation.
◆ Execution of spleeter
Click the installed Miniconda to start it.
By typing the commands in the red frame below into Miniconda in order, you can sort the music data by instrument. The following procedure and screenshots are as of November 2019, so you need
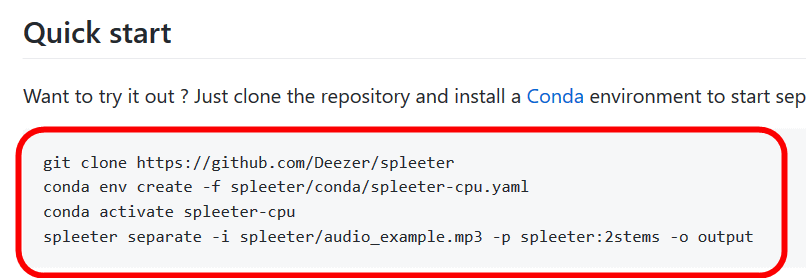
When spleeter is ready to run, enter ``spleeter separate -i (folder path of music data to be classified) -p spleeter: (classification method) -o output'' into Miniconda, and the extracted data for each instrument will be displayed. It will be created.
At the time of article creation, there were three types of classification methods.
2stems: categorized as vocal/accompaniment.
4stems: Vocal/Drum/Bass/Other instruments
5stems: Vocal/Drum/Bass/Piano/Other instruments
For example, to classify the sample data 'audio_example.mp3' attached to spleeter into two types, vocal and accompaniment, enter 'spleeter separate -i spleeter/audio_example.mp3 -p spleeter:2stems -o output'. I will.

Data is output to the folder called 'output' created in the same location as the spleeter folder.

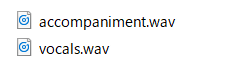
A folder is created with the name of the original music data, so click the folder...

The vocal part was output as 'vocals.wav' and the accompaniment part was output as 'accompaniment.wav'.
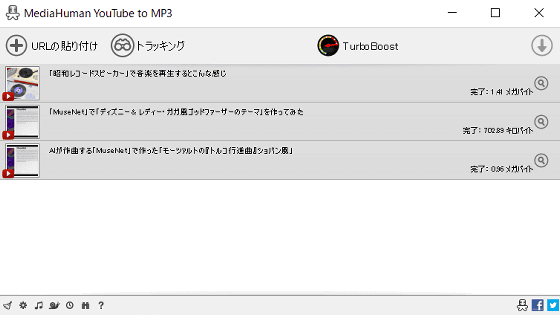
As a test, try extracting the following MP3 files by dividing them into vocals and accompaniment. The data before extraction looks like this.
Here is the one that extracts only the vocal sound. The sound of breath is extracted well, and the accompaniment part is completely inaudible.
The accompaniment part is as follows. The treble part of the vocal remains slightly, but it is almost only accompaniment.
Note that songs like “Lulrul” and “Laralah” whose lyrics are not words may not be able to extract data well.
Related Posts:


in Software, Web Service, Review, Posted by darkhorse_log