A 60-minute report on the latest 3D digital modeling with plenty of figure prototype designer purveyor software 'ZBrush' official
The '
3D Model Formatter Group | Ultra Modelers
https://www.ultramodelers.site/
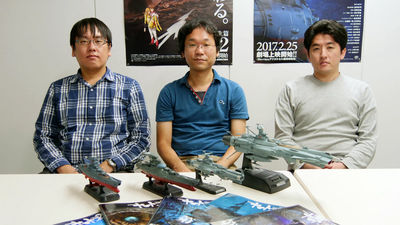
On the left is Daisuke Narikawa, and on the right is Toma Roussel. All the presentations by Mr. Roussel were in English, so the talk panel was advanced while Mr. Narikawa was acting as an interpreter.
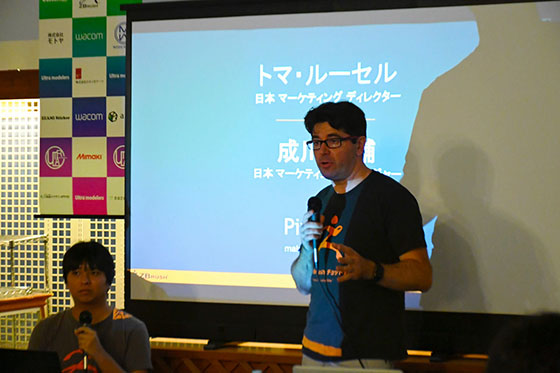
Mr. Toma Roussel (hereinafter referred to as 'Roussel'):
I would like to talk a little bit about ZBrush. ZBrush has a lineup of 2018 professional products and ZBrushCore that can be used by first-time users. ZBrush is a digital sculpting tool that allows you to perform digital engraving. ZBrush is used in various industries, and is used in the video industry and game production, and is widely used in the design of figures, jewelry, and vehicles.
Roussel:
ZBrush has a wide range of users from hobbyists to professionals, ZBrushCore is a kind of software for hobbyists and beginners, and ZBrush is for professionals. Of course, ZBrushCore is reducing its functions, so it is easy to buy with simple content. Most of the people who work at Pixologic are artists, and ZBrush is software that artists create for artists.
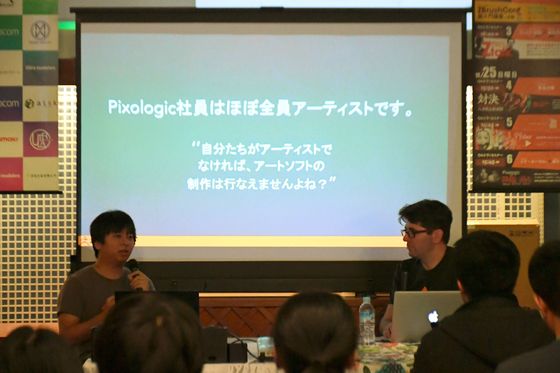
Narukawa:
I am doing figure production etc. and Toma is doing figure production and cosplay. Other staff members, for example, use a 3D printer for printing, illustration, and various other ways.
Roussel:
If you're not an artist, it's about how you can make art software, but it's an impossible one. I think that's what we can do because the artist is creating for the artist.
Narukawa:
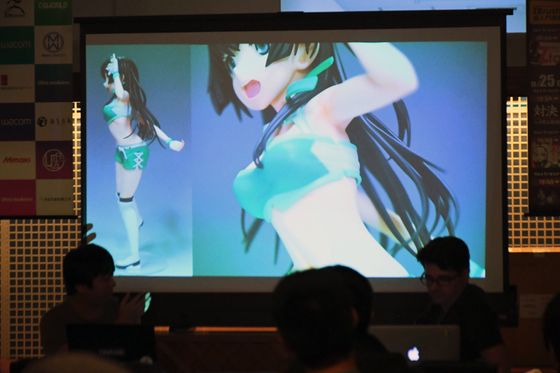
This is an example of a piece of work that we personally produce, but we will show you what you are making. This is a work of the character named Tohji Utsuho, a character from
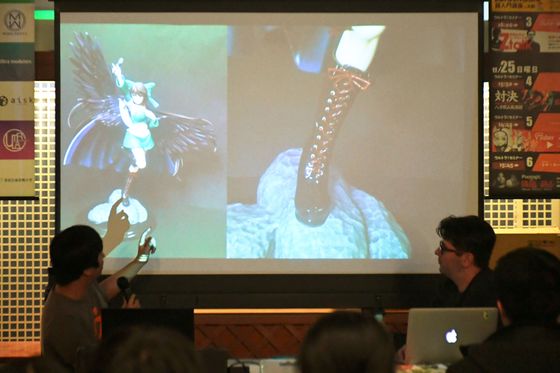
Narukawa:
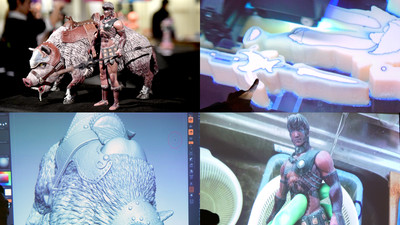
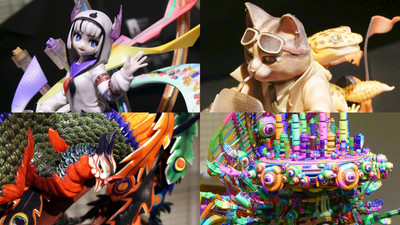
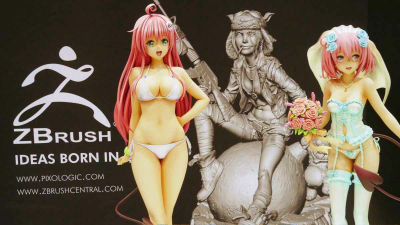
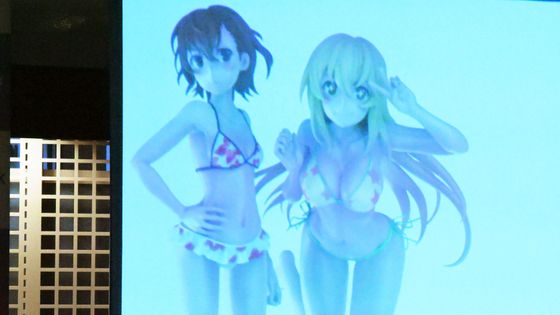
This is one of the fan art created for individuals for the Wonder Festival 2018 [Winter] , and it is a character called Saten Rikoko, a super electromagnetic gun of a certain science , Everything is made with ZBrush. The output is Form2 . One last thing is using a professional printer called HD3500 , but about 500,000 printers can deliver something like this in a form that is almost comparable. This is also about 25 cm in height, and it can be of this quality. I can do so much detail and creation.
Narukawa:
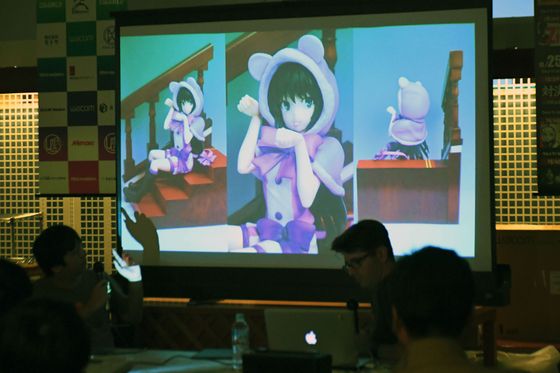
This was created at
Narukawa:
Since all these works are produced live and videos are posted on YouTube, some of you may know, but you can see the two videos. This is another angle, but you can also paint a wood-like expression, and almost all of this area is produced using ZBrush's ZModeler function. I make a pattern and the like with the illustrator, export it as alpha, then transfer it, and create a rough framework and adjust it with ZModeler.
Narukawa:
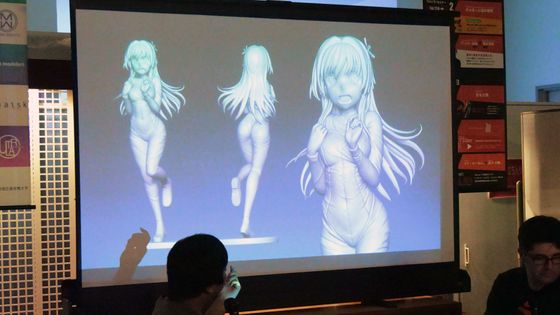
I plan to present this at the next Wonder Festival, but after
Narukawa:
This is one that is currently being produced, but this is where we are testing how far we can do while using the latest features of Intersection Masker. For example, at the ribbon, the bend curve function is used to reproduce a special shape using a deformer.
Narukawa:
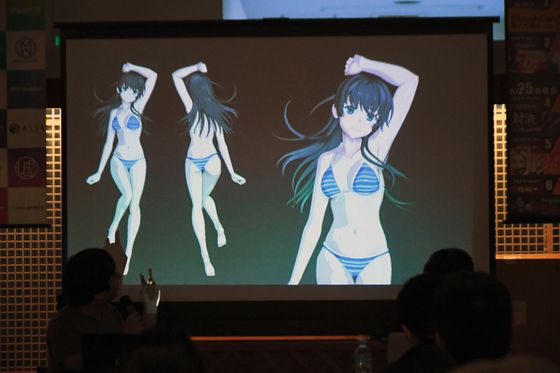
This is also a work currently being produced, recently produced in two days live broadcast, but I made it in about 8 hours in total because the live delivery of 1 day is about 4 hours, but the heat of 40.1 degrees comes out after this (Laughs) Since I was resurrected from there and I am here now, I had no time to make it at all. I think it would be good if it could be made as an illustration of toon rendering, but this was not made for a figure, but I verified that I could use the texture of the material to create an animation-like or cell-like atmosphere.
Narukawa:
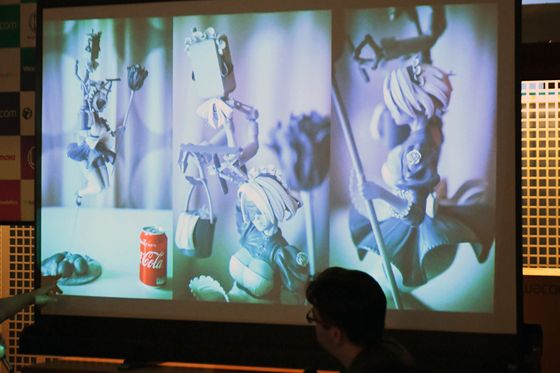
From here it is Toma's work. Toma also has done a lot of fan art work, and this is the 2B character of
Roussel:
This is a work called
Roussel:
This is a
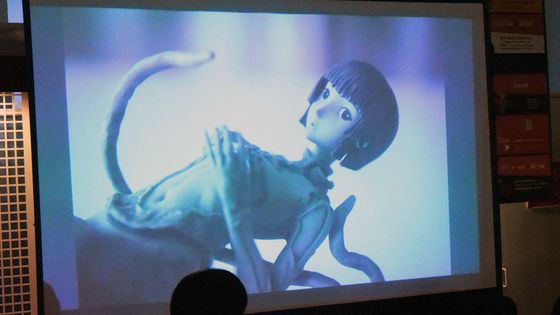
Roussel:
I spent about two weeks making it. I am doing everything from production of this shape to division with ZBrush. Basically I'm producing in black and white as I'm not very good at painting.
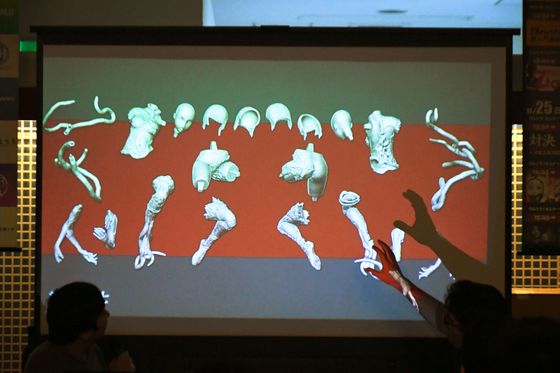
Roussel:
I am a big fan of Star Wars, so this is an example of cosplay, but I make a helmet for
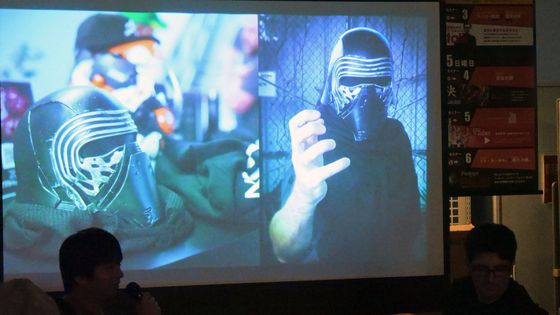
Roussel:
Of course, I also make a light-saver for Cairo Len. The helmet is so, but both are not organic models, so I use ZModeler to make my main work.
Narukawa:
This is actually an image of painting and washing, with the addition of dirt and so on. This time I tried to paint (laughs)
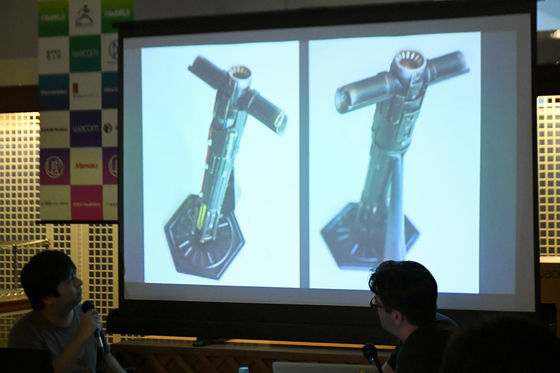
Roussel:
I have two children, but the last time I visited Japan as a family, a small child became quite fond of a temple, and after that I started to imitate the pose of a Buddha statue (laughs). If you like so much I will tell you to make you a Buddha statue (laughs)
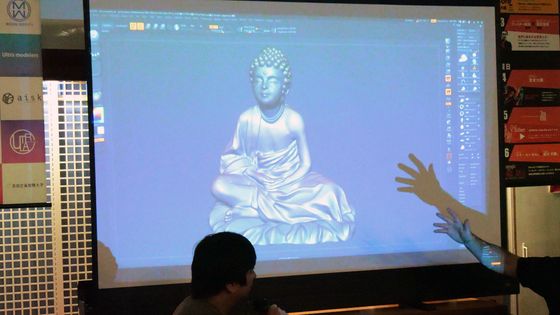
At first I was making it with ZBrushLIVE.
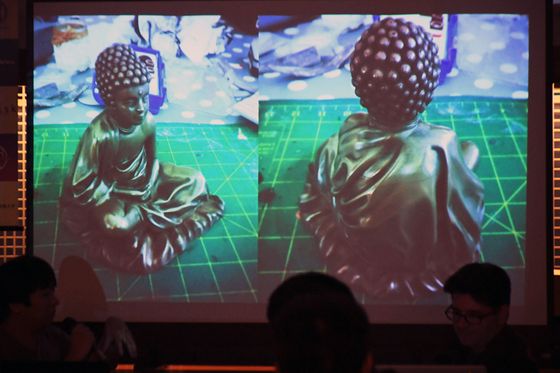
Narukawa:
These are examples of their own work, but since all Pixologic employees are active in different genres like this, what kind of requirements and expectations are the artists, for example That's because we are actually making it and testing it. These verification results are reflected in ZBrush and commercialized.
Roussel:
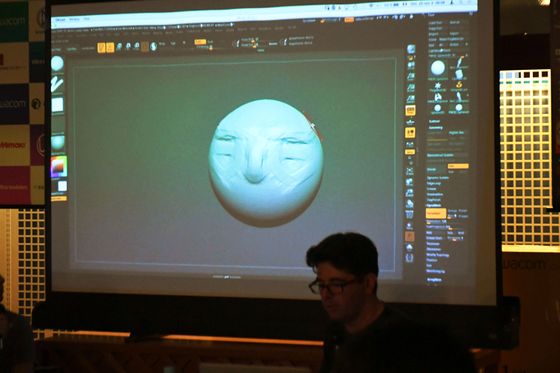
There is only one concept of ZBrush, and the basic concept is to sculpt using a brush. Camera operation and navigation are one of the important points when sculpting with ZBrush. When I do sculpture in the real world, my neck will move a lot. I think that I will work while actually moving the sculpture to confirm, but it is necessary to sculpt in exactly the same way, look around, and make the production while checking what kind of work is completed.
Roussel:
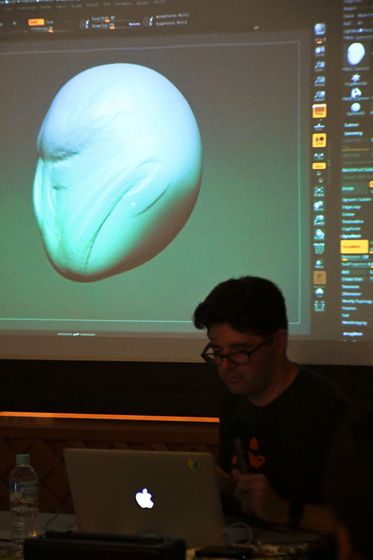
Because it is a short time, it may not be possible to make something so beautiful. From the big strokes to the fine strokes, the details will gradually be filled as they are made. You can use the move brush to create rough shapes like this.
Roussel:
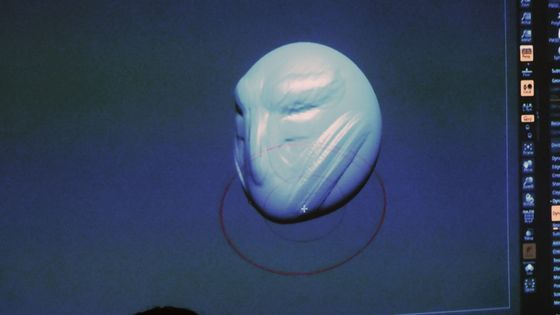
When viewed from the front, the proportions were quite good, but when viewed from the side, only the front is stretched, so it is necessary to look around and make adjustments.
Roussel:
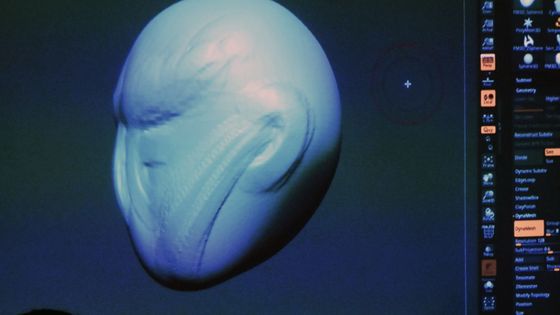
The head is shaped as you like, so if you want to make ears next, you can adjust the brush size like this to make a rough shape.
Roussel:
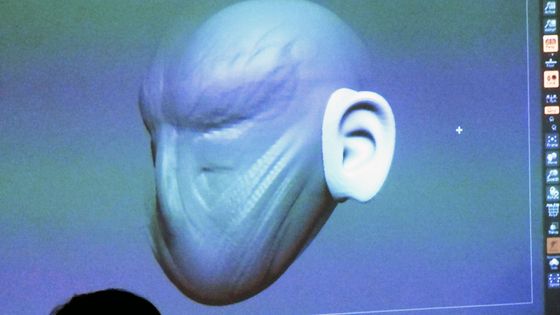
If you're not very confident about making ears, you might say that, but you can do it. ZBrush has a function that includes the body part called IMM body parts as a standard preset. The ear was completed using it at once.
Roussel:
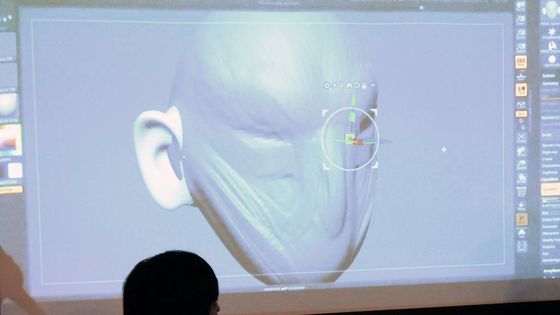
The ears are bright but the head is dark. In this case, a mask is applied to the darkened area, and you can specify the range so that it will not affect even if you touch the surface with a brush. Since the mask is applied, it is possible to adjust only the ear part or adjust only the head part. If you use mask inversion and mask cancellation as well, you will be able to specify the range for adjustment.
Narukawa:
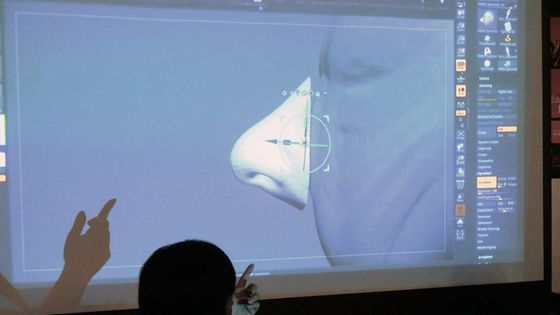
Once you have the shape, you can do the binding by holding down the Ctrl key and left-click dragging while Dynamesh is enabled. With just this movement, the ear and head are joined, and I am making a nose, but I can join the nose.
Roussel:
Now you can make the nose head and ears. Now I'm working on rough shapes, so it's roughly shaped, but of course I'm going to make more and more detailed parts by raising the level of resolution and built-in at any timing can also do.
Roussel:
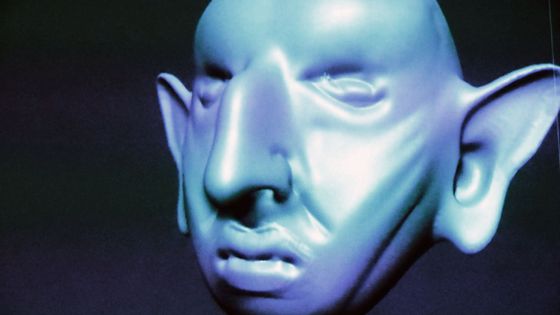
I raised the resolution a bit, and while holding down the Shift key, I felt that the polygon line I had seen was gone and it was pretty smooth. This allows you to make small wrinkles from the rough shape of the lips. It depends on your own modeling ability, but in just a few minutes you can create and enjoy these shapes.
Roussel:
There are two steps to make the shape, and it is divided into the case of making the volume to make the mass and the case of making the detail in detail.
Narukawa:
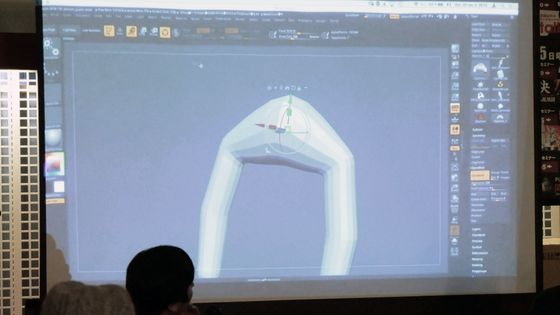
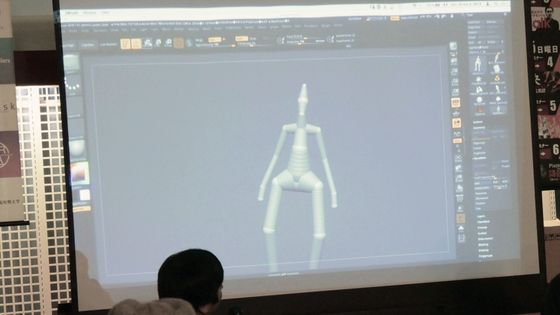
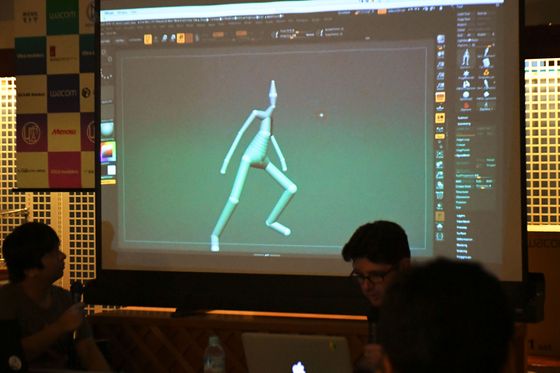
The function ZSphere inside ZBrush can create a parent-child relationship like this and create something like a tree shape. If you make it like this, you can make basic structures such as rough skeletons and feet of people in a short time. For example, in the case of engraving, you can do the same work as making a wire in and setting clay around it. If you think that this is the work that is putting the wire now, it will be similar work.
Roussel:
Of course, you can add ZSphere between ZSphere and ZSphere, move it, rotate it, adjust its size, etc. I think it's quite difficult to get it back with wires, but with ZSphere you can easily change it in real time while making various adjustments like this.
Roussel:
As well as a rough sense of volume, you can also pose in this way. Now I'm releasing symmetry and breaking the left / right control, but you can also pose this way at this stage.
Roussel:
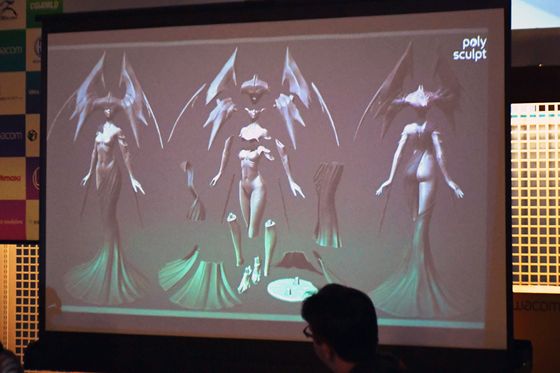
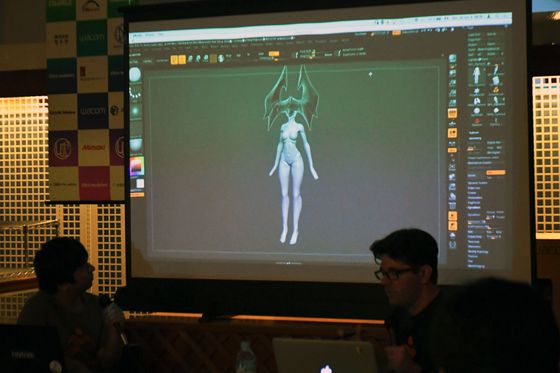
This is the one in the process of making it that I actually showed on the Demon Queen model earlier. This is based on ZSphere, and then polygons will be applied. The nice thing about ZBrush is that it can hold 10,000 histories.
Roussel:
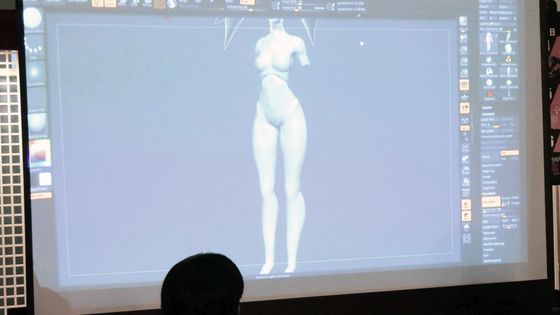
This is showing the process of production that was actually done. I think that you can understand if you are modeling in analog, but I will make by combining wire, aluminum foil and clay, but the same can be done with ZBrush. In this way, the wire is installed using ZSphere, and it is in the state of going around the meat.
Roussel:
You use a feature called Dynamesh in the production process. To put it simply, the function called Dynamesh can be divided evenly over the extended object by overwriting the structure in the polygon and updating the shape, and replacing the mesh in a state that facilitates engraving It will be a function that will I also use Subdivision Levels from Dynamesh during production. Speaking of Subdivision, for example, you can divide a polygon into a square with respect to a square polygon. This allows you to simultaneously control large and complex shapes like surfaces with a small number of vertices. ZBrush can move it back and forth. This is the long name of Multi-Resolution Mesh Editing, but it has such a function, and since it is possible to combine and control complex shapes such as a surface with a fine number of points, by reciprocating it, I control a curved surface or a cylinder.
Roussel:
Looking at the history, the back is still rough. You can always make adjustments such as this while looking back at any time during production. A real sculptor will fix it one after another and see it in another place. You can fix it as soon as you find it and refine it.
Roussel:
It takes about 32 minutes for your work at this stage.
Roussel:
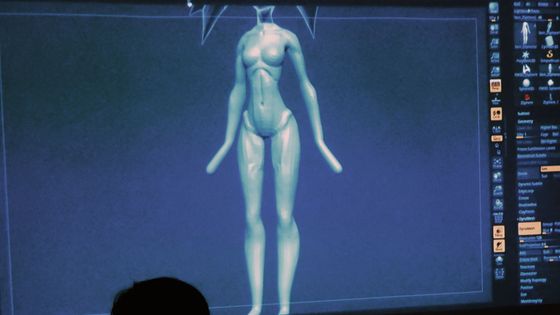
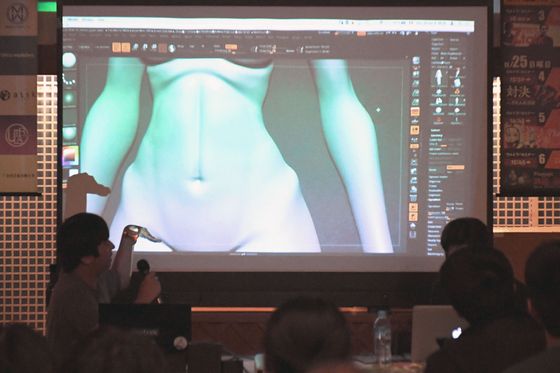
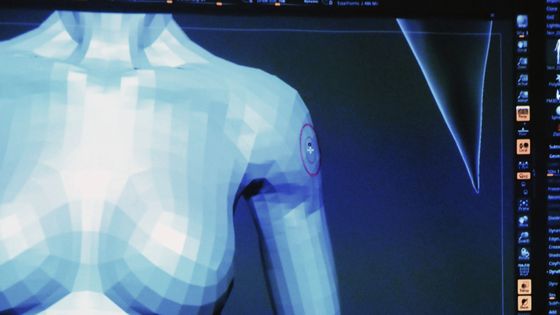
Round the Subdivision Levels. It is rough so that the surface of the polygon can be seen in the low state, but it becomes so small that the surface of the polygon can hardly be seen when the Subdivision Levels are raised.
Narukawa:
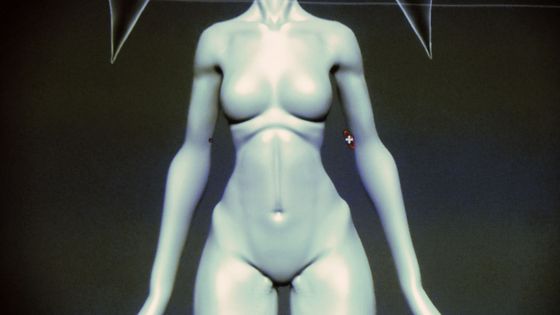
In this way, in Subdivision Levels 3, it is so fine that you can engrave details. I added it now, but I can make it into subdivision levels 4 and make it even more finely. Most of the surface of the polygon will not be noticeable when it reaches here.
Roussel:
For example, if you think that the shoulder volume is slightly insufficient, you can return to the lower resolution and make rough adjustments to change the rough shape in the lower layer without losing details.
Roussel:
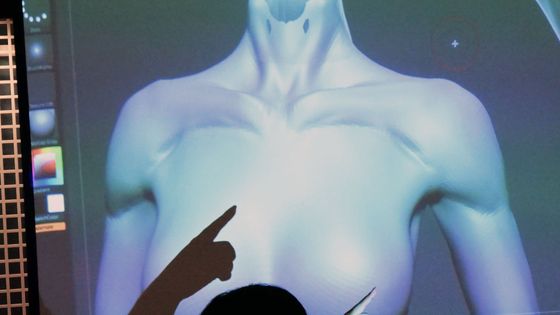
Now when you return to the above Subdivision, the contents of the engraving are kept as it is. So, it is possible to combine fine engraving and rough engraving. It is very easy to roughly change the shape if the number of vertices is small. So going to the lower resolution and making a rough change will make it easier to control and get better results.
Narukawa:
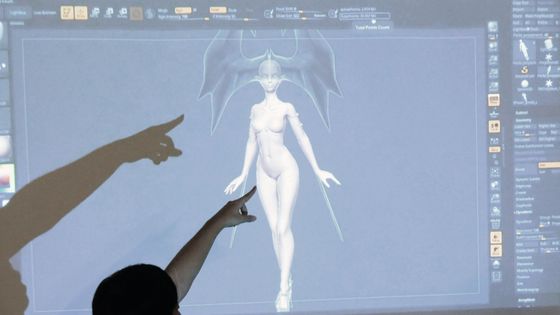
If you look at this and point out that it is not the final data, it says that it is not (laughs) This is 35 million polygons. The final one is polygon data of about 80 million polygons, so it is very big. This is still a state where no detail has been added, so it will become even denser than this.
Roussel:
Speaking of modeling, I think if you are familiar with 3D, I think it starts with a pose called T pose. I work in a state where there is no pose, but move with a mask etc. and make a specific pose. In the end, there is a function that can be put together for all resolutions and low resolution things with all parts in this way.
Roussel:
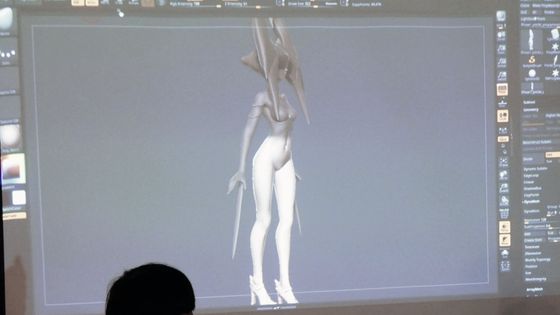
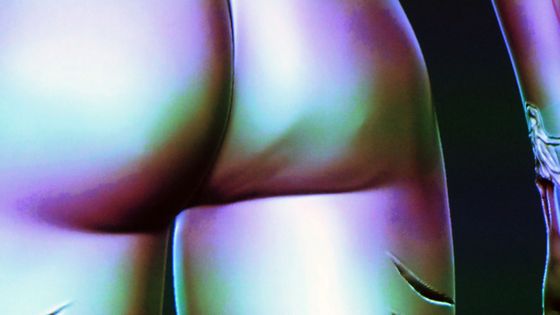
When sculpting is actually done, there may be wrinkles like this. This is one of the things I experienced myself, but even if there are wrinkles on the 3D data like this, it is sometimes faster to apply sandpaper after printing out. So, it is possible to spend many hours worrying about the topology and polygon configuration and making detailed corrections, but there is also talk about why you can stick to what you can do with a sandpaper in one shot (laughs)
Roussel:
From now on, I will talk about some tips and tips for experienced users. I'm making this for 3D printing, but there are many things that I have to consider when producing as data for 3D printing.
Roussel:
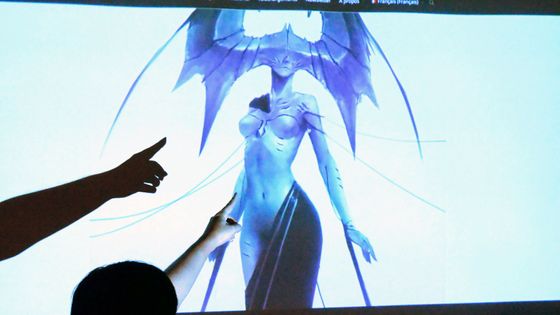
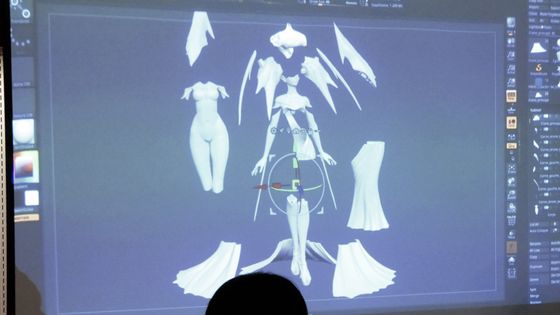
Naturally, data for 3D printers must be adjusted to the output size of the 3D printer. Demon Queen is output on Form 2, and the overall size is 50 cm. The size that can be output with Form 2 is about 17 cm, so if you don't fix the division, it won't fit in 17 cm. When making a garage kit, splits are made with duplicates in mind. It is necessary to make a silicon mold and be aware of the shape that can be taken out firmly. A model called Demon Queen has a line running to the chest, so it is used as a dividing line. Here is the line.
Roussel:
Since this is an original design, I think that this kind of place can be used as a dividing line based on this design. Consideration of the dividing line is very important, so that it can be used for dividing considering the division to some extent from the stage of making so that it will not be 'what to do with division' when finished Must be considered.
Roussel:
It is certainly attractive to produce and output in a large state, but when you try to actually output, the larger the volume, the larger the volume. By making it hollow, resin can be saved. Thickness becomes an important factor when making it hollow. If the thickness is not enough, it will be too thin and the holes will be broken, but if it is too thick it will not be useful to make it hollow.
Roussel:
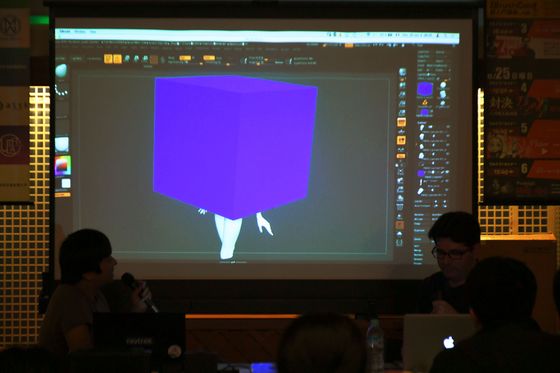
By placing a huge cube as a subtraction, you can see the cross section. Before actually making the output, place a square like this and look at the cross section, and make adjustments only in part.
Roussel:
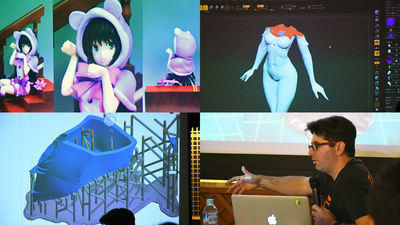
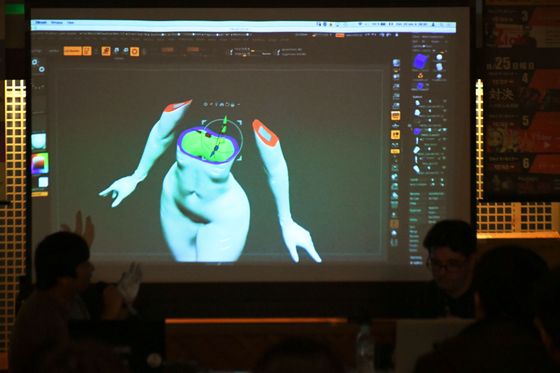
By performing Boolean operations, we are changing the thickness of the hollow in real time. ZBrush has a function called 'Live Boolean' that performs subtraction processing in real time, and you can see the cross section in this way in real time by using it.
Roussel:
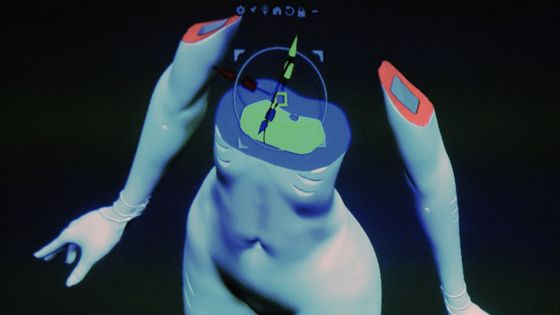
What is displayed in this green is the shape in use when performing subtraction. This is what determines how hollow it is by adjusting the size of the green model using the function of dilation.
Roussel:
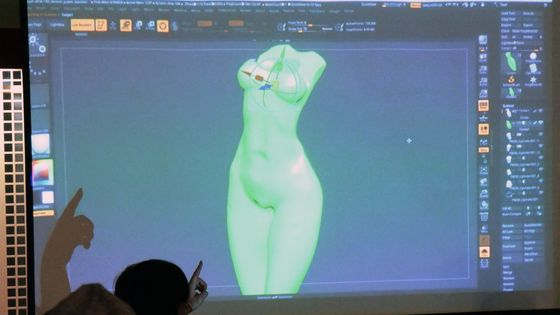
For example, if you want to adjust the thickness by adjusting the thickness, you can adjust the thickness by moving it with the move brush selected.
Roussel:
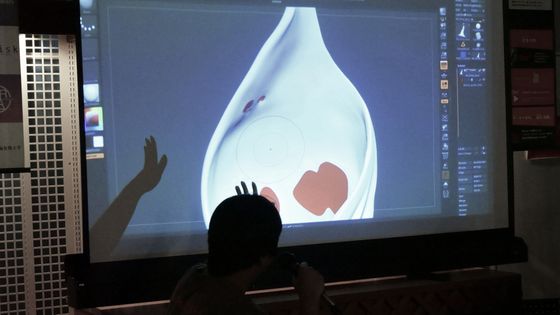
Suppose you do not want to interfere with the torso when making the dress. I can't glance at the data as to where the interference is, so I'll show you how to confirm it from now on. Copy the Demon Queen's torso model, place it as a clone, and use it as a basis for subtraction so you can see visually how it interferes with the fabric. .
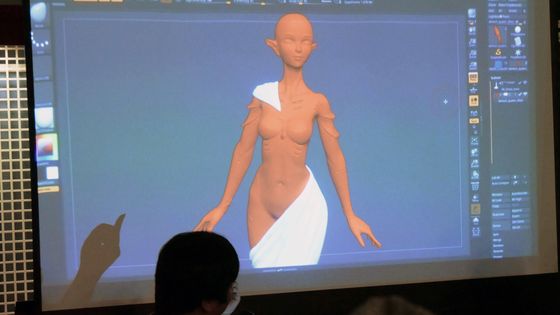
Roussel:
The fact that there are red parts means that they are interfering. In this way, using Live Boolean, while looking at the subtraction result in real time, use the move brush so that there is no red, and push it outward so that there is no interference. I want you to believe, but with this technique I used, I was able to make sure that there was no problem so that nothing actually interferes.
Roussel:
I'm showing off all the parts.
Roussel:
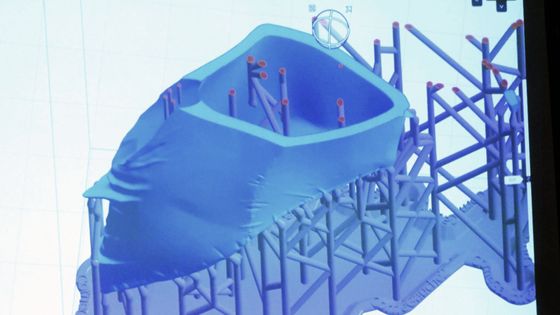
Besides that, it is necessary to consider where to provide support for 3D printing. Especially for business printers such as Form 2 the support aspect is always rough. Even if you make fine details, if you get rough on the support side, the meaning of sculpting will be meaningless, so you need to place support as much as possible in a place where you can get rough. For that purpose, it is arranged at the division plane like this. When designing, you need to consider these contents.
Roussel:
The nice thing about 3D printing is that if you want to output again if you make a mistake after processing, or if you want to output in a bigger state, you just have to change the size. This is an advantage.
After this, there was a small technique course and Q & A by Mr. Narukawa, and it became a talk panel with various contents. Furthermore, according to Roussel, Pixologic is considering actively doing activities for Japan and plans to hold an event called ZBrushMerge 2019 in Tokyo in February 2019, I can expect enough.
Related Posts:
