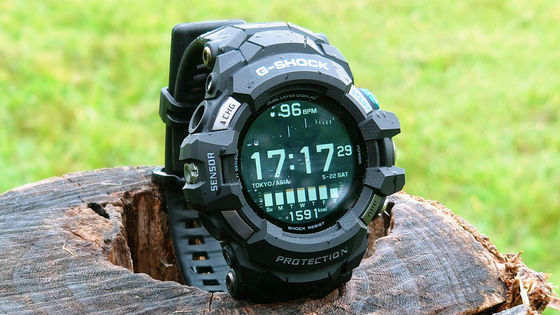
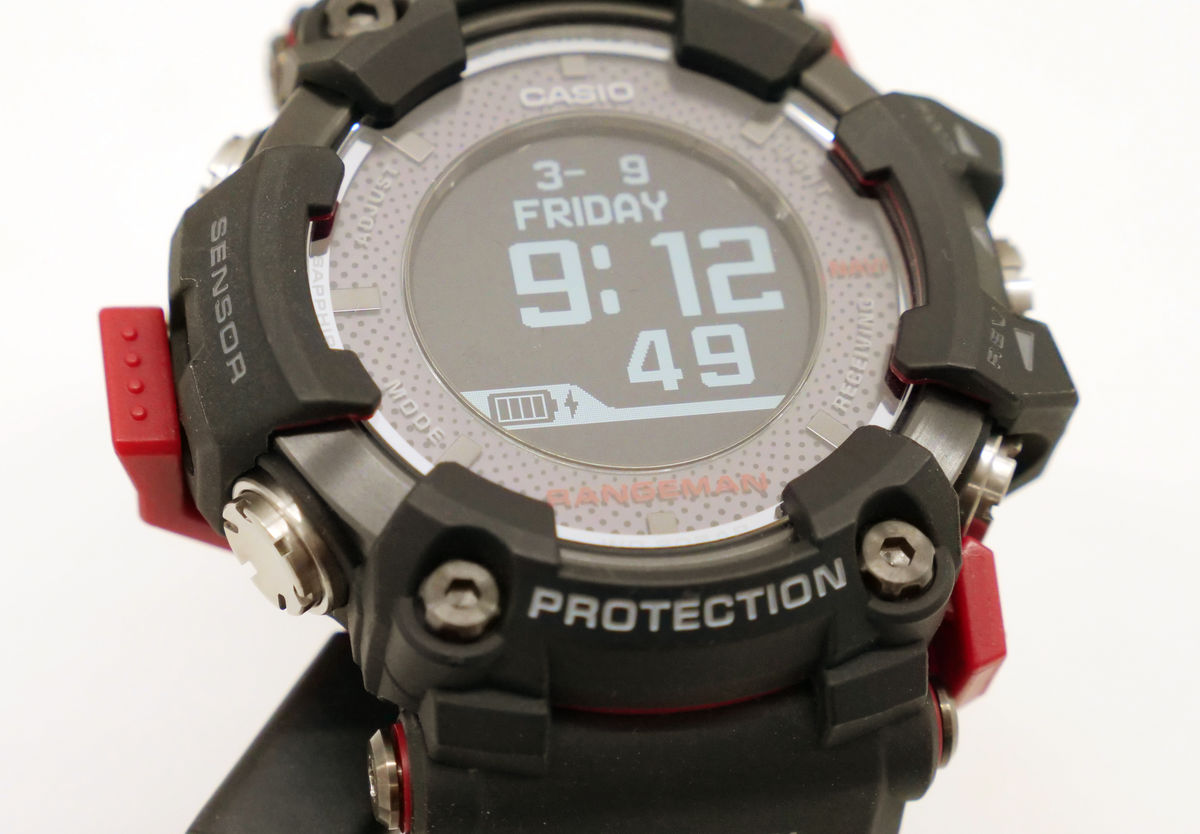
I tried using RANGEMAN "GPR-B1000" which became the ultimate outdoor specification by adding GPS navi to G-SHOCK
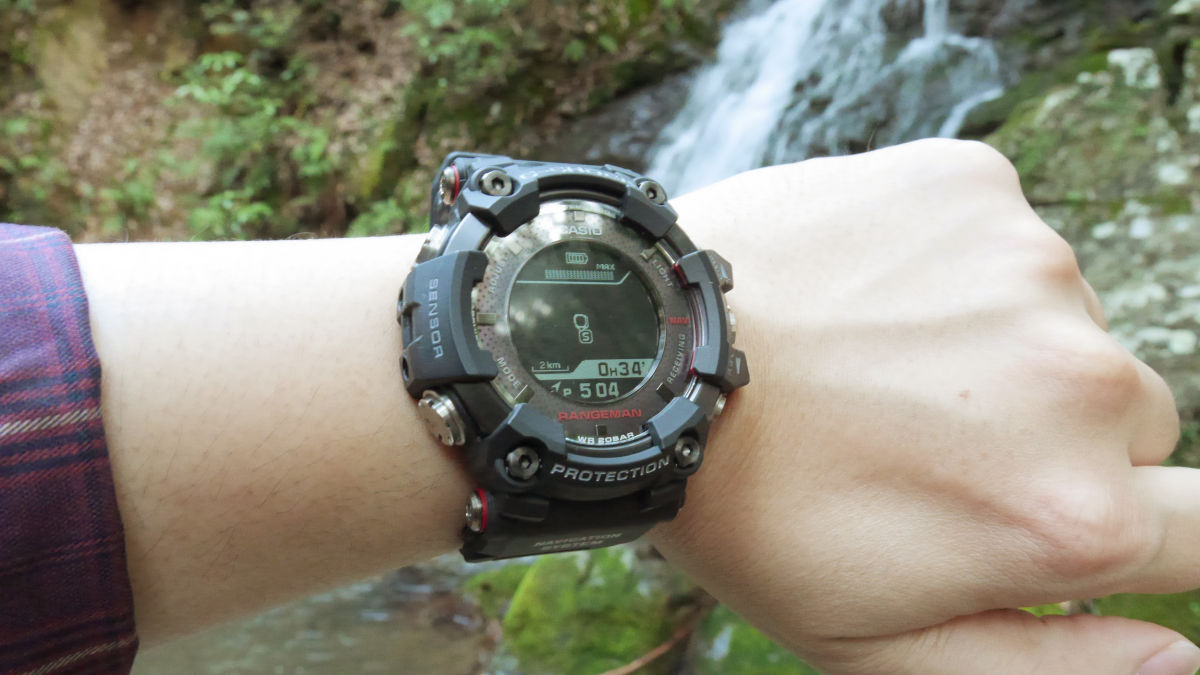
Casio watch "G-SHOCK" in the RANGEMAN series that specialized in the use in survival scenes "navigation function" and "solar charge" and equipped with features that are active in outdoor "GPR-B 1000"Has appeared. Since I was able to borrow the real thing in the editorial department what kind of feeling it is when using it in the outdoor, I actually tried using it.
Survival toughness. | RANGEMAN - G - SHOCK - CASIO
https://g-shock.jp/special/gpr-b1000/
◆ Appearance check
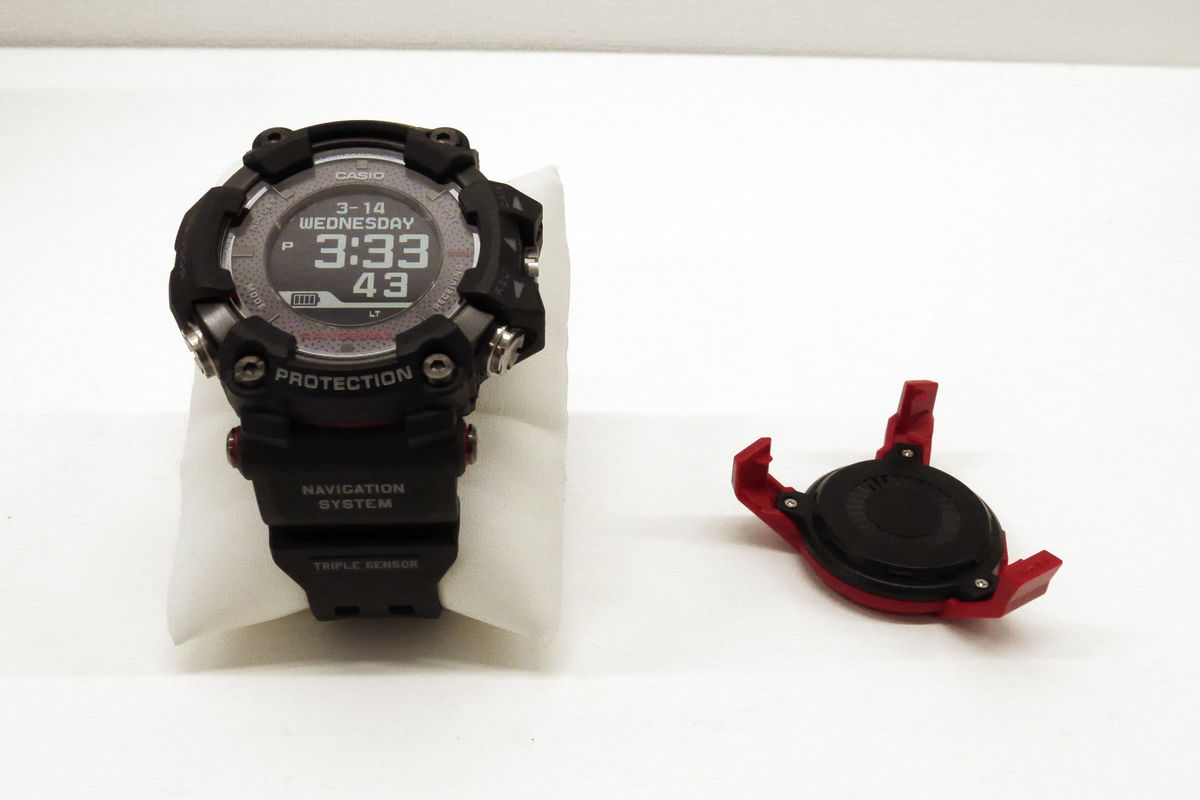
The package contents of the GPR - B1000 contained a main body and a red wireless charger. Although it could not be confirmed with the GPR-B1000 that arrived at the editorial department, it seems that a Micro-USB cable is usually included as well.
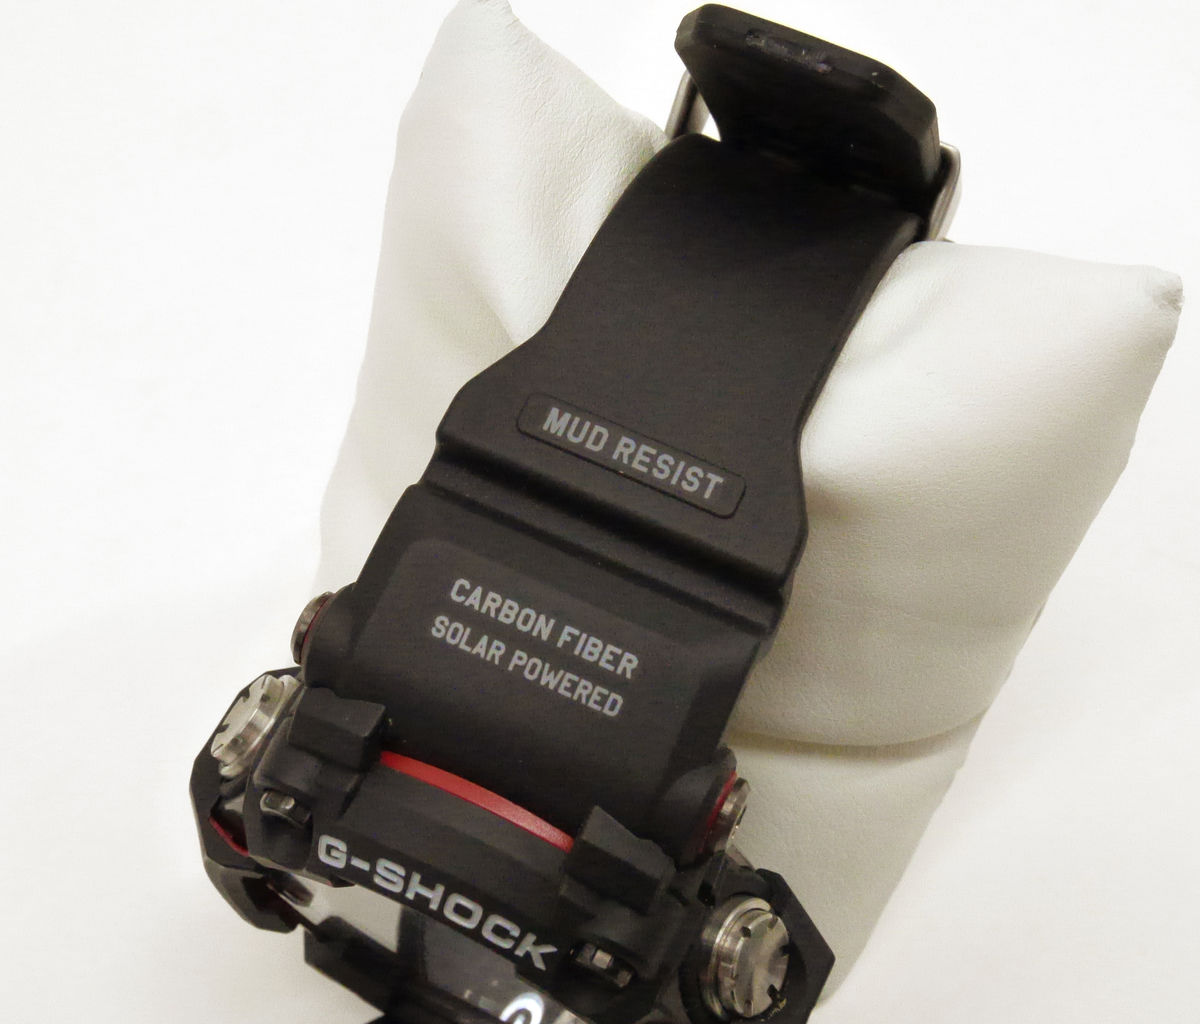
On one side of the band is written "MUD RESIST", "CARBON FIBER (carbon fiber)" which is woven into the band, "SOLAR POWERED (solar power)" ...
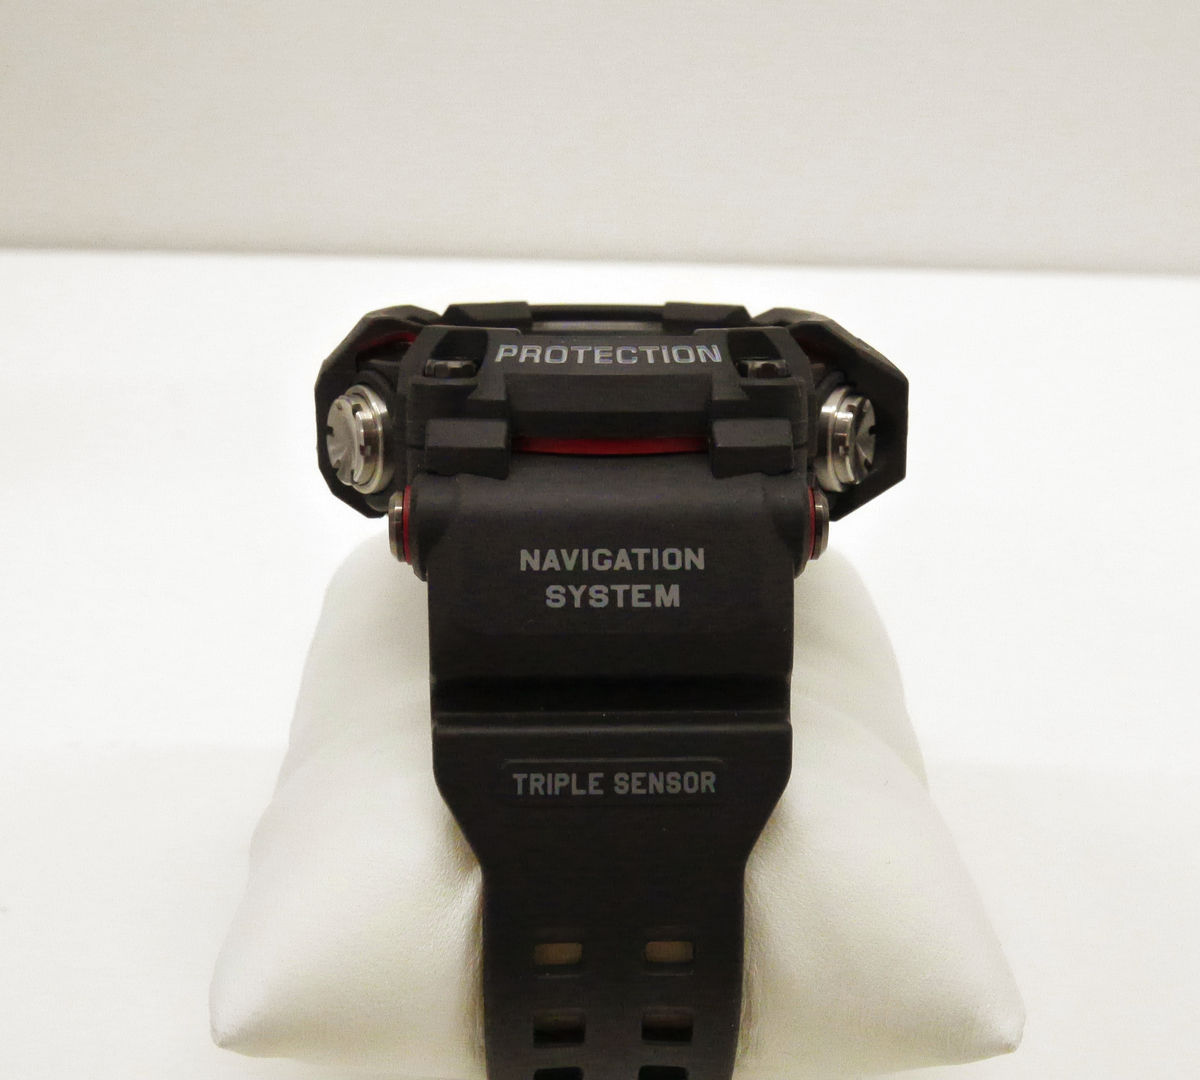
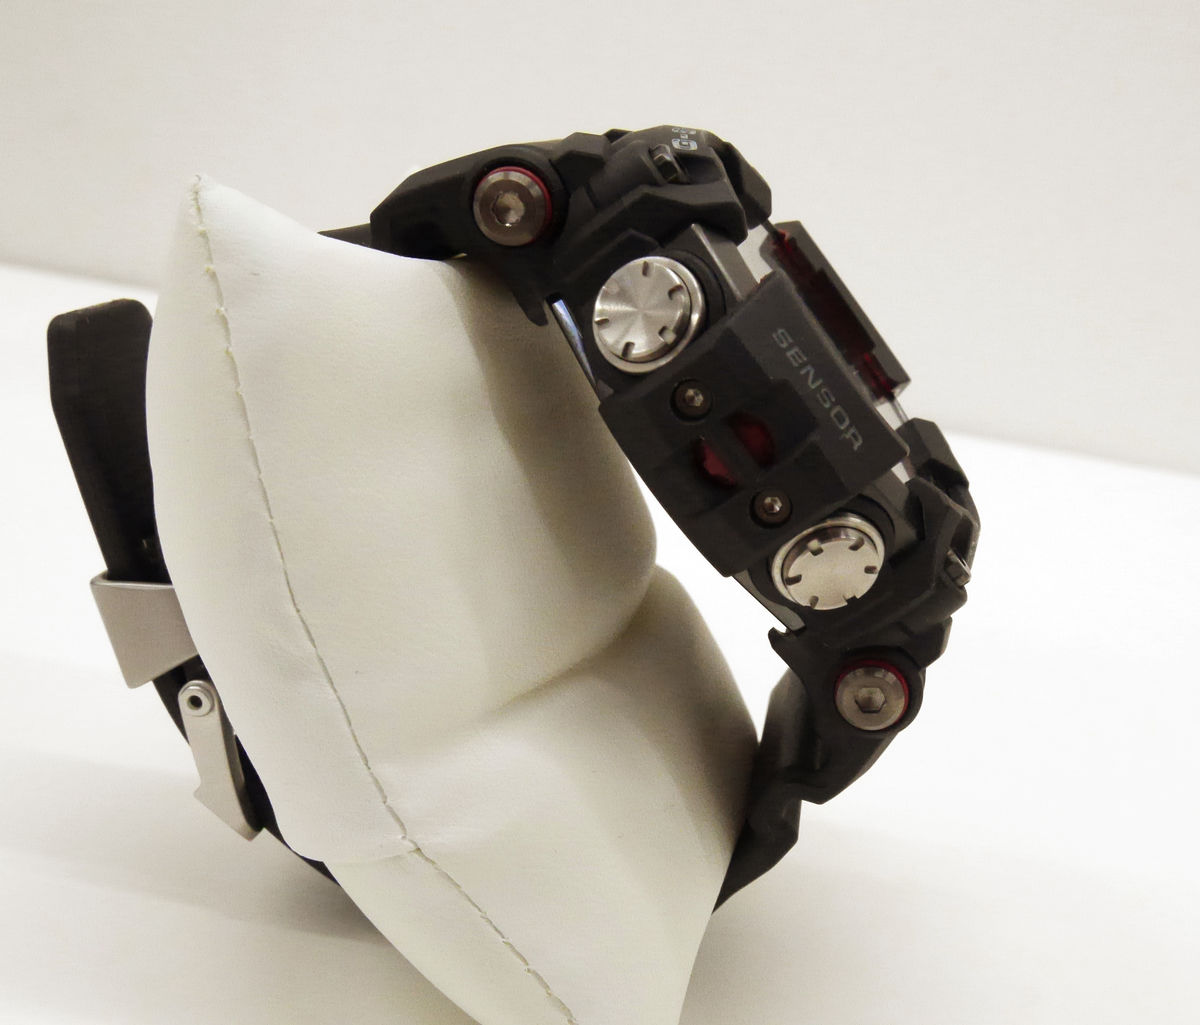
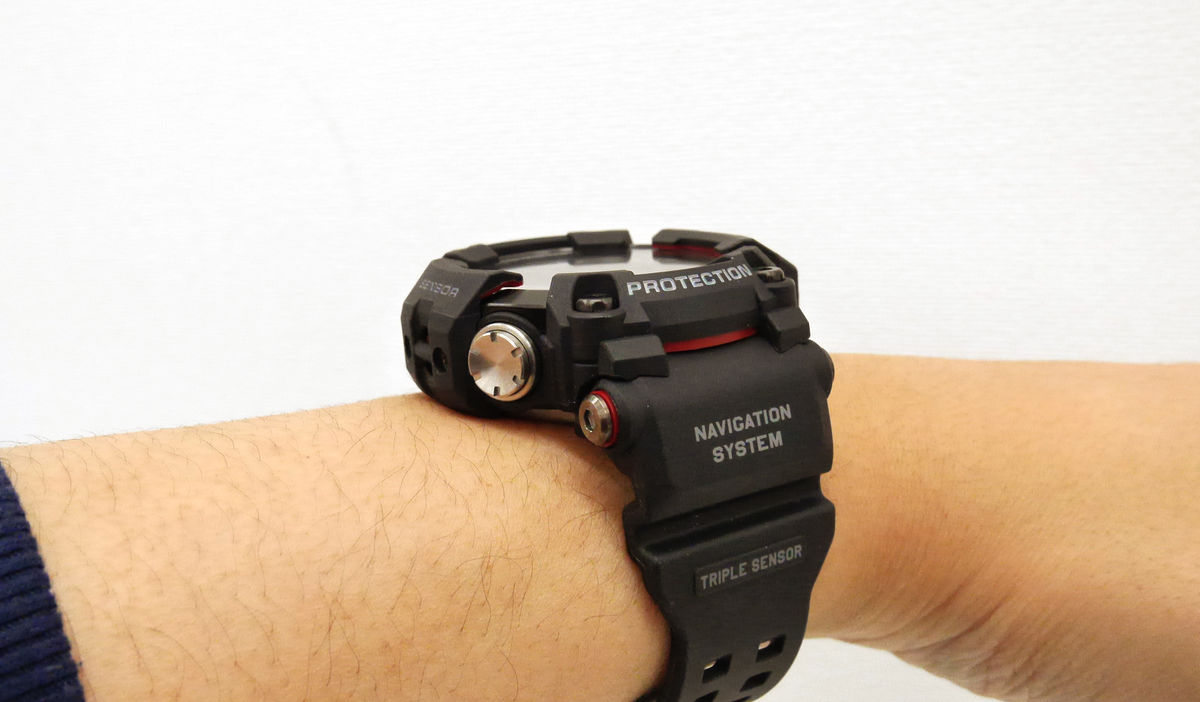
On the other side, "NAVIGATION SYSTEM" (navigation system), "TRIPLE SENSOR (triple sensor)" which measures direction, pressure, temperature and altitude, and the function of GPR-B1000 are all described.
There are two buttons on the left side of GPR-B1000.
There are three buttons on the right side, but the center button is also a crown and it may be operated by turning.

The size of GPR - B 1000 is 6.0 cm in length × 5.8 cm in width and is about half as large as the long side of iPhone 8 Plus.
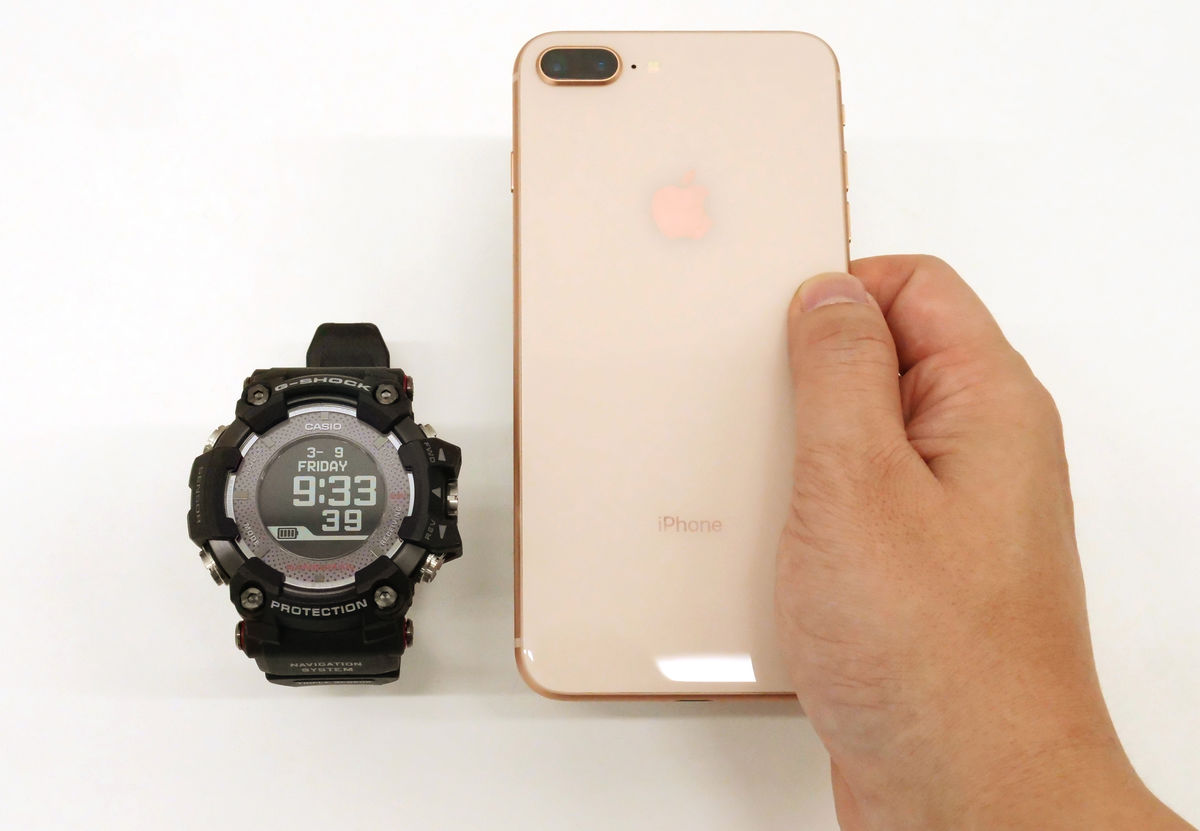
The thickness of the watch is 2.0 cm, there is a little presence if you put it in your arm.
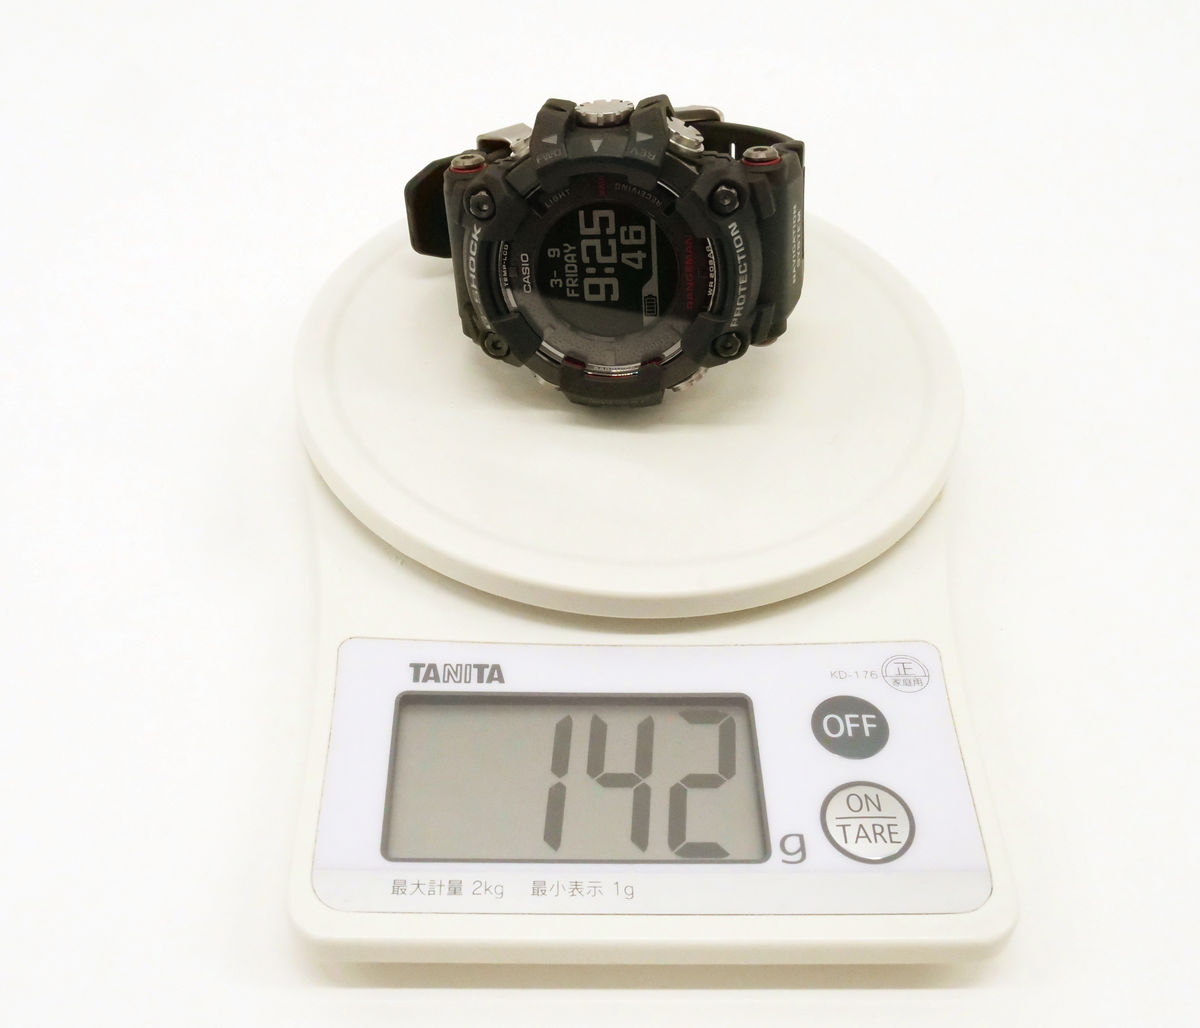
The weight was measured 142g.
The size of the wireless charger was 5.3 cm in length × 5.5 cm in width × 2 cm in height and weighed 17 g.

To charge it, set the wireless charger in the GPR - B1000. Although it is wireless, it is designed to be securely fixed, and when you add it you hear a "click".

Charging is possible by inserting the Micro-USB cable into the charger.

A thunder mark is displayed on the right side of the battery mark during charging.
◆ Application installation and setup
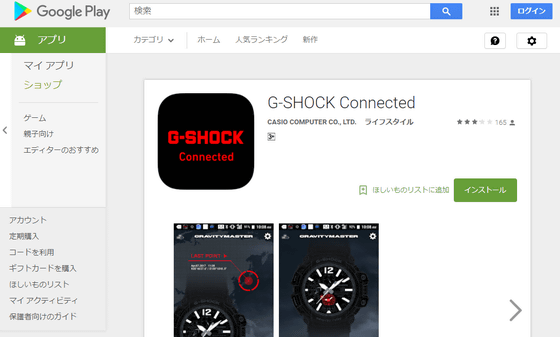
In order to use the GPR - B 1000 's functions to the full extent, you need the' G - SHOCK Connected 'application. "G-SHOCK Connected"iOS versionWhenAndroid versionAlthough it corresponds to both, this time install the Android version. Access the following URL on Android terminal.
G-SHOCK Connected - Android application on Google Play
https://play.google.com/store/apps/details?id=com.casio.gshockconnected
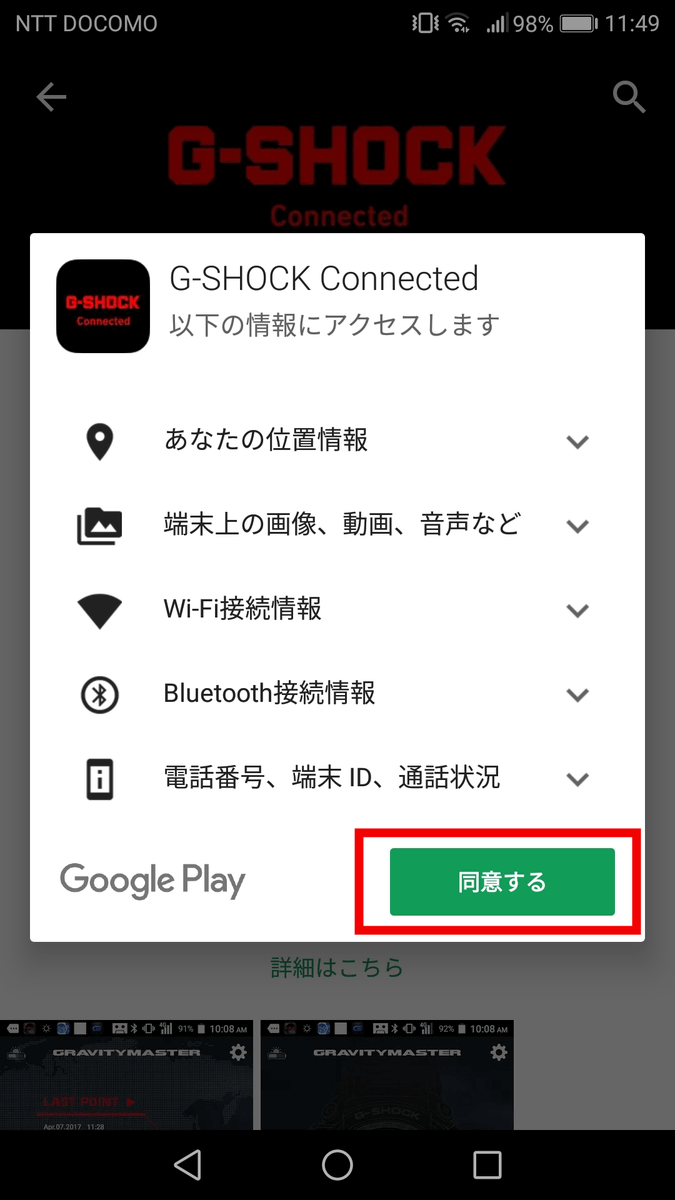
Tap "Install".

Tap "I agree".
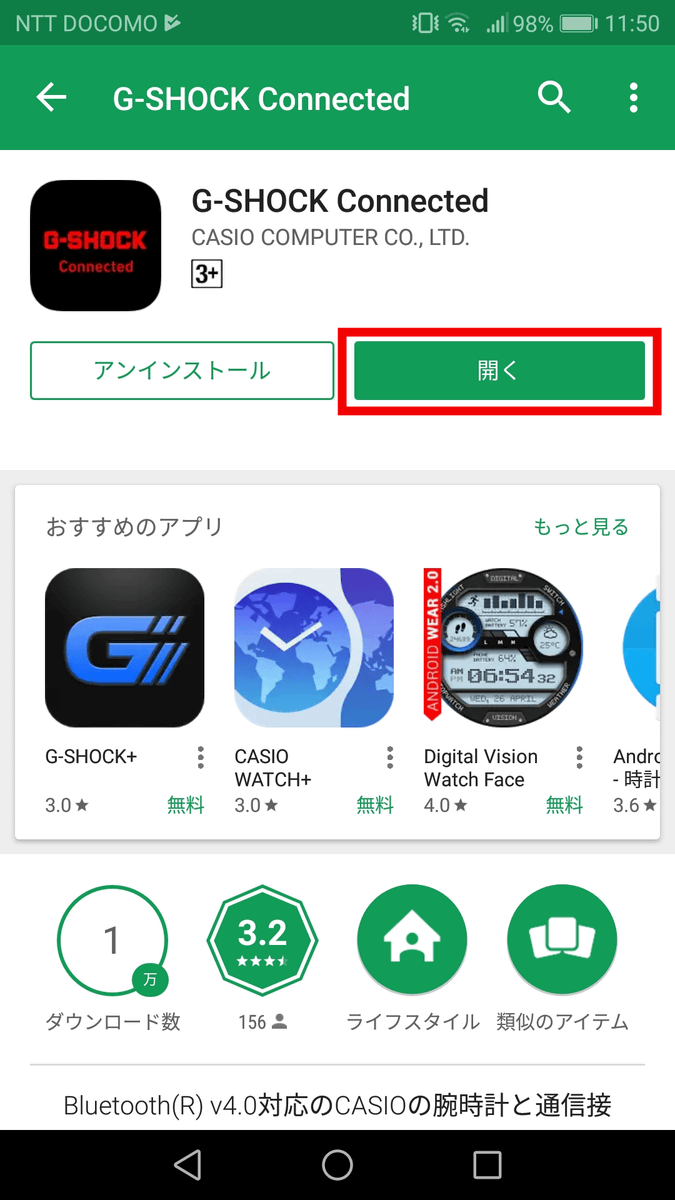
When installation is completed, tap "Open".
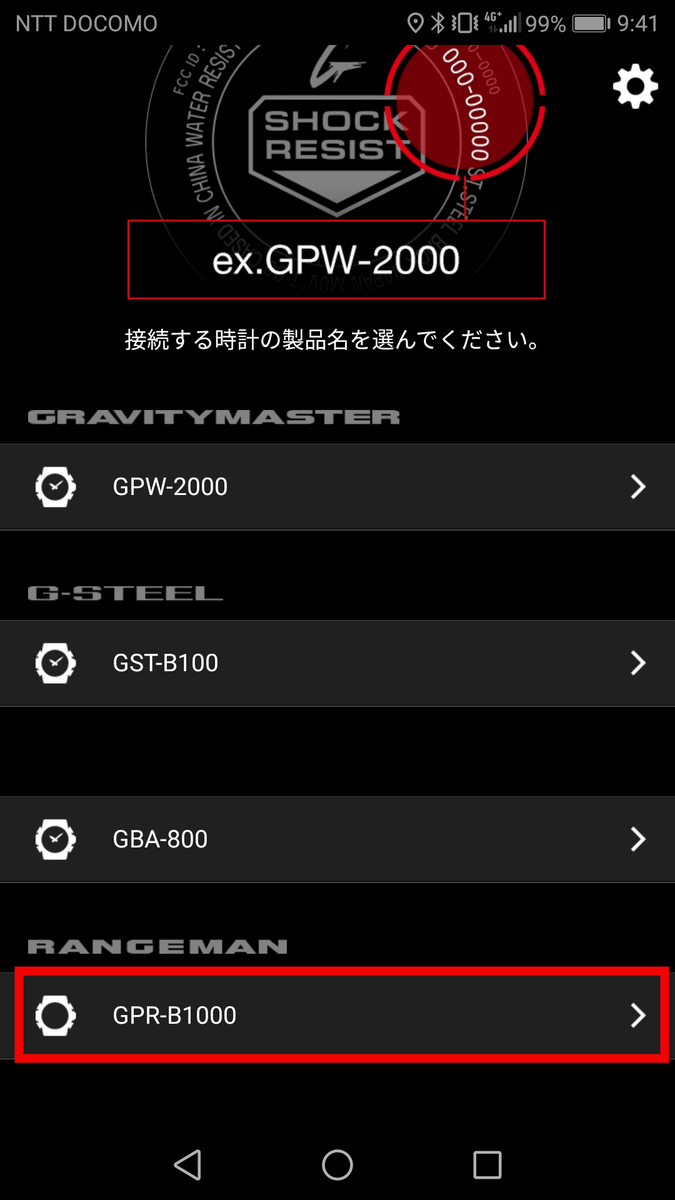
Since the selection screen of the clock to be connected is displayed ...
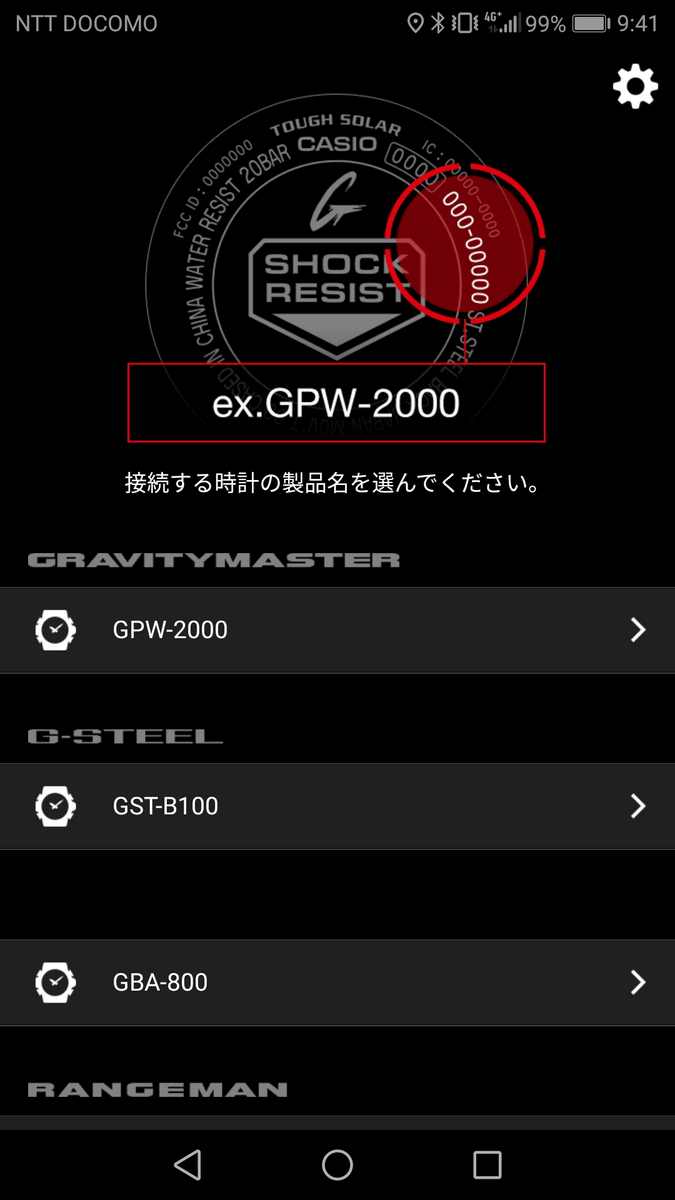
Scroll down and tap "GPR-B1000".
In order to connect with the smartphone, you will get an indication that you want to press and hold the lower left button of the GPR - B 1000.
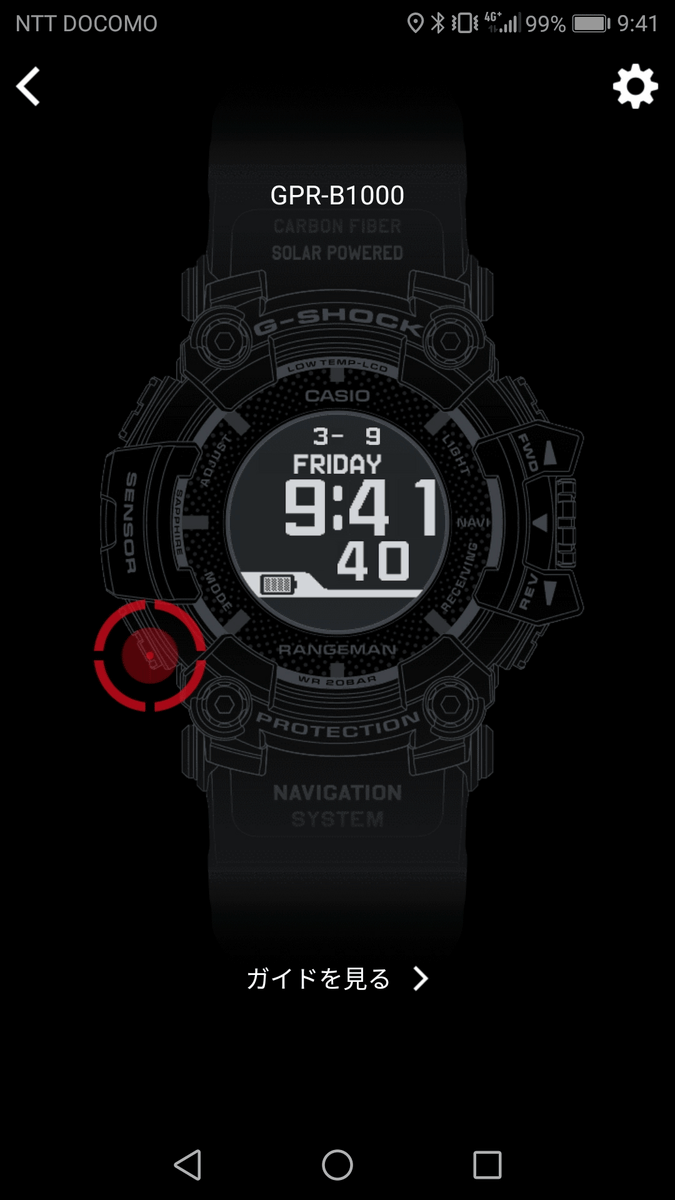
Press and hold the button on the lower left of GPR-B1000. When "G - SHOCK" is displayed on the screen after "electronic beep" and electronic beeps ......

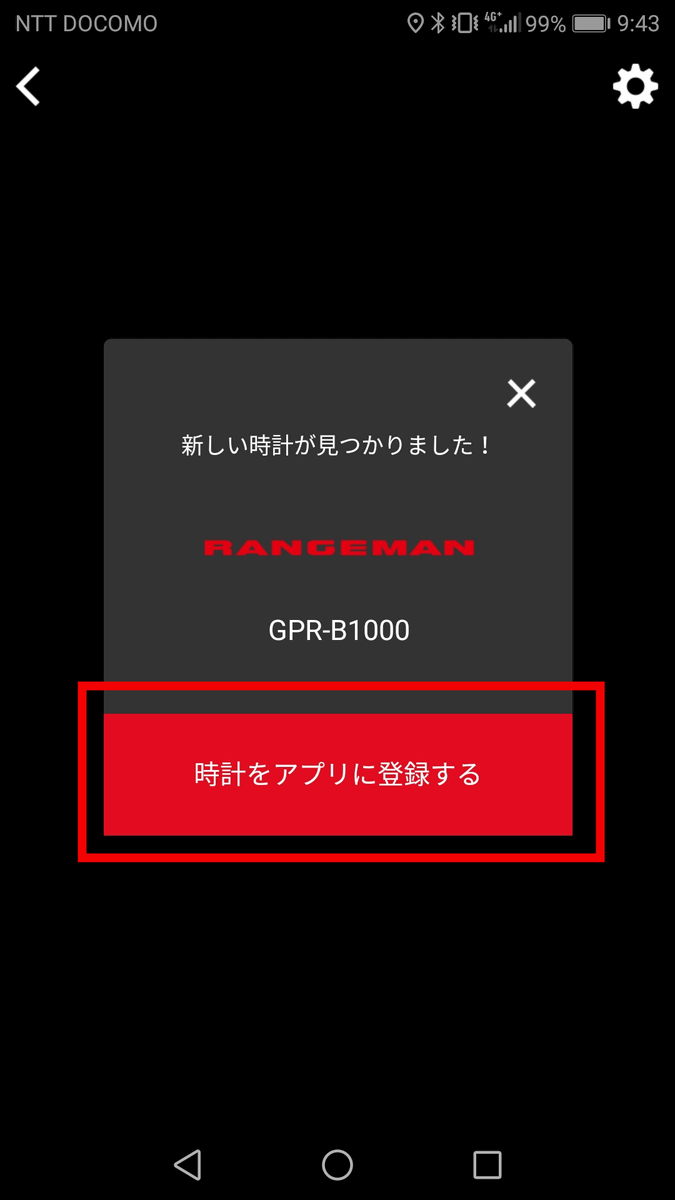
In the application you will see "New clock found!" So tap "Register clock in application".
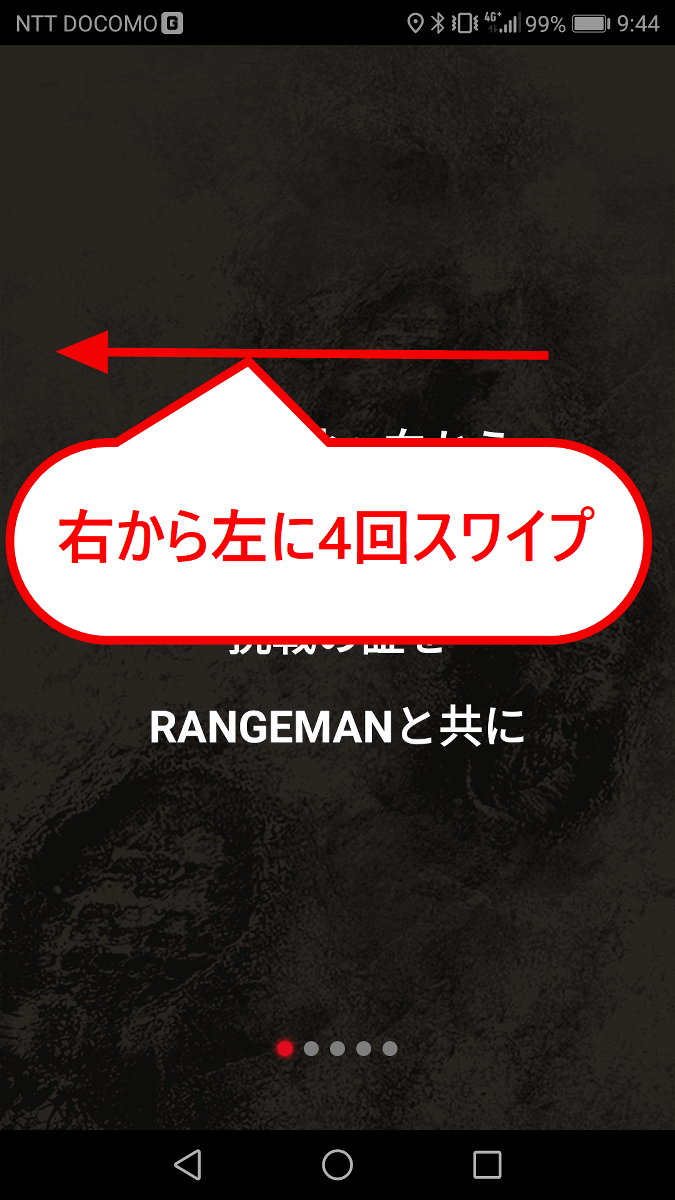
Since the explanation of GPR - B 1000 will be displayed, swipe from the right to the left and proceed ...
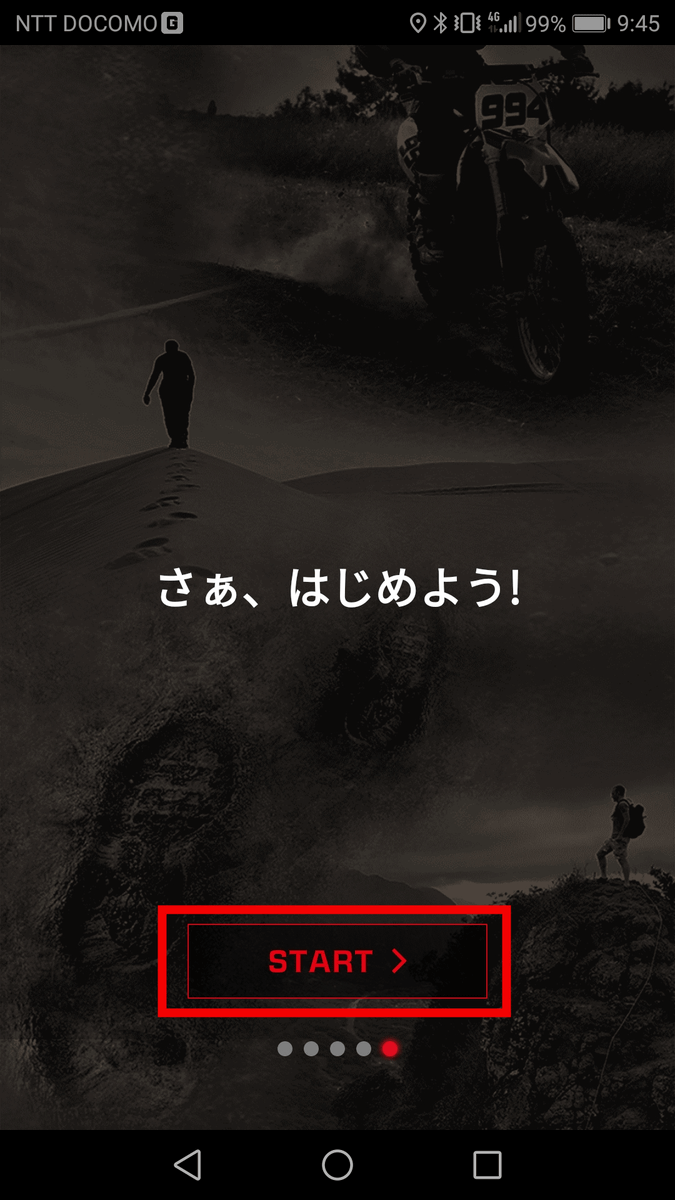
Tap "START".
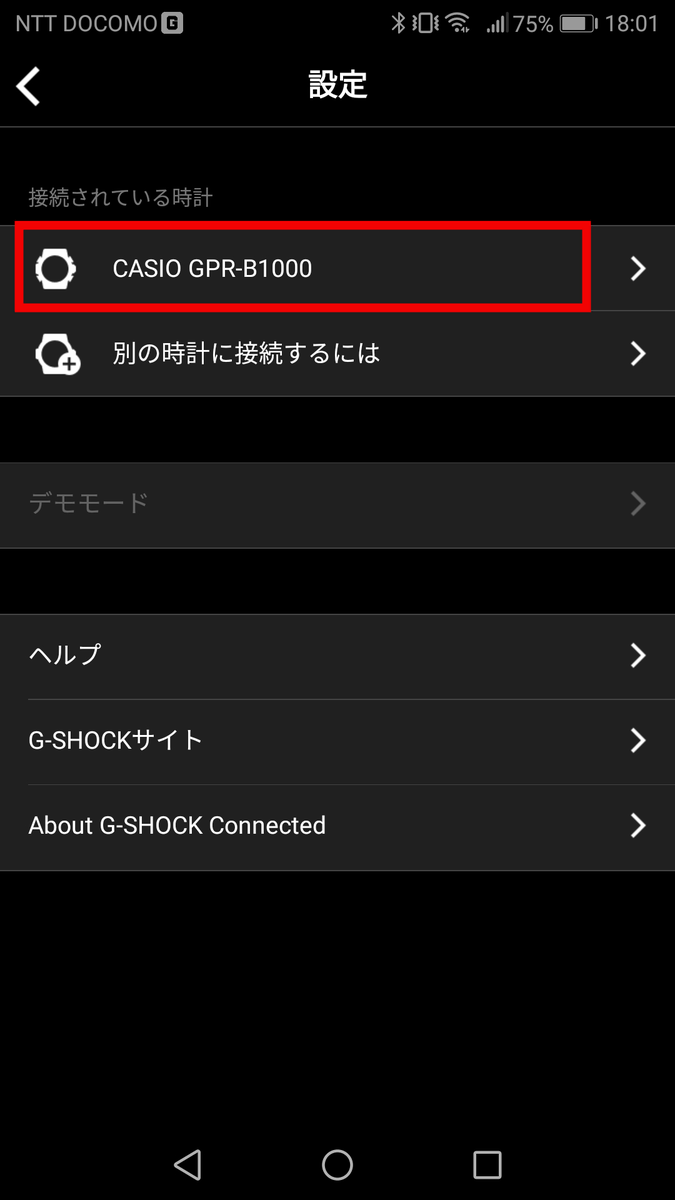
The minimum preparation for use is completed with this, but "Tide graph function" which displays the high tide time etc. of the sea can not be used as it is. We will set the ocean to display the high tide time there. Tap 'Gear icon' at the top right.

Tap "CASIO GPR - B1000".
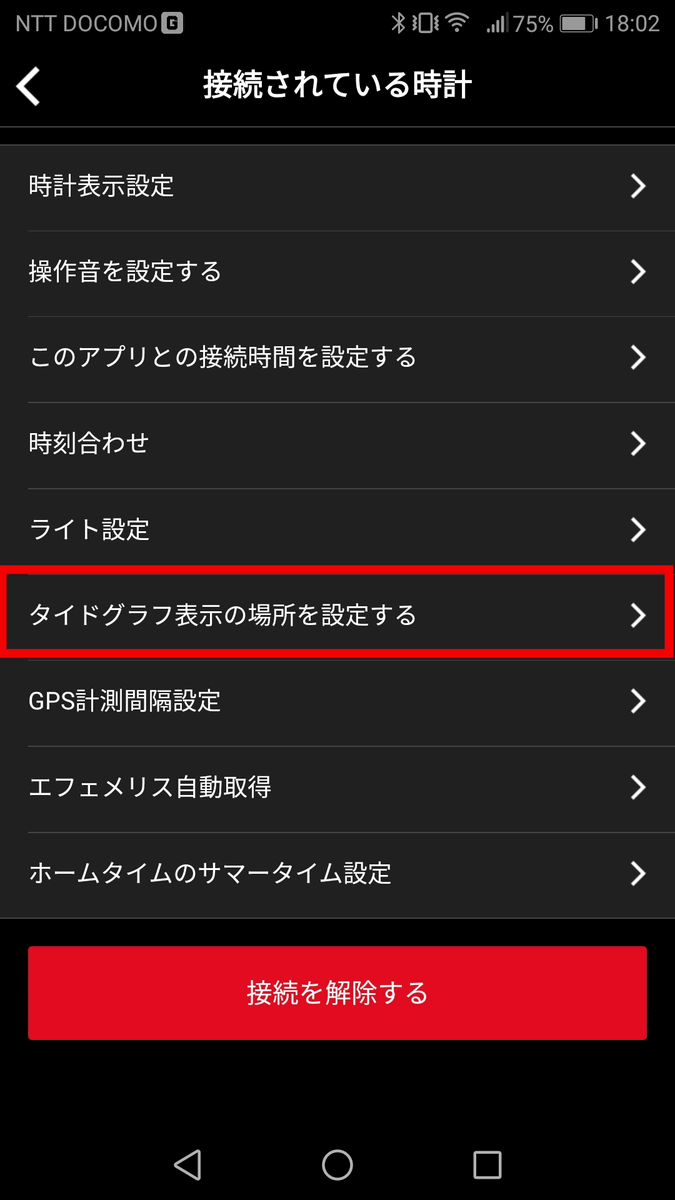
Since the setting screen of GPR - B 1000 is displayed, scroll down and ...
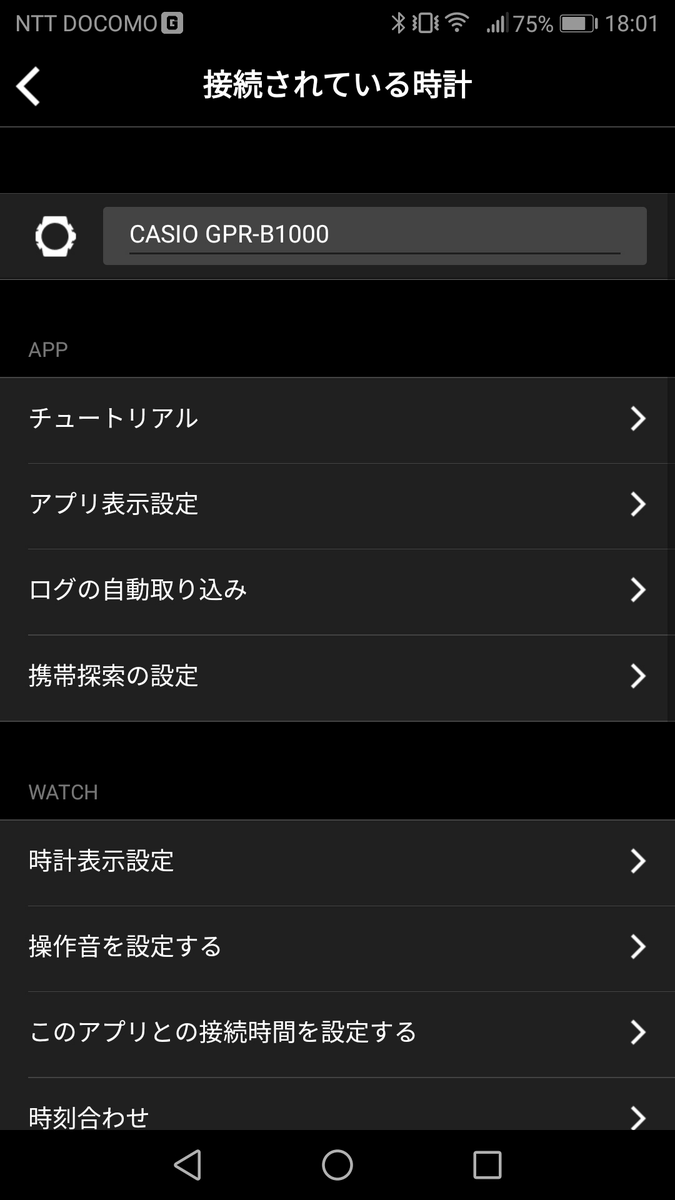
Tap "Set location of tide graph display".
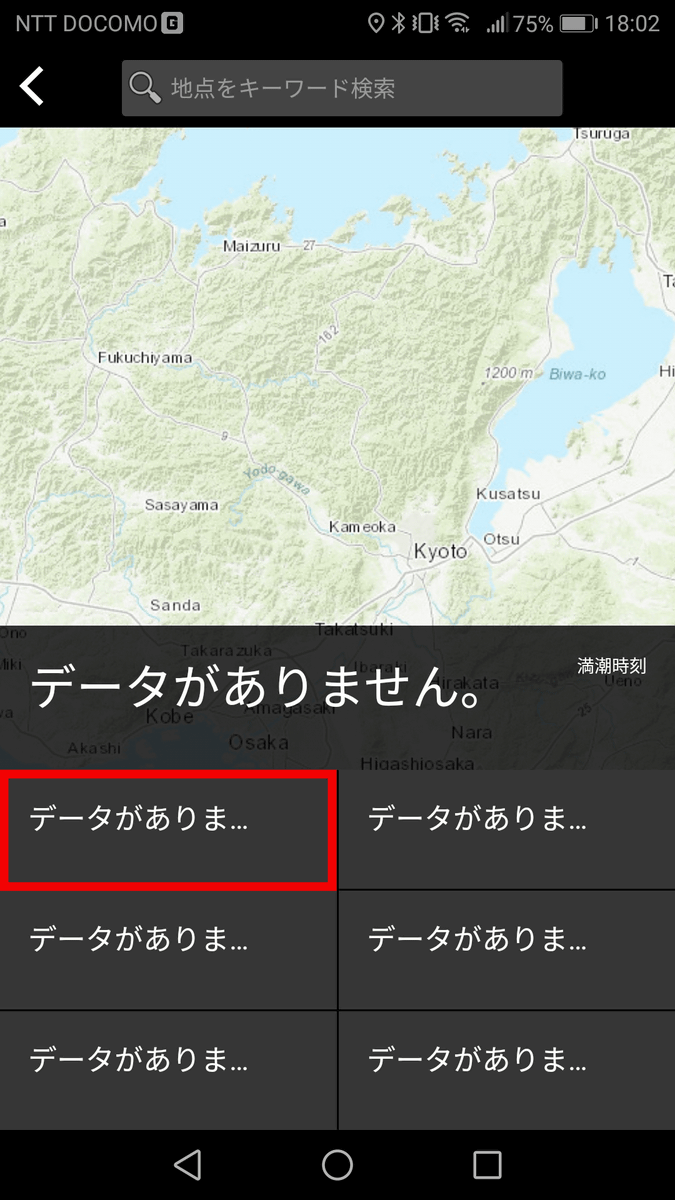
Since "There is no data" is displayed, tap "There is data ..." at the upper left.
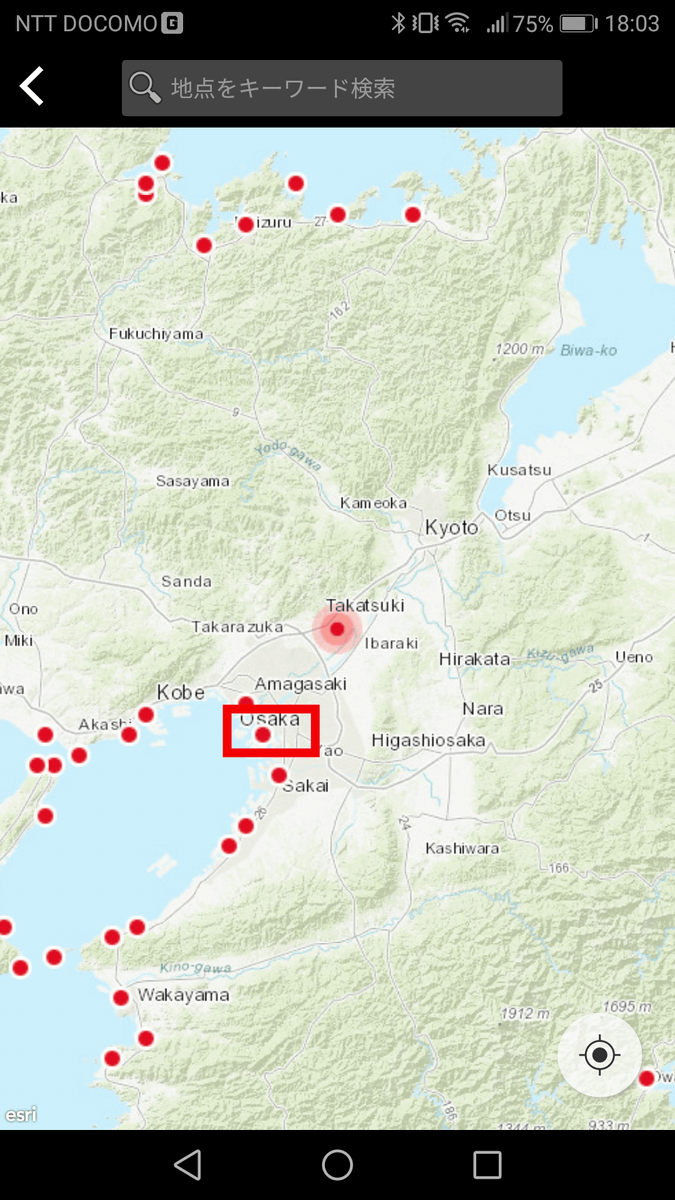
Since the map is displayed, we will tap Osaka bay this time.
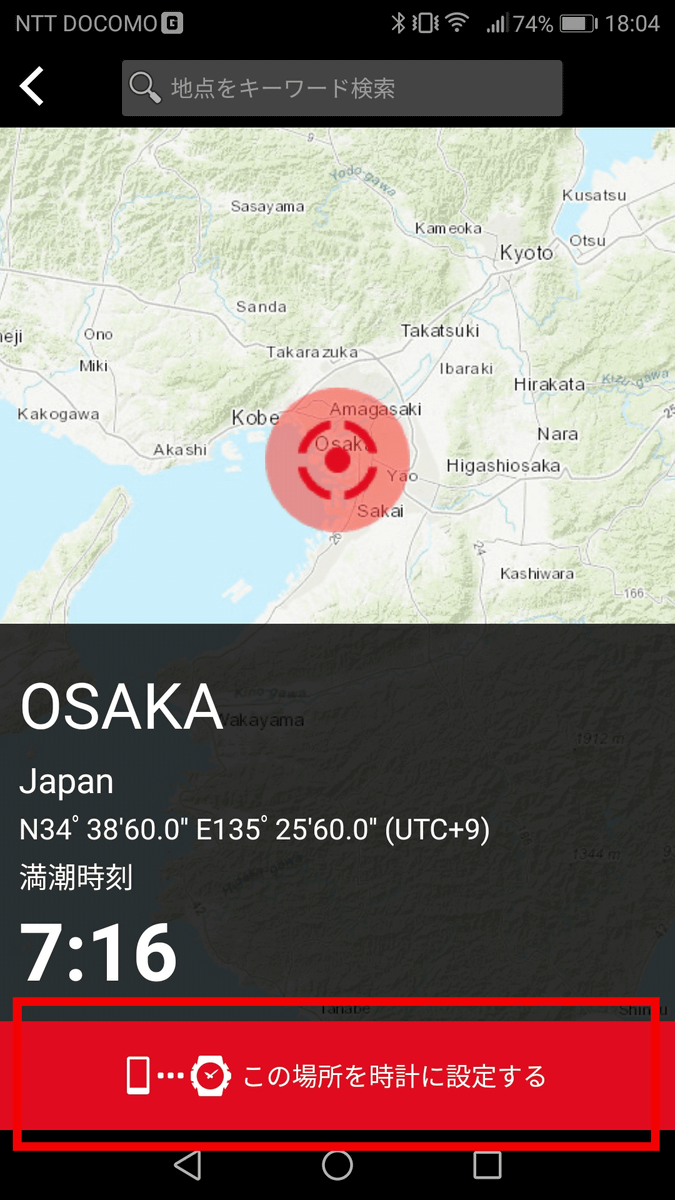
Then the information of longitude and latitude of Osaka bay and the high tide time are displayed, so tap "Set this place to clock" and setup is completed.
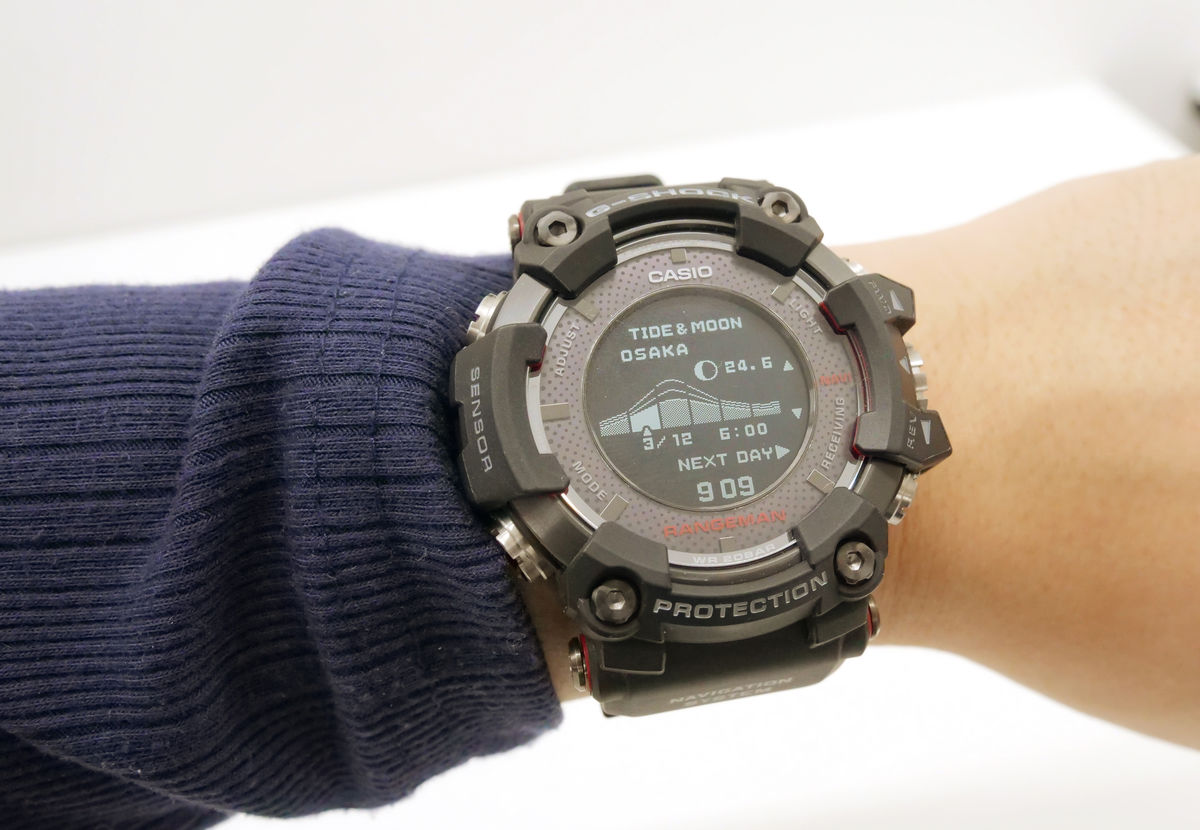
When you actually display the tide graph with GPR - B 1000, the height of the wave for each hour of Osaka bay is displayed as a graph.
◆ Use the navigation function
Next, try using the navigation function of GPR - B1000. Because it was awesome, I came to Settsu Gorge, where I could go for a walk while watching the valley.
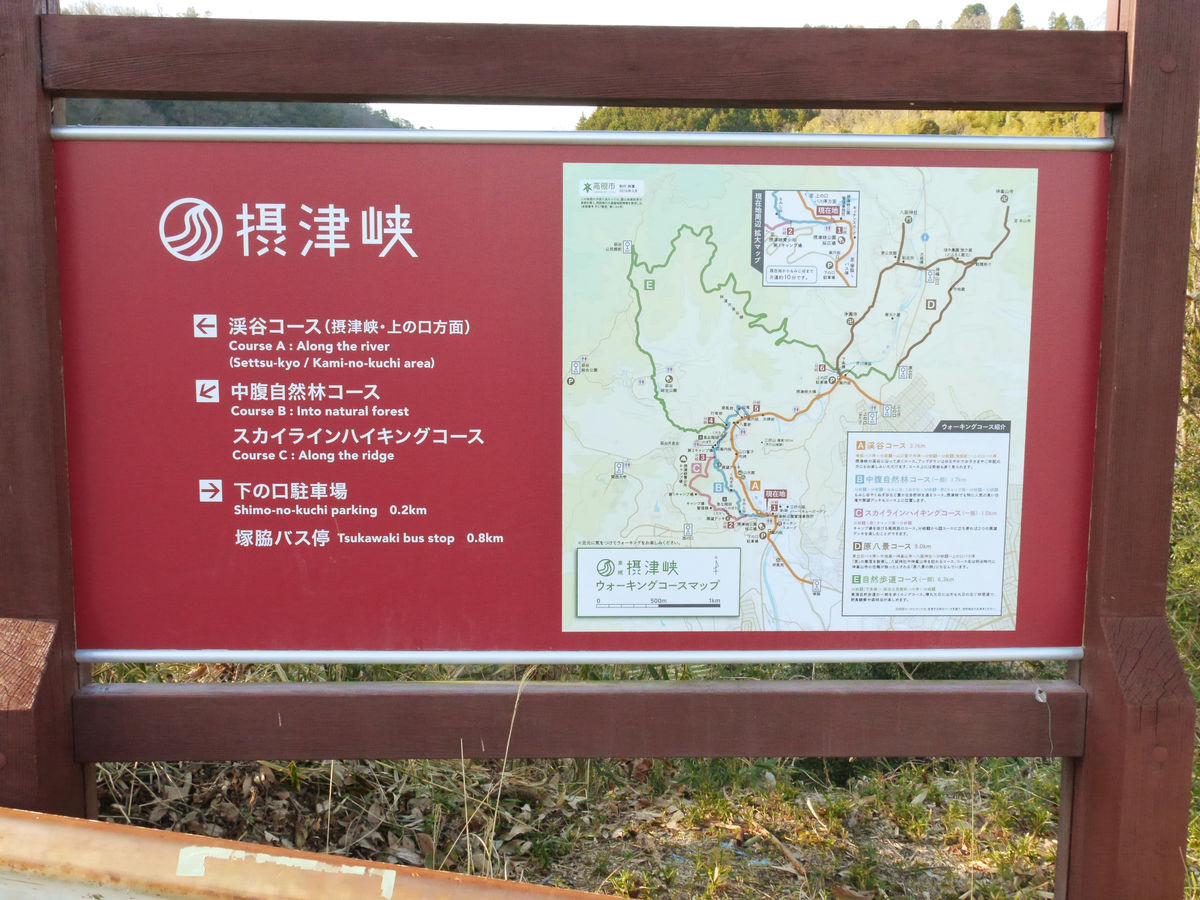
In this time, I will walk on the orange A course to "Shirataki" in the north, starting from the present location near the center.

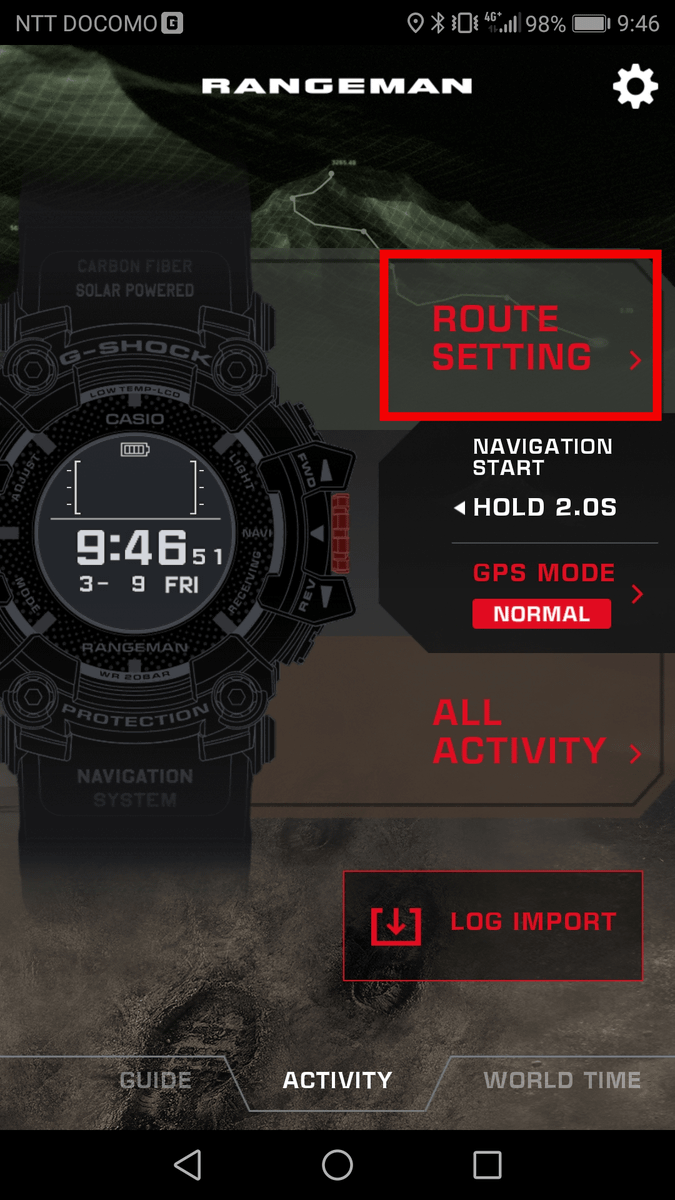
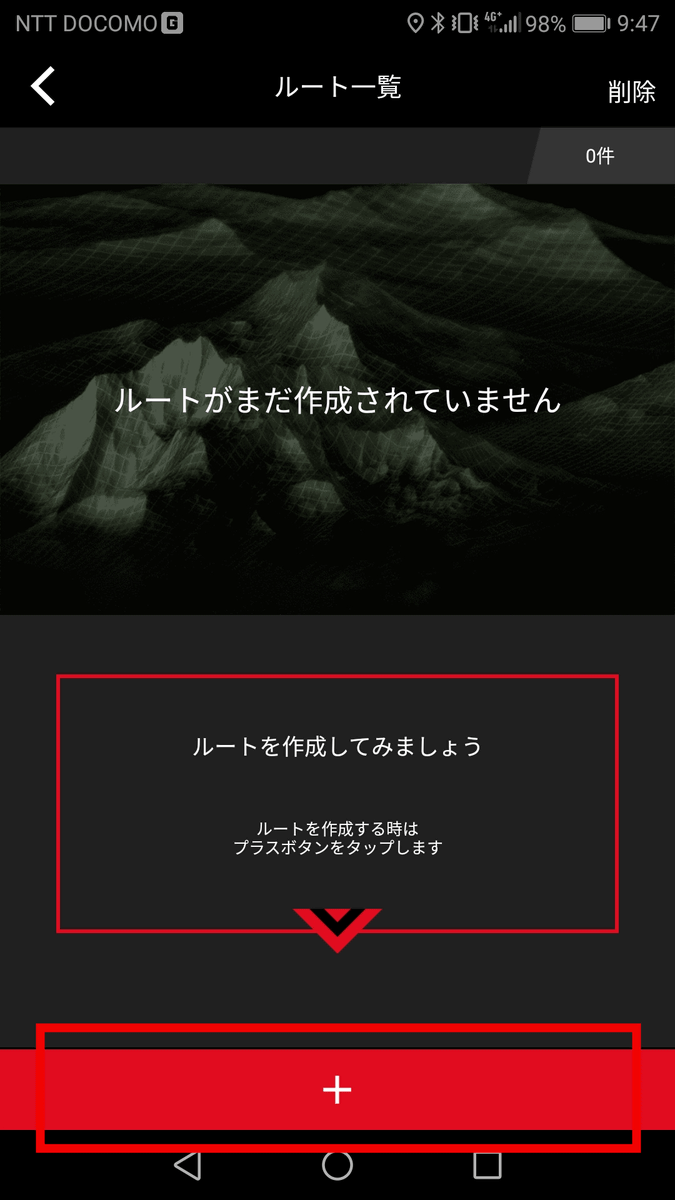
Open "G - SHOCK Connected" and tap "ROUTE SETTING".
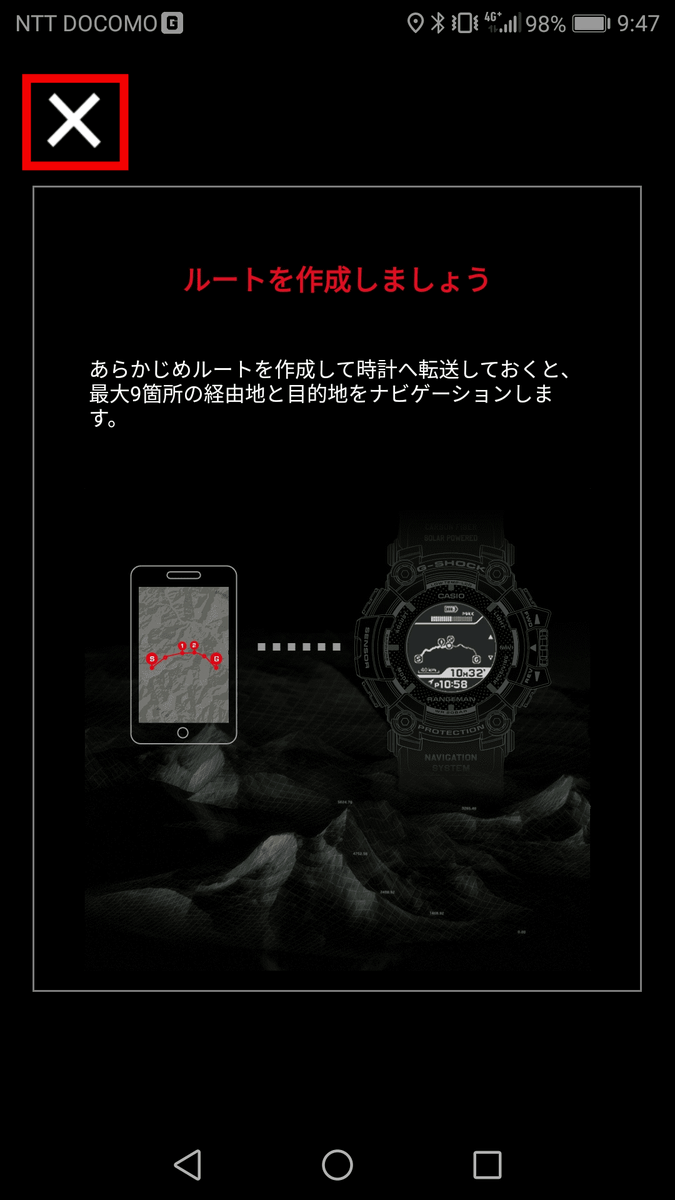
Since the tutorial is displayed, tap "×".
Tap "+" button.
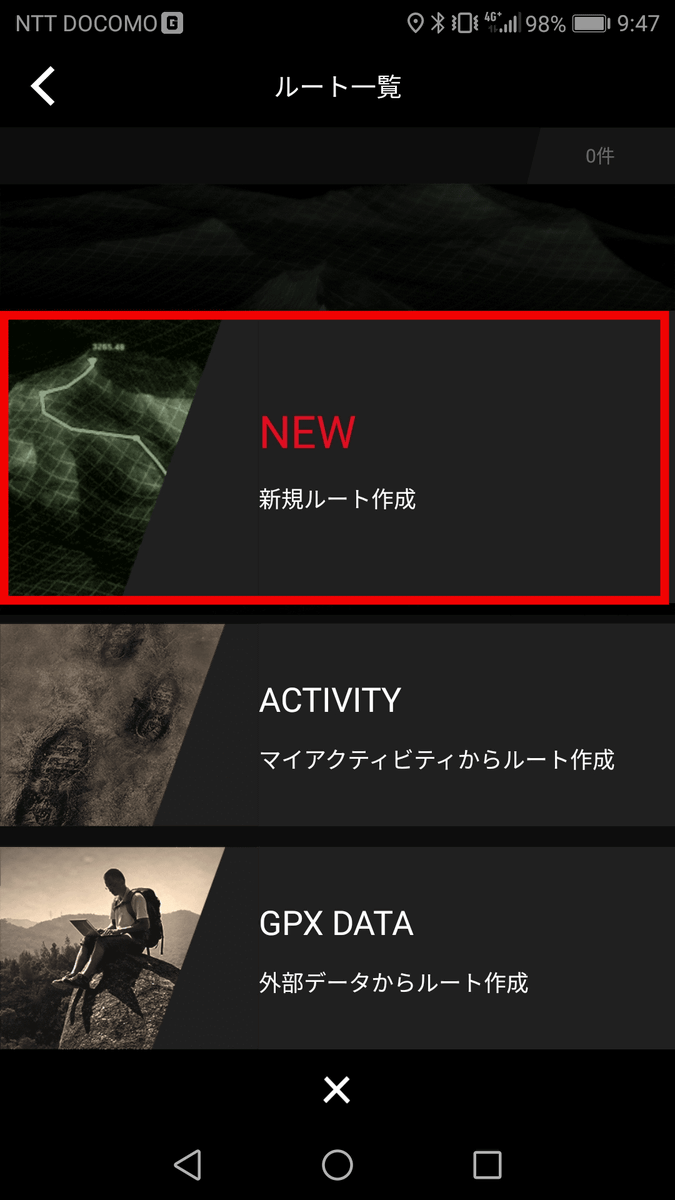
Since the route list screen is displayed, tap "NEW New Route Creation".
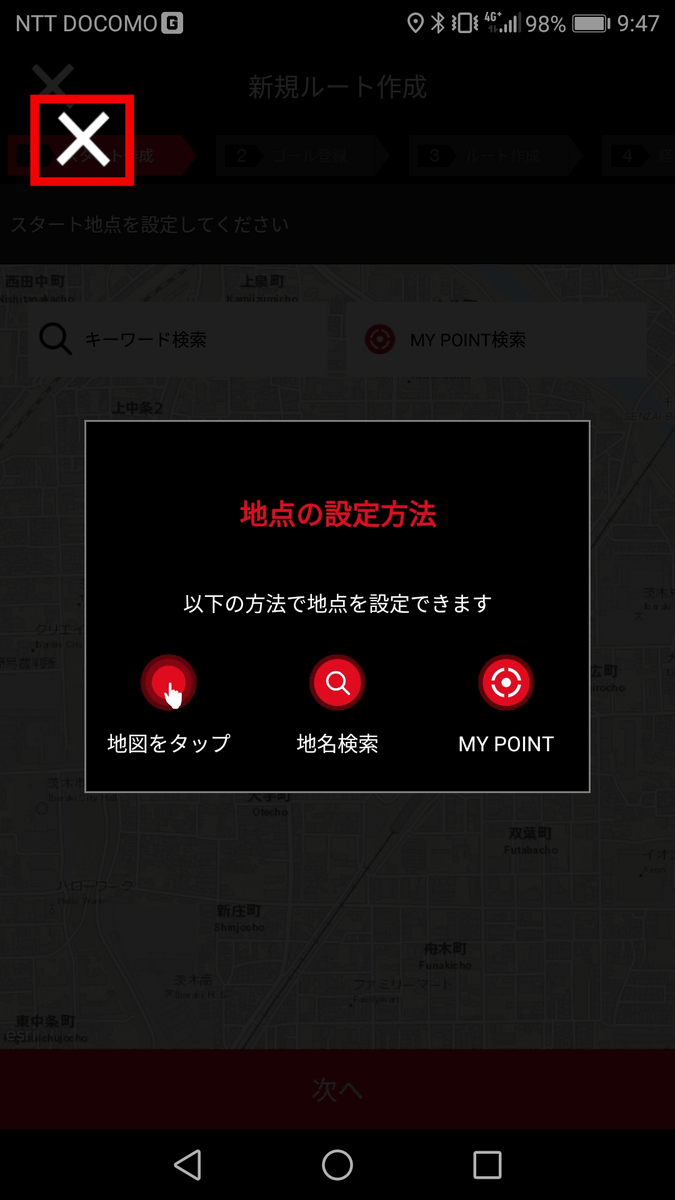
As the setting method of the point is displayed, tap "×" button.
Tap on the location of the current location on the map as it says "Please set a starting point".
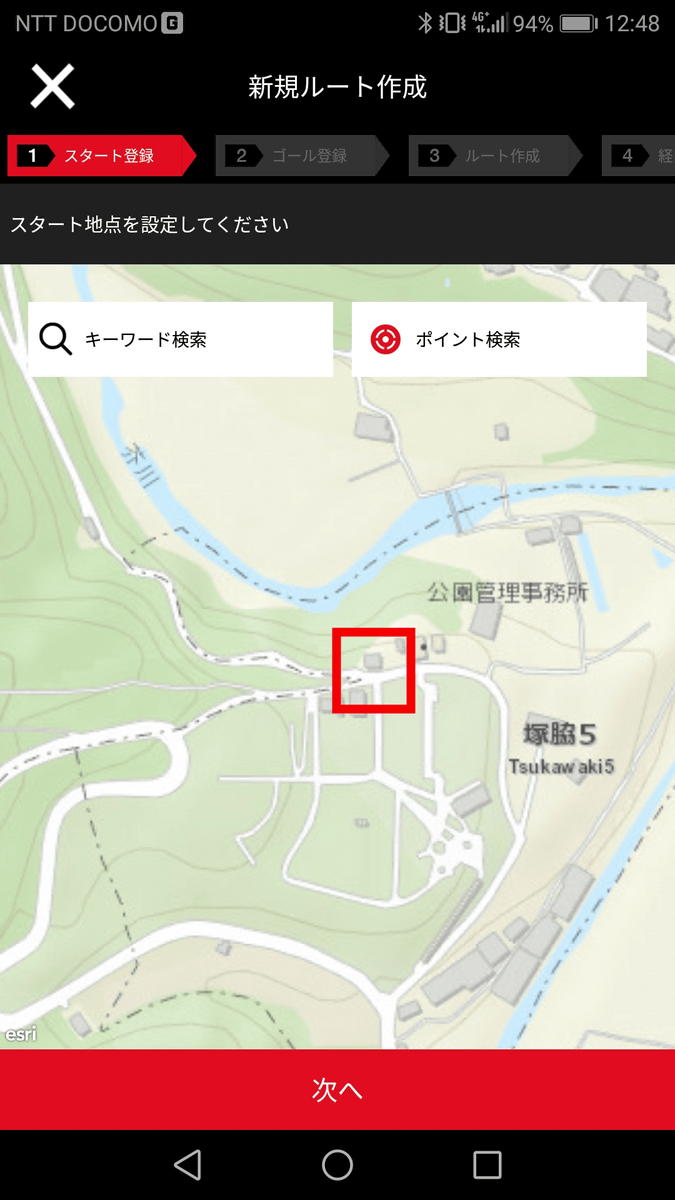
The icon of the start point is displayed in the tapped place, and tap "Next".

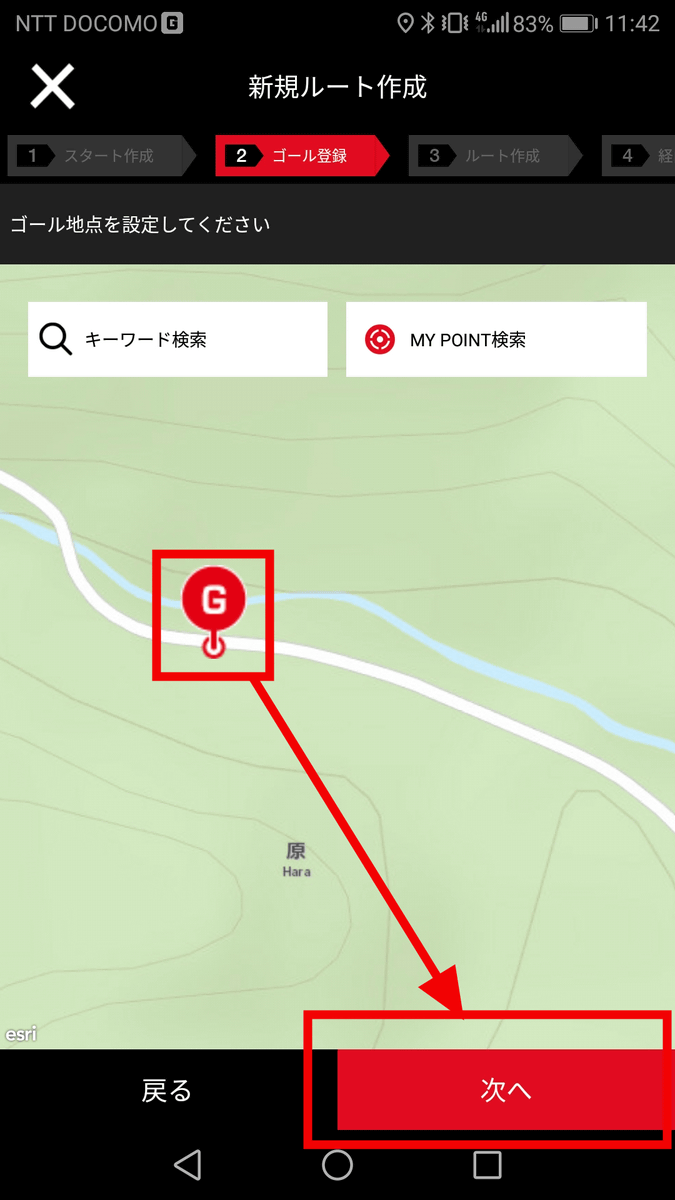
Next, "Please set a goal point" is displayed, so tap the place of "Shirataki" which is the goal point and tap "Next". Impression that the detailed place is somewhat difficult to understand because it is not displayed on the map unless it is a famous spot.
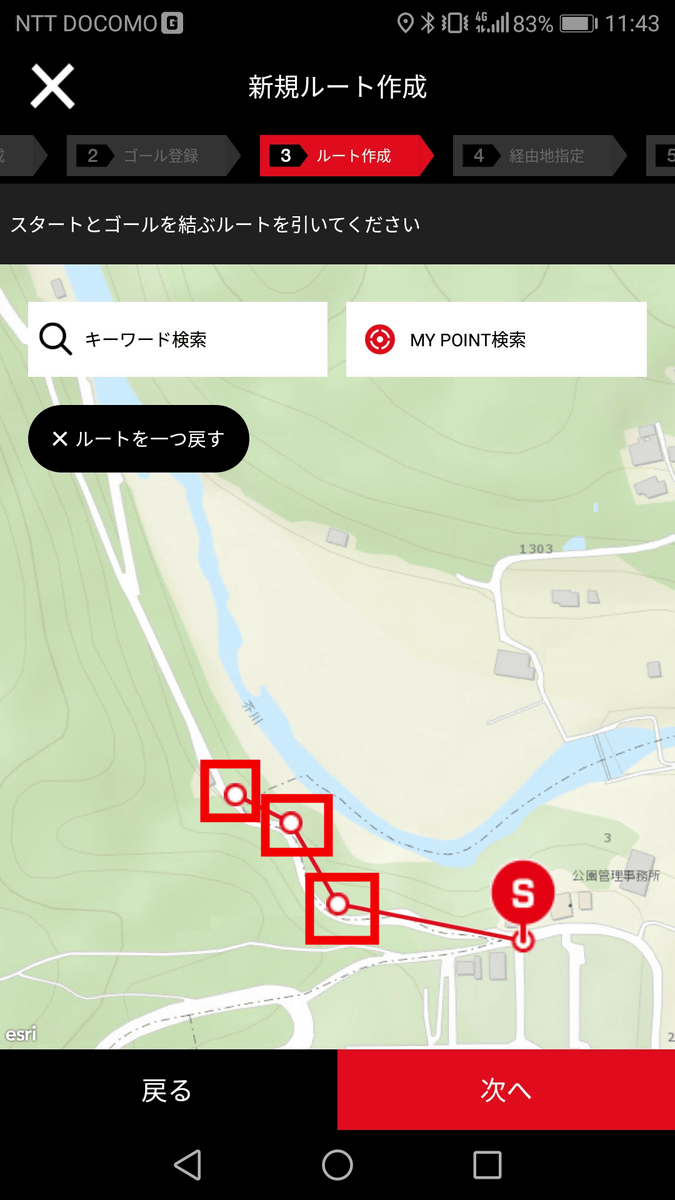
As you will see "Please draw a route connecting the start and the goal", I will tap the walking path from the start point to the goal point in order. It seems good to tap for each corner.
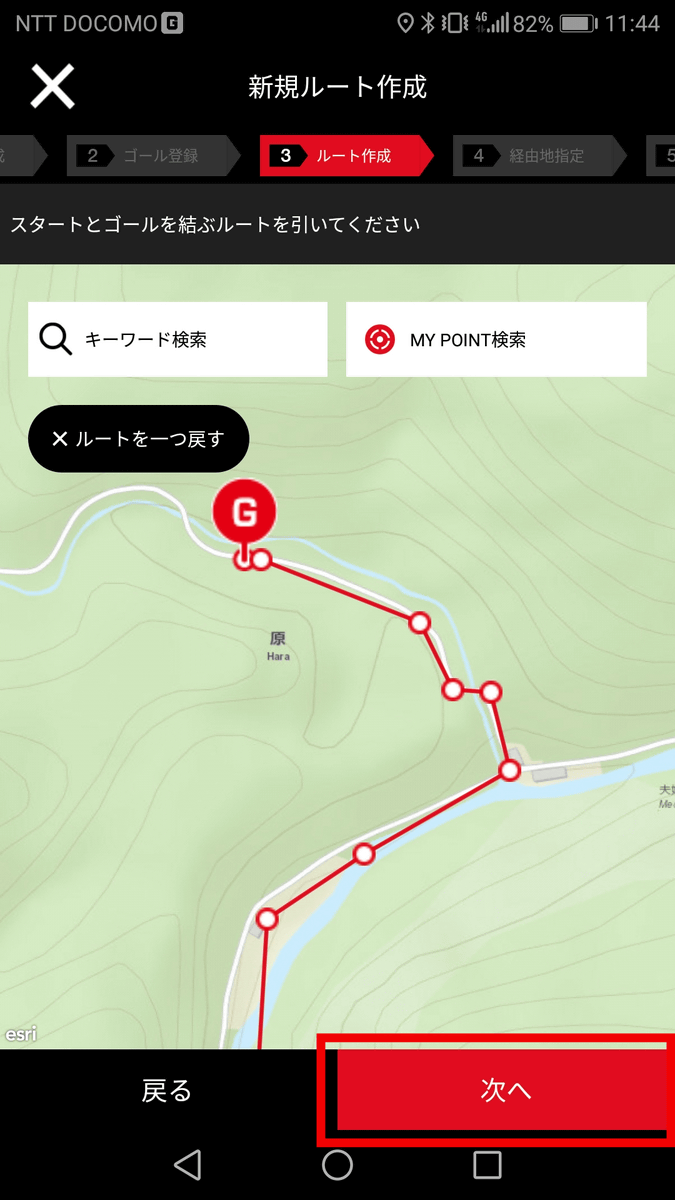
When you tap the route to the goal point, tap "Next".
A tutorial on "waypoint" will be displayed. Here, tap "×".
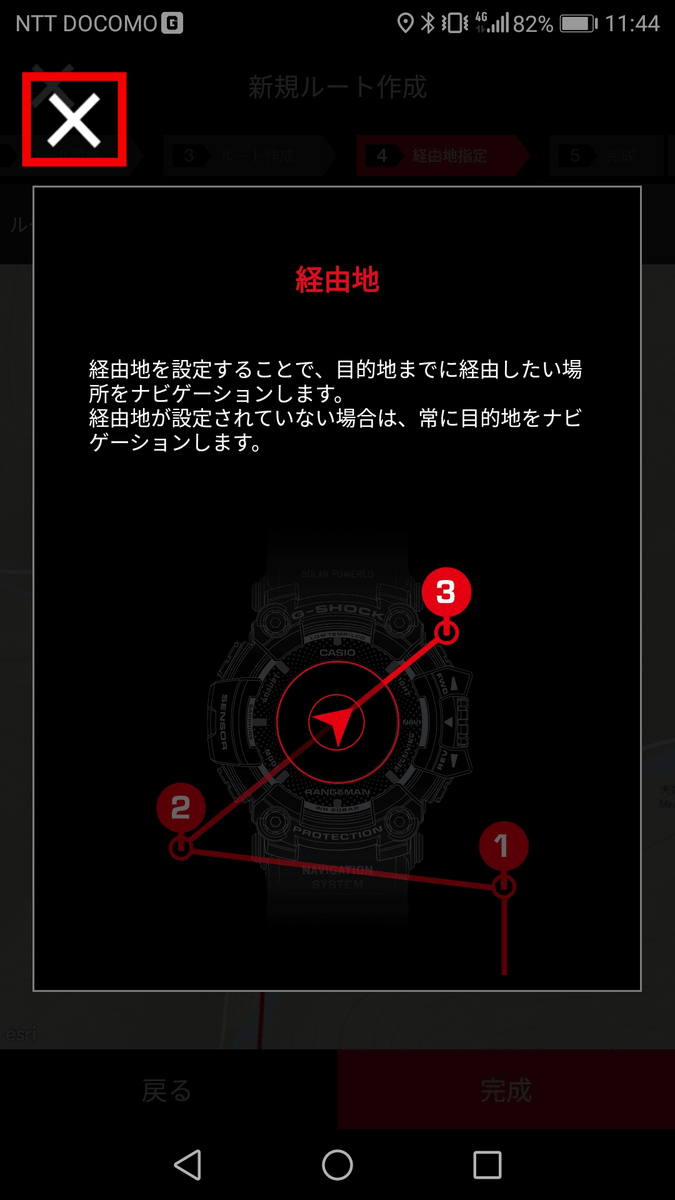
This time we set up two places on the route and tapped "Completed". Since the route this time will always be a route to walk north, there is no need to set a transit point, but if you set a transit point, it seems to navigate the transit point until it passes that point .
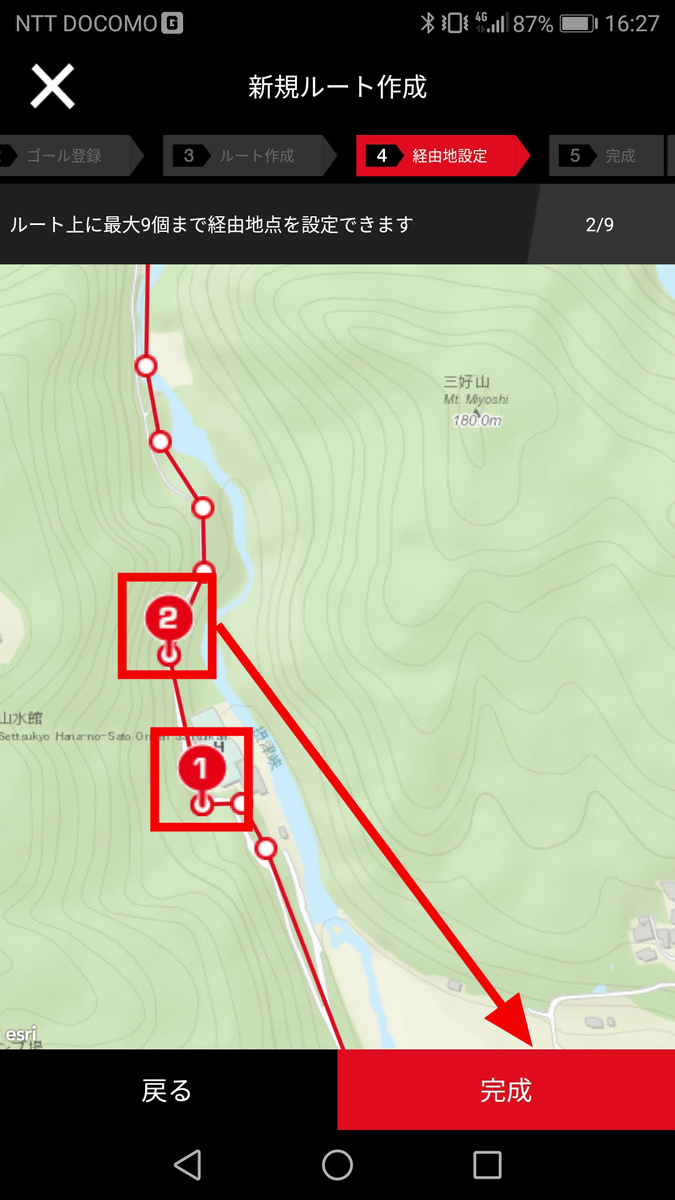
Tap "Route Completion".

Since the completed route is displayed, enter "walking route" in the title and a button called "3D MAP" is displayed, so try tapping.
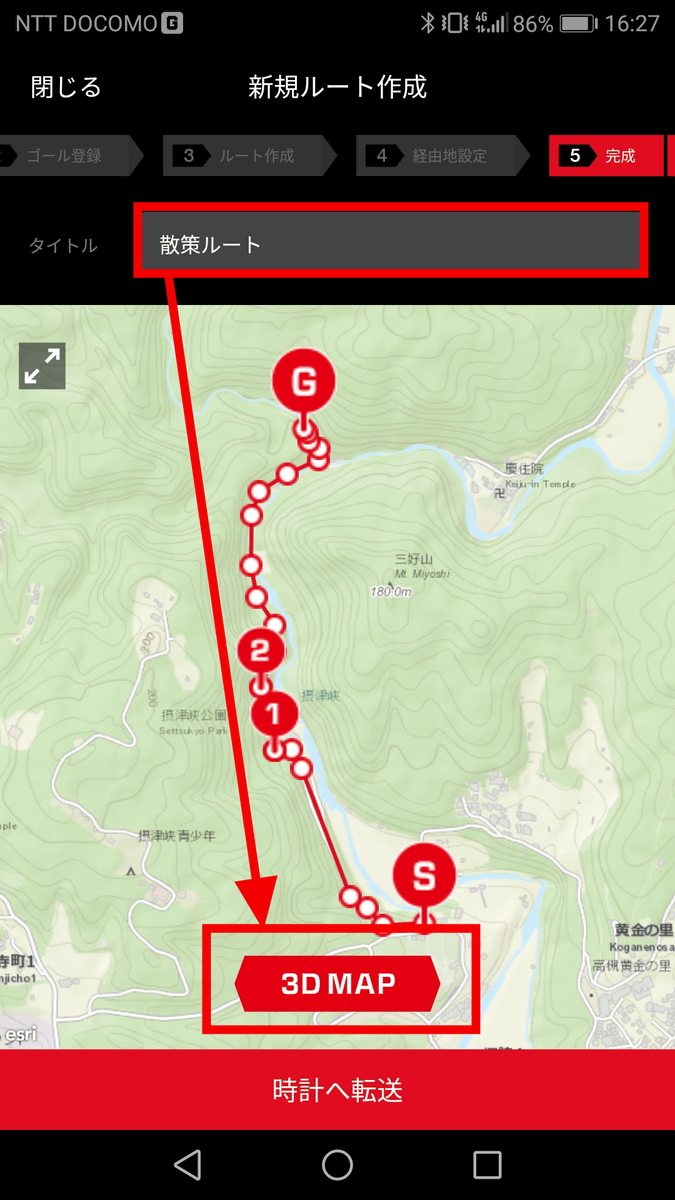
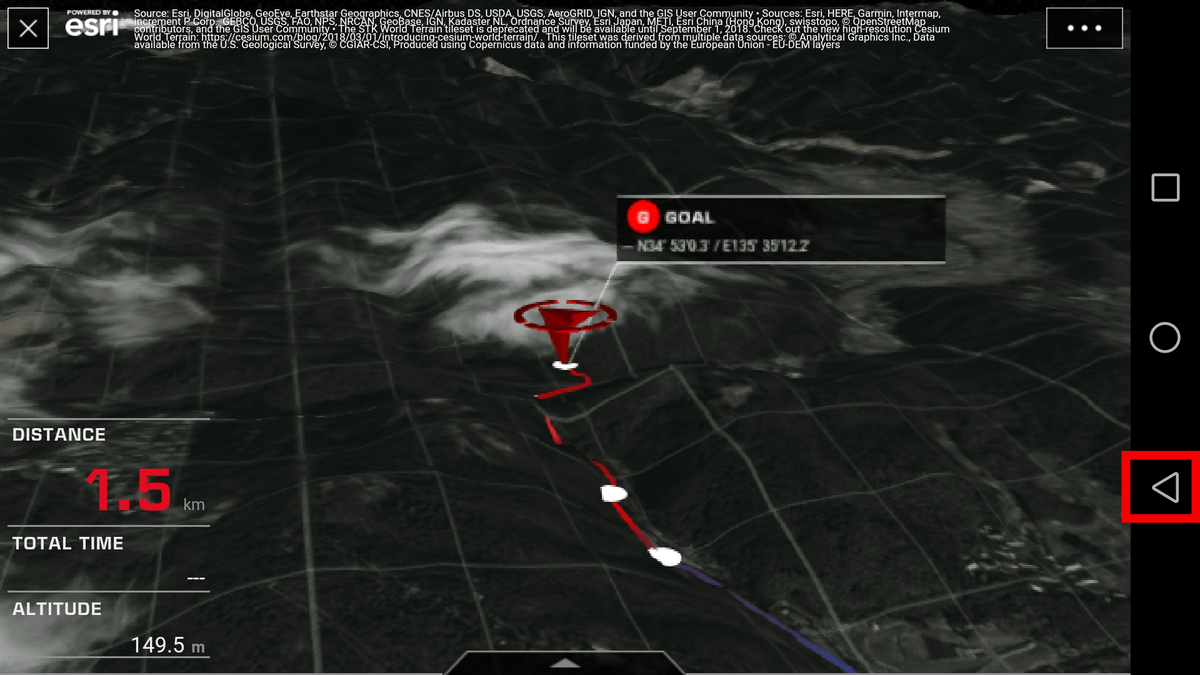
The 3D map is displayed, the route from the start point to the goal point is displayed as animation, and the approximate distance is displayed. The walking route this time seems to be about 1.5 km one way. When you are done viewing the 3D map, tap the "back" button.
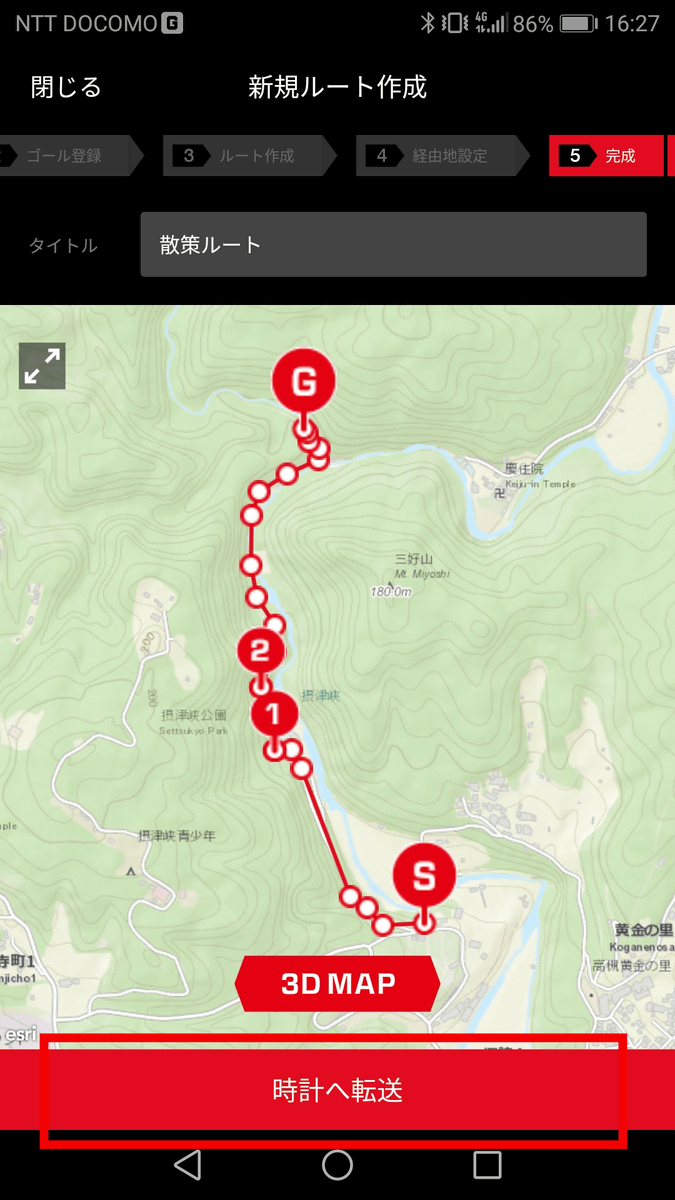
Tap "Transfer to Watch".
A confirmation screen of "Can I overwrite the route?" Is displayed, so tap "Transfer".

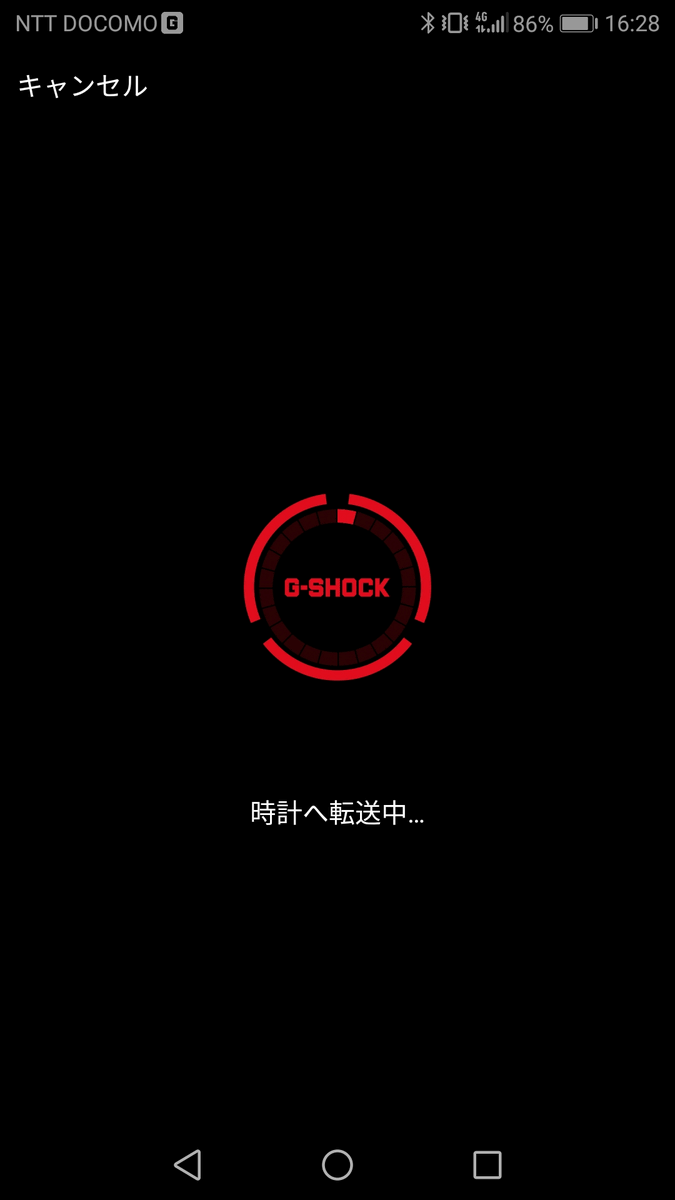
The screen of "Transferring to watch ..." is displayed, so if you wait for a while ... ...
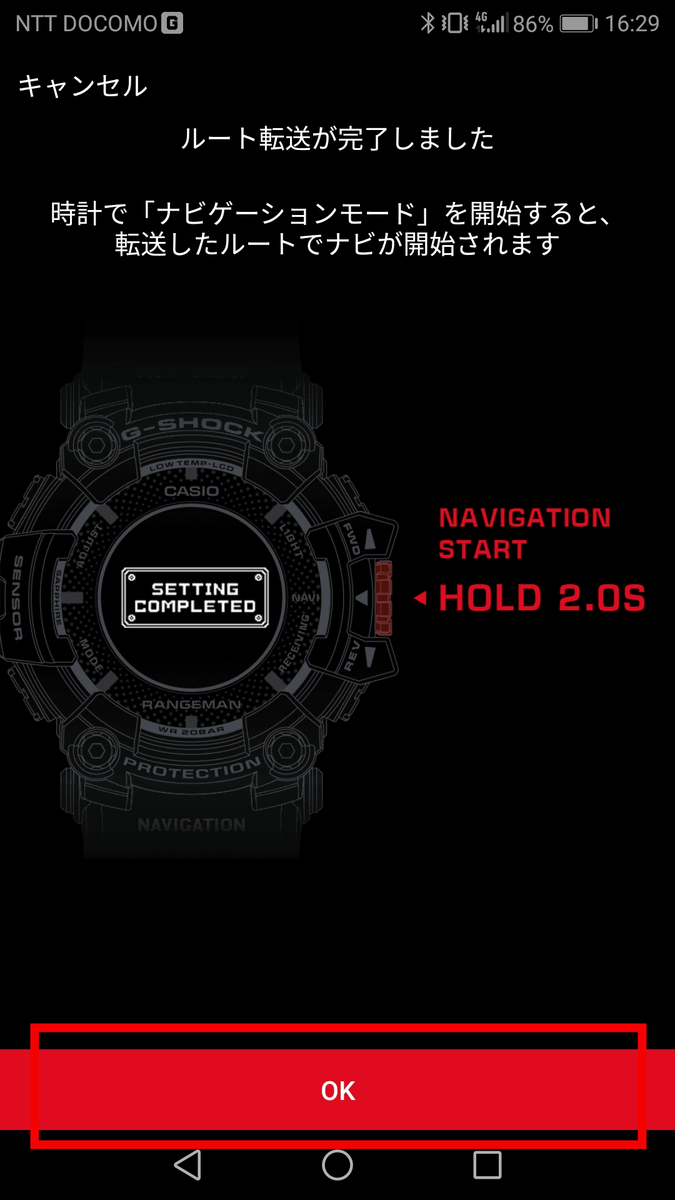
Since the transfer completion screen is displayed, tap "OK". Route information has been transferred to the watch.
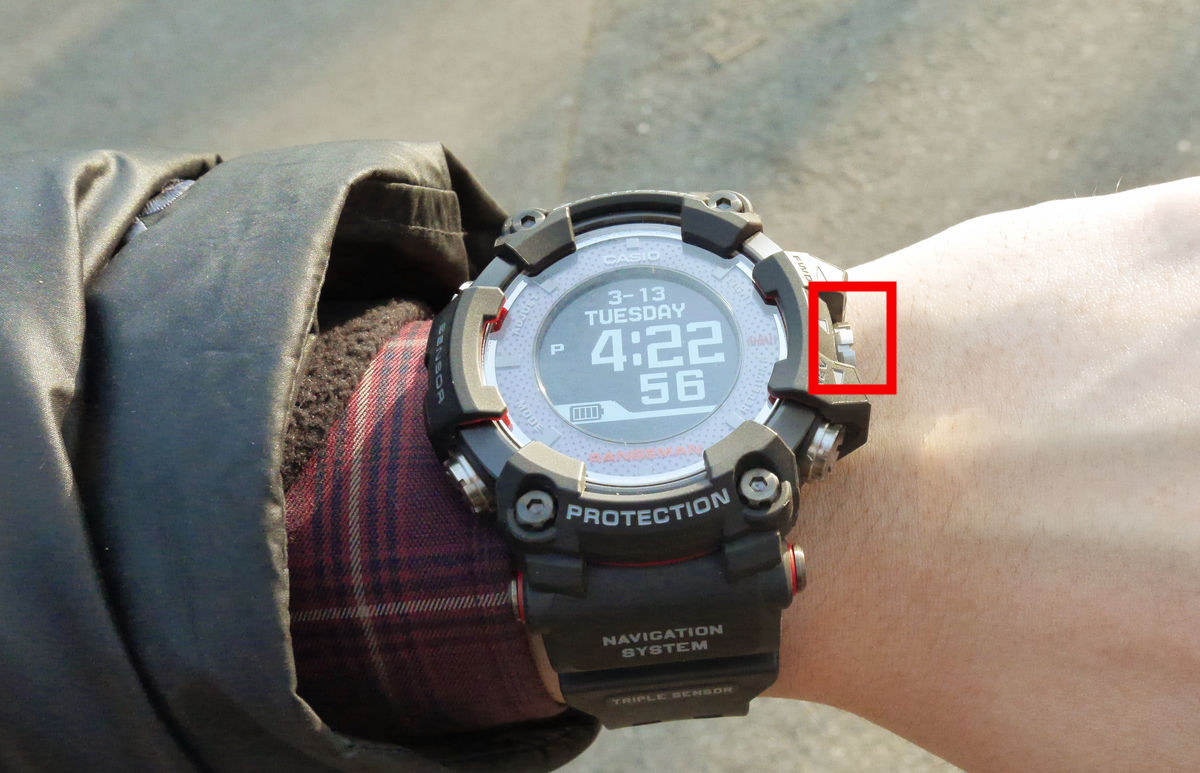
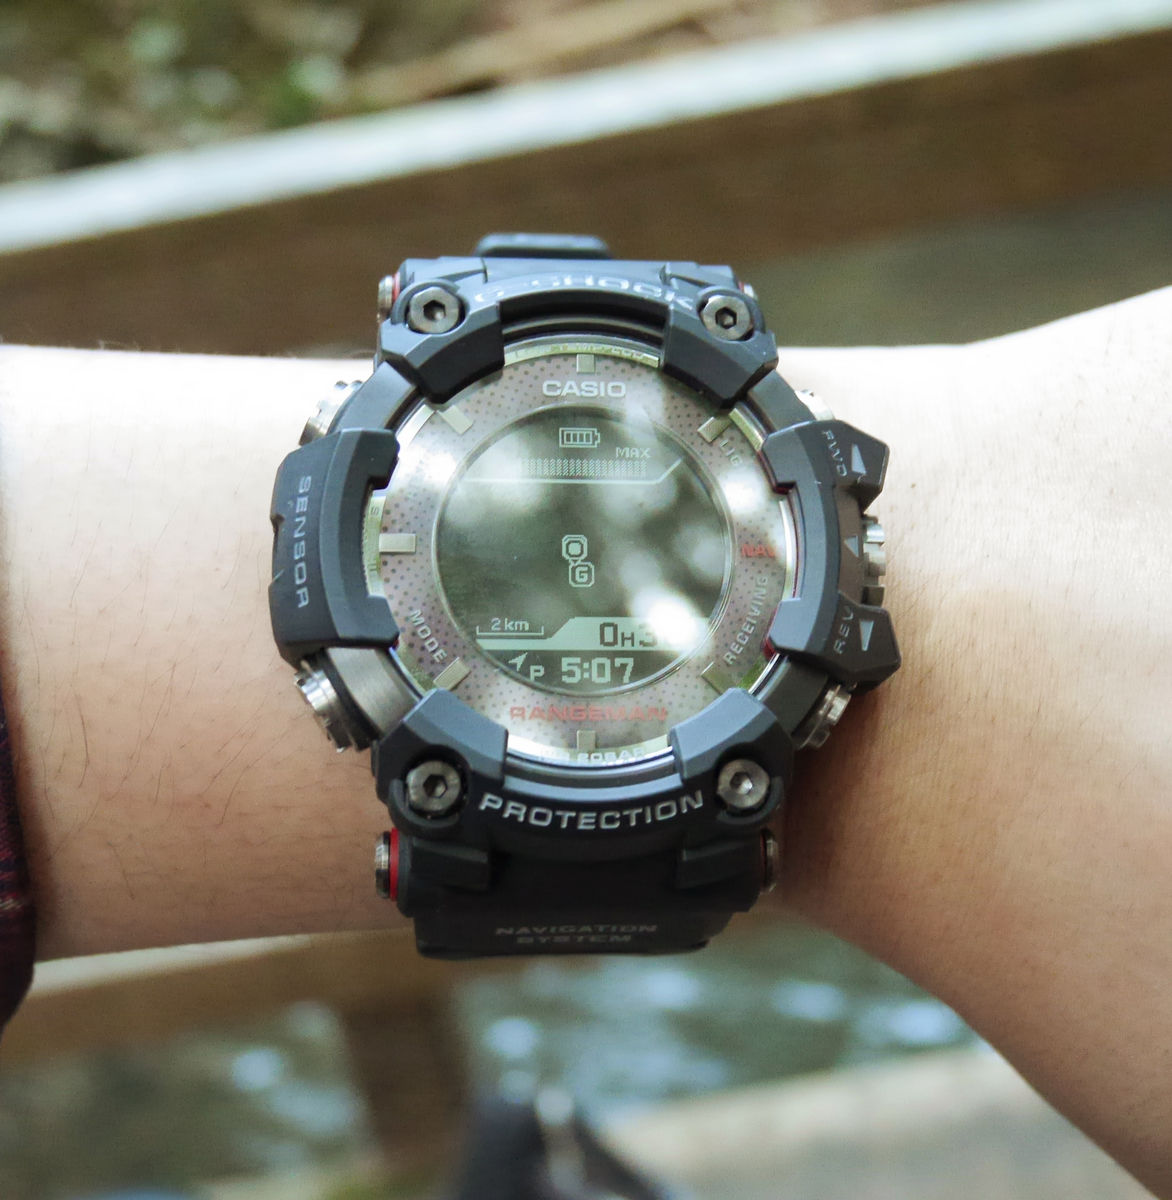
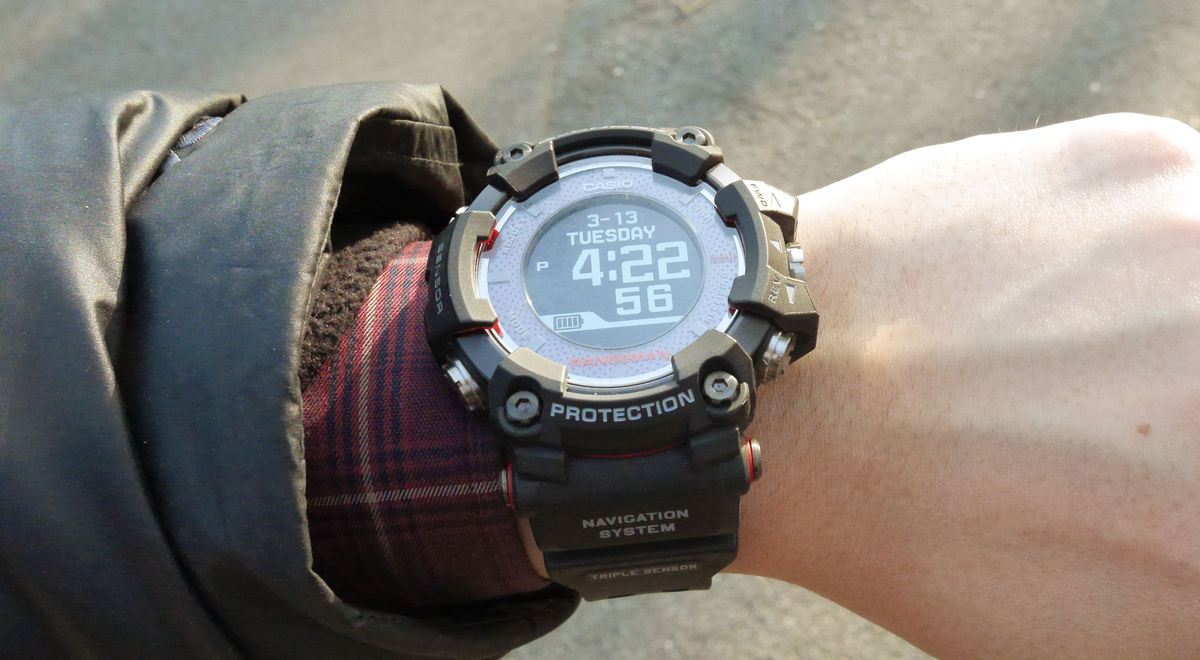
Next, enable navigation mode on the watch side. Push the crown in the center on the right side ......
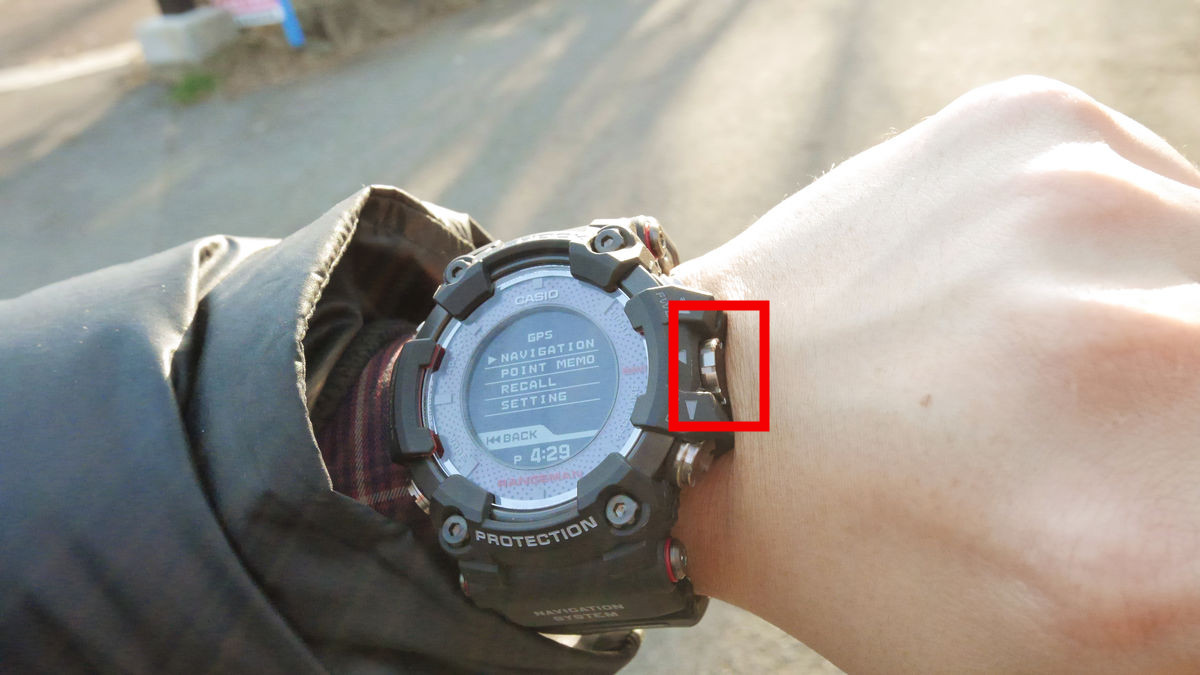
Since "NAVIGATION" is selected, press crown again.
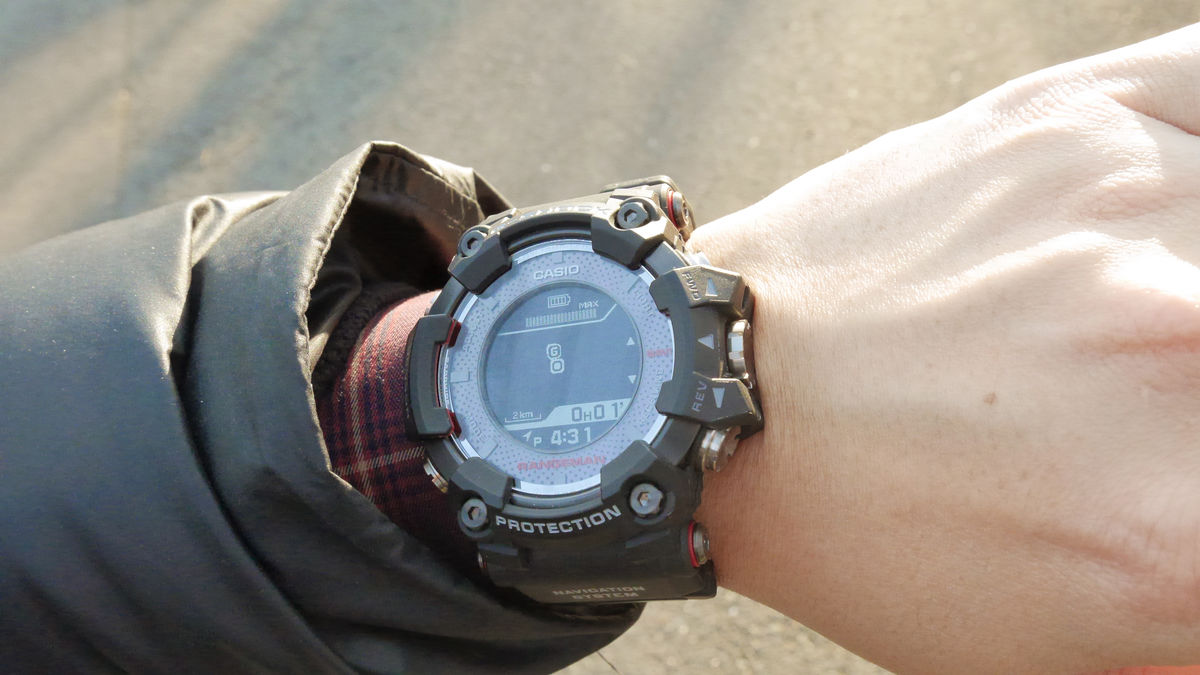
When waiting about 30 seconds to 1 minute with getting GPS information etc., the navigation mode is started. By default the notation of the clock is displayed on the 40 km scale, so the 1.5 km stroke of this time is quite compressed ... ...

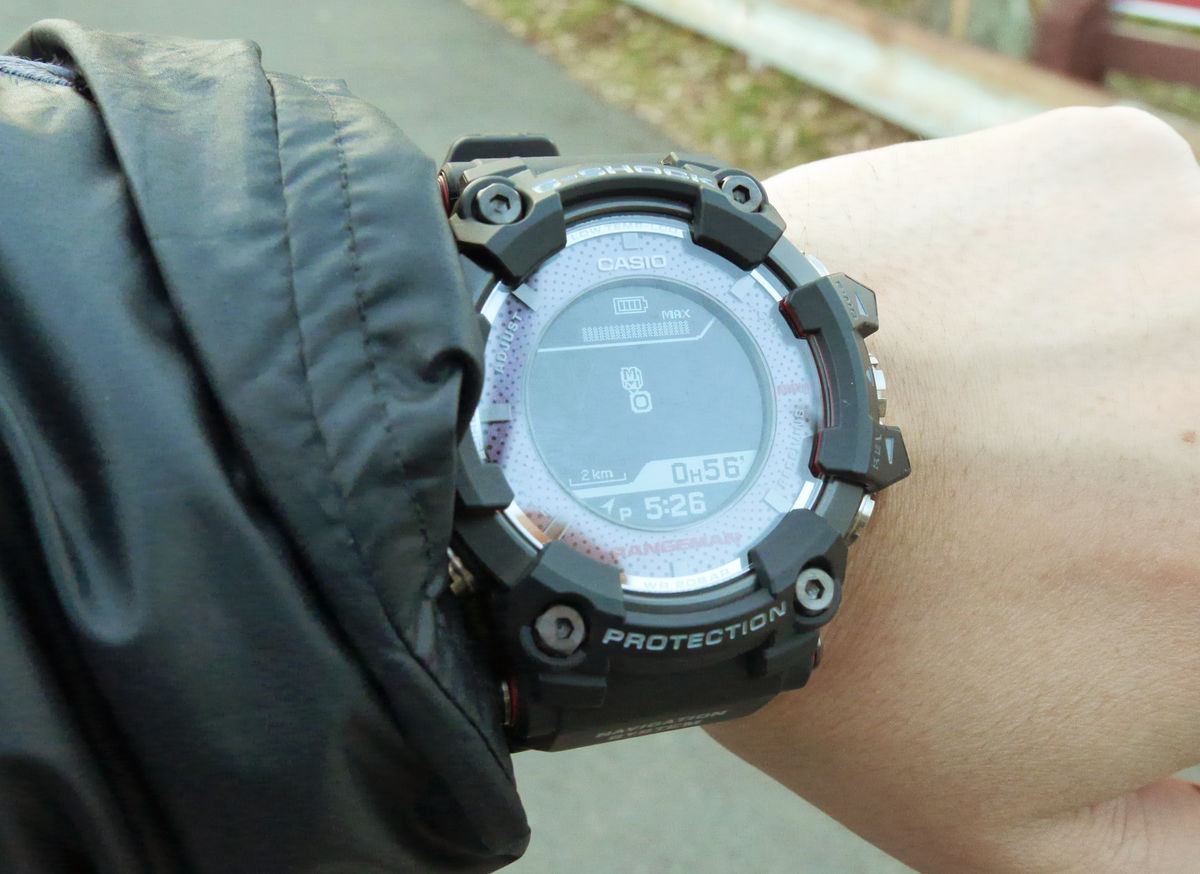
Since it can be displayed even at 4 Km, 2 km scale, it makes it easy to see a little by displaying it at 2 km. It was a pleasant walk without needing navigation this time, but it seems more useful when trekking more than 5 km etc.
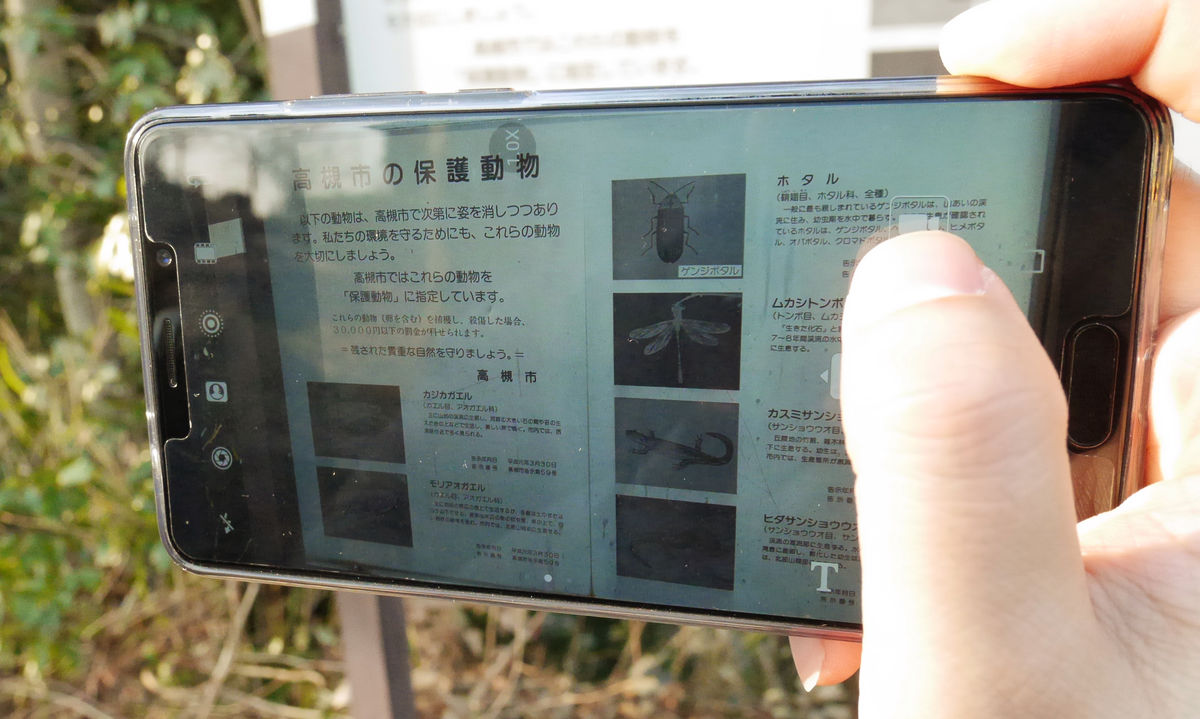
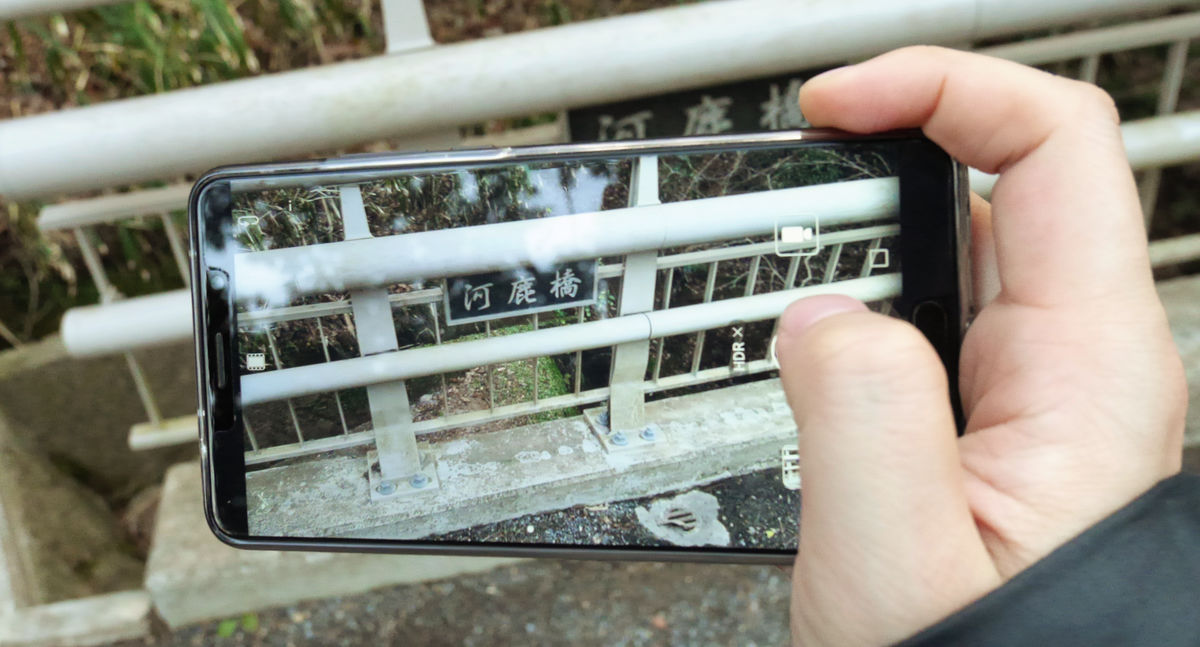
Start walking. While walking, I take a picture of landscapes and signboards on a smartphone and I will walk.
At a little advanced place ......
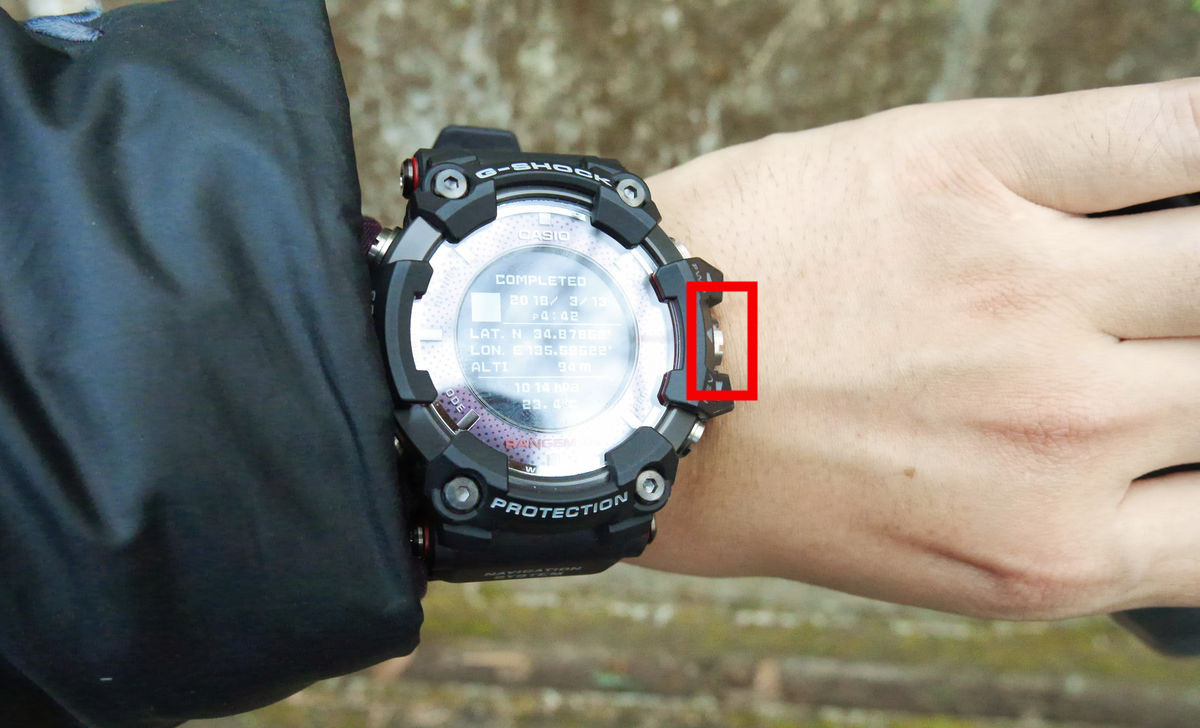
When long press the crown, you can mark the current location information such as longitude / latitude, altitude, atmospheric pressure. The marked information can be checked from the clock or the application.
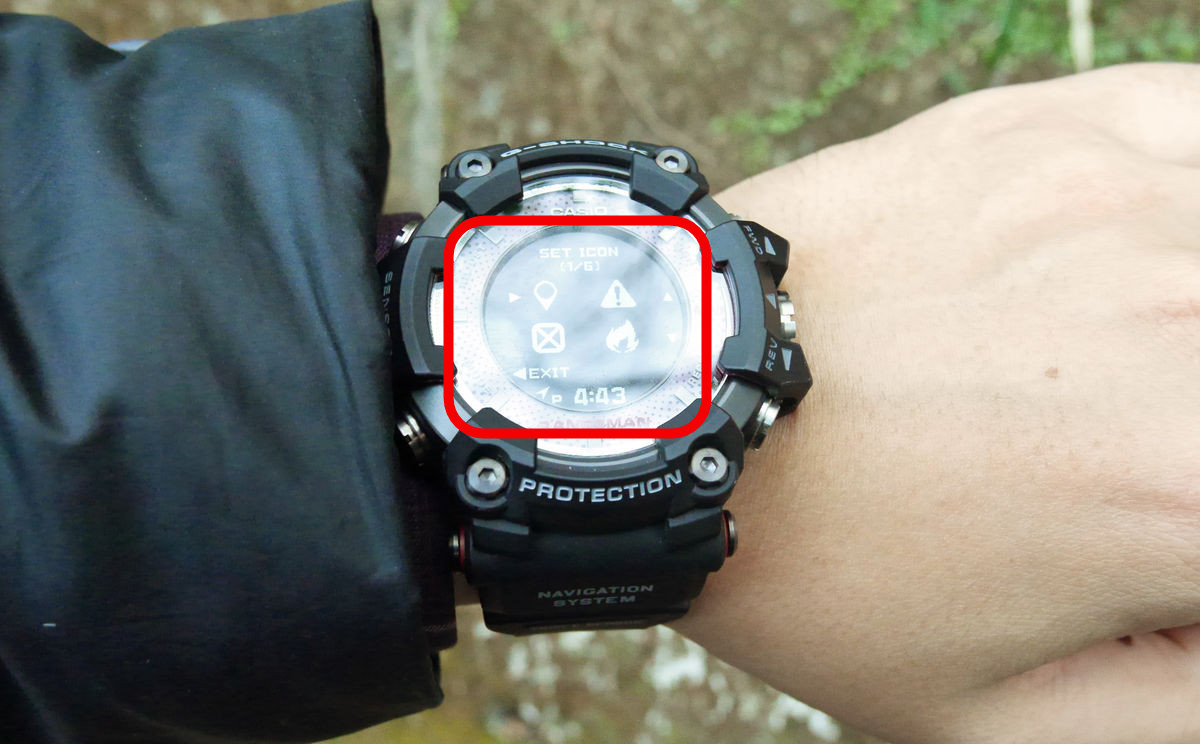
It is also possible to set an icon at the marked point.
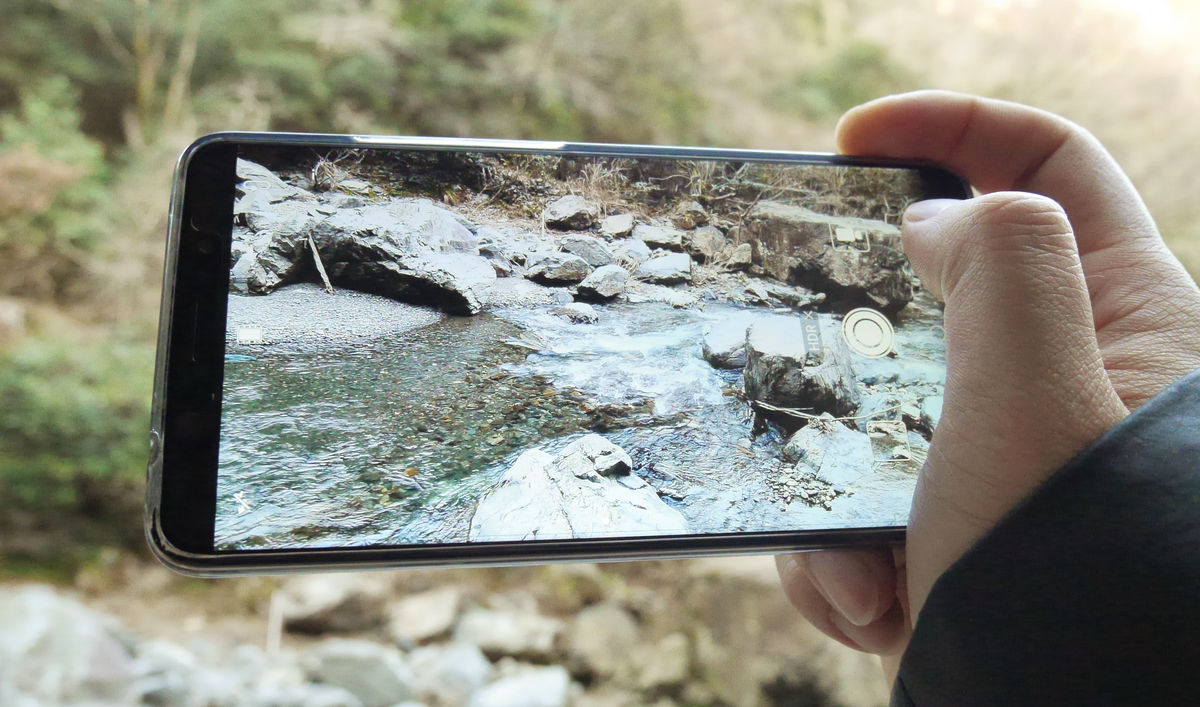
I found a river in the road. While holding it in a photo with a smartphone, I will go down a little and touch the water.
The GPR - B 1000 has waterproof performance up to 200 m in depth, so there is no problem even if it is immersed in the river.
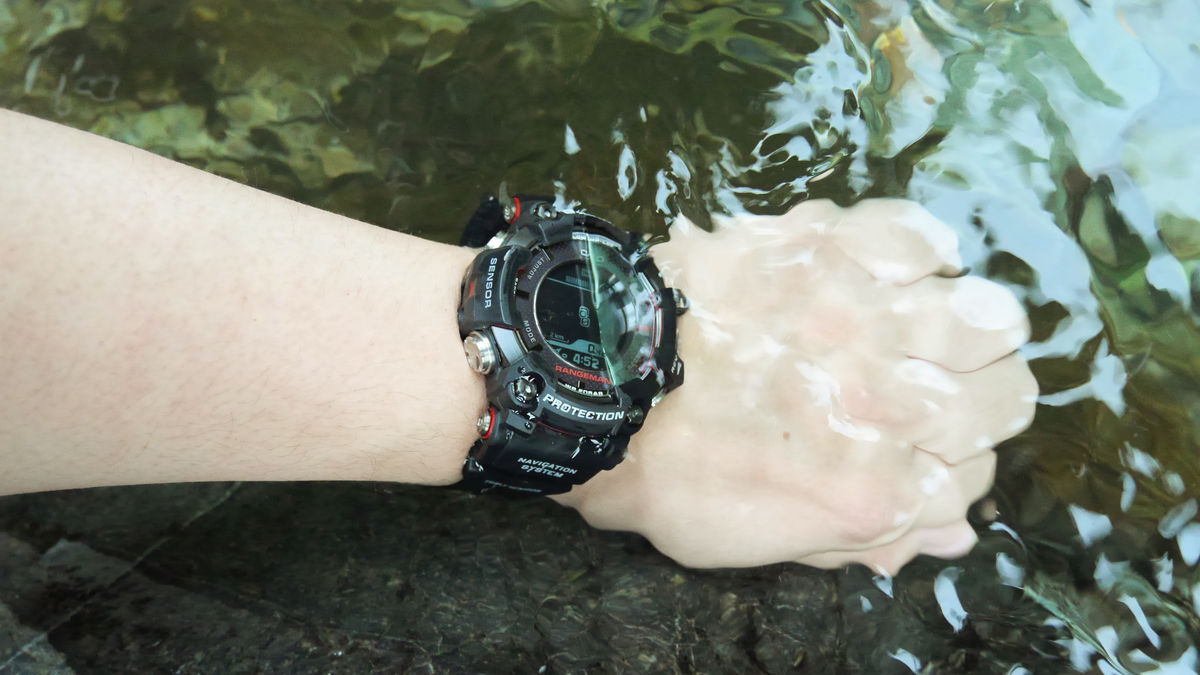
And there is also dust resistance / mud performance, it is okay to attach fine mud of granular size. In addition it can withstand the low temperature of minus 20 degrees.

Arrived at Shirataki at the goal.

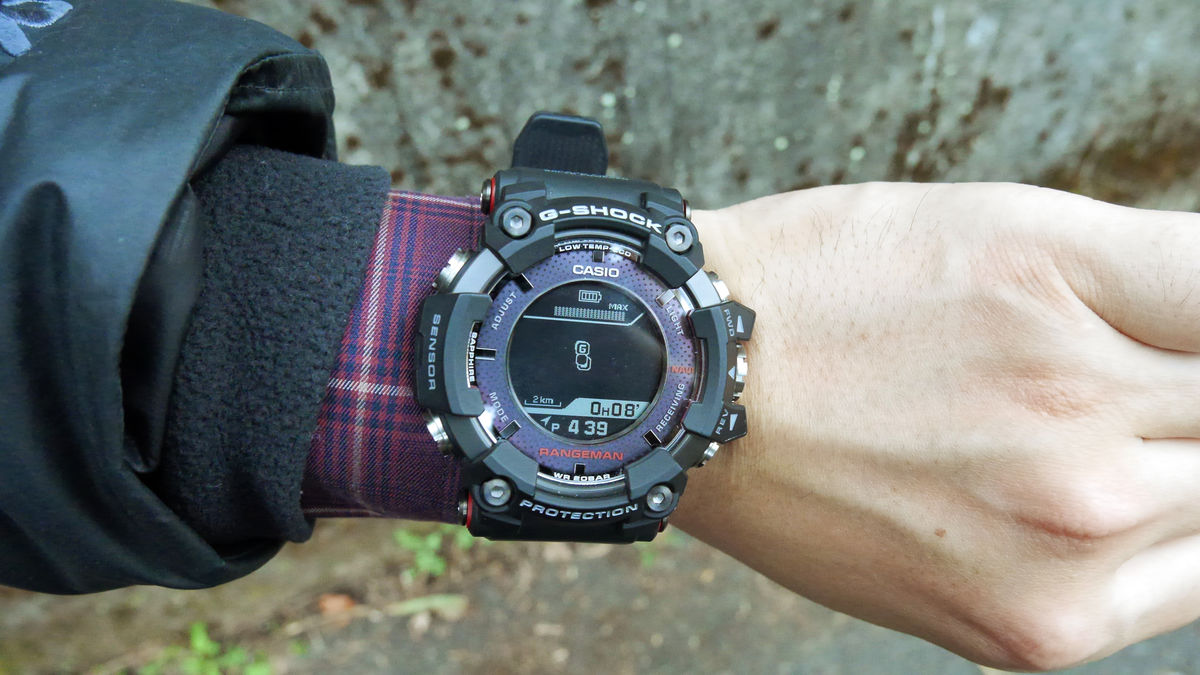
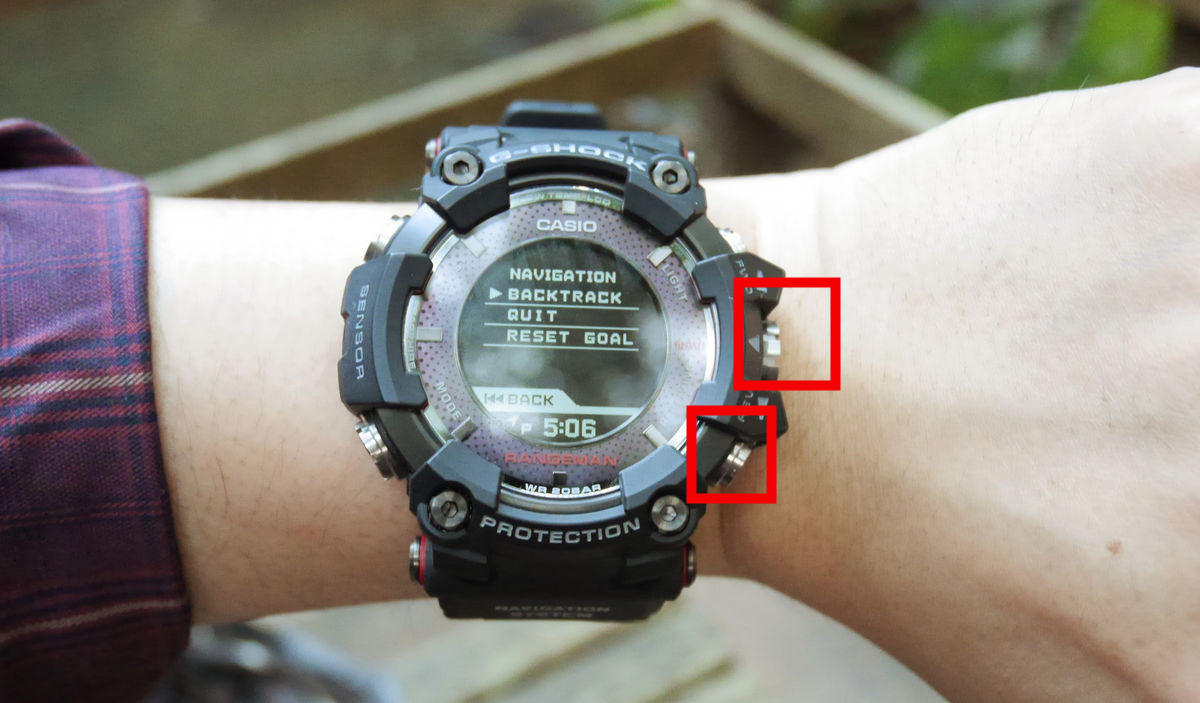
Next, I will go back to the starting point. When pressing the button on the lower right of the clock, "BACKTRACK" is selected, press the right middle crown button.
After waiting for 30 seconds to 1 minute, the start point and the goal spot change and the navigation on the way back begins.
I walked for about 20 minutes and returned to the starting point.
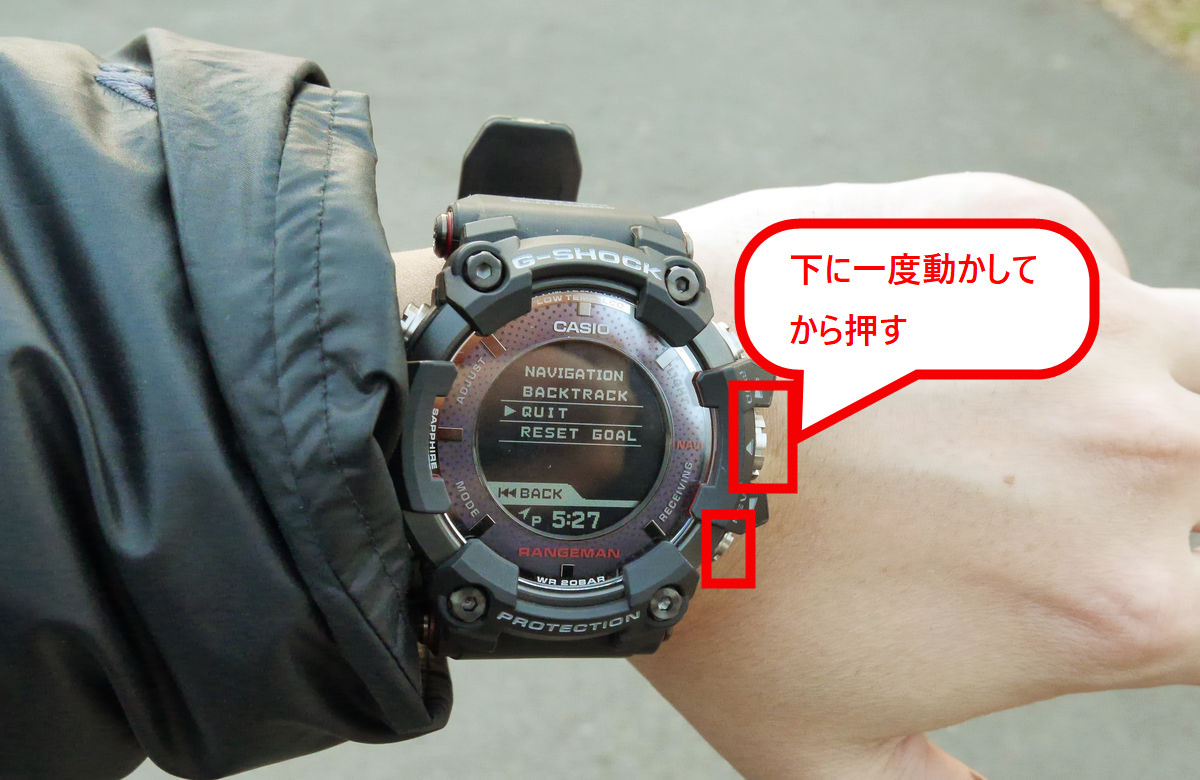
To exit the navigation mode, press the lower right switch, move the crown down one time to fit the "QUIT", then press the crown button again.
To check the strolled information, connect the clock and the application and tap "LOG IMPORT" of "G - SHOCK Connected".
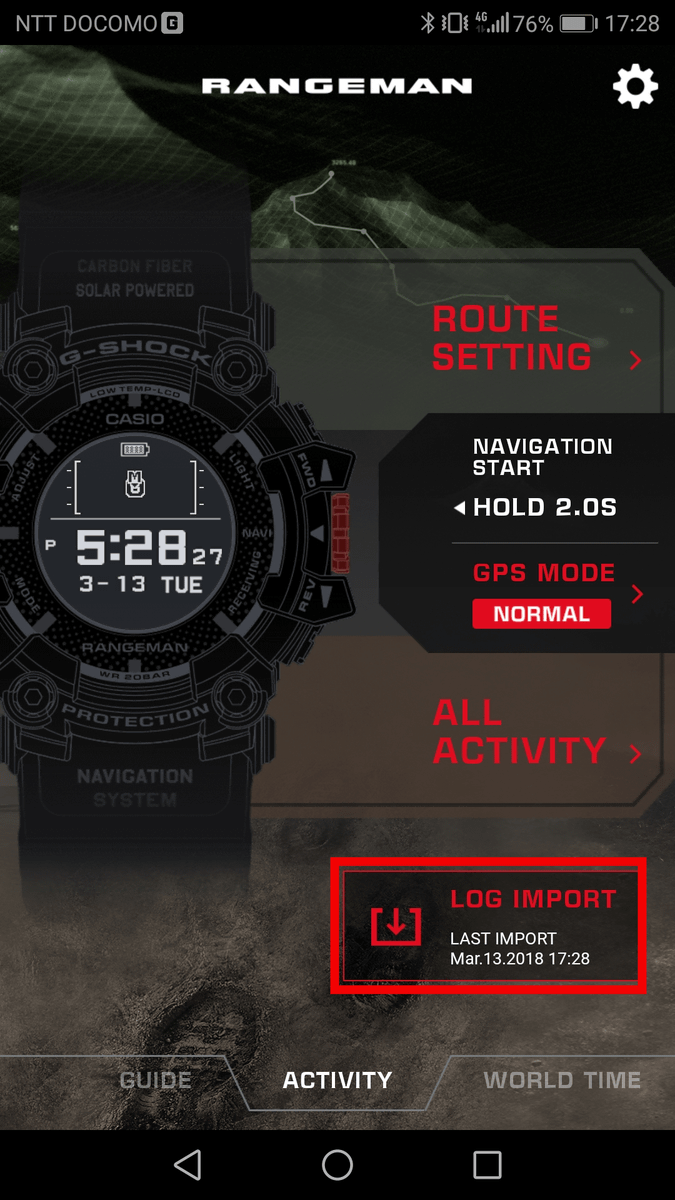
Tap "Yes" because "Do you want to get data?" Is displayed.

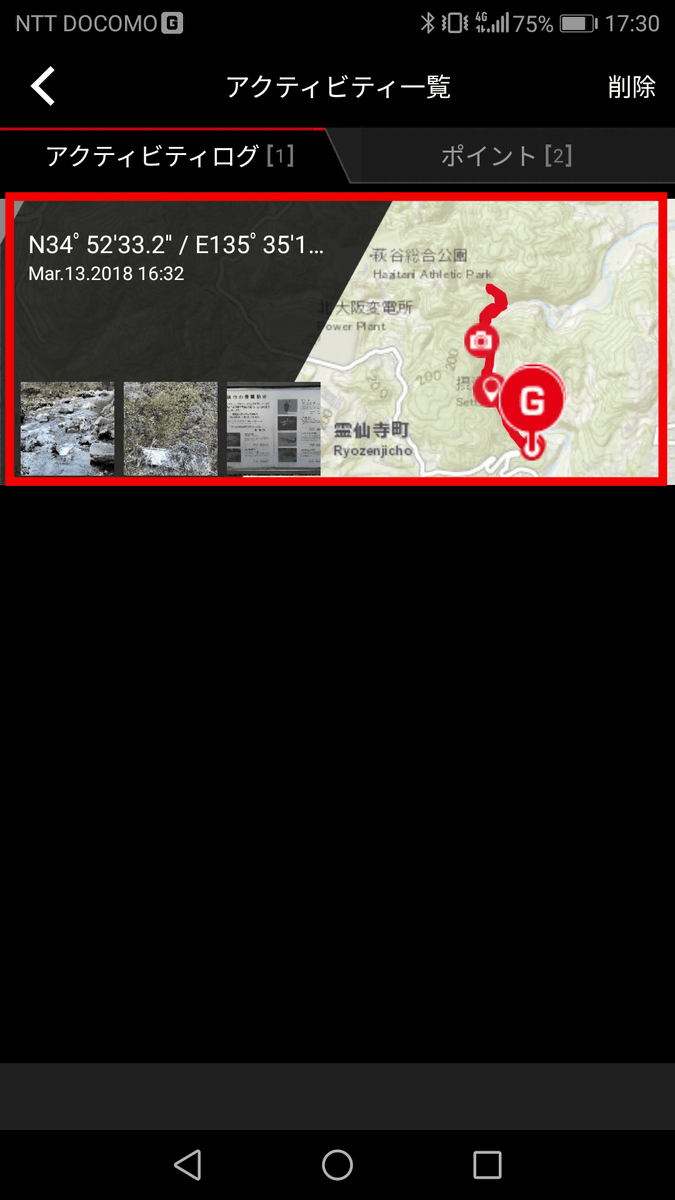
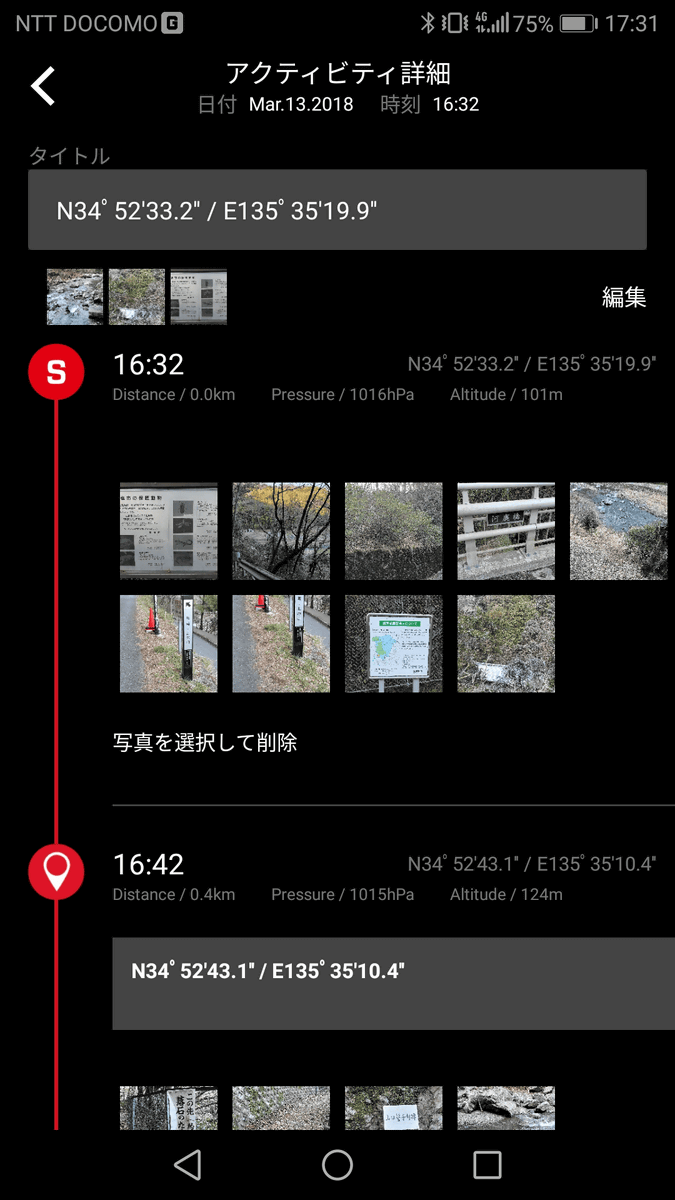
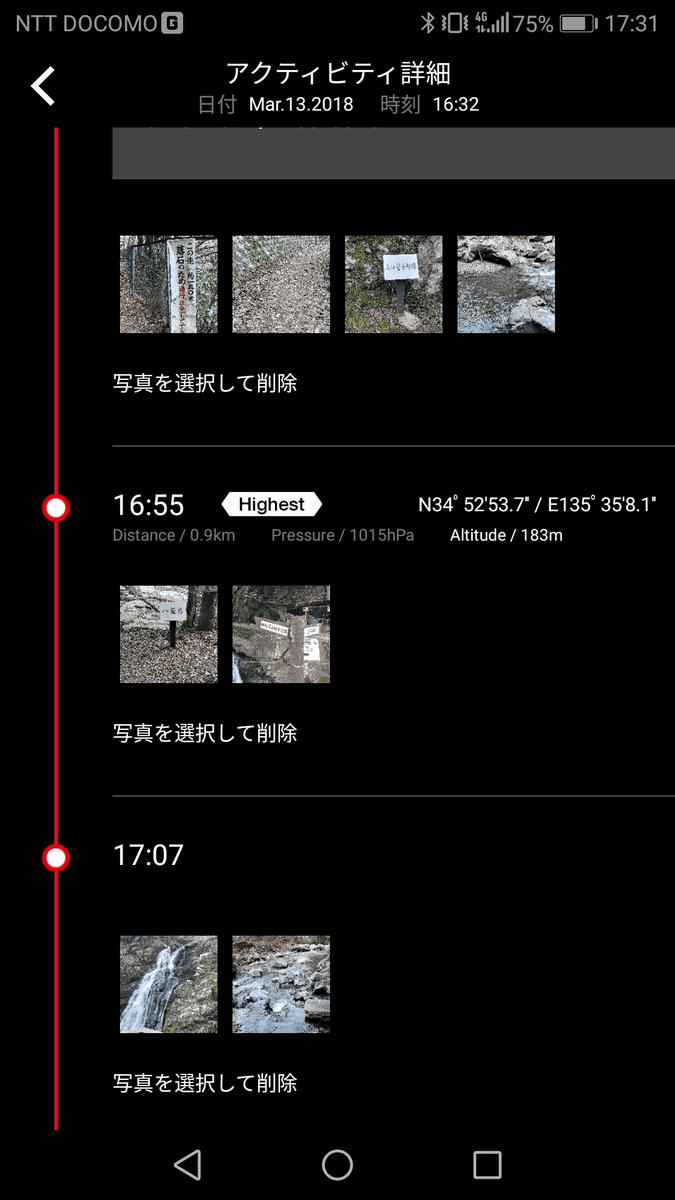
"Activity list" is displayed, so tap the map where the strolled route information is displayed.
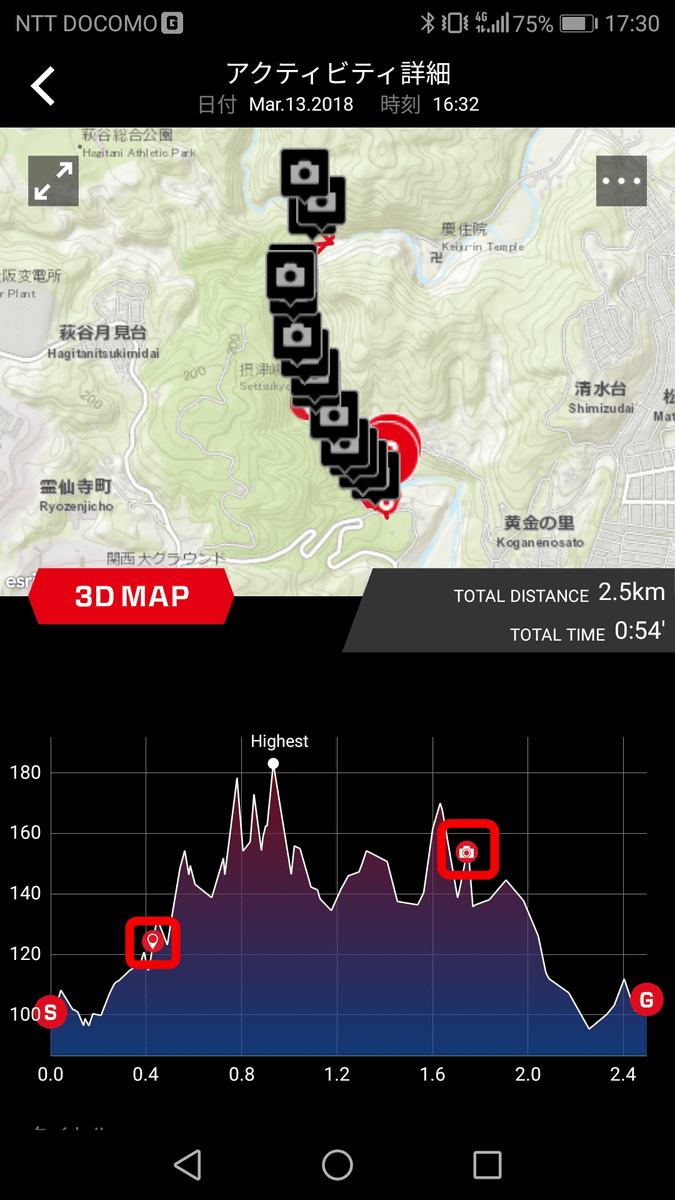
Then, the map where the information of the photograph taken by the smartphone is linked with the point which passed the walking route and the altitude information of the route are displayed. Although it is hard to understand with the camera icon on the top map, icons are displayed in the lower altitude information at the point marked manually.
When you scroll down, the thumbnails of the pictures taken are shown from the start to the end of the walk. When you tap a thumbnail, a picture is displayed, and you can look back at what kind of scenery the point was at once. It is recommended for people who like to take pictures while enjoying the scenery by climbing or hiking.
◆ Other functions
In addition to wireless charging, the GPR - B1000 supports solar charge. Even when using the navigation function in an environment where the battery level is low and the wireless charging is not possible, it seems that it is designed to be driven for a certain time only by sunlight. If you leave it in the dark place, the screen display disappears and the battery is in safe mode and it will operate for up to 29 months.
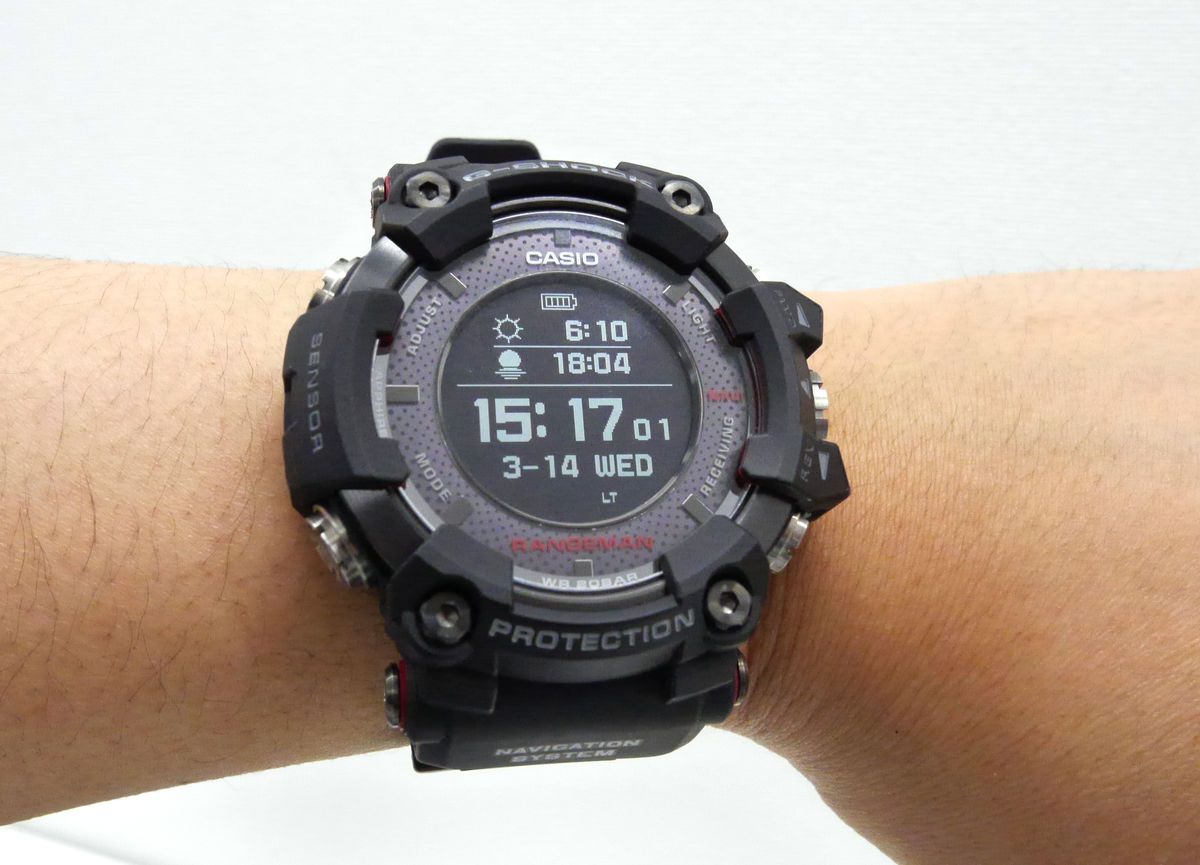
As a mode that can be displayed, altitude display ......
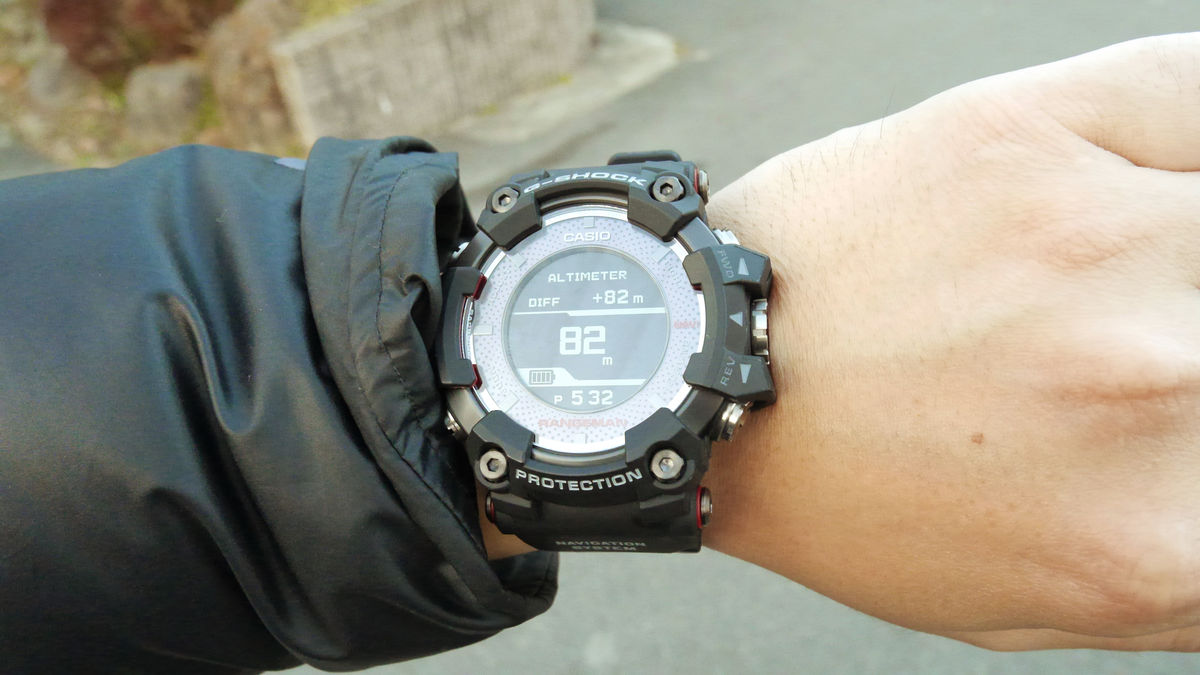
Temperature indication & pressure display

Azimuth magnet

Sunrise / sunset display time display
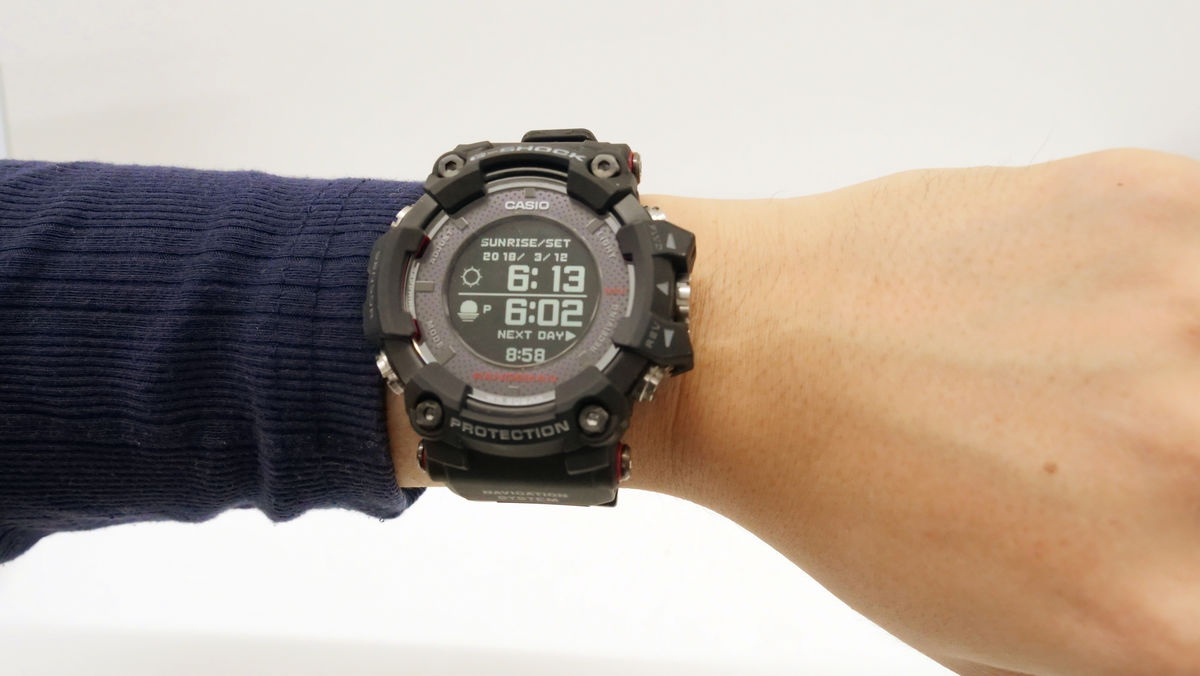
There is also a dual task function, it is possible to display barometric pressure information and clock etc at the same time like the image below.
Besides, basic functions such as LED backlight lighting, world time display, alarm and timer, stopwatch function etc. are also installed.
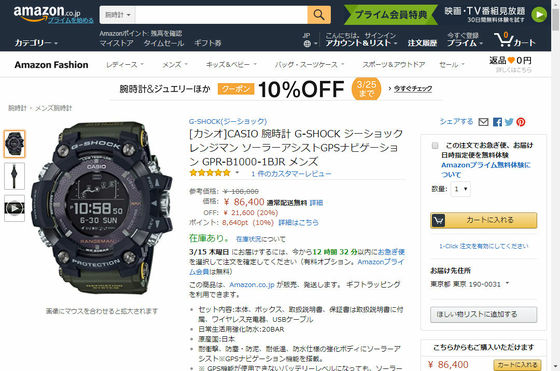
The price of Amazon's GPR-B1000 was 86,600 yen including tax.
Amazon | [Casio] CASIO Watch G-SHOCK G-Shock Range Man Solar Assisted GPS Navigation GPR-B1000-1BJR Men's | Domestic Manufacturer | Watches Wrist Watches
Related Posts: