I actually ran using "Potanabi" equipped with bicycle navigation + speedometer + route recording function etc
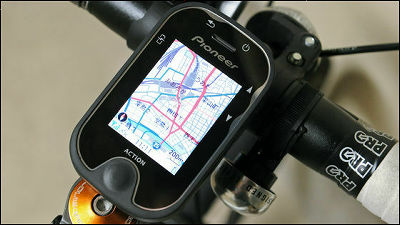
Portable navigation system specialized for use on bicycle, capable of driving a battery for up to 10 hours with performance of anti-shake, dustproof and drip-proof (equivalent to IPX 5) "Potanabi(Around 39,000 yen including tax) ". Besides the navigation function that displays the current position and destination on the map, it has a cycle computer to measure the speed of the bicycle and the number of revolutions of the crank (pedal), link with the dedicated website using DoCoMo's 3G line, etc. It seems that it is a full-fledged model, so we decided to actually purchase and check usability.
◆ Exterior photo review
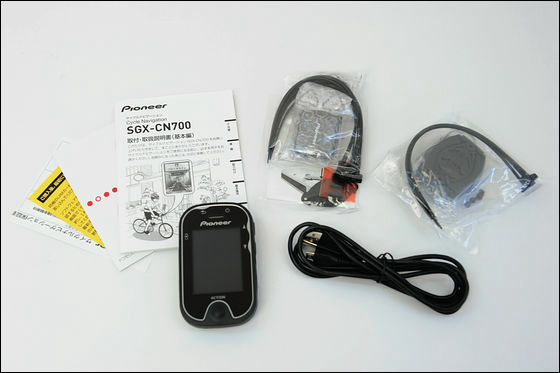
The package looks something like this.
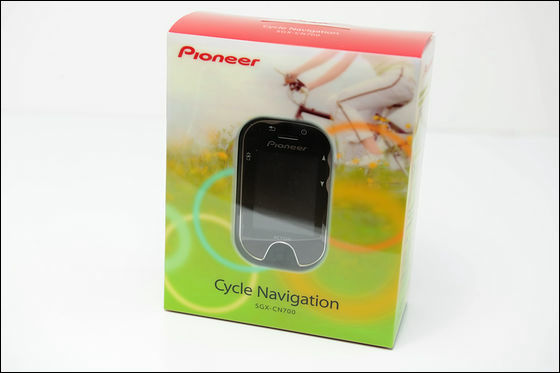
In addition to the main body, contents include a USB cable for charging, sensors, instruction manuals, etc.
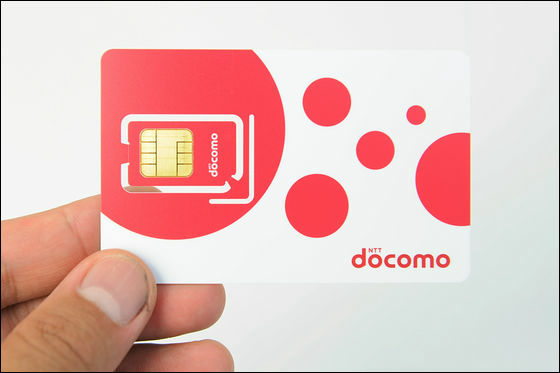
Docomo's SIM card is included. You can use Potanabi's data communication function for 2 years free of charge.
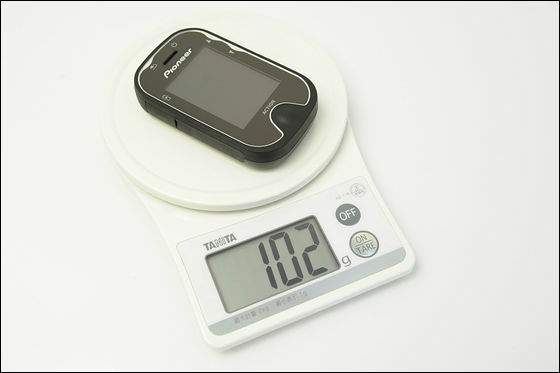
The measured body weight is about 102 grams, slightly lighter than a typical smartphone.
Comparing the size with the iPhone 4S it is a little smaller.

The thickness is about 19 mm and almost double of iPhone 4S.

The size is 59 × 95 mm in height, and fits in the palm of the adult male palm.

The left side looks like this.

Since there is a USB terminal, it can be connected to the PC and charge it.

On the right side is a key for cursor movement and a SIM slot.

SIM enters like this.

Use side buttons to move the menu.

The decision button is attached to the bottom of the display.

The back is like this.

Start by pressing and holding the power button on the top of the main unit.

The initial screen is as follows.


The menu screen looks like this.

◆ Cooperation with PC
In order to view the log in cooperation with the PC, registration to the dedicated site and pairing of the terminal are necessary, so "Cycle laboratory"And click" Click here if you are logging in for the first time "

Fill out the necessary information such as nickname and click "to confirmation screen"

Click "Register"

Since the confirmation e-mail is sent to the address registered, ...

Start the mailer and click the link

Check the device number displayed on the main unit ......

Enter on PC site

Authentication will be done

Also on the terminal side is displayed "Device synchronization has been completed"

Click "Go to Profile Settings"

If there is content to be displayed in the profile field, fill it here. After that click "Save setting" OK.

◆ Mounting on a bicycle
Attach the attached cradle to the bicycle handle with a binding band.

Also install a sensor beside the pedal.

Adjust the position so that the magnet attached to the pedal with the binding band passes through the side of the sensor.

Looking a little away and like this.

After pairing with the main body OK.

◆ I tried using
Navi display is a straight line connecting the current position and the destination, there is no detailed instruction such as "next signal right". It is a style that runs as it is while grasping the rough direction.

Please check with the following movie to see how actually using it. The screen is slightly difficult to see, but the screen will become whitish under the sunny summer afternoon sun, so it is roughly the same as this with the naked eye.
The map display of "Potanabi" looks something like this - YouTube
When used as a cycle computer, the rotation speed of the crank, the speed of the crank, the moving distance, and the elapsed time since turning on the power are displayed in order from the top.

The meter can be customized and it is possible to simulate what kinds of meters and information can actually be displayed on the following pages.
Potanabi | Meter mode layout | Pioneer
There are also modes that display calories burned with an easy-to-understand image such as "short cake 1 dish".

It is also possible to display weather, temperature, and rainfall probability by selecting three regions registered in advance from the cycle laboratory.


If you decide a route to run in advance and want to display it in Navi, select "Route" from Cycle Lab page

Click "Create original route here"

Just by dragging and dropping a flag on the map and deciding the starting point and goal automatically completes the route, click on "Save" with a name

Click "Setting" to send route to Potanabi

Select "Route Setting"

Check the box to the left of the route you want to transfer and click "Set"

Click "OK"

Select server synchronization.

Press "OK" ... ....

Update data update automatically.

Choosing route selection ... ....

The route set up on the PC is displayed like this. There is some time lag until you can see the route showing the route after the operation, and if you do another operation during this time the route line disappears and you will be troubled "Why is not displayed!" Caution is required.

Since the main body can be removed with one touch, it is safe when stopping the bicycle and leaving.

To manipulate the map, press and hold the Home button ... ....

By tilting the terminal, you can move the cursor in that direction.
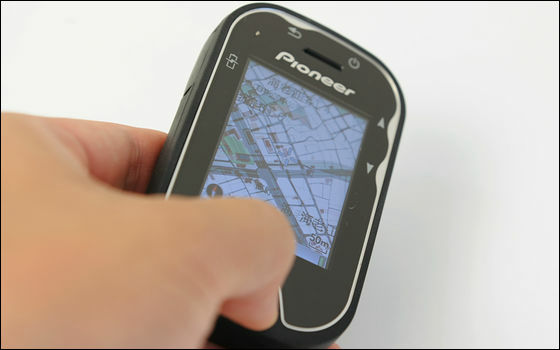

Since the running data has been automatically upgraded to the dedicated site via the 3G line, you can check the rotation speed, moving speed, route etc. of the crank from the PC after coming home.

Cycle computers can be substituted using iPhone accessories and applications, but those who want to enjoy Gatsuri using a dedicated terminal are essential checks.
Related Posts:

