Modular type "Airblock" actual machine review that will be both drones and hovercraft

"Airblock" that can be transformed as desired from drones to hovercraft in modular styleThe project at Kickstarter of Kickstarter was established, and finally the real machine arrived at hand, so I tried to touch it not only as a drone but also with various deformations.
Airblock: The Modular and Programmable Starter Drone by Makeblock - Kickstarter
https://www.kickstarter.com/projects/1818505613/airblock-the-modular-and-programmable-starter-dron
Cardboard containing the logo of "Makeblock" which is the maker of Airblock has arrived. This is for shipping only.

A hand-held box appears from inside.

Small parts are included on the side of the box, so children of 0 to 3 years old are indicated as "danger of suffocation".

Finally I will face the main body when opening this.

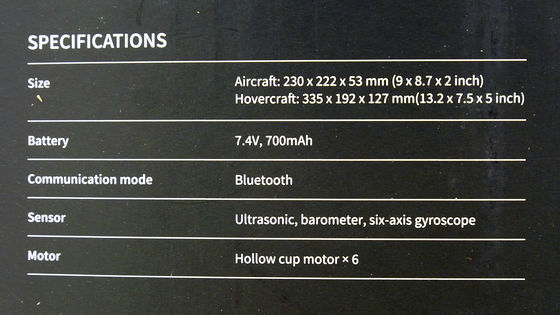
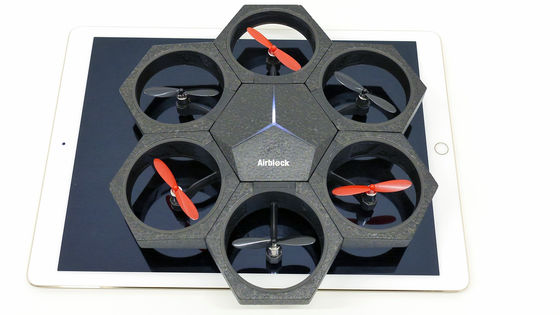
The size as a drawn is 230 mm × 222 mm × 53 mm, and as a hovercraft, it is 335 mm × 192 mm × 127 mm.
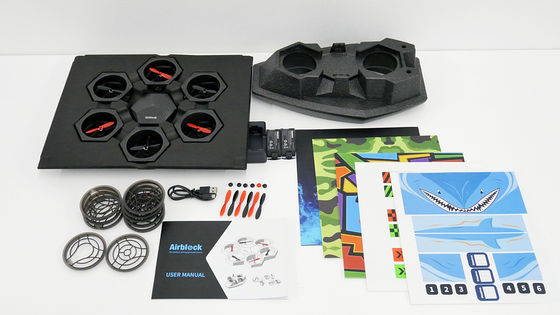
I took out all the contents. In addition to the bundled items that were displayed as Kickstarter's reward, there were six kinds of stickers for coloring the Airblock.
◆ Drone assembly
From here we go into the assembly process of the main body. First, I will make a drone (Air Mode).
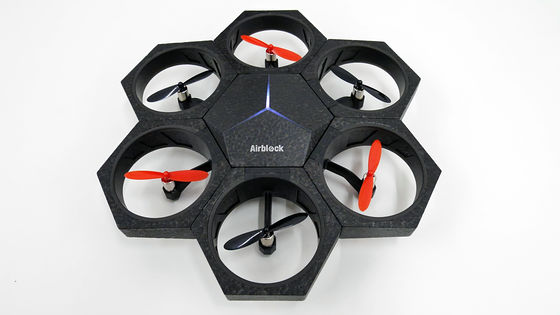
Three propeller modules with six are black propellers, three are red propellers. Among them, there is one red propeller module with one red mark, and the direction of travel is easy to understand when attached to the top.
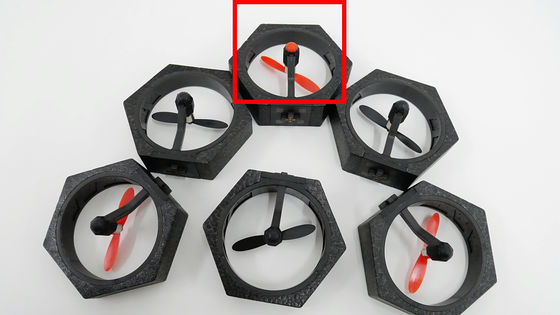
So attach this module to the beginning of the drone. When you place the core module in the center so that the "Airblock" logo can be seen, coming up is the beginning.
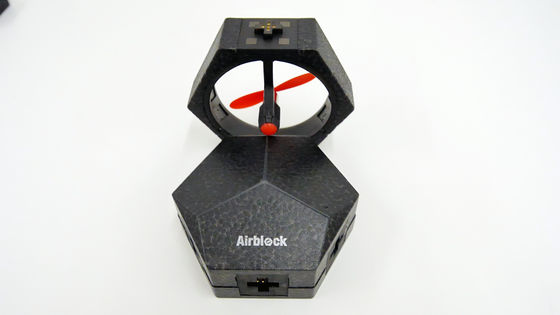
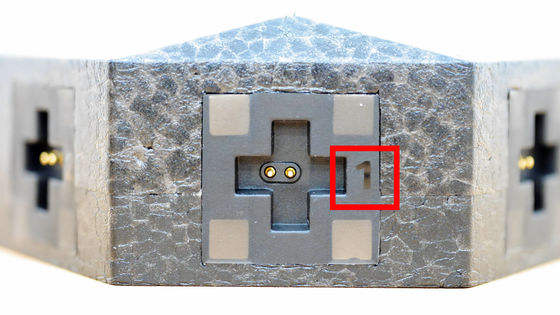
On the core module side, numbers are assigned to the attachment part, and it is "1".
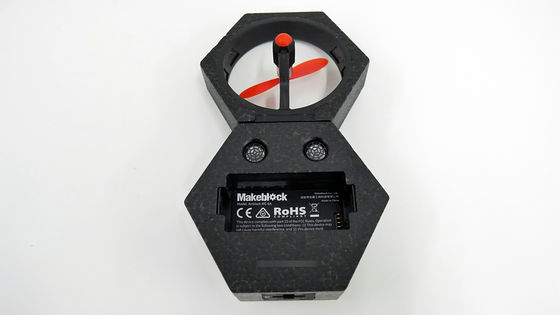
However, since the logo will be on the top when flying, install it so that the red mark is aligned with the back side of the core module. Since connection is done with magnet, installation / removal is very easy.
We also install other propeller modules. The red propeller module and the black propeller module were not stuck unless they were placed alternately. By the way, there are propeller covers as parts, but this is for hovercraft (Land Mode / Water Mode), it will be heavy and can not fly if you install it at drone.
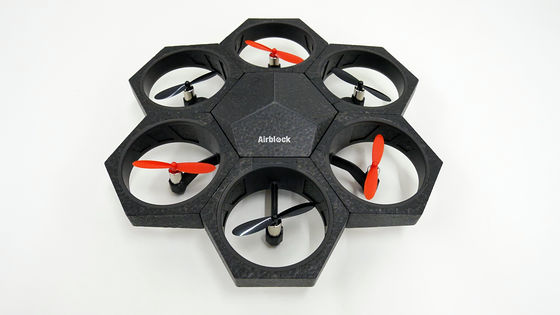
The assembly is completed by this. When setting the battery, it automatically enters the standby state of Bluetooth connection, and white light flashes on the top of the core module. You do not have to put the battery until the application is ready.
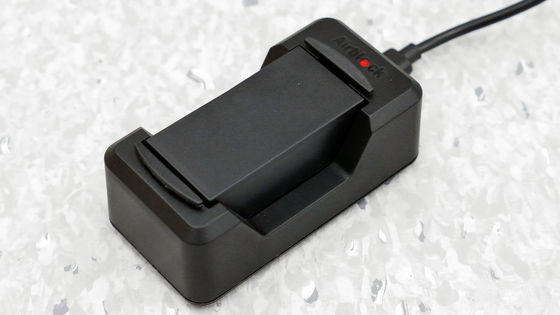
The battery while charging is like this.
◆ Setting of operation application "Makeblock"
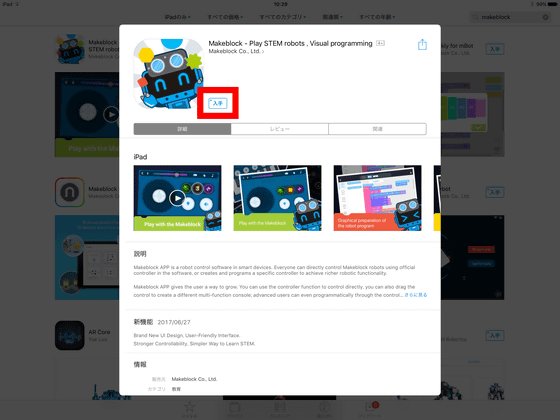
In order to operate Airblock, you need an application called "Makeblock", so if the terminal you use for the operation is iOSApp StoreIf from AndroidGoogle PlayPlease obtain the application from each. It seems that it can not be operated from PC at the moment. This time we will operate on the iPad.
When you start "Makeblock" for the first time, a notification dialog will be displayed. Either way it is okay, but this time we select "permit".
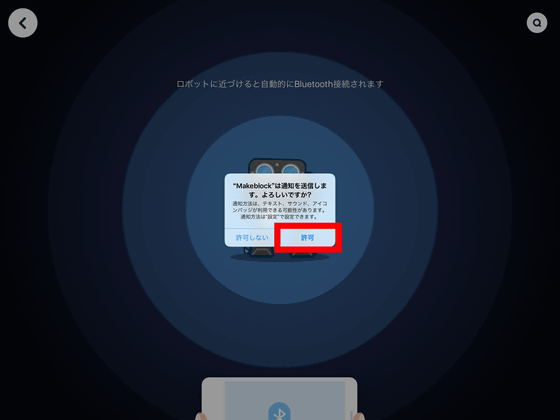
The "Makeblock" is now ready to connect with Airblock. When you install the battery in Airblock body, Bluetooth connection is done. The closer the distance between the equipment and the Airblock is, the more reliable the connection will be made.

It might be good to put on a pet.
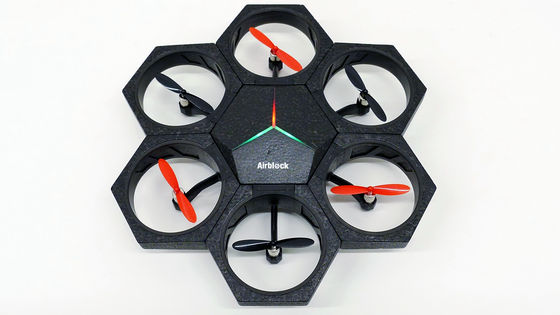
When the connection is successful, the core module blinks red and green to let you know.
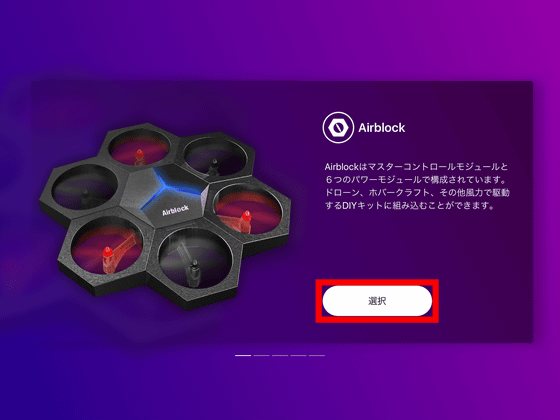
And in the application you will see a screen to select the connected device. Tap "Selection" because it connects to Airblock this time.
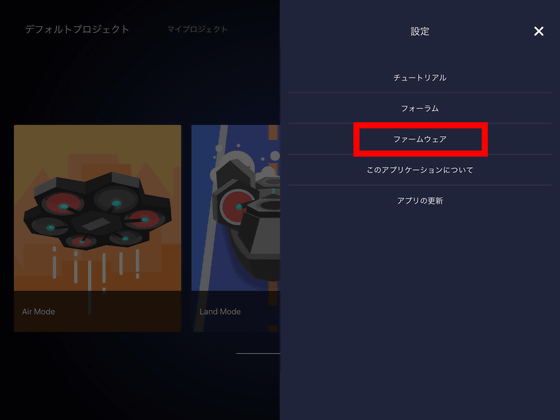
Three types of default projects are displayed: Air Mode, Land Mode, and Water Mode. Before entering the operation, tap the gear icon in the upper right ... ...
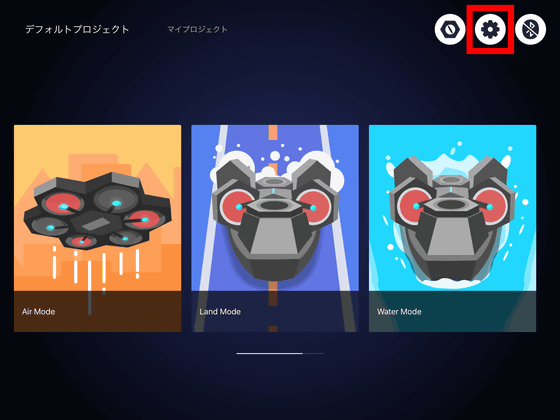
Please select "Firmware" and update to the latest firmware.
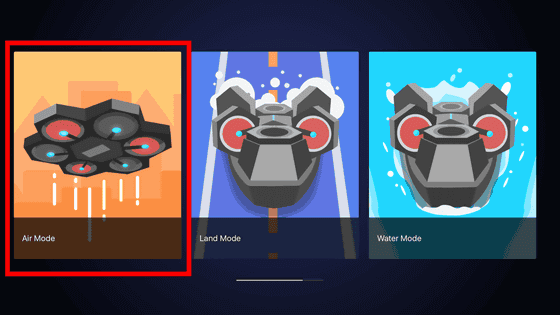
When confirming that the firmware is up to date, select "Air Mode" again.
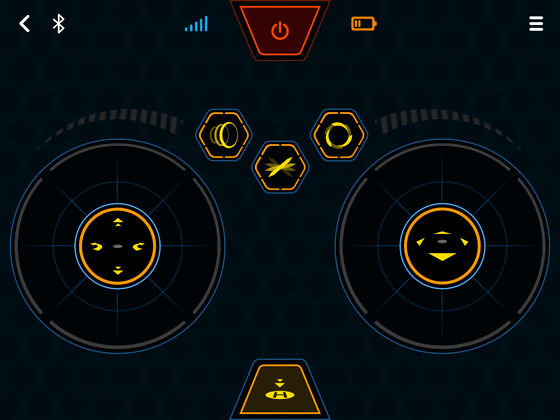
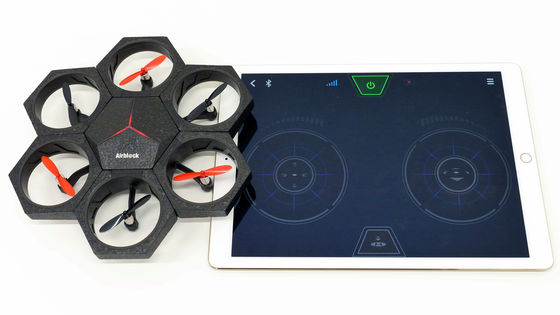
Then we will move to the control screen. Also on this screen you can pilot in the same way as other drones and radio controllers.
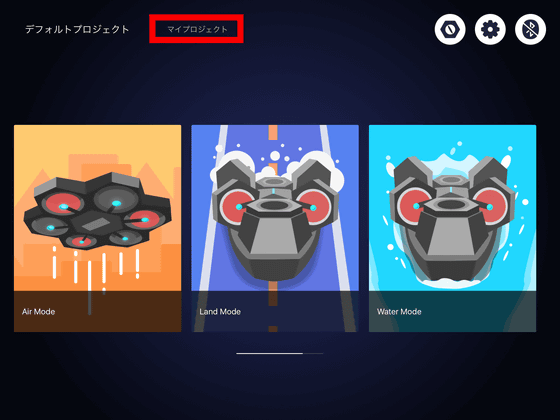
The feature of Airblock is programming is also possible. Go back to the previous mode selection and move from the "My Project" at the top of the screen to the My Project tab and press the + button on the left side to program the program.
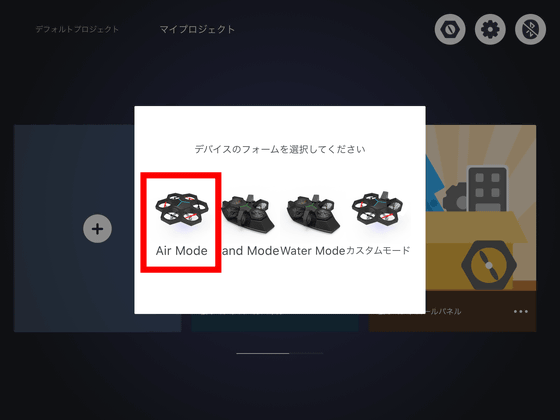
The screen for selecting the form of the device has appeared. Now we are planning a program for Air Mode so select "Air Mode".
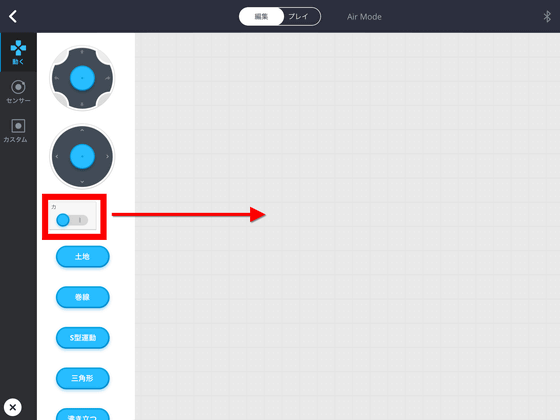
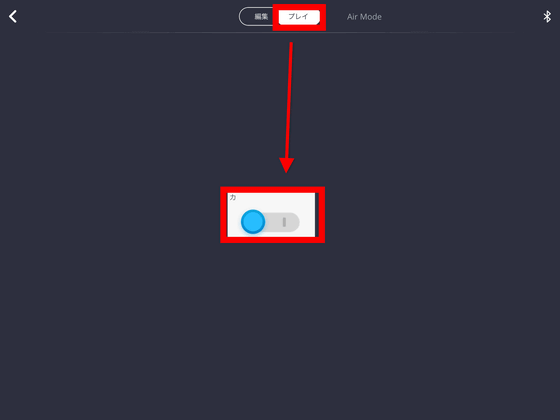
You can switch "edit" and "play" with the toggle switch on the top. First of all, in "Edit", arrange the UI parts arranged on the left side on the right side of the screen. Each part can be associated with a corresponding program. This time it's easy, just one switch.
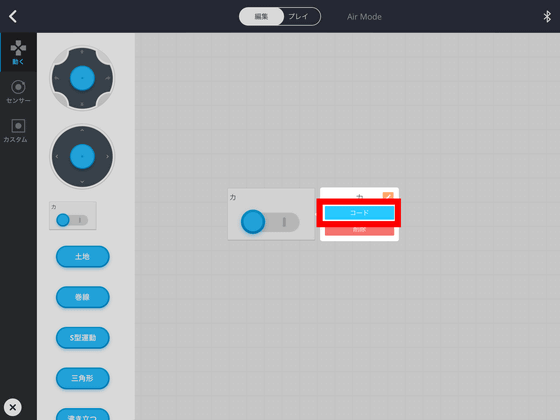
Tap on the placed item and select "Code" that comes out to move to the programming screen.
Even with programming, since blocks that do some actions are prepared, I will only arrange them in order. It does not write code from 1.
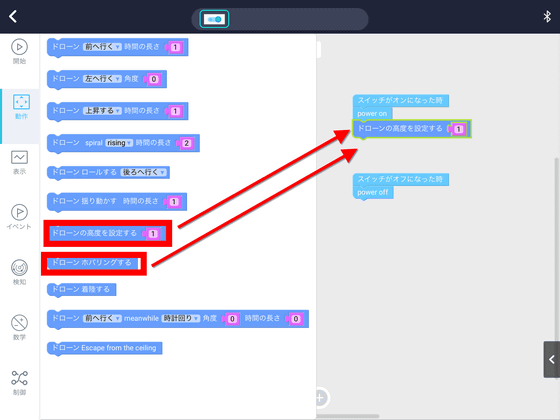
It is OK if you place it so that blocks are connected. For this time, I tried composing like "When the switch turns on, drone floats at a certain altitude and hovers." When you finish placing blocks, you can exit the programming screen with the "<" mark in the upper left corner.
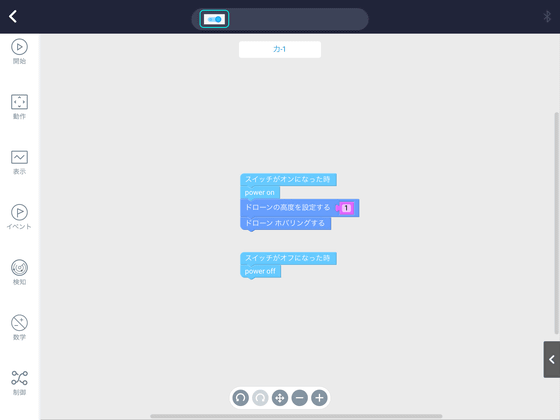
After programming, switch from "Edit" to "Play". In this case, I could turn this switch on and let the drones float and hover. Depending on the combination, you can make more complex movements.
We tried exchanging Airbocks hovering with two people like a catch ball. It was quite stable hovering because there is no wind effect indoors.
Using a hovering modular droning "Airblock" "catch ball" - YouTube
In addition, because the "roll (somersault)" button was on default in the control screen, I tried to run it. Although it did not work outdoor indoors due to height, it managed to be successful outdoors. However, because the Airblock is very light, it is hard for the outdoors to be easily affected by the wind.
Slippery with modular drawn "Airblock" - YouTube
◆ Assembling a Hovercraft
Next, assemble a hovercraft to be used in Land Mode and Water Mode. The base is prepared separately, but the propeller module is shared with the drone.

First, install the cover on the propeller side of the two propeller modules.
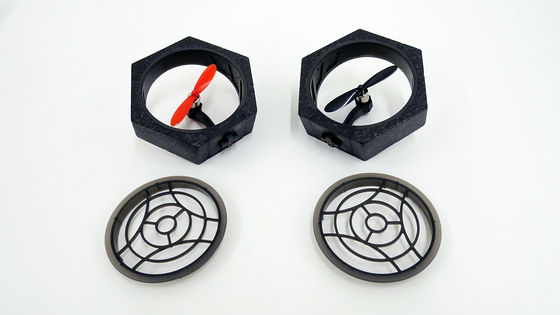
Front and rear of the core module respectively ......
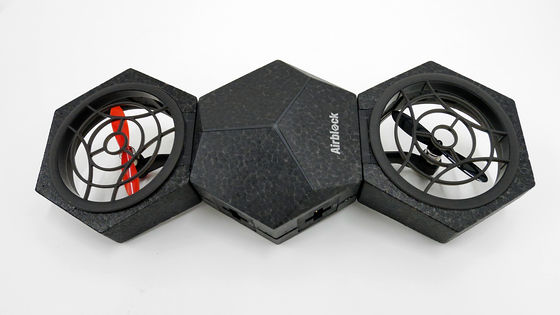
I will put it on the hovercraft base. These two propellers send air downwards, floating the hovercraft.
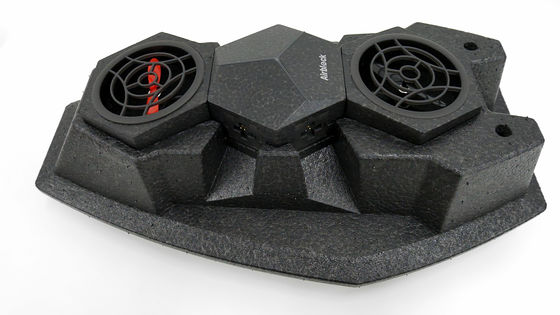
Install the cover on both sides of the remaining four propeller modules.
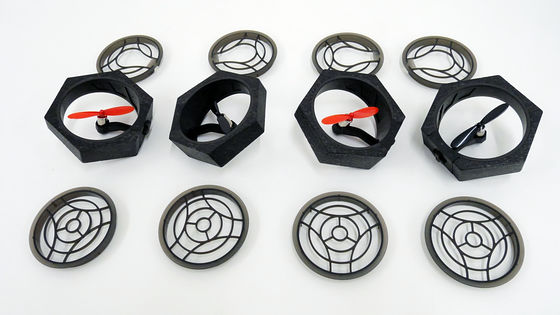
These four are attached to the outside of the hovercraft. You must be careful not to attach the front propeller to the front and the rear propeller to the rear so that you can send the wind respectively.
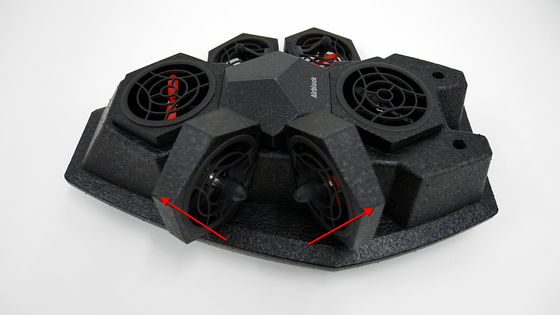
It is OK if it is installed so that the wind goes in the direction of the red arrow when viewed from directly above.
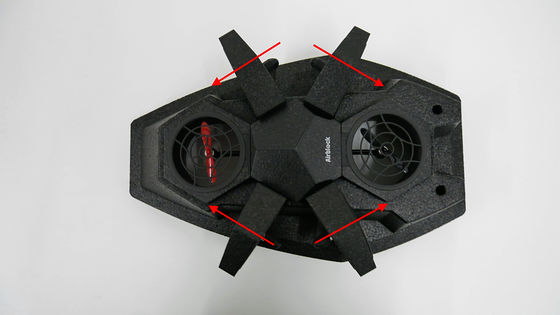
First I tried moving it in Land Mode. With the impression of "sliding" considerably, it is impossible to input at the same time as advancing and turning, and it is the impression that firm practice is necessary to successfully steer.
Try Land Mode of modular drawn "Airblock" - YouTube
Next is Water Mode. It is not a river with a lot of water, but it seems that it will barely go against the flow. Also, it is difficult to not do "go" and "turn" at the same time. Like a pool or puddle, if there is no flow of water it may have been more various.
Try the water mode of modular drawn "Airblock" - YouTube
It does not necessarily have to be in the form of a drone or a hovercraft. If you put a propeller horizontally around the core module, you have completed "a person who just spins."
Rotate the modular drone "Airblock" to spin - YouTube
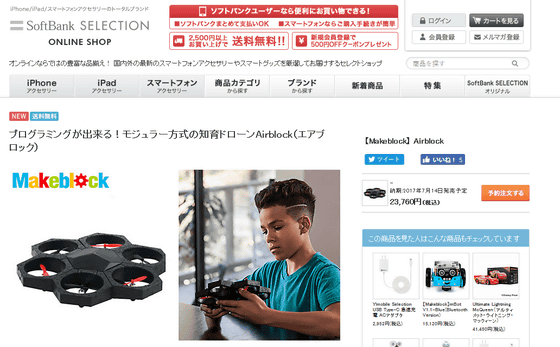
This time I used it as a reward who invested in the Kickstarter project, but since July 14 it is announced that Airblock will join "SoftBank SELECTION", anyone can purchase it. The price is 20 3760 yen including tax, free shipping.
【Makeblock】 Airblock mail order | Softbank selection
By the way, holding the battery is about 5 minutes in Air Mode. However, even if the battery runs out, it will not "crash" and will land. At that time, the core module was shining red.
The module is made of Styrofoam, and it has characteristics that it absorbs the shock by being uneven immediately and is not easily broken. When I tried it, it certainly was an impression that the frame looks unbreakable. Although the propeller truly became able to take a lot of time while it crashed many times truly, there are several preliminary propellers attached, so if you push it in, you can get it for safety reasons I think that it is easy to make it so pears are particularly problematic.
Because I can play various ways, I got the impression that it is perfect as an educational toy.
This product will be held in July 2017GIGAZINE Summer gift big release project "Please answer the questionnaire and bring them all!"It is possible to get in. The application deadline is Thursday, August 3, 2017, at 23:59.
Related Posts:


